WillAdams
May 22, 2024, 11:35pm
1
as requested on support…
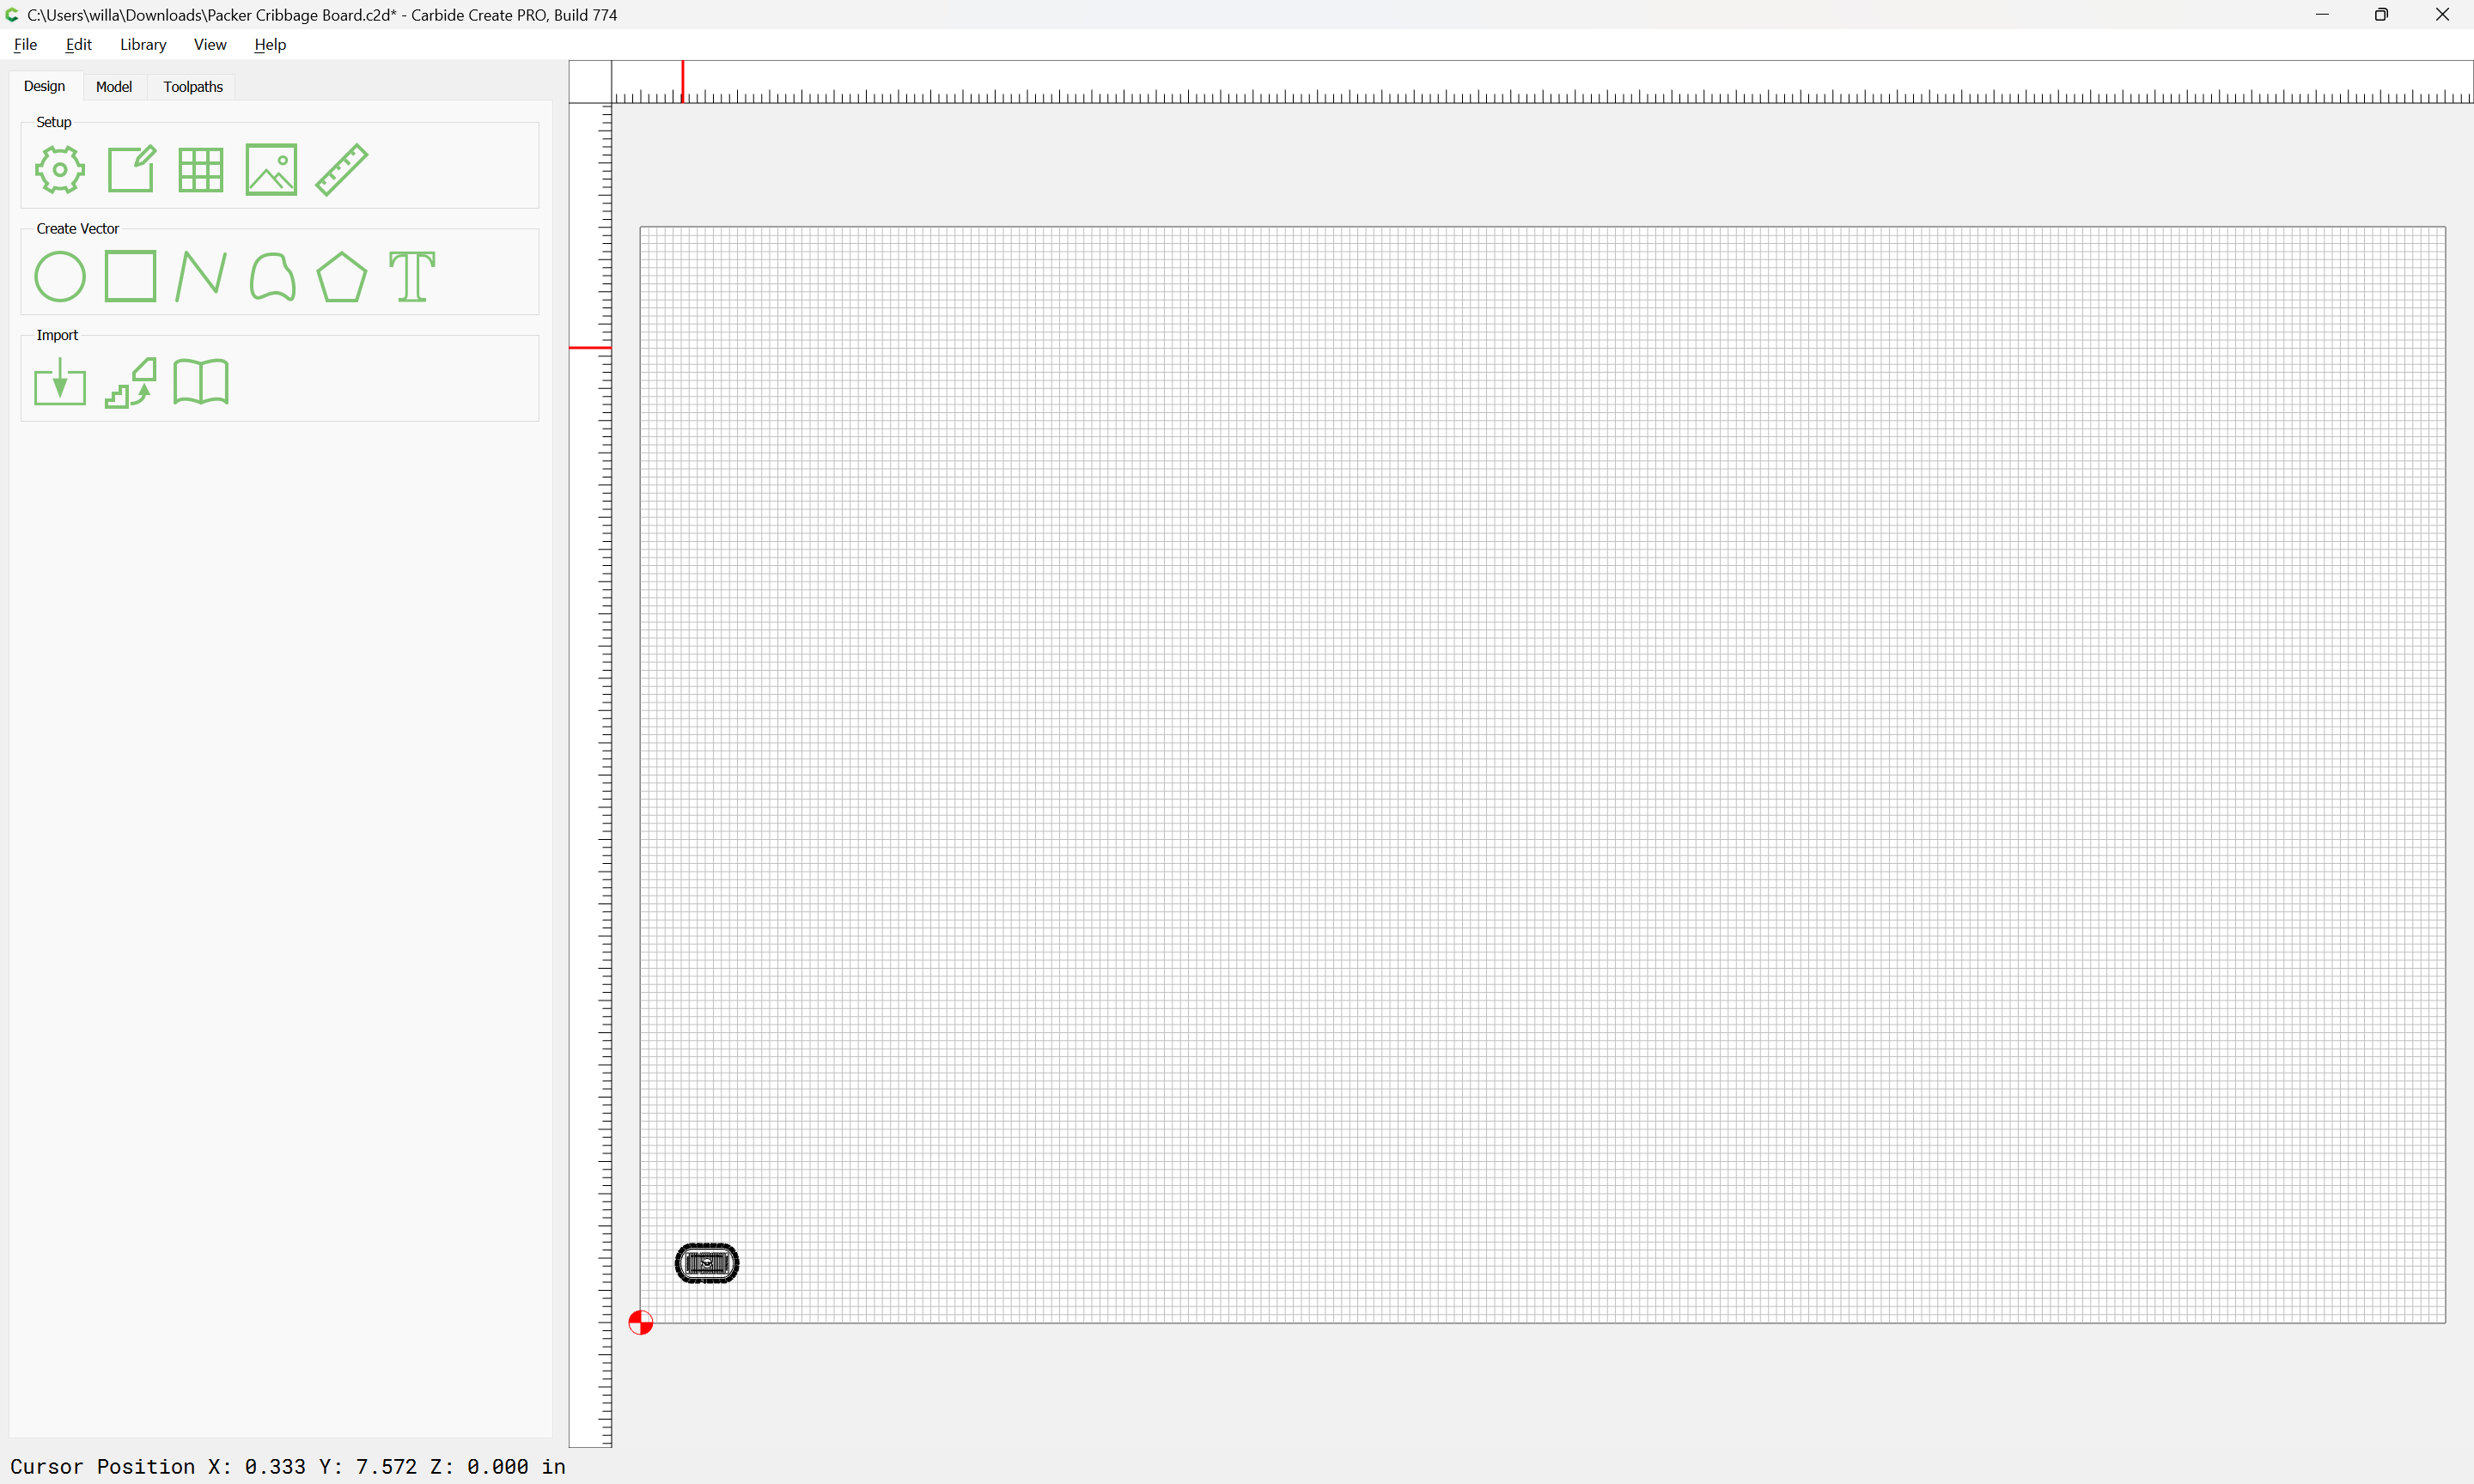
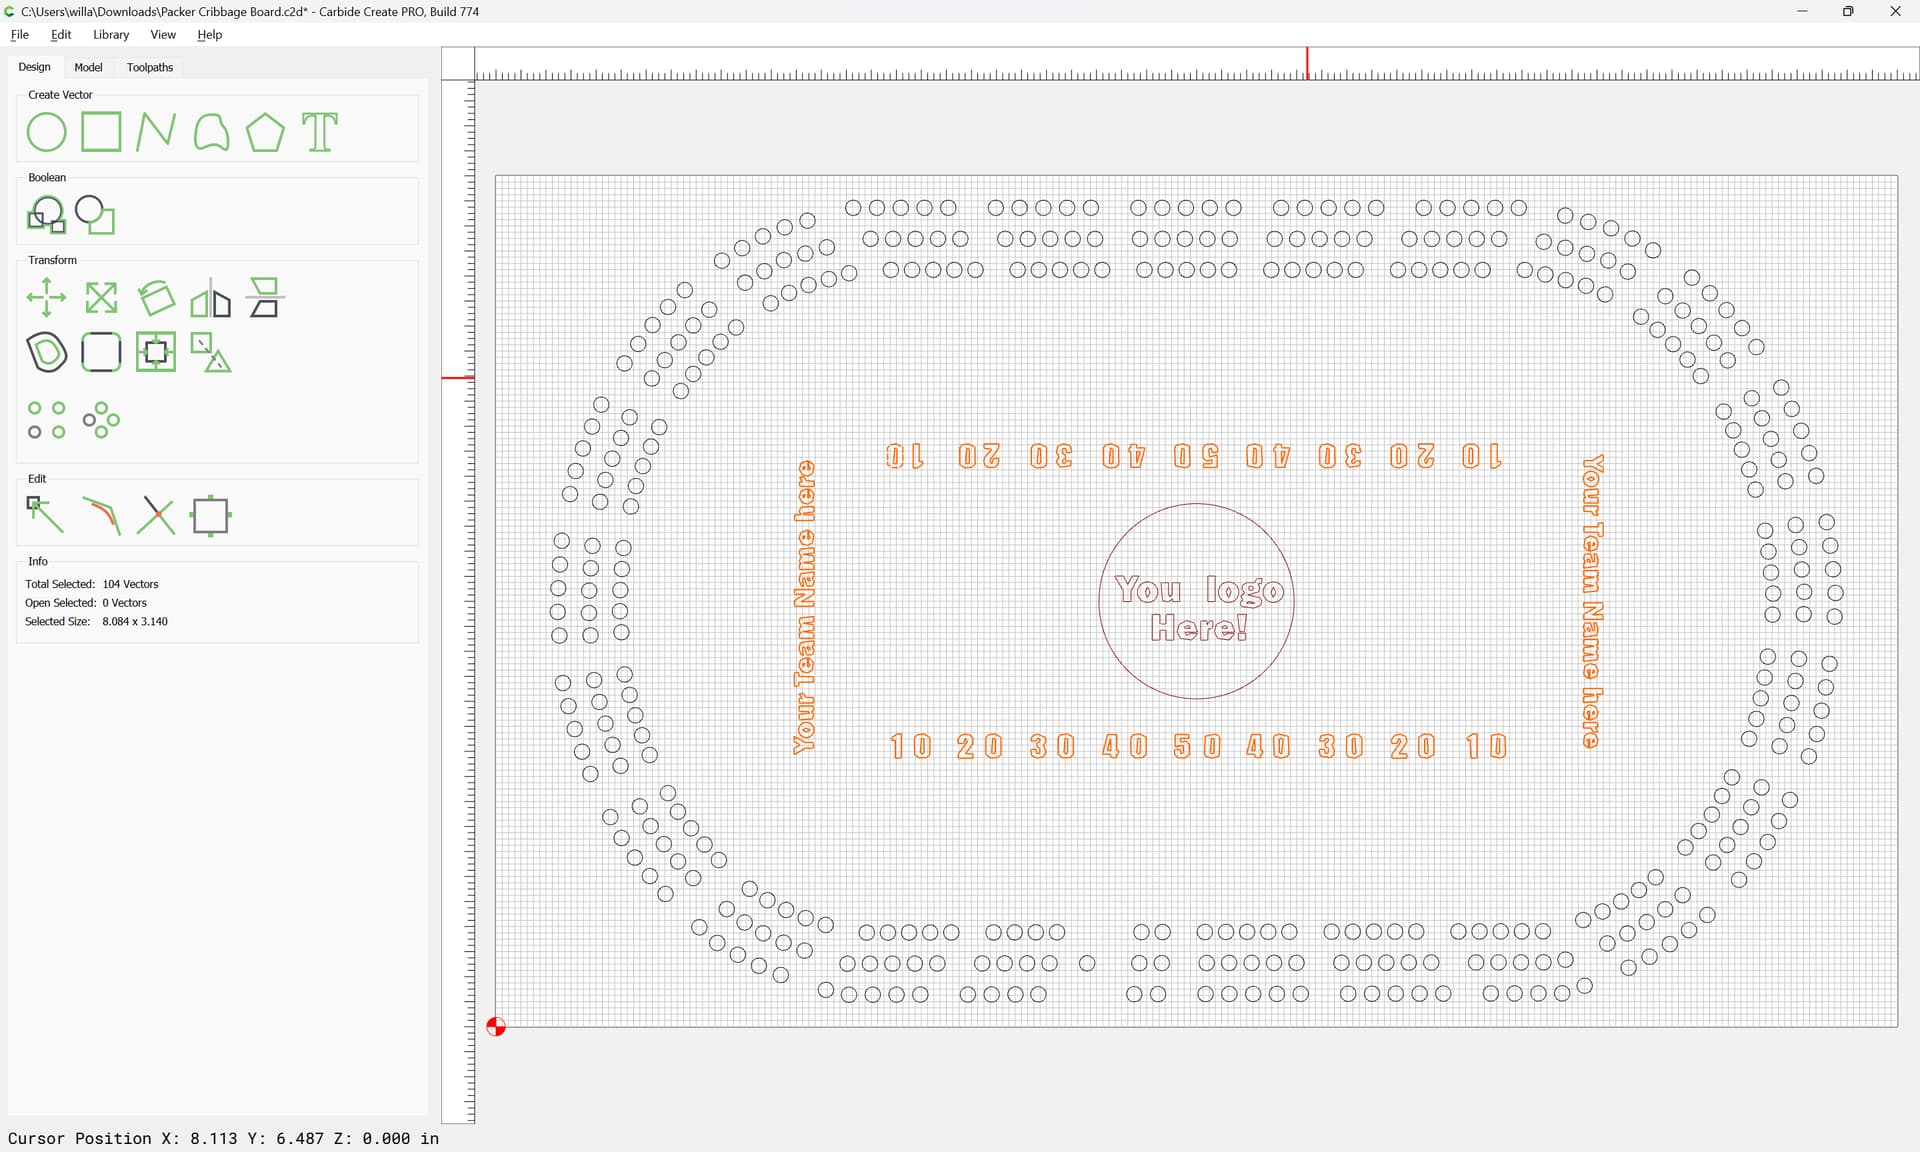
Given a file:
We start by going to “Job Setup” (gear icon):
setting the parameters as desired — for more on this see:
https://my.carbide3d.com/gswcc/02/
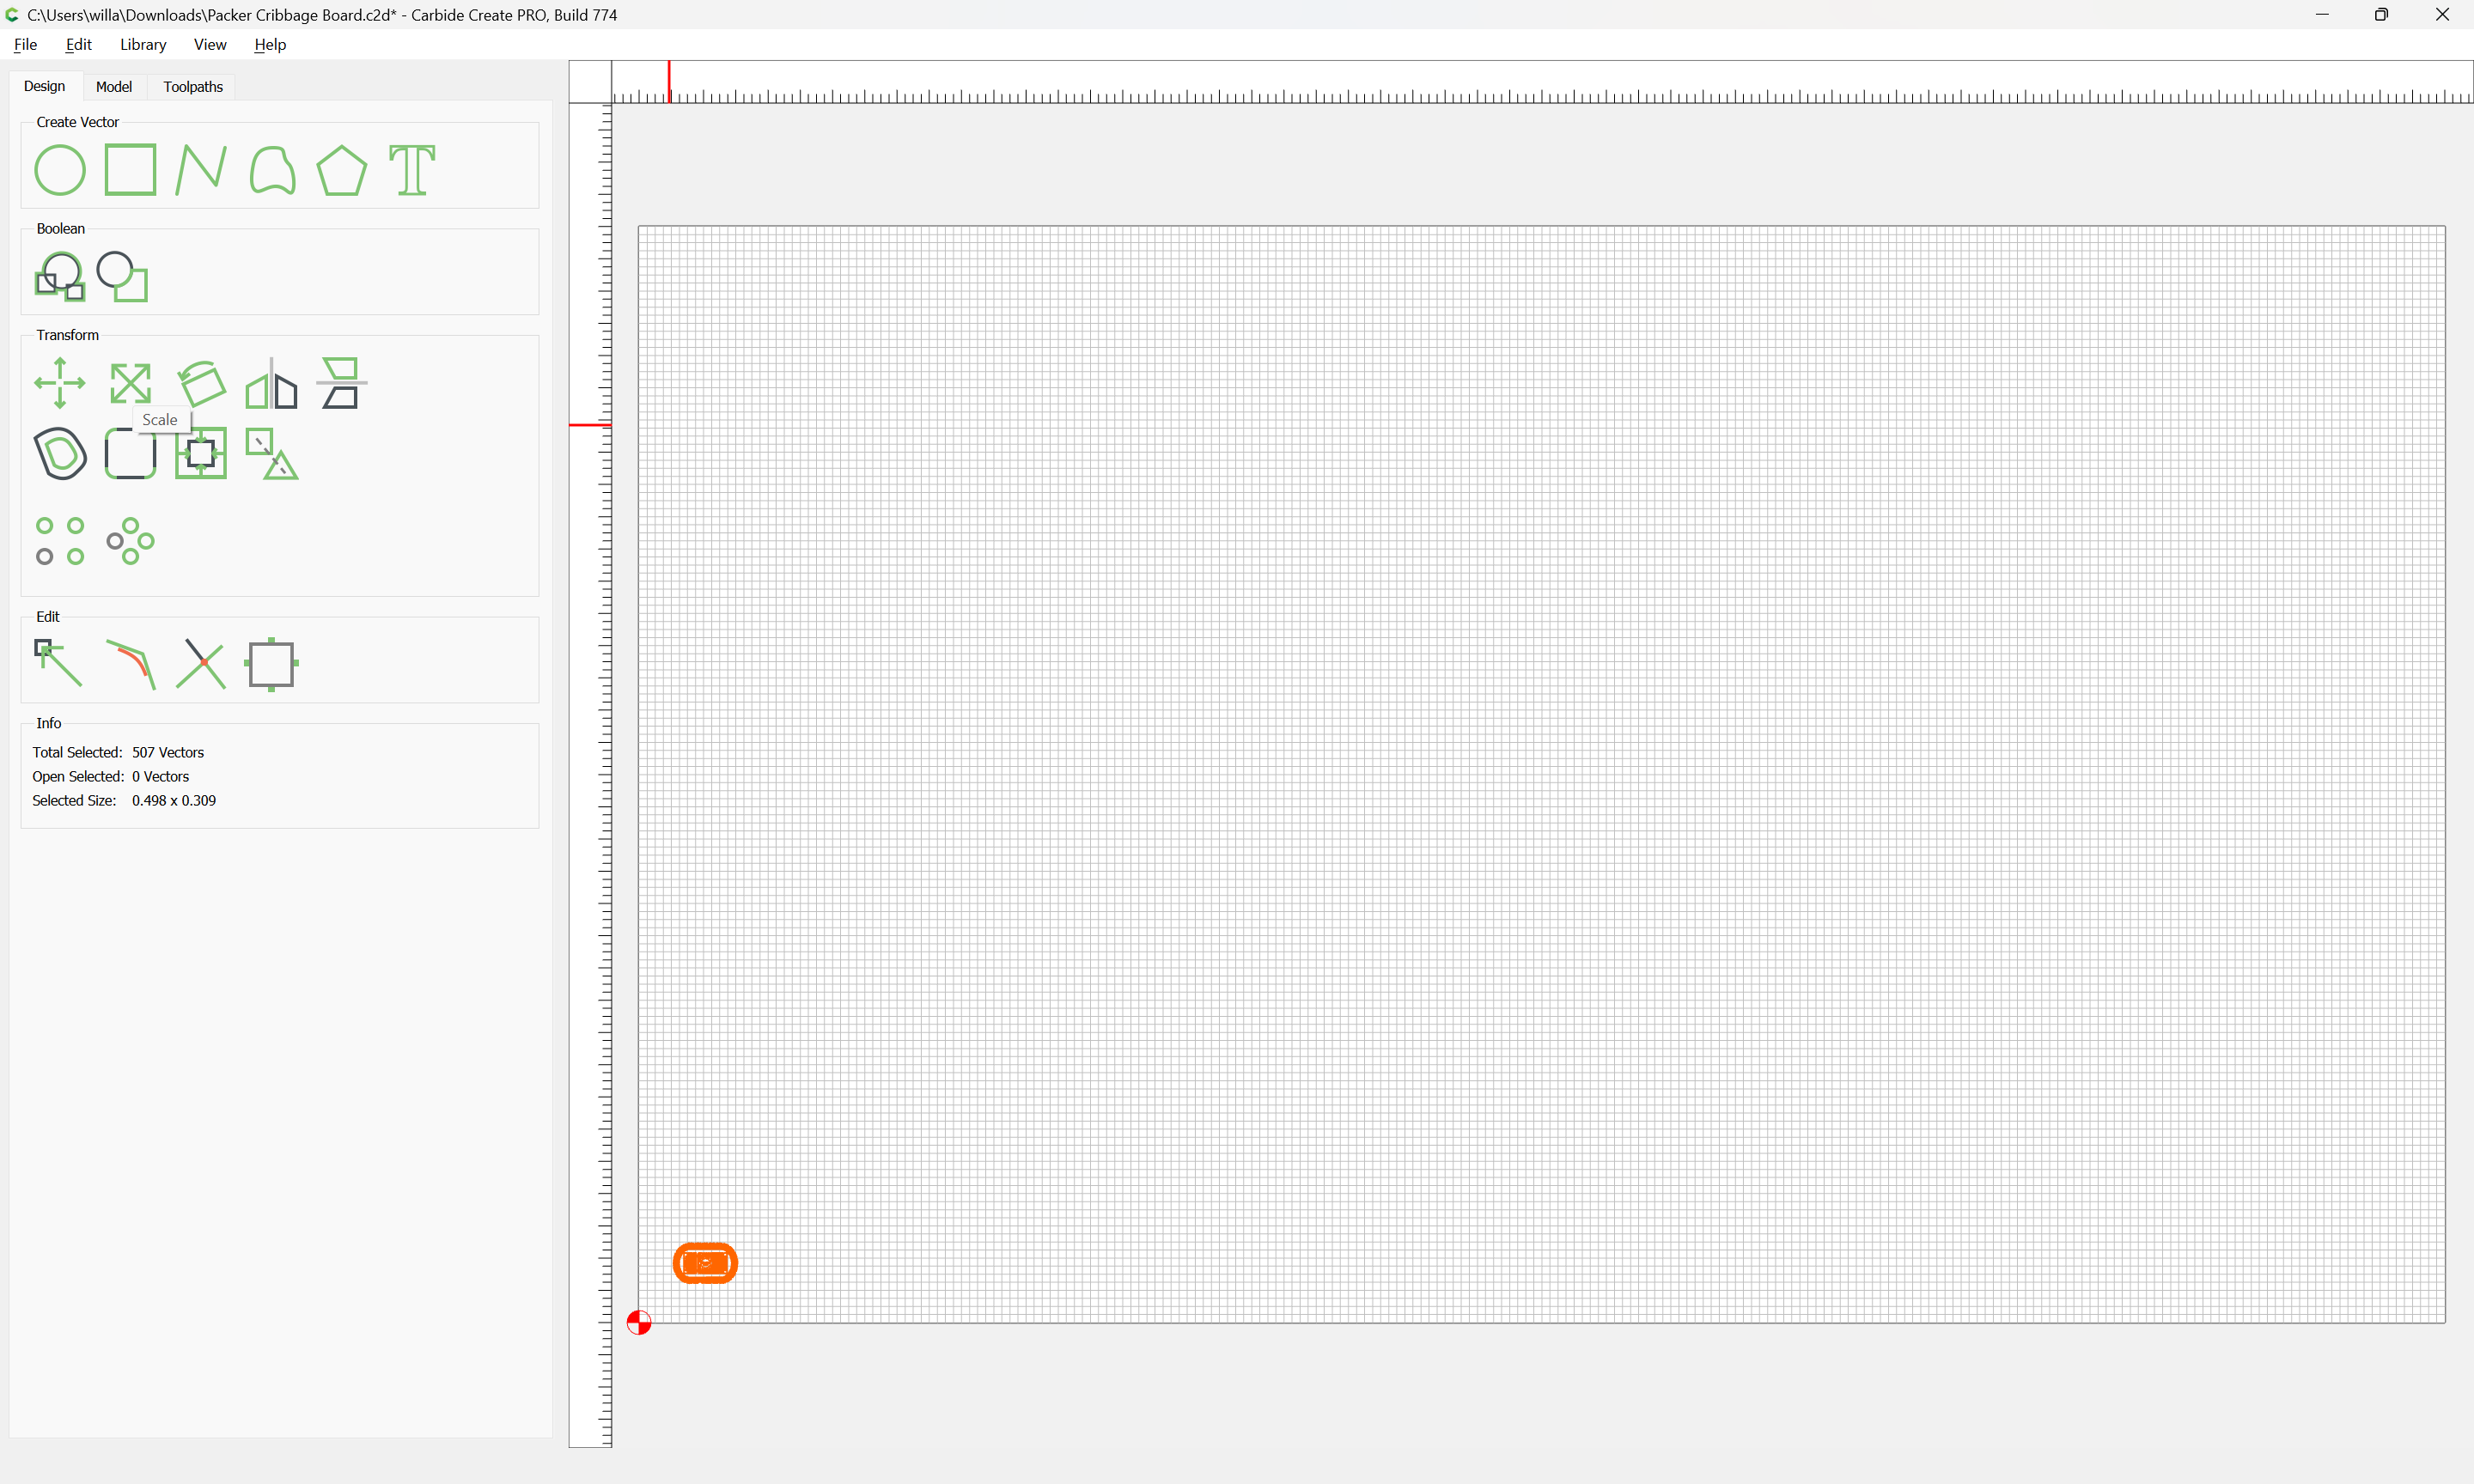
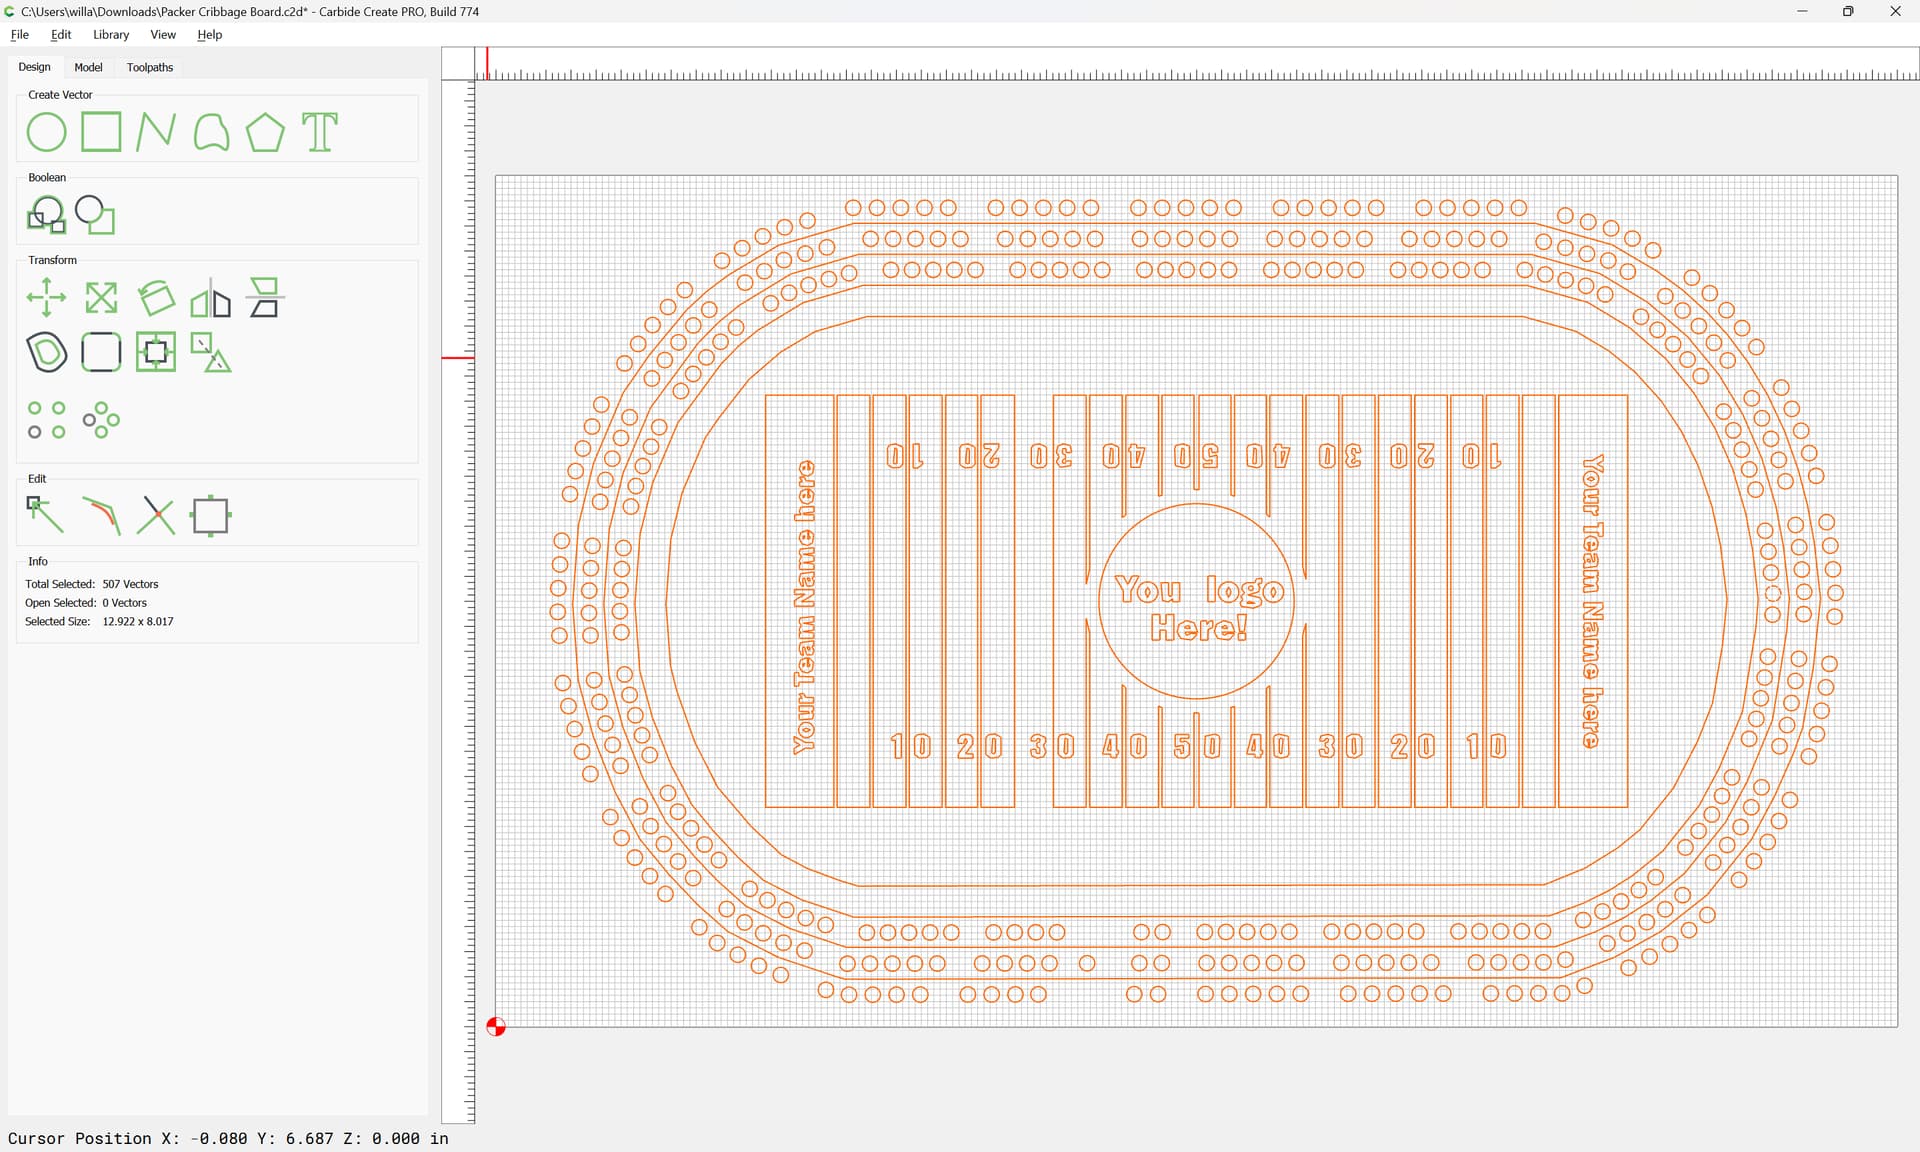
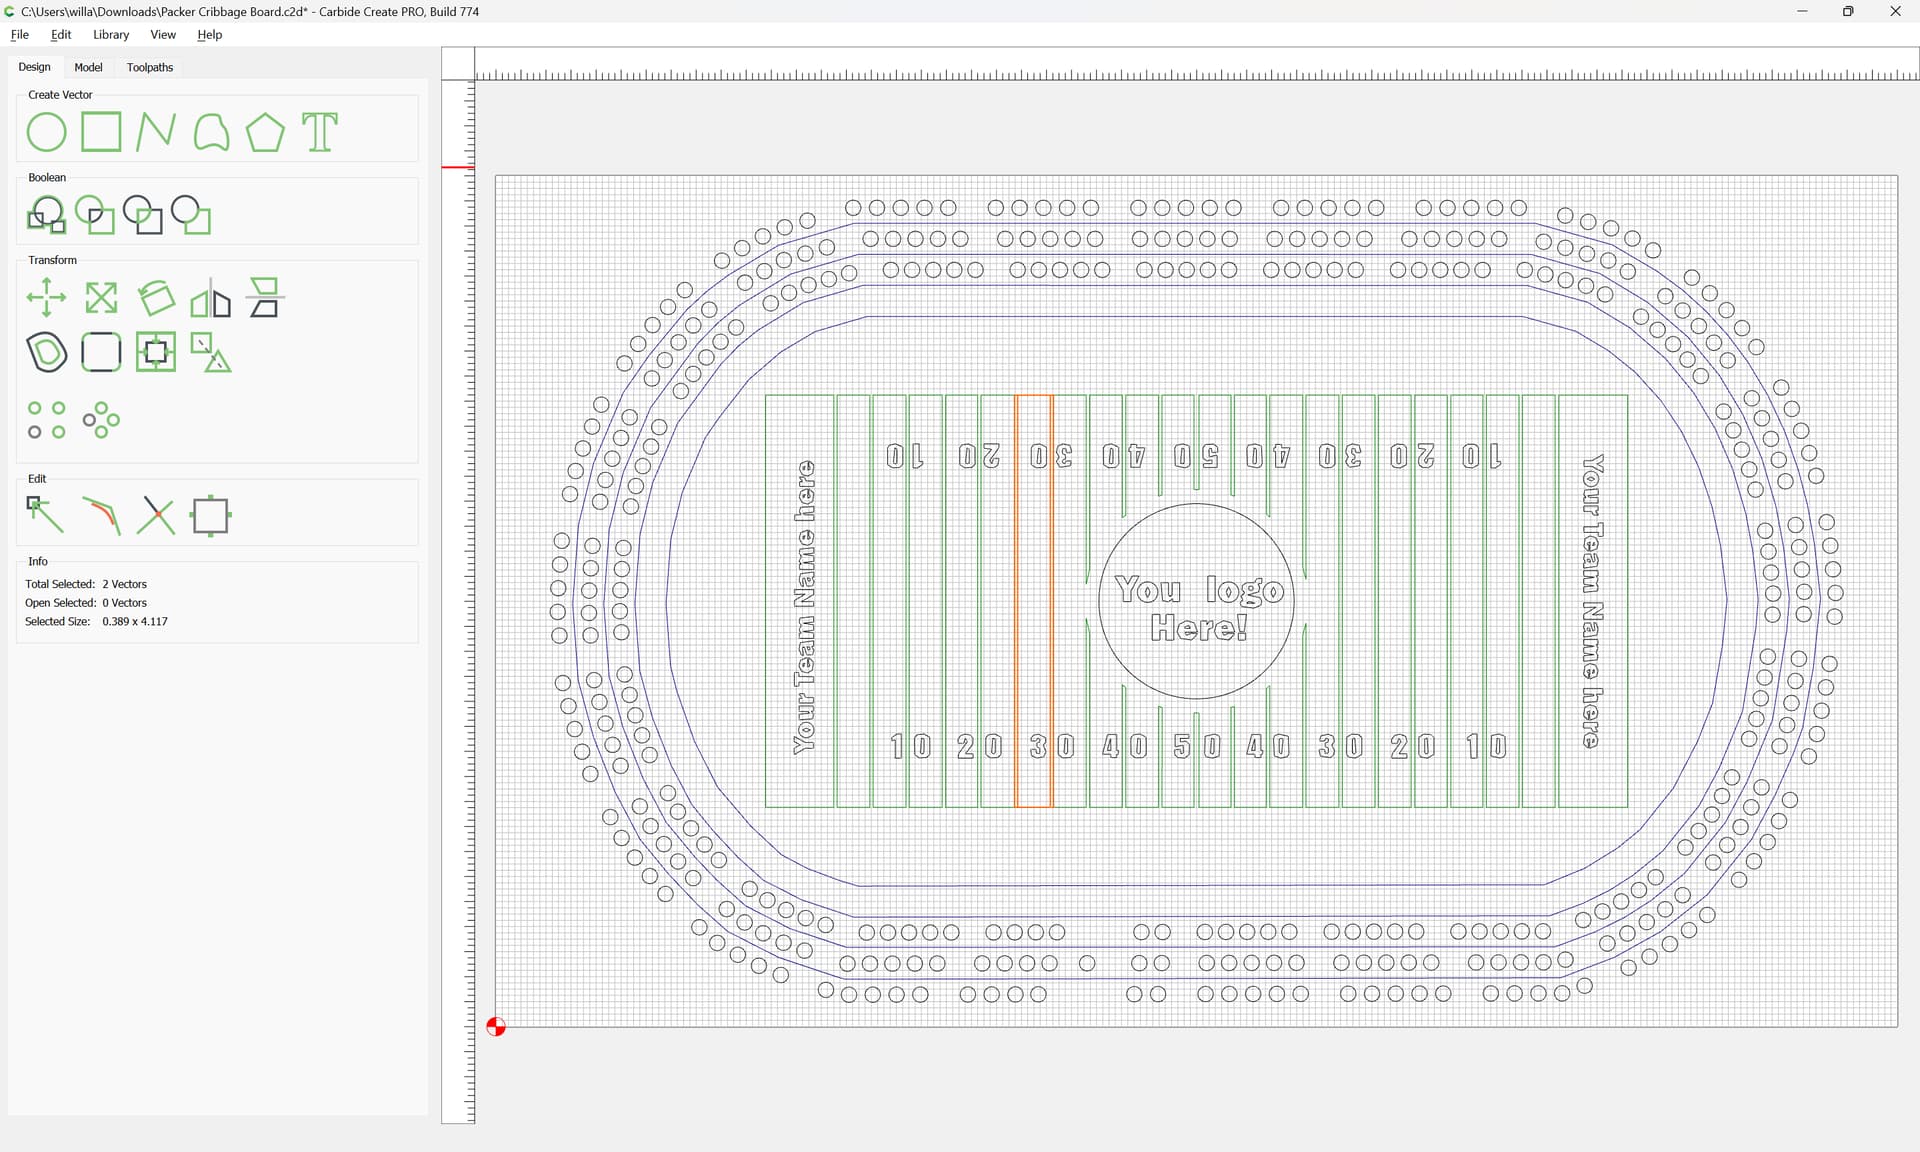
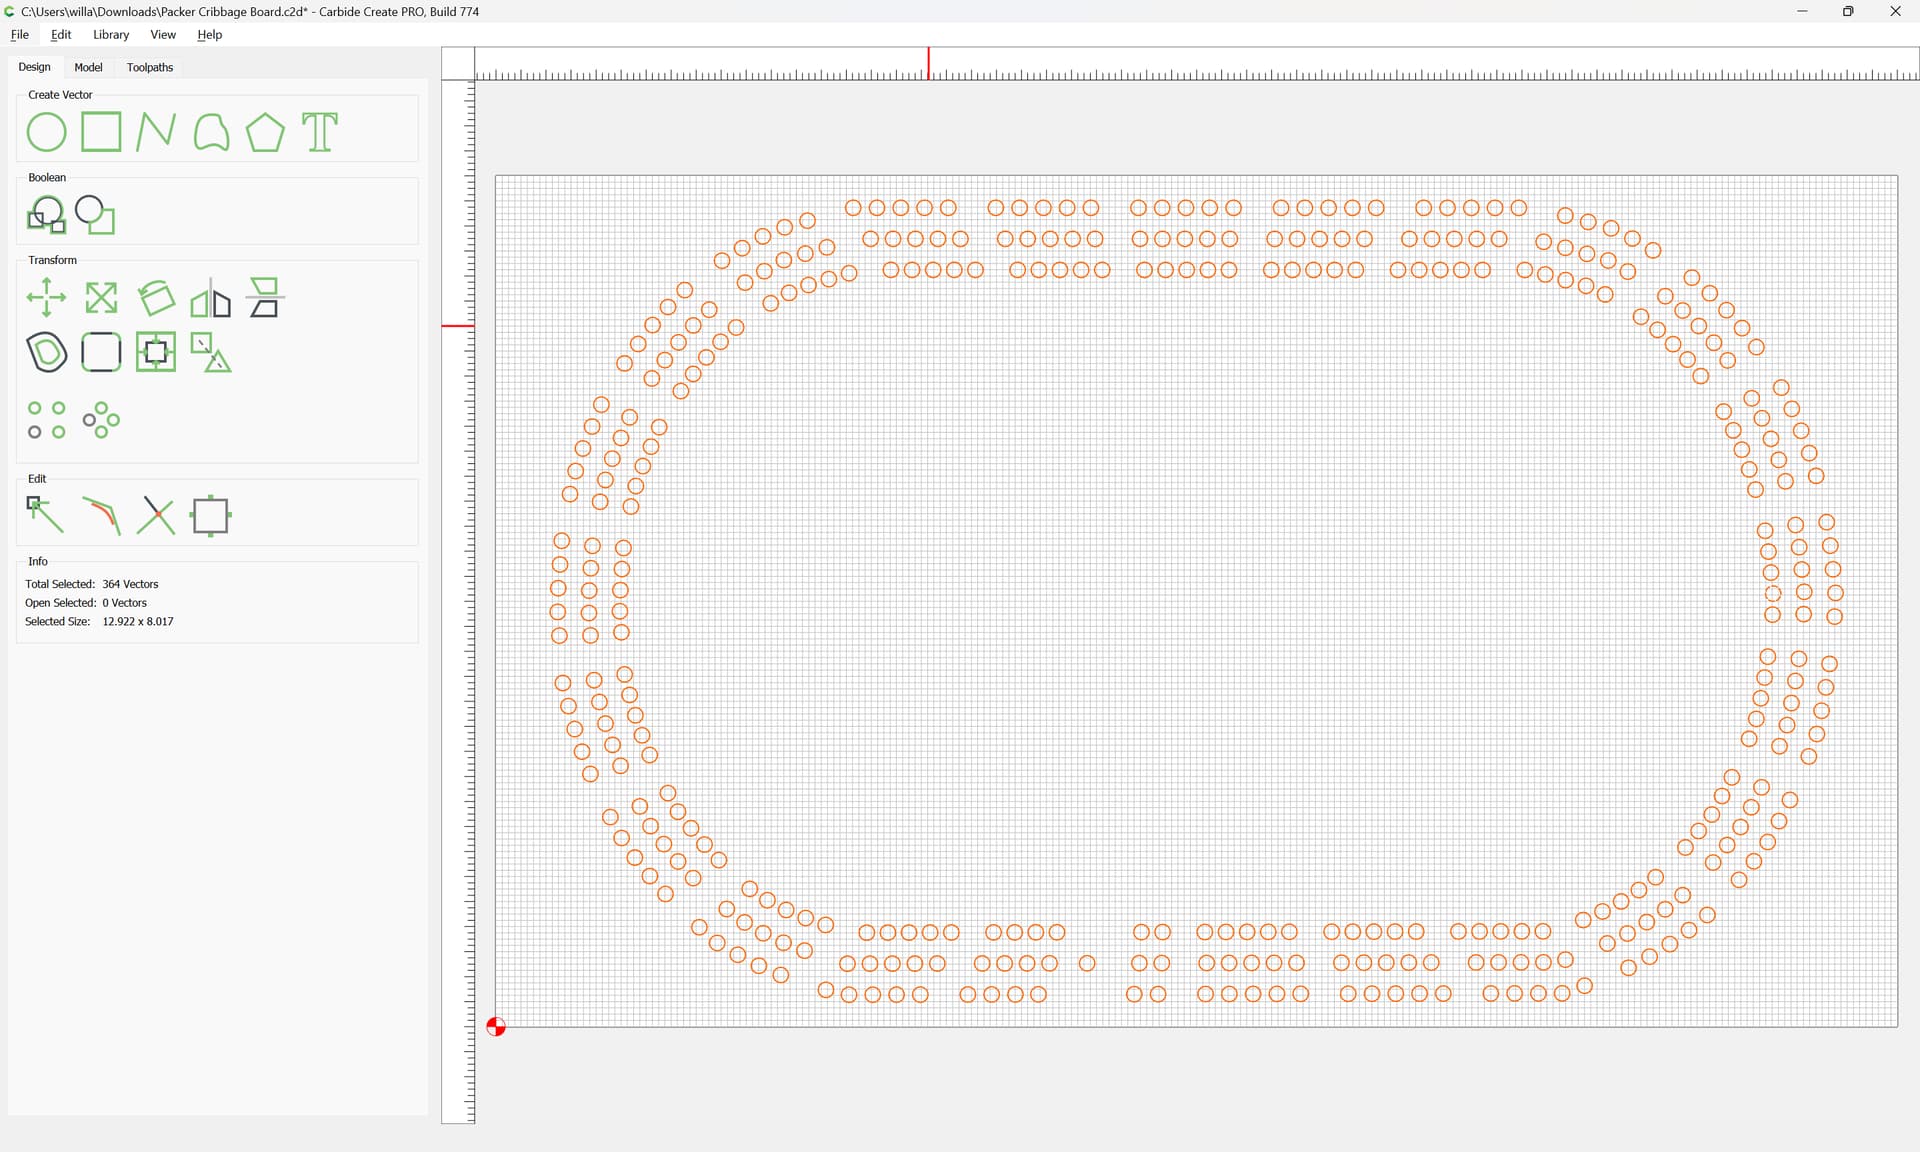
Then select everything:
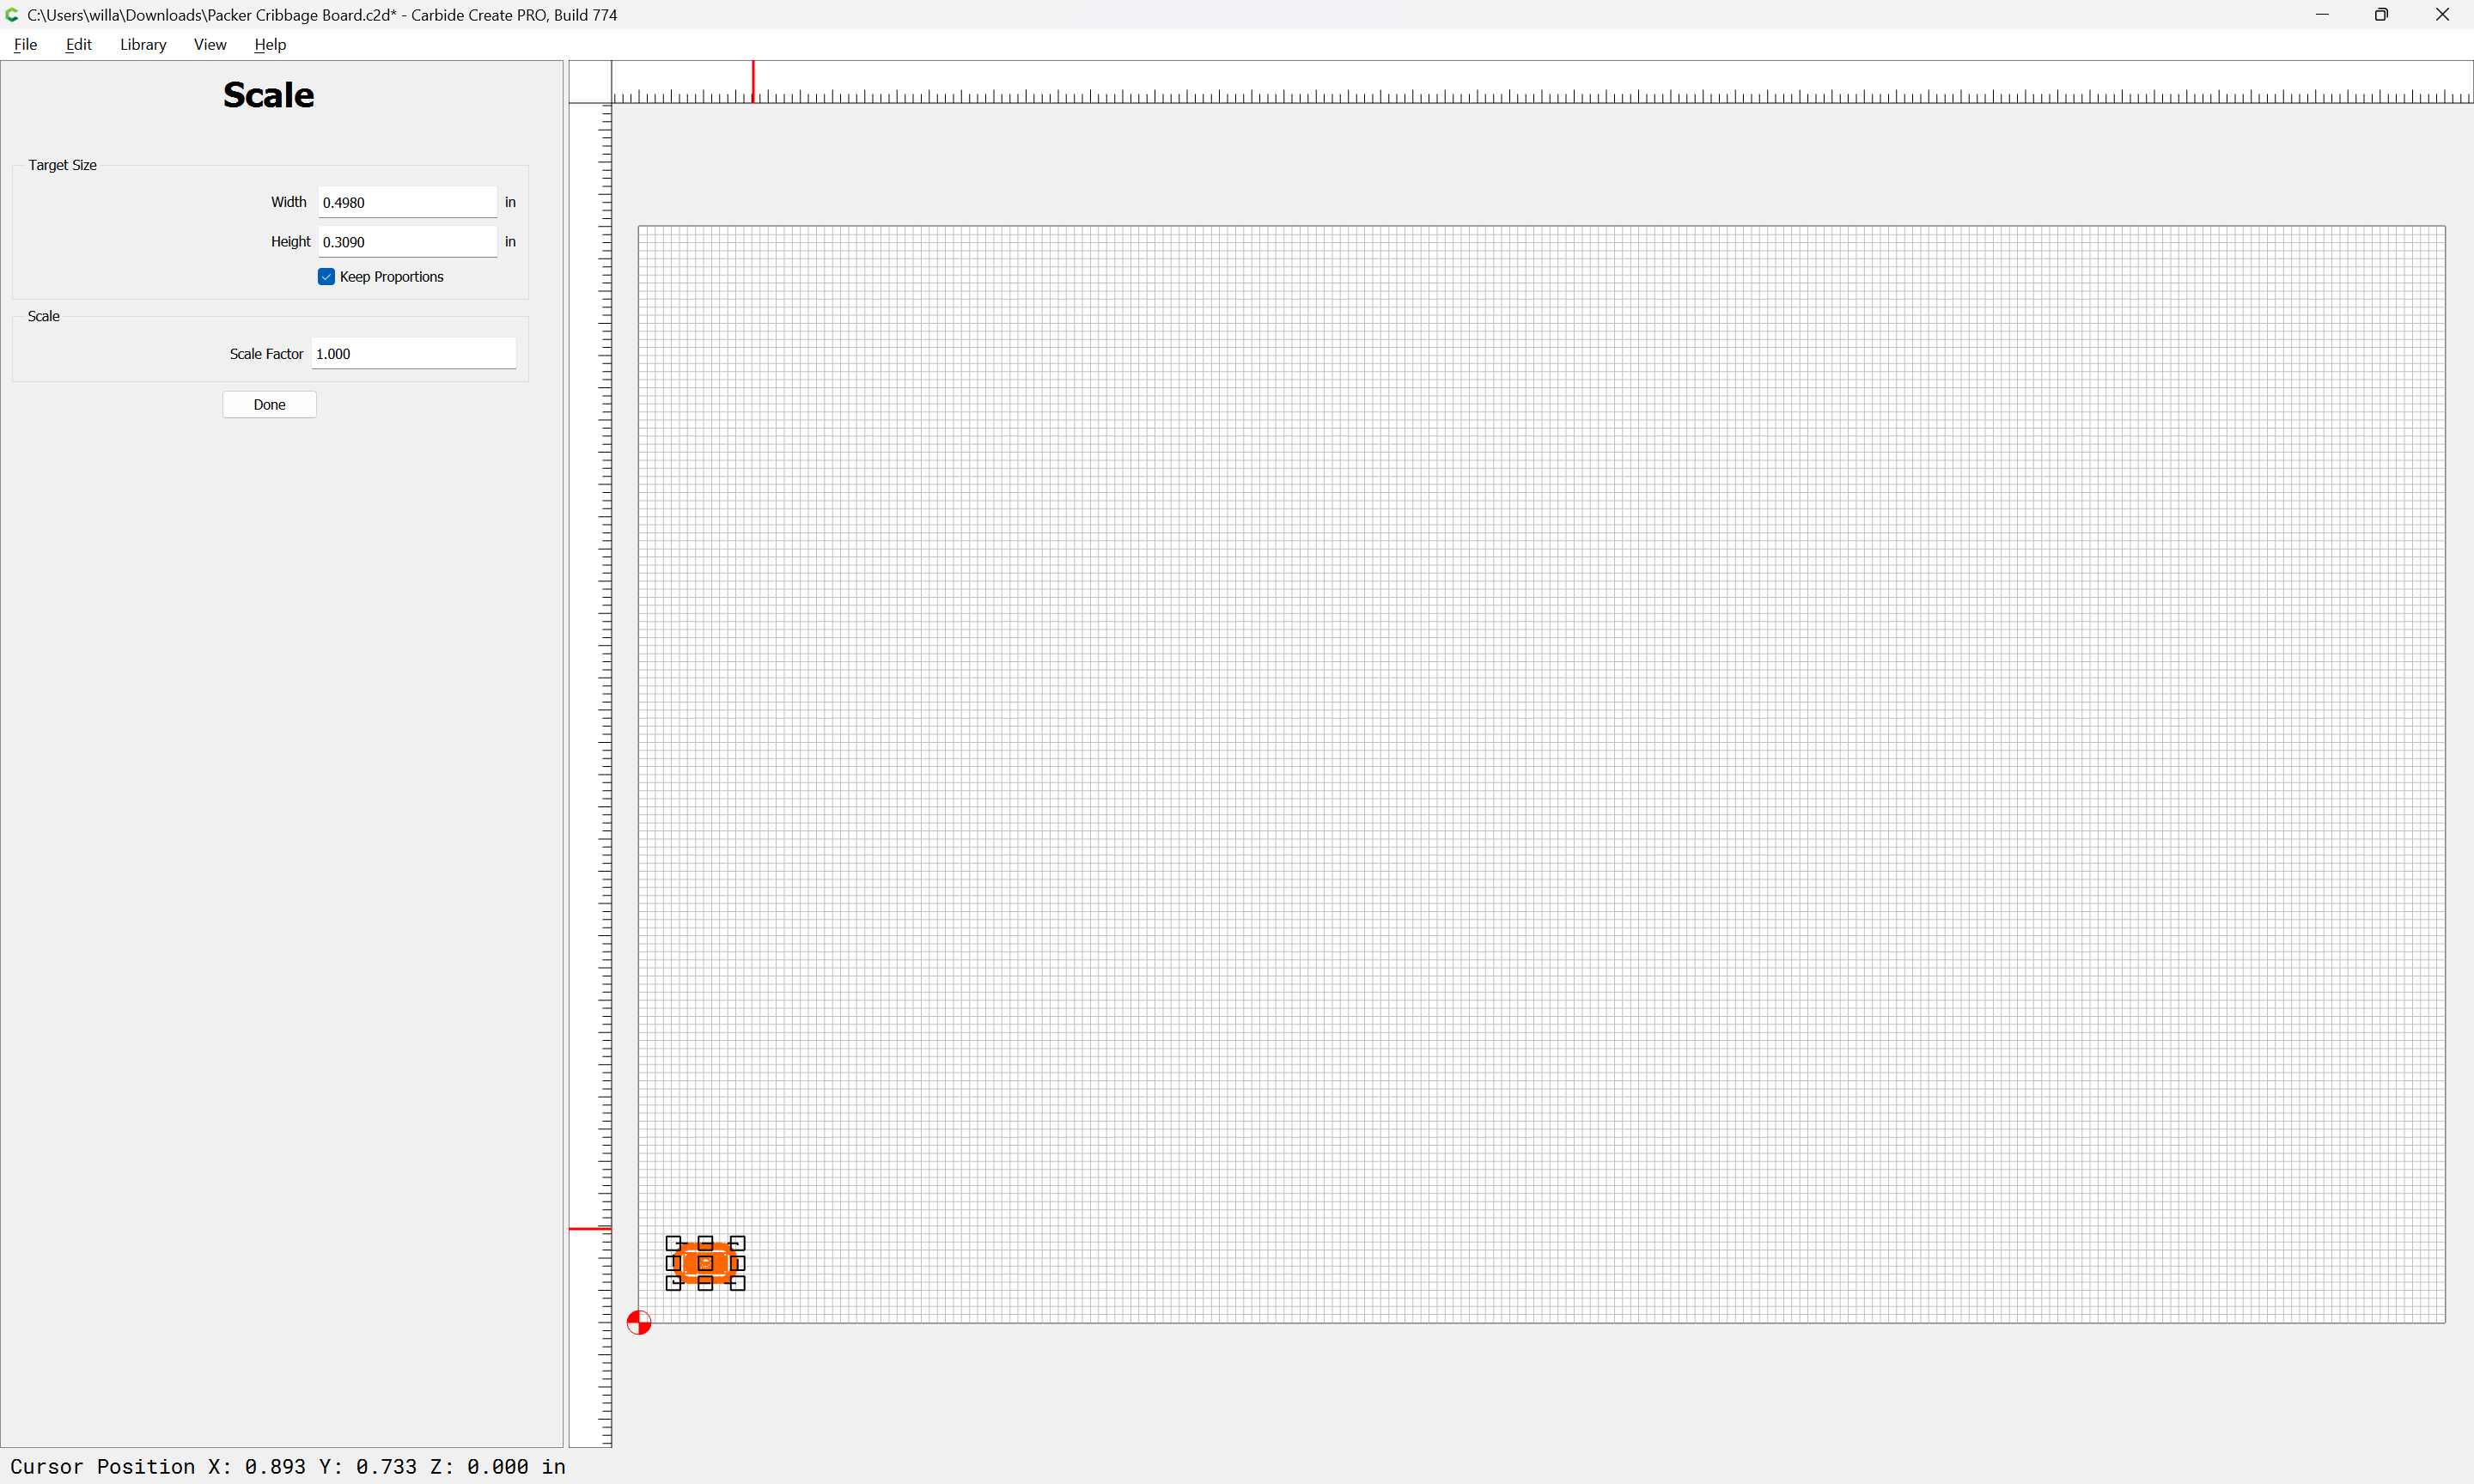
and use the “Scale” tool to resize as desired:
Done
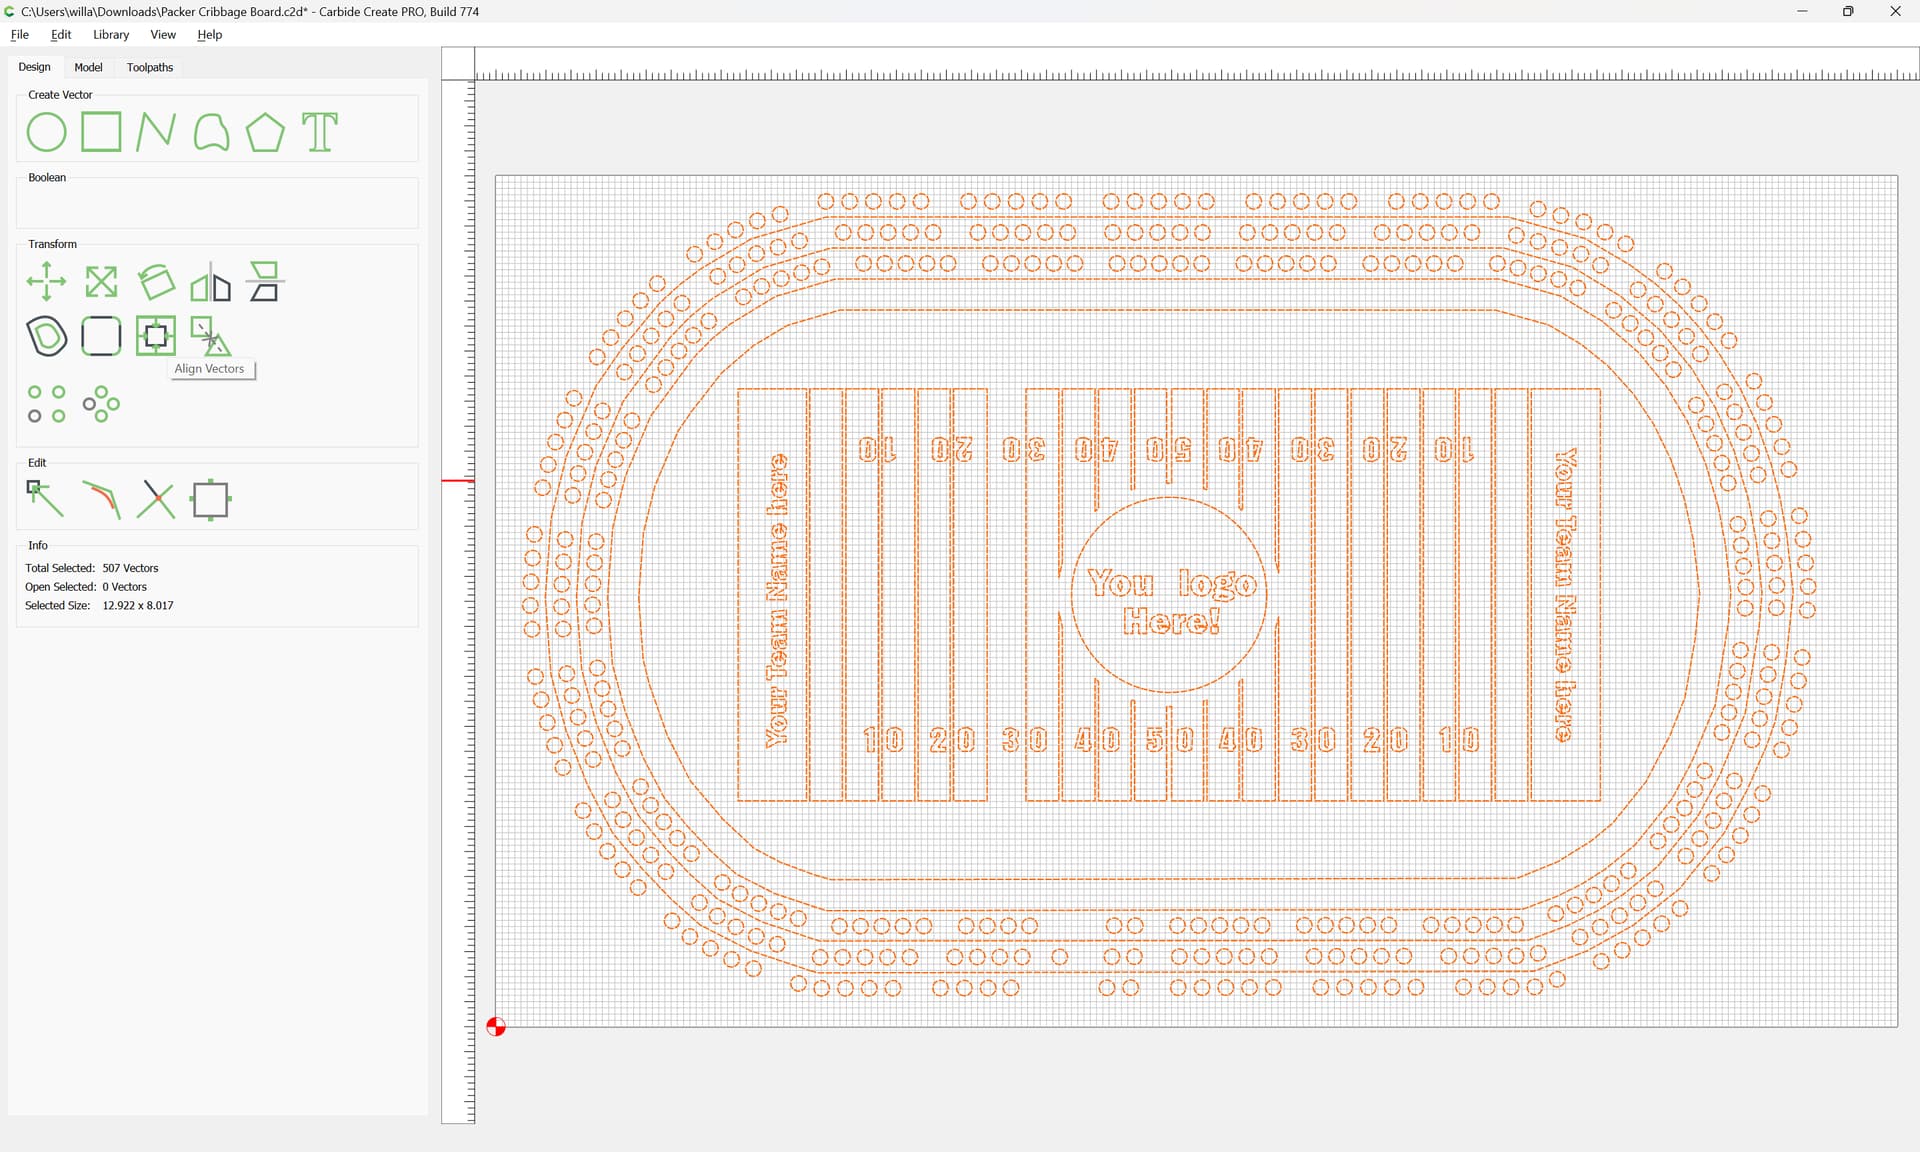
Group Vectors
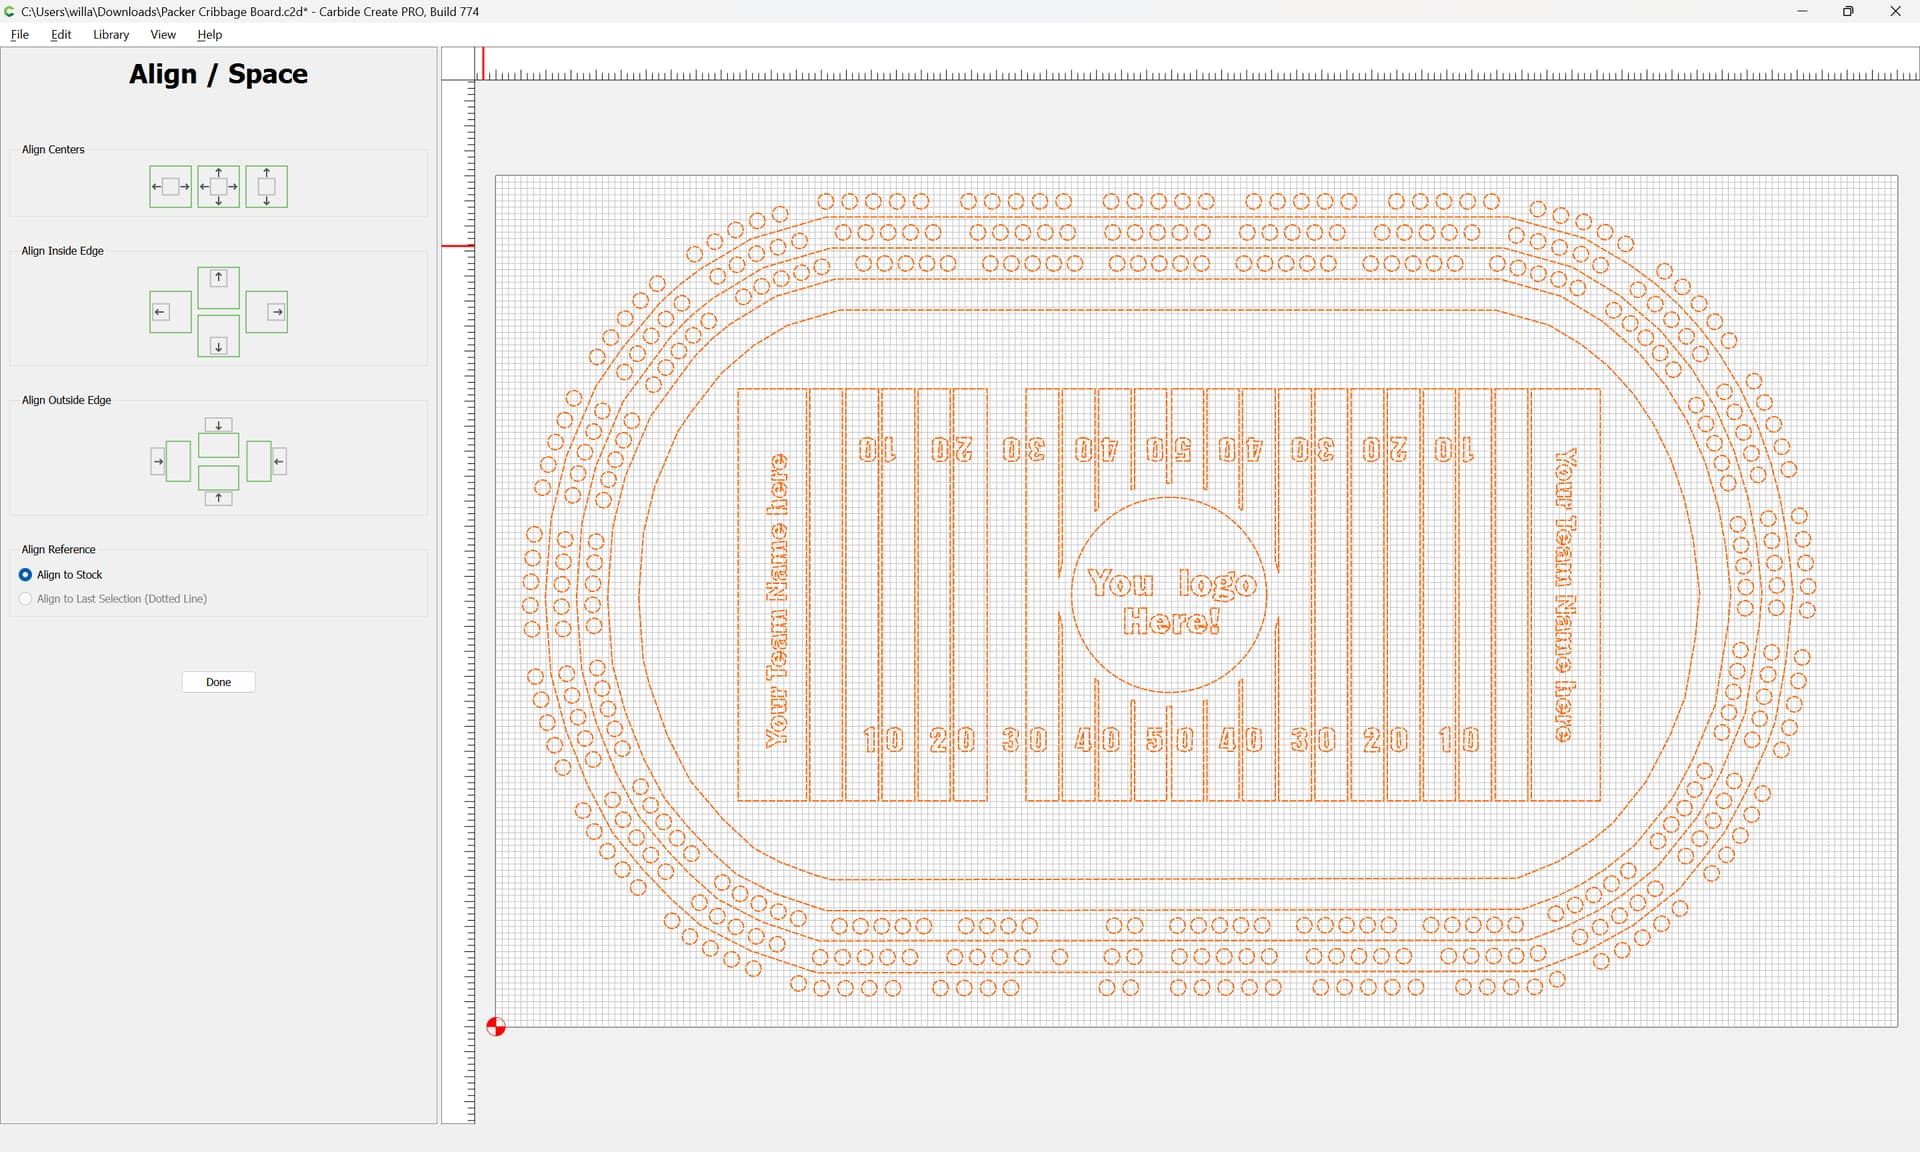
Align Vectors
aligning to the center of the stock:
Ungroup Vectors:
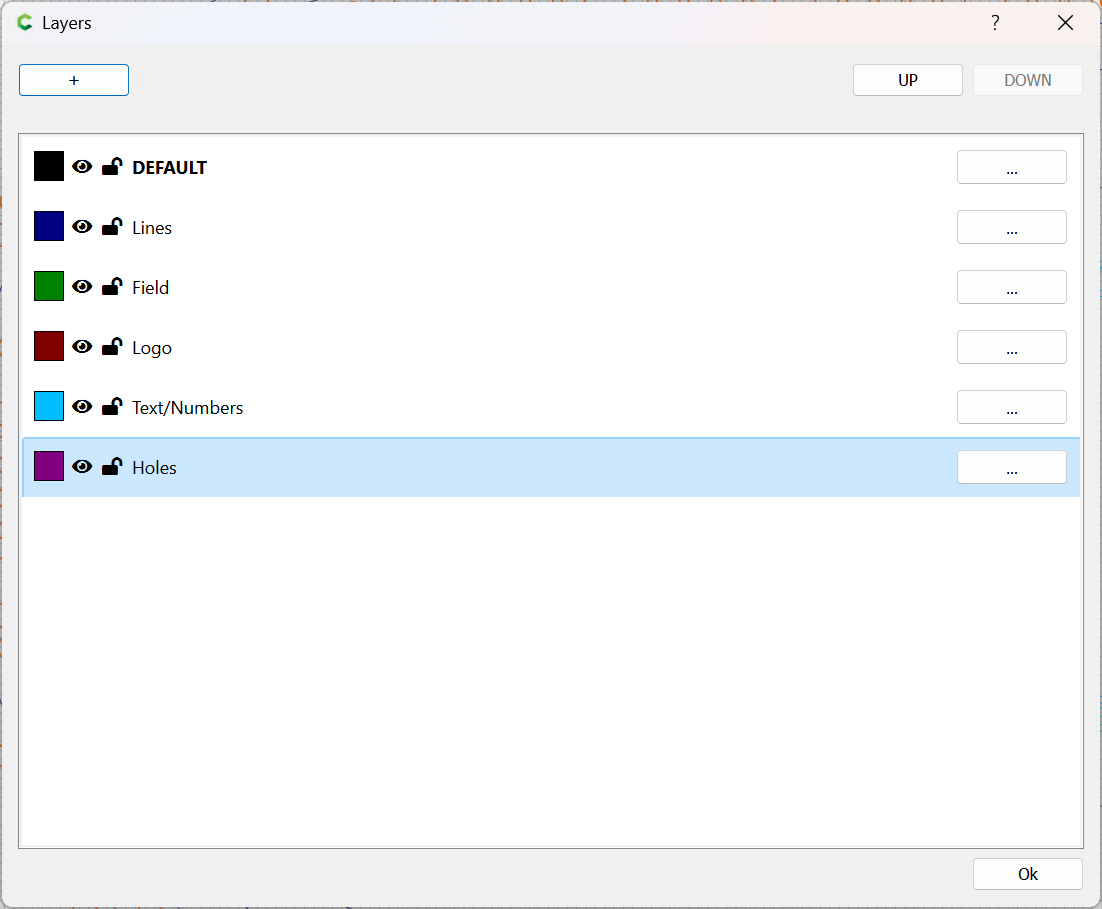
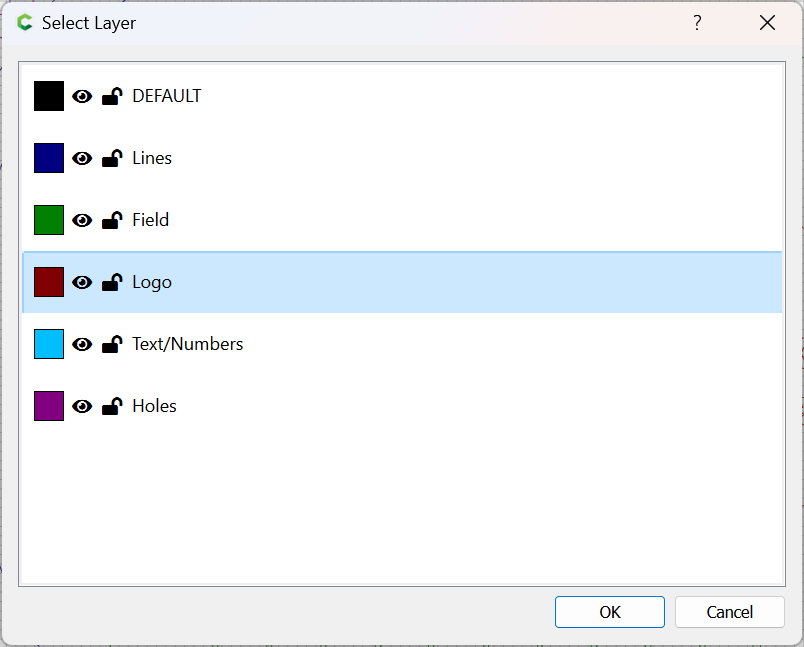
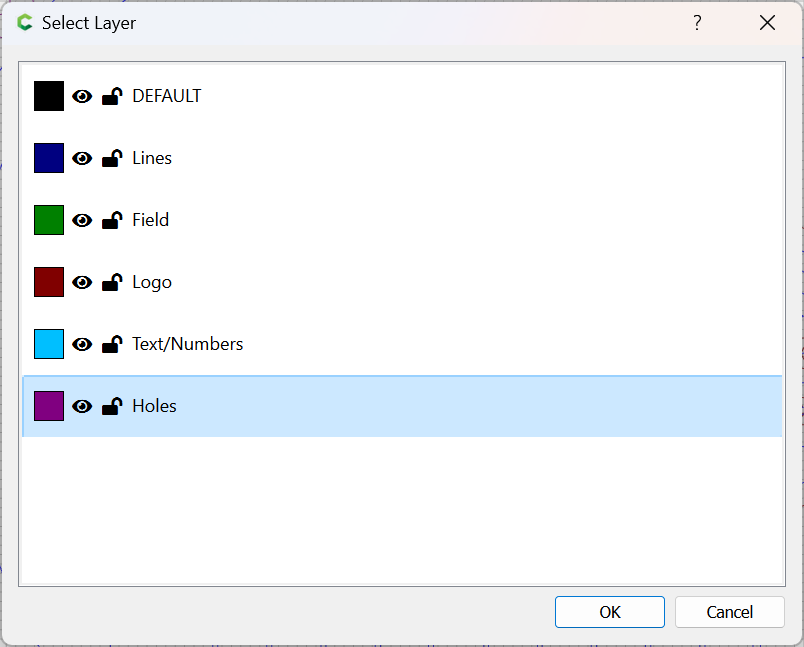
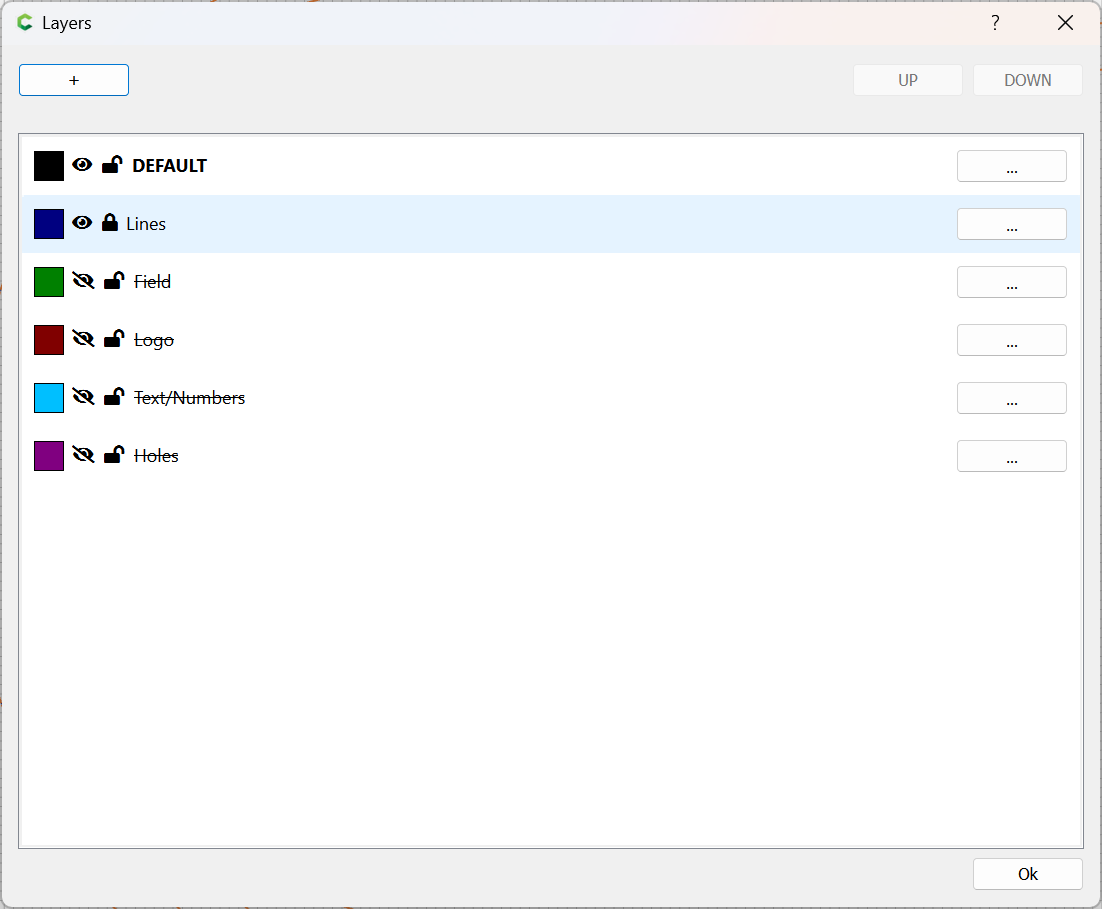
and separate the elements onto separate layers by the type of objects/intended tool path.
WillAdams
May 22, 2024, 11:48pm
2
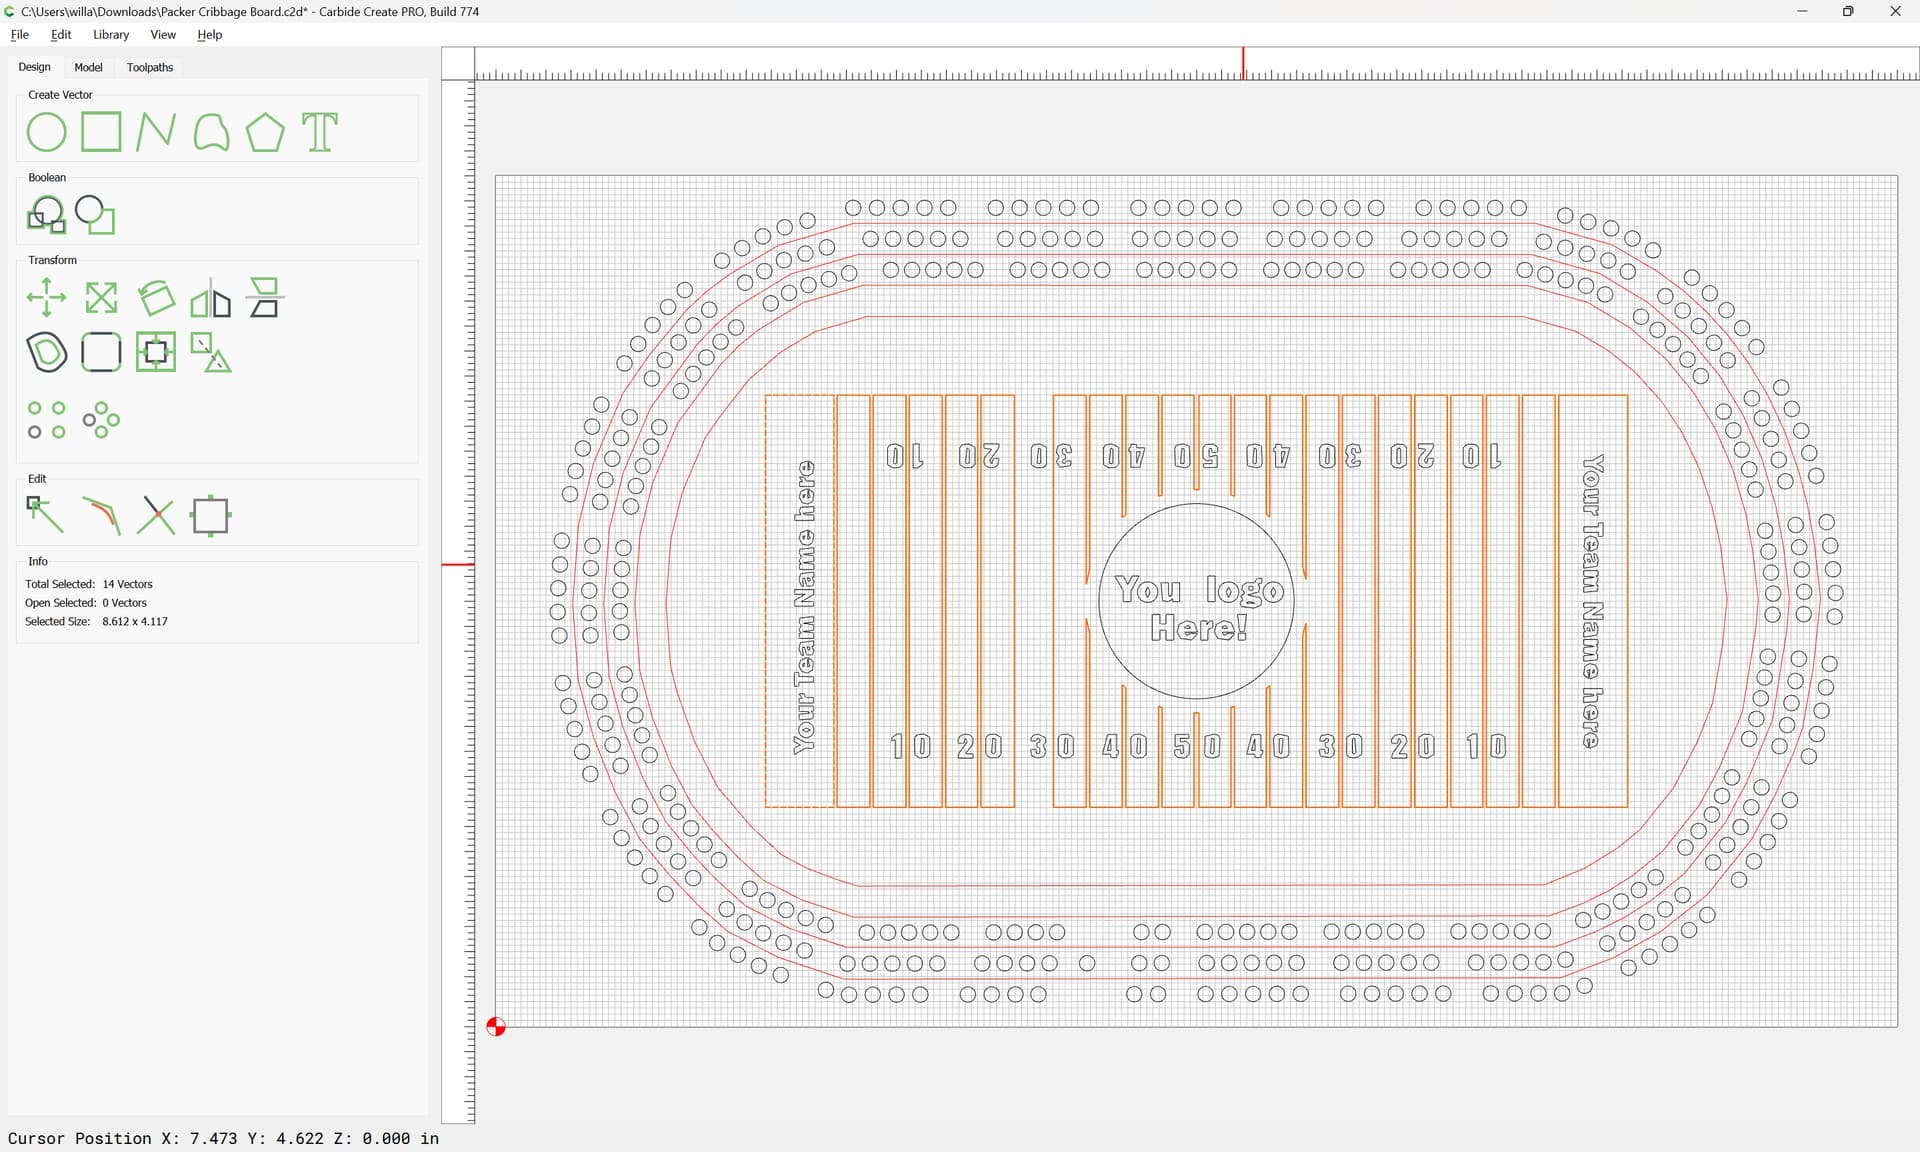
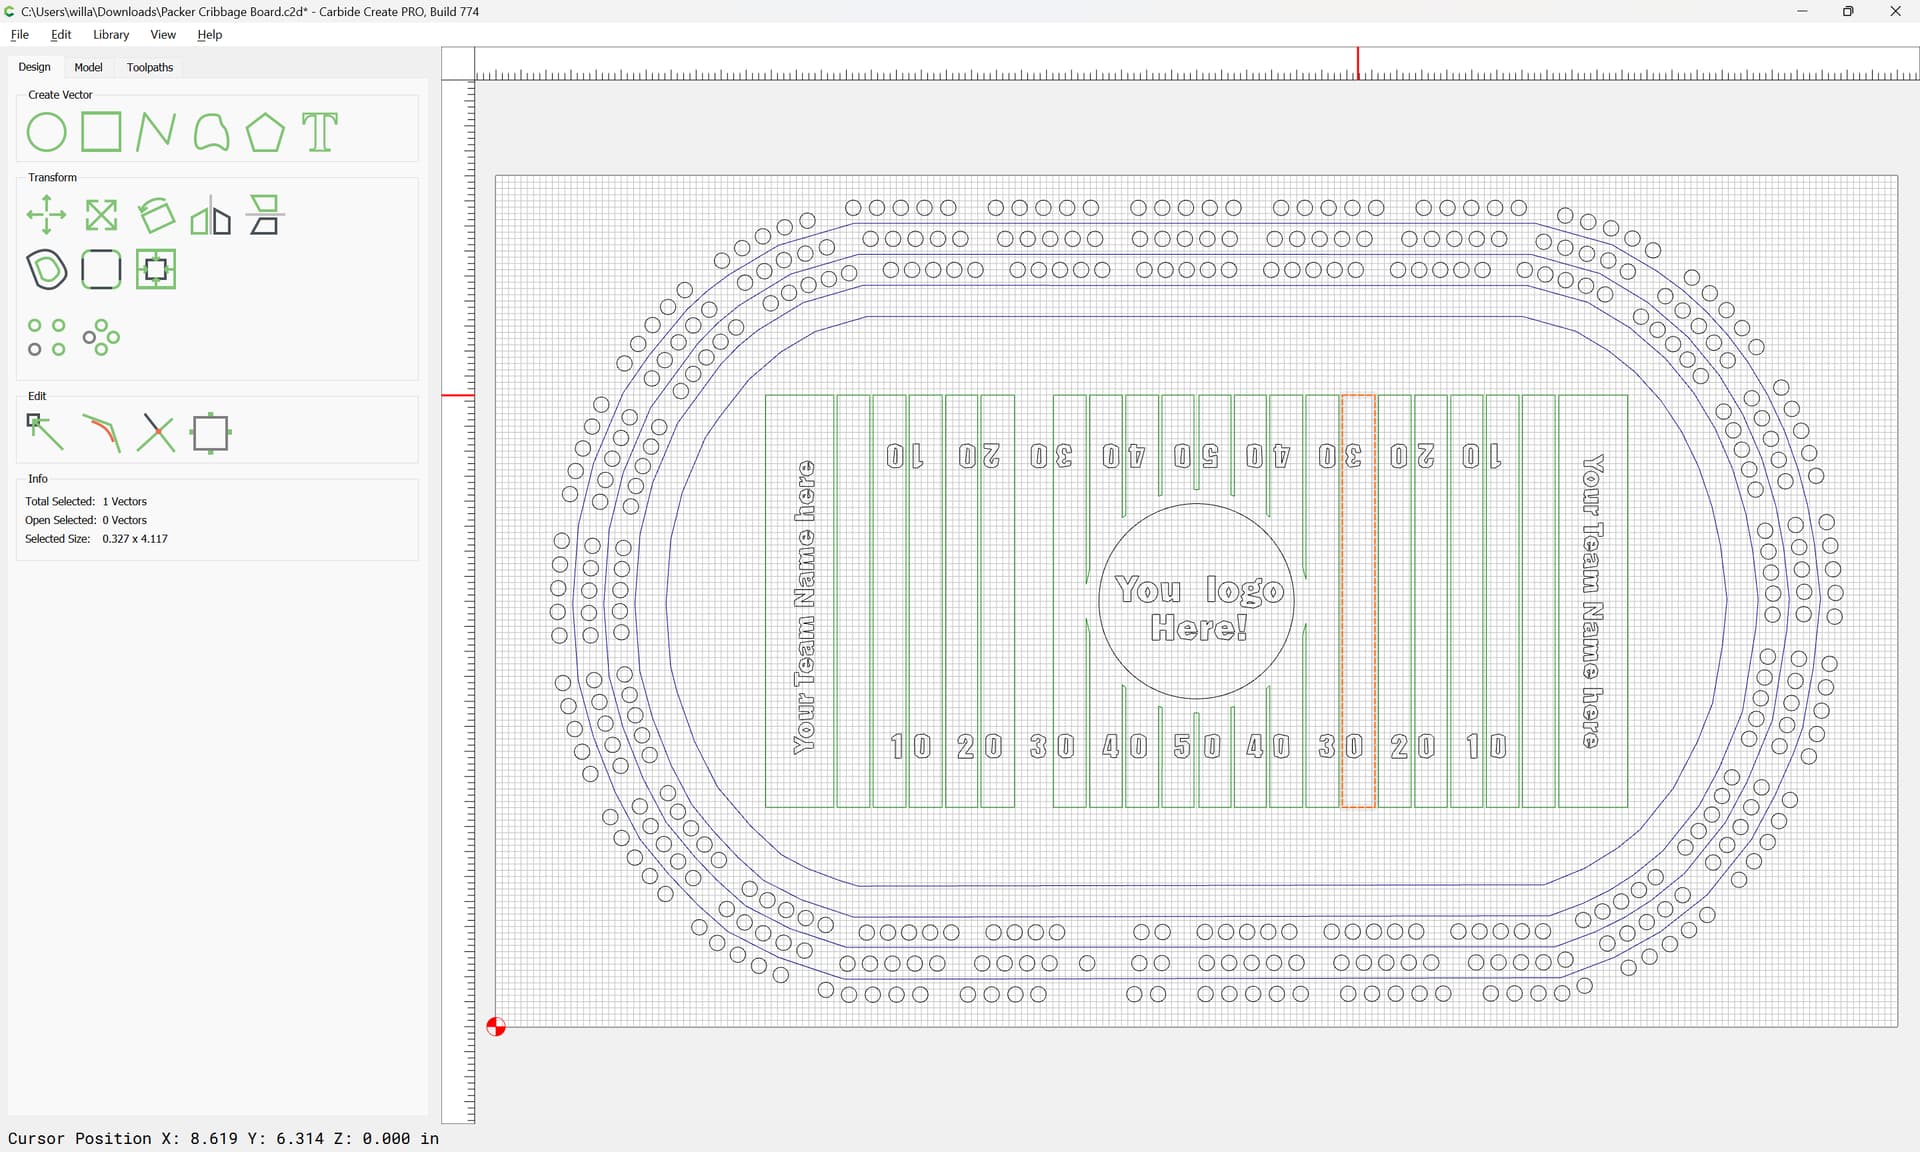
One possible way to arrange/divide things would be:
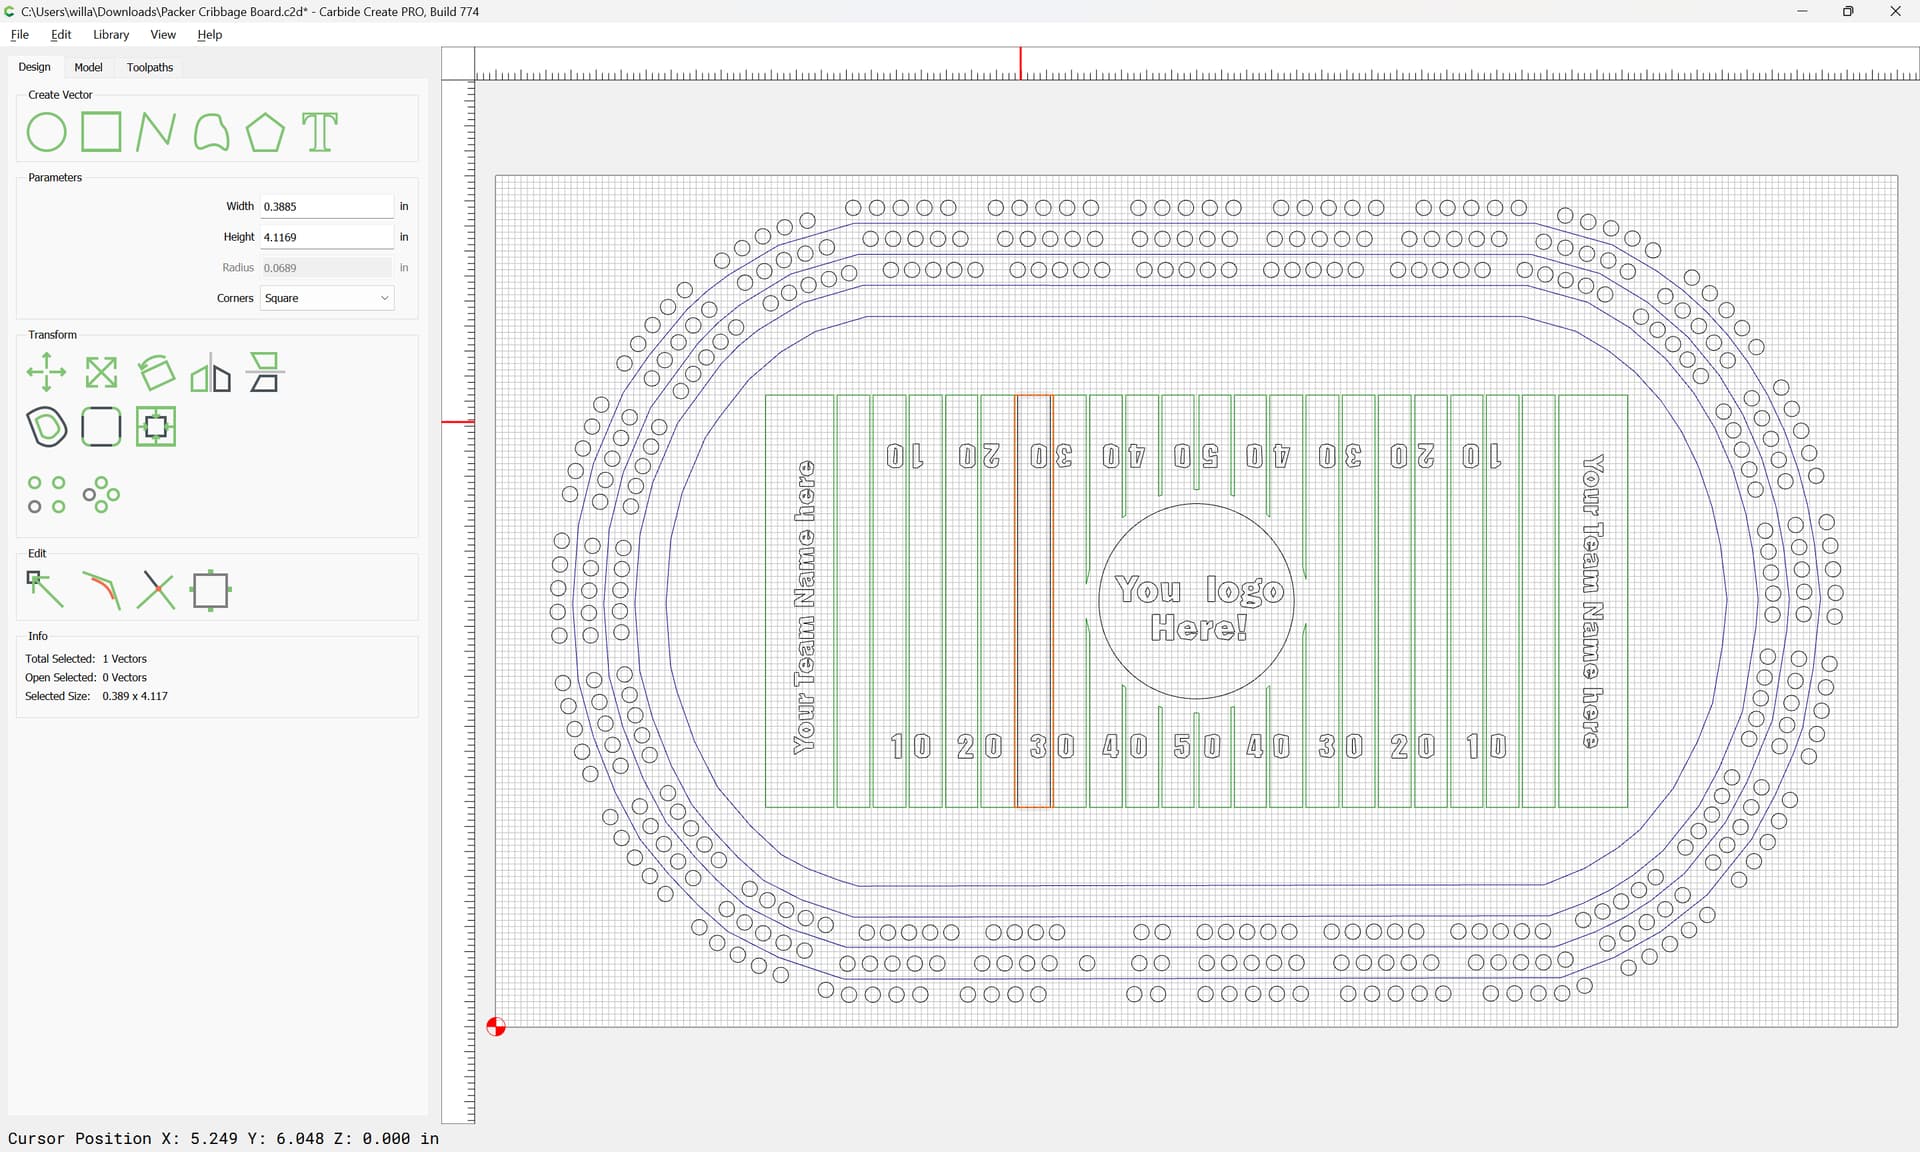
Oddly one section seems to be missing, so we dupe the other side:
Draw a rectangle to align against:
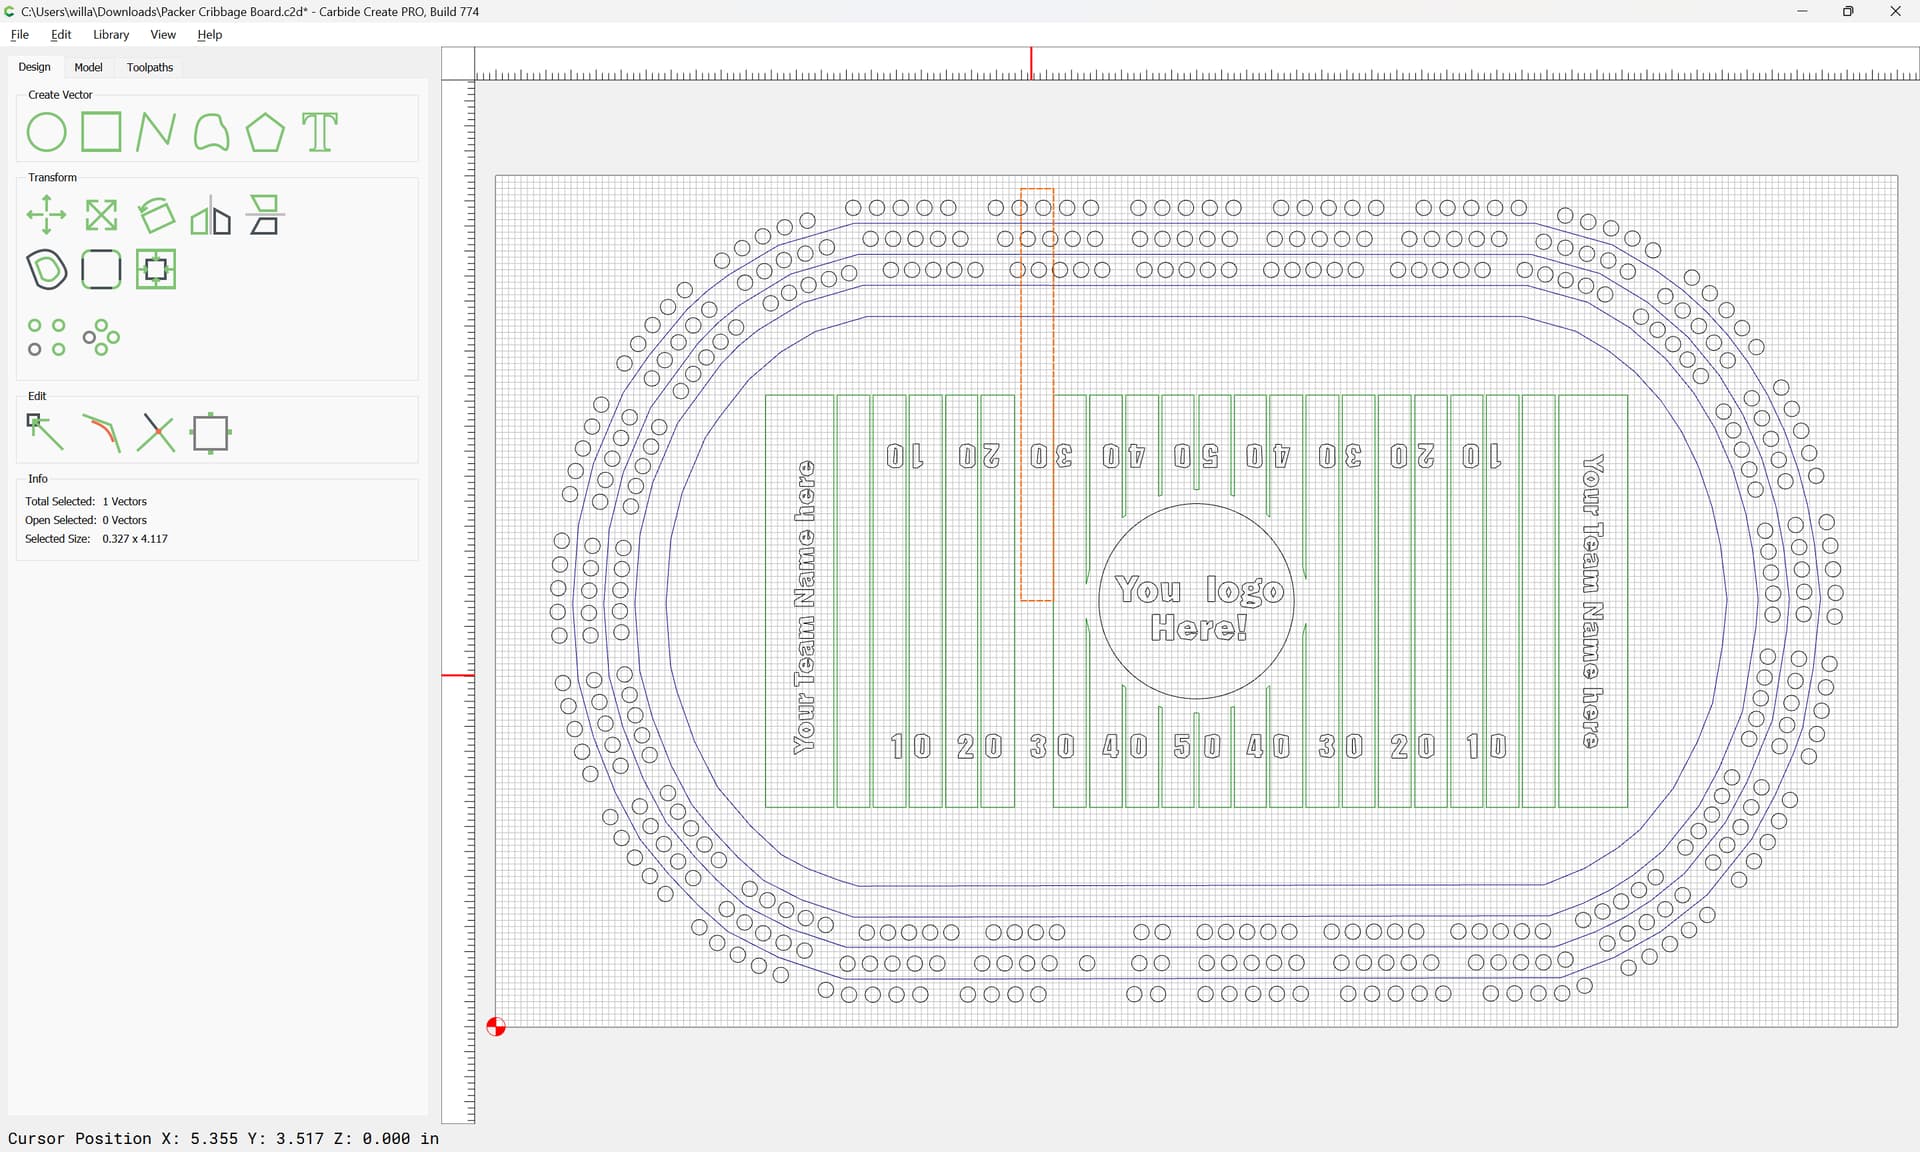
Select the replacement geometry:
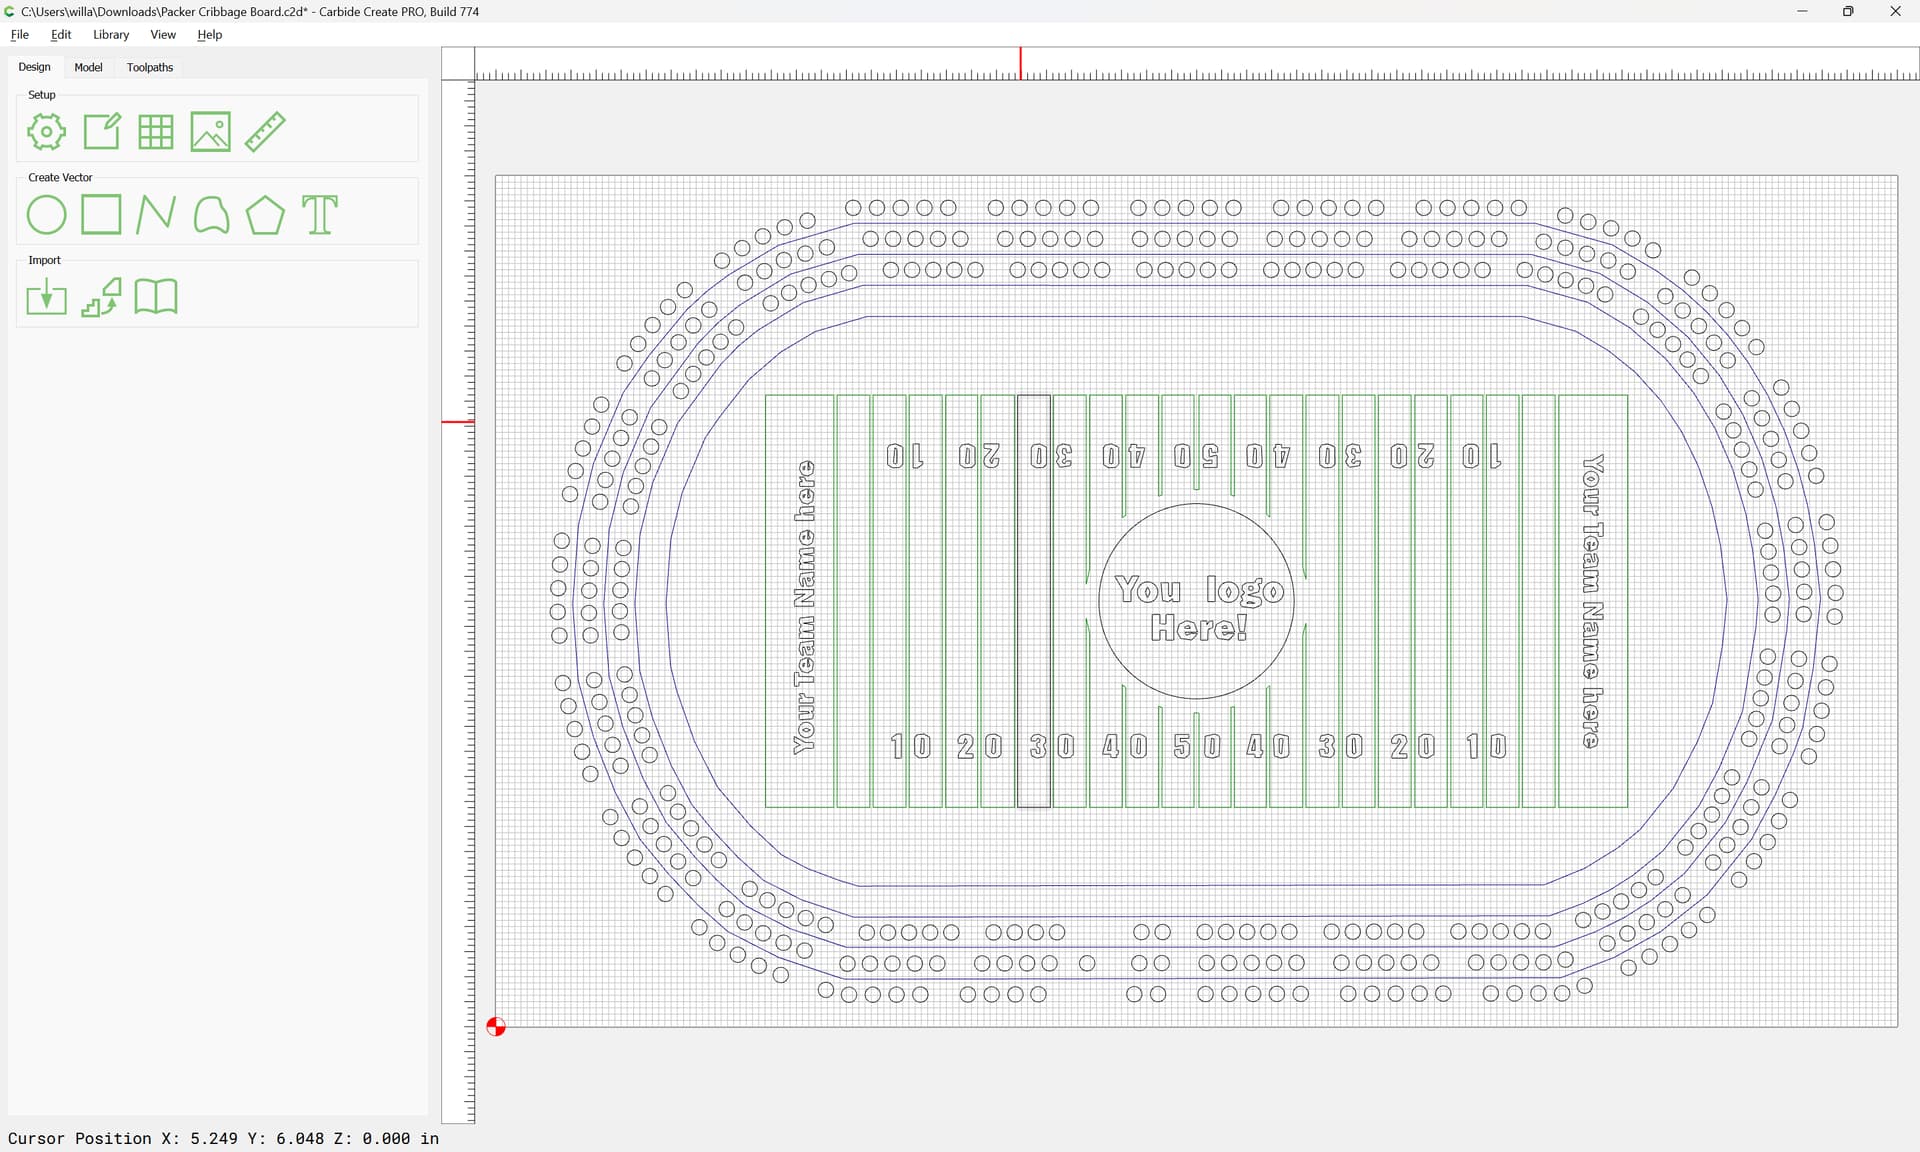
shift-click on the new geometry:
and align to the center:
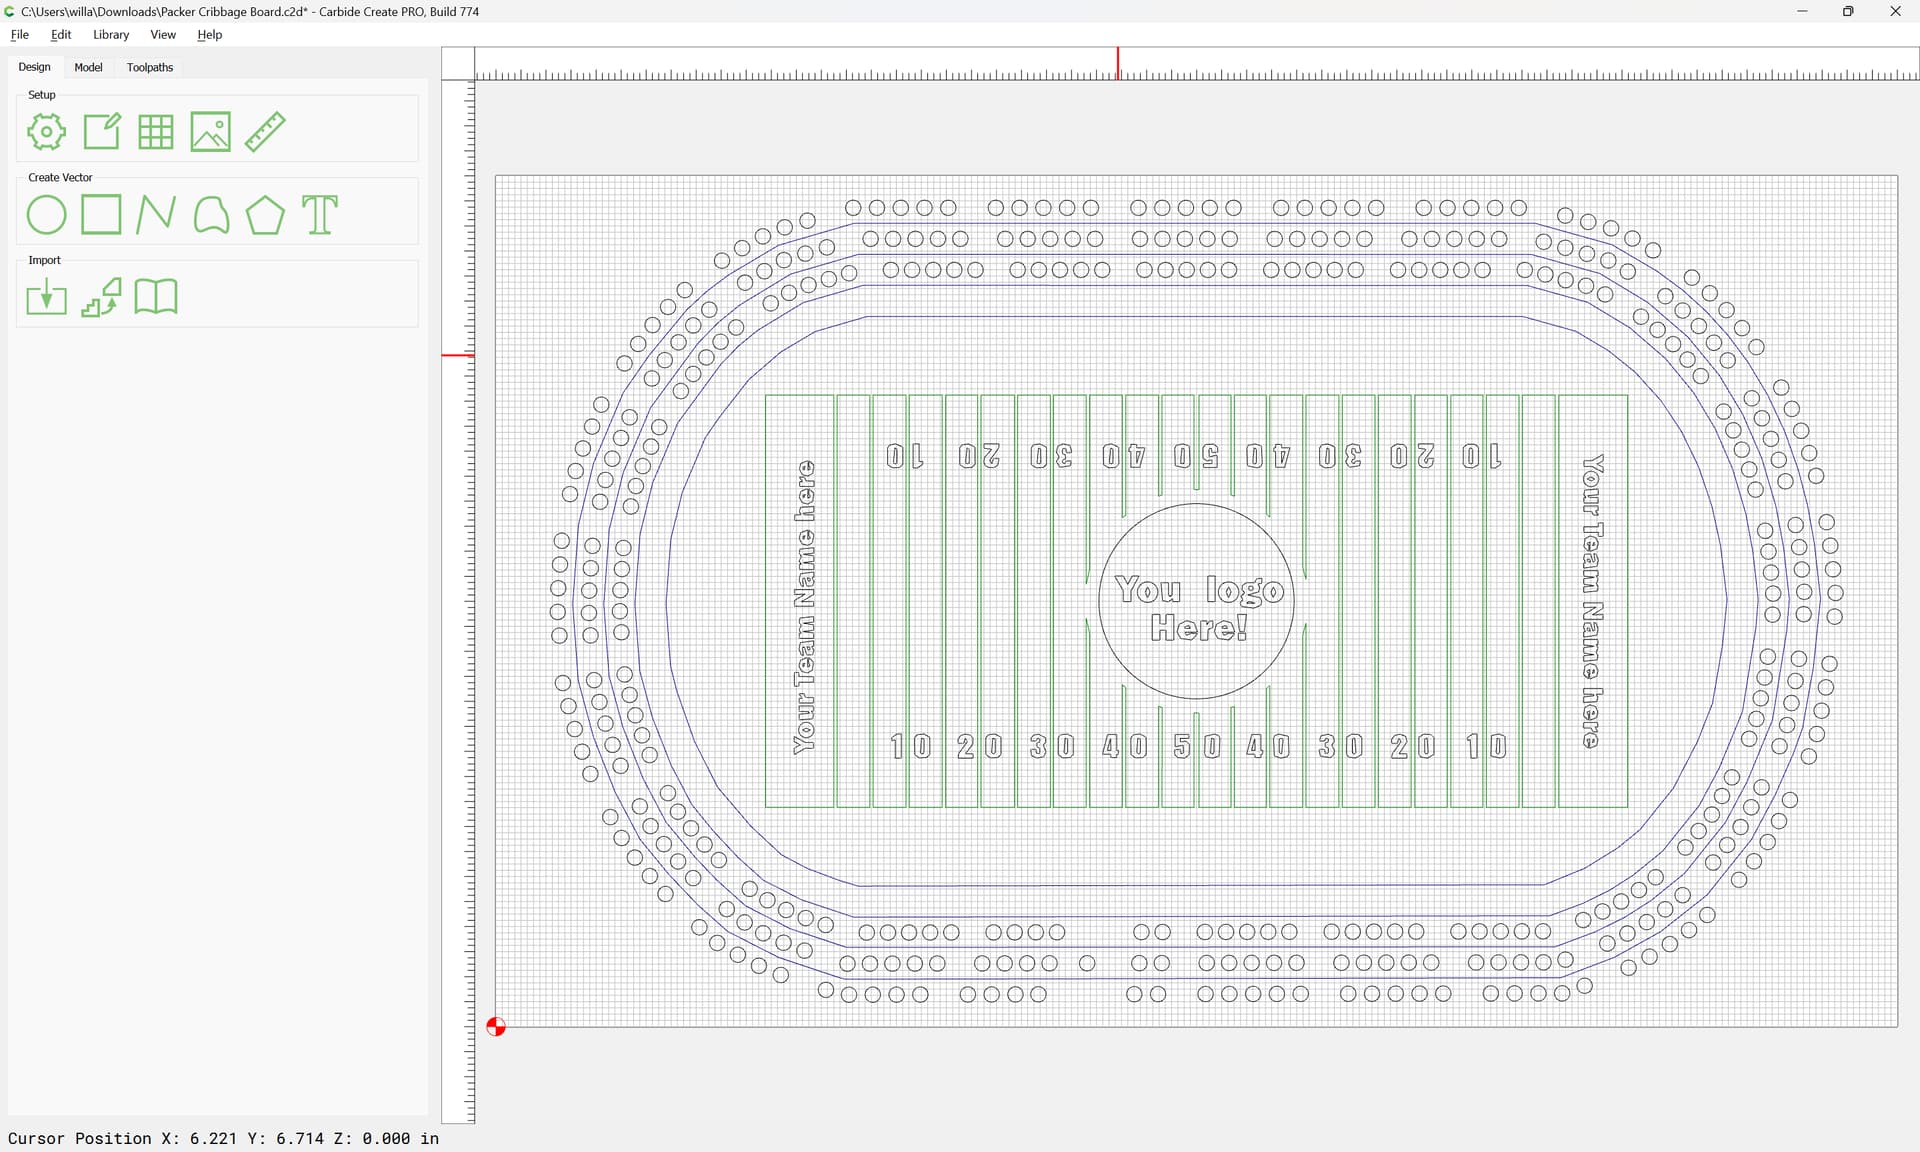
Then de-select the replacement geometry:
and delete the rectangle used for alignment:
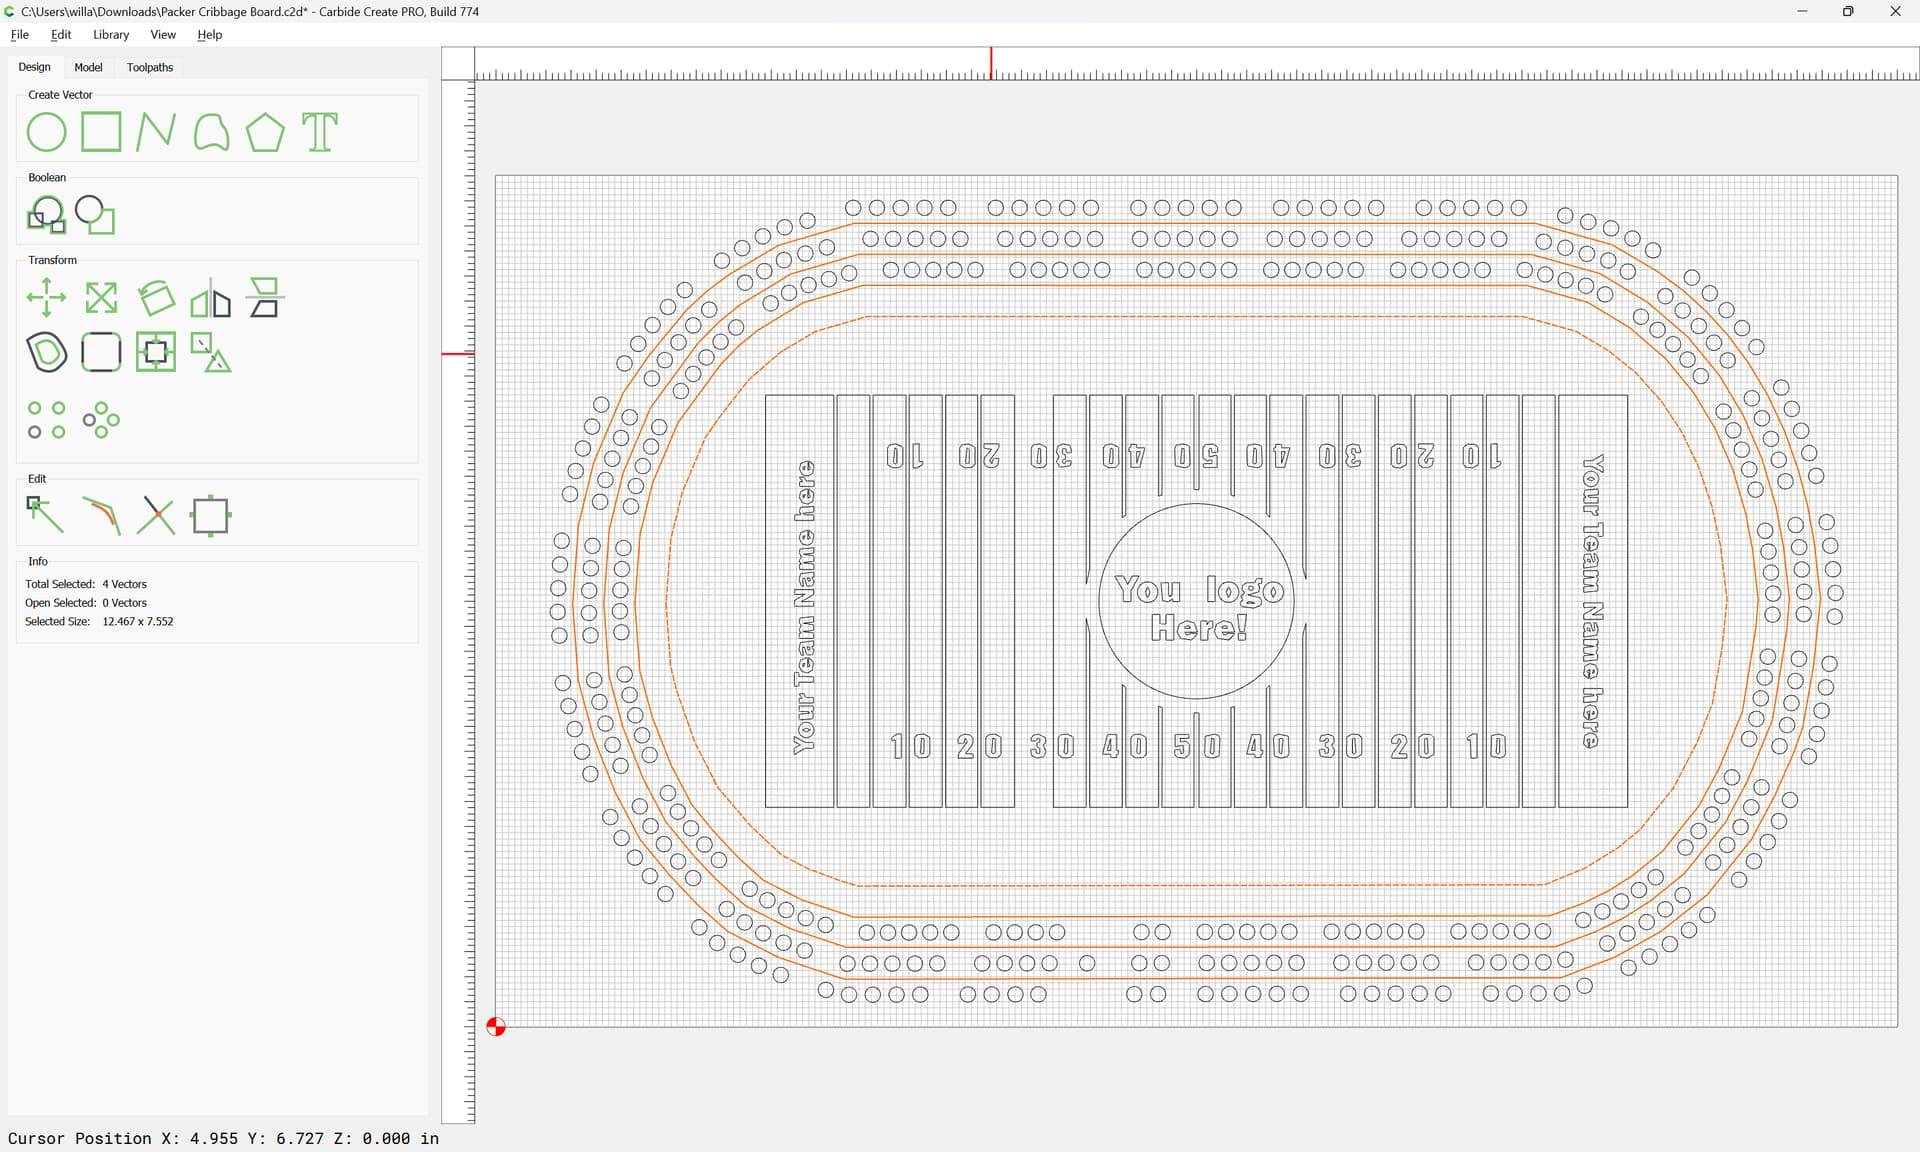
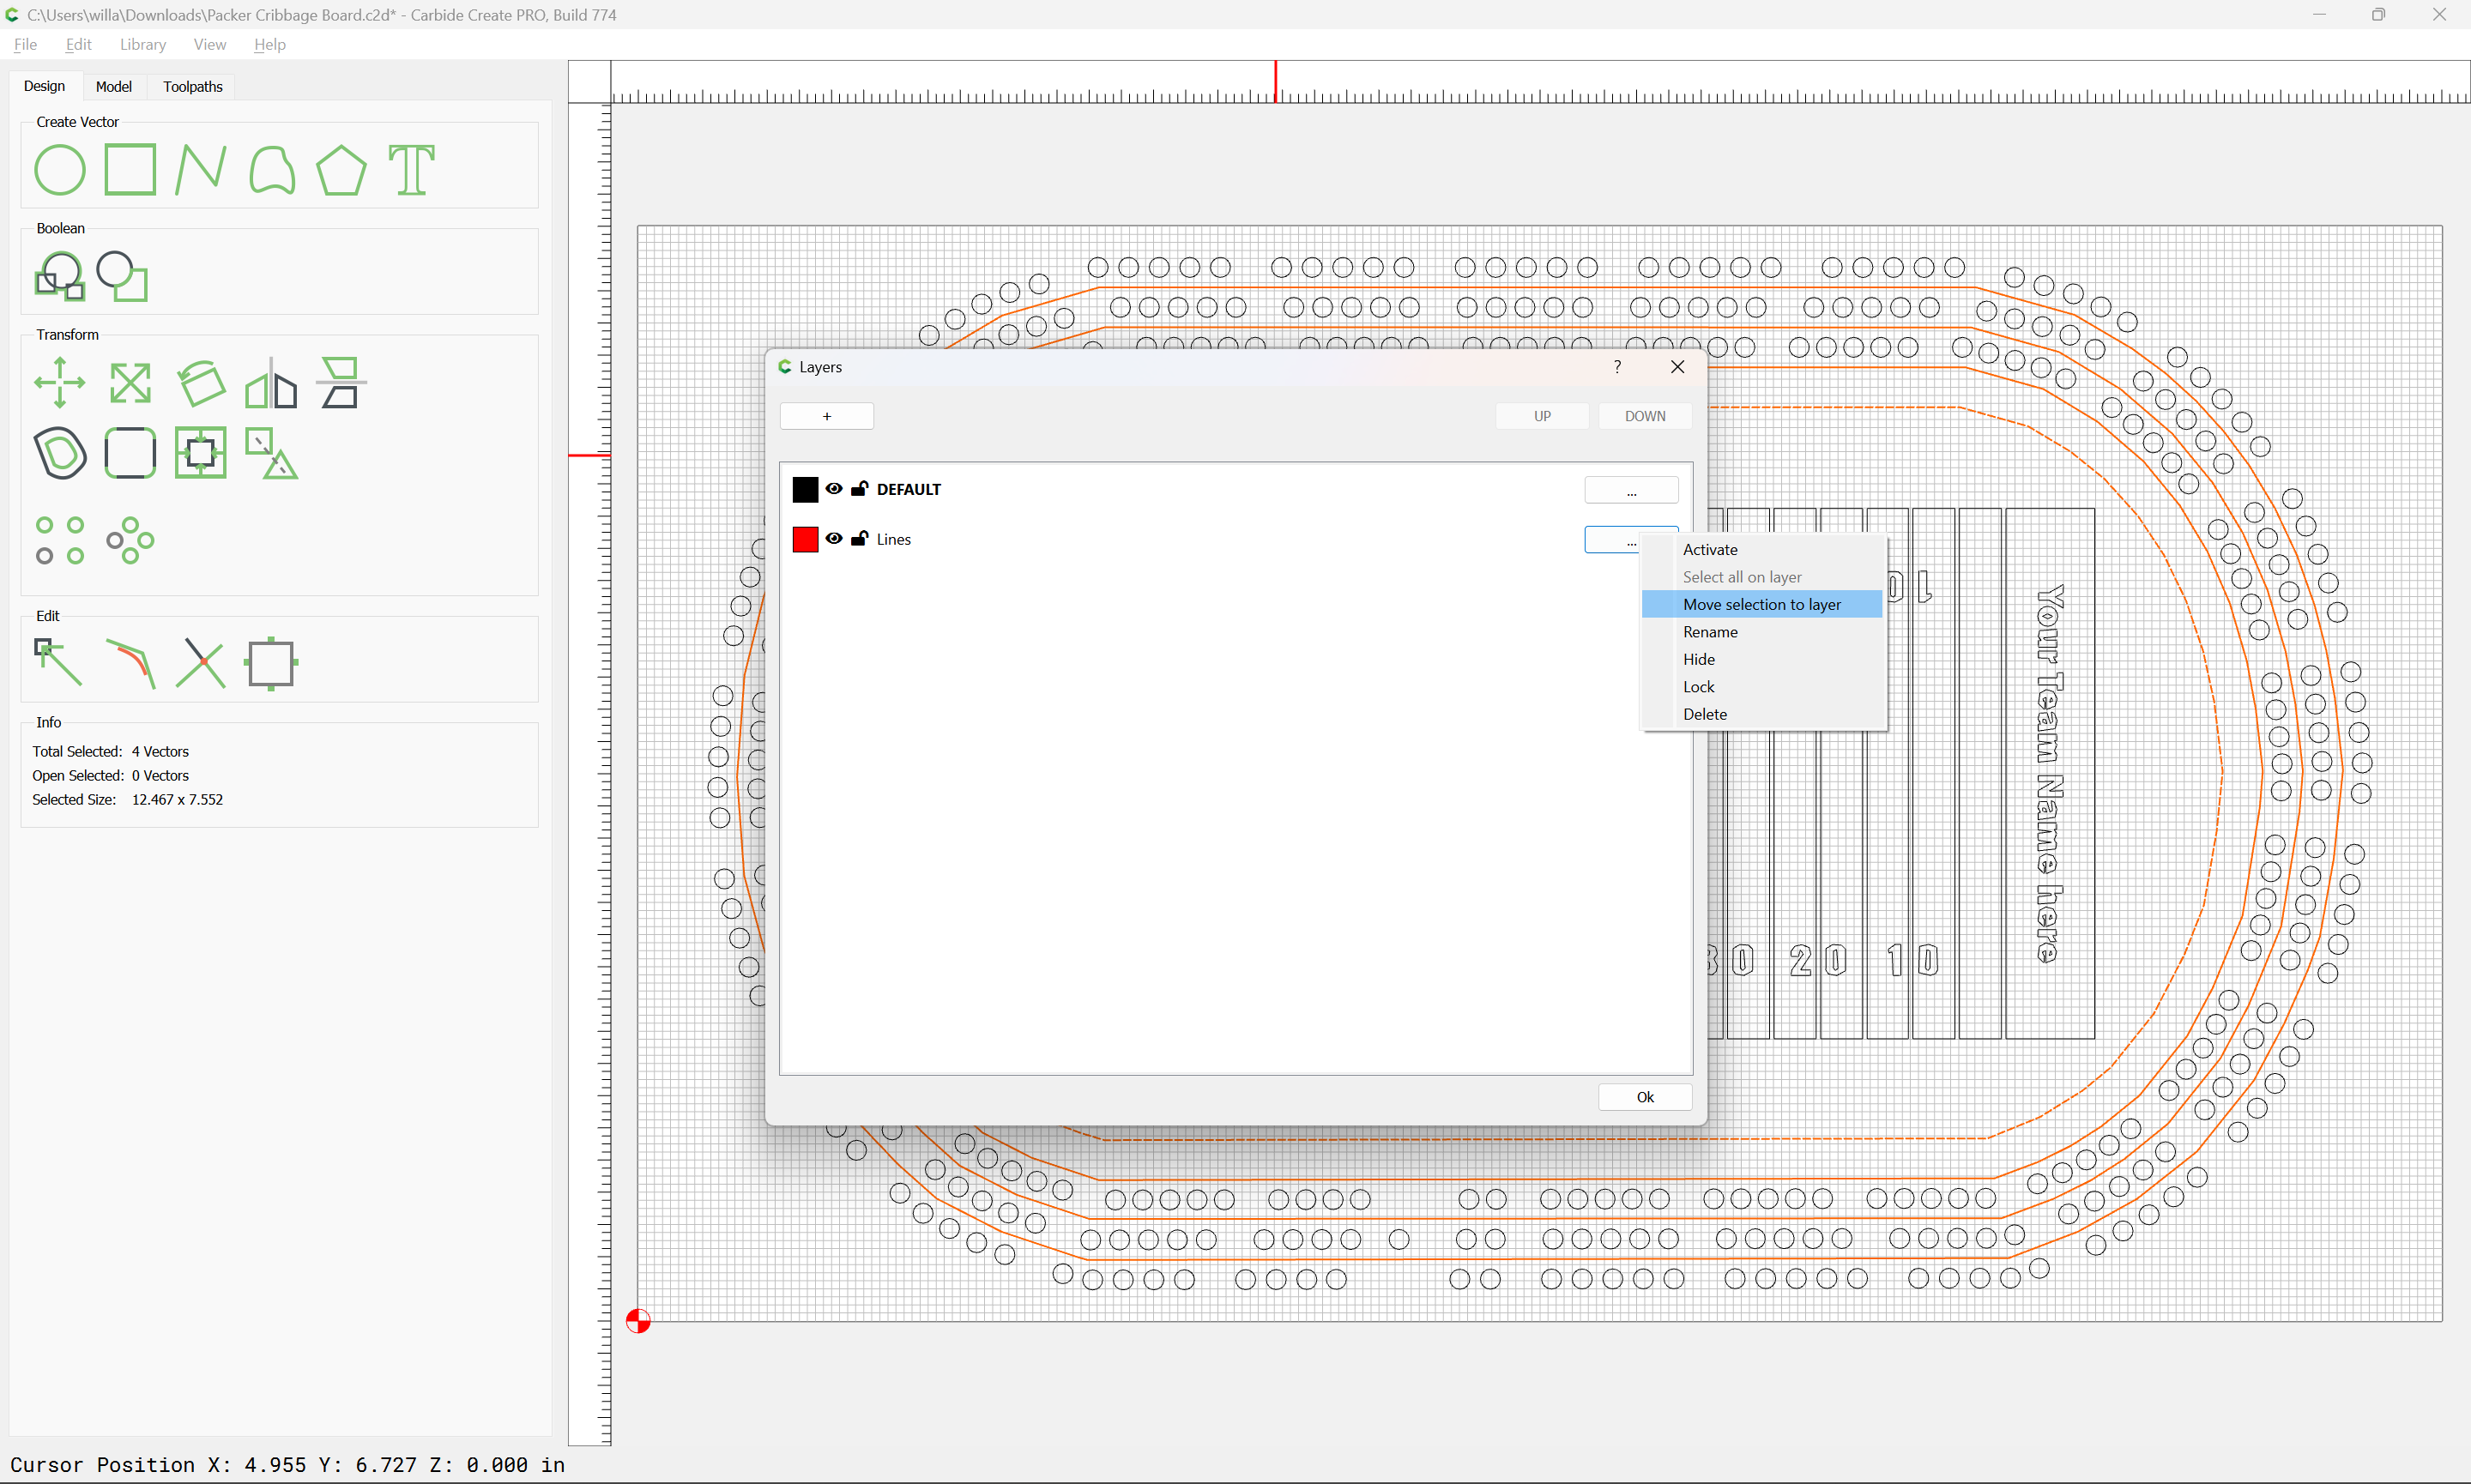
and move the replacement geometry onto the correct layer:
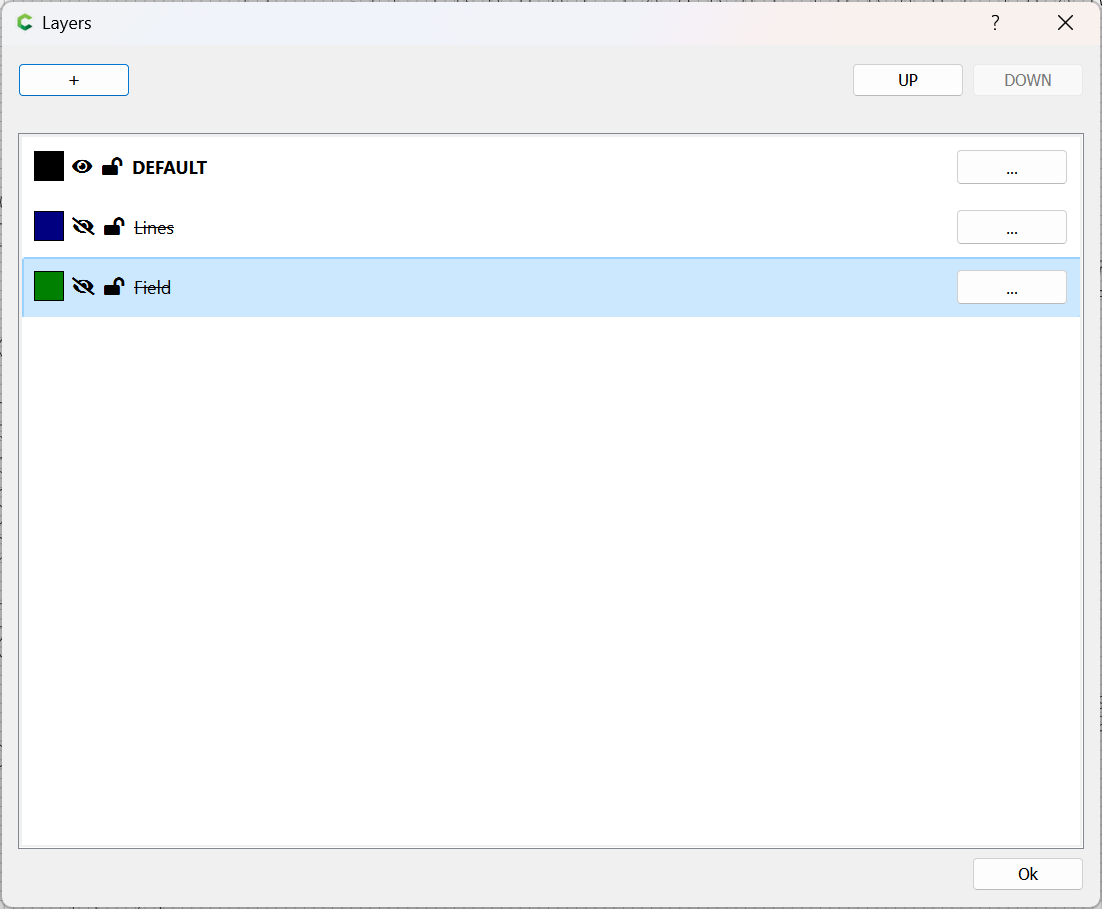
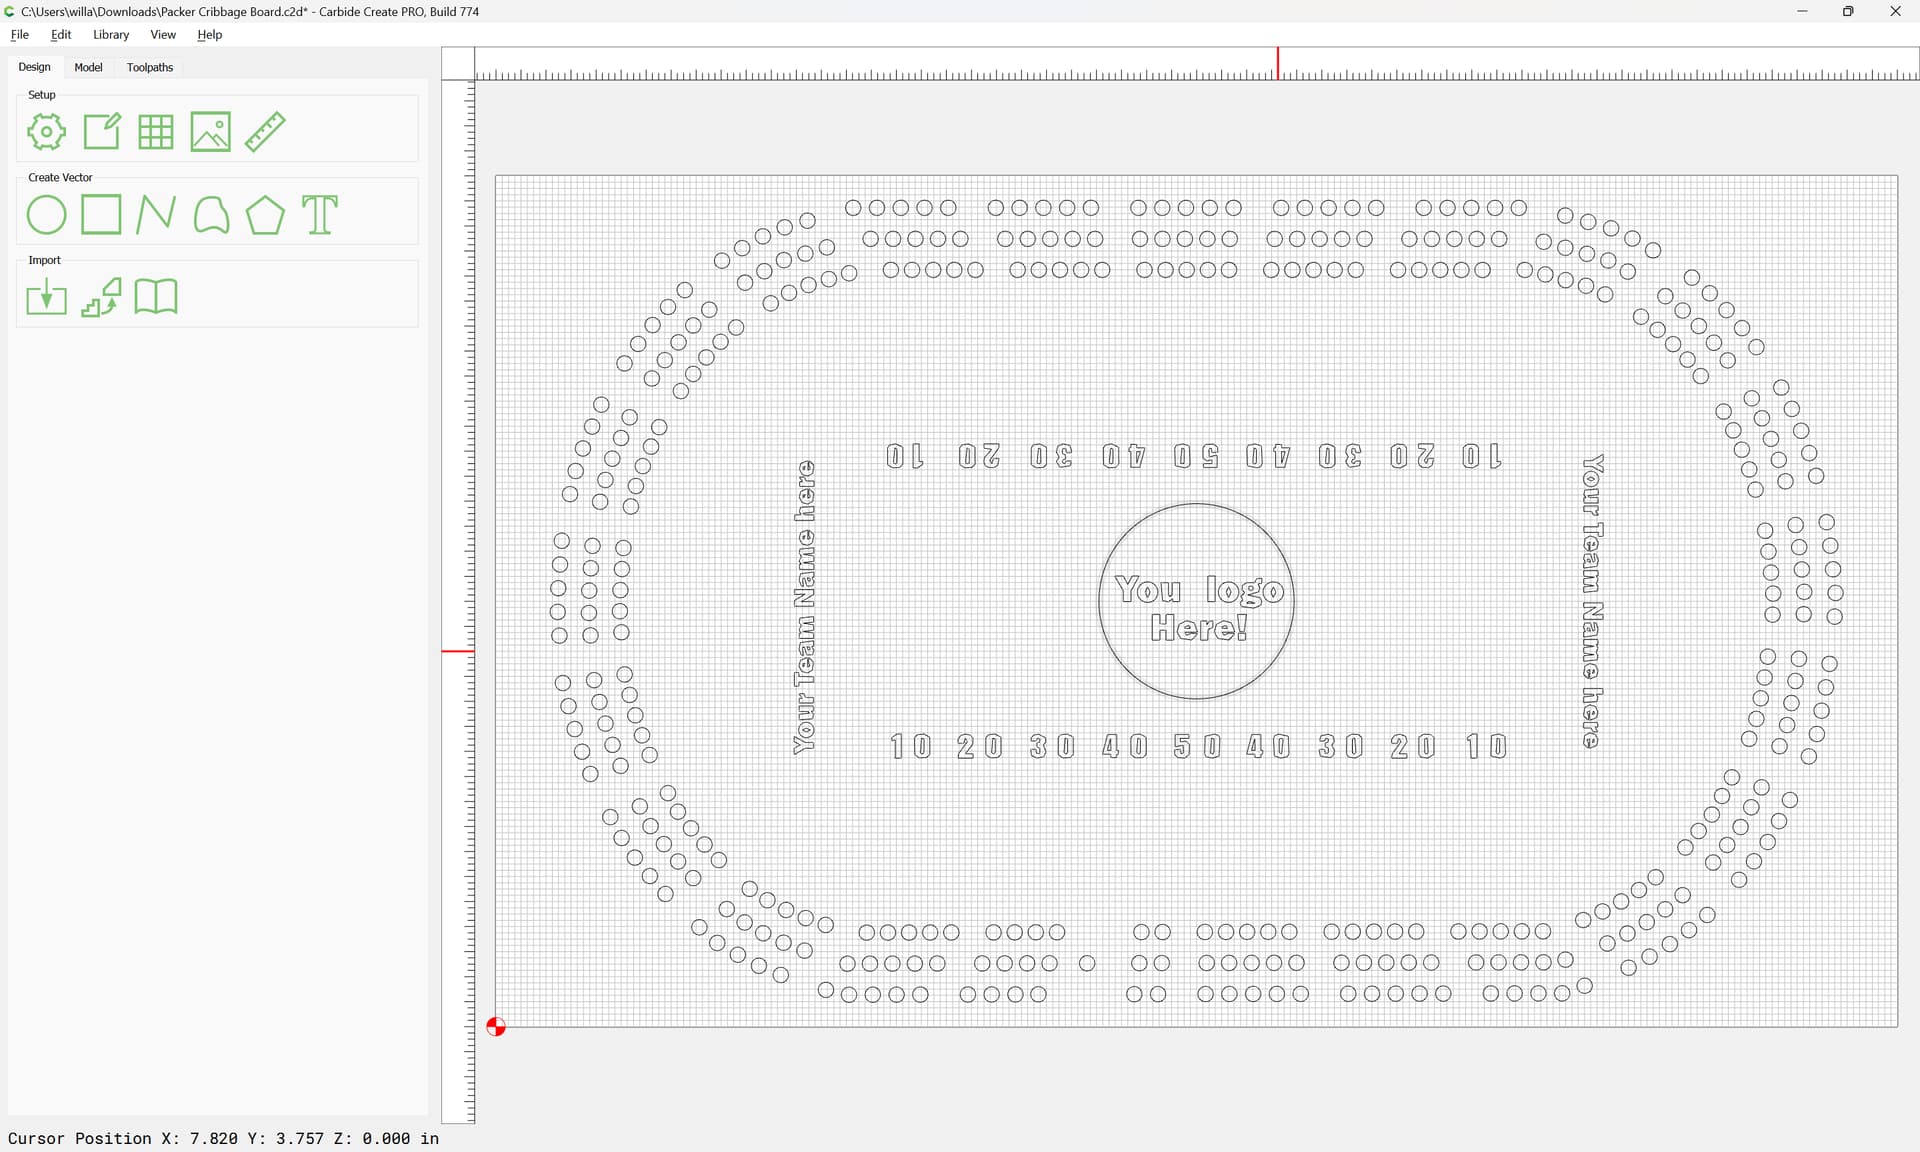
For the next step it will help to either hide or lock the geometry which has already been organized:
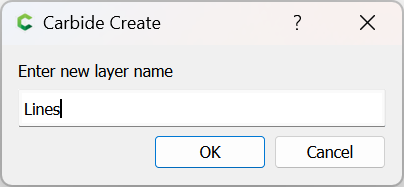
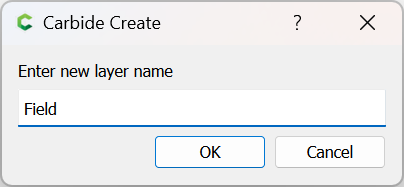
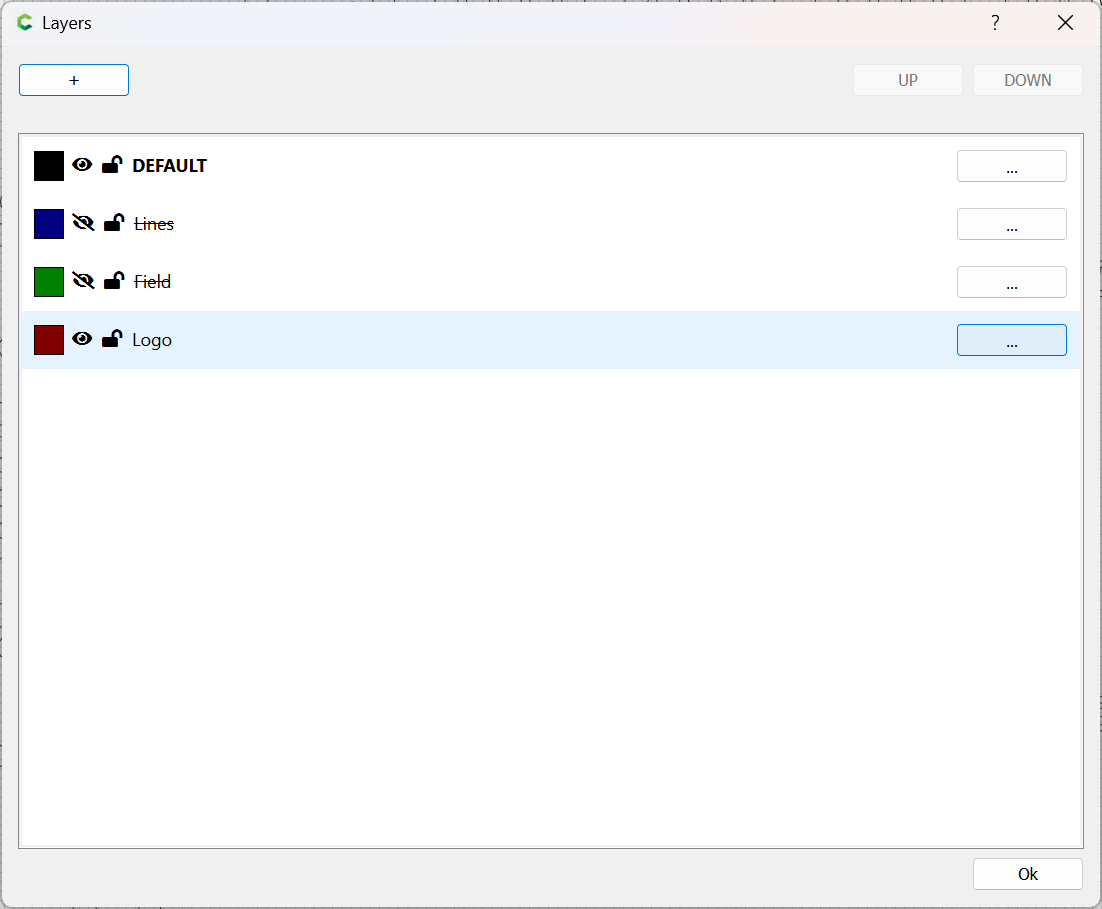
Make a new layer for the Logo:
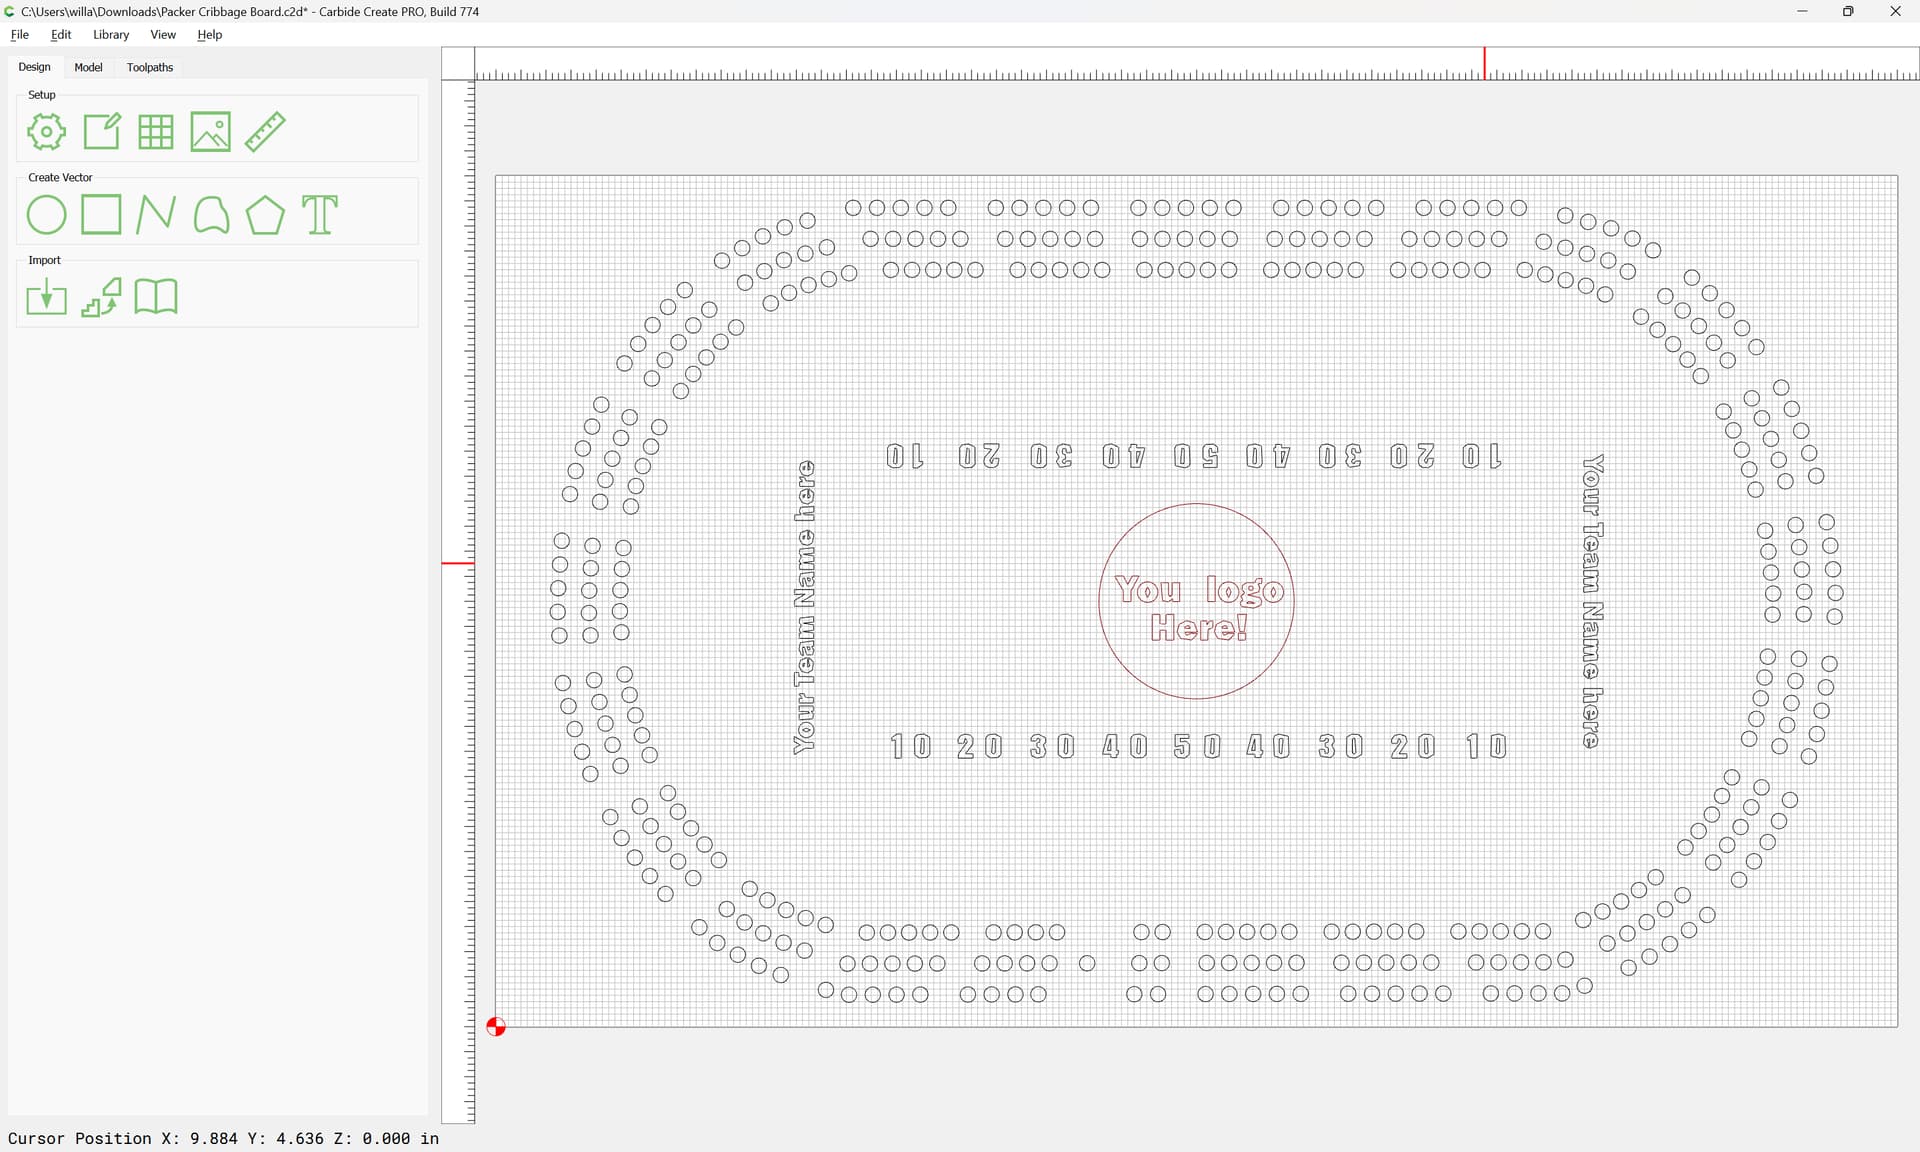
and move the logo geometry to it:
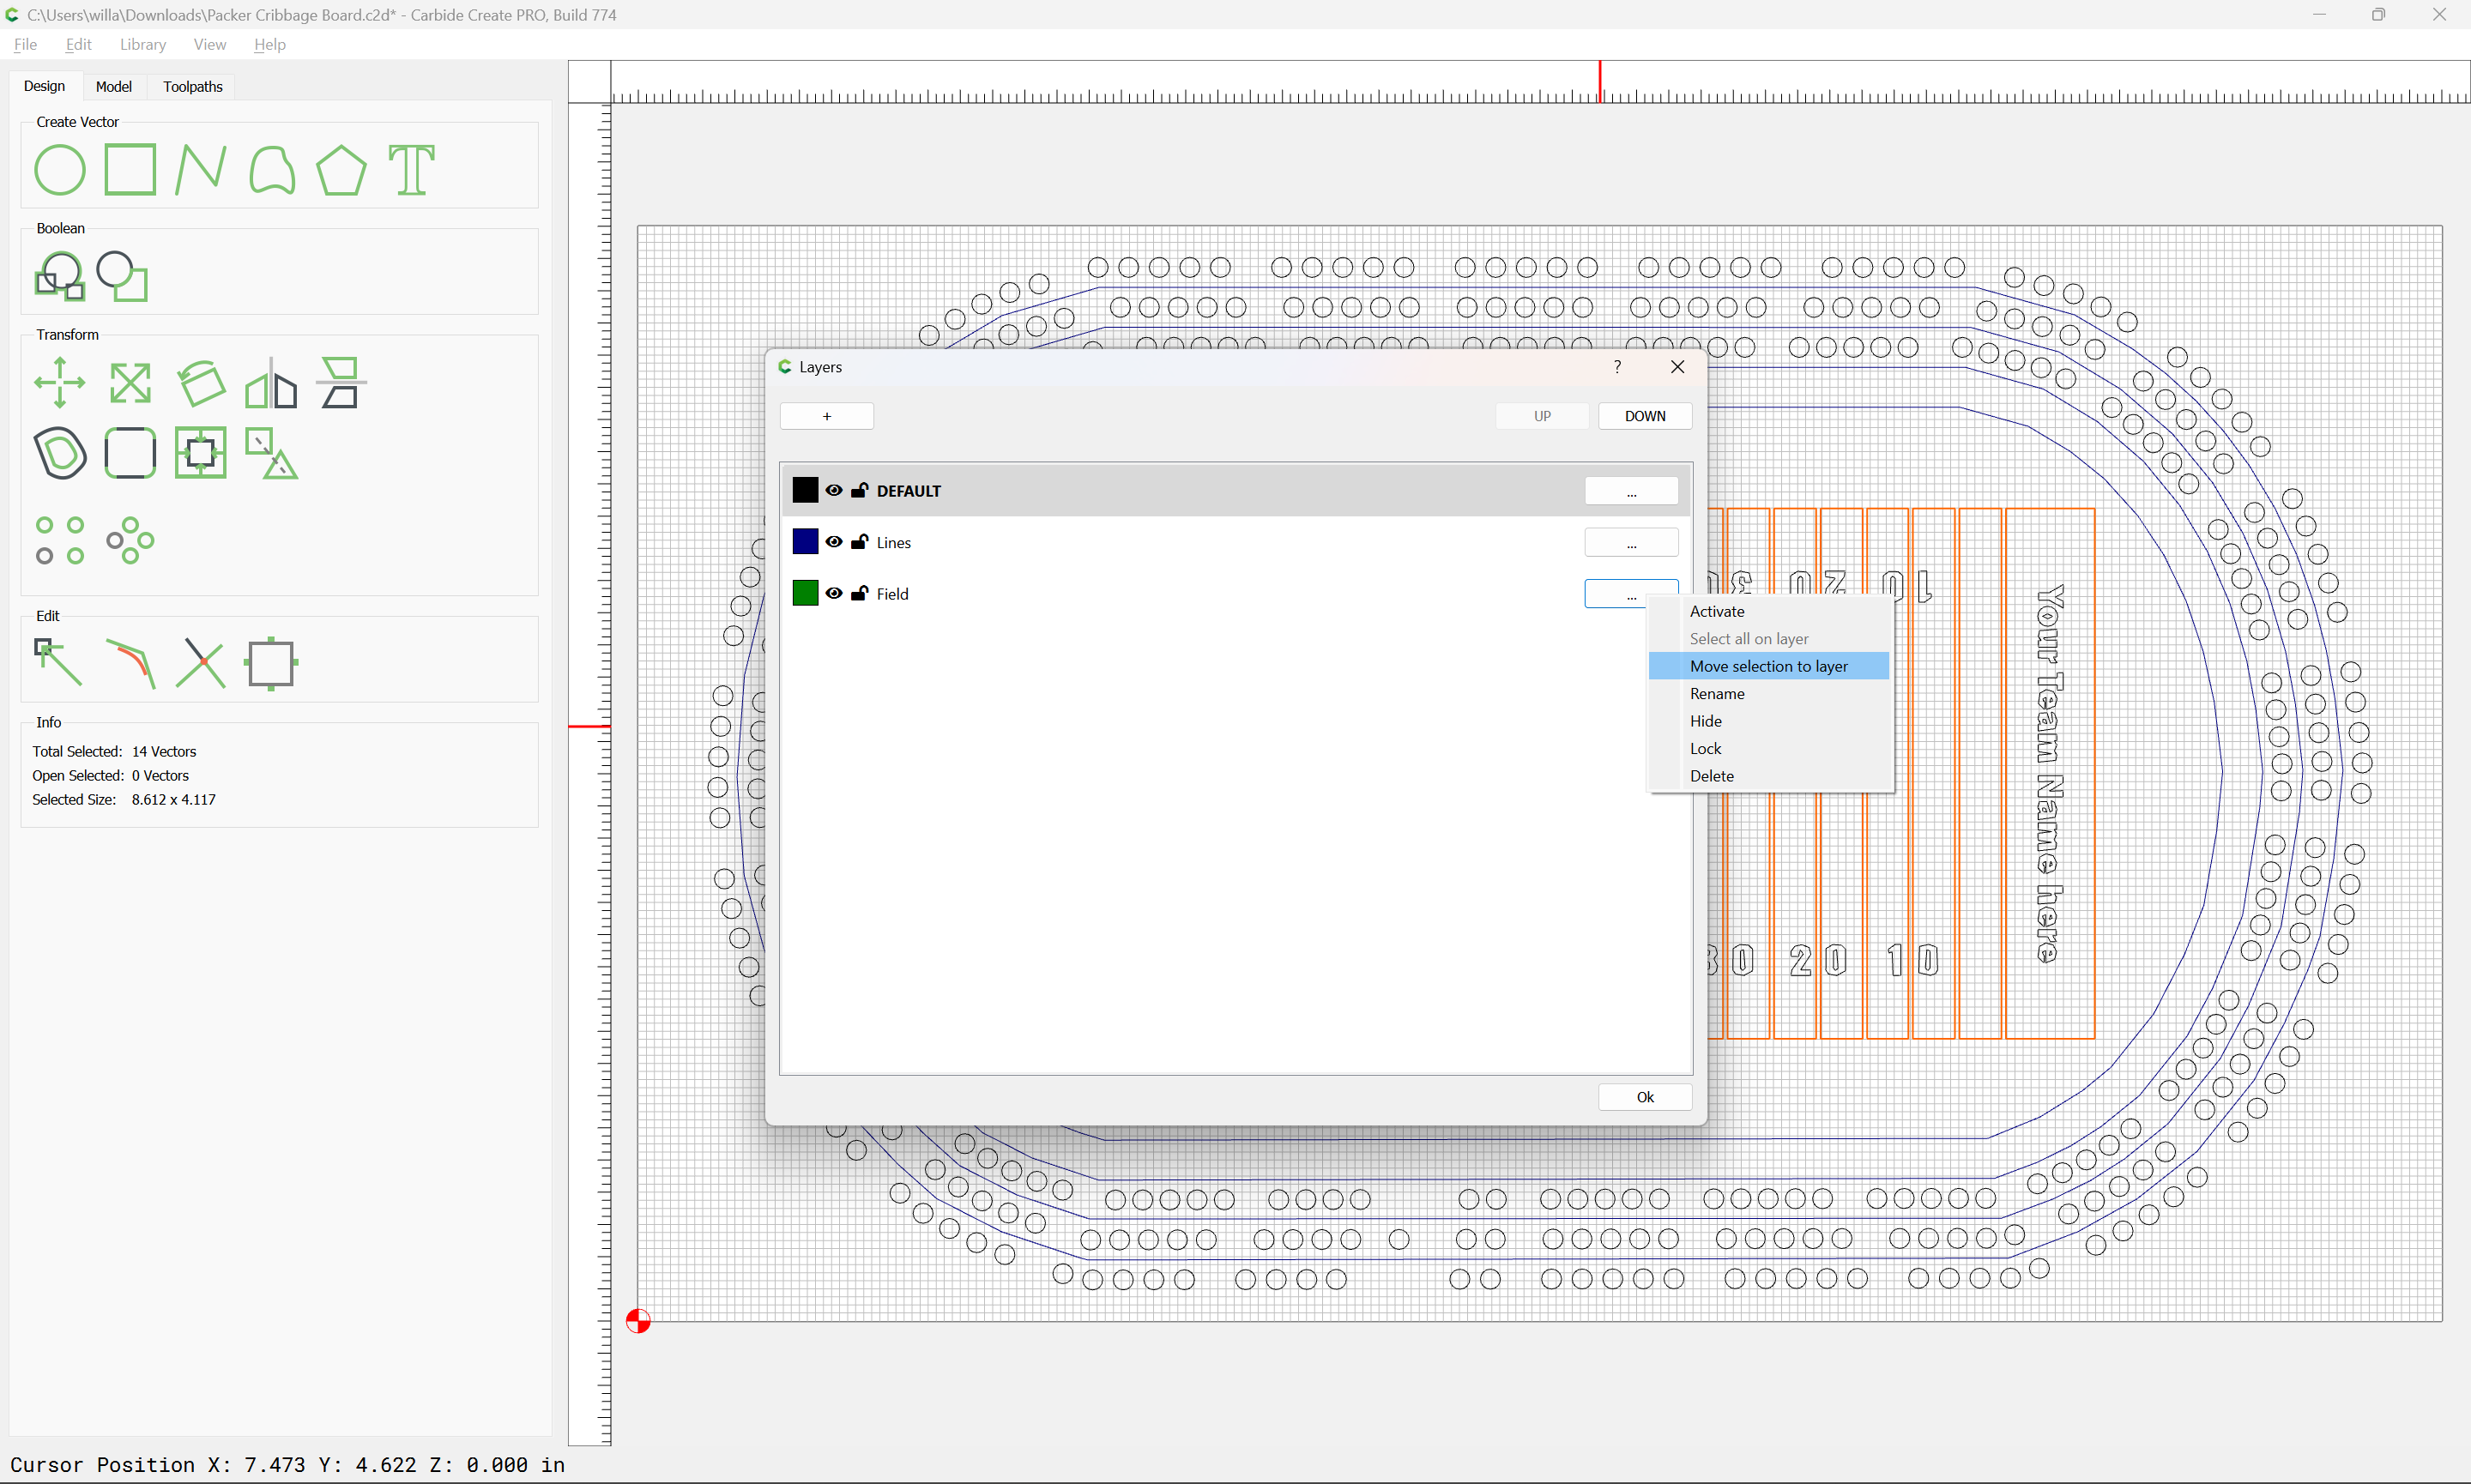
Similarly make layers for text/numbers:
and lastly the holes:
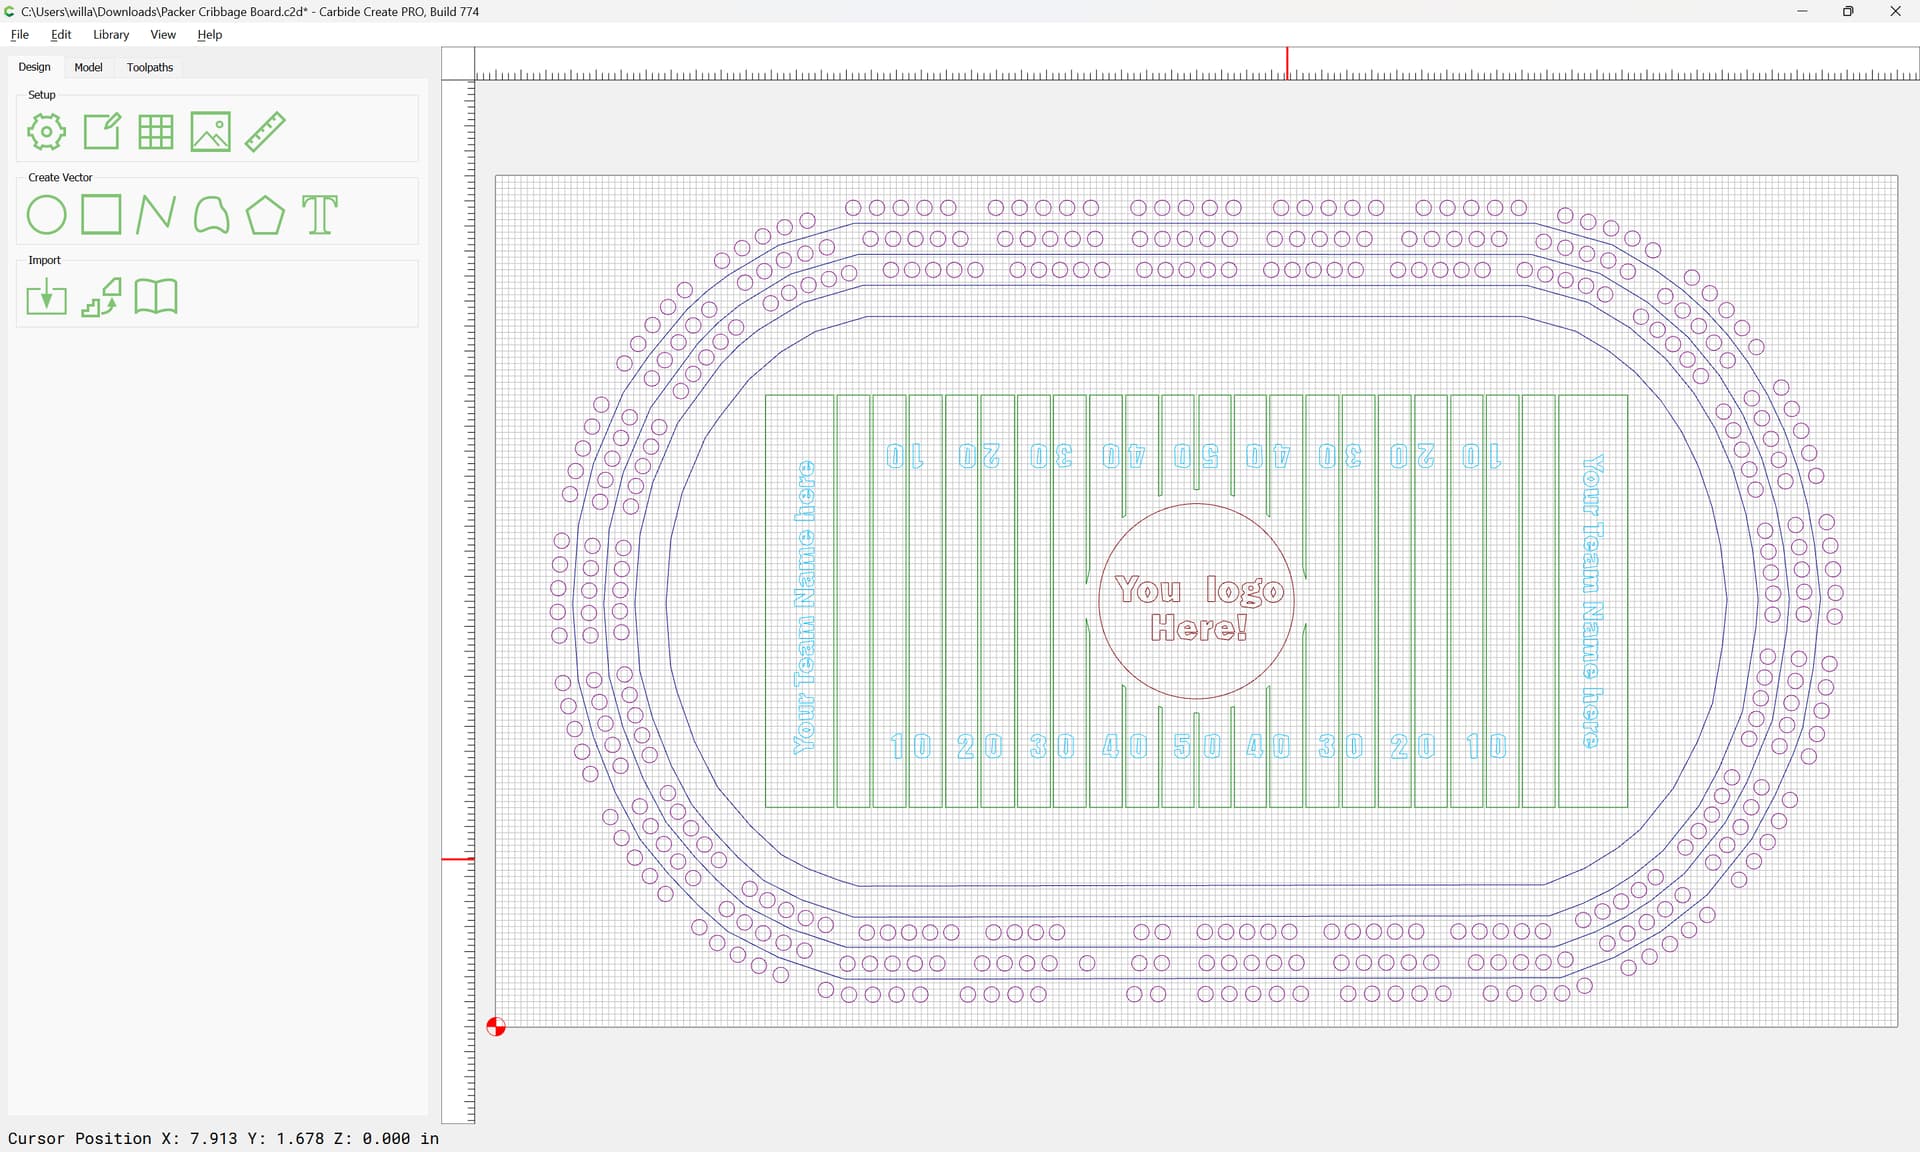
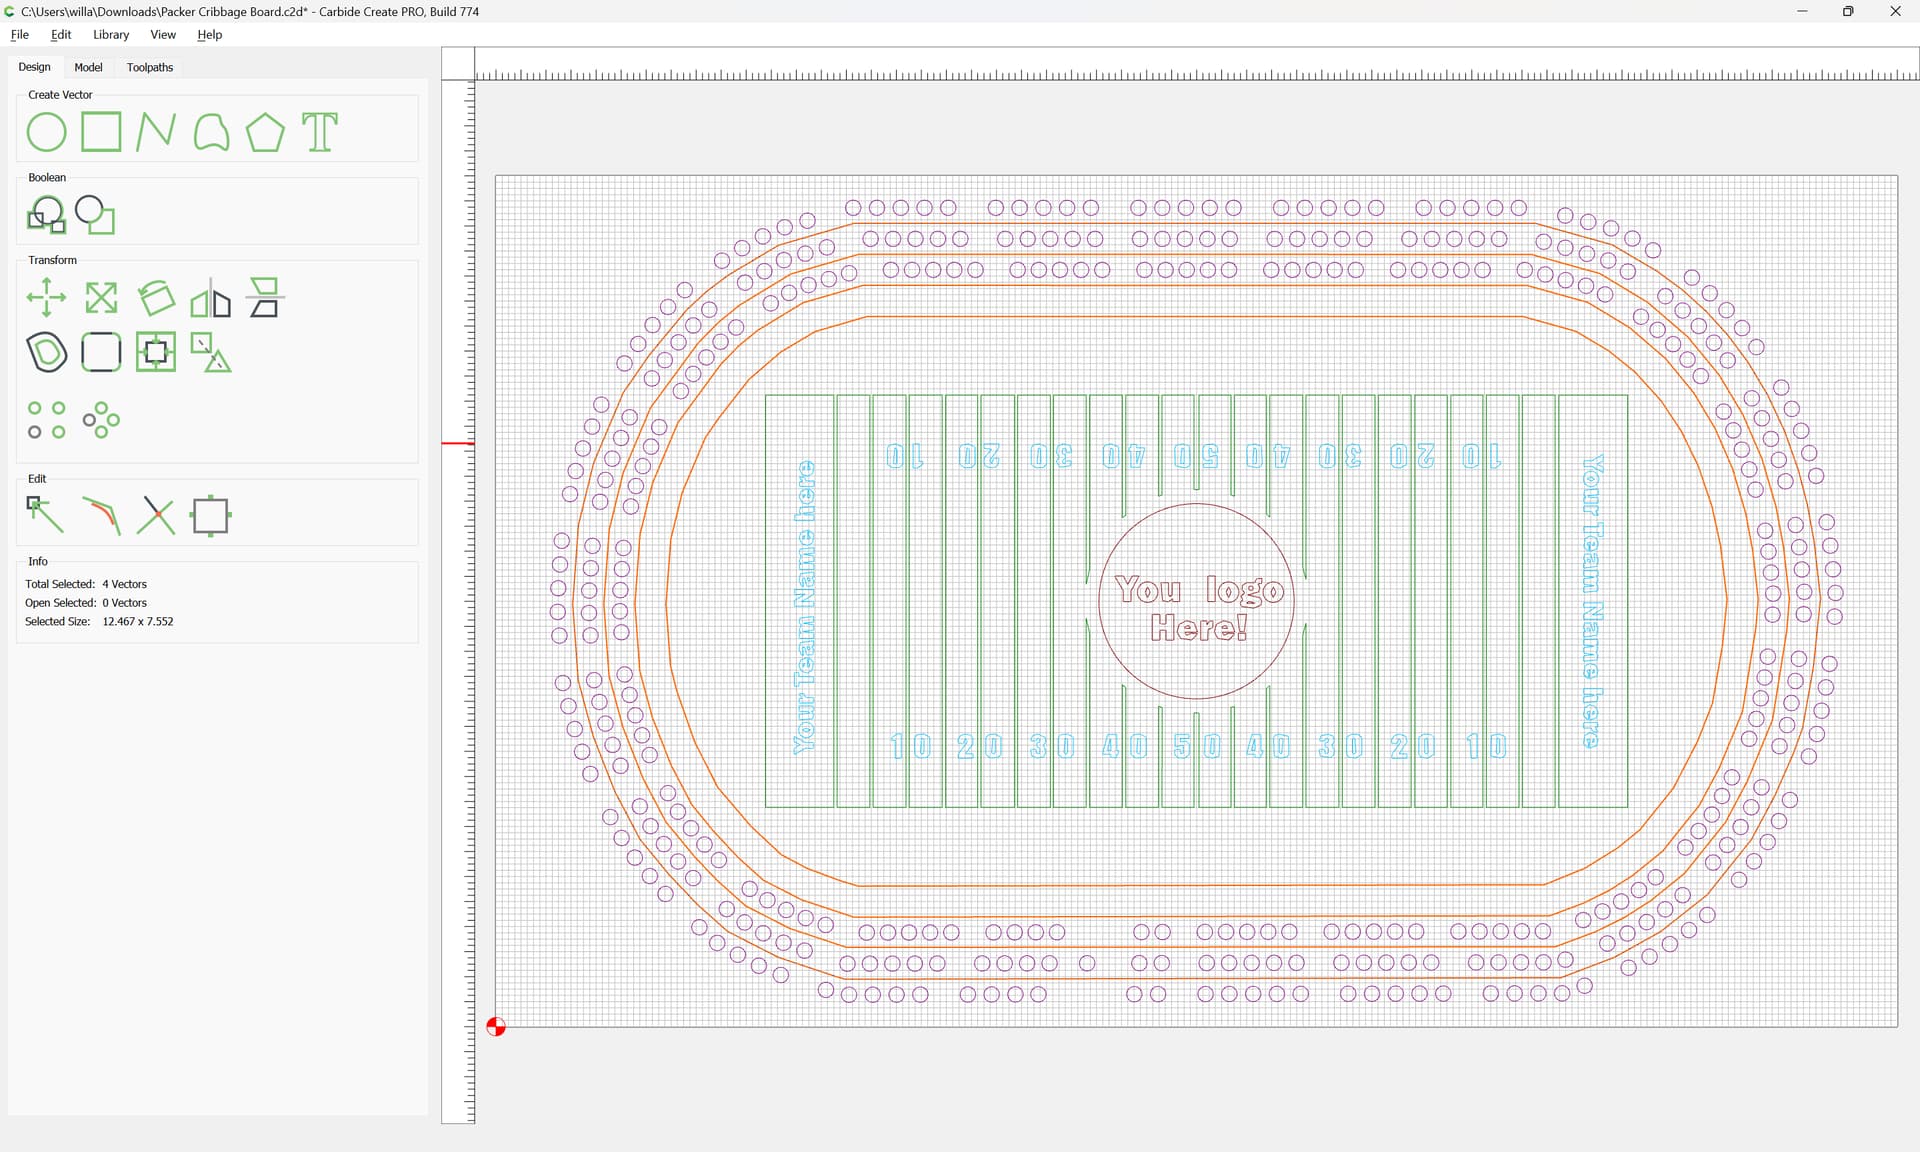
With everything on its own layer, things may be unhidden:
and toolpaths assigned.
WillAdams
May 22, 2024, 11:56pm
3
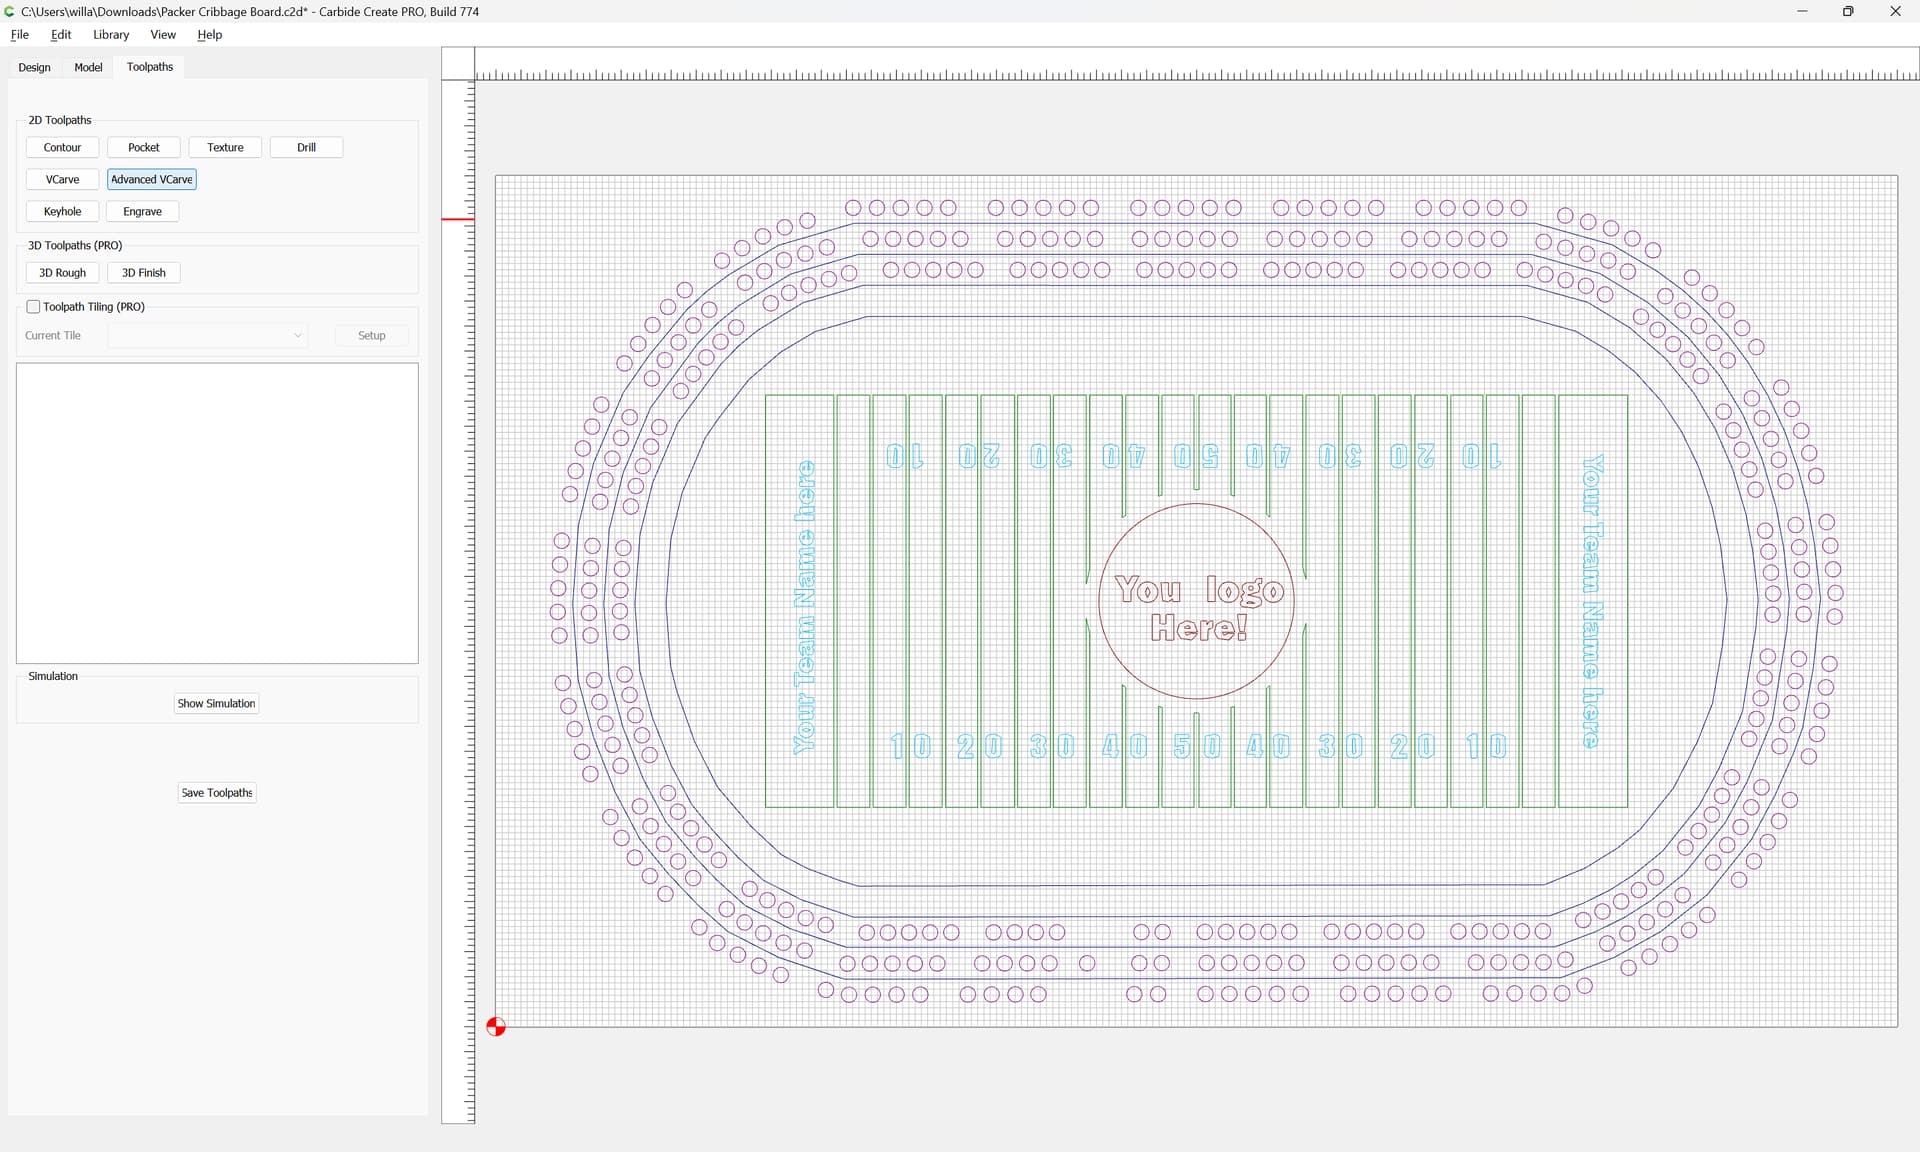
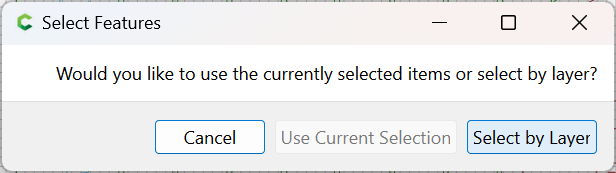
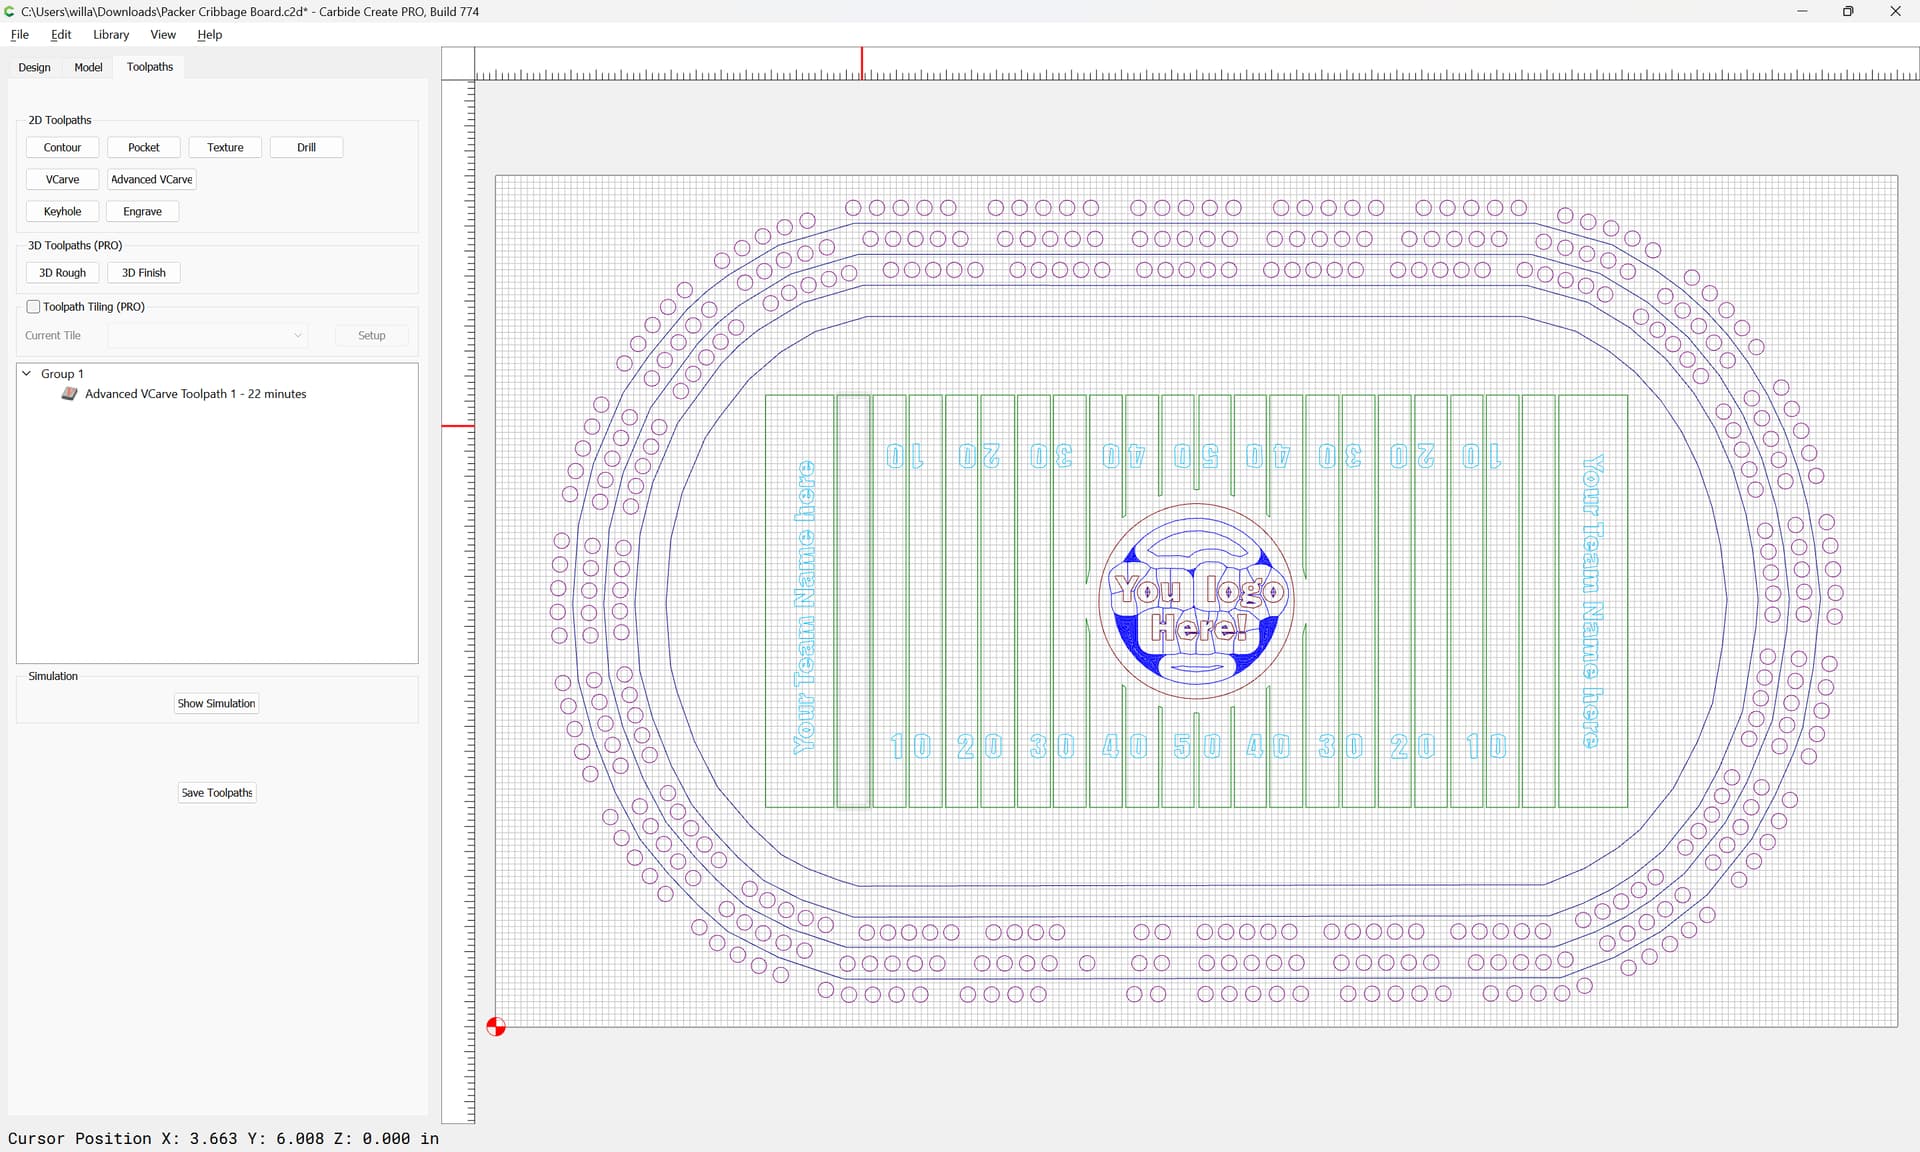
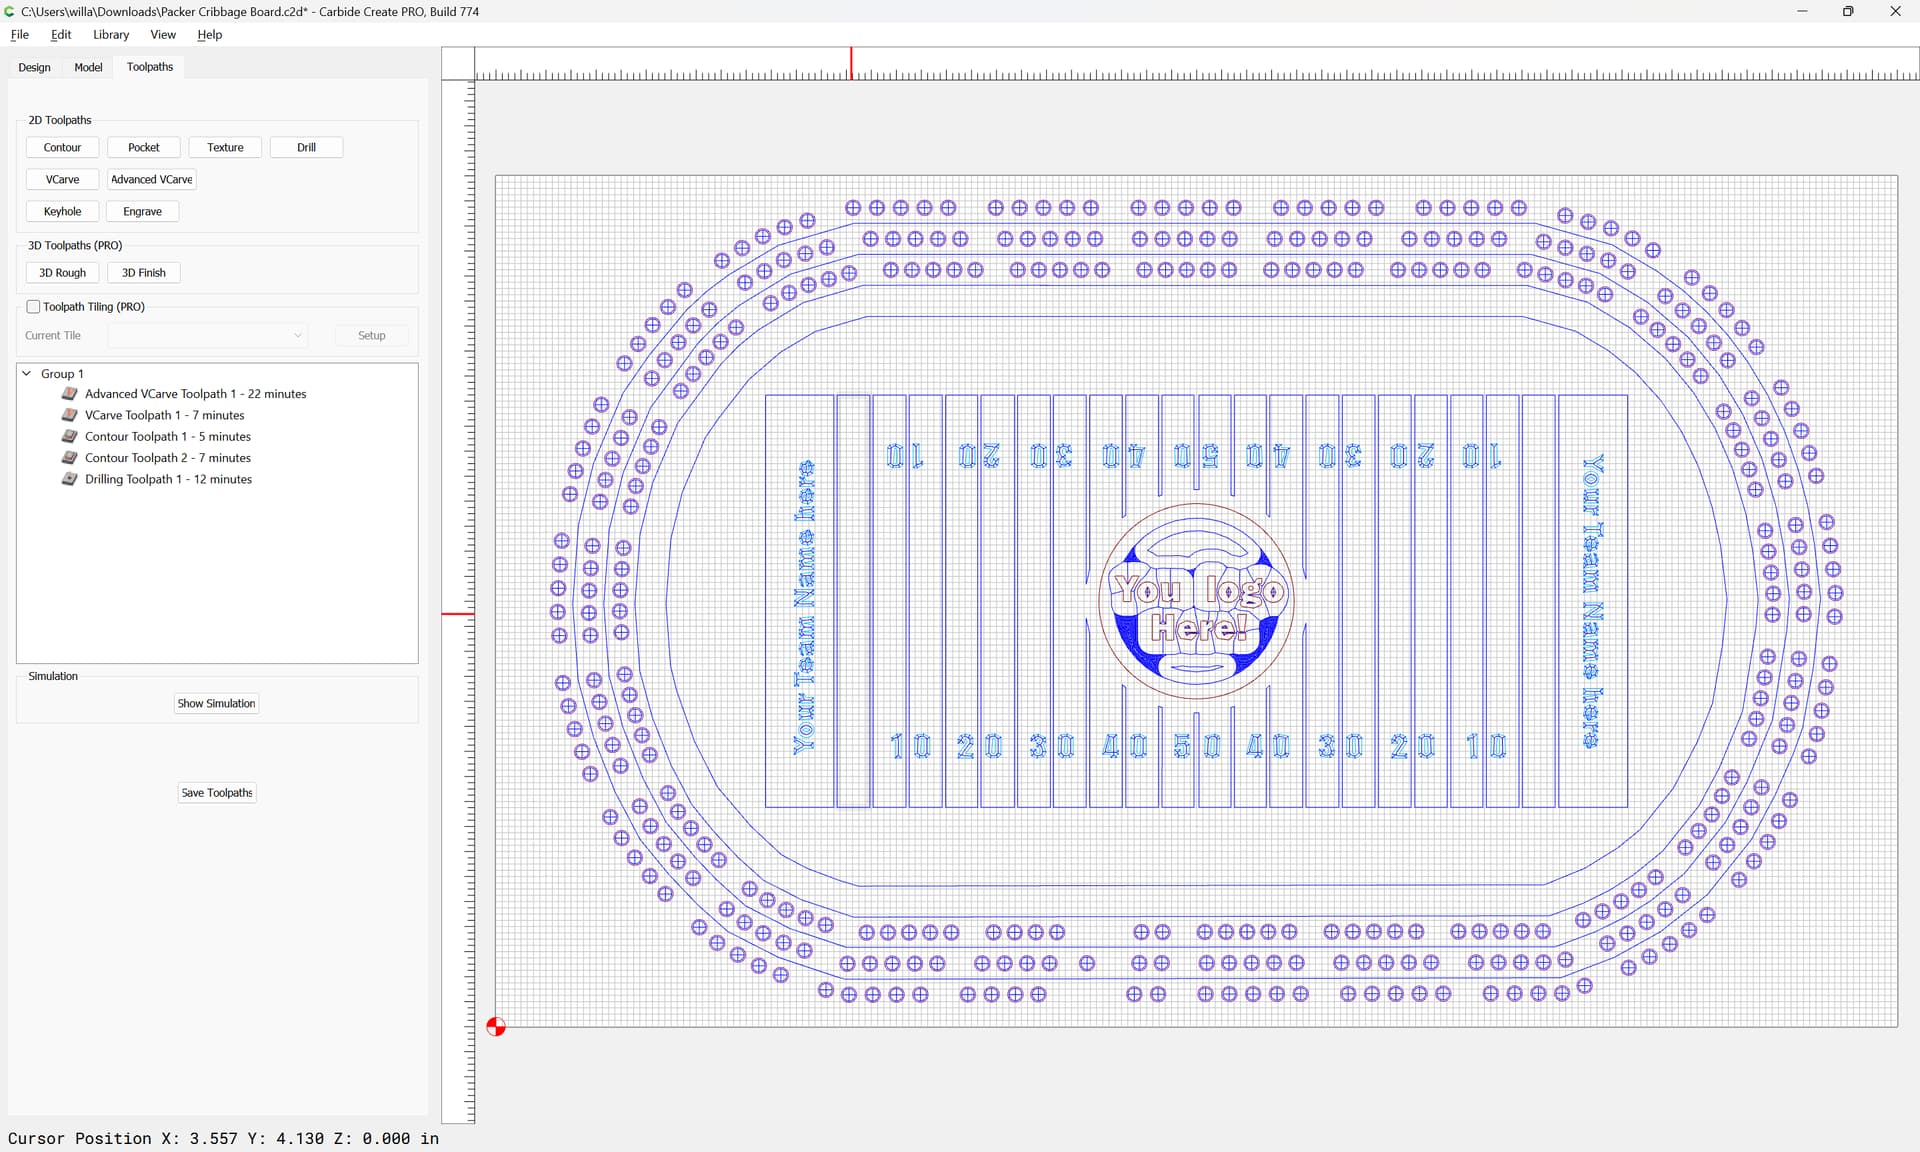
Since everything is on a separate layer, one may create toolpaths and associate each with a suitable layer:
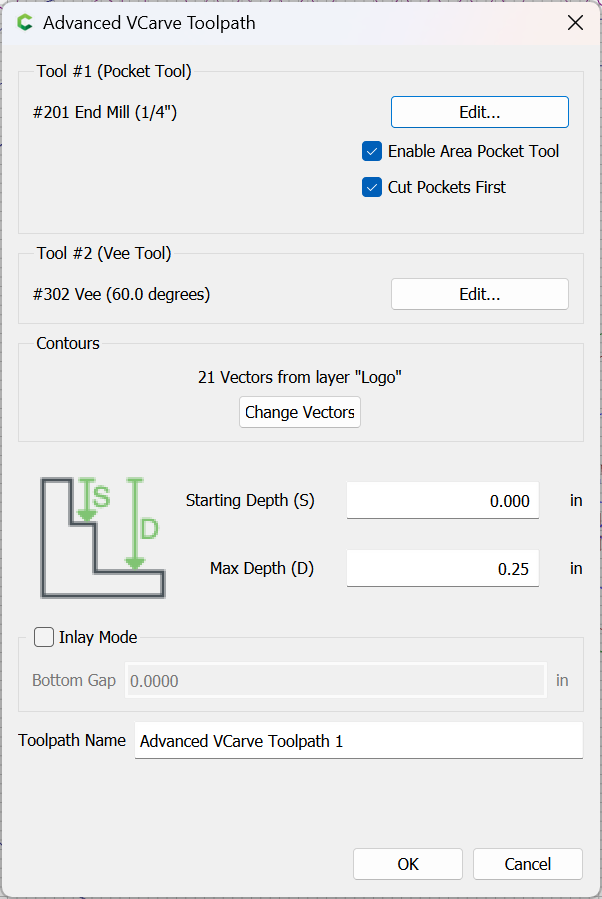
Advanced VCarve
OK
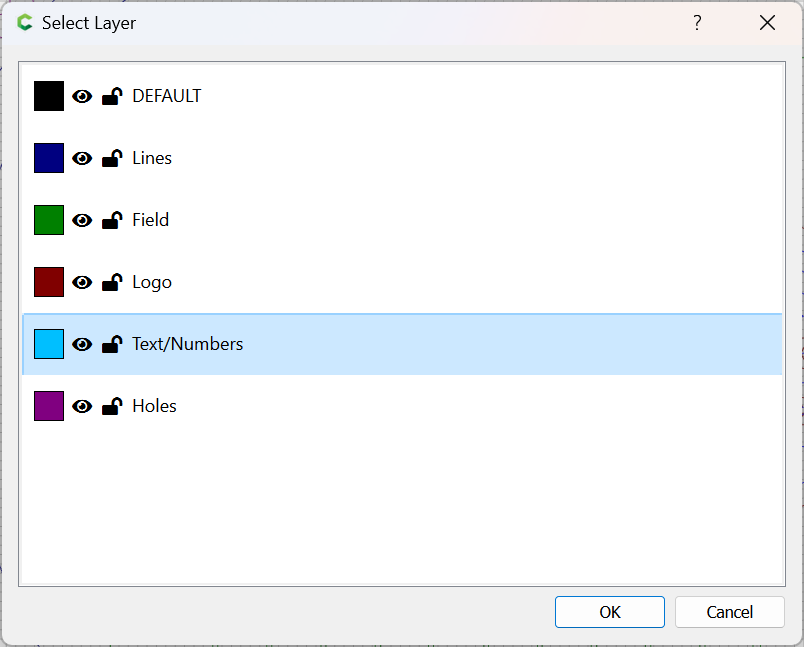
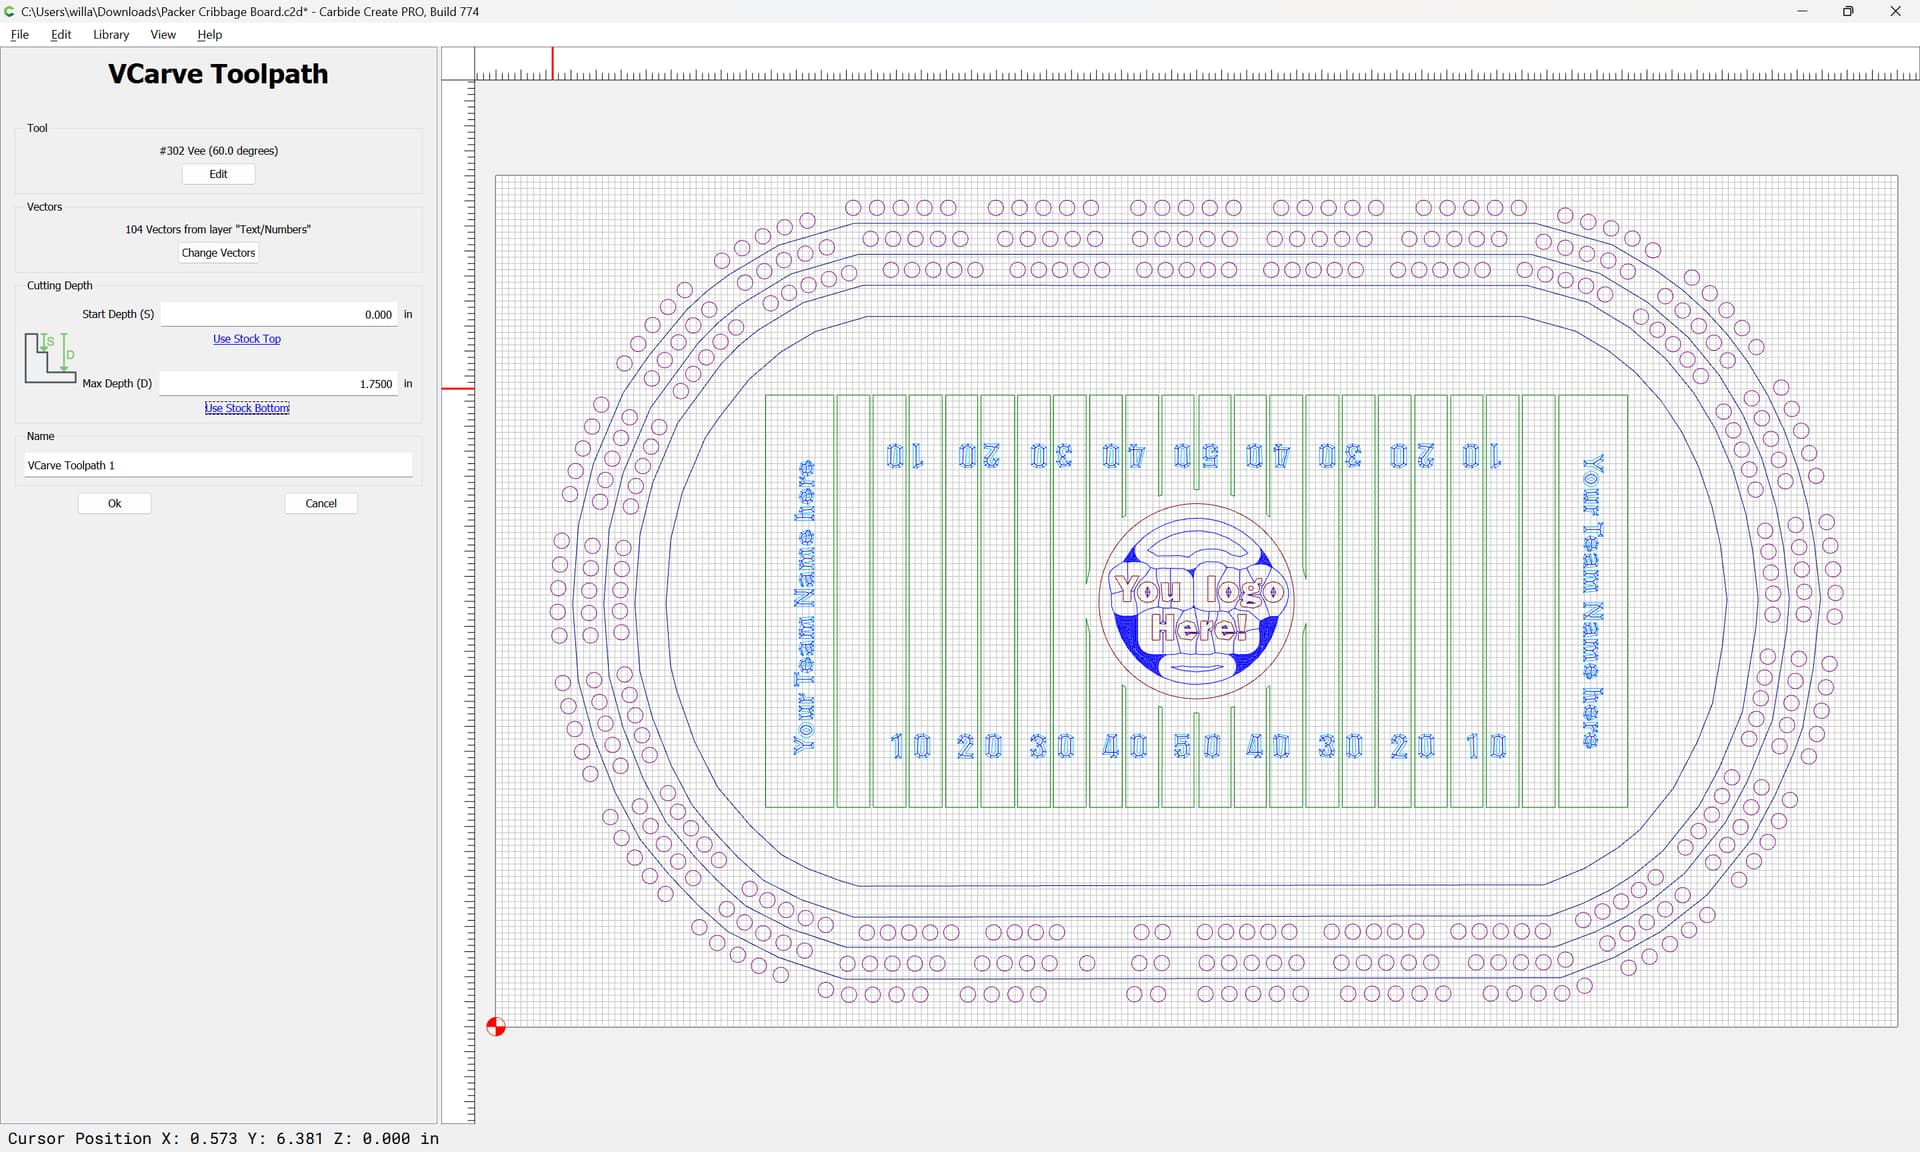
VCarve | Select by Layer
Ok
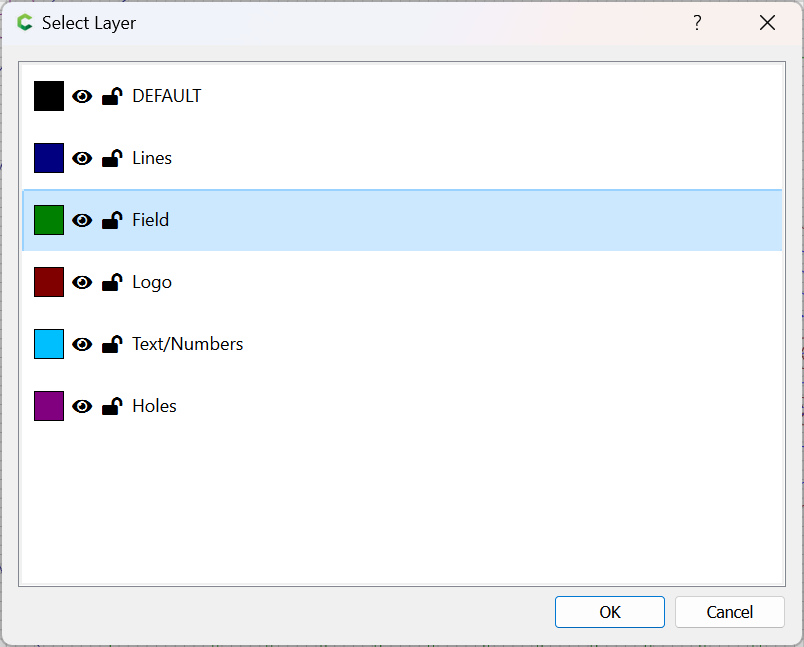
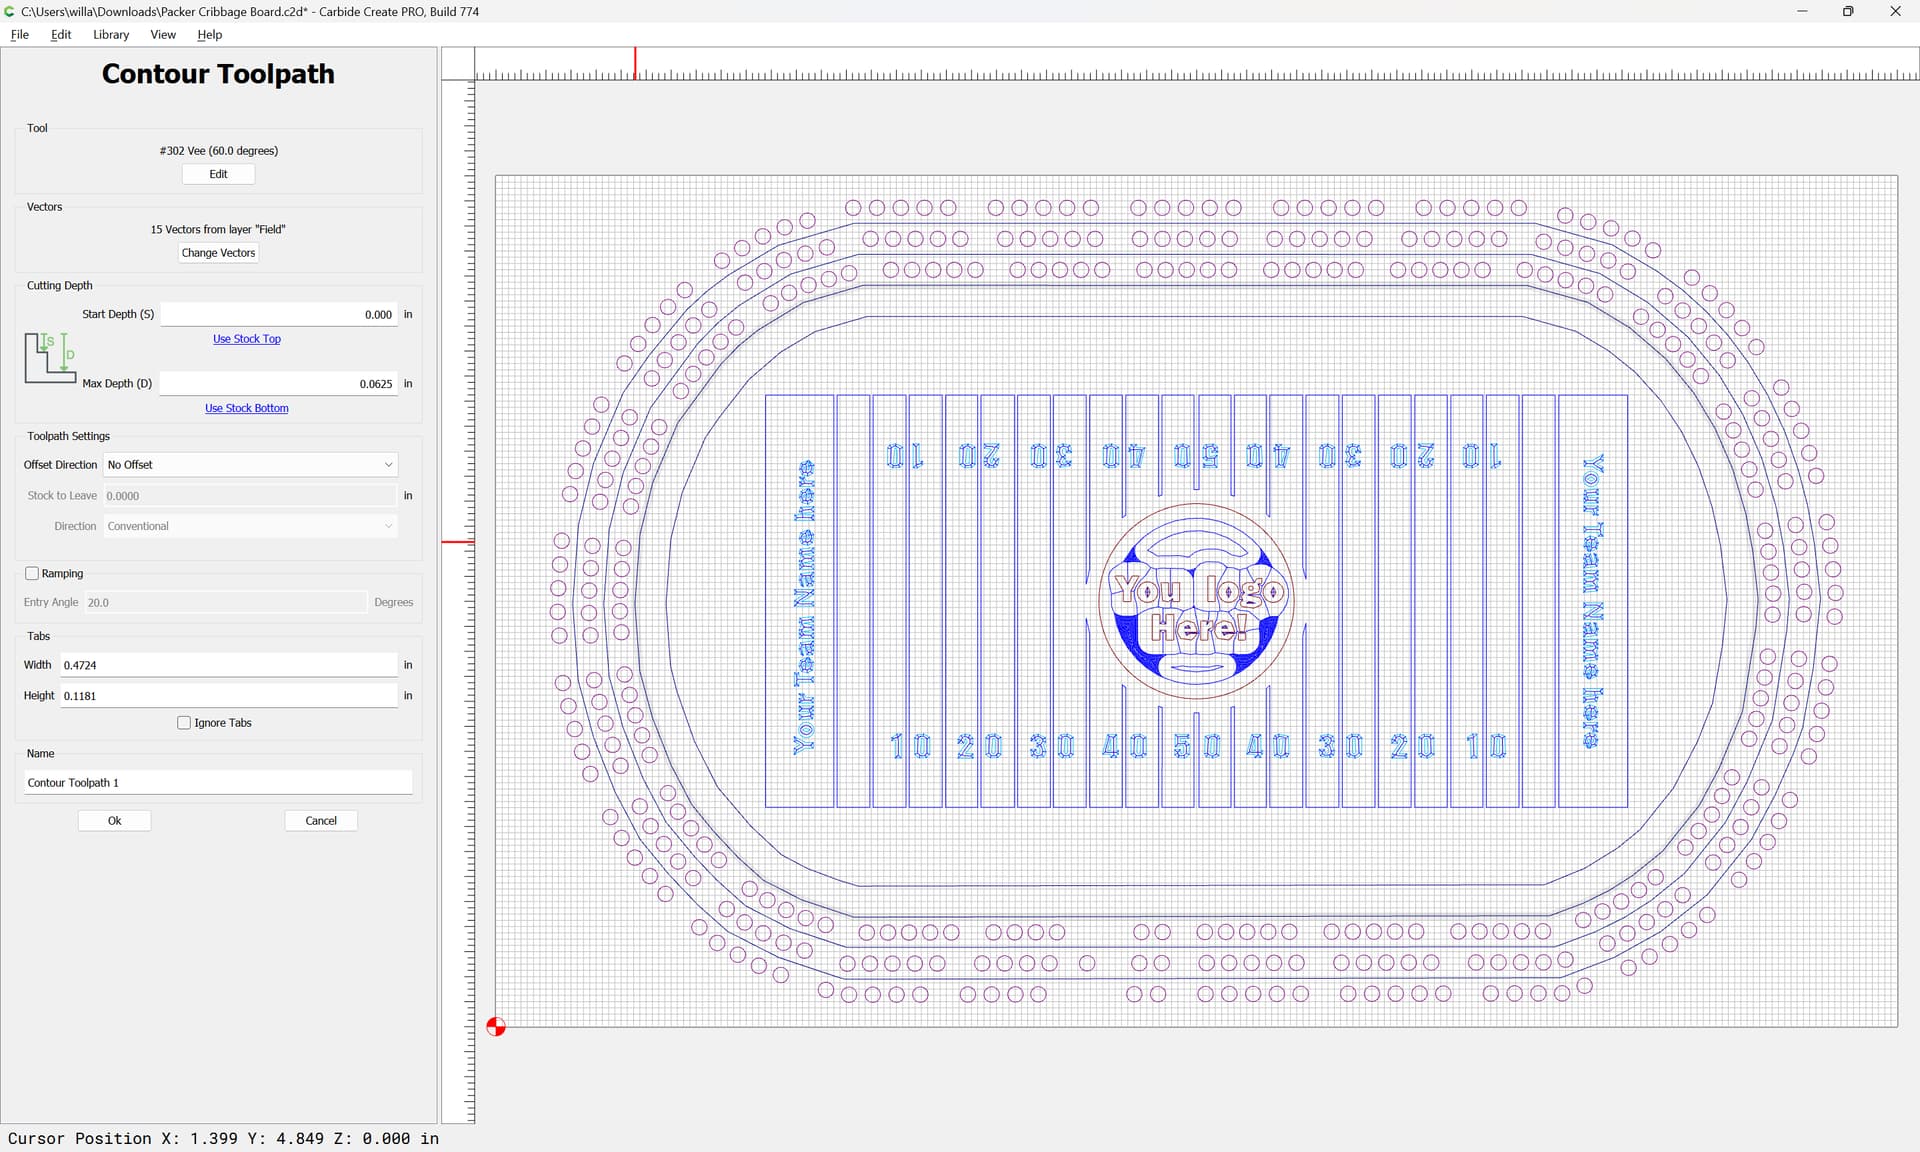
Contour | Select by Layer
using a #302 to a depth of 0.0625" with No Offset
Ok
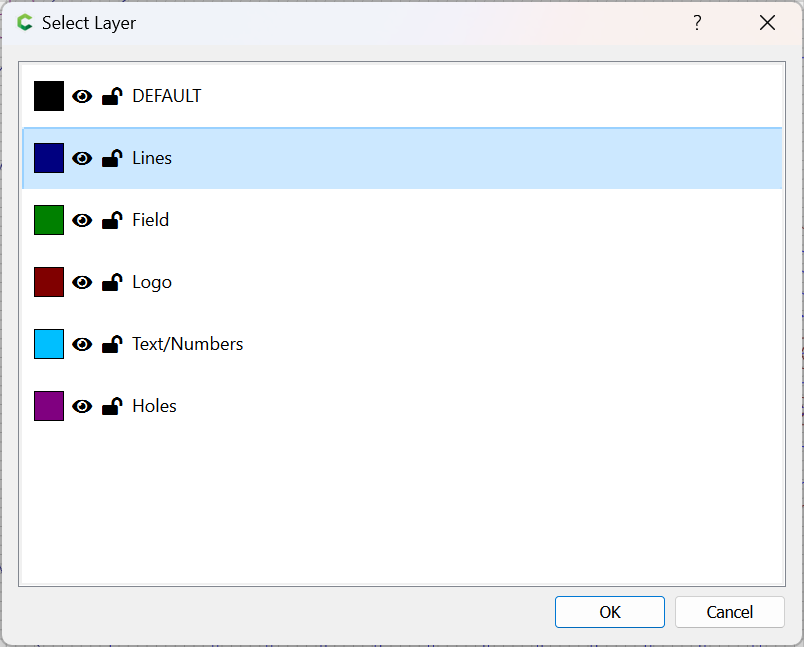
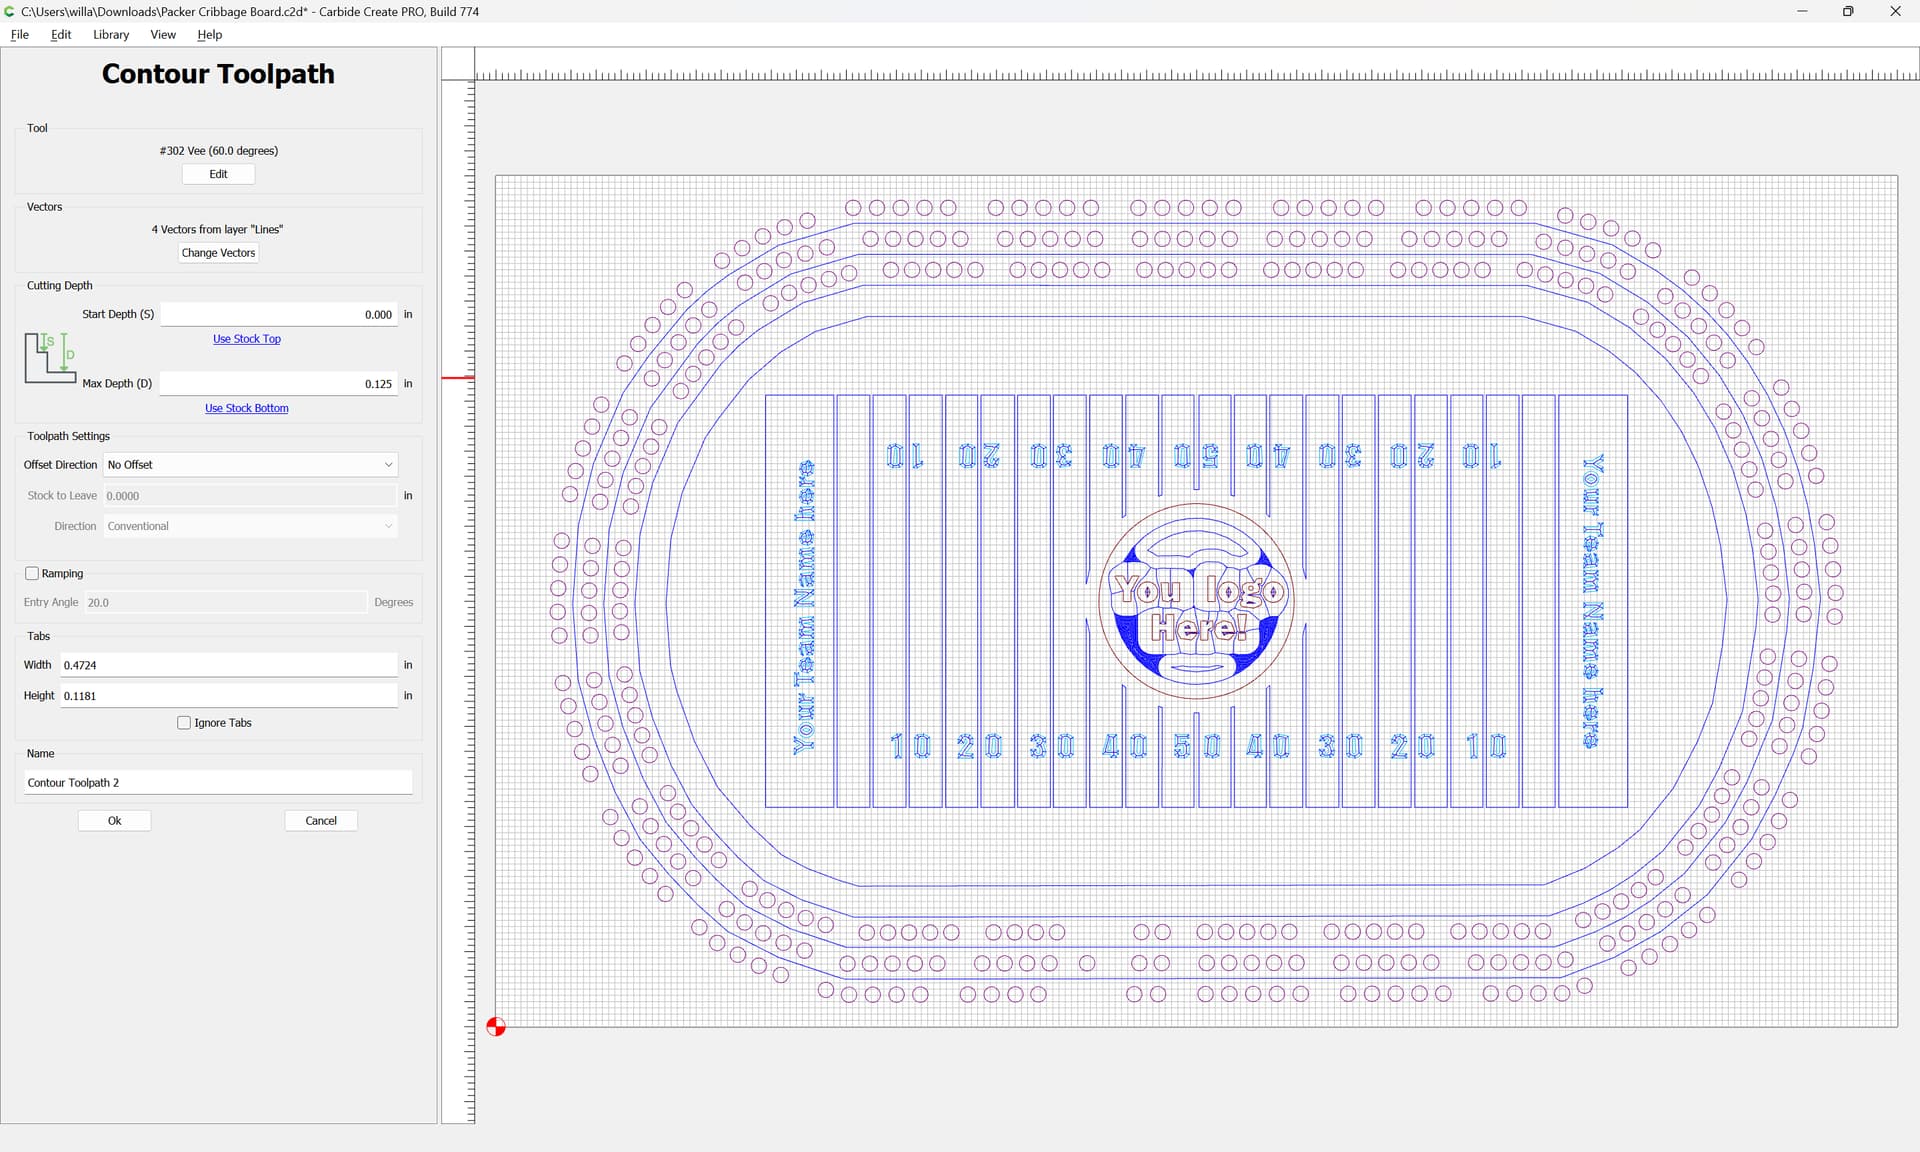
Contour | Select by Layer
OK
Using a #302 to a depth of 0.125" with No Offset
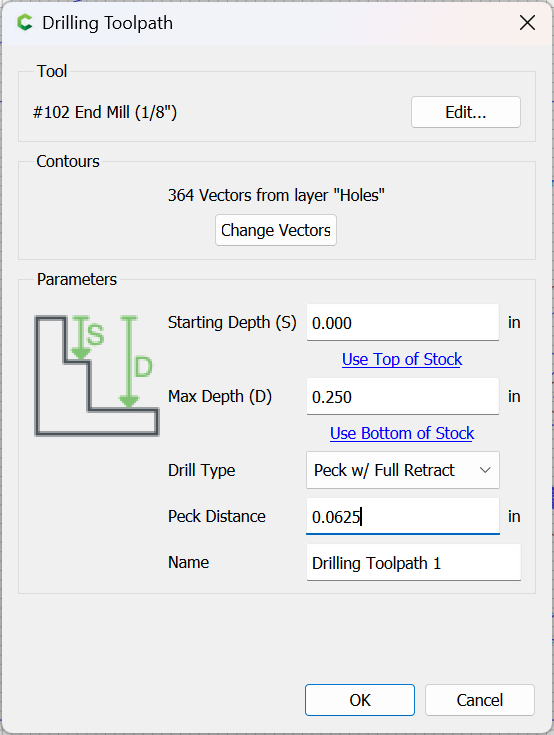
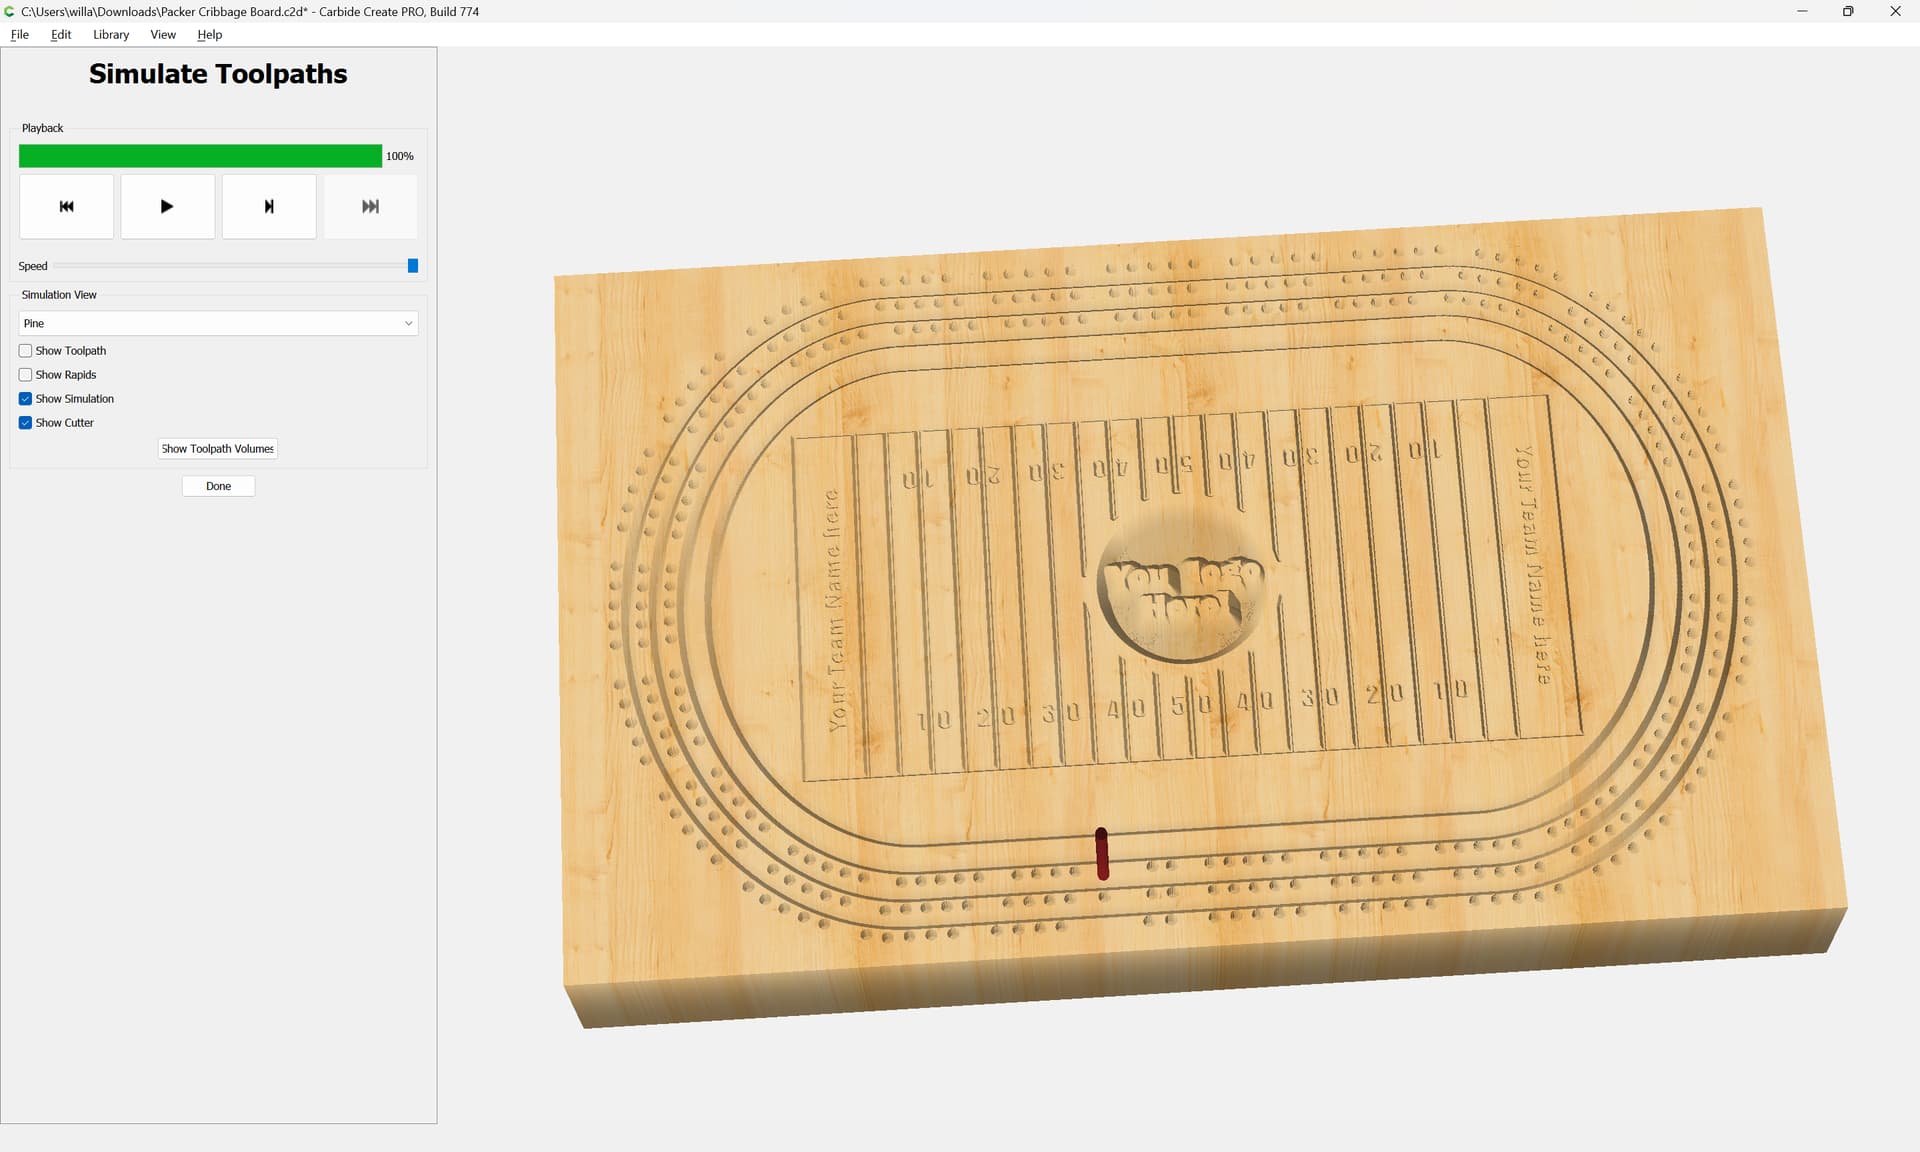
Lastly a Drill toolpath | Select by Layer:
Using a suitable tool at suitable feeds and speeds to a suitable depth with suitable settings (test in a piece of scrap and consider: Cribbage Pin Kit - Carbide 3D )
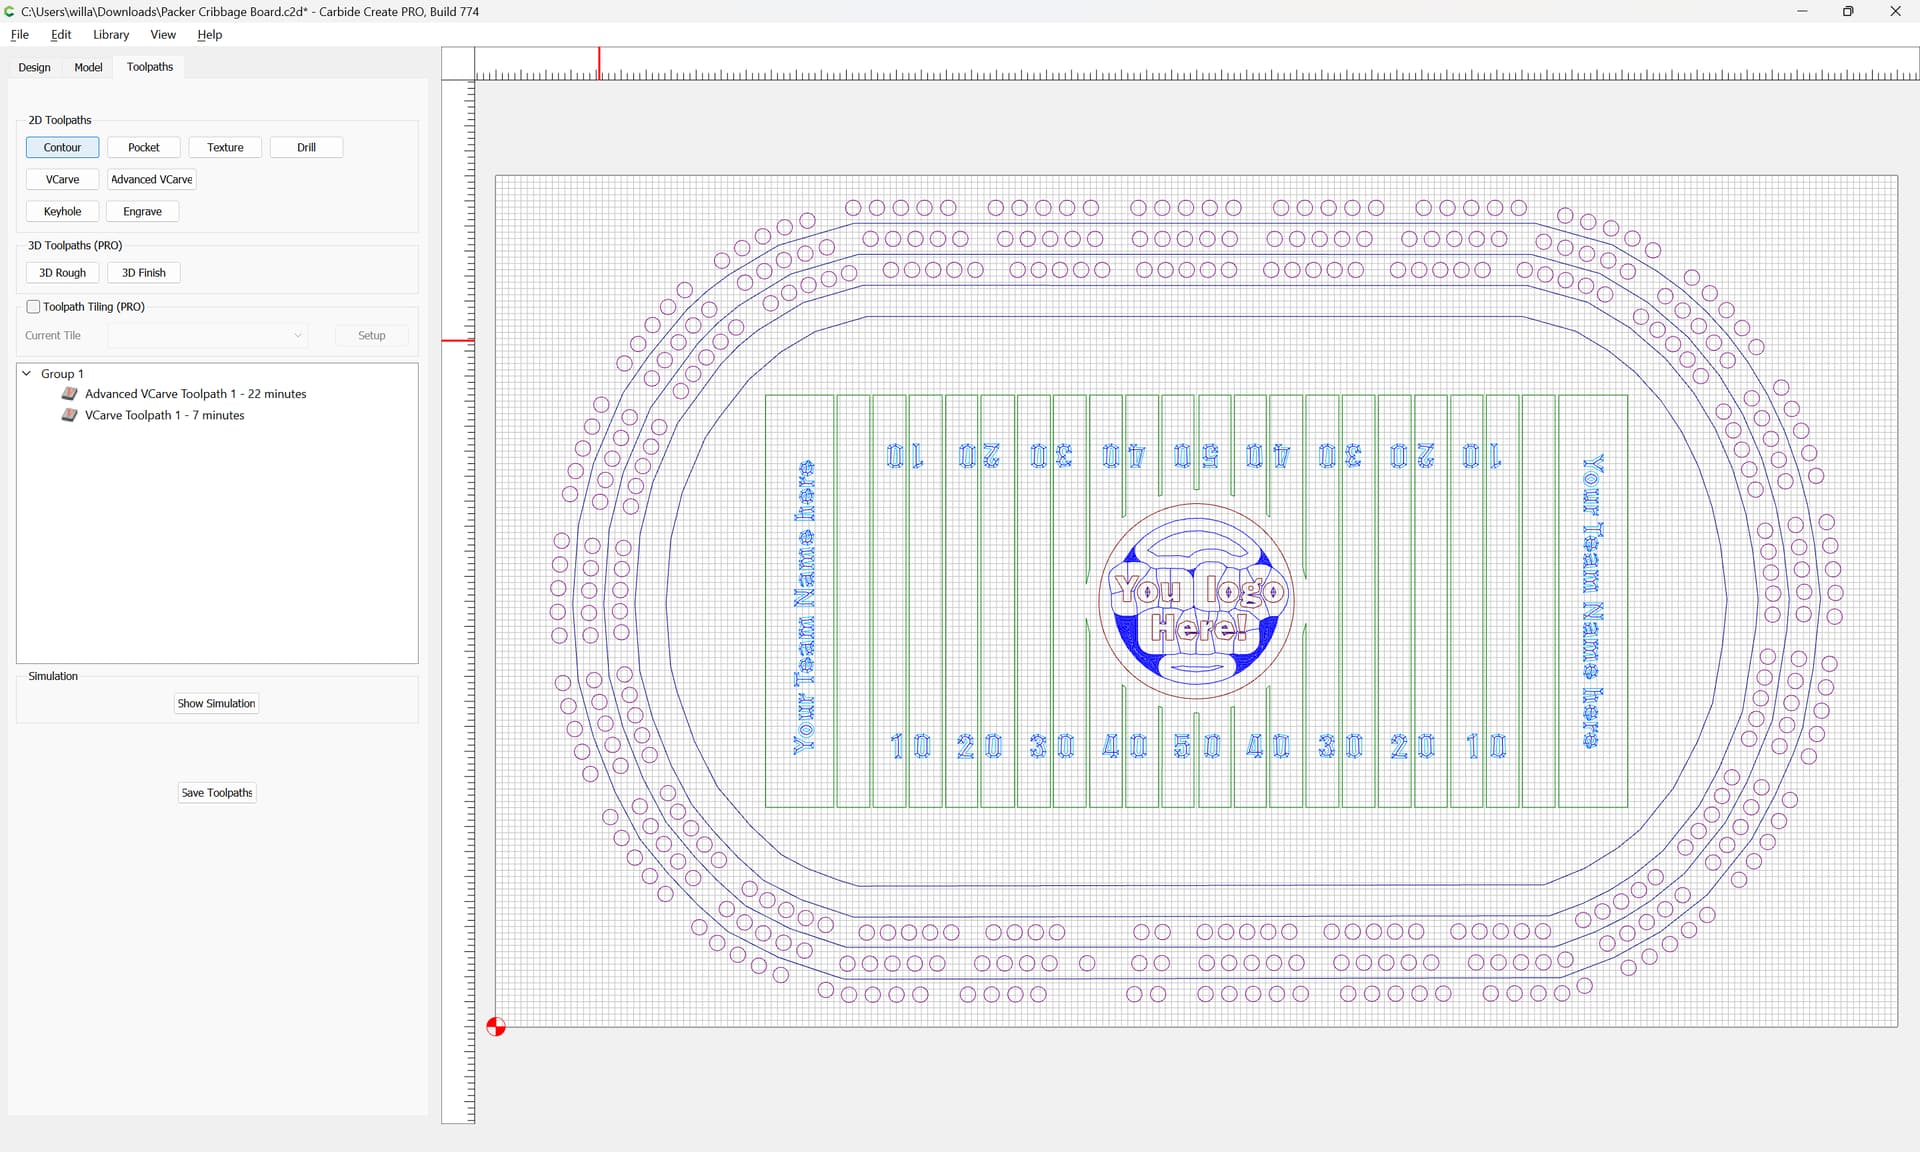
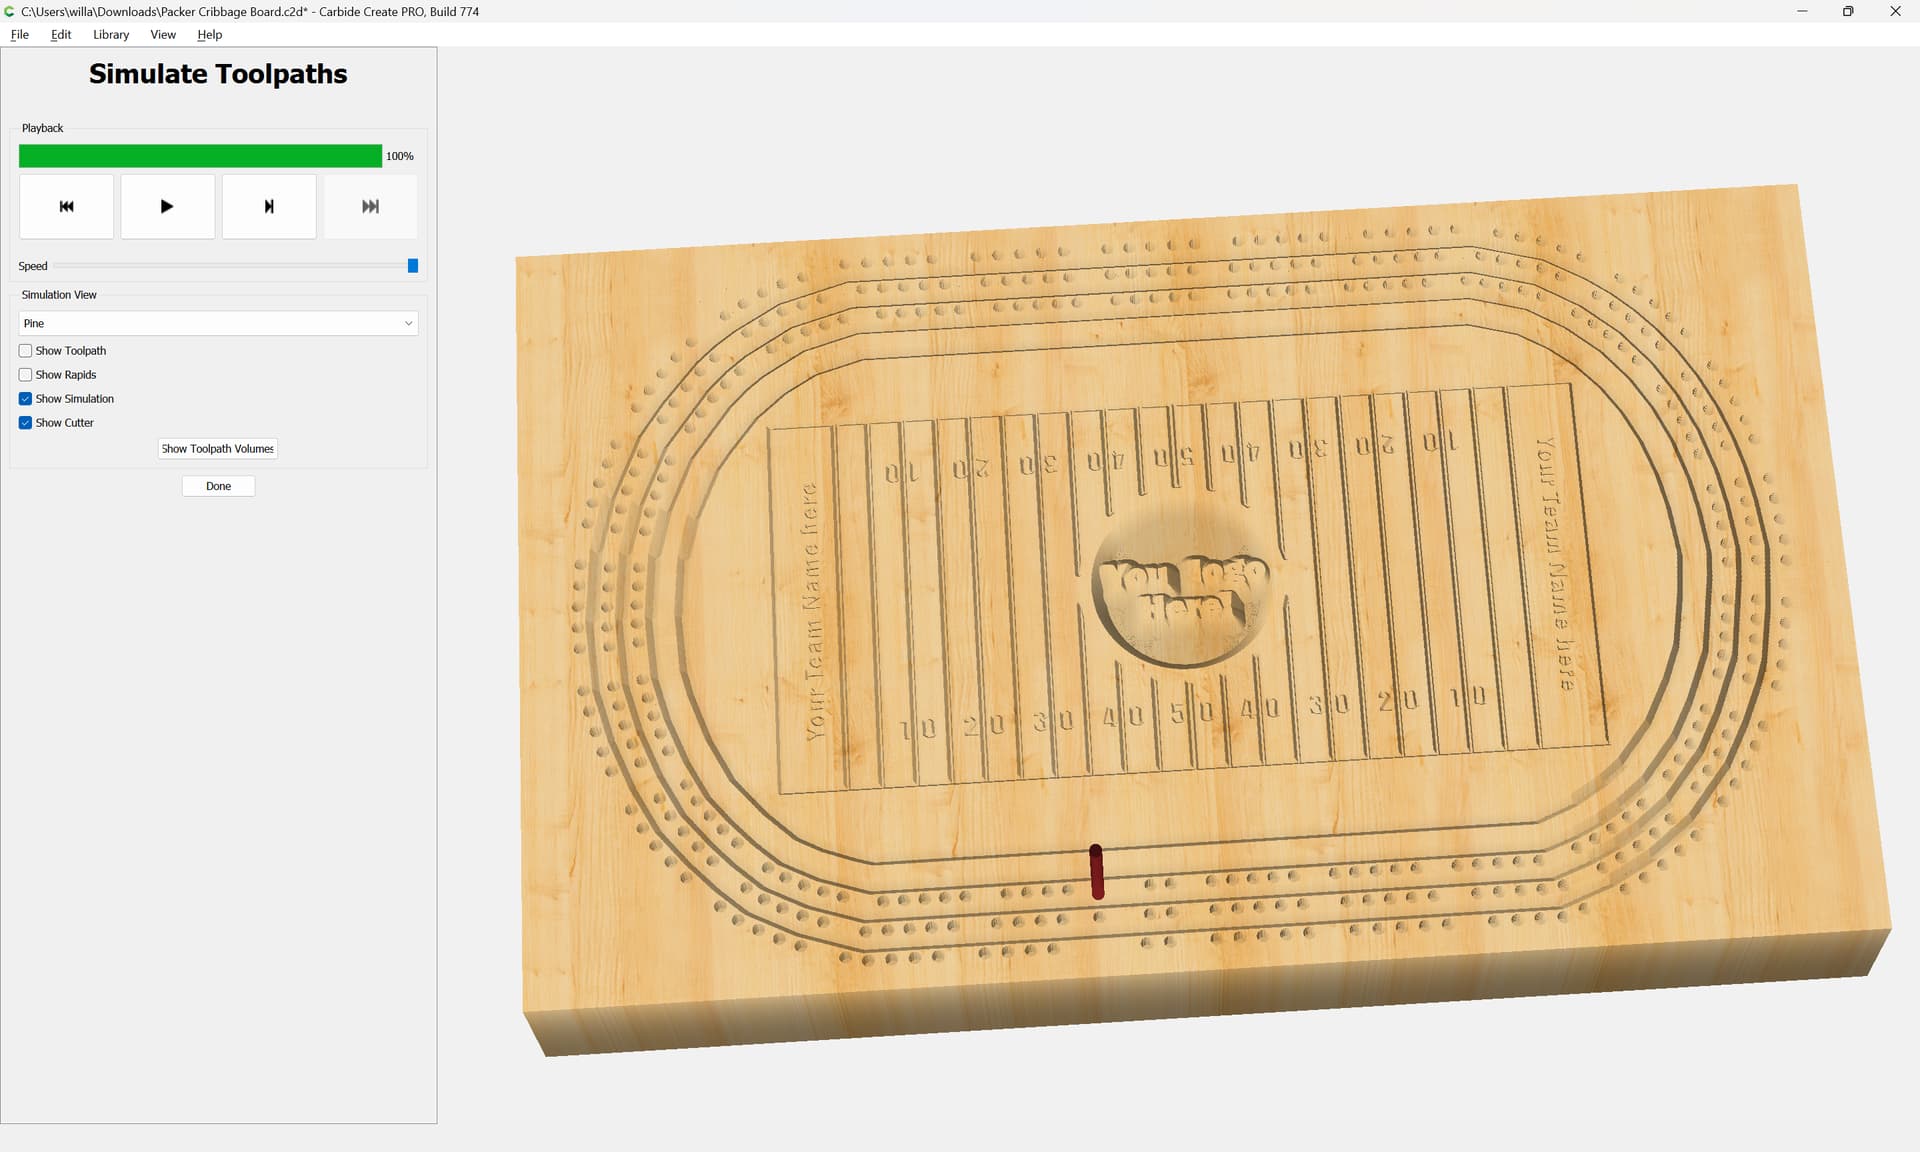
which all previews as:
WillAdams
May 23, 2024, 12:08am
4
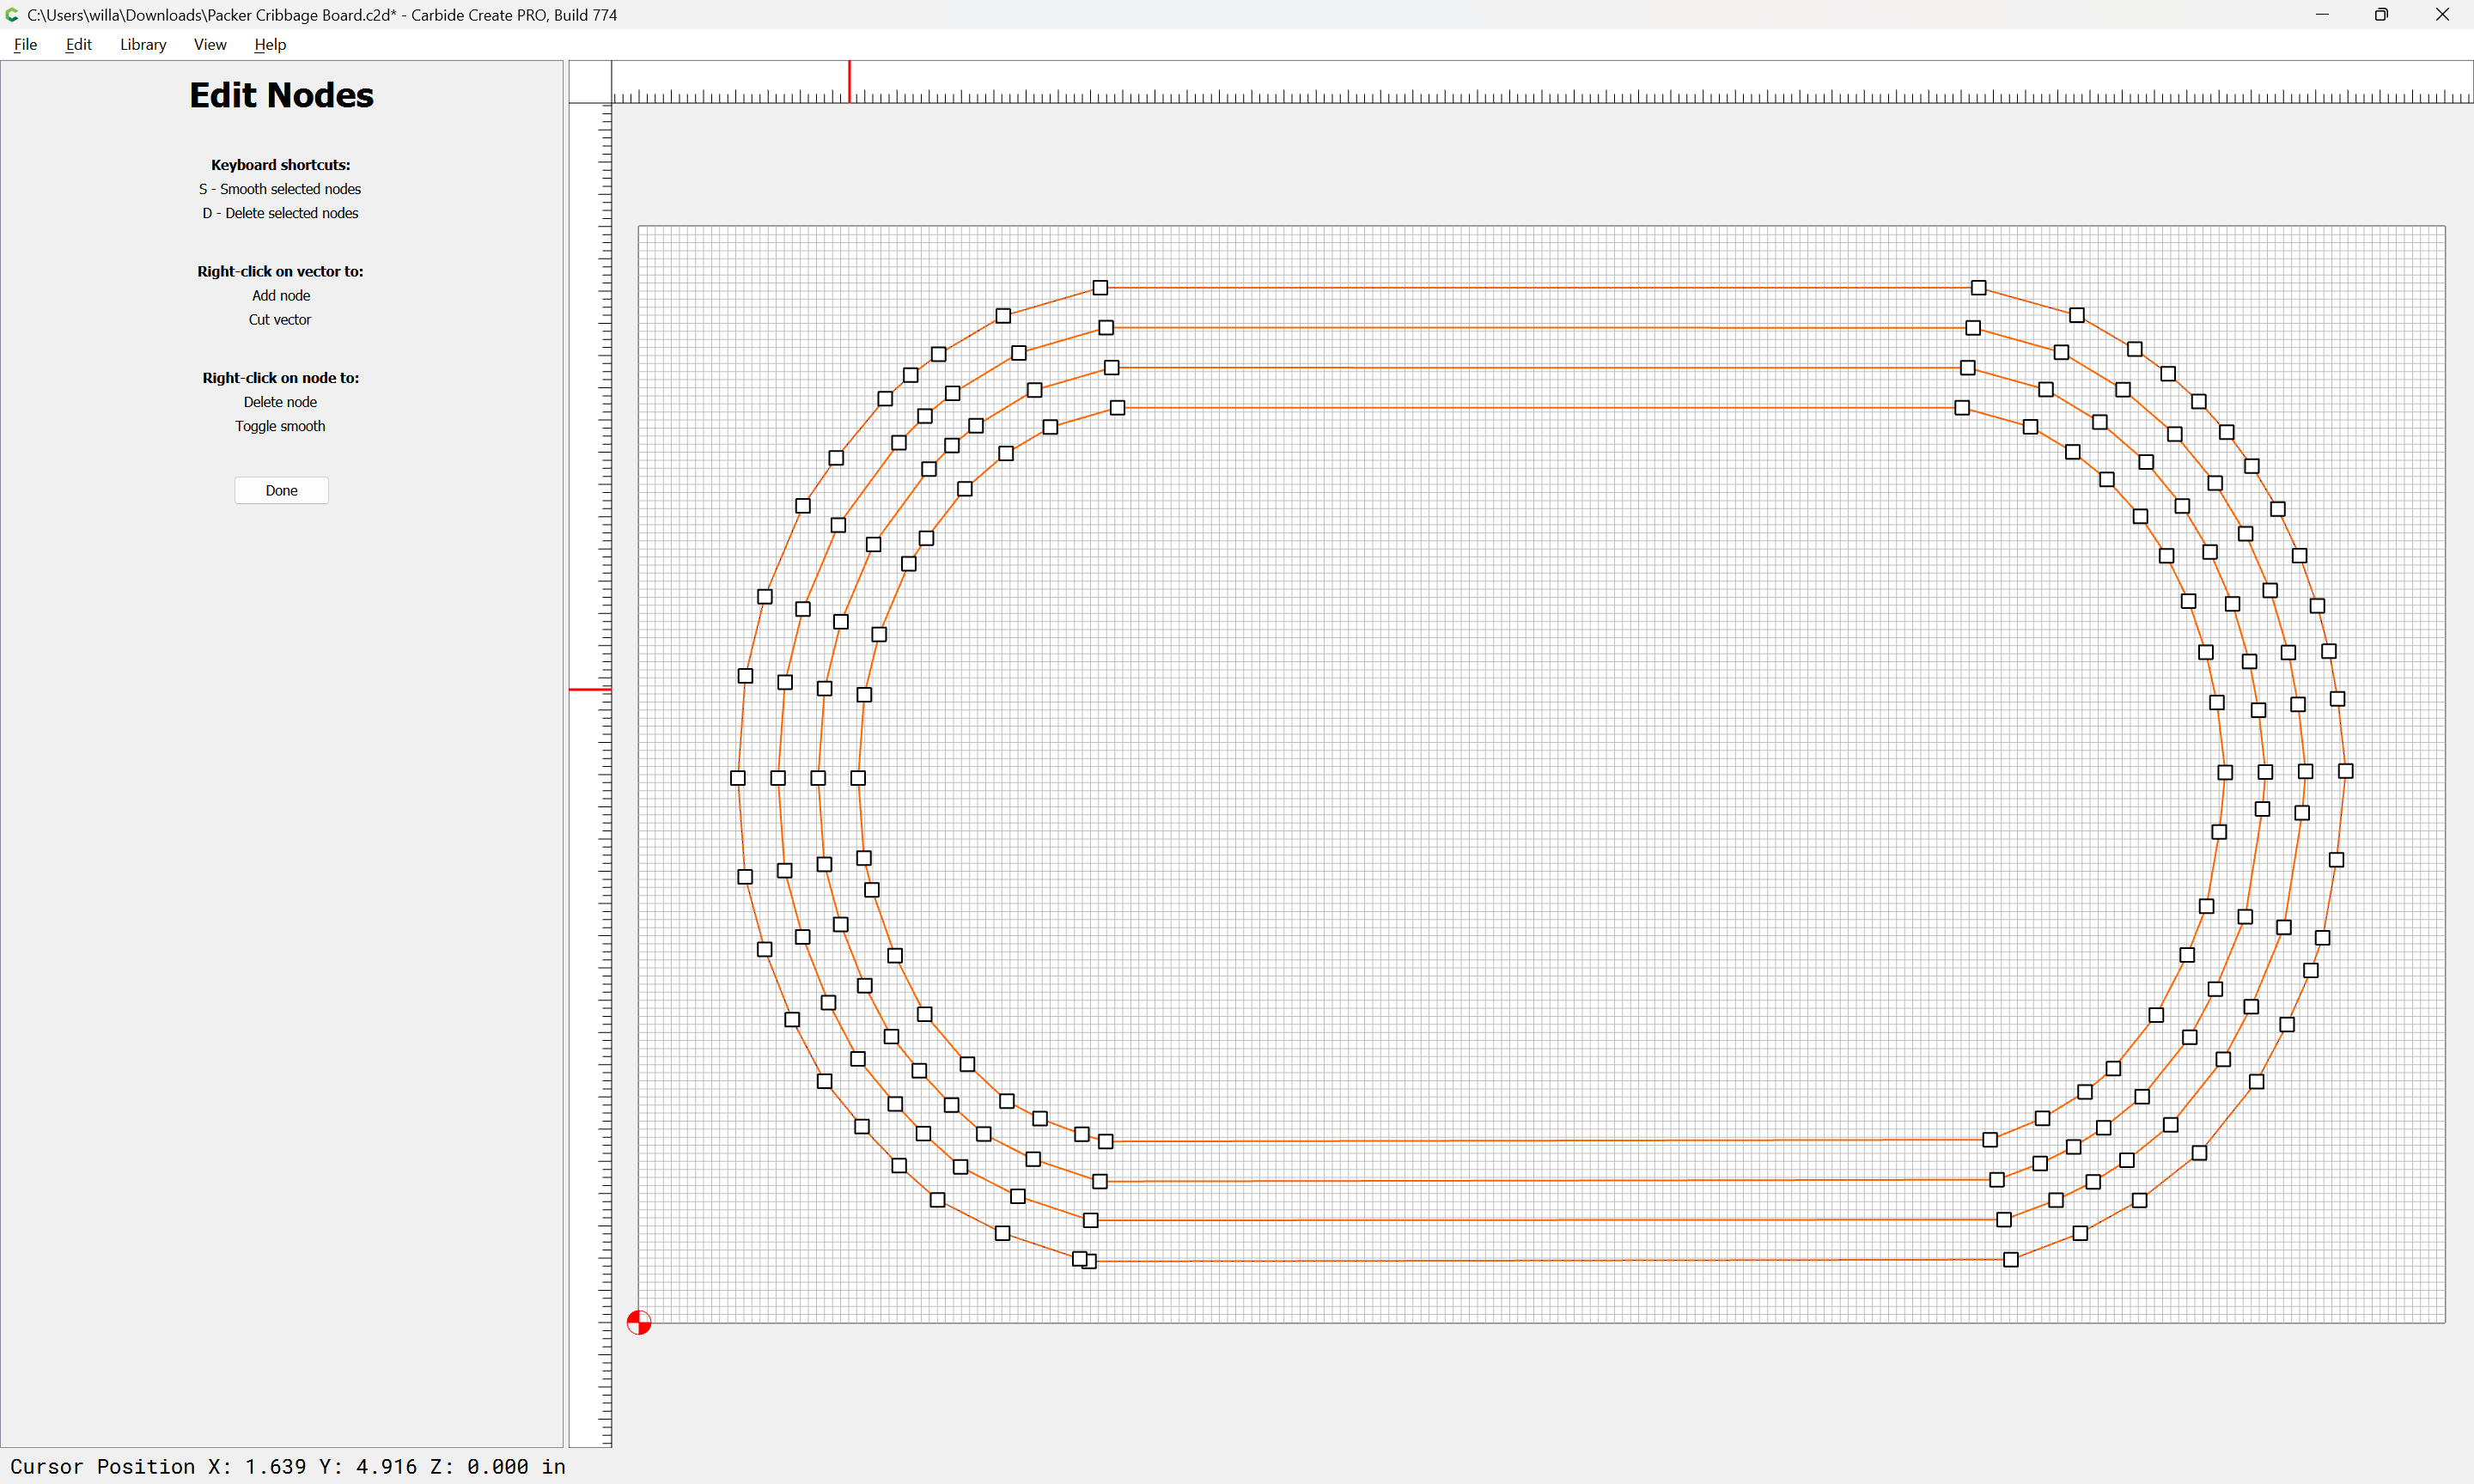
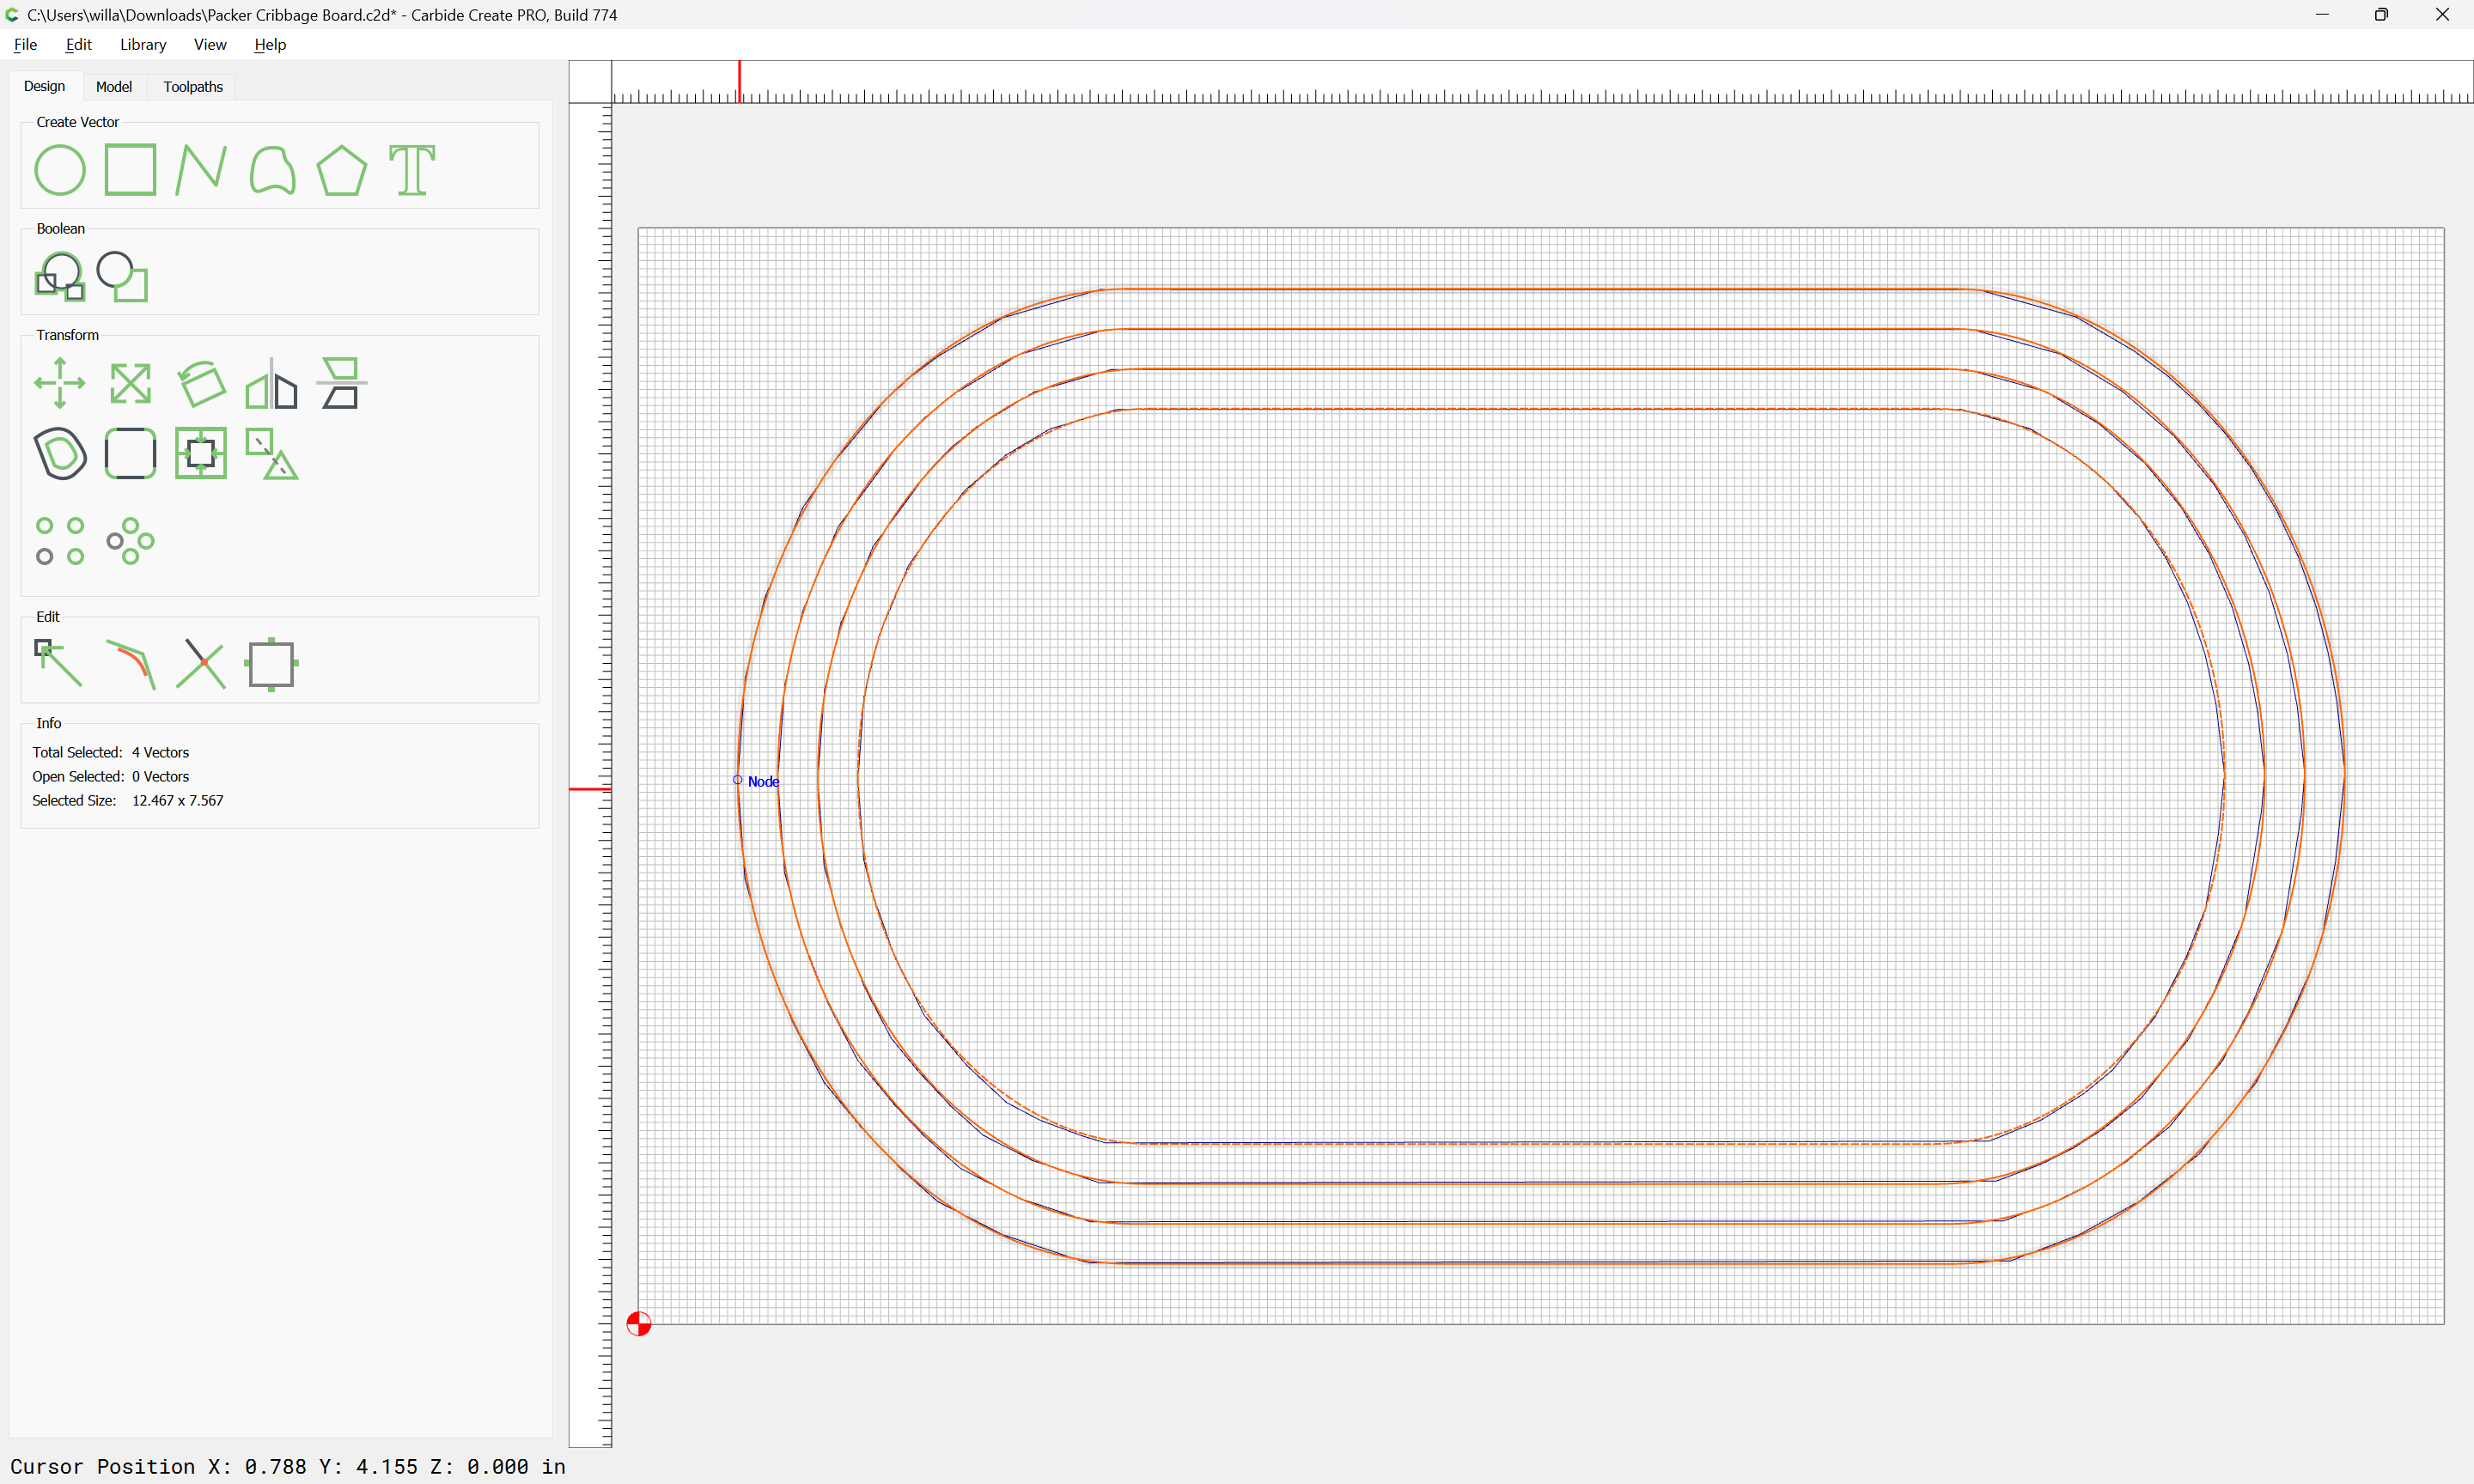
Because the geometry came in at a very small size, it is rather jagged:
This may be easily addressed by duplicating it (so that the original may serve as a reference)
and then locking the original layer:
Hiding all the other layers:
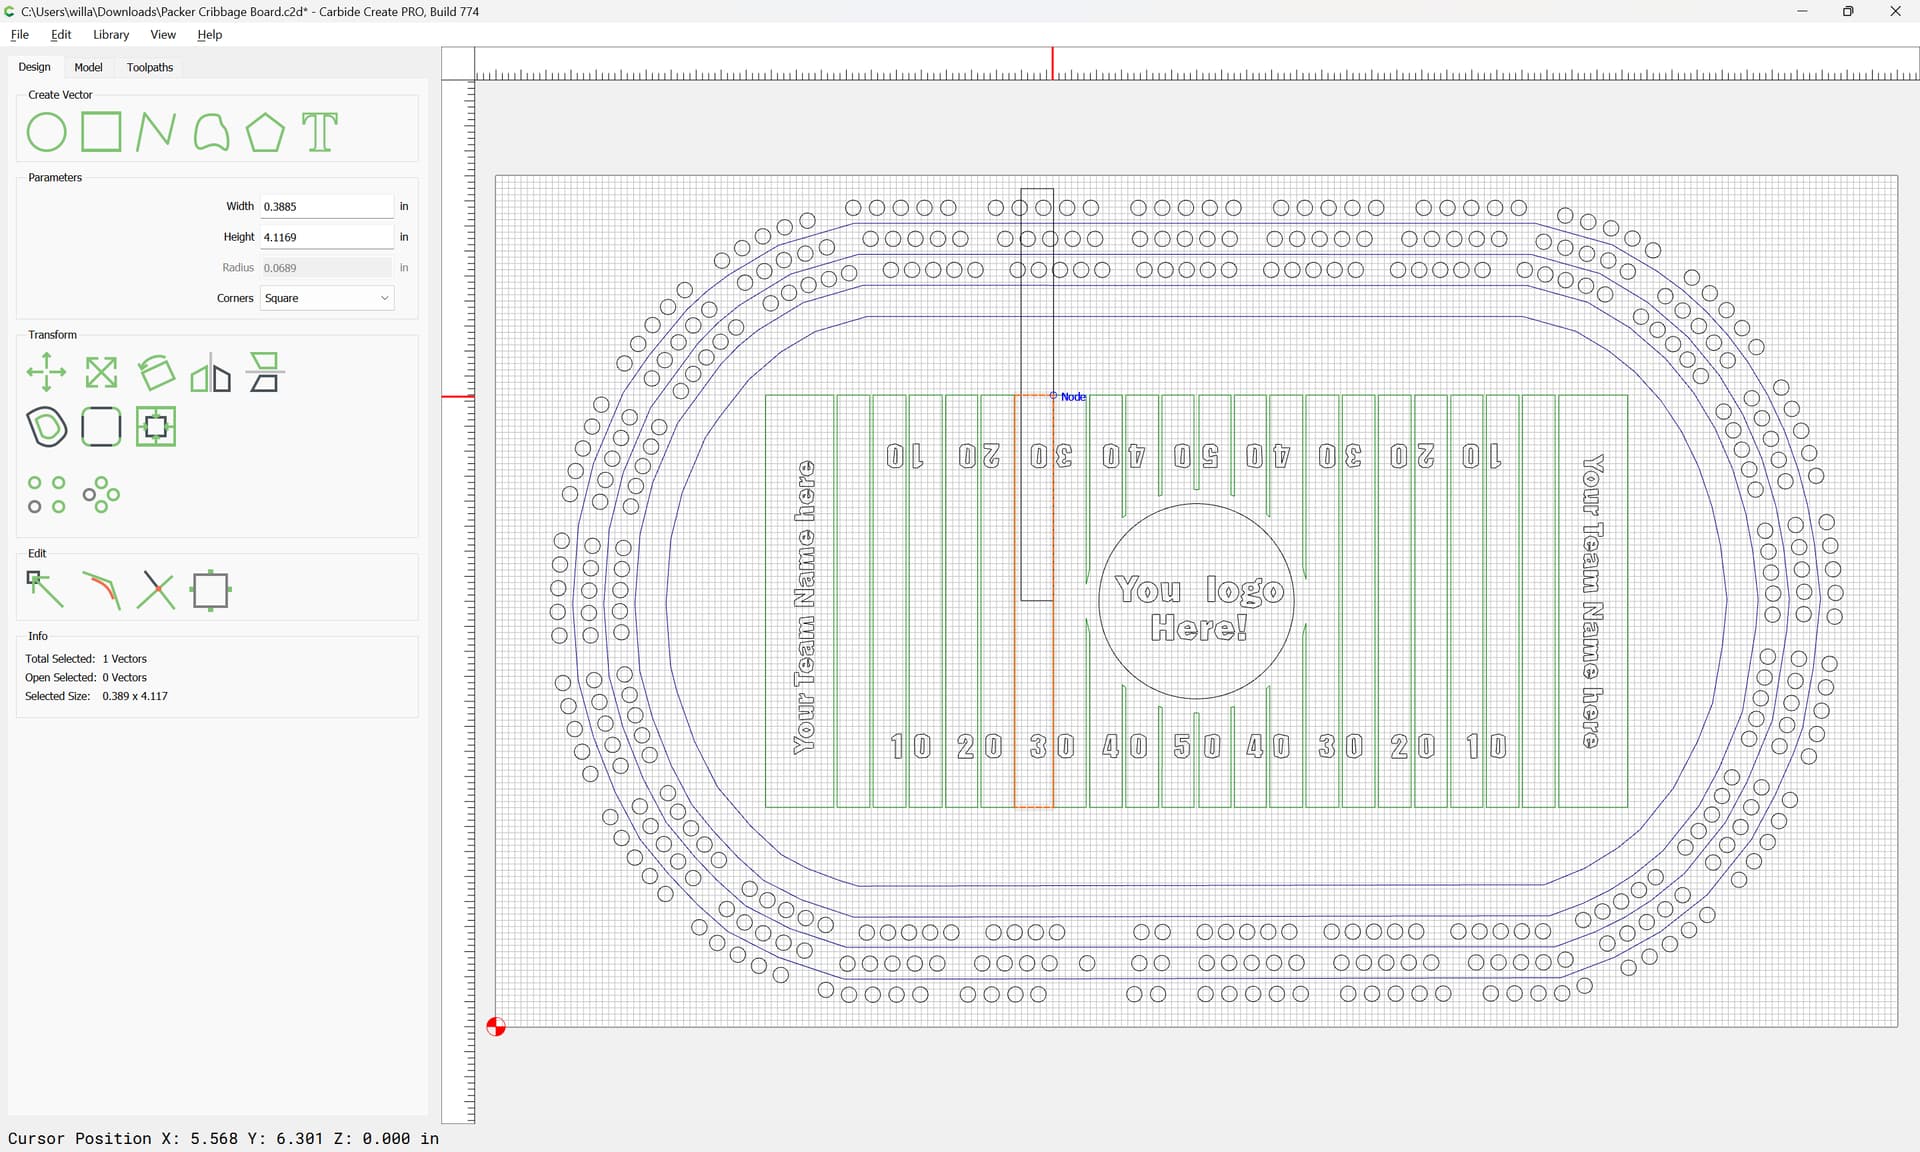
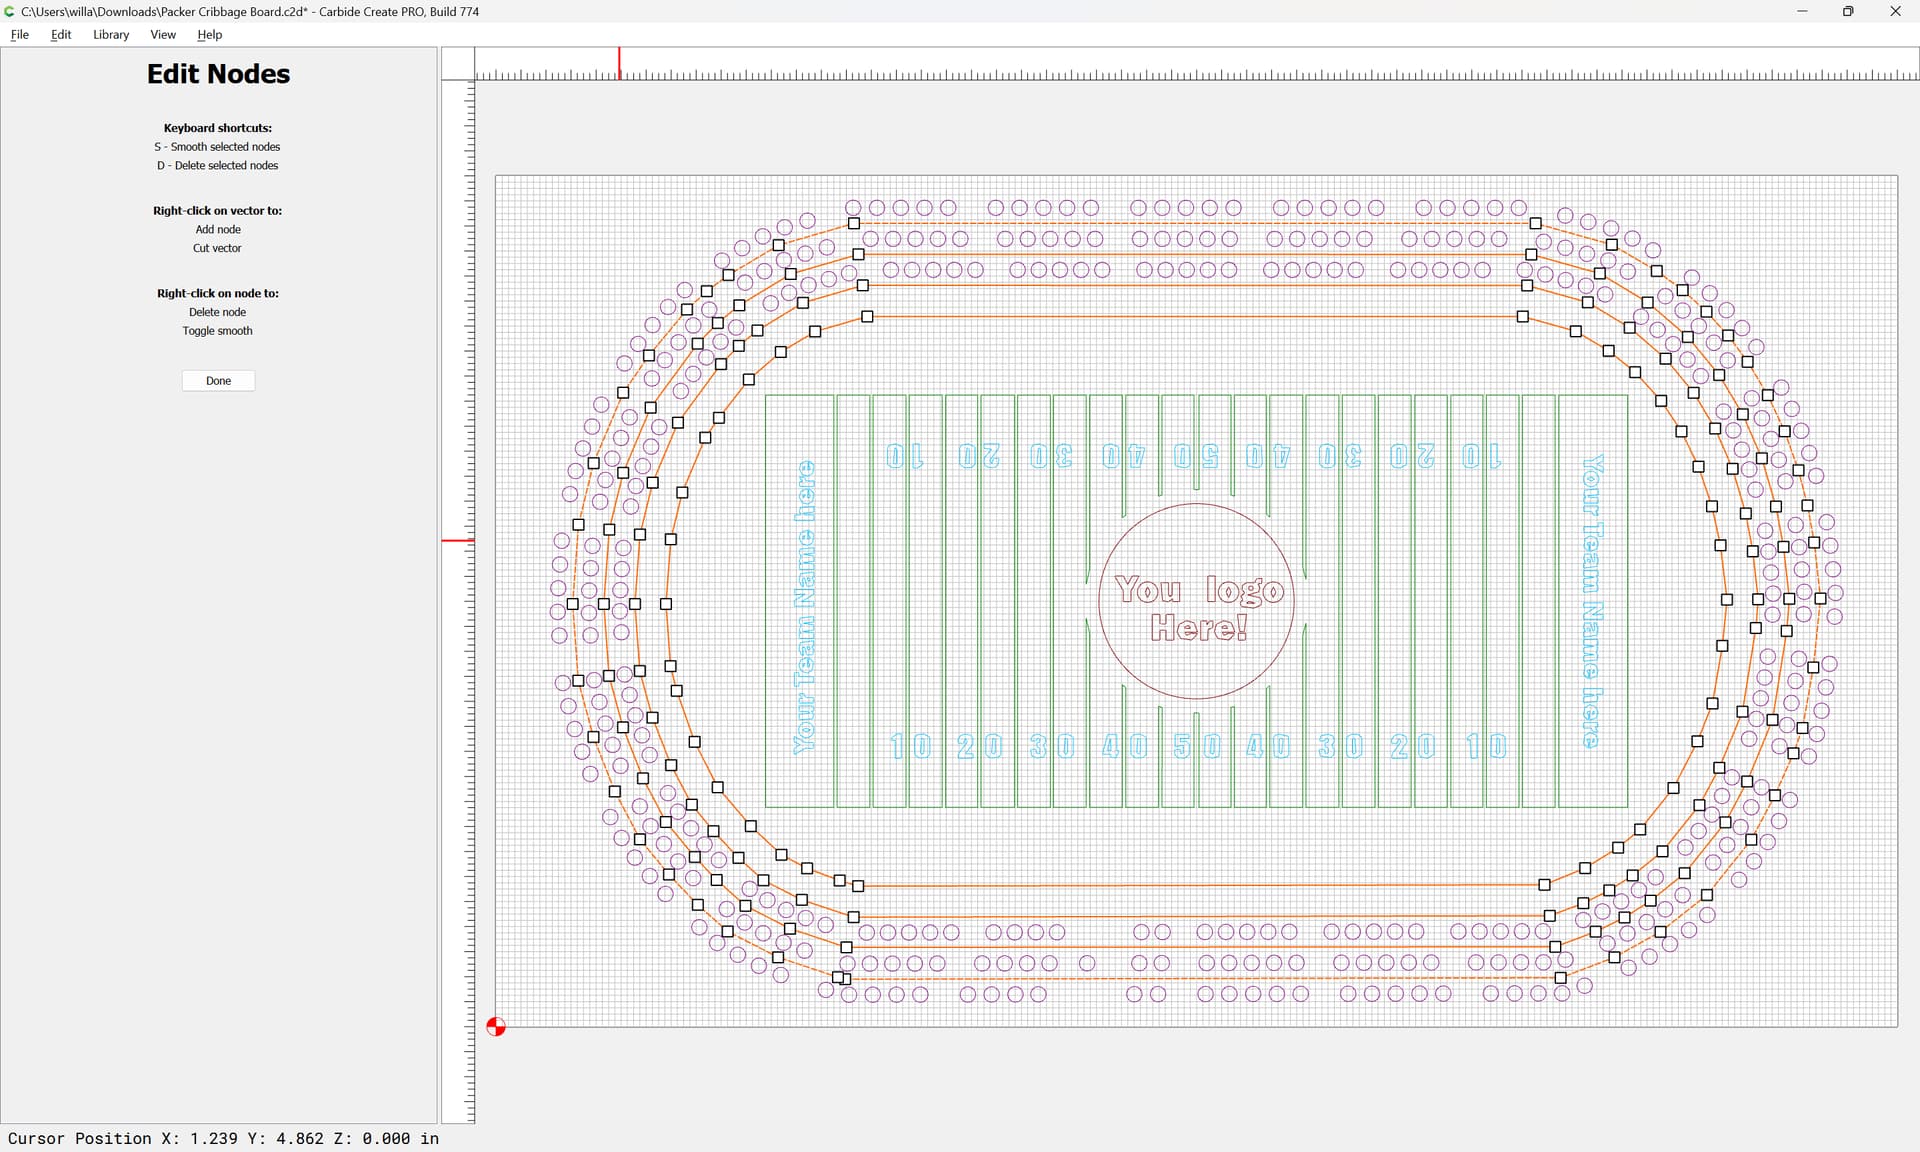
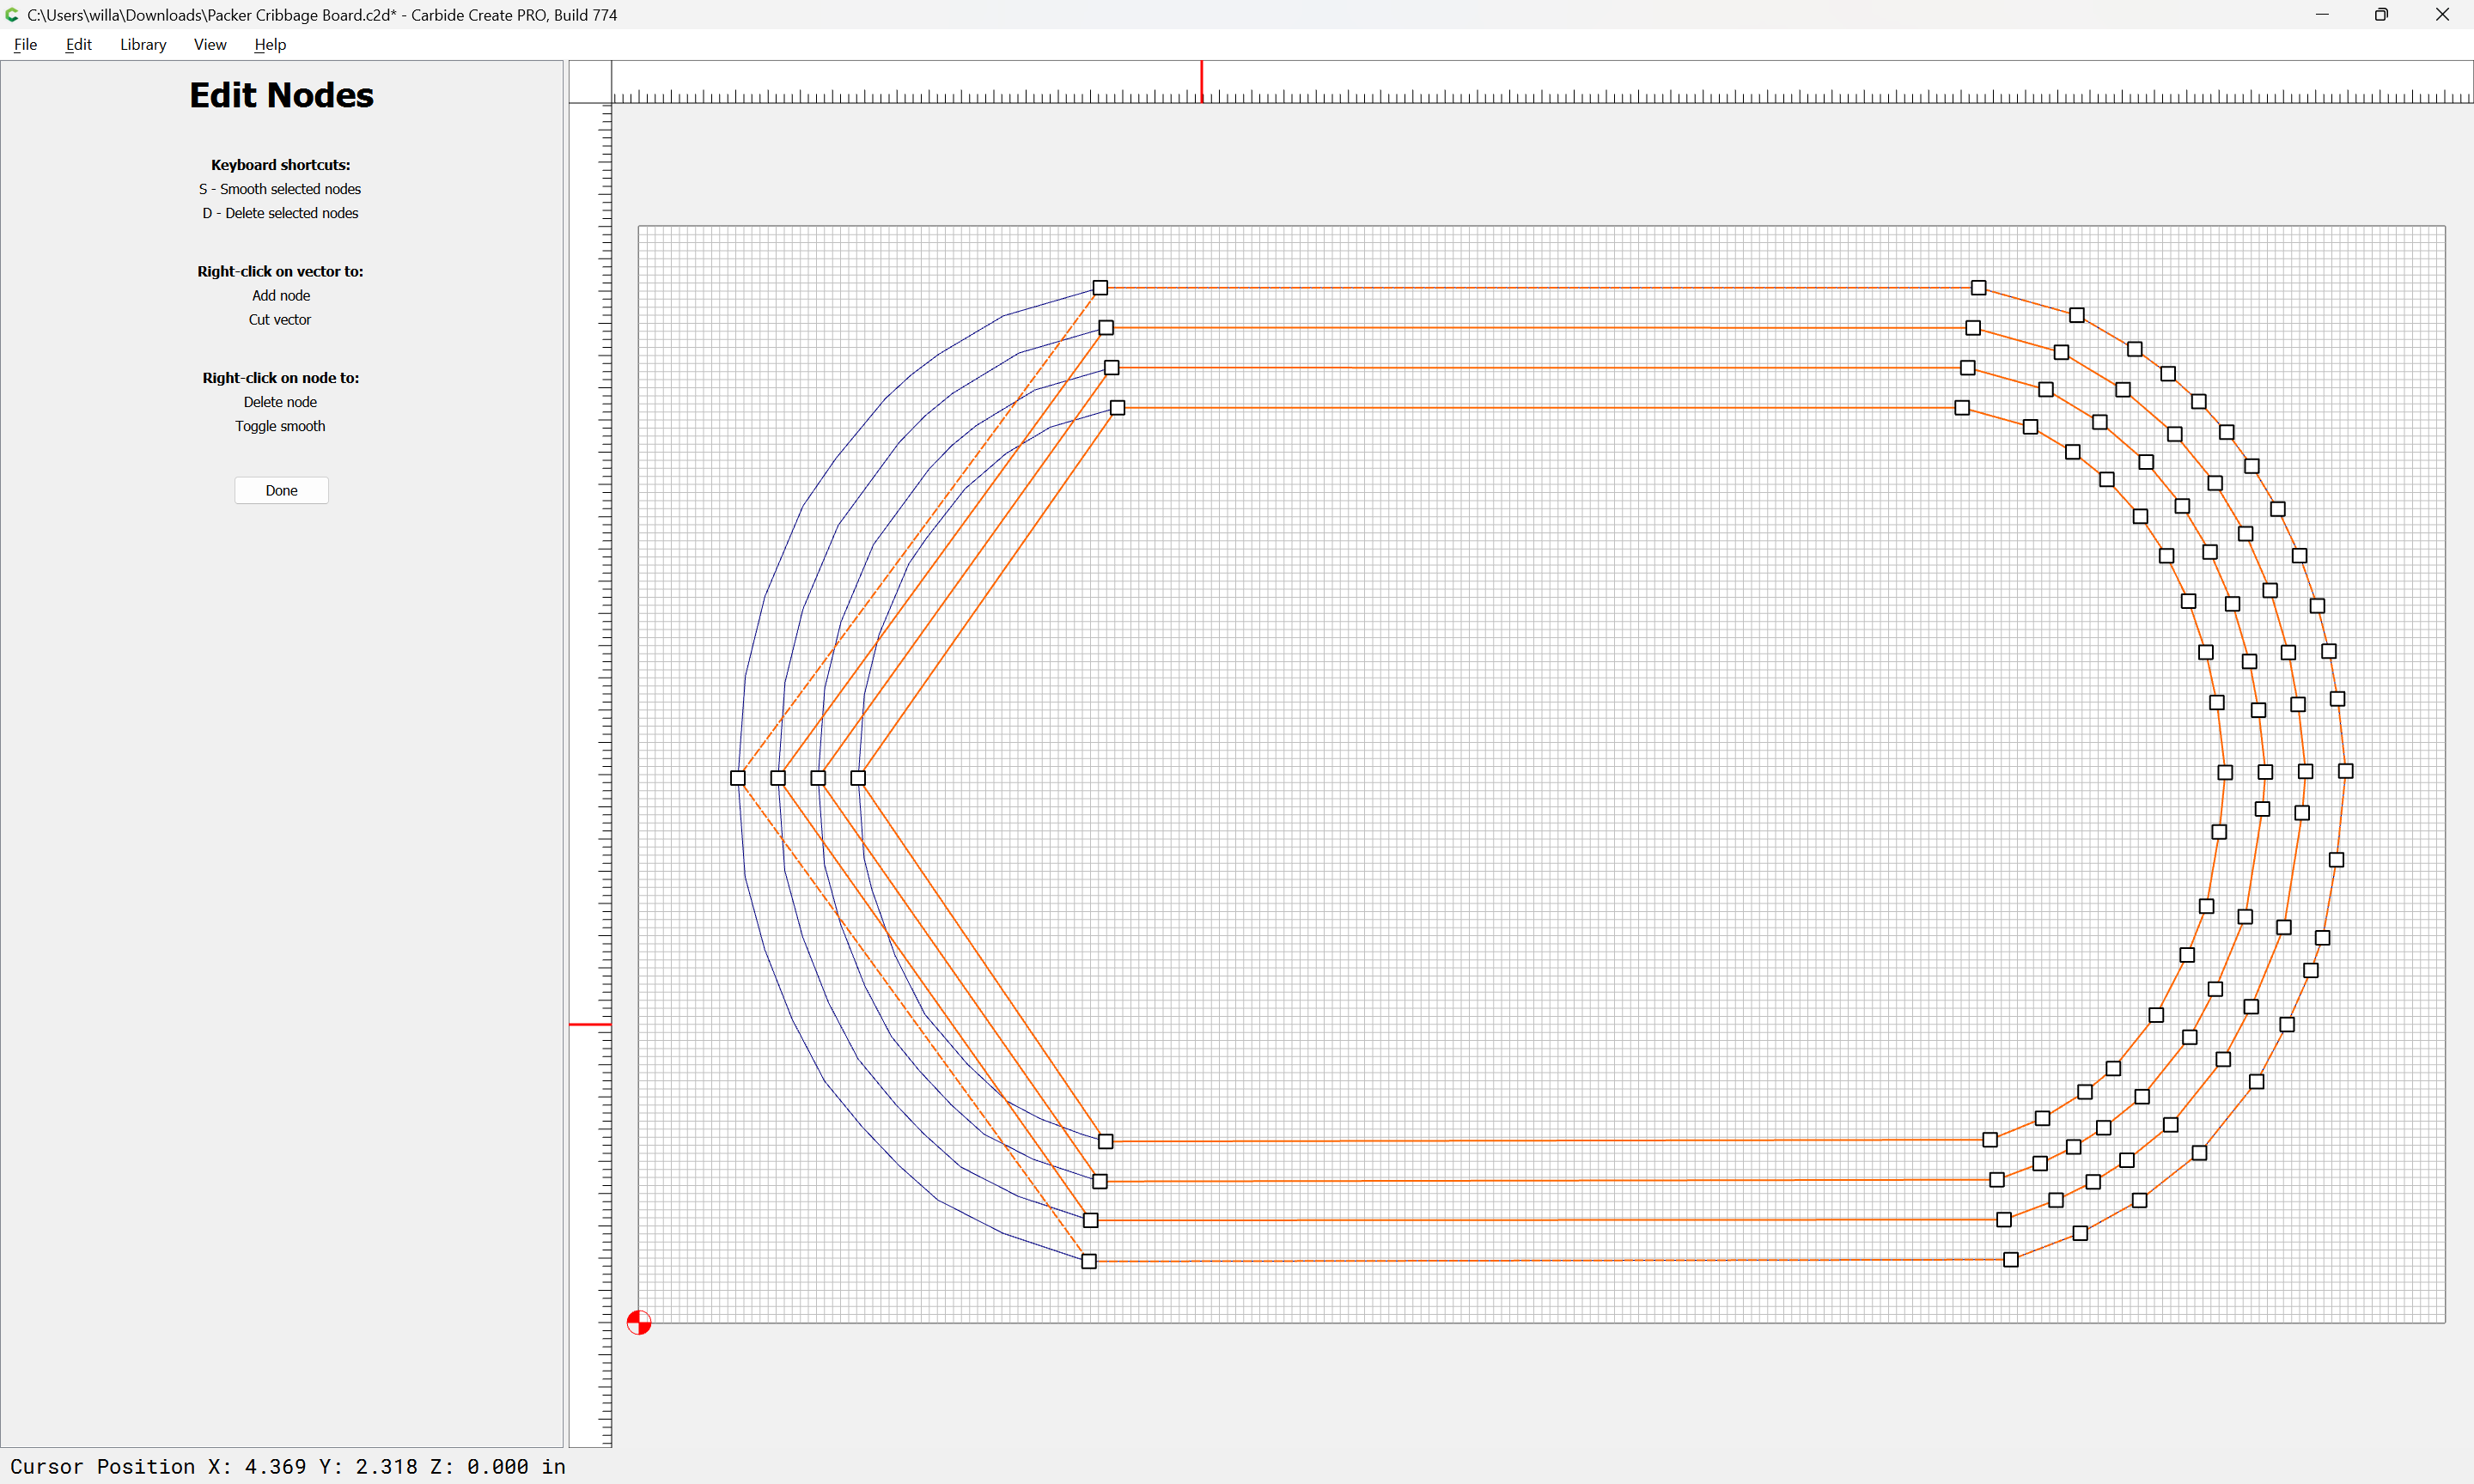
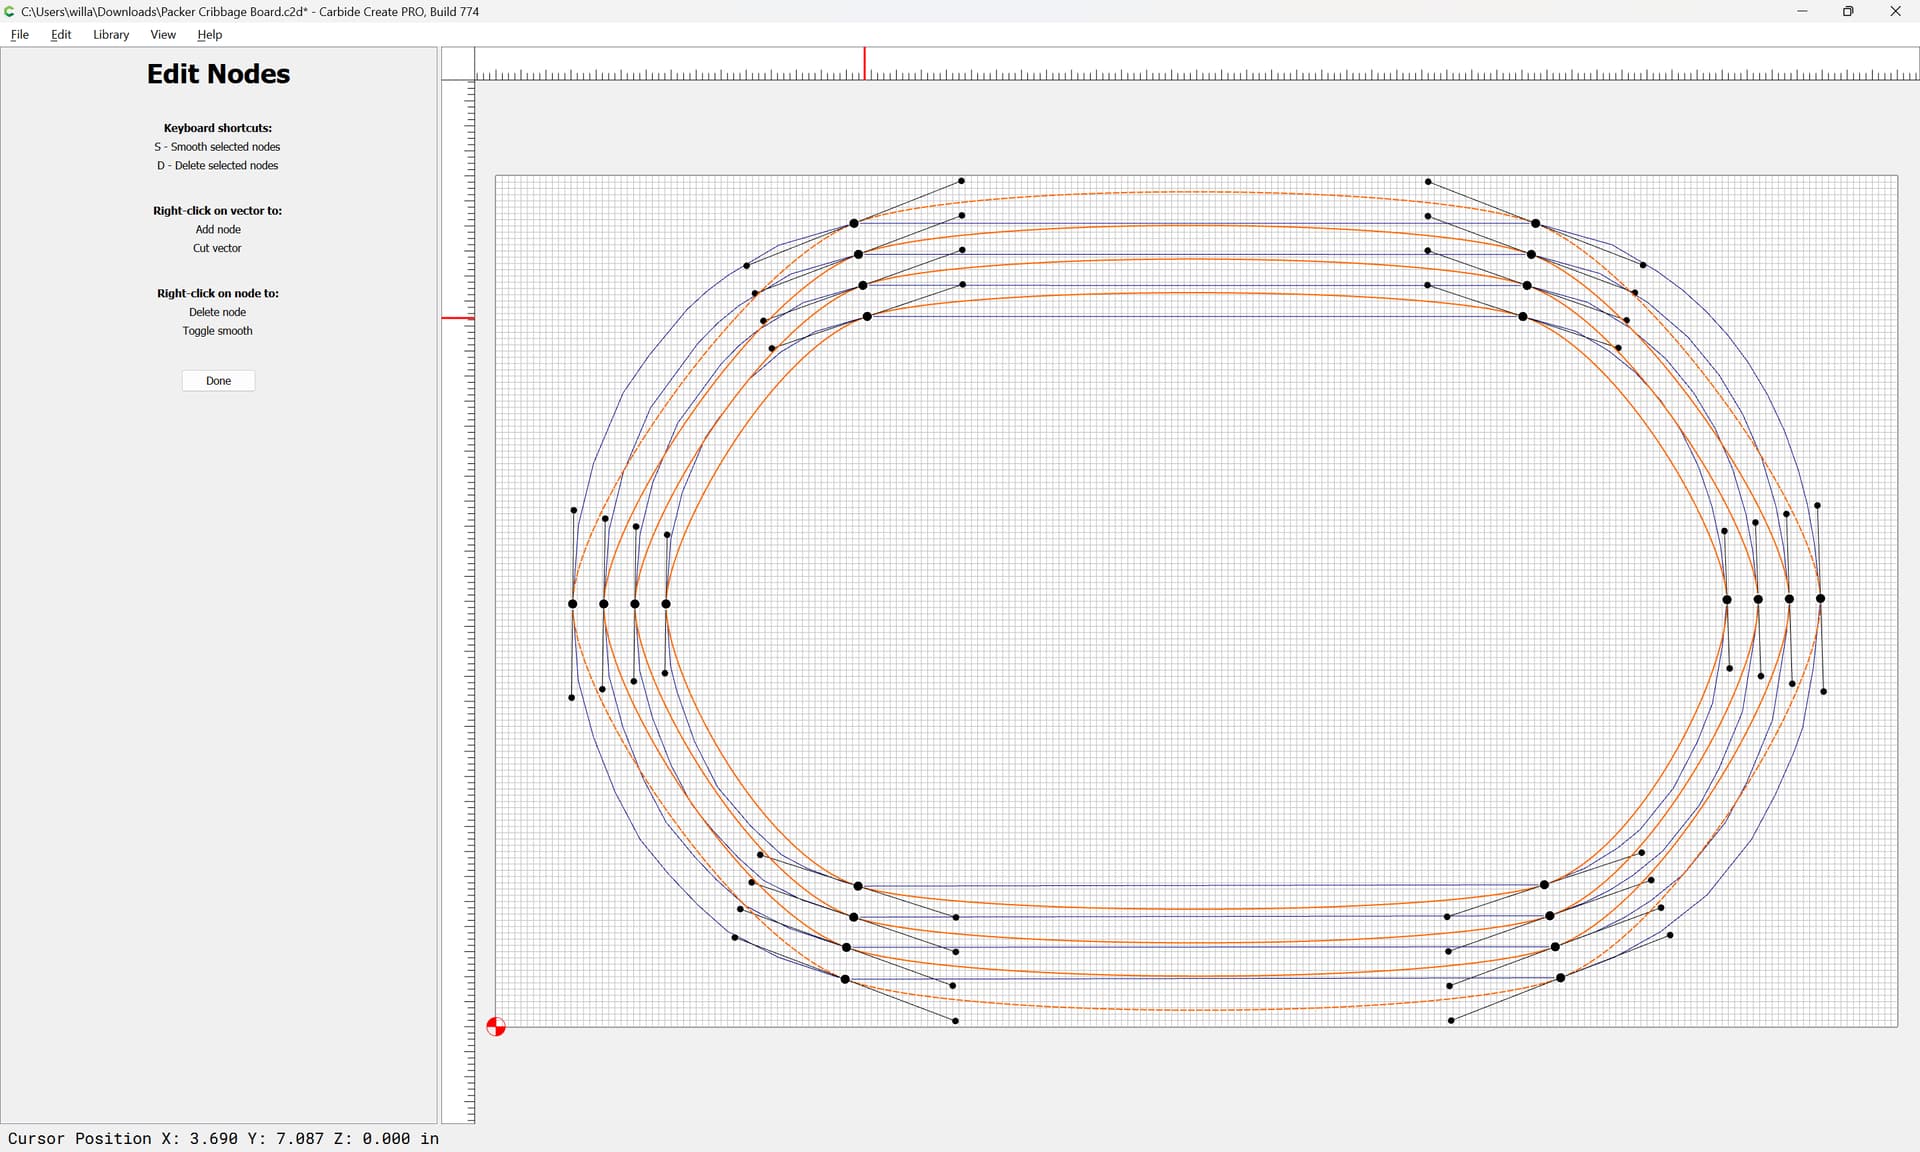
allows selecting all
and Node Editing
the duplicates on the Default layer.
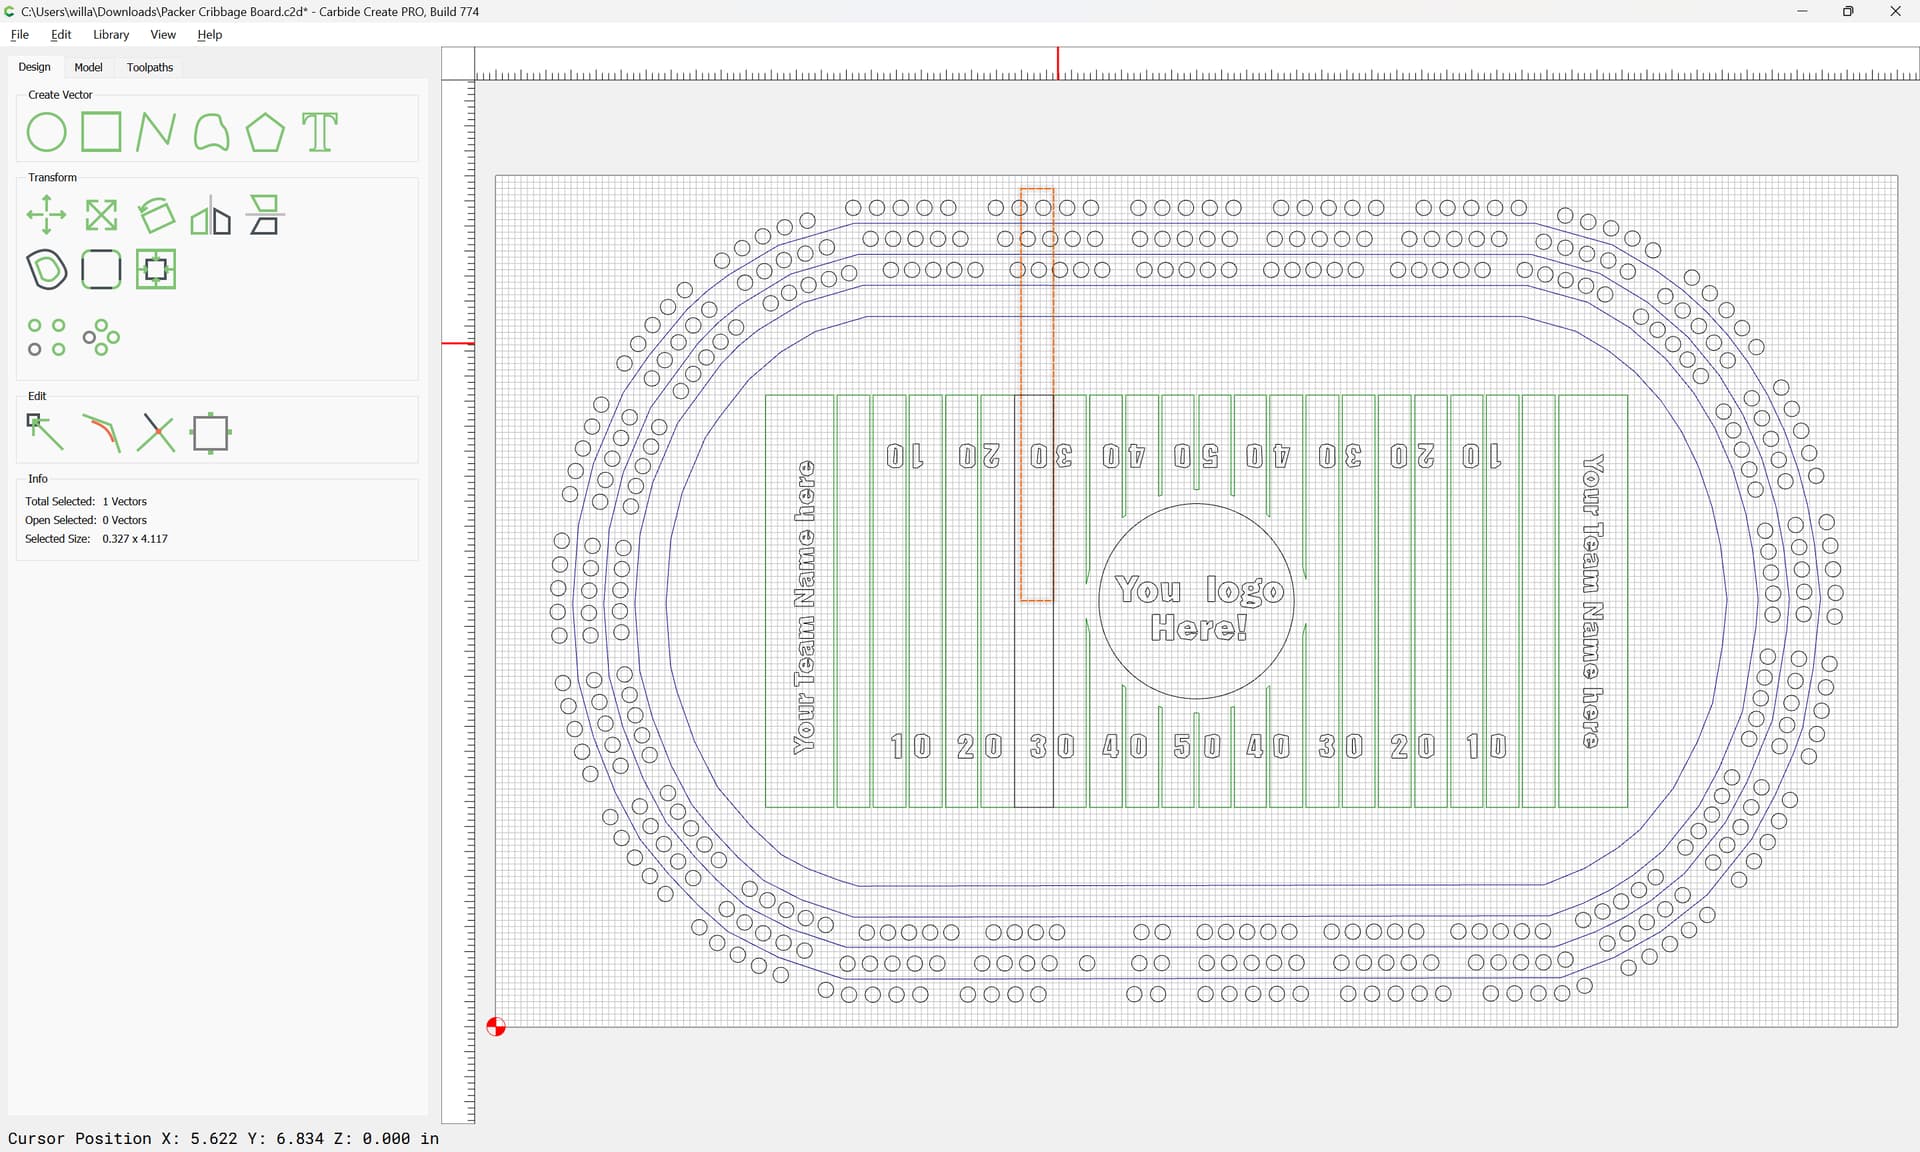
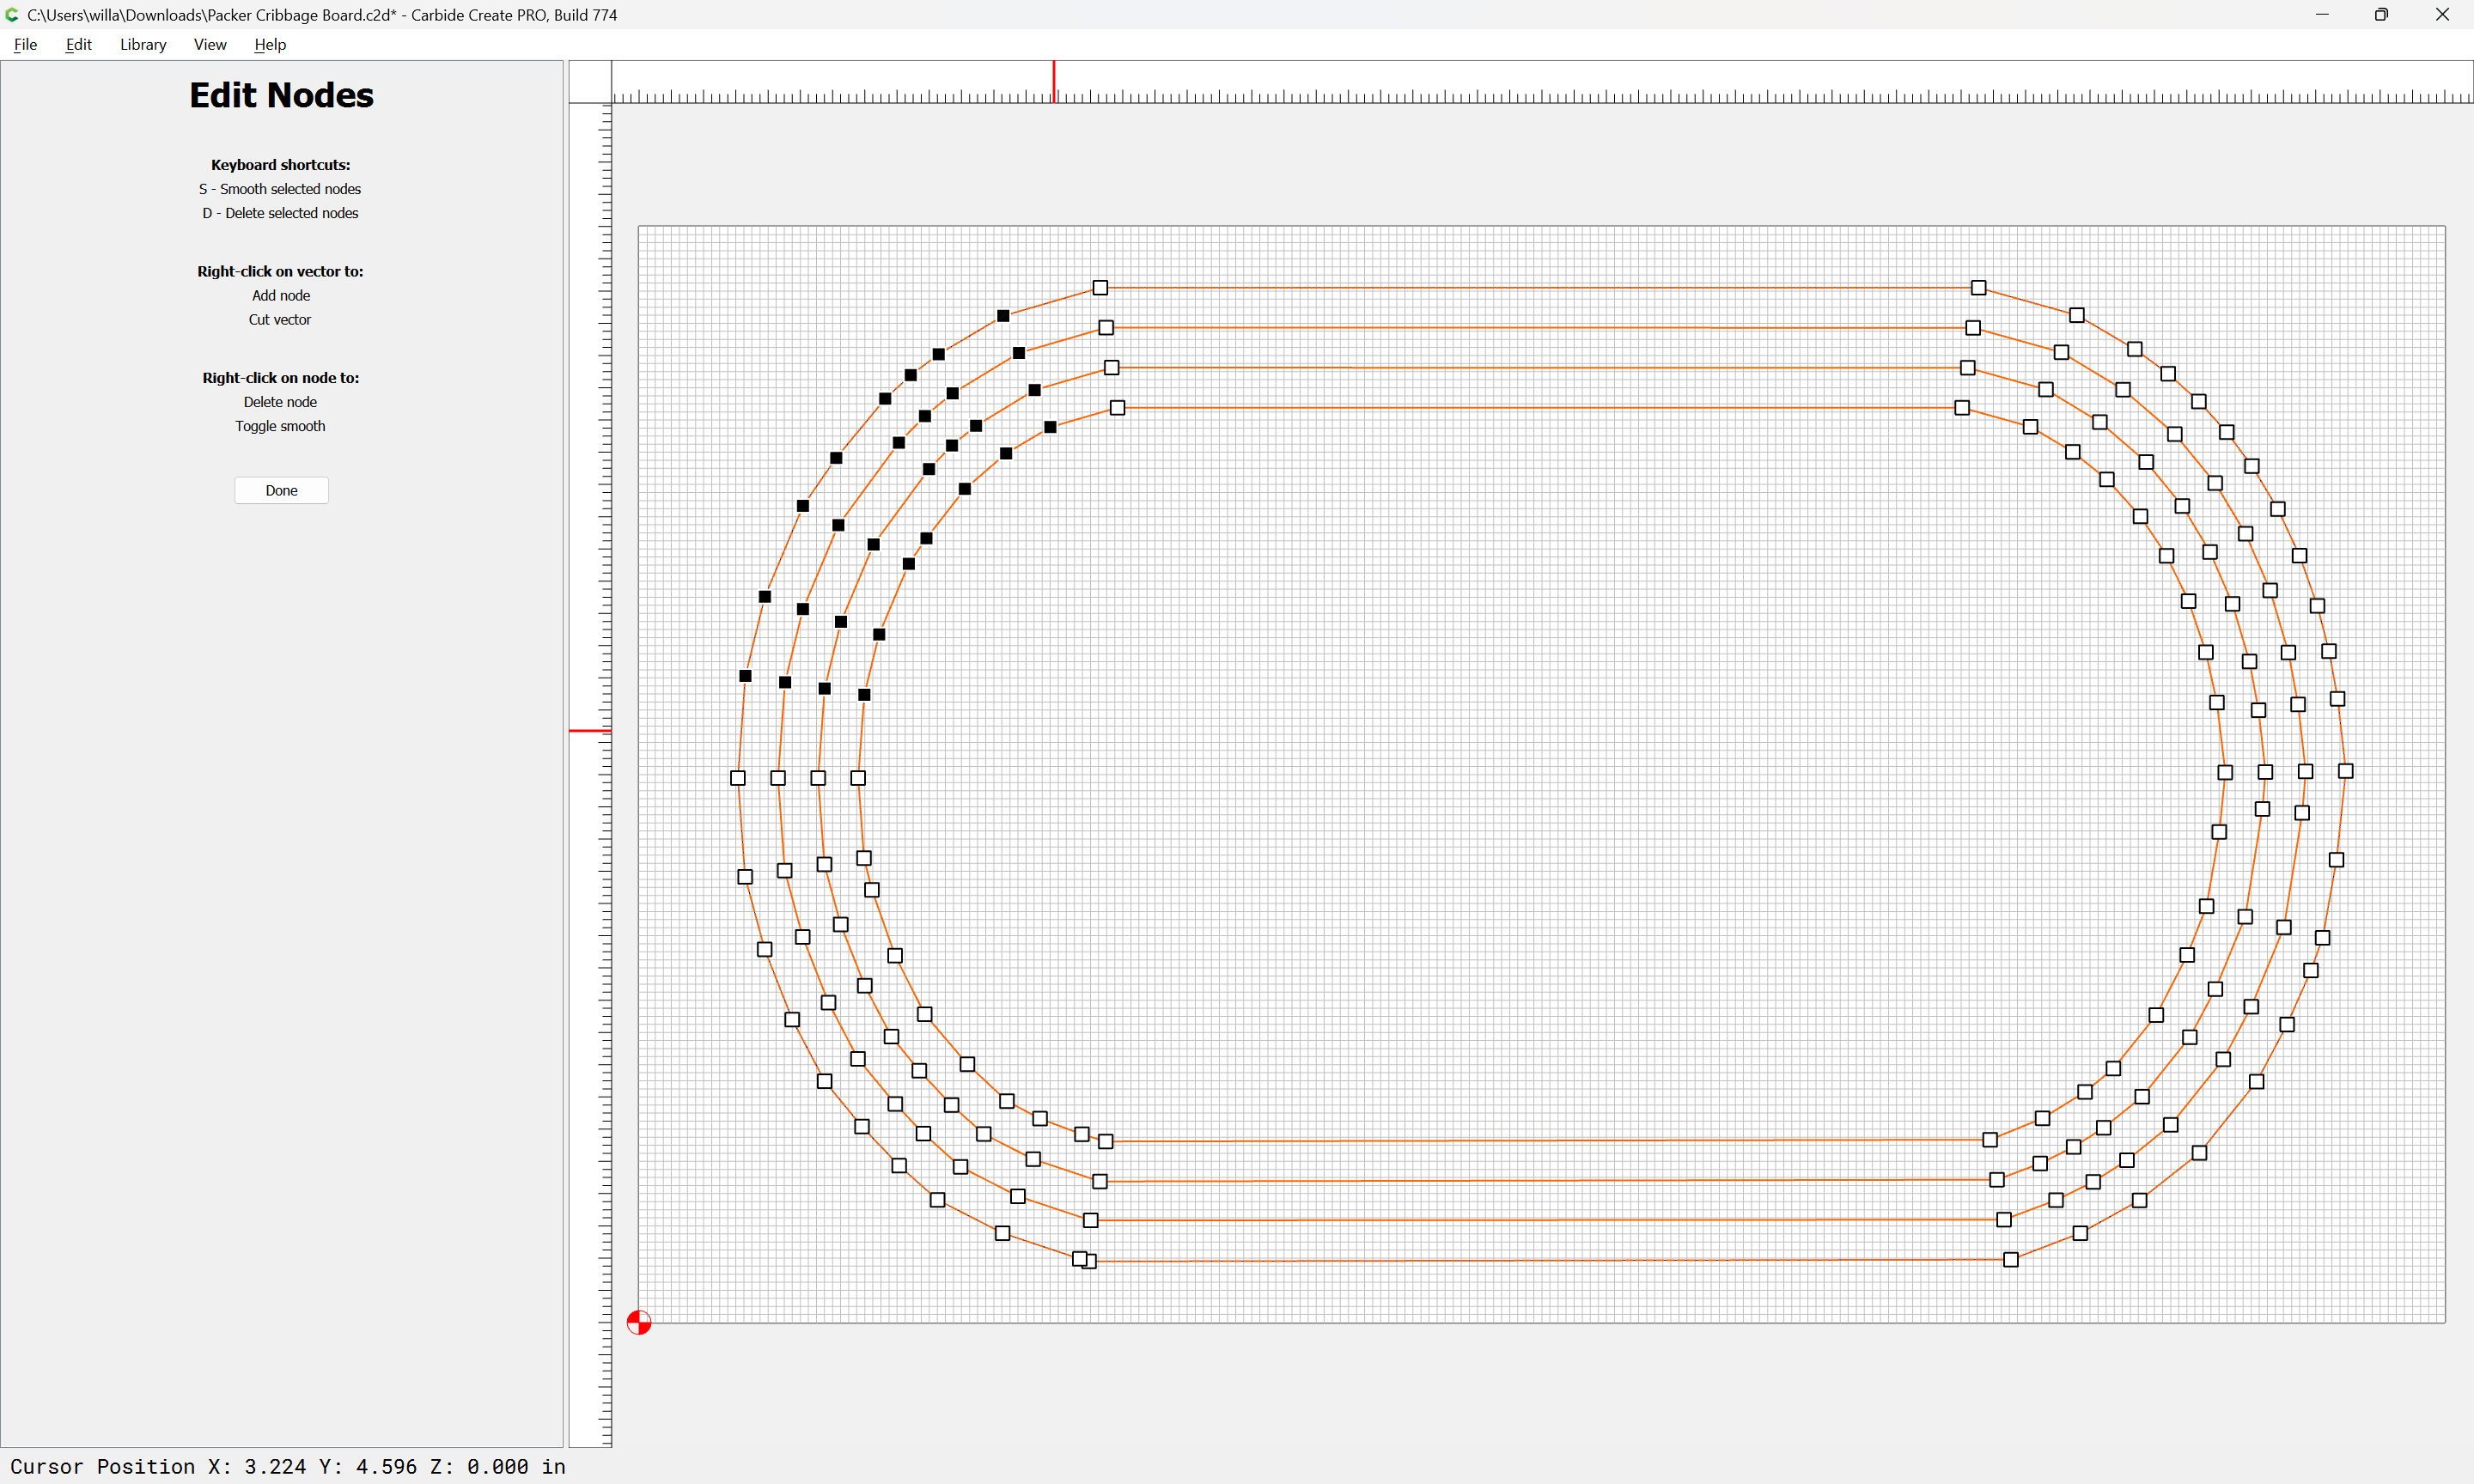
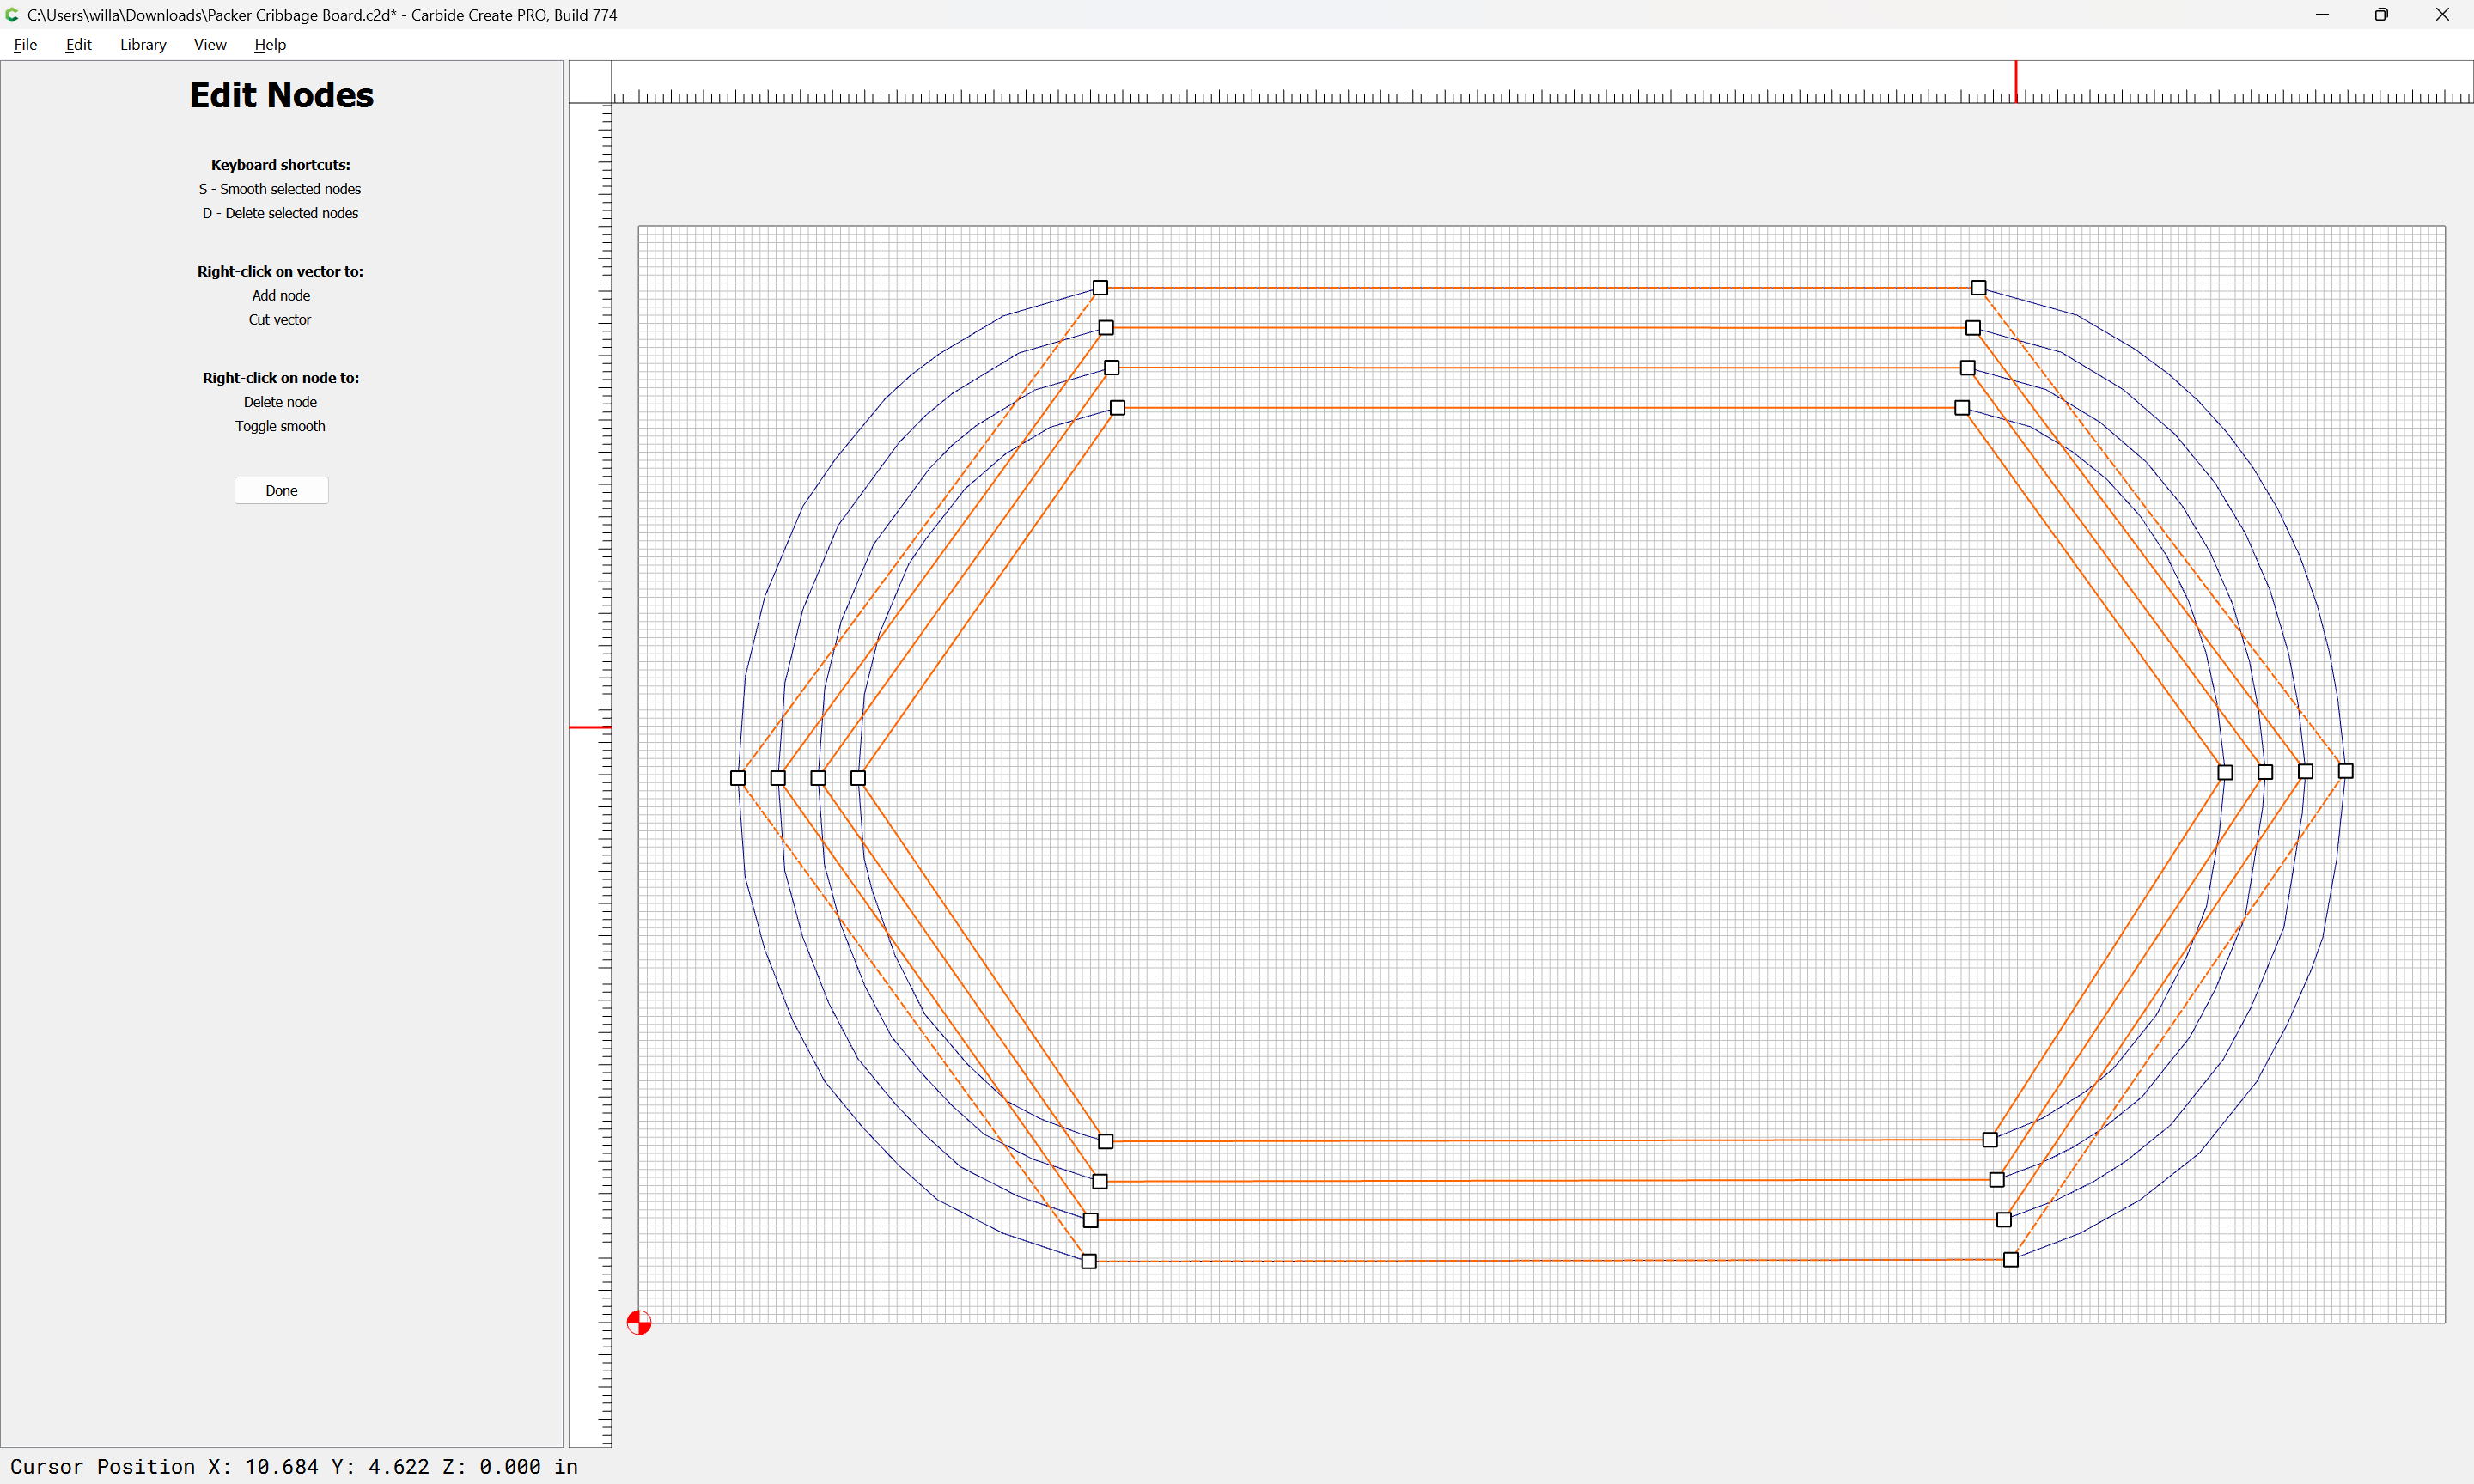
Select the redundant nodes by quadrants:
and delete
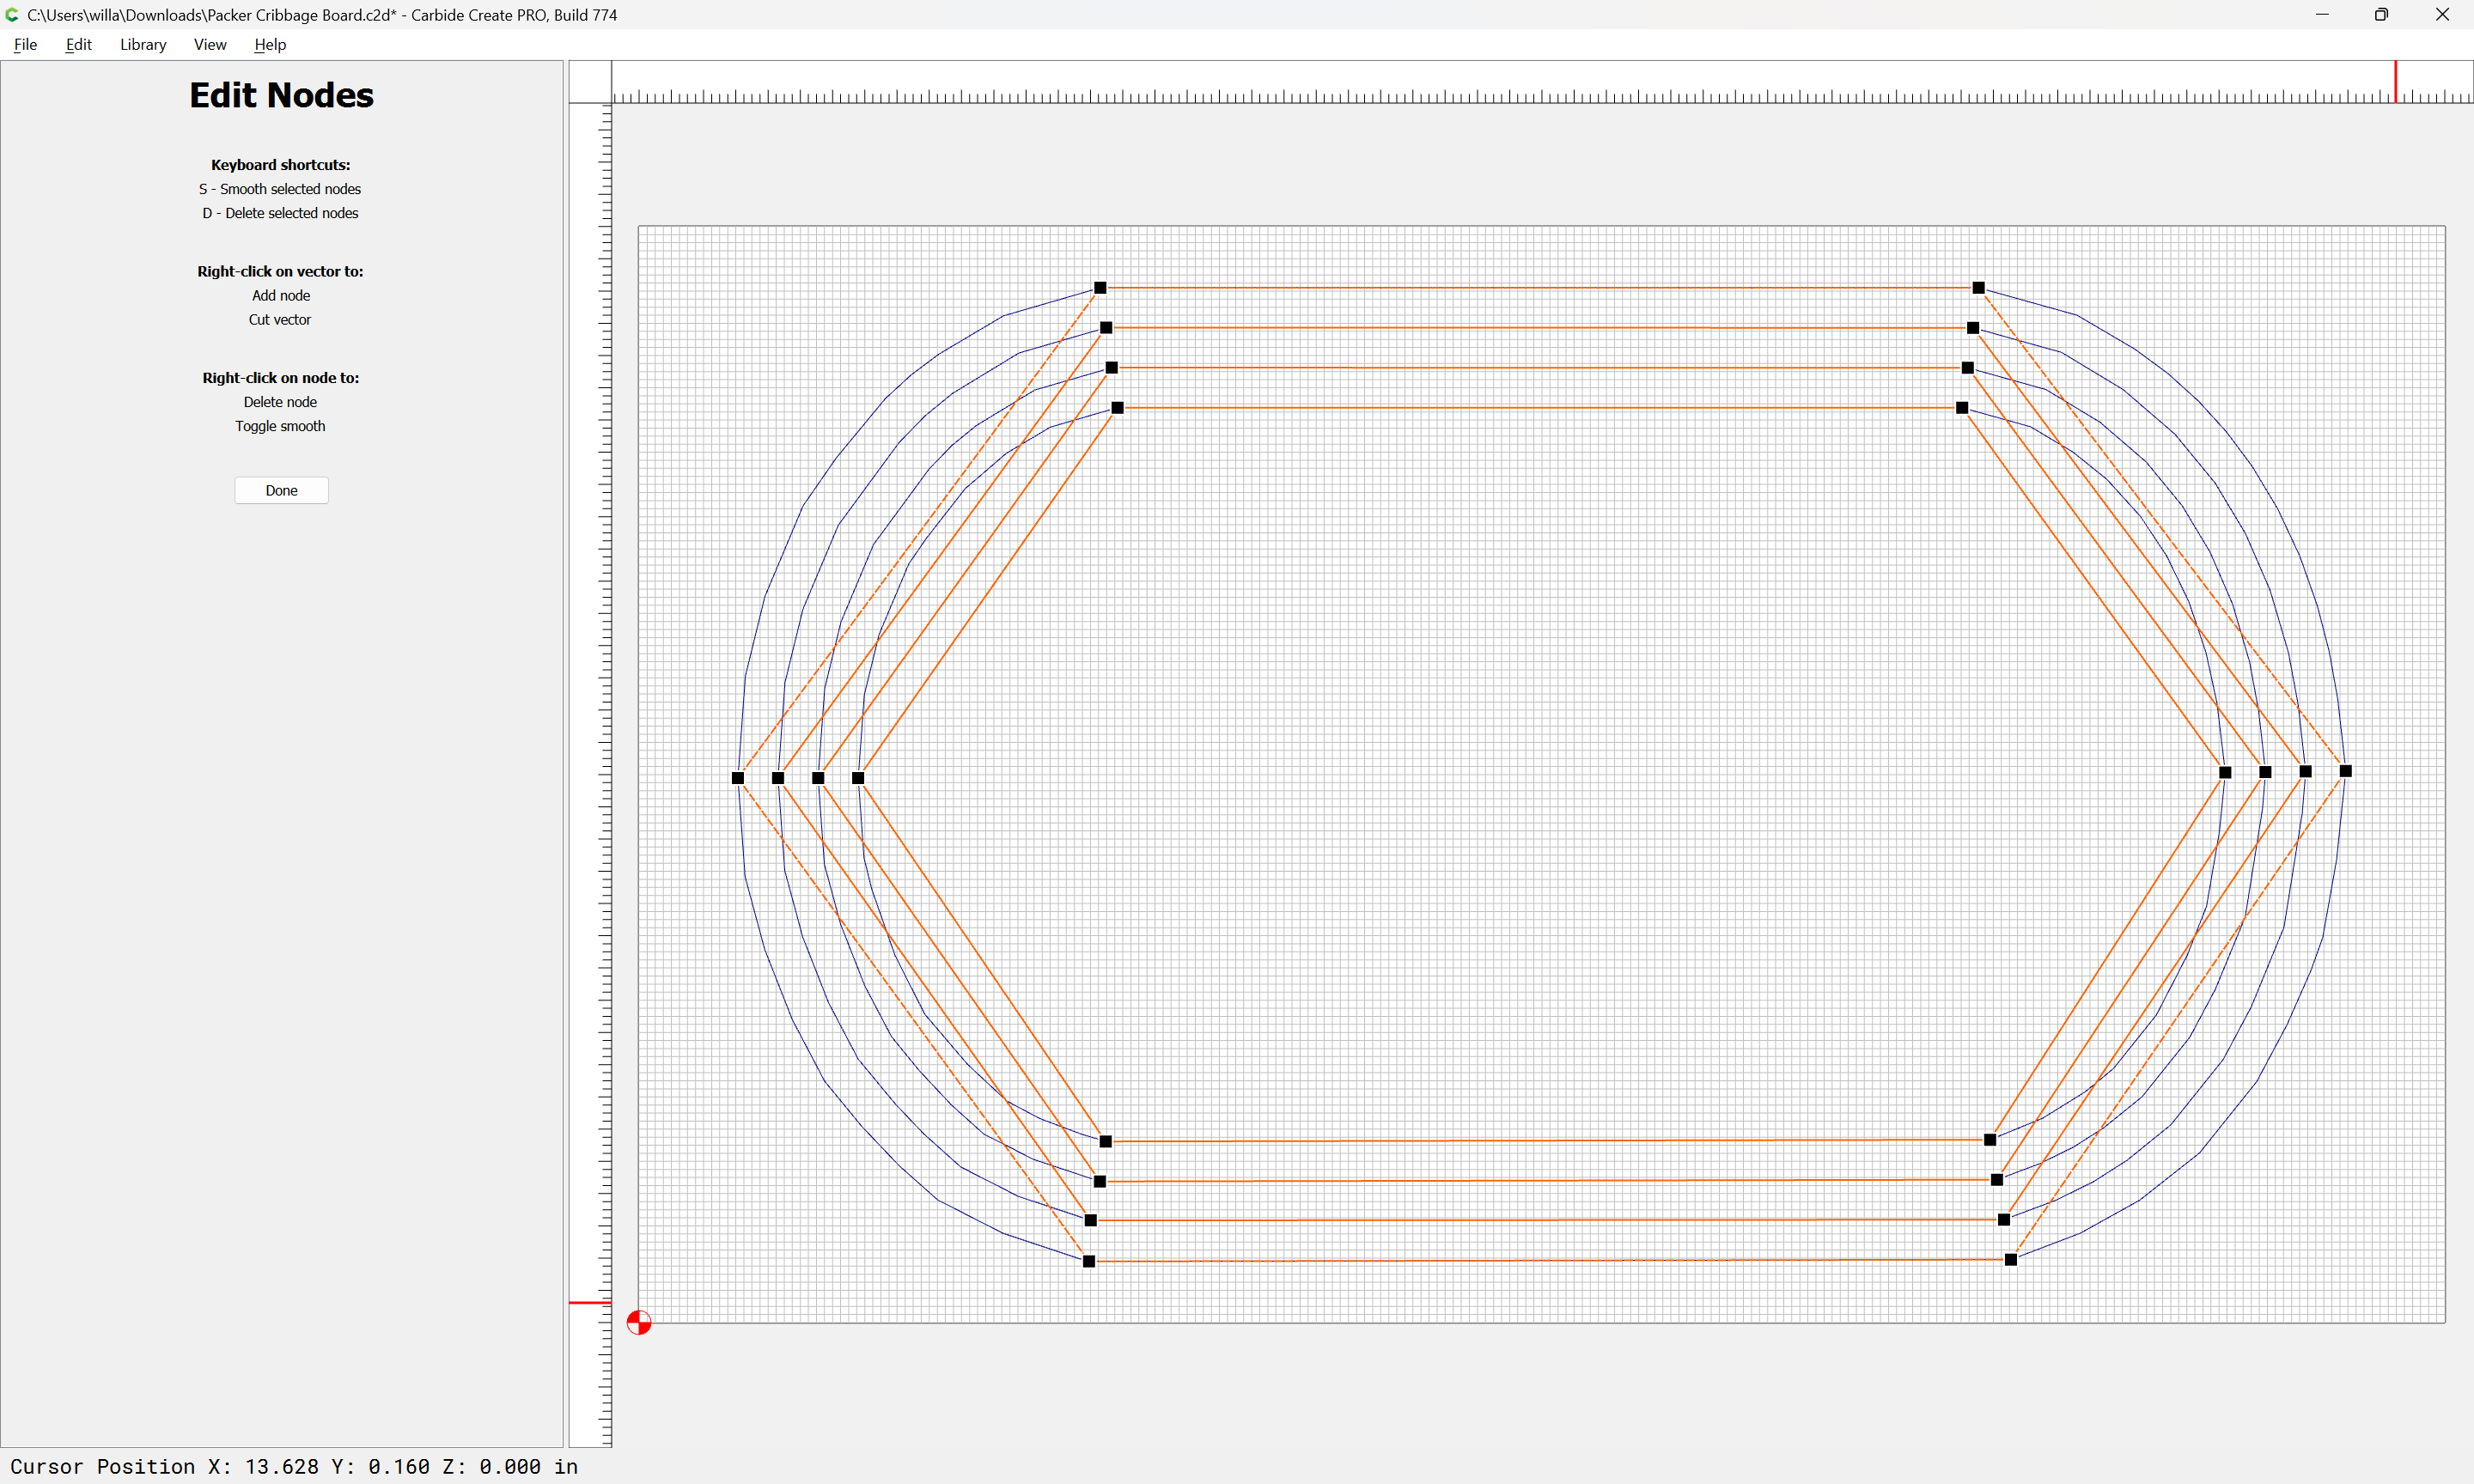
repeating for each quadrant:
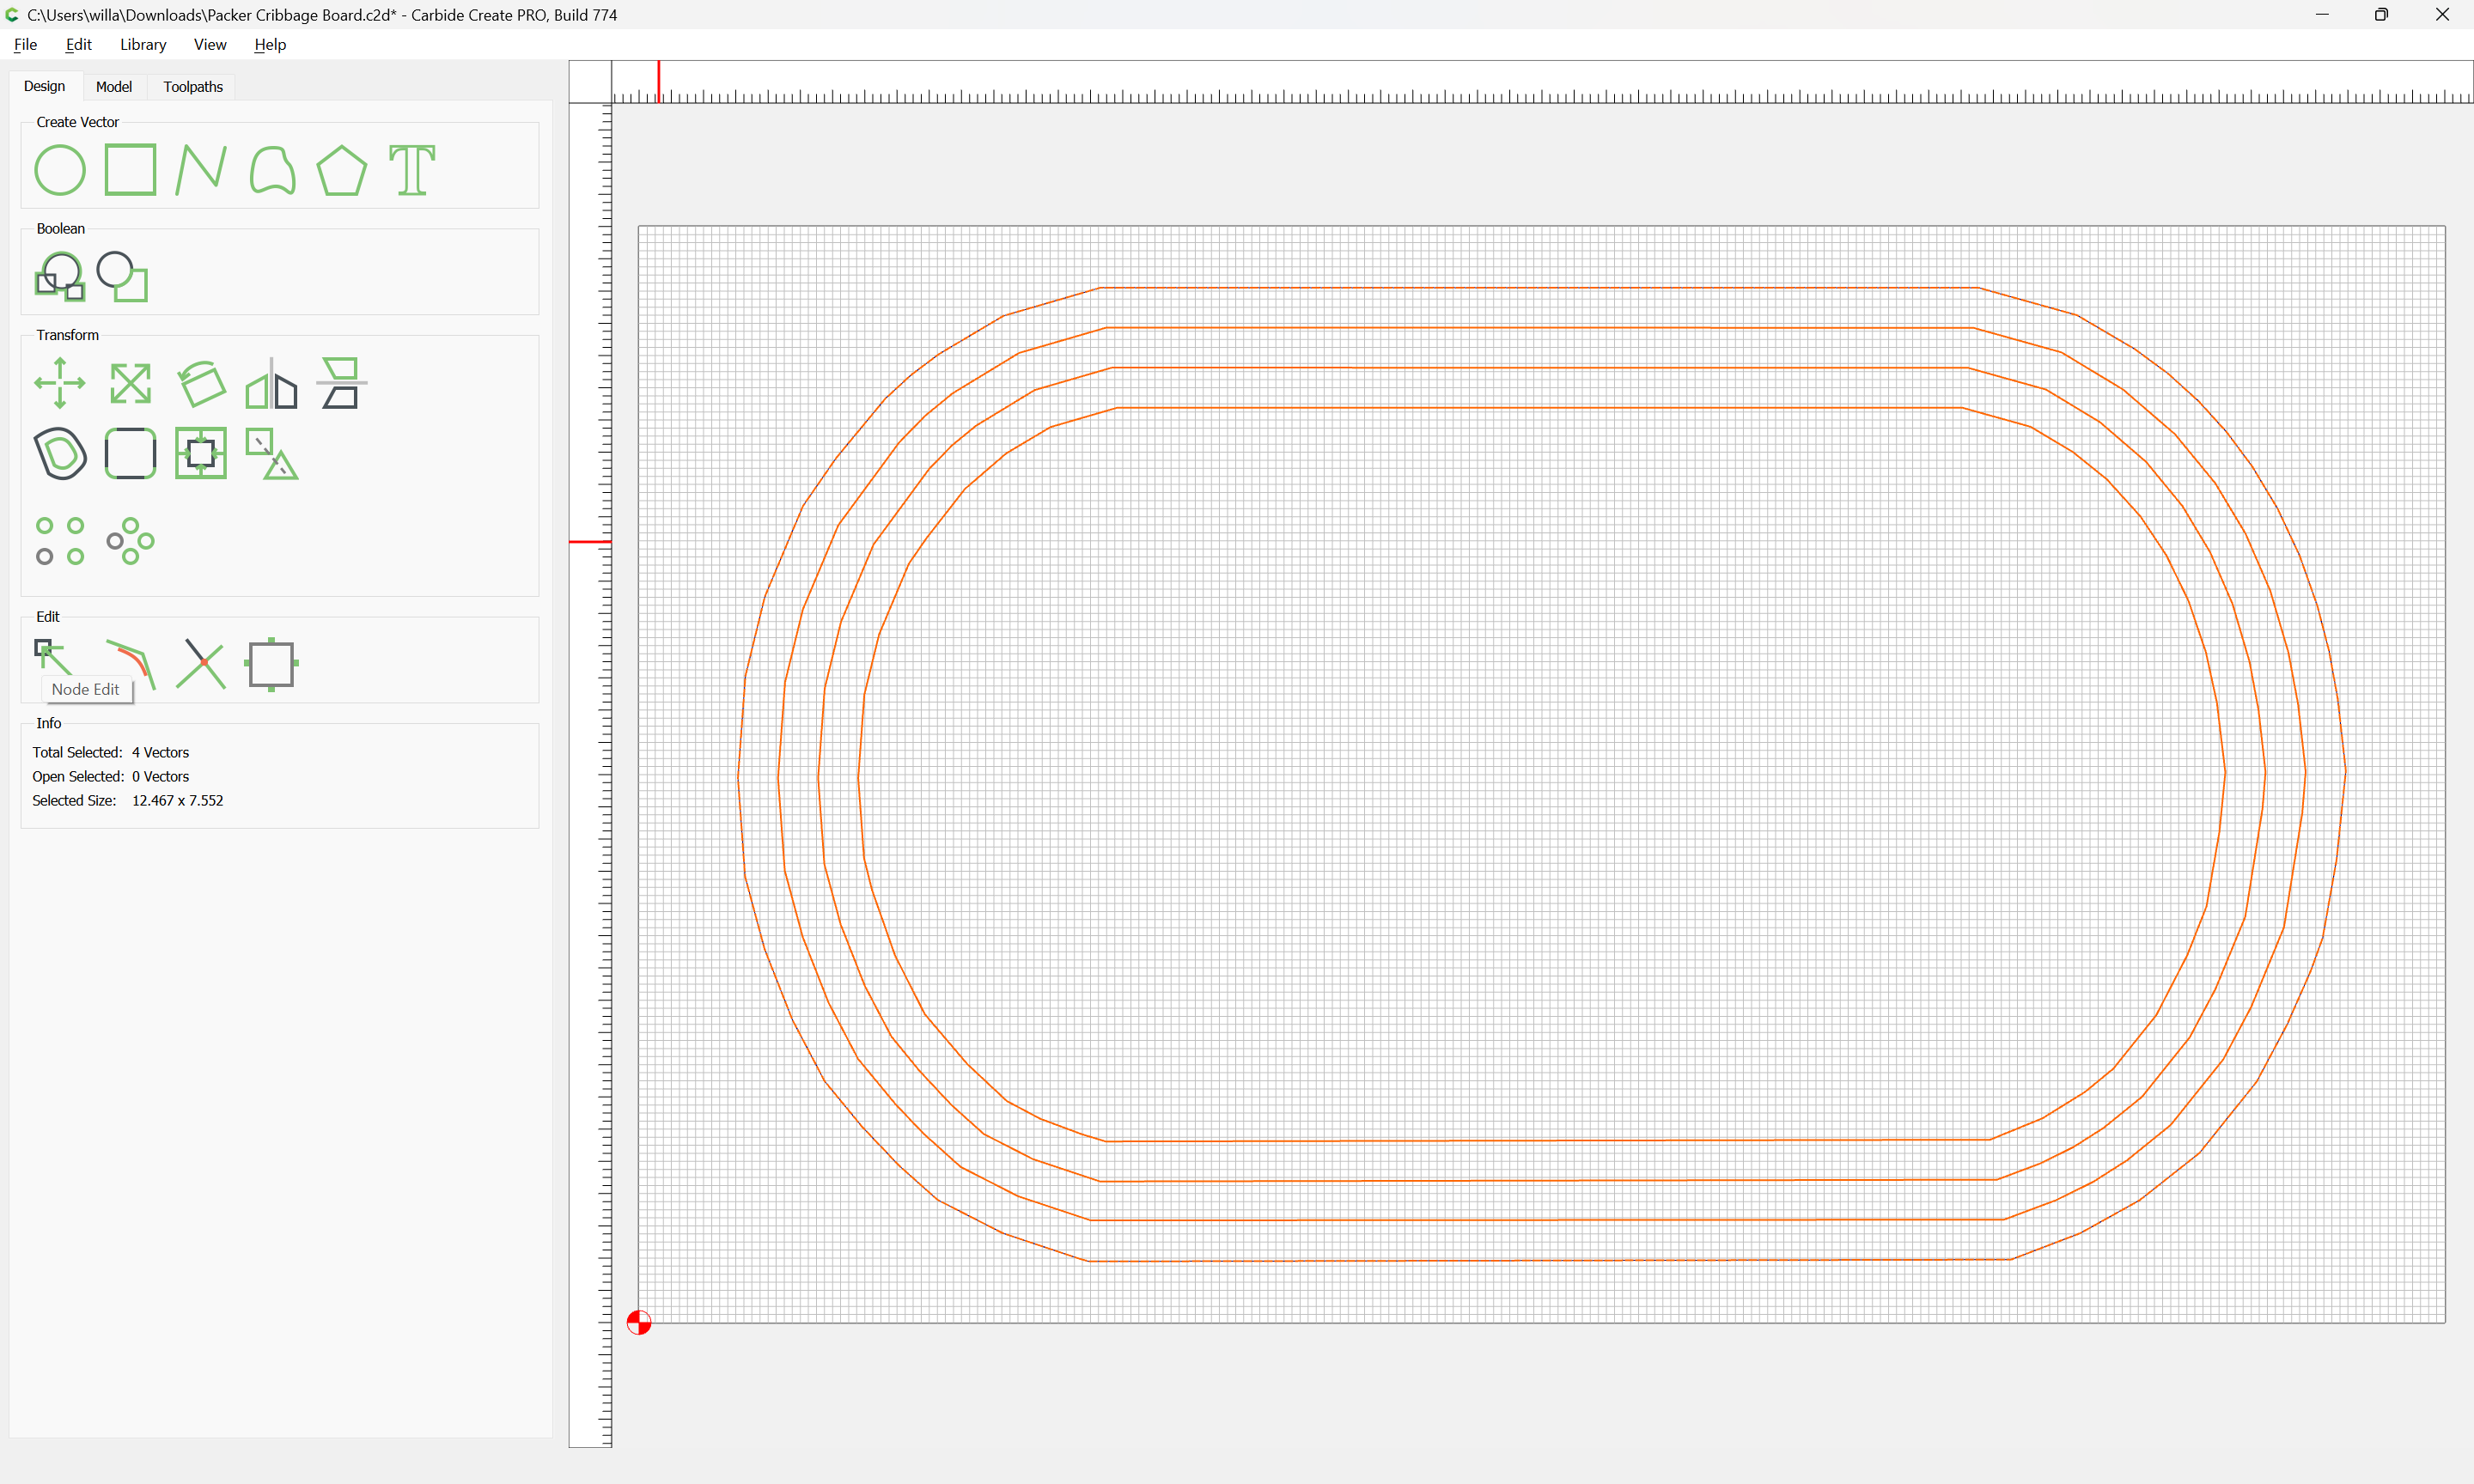
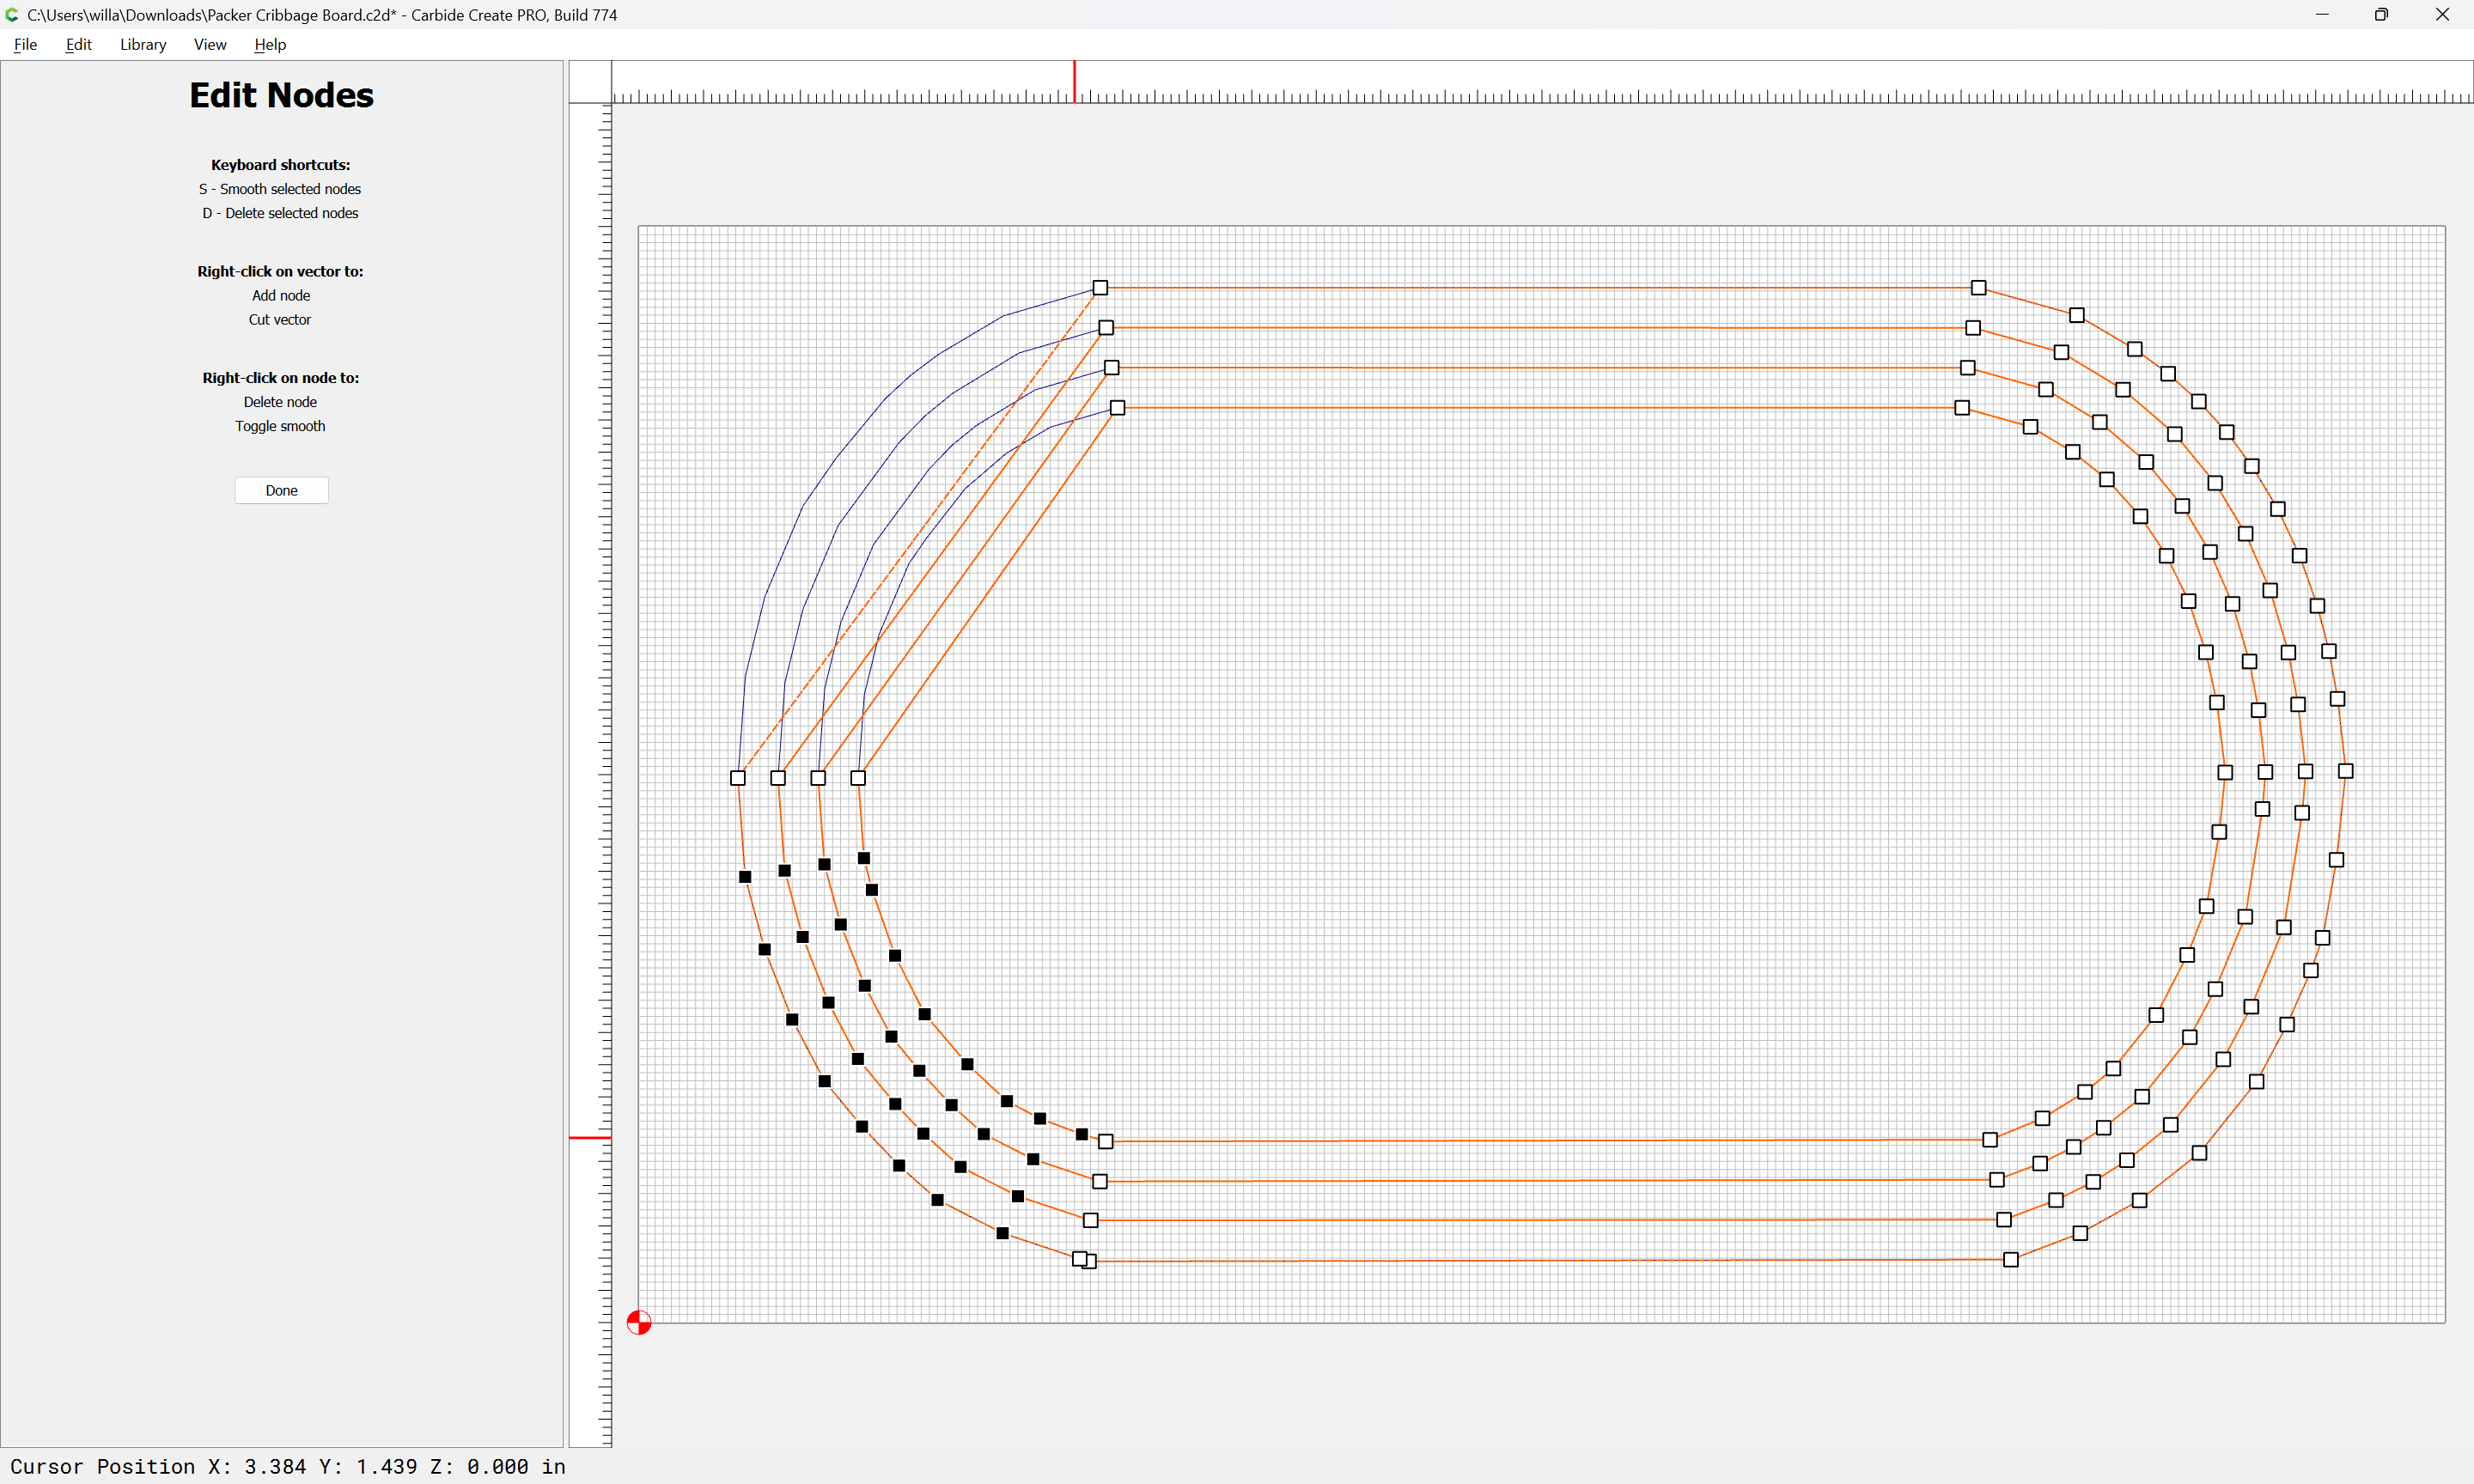
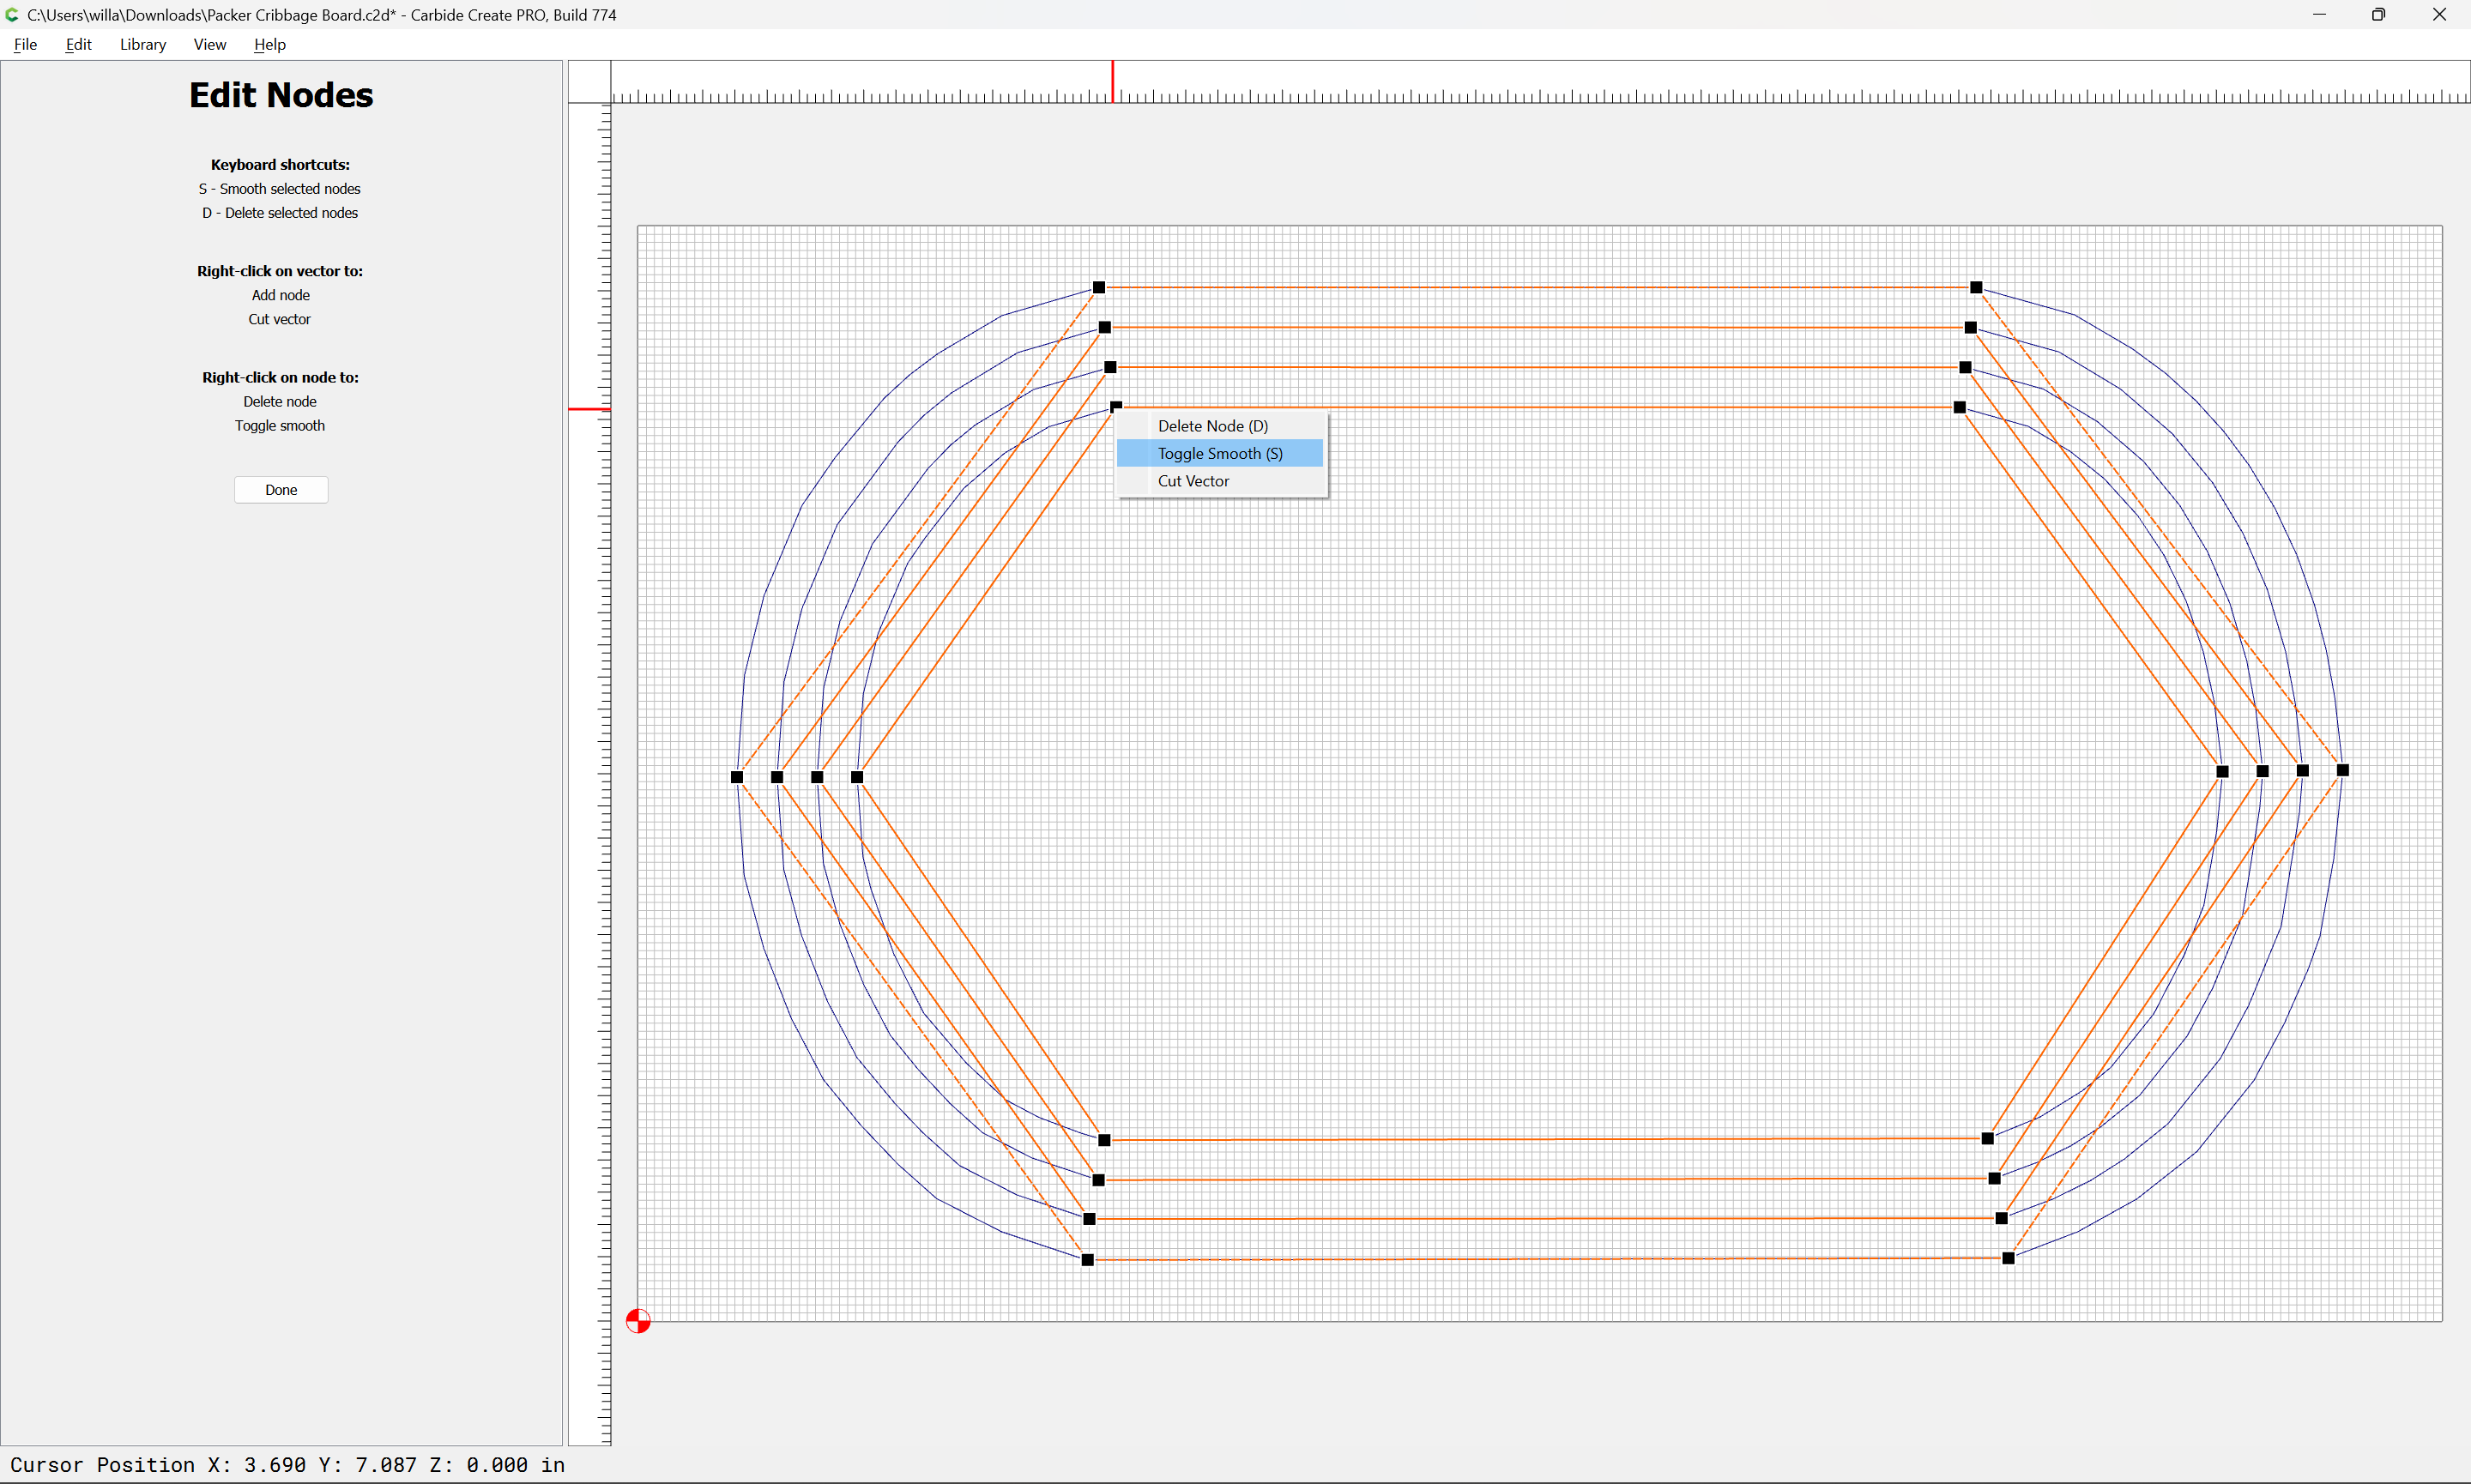
Once we are down to the bare essential nodes select them all:
and “Toggle Smooth”
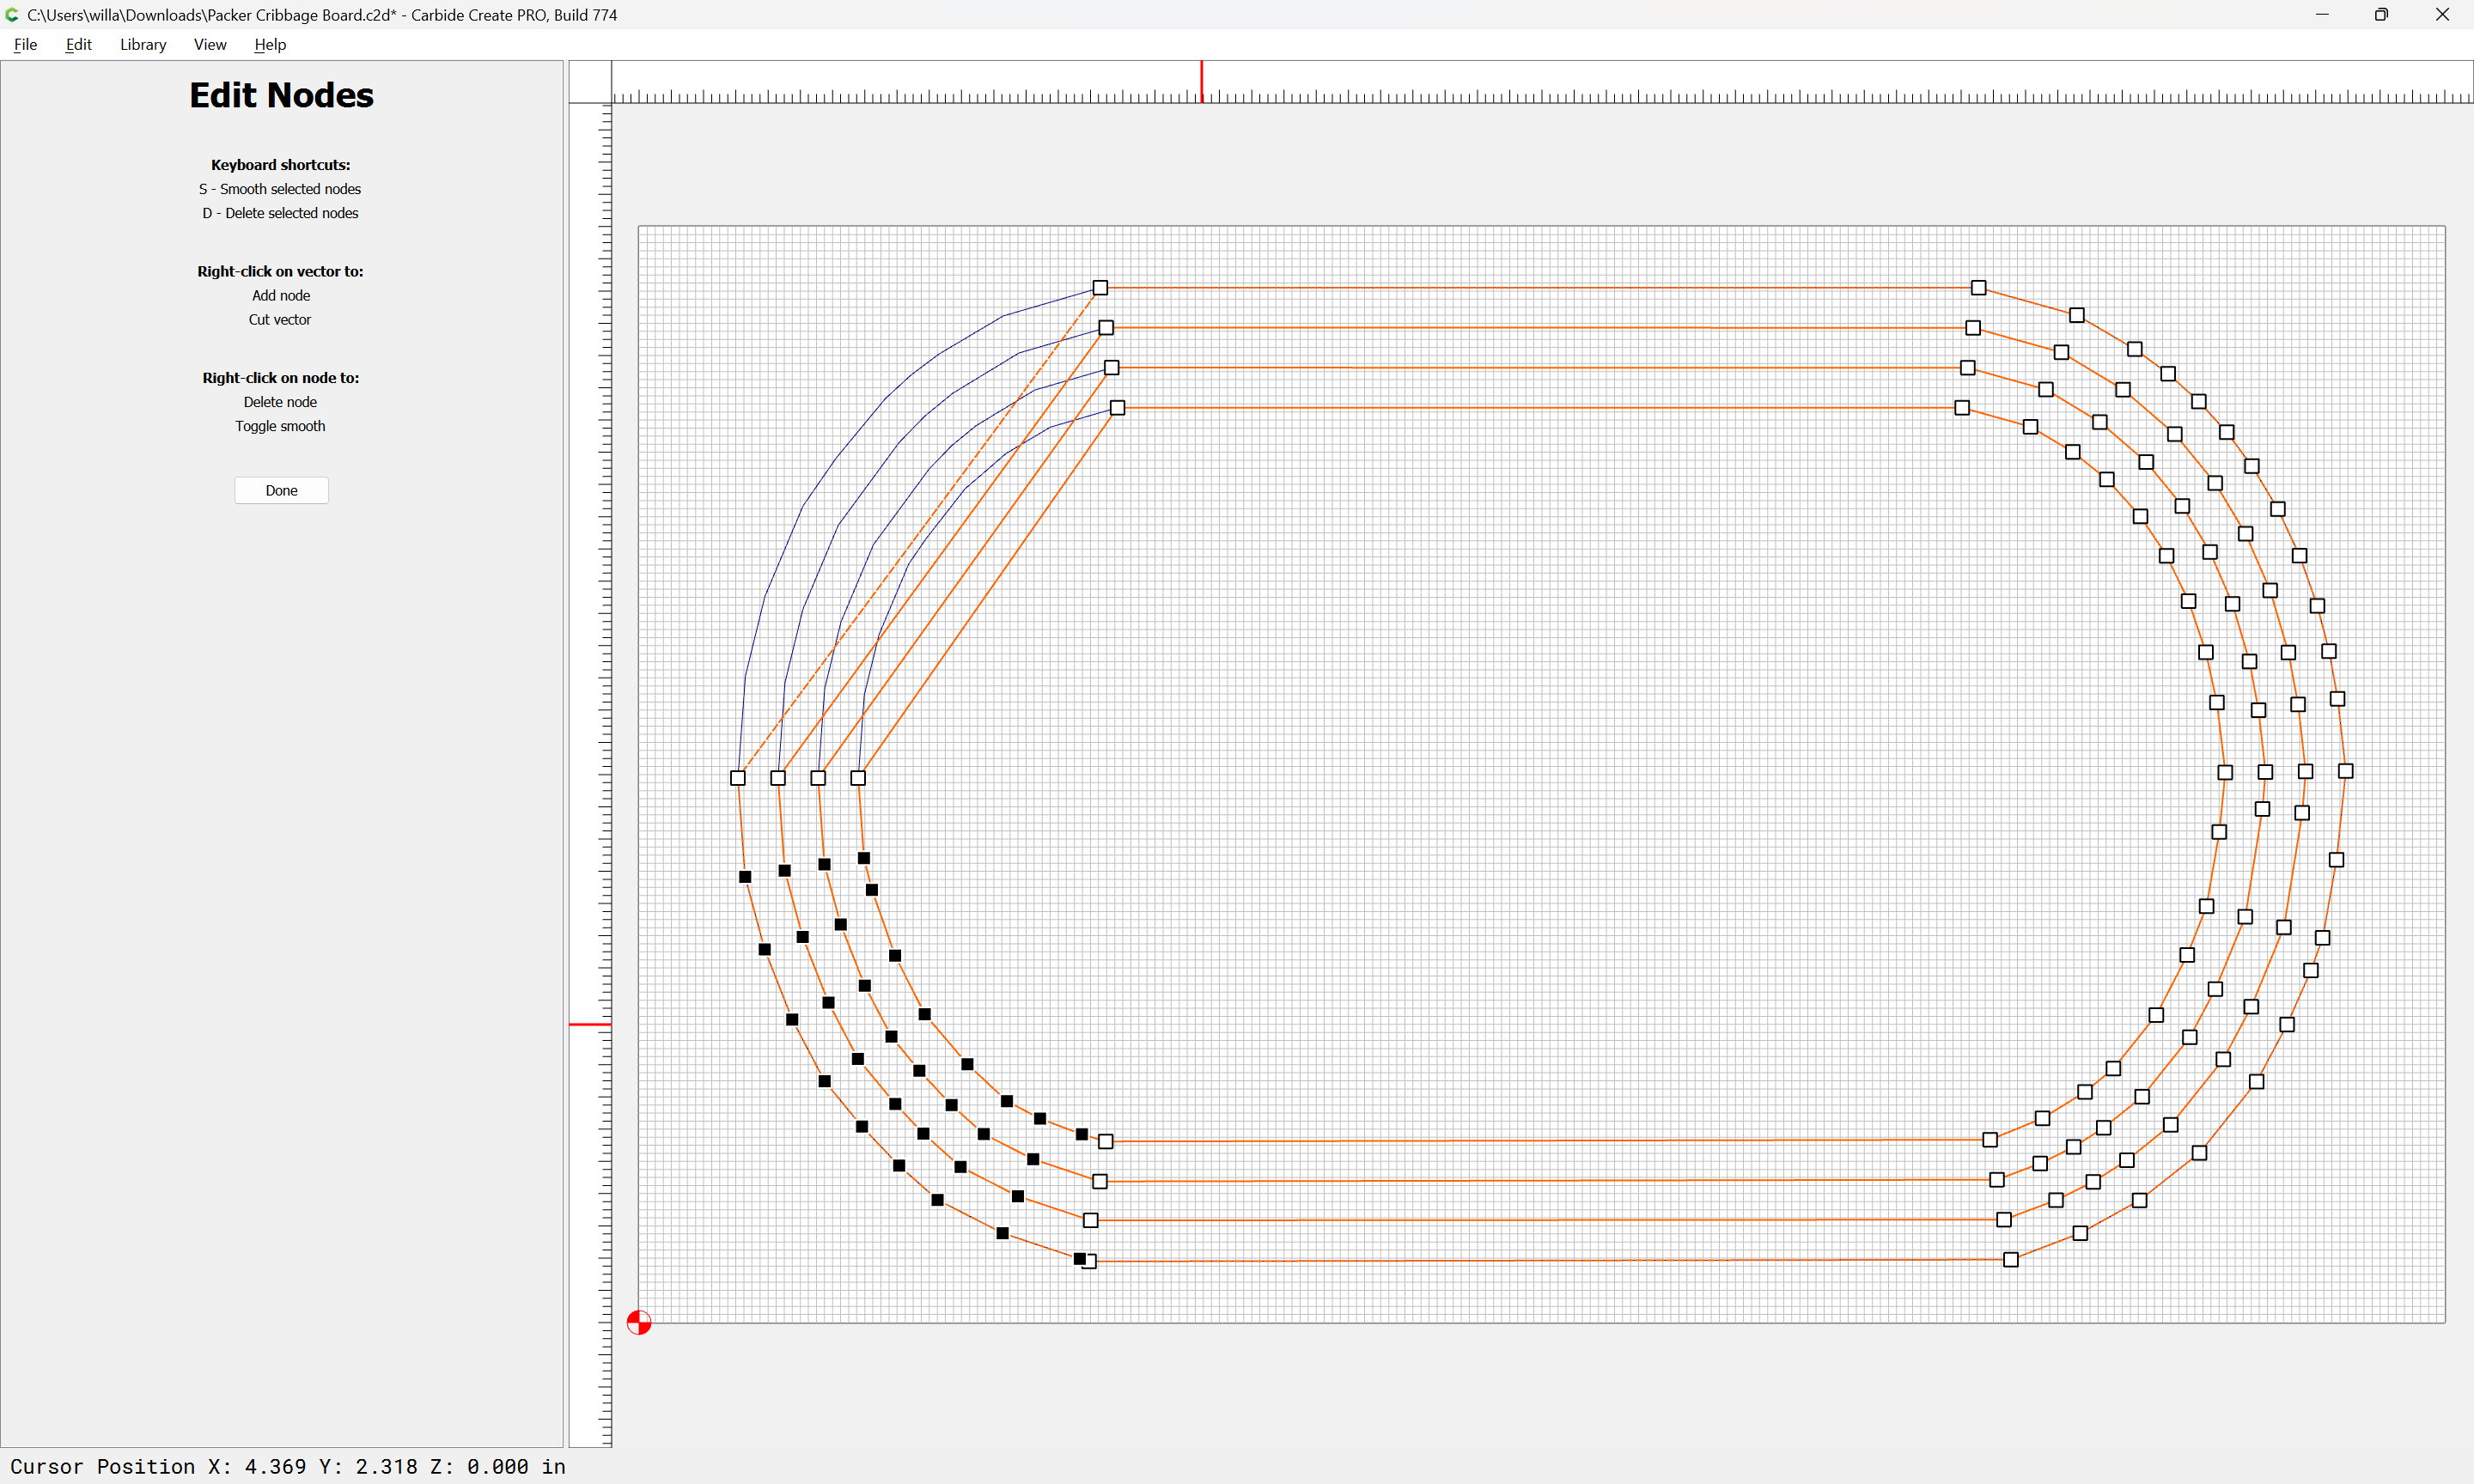
Drag the off-curve nodes around until the Duplicate geometry smoothly recreates the curves:
Adjusting and fine-tuning until one arrives at:
1 Like
WillAdams
May 23, 2024, 12:28am
5
Delete the originals and move the new geometry to the layer and one instead gets:
system
June 22, 2024, 12:28am
6
This topic was automatically closed 30 days after the last reply. New replies are no longer allowed.