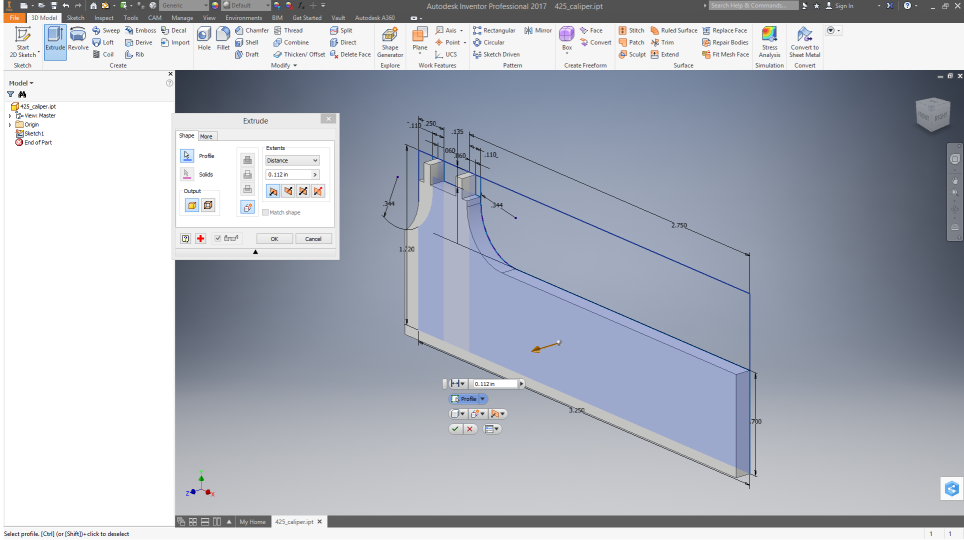
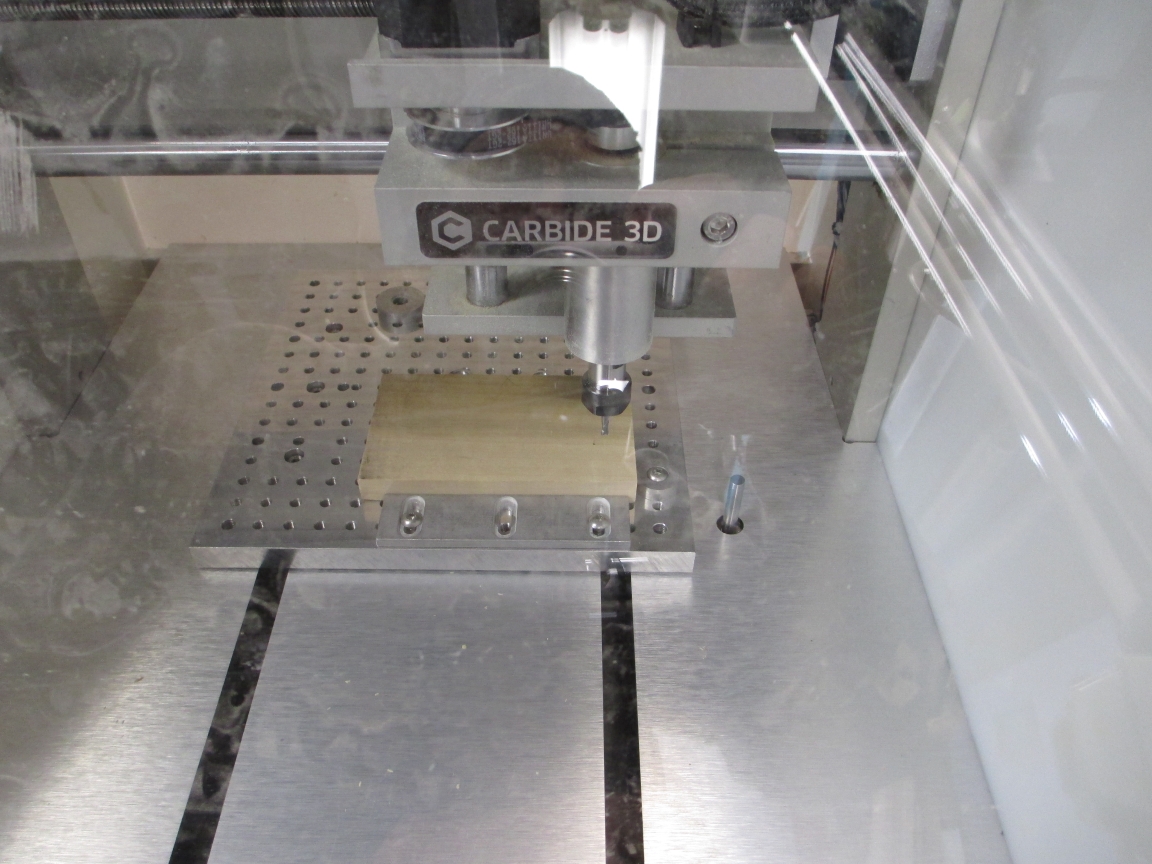
I’m going to summarize the toolpath process rather than go into detail, for a couple reasons, primarily that it would be three times as long as what is already here to go into detail. The setup in the machine comes into play here, and it the first consideration. This includes what stock and where it will be fixtured.
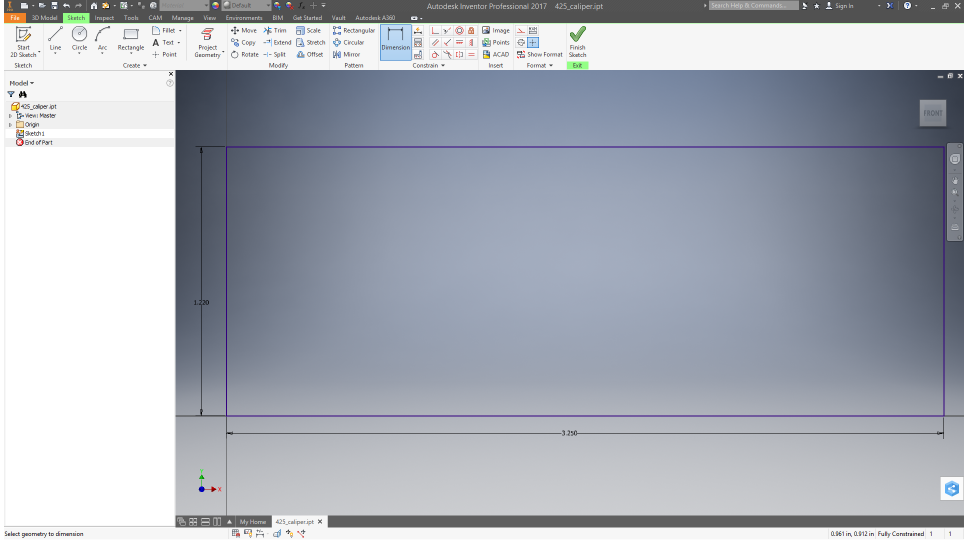
In the interest of time and cost, I used prethicknessed stock (0.500" thick, give or take) and prepared it with two finish edges. These edges will not be touched by a tool. This lets me reuse the origin when changing pieces, lets me spend the time to square up only once, gives me some flexibility is fixturing method, and saves a lot of machining time (facing and border profiling are time sinks).
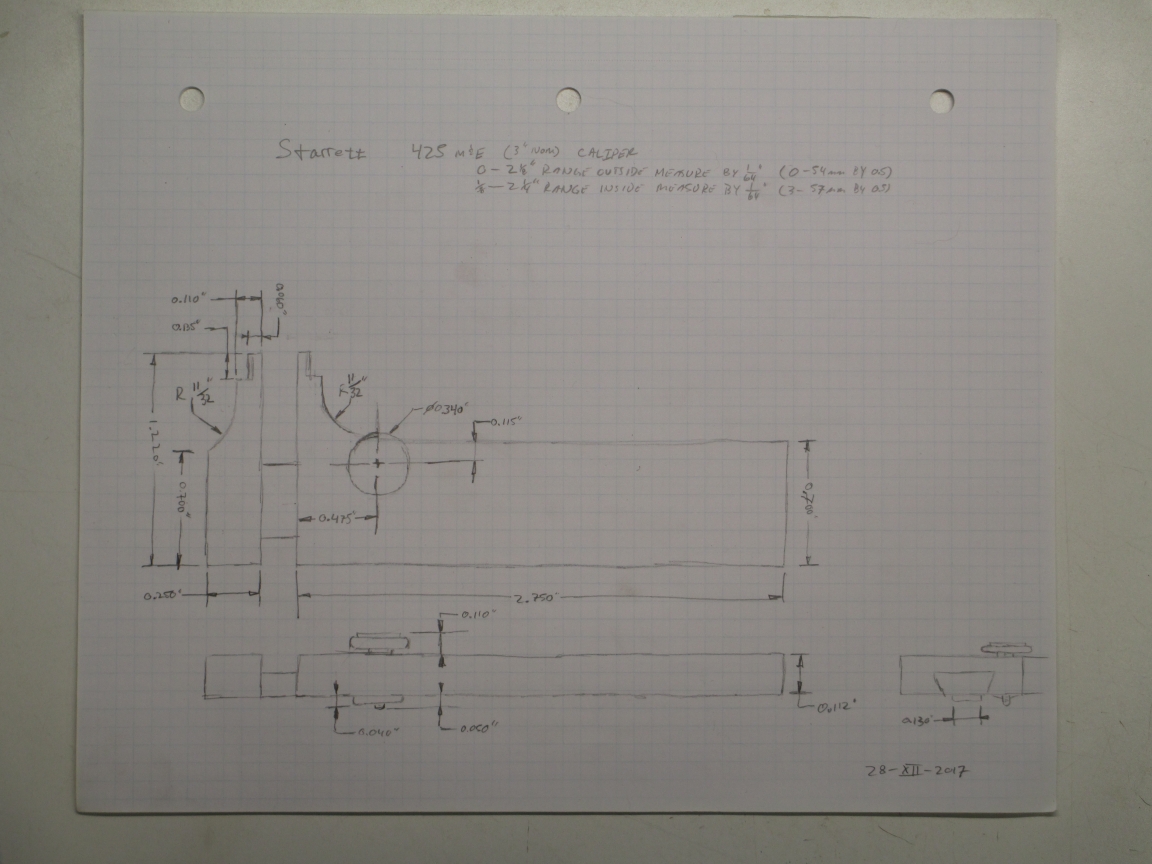
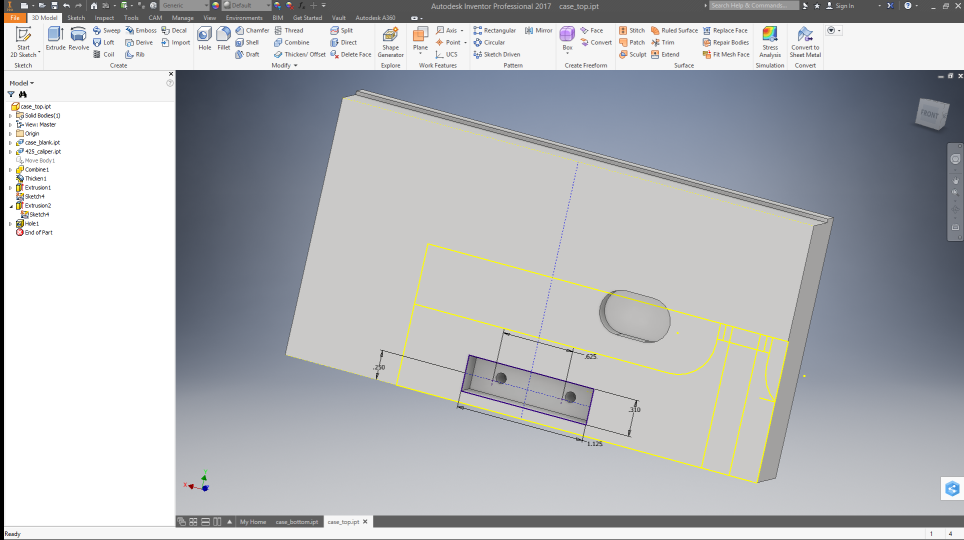
Note that the stock is oversized all to the left and back, and the origin is on top at the presized corner. Find it once, and the ACTUAL stock size doesn’t matter. Everything is relative to one point on the fixture.
The bar is set parallel to the bed travel and gives zero for y, and the round stop gives zero for x, with no chance of the material rocking and no way for it to be out of square (leading to rocking of the material). The material is dogged in from the rear and left for machining.
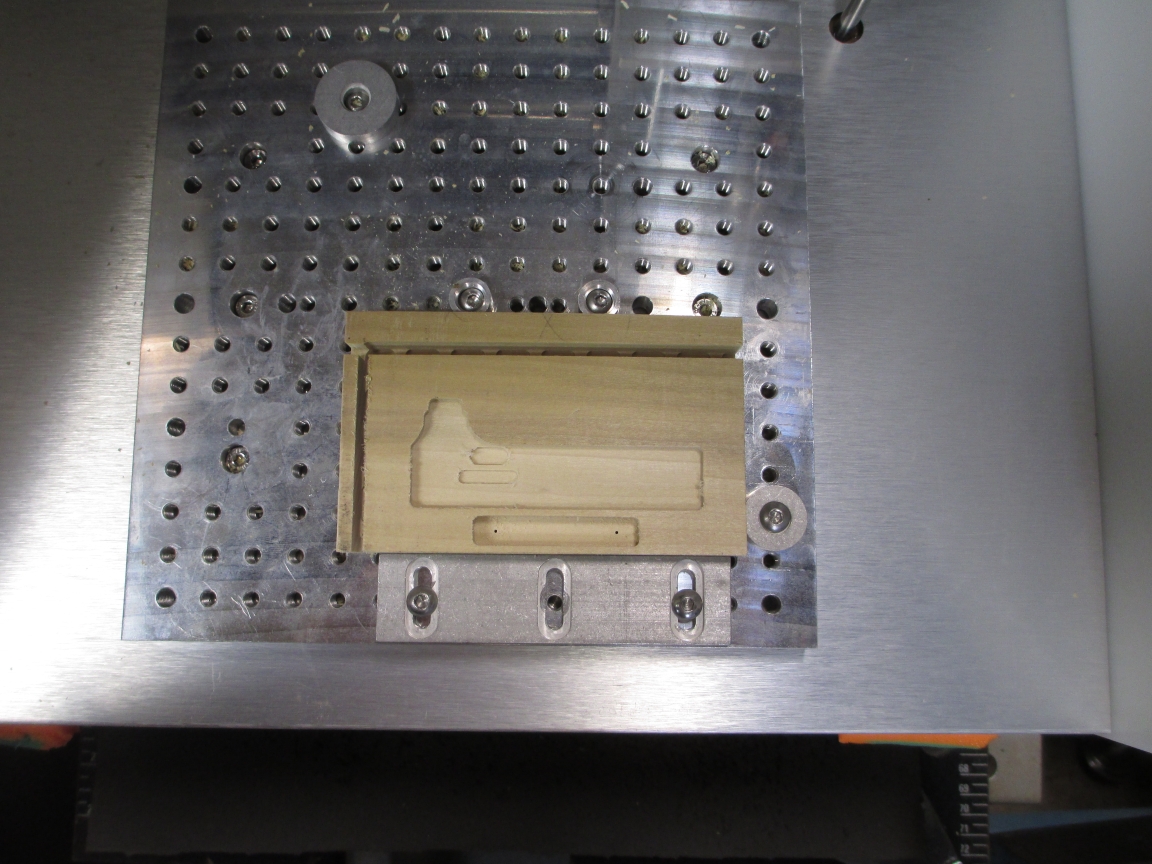
This leads to toolpaths that do the pocketing and only size on the left and rear:
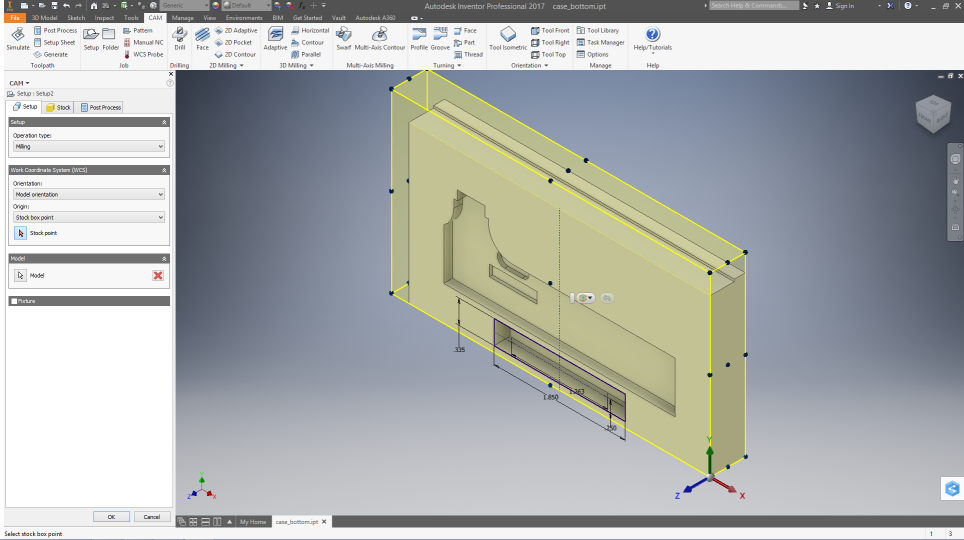
The operations used are
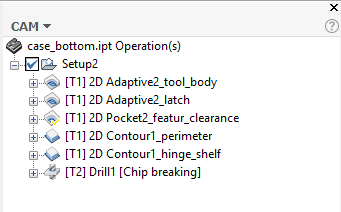
The I actually duplicated the setup and operations for the case top, and only needed to select features. This a) is easy, and b) insures that the parameters will be the same (work it out once, then reuse it). Noth the last operation is the drill for the latch screw holes.
If you look carefully, you will see tabs around the perimeter. Lots of tabs. As the fixture squeezes the material to the reference bar, some strength is needed to keep the material from failing when the job nears the end. They come off easily-- about 5 seconds with a small saw and 15 seconds with a block plane. Also note that the cut doesn’t go to the bottom. It is about 0.020" above. This prevents cutting into the aluminum fixture plate. If I needed to go all of the way through, then a spacer could be used.
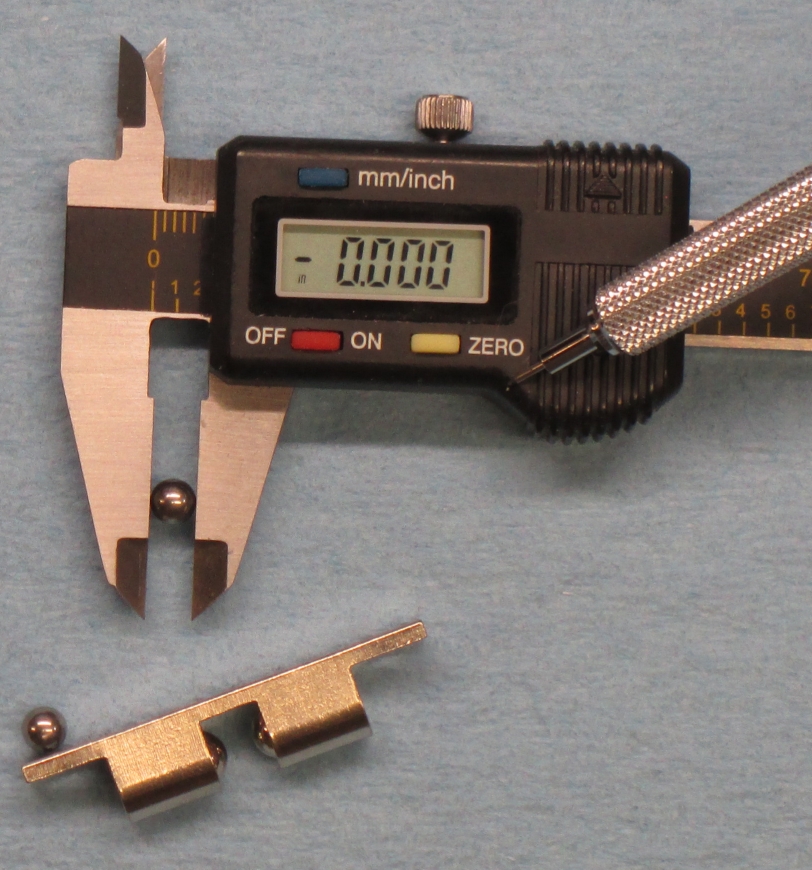
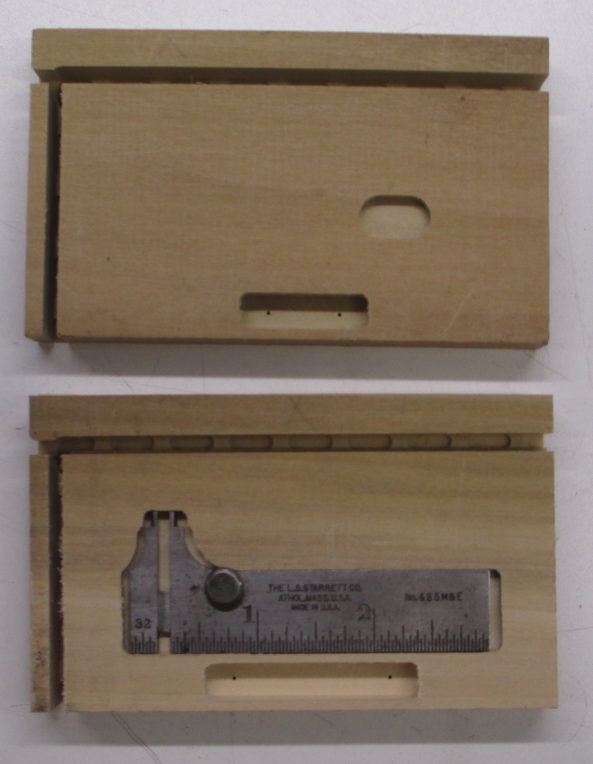
The parts right off the machine and test fit with the caliper:
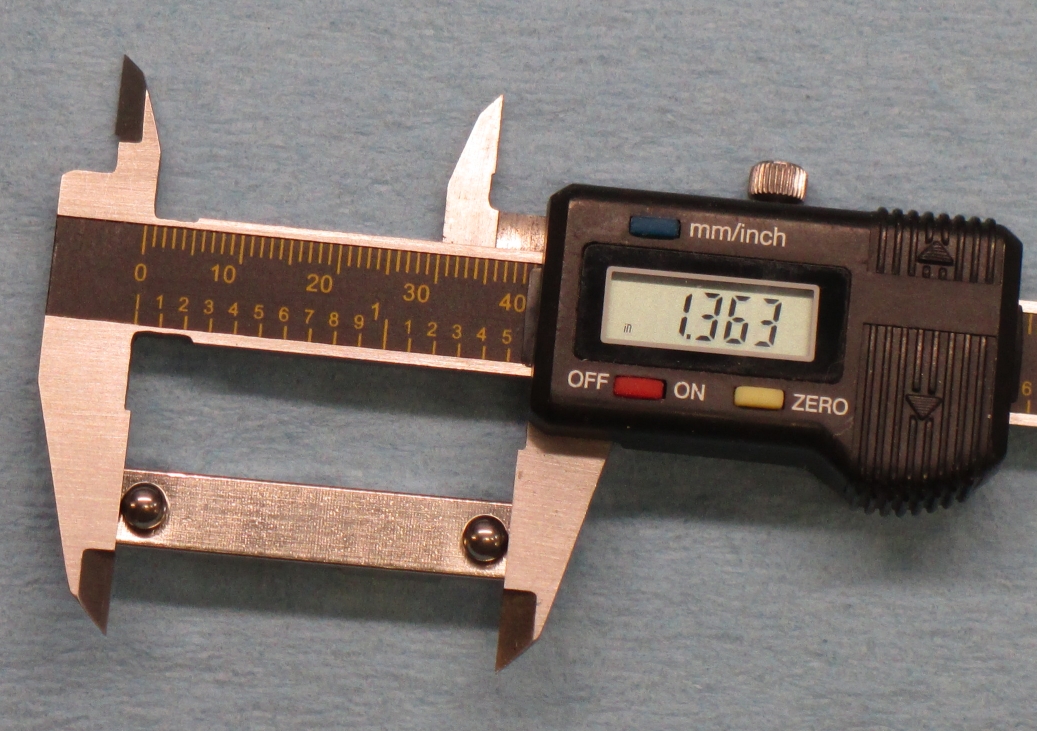
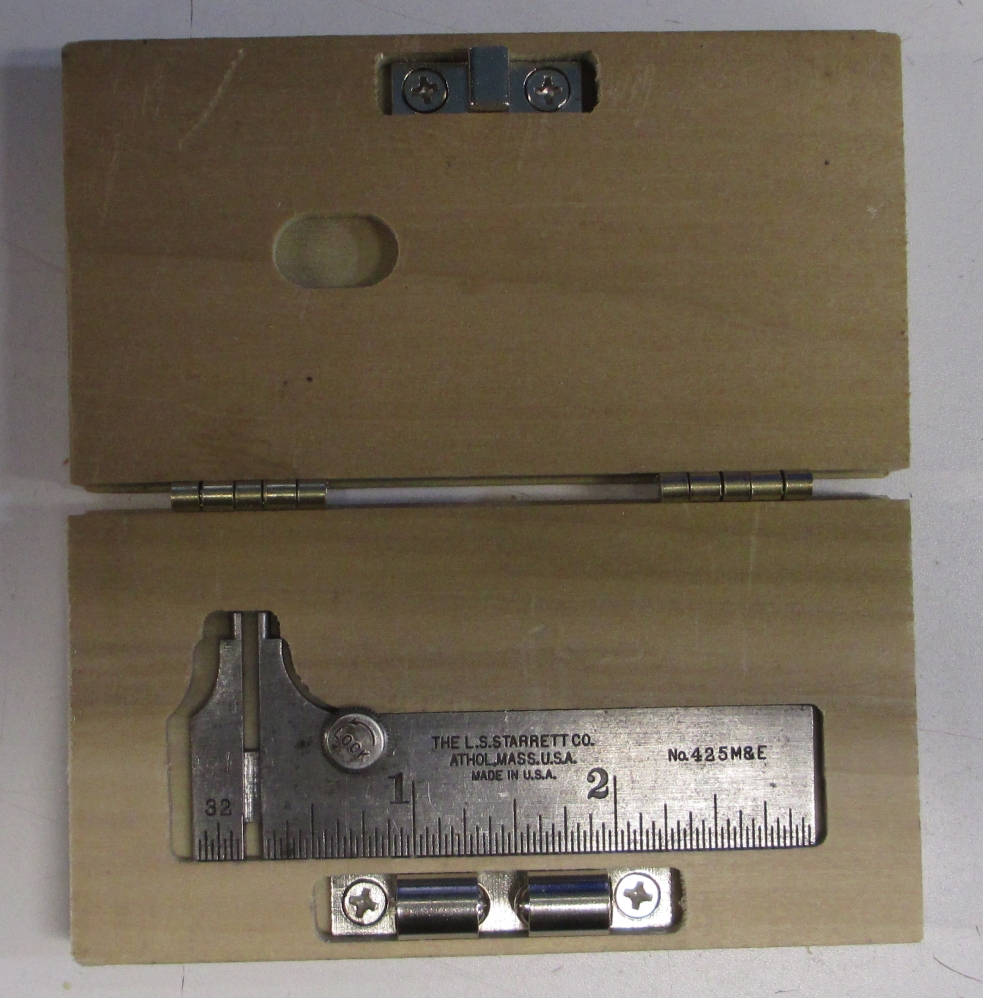
And assembled:
The case will get a finish later, unless I make changes and recut it. There are a few things I might address, like no clearance to get a finger under the caliper. I wasn’t sure if I would need it, so I left it out. I think I might.
The total machining time for both parts was maybe 10min with a 1/8" two flute tool running at 10KRPM and 80IPM travel. The adaptive (trochoidal) strategy let me go with that speed at 1/8" axial DOC and 0.050 axial. Plowing the slot for the left and rear edges was done at 0.040" axial and the same travel. Probably I could have gone deeper, but the time samed isn’t worth the replacement cost of the cutter or damaging the machine. I really do not like slotting. It is hard on the tools. In this case, it let me not worry about hitting the fixture while holding the work securely.
I hope y’all have learned something. Happy New Year.