Making a storage box for some Craftool stamps

I have a vintage set of:

in the 1/2" (13mm) size.

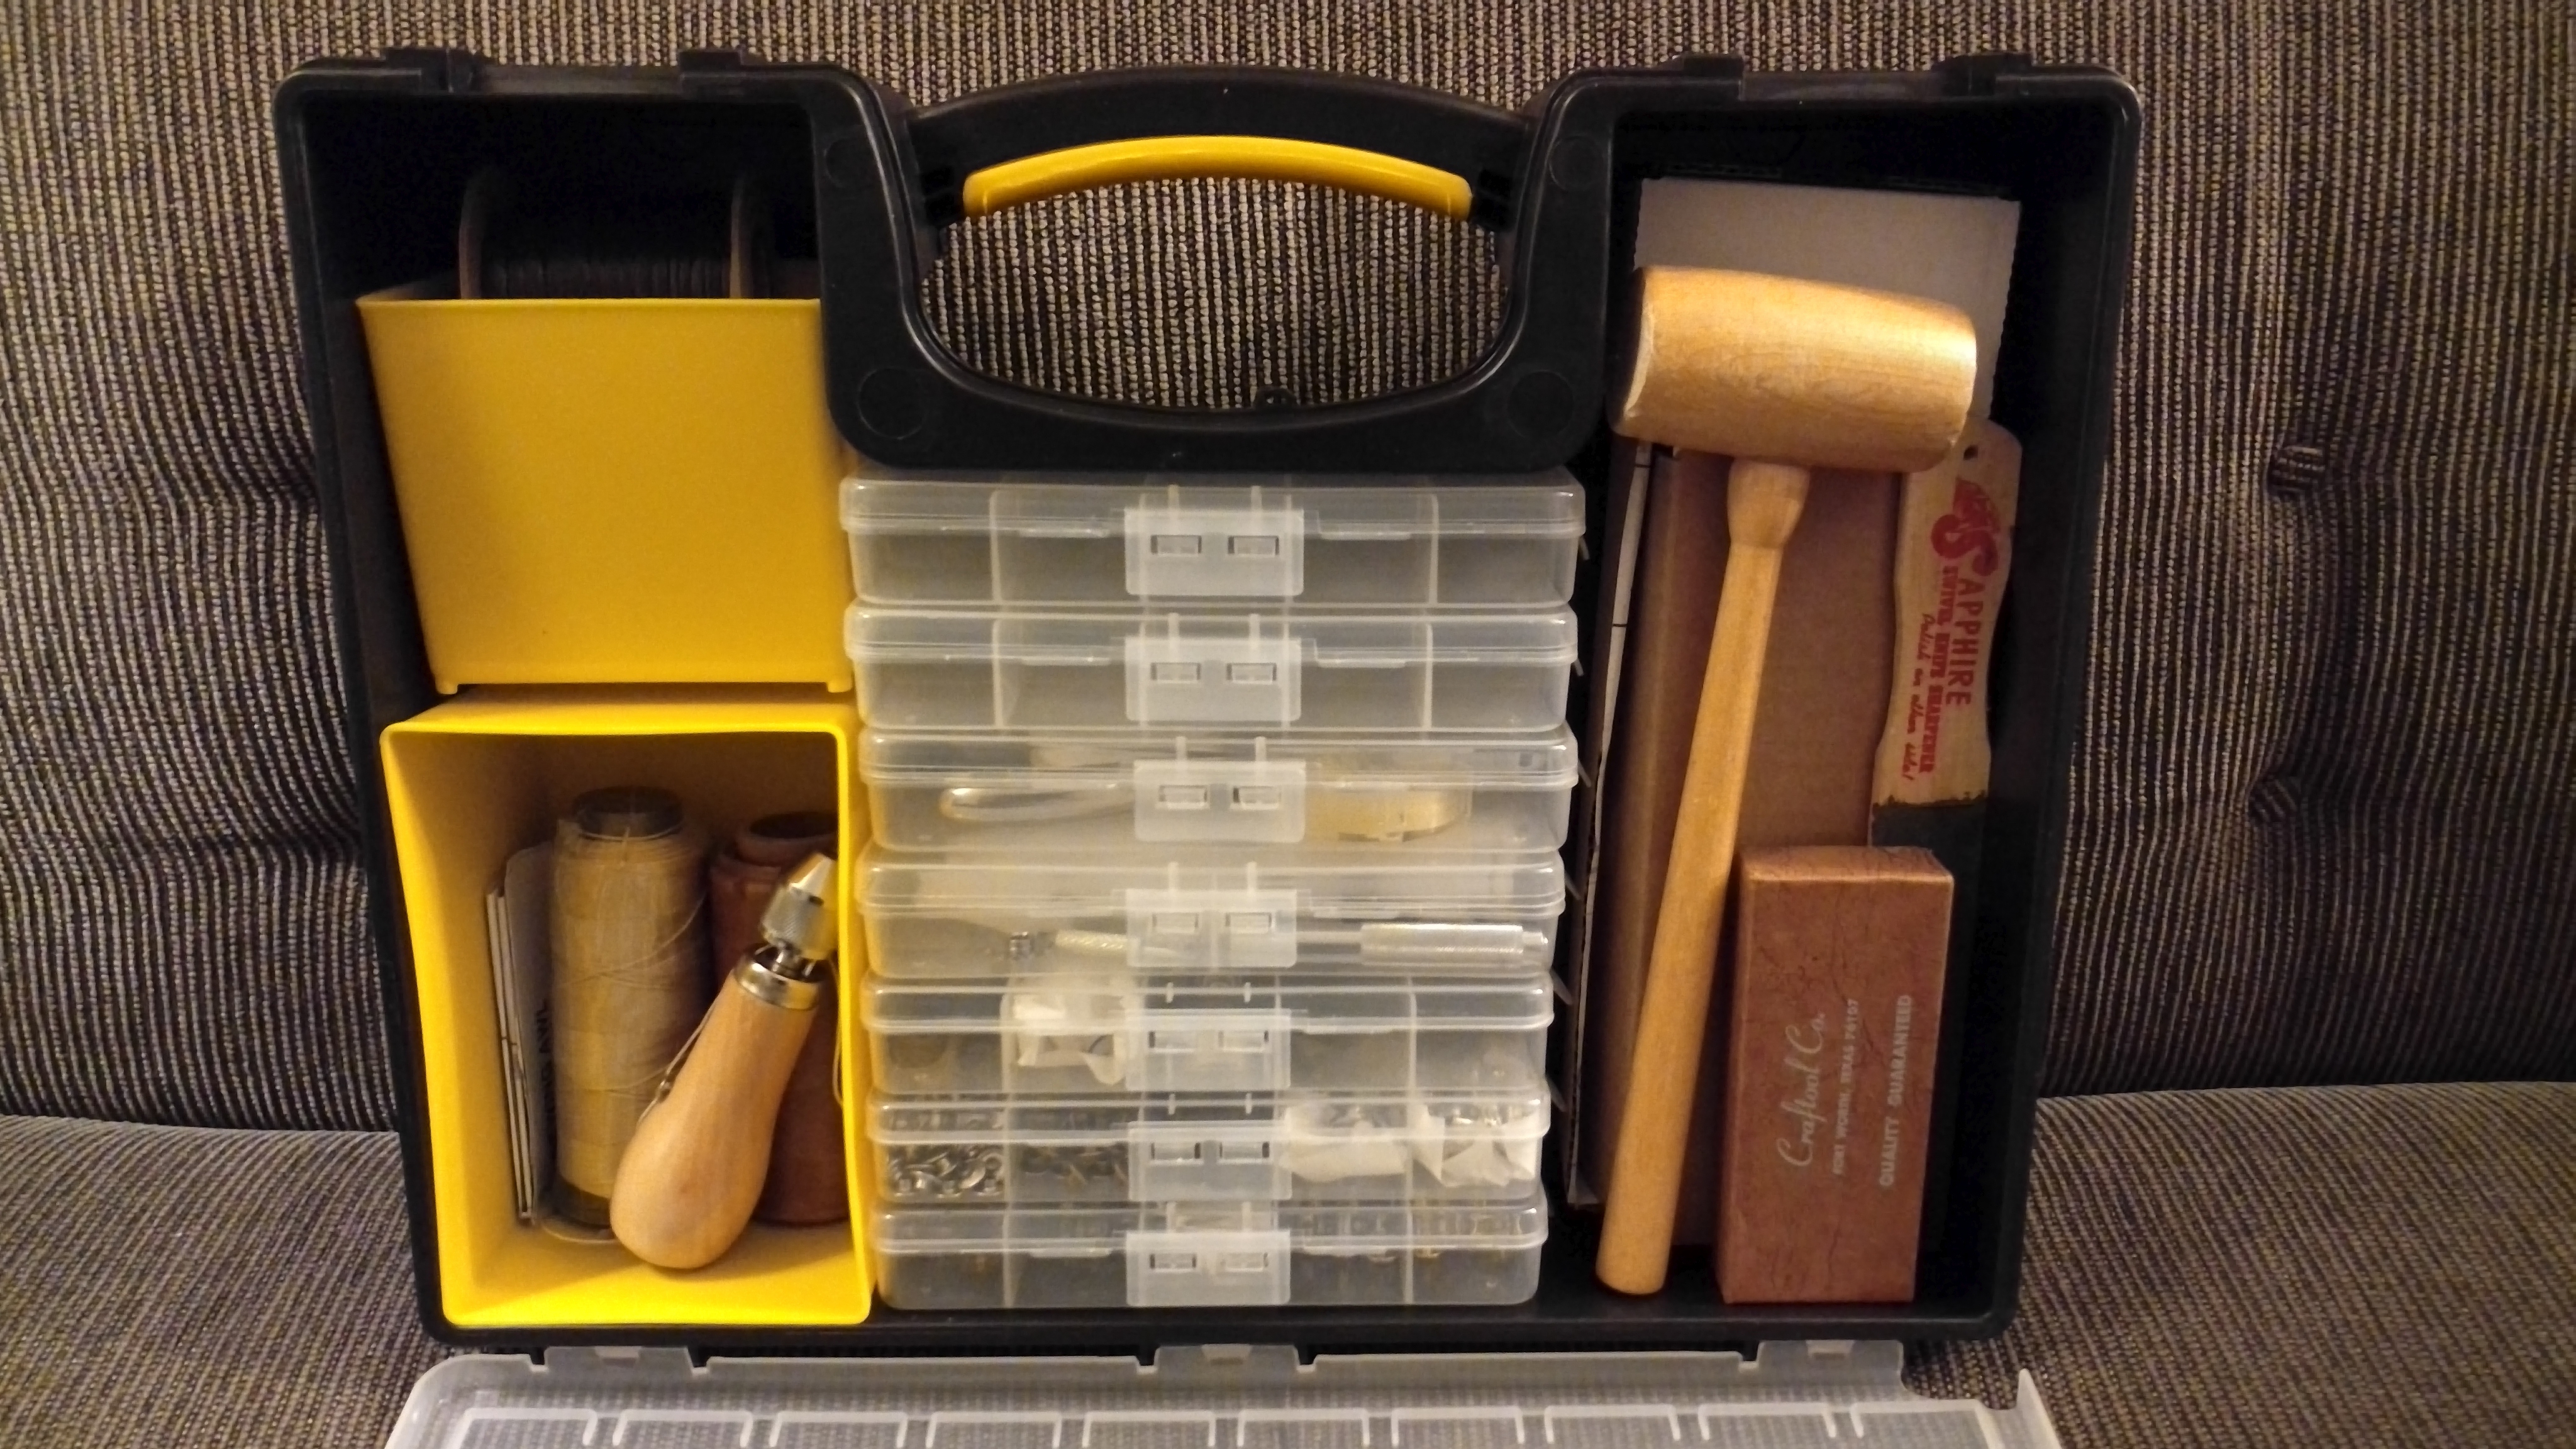
I’m trying to get all of my tools arranged and organized, and as part of that am sorting my leatherworking tools into an 8-bin Storage Organizer from Harbor Freight:

https://www.harborfreight.com/8-bin-portable-parts-storage-case-93927.html

which worked out better than expected when the storage bins from:

https://www.harborfreight.com/tool-storage-organization/parts-storage/multi-compartment-utility-box-40528.html

fit into it perfectly:

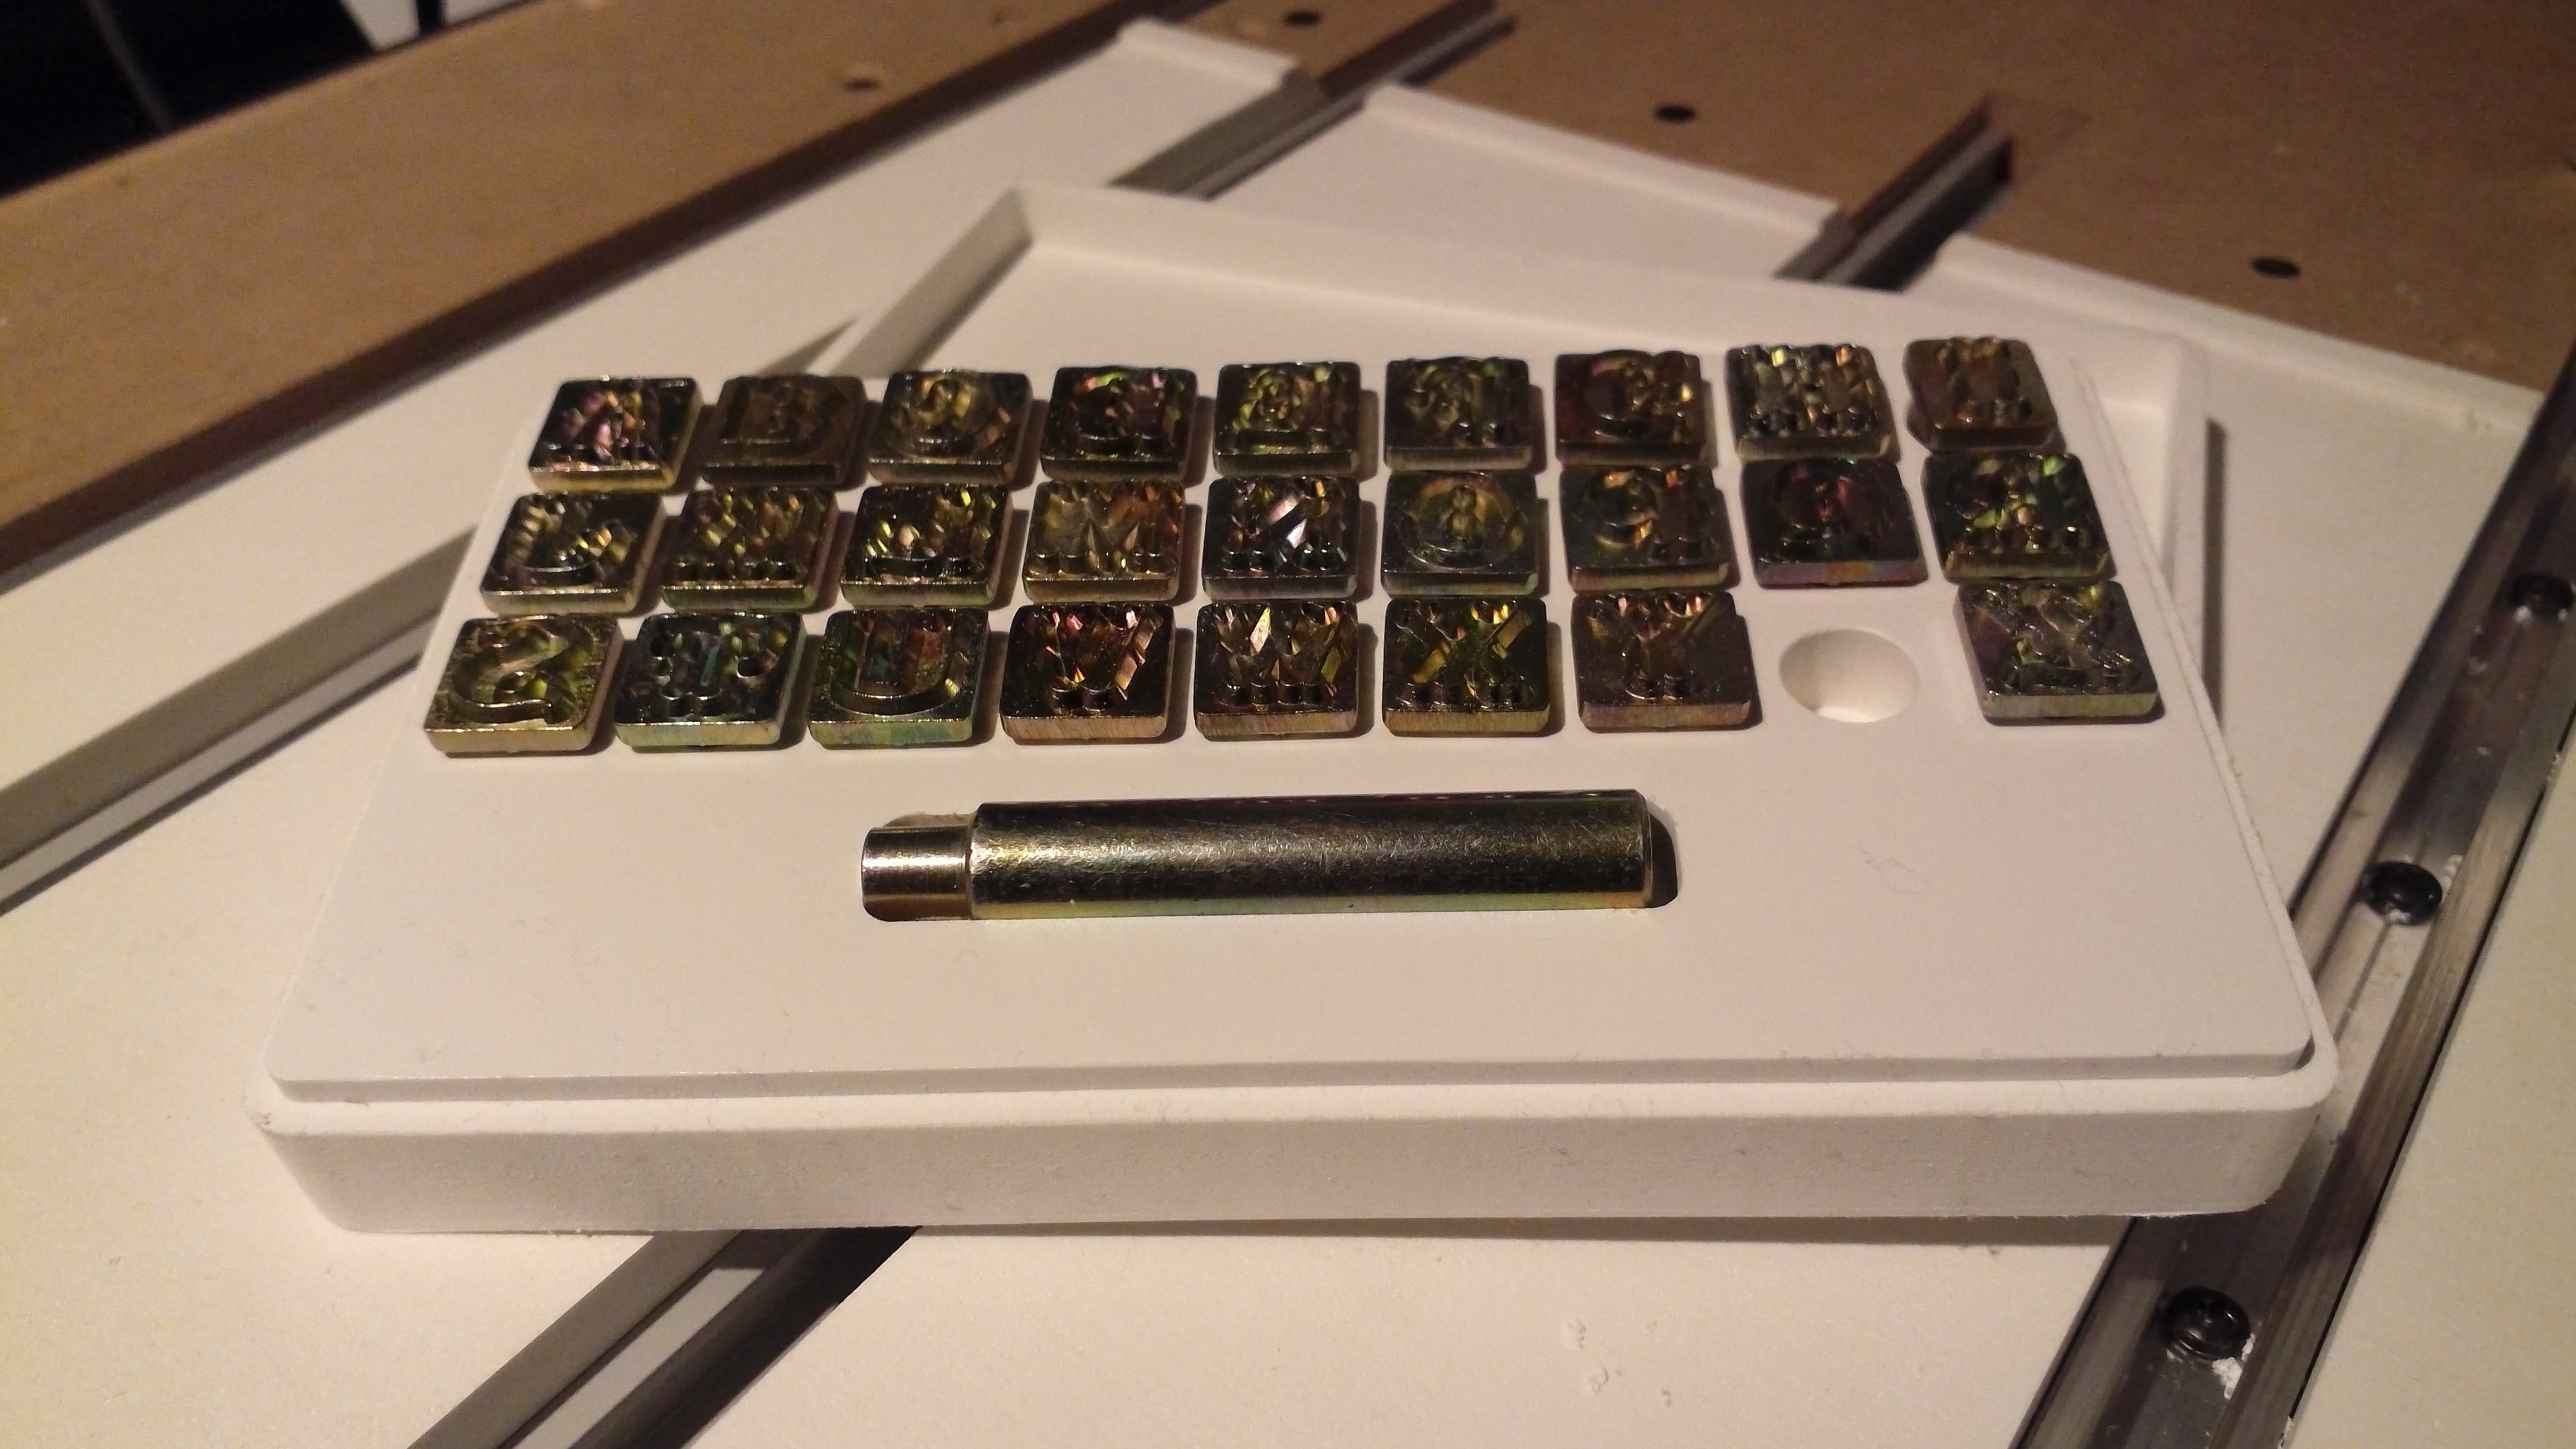
So we need to make a ~7" x 3.875" (NOT 4") x 1.1875" case which will hold 26 (rounding up to 27 — I’ve always wanted an ampersand) stamps and the associated tool.

Started drawing this up in BlockSCAD, but will instead use Carbide Create.

1 Like

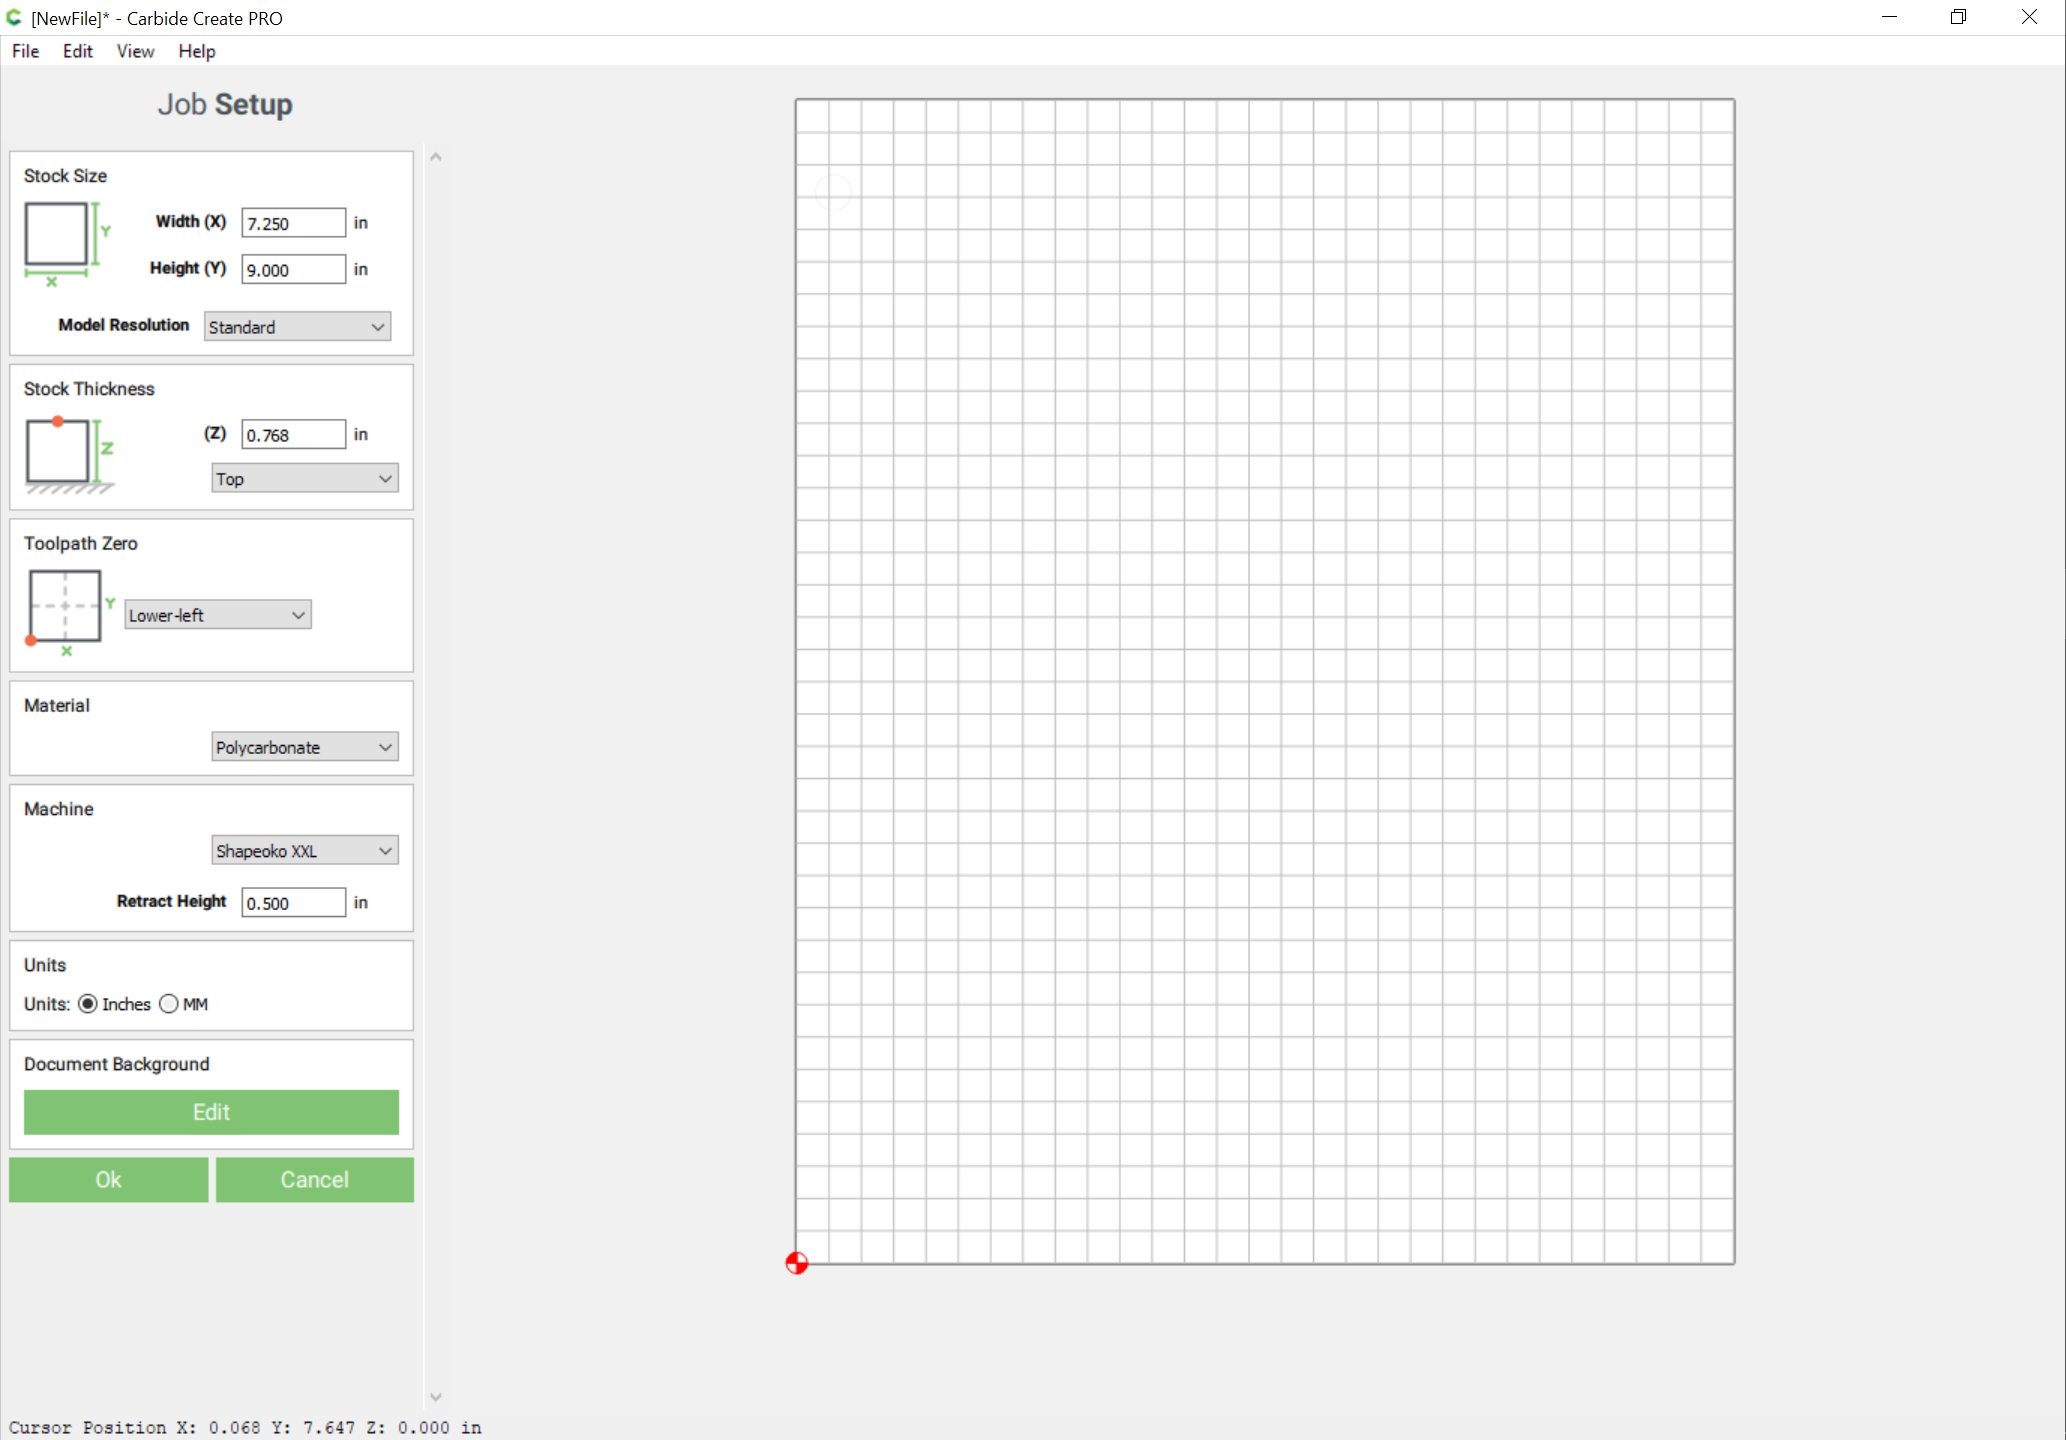
The first step is of course stock selection. We happen to have a piece of PVC lumber 7.25" wide, which will work w/ minimal waste, so we set up the stock:

and set up the background grid:

and begin drawing boxes:

Round off the boxes:

and then inset them for the lid:

1 Like

Measuring a stamp we find it to be ~0.488" diameter and the holes are ~0.496 — for the nonce we’ll use 0.5" for the holes to make placement easier, then adjust later:

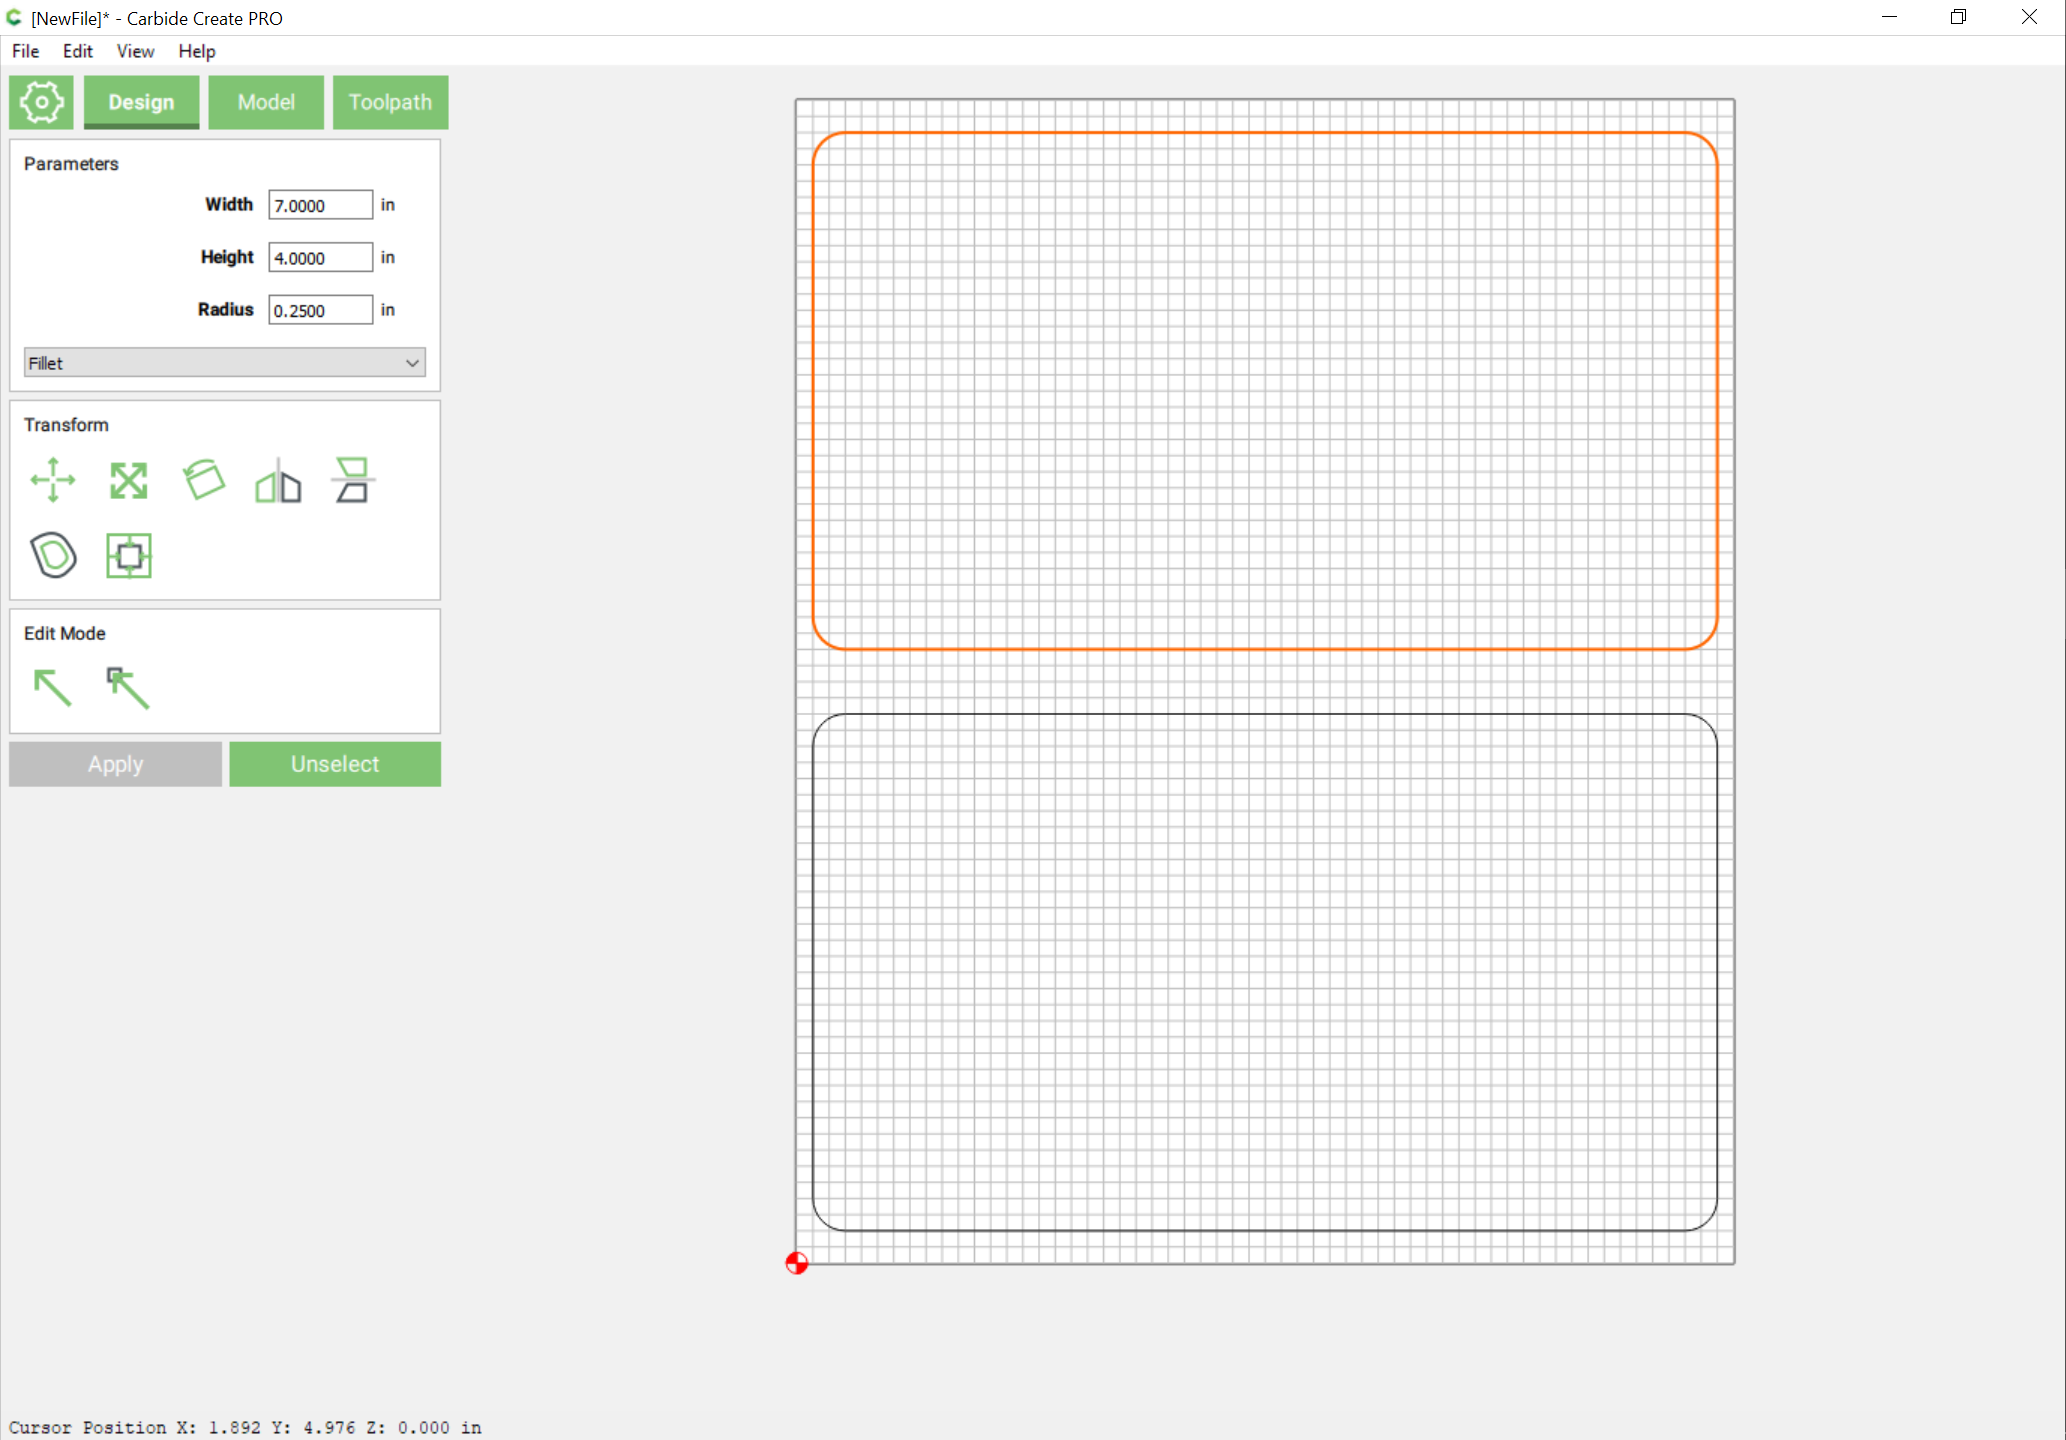
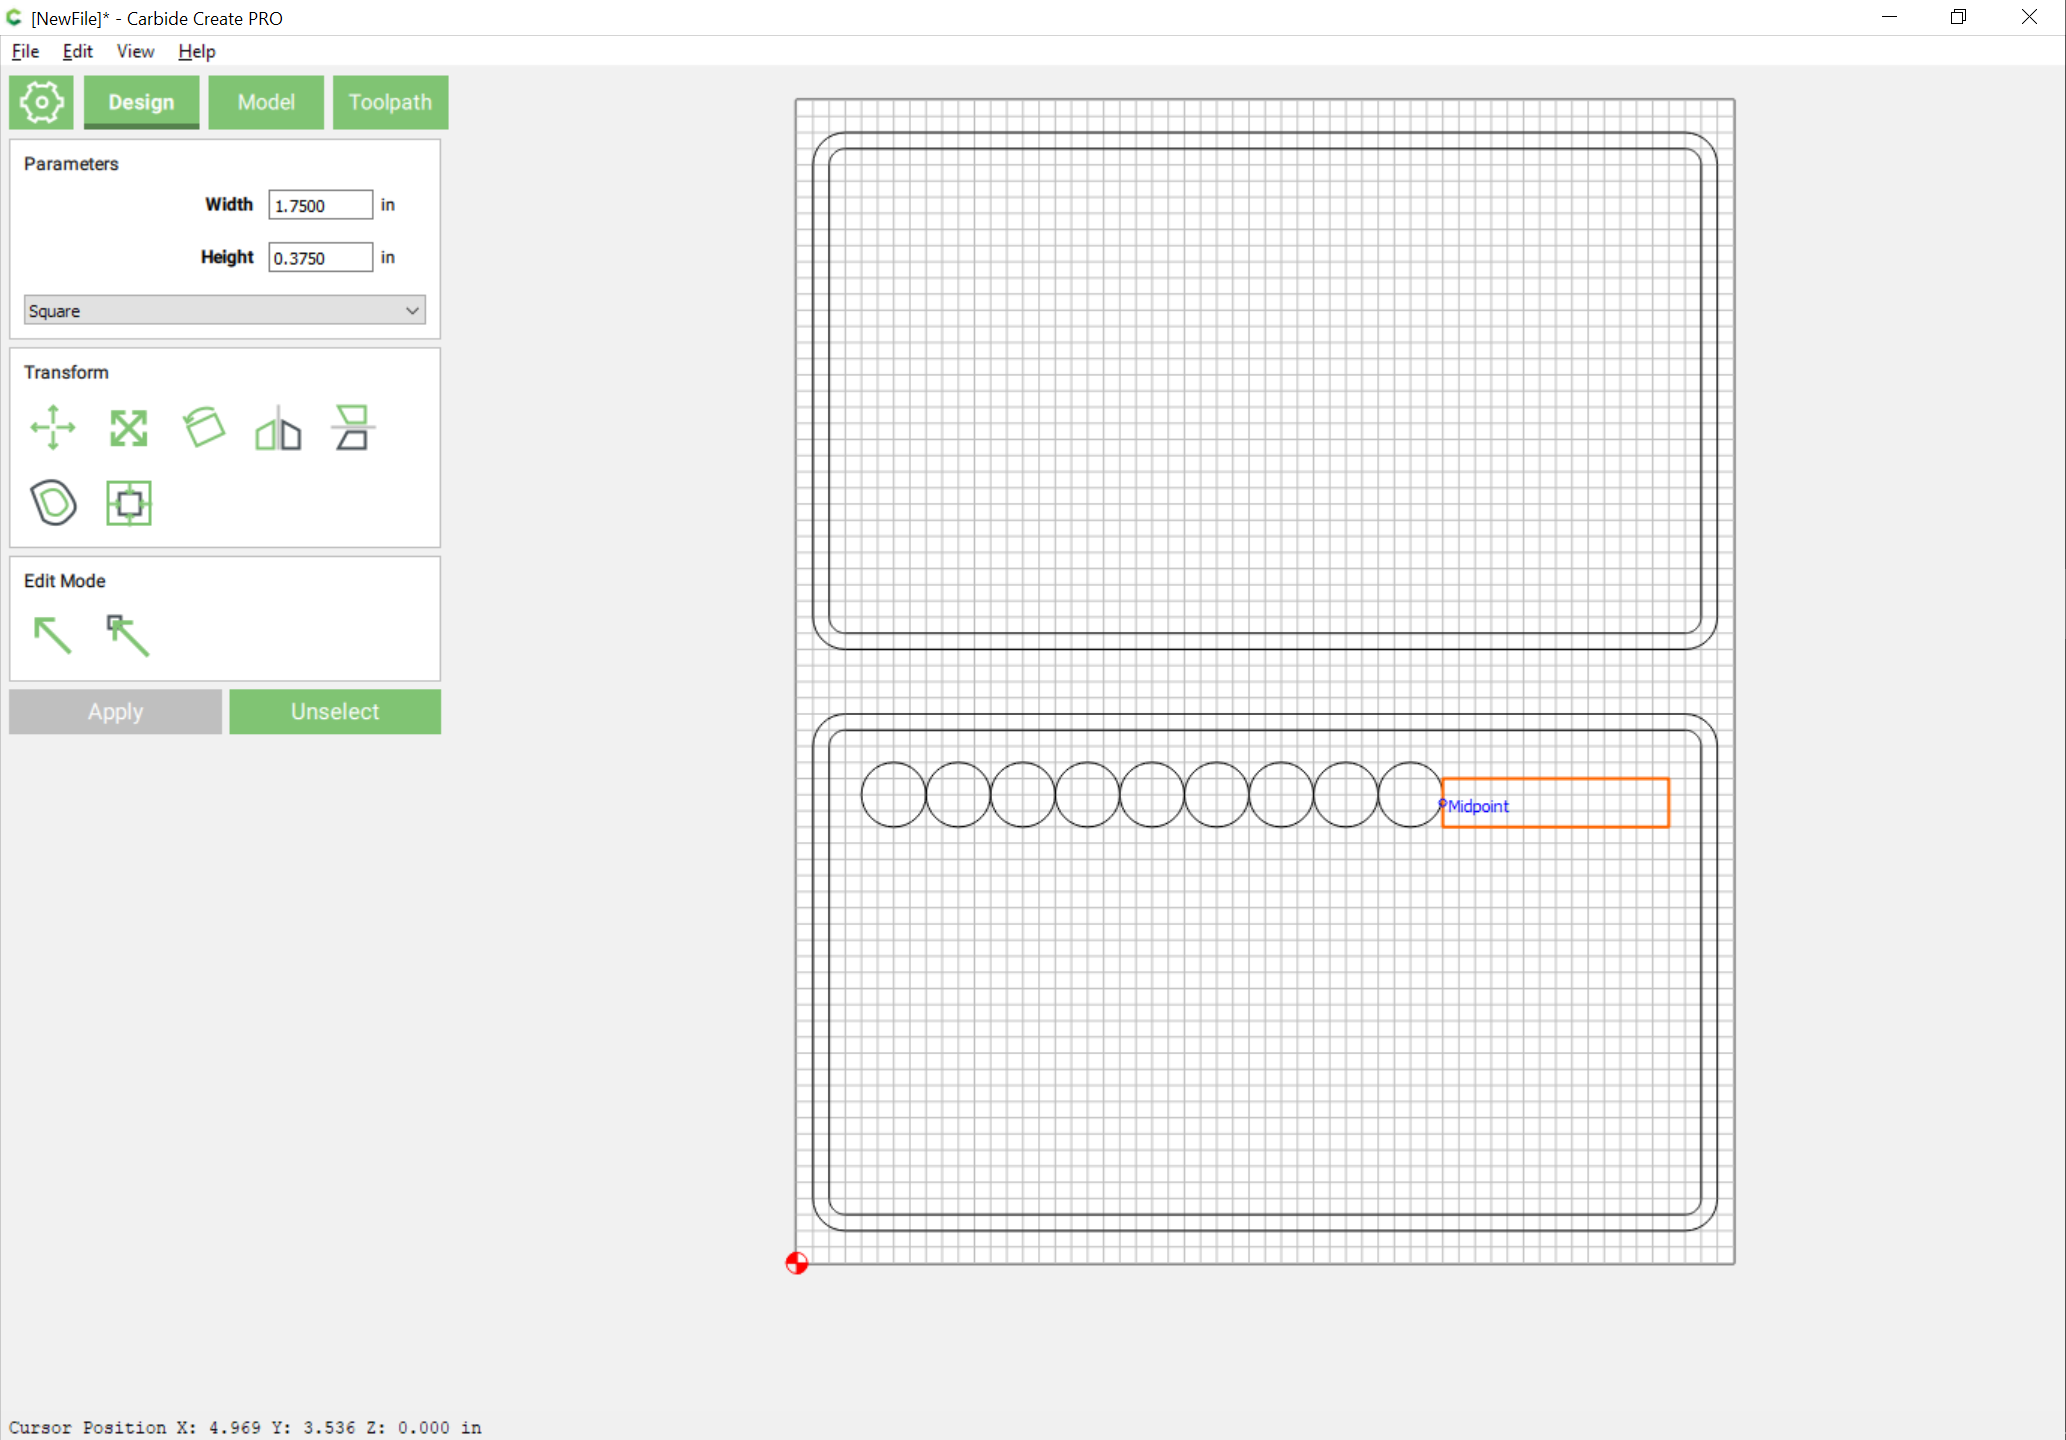
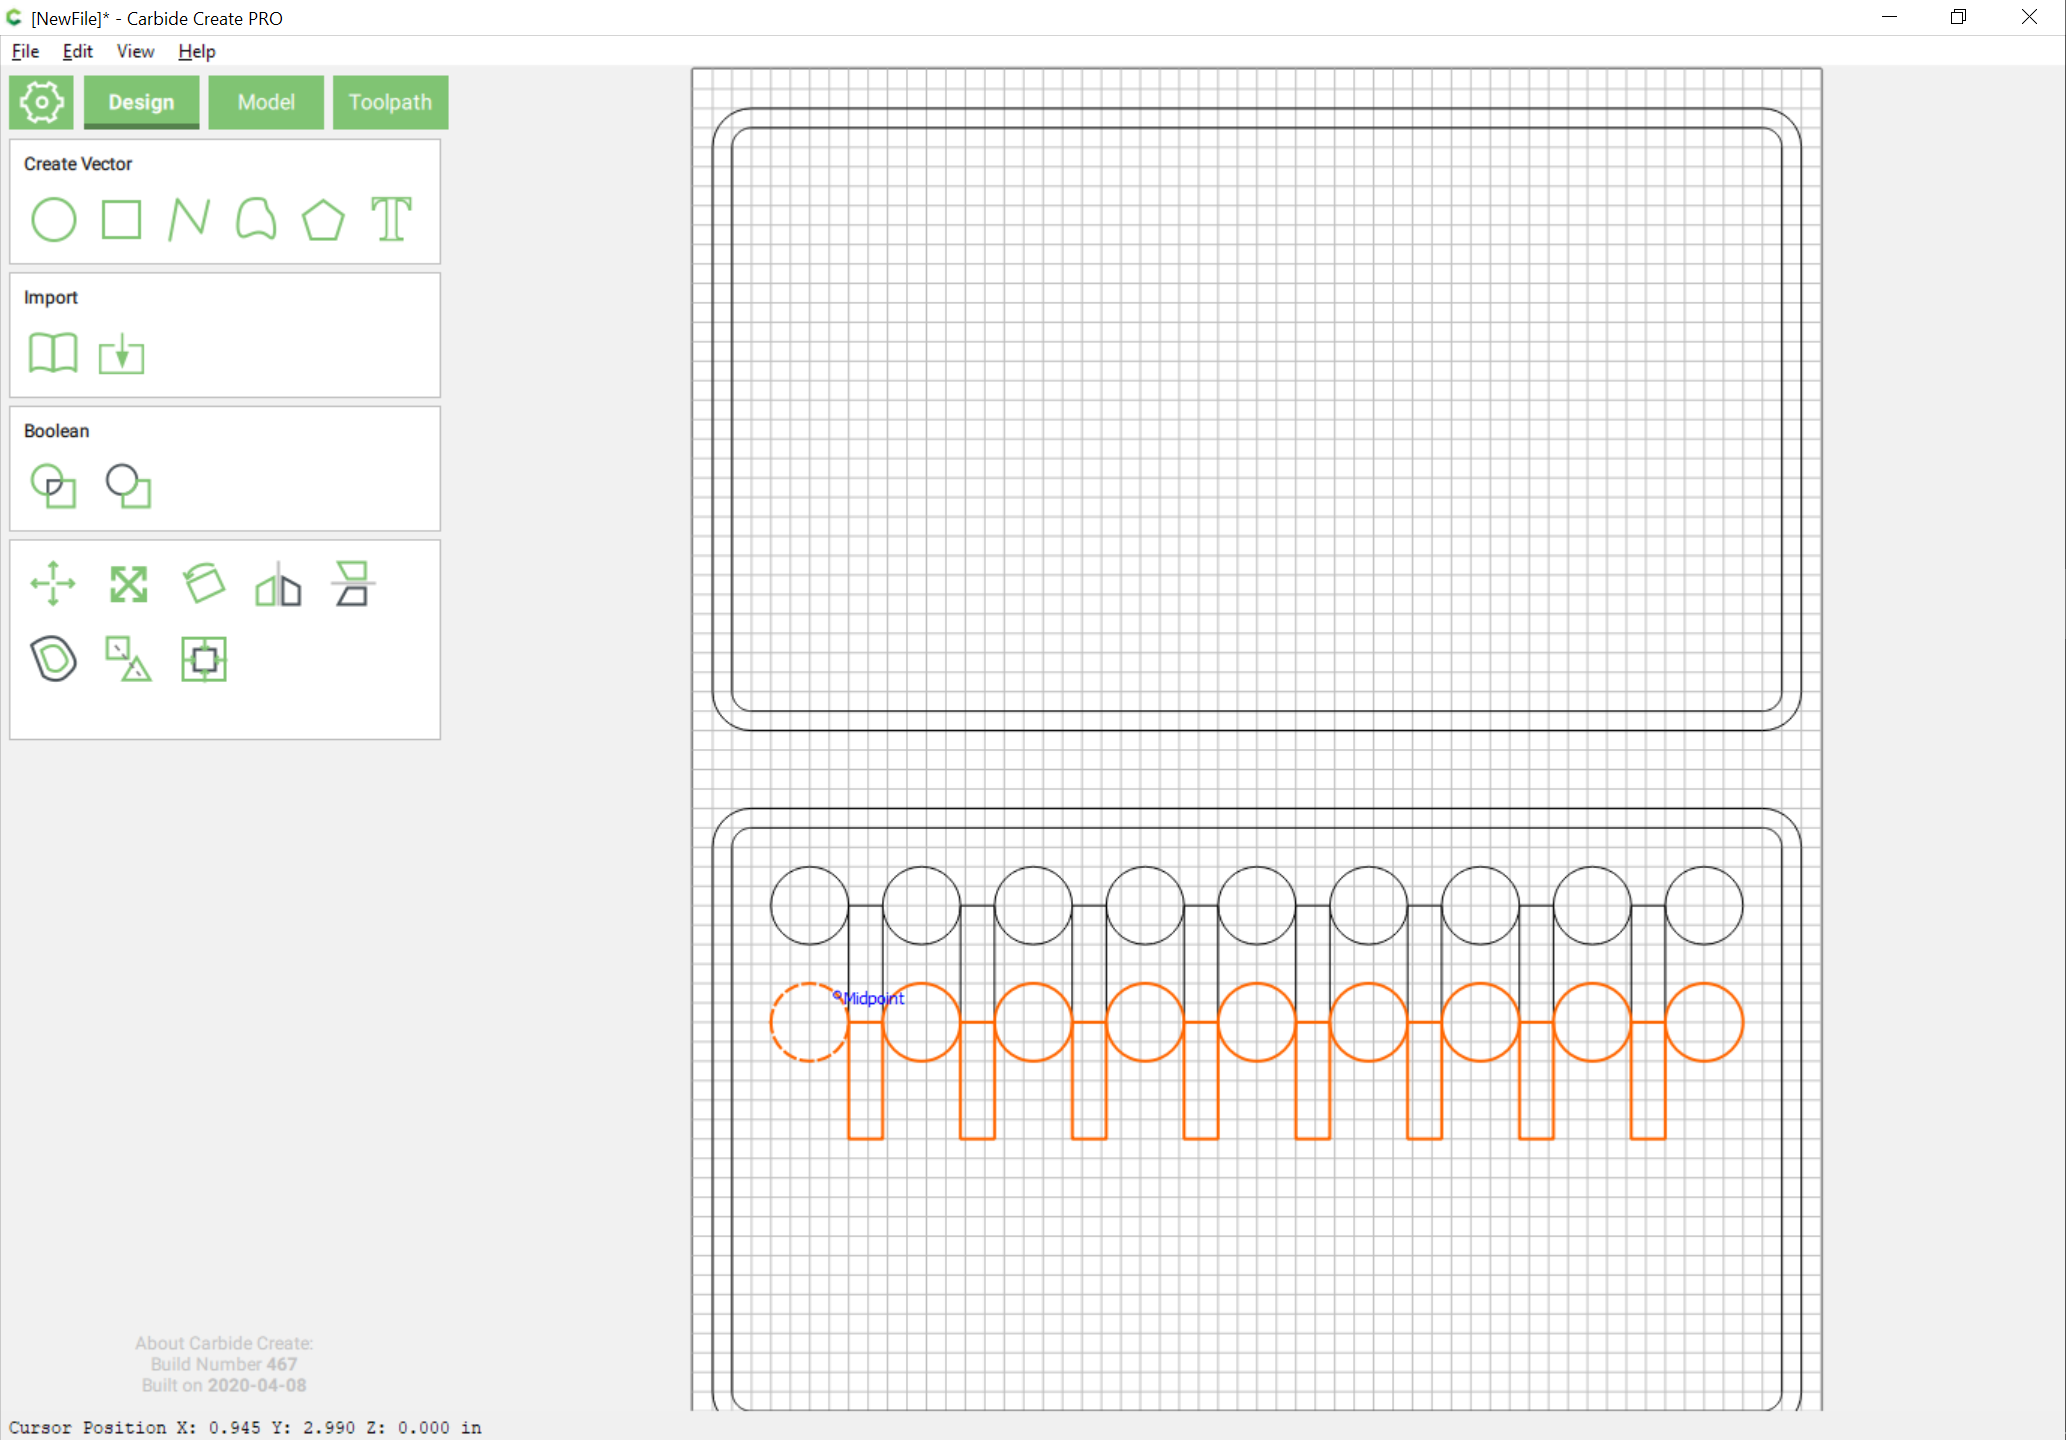
First we need to determine the desired spacing — position the circles adjacently with the left-most positioned as desired, then draw in a rectangle which is wide enough to fill in the remaining space:

We then scale this down by the number of spaces desired (1/8, or 0.125):

noting the dimension:

and use the width (X) to make a suitably tall rectangle which will allow us to position the rows one from the other:

We then alternate placing a rectangle, positioning the remaining circles, and duplicating the rectangle and dragging the dupes into position until we arrive at:

We then duplicate the circles and rectangles and drag them into position:

and then duplicate just the top row or circles and drag them into position:

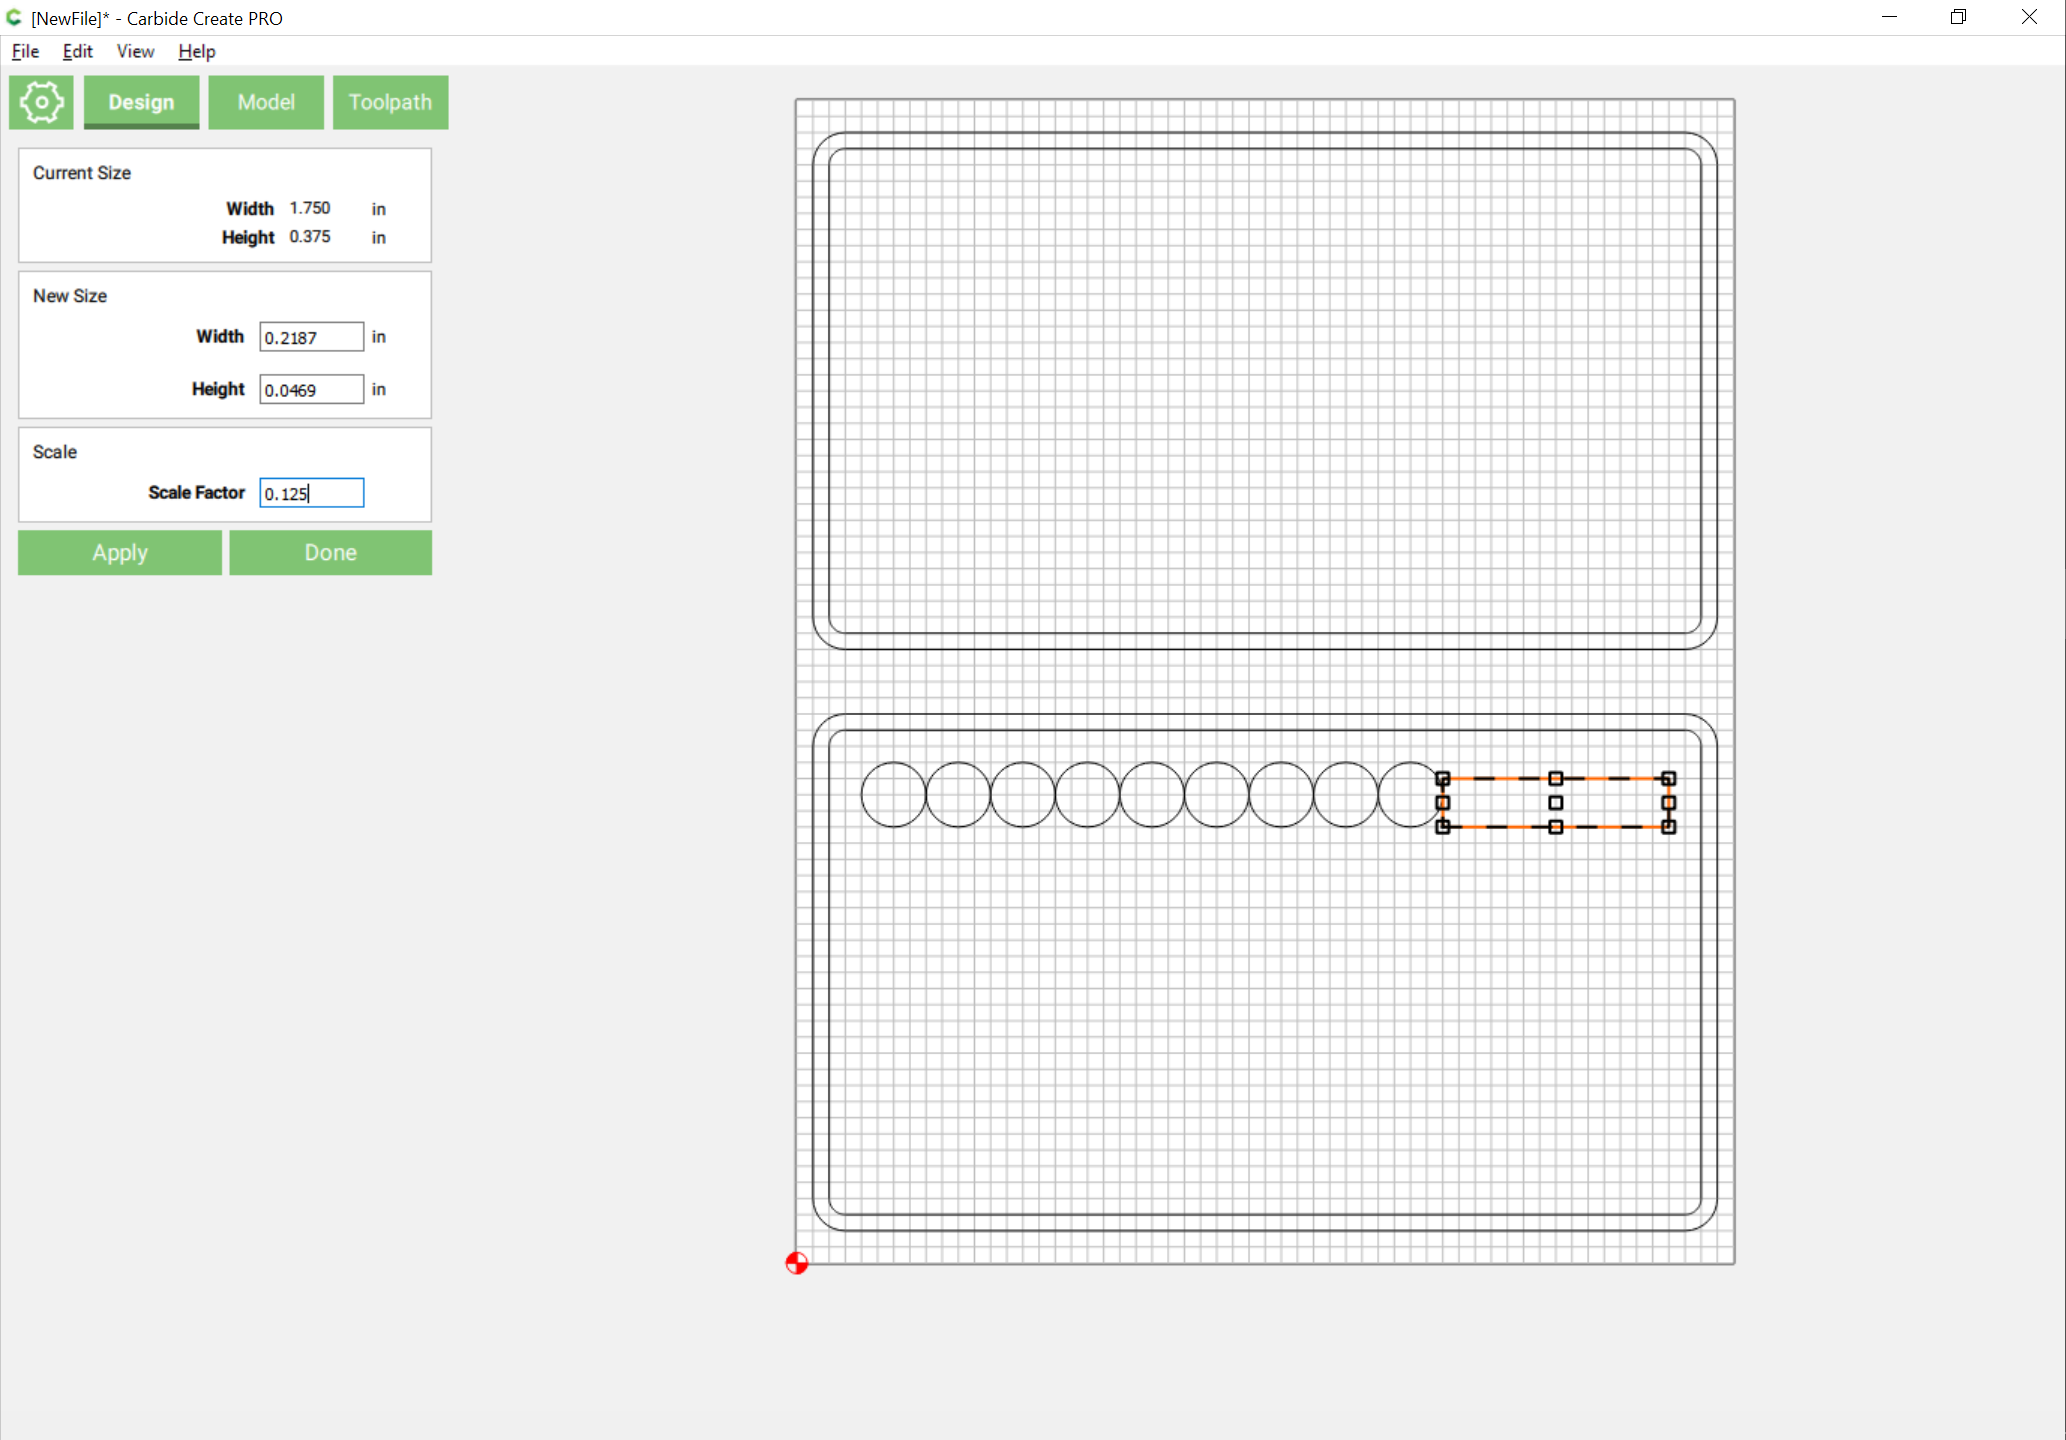
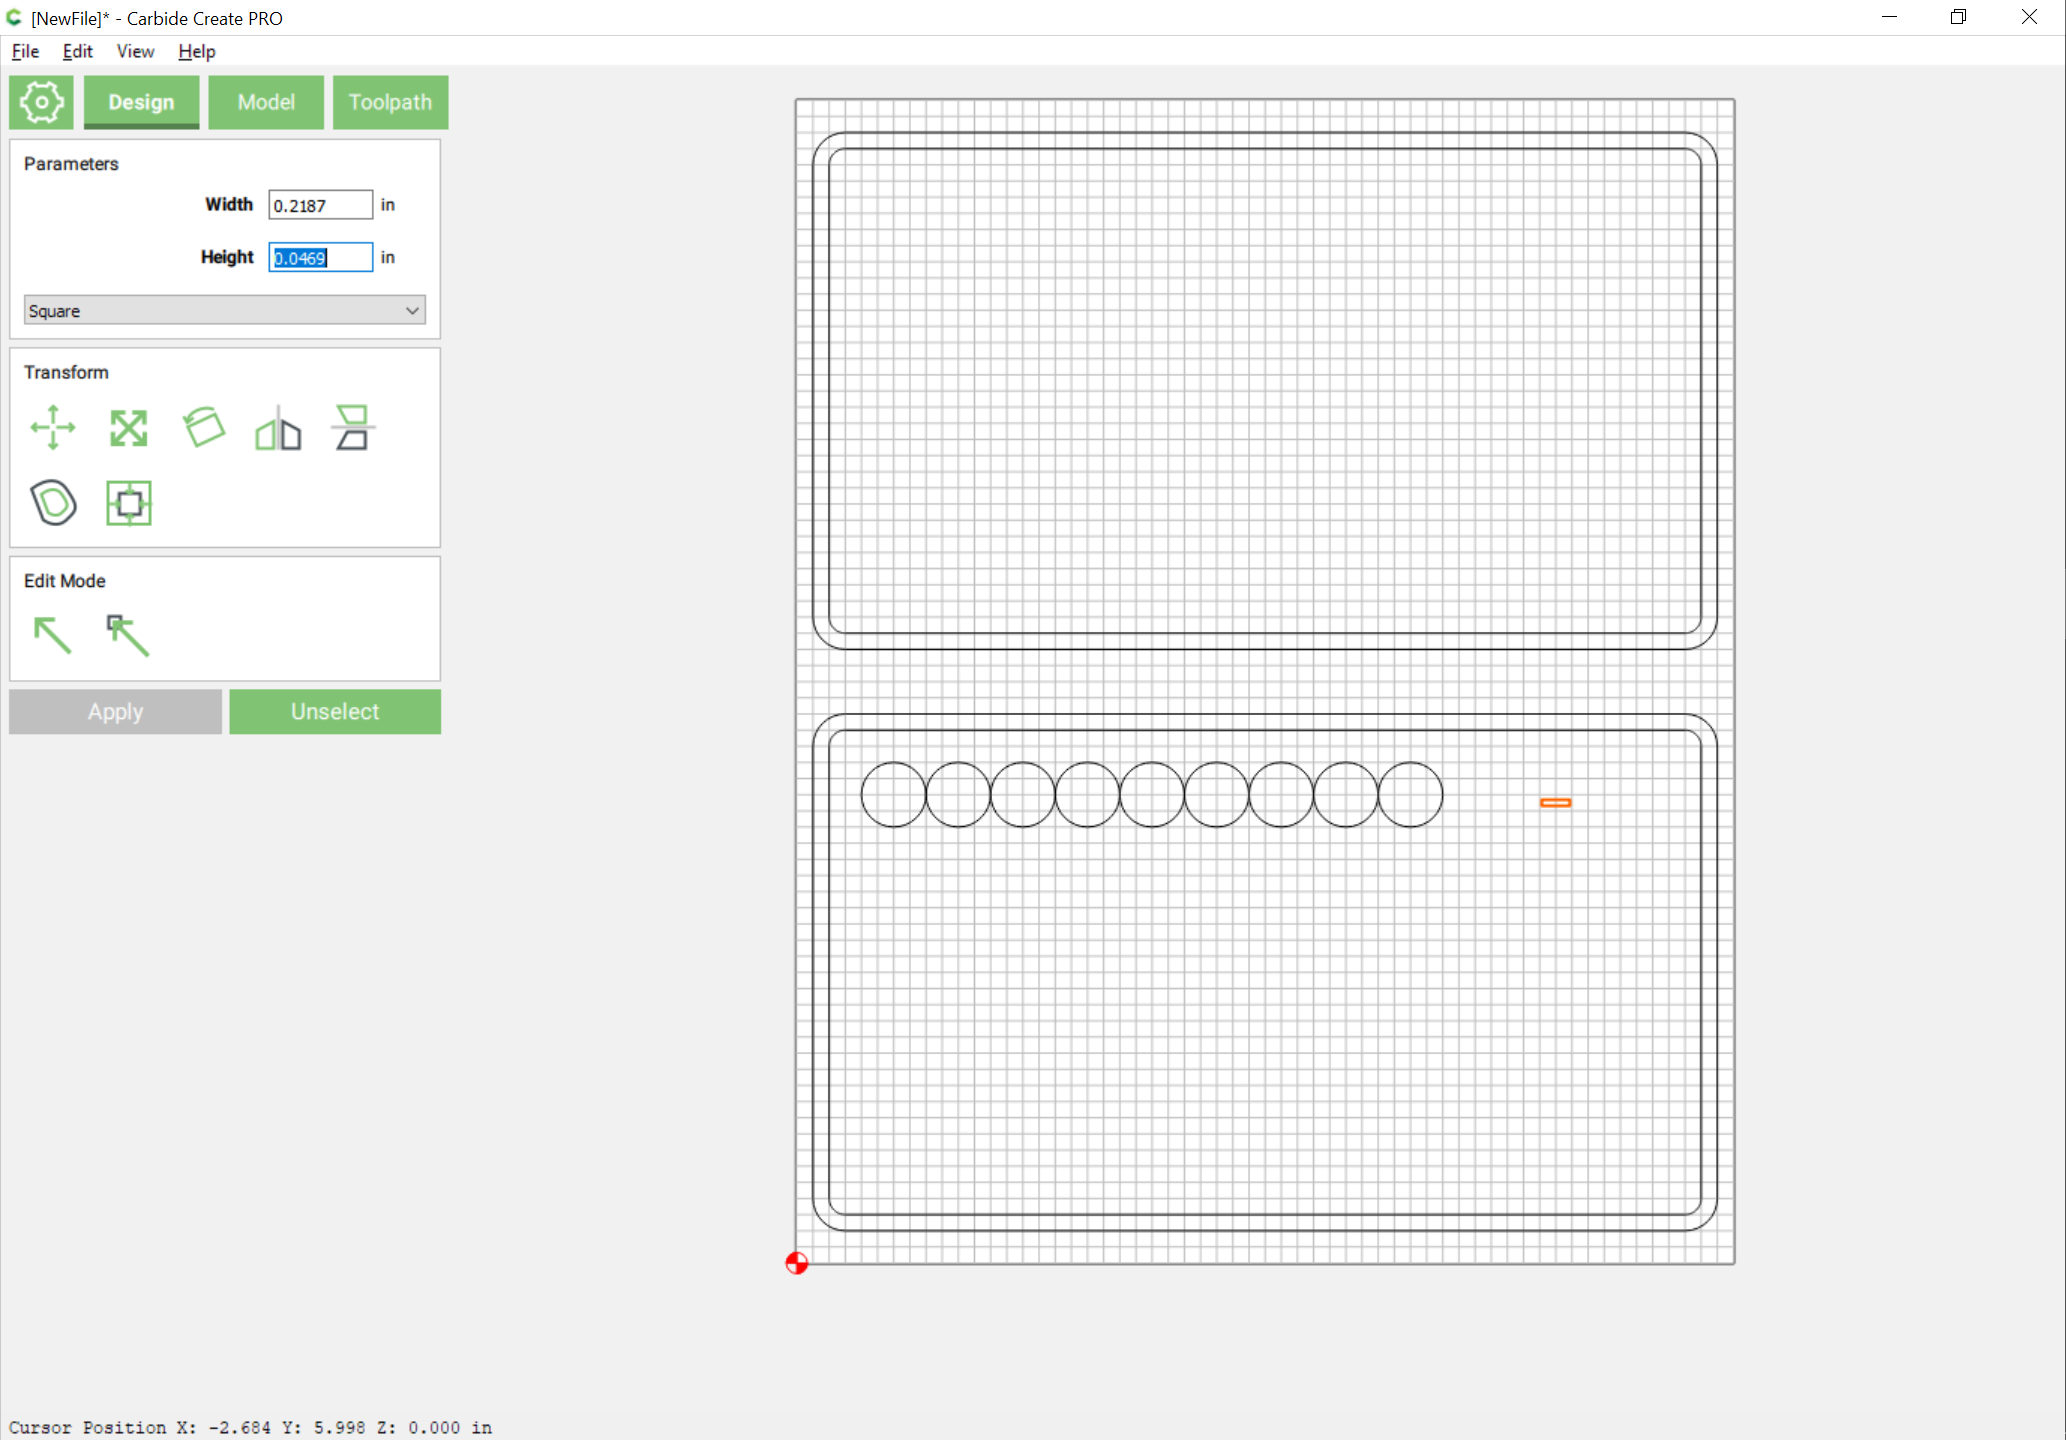
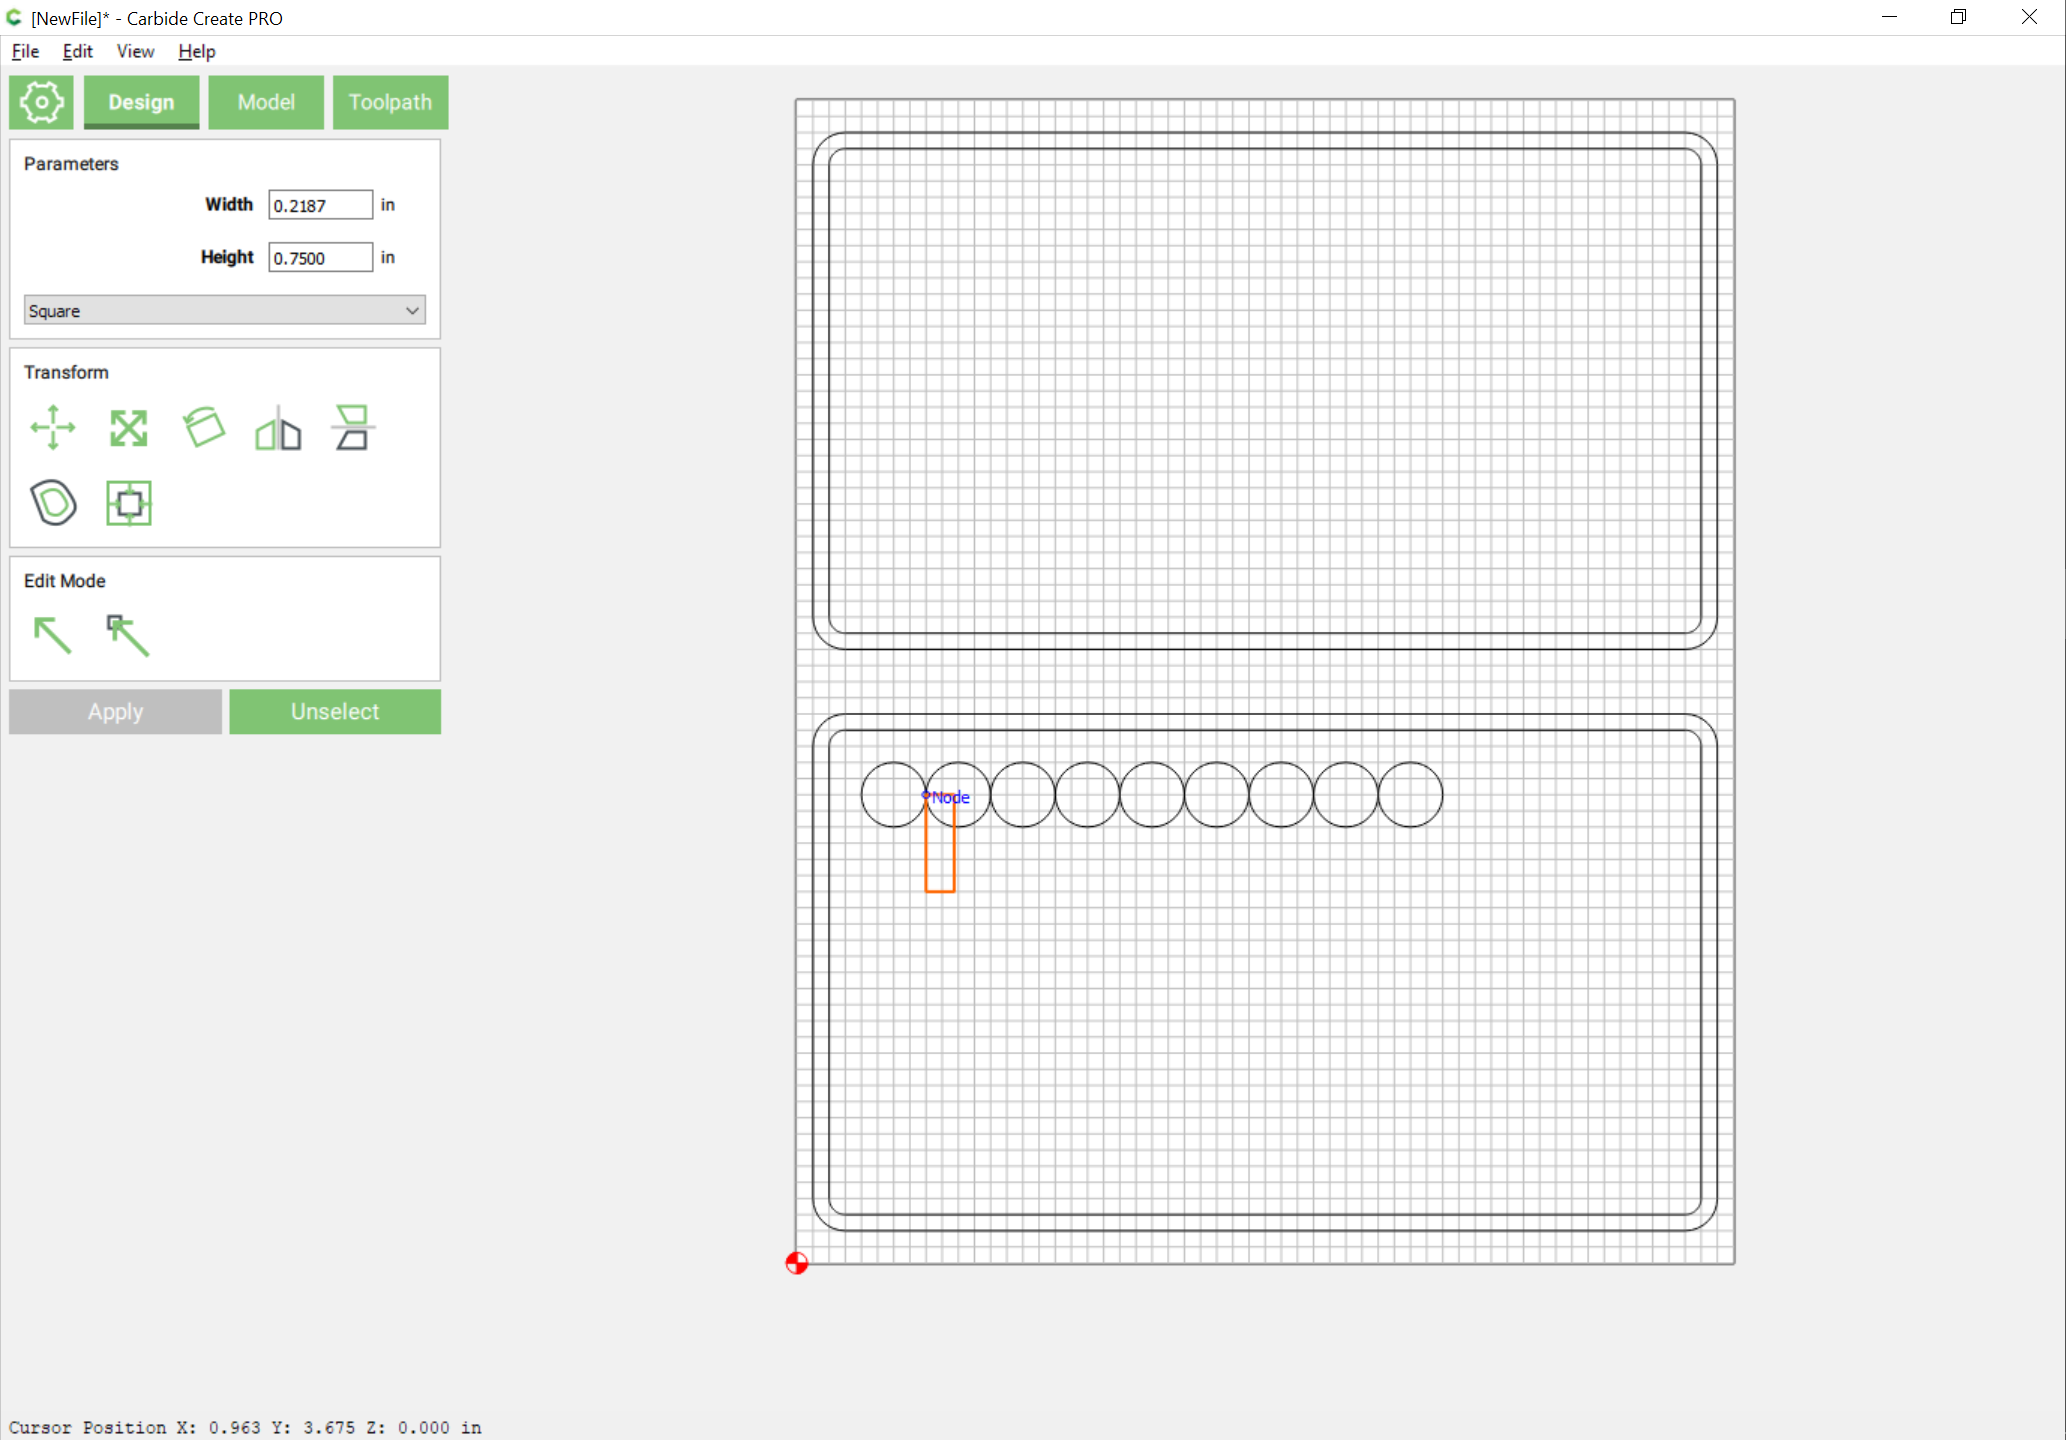
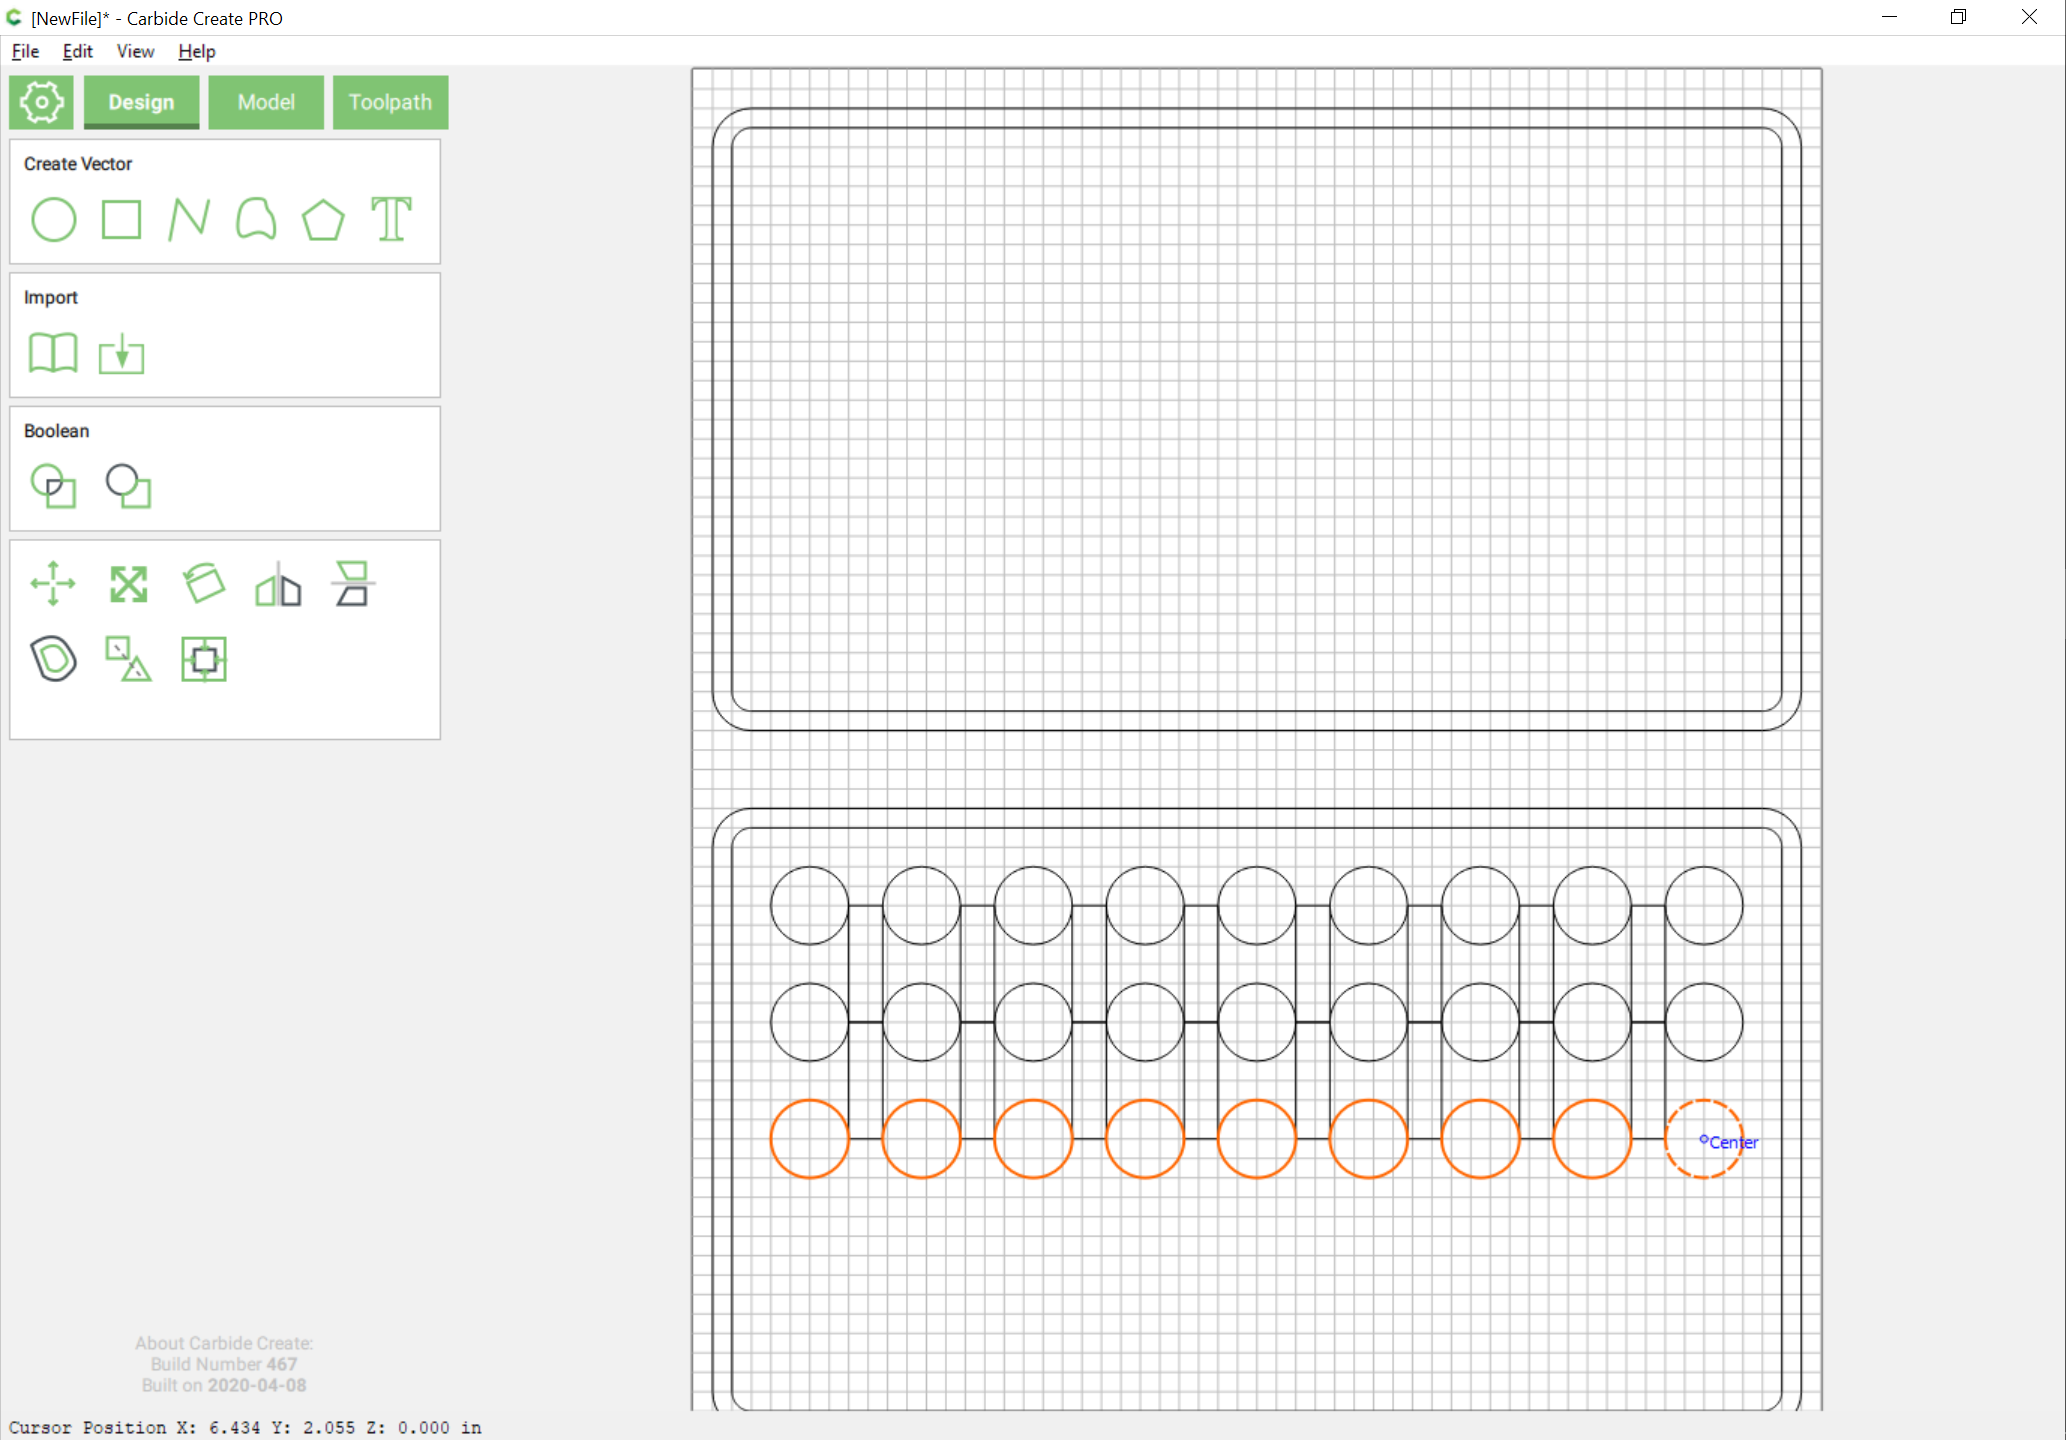
Delete the rectangles and then set the circles to the desired diameter (or leave them at 0.5" as close enough), then draw in a rectangle for the remaining space:

Measure the stamping tool as 0.5" in diameter and 2.75" in length and draw in a suitable pocket and center it in the space:

1 Like

Measuring the stamps a depth of 0.424" seems right for the pockets for them:

Making a pocket which will have the stamping tool proud of the surface by a similar amount is a matter of measurement:

1 Like

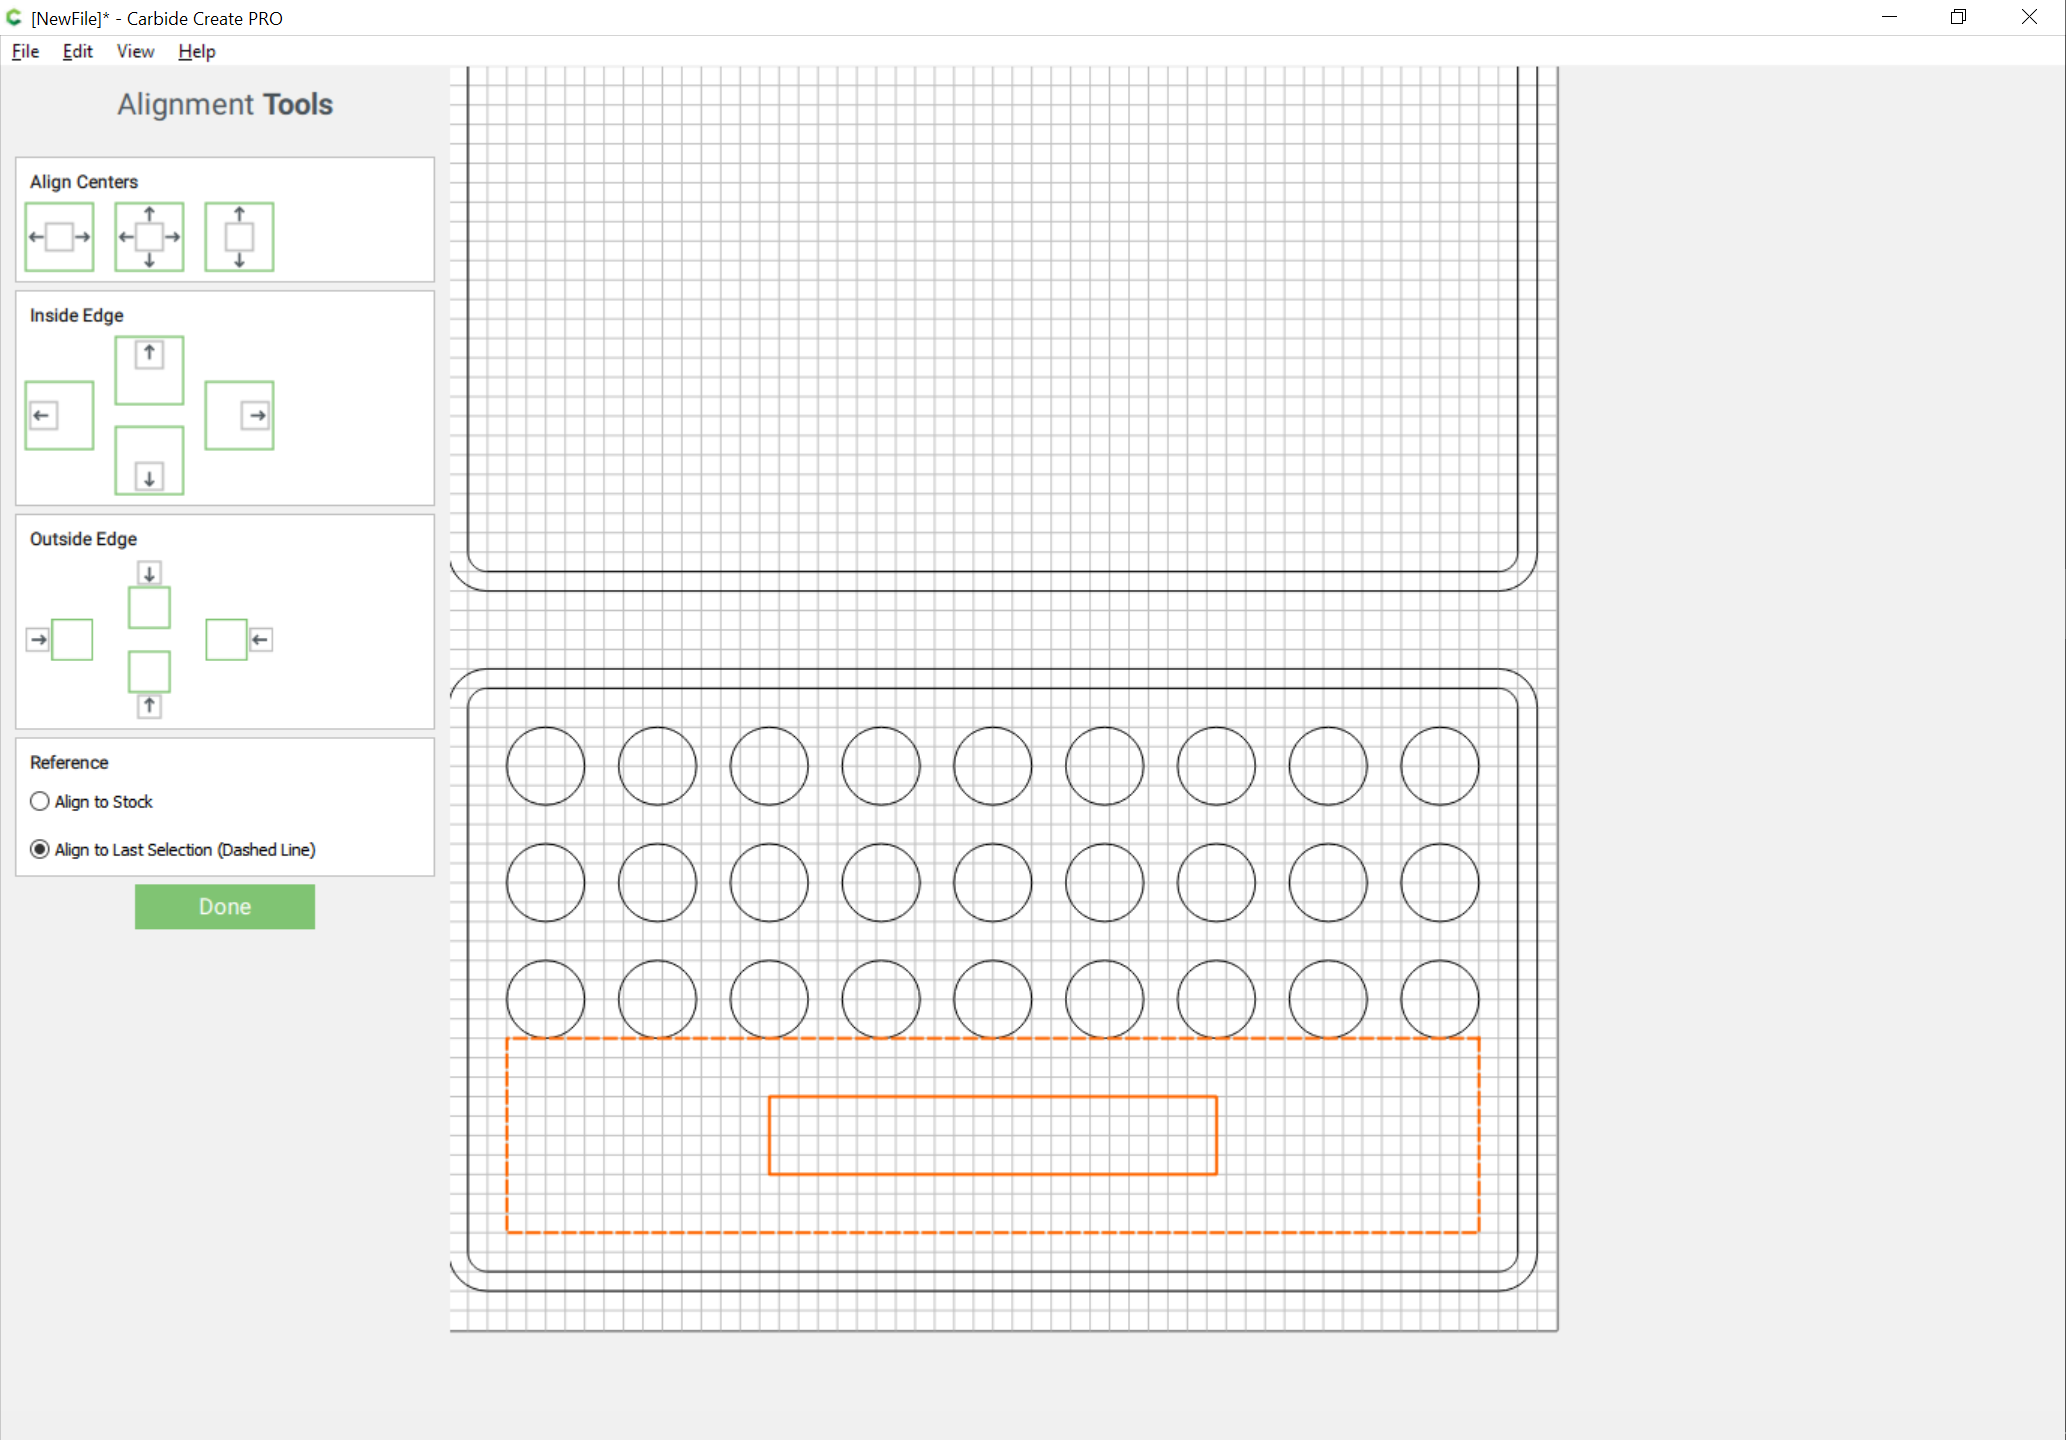
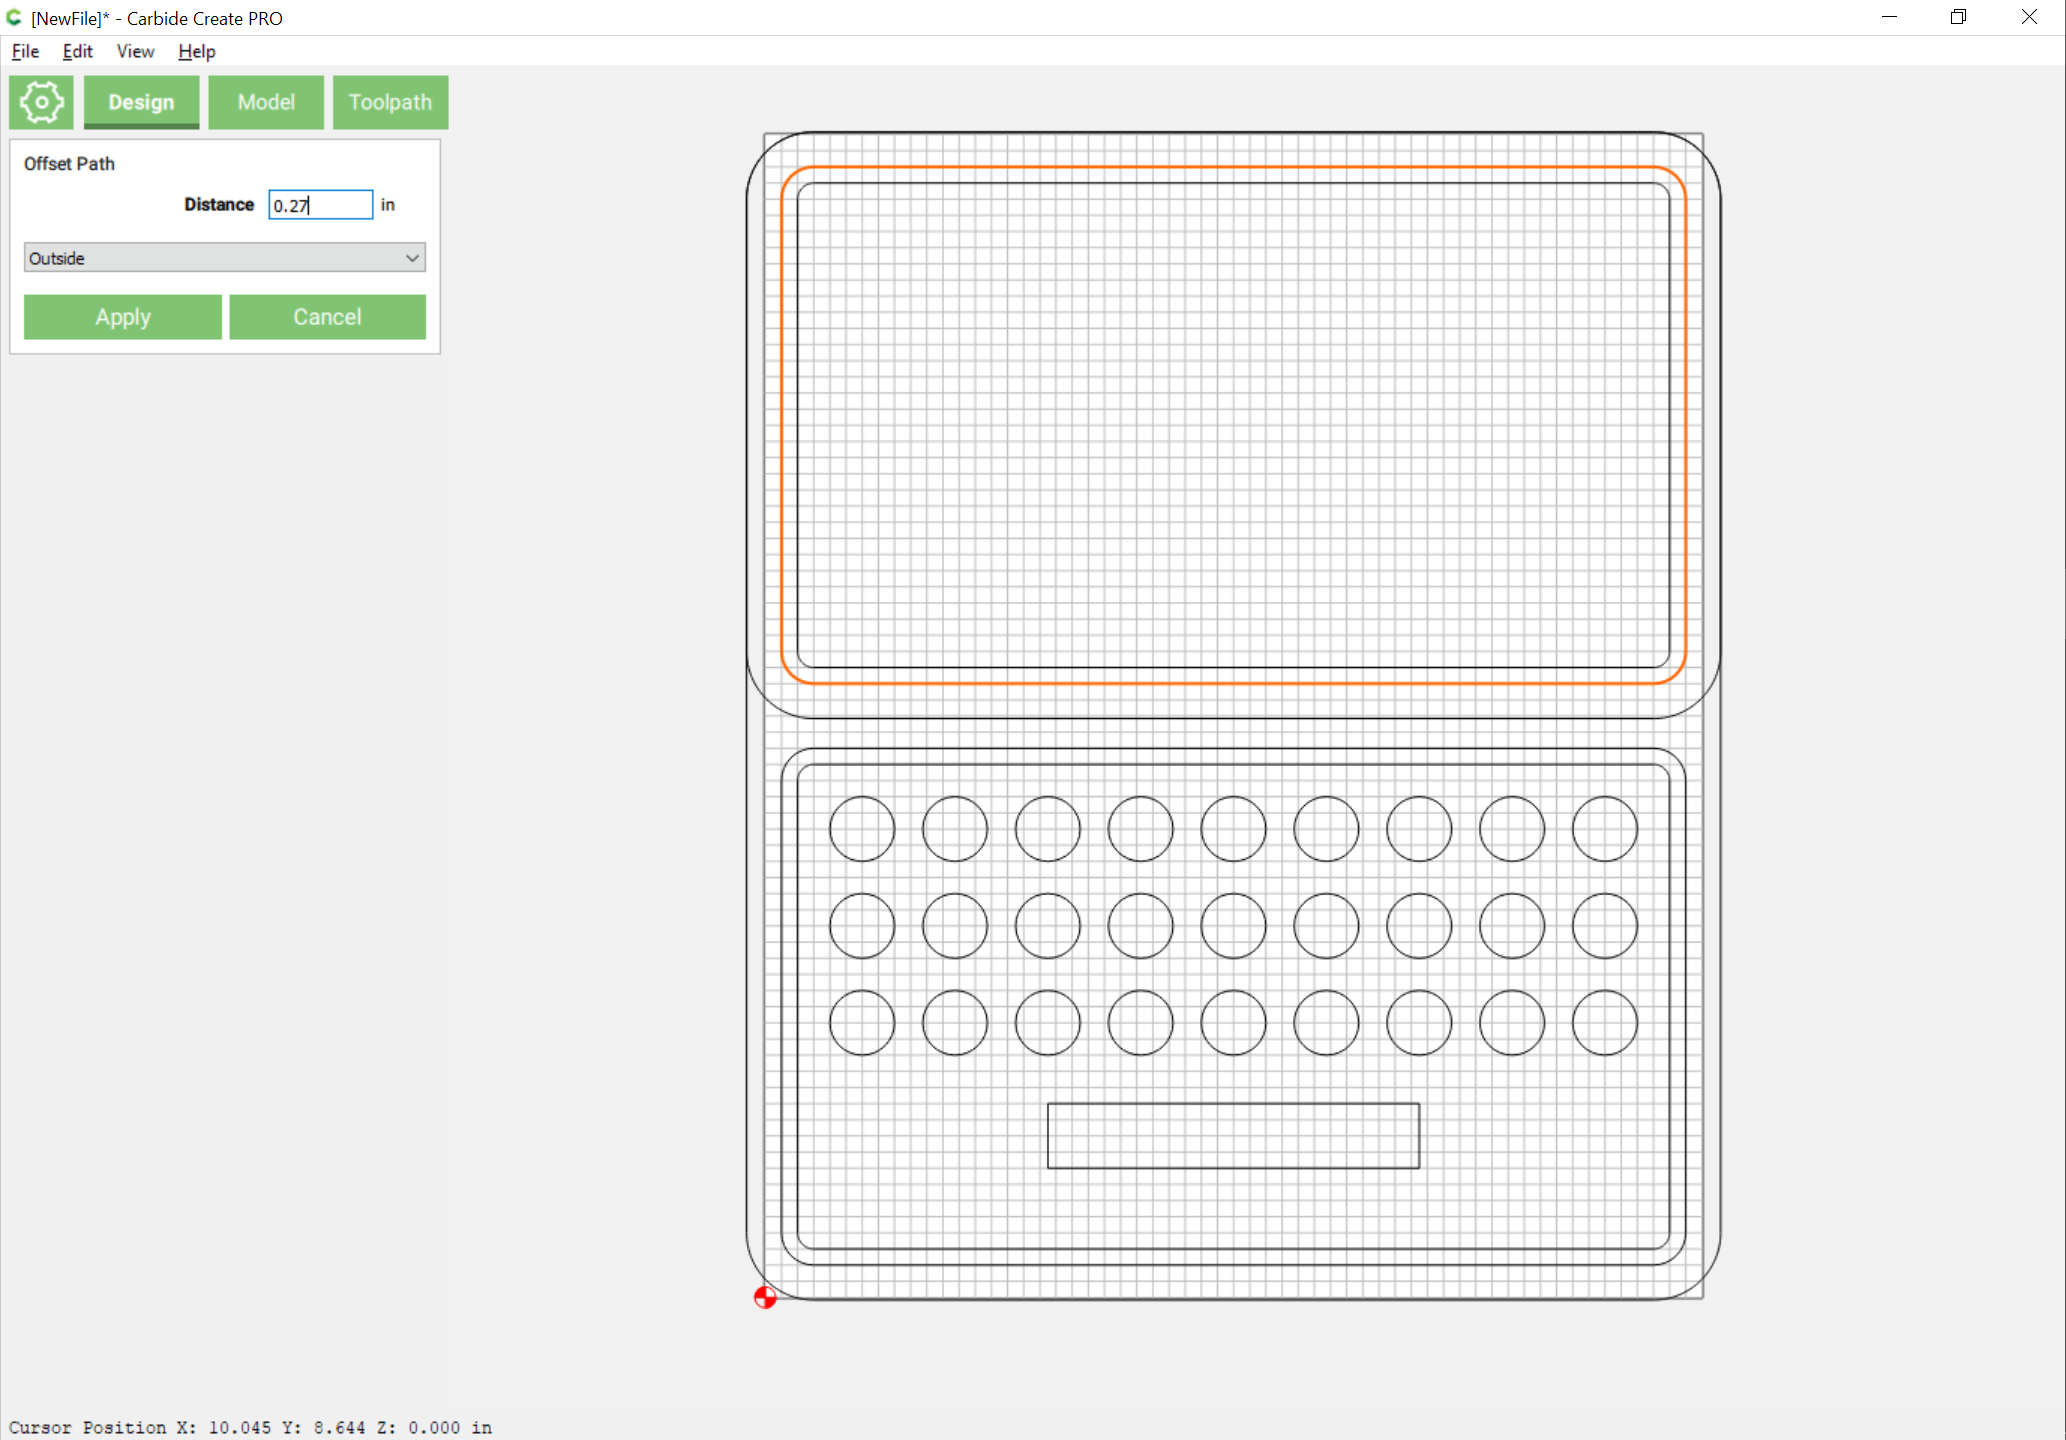
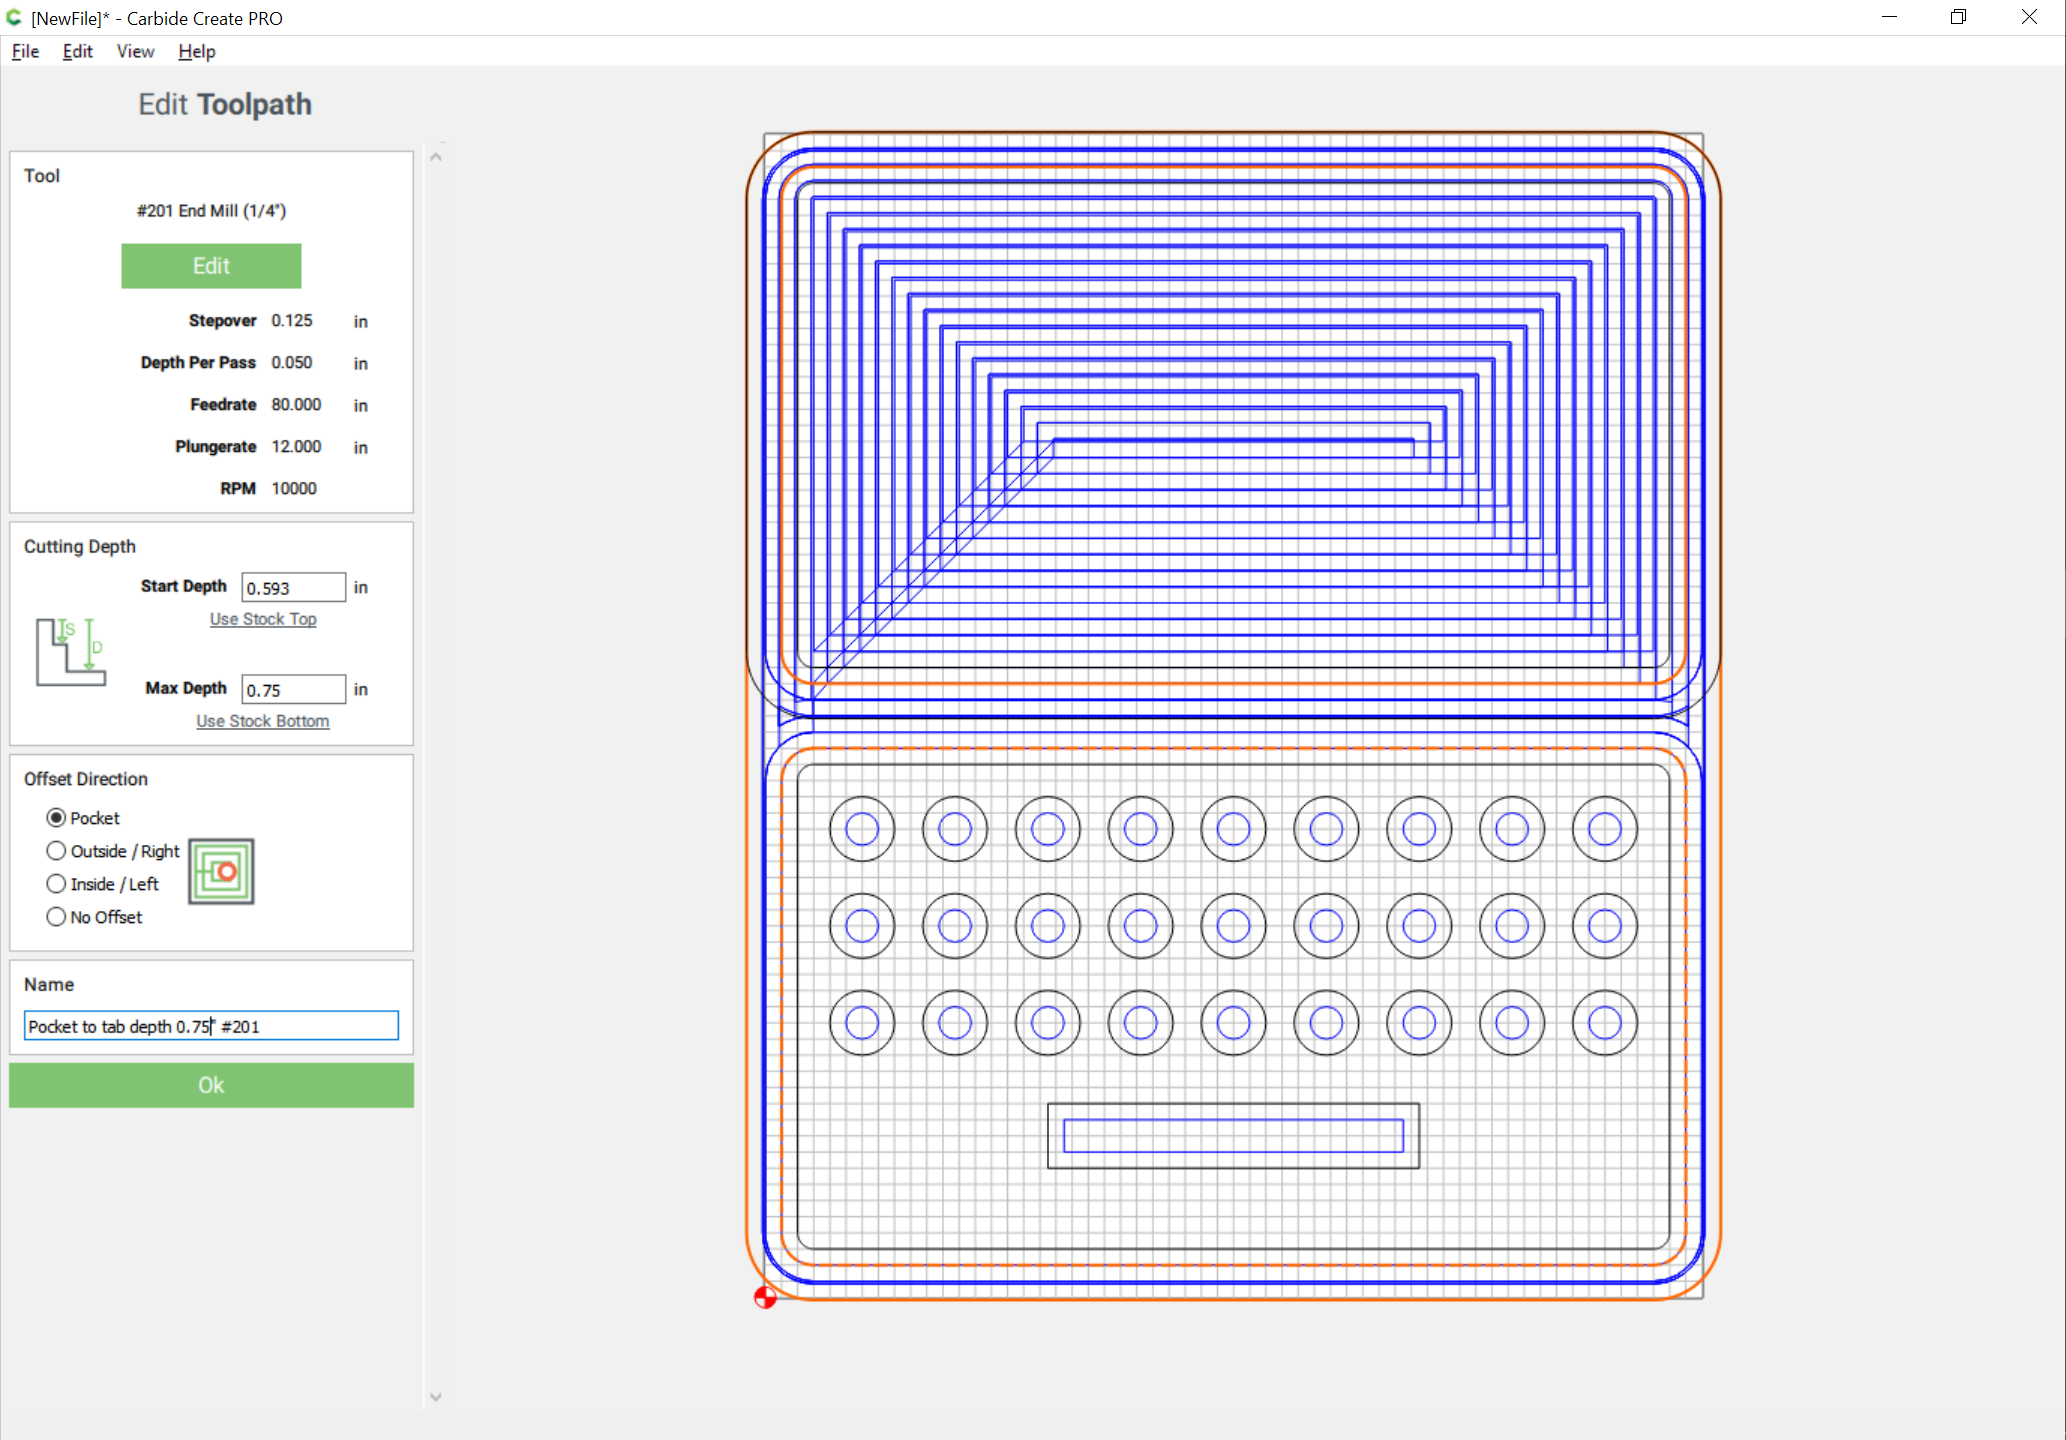
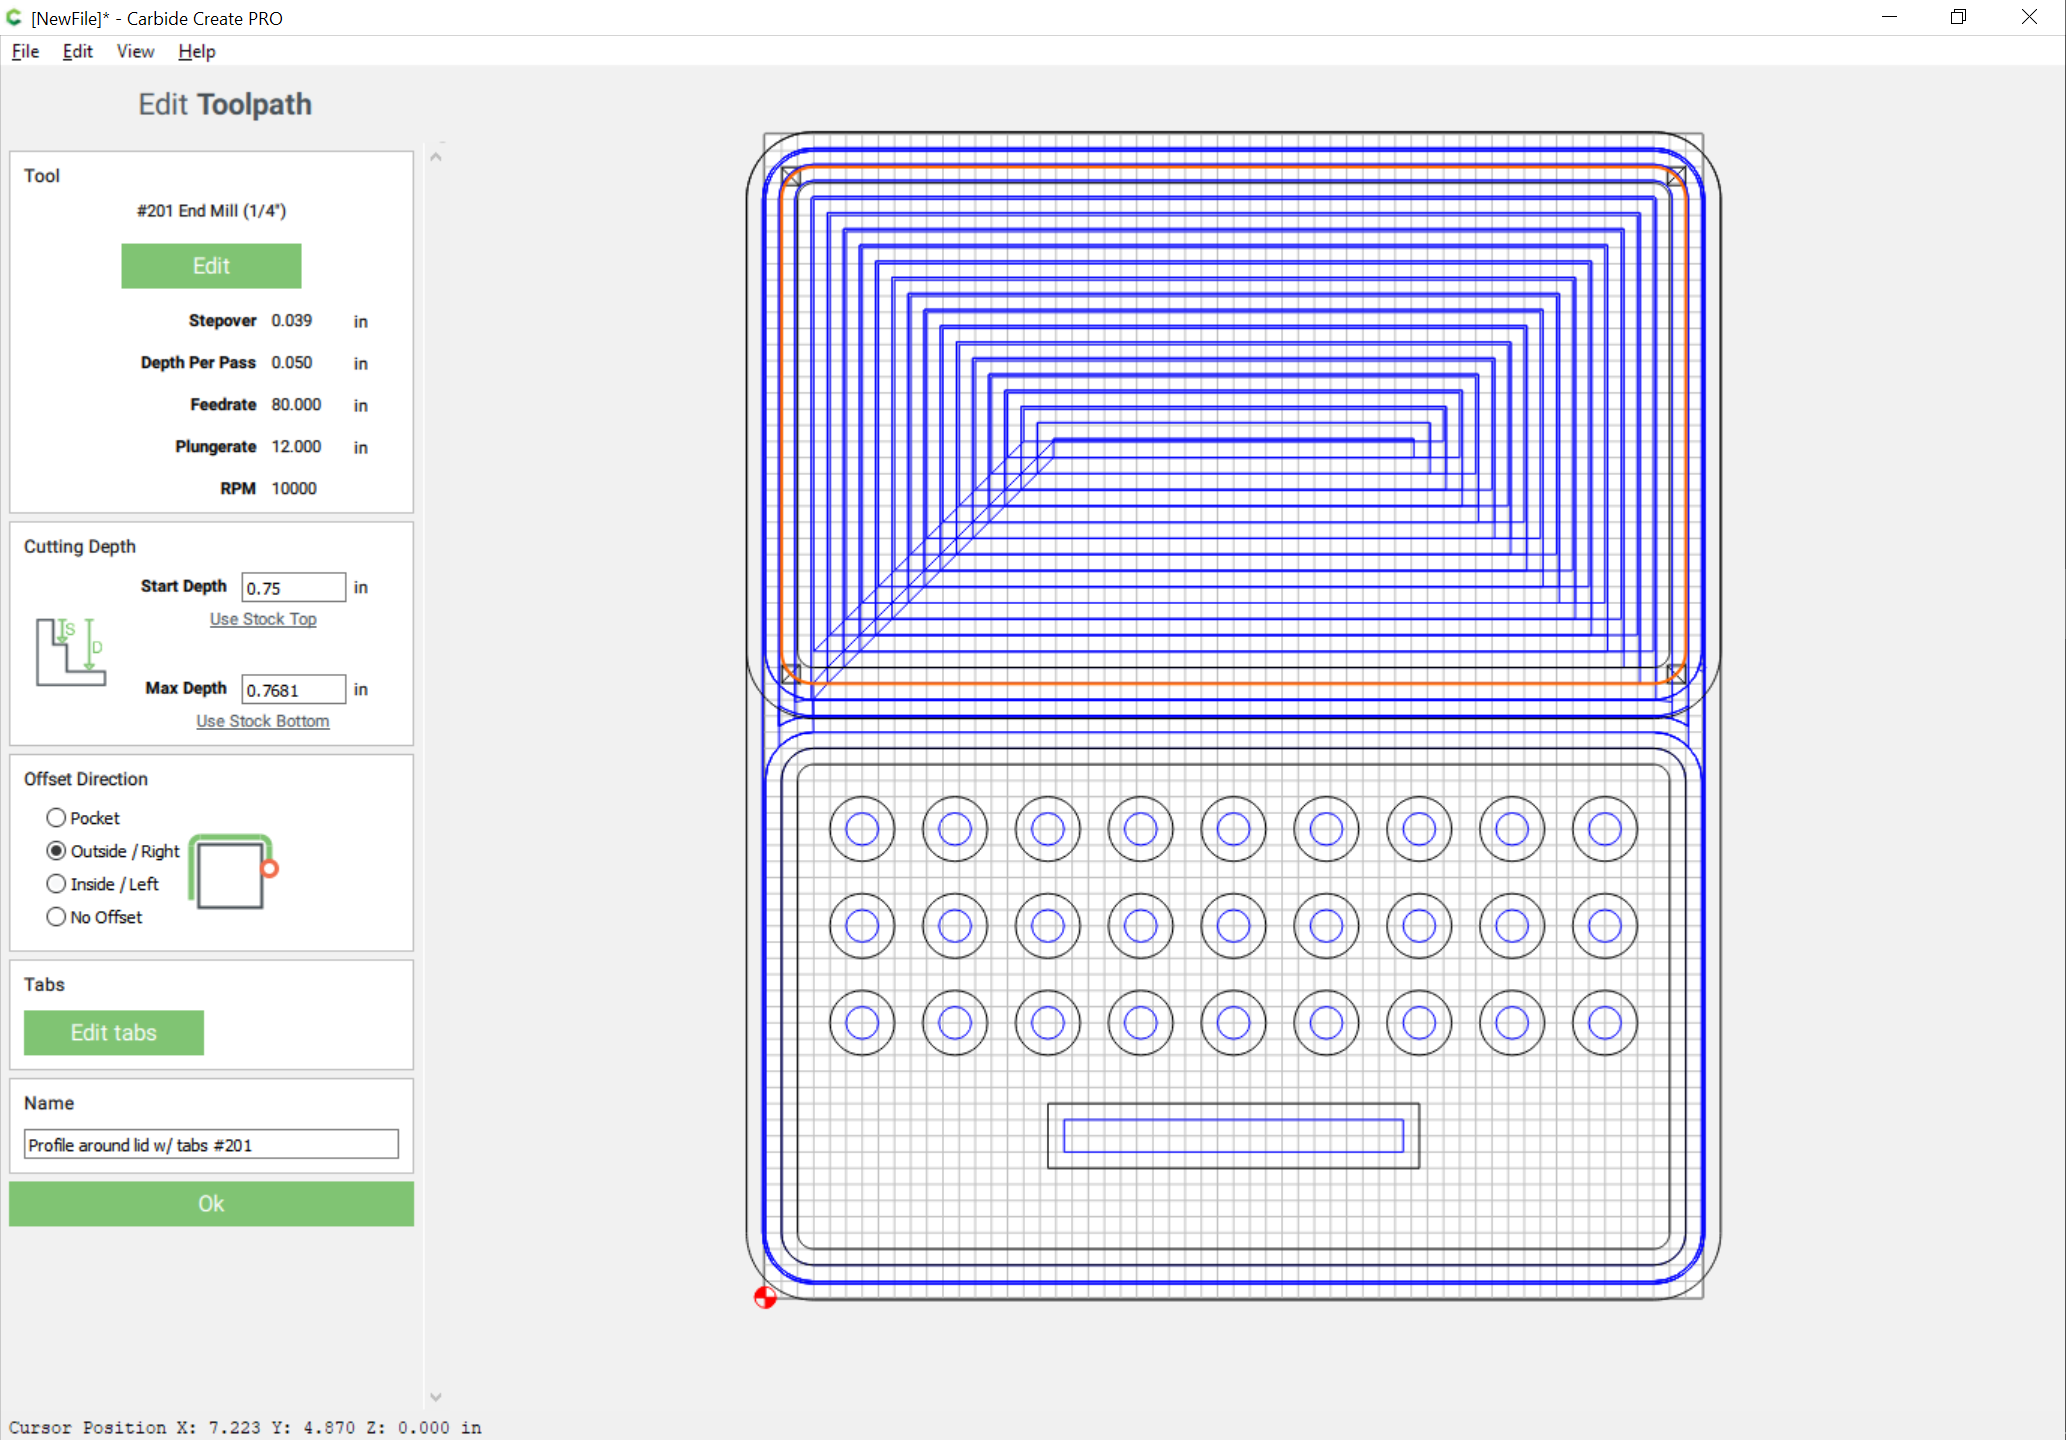
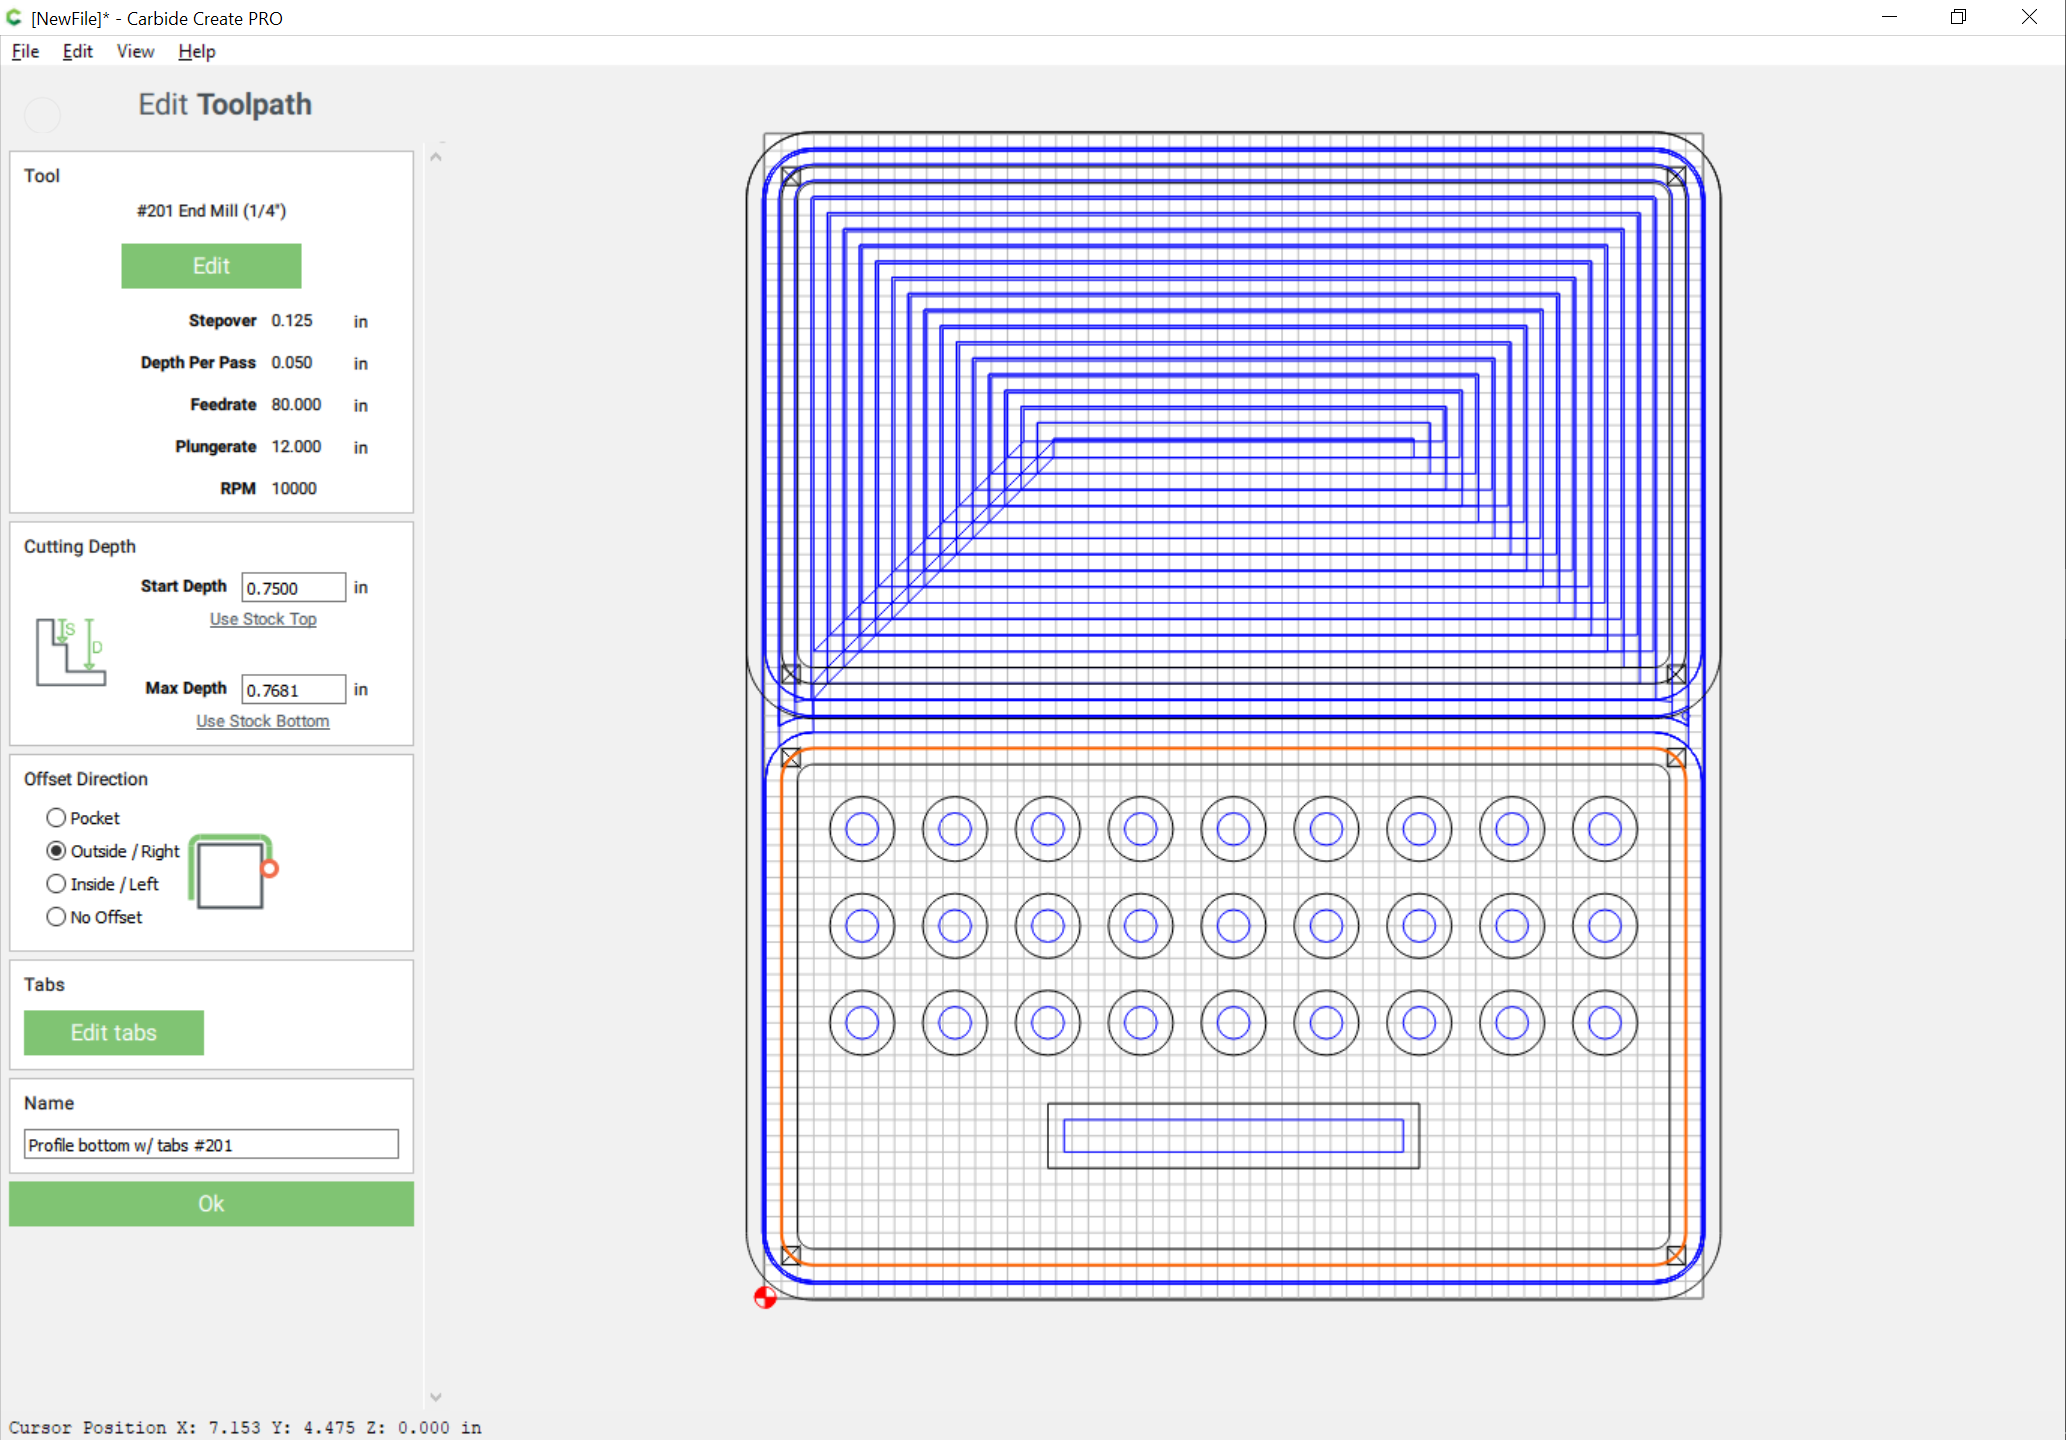
Lastly we need to machine the rabbet for the lid out of the base, reduce the thickness of the lid to yield the desired height while covering the stamps, and pocket around the two parts to tab height, then finish the profile with tabs for each part. First we draw in some surrounding geometry:

Note that there are two pieces of geometry added, one to allow profiling both parts, the other to allow reducing the height of the lid.

Next, we rabbet the bottom for the lid:

Then we reduce the lid to a height of:

 0.125" (desired thickness of the lid) + 0.25 (distance stamps will stand proud) + 0.125" (depth of rabbet for lid) == 0.5"

which is:

0.768" (stock depth) - 0.5" == 0.218"

Then we machine the interior of the lid pocket and continue to the thickness of the lid:

The pocket around lid and bottom to tab depth:

Lastly we profile around lid and bottom leaving tabs:

which all previews as:

3 Likes

It’s a little bit too deep, but fits well enough:

A project for another day will be making an ampersand stamp.

4 Likes

Modified the file to reduce the depth — please check before cutting.

Craftool stamp case.c2d (228.0 KB)

Looking good Will… something for the future for me