how do you follow on numbers that when you do a simulation you are left with the number that you want. tried to go with contour but cant seem to make it work for me and i should mention it is my first time on carbide .
Please post the file you are having difficulty w/ and a description of what isn’t working.
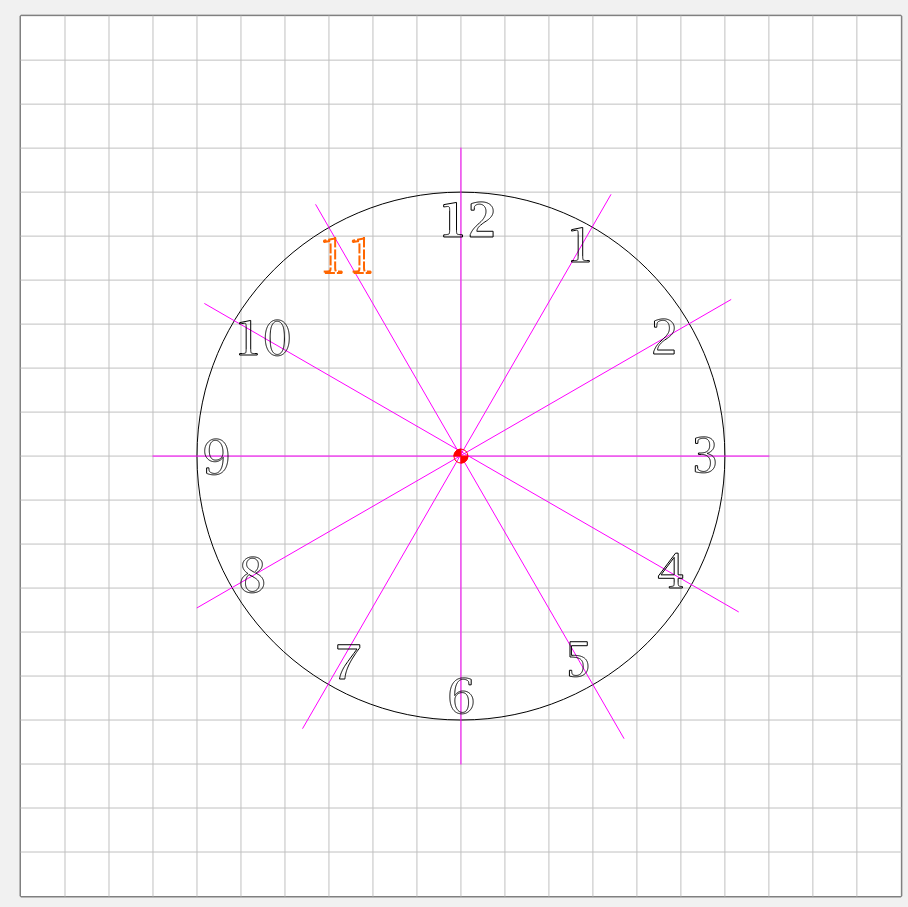
A clock is 360 degrees with twelve numbers. So divide 360 by 12=30 degrees. So start with a horizontal line and copy that line and rotate it 30 degrees. Progressively copy the last copy and rotate it 30 degrees or copy the original line and rotate 30, 60 90…
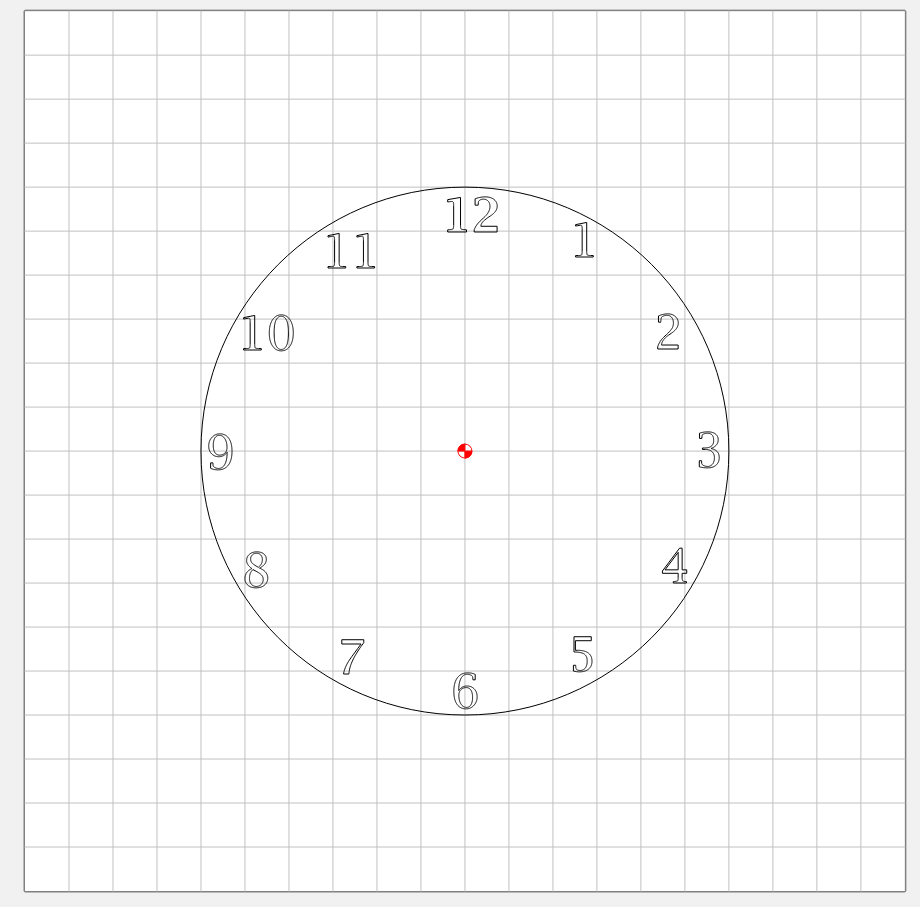
Make sure the lines are longer than your round clock face. With all 12 lines all intersecting at the center (make the origin at the center) Make 12 individual text entries. Then line them up by first selecting the number and then the line and do an alignment of the two. You may need to turn off snap to grid to get the number exactly placed. Alternately and a little harder is to do a single text line of all 12 numbers and use the text on a curve. You will have to play with the spacing and the spacing of the font. For extra points you can pick the opposing numbers and use the alignment tool to align them or just turn off snap to grid and move the numbers where you want them.
clock_face.c2d (152 KB)
1 Like
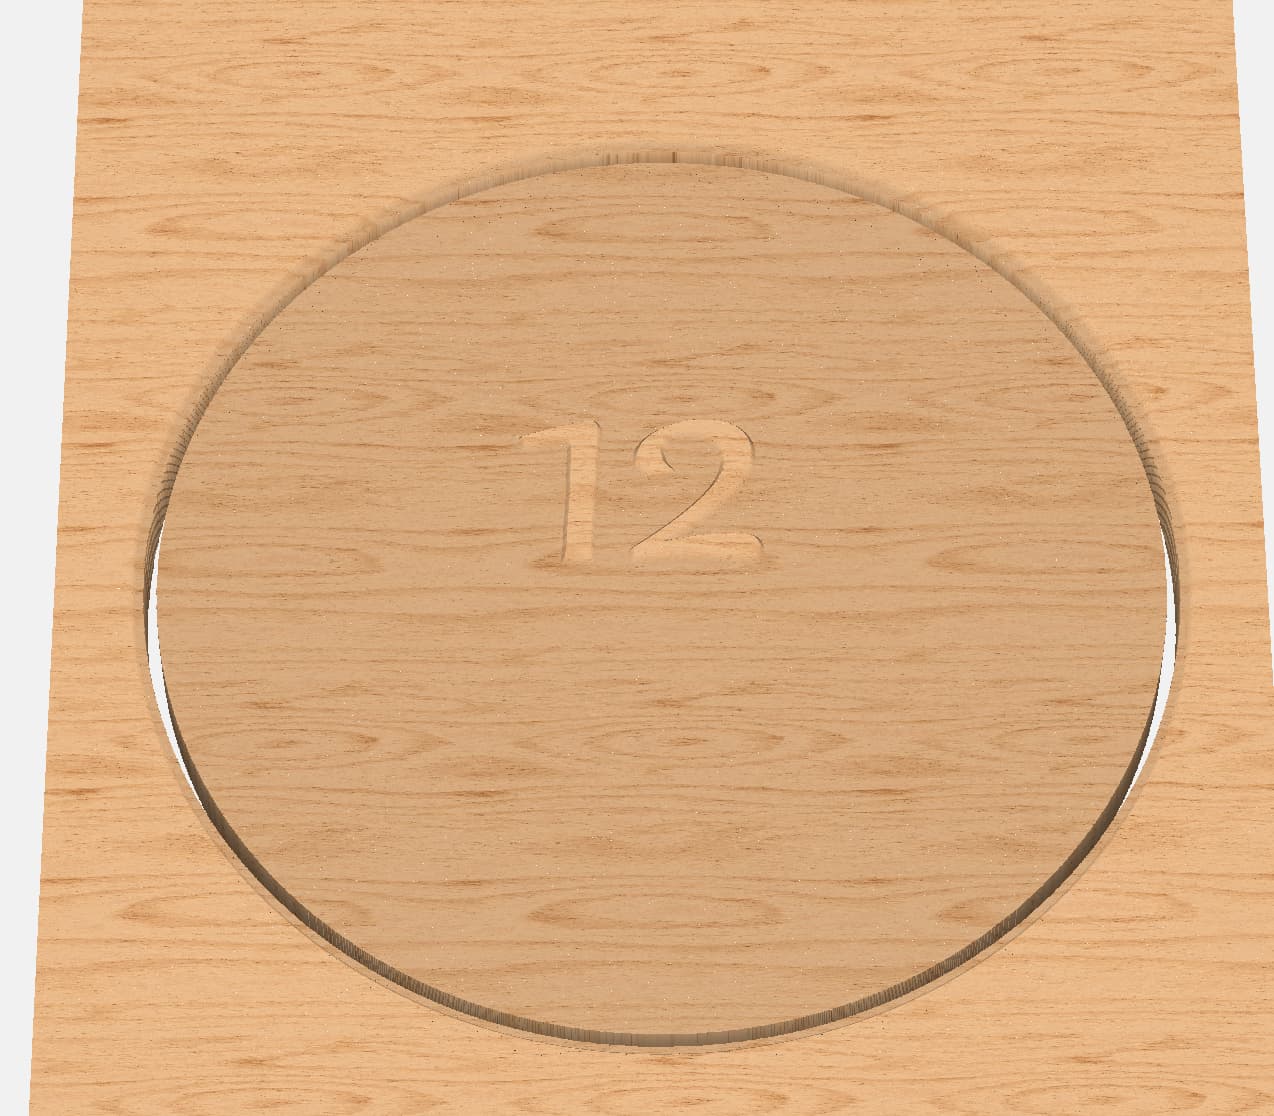
Are you trying to carve away everything except the numbers, so that they are left raised?
If so, then you want to:
EDIT - this assumes you have a bitsetter.
- Add a shape around the outside of the clock face, slightly larger than the clock face. This is so that the bit will travel past the edge of the clockface, so everything is cleared.
- Select that shape plus all your numbers. Now create a new Advanced VCarve toolpath. Enable the area clearing tool, and pick a bit suitable for clearing away the majority of the material.
Here’s a quick mock-up, using a 60 deg V bit.
1 Like
Want to make numbers from a darker wood to paste on the main body
Two ways to approach that:
- make the letters separately and then have some feature which allows them to be connected to the face
- glue a layer of darker wood onto the face of the clock and machine away everything which isn’t needed, see:
Related to this topic, but anyone have a good line on clock kit hardware?
Used to do the catalog for these folks:
or see:
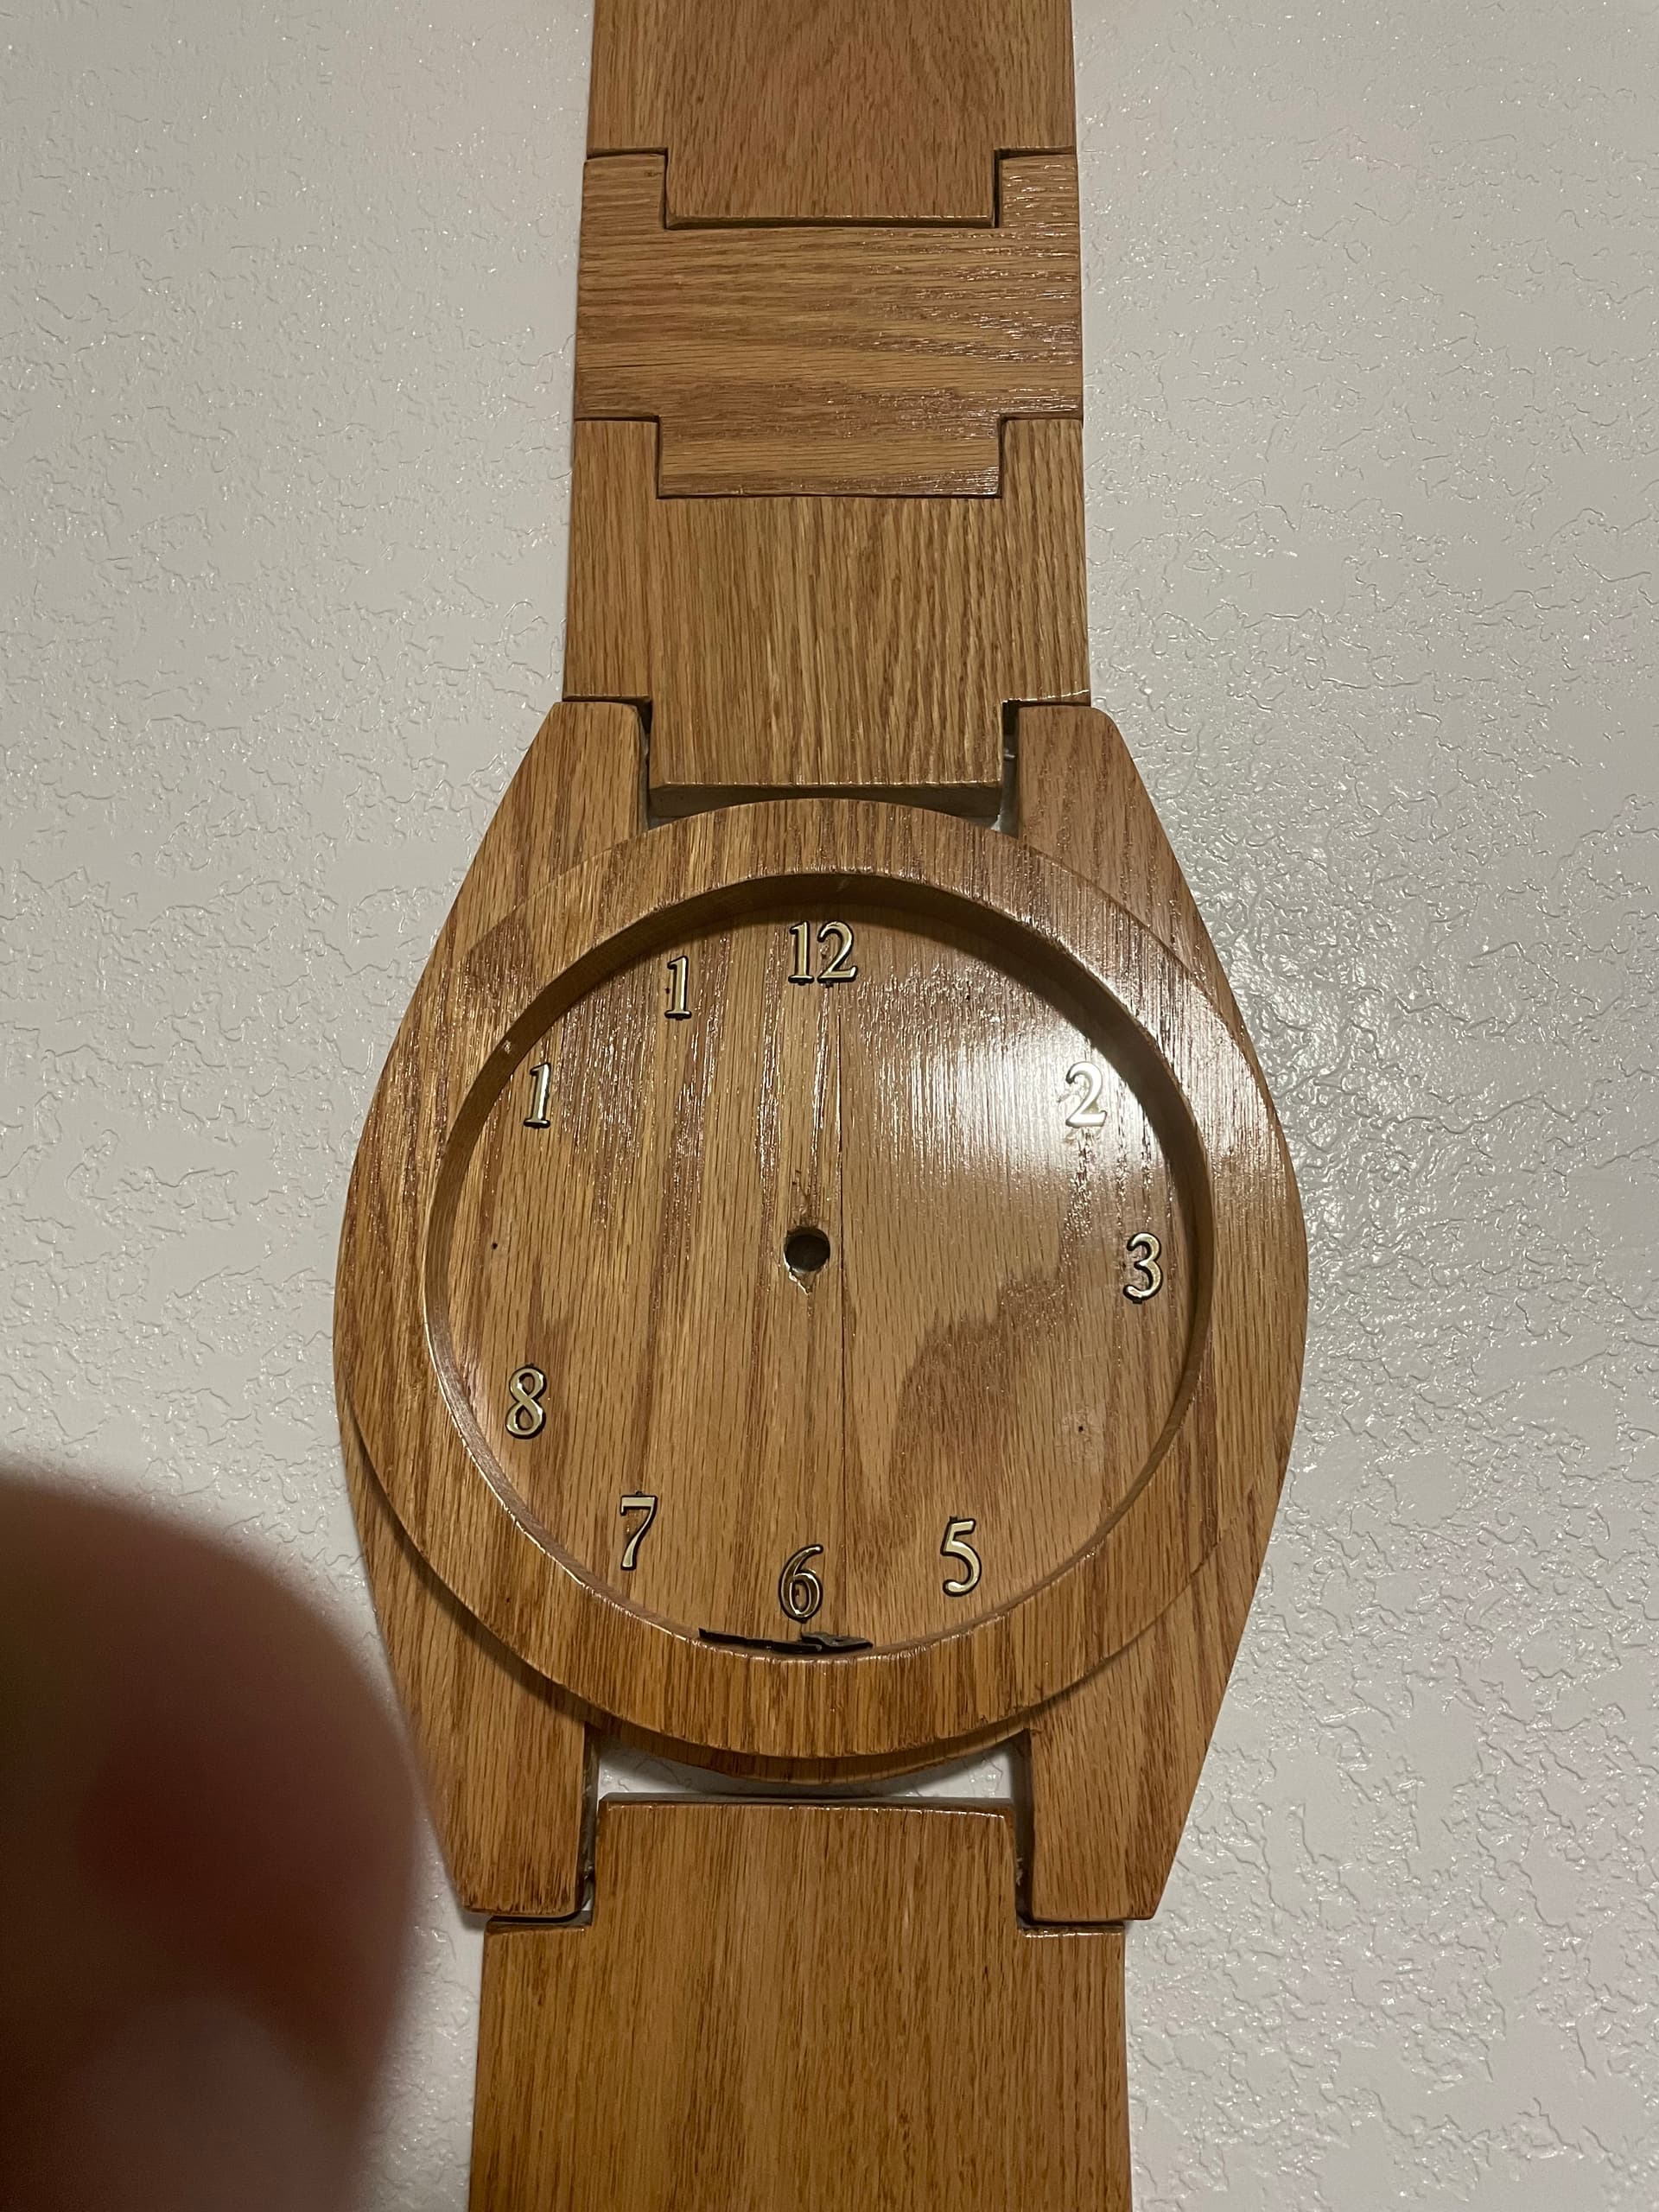
this is what i am attempting to do is make numbers for my wall clock
the numbers that are on right now r coming off that is good because i think it would
better with a dark wood .
1 Like
Keep in mind a clock is used to read from across the room. So if you choose dark wood like walnut use white numbers and white hands. If you use black numbers and black hands you will have to walk right up to the clock to tell the time. A white face with black numbers and hands is easiest to read from afar. Choose what you want but make reading the clock easy.
I have made a lot of clocks. There are a lot of clock faces available on the internet for free. I like to make mantle clocks and have printed a lot of faces. The key is to pick a size of the face and the length of the hands to match.
1 Like
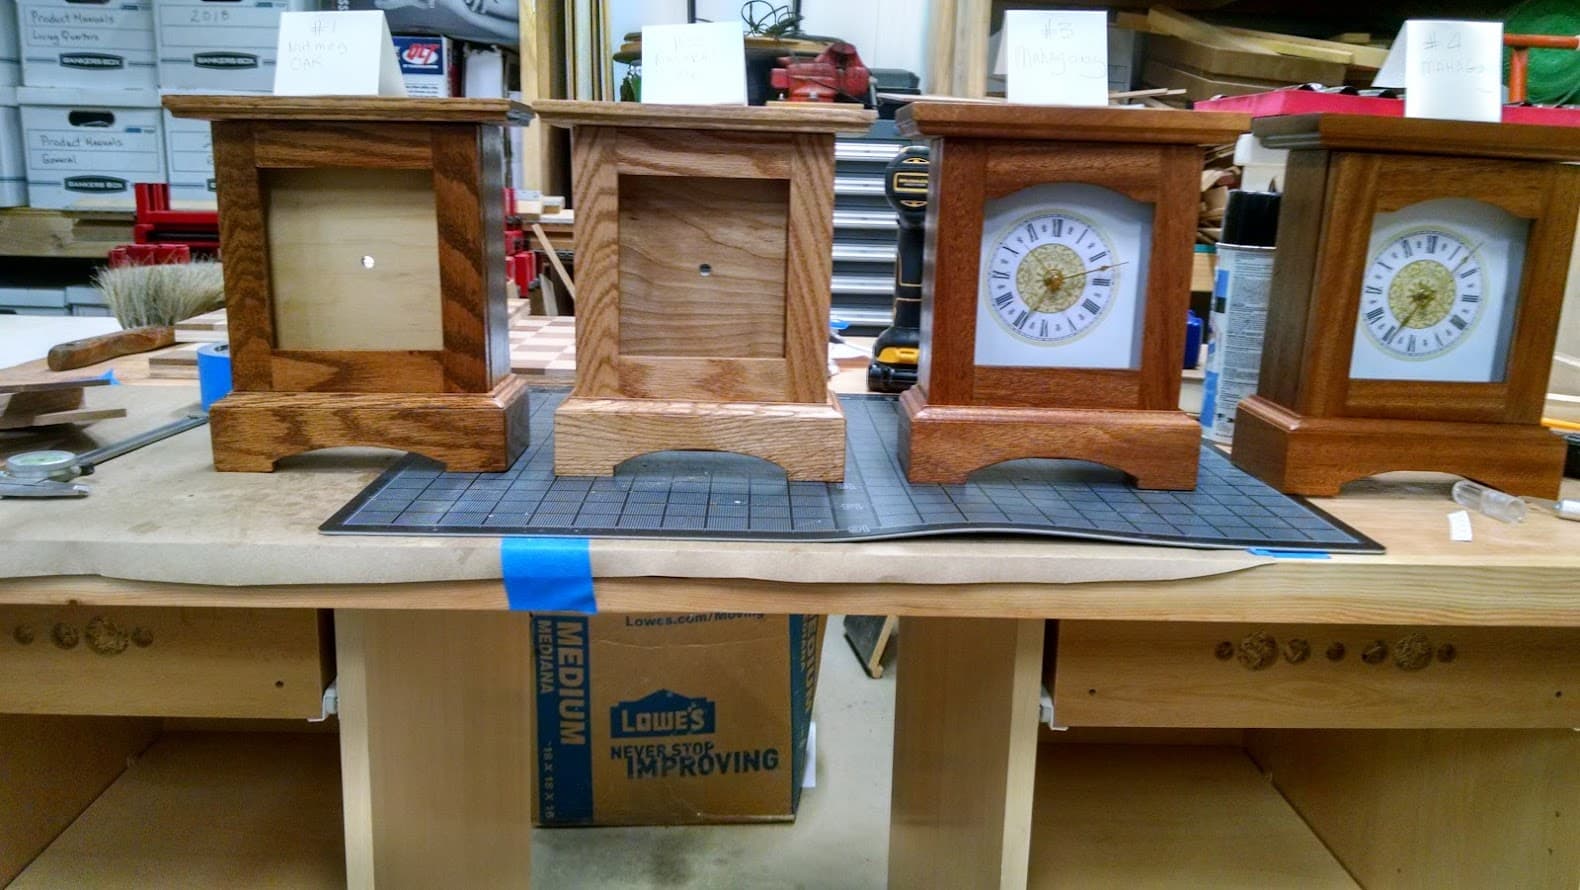
Guy they are very nice clocks, what wood is the light coloured one?Has a lot of character
The 2 on left are oak, one stained one natural. The 2 on the right are mahagoney. The clock face was printed on photo paper on ink jet ptr.
Thanks Guy,as I said looks great
This topic was automatically closed after 30 days. New replies are no longer allowed.