I received my nomad 3 this spring and I highly recommend it for small soft metal parts.
Here is the first update on my current project,
I was inspired by gdon_2003’s wristwatch post so I started on my horological adventure, I wasn’t starting with a donor watch so I decided to take the project in a new direction and make all the visible components,
Right now the list includes the Watch Case, Threaded Case Back, Bezel, Acrylic Watch crystal, Bezel Insert, Hands, Band, Buckle, and finally the Dial.
The Nomad 3 is an incredibly robust machine and paired with Fusion 360 I was able to do a tremendous amount with only a few tools.
Tools:
1/8’’ Carbide TICN 3 flute end mill
1/16’’ Carbide TICN 3 flute end mill
1/32’’ Carbide 2 flute end mill
1/8’’ Carbide Keyseat Cutter (keyseat relief for the bezel spring)
#4 32-64 TPI 3/8 Carbide Single Point Threadmill
#72 Carbide Drill (Lug Holes, dial holes)
Photo 1: Modeling the case in Fusion 360,
I was inspired by WW2 pilot and early GMT watches, so I modeled up a simple 38 mm case. I didn’t want to torture the nomad with steel, so bought some navel (lead-free) brass.
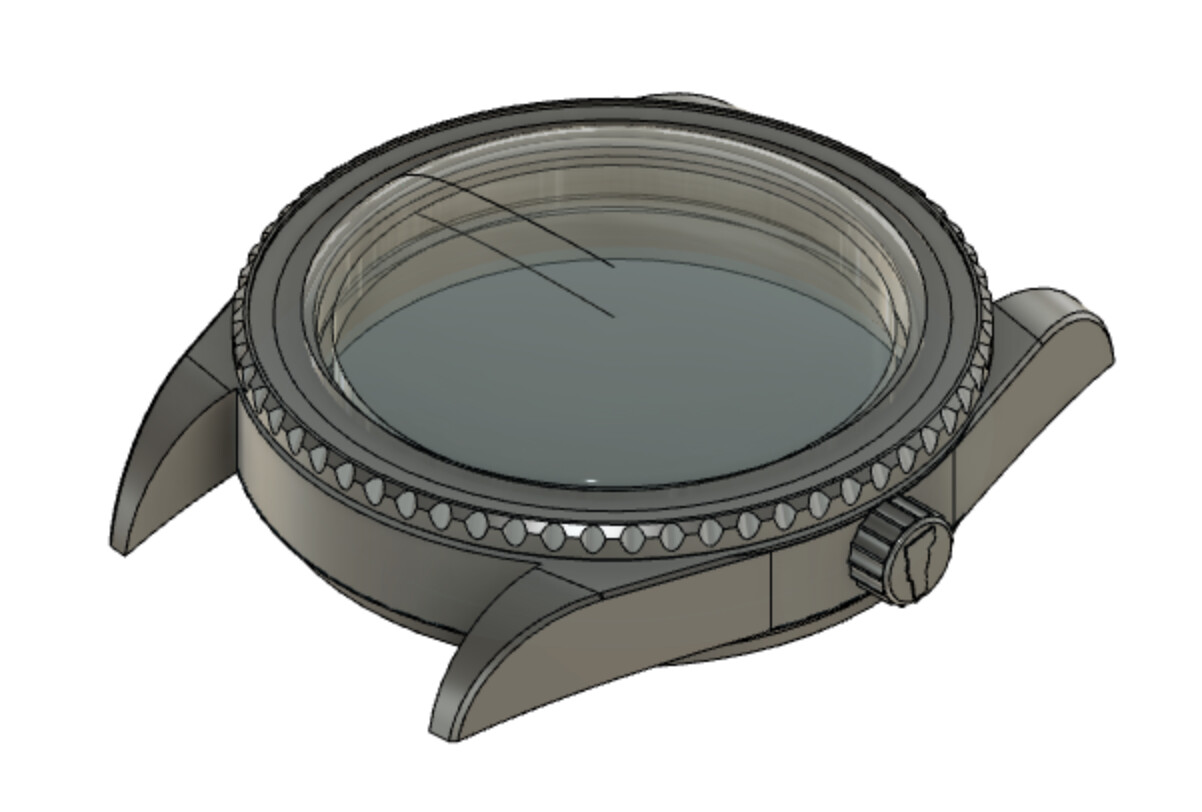
Photo 2: Fusion 360 CAM,
After completing the modeling, I tooled the model using Fusion 360. Some previous testing allowed me to dial in a good surface finish with slight modifications to the parameters provided in the Carbide3D tutorials by Winston. (DM me for feed/speeds or strategies)
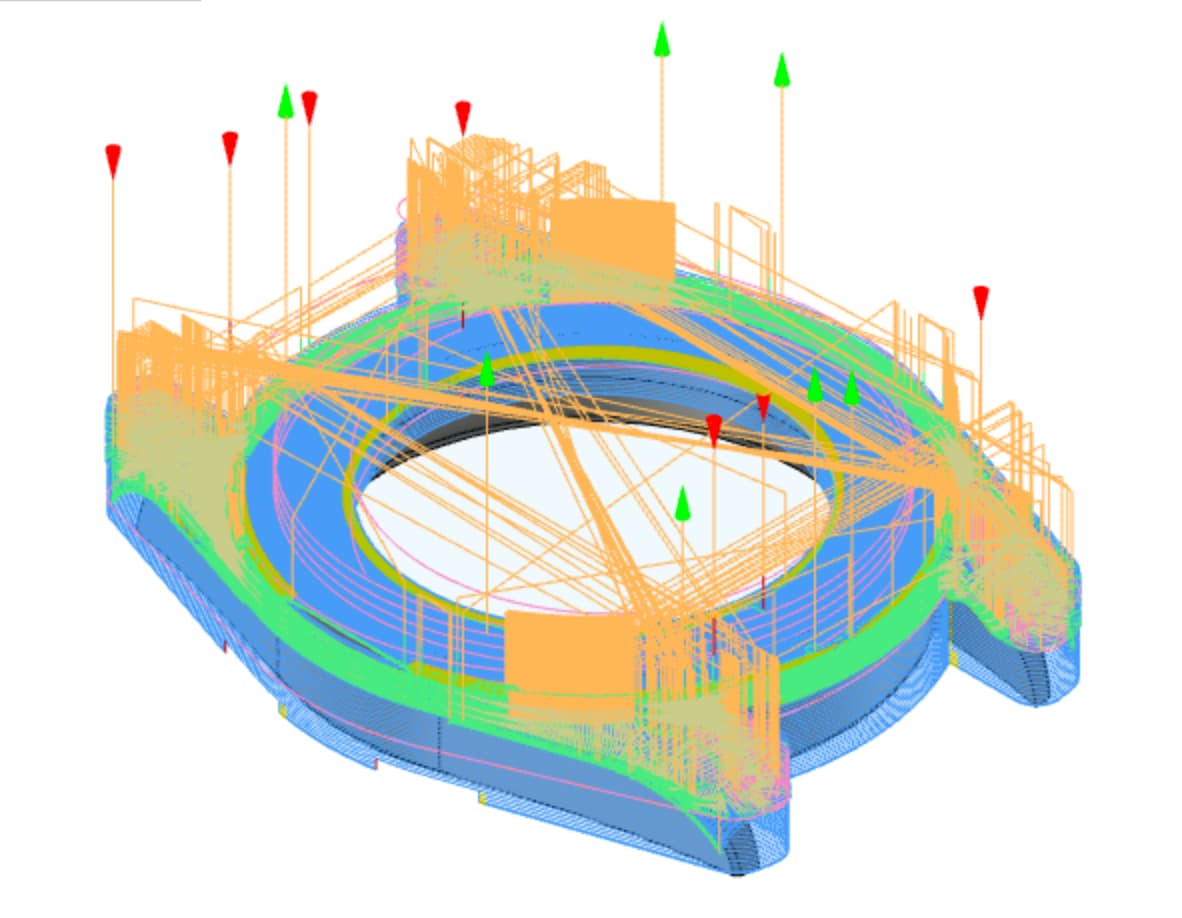
Photo 3: Photo 4: Fixturing,
The nomad has some great fixturing options but in my previous projects I found that SCOTCH 3M 401M is absolutely invaluable and will hold almost anything, even with larger .02 step-downs into aluminum or brass
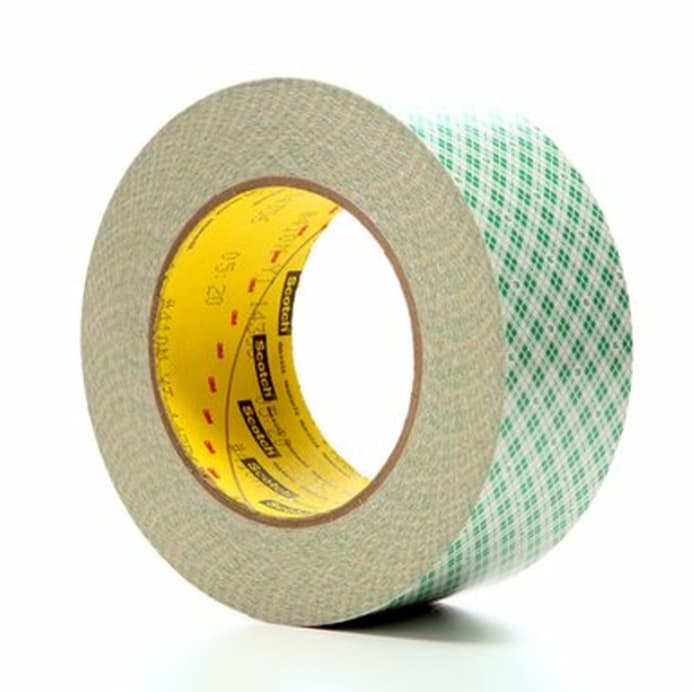
Photo 4: Flipping the Part for Operation 2,
After multiple tests, I found milling 1/4’’ alignment pin holes 1/16’’ into the waste board resulted in surprisingly accurate and repeatable ± .002’’ flip fig.

Photo 5:
6 Hours of machining later and I ended up with all the parts needed for a dry fit. The tolerances were all within .003’’ of expected, the threads needed to be chased, but a spring pass would have worked if I was more patient.
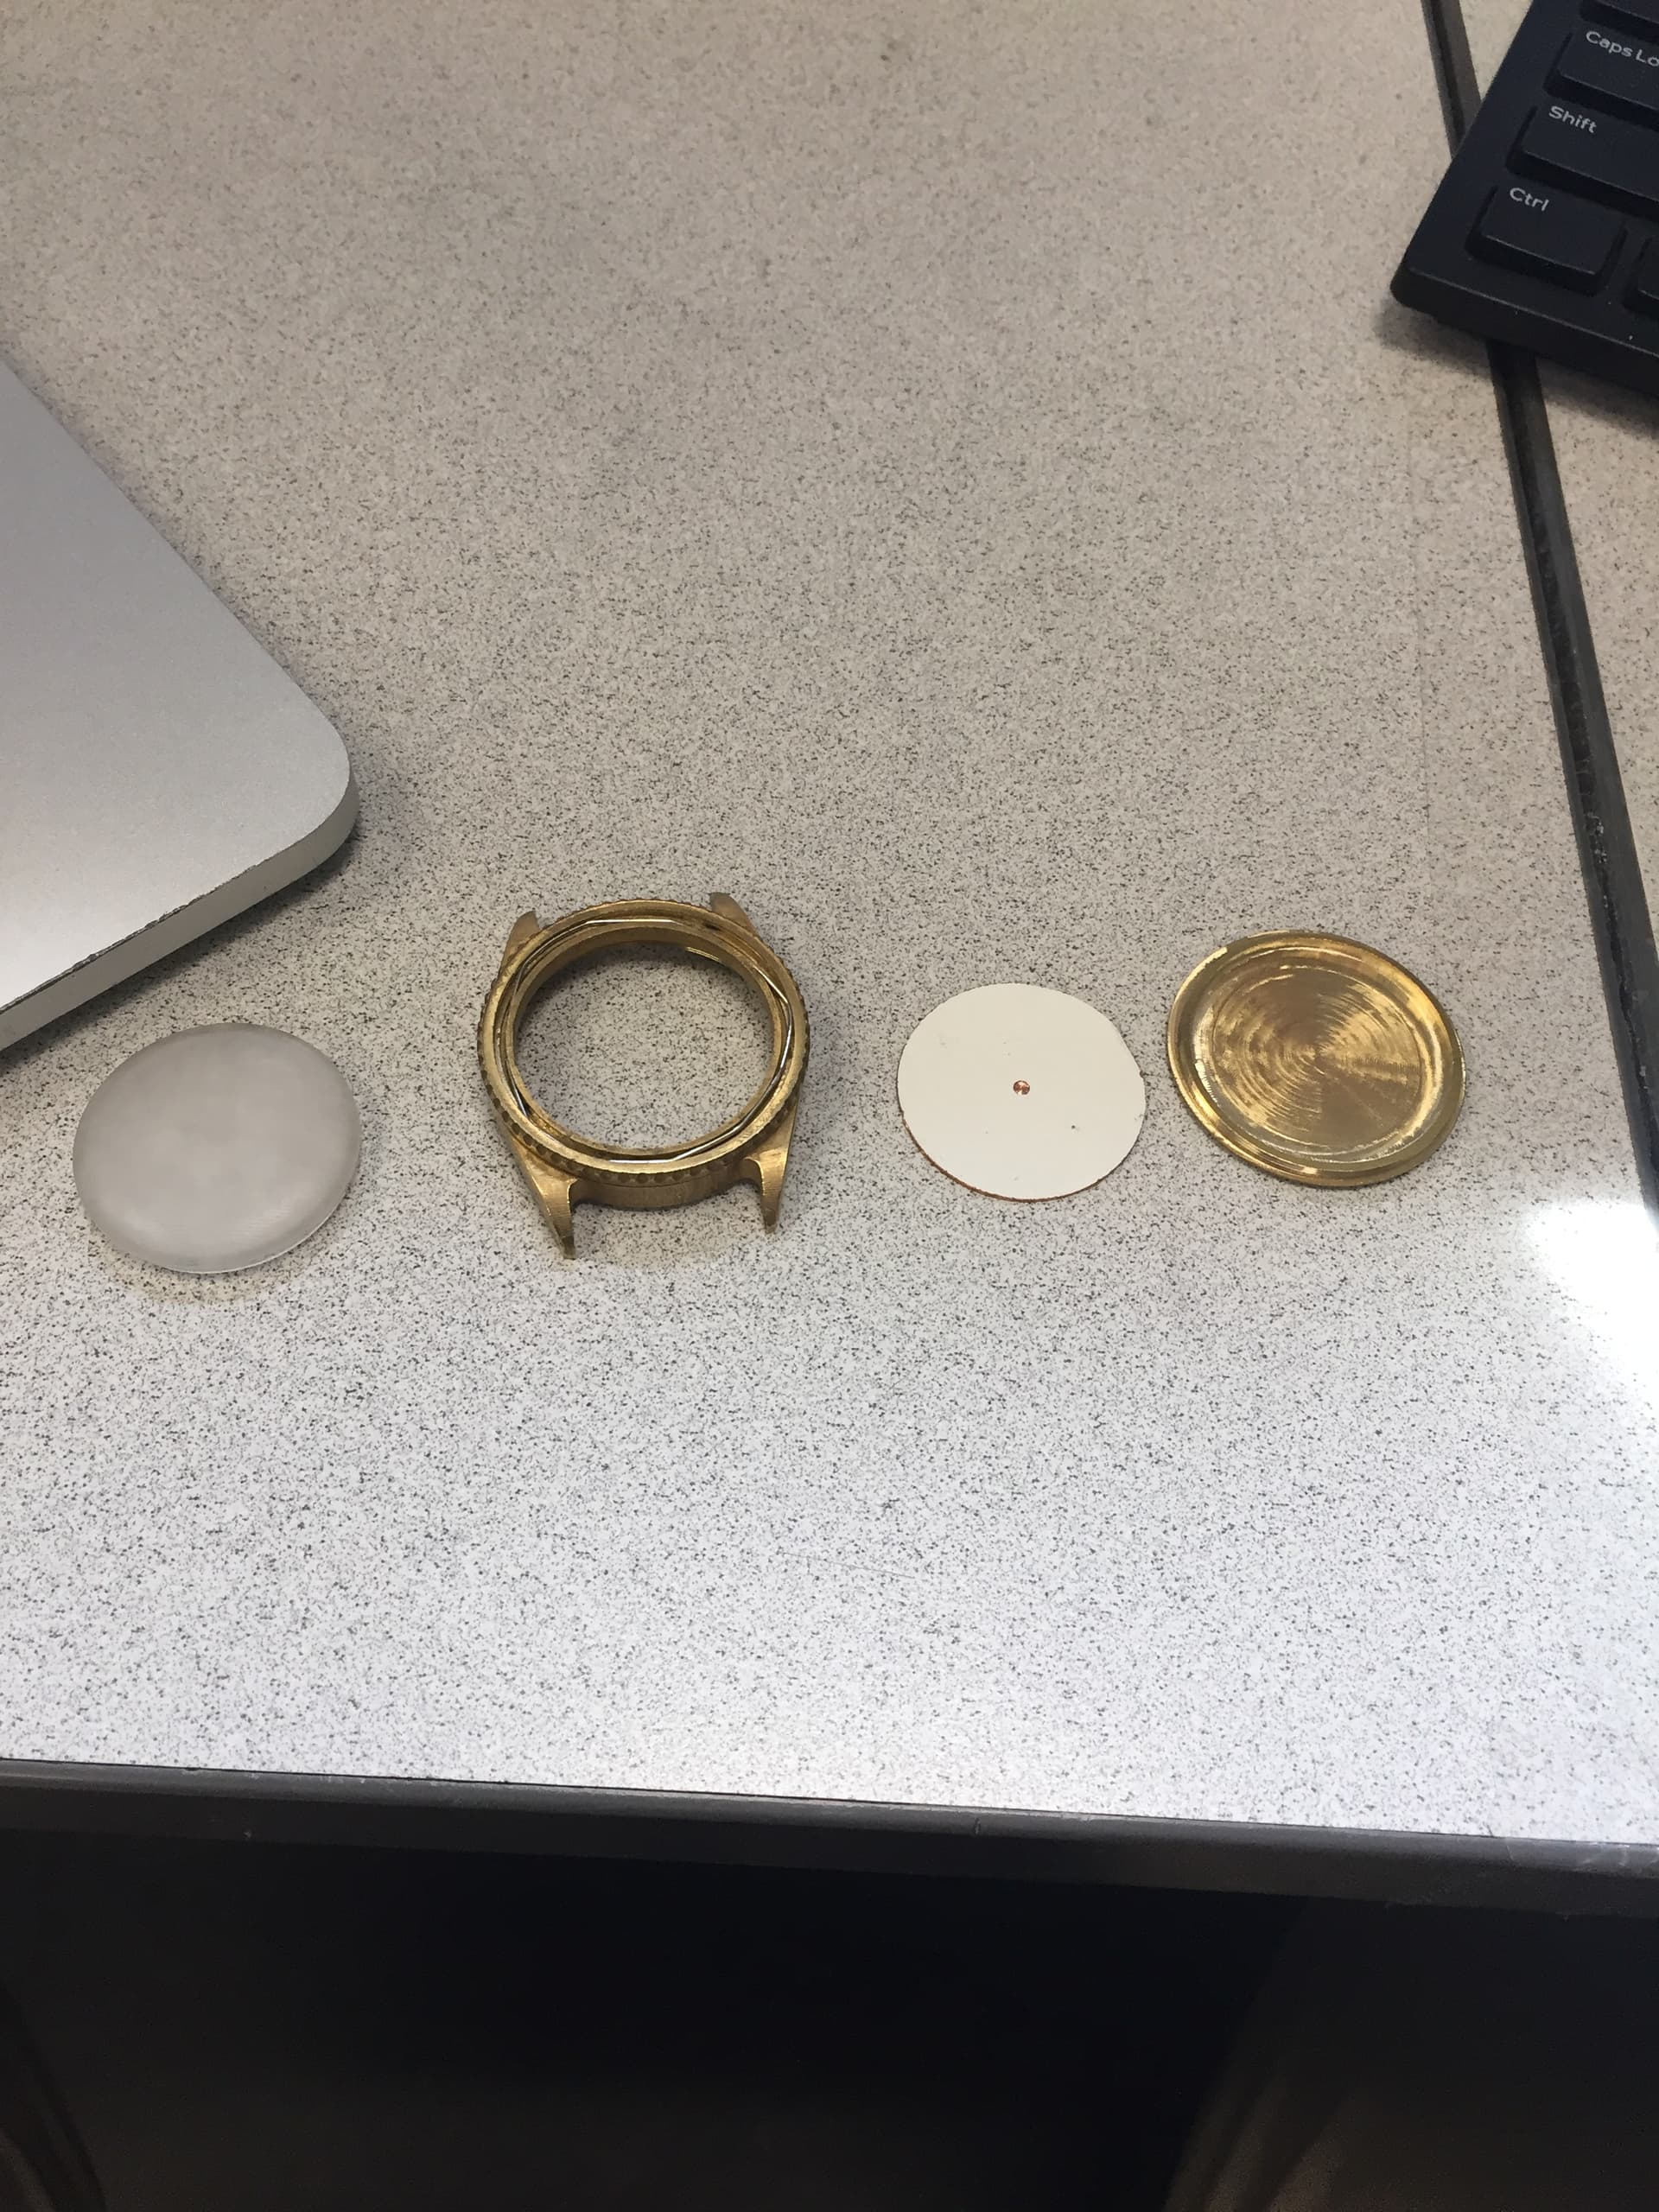
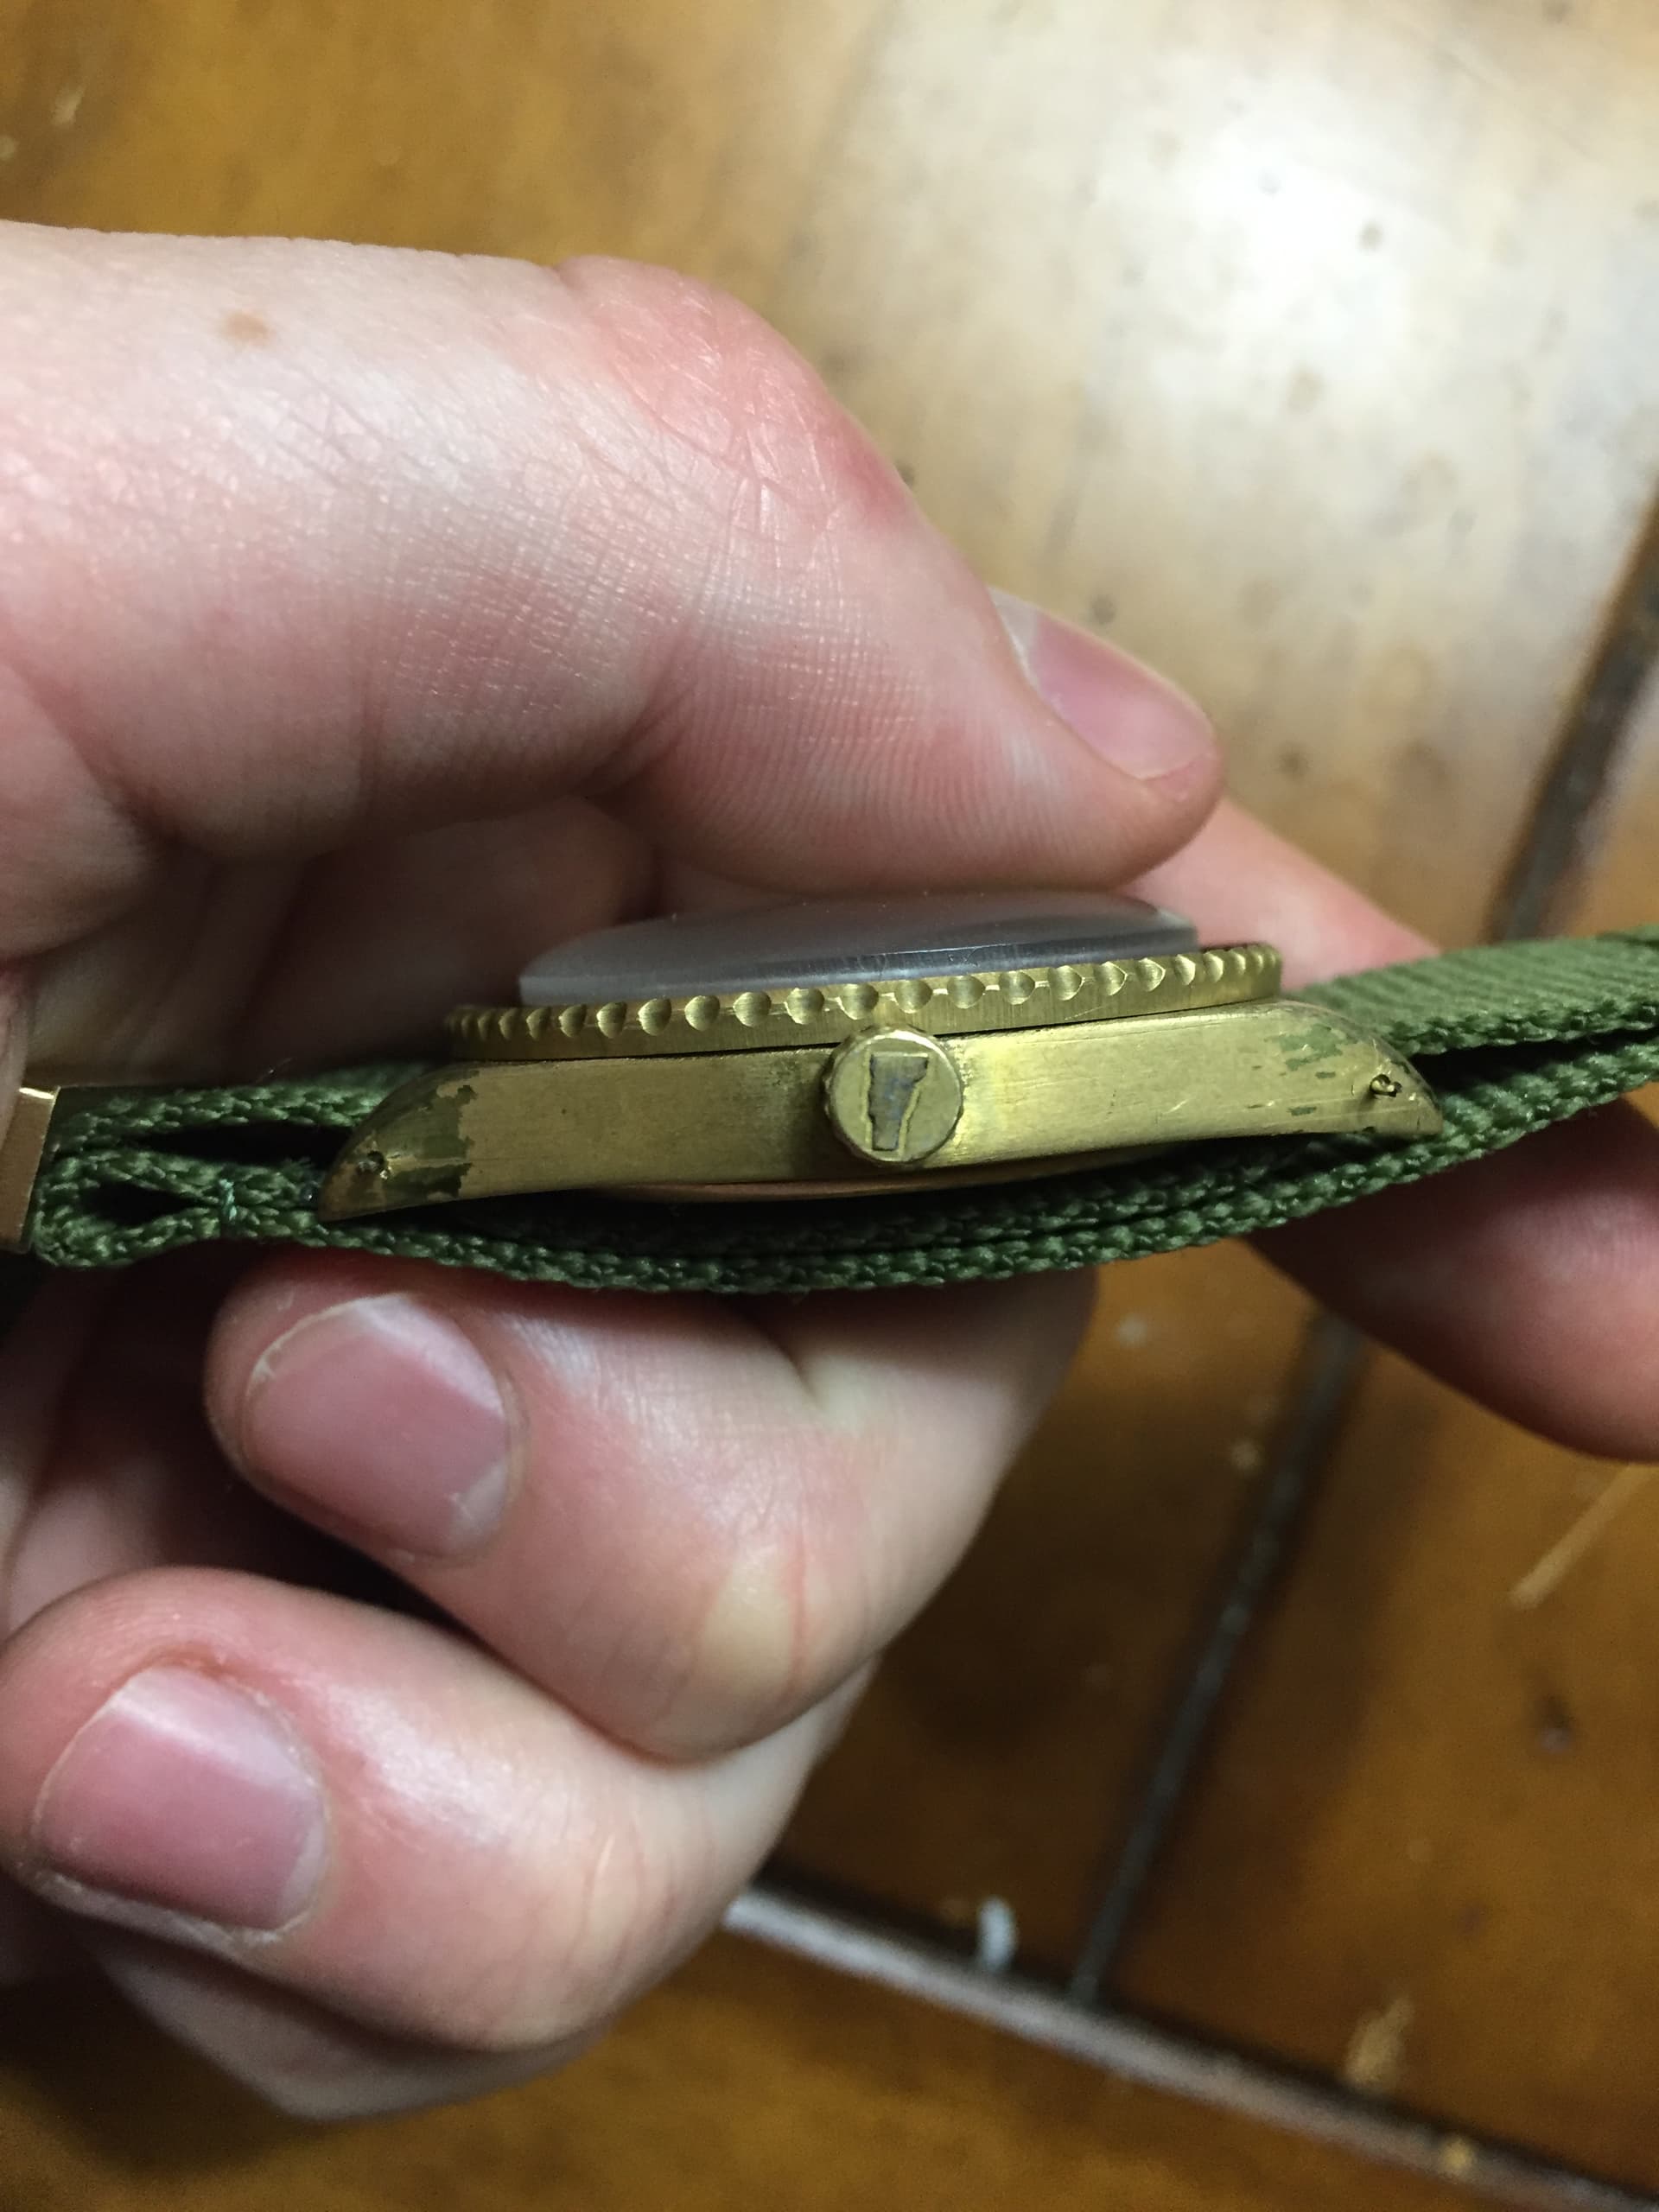
Photo 6-7: Where the project currently stands:
I forgot to take pictures of the crown or the fixture used to drill the lug holes. All the parts fit but need to be cleaned, polished and buffed.

Step 8: Next Steps
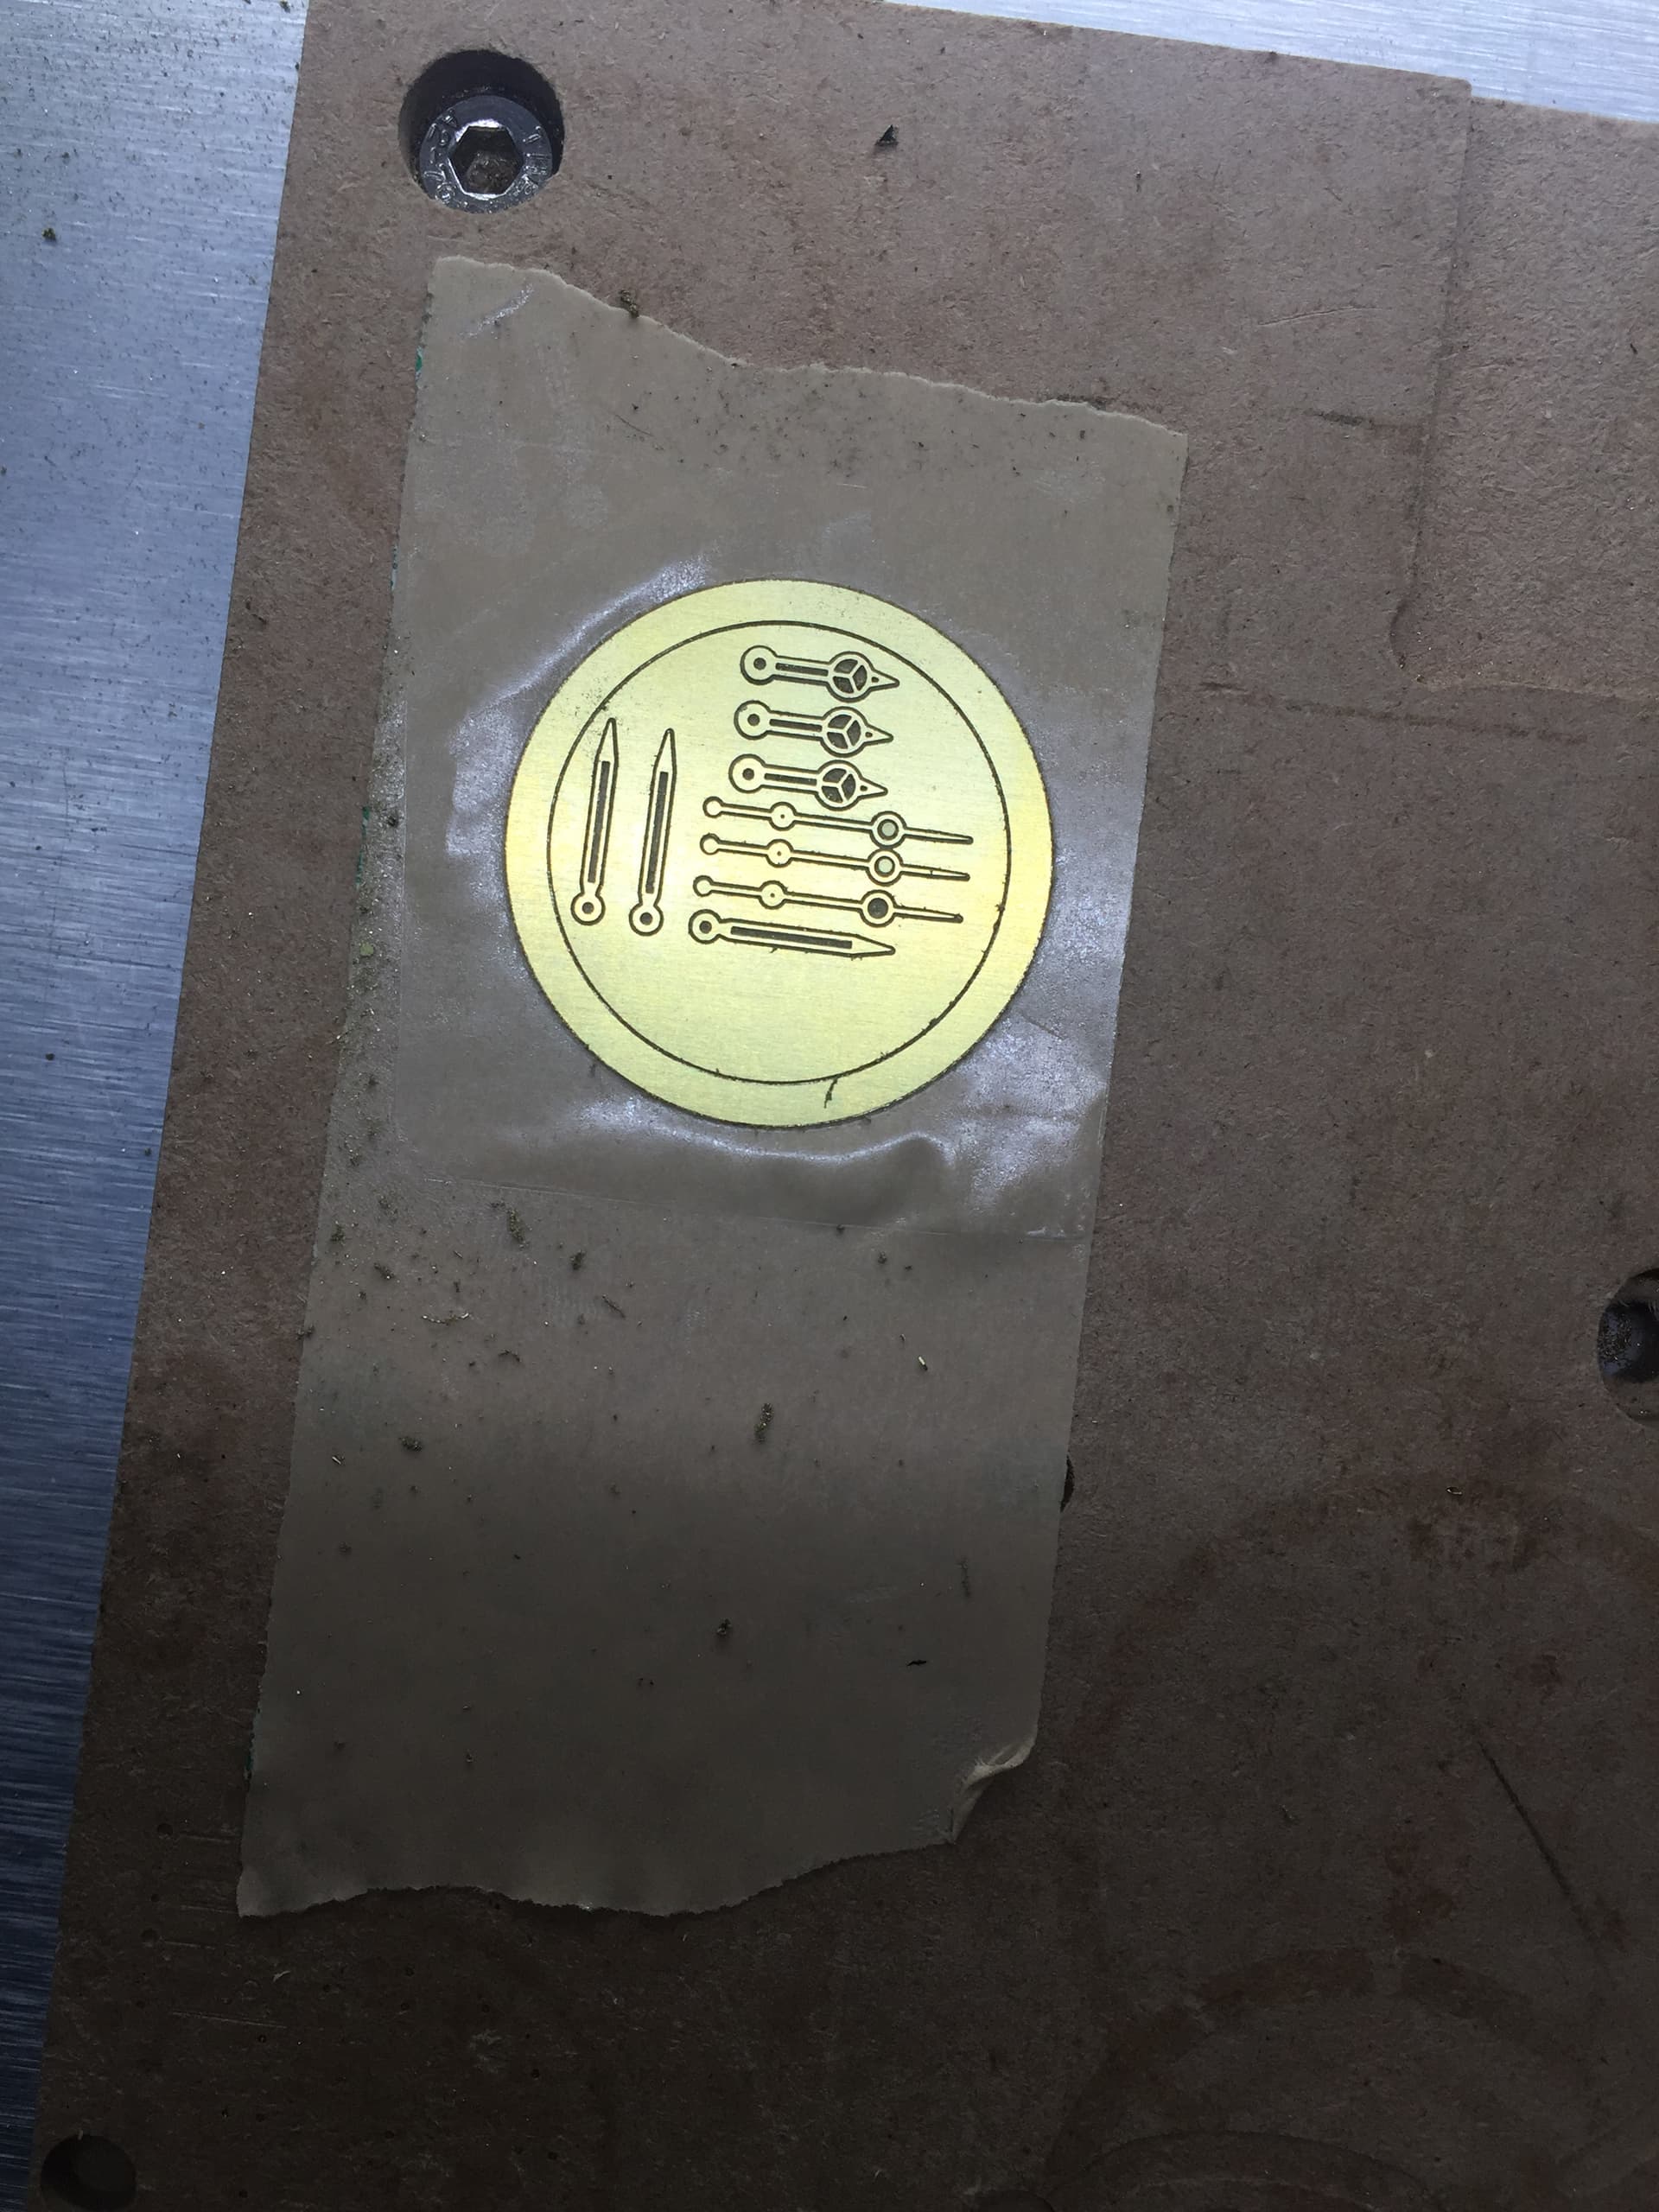
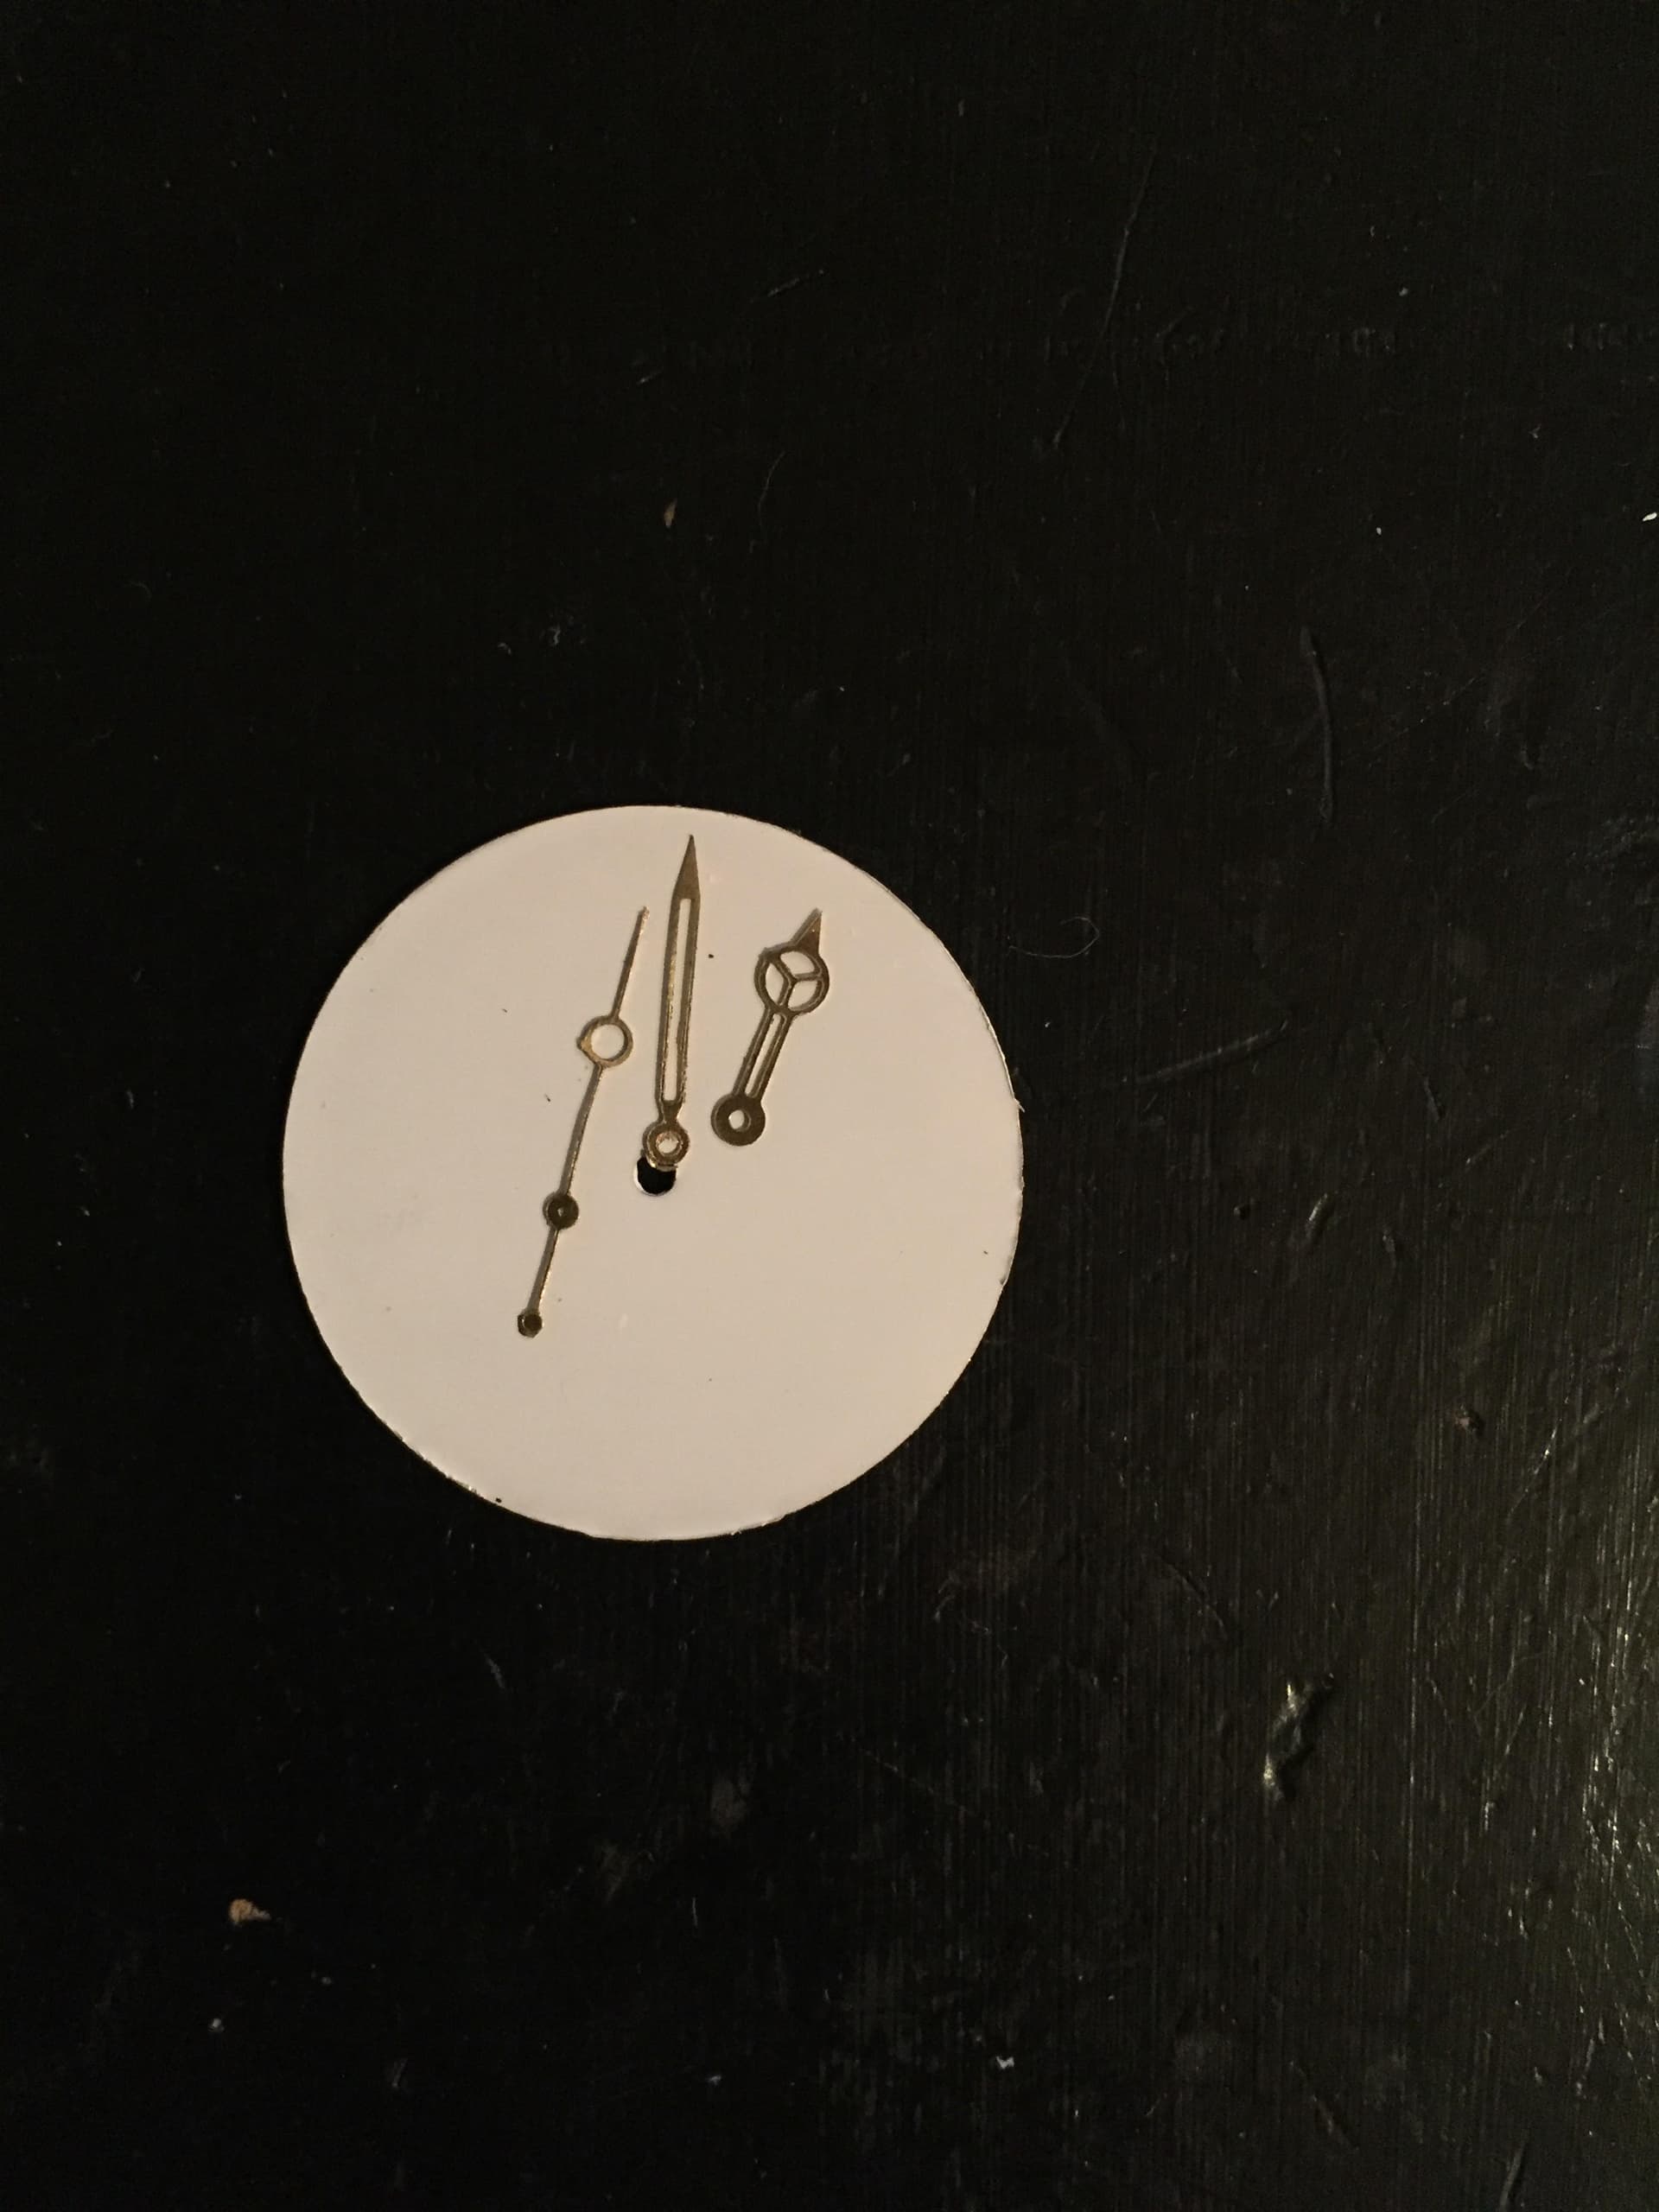
Apparently making a “professional” looking dial is very difficult, I have no experience painting or printing. So I am finding myself a bit stuck. The hands were easier and were milled out of .005 shim stock.
If anyone has any experience making dials or polishing small parts, any info would be appreciated. Updates on this project will probably be sporadic.