I’m working on some handle bar controls, and posted on here about my saddle washers. This idea has now developed further and I’m working on a couple of prototypes. I figured I’d post on here as I’m now milling aluminium with 1/16 end mills - something I had not attempted before.
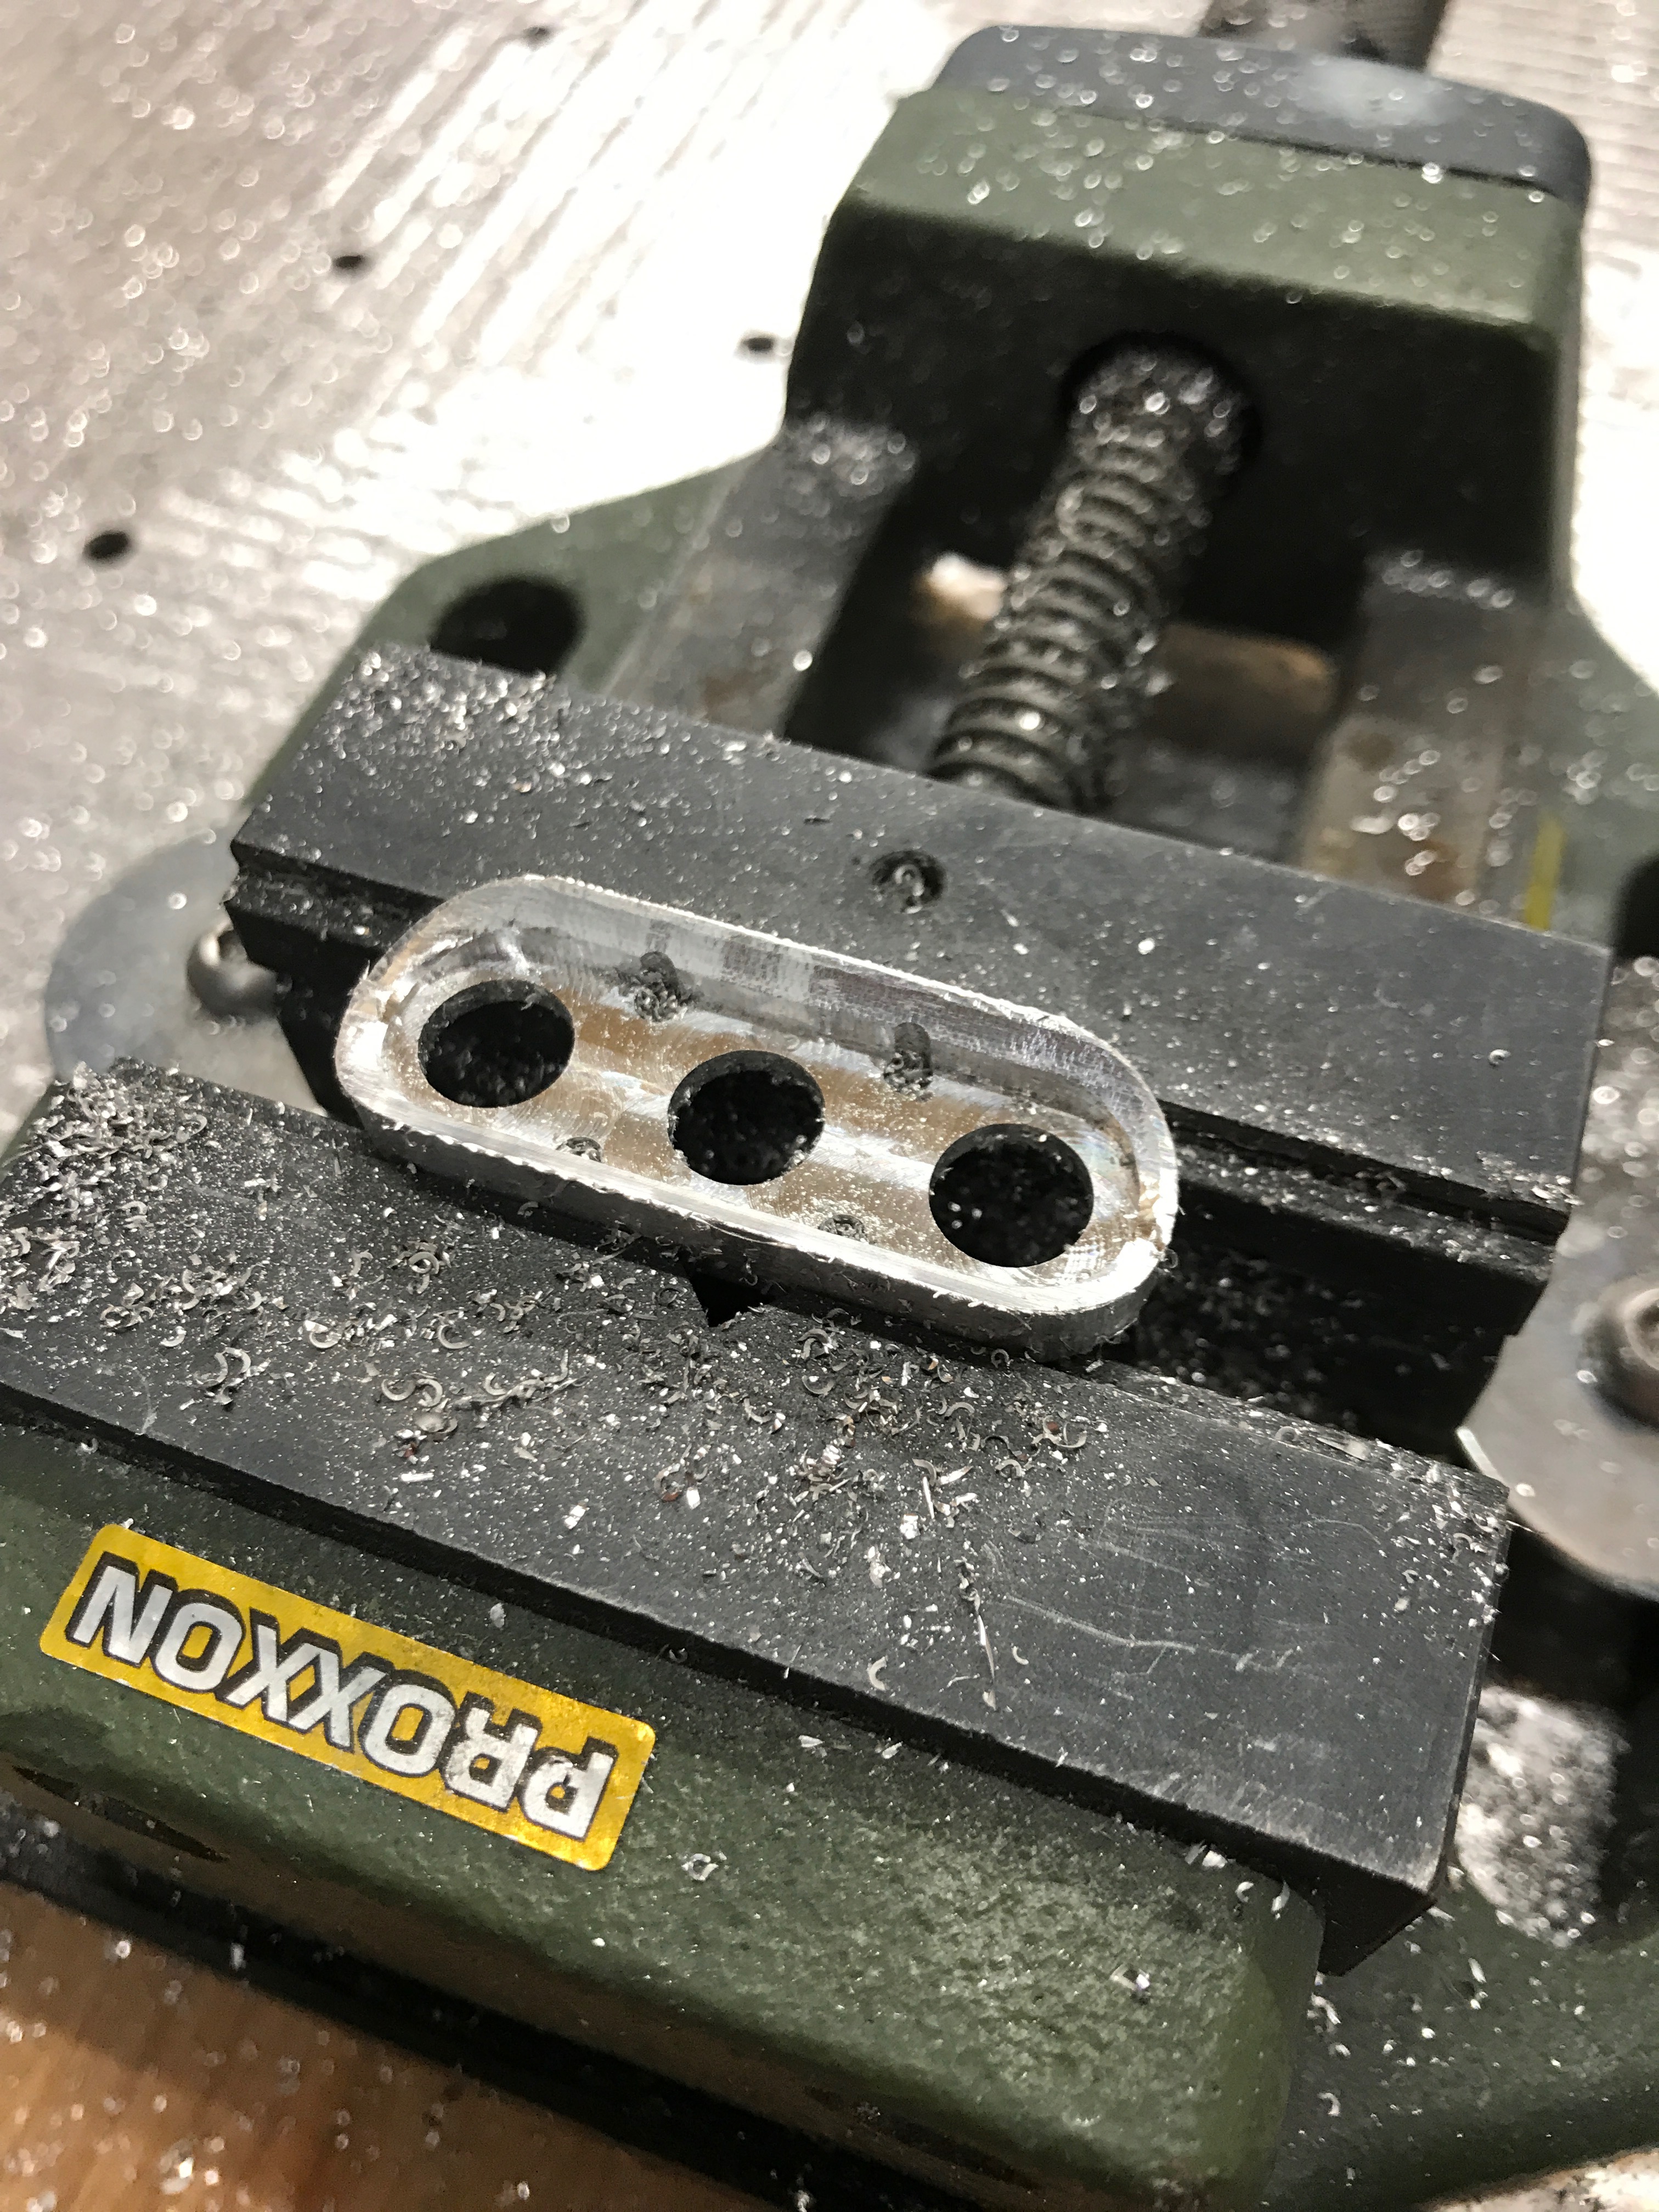
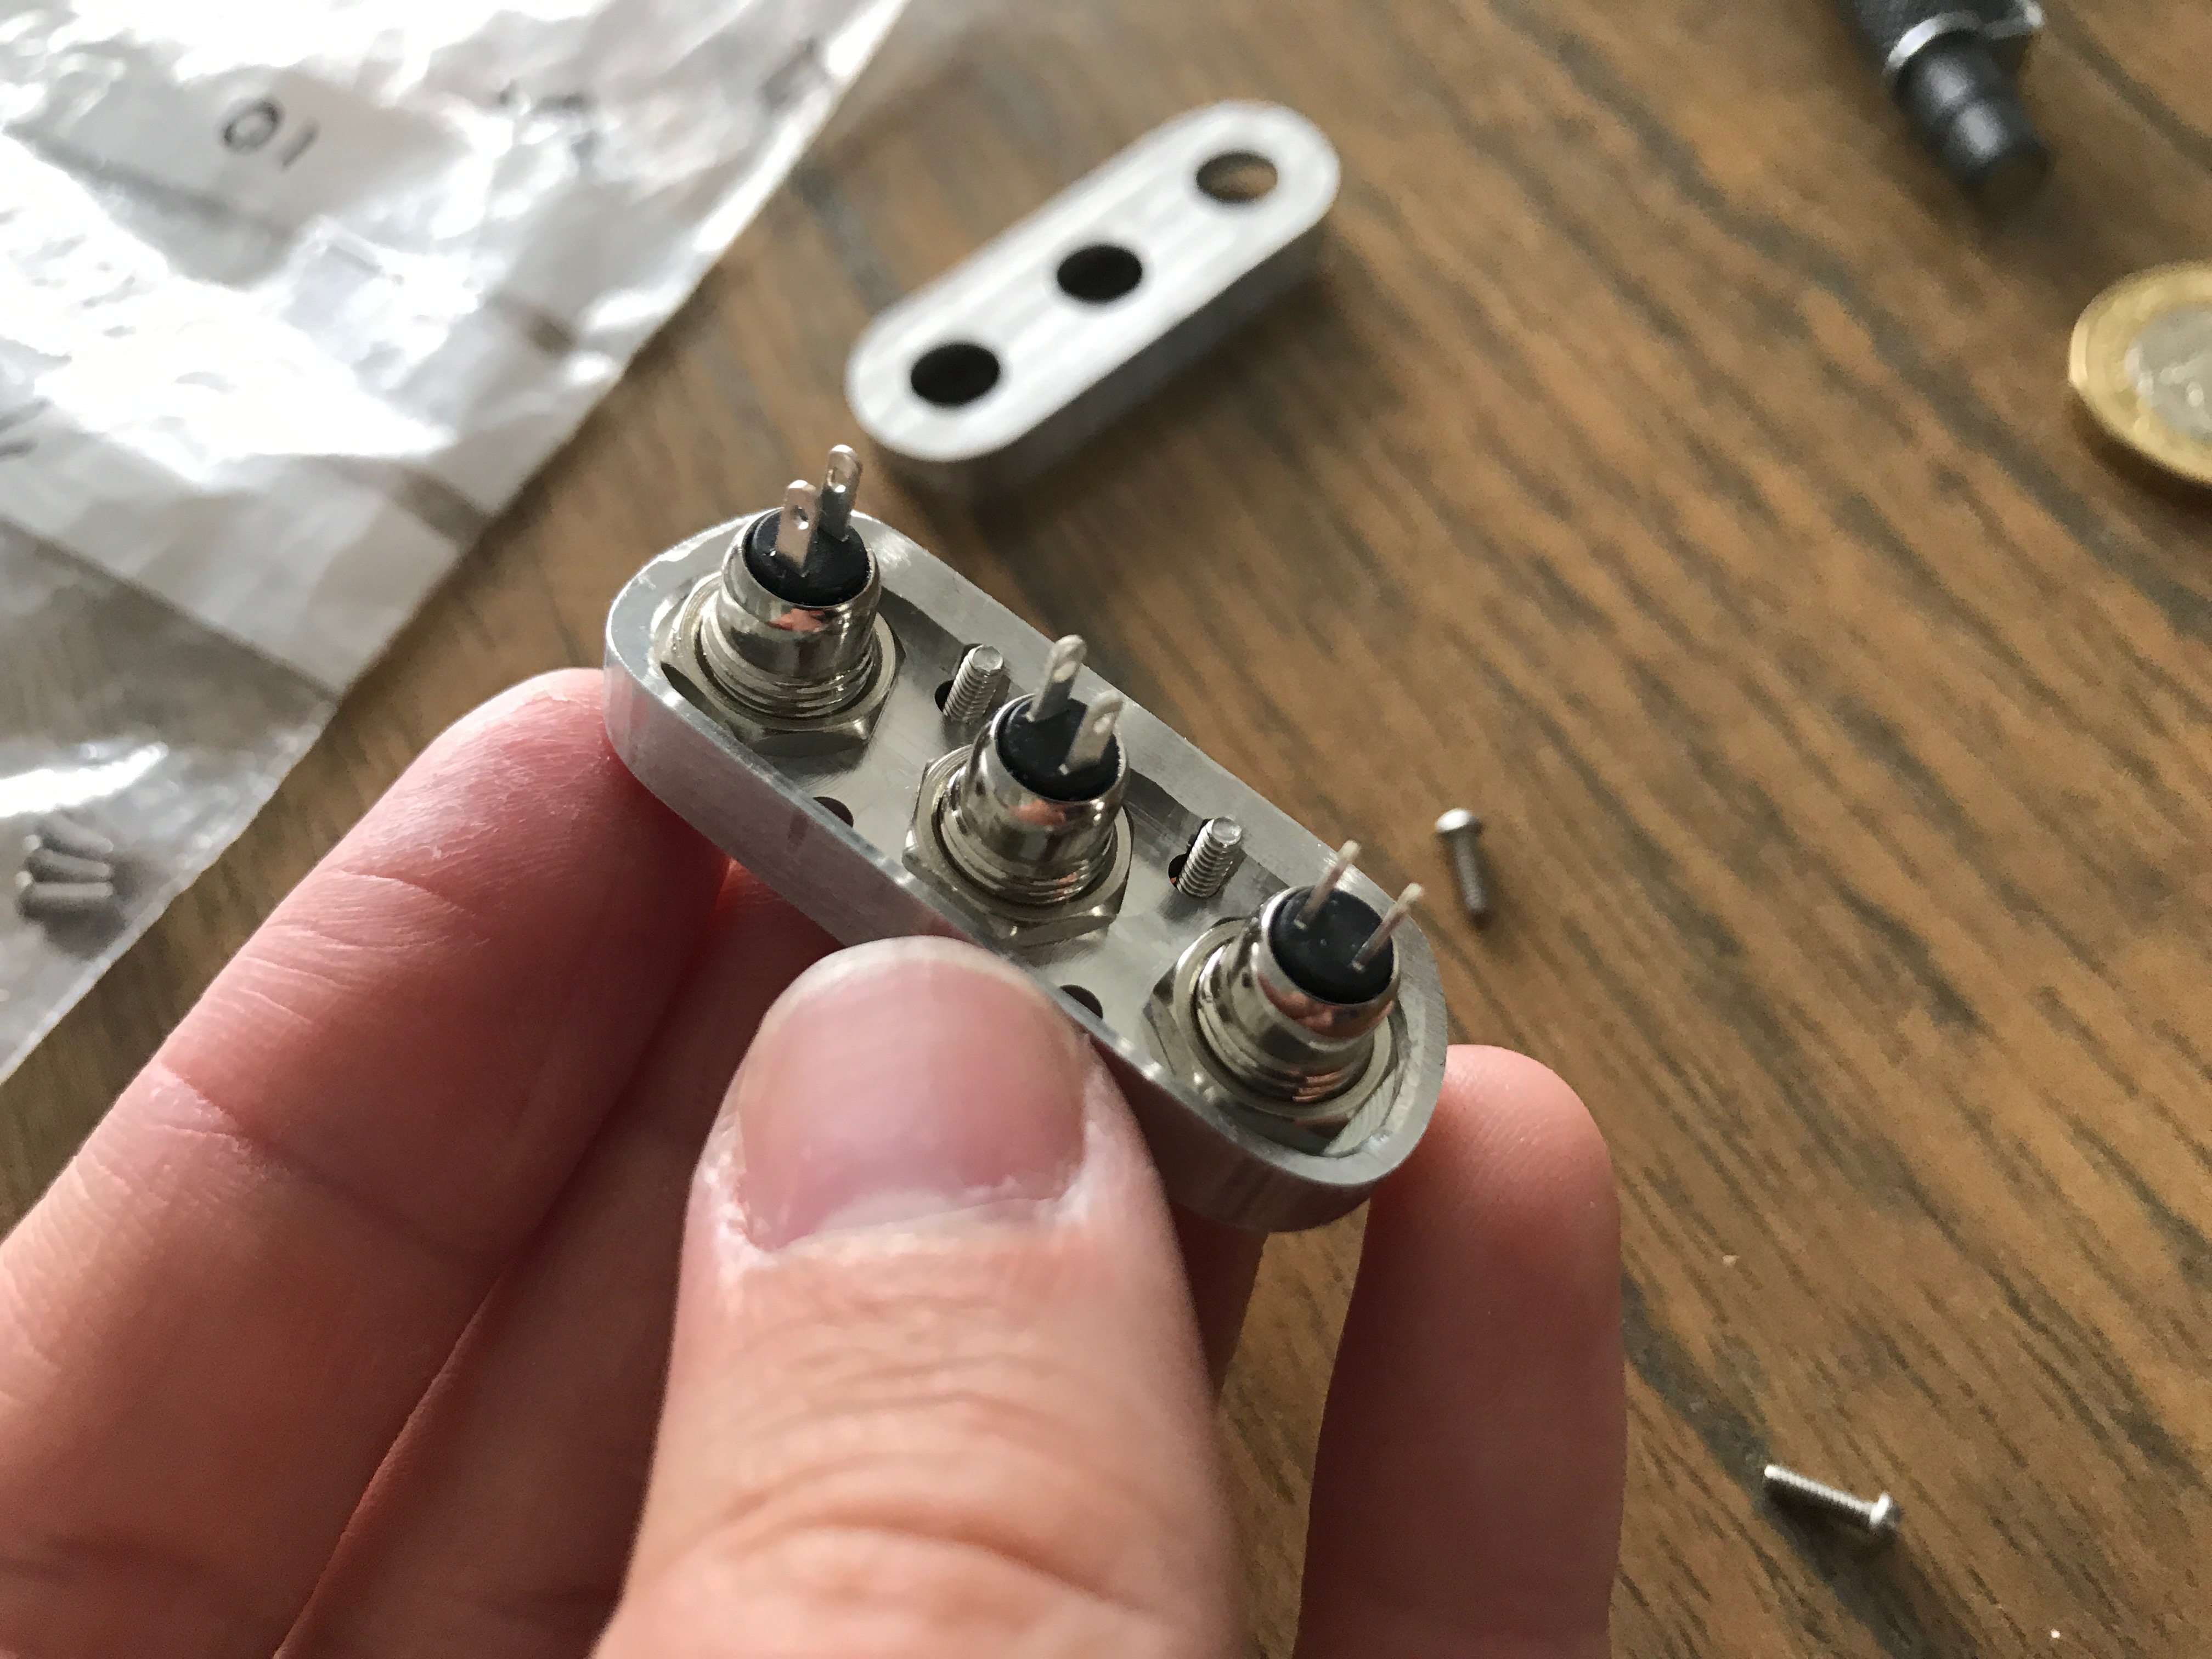
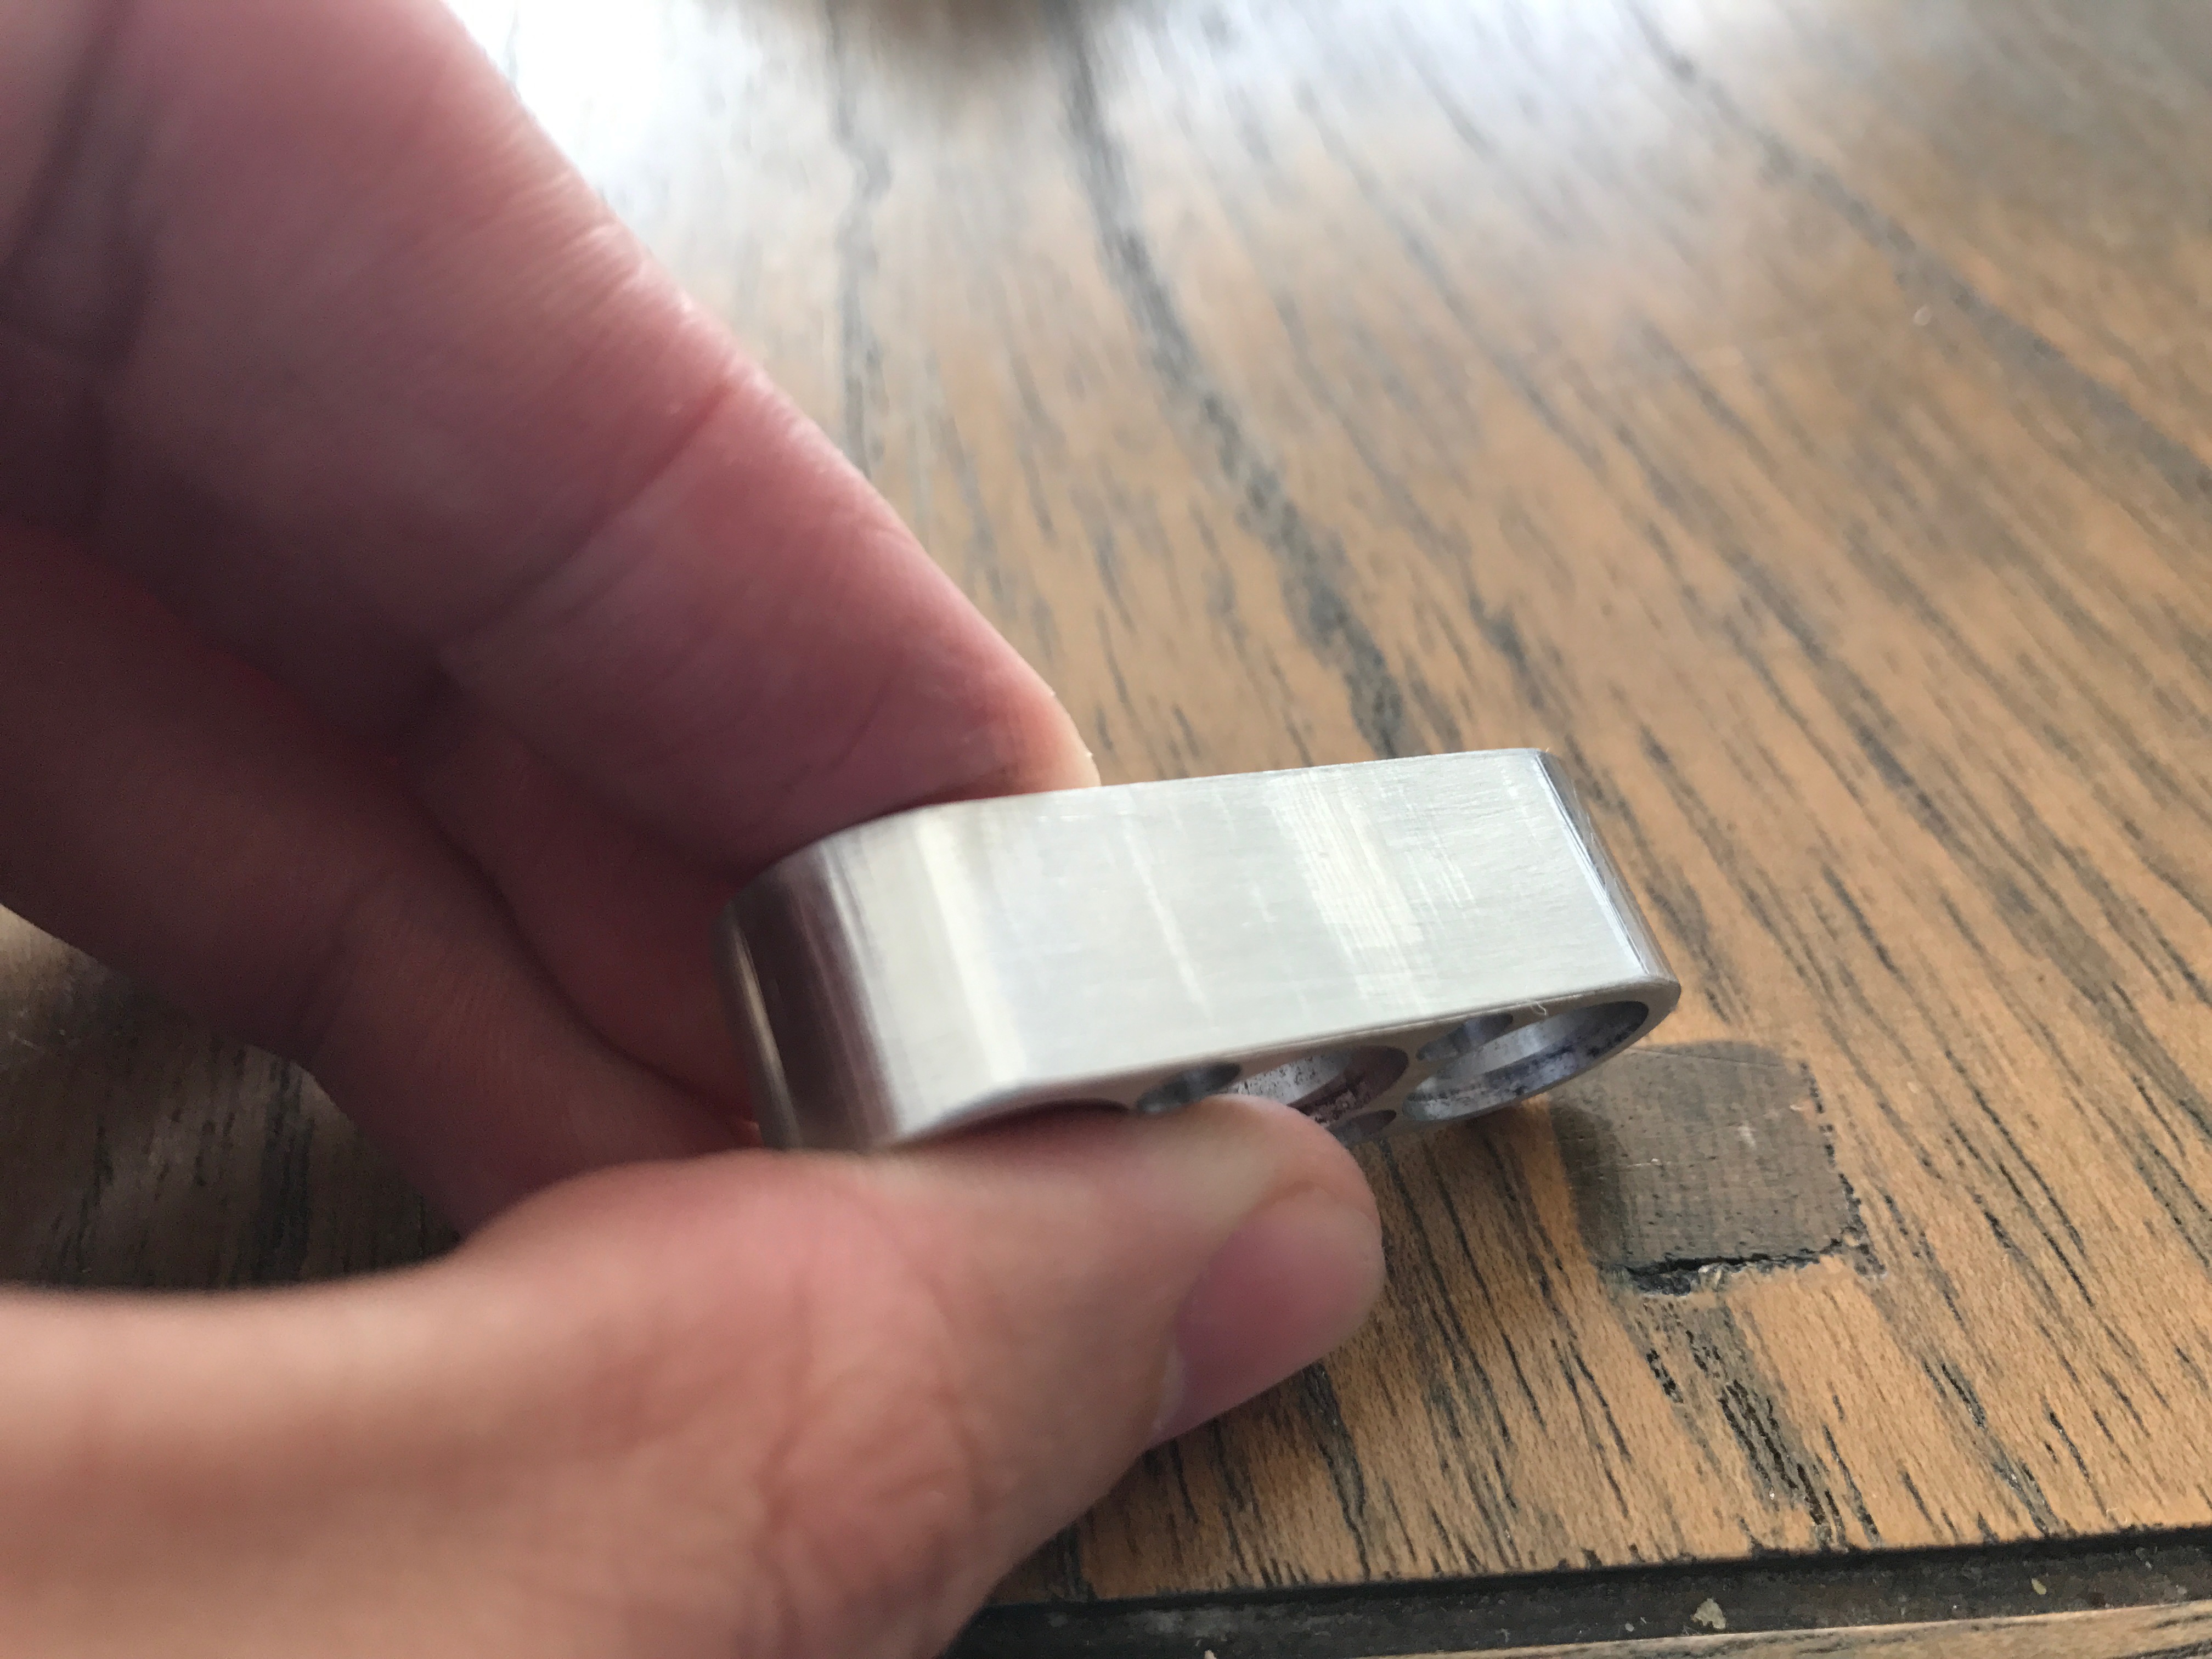
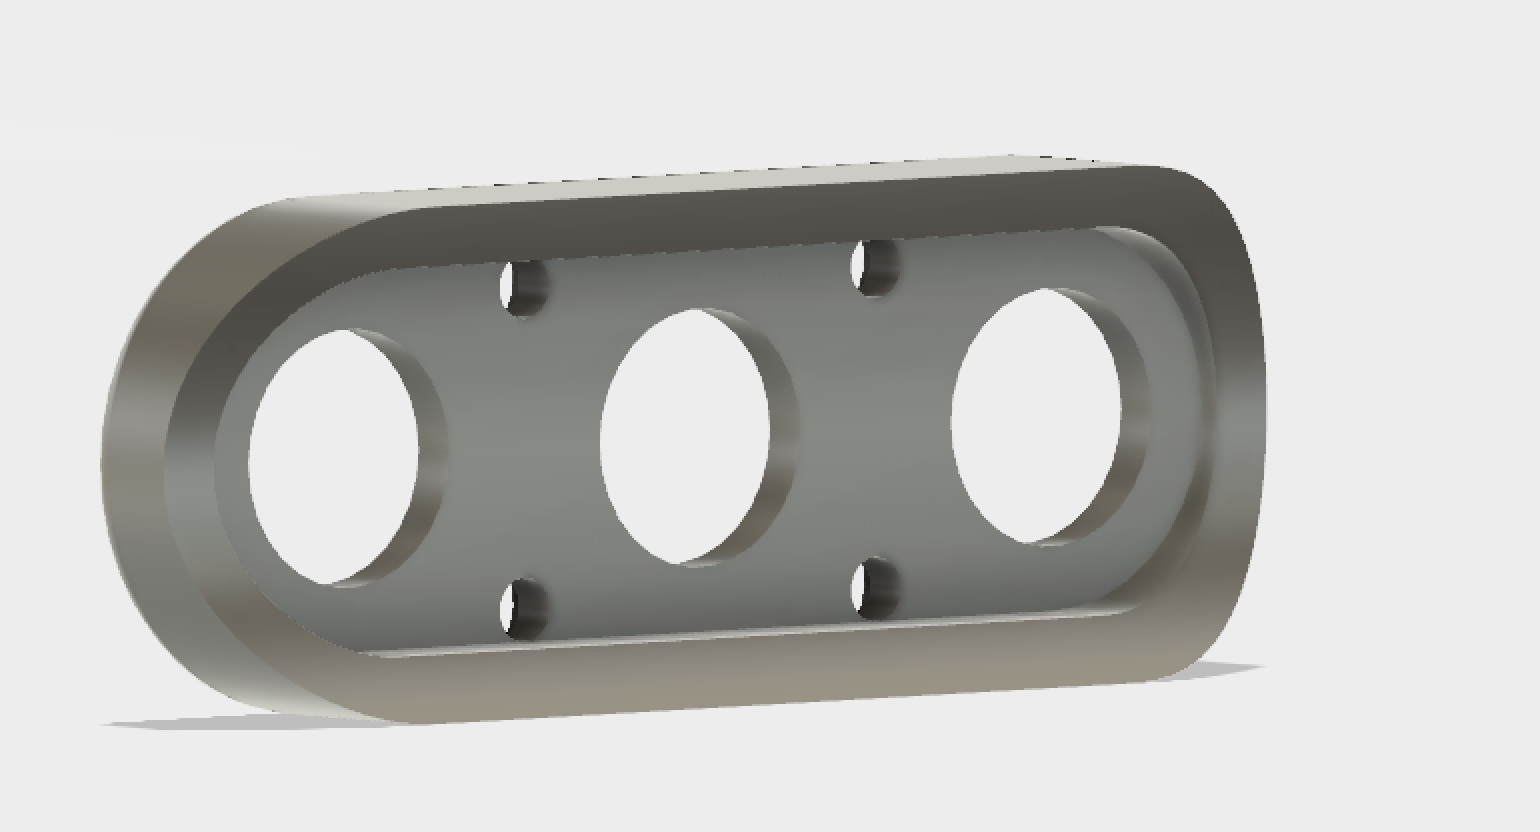
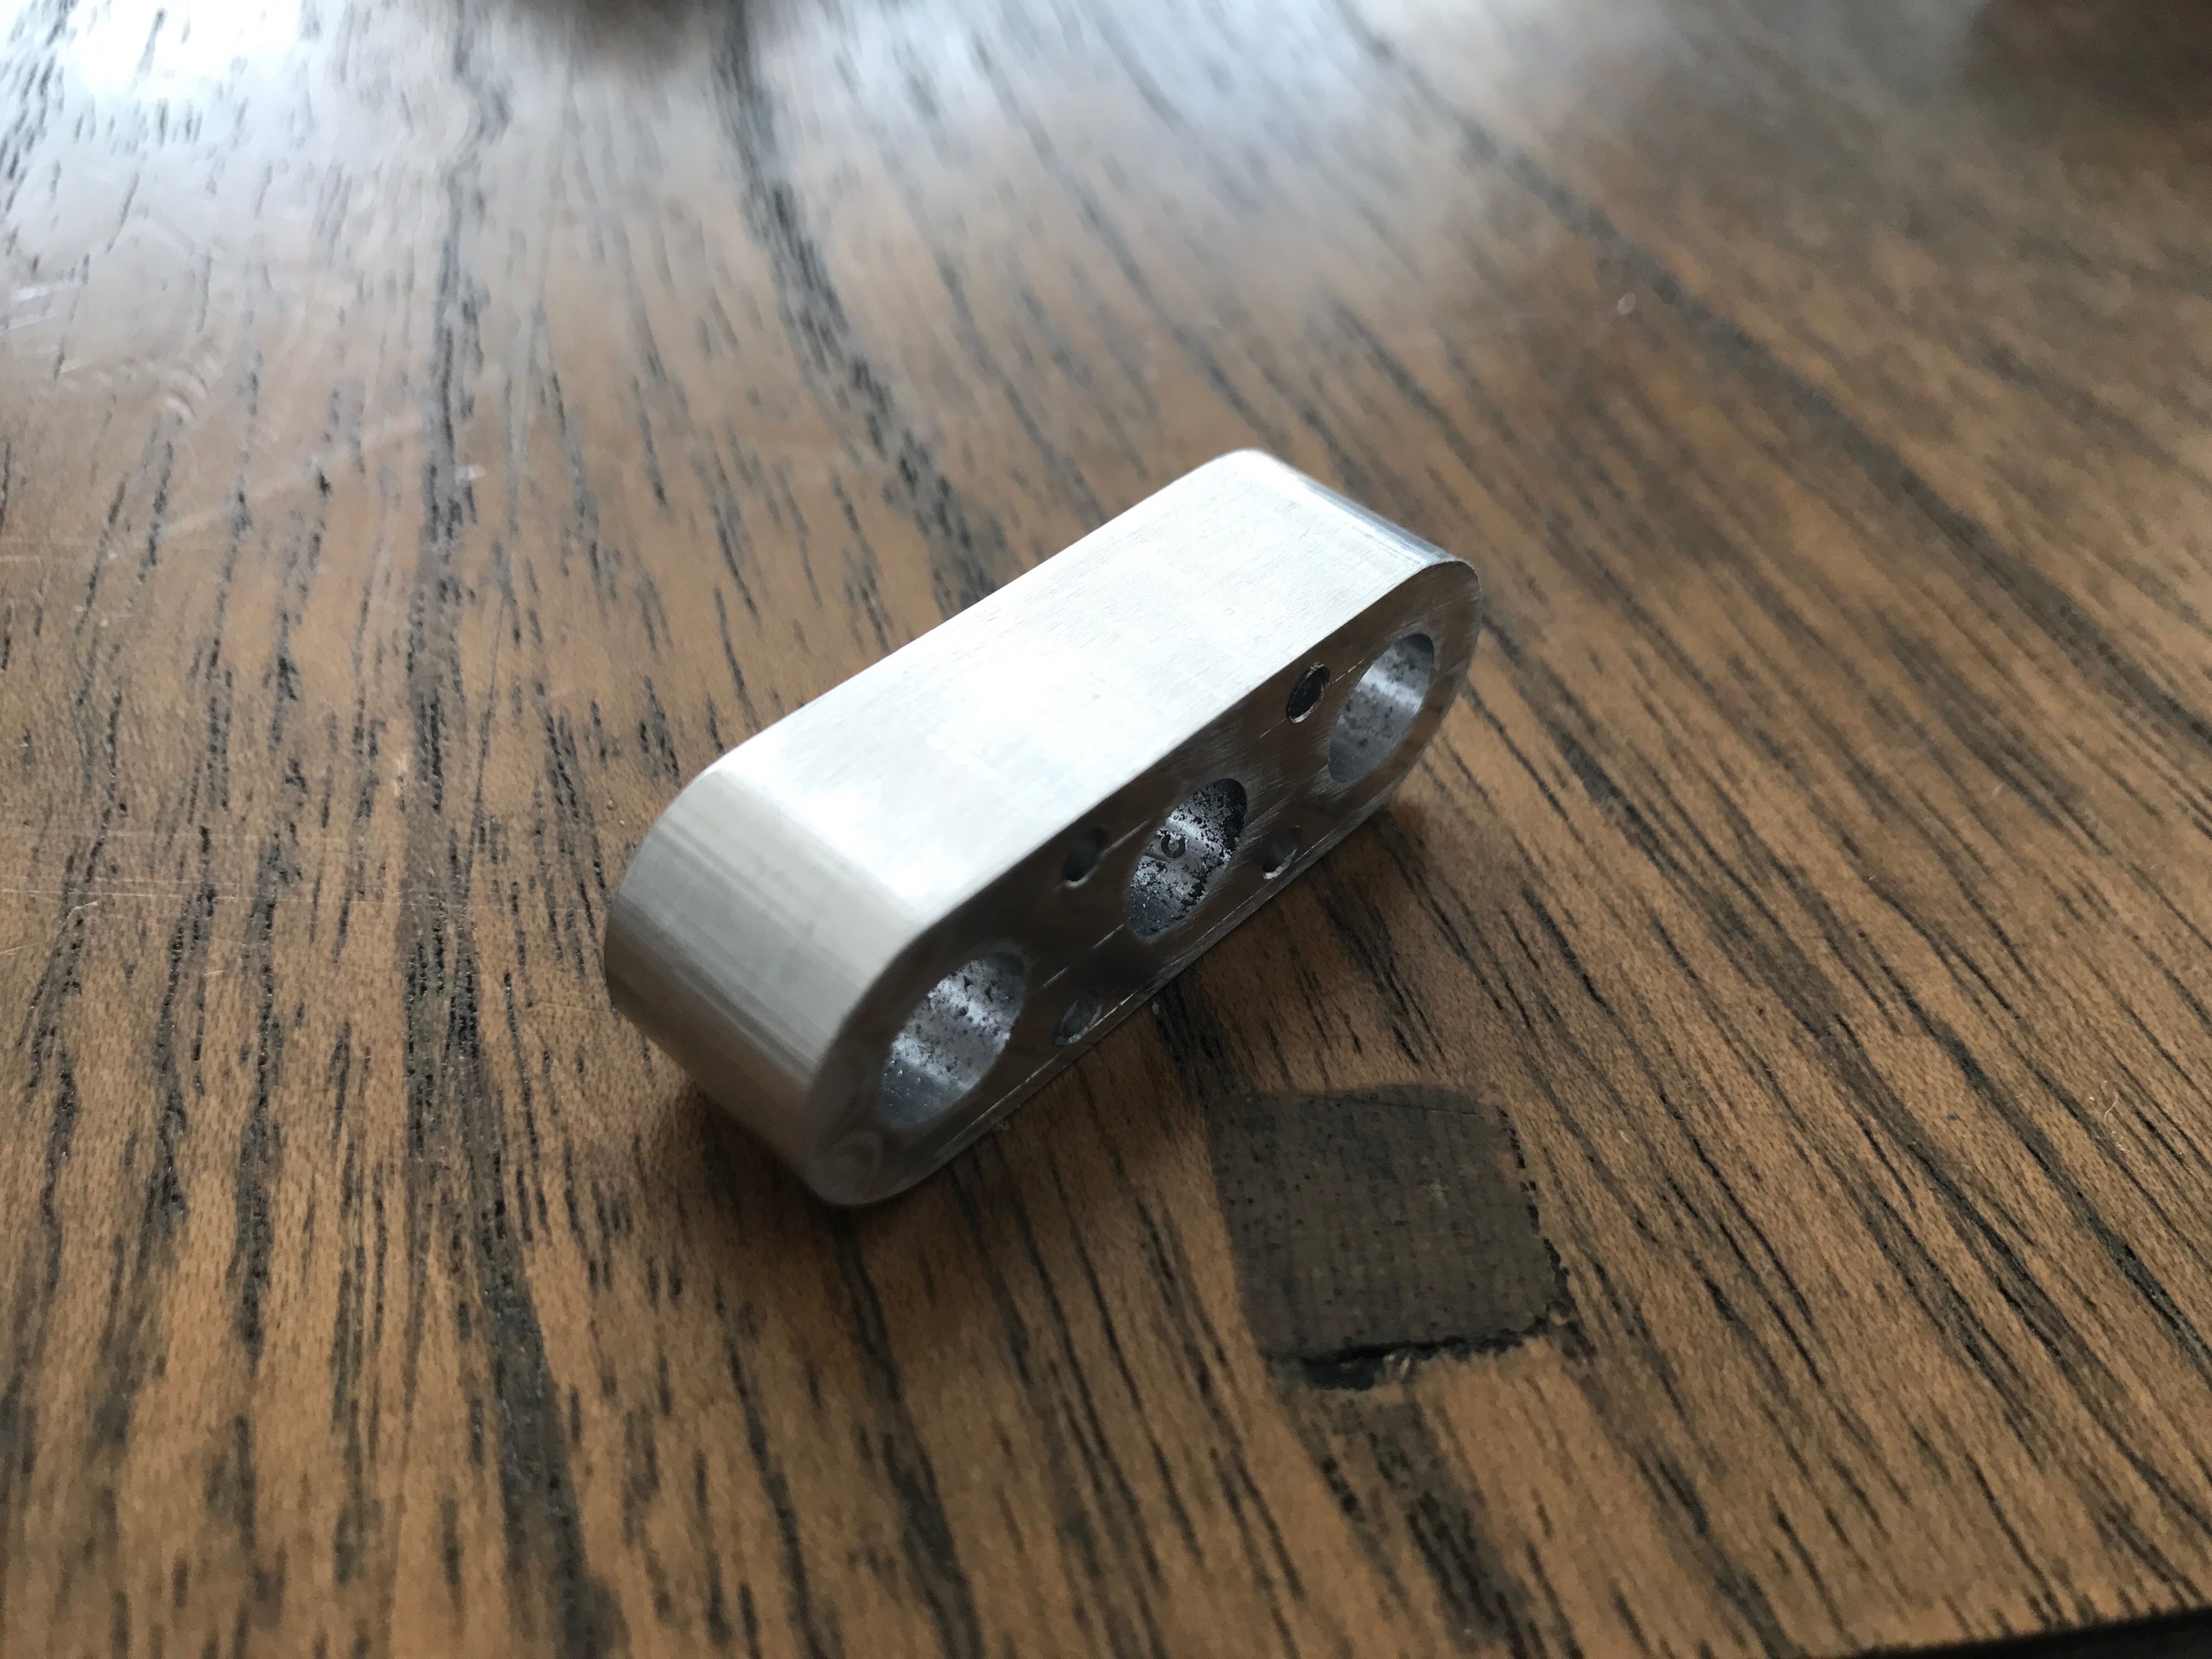
Here is V1
As you can see whilst it has the basic layout there is excessive chatter on the top and bottom edges. Initially I was unsure why - I was running at the lowest spindle speed - 1, I was going at 0.2mm DOC but I was going quite fast. For this design I used 8mm thick aluminium and milled from the back - then planed the top where the buttons went.
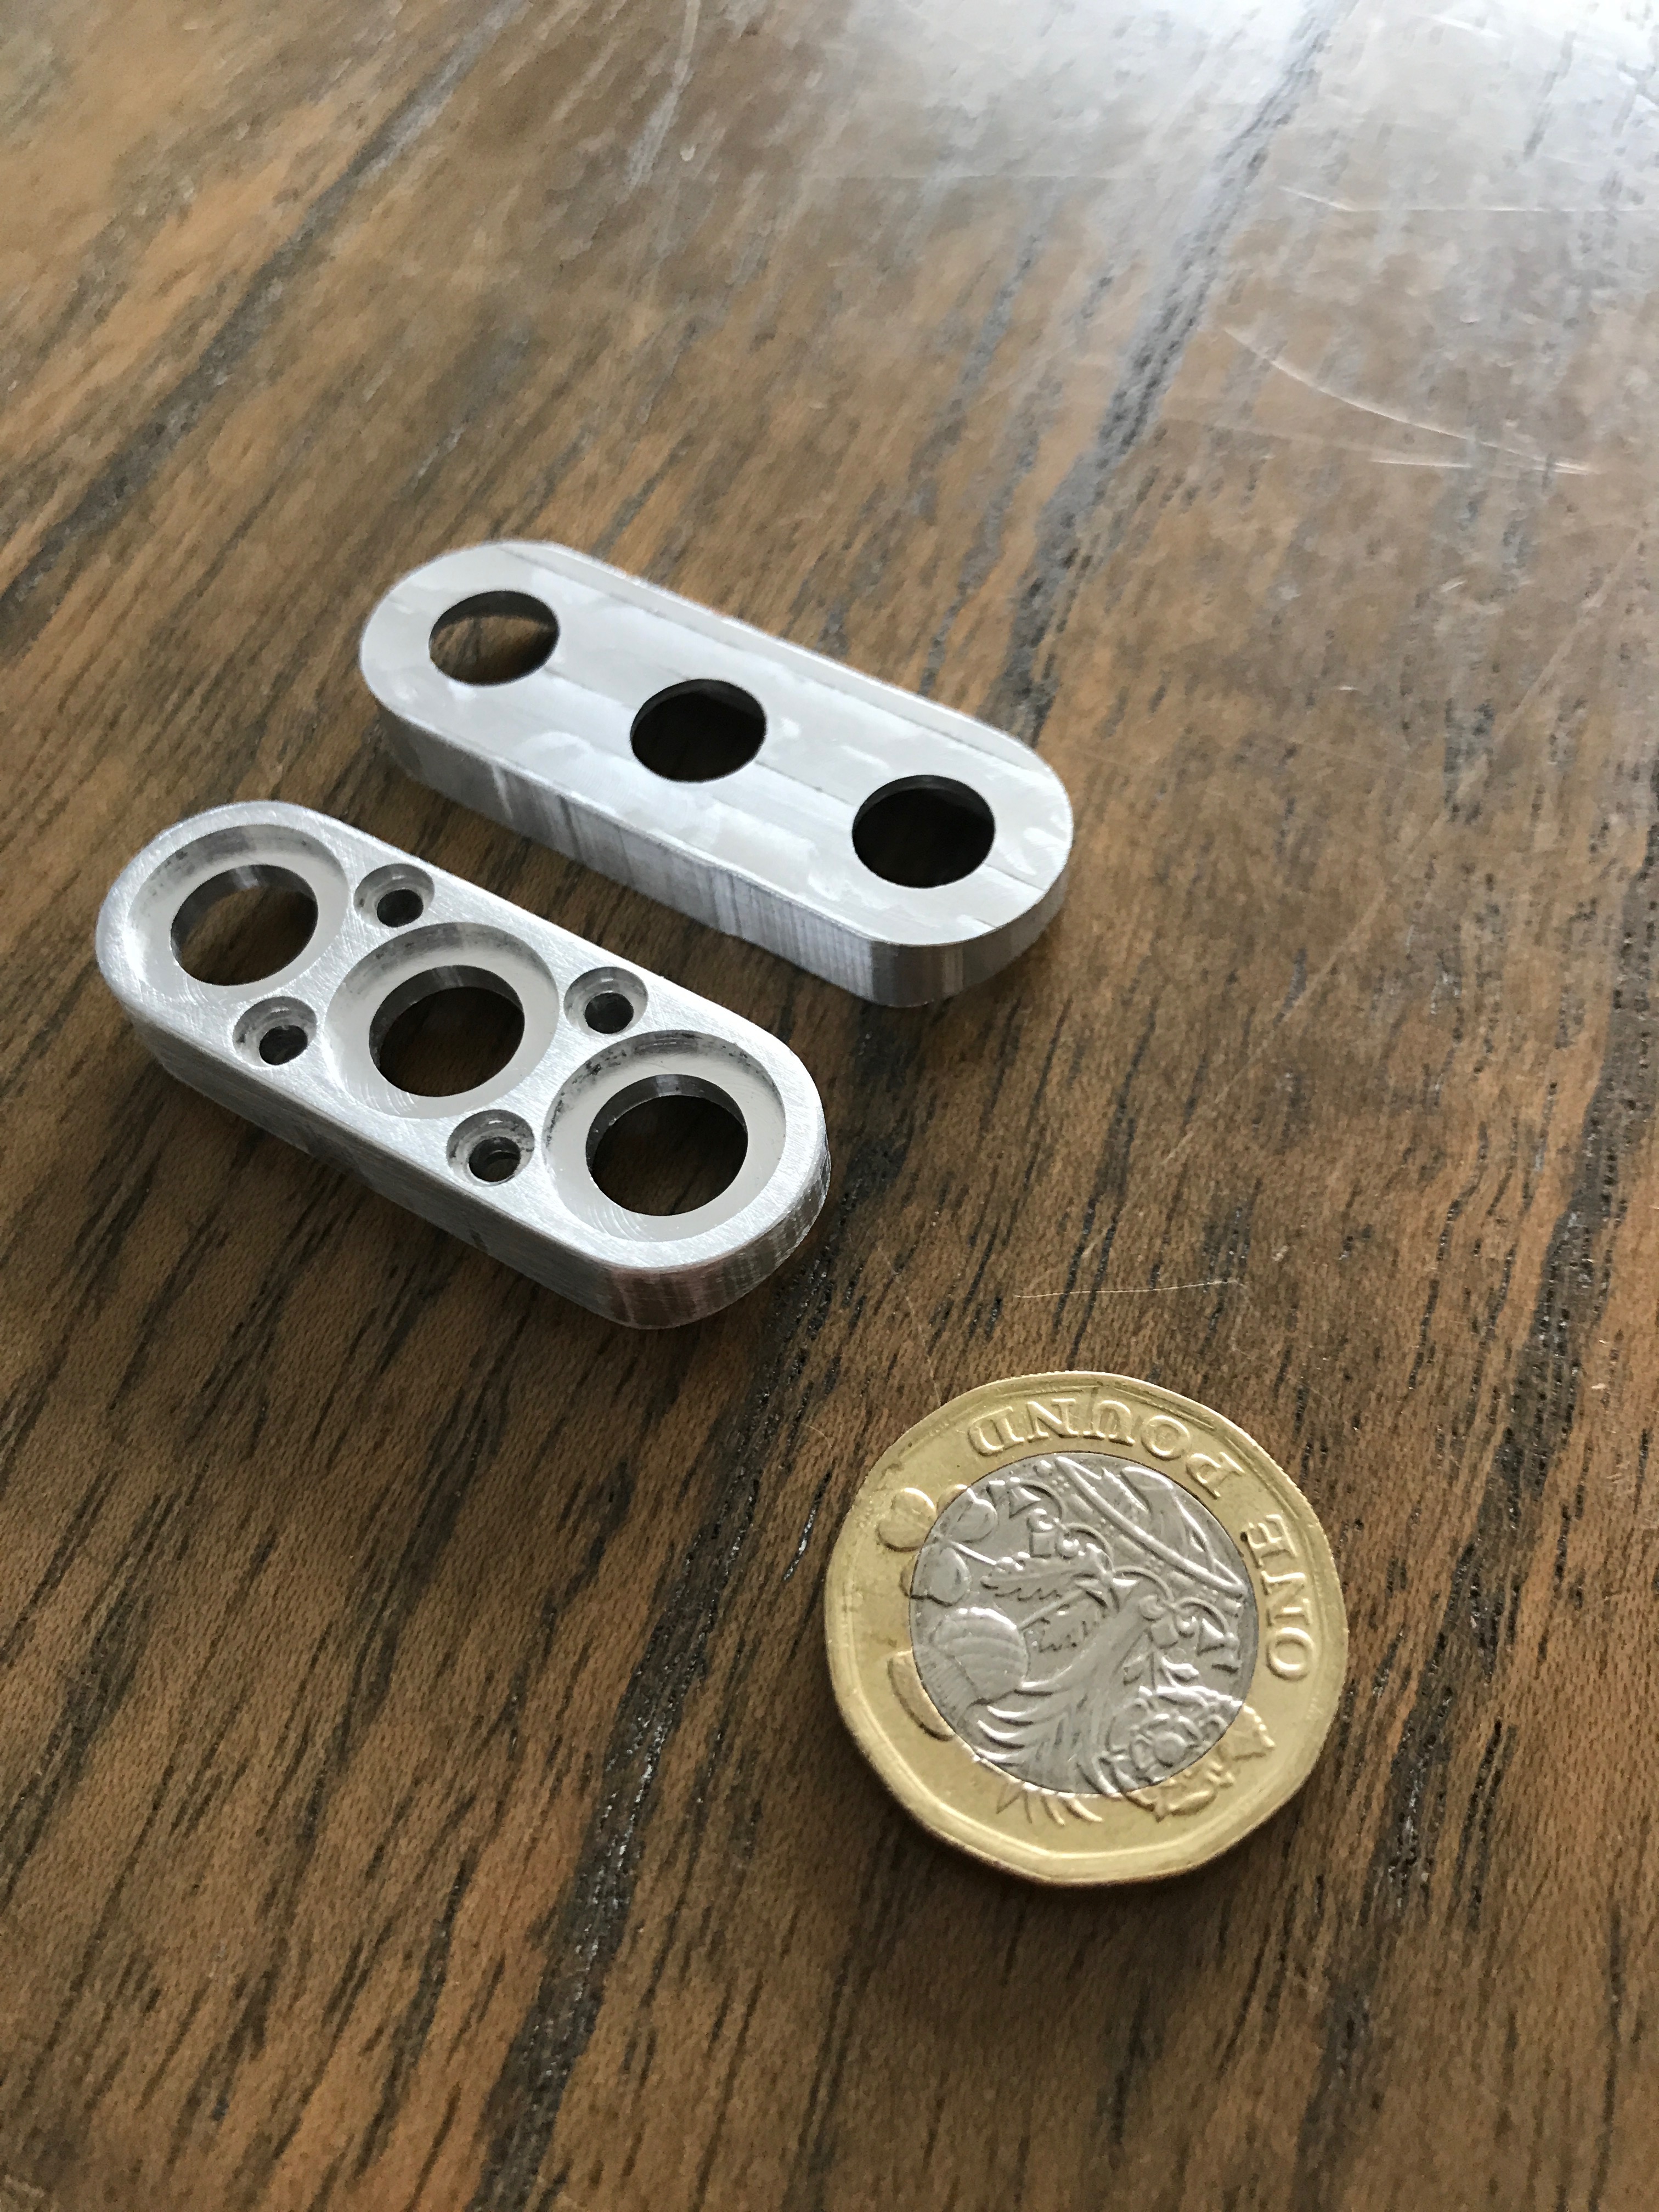
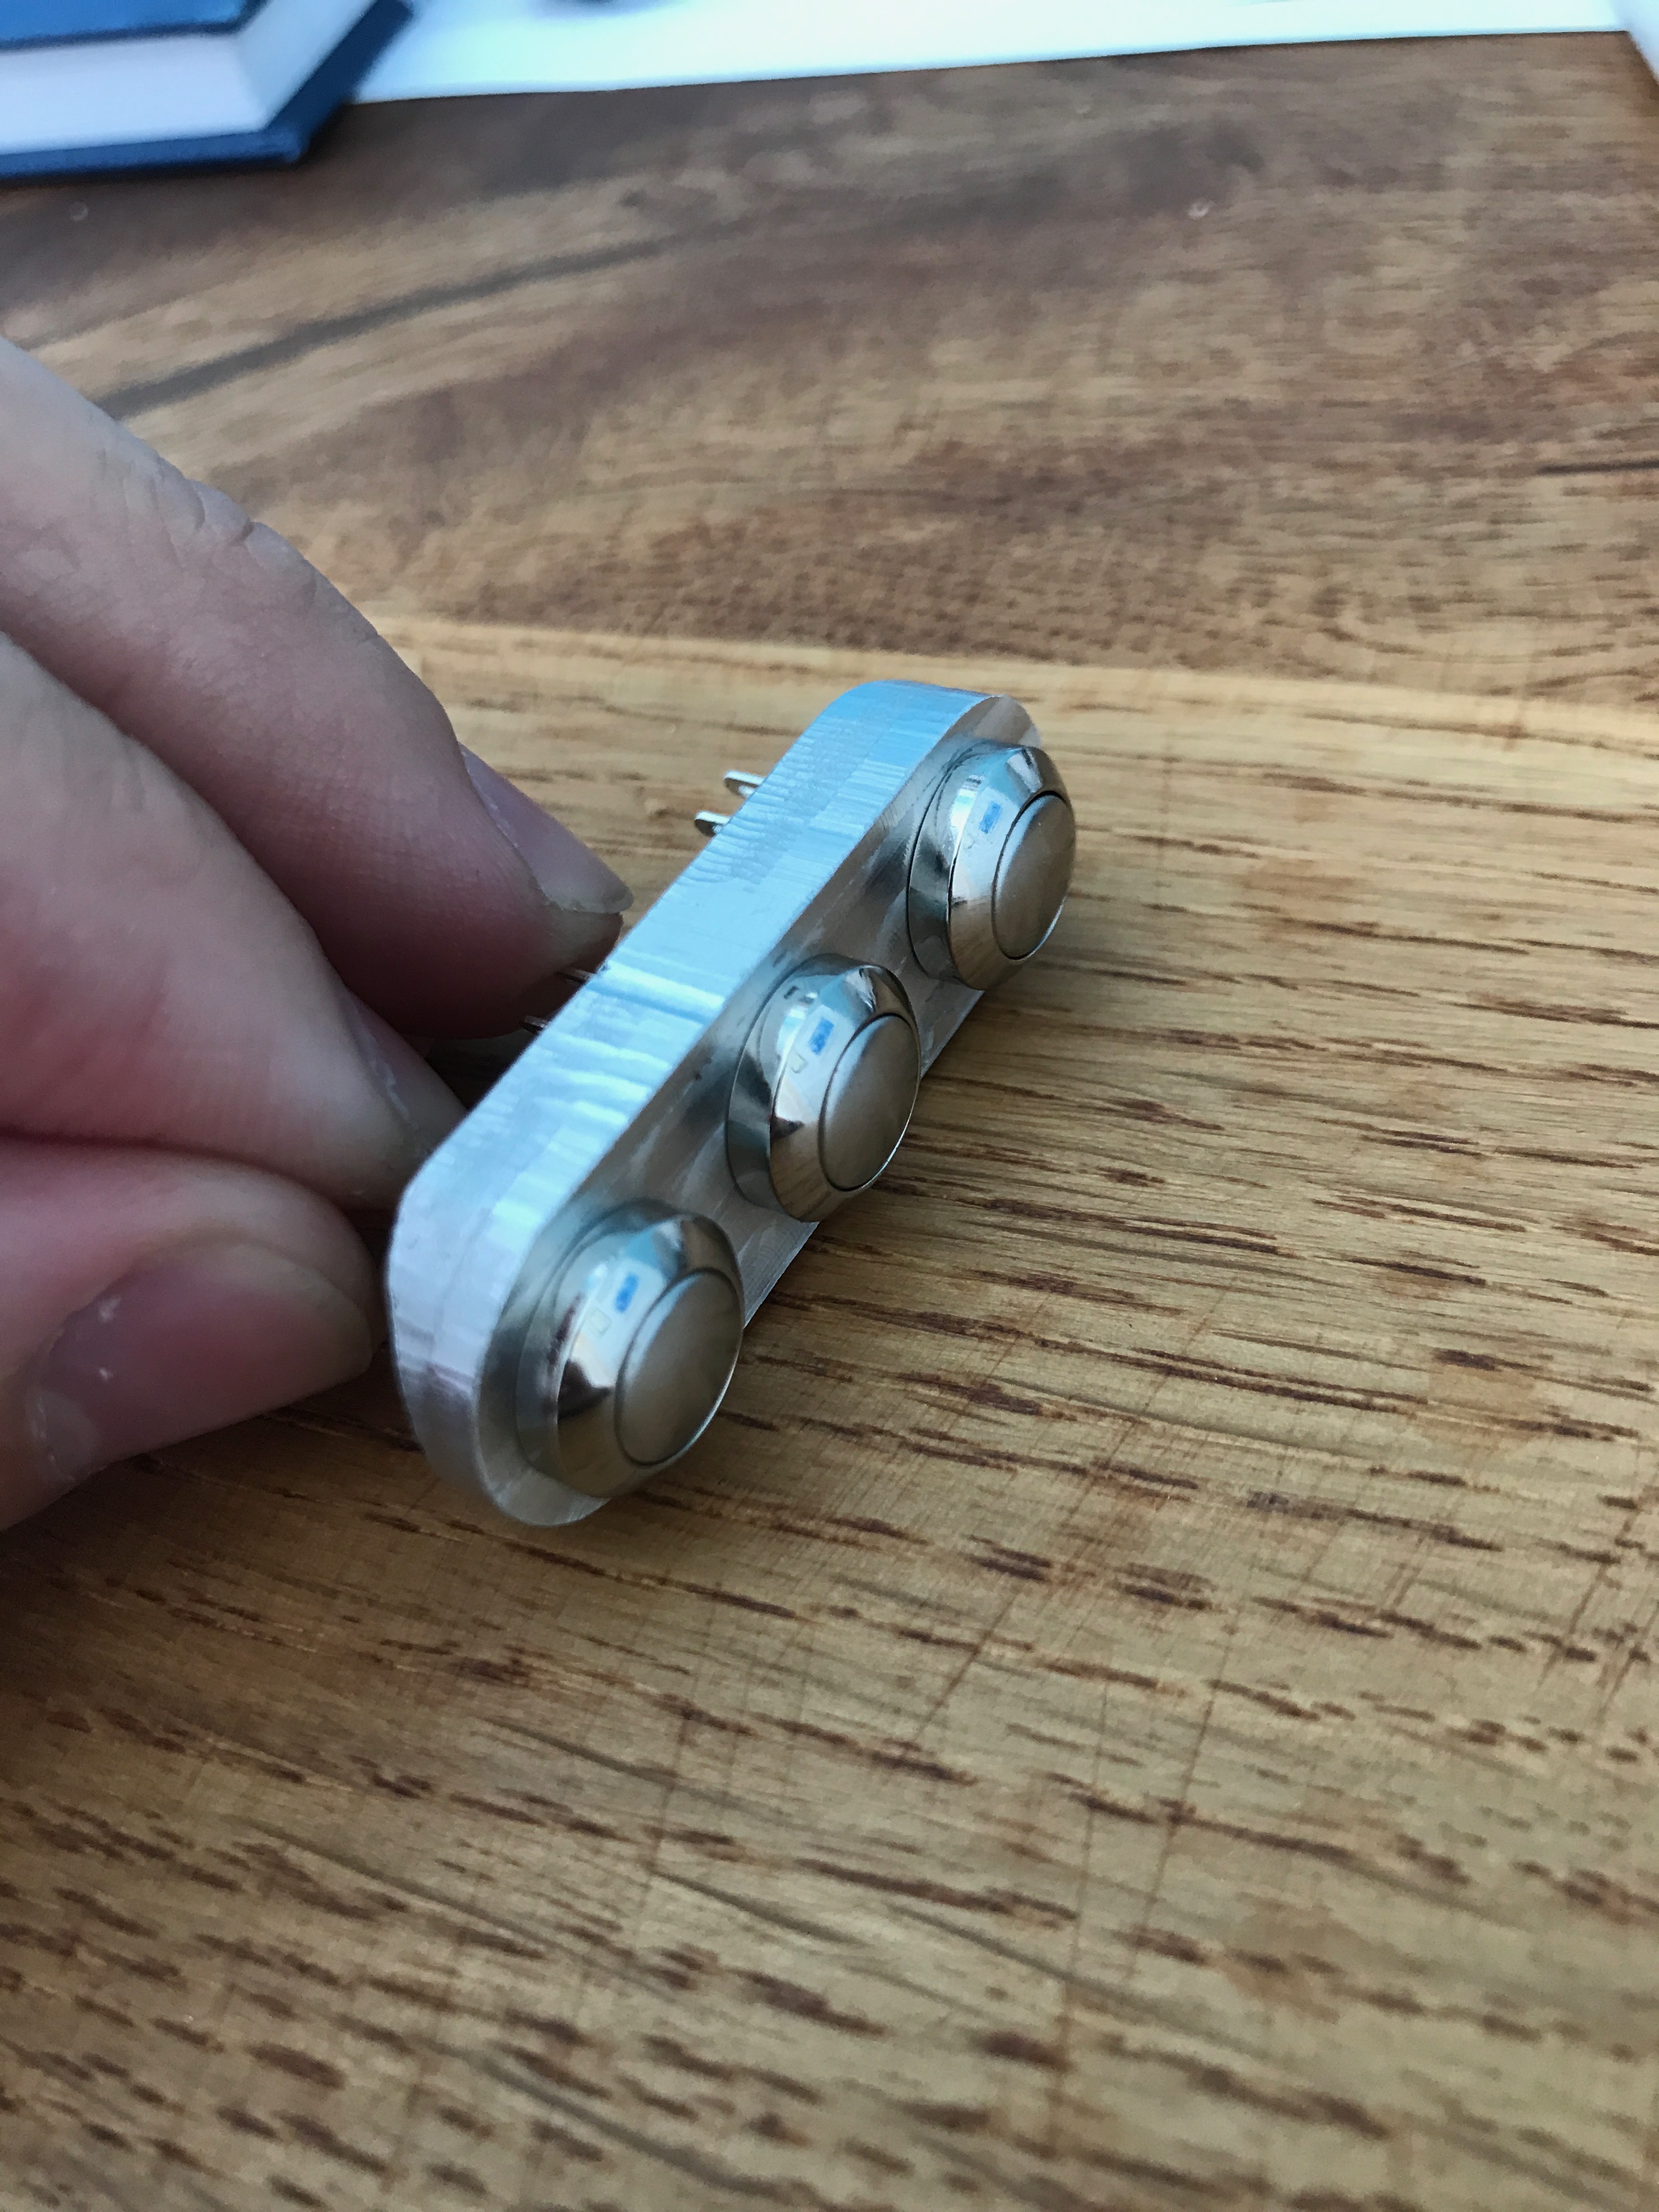
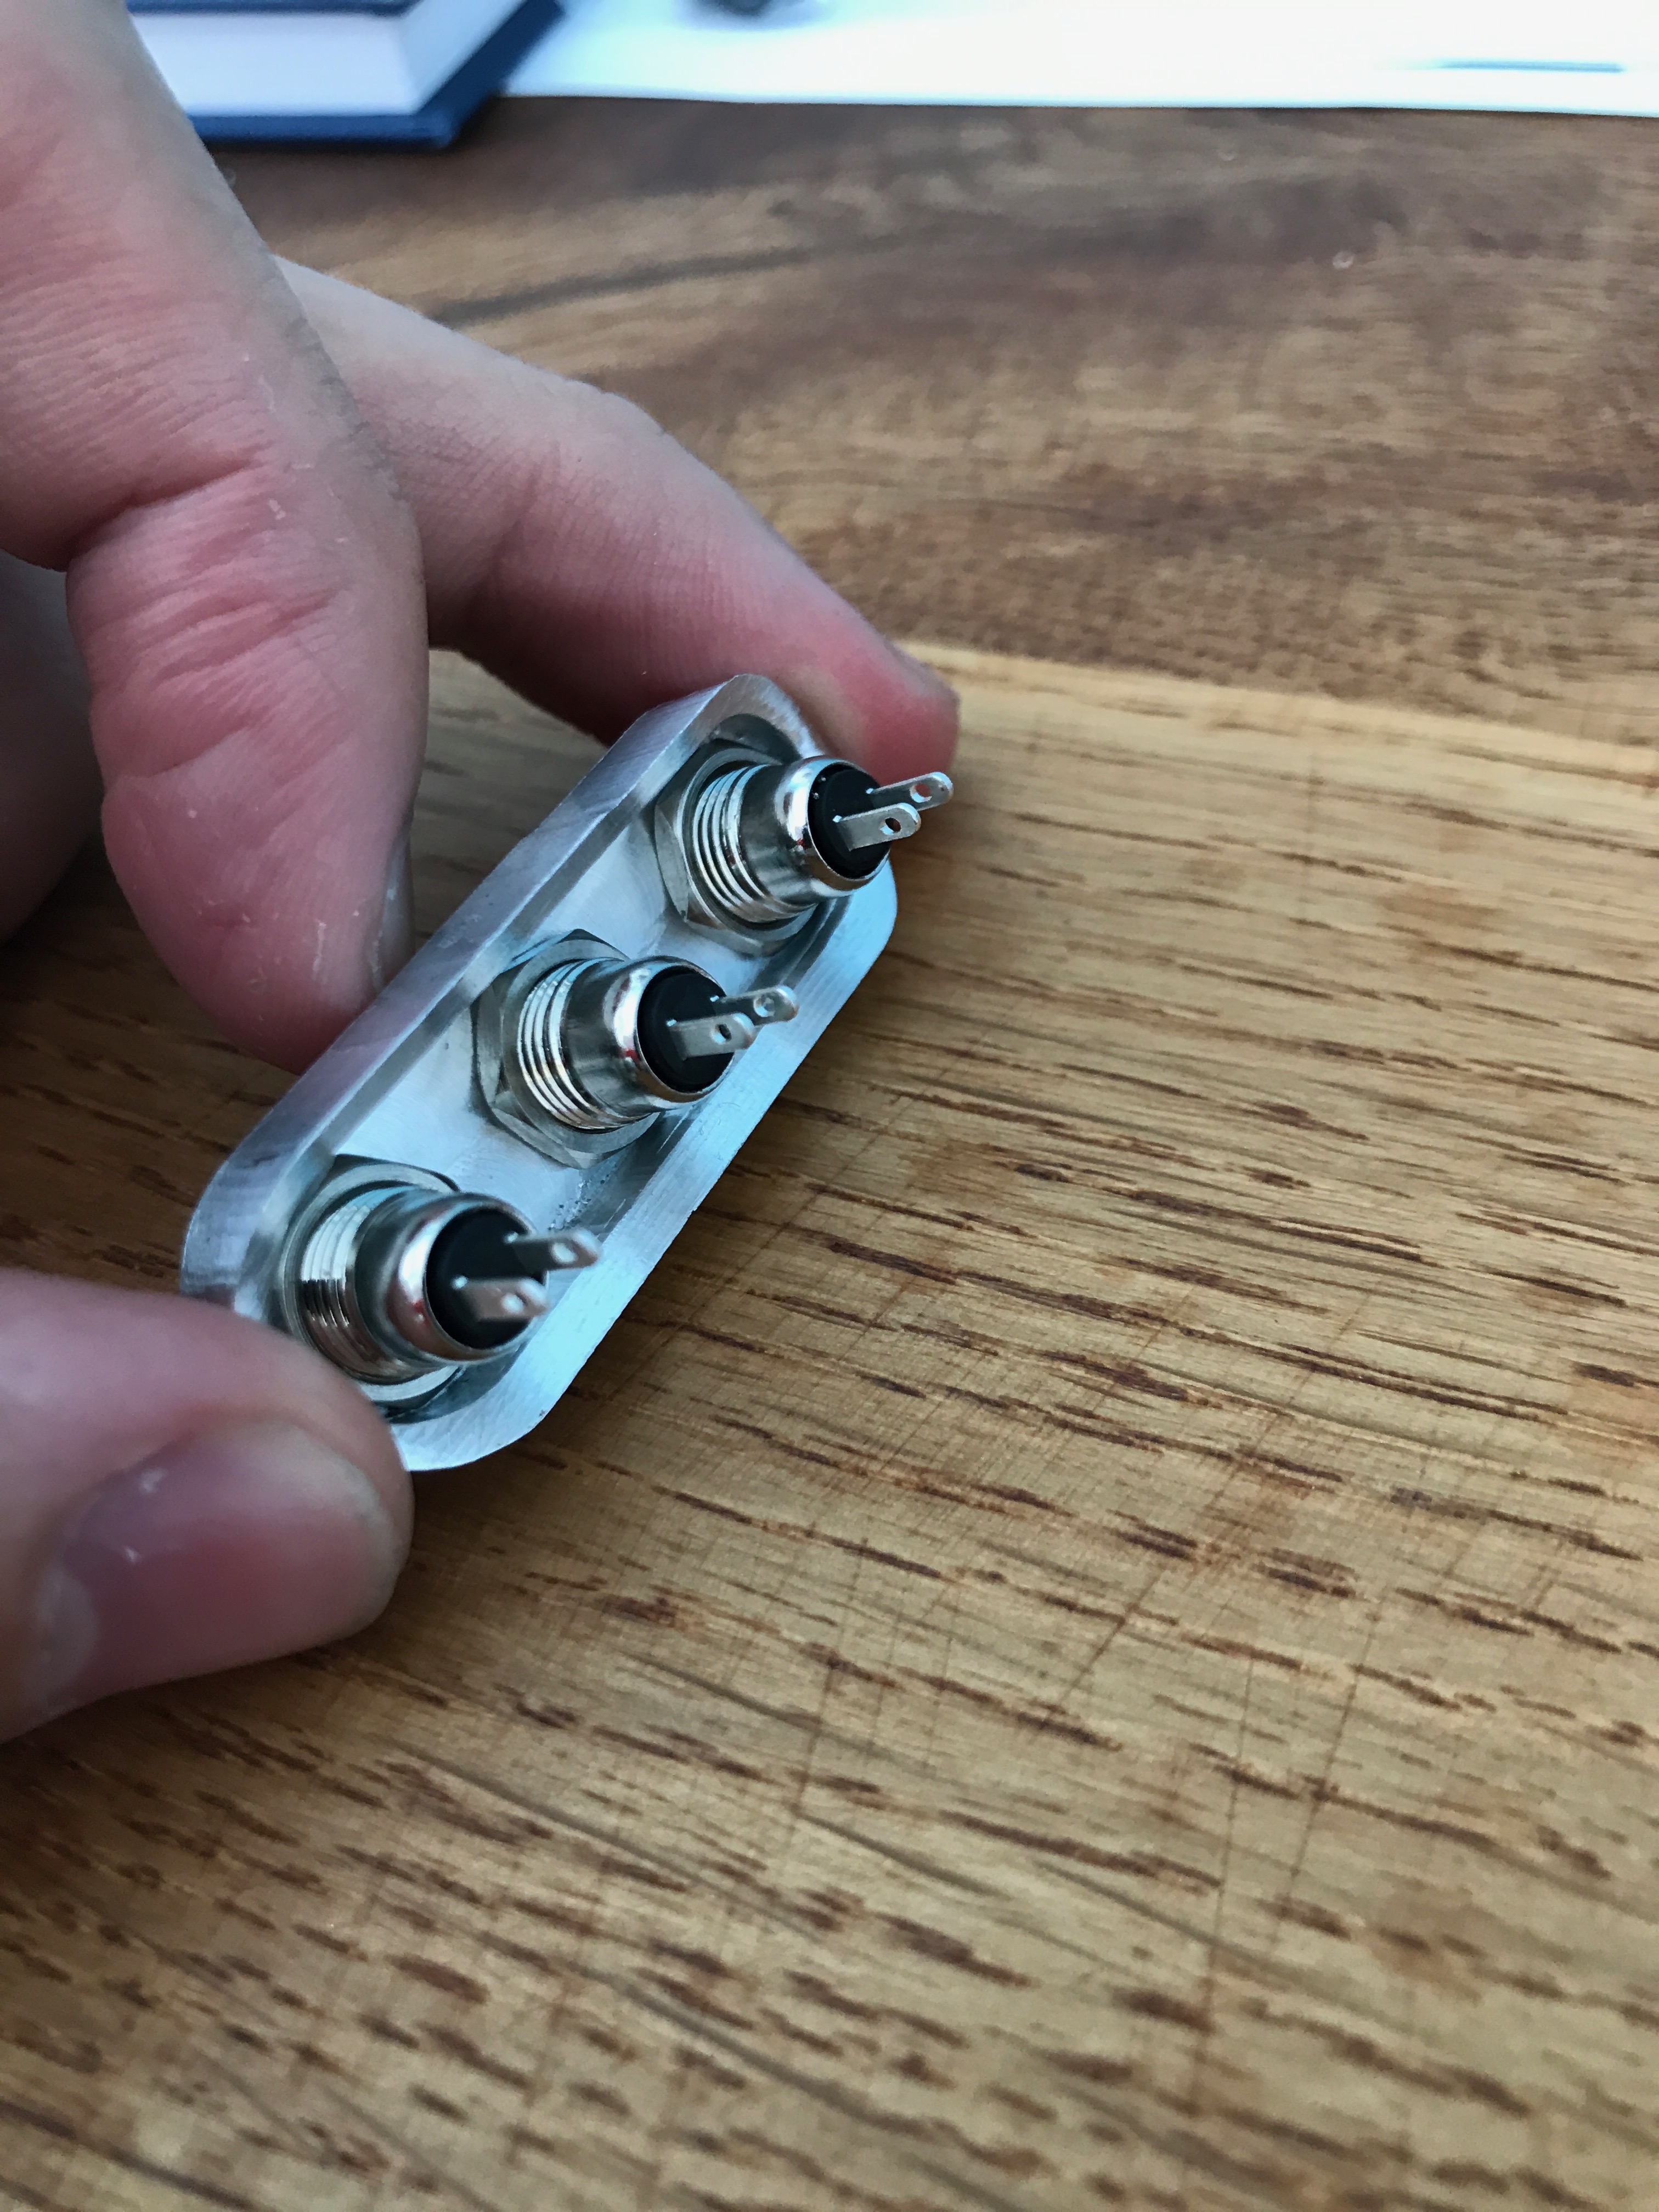
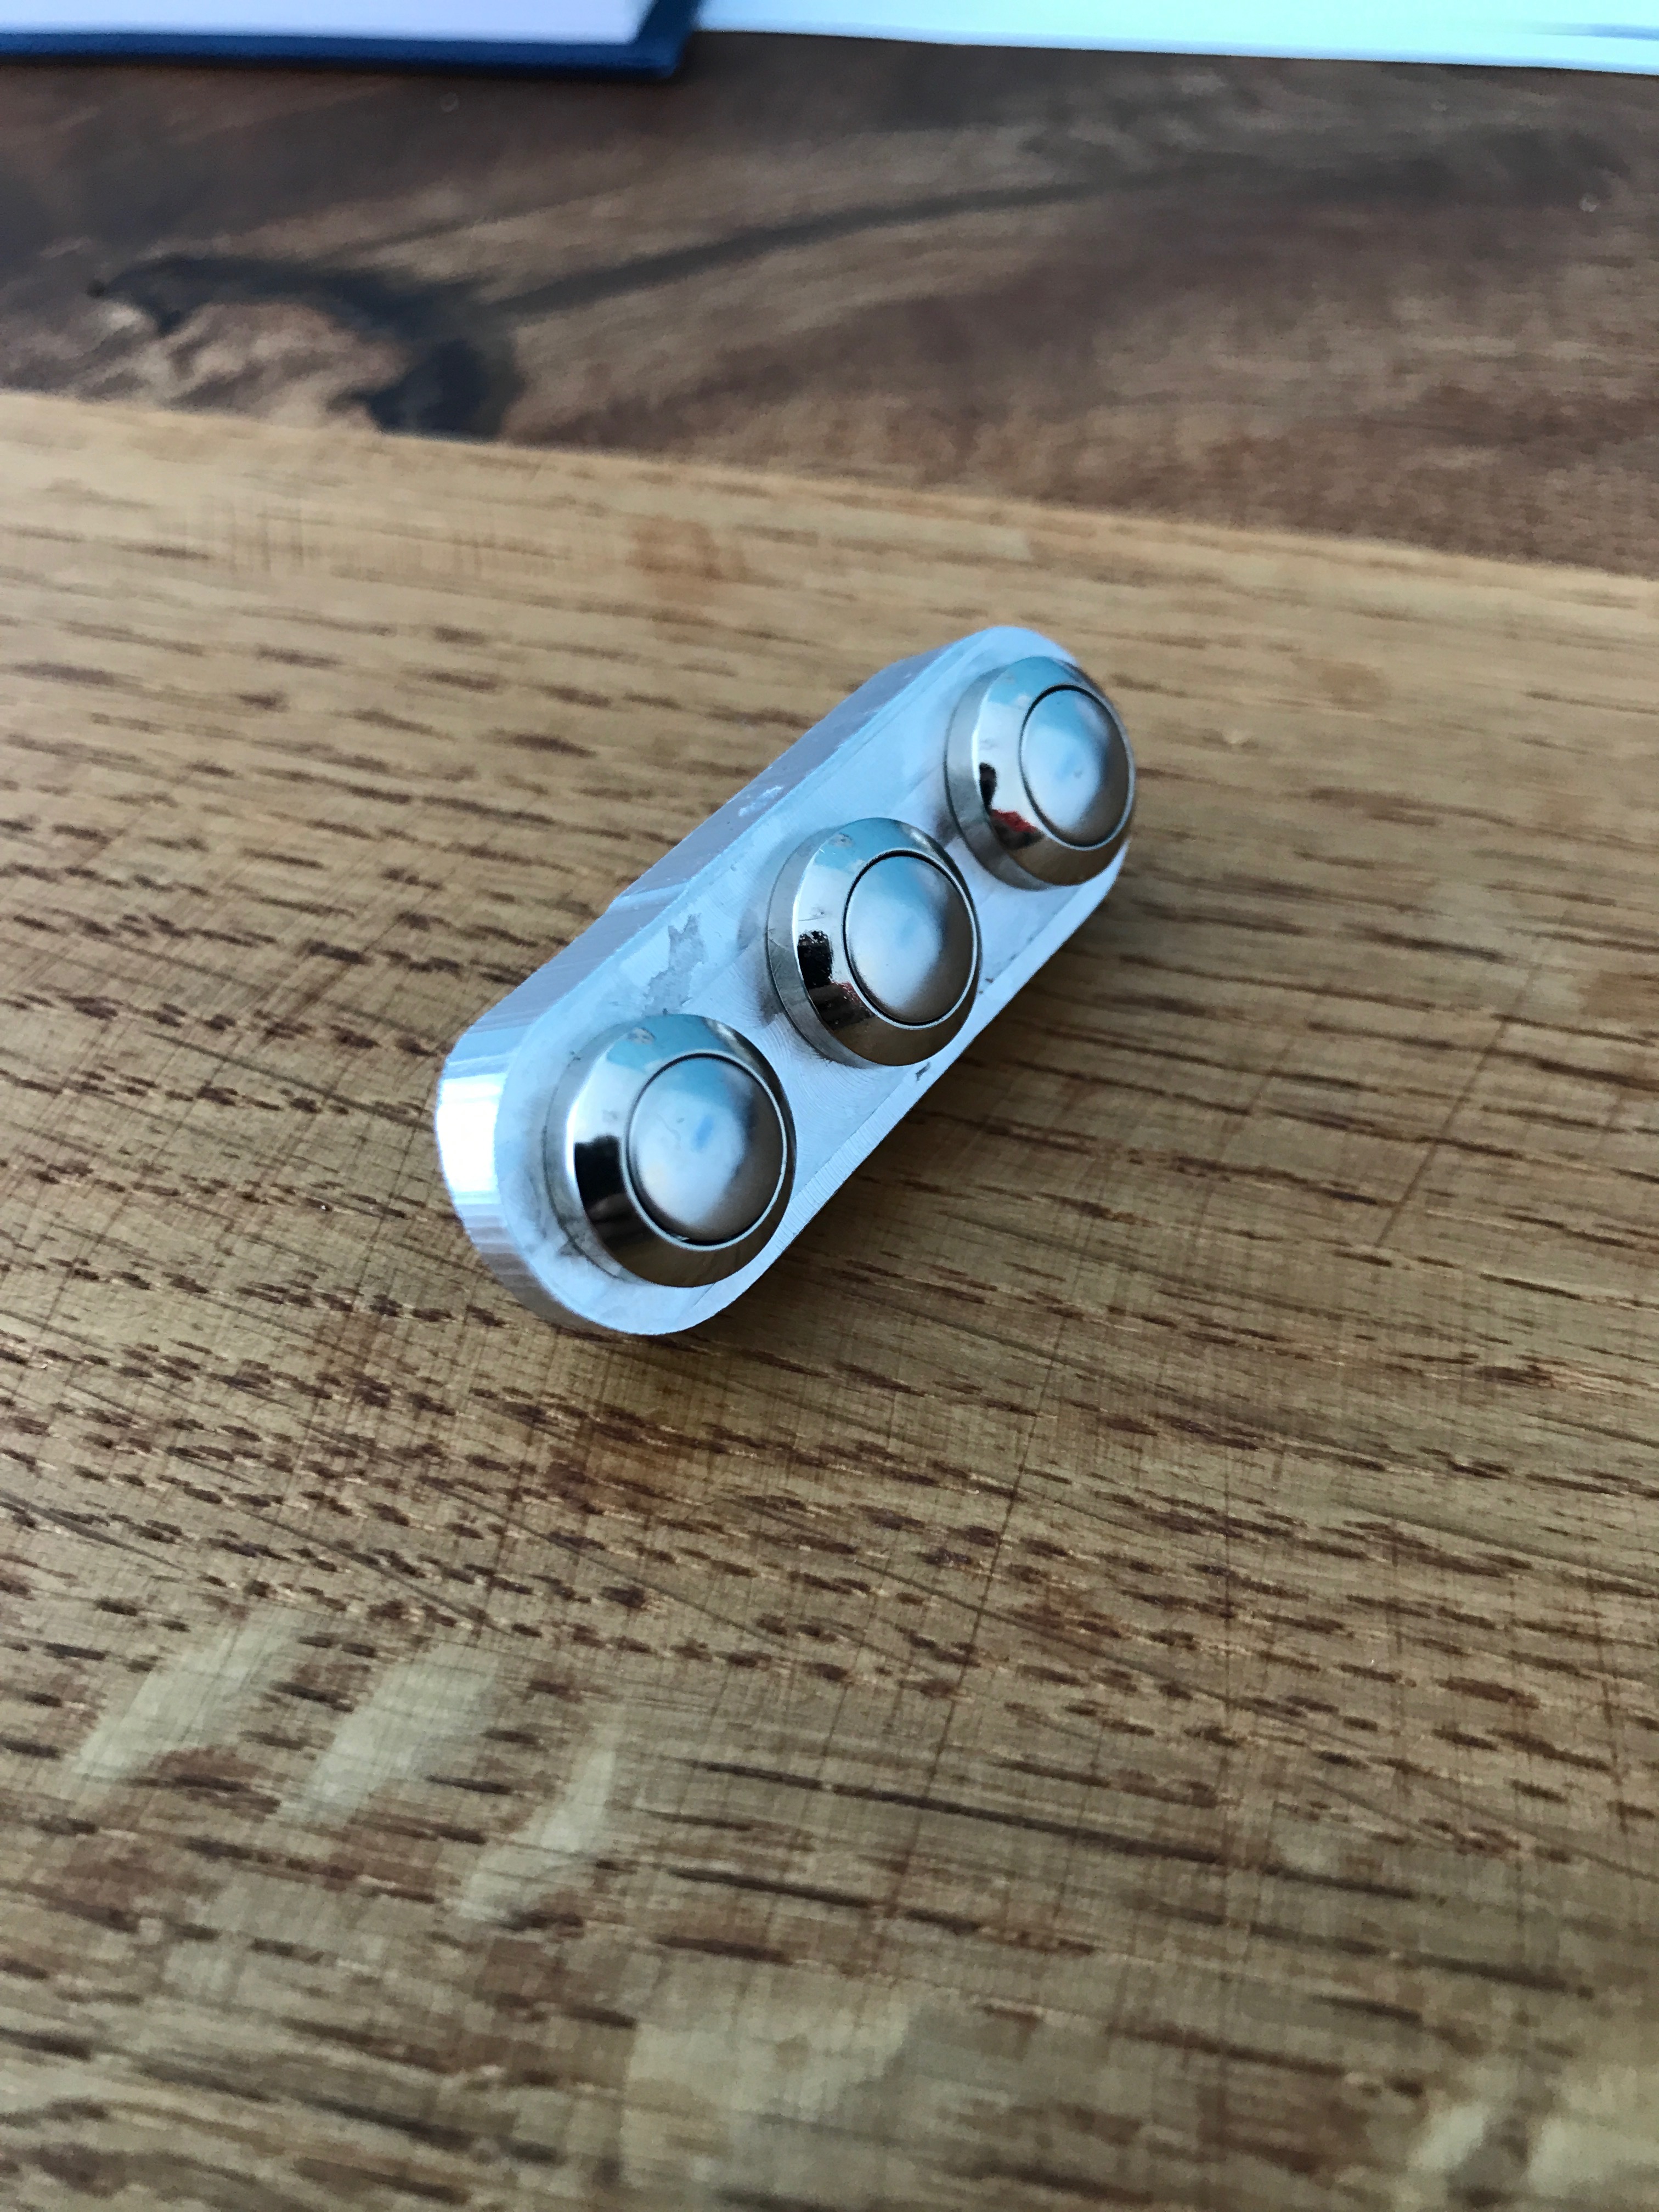
V2
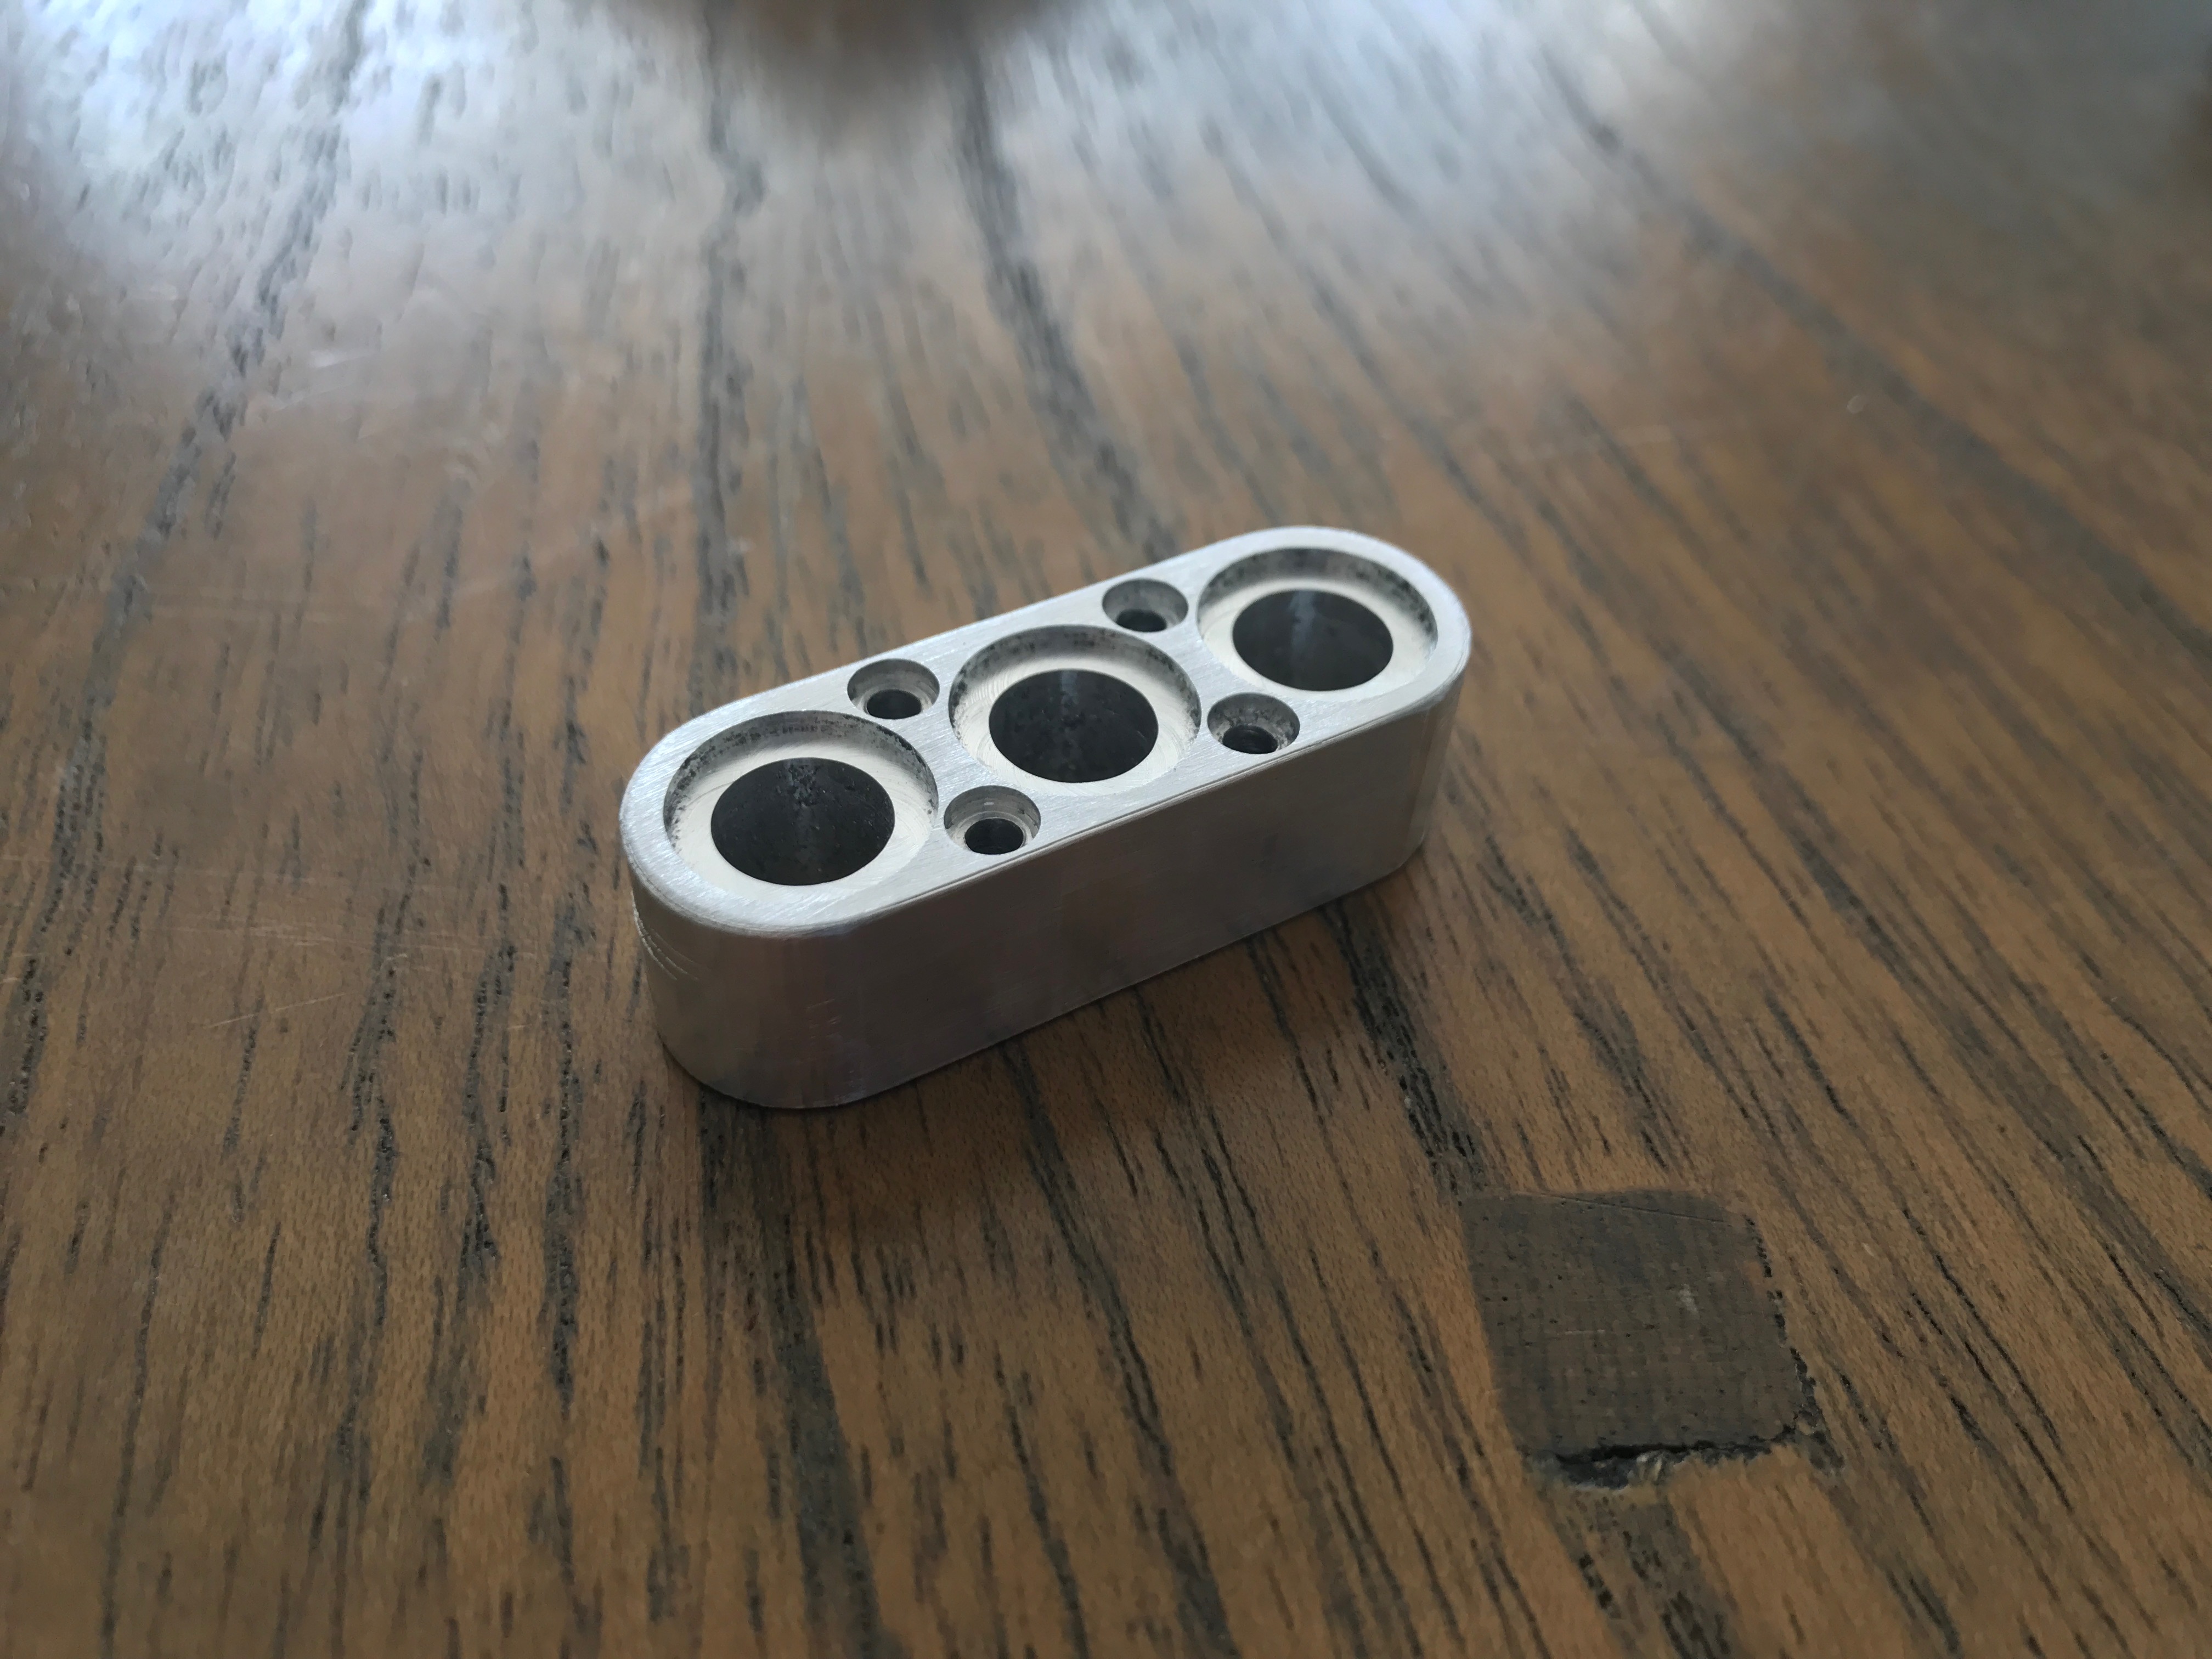
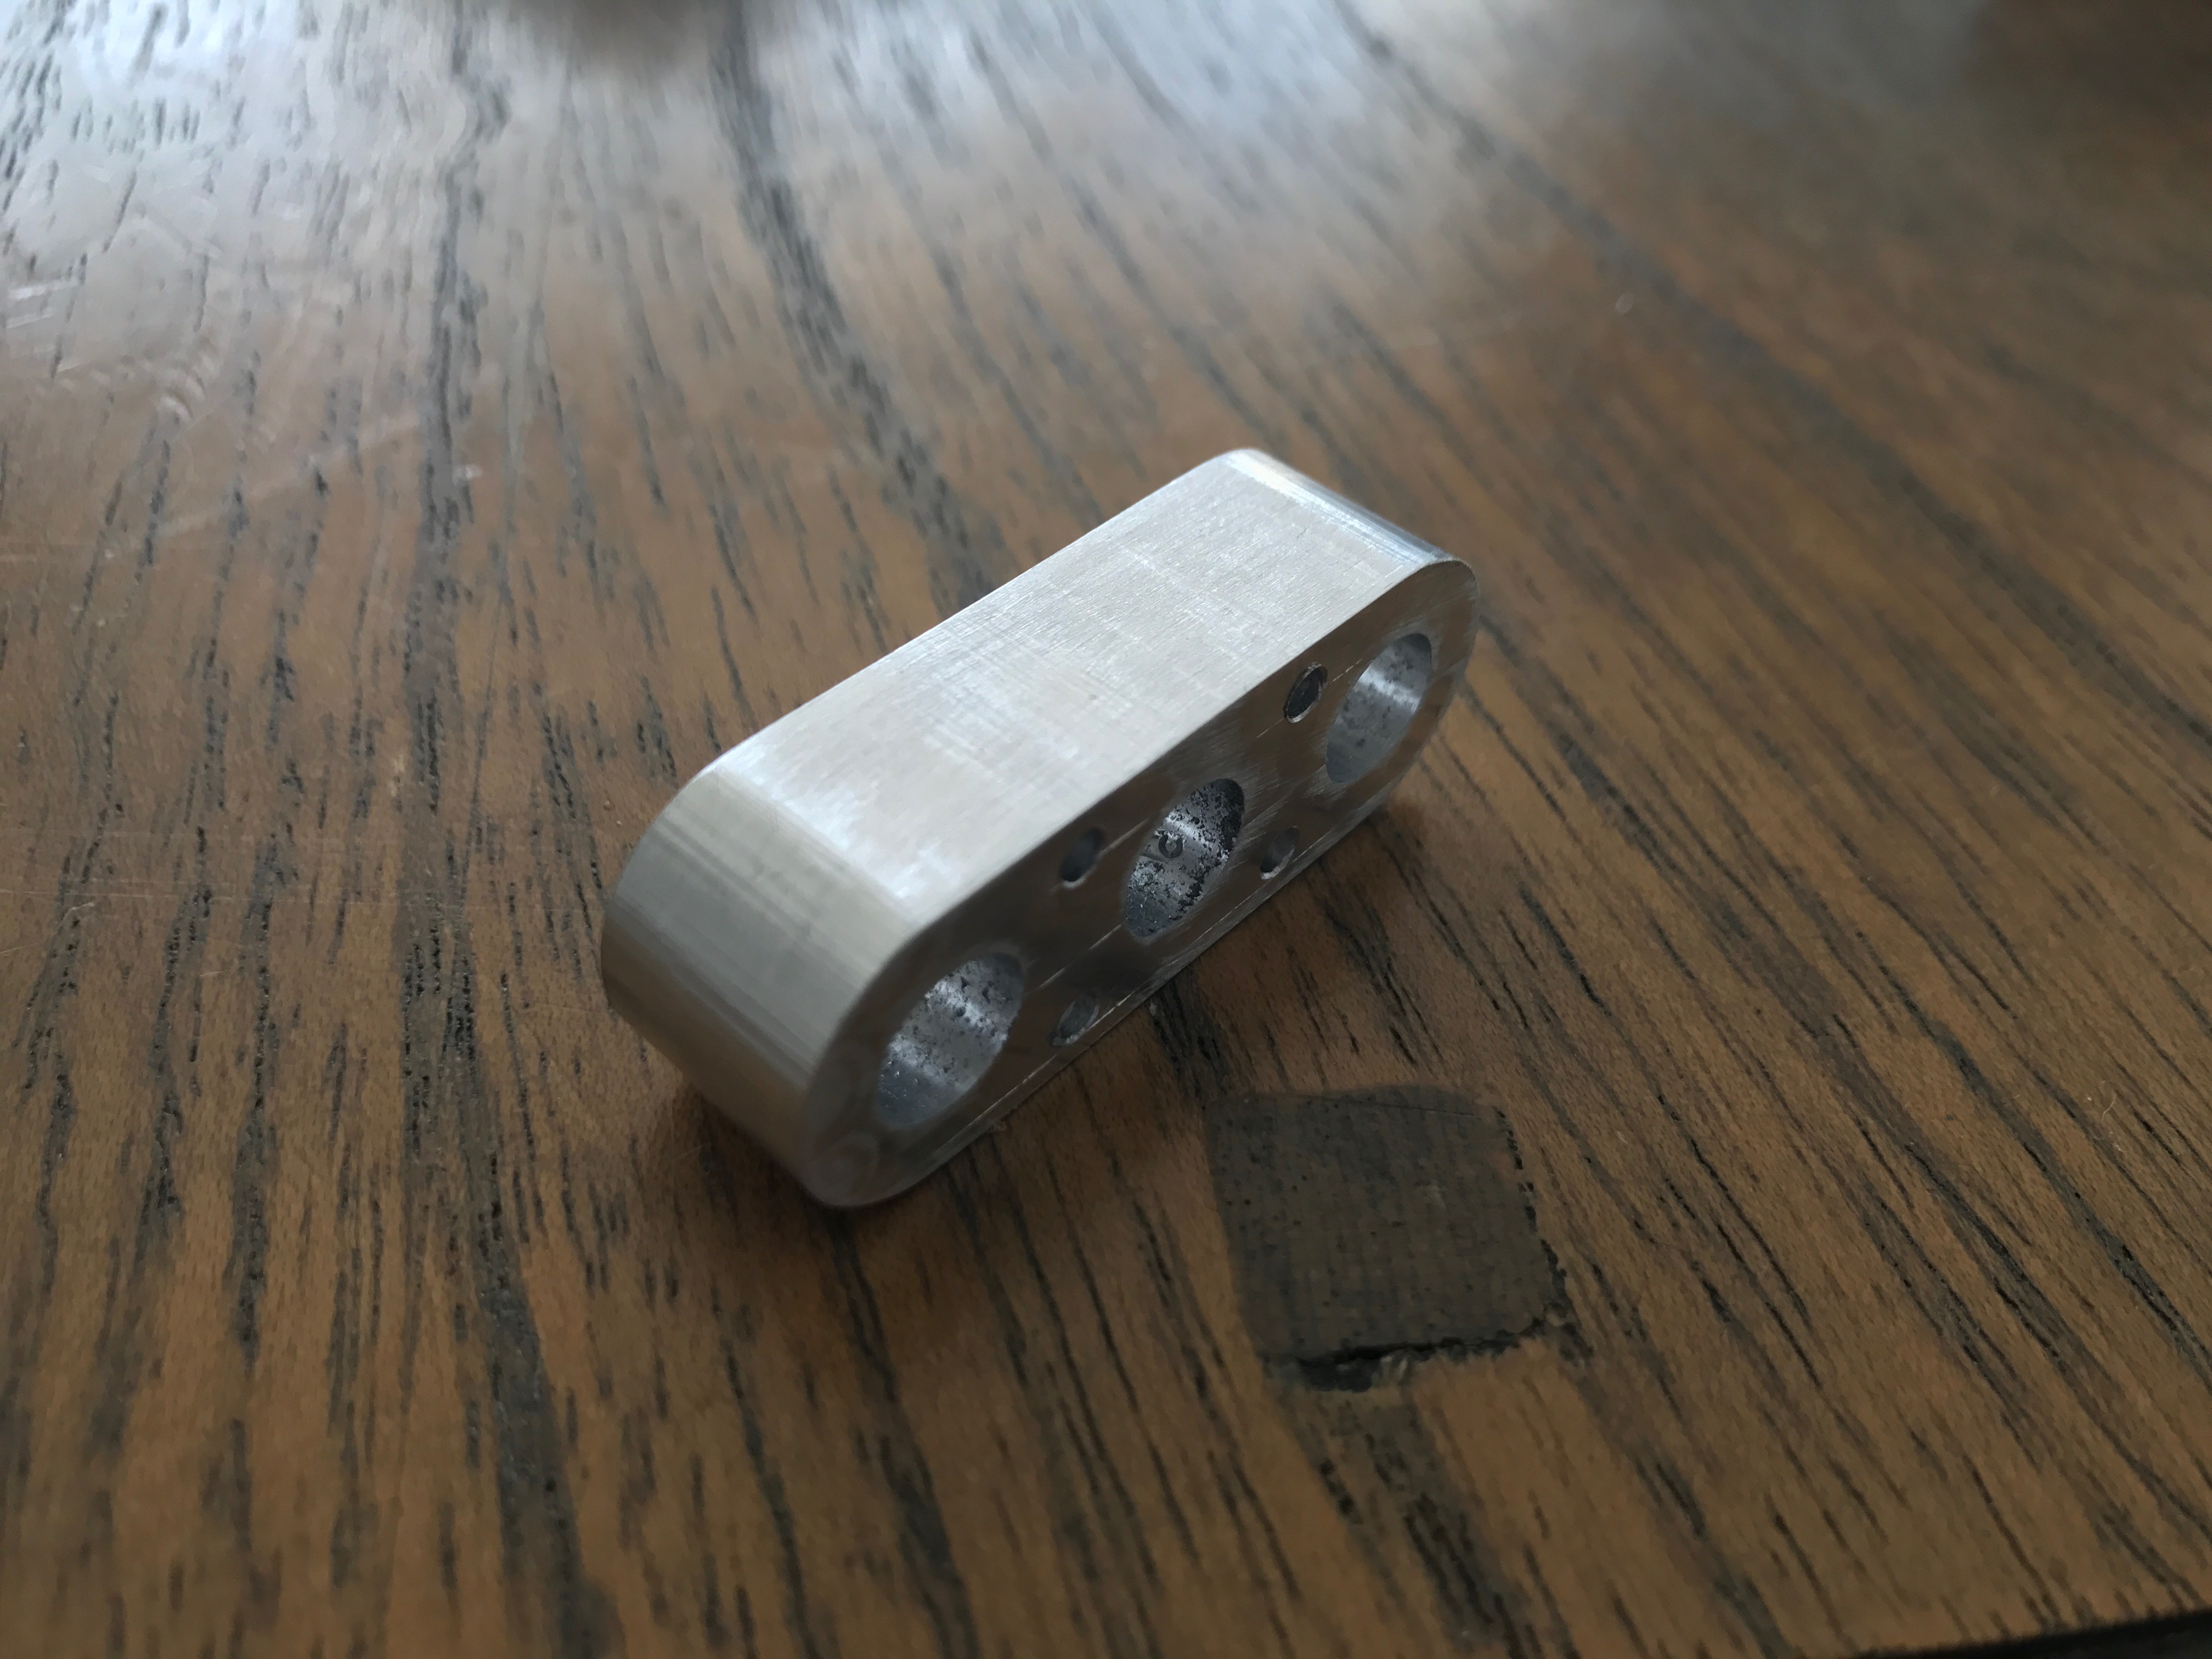
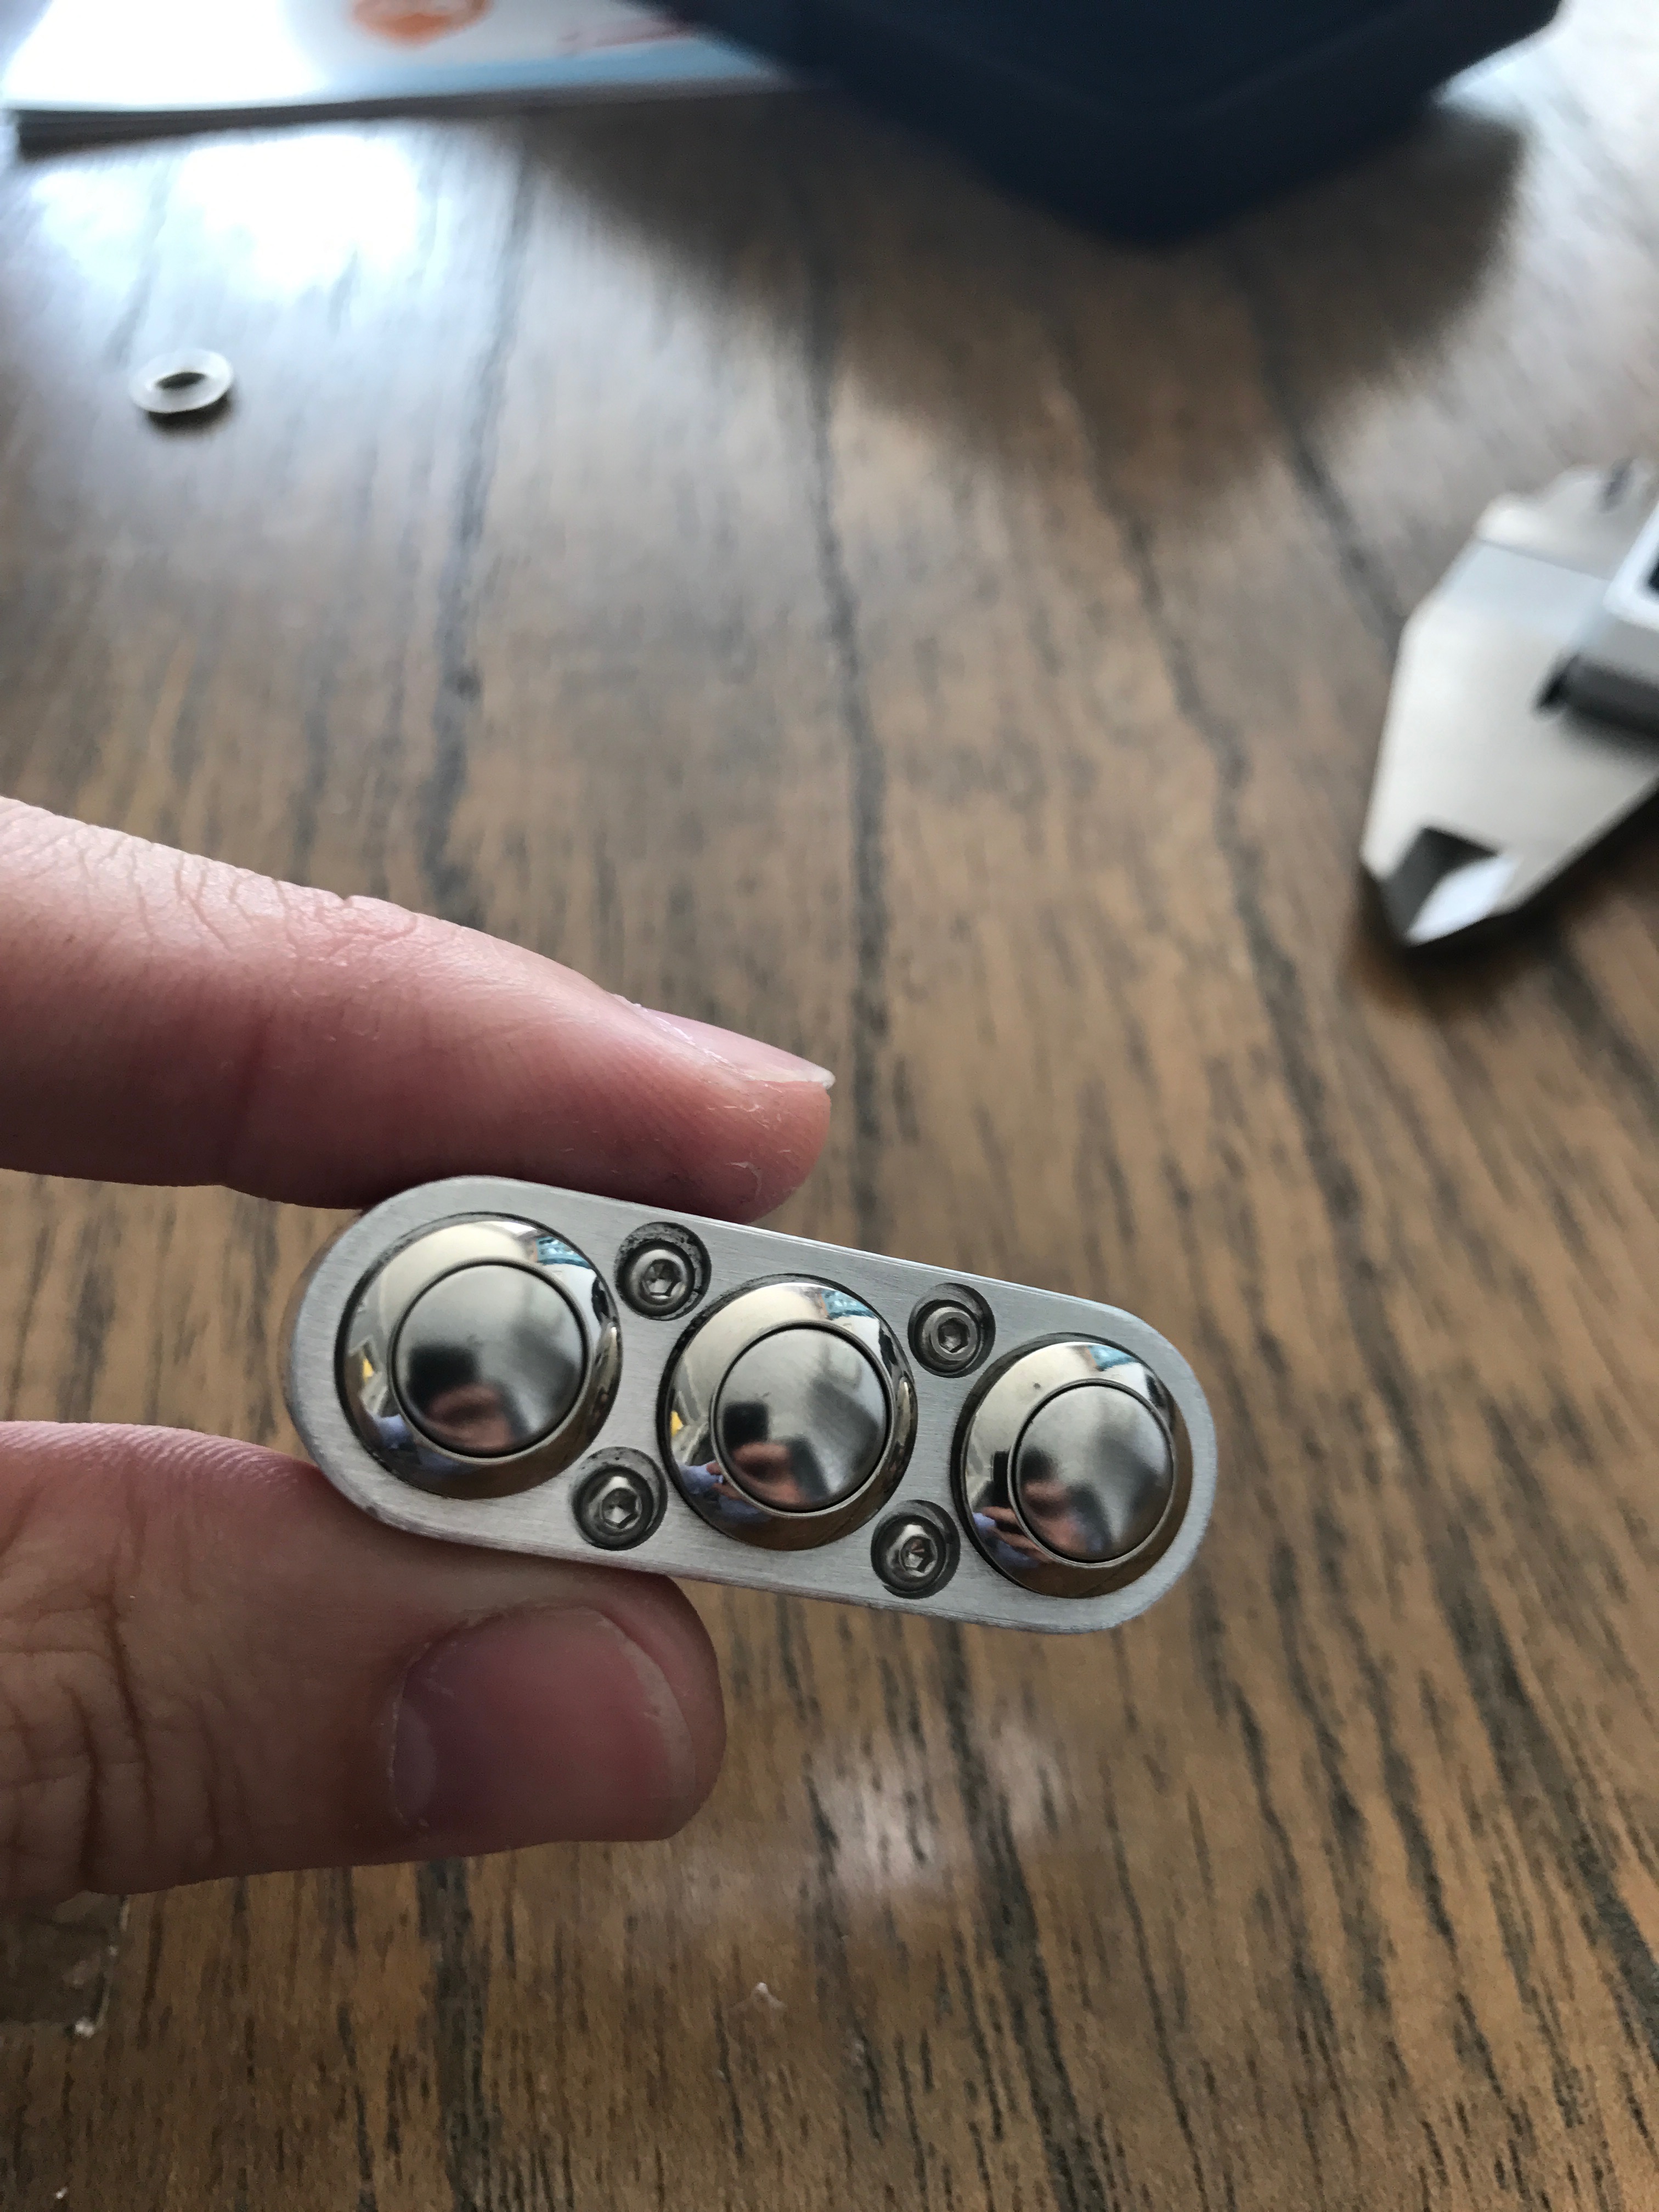
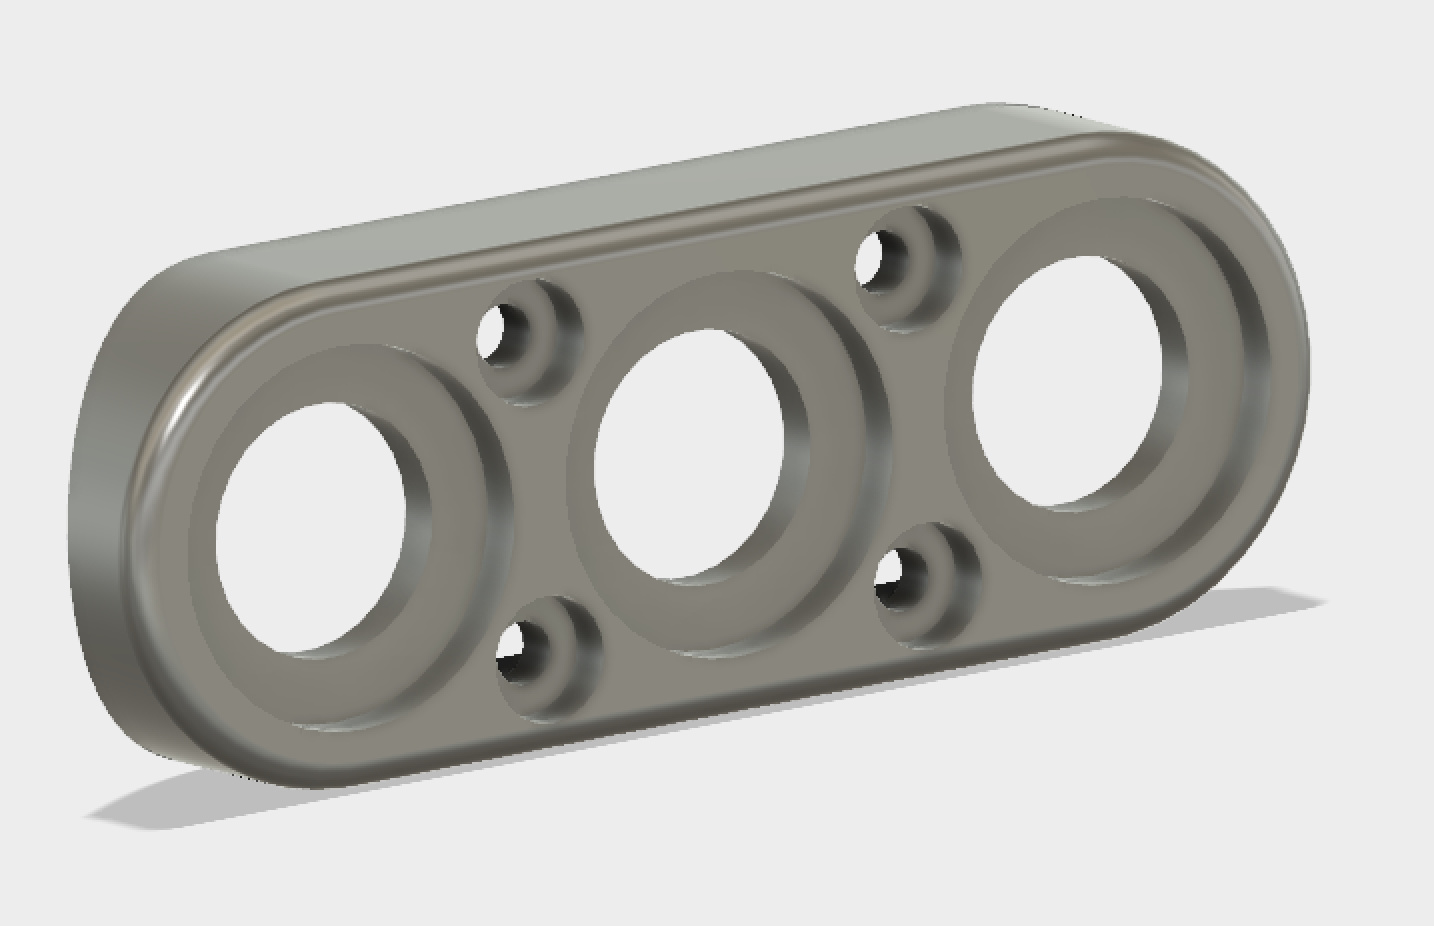

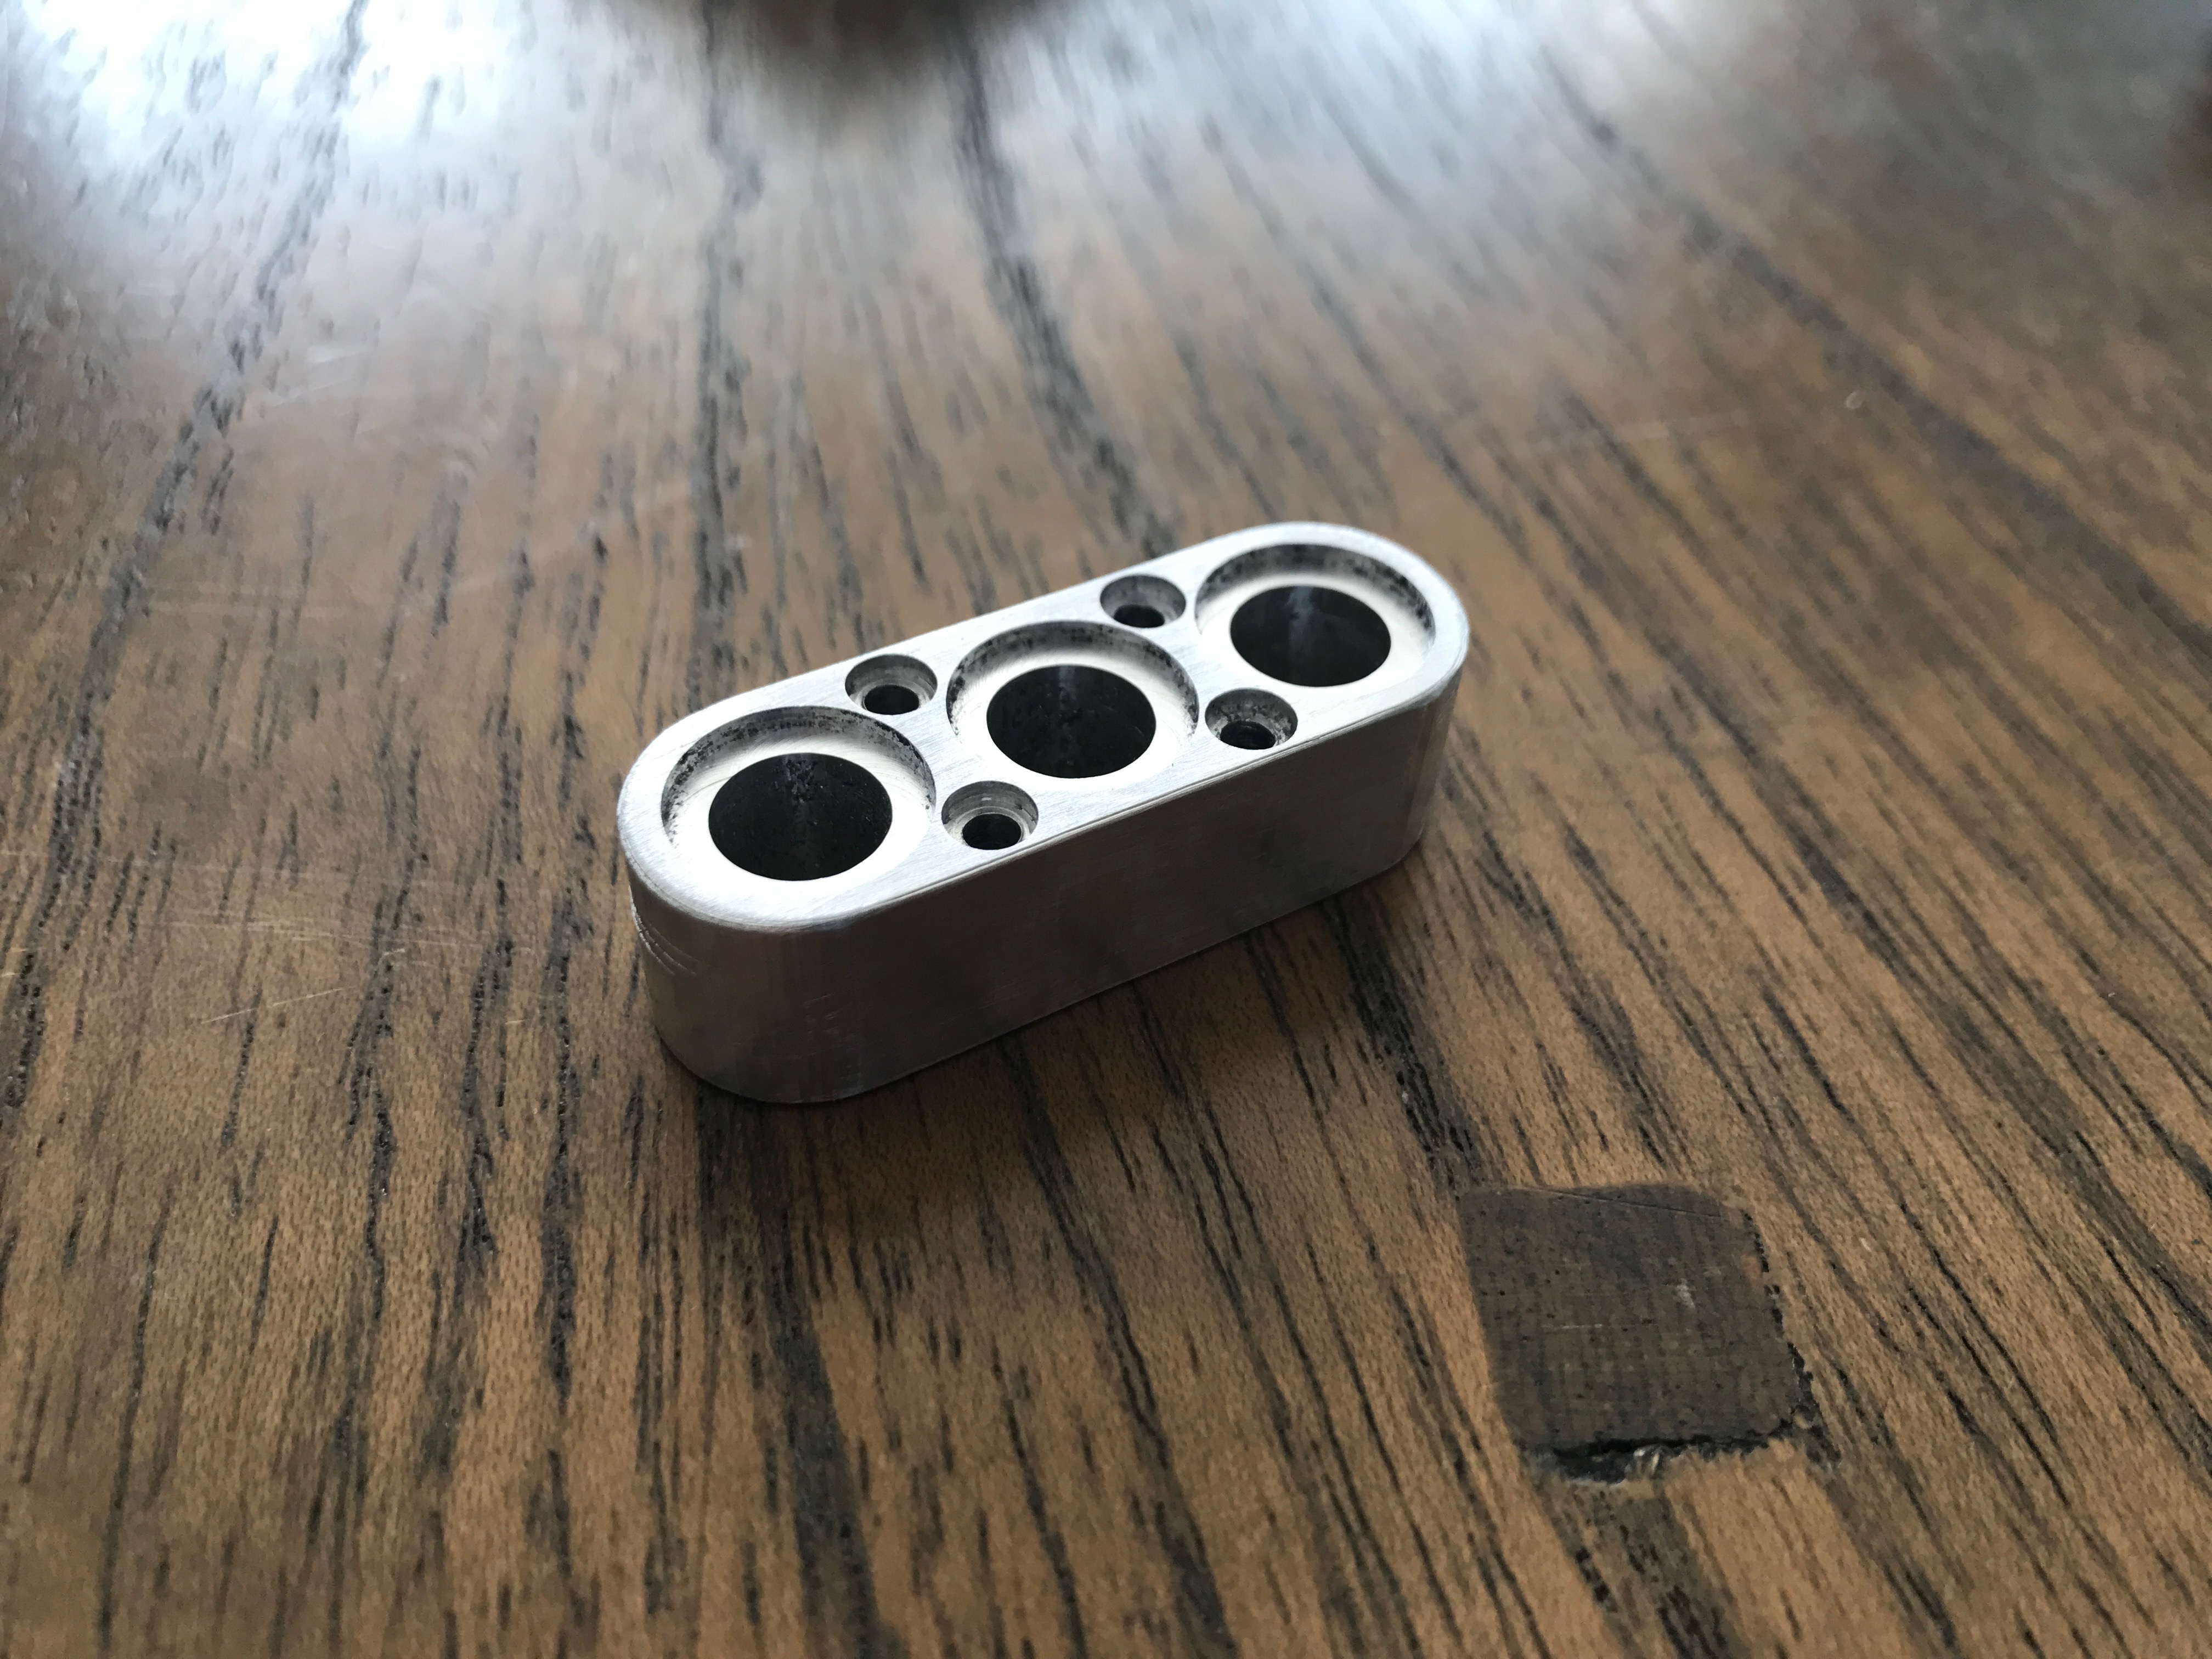
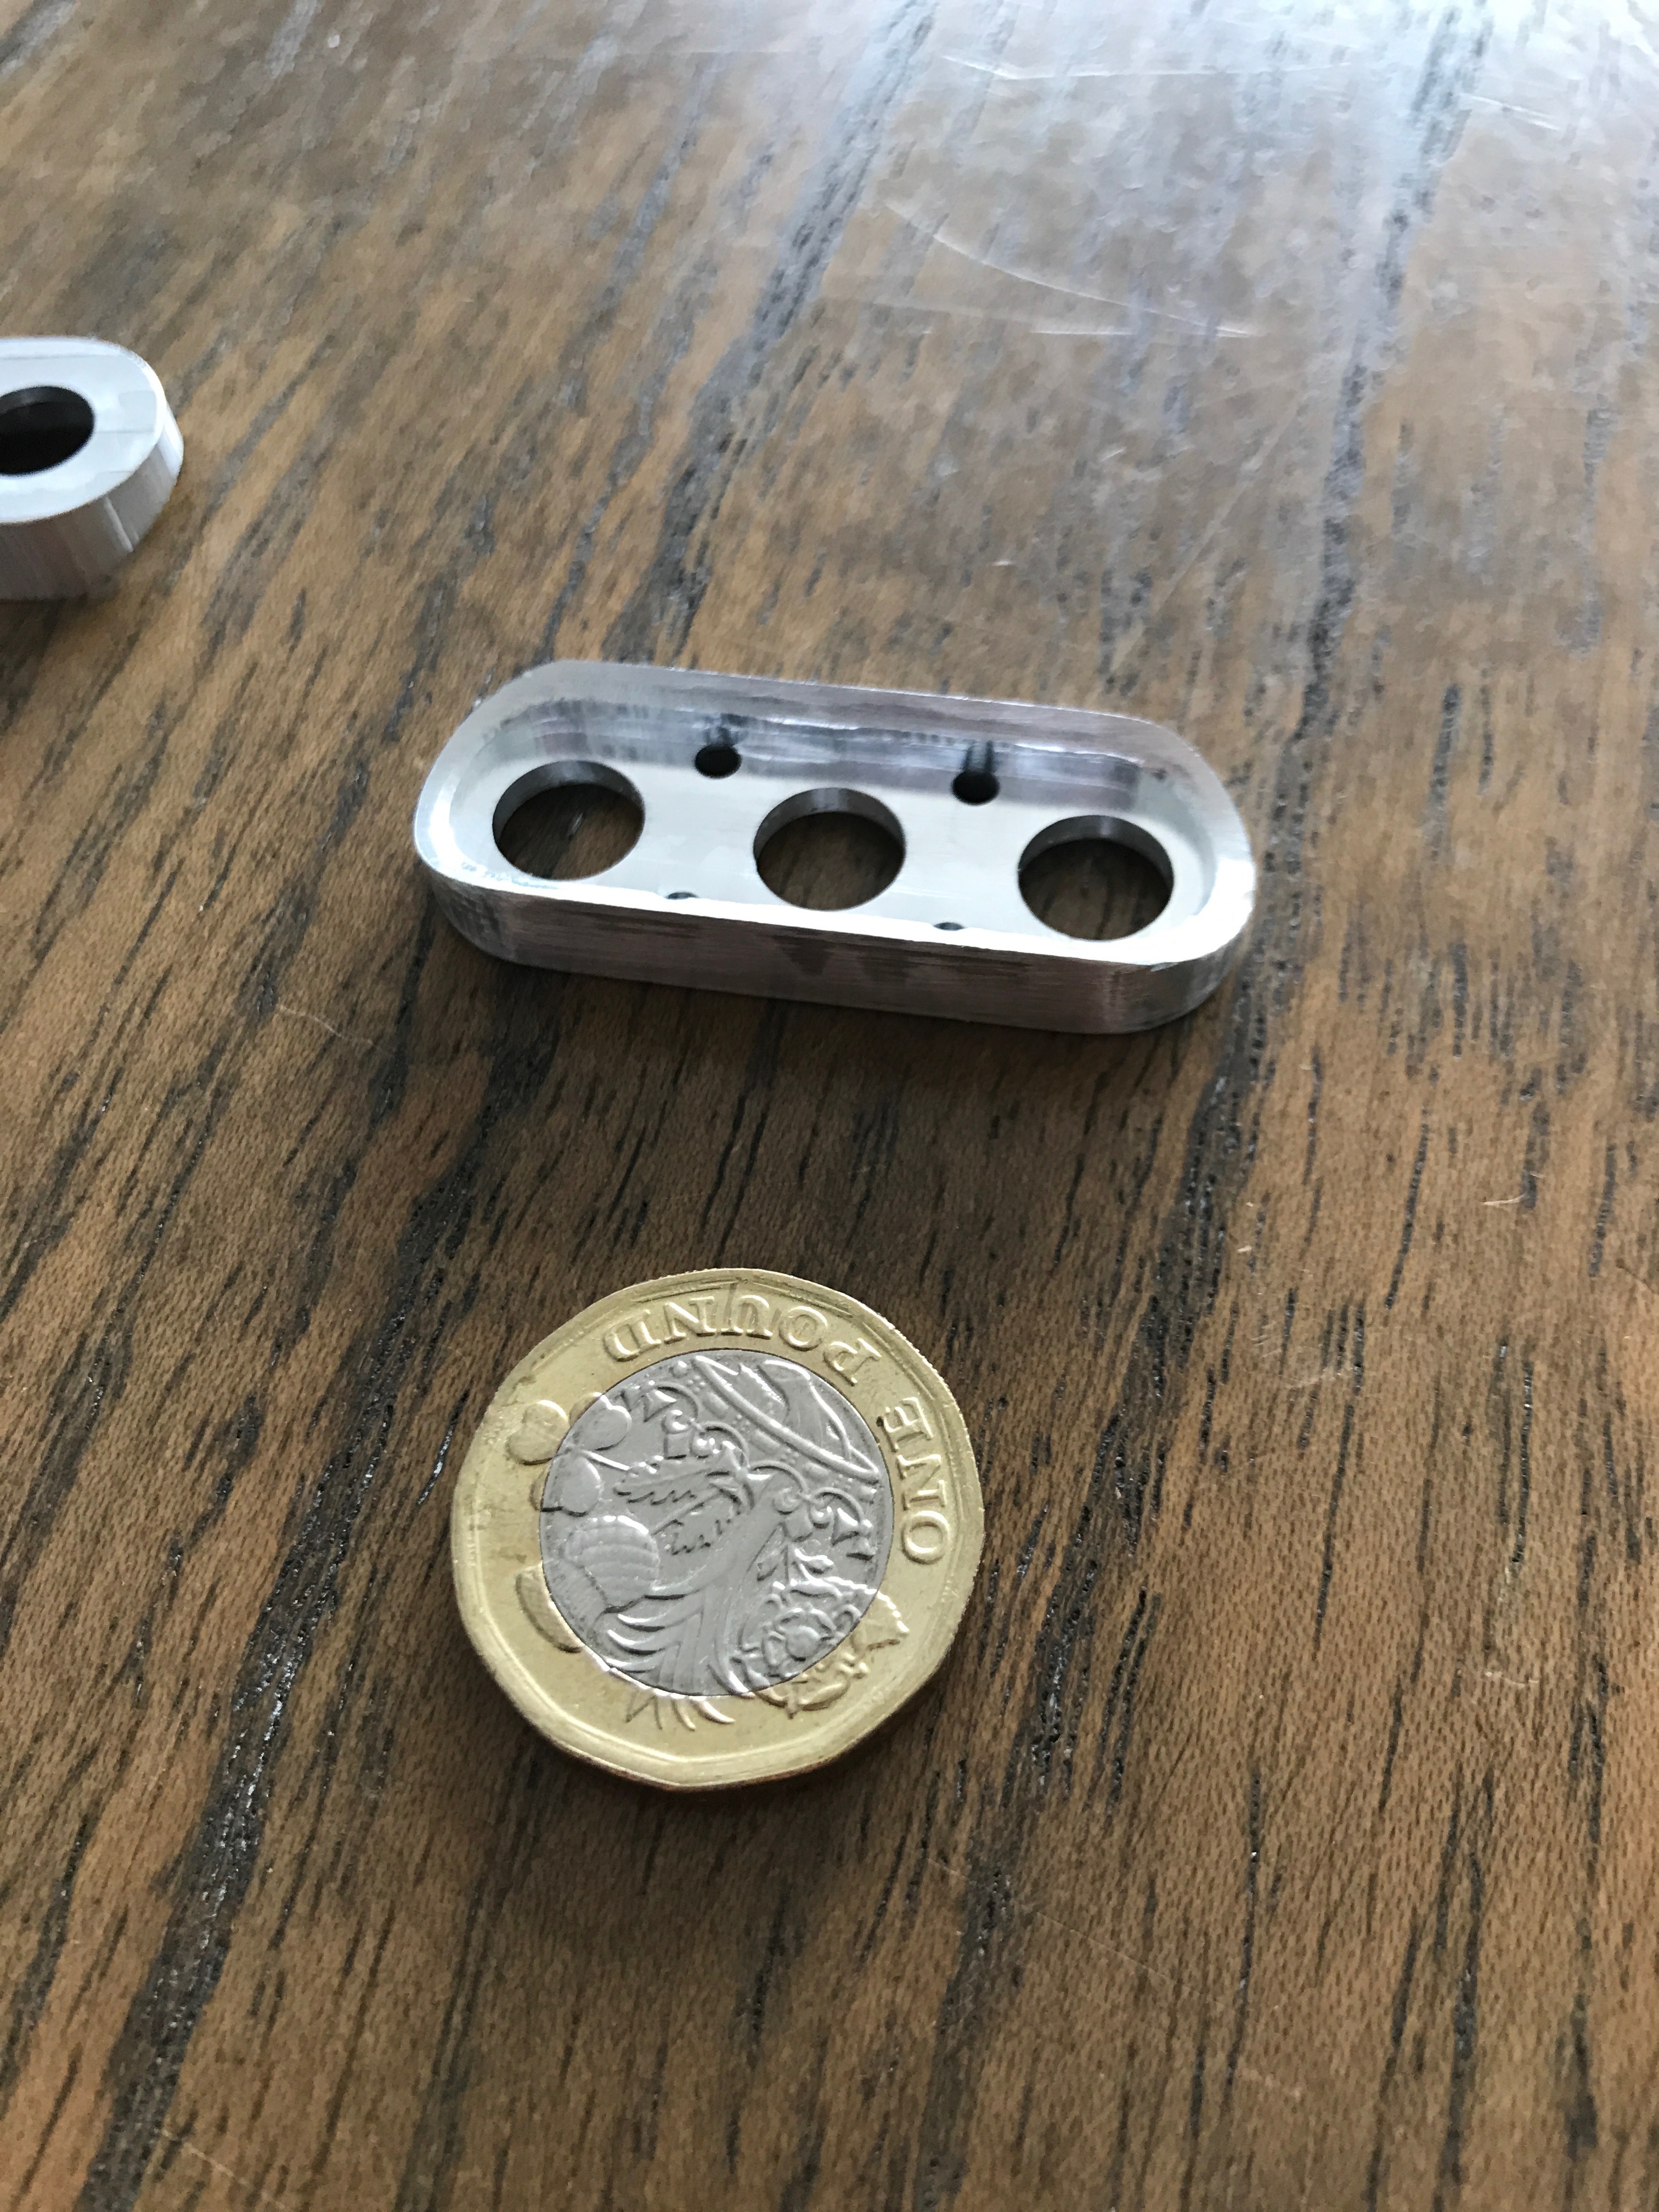
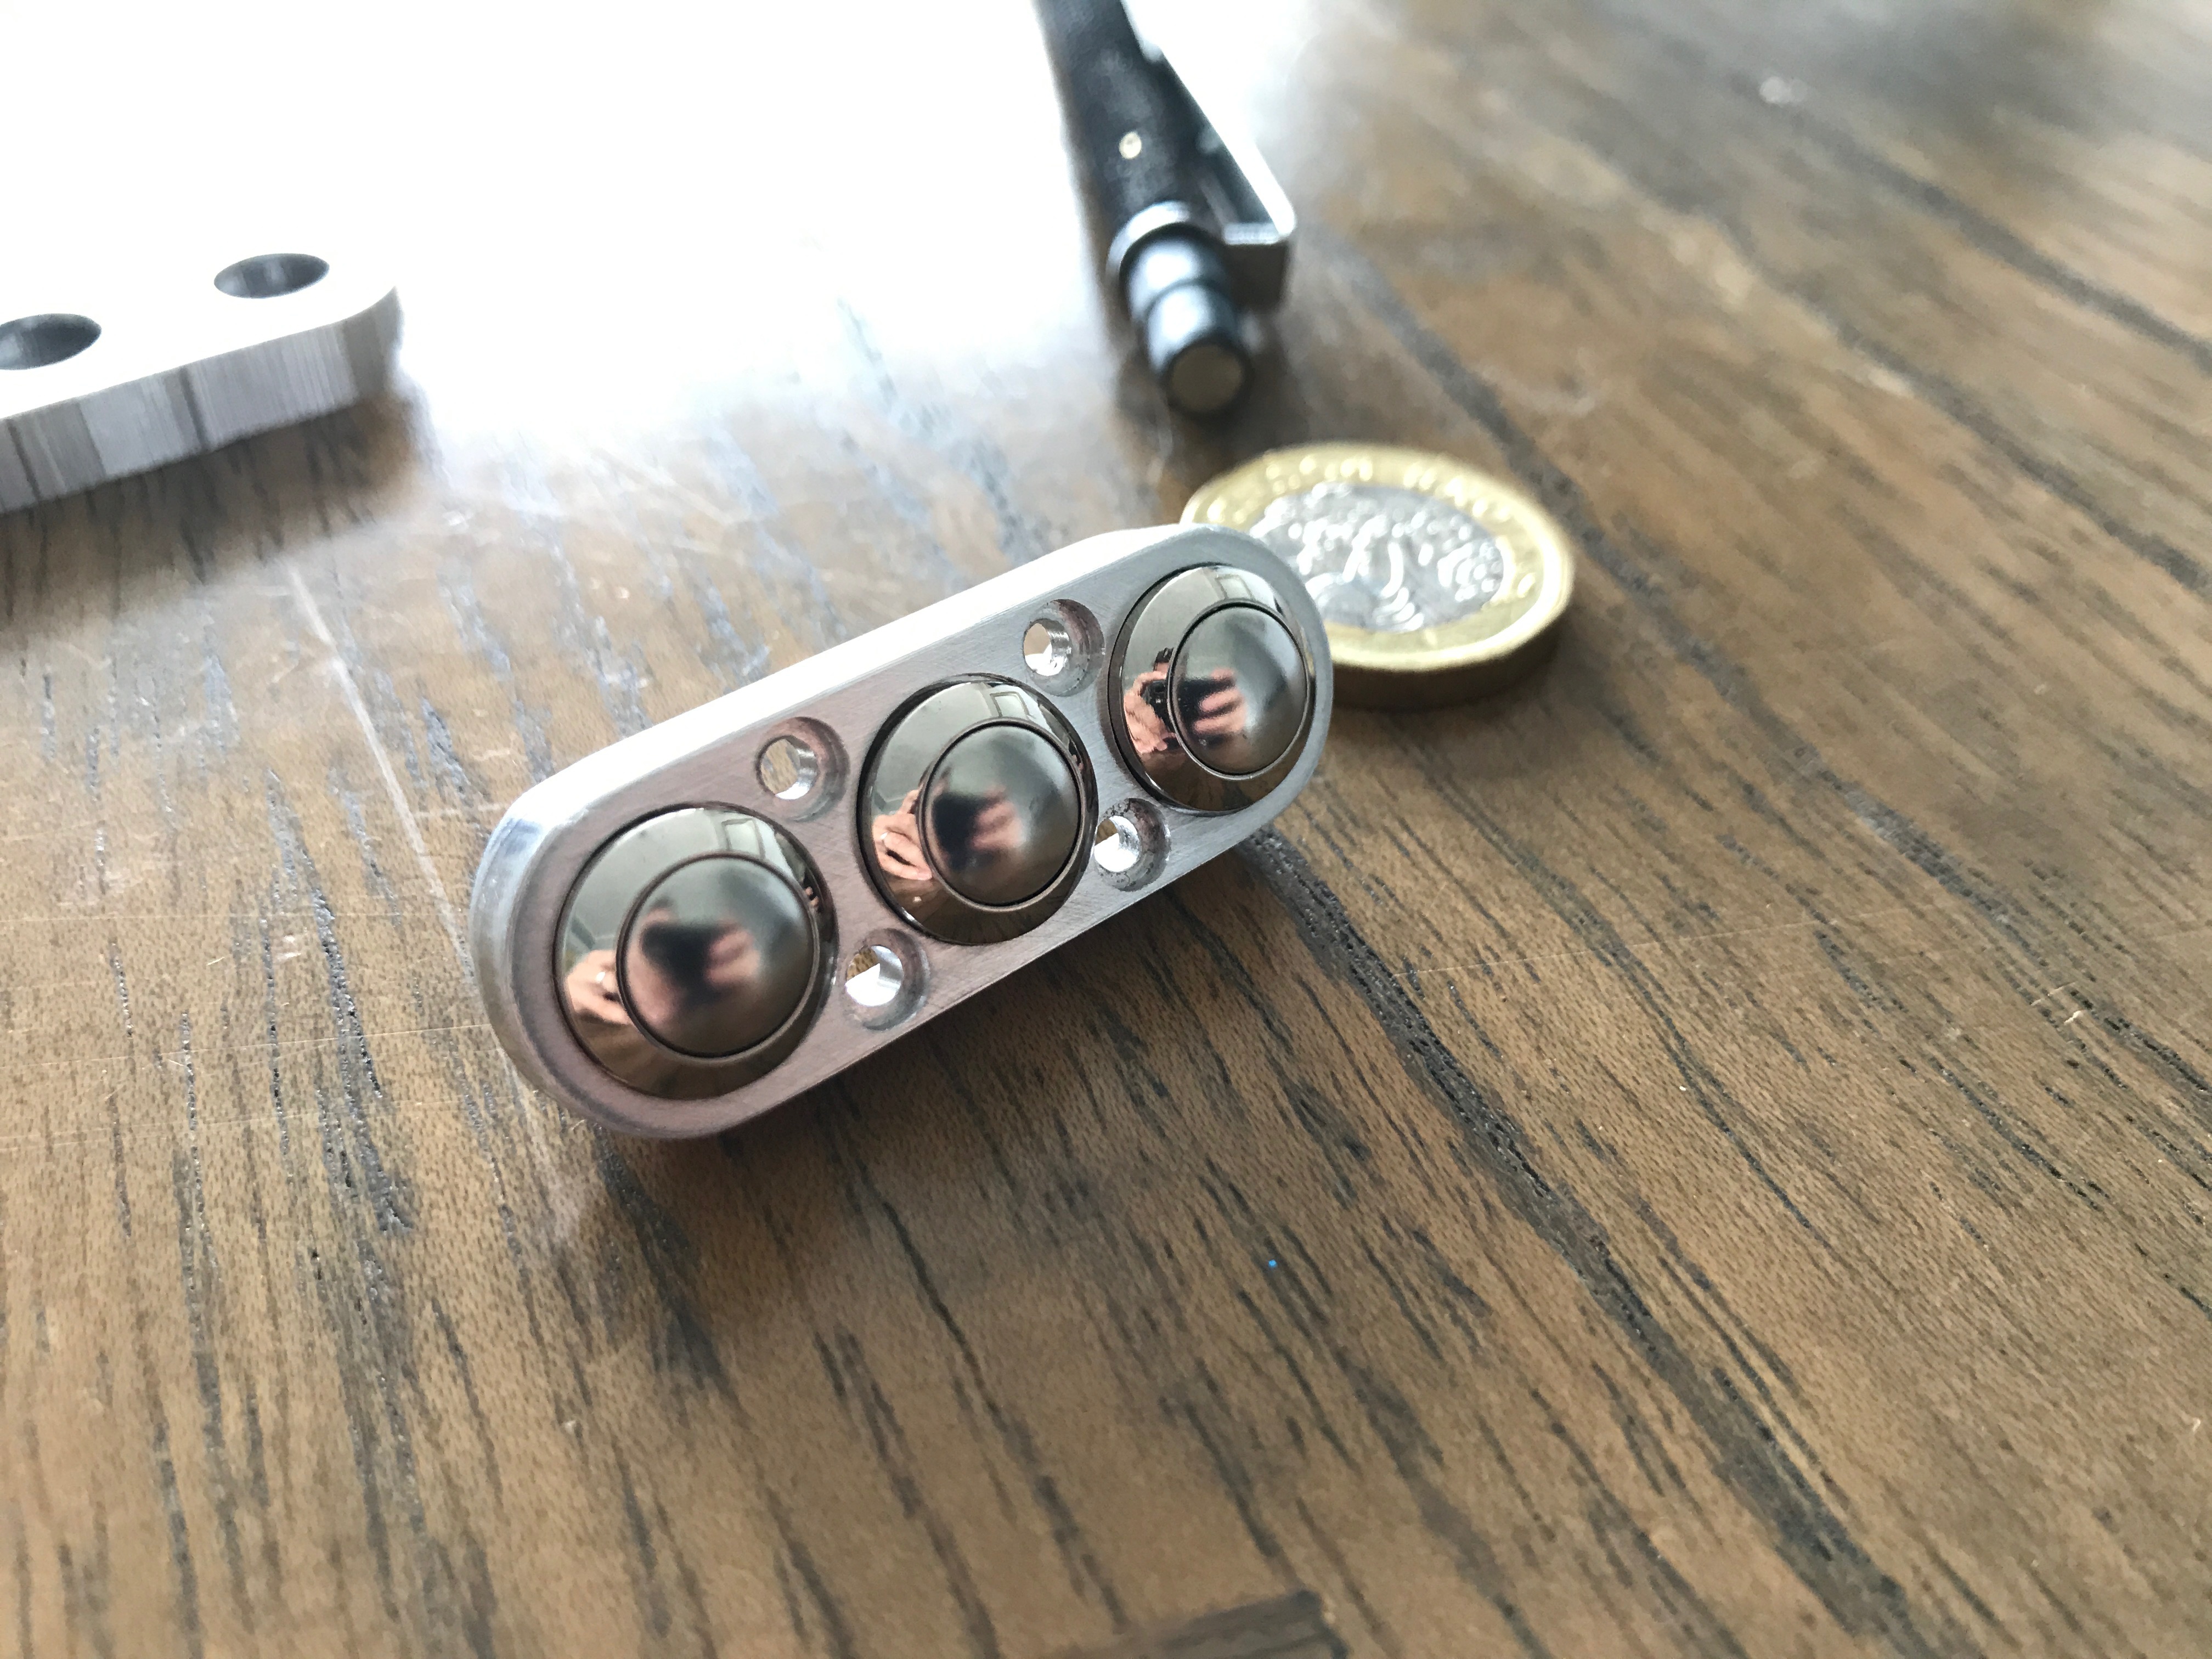
Now V2 is a revised design, I sank the buttons, made it slightly smaller, I also added tiny 2mm screw holes to support it being screwed onto some bars. Now this one is not finished, but I wanted to show you guys how it was made differently. Rather then milling from the underside I started with 15mm plate - allowing me to mill much deeper and keep it secured to it’s on sacrificial aluminium plate. I milled from the top, starting with a face pass - onto the big counter sunk holes, then to the 8mm bore holes 13mm deep. I then went for a roughing pass around leaving 0.3mm. I then went onto do a DOC at 1mm - but shaving off the 0.3mm - as you will see the chatter is much much better, all be it there is some. I then took it slow and milled the 4mm recess and then the 2mm holes deeper. There is some run off on the smaller holes and I believe this is due to using a 6mm end in my 1/4 collet with some electrical tape.
Now because it’s milled from 15mm thick plate it’s left stuck to the plate with around 1/1.5mm of plate remaining - this leaves the part securely mounted. To remove it, I just Dremel around it then flip and place it in a clamp and plane the surface down 0.25mm at a time 
I still need to mill the rear - and plan on looking at that today, but I’m finding this a very interesting project.
I have a new design of the part and rather than using 1 cleaning pass, I have 2 - first leaving 0.5, then 0.2.