Since Carbide Create doesn’t have explicit support for doing inlays (software which does includes Vectric Vcarve and possibly F-Engrave) one has to calculate out the toolpaths for this manually. Considerations include:
endmill geometry
glue line / thickness — suggestion here is to glue together a stack of 6 popsicle sticks, then after it dries, measure the difference between the glued stack and 6 which are not so fastened — that thickness difference divided by 5 is a typical glue line for the glue / clamping technique used
inlay thickness
part geometry
Some cases can be quite simple: — a flat inlay of a part which doesn’t have any corners which the endmill won’t fit into is simply a matter of cutting out the part, then cutting a matching (possibly mirrored) pocket which is deeper and larger around the perimeter by the glue line (if using hide glue, this may be negligible).
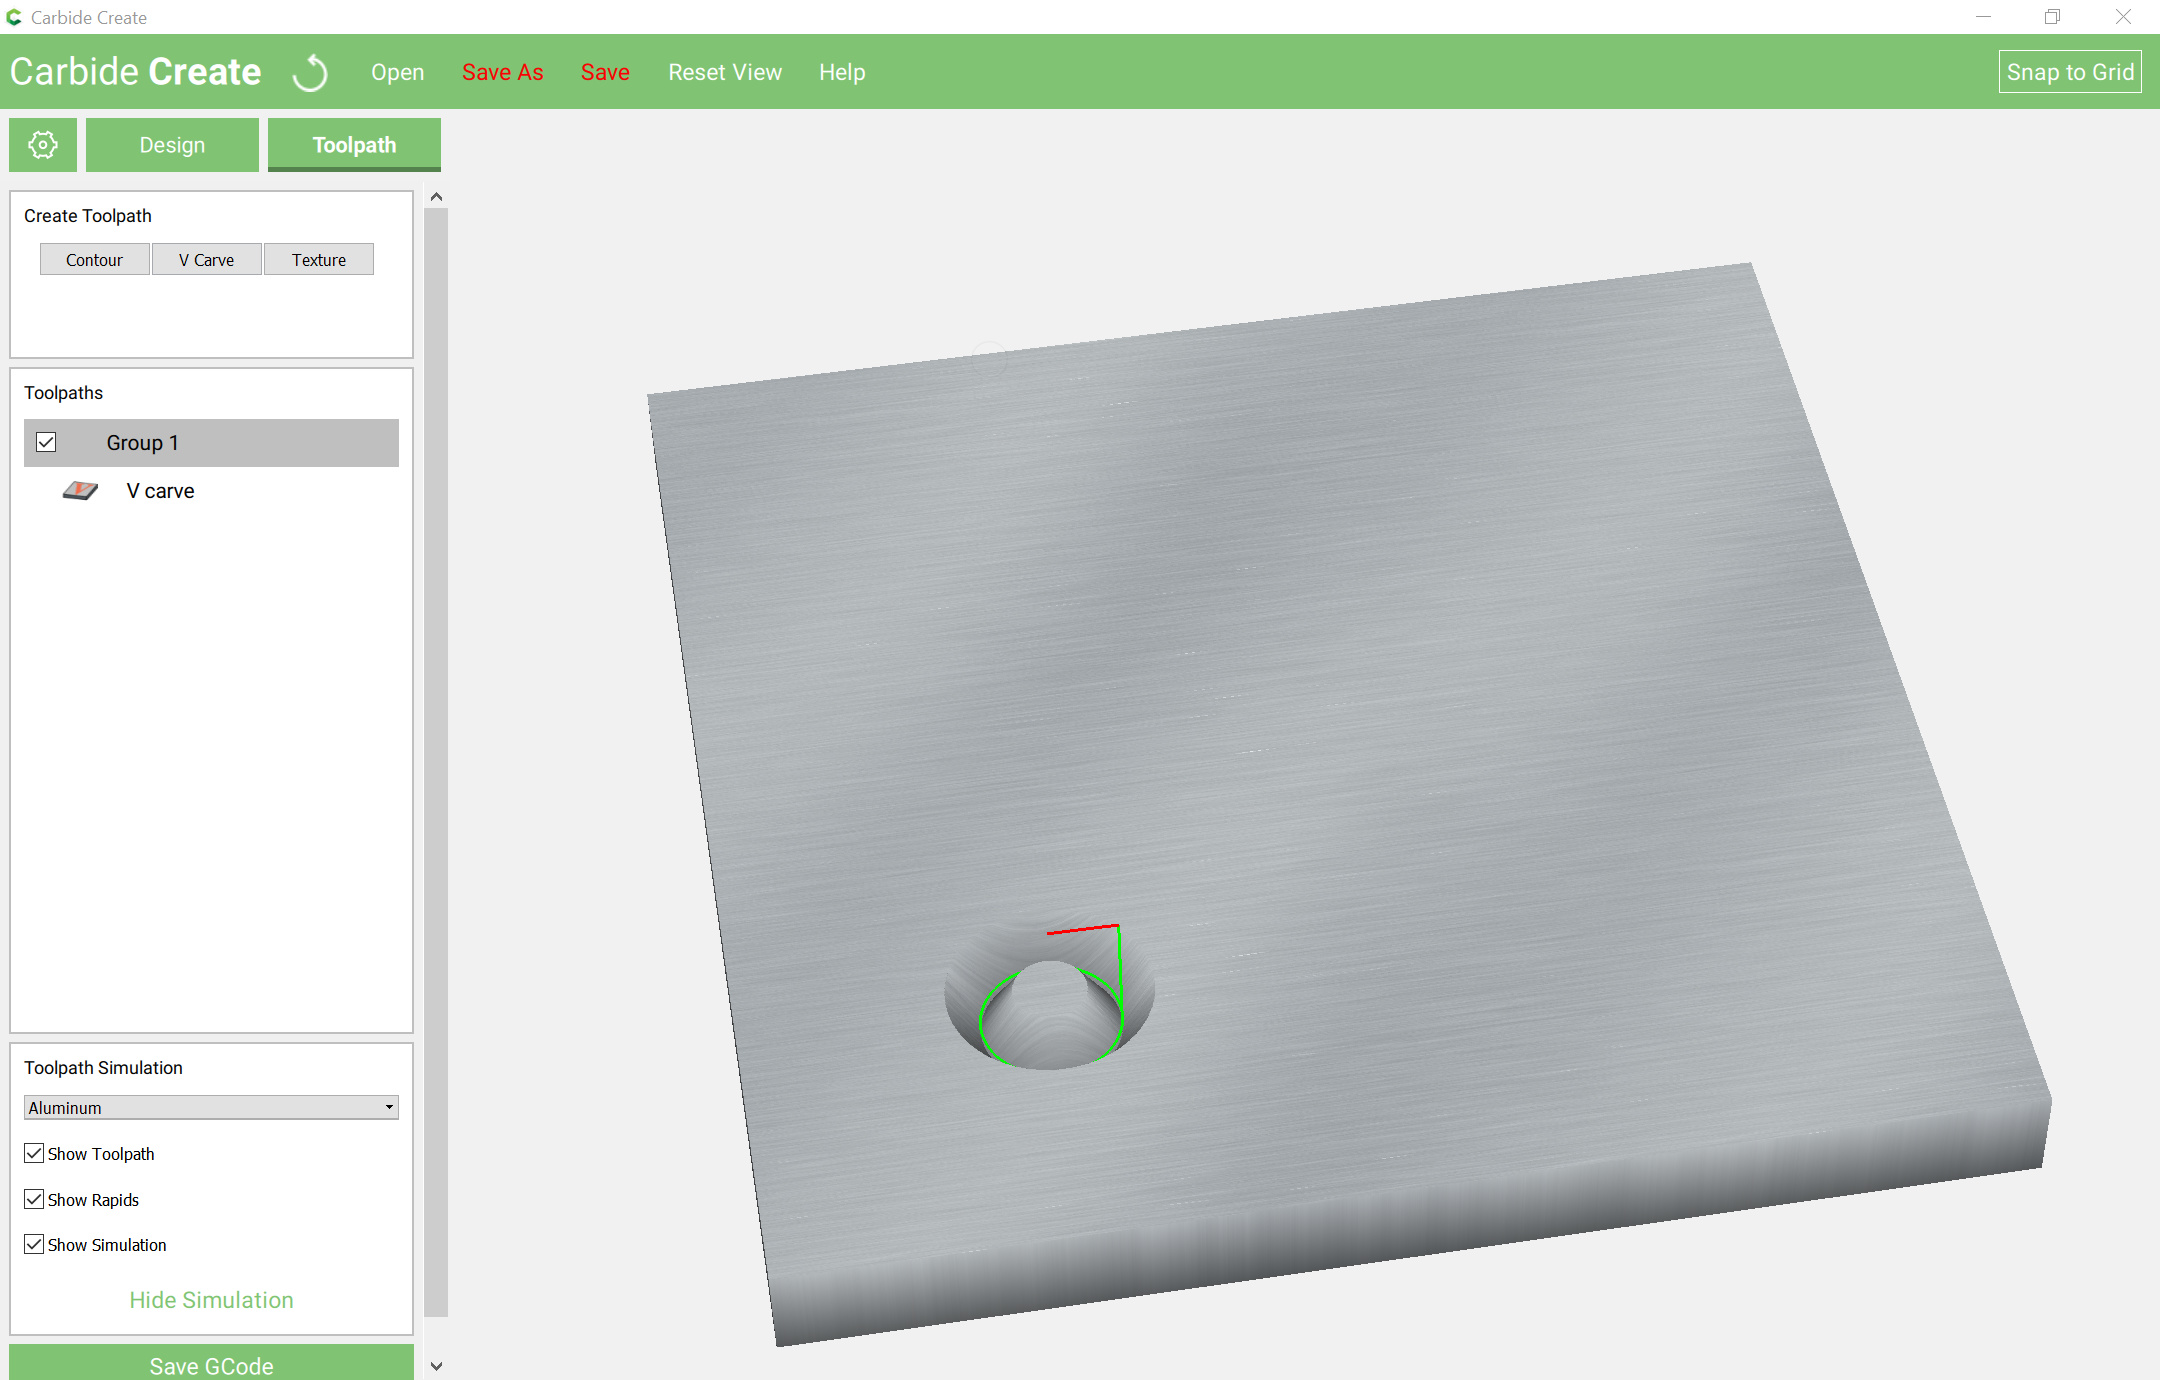
A more complex situation is a V inlay of a material of one thickness into a material of greater thickness — this will require that one:
measure the material (plus anticipated glue line)
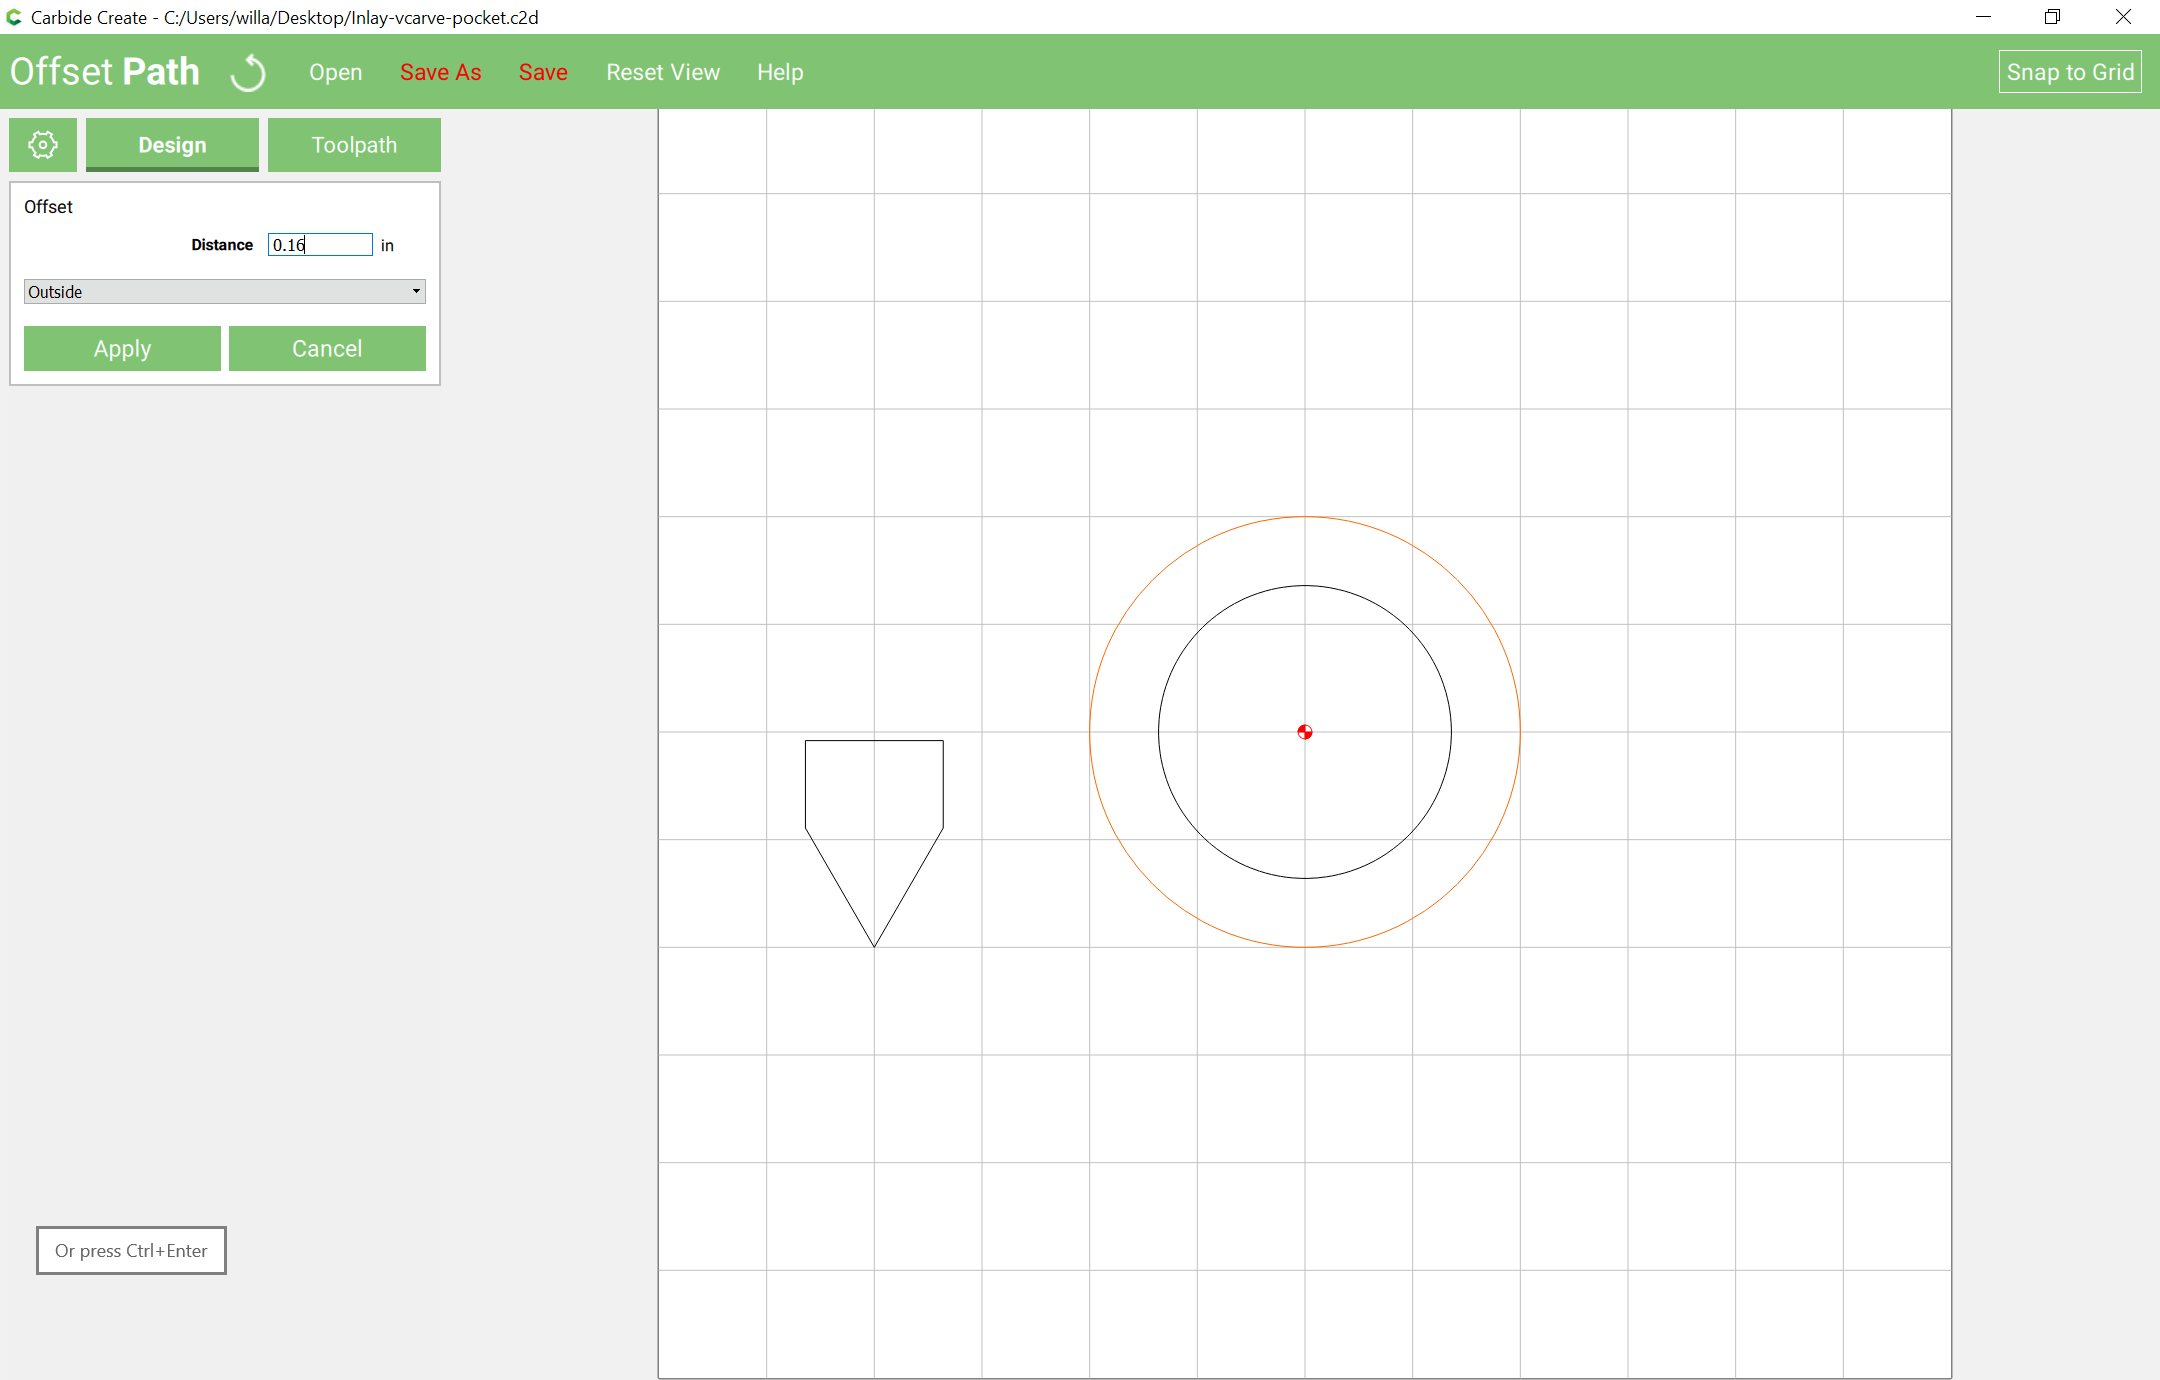
calculate the offset necessary to cut the part to the desired size
calculate the inset needed to cut the perimeter of the pocket as a V carve
calculate the inset needed to cut the bottom of the pocket
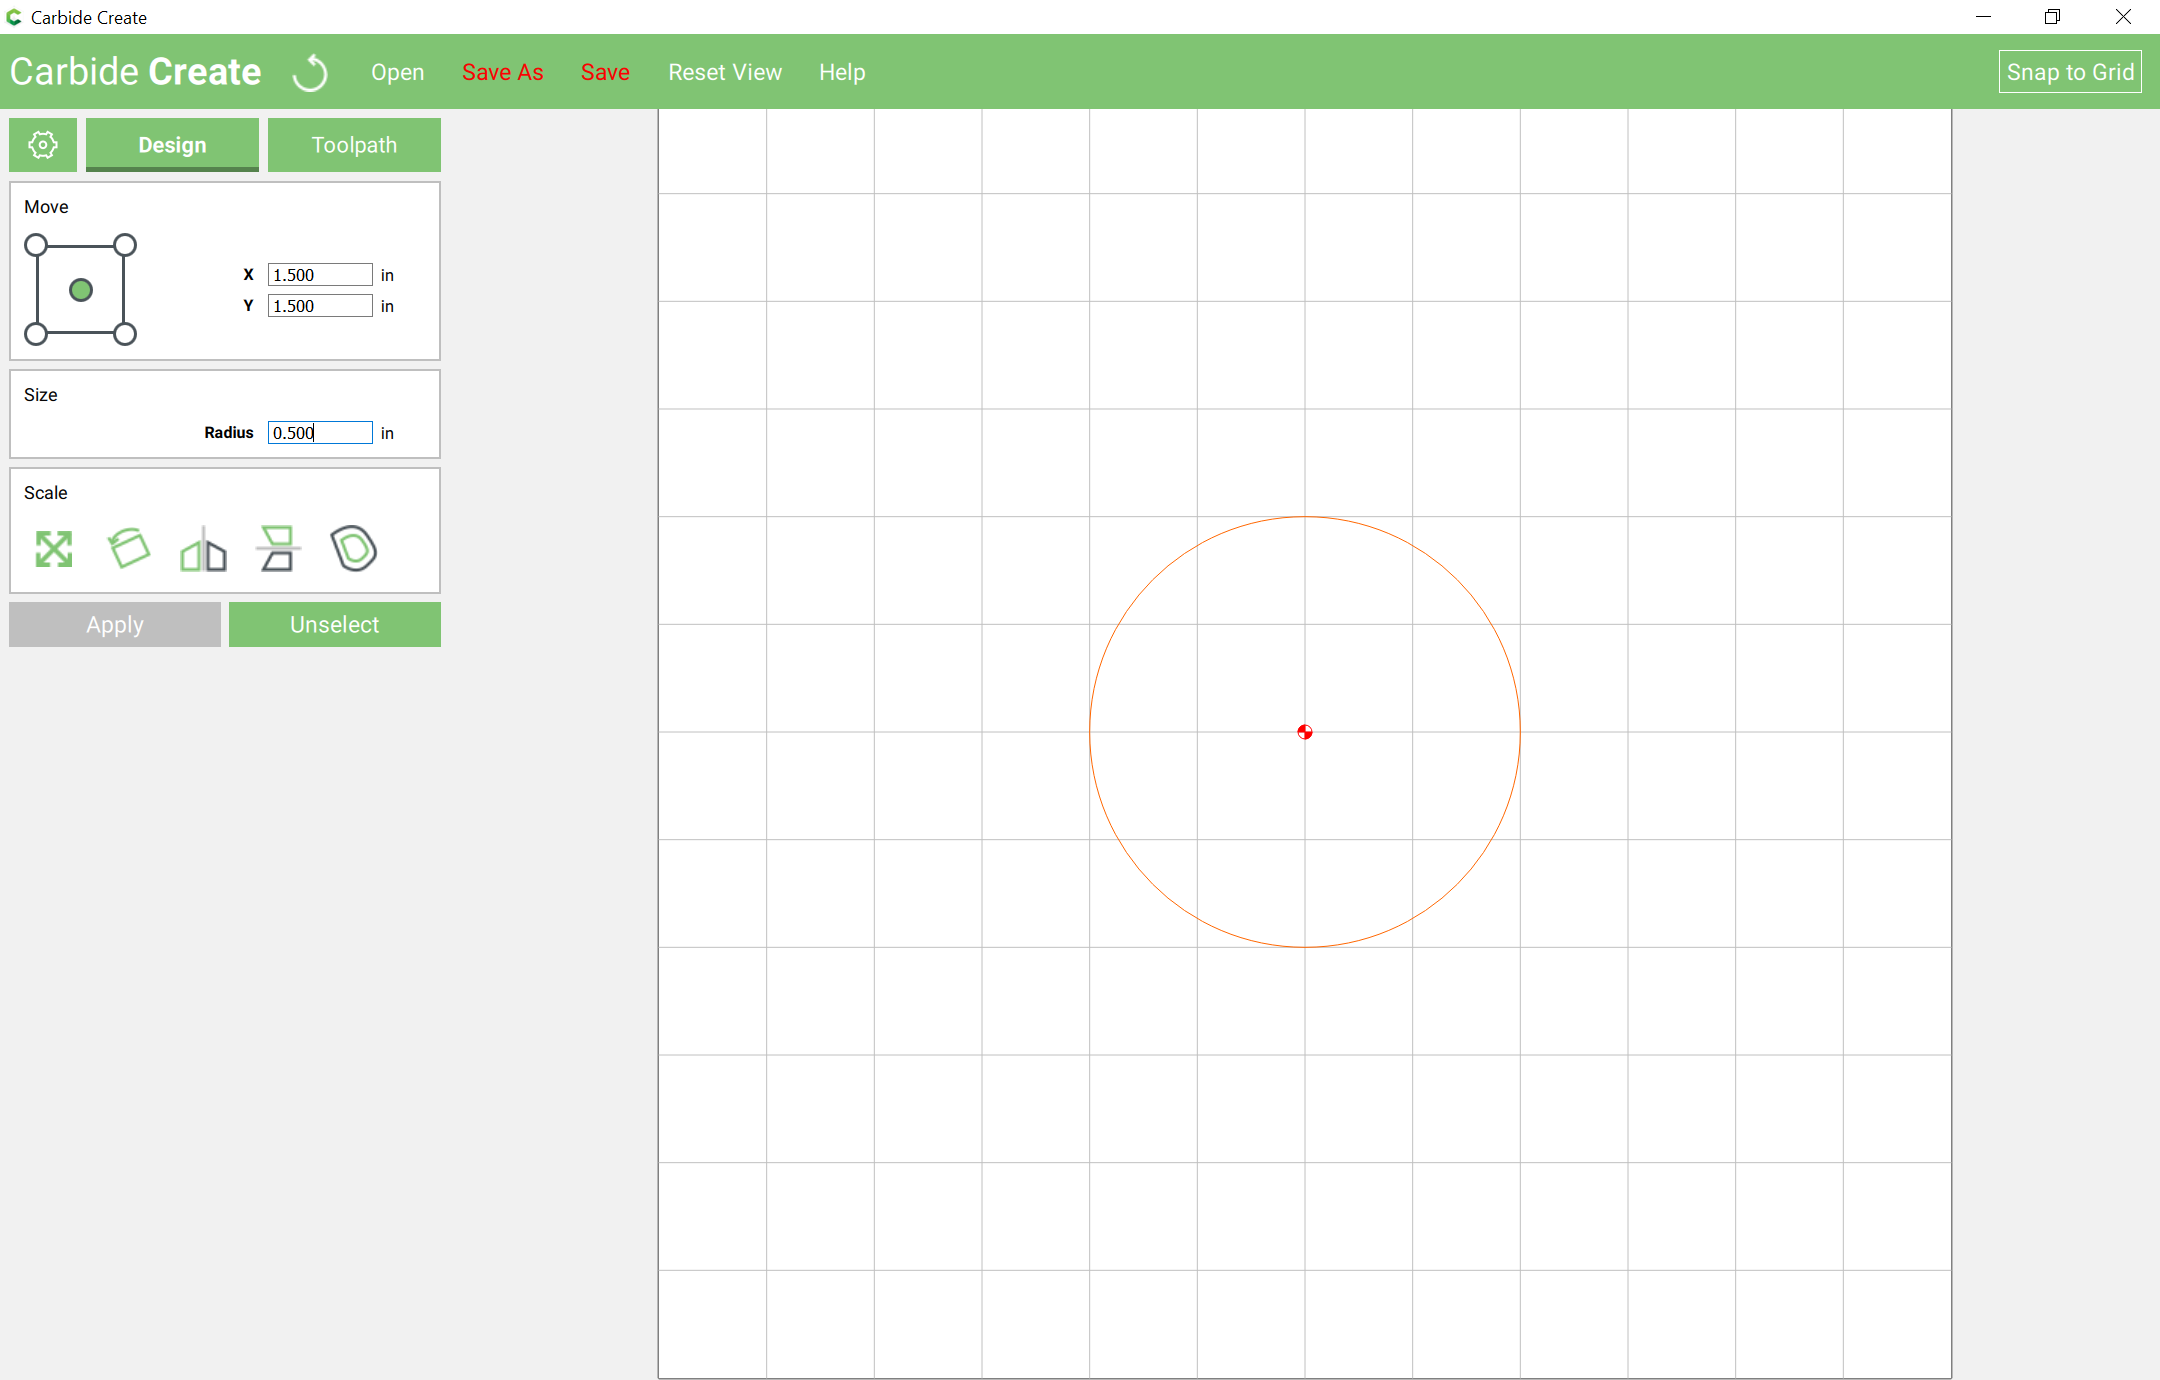
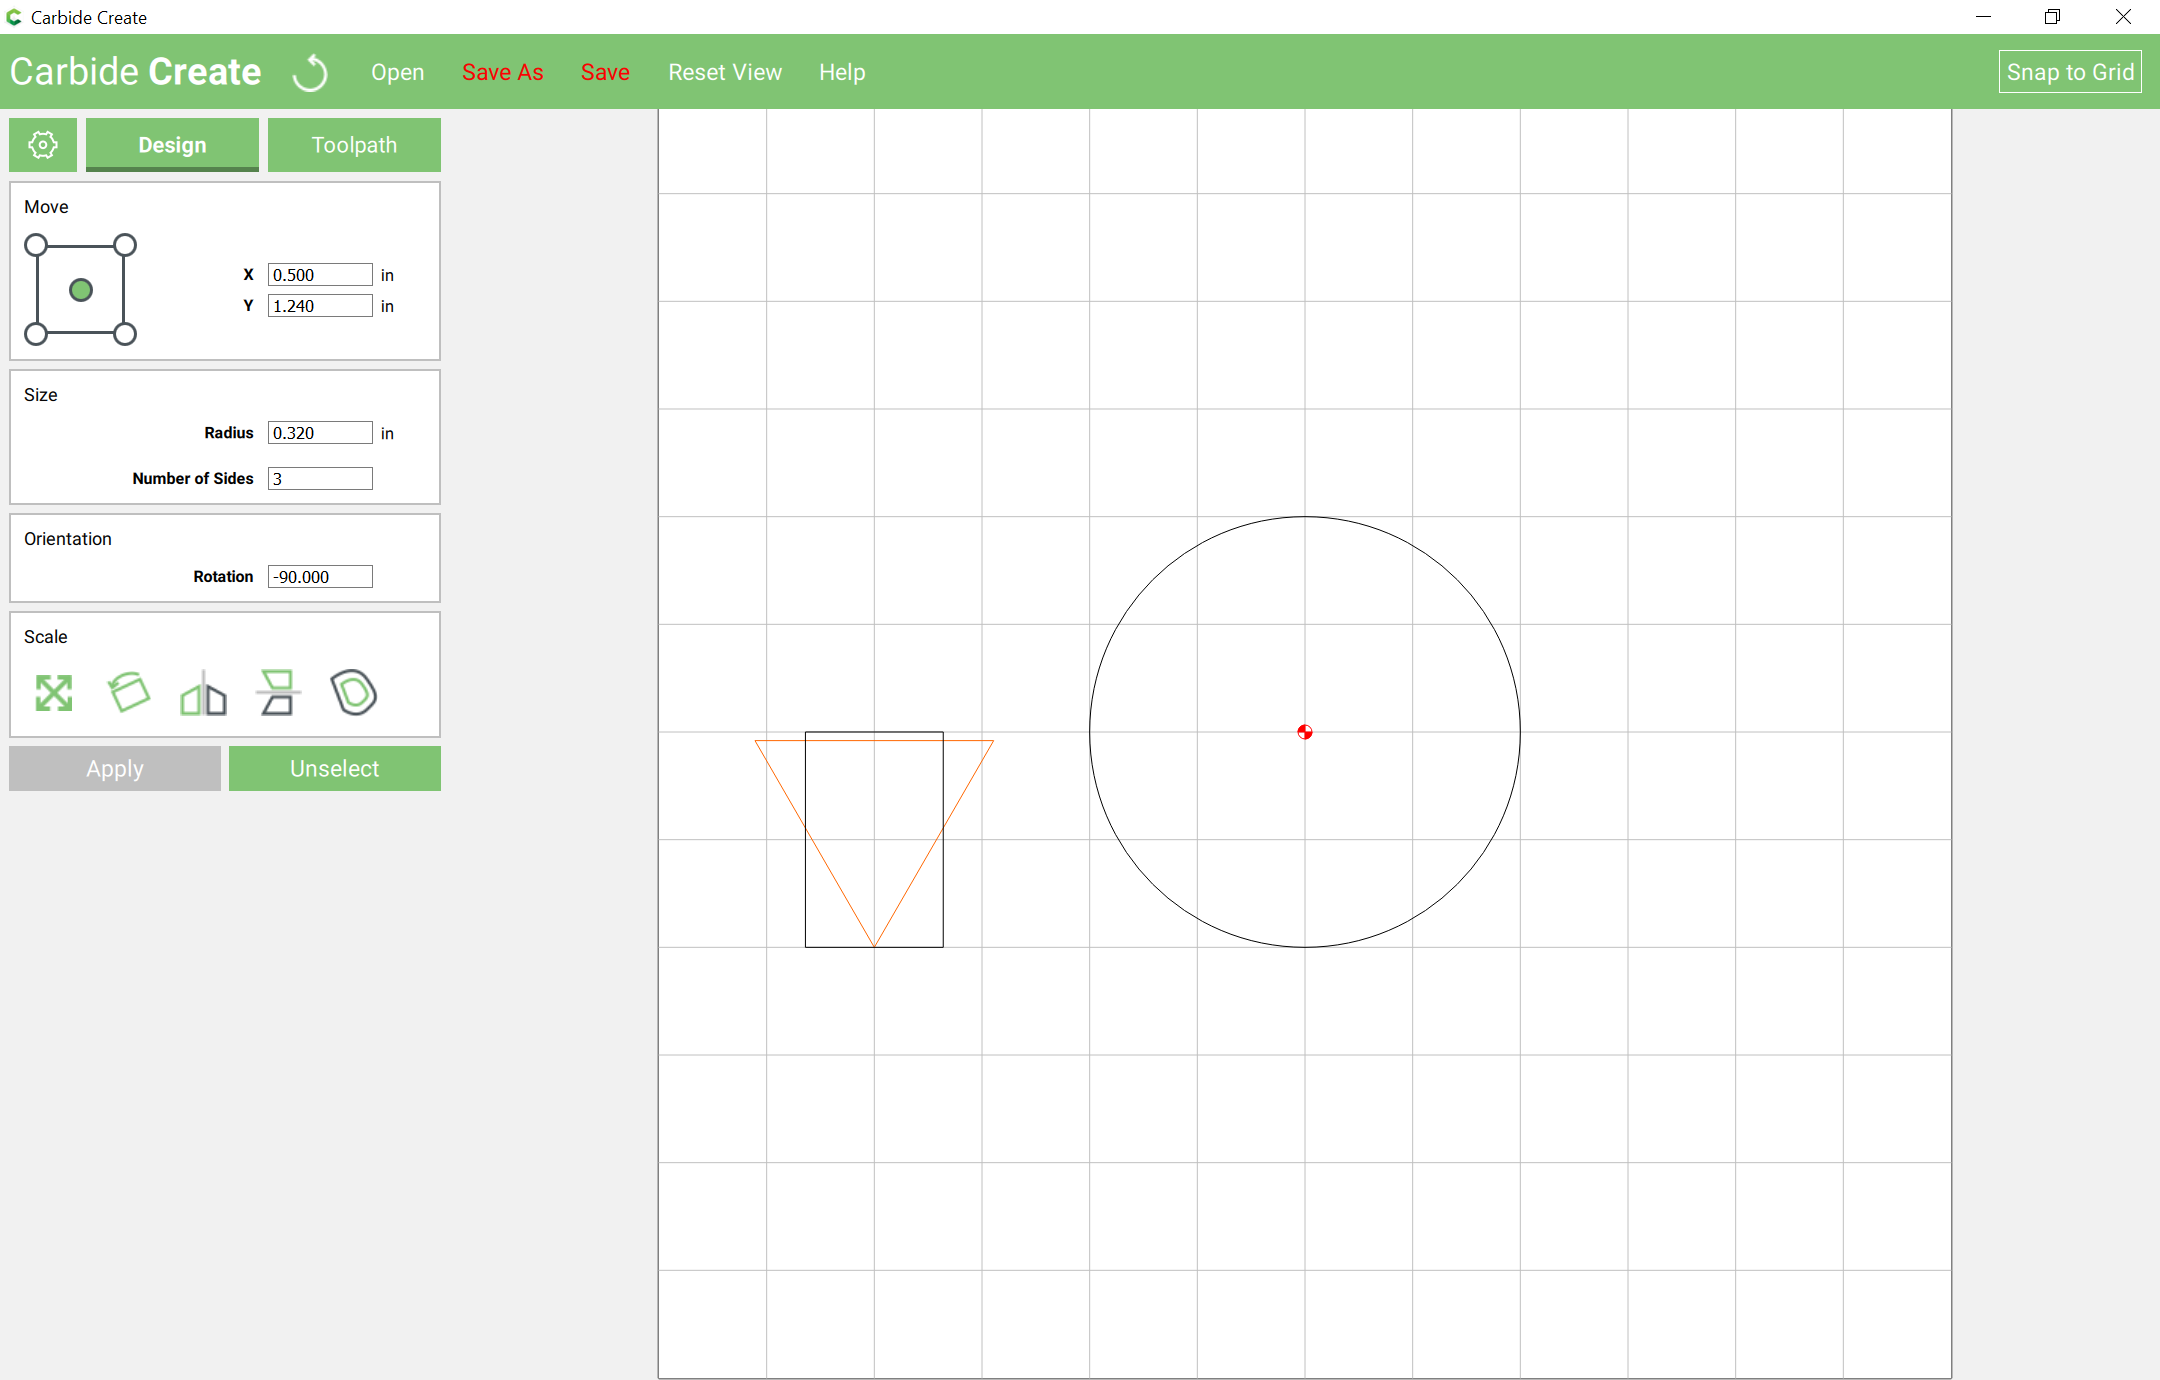
Draw a triangle to represent the angle of the endmill, and a rectangle to represent the width to which we will wish to cut (which is also the depth since a 60 degree endmill is an equilateral triangle):
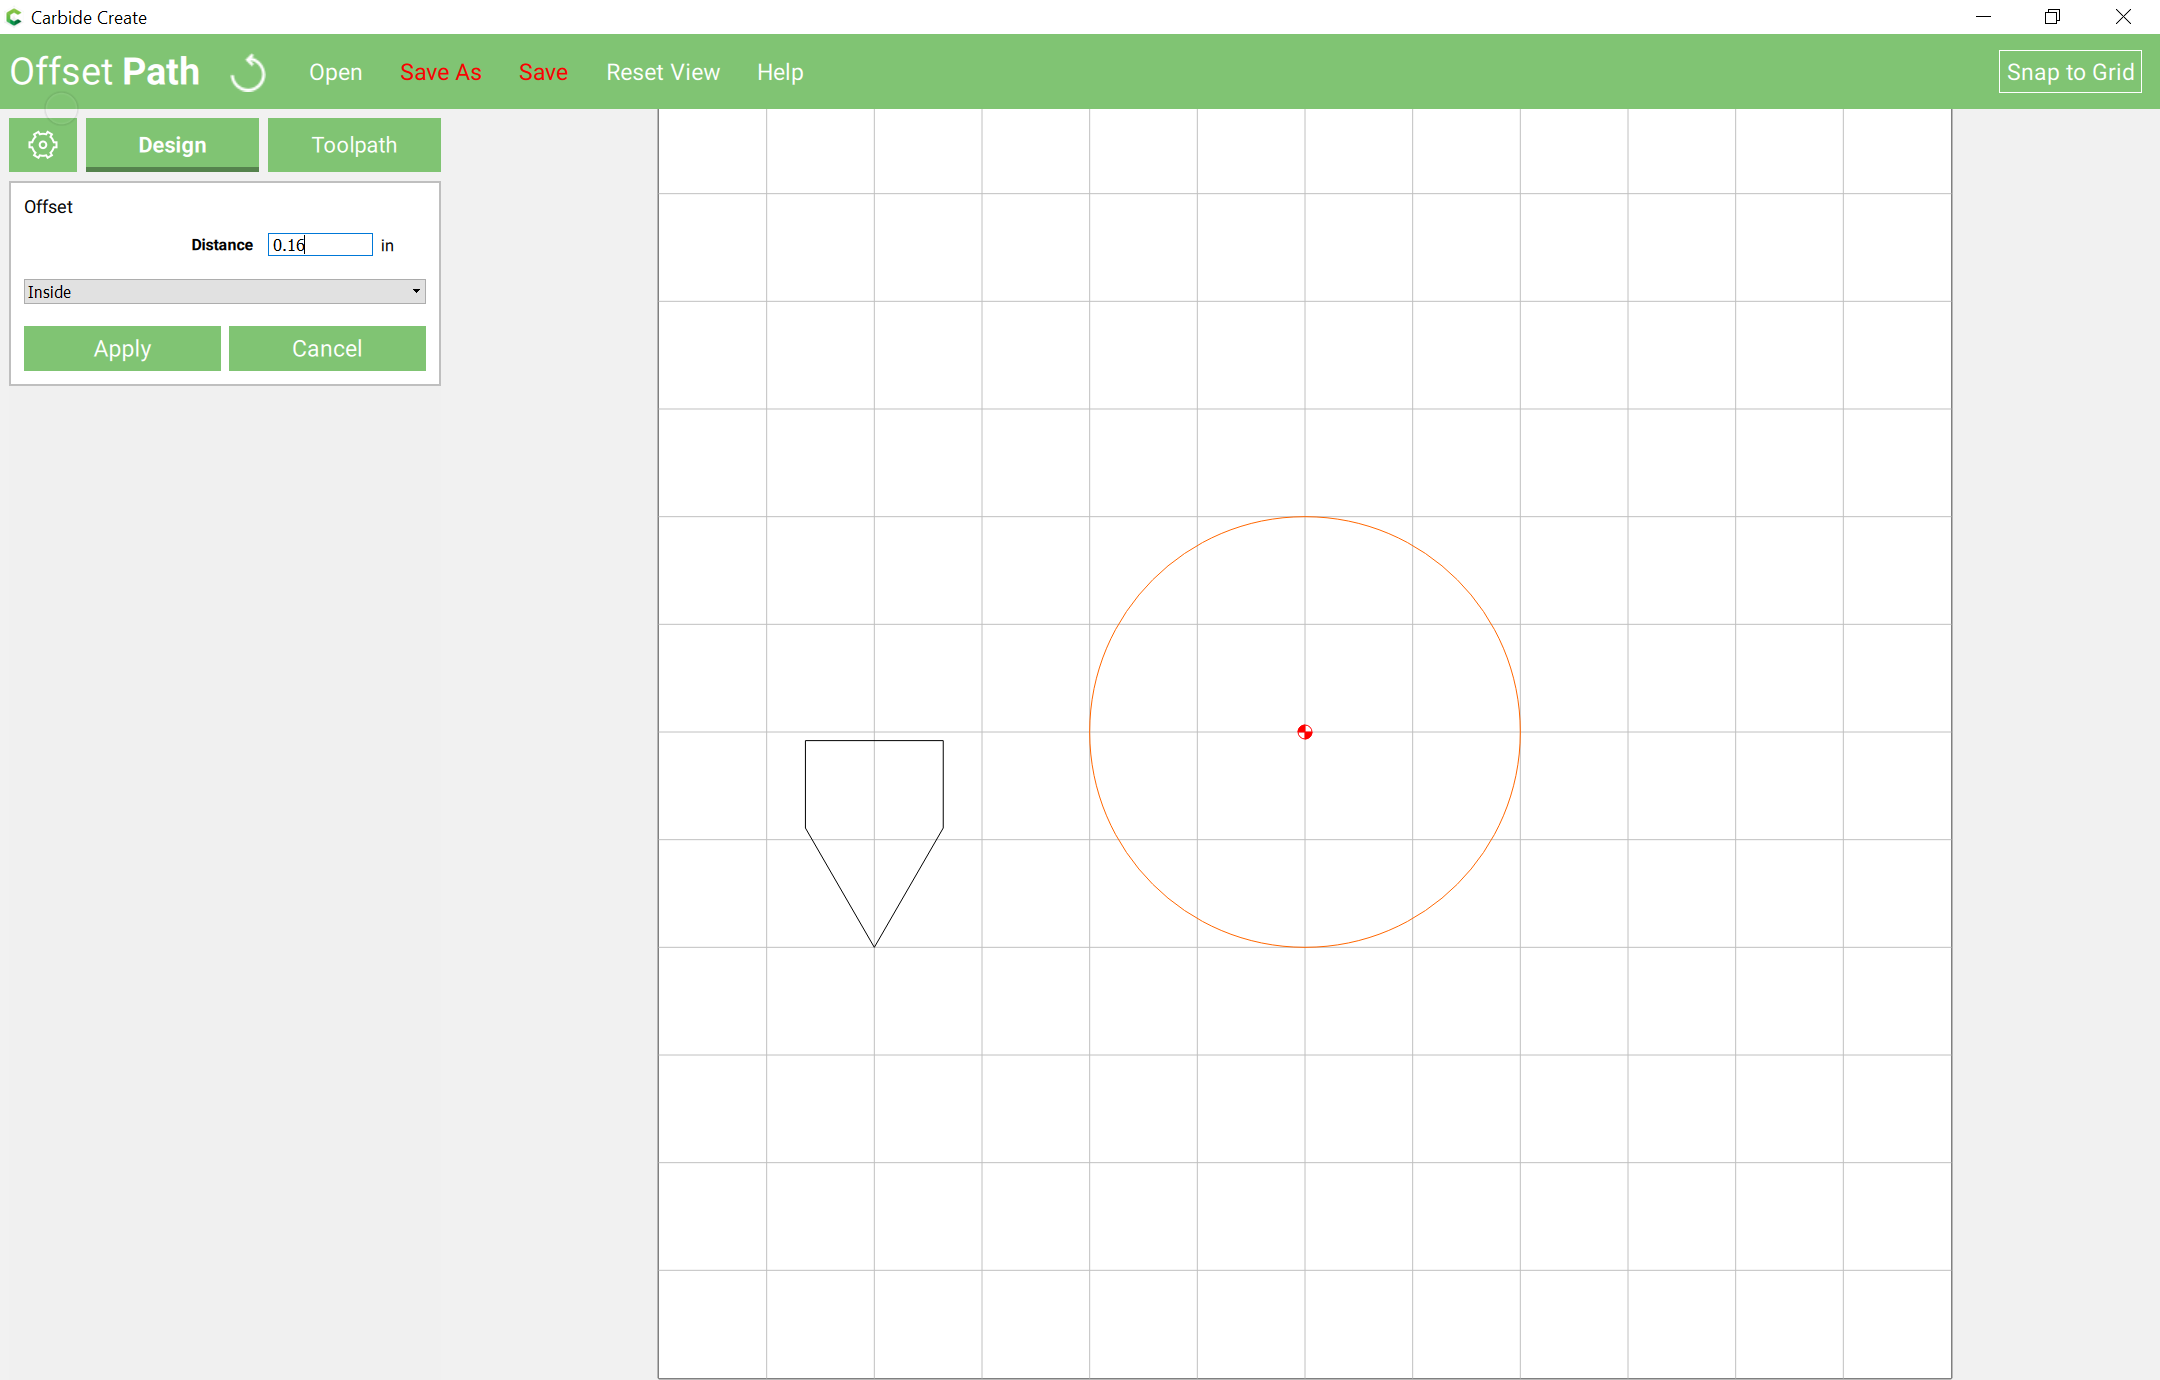
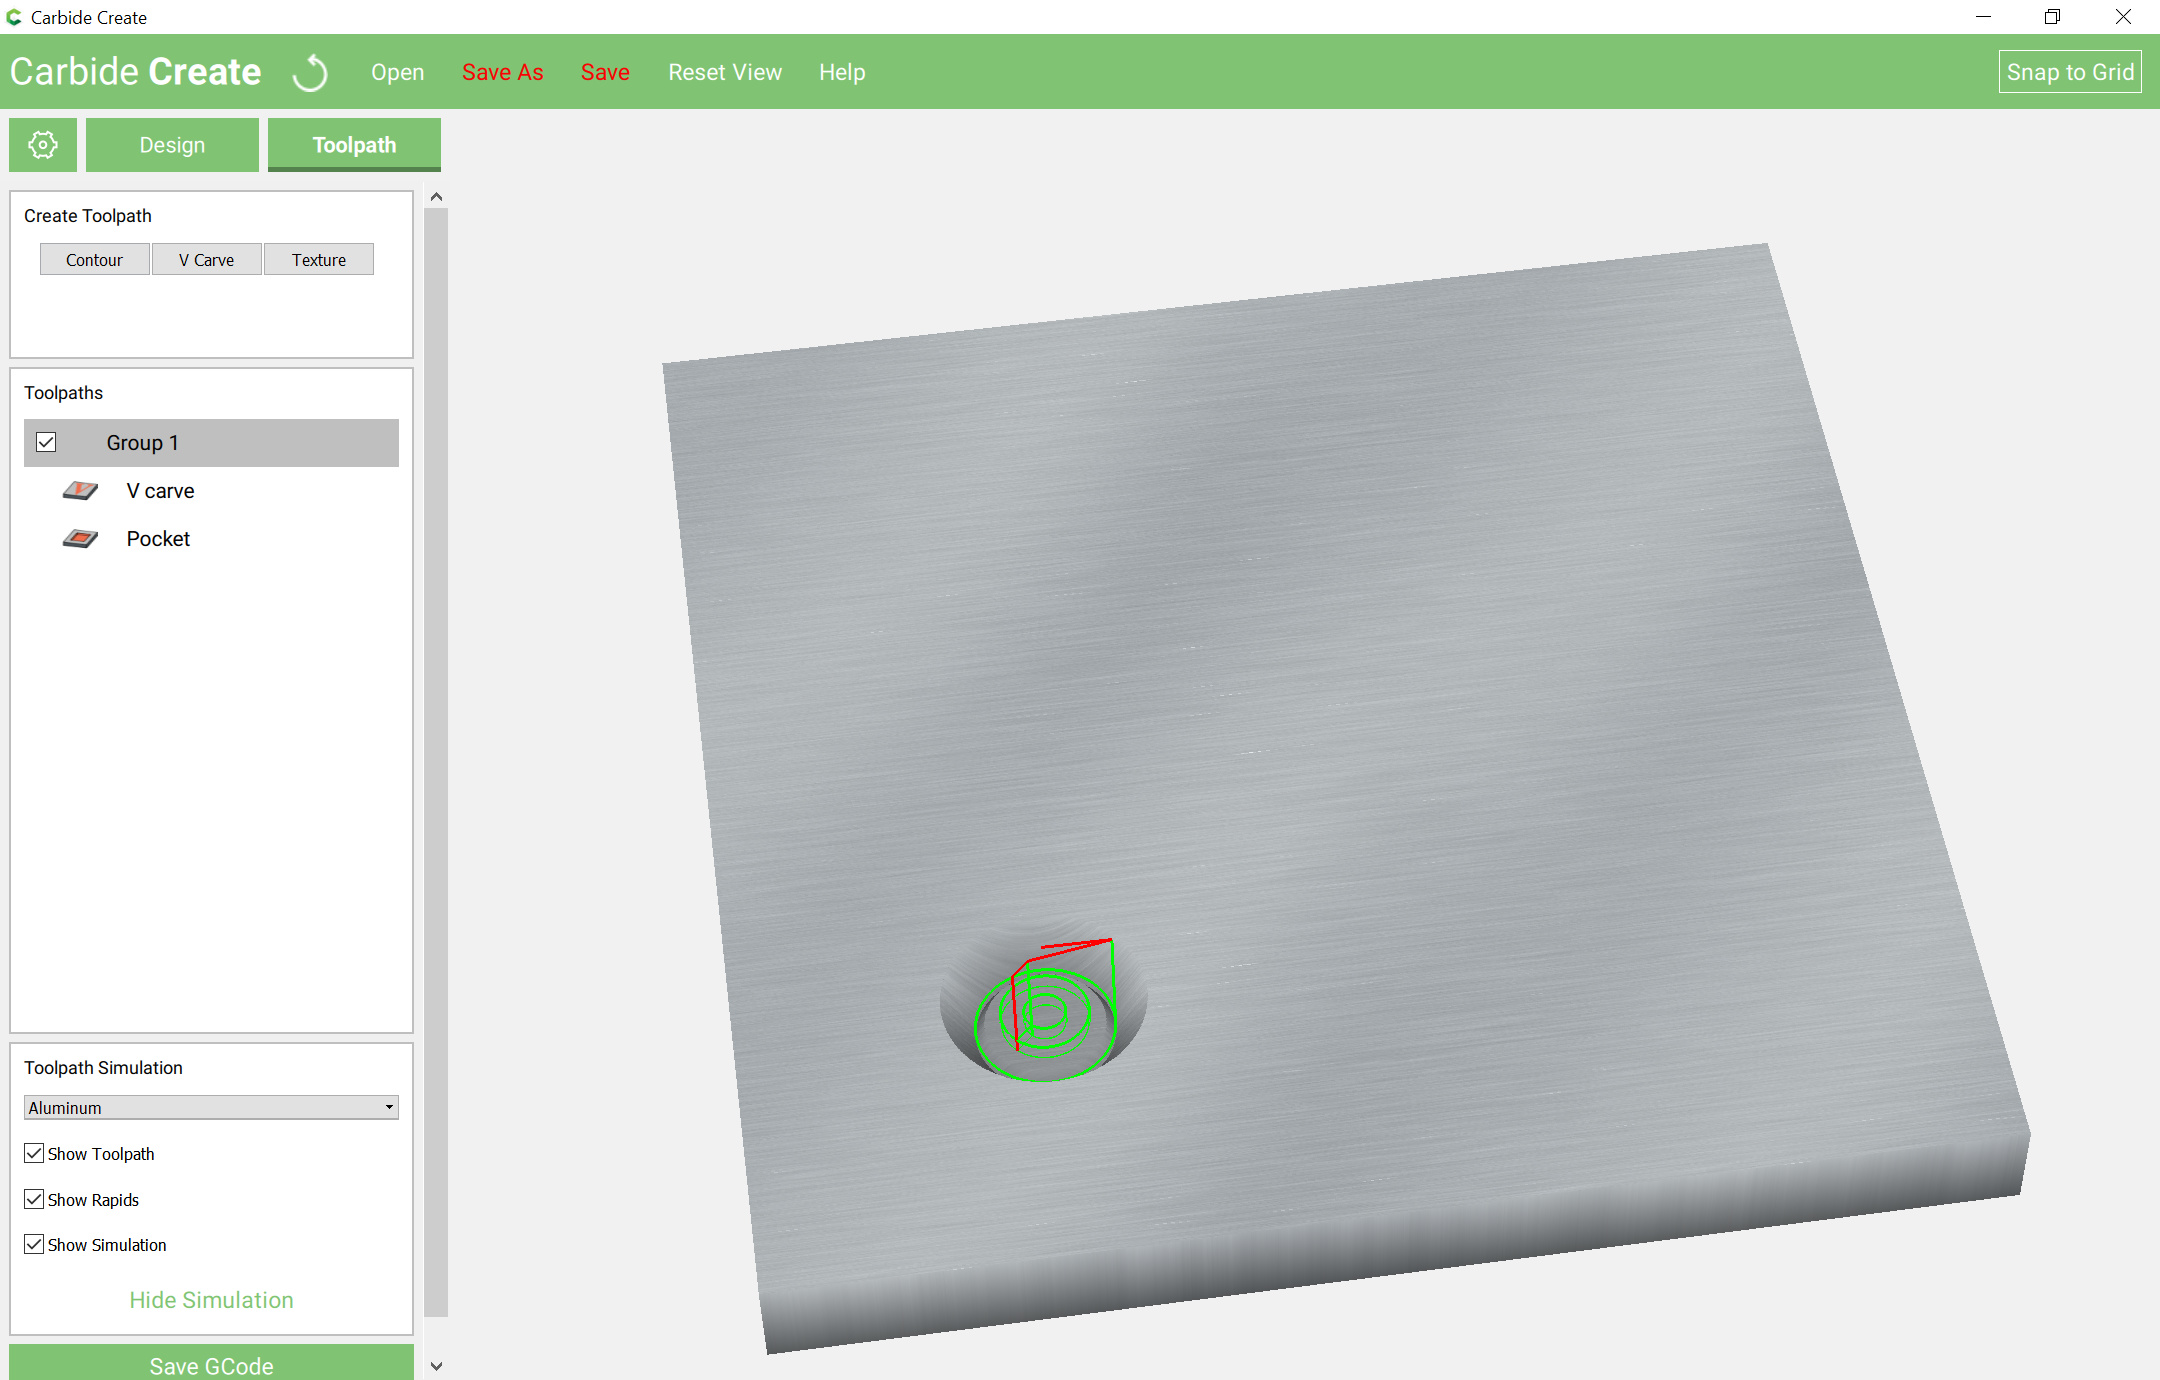
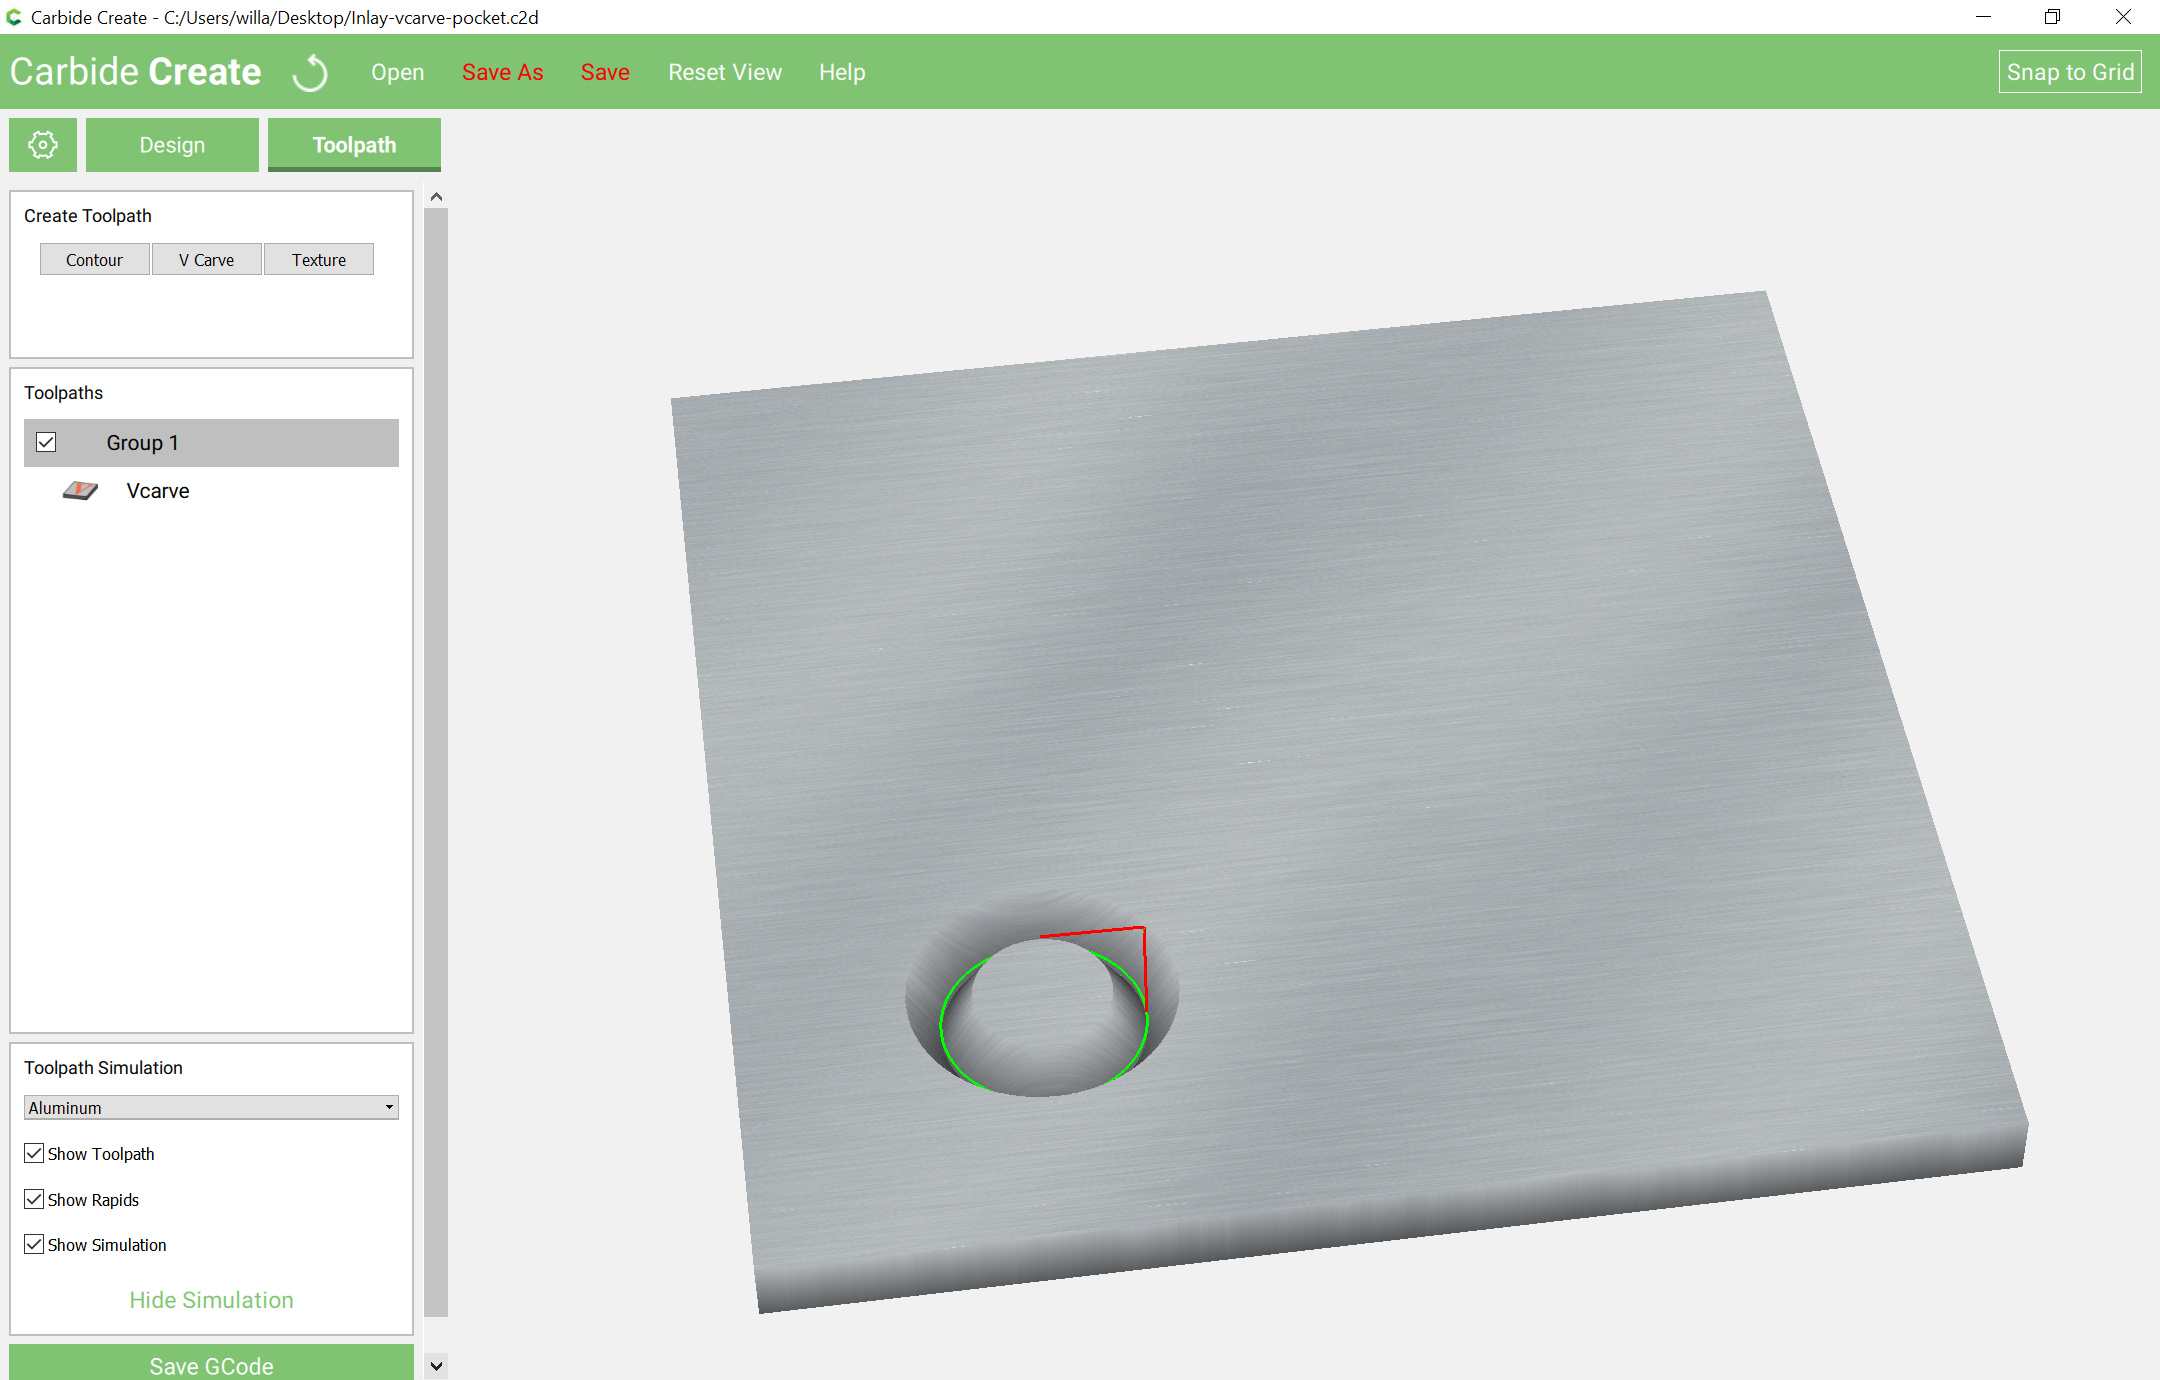
To cut the pocket you will need to inset by the desired thickness to cut a V carve to that depth along the perimeter, and by half that so that you can clear the bottom of the pocket: