I’m in the midst of a building project, and needed some (120’) u-shaped flashing with ventilation holes. After calling around to the local metal fabricators, and metal supply companies, I couldn’t find the material - or “flashing” at a reasonable cost. So, why not make it myself? I was going to get a CNC router eventually… so I ordered a Shapeoko XXL, waited patiently, and it arrived. I was still hesitant because I had not really run a CNC router before, except in college and a few times at my friend’s house recently. I was taking a big risk - if this didn’t work out, I’d have to spend money on the metal stock (and freight).
I decided to use a v-groove chamfer bit (single flute, straight cut, 60 degree included angle, solid carbide) and only go partially into the material. My goal was 3/16" or so sized holes, .25" apart. Ultimately, the spacing can vary as can the size so long as they don’t connect. Coils stock is 24 gauge Alunimum.
I created my design in Fusion 360, and used their CAM post-processor to generate the G-code.
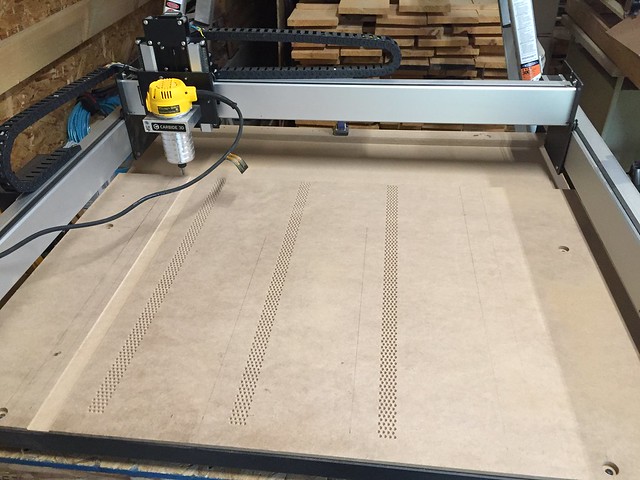
Then by hand, painstakingly cut a 42" x 28" 3/4" MDF board. Drilled and sunk 4 holes, in the same location as 4 of the base screws, again by hand. Could I have CNC’d these? Probably, but this is all “new” to me in a way, and I knew I could accurately drill the holes. I then removed those 4 screws, and used longer screws (45mm or 55mm) to connect the two boards.
Started out by routing a channel on the left side of my new spoilboard - this was so I had a reference to line the coil stock against. Then I ran the holes just in the MDF - sanity check and I wanted to cut into the aluminum with nothing below:
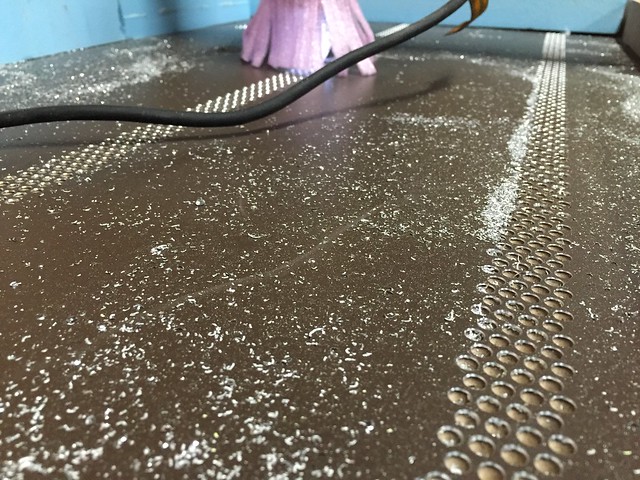
(PLEASE NOTE: at this point I was manually tending to the power cable):
A “beauty shot” of it in action (PLEASE NOTE: at this point I was manually tending to the power cable):
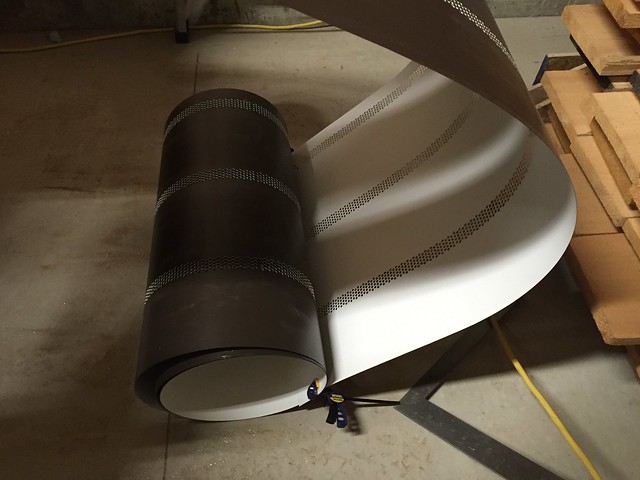
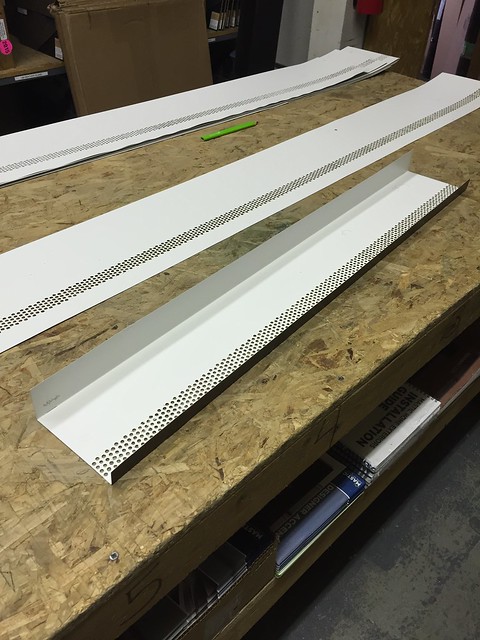
Progress:
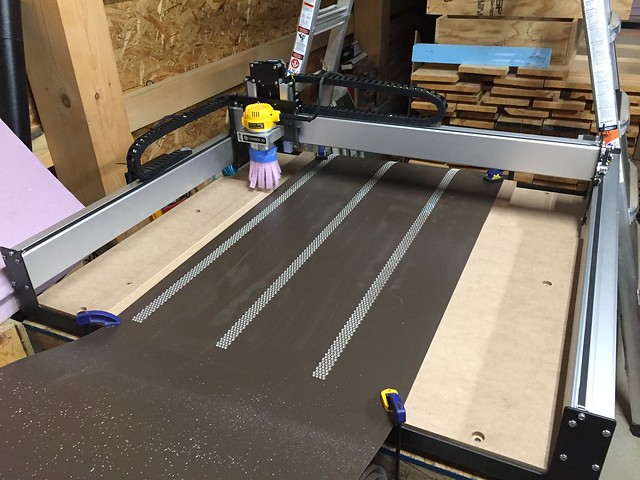
Clamp setup (NOTE - power cord properly tied into cable chain):
I’ve been using bCNC to send the job, only because its preview was better than the other programs I tried, but I’m probably going to set up Chilipeppr (http://chilipeppr.com) on a Raspberry Pi. My internet at the barn (workshop under construction) is not, shall we say, the greatest, so I’m not sure it will be a good setup (until I run a cable and set up an access point).
I’m halfway done - and just thought I’d post and share since I was successful  . Not too sure I’d post if I had failed
  .
.
 )
)