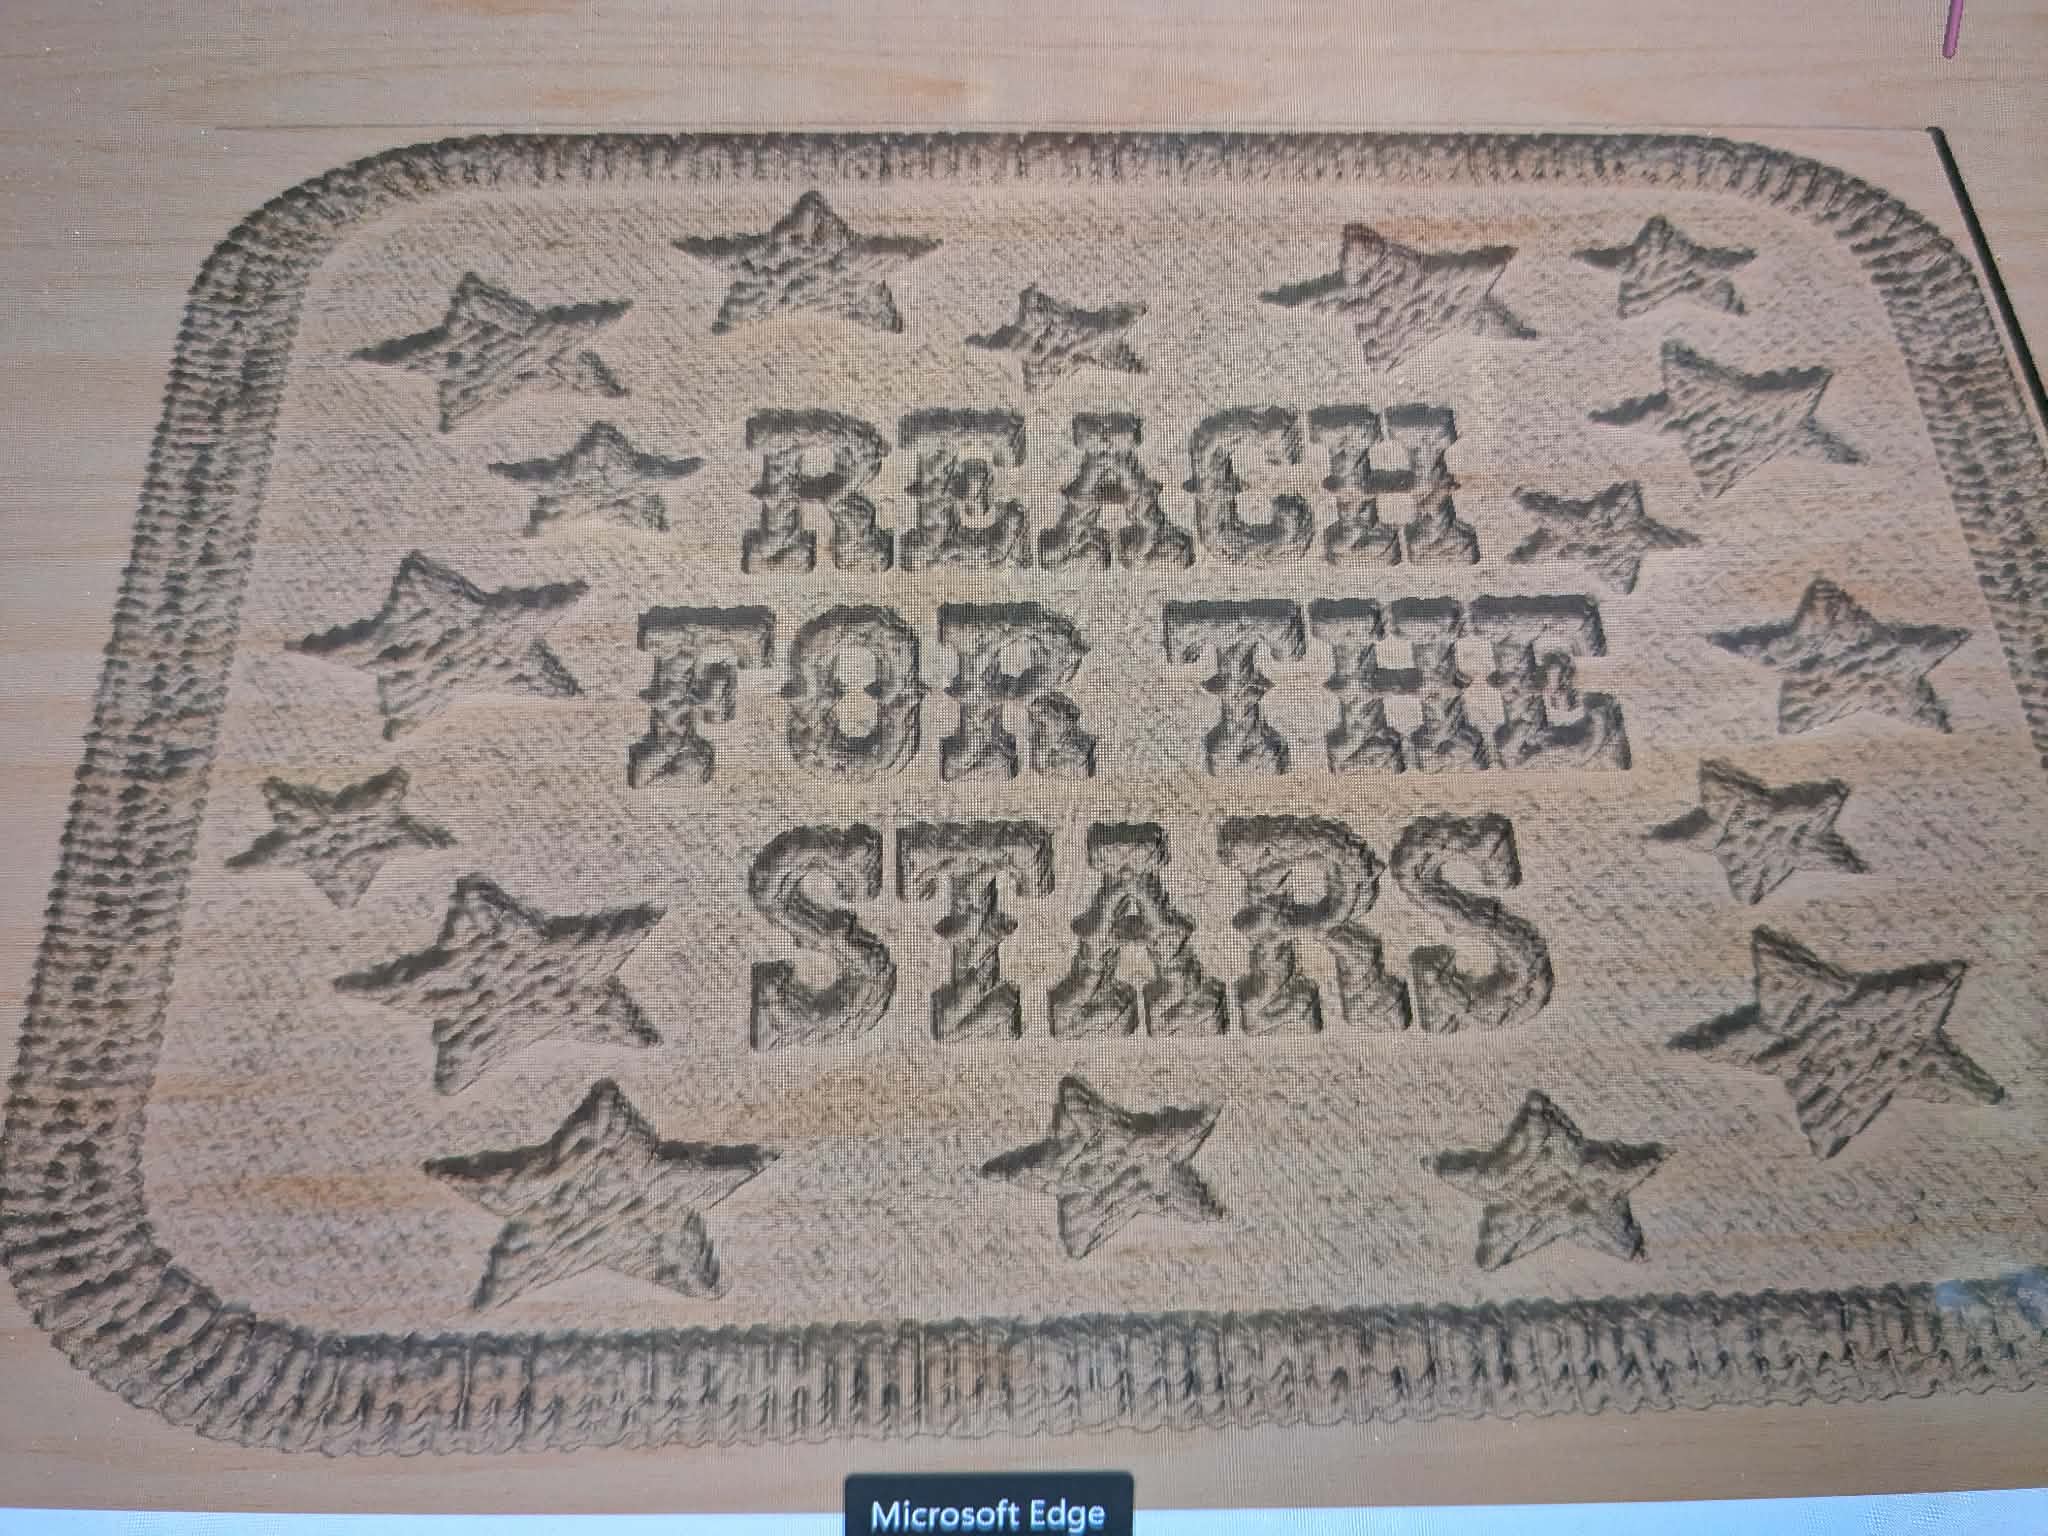
On a request from a potential customer they originally wanted an embroidered patch to use as a mold. My concern was the thread wouldn’t be sturdy enough to remain still while being used in the mold.
I know I have seen other work with carved ropes so the texture of an embroidery patch should be possible.
This was my first attempt in creating the heightmap/STL to carve the mold for them.
Request was for a 14 weight thread about .0625 of depth.
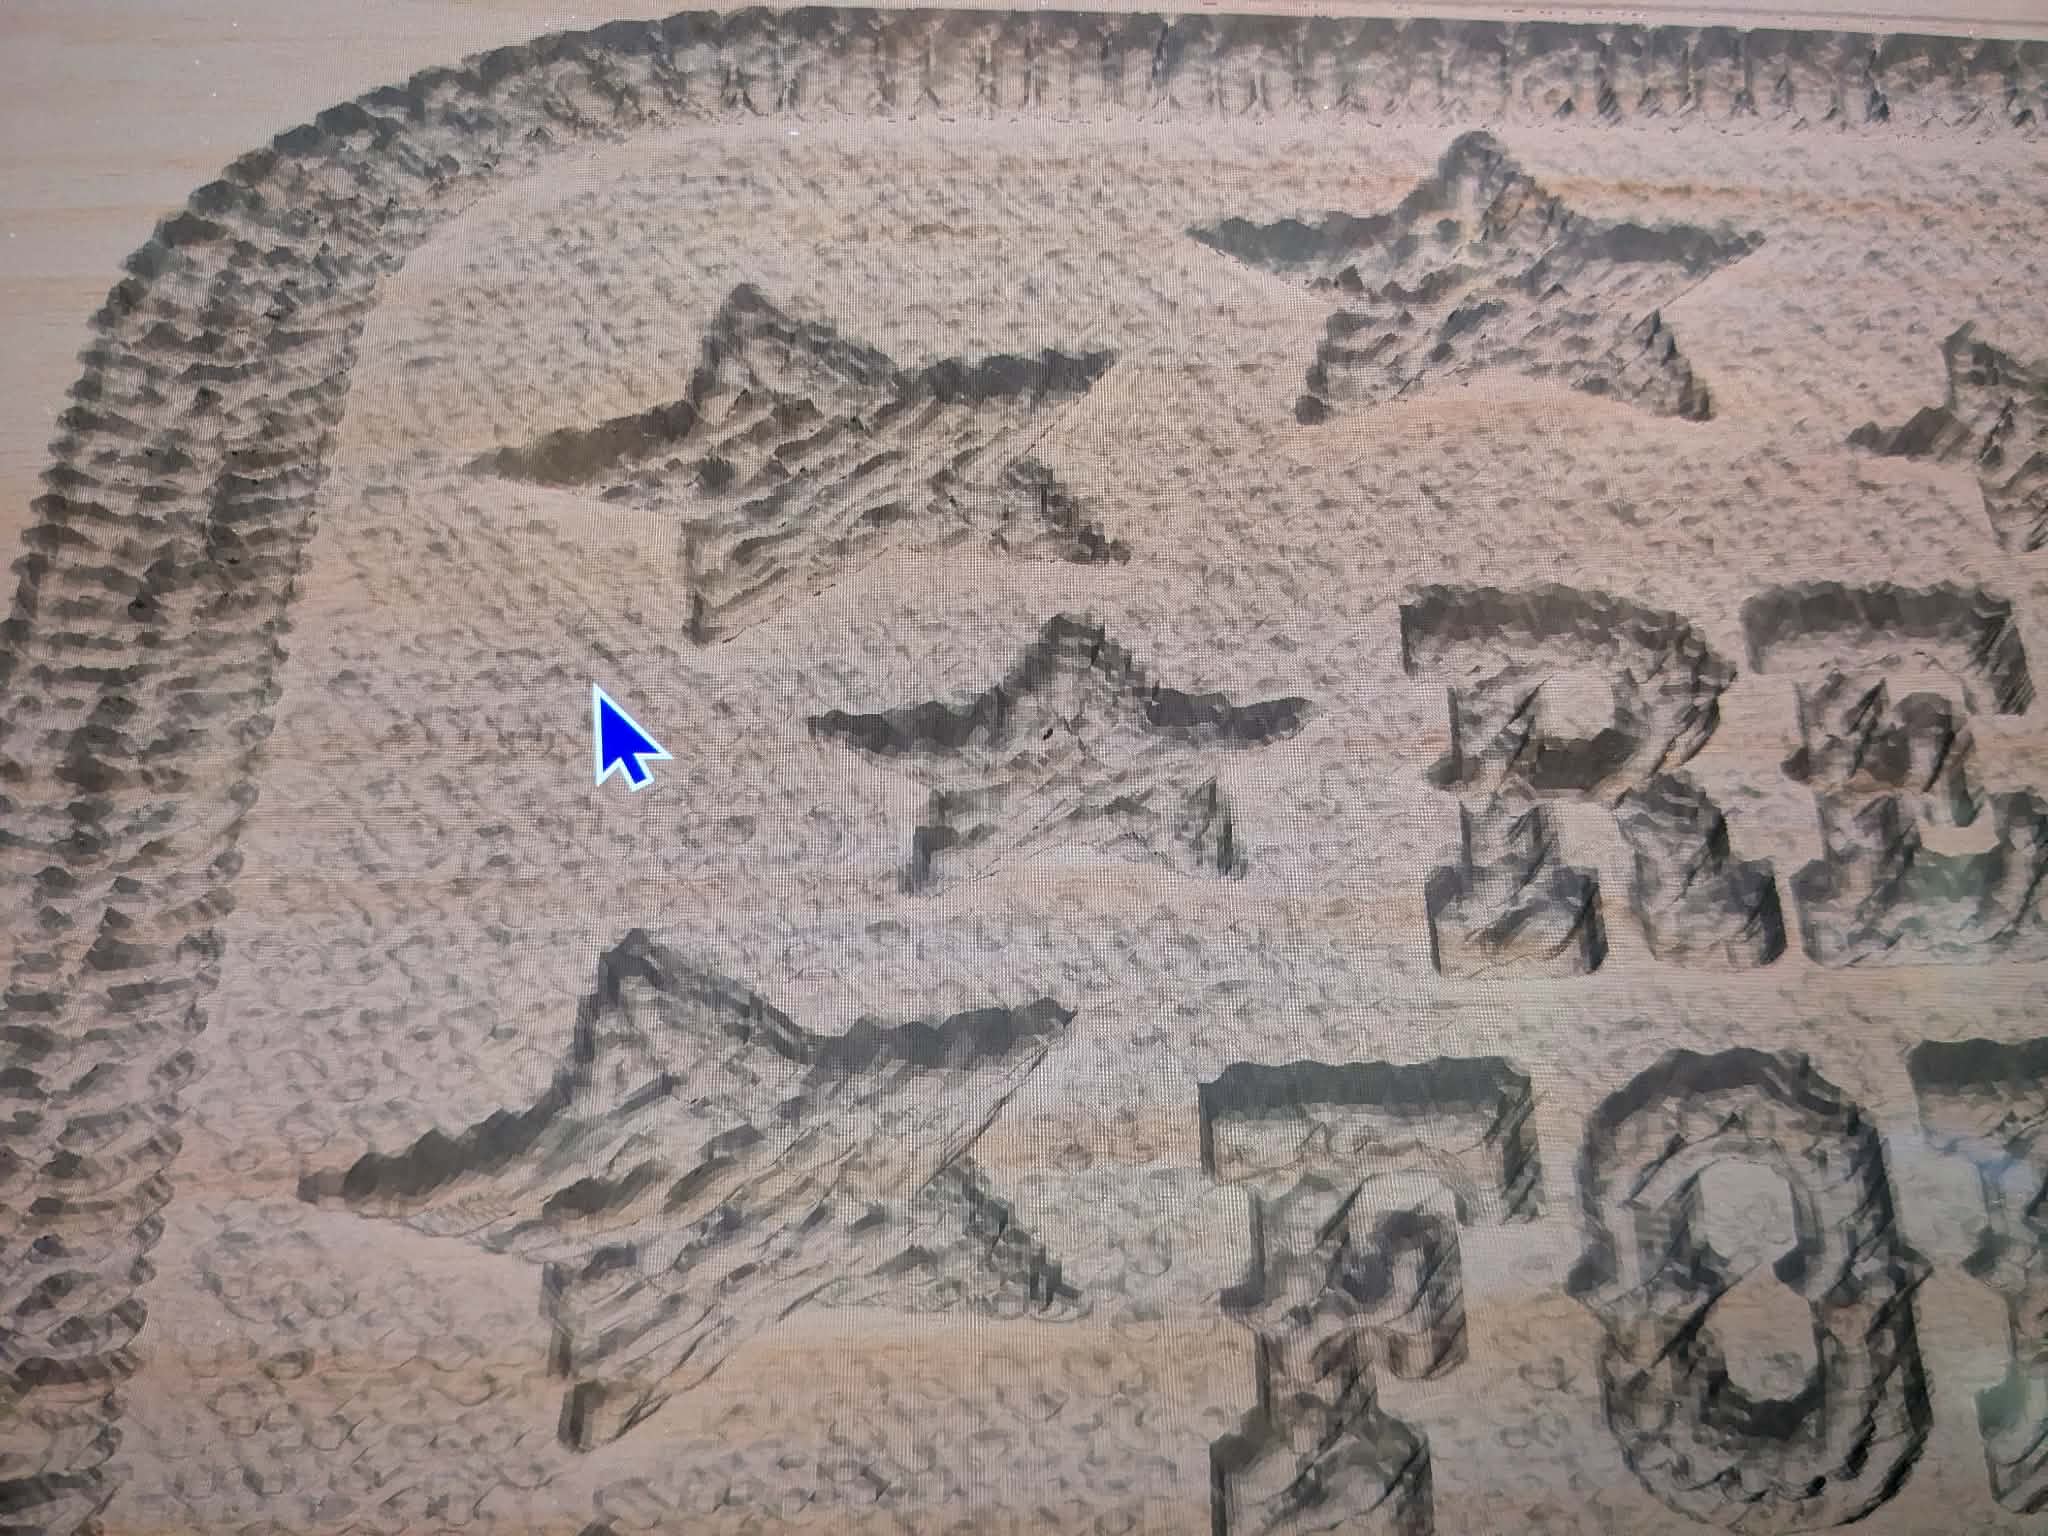
What I have so far. Using just the finishing pass on a 1/32 tapered ball nose. Stepover was set at .01. I think any lines will be ok since it is suppose to resemble thread.
Embroidery paths are spaced very closely. The “look” is the change in height between threads, or the side of the thread. I can’t cut anything that will leave a ridge that looks good.
You need to create space between the thread paths.
If you can get the original embroidery file converted to SVG or some vector based format, you could remove every other path ( or something like that ).
This is my wife’s’ go to conversion software
If the embroidery file original physical size is smaller that the target, you can create spaces by scaling the file up. The curves may get a bit faceted, but the spacing between paths will get bigger.
My cellar is 700 sq feet of quilting/sewing/embroidery manufacturing space.
I have used converted files with some success etching in acrylic. This will depend on the quality of the original file ( just like any CAD file ), if it is a mess, not fun.
Some quilting machines use GCODE as their “format”, just with a different extension.
There won’t be an original file. I made this image based on a black and white image from the person requesting it. I use Hatch for the embroidery digitizing.
My wife is a lifetime seamstress and does all of the thread and sewing parts. She literally grew up in a dress making shop. In fact I am sitting in her alterations shop now. I handle the digitizing and art work mostly.
I have not looked at making a file in Hatch then trying to convert it to a STL.
From what I understand these molds are for making glass art pieces.
She first noted that your representation is inverted, cut into the material versus sticking out.
She then said embroideries are built up, over backing or other threads.
So, you could invert your existing STL file and remove the background leaving the “threads” above. You maybe be able to simulate threads using a diagonal cut .
It looks pretty good. The best way to determine if it needs to be manipulated is the make a positive from the cutout itself , Something as simple as Play-doh with push into the negative with a quick view on how much detail shows up in relationship to the original image. Even a slightly less detailed positive may be enough to appear as thread, I’ve made thing like this for ceramics and clay products. If the play-doh does’nt pop out easily smear a thin layer of liquid hand sop across the mold as a release agent.