Manually tiling in X and Y axes

as requested on support…

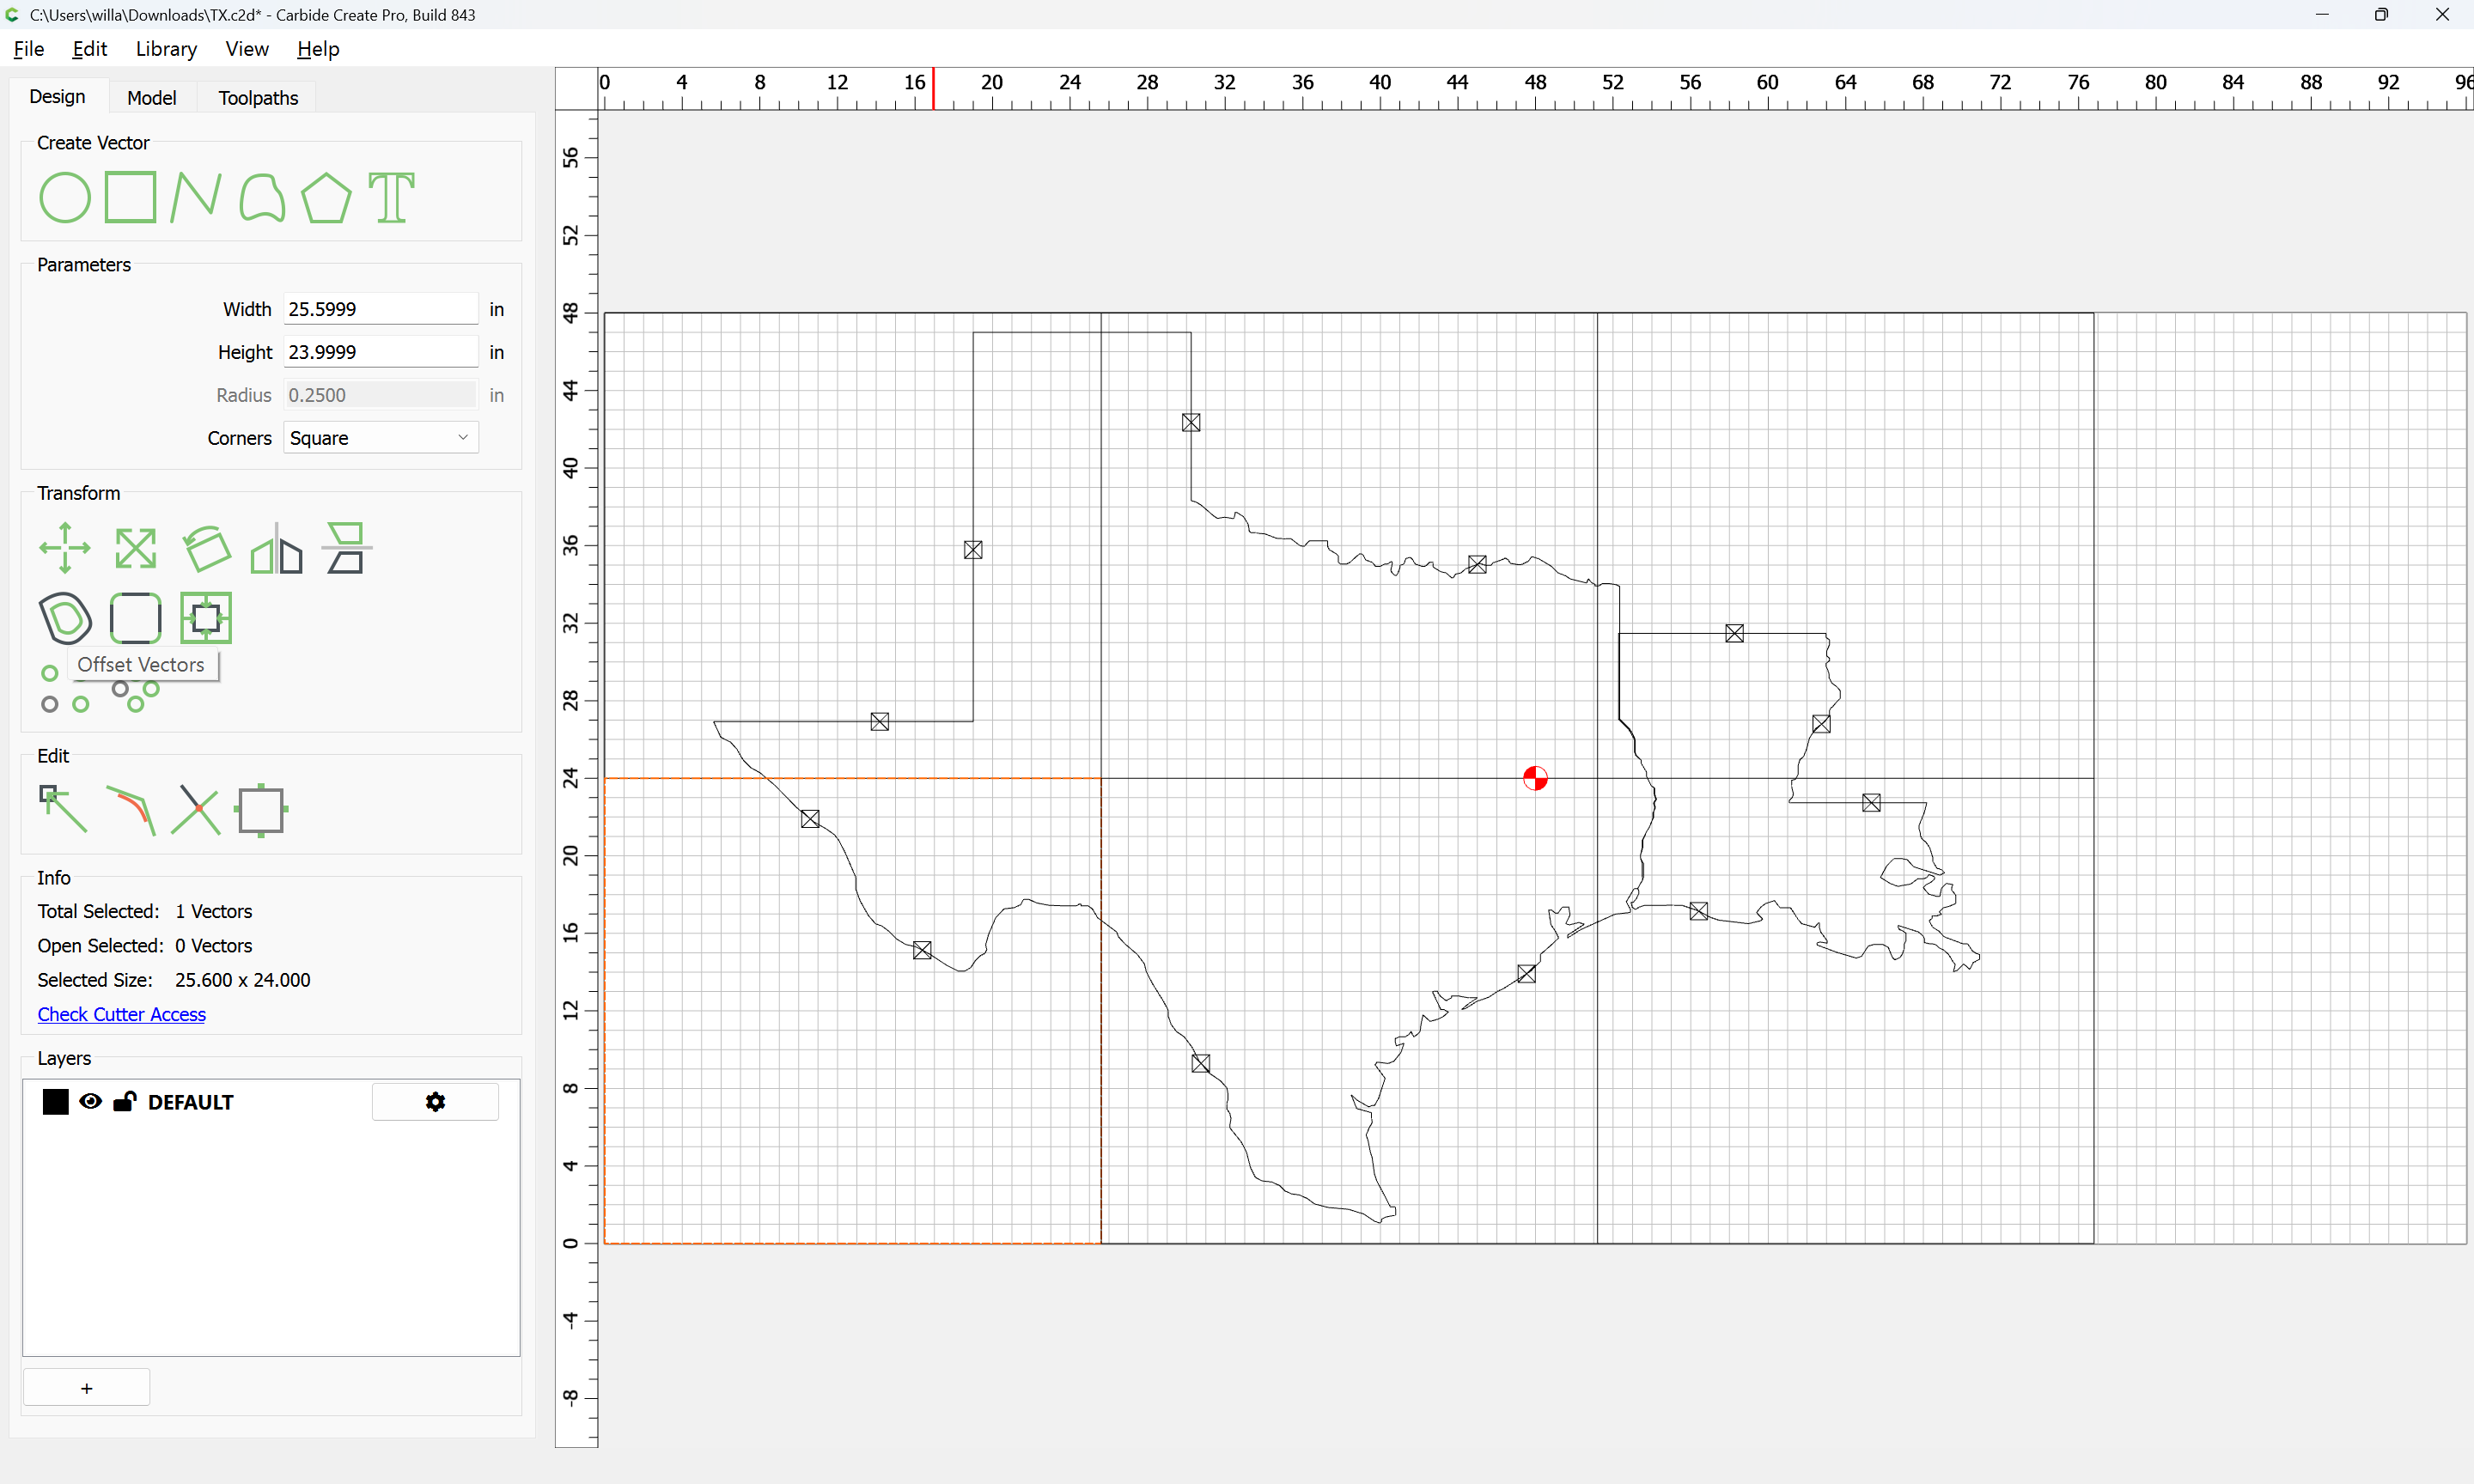
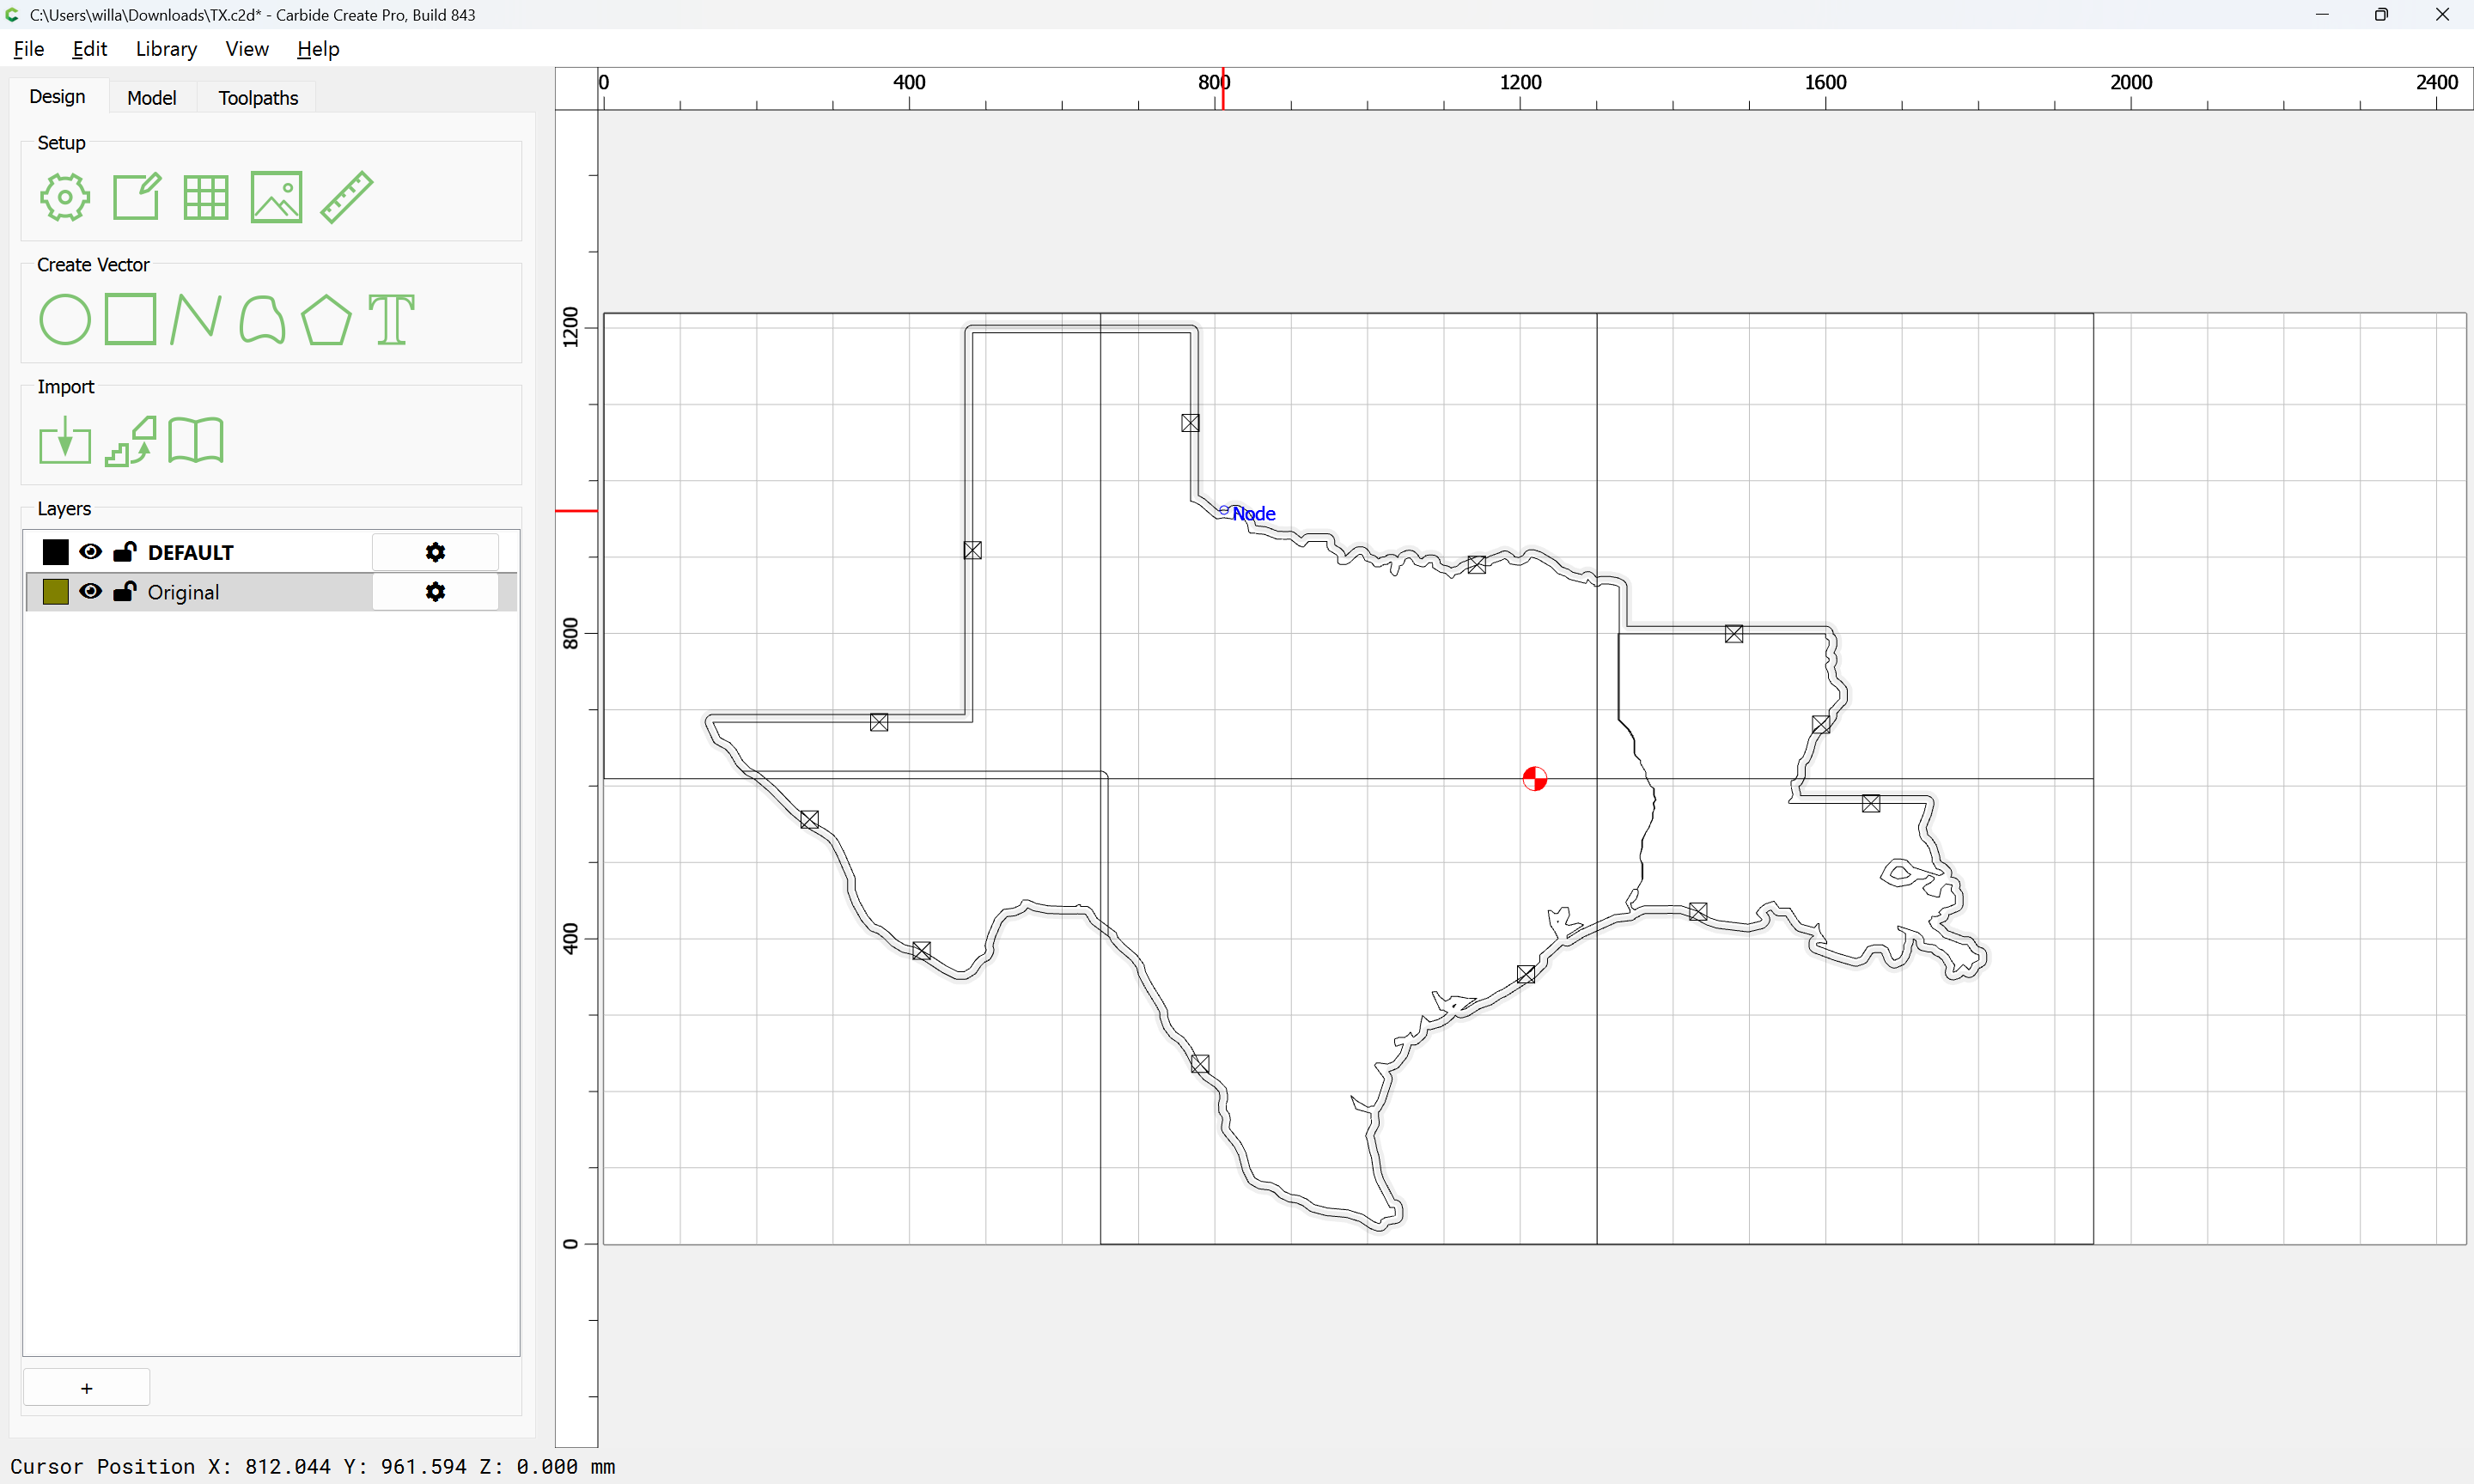
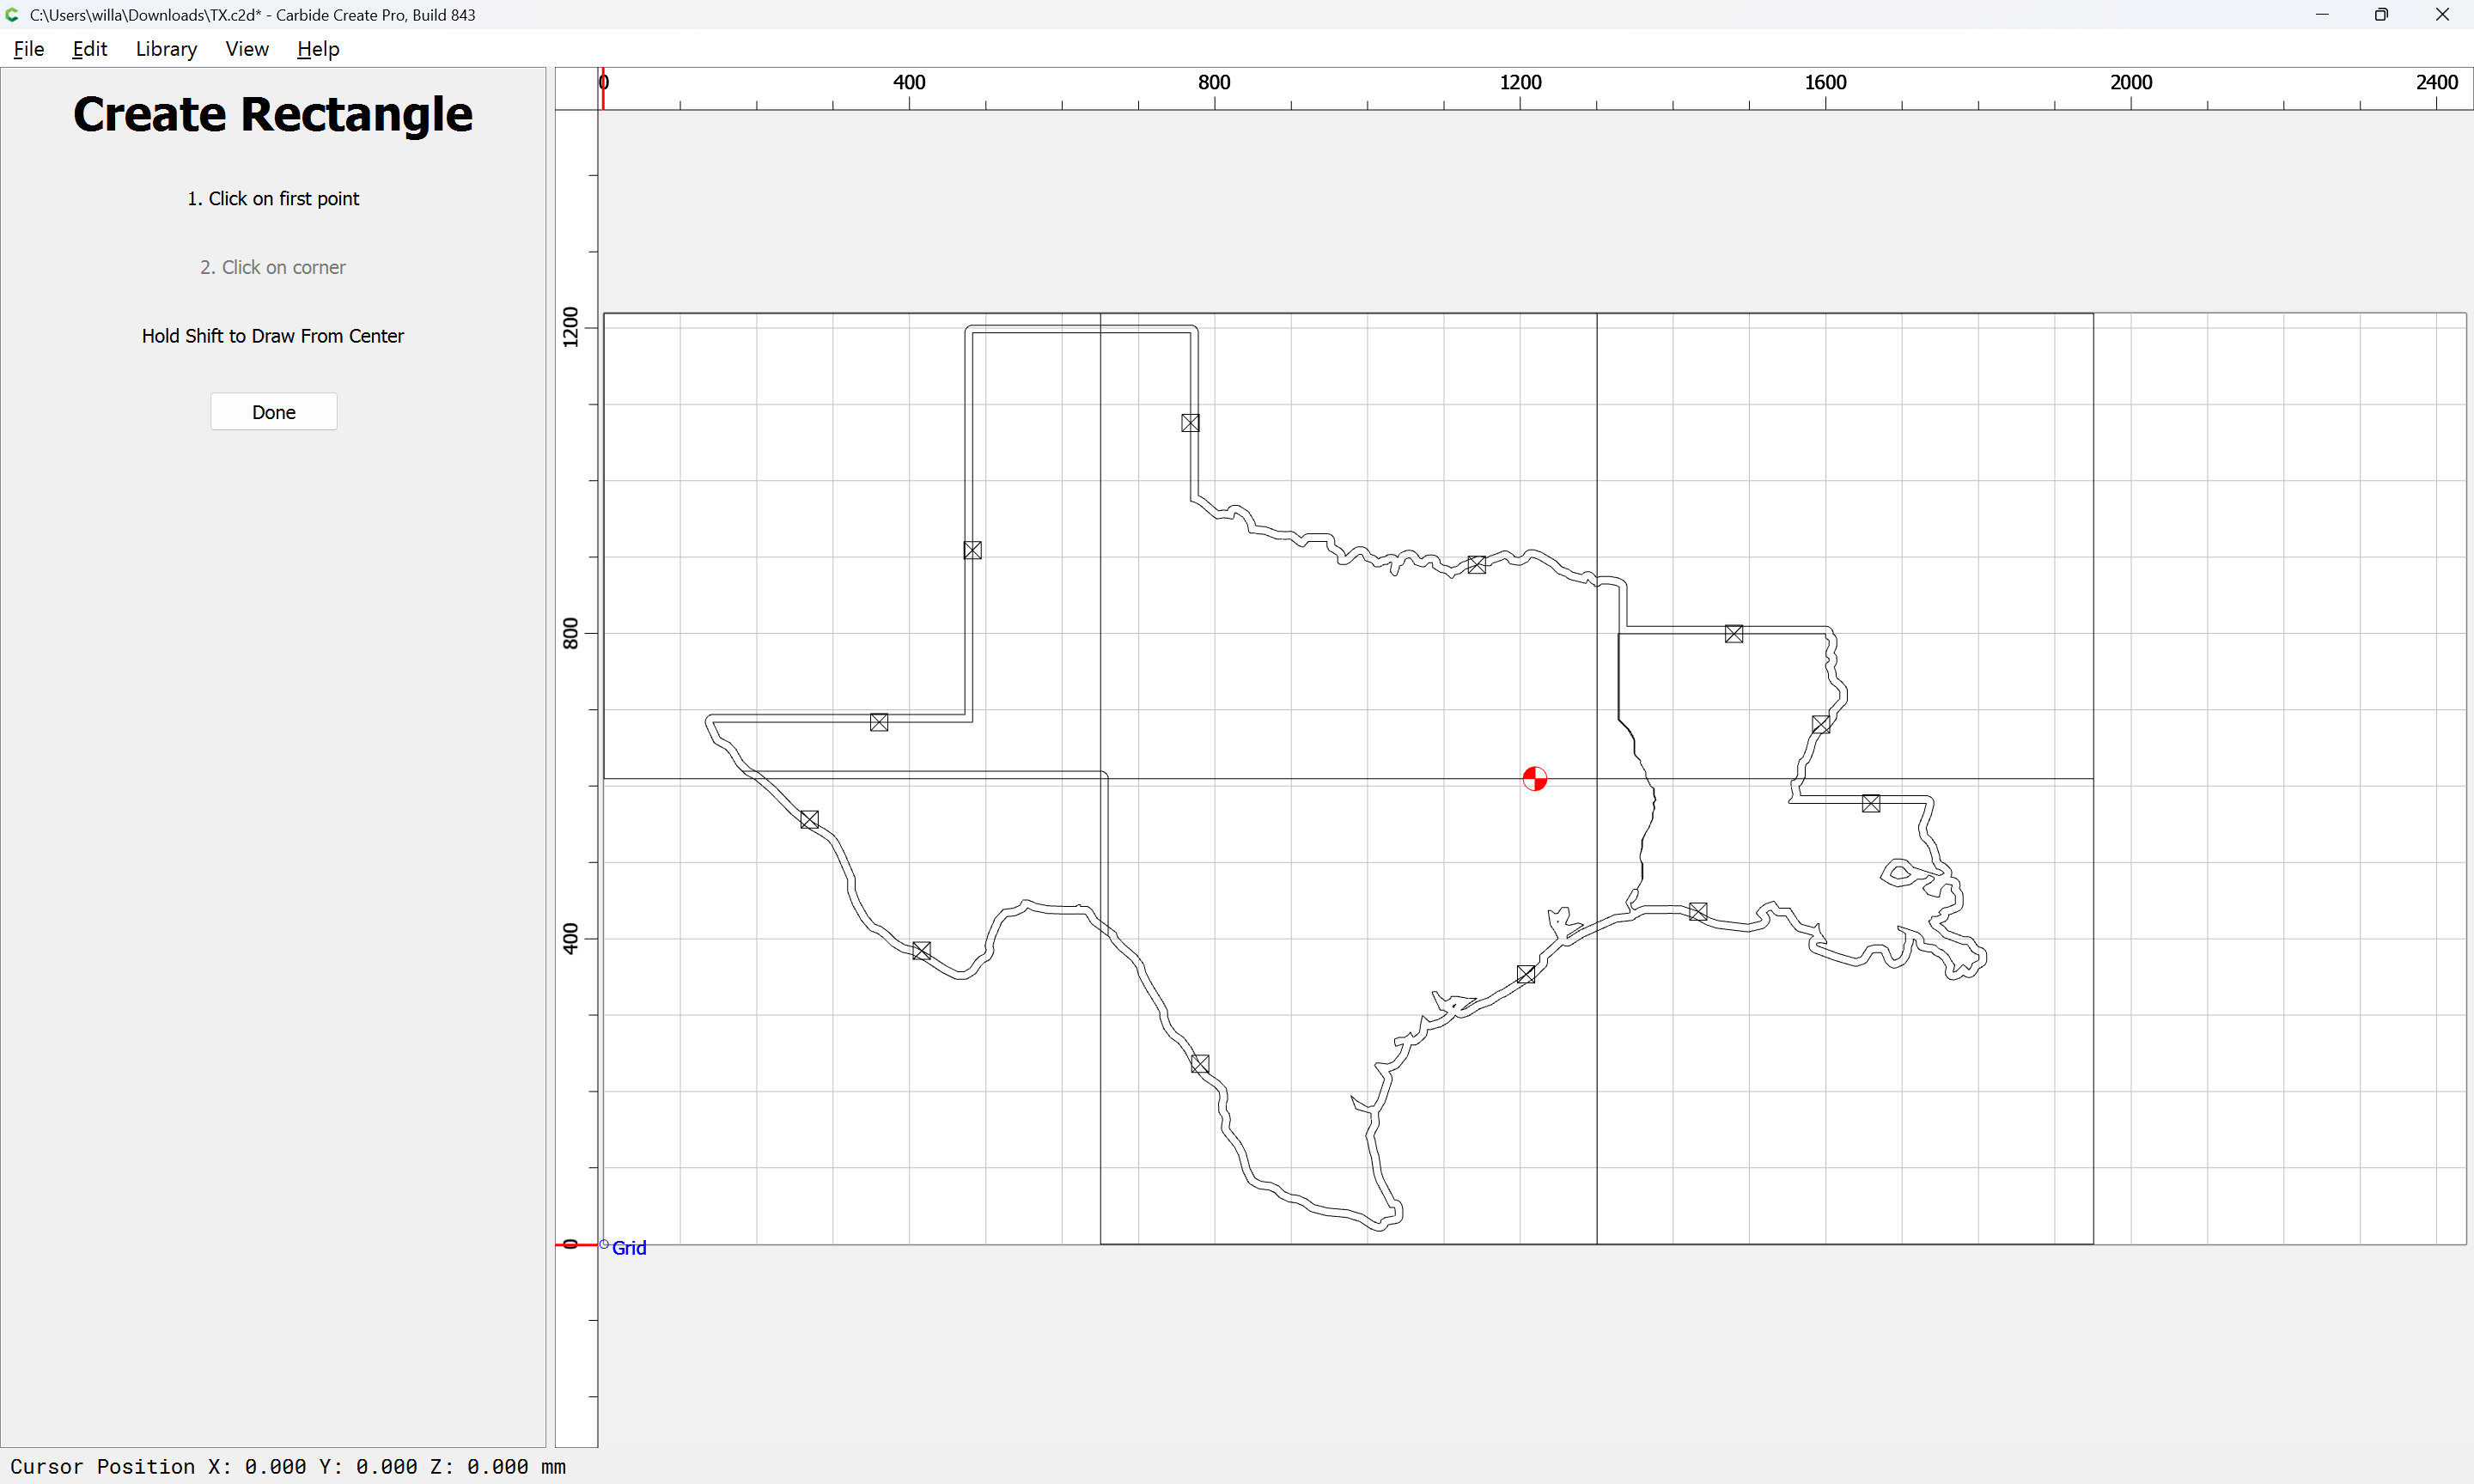
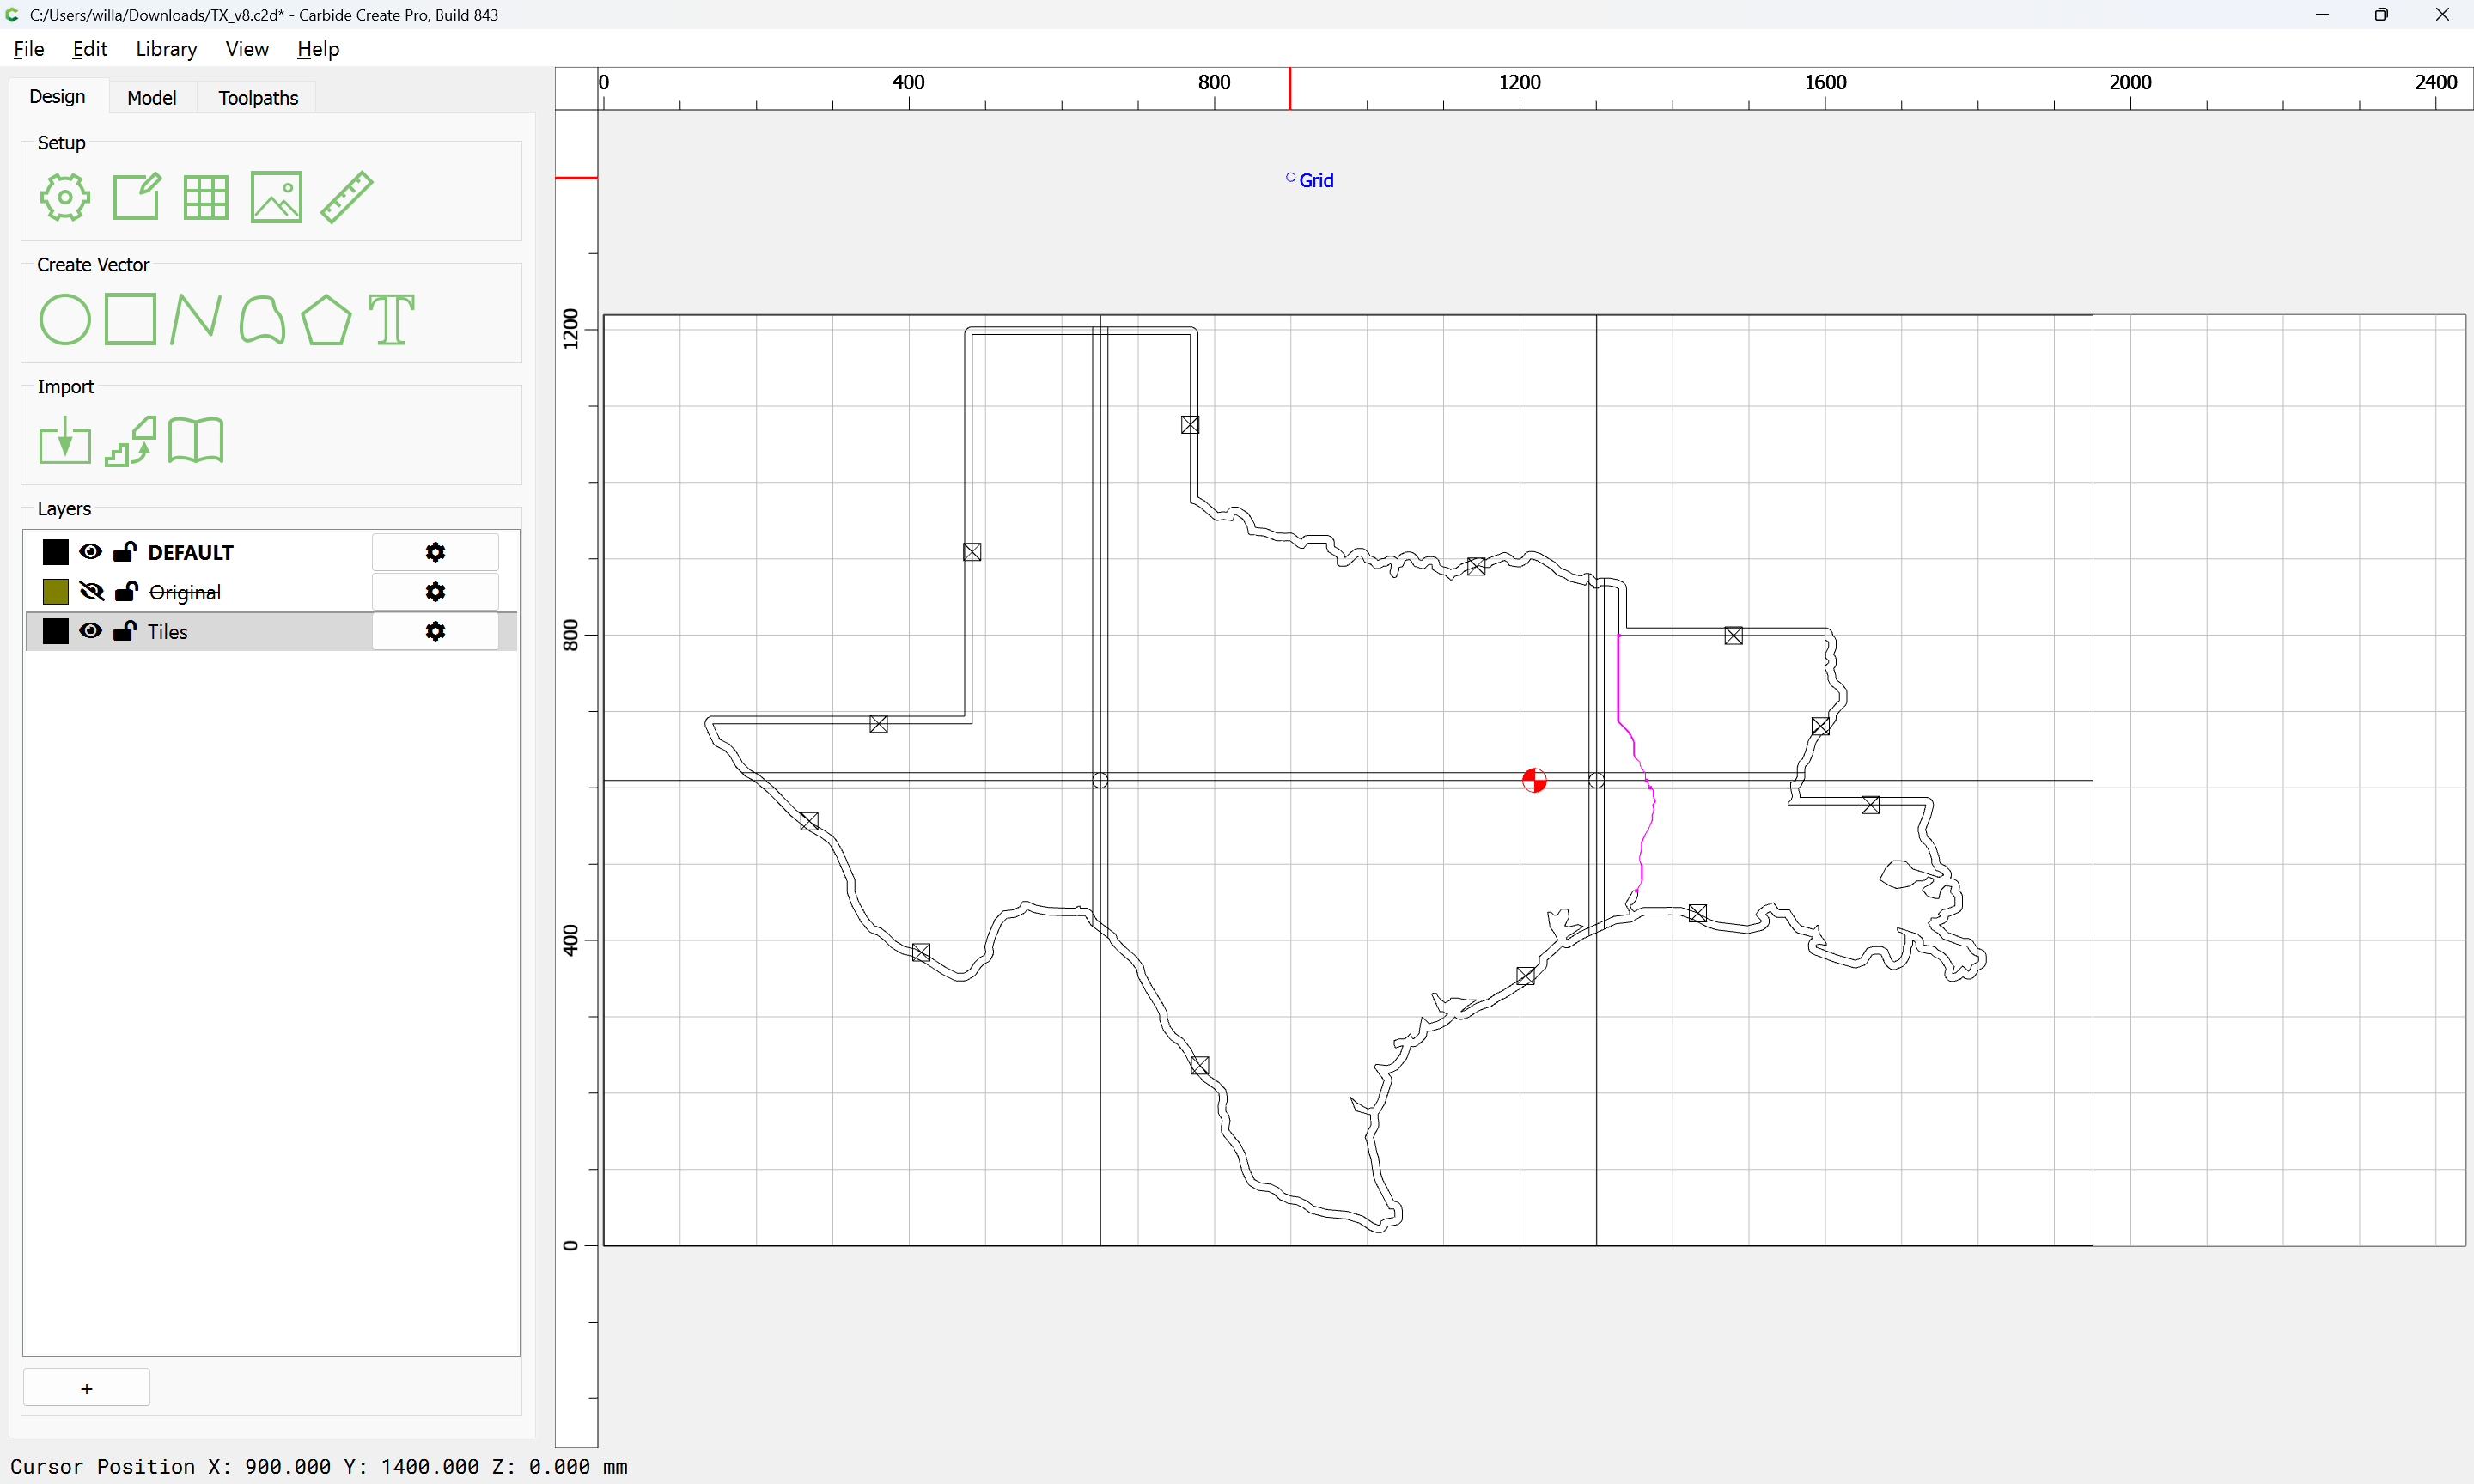
Here is an image I’m trying to make to a large Plywood gift for a customer. The full height is 48 inches and the width is 96 inches which is the size of a piece of plywood. I called today and spoke with someone who told me to try tiling, however tiling won’t do what I’m asking. What I’m asking is this is there a way to break this image into the six squares that you see. I want to cut the plywood into six equal parts and then run the program and cut out the state image and then piece it all together when I’m done.

Since the automated feature will only tile along Y, here is how to do this in two axes…

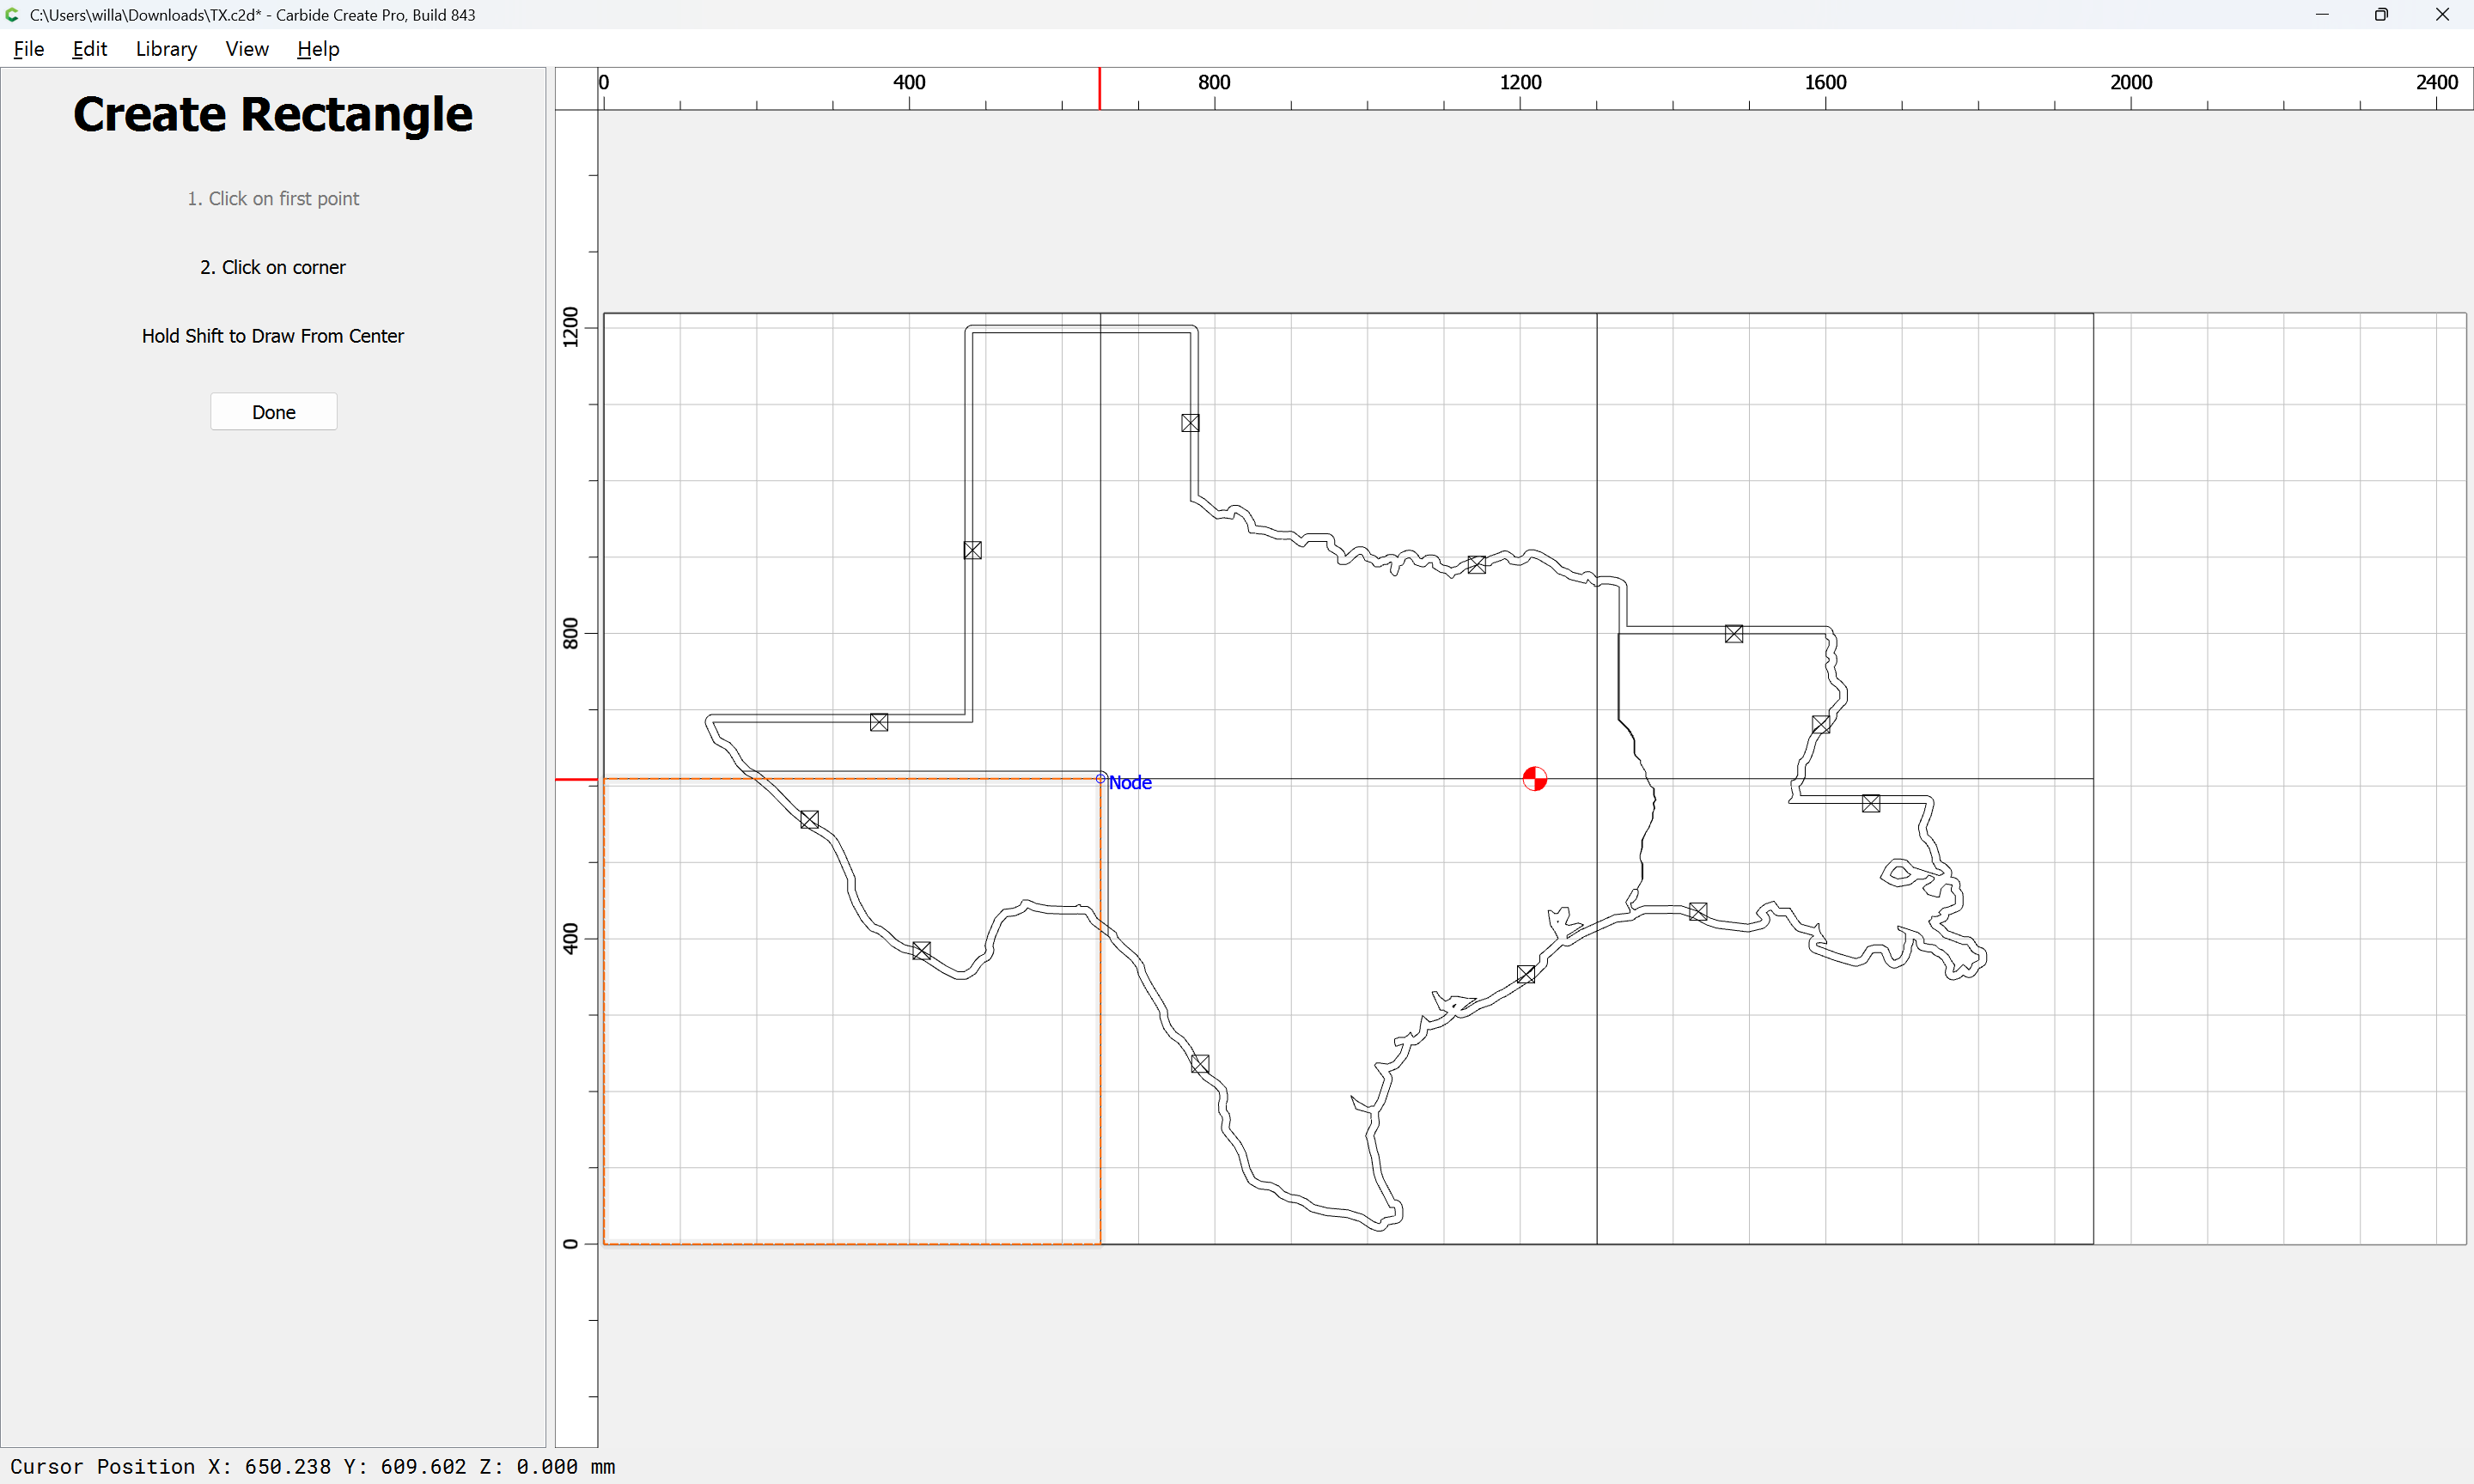
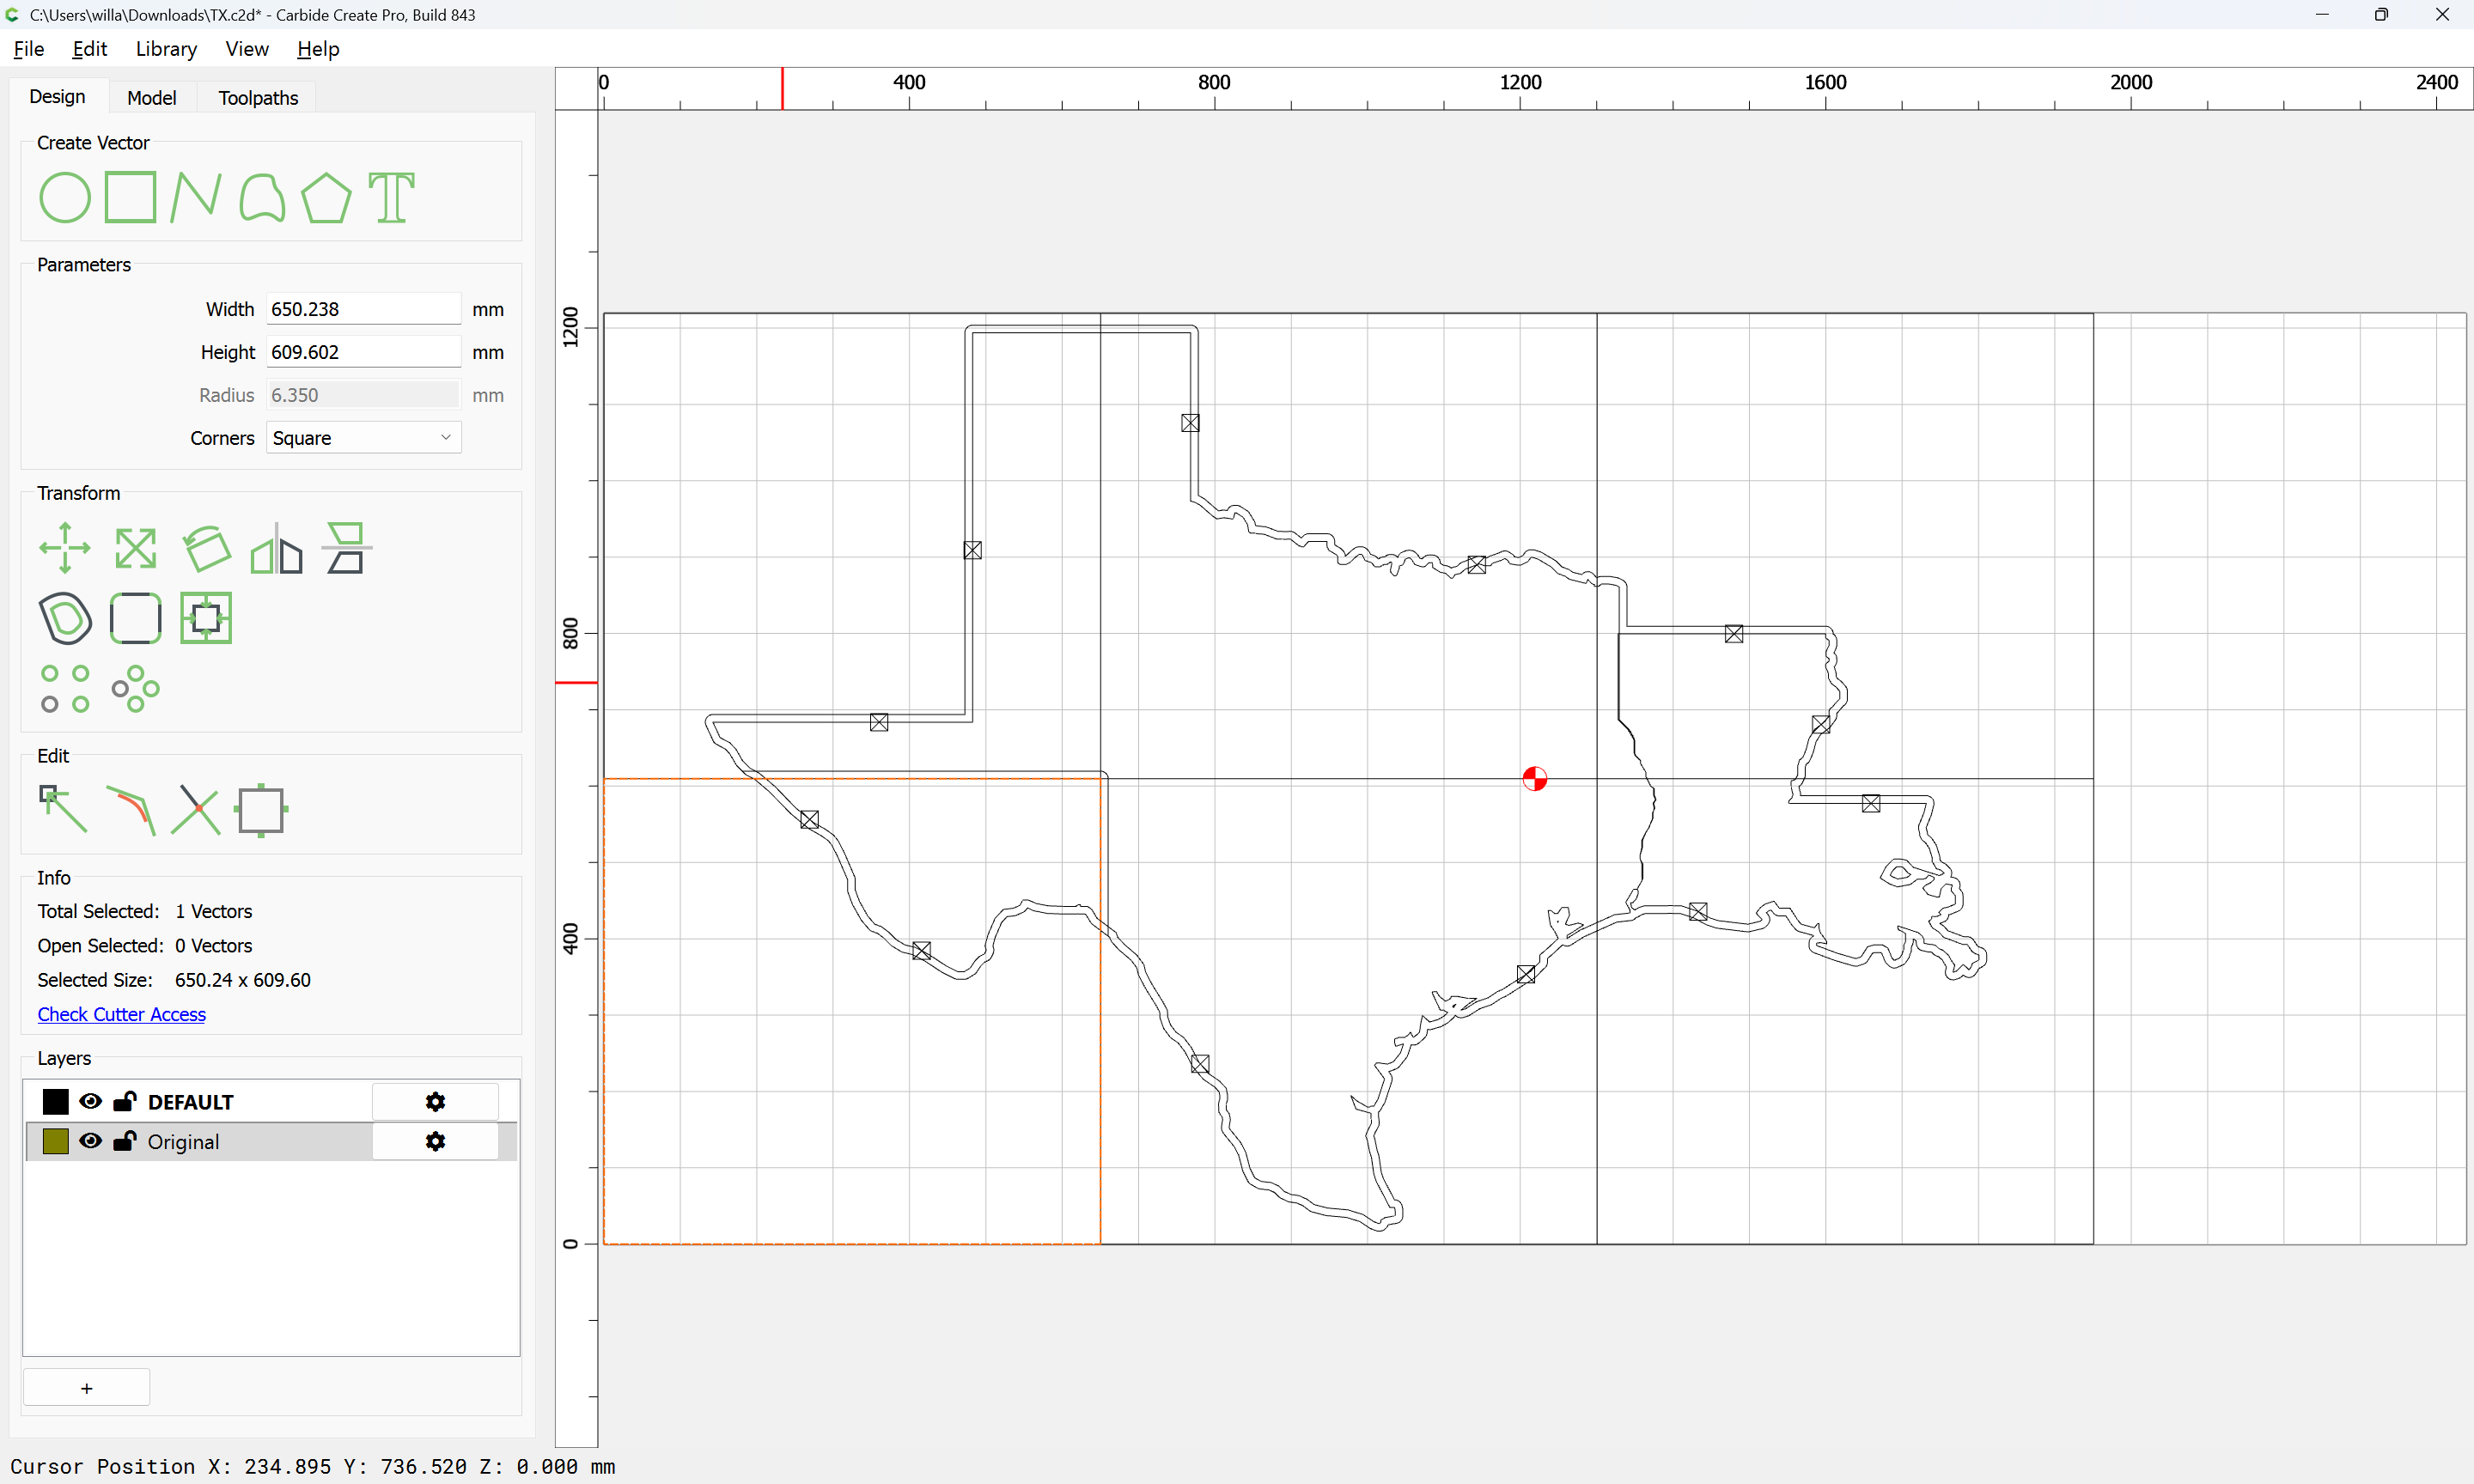
Each tile is:

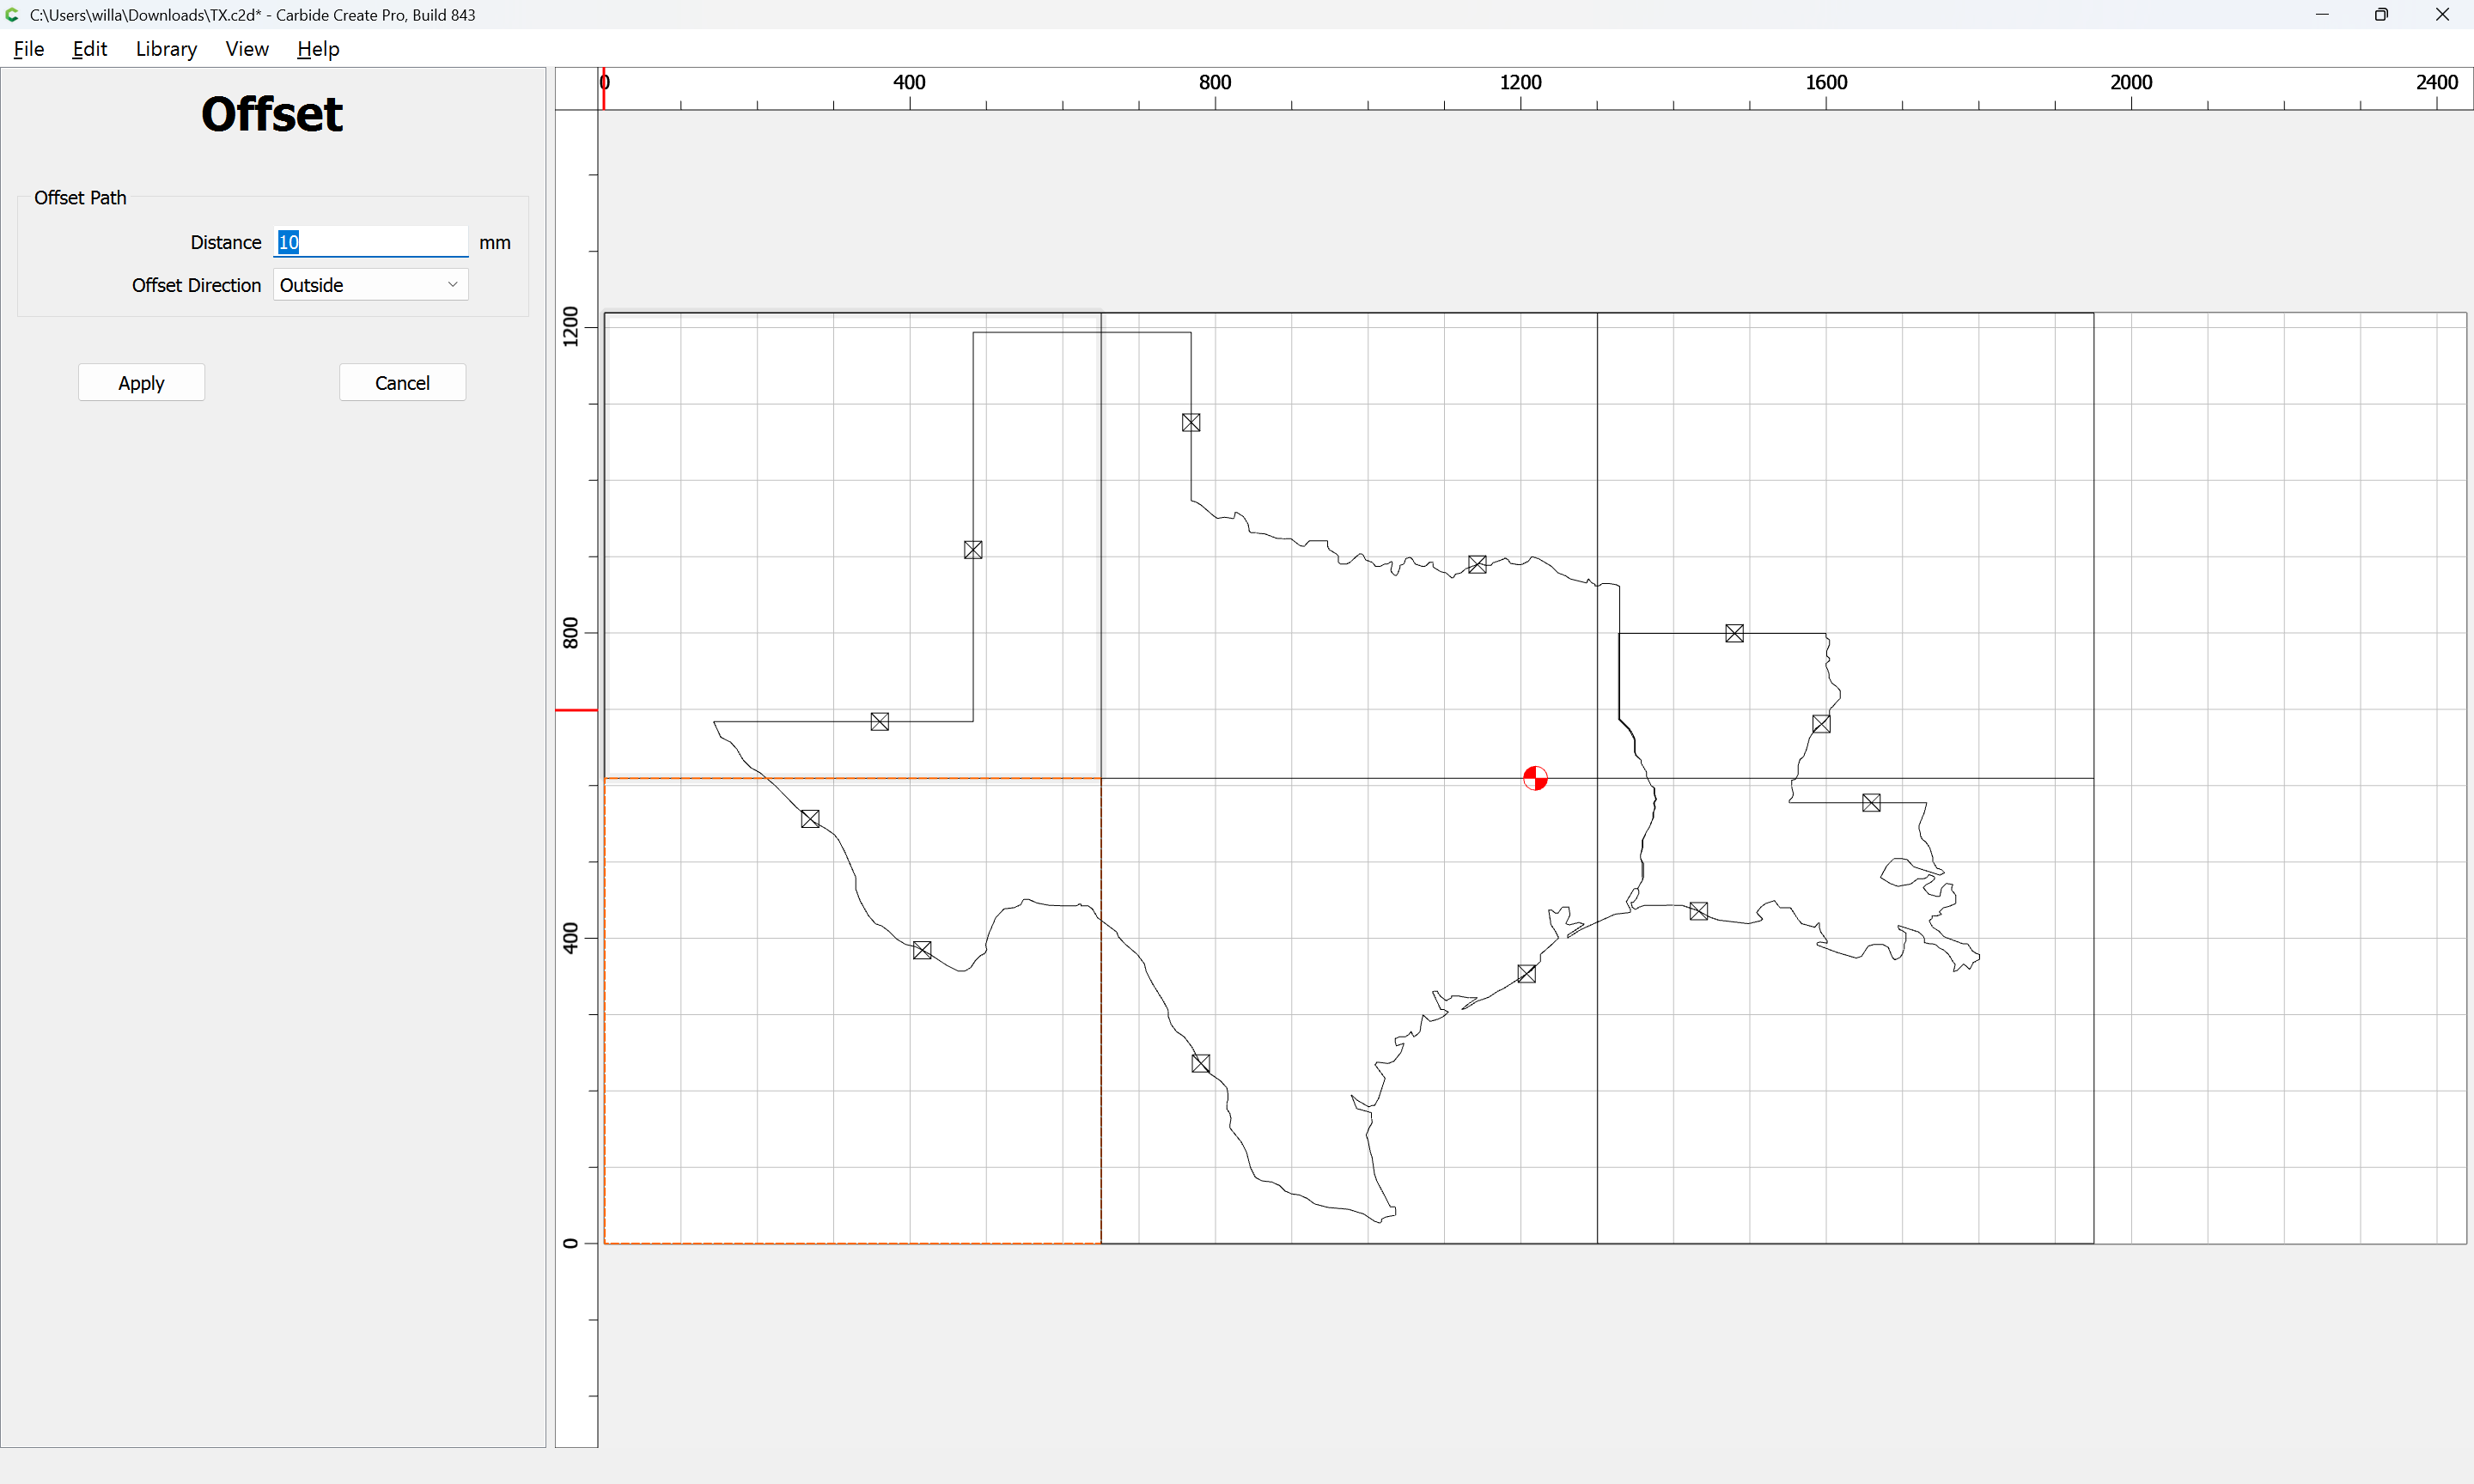
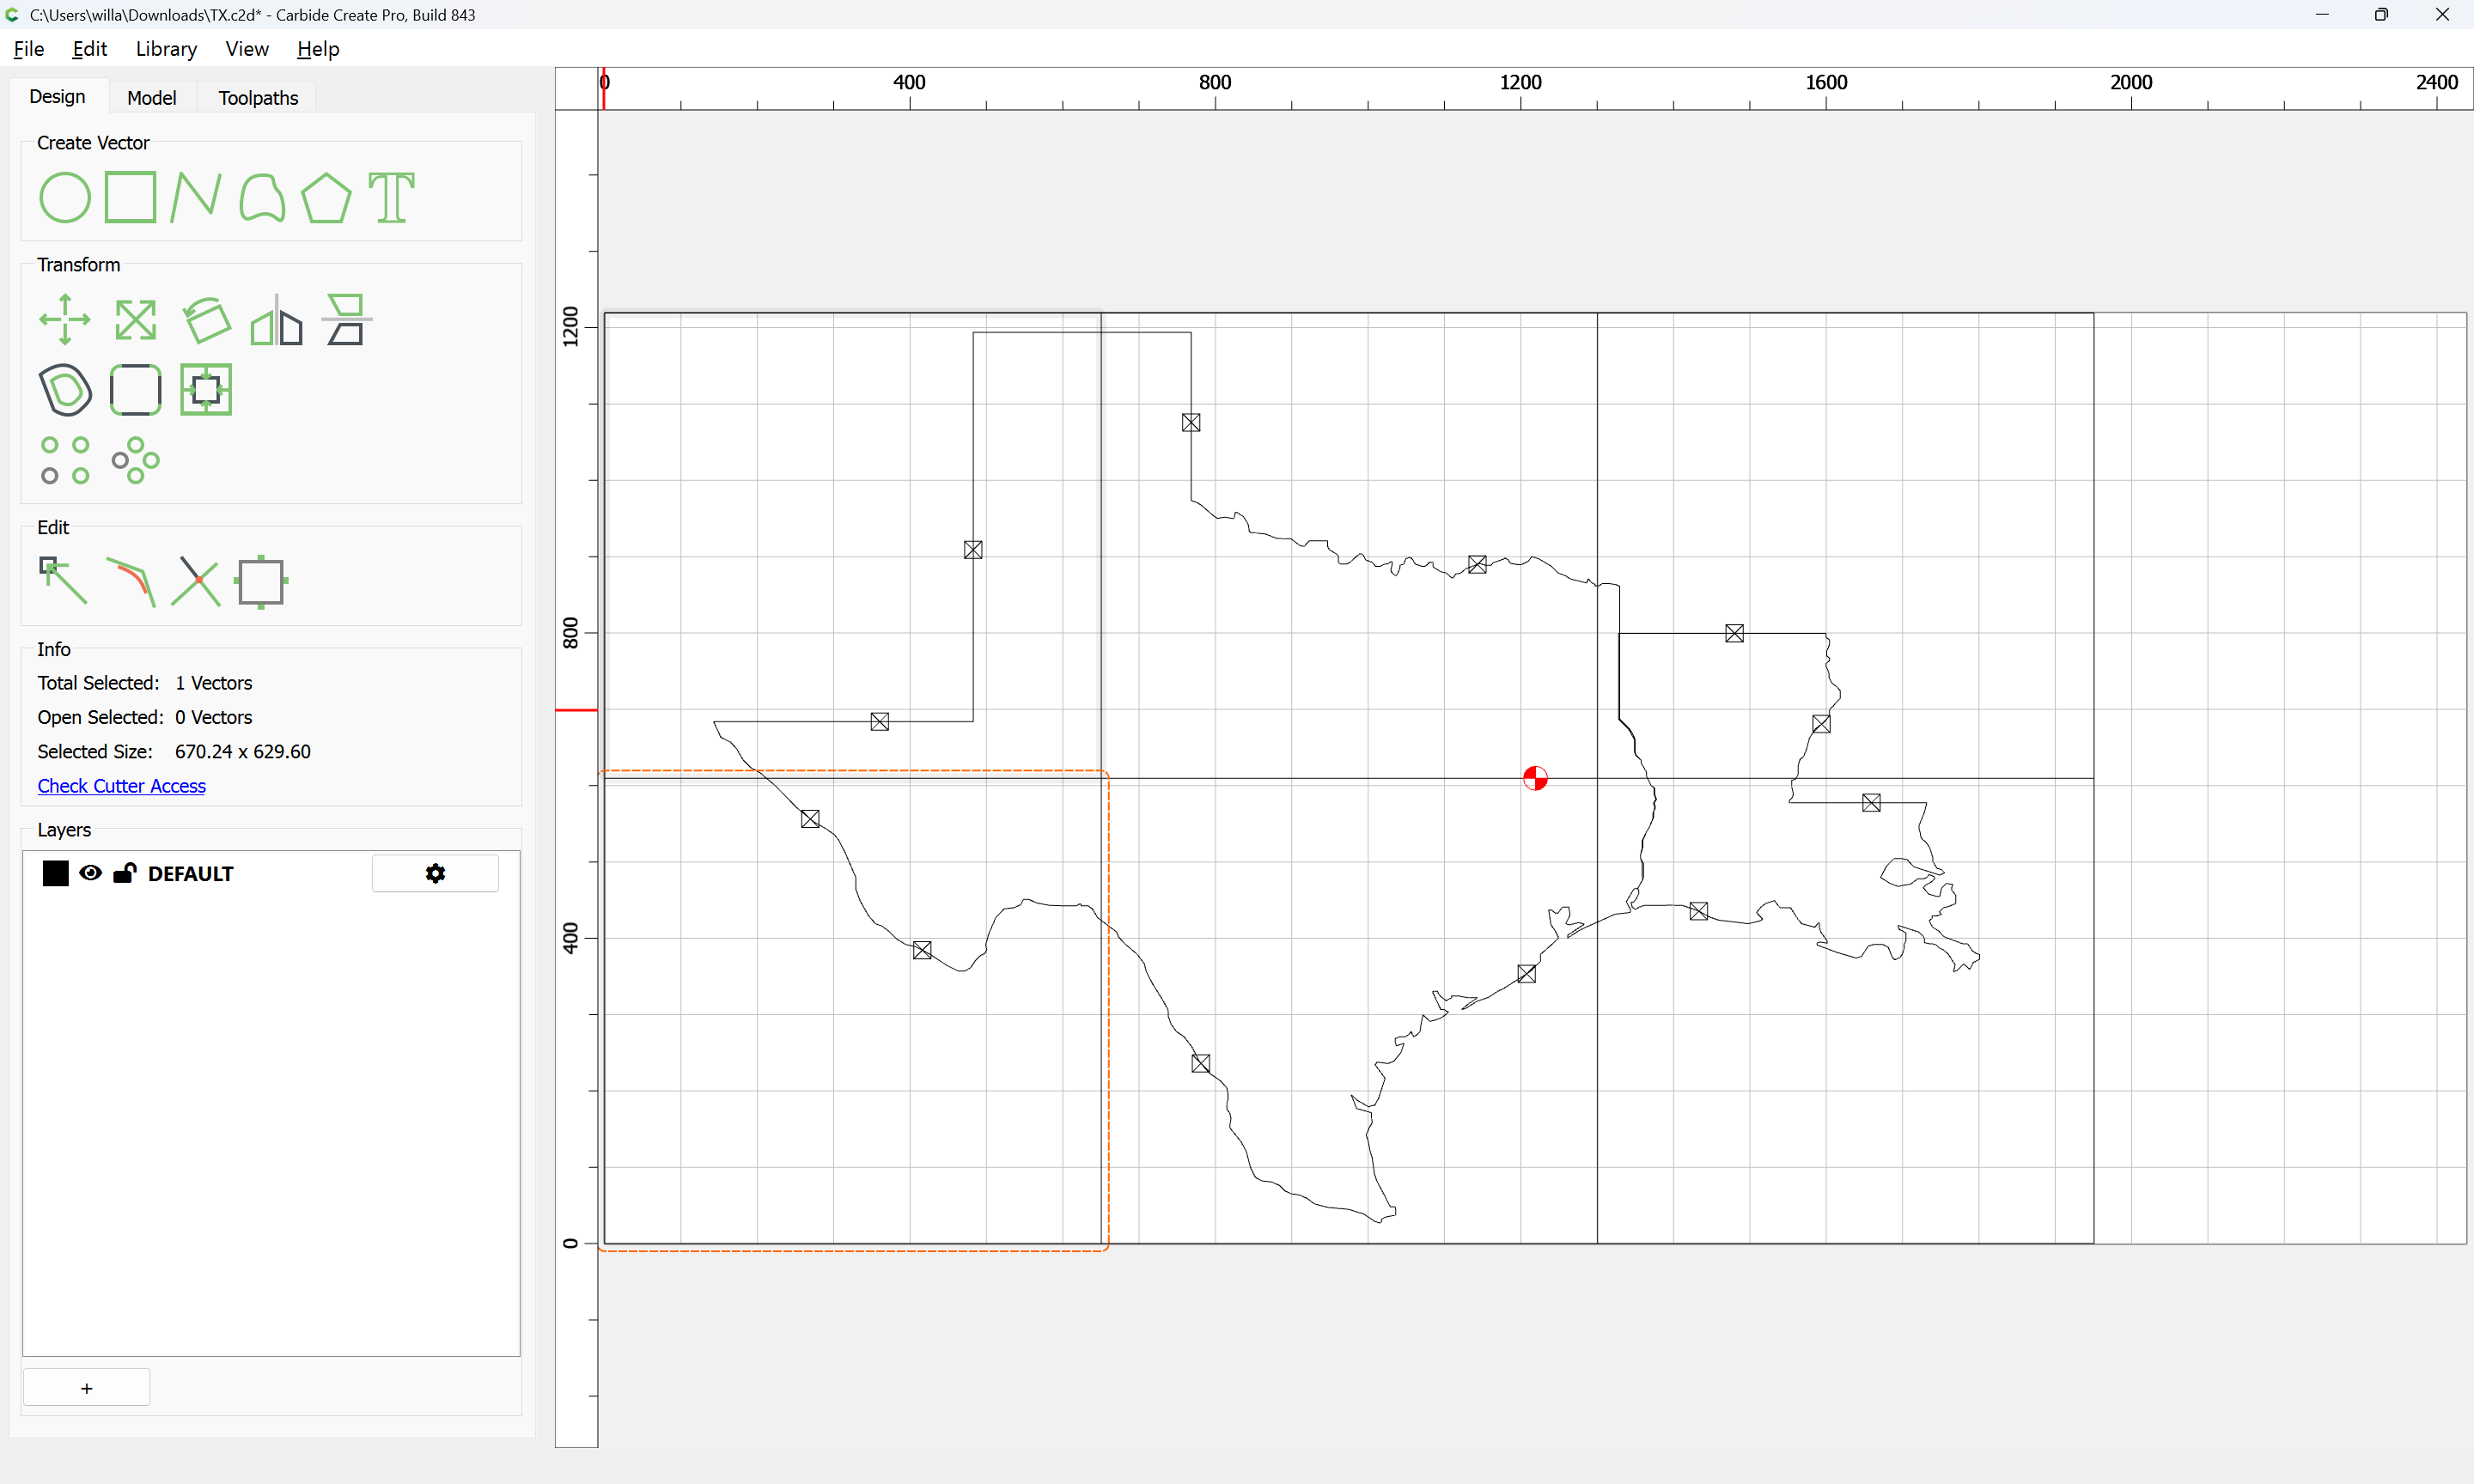
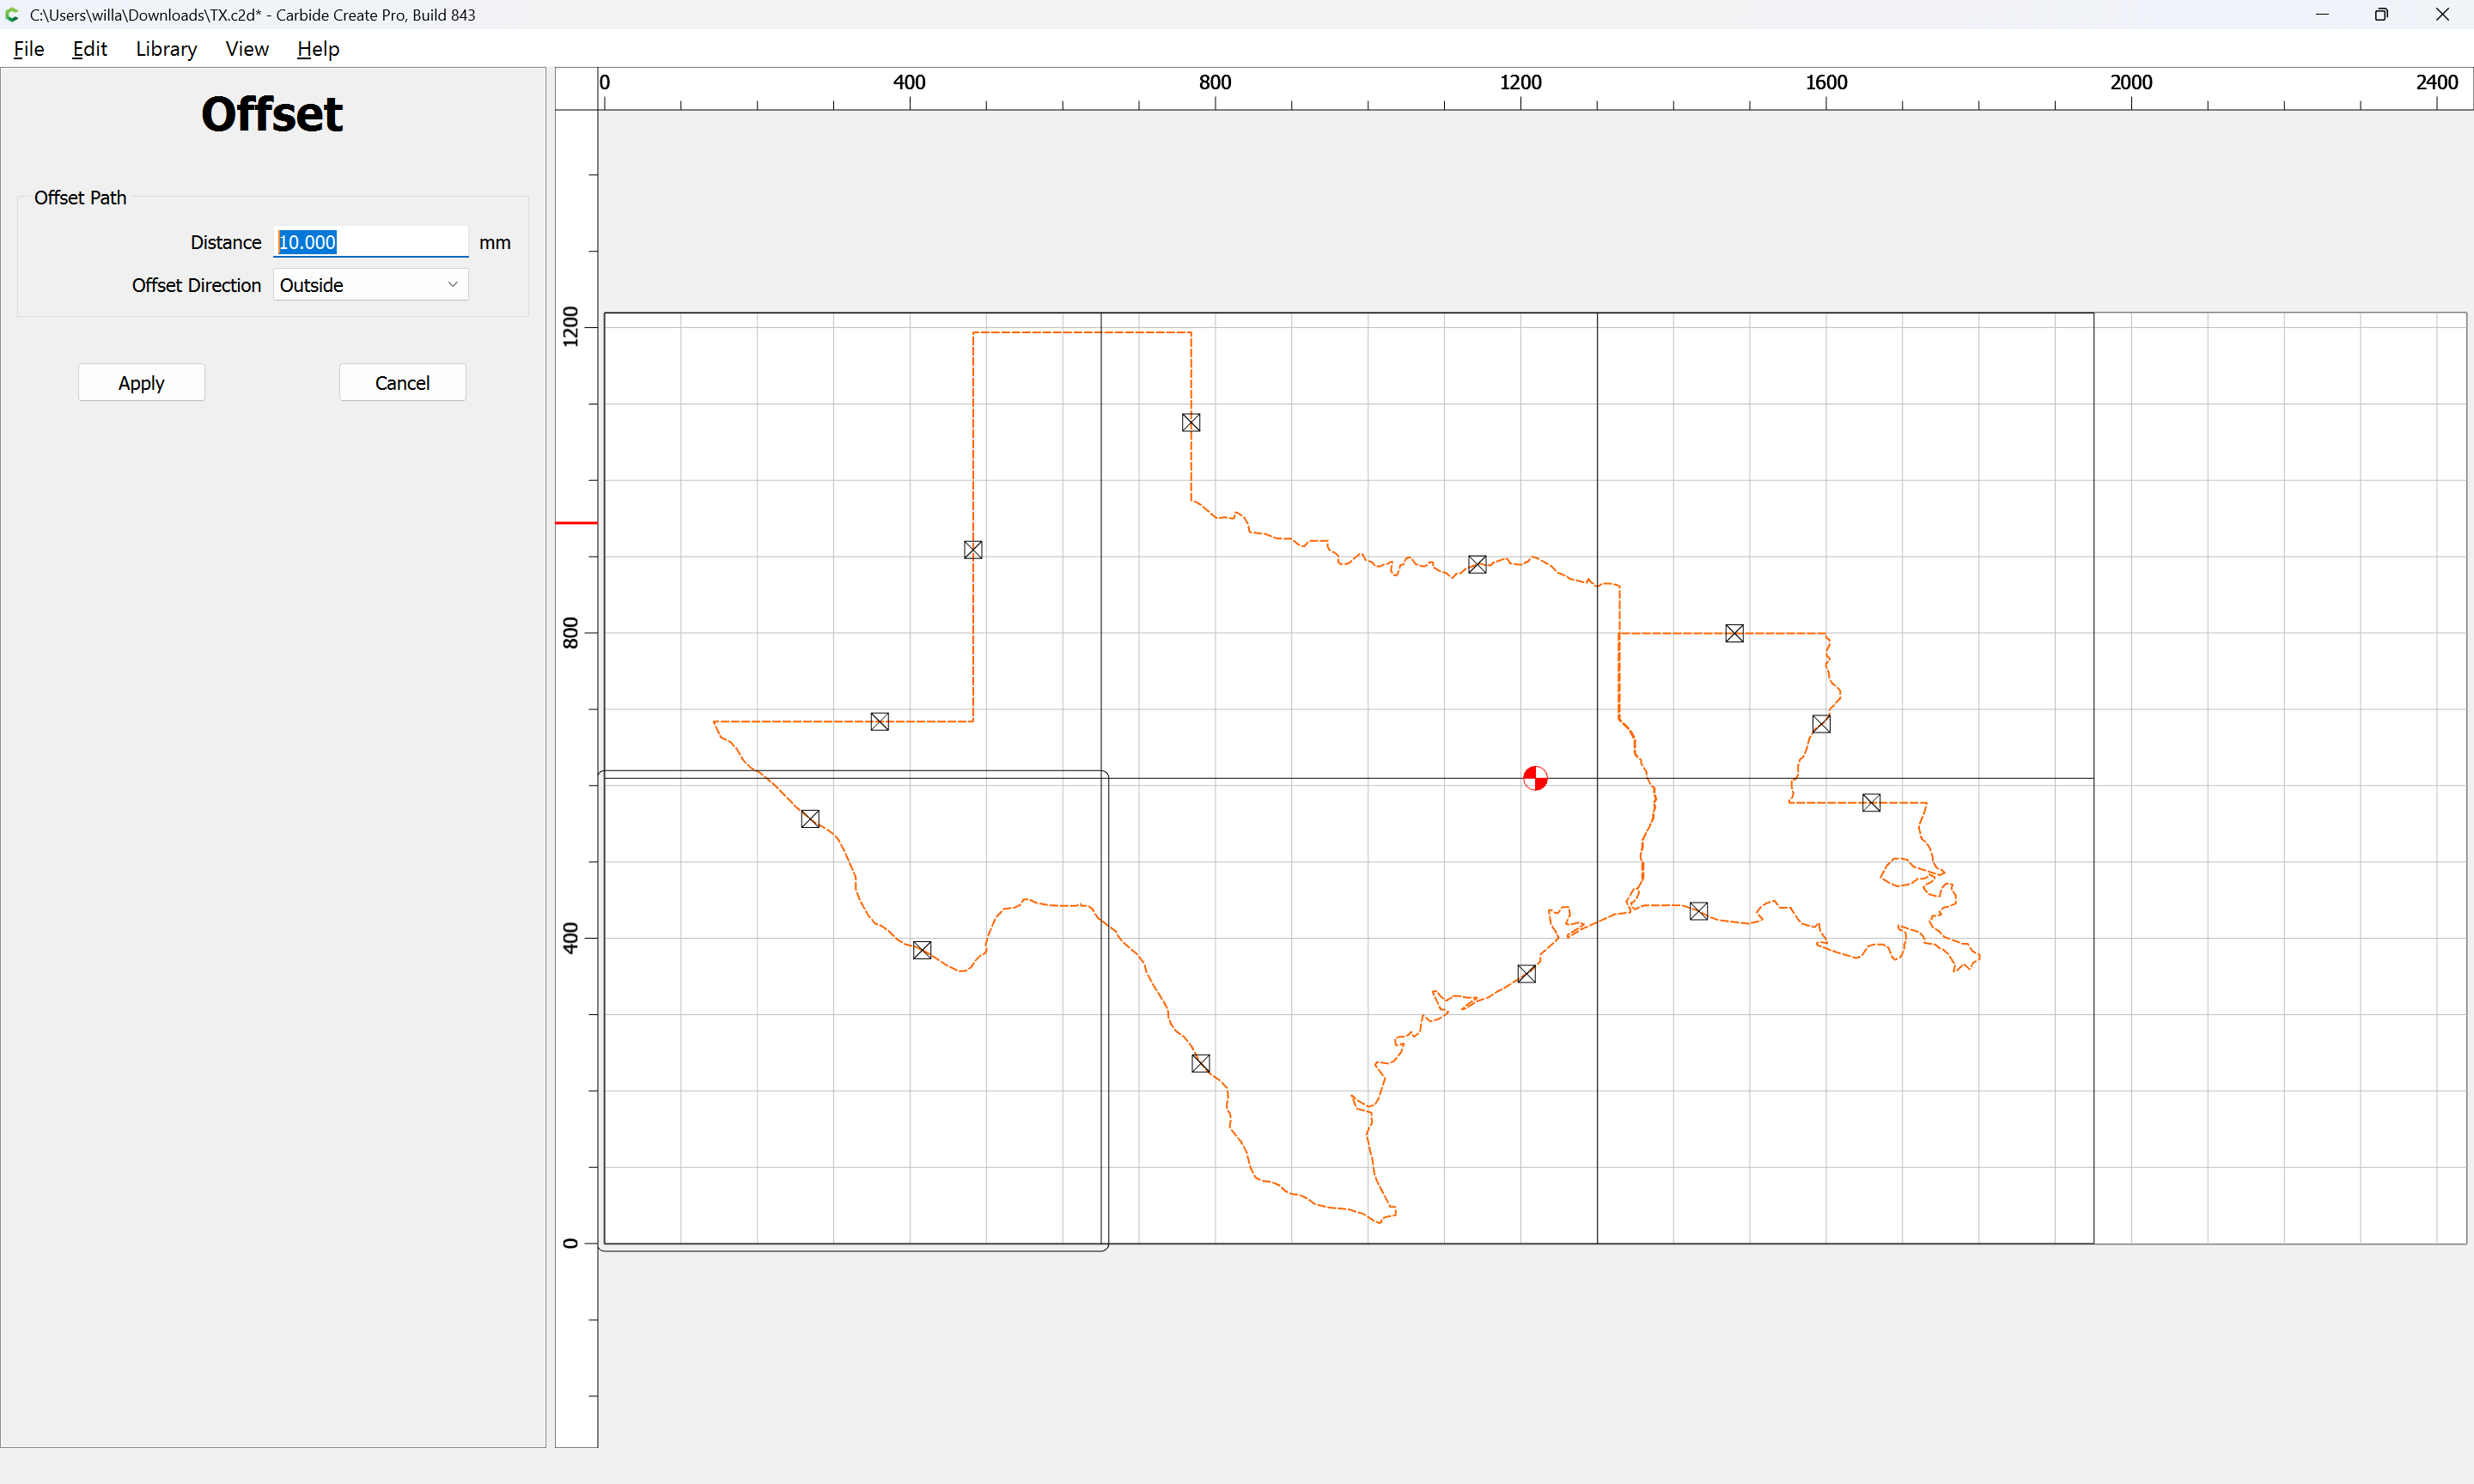
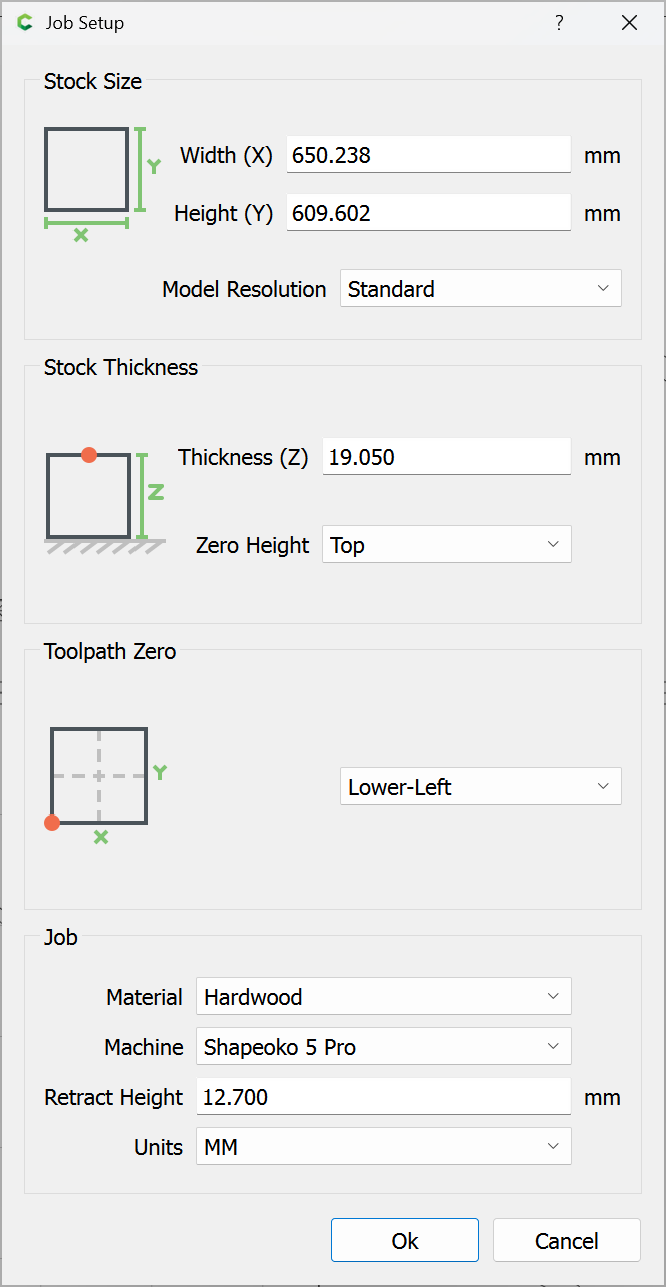
So we offset each by endmill diameter plus 10% or so — to make things easy, we’ll switch to metric and use 10mm (assuming an 8mm tool):

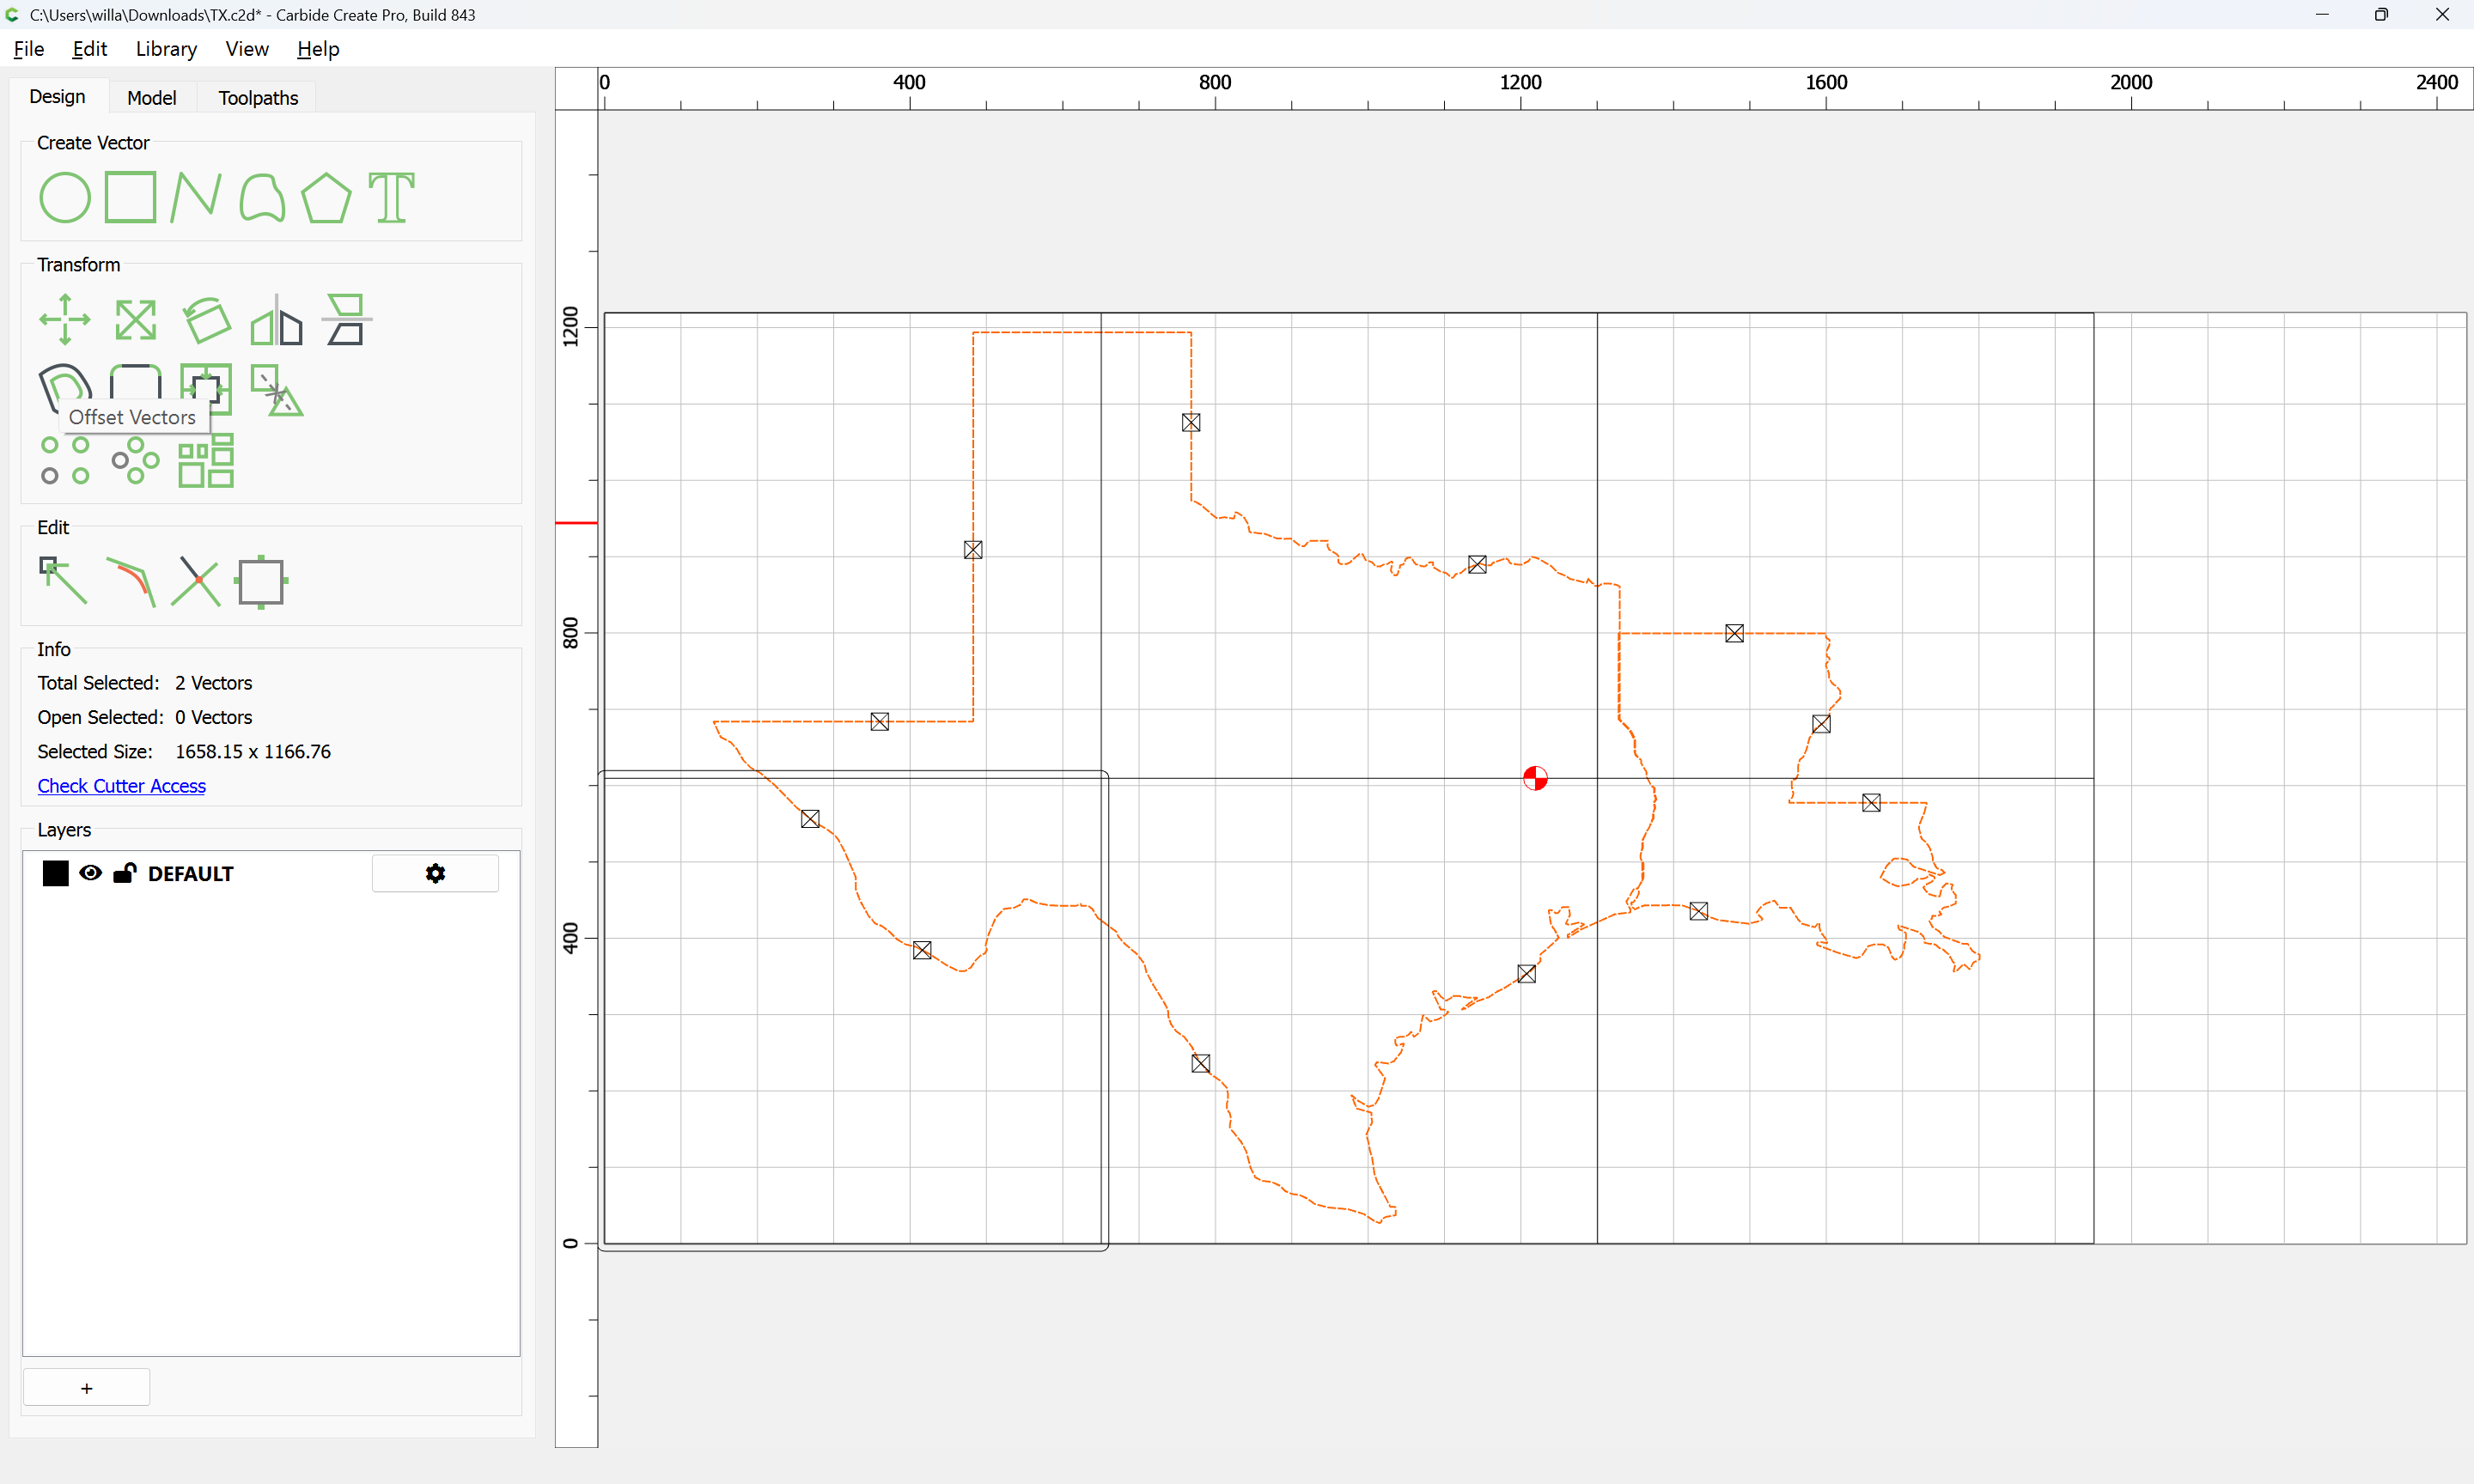
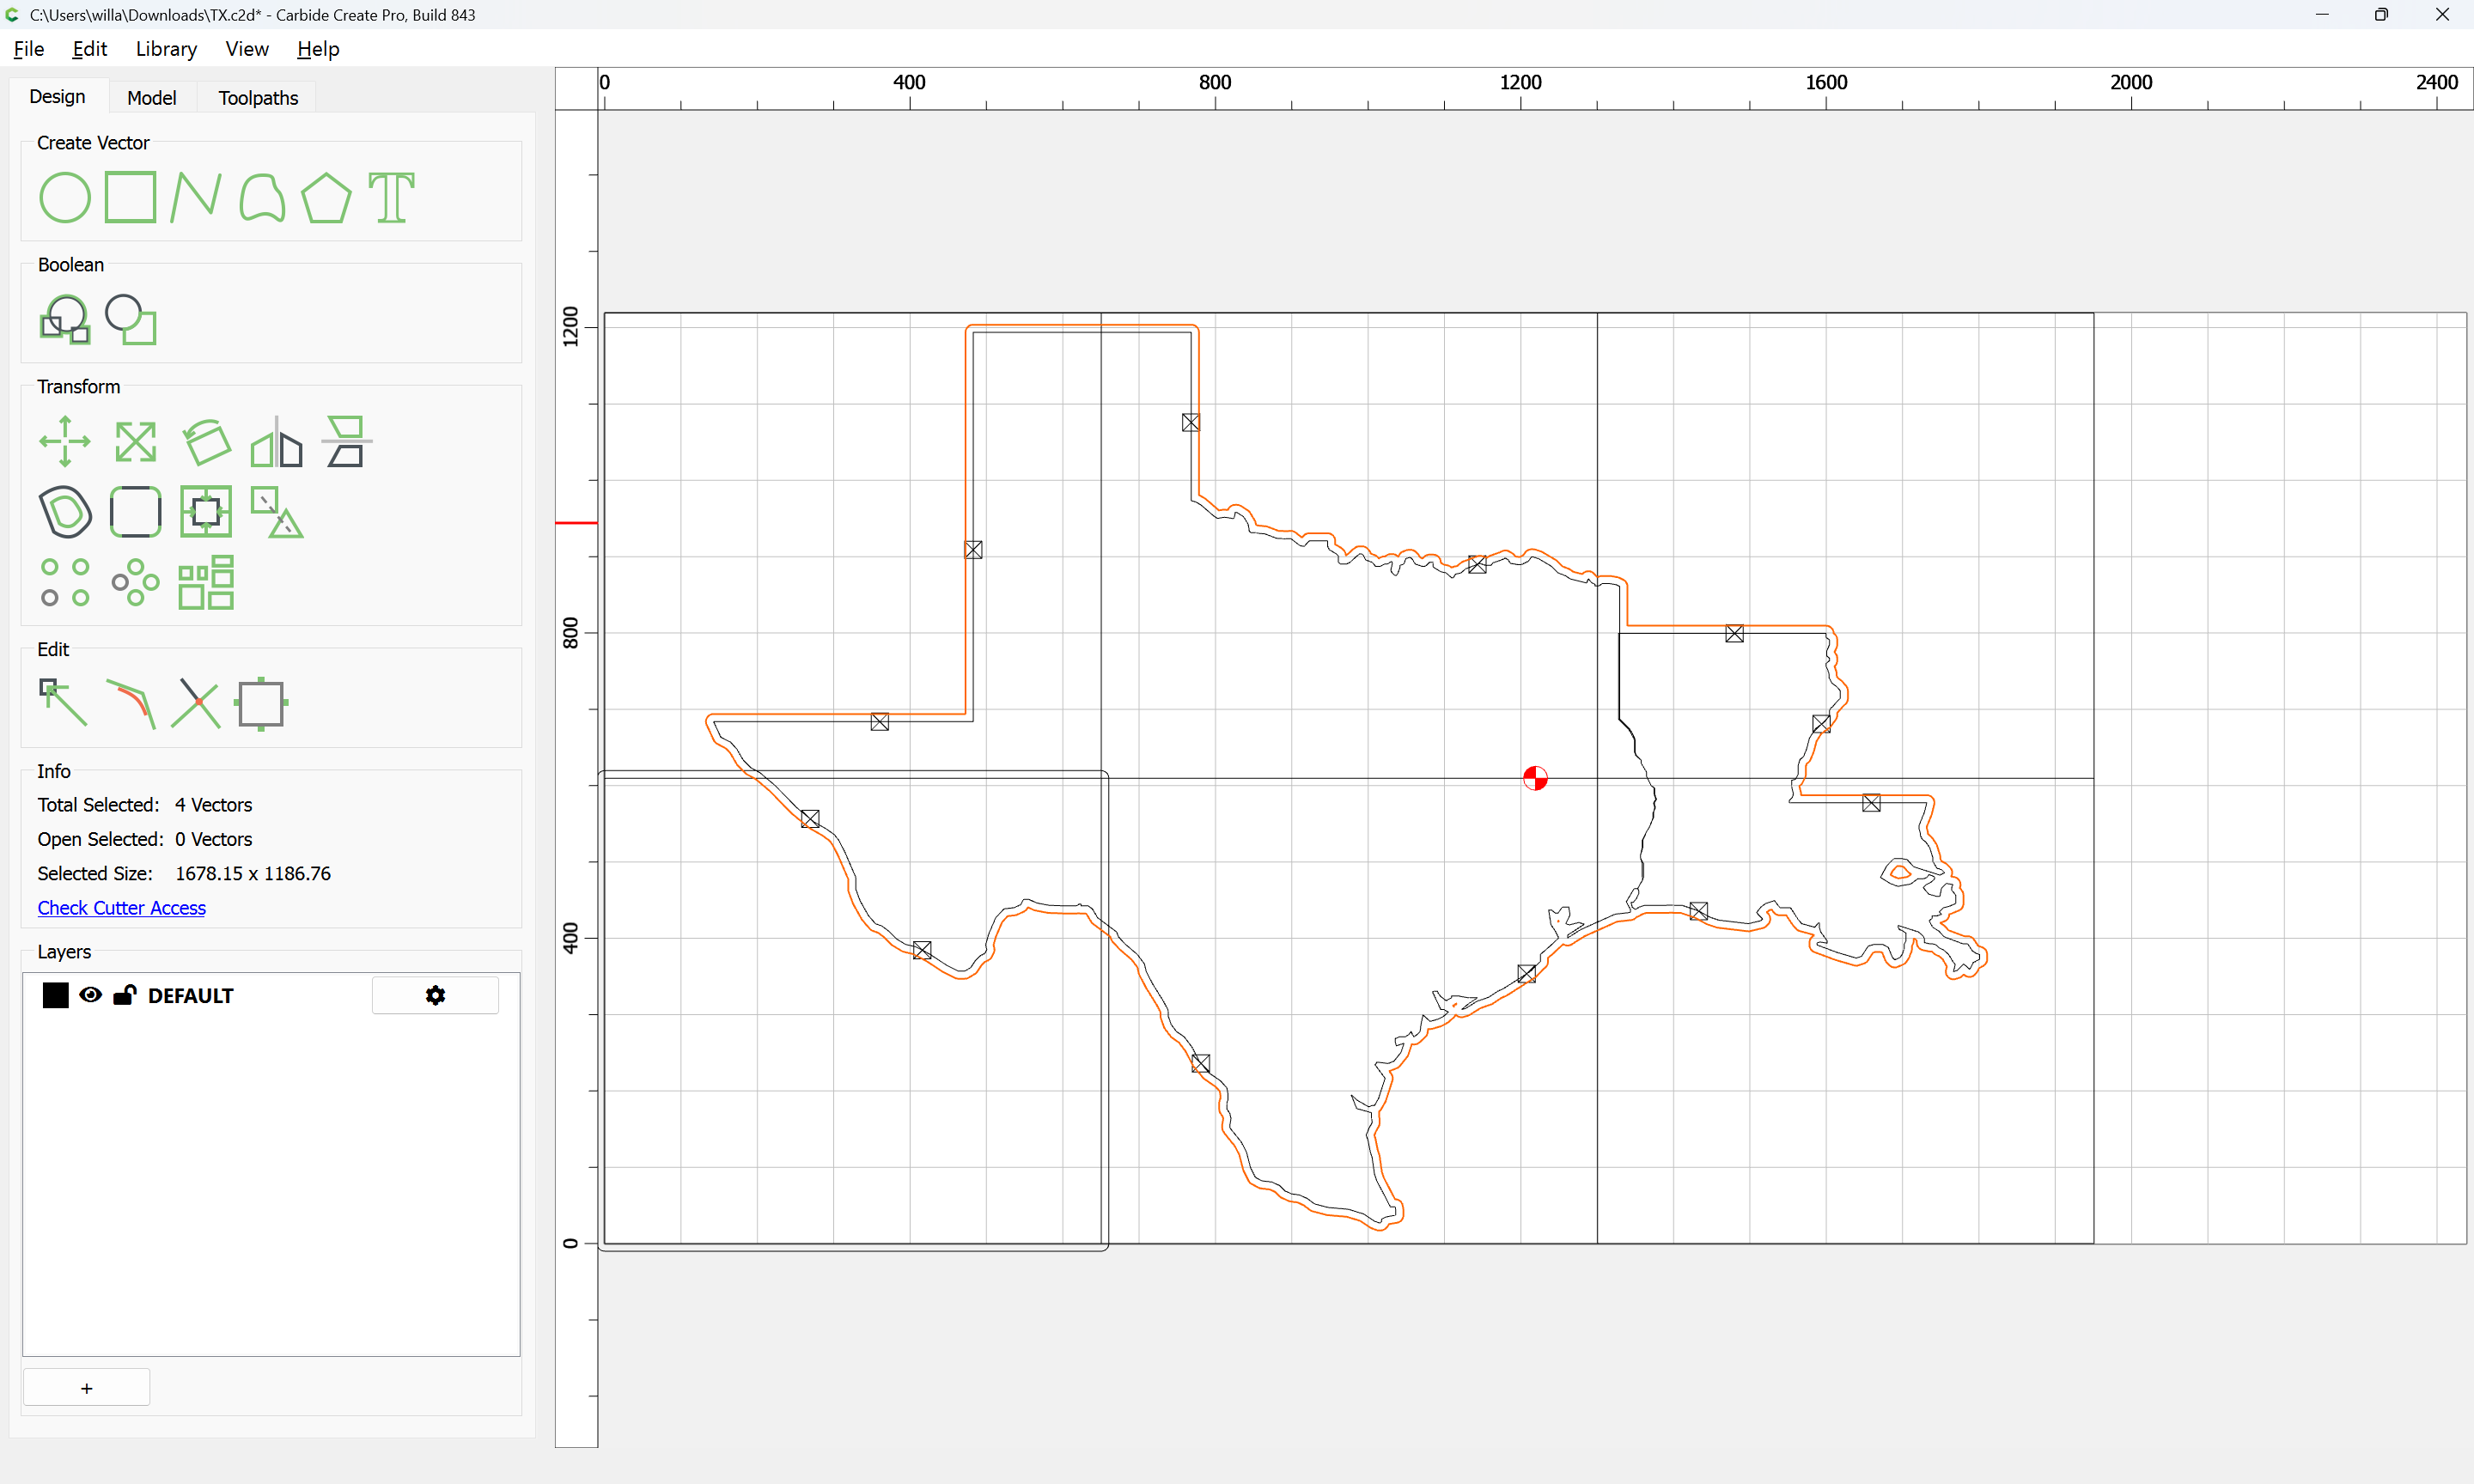
It will also be necessary to offset the state outline:

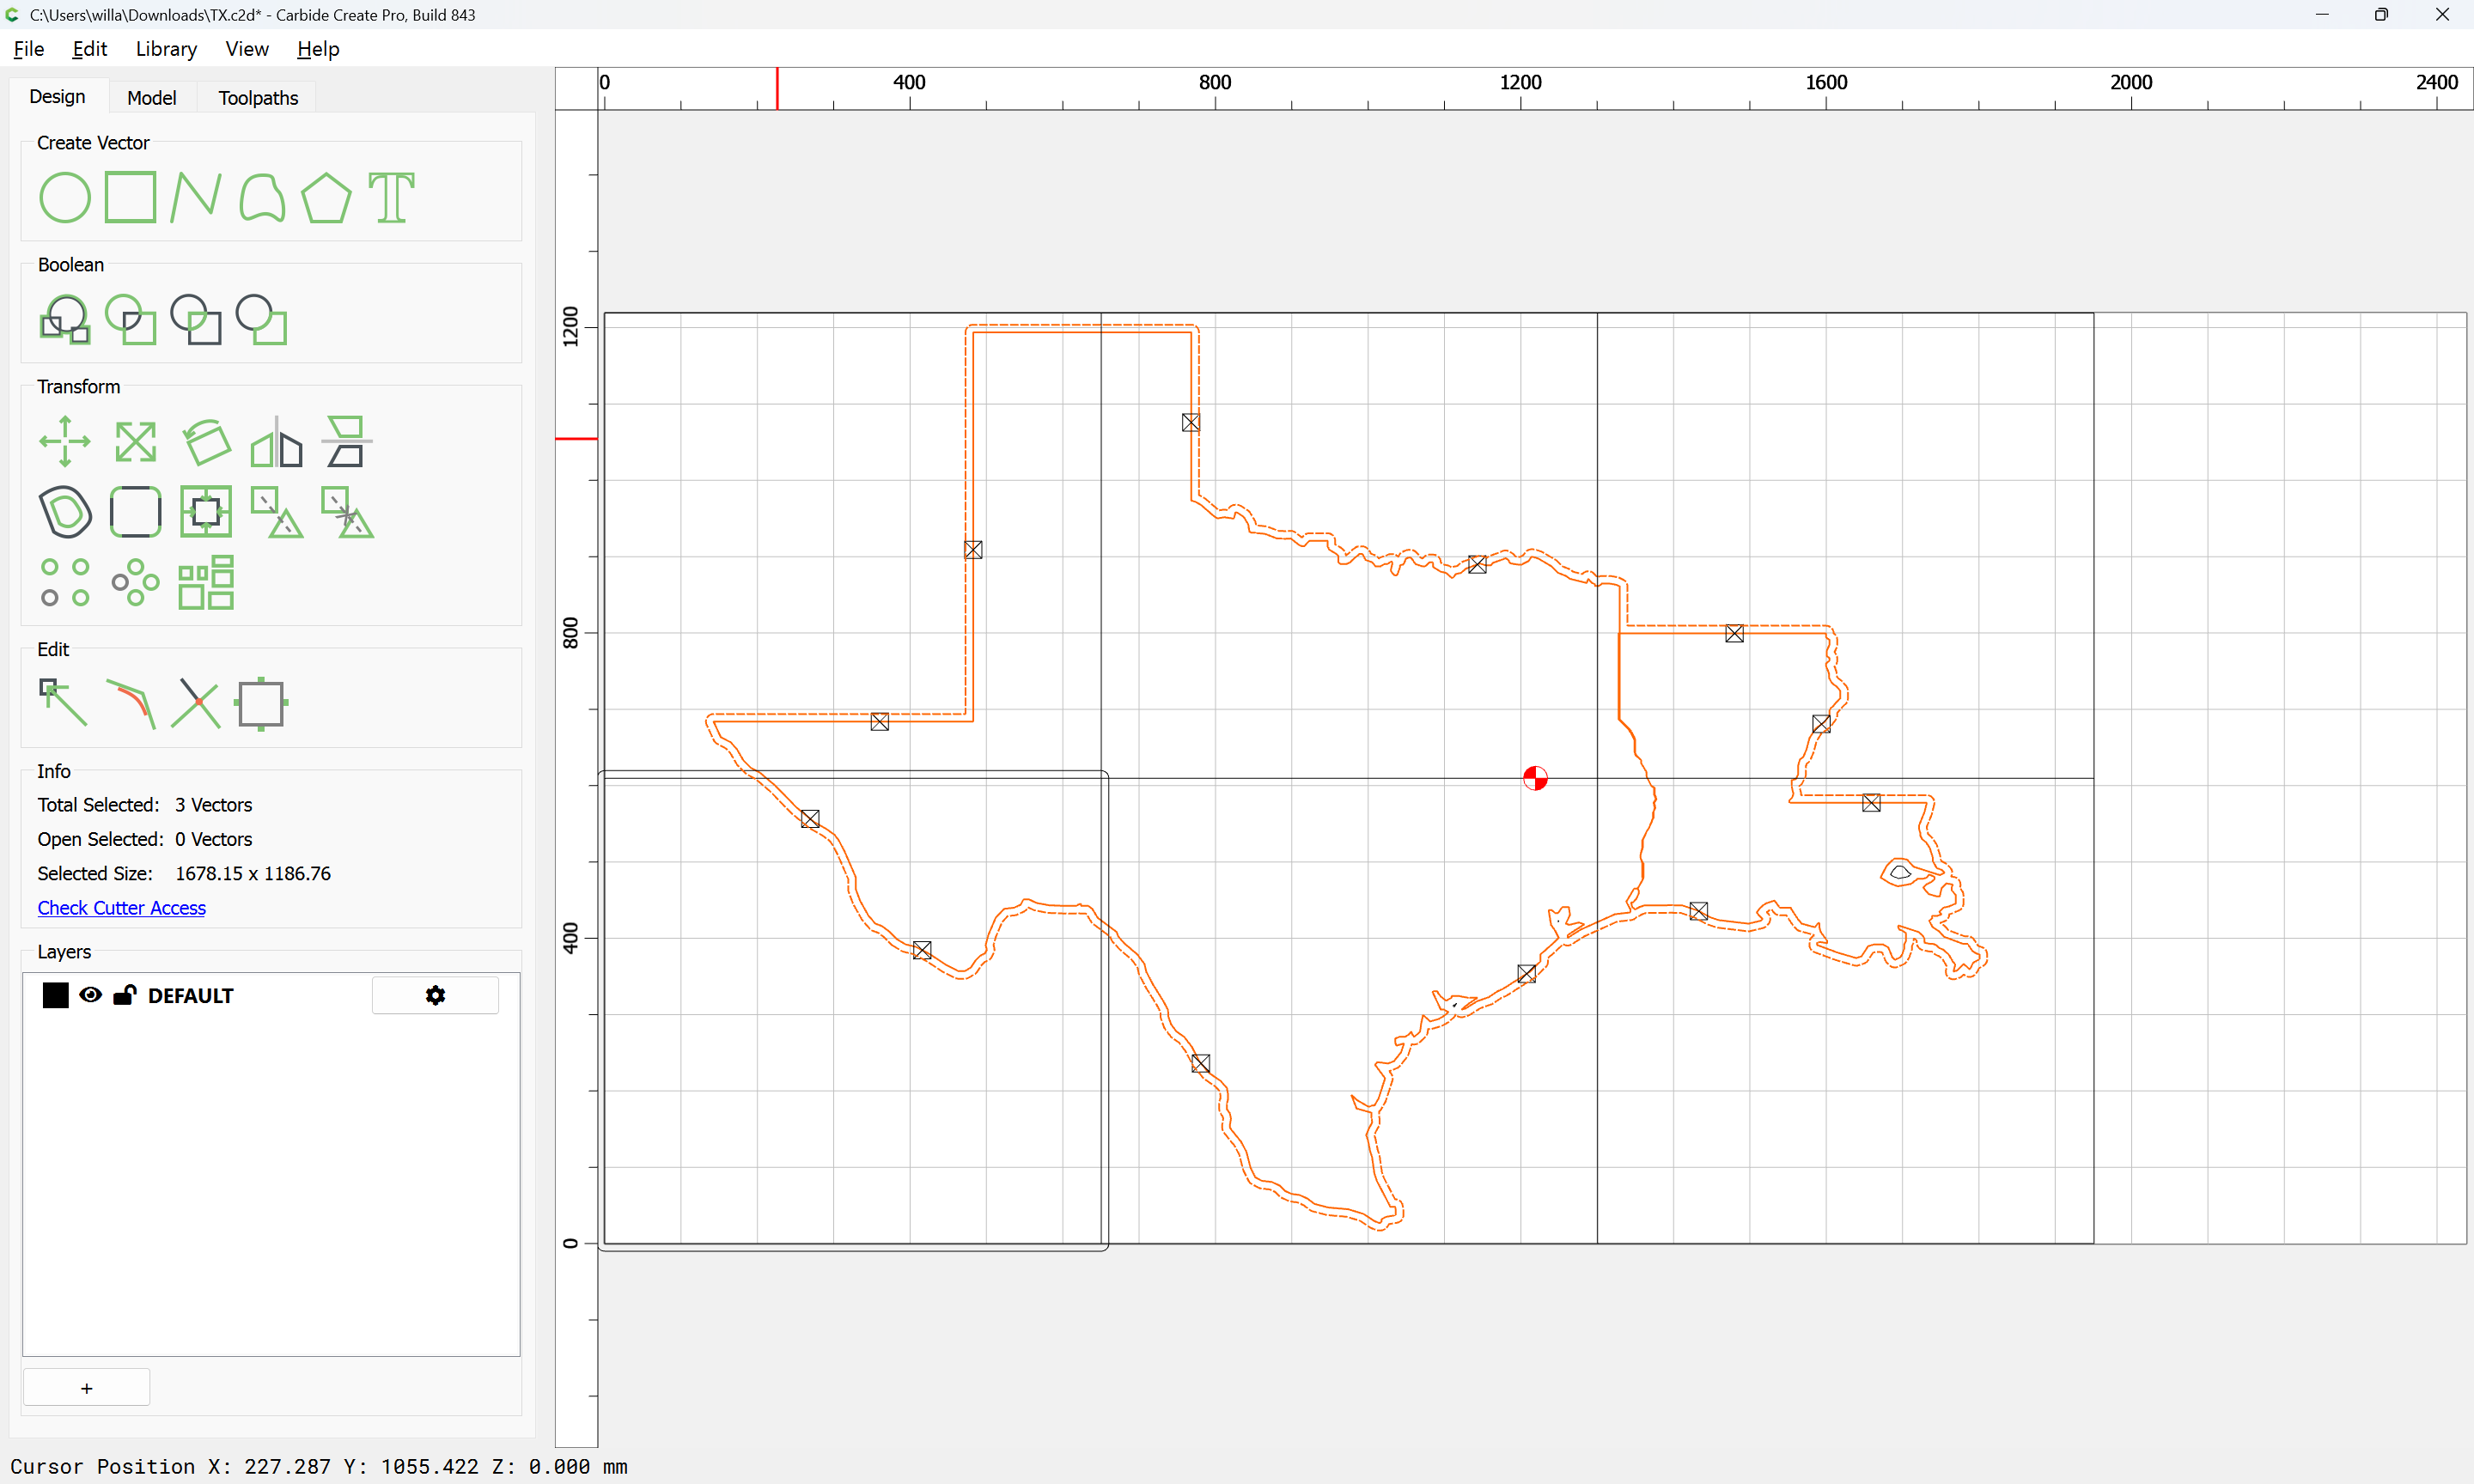
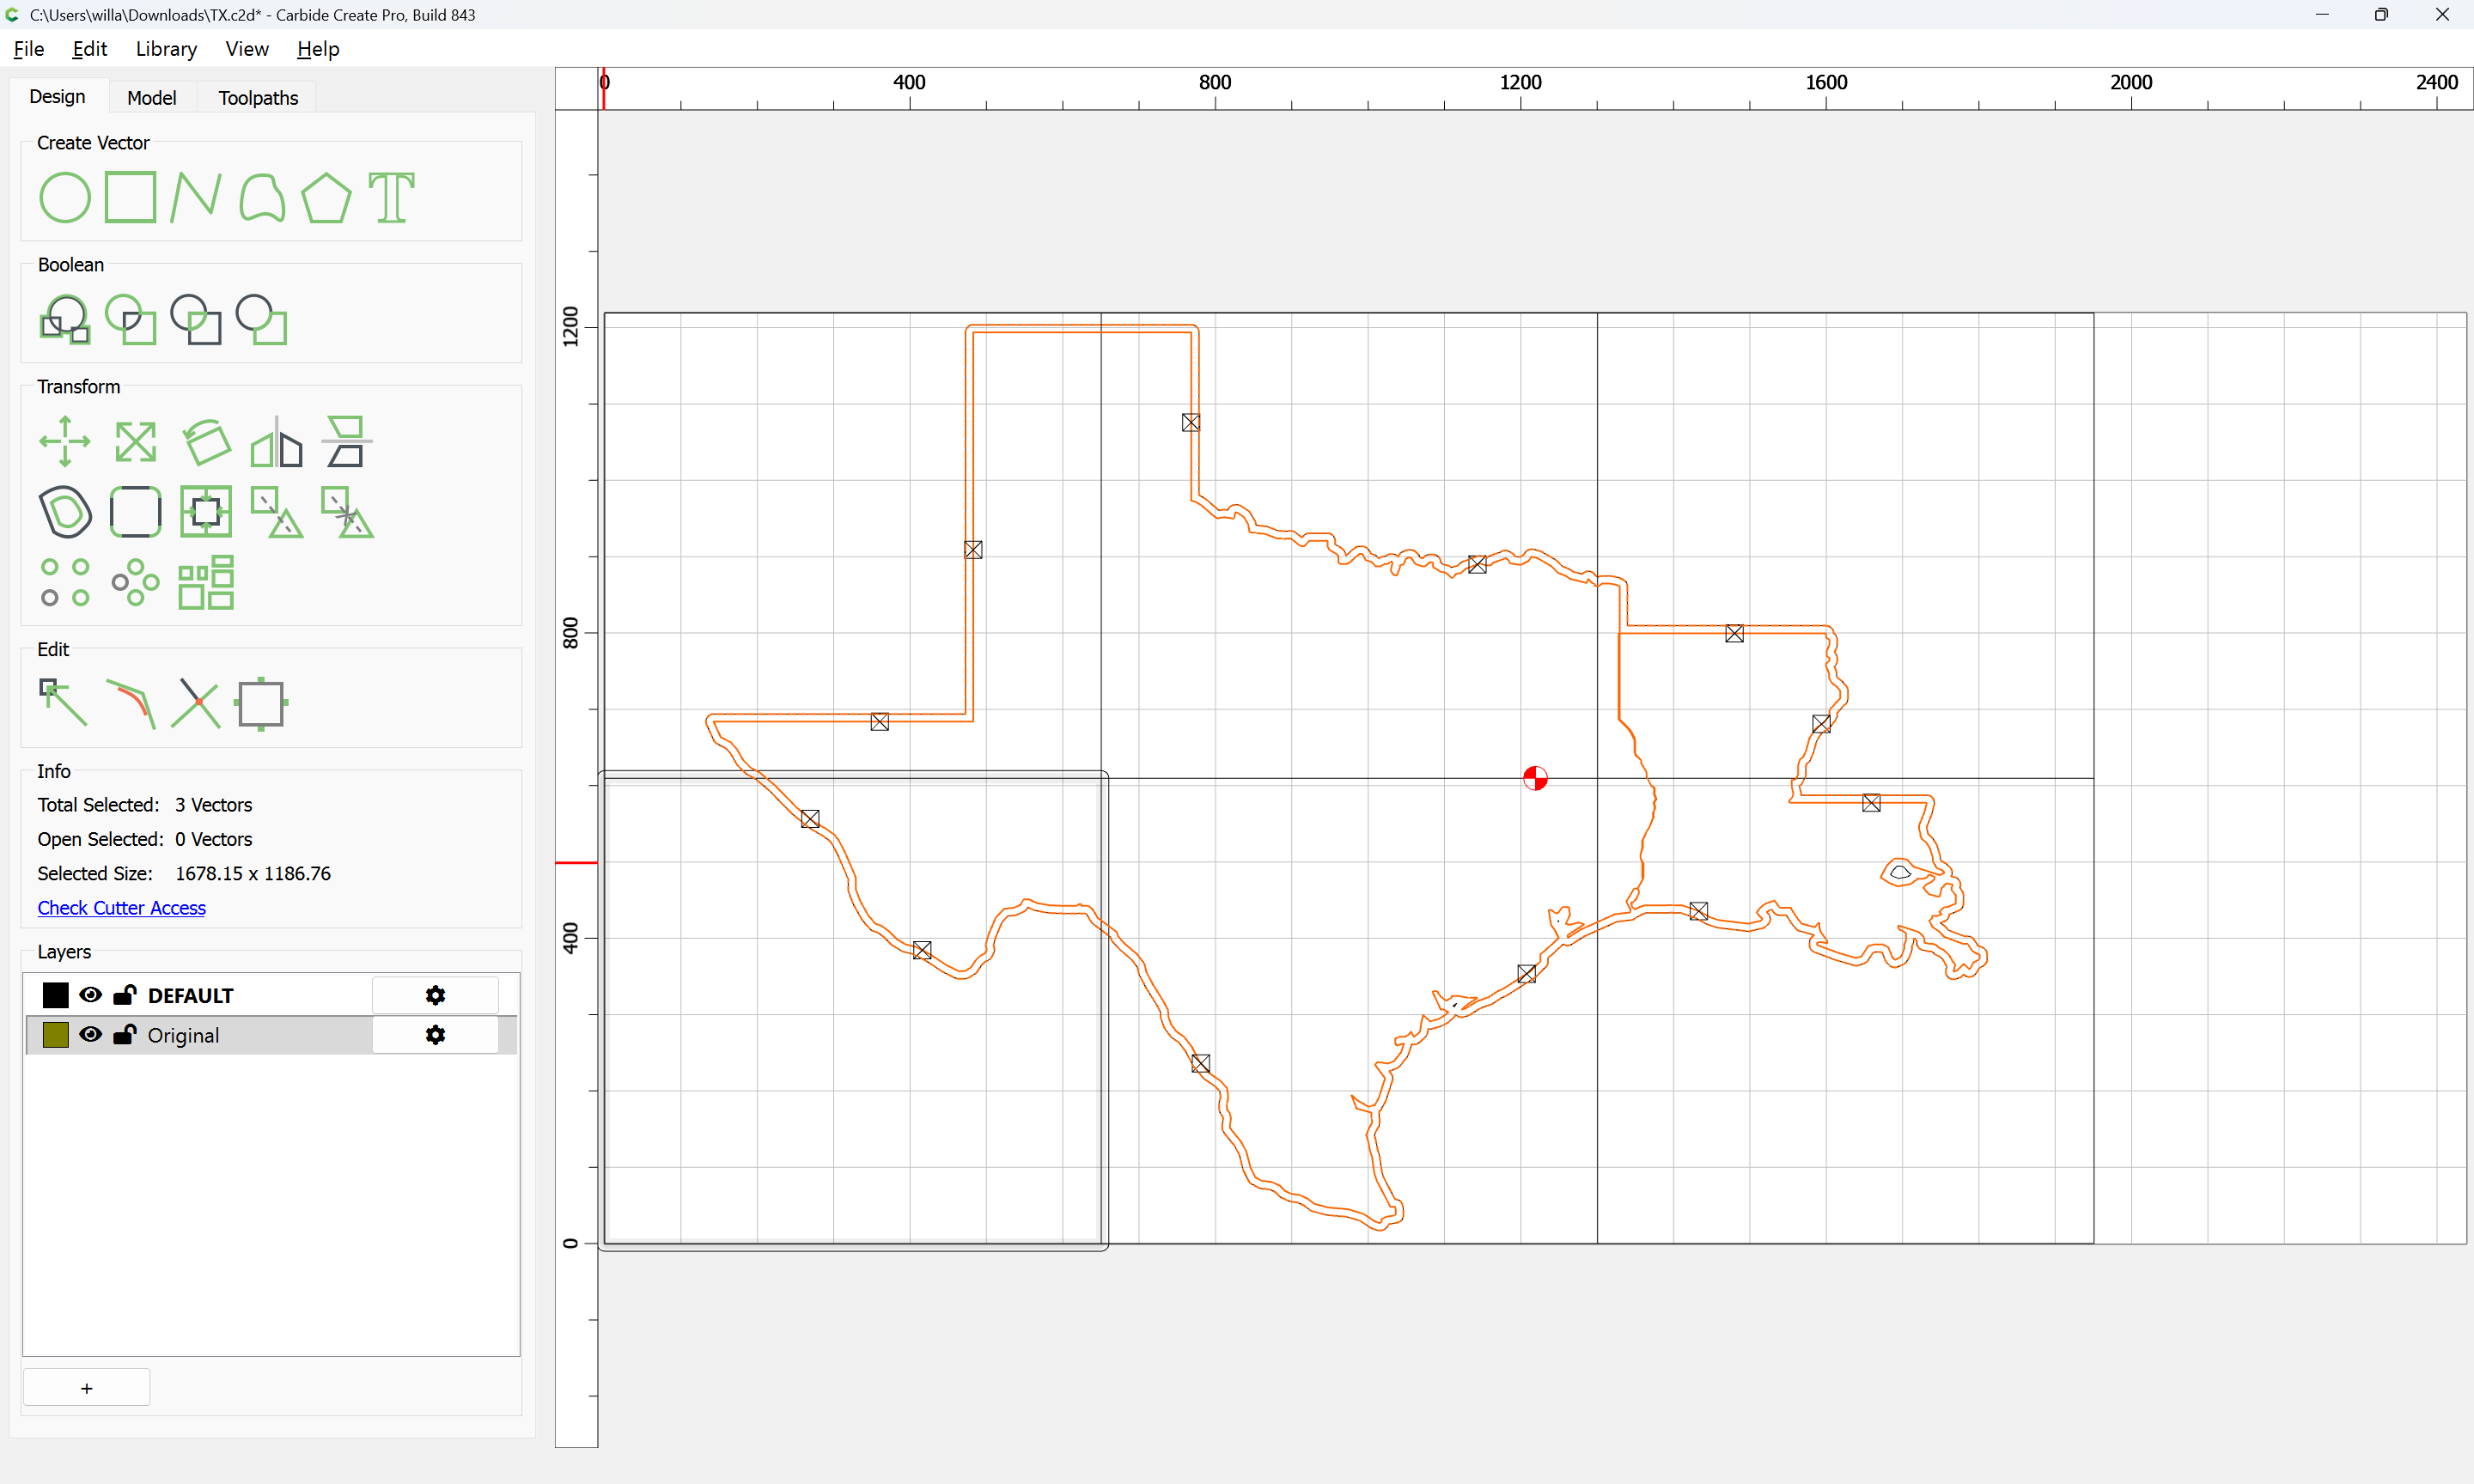
It will be necessary to duplicate this outline and that of the state for each tile:

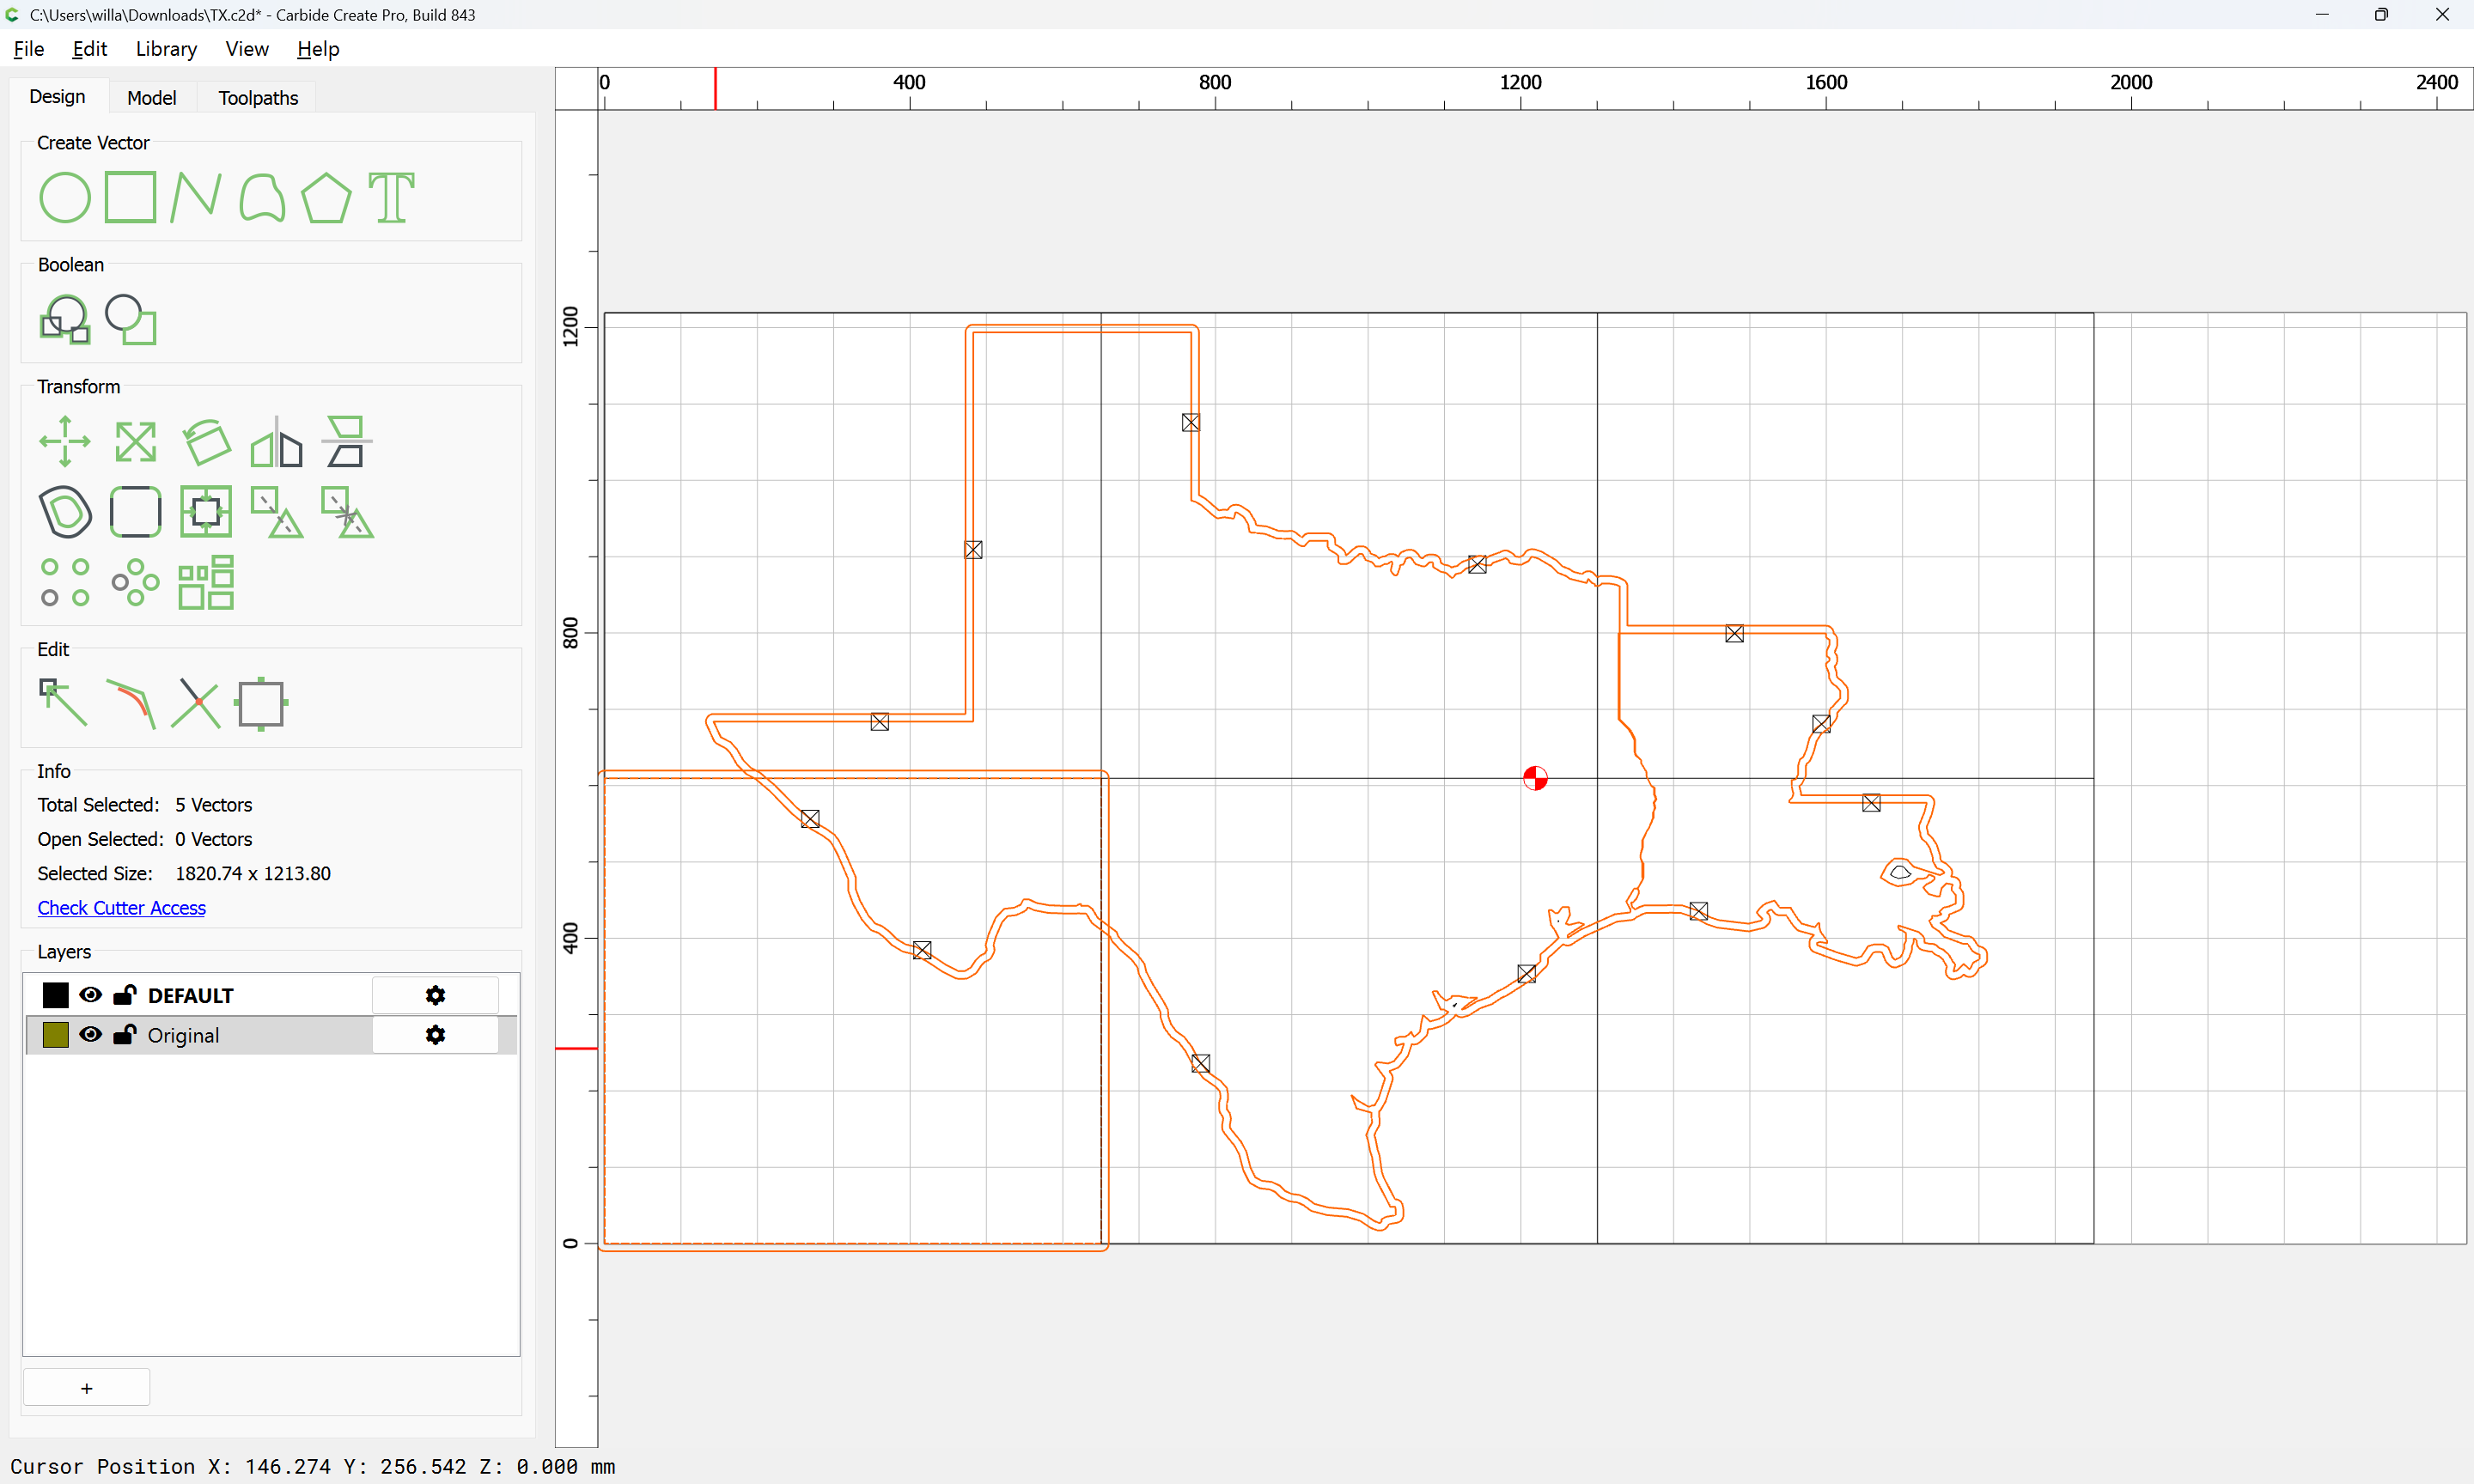
select

and copy-paste for each desired copy, or, make a new layer:

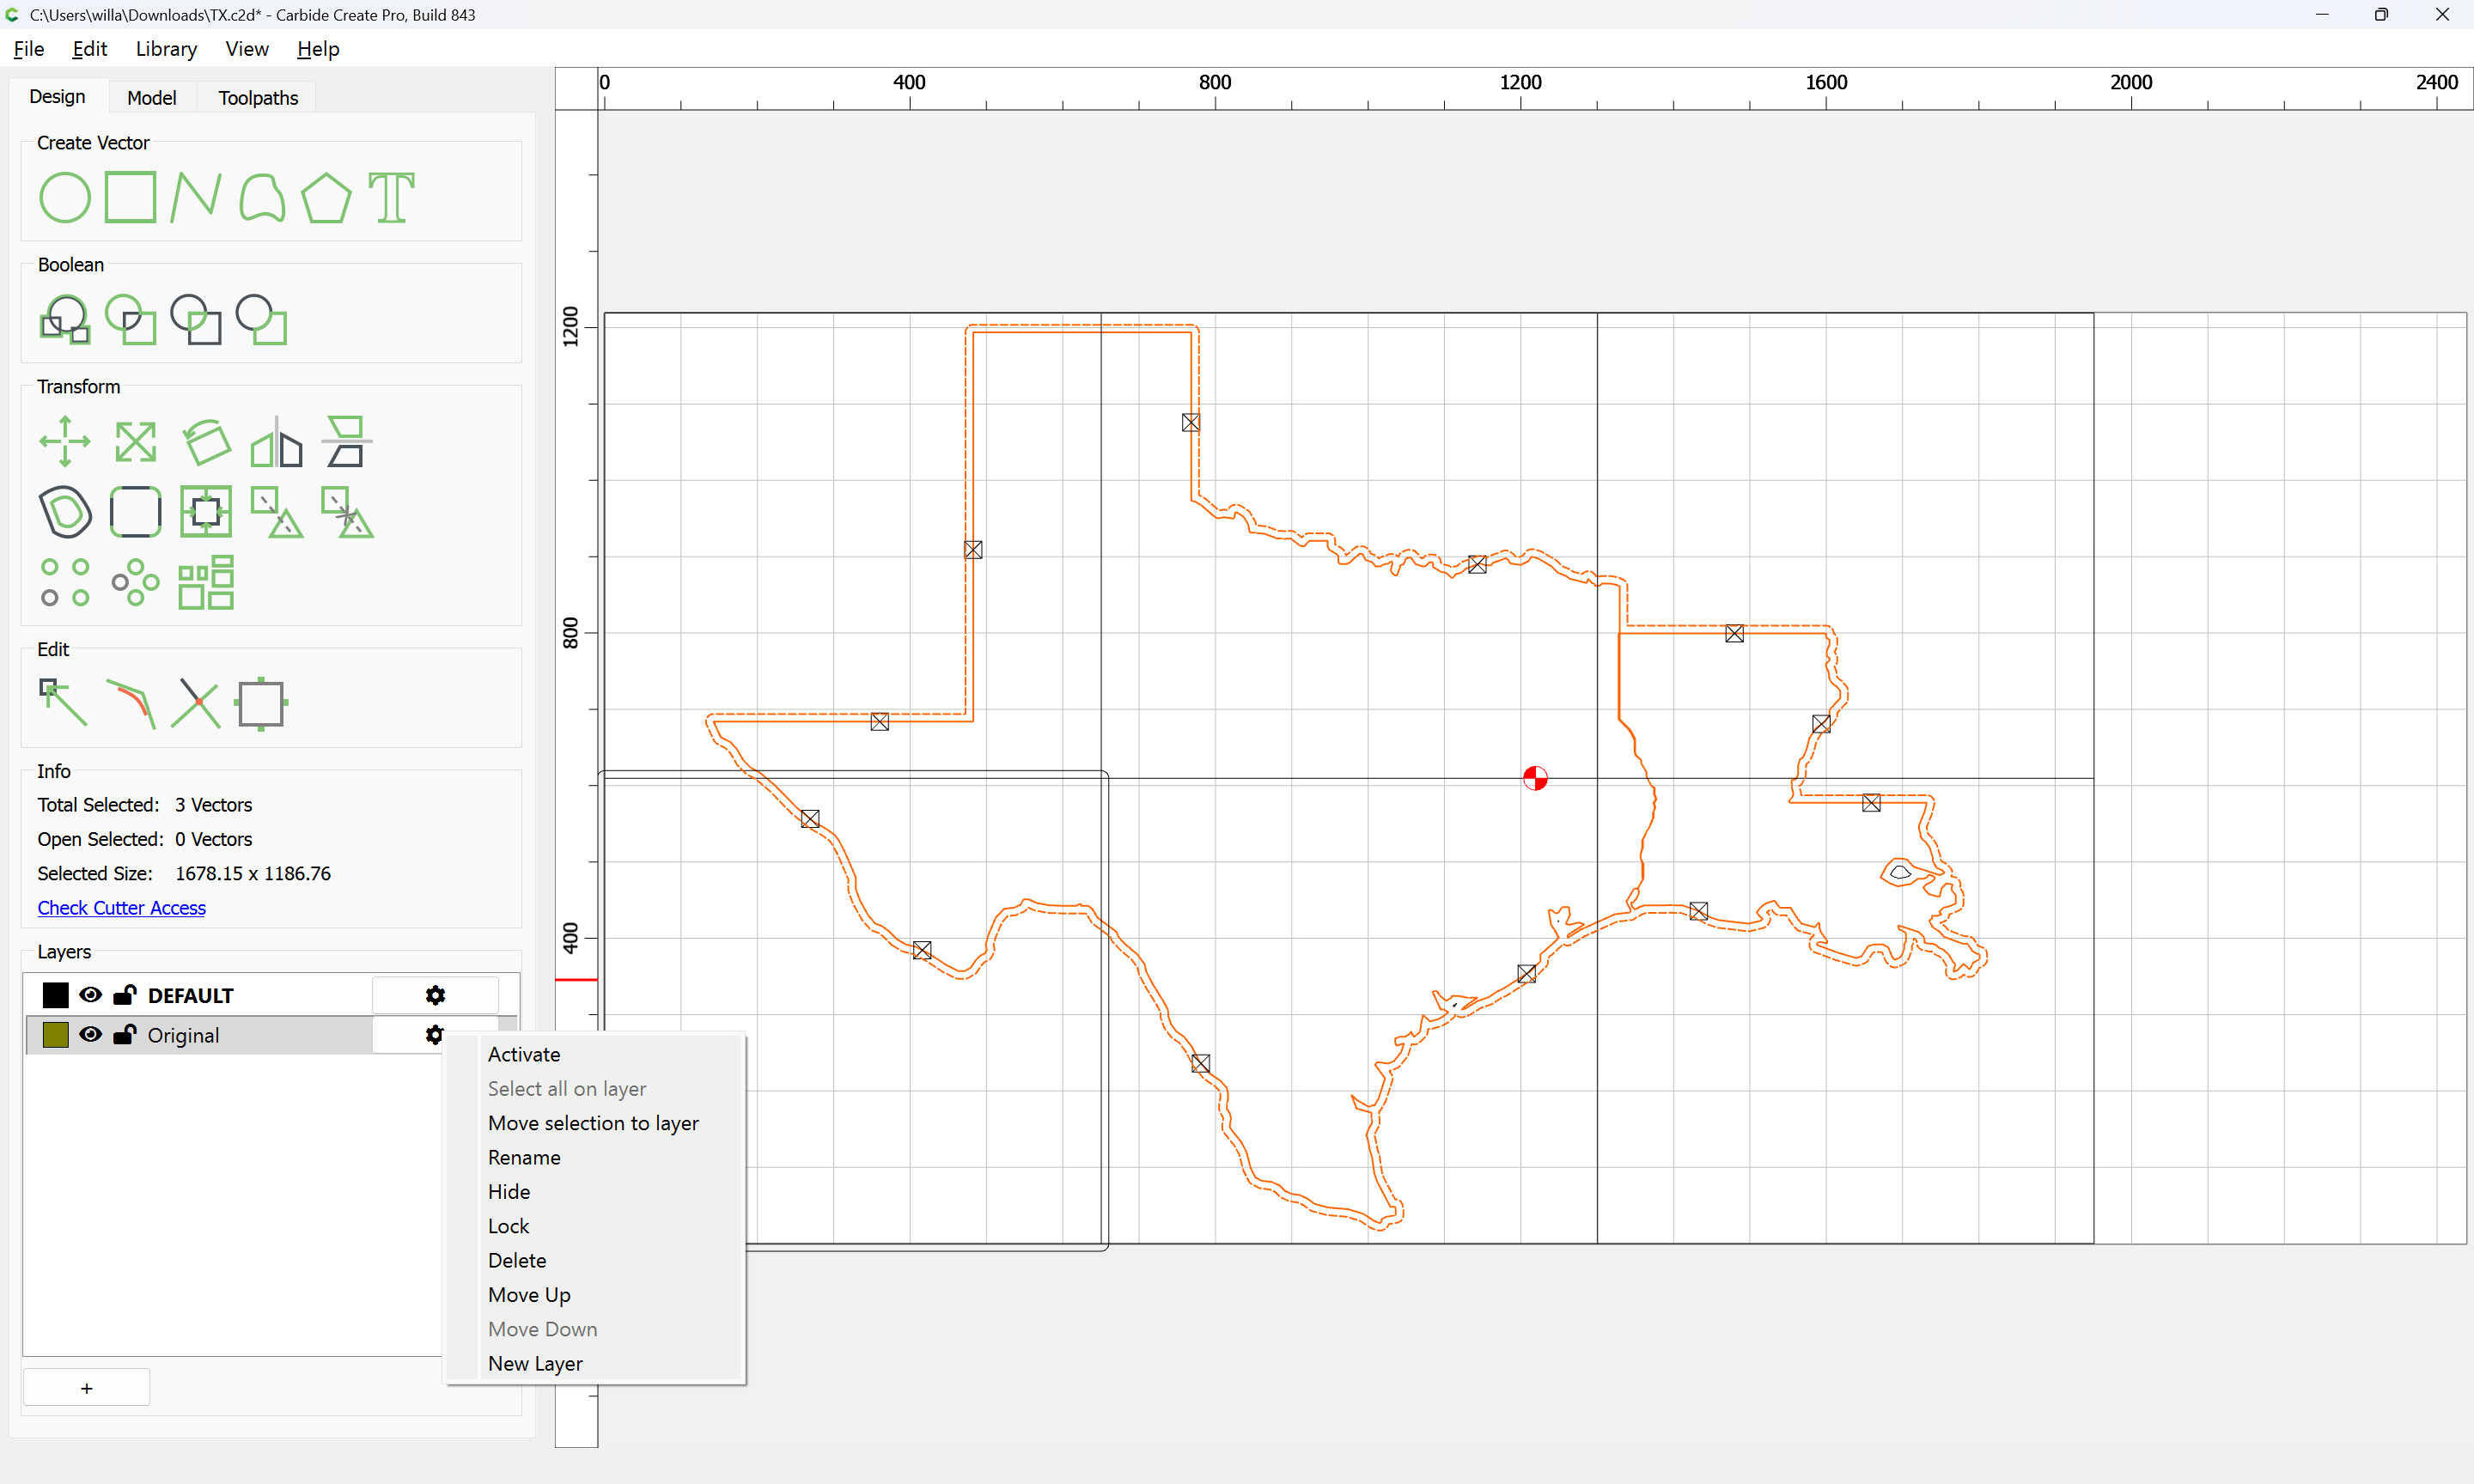
move to that layer:

and replicate at need:

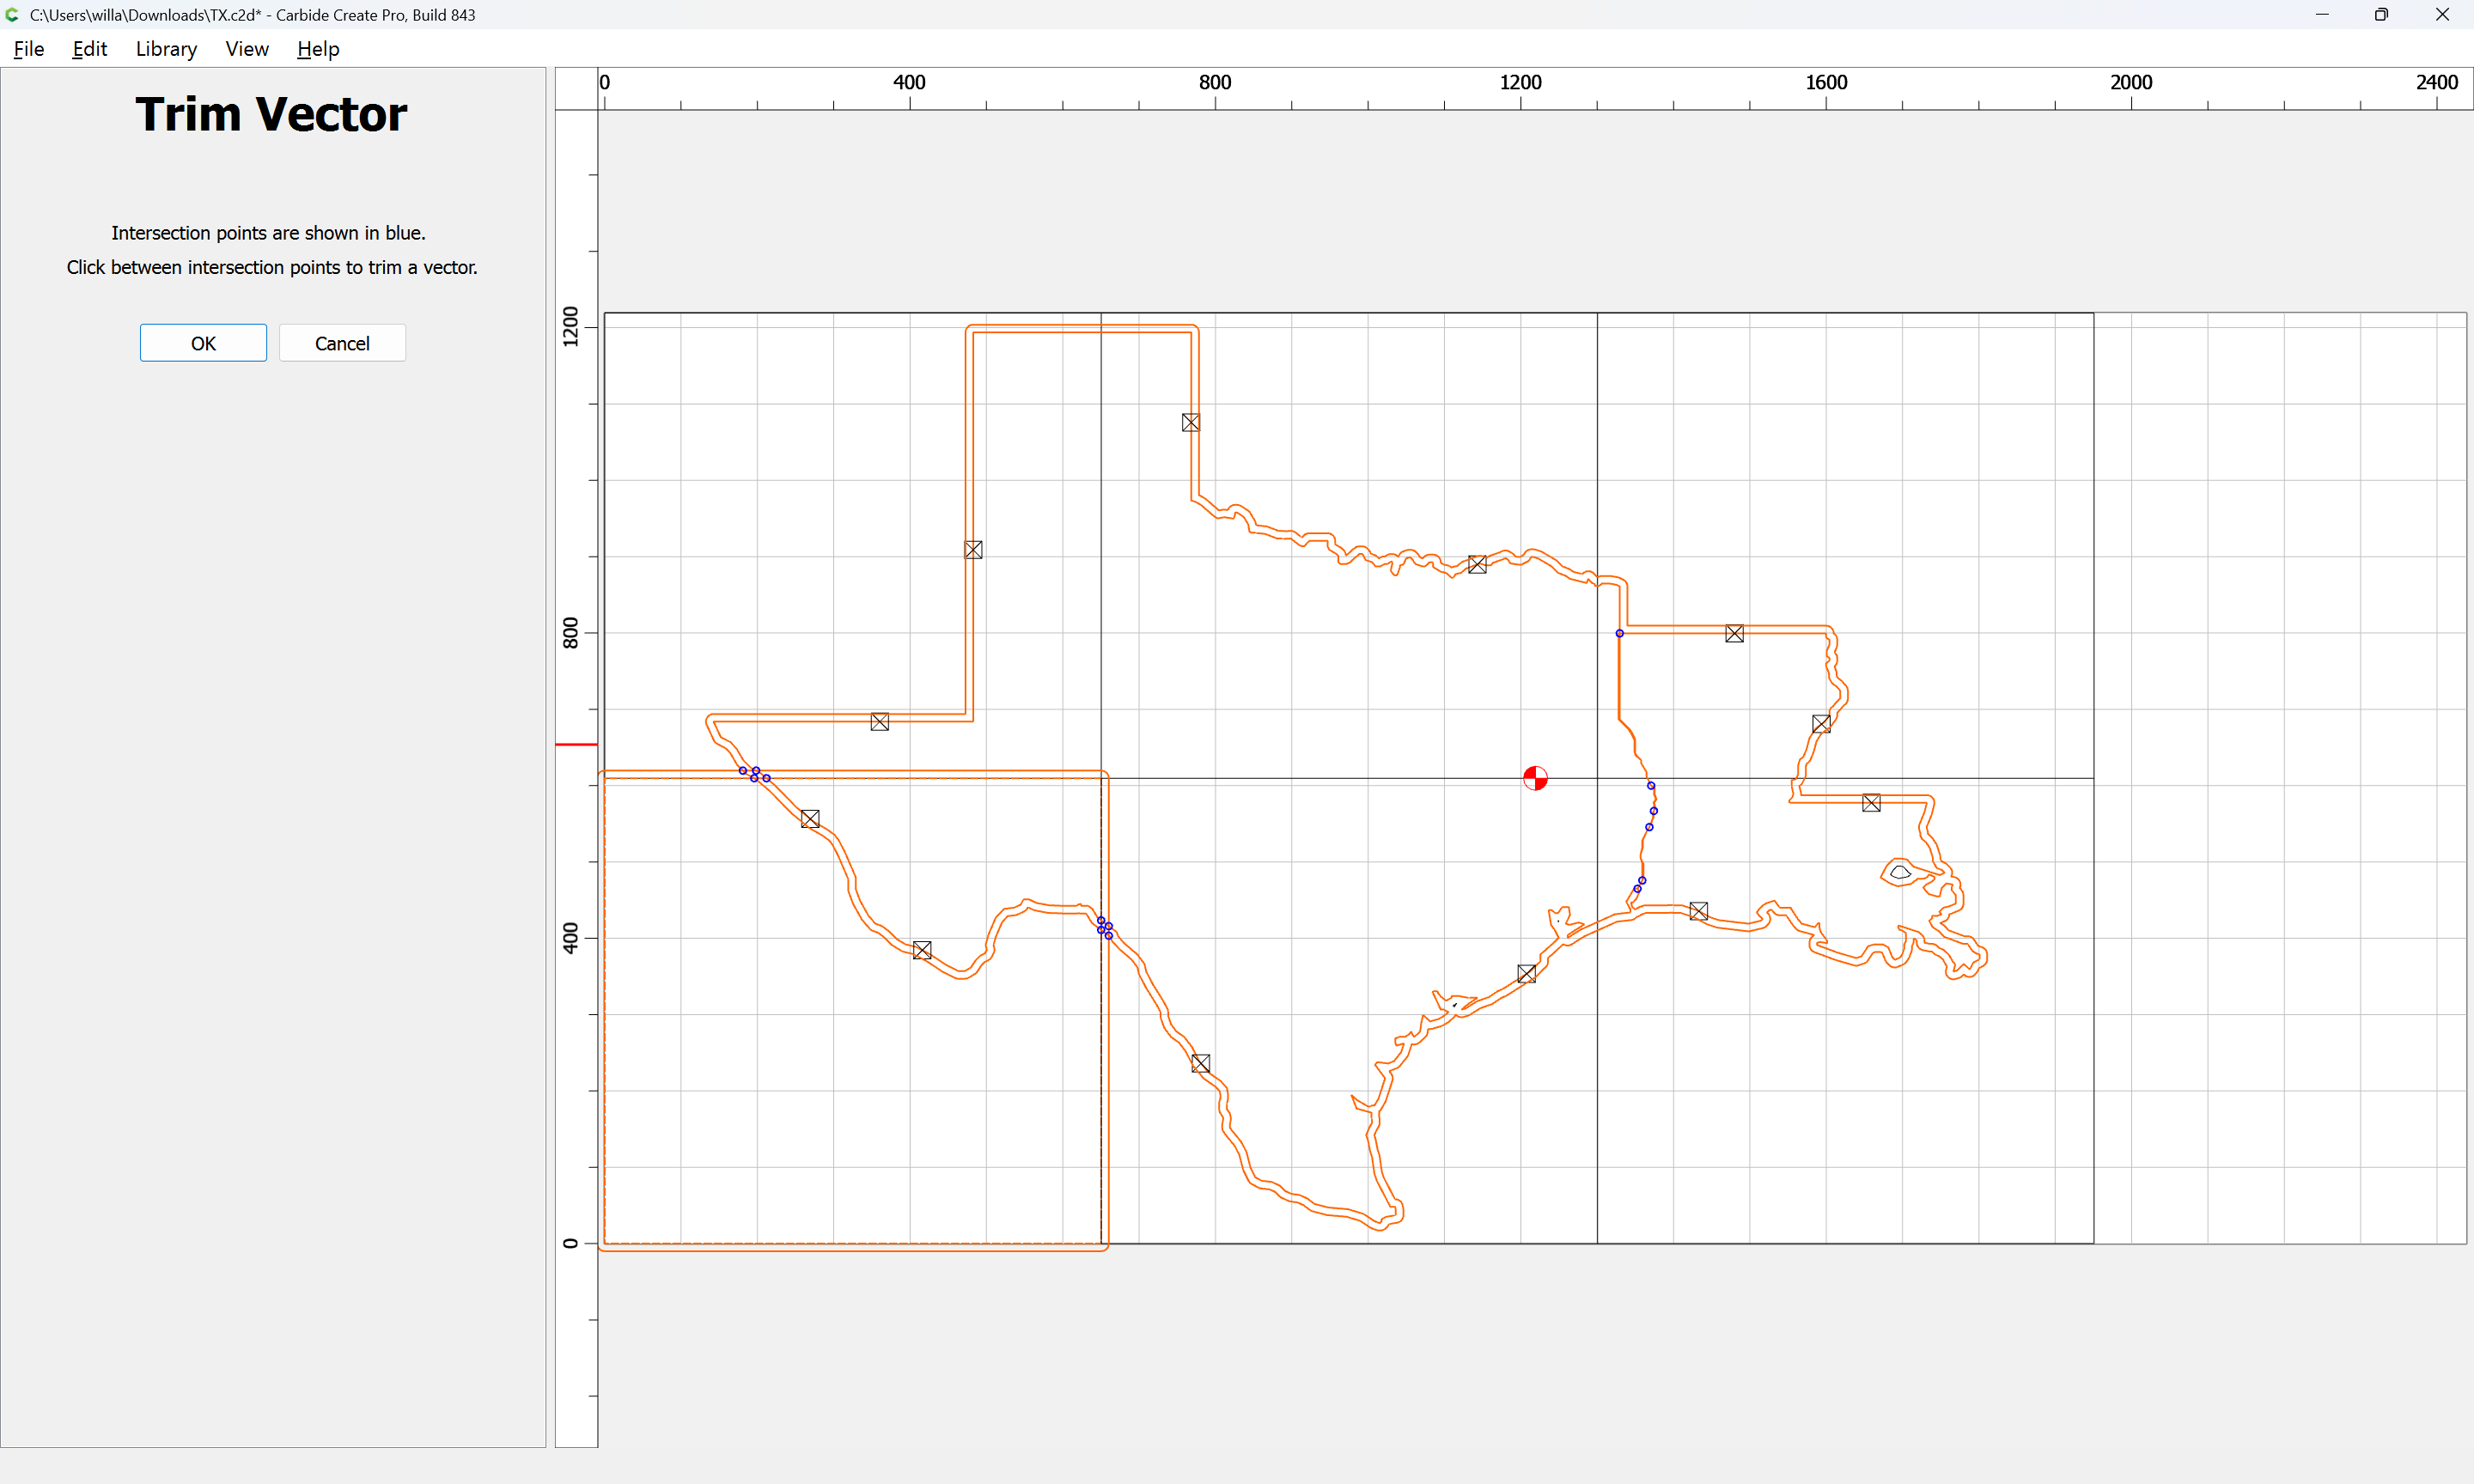
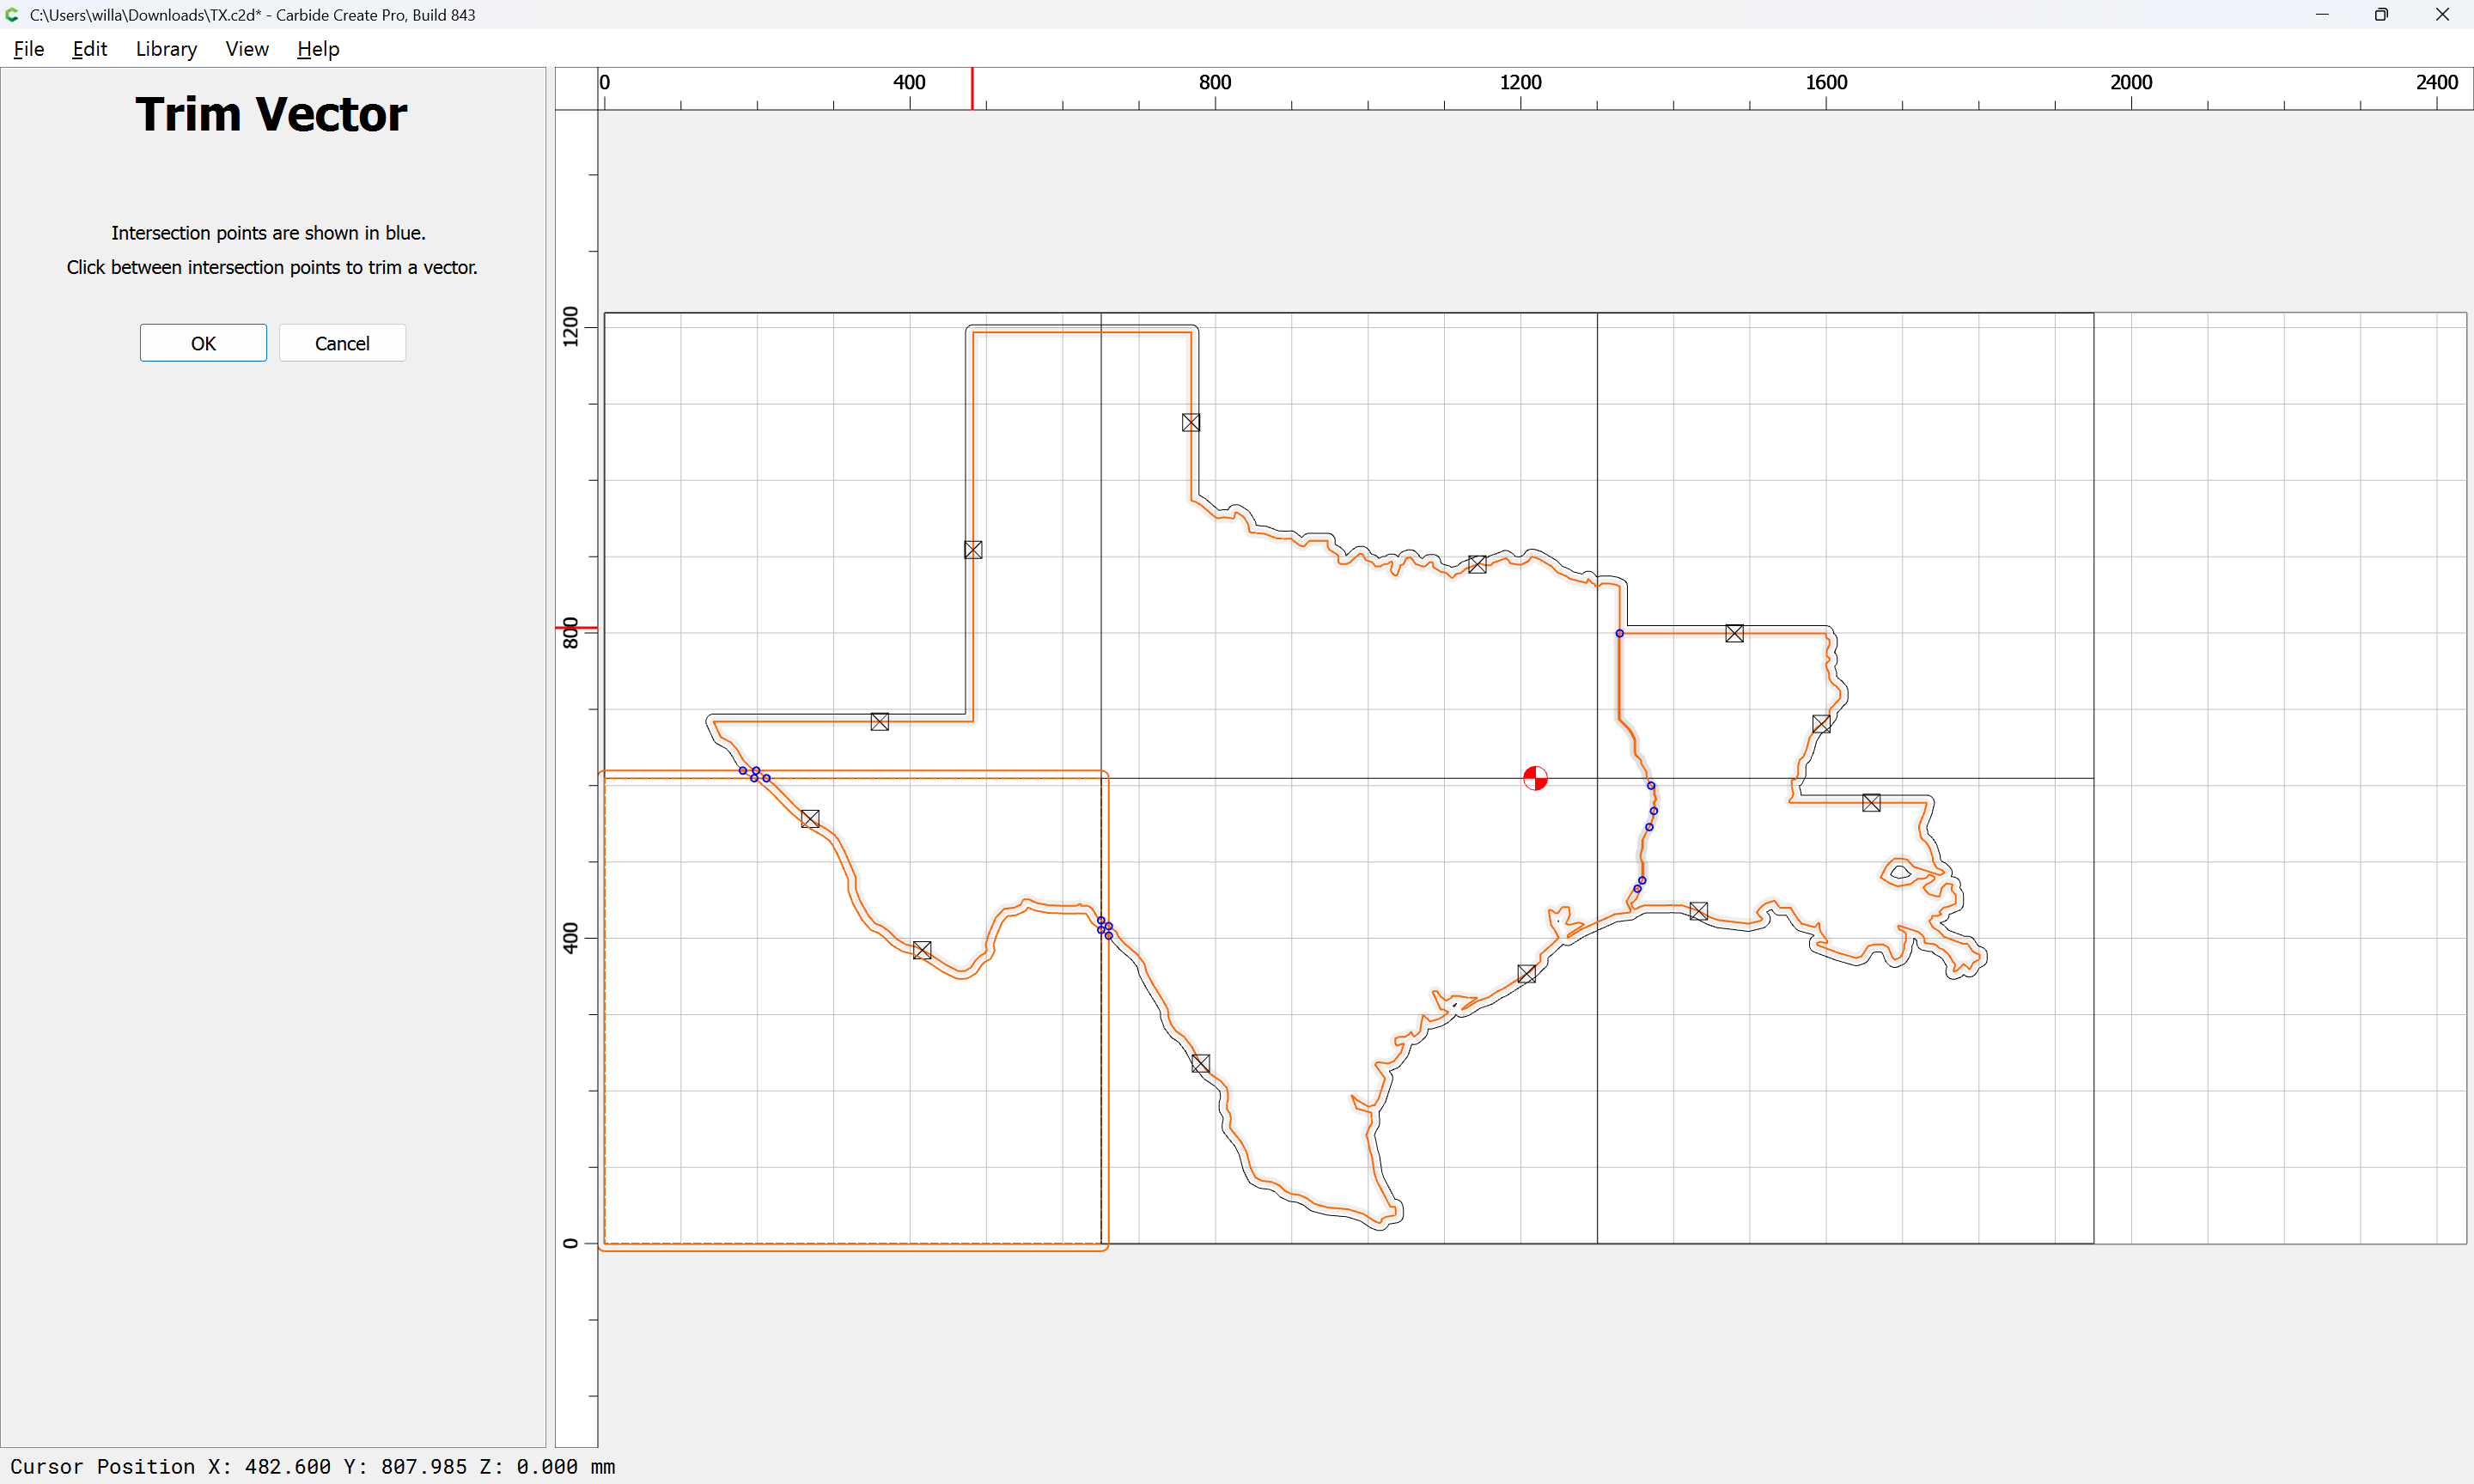
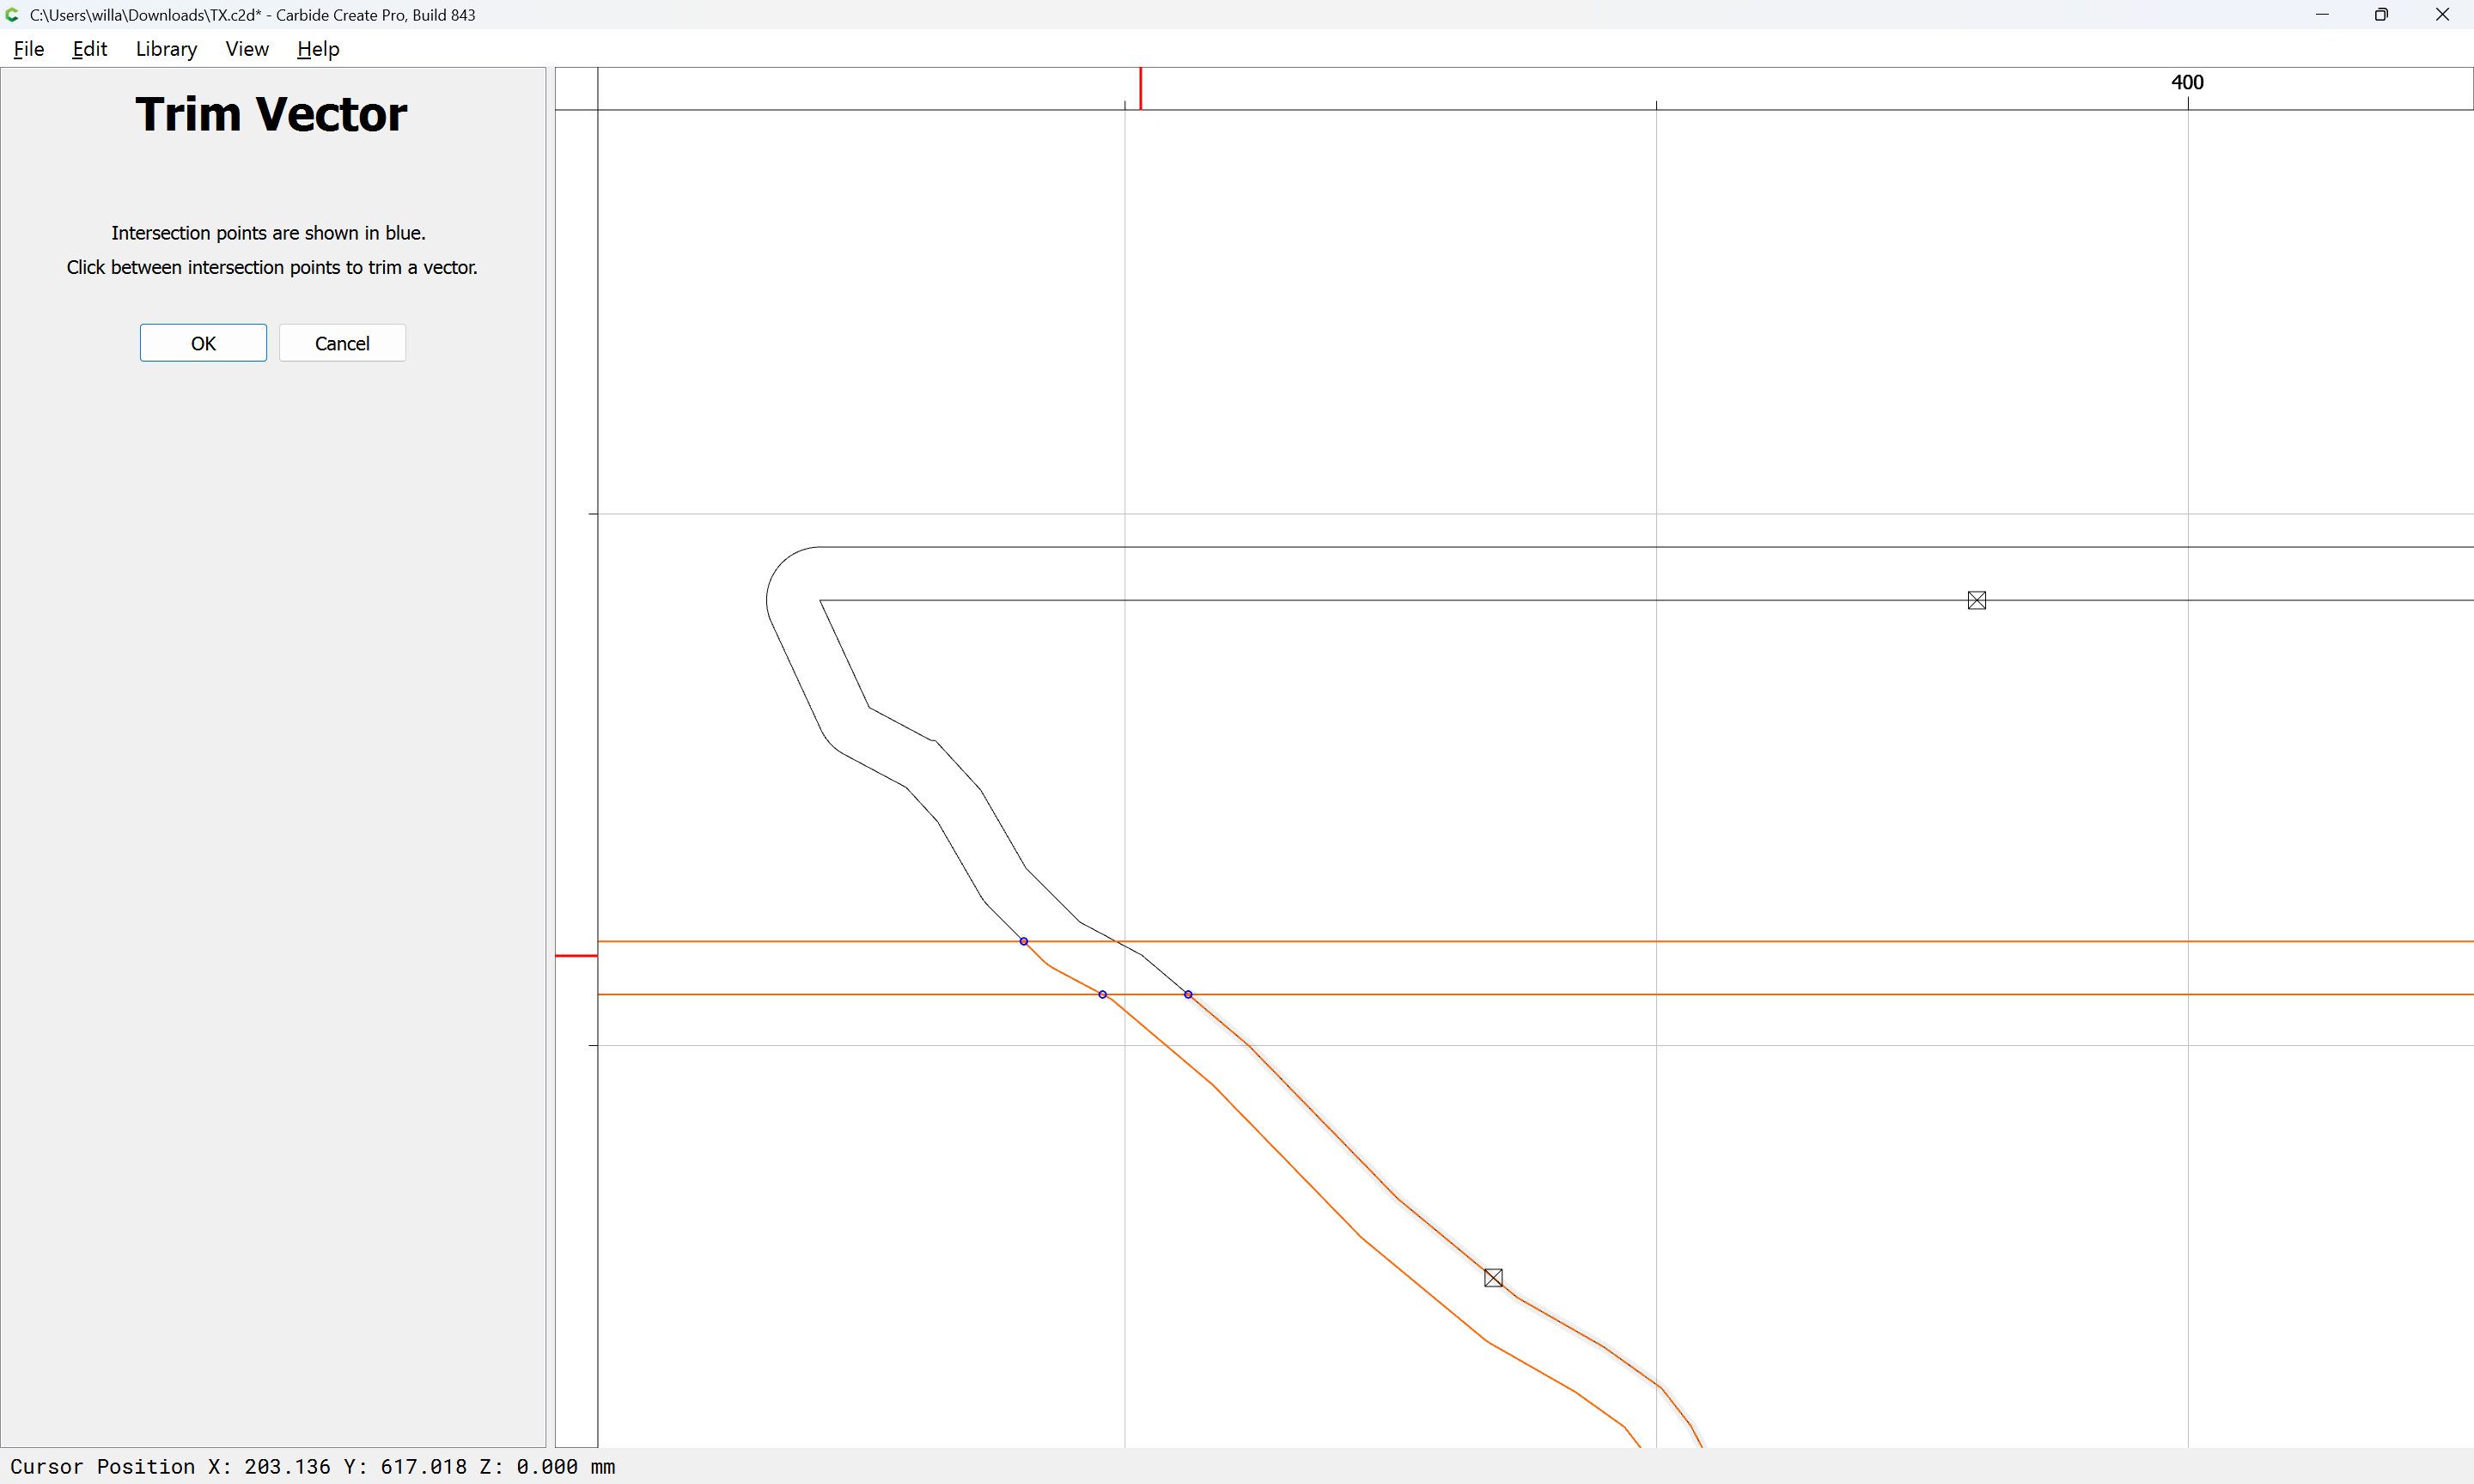
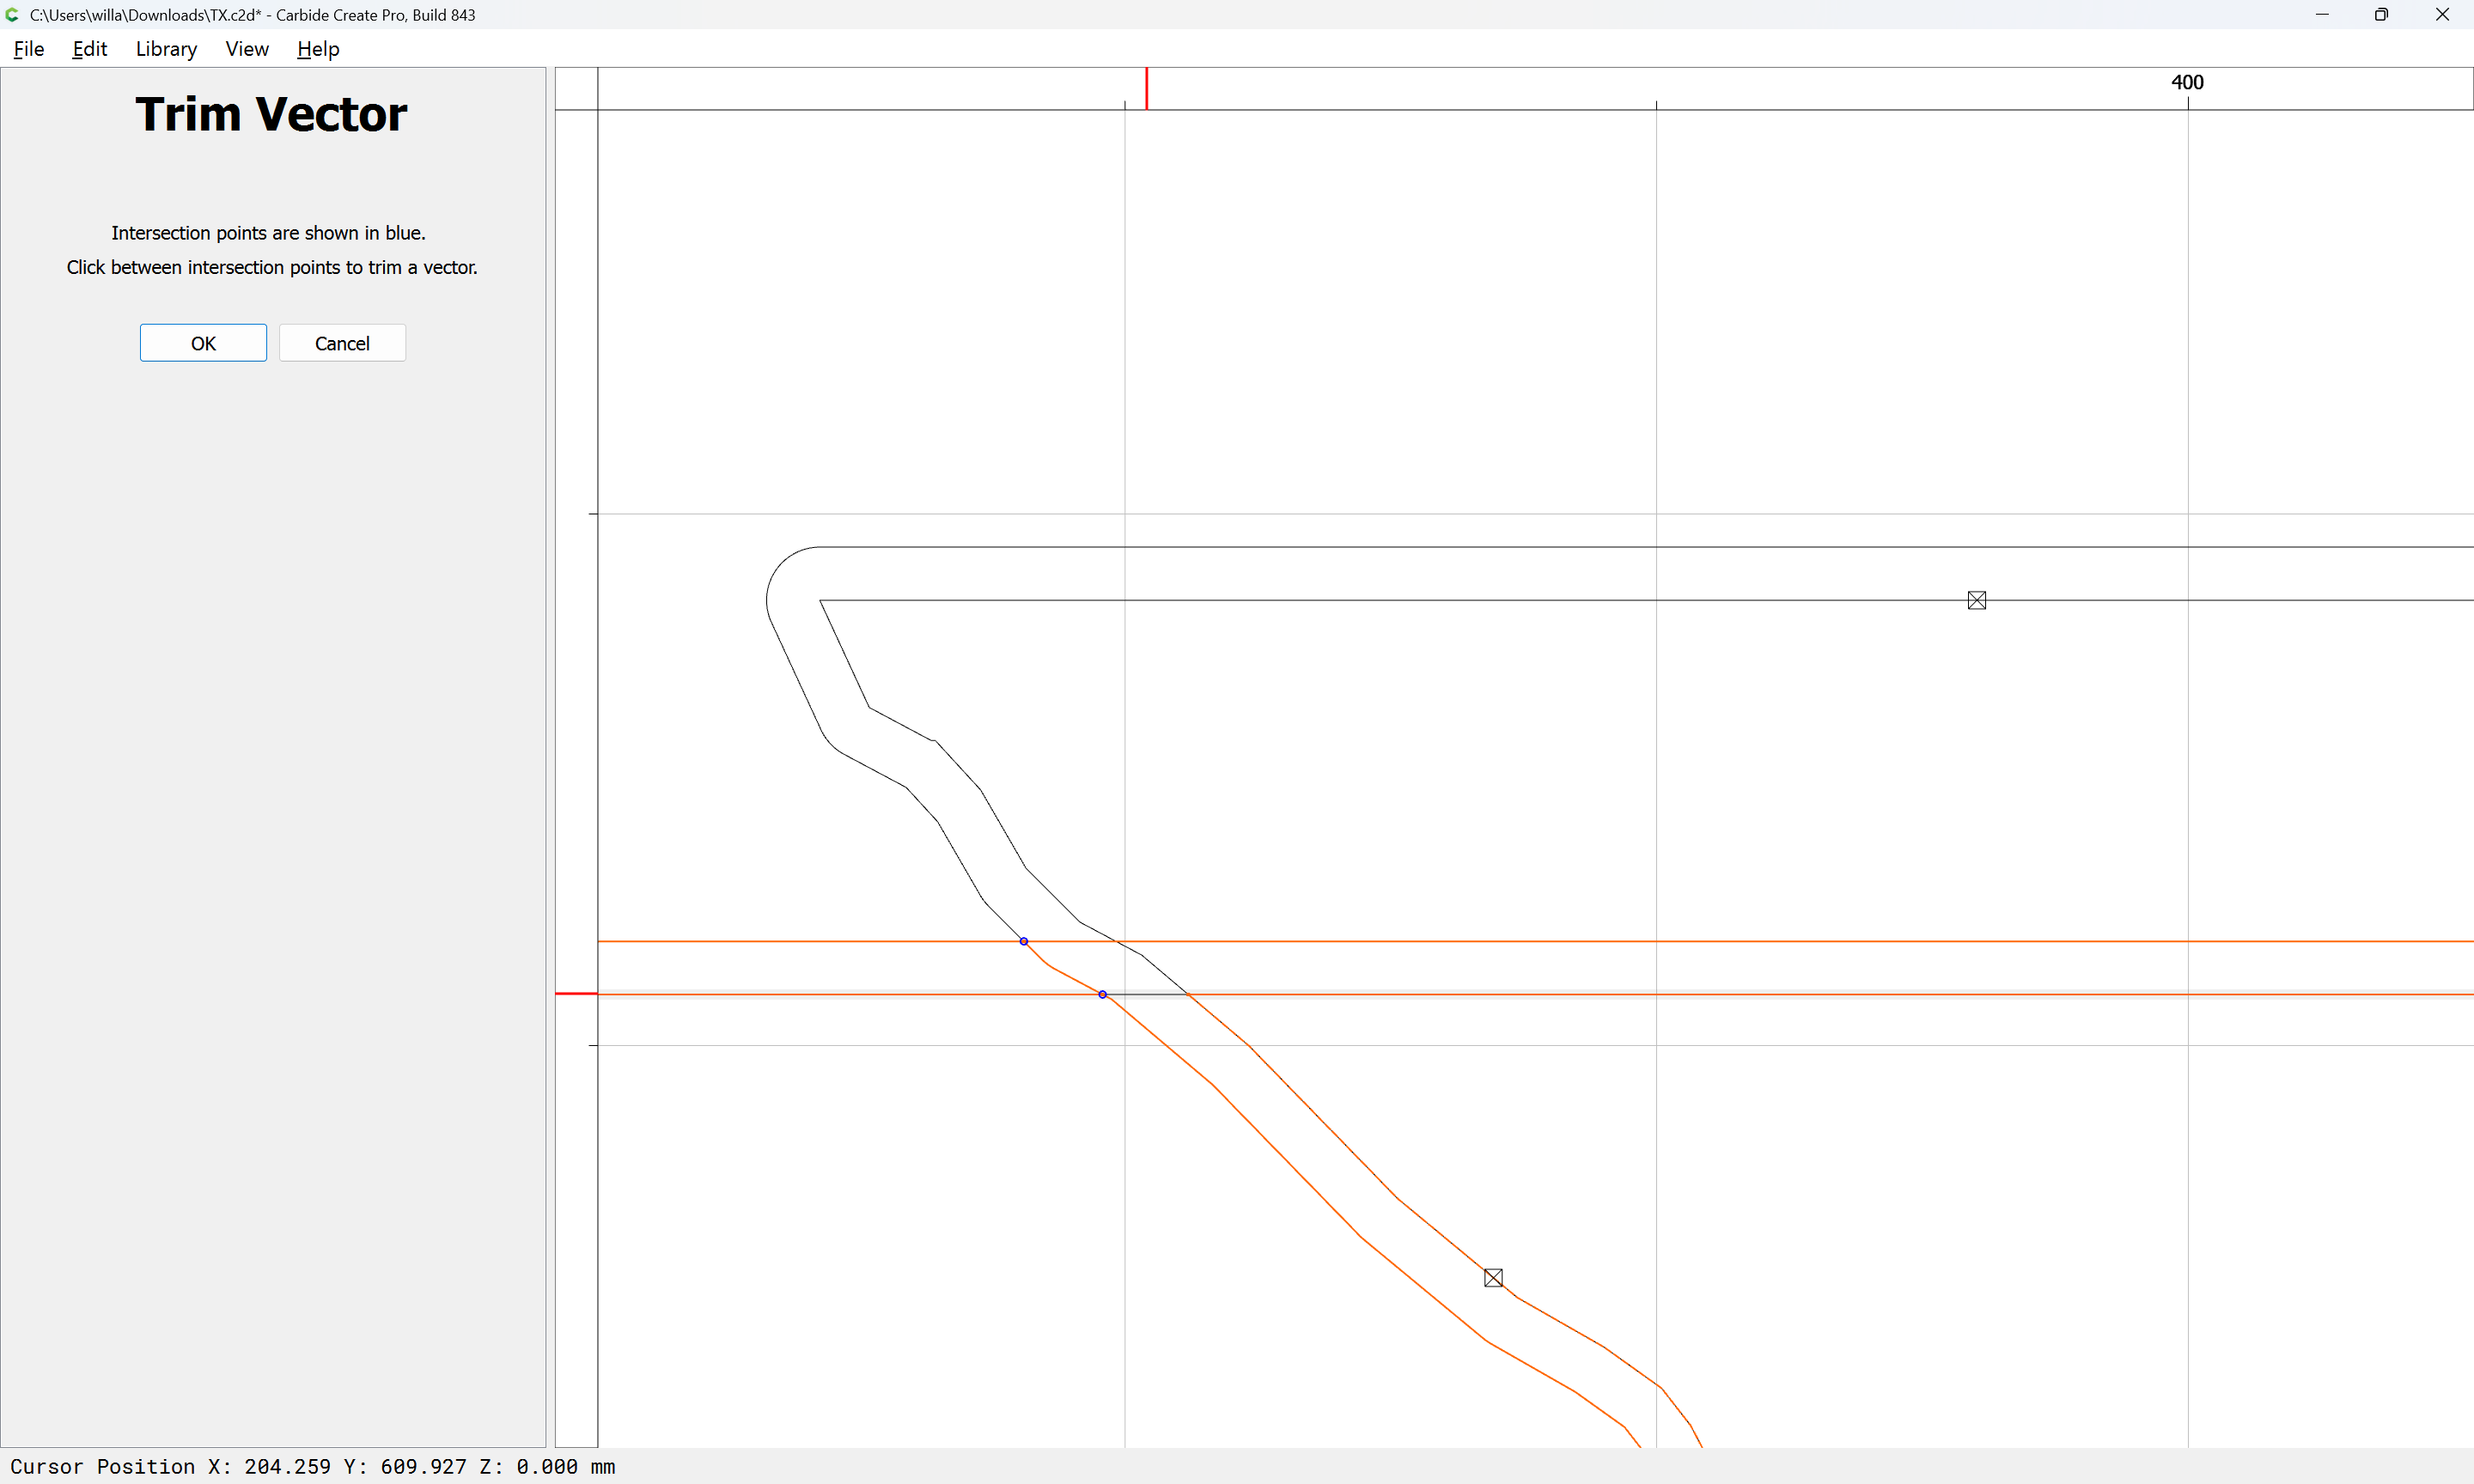
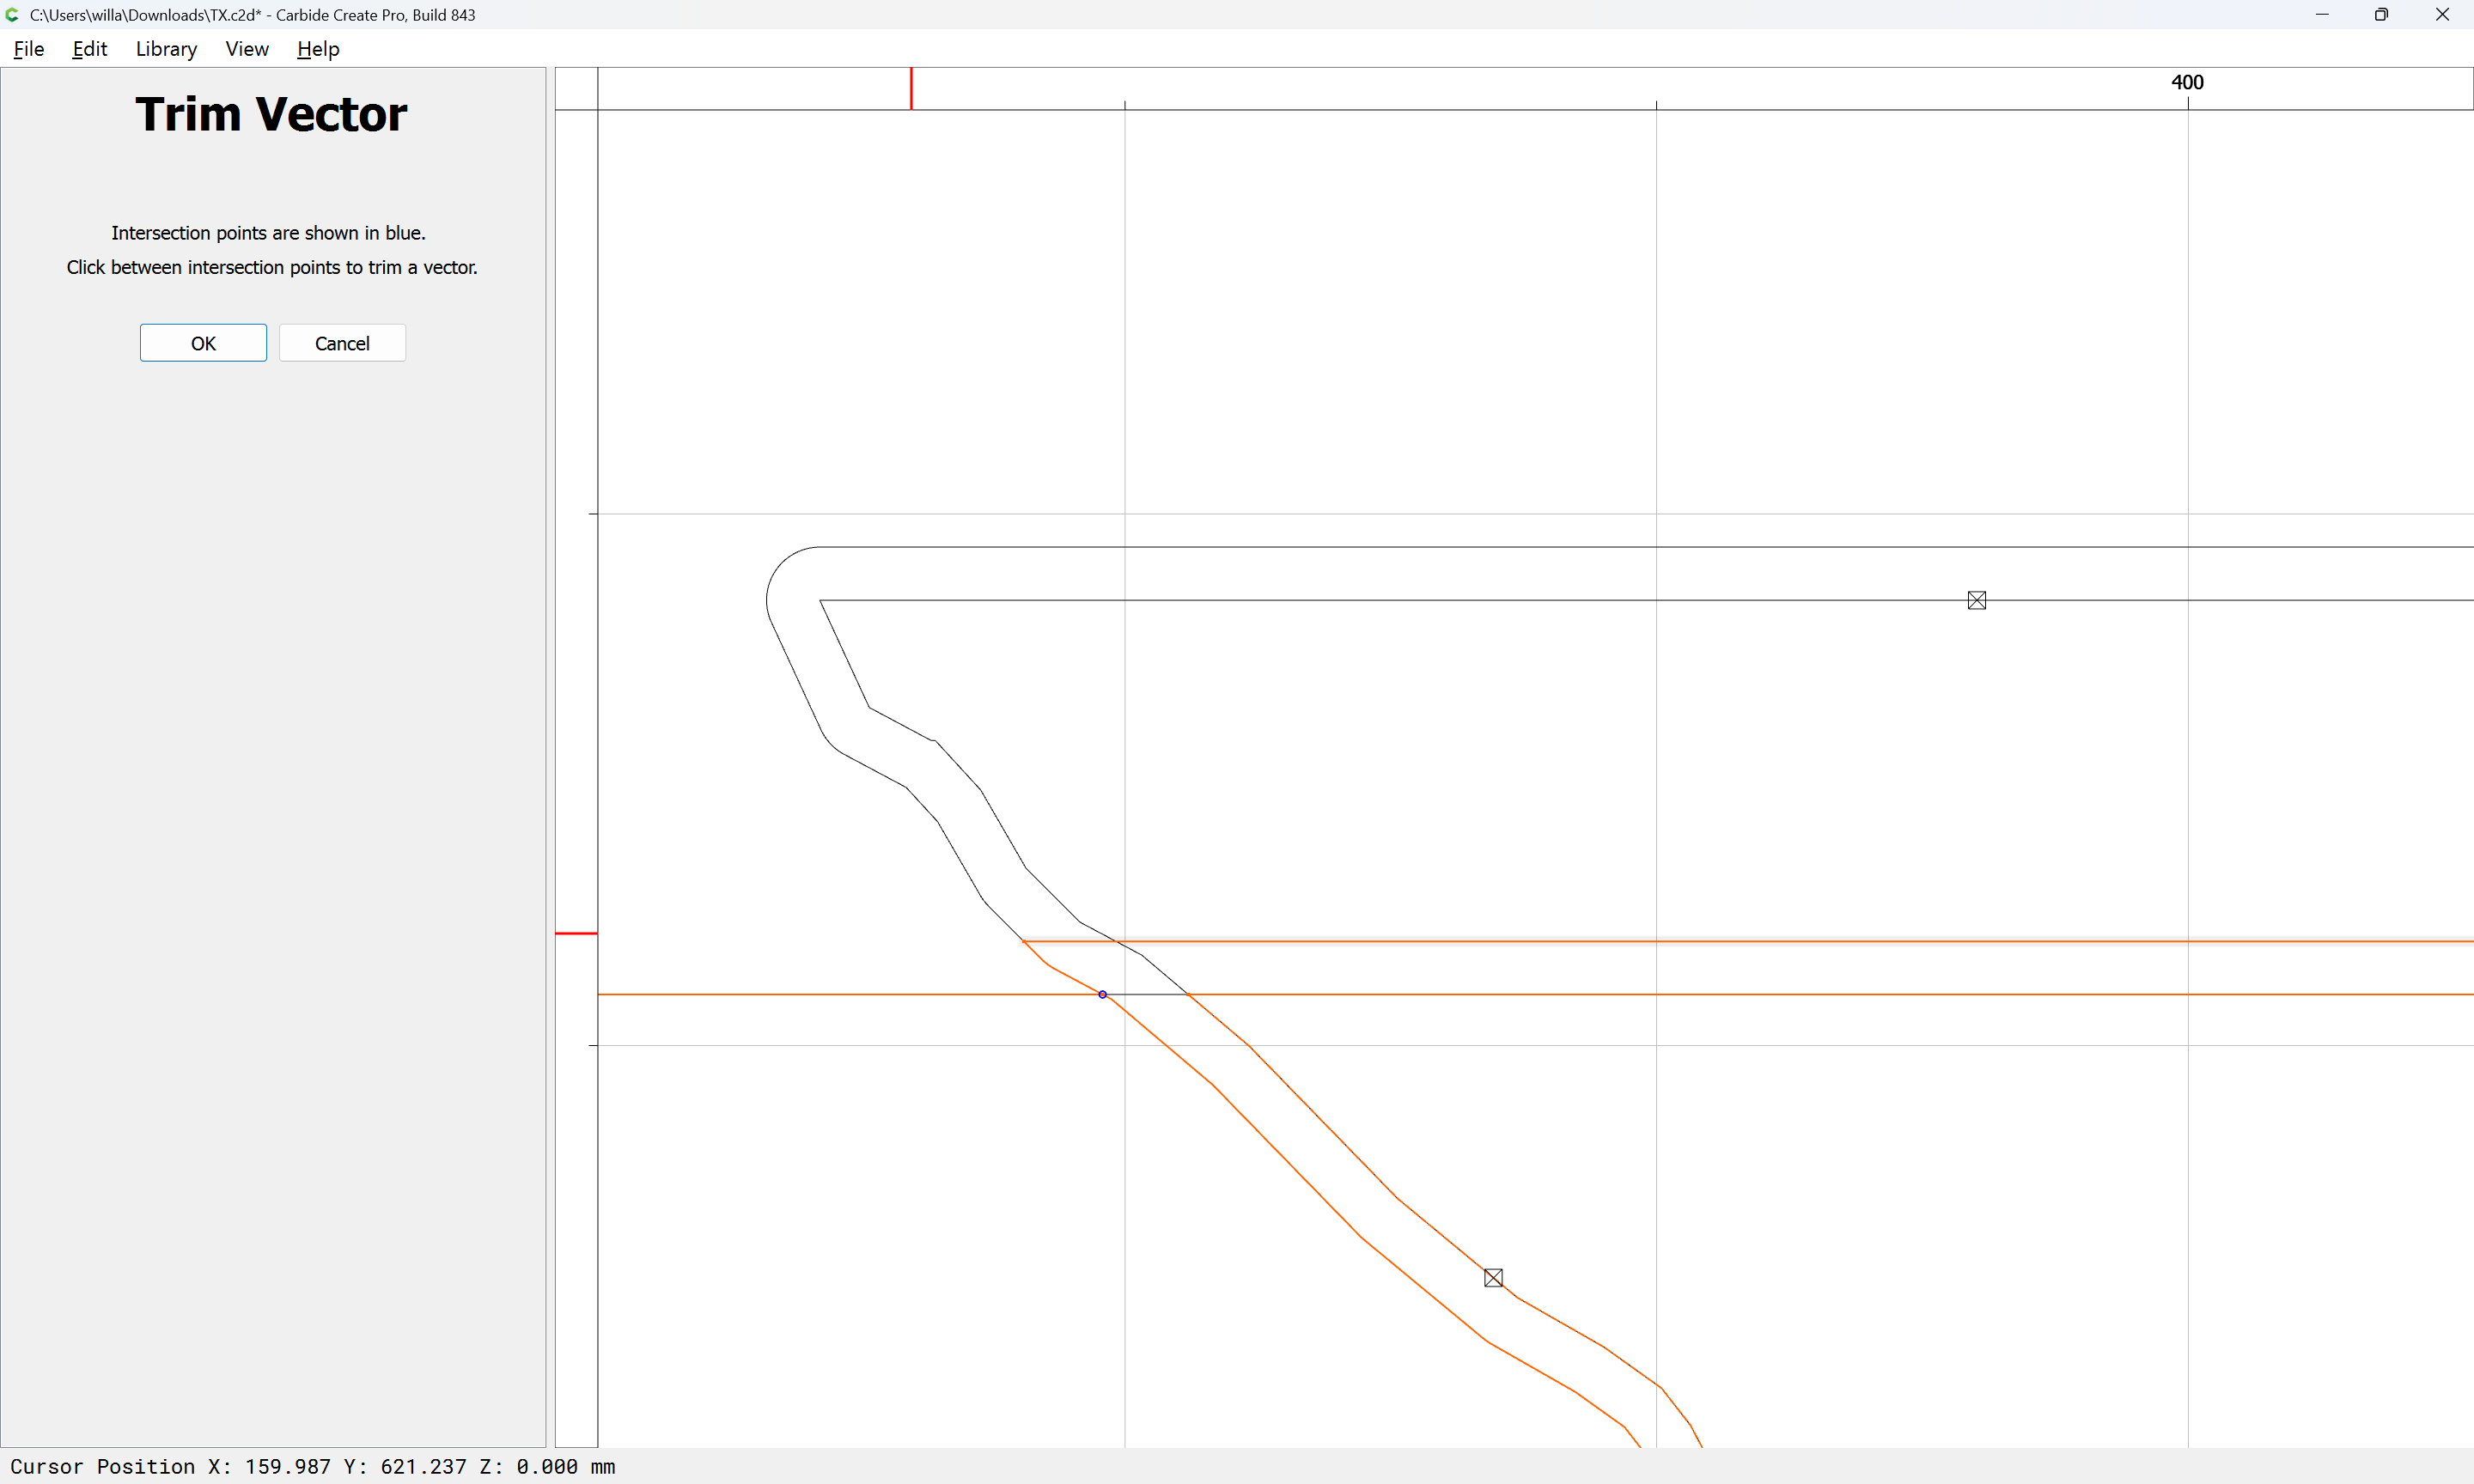
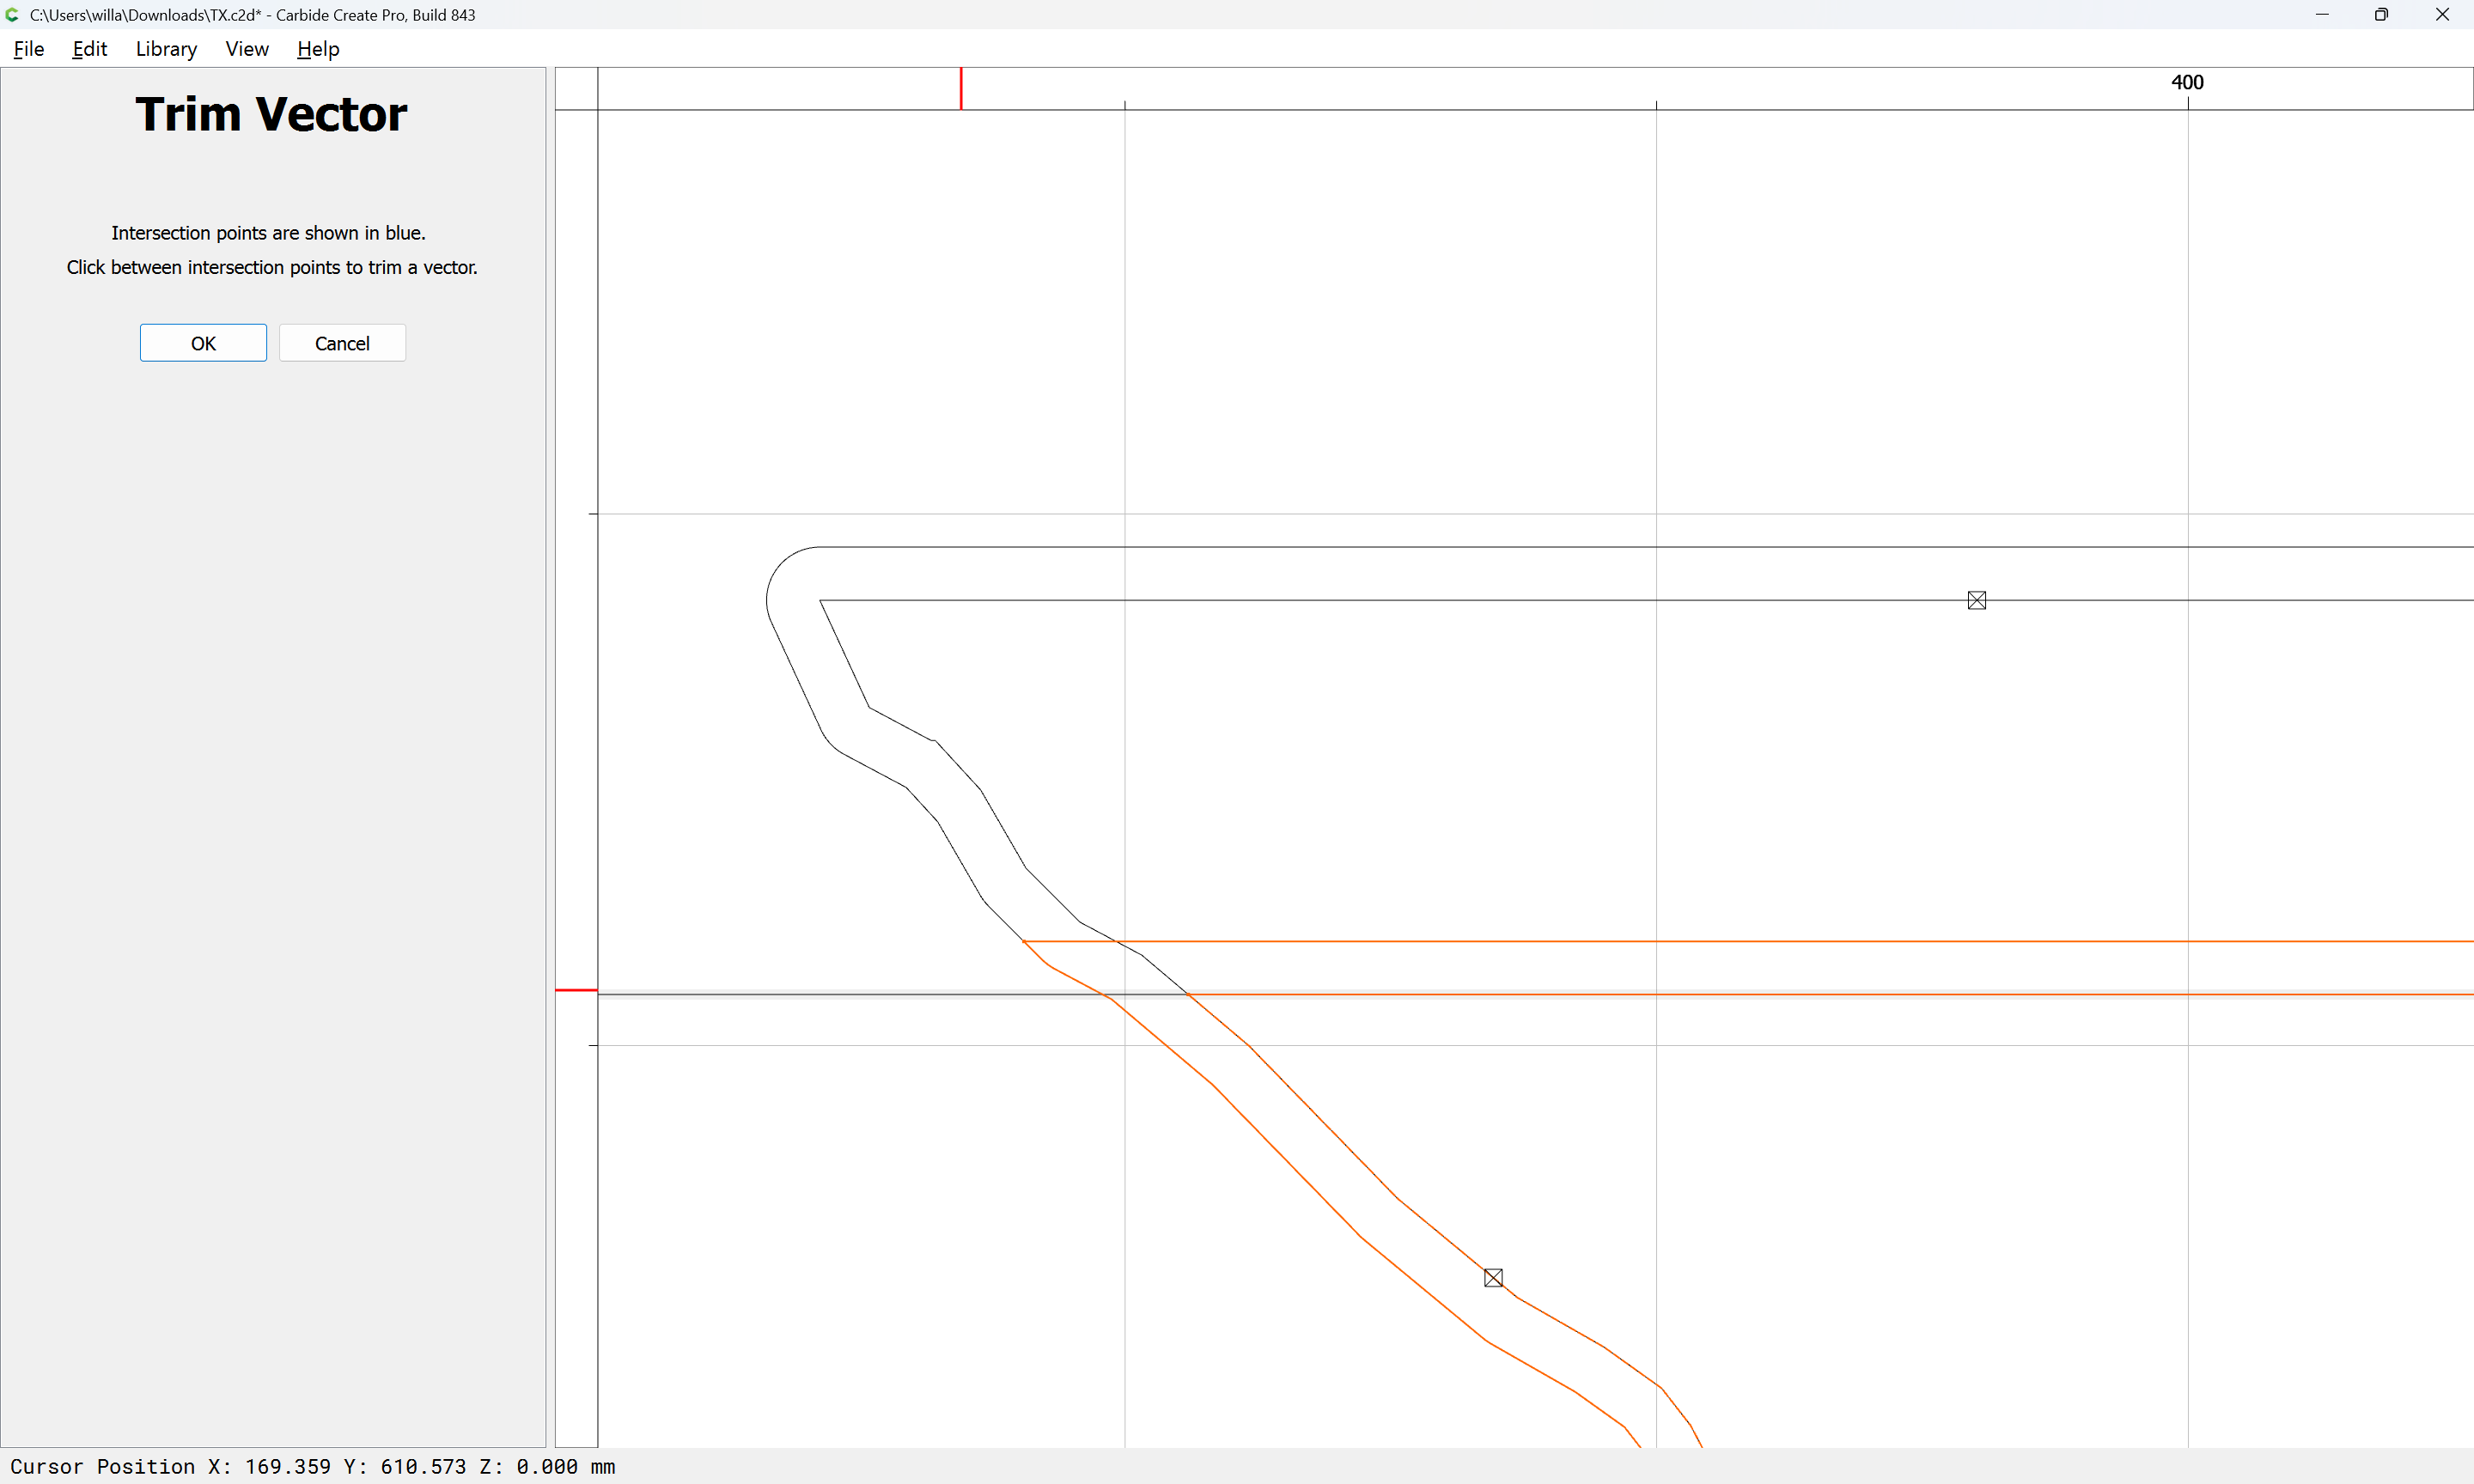
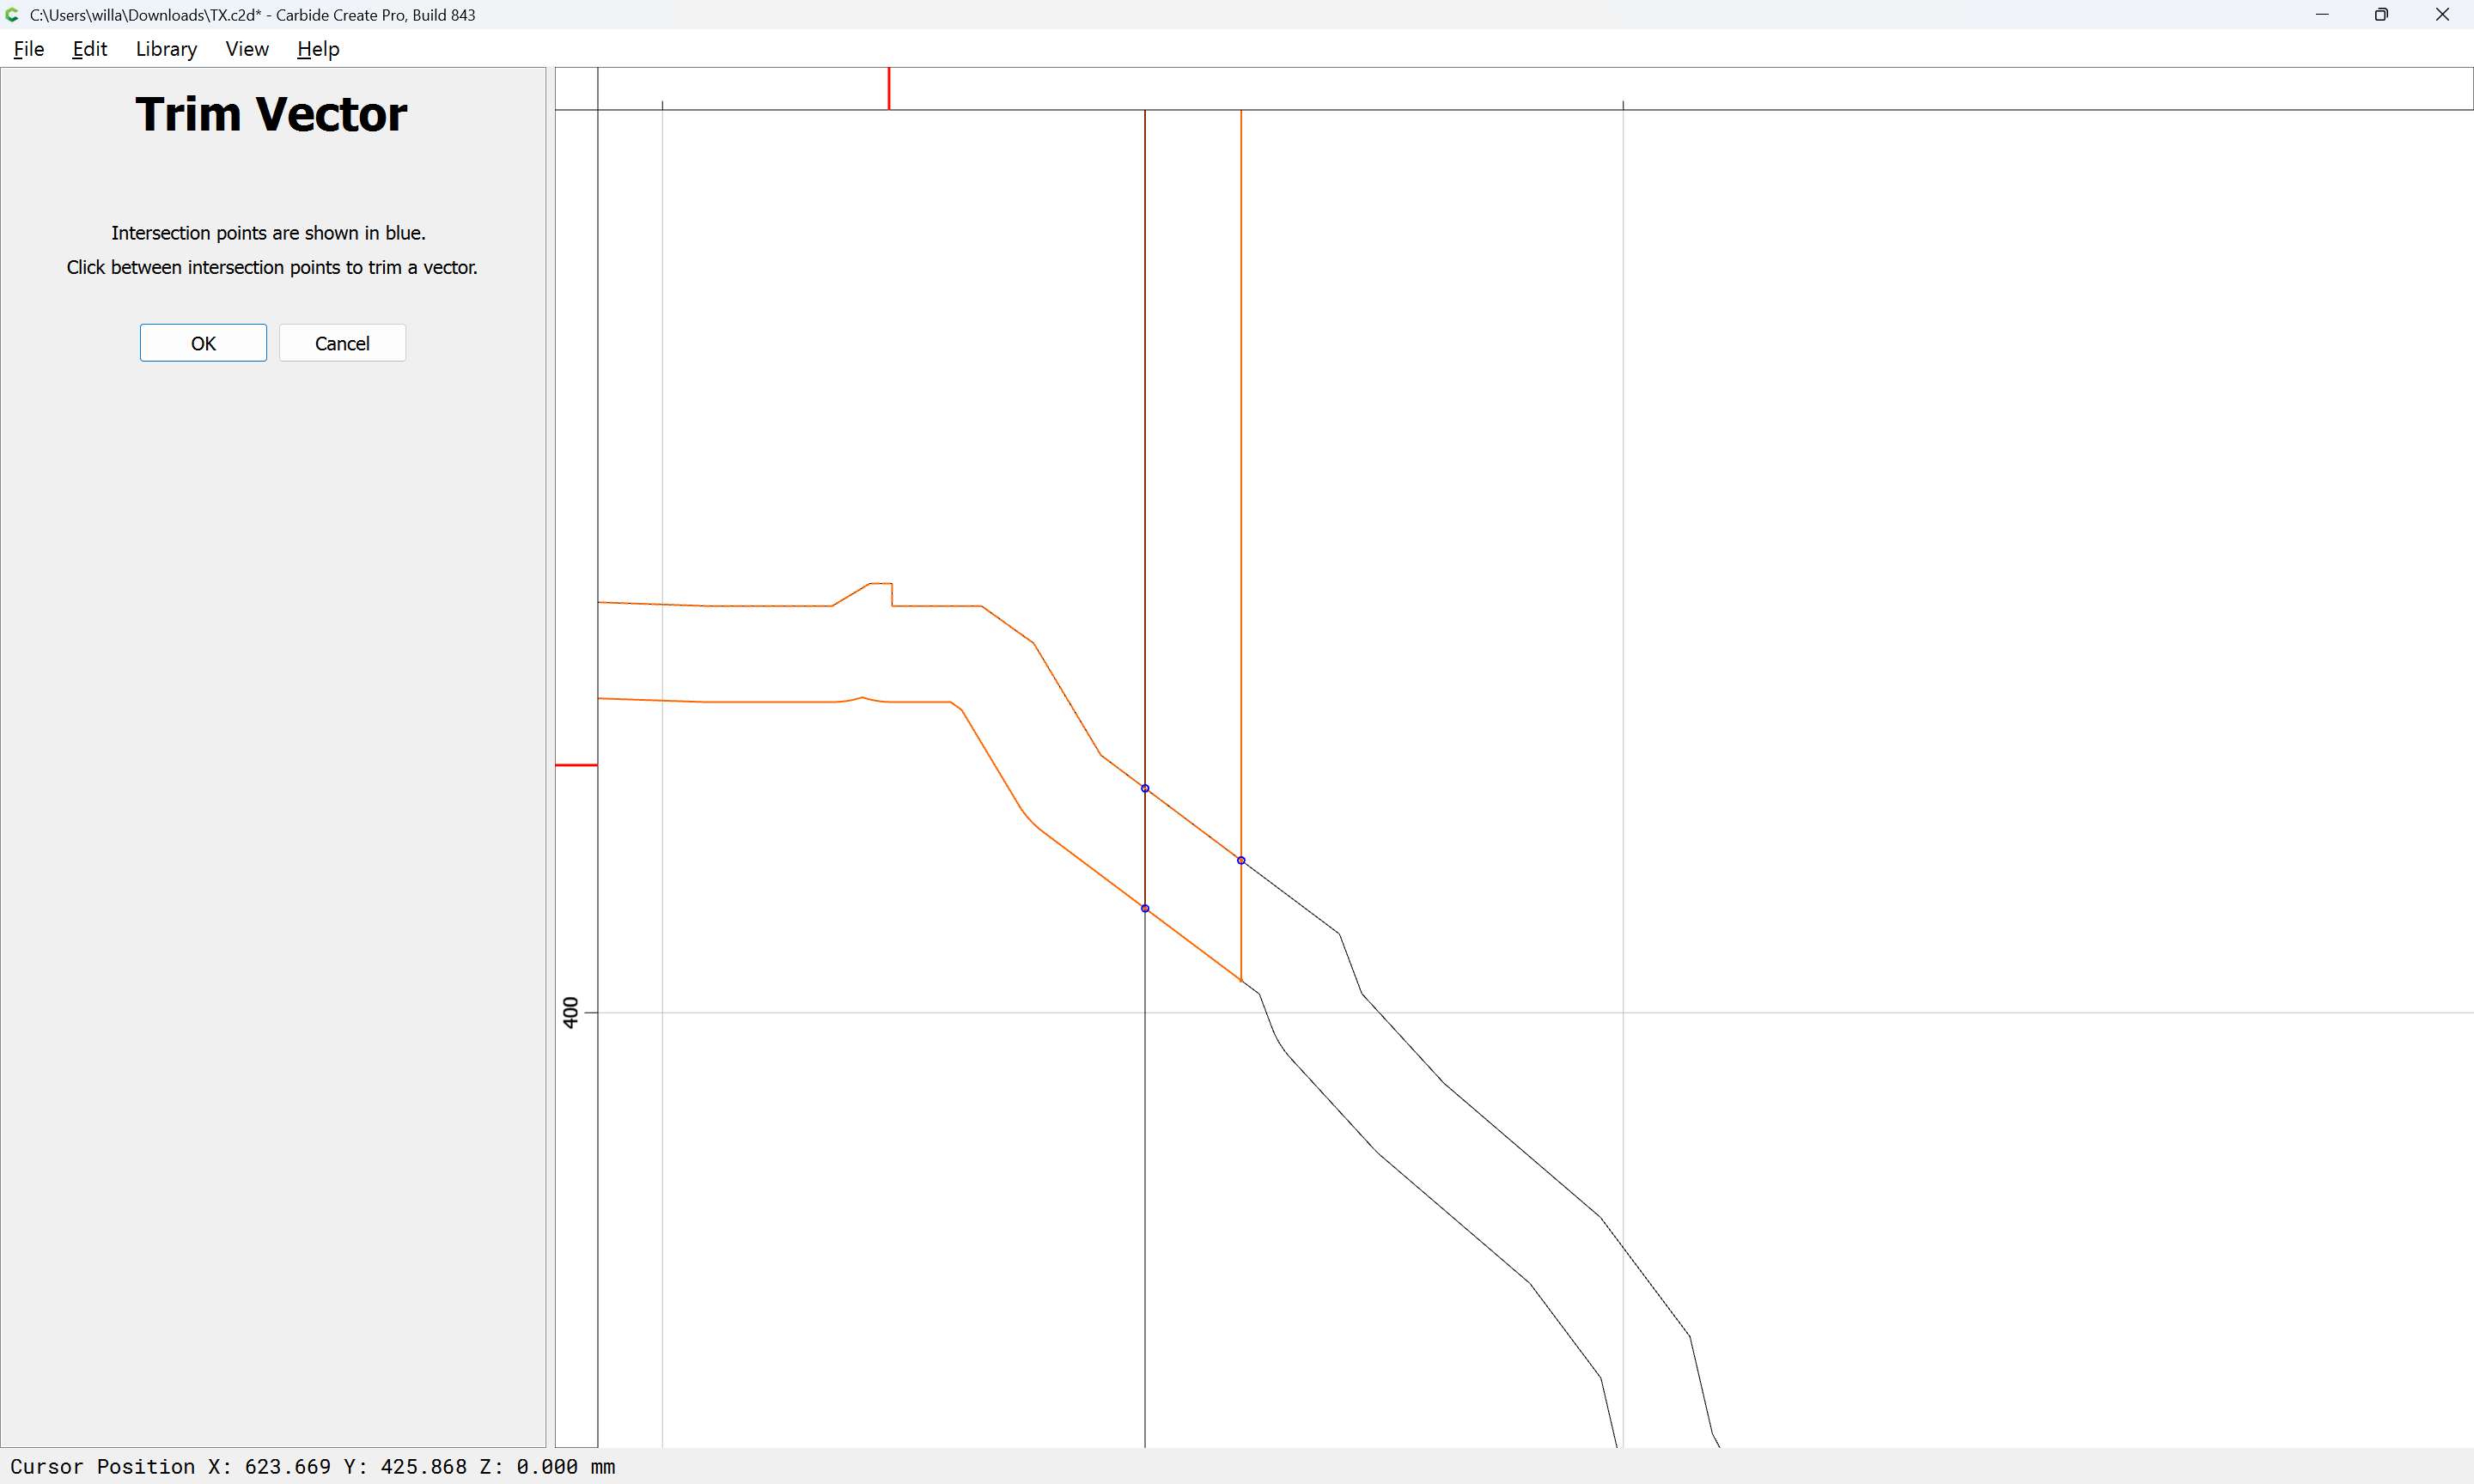
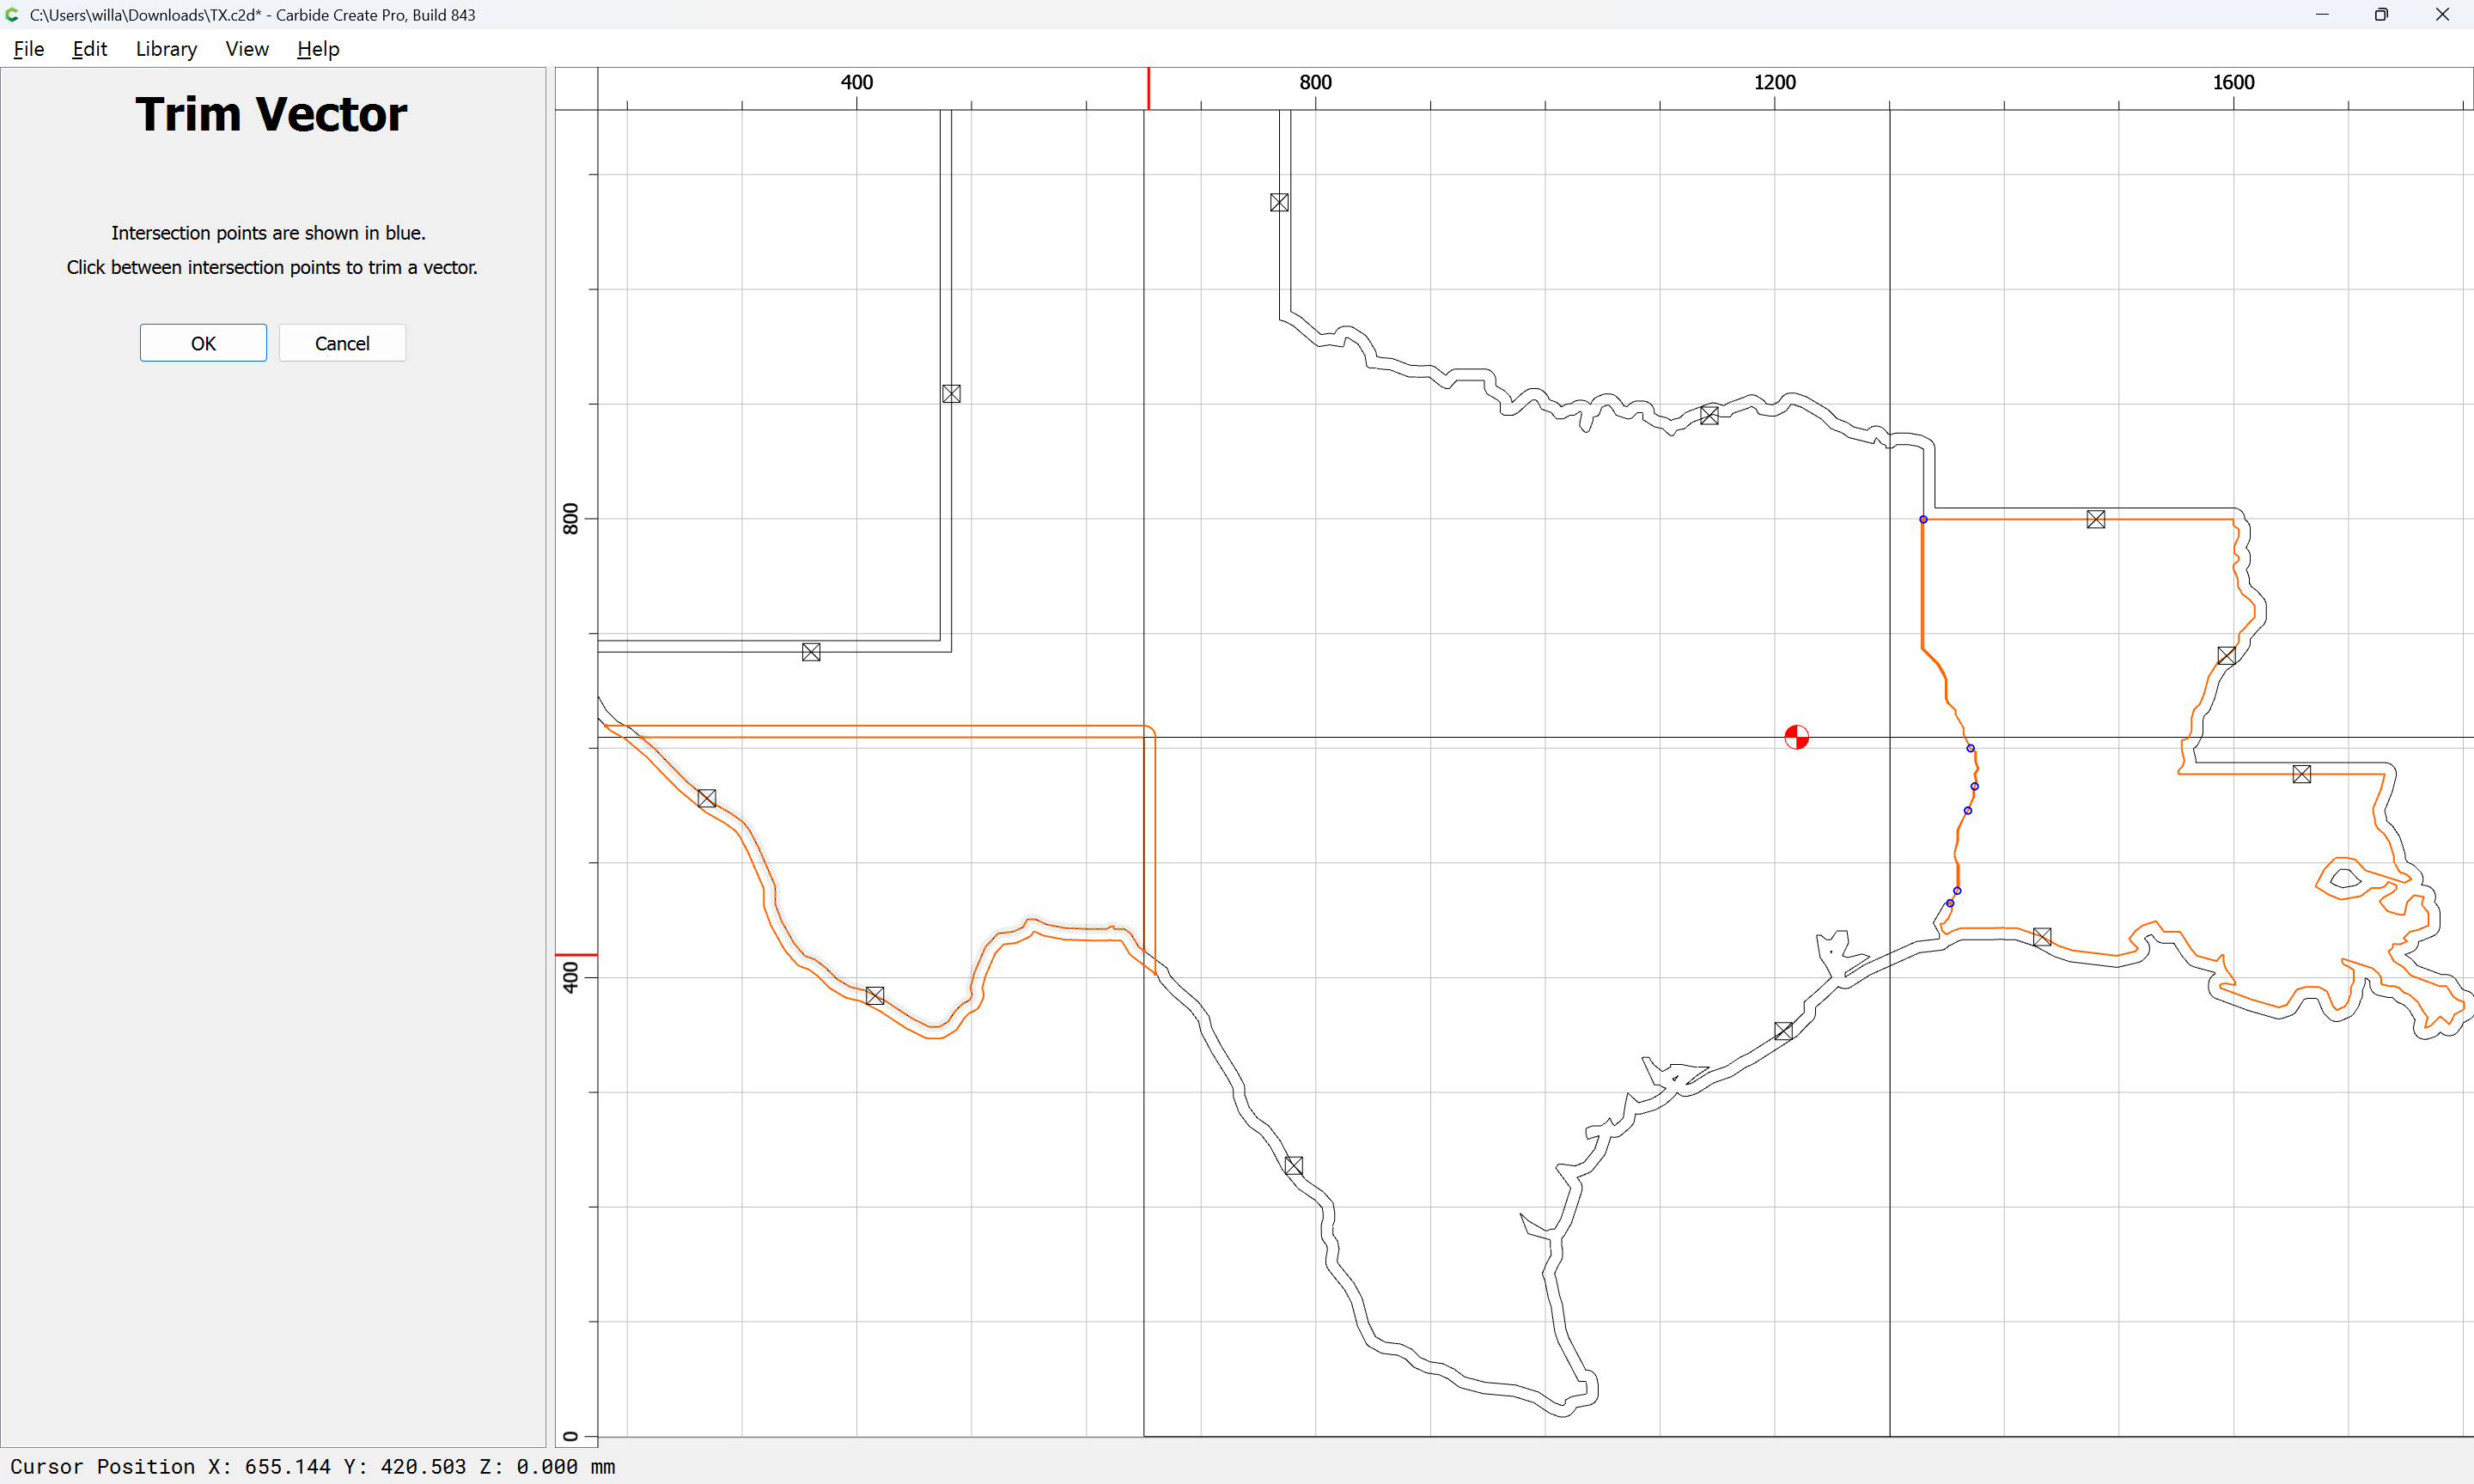
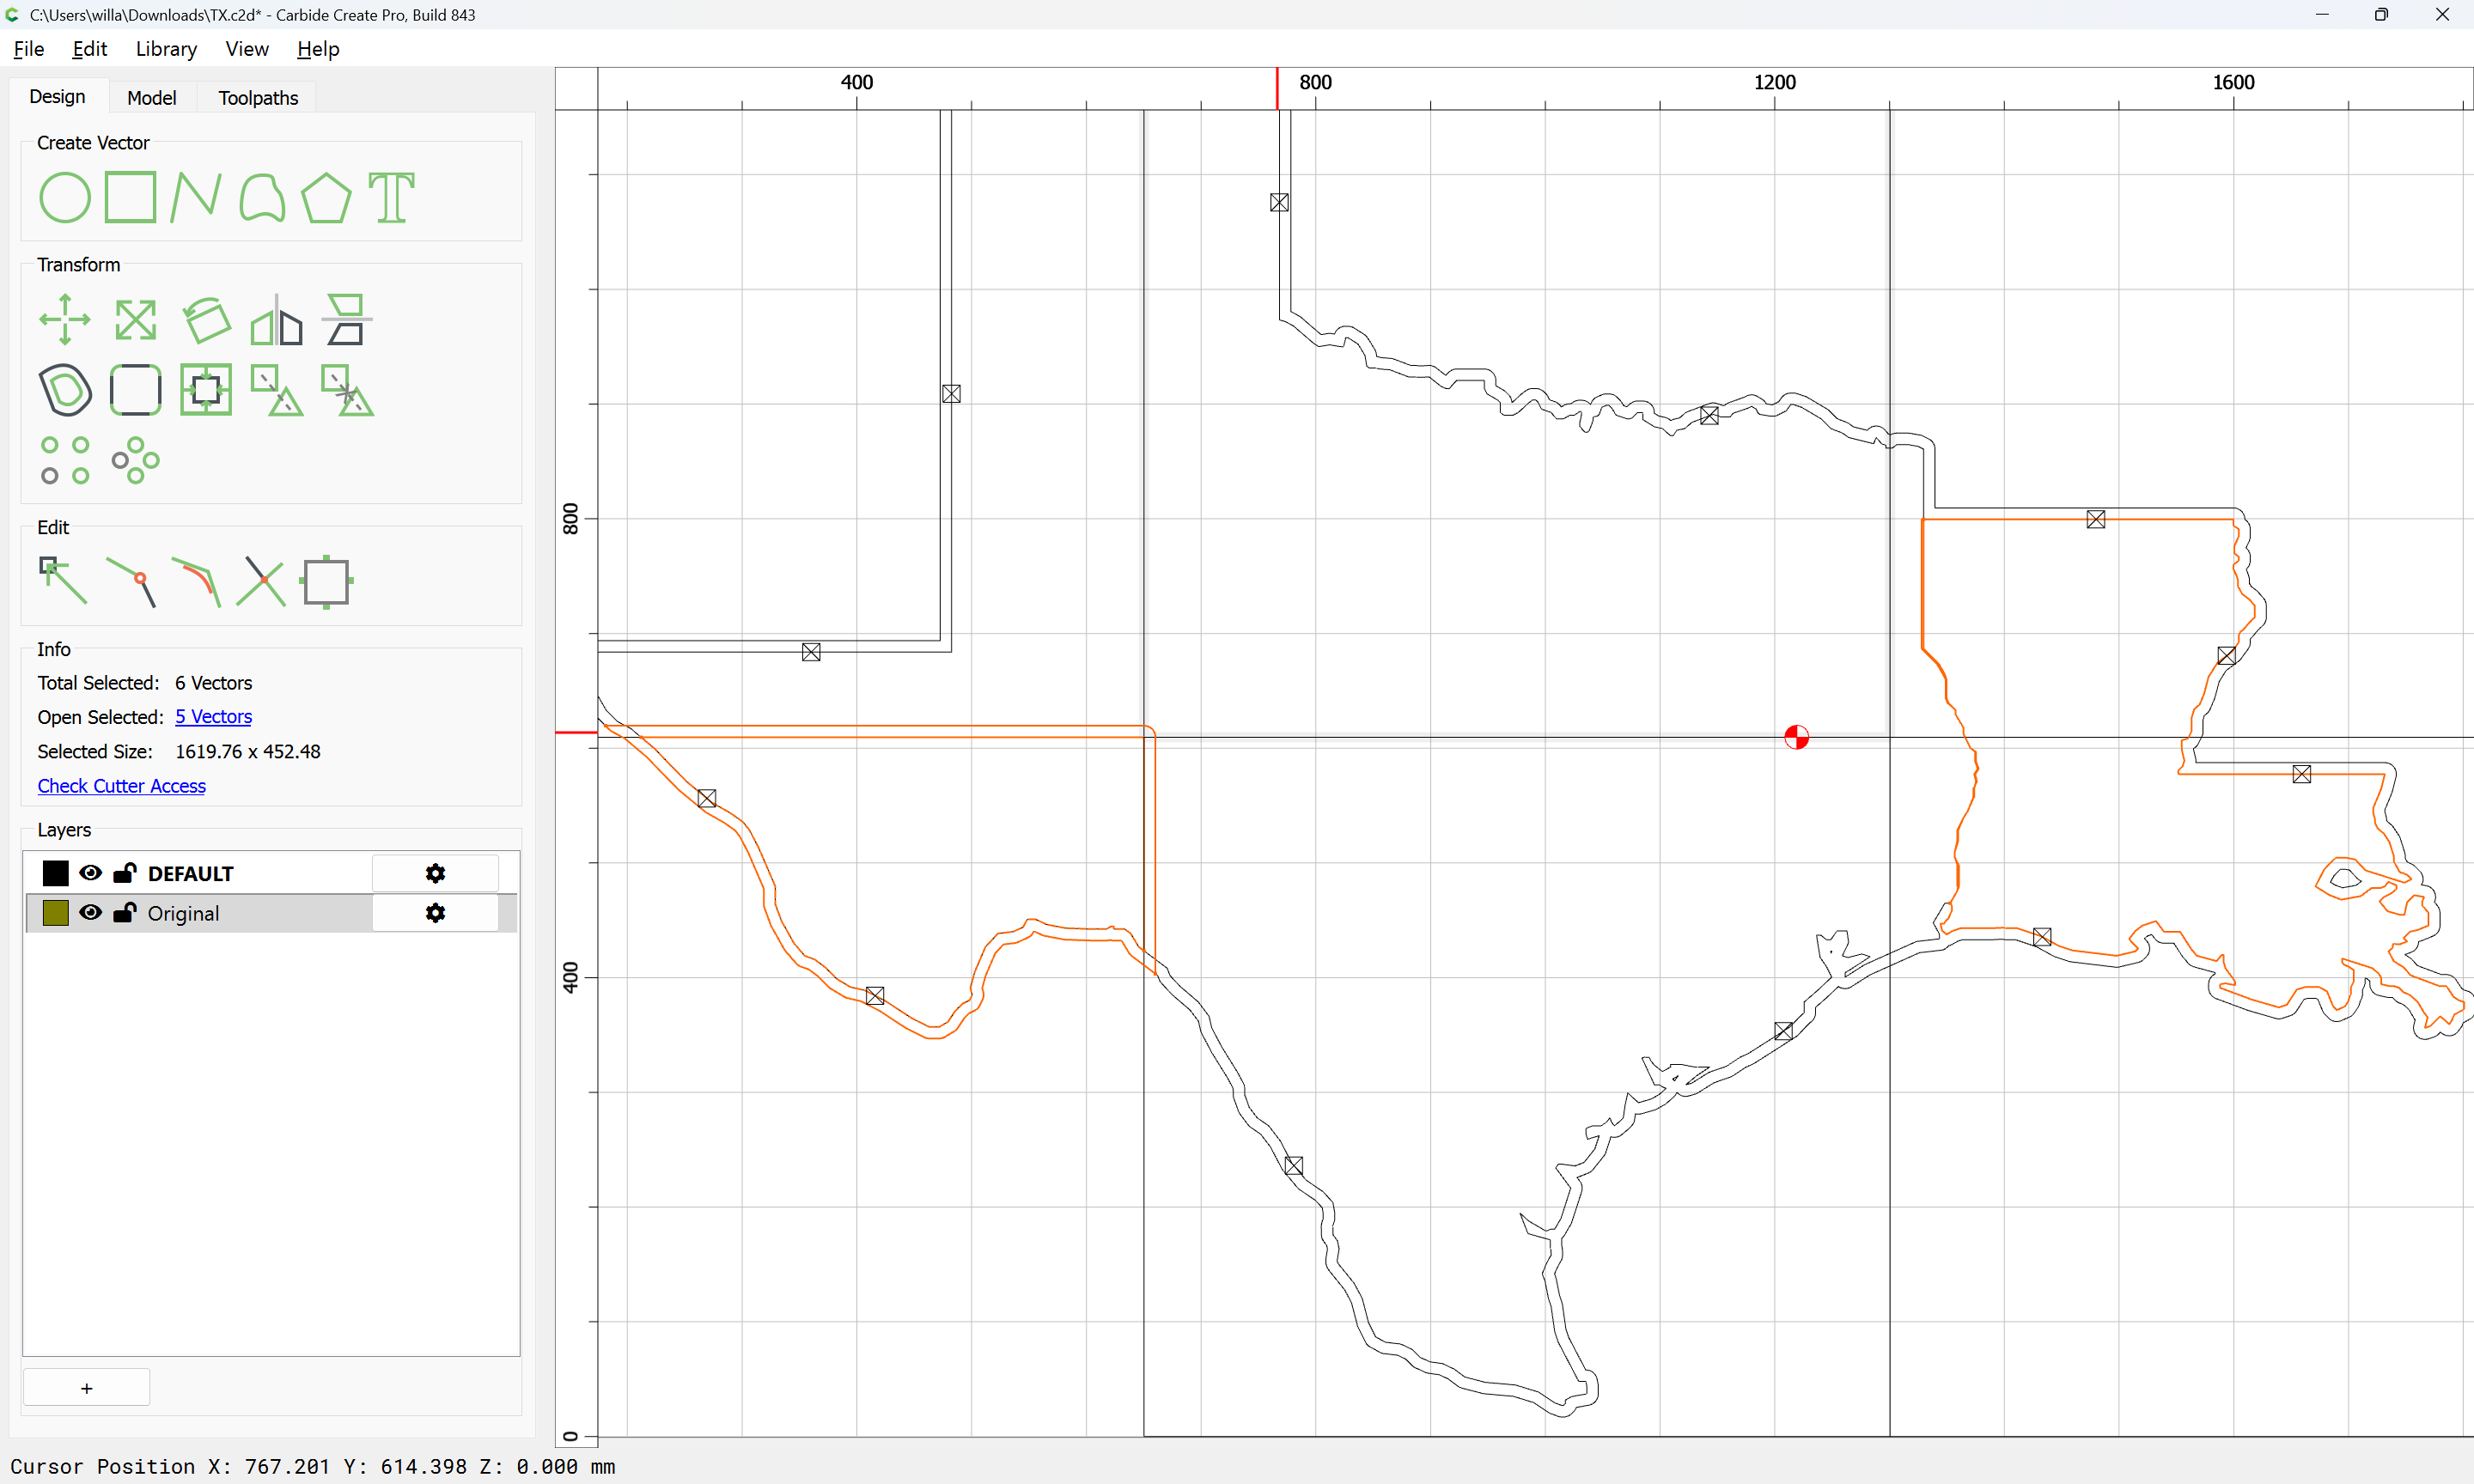
Lastly, we will want to use Trim Vectors for each such set of geometry for a given tile:

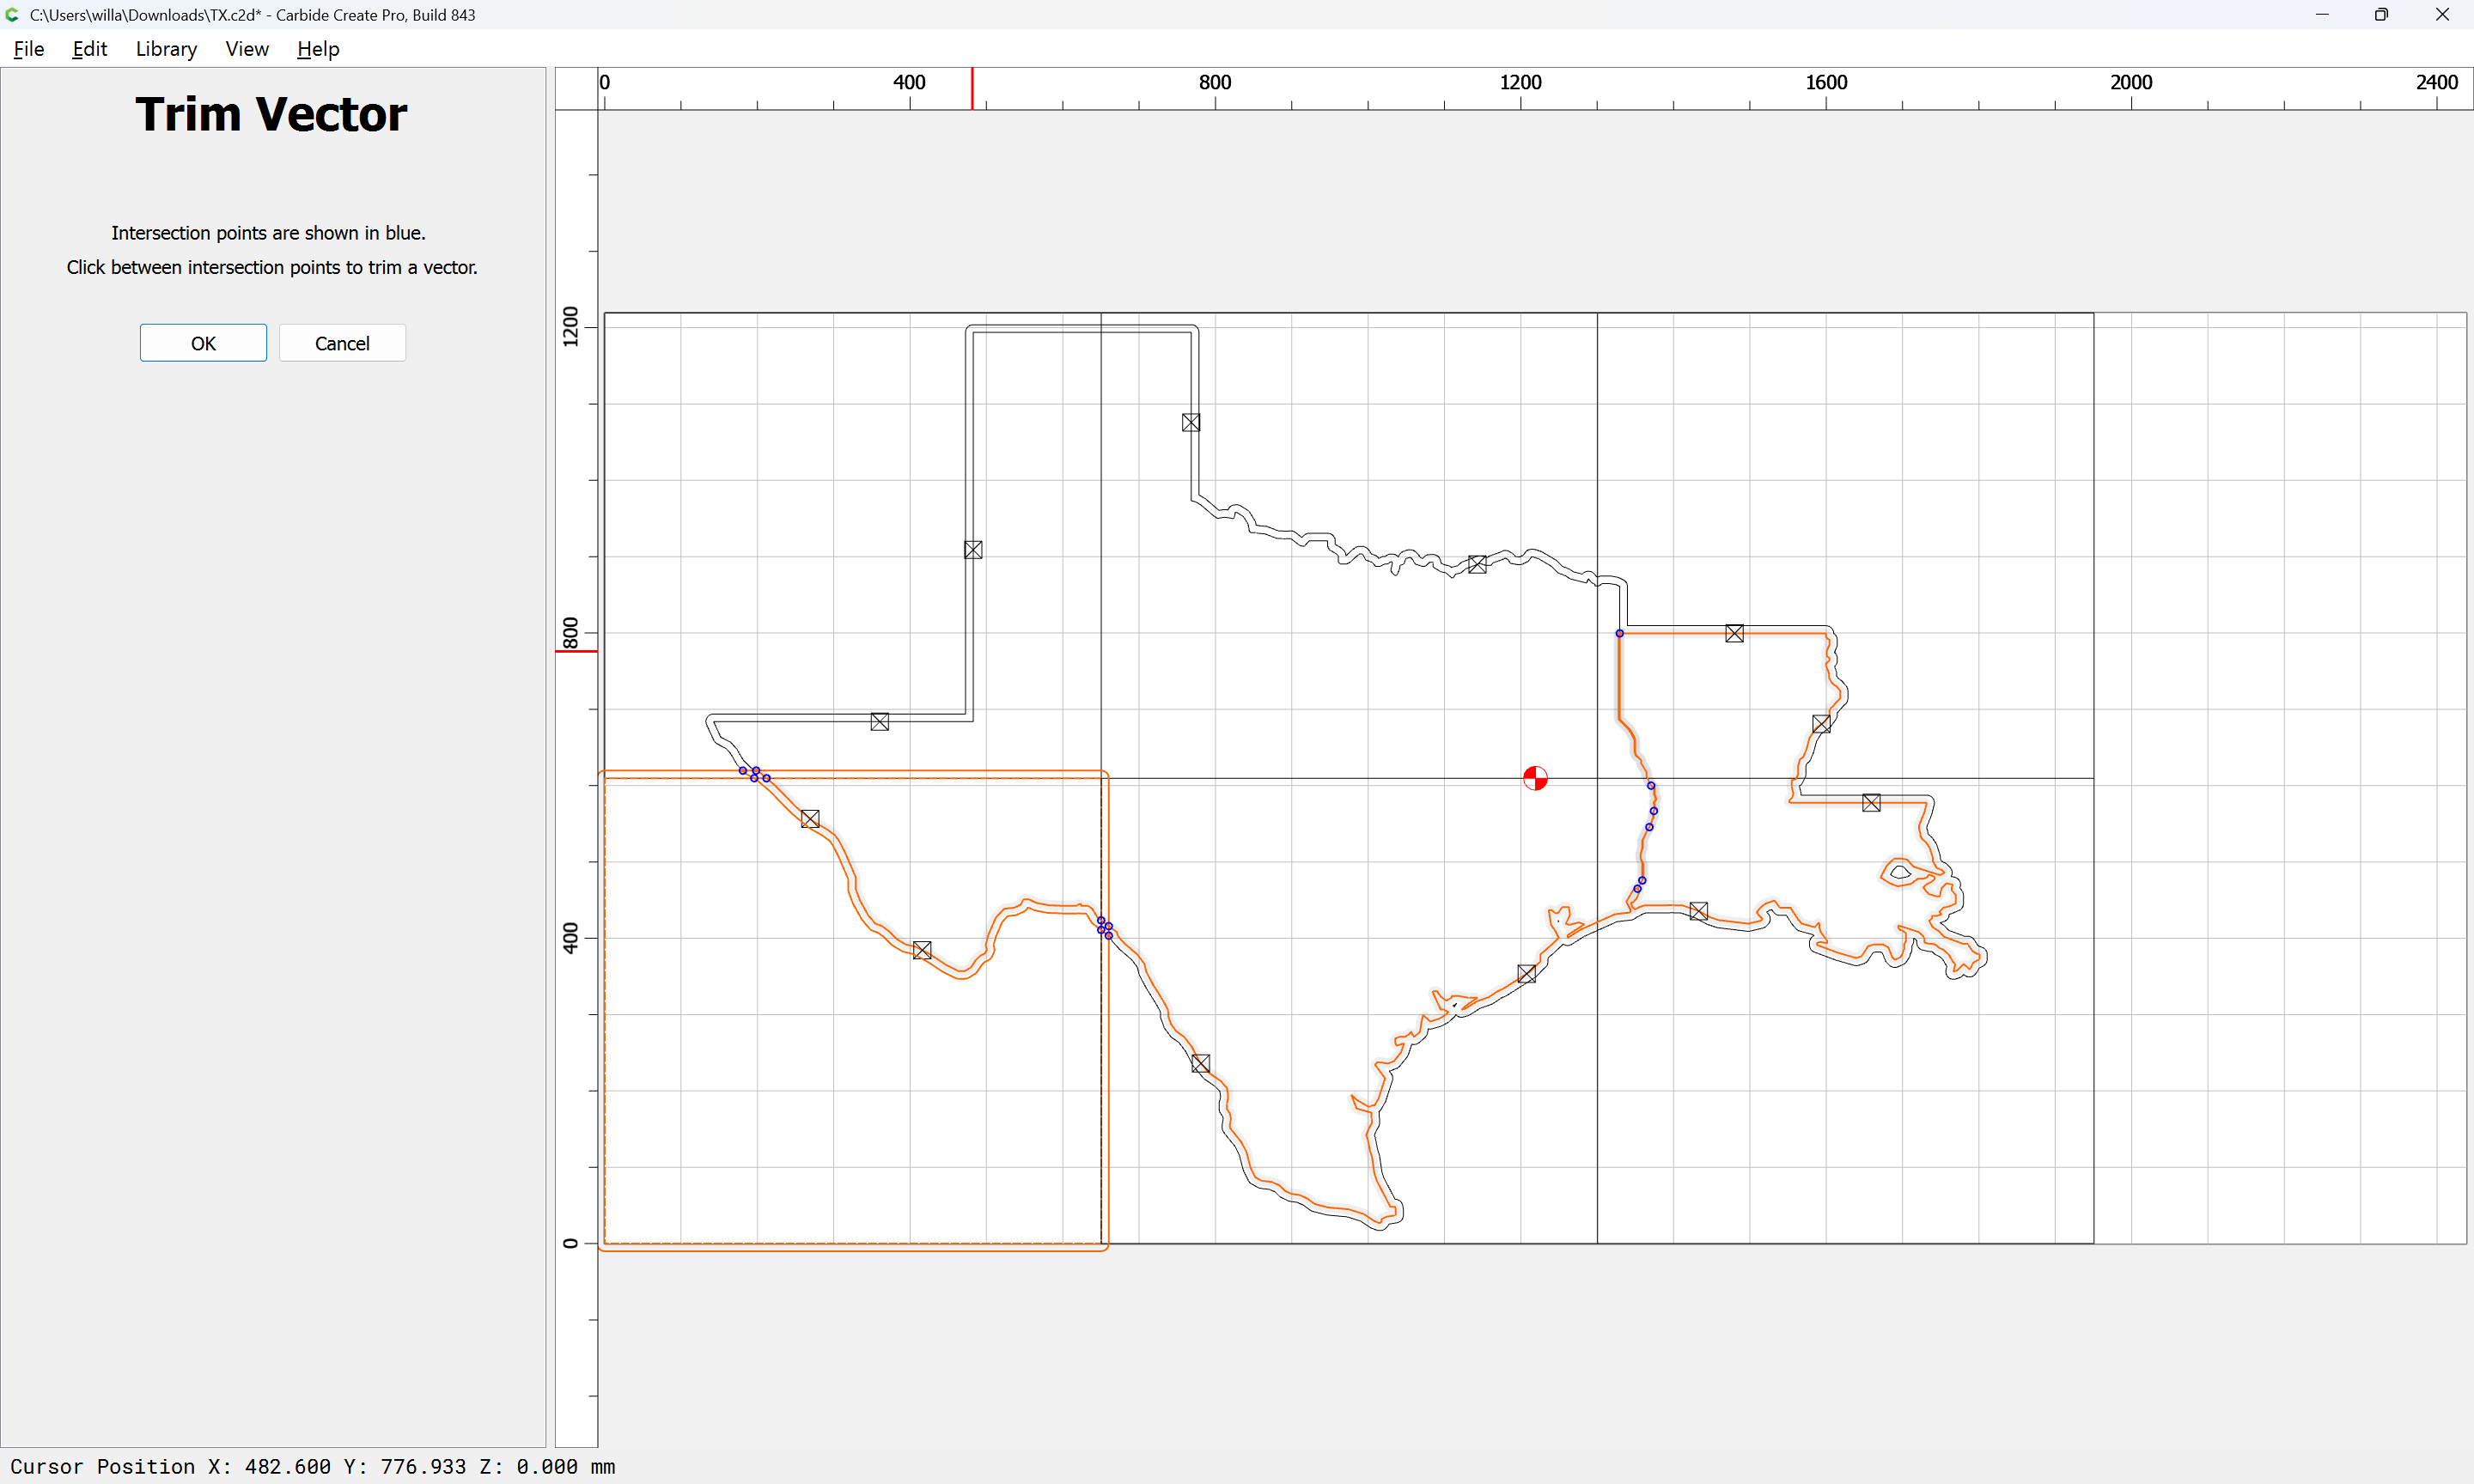
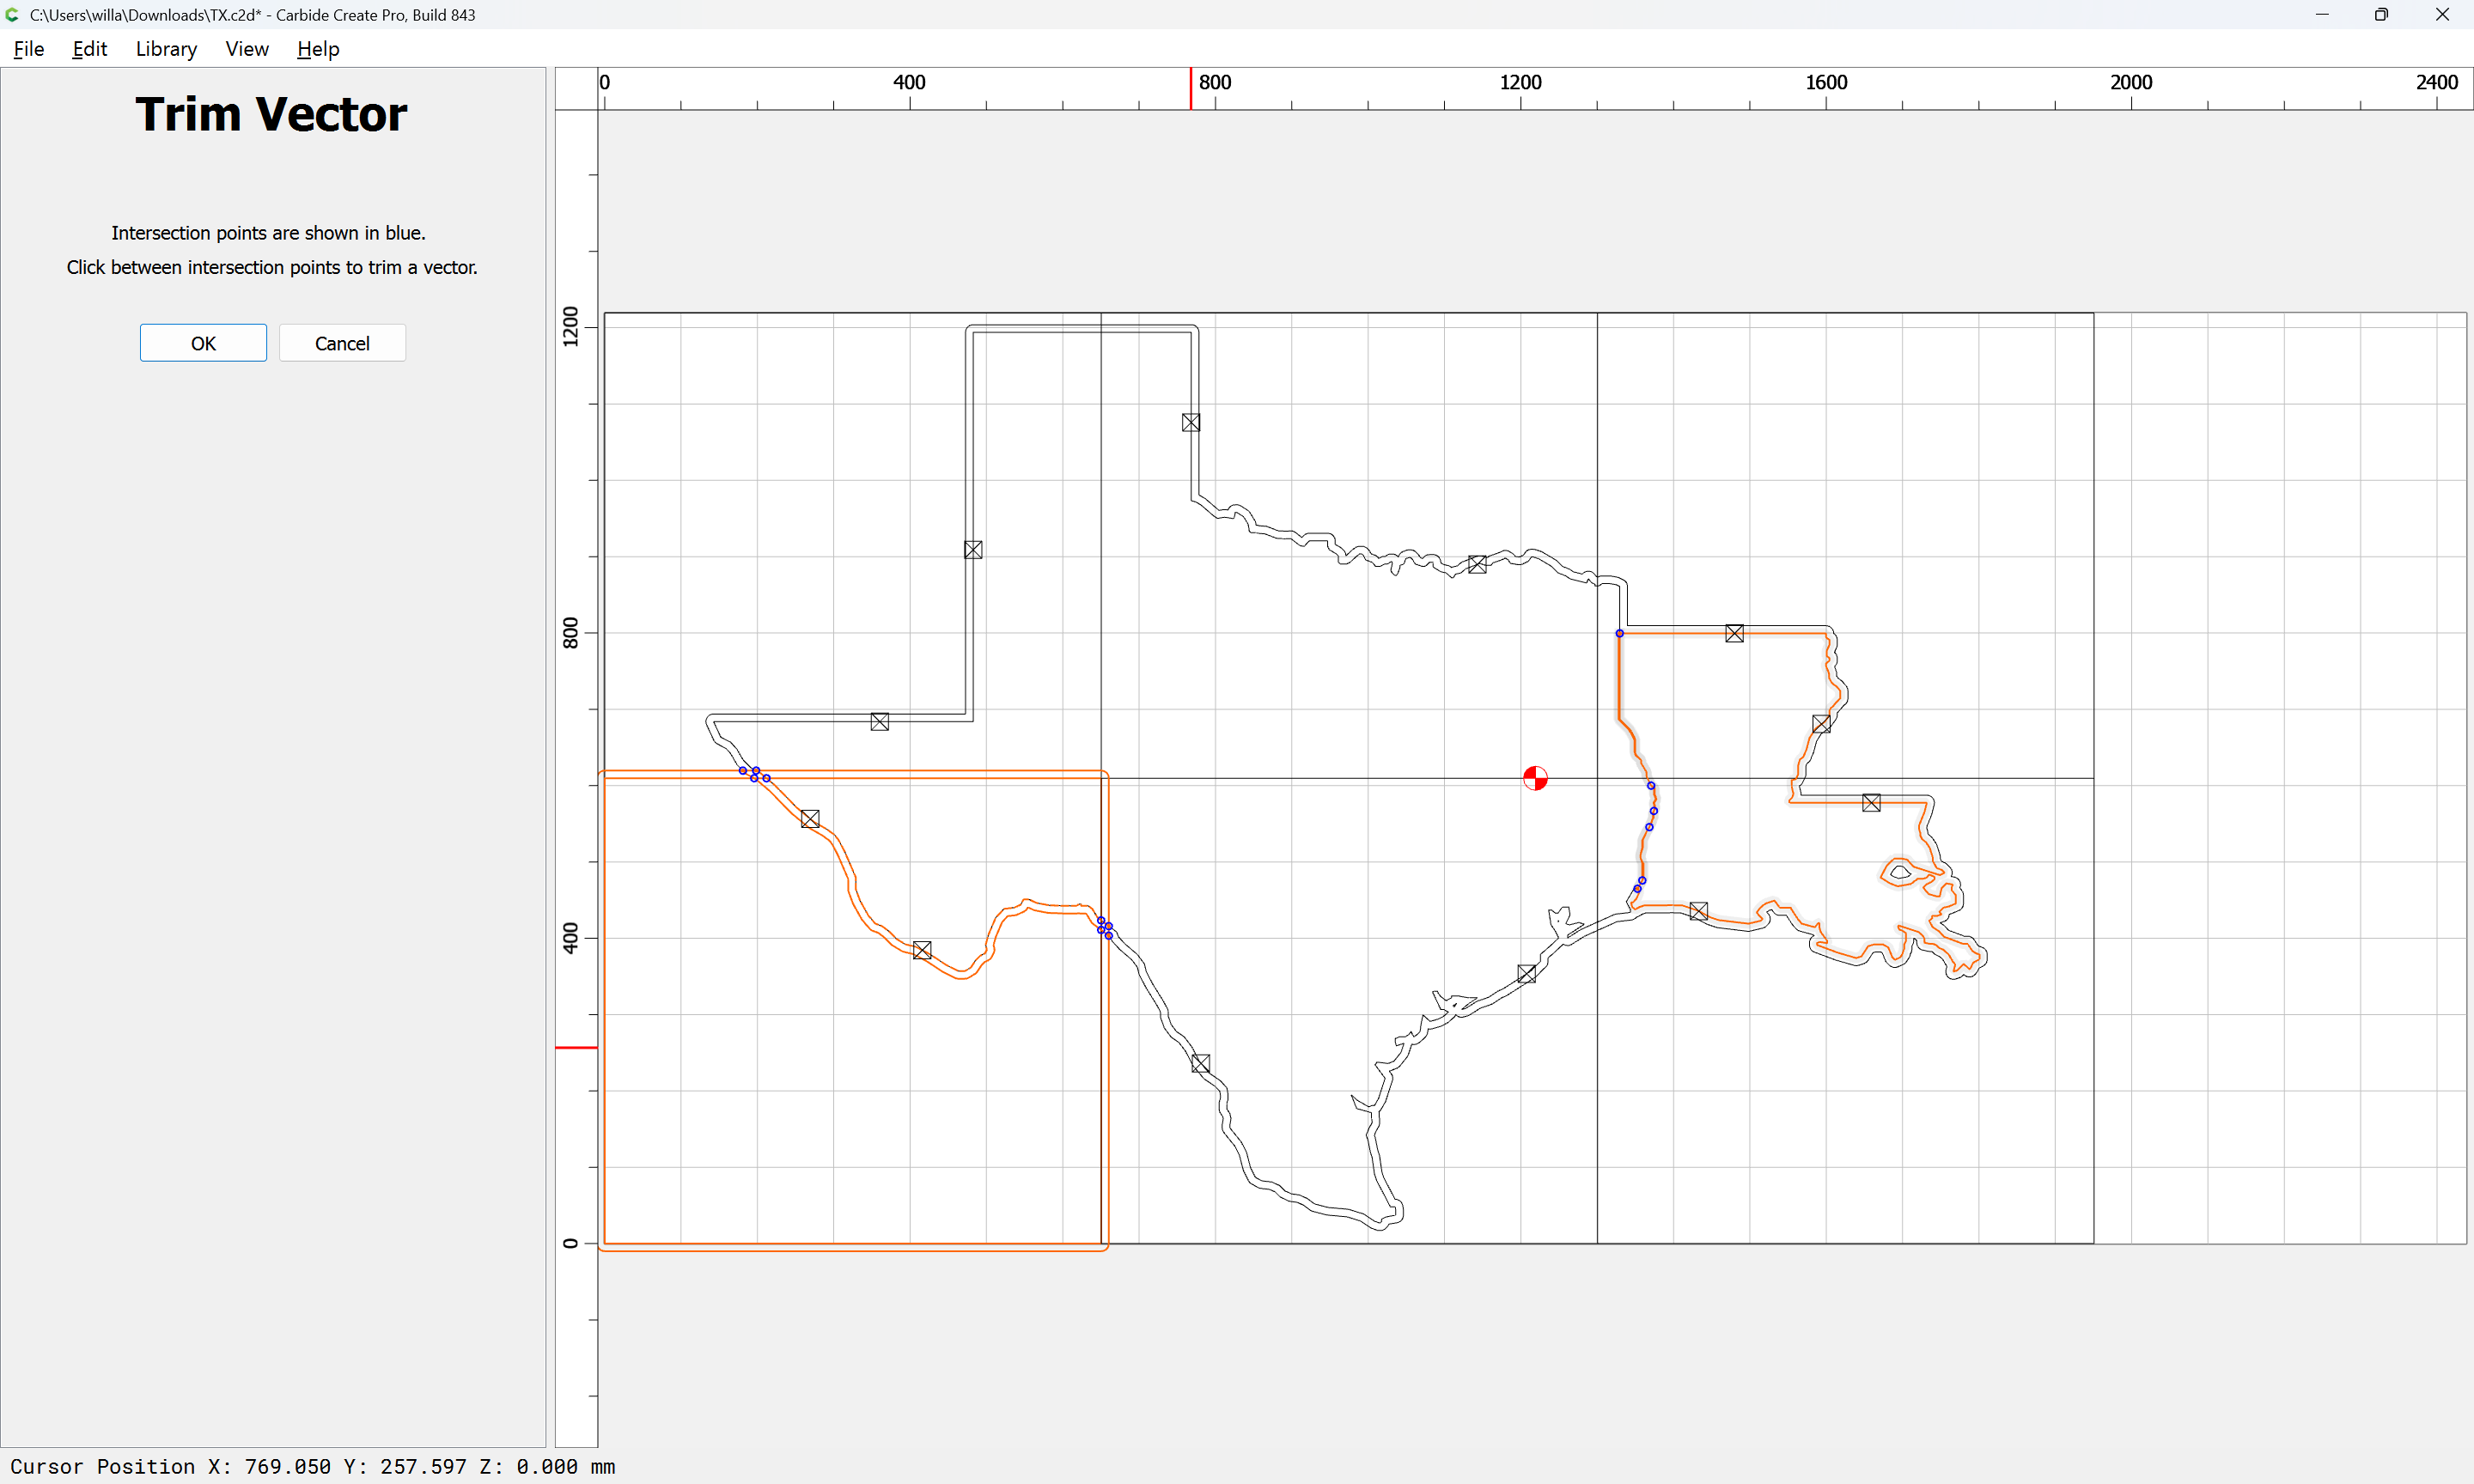
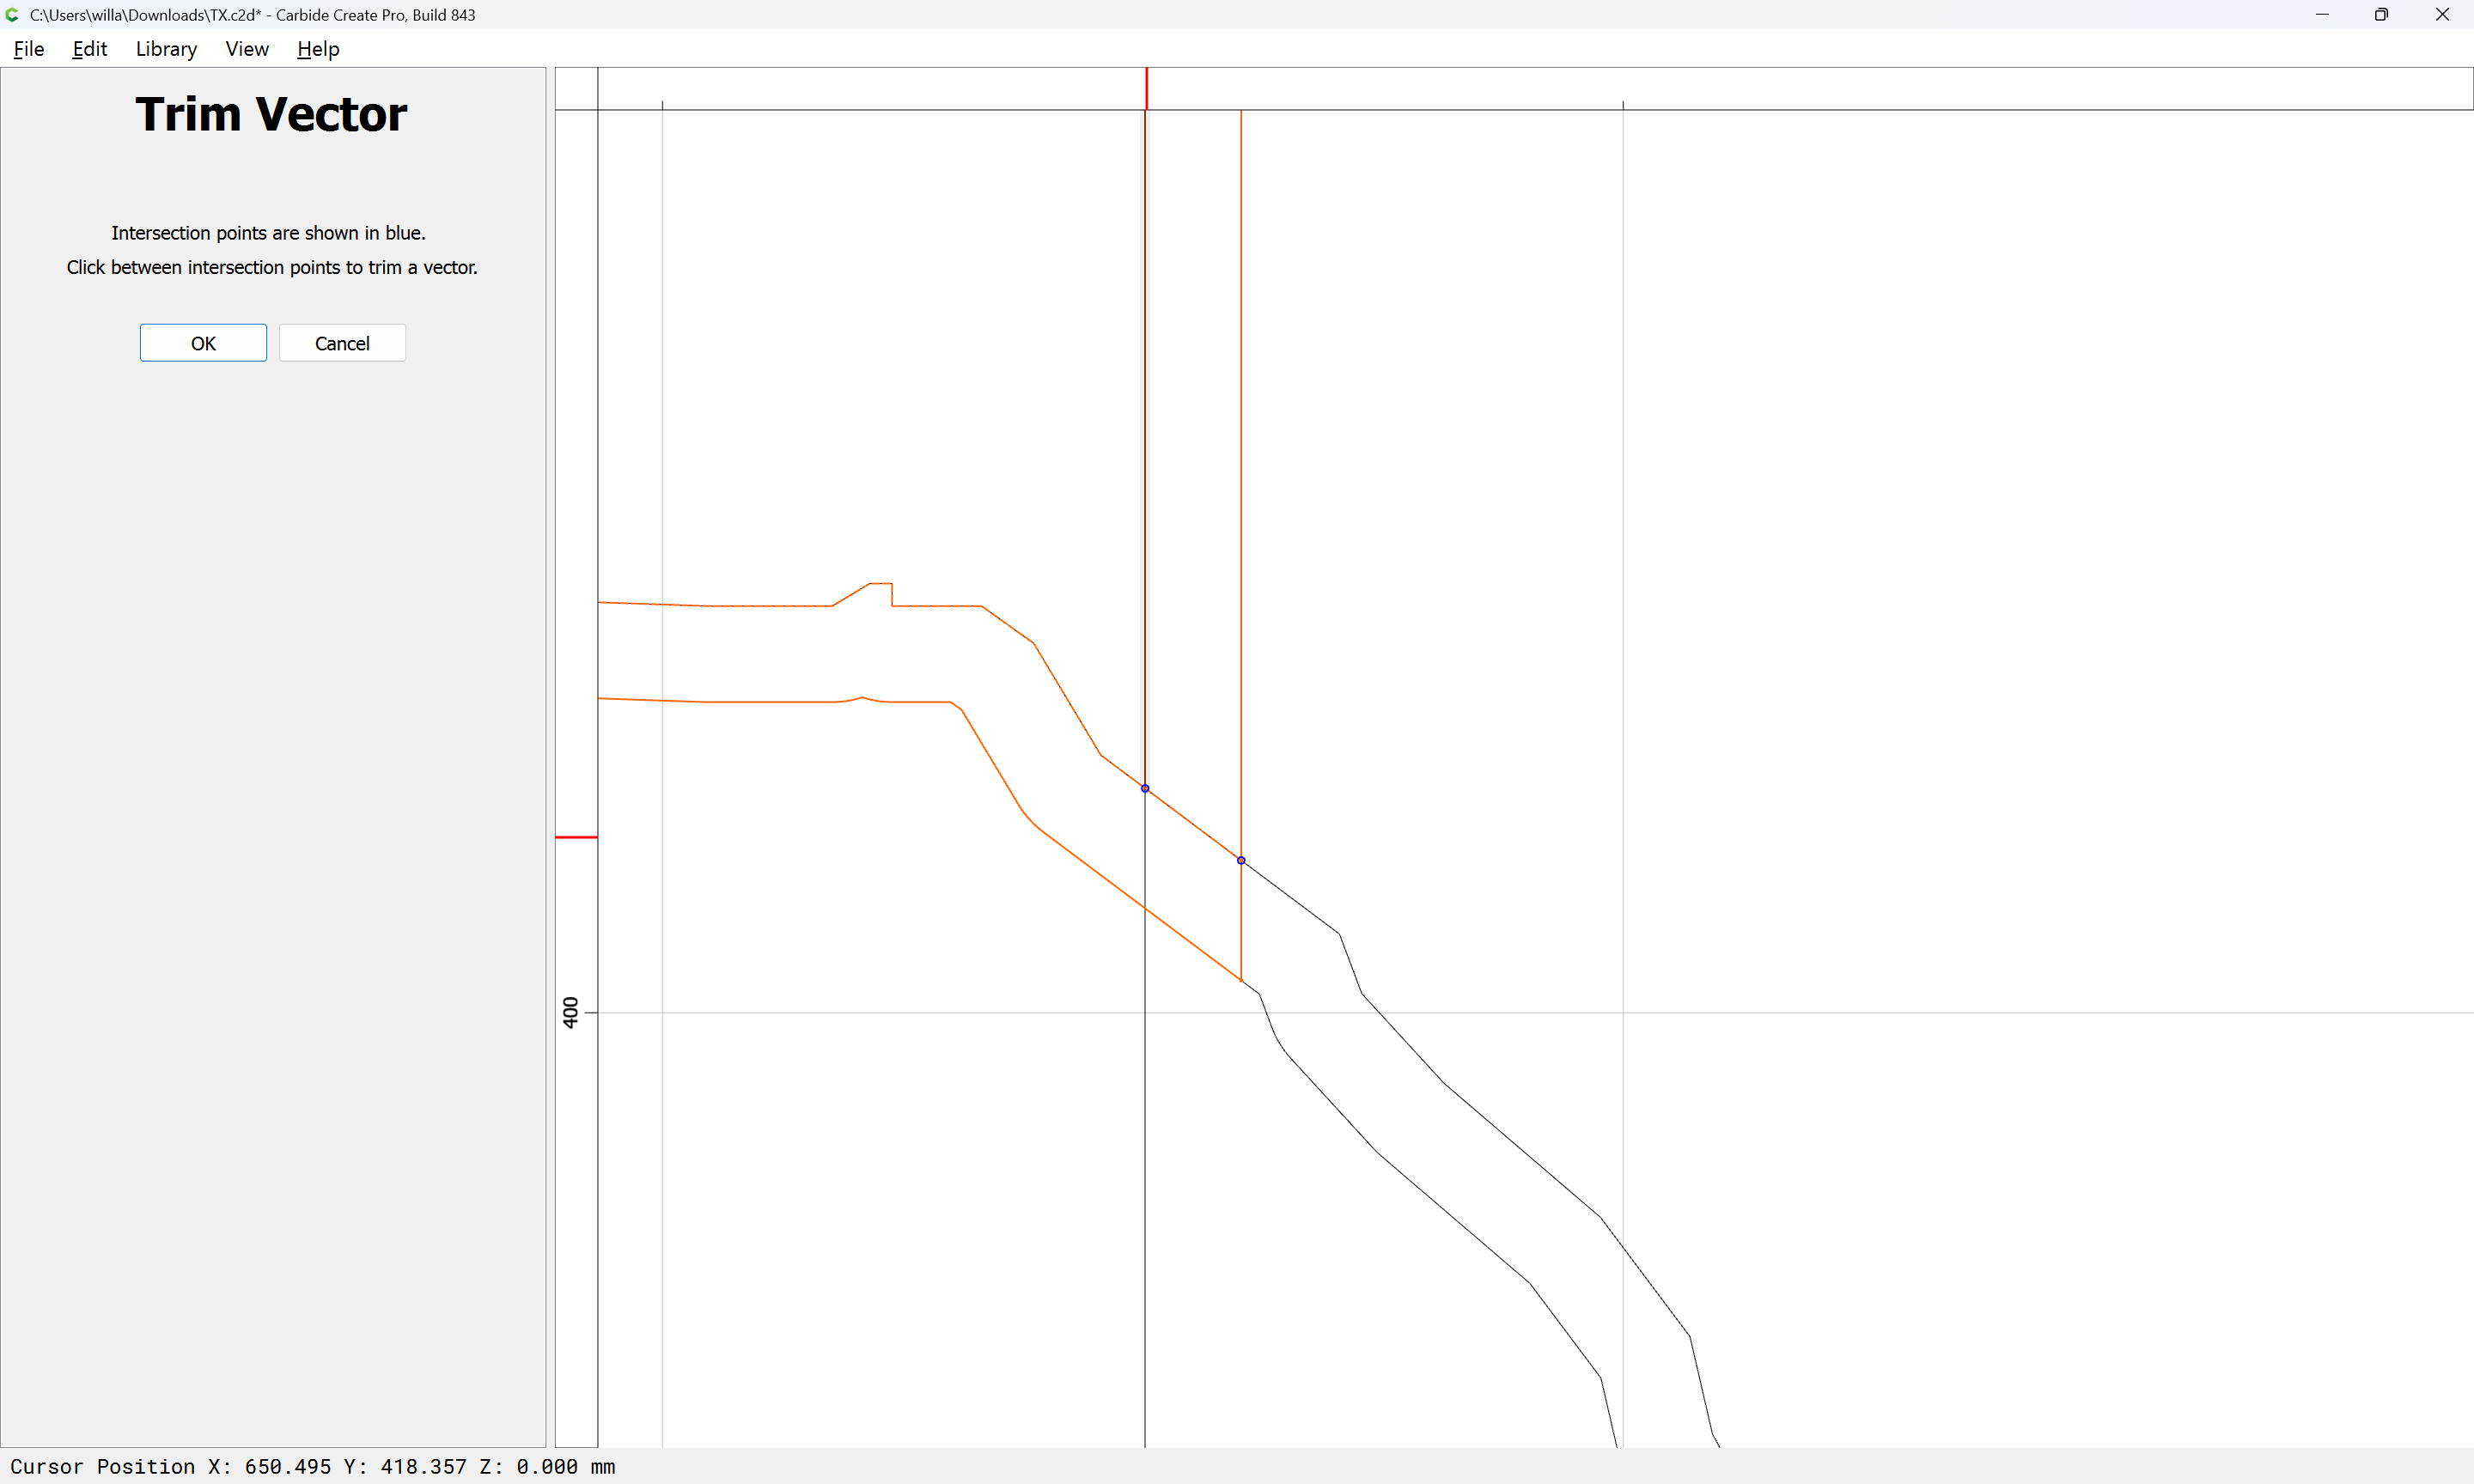
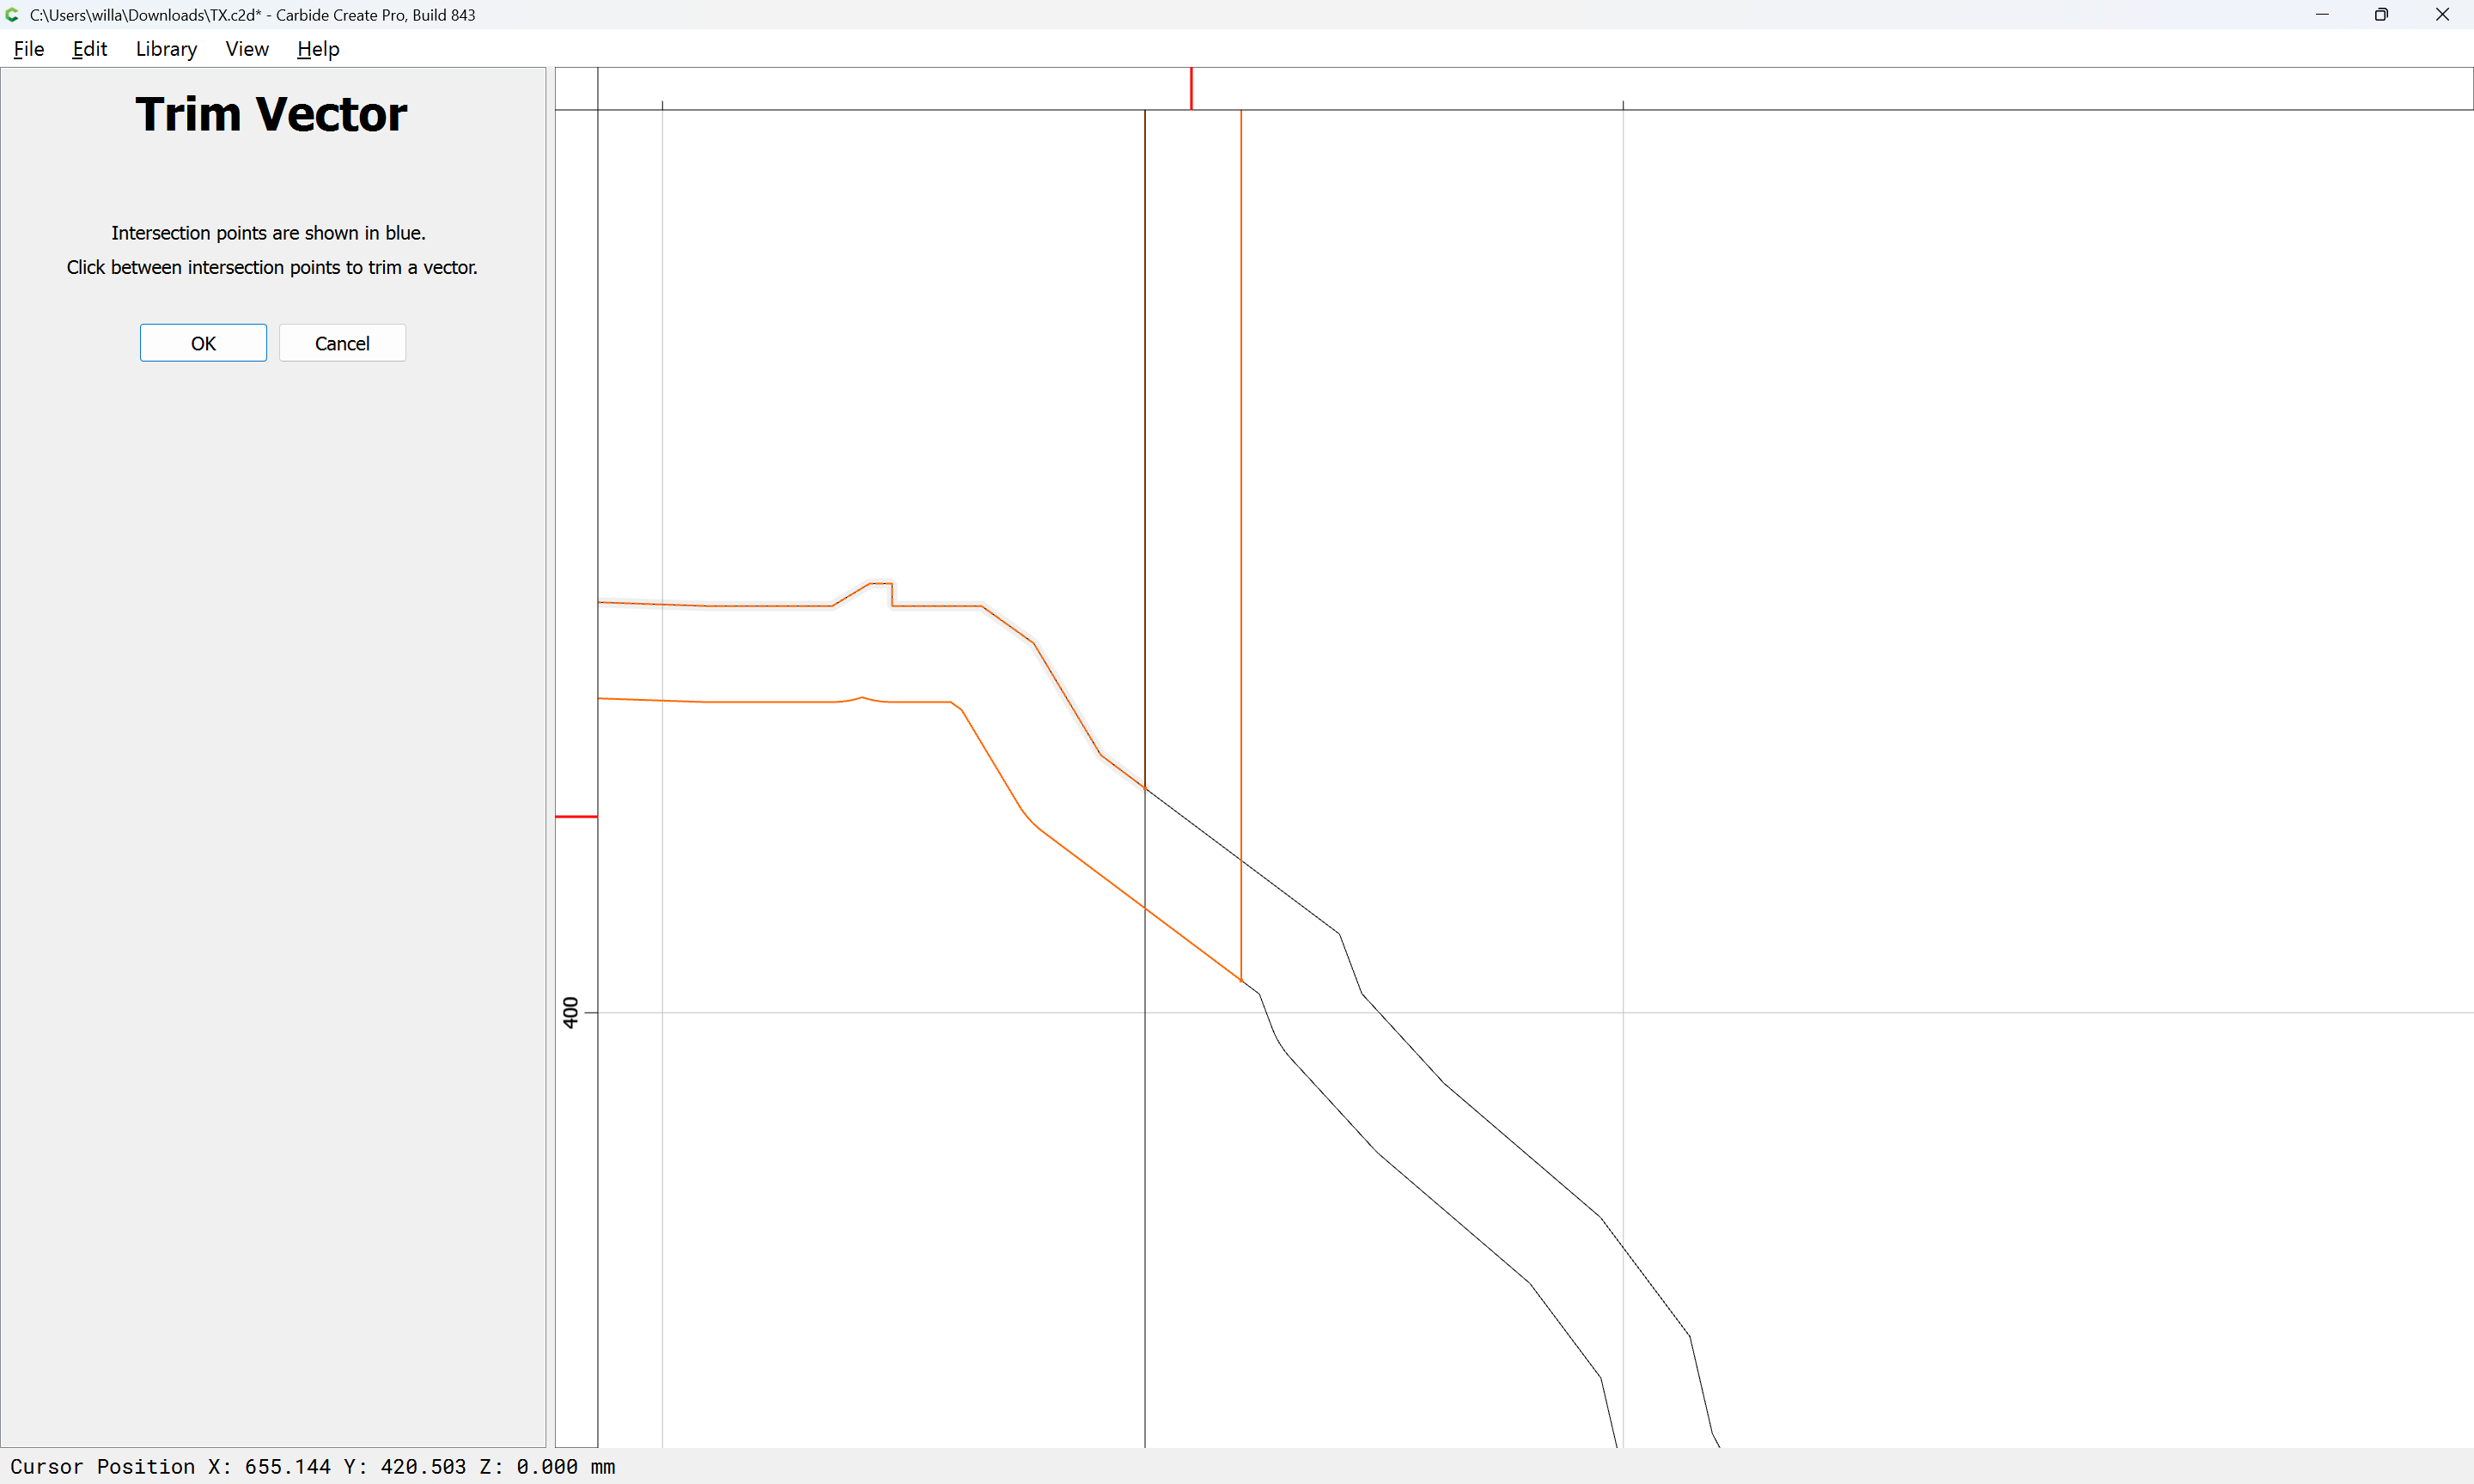
clicking to remove what is not wanted:

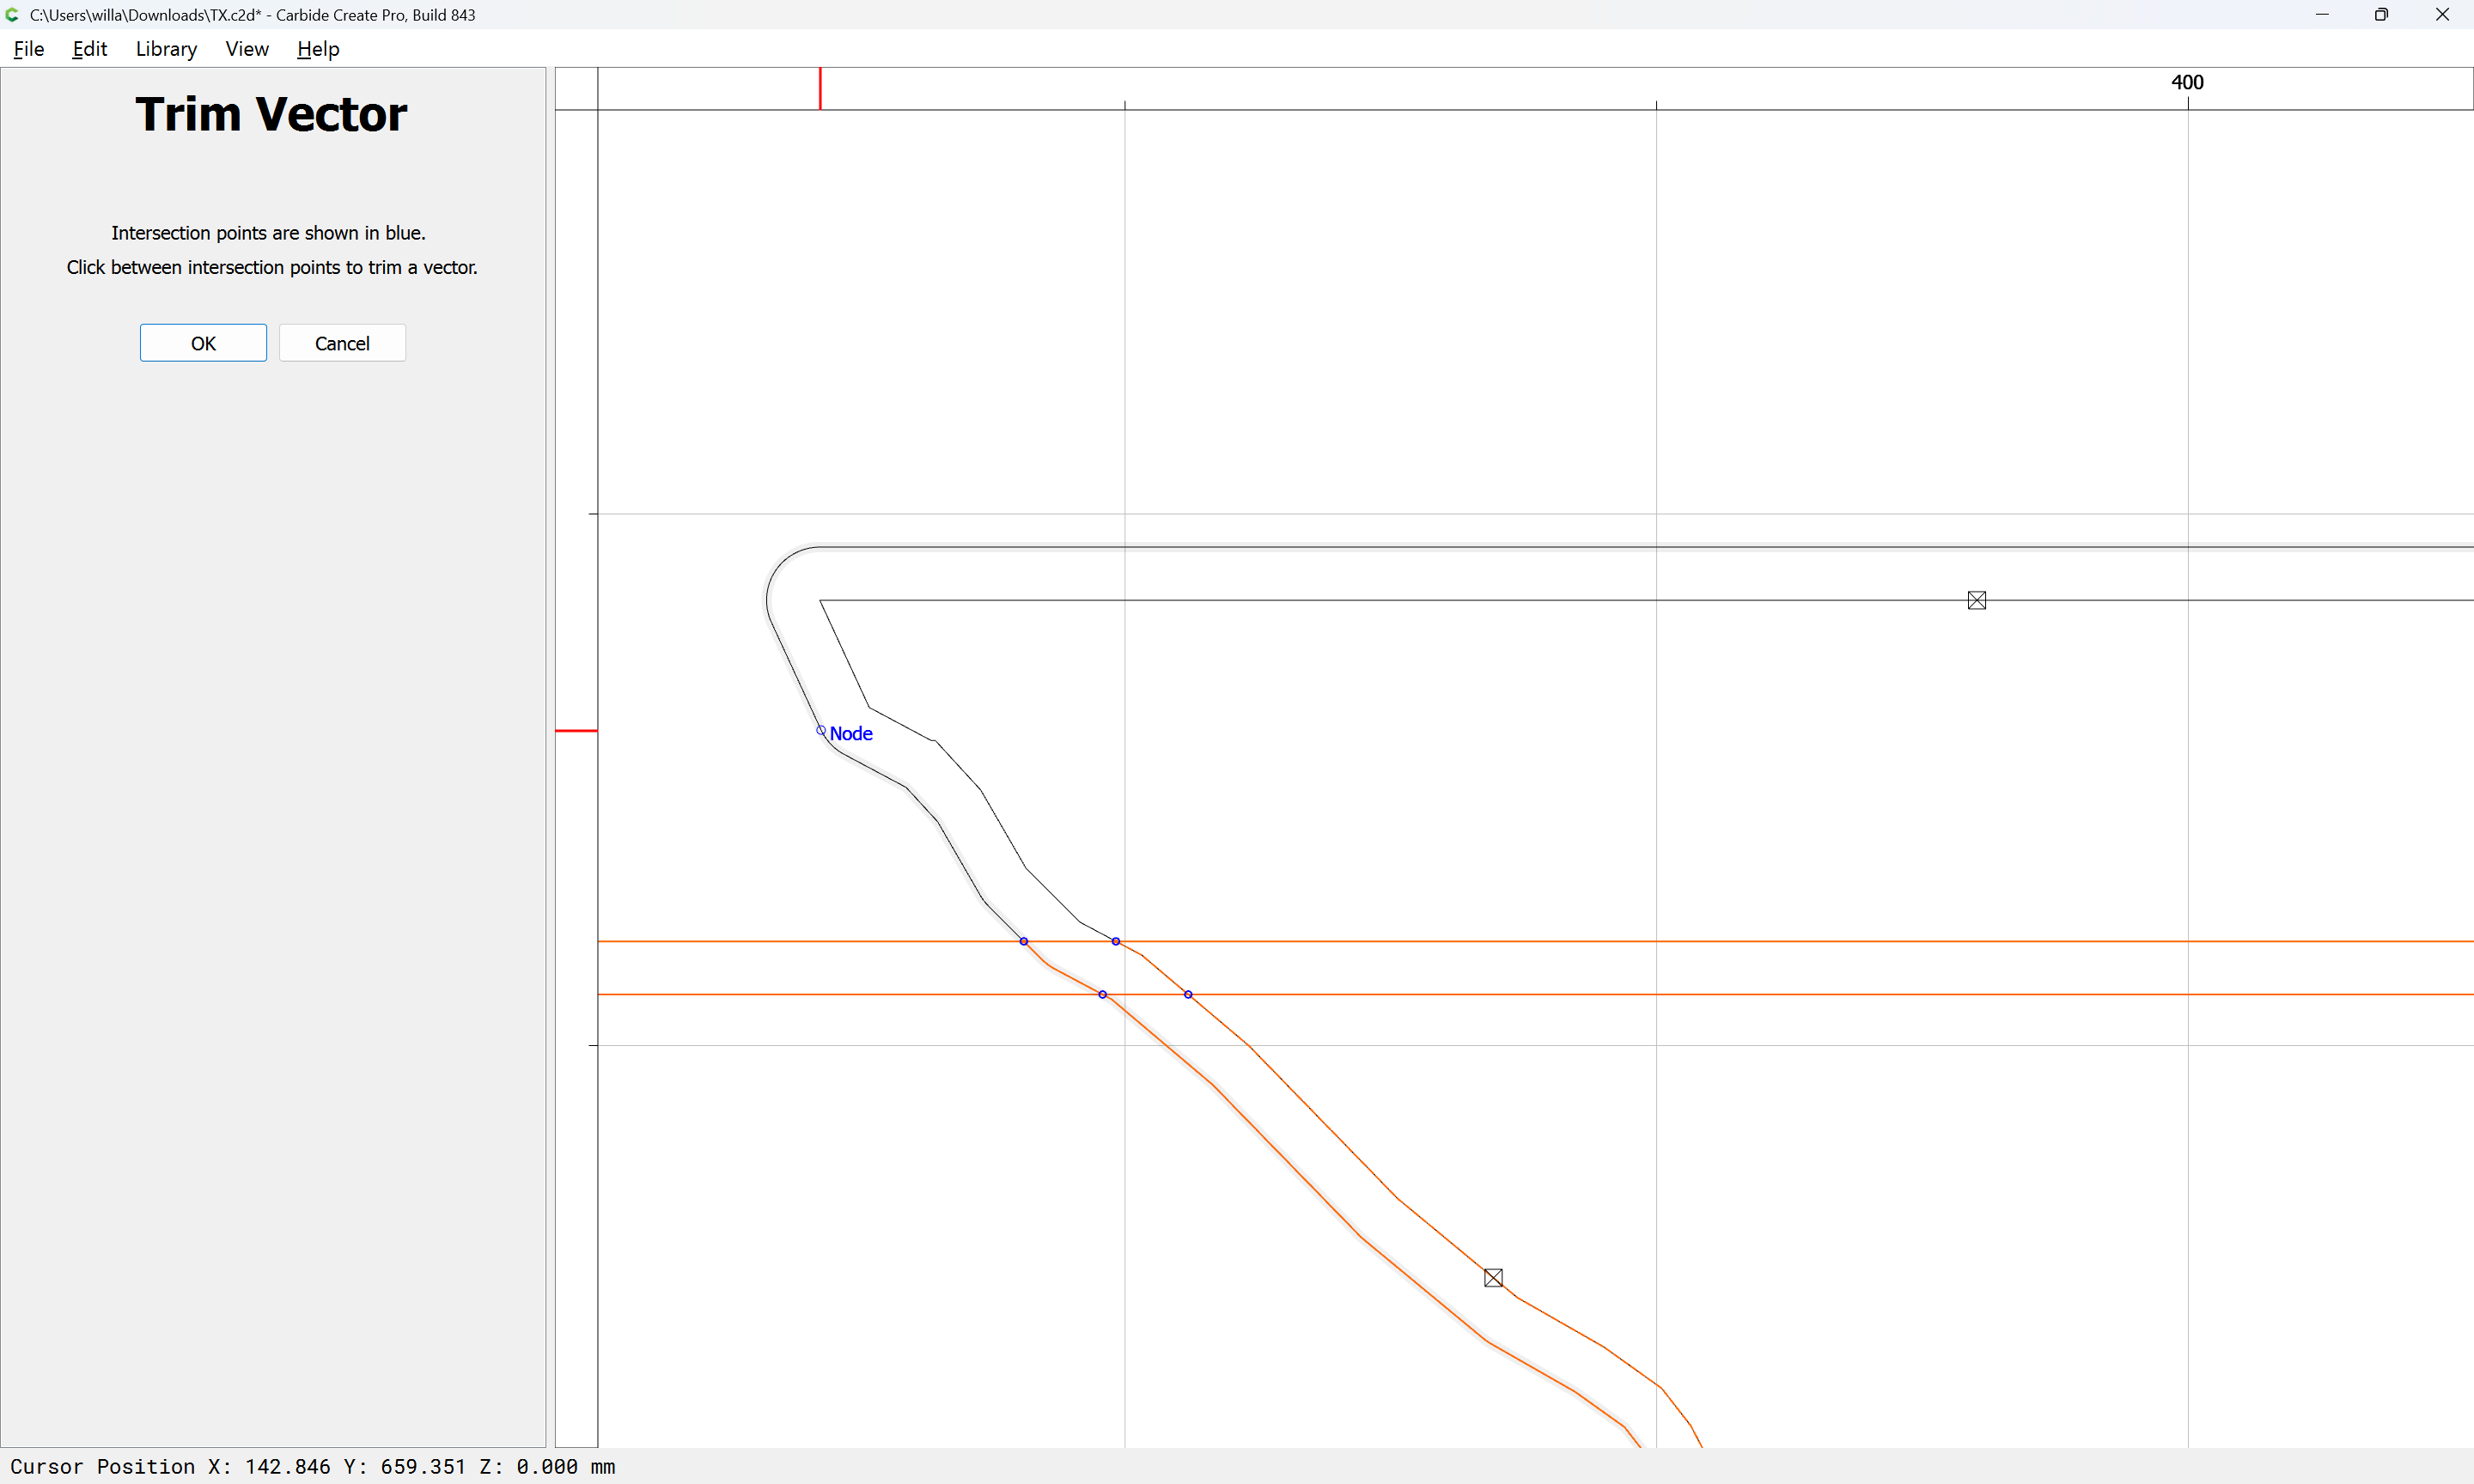
Zooming in on the intersections:

until one arrives at:

OK

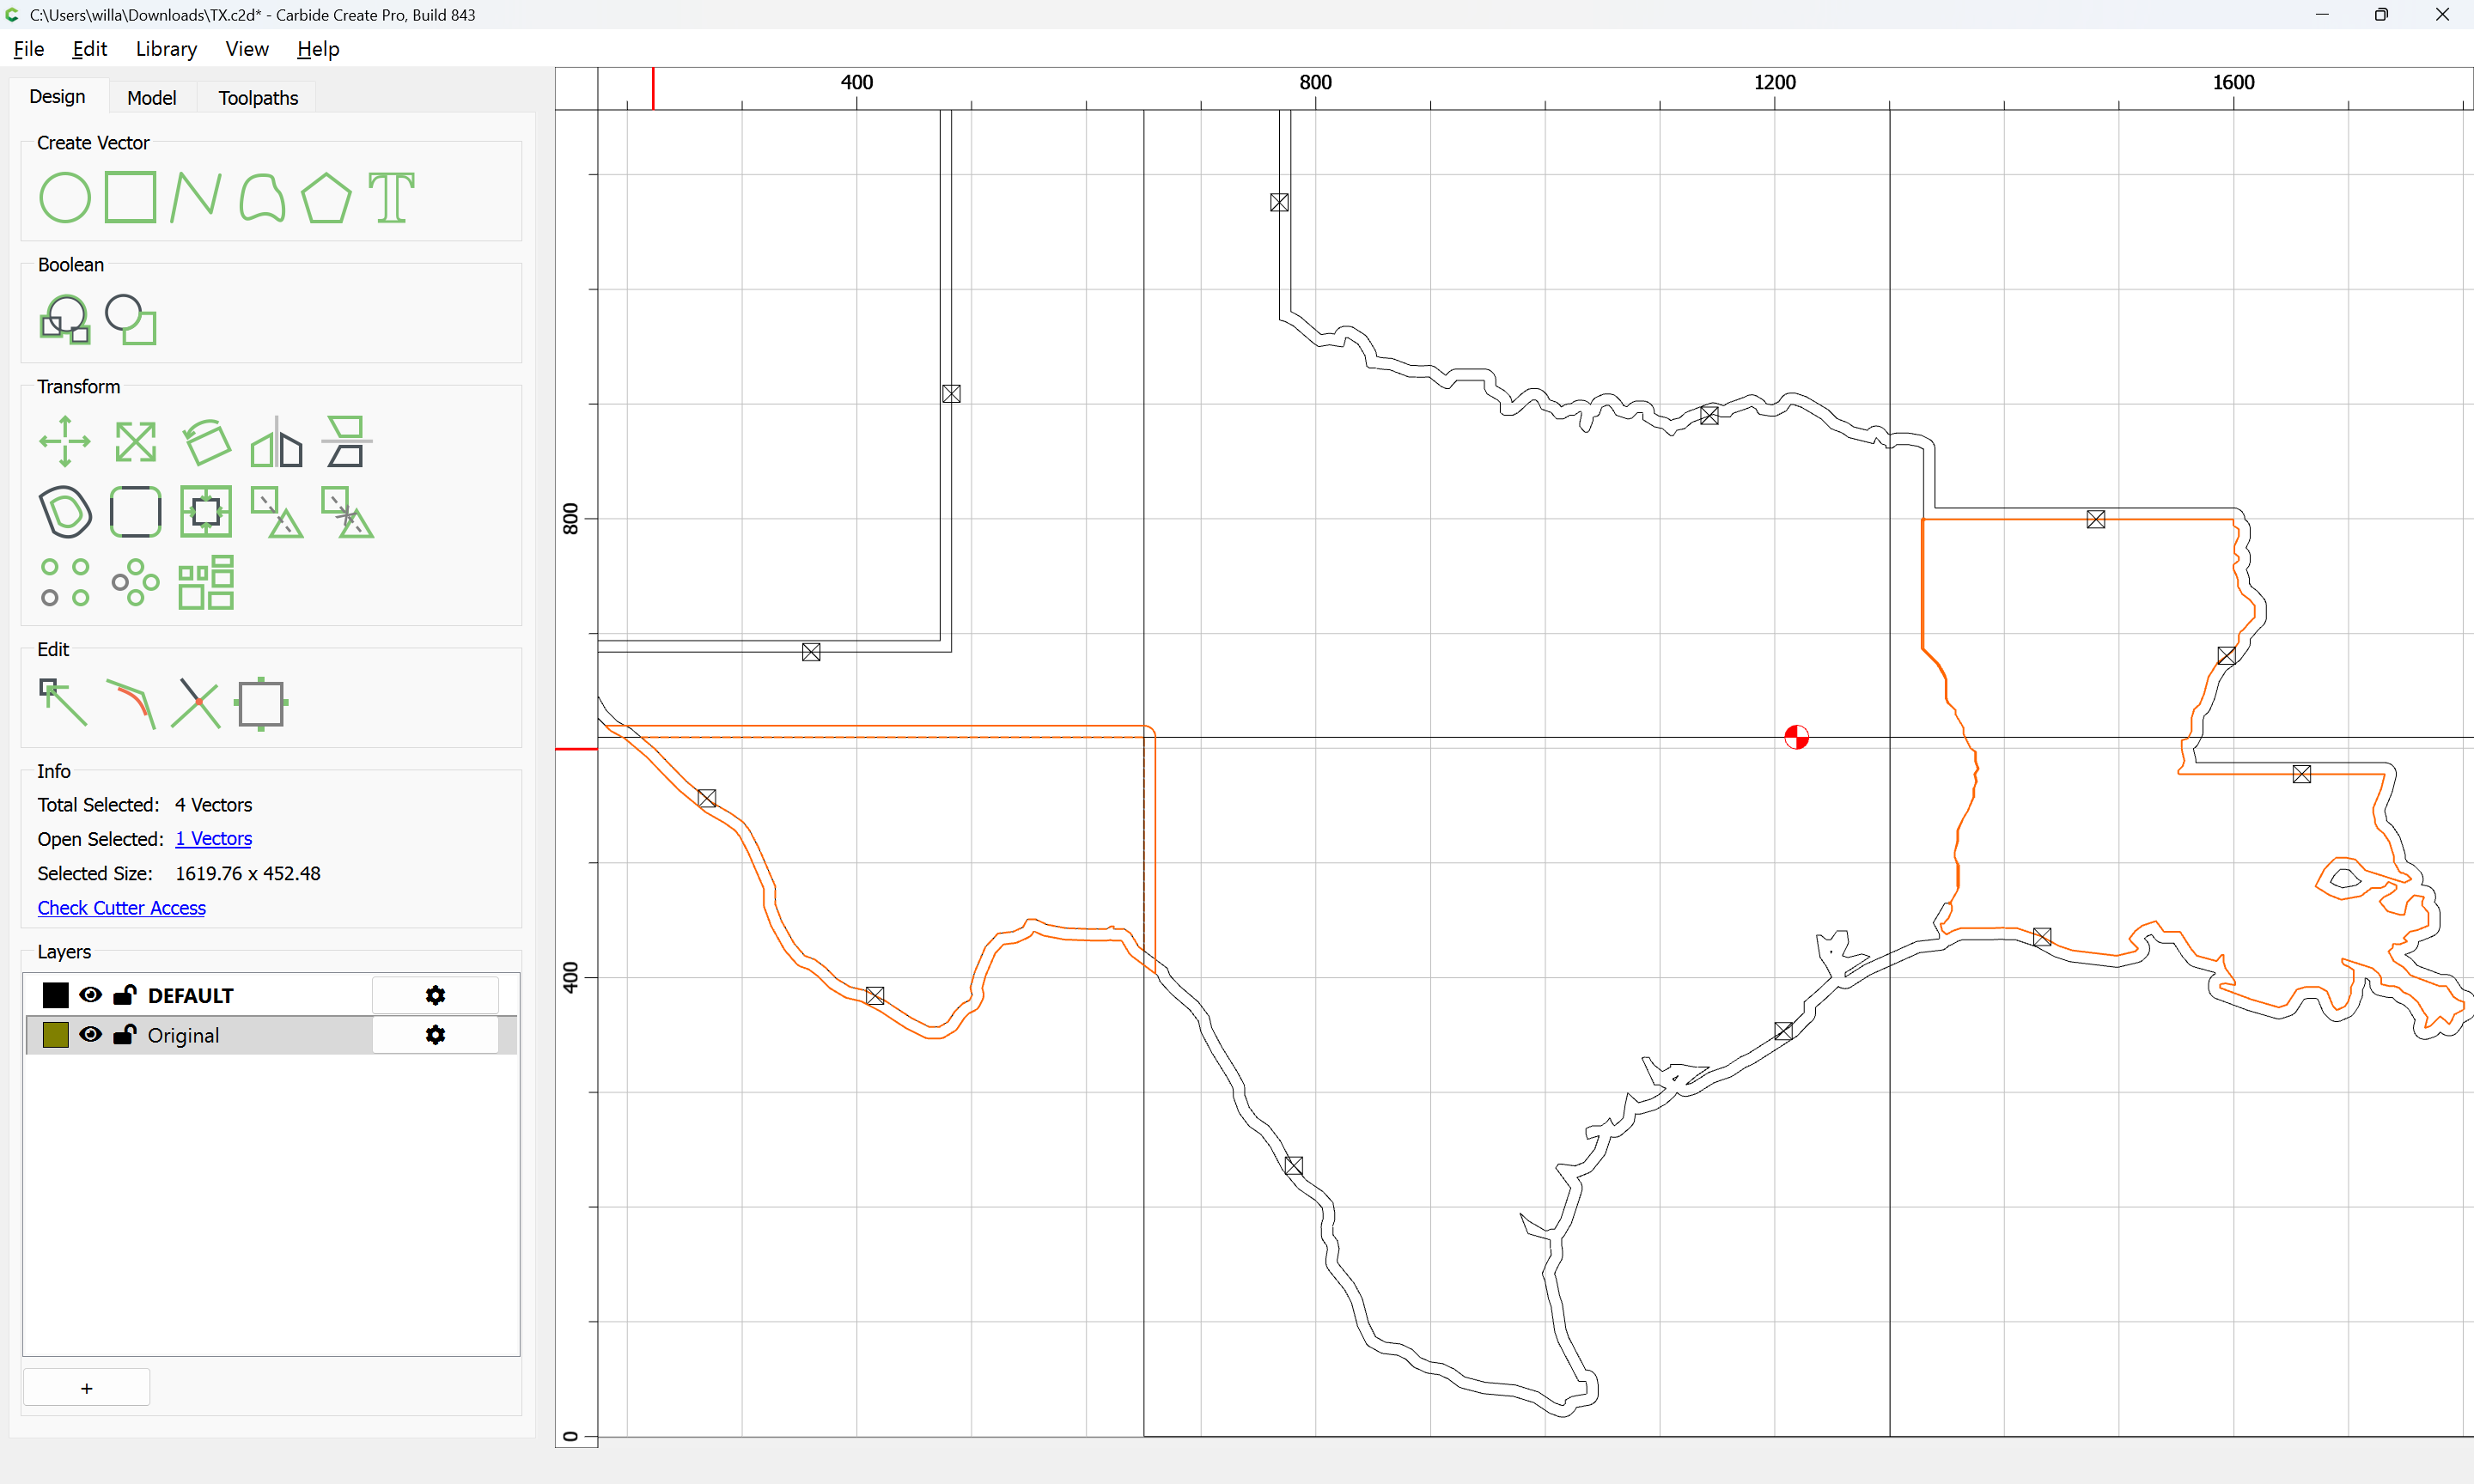
Join Vectors:

Deselect what one wants to keep:

and delete:

If need be, recreate the original tile area:

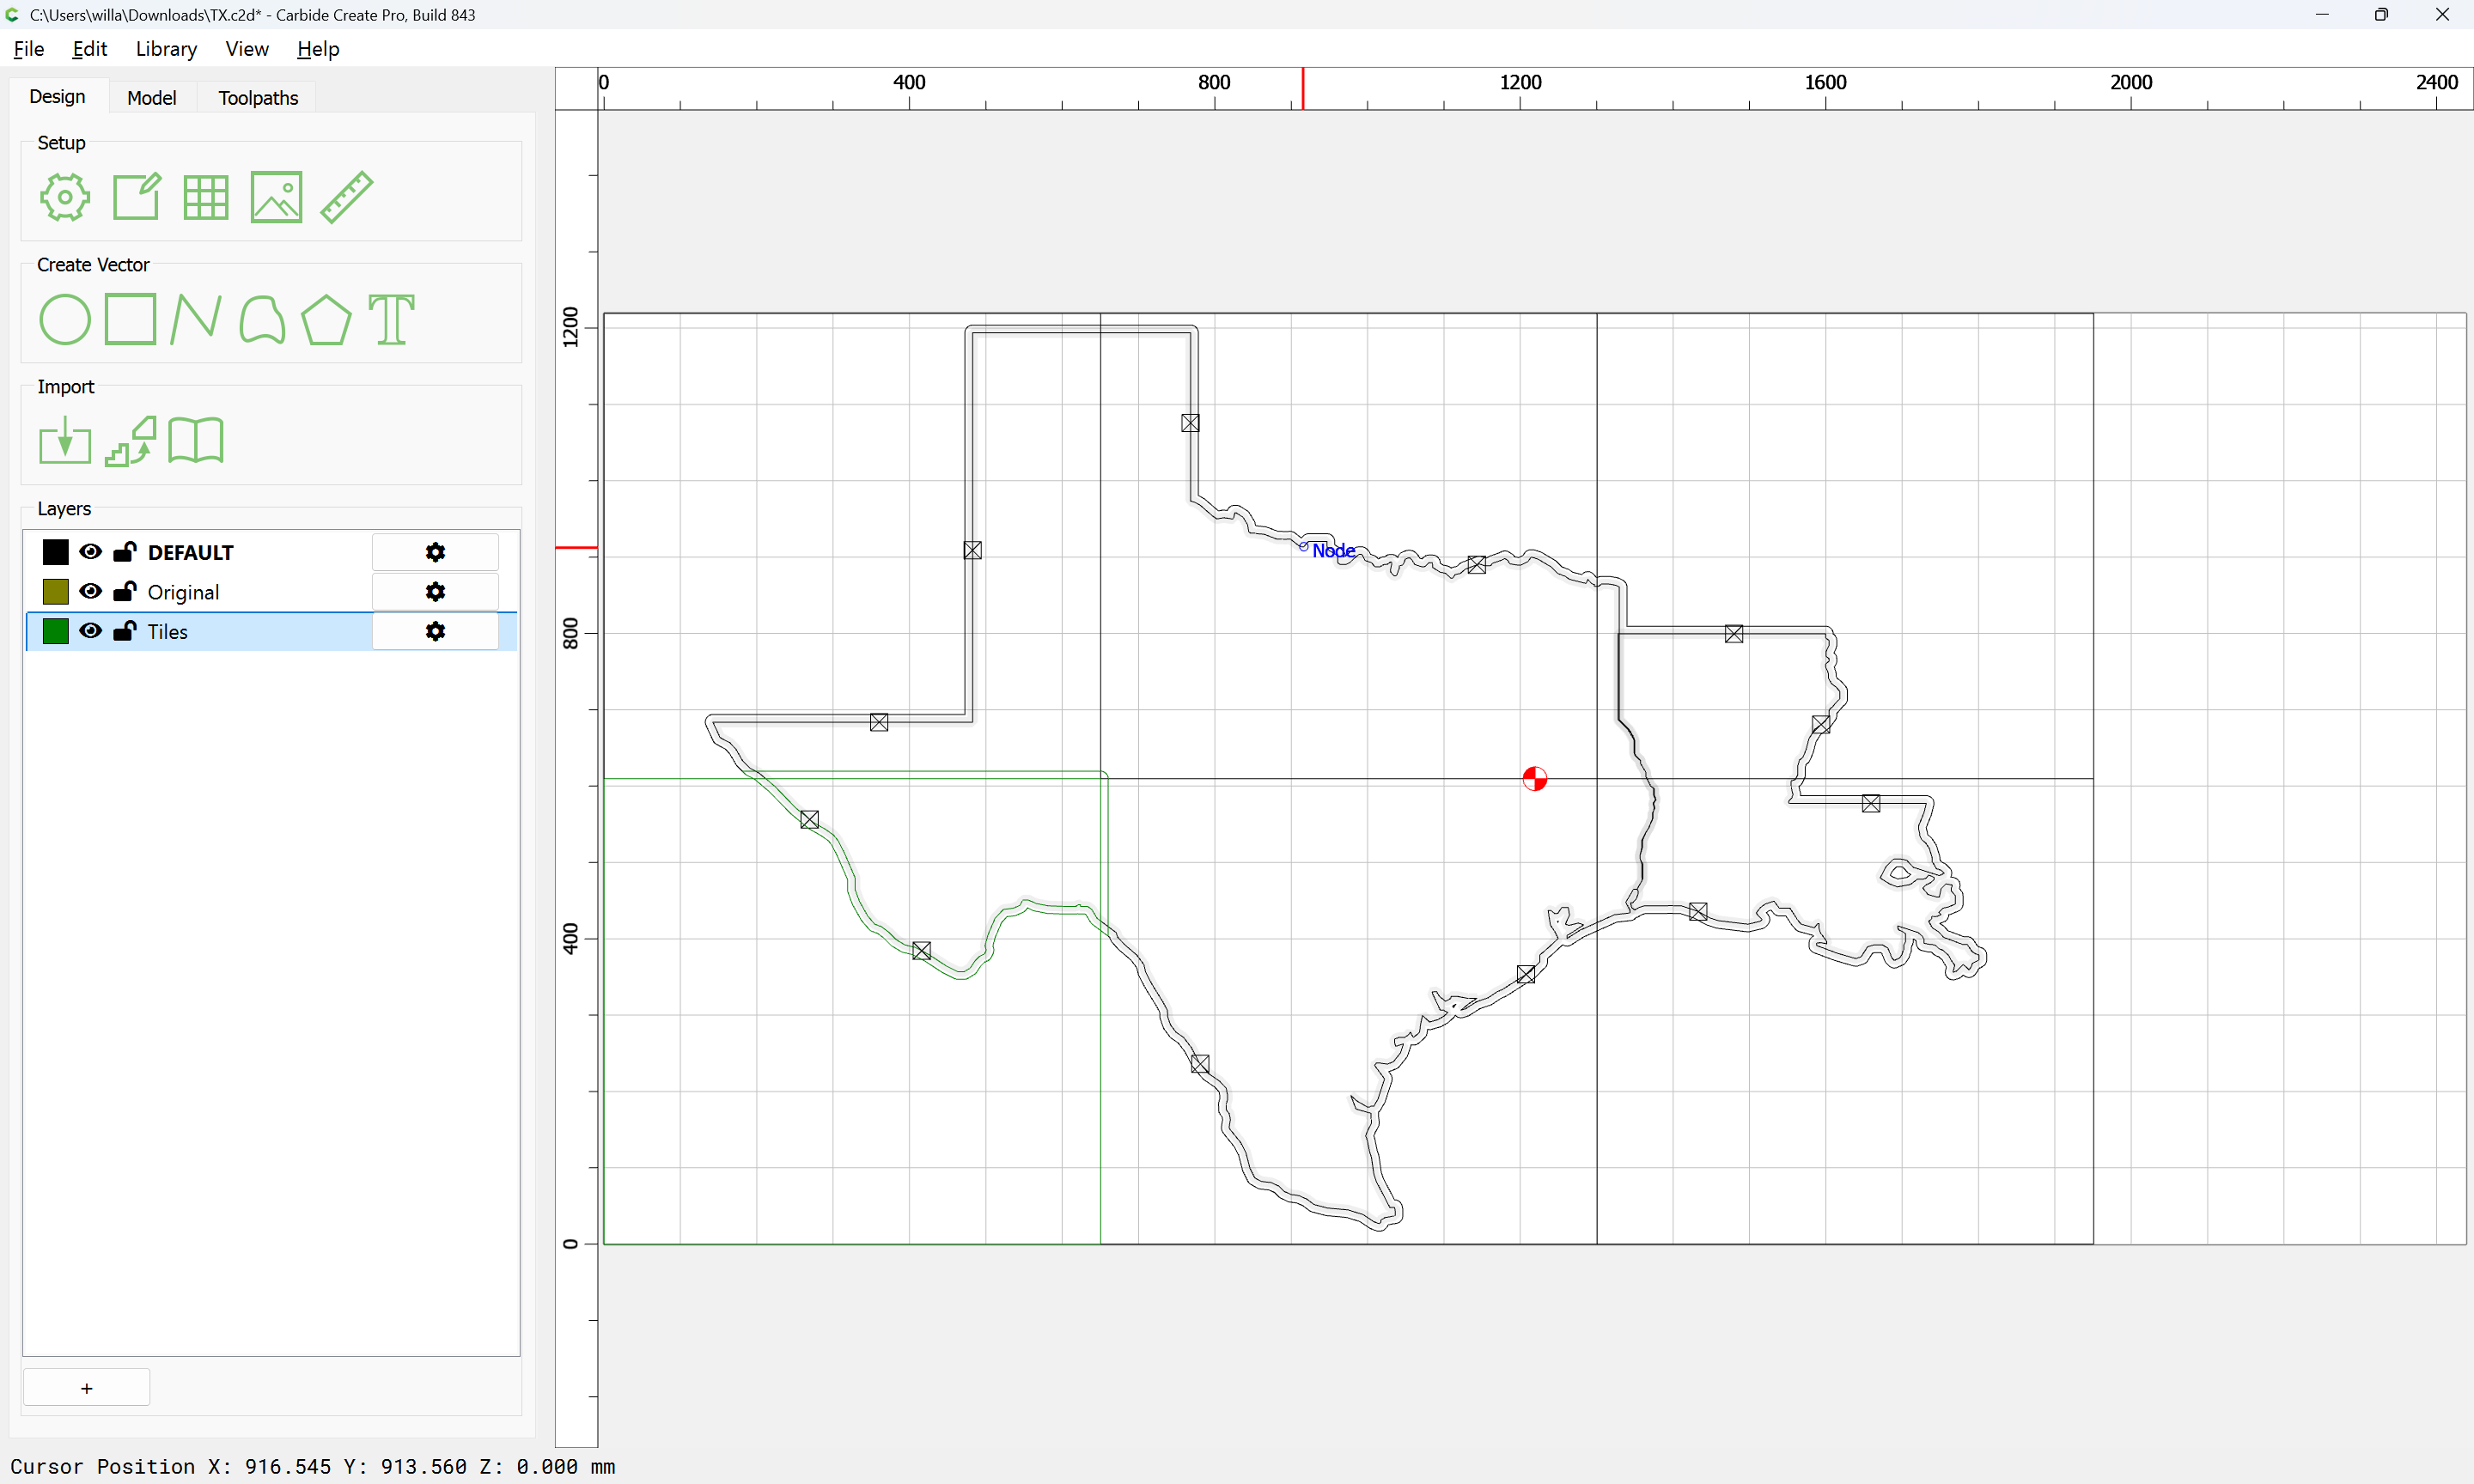
Then, create a new layer and move the completed section to that:

Repeat for each other tile…

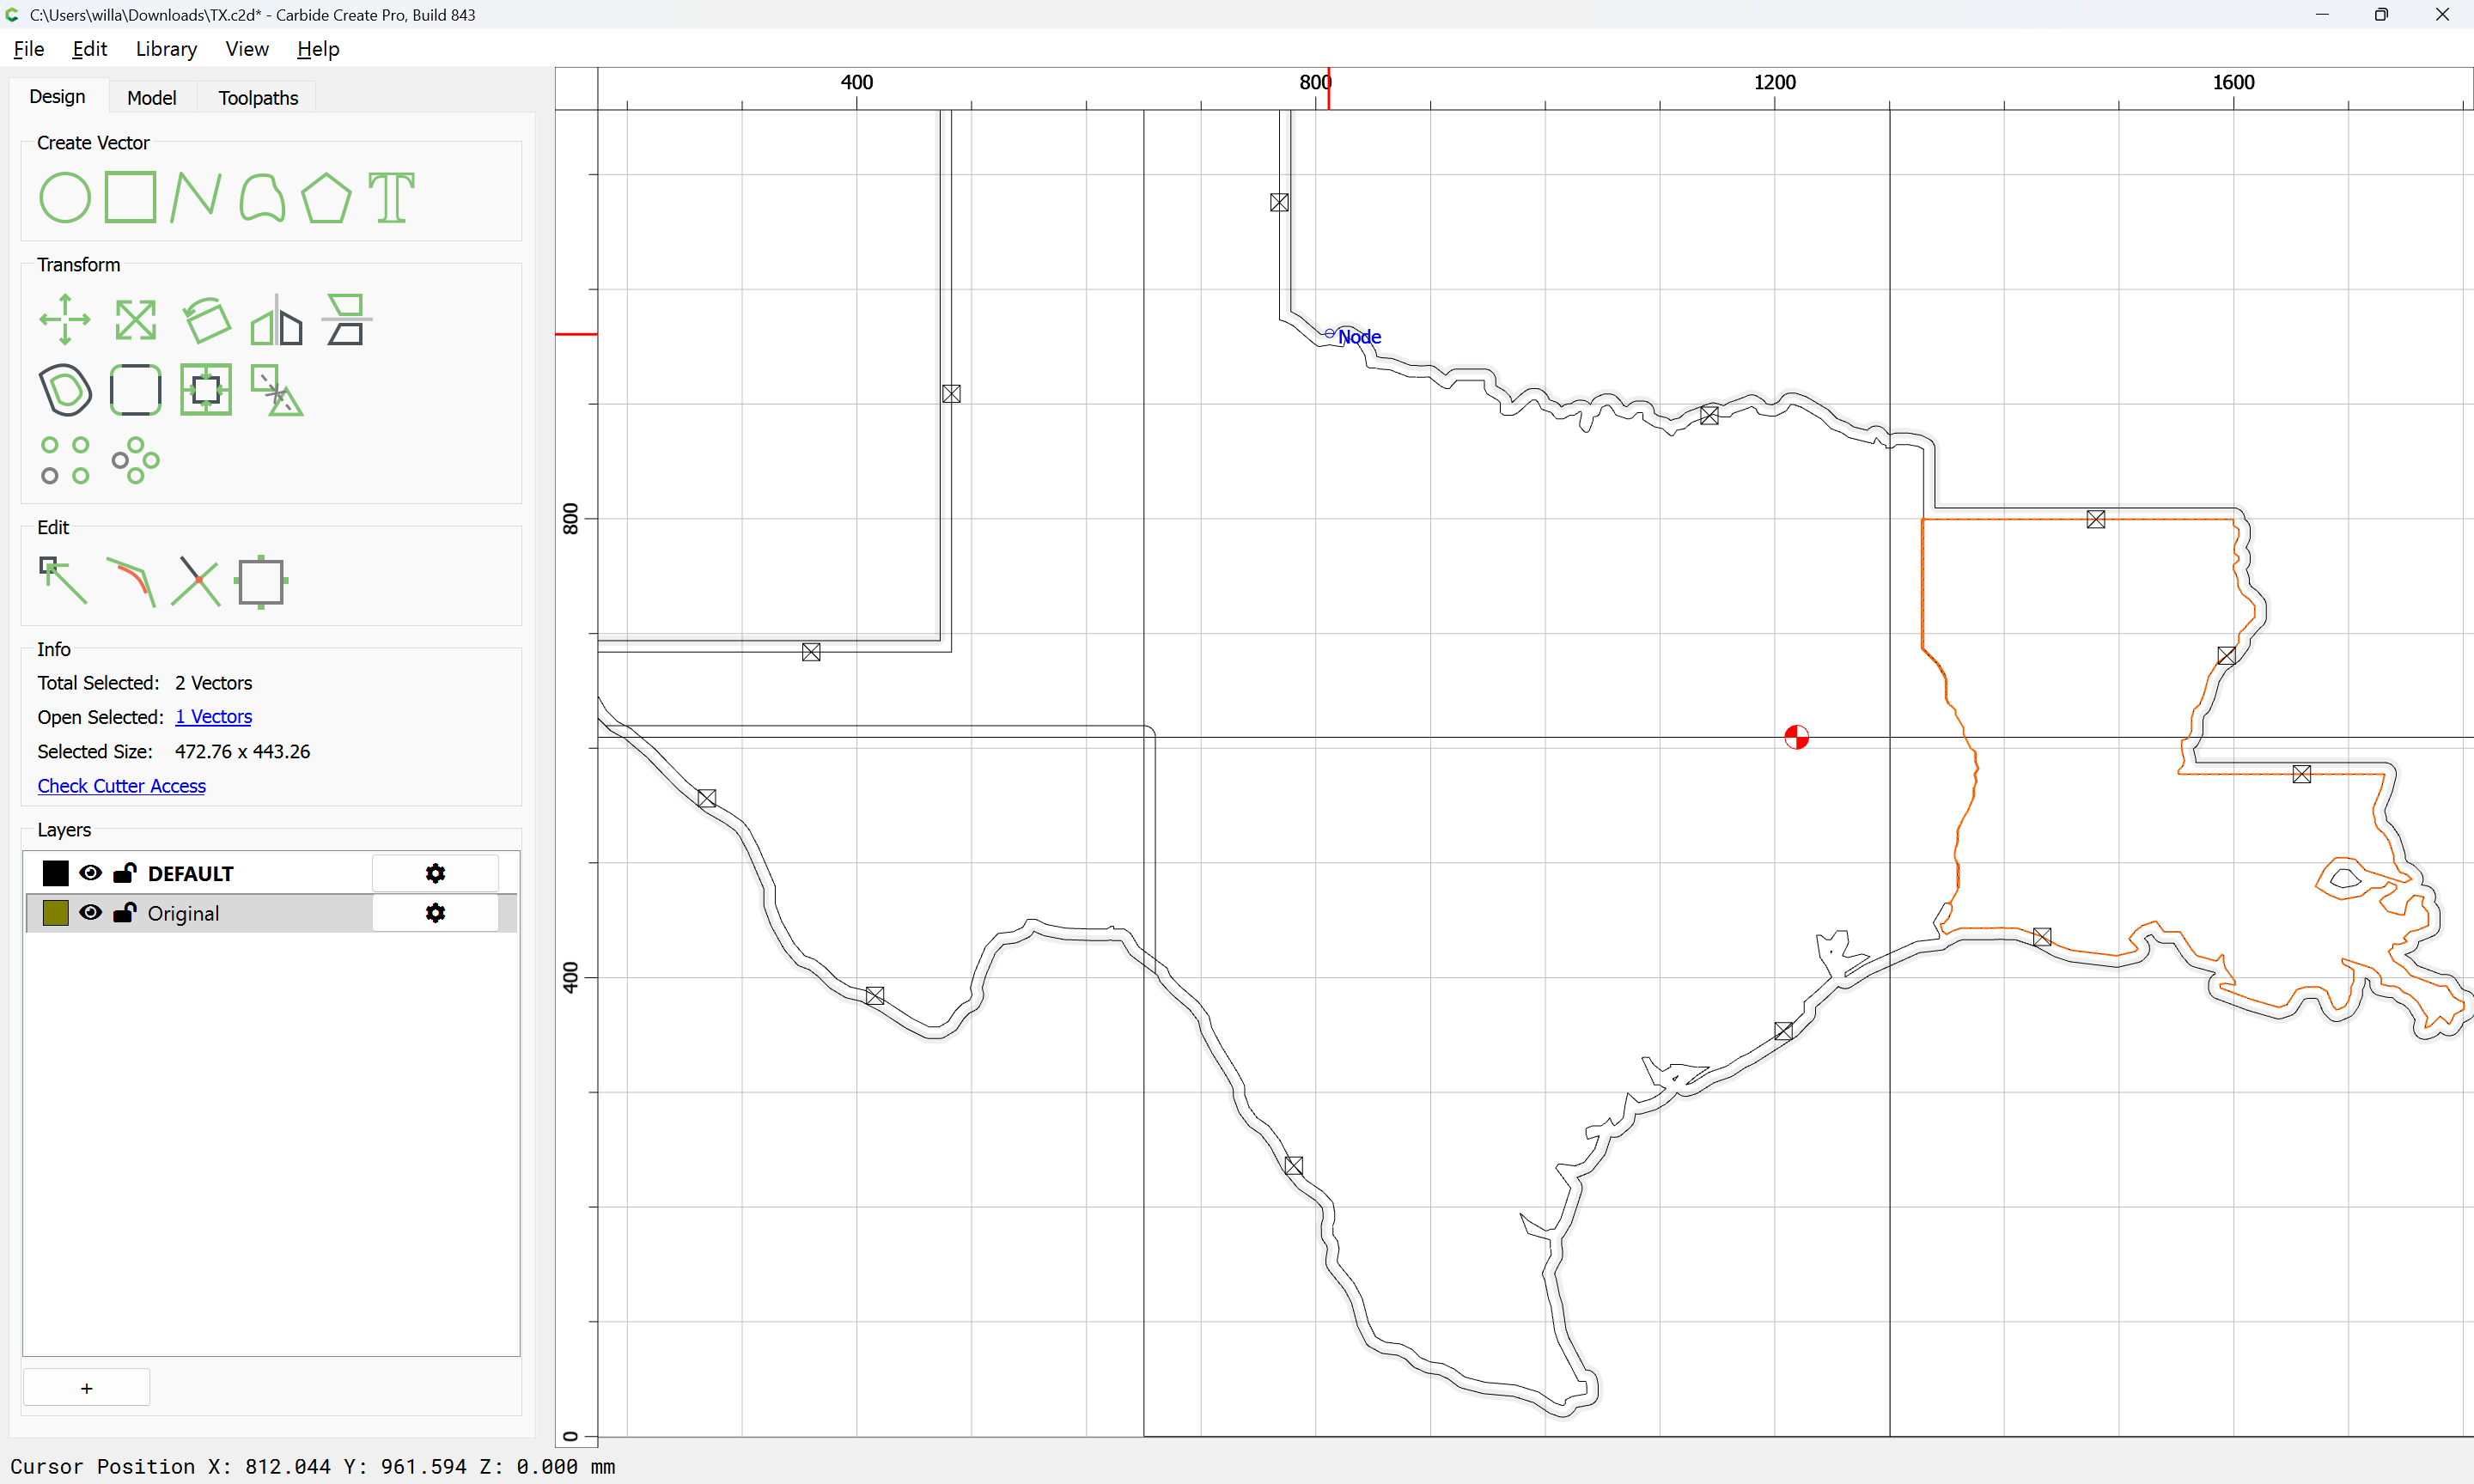
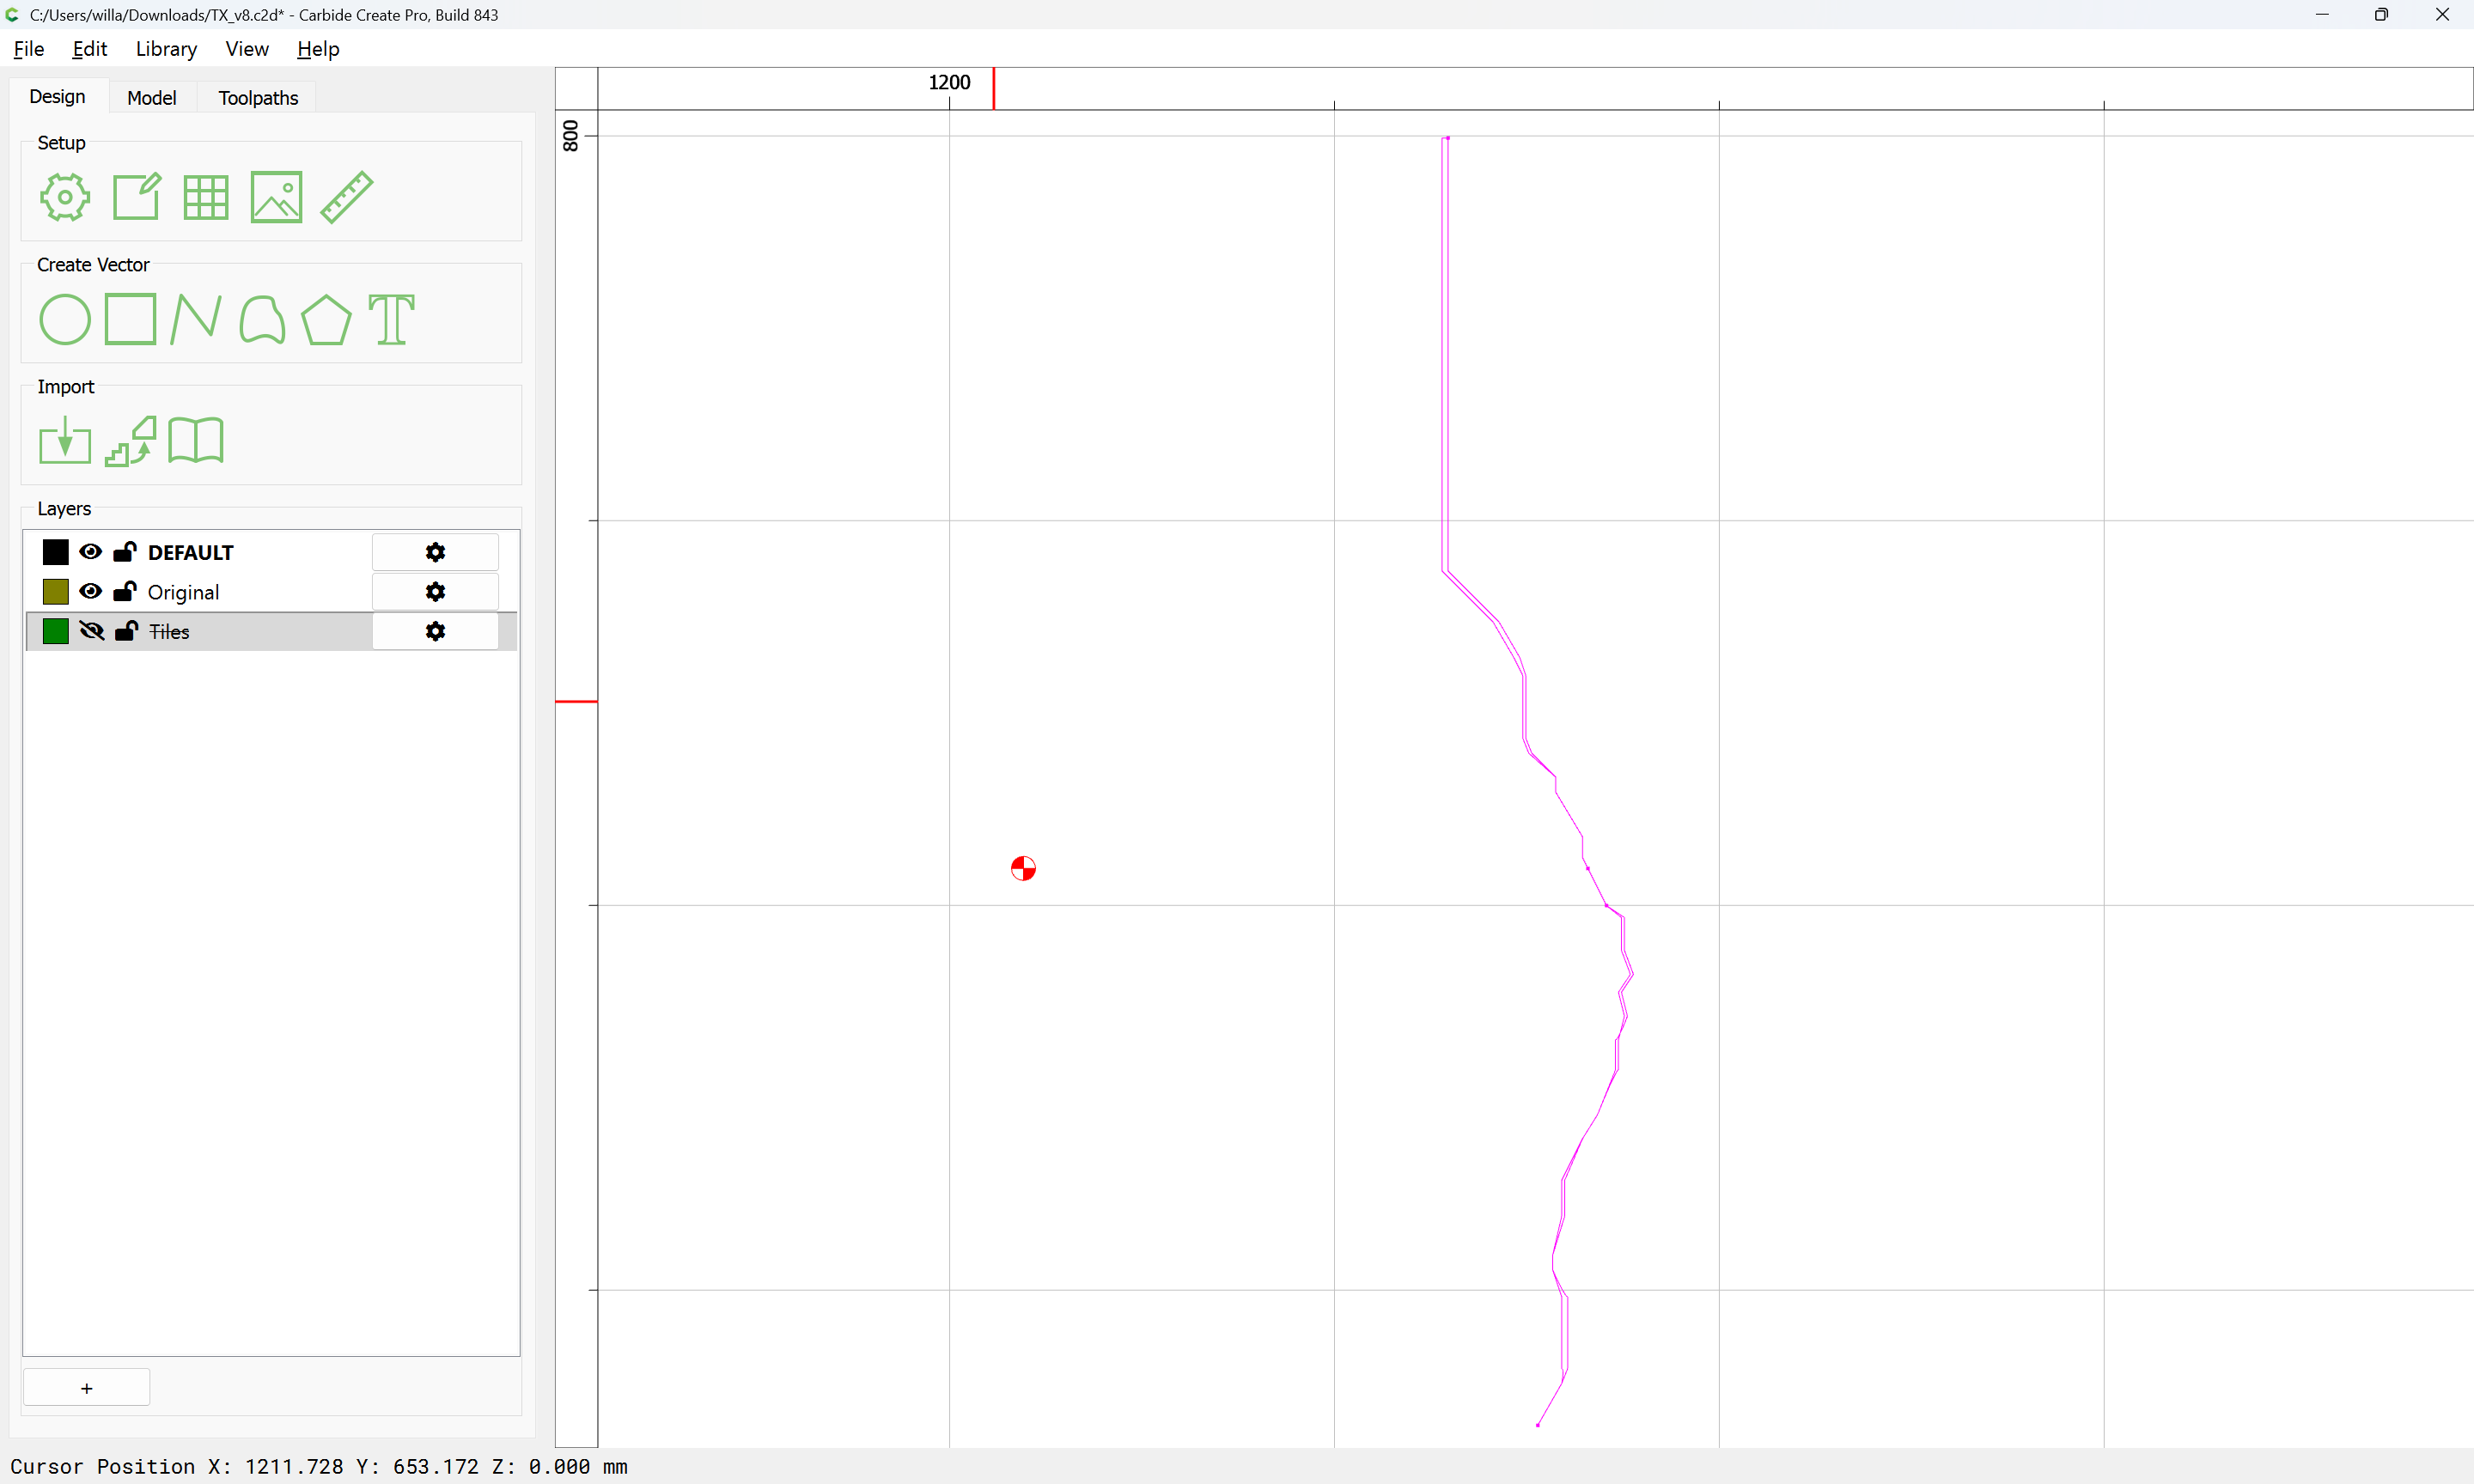
Note that it will be necessary to isolate the Texas Louisiana border:

So that one arrives at:

which may then be trimmed down to just the working area of a single tile:

Toolpaths assigned, and then each tile cut as desired.

If desired, the tiles may be adjusted to allow their being cut from actual size sections, but my inclination would be to section the plywood into 6 pieces and then cut each piece on that basis.