Do those of you that use the stingray to cut vinyl use a mat of some sort or just put a flat piece of material on the bed to support it?
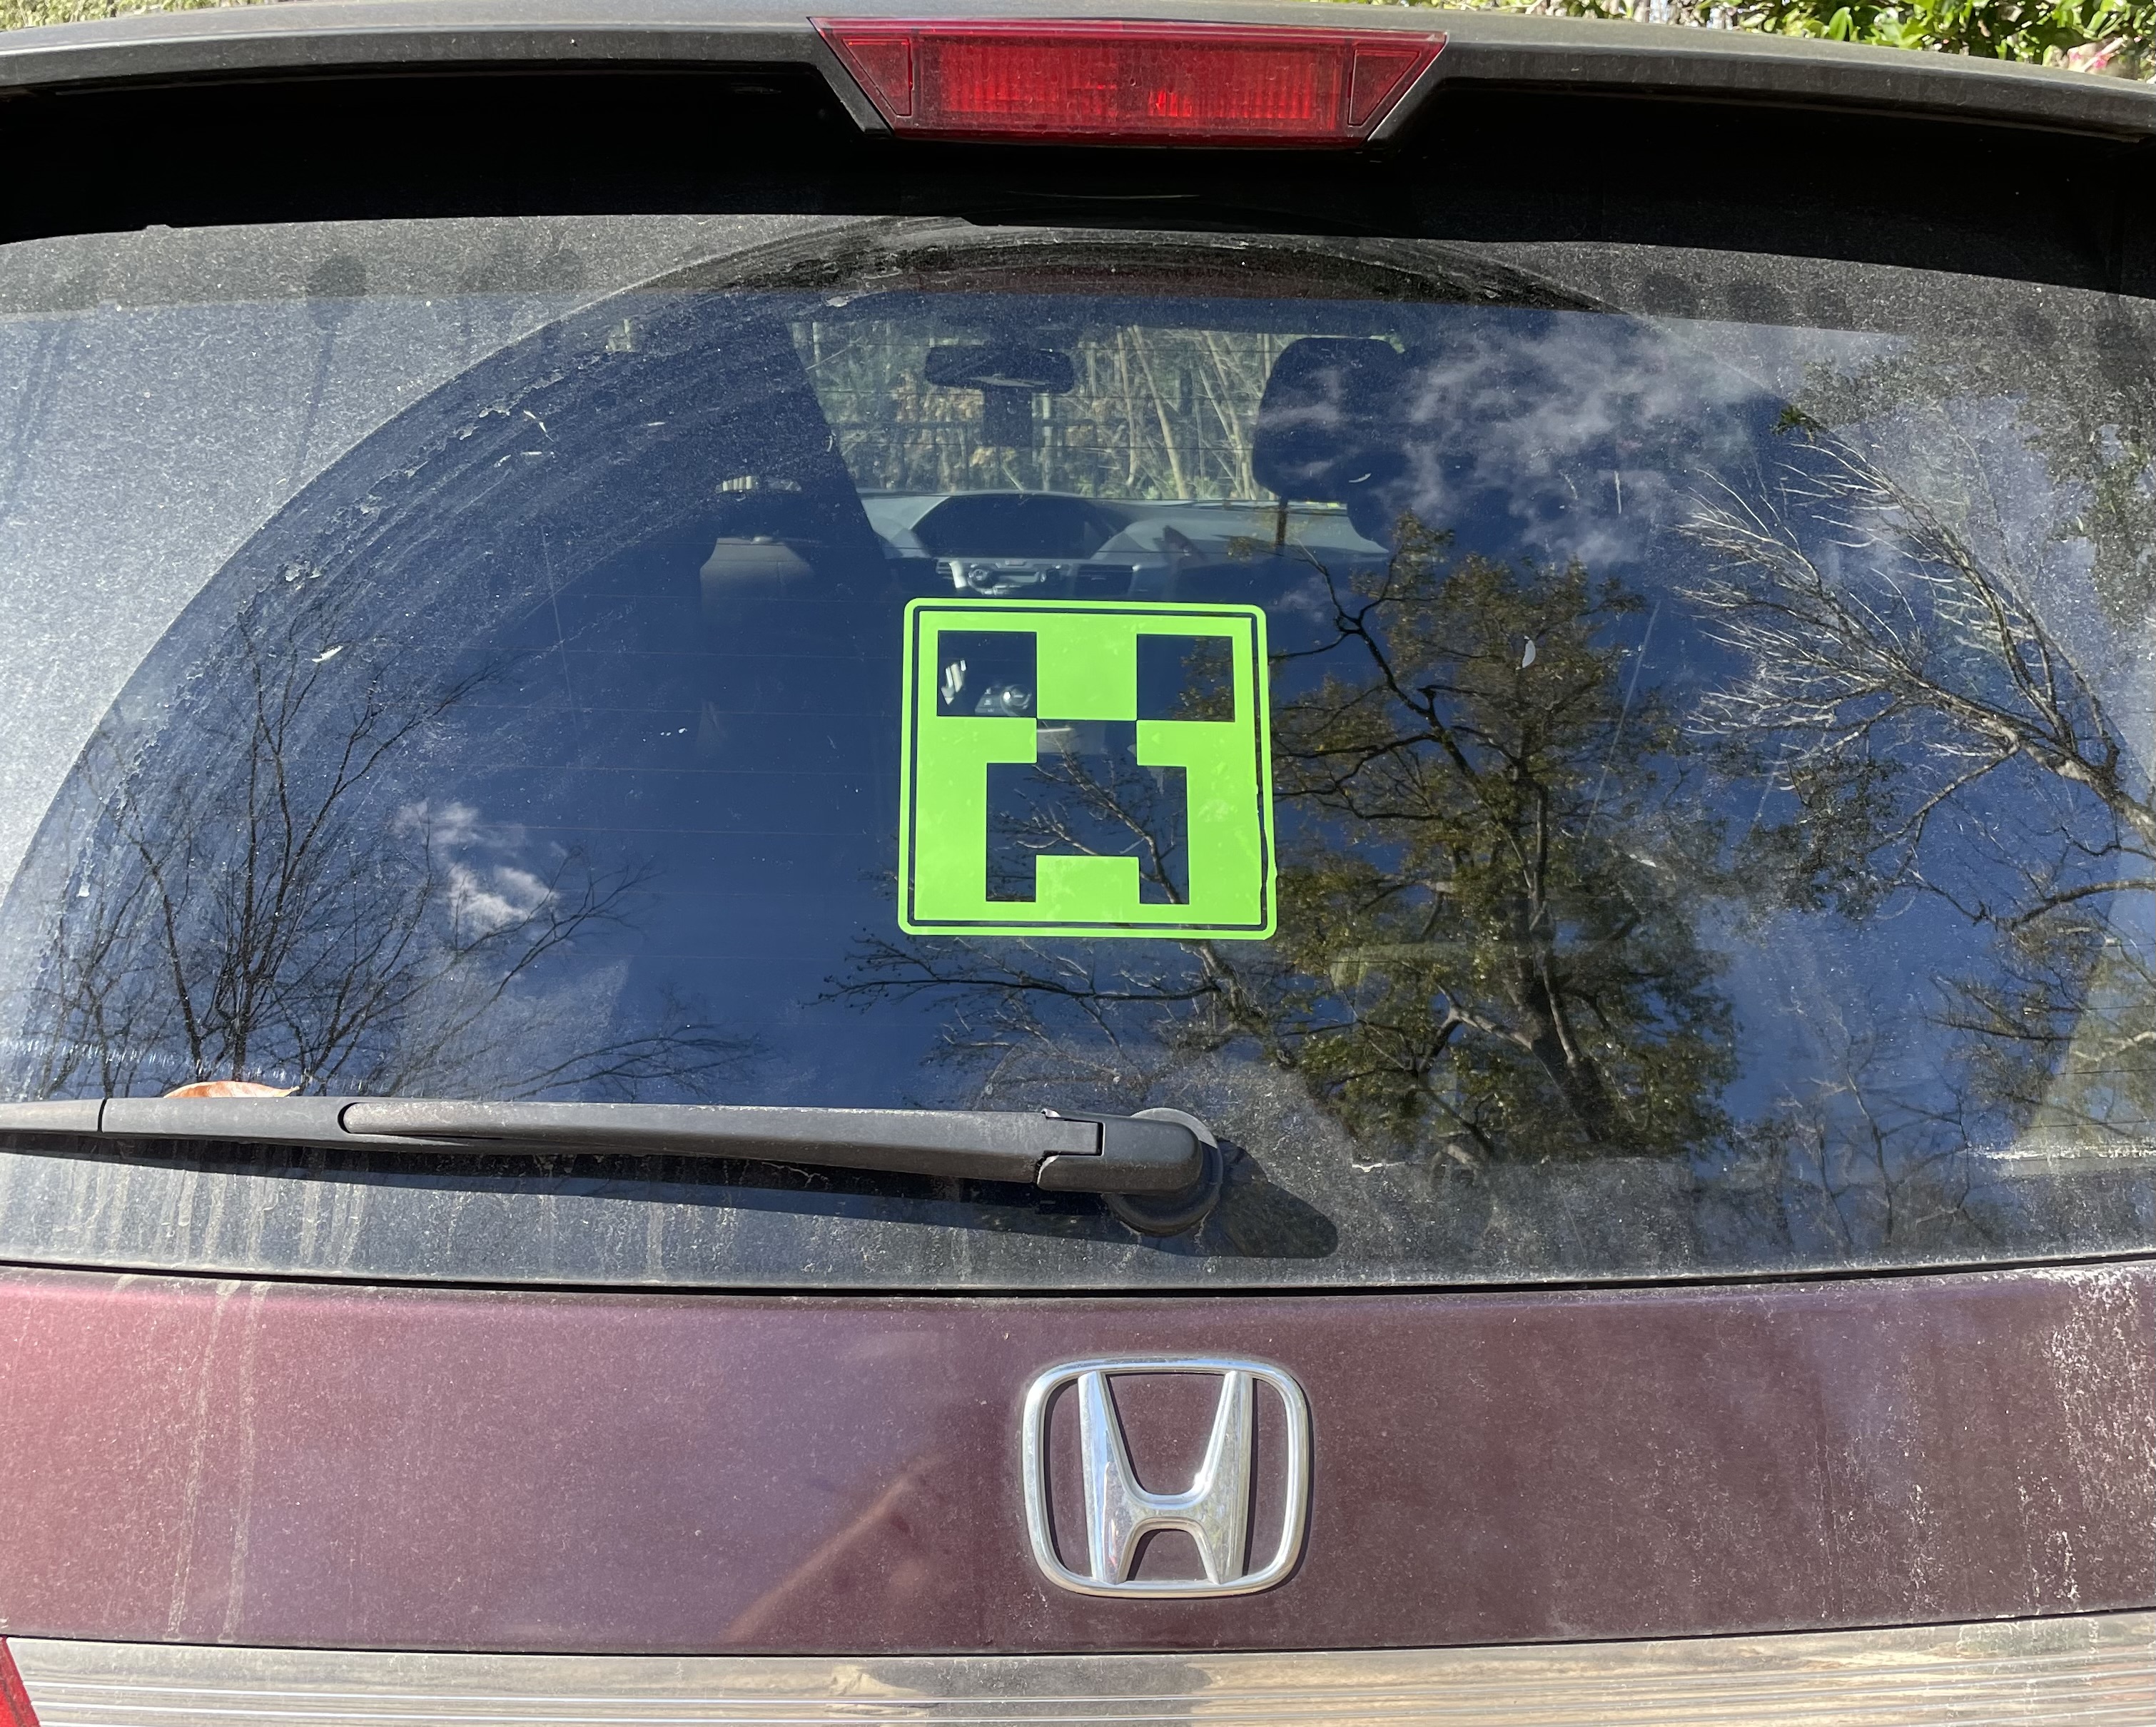
I have had the stingray for almost a year but not used it. Now it’s Girl Scout cookie season and my wife wants some lettering to add to her car to advertise.
I use a self healing mat that has a low tack adhesive surface to hold the material securely. Just need to make sure to put the protective cover sheet back on when done to keep the adhesive dust free. I had tried to just tape the vinyl to a piece of hardboard but found that it would distort some, the tack mat prevents this.
Interesting. Do you remember the brand? I looked around yesterday and didn’t see any that mentioned adhesive and I was wondering how best to handle that. Spray maybe.
Those don’t appear to be the self healing ones. They are super thin so I am guessing I would need a board underneath or the T track slots would be an issue.
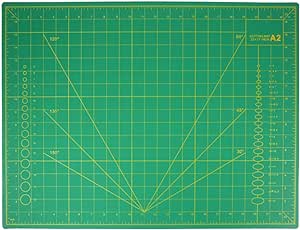
Self-Healing Cutting Mat, FOME A2 Size Cutting Mat 18x24in 5 Layer PVC Construction Double Sided Non-Slip 3mm Thick Professional Gridded Rotary Mat for Cutting, Sewing, Crafts and Cropping Photos
Ok. I have all my supplies and am getting ready to do some testing in a couple of days.
I read all the posts I could find and see some people recommending dxf2gcode to deal with the sharp corners. I do have the stingray. Is dxf2gcode necessary? Do you just avoid sharp corners?
I have both CC Pro and Vcarve Desktop. I understand there is a “gadget” for Vcarve but those only work in the pro version. I assume a
Profile cut on the vector is the thing to choose.
Also, do you guys peel the vinyl off and apply directly or use transfer tape? My first attempt will be fairly large letters that will go on a car window.
Hey Mr. Simpson. I usually use transfer tape for any cut vinyl that needs to be properly oriented or spaced (kerning, design, size). Rtape Conform with RLA, medium tack for example (I have never used low or high tack, they typically have very specific uses). If you’re installing the vinyl onto a highly contoured surface, you can tape up your masked vinyl where you want it, then cut/trim the masking between the graphics/letters and squeegee each masked section independently to avoid wrinkles. I’m sorry, this is really hard to try to describe in a coherent paragraph.
When I did mine, I didn’t use dxf2gcode (I could not get it running on my Mac), but it is supposed to help. If you are using multiple light cuts, the blade should pivot. However, it’s not a bad idea to round more extreme corners.
If a Profile cut in VCarve Desktop is the same as a no offset cut in Carbide than yes. The goal is to trace the line. To echo what Andrew said: I like transfer tape for anything with multiple individual pieces. It keeps things aligned and straight.
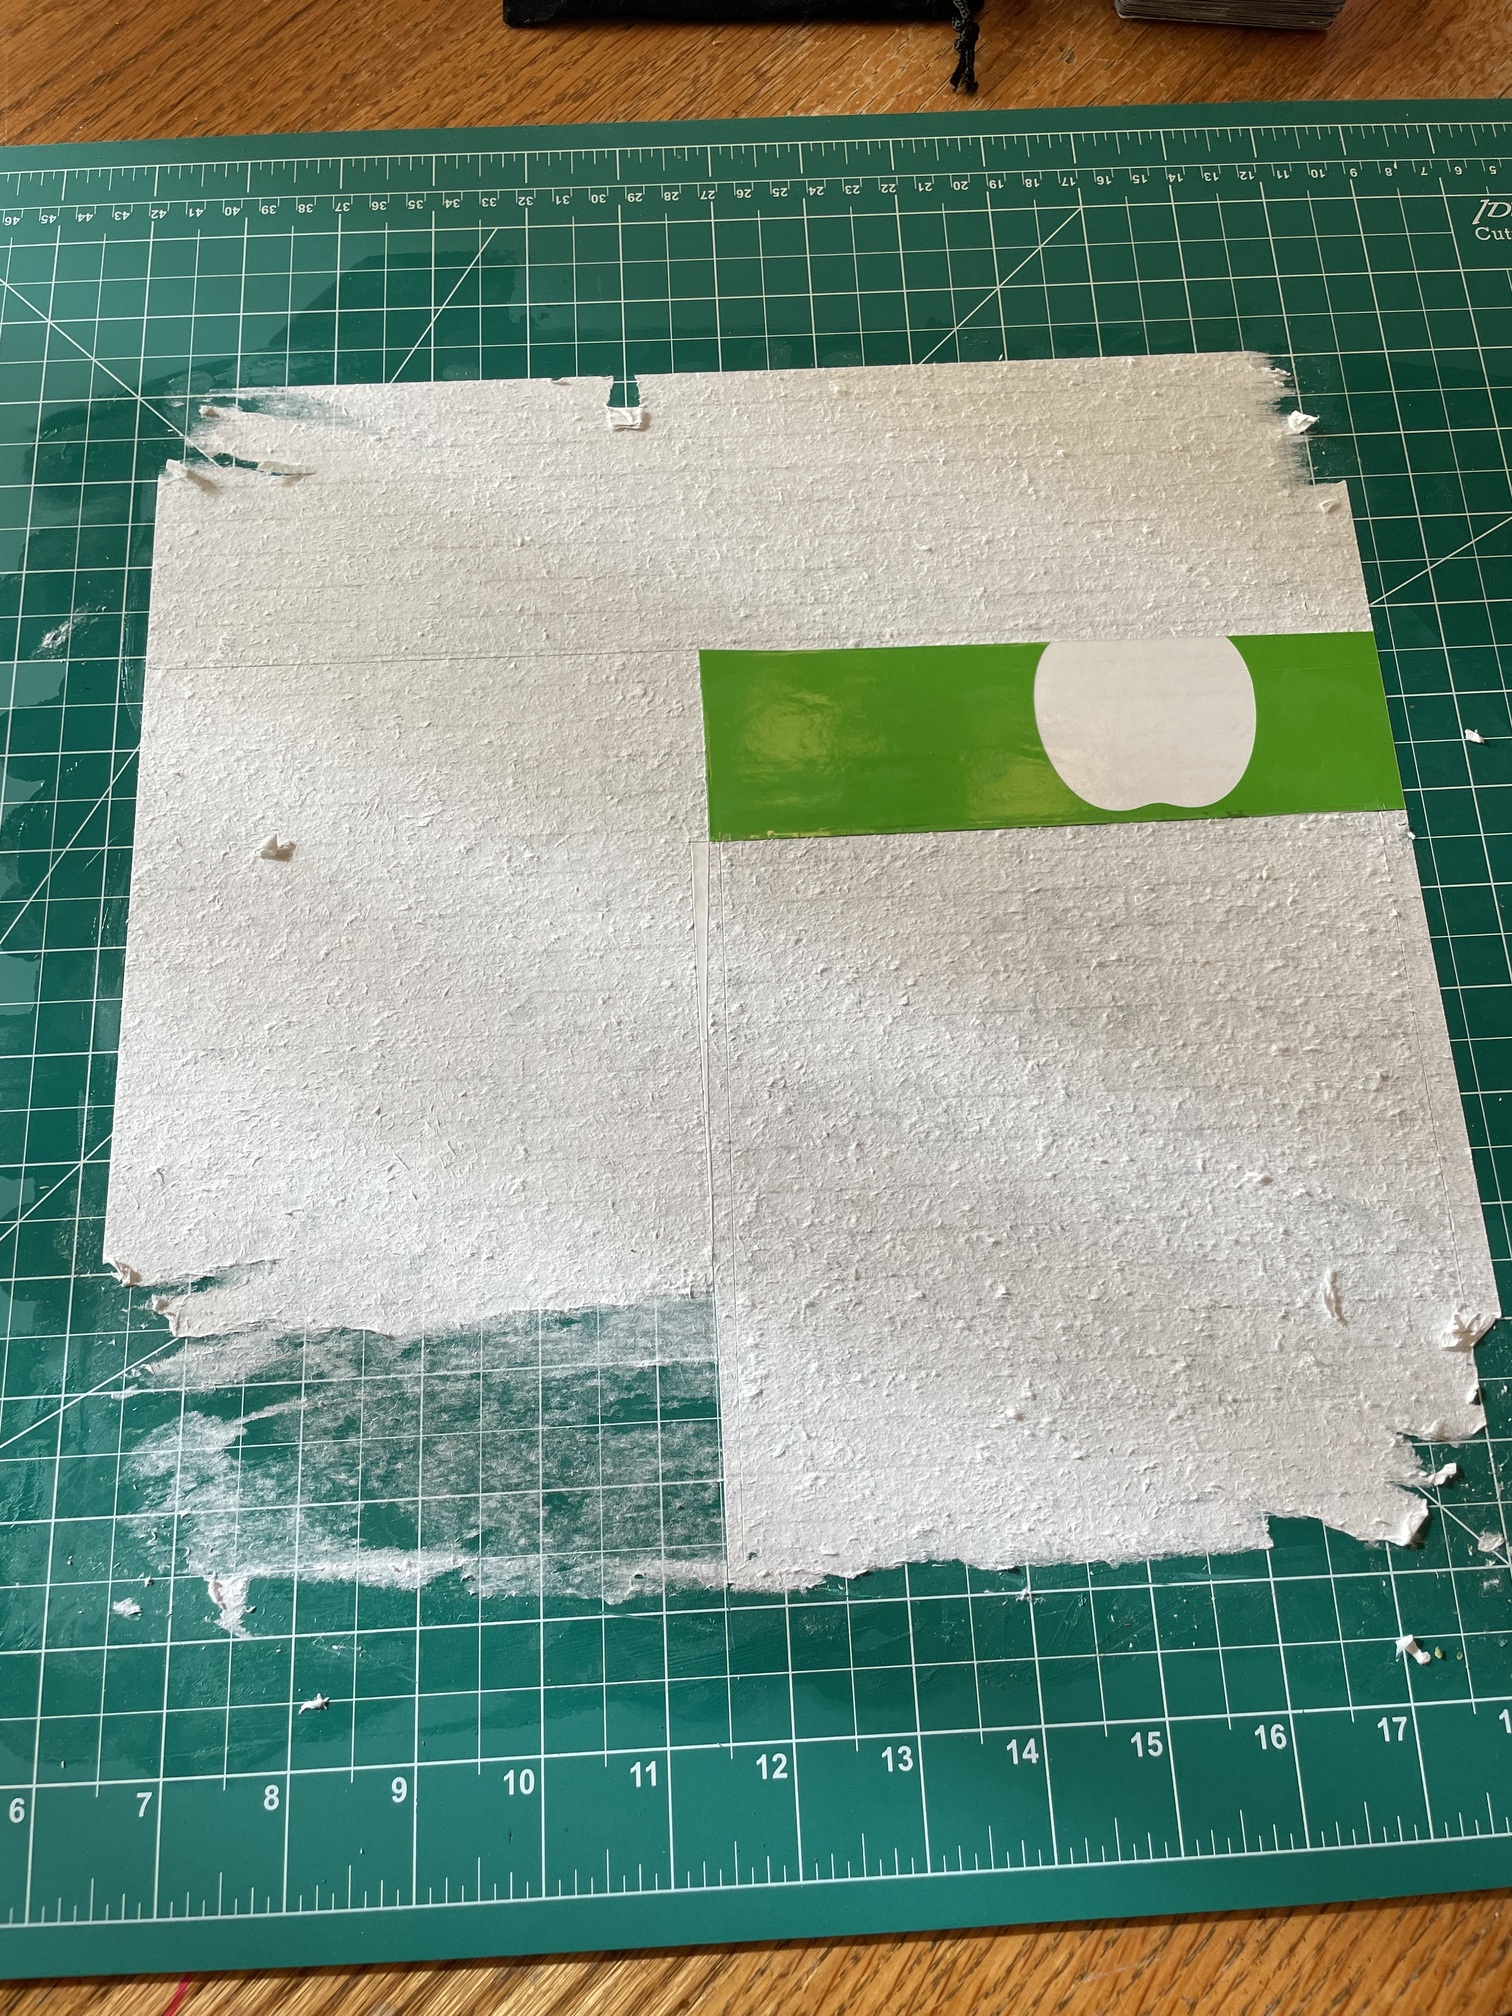
There was one spot that didn’t cut quite through but it was ok. The paper backing didn’t peel up cleanly from the mat with that tack it glue applied. Maybe I used too much but al least when I used the transfer tape all of the vinyl and half of the backing came up.
One thing I don’t understand is that in the video @KevBarn14 did he says to set the depth of the knife correct so that it only goes through the vinyl and not the paper. Isn’t that accomplished by setting the depth of cut in the toolpath? Does the exposed knife depth really matter?
Cleaned it off with water. Then reapplied the glue and let it really dry this time before applying the vinyl and it worked good. I was impatient last time.