Can I use the bit setter with the MC Etcher? The MC etcher has a spring, will the spring compress and thus give me an inaccurate z-axis zero?
1 Like
Officially we recommend disabling the BitSetter.
Unofficially, if the spring preload is set sufficiently high on the M.C. Etcher that it is not overly compressed by the BitSetter, then yes, it works.
1 Like
Ok, follow up questions:
How does one adjust the spring on the M.C. Etcher, and how far will an M.C. Etcher compress?
I set my cut depth to the 0.015" recommended on the product page, and then set XYZ using the Bit Zero and the BitSetter.
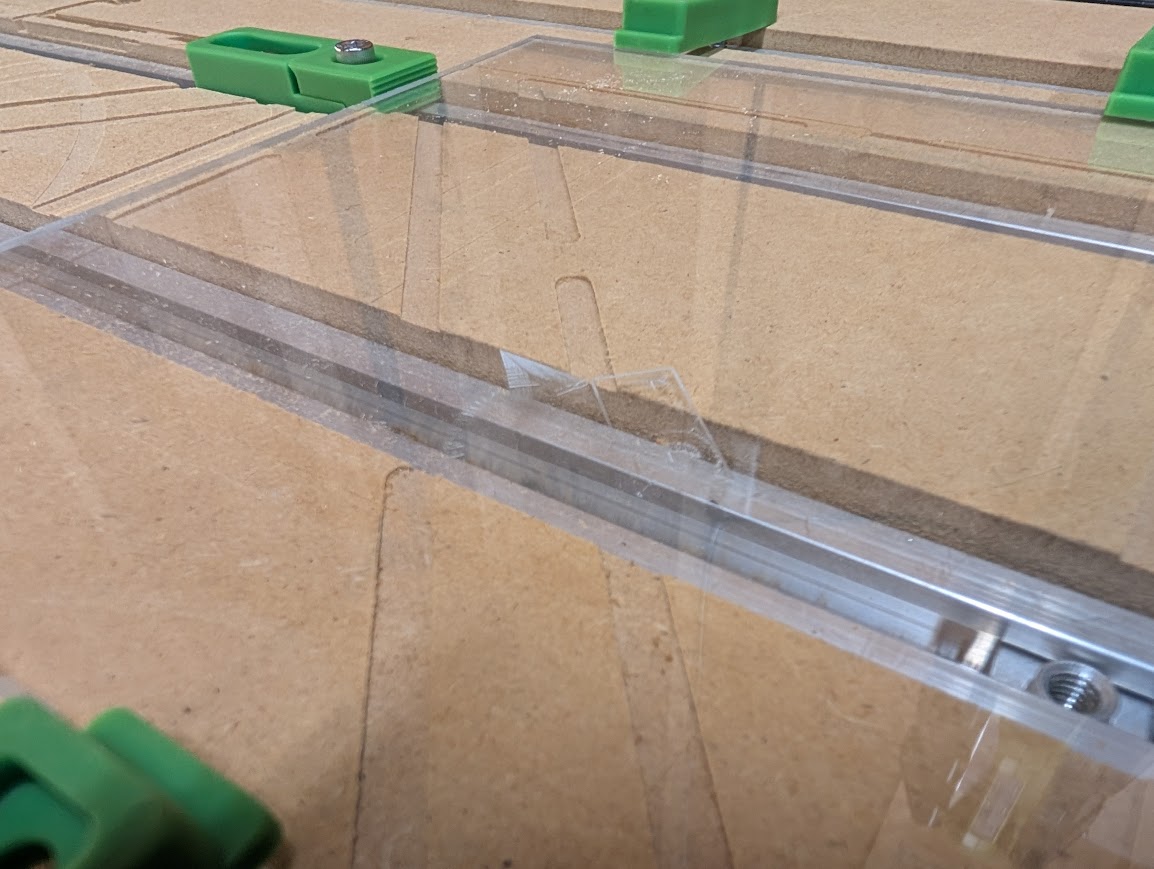
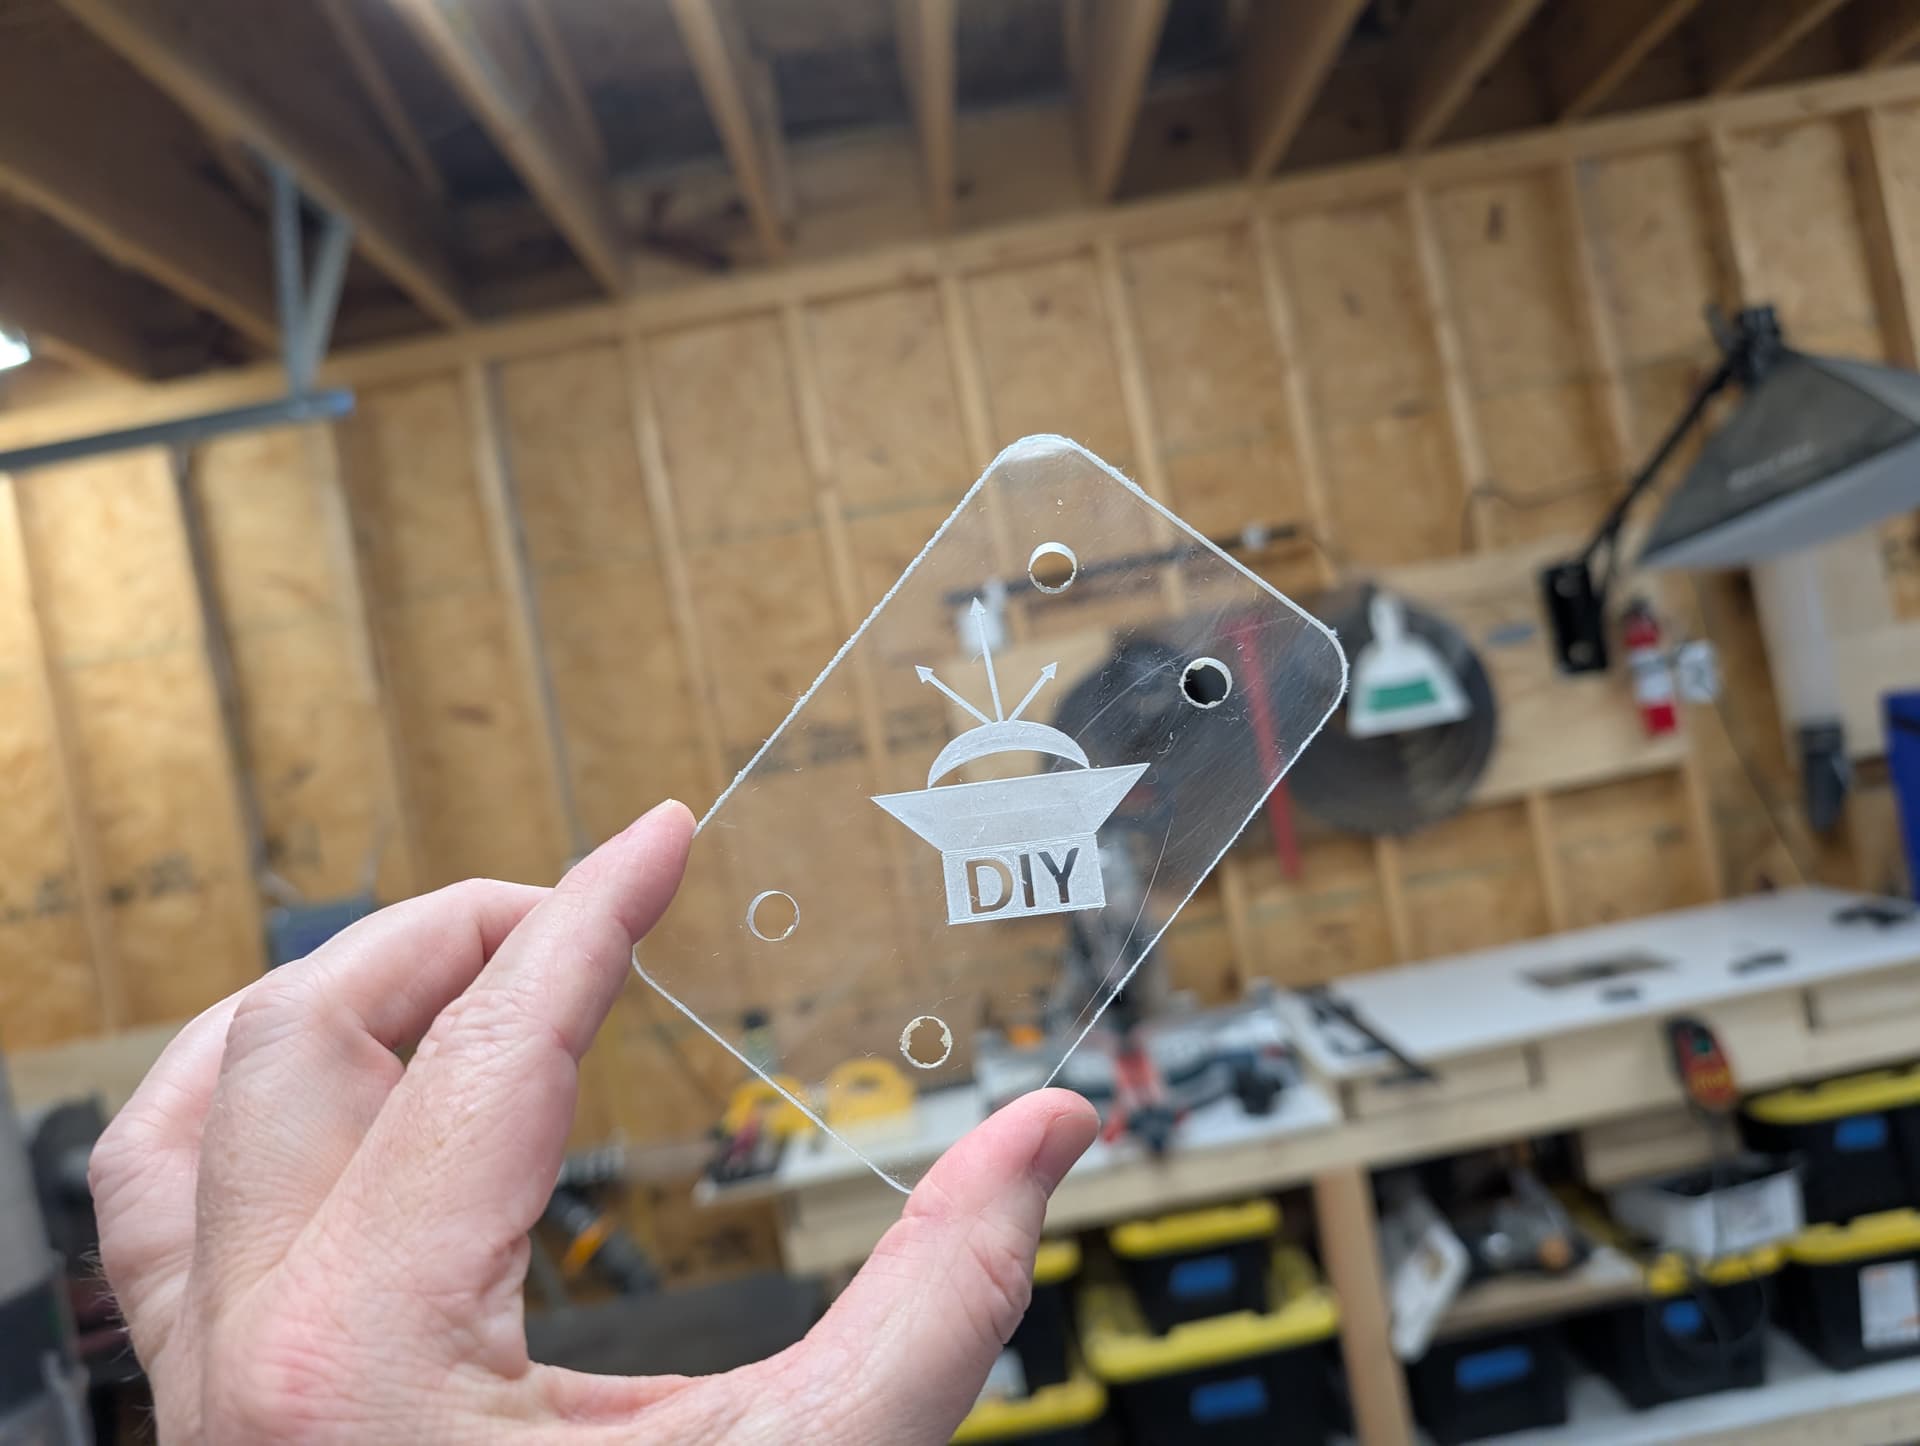
When I plunged to make the etch only part of it etched. It looks like the material thickness is inconsistent.
If the M.C. Etcher can compress a bit more, say .05, then I should be able to go a bit deeper and solve that problem. As you can see in this image only part of logo etched.
It should be explained in one of the videos from:
1 Like
If your logo did not completely carve because the tip of the MC Etcher is over a low spot, increasing the pressure will not help much if any. When the tip is over that low spot it’s possible the tip is extended as far as it could go. Increasing depth of cut would help. The down side to that may be where the higher spots are the etching may be bolder because of spring pressure.
Ideally, I believe the best way to remedy this is to shim your work piece level so even pressure is applied to the tool as it does its thing. Maybe another location on your spoil board will level up the work piece.
4 Likes
What is the purpose of the spring in the Etcher, if not to accommodate minor variances in material thickness? Is this thing not designed to “give” as it plunges into the material.
I will take your advice and set the acrylic on a piece of scrap MDF and try to find a cleaner spot on the spoil board, because I want to increase my chances of success.
But I am also going to increase the depth, so far I have found that default settings and recommendations from carbide 3D are excessively conservative. The recommended 0.015" (0.38 mm) seems far to shallow given that the bit has two or three mm of play in the spring. I think I should double that. I will report back with my results.
Yes, that is the first place I looked. All the videos showing the M.C. Etcher are old and for a different machine. That was enough to get me in the ballpark and get me up and running, but not enough to troubleshoot my specific problem.
1 Like
Also, a somewhat related question. I am using carbide create build 813, and I cannot set the RPM to zero. I have to set it to 1.
Which means that I need to turn off the VFD spindle to cut the piece. But I also need to cut the pieces to its final size (contour toolpath) after I etch the logo (which is why I need to use the bitsetter, so I can swap out the second bit for the final cuts).
Right now my work around is to disable the contour toolpaths, run a pocket toolpath to etch the logo. Then go back into carbide create, disable the pocket, enable the contour, and reloaded the file into carbide motion. Then turn on the spindle and run the contour tool paths.
This is a time consuming extra step, is there an easier way? Can I avoid all of this if I upgrade to carbide create pro? I have some projects that need a simple 3D carve, so I am willing to go for the upgrade if I can find multiple ways to use it.
Edit: Clamped down a scrap piece of MDF to the spoil board, used double sided tape to hold a piece of acrylic. Followed the steps outlined here.
The carve was fine, but the tape left adhesive on the edges of the cut. So I will not use tape future.
I use the bit setter with my etcher. Spring in etcher is much stiffer than the spring on bit setter. If you want to be cautious you could mark the shaft of the etcher where it goes into the shank of the bit, then watch as it plunges on the bit setter to see if it moves.
I use a DOC of 0.03" on my etcher, but I’ve only ever used it on stainless and aluminum.
Regarding your cutout, you could keep it in the same file as the etcher, just turn the VFD on after tool change.
2 Likes
I found the spring to be the easiest way to control the degree of etching.
I use the default settings in CC and set the top of stock as the origin.
Cast acrylic varies in height. I learned to measure to touch off ( reset Z aero ) for each piece.
I start with a half to three quarters turns in, and adjust from there. You can get a wisp or a hard line based on the spring pressure.
2 Likes
This topic was automatically closed 30 days after the last reply. New replies are no longer allowed.