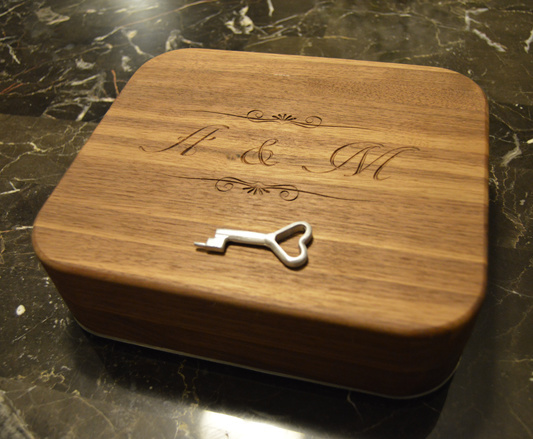
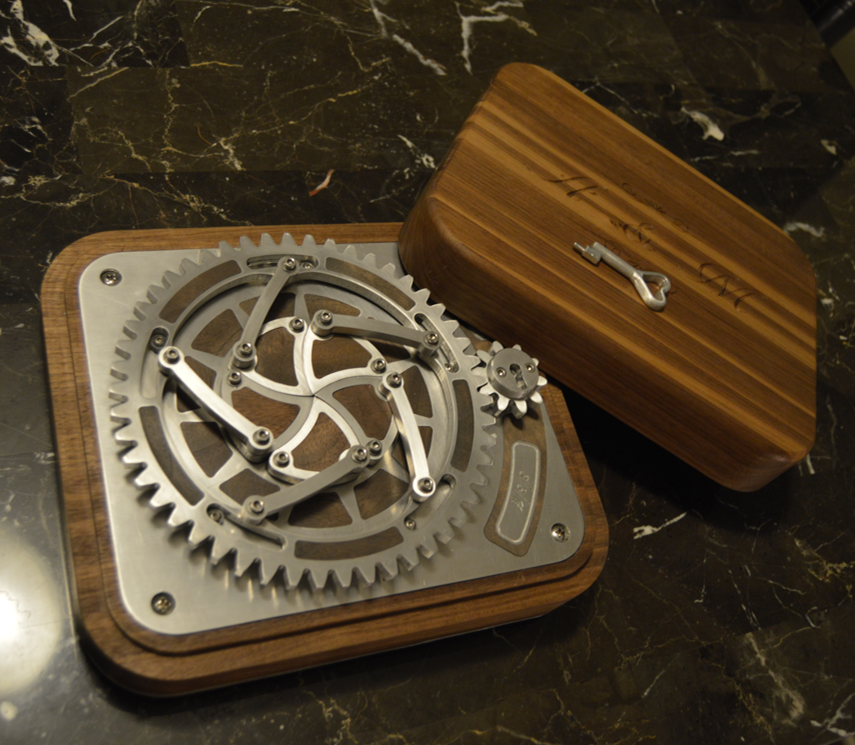
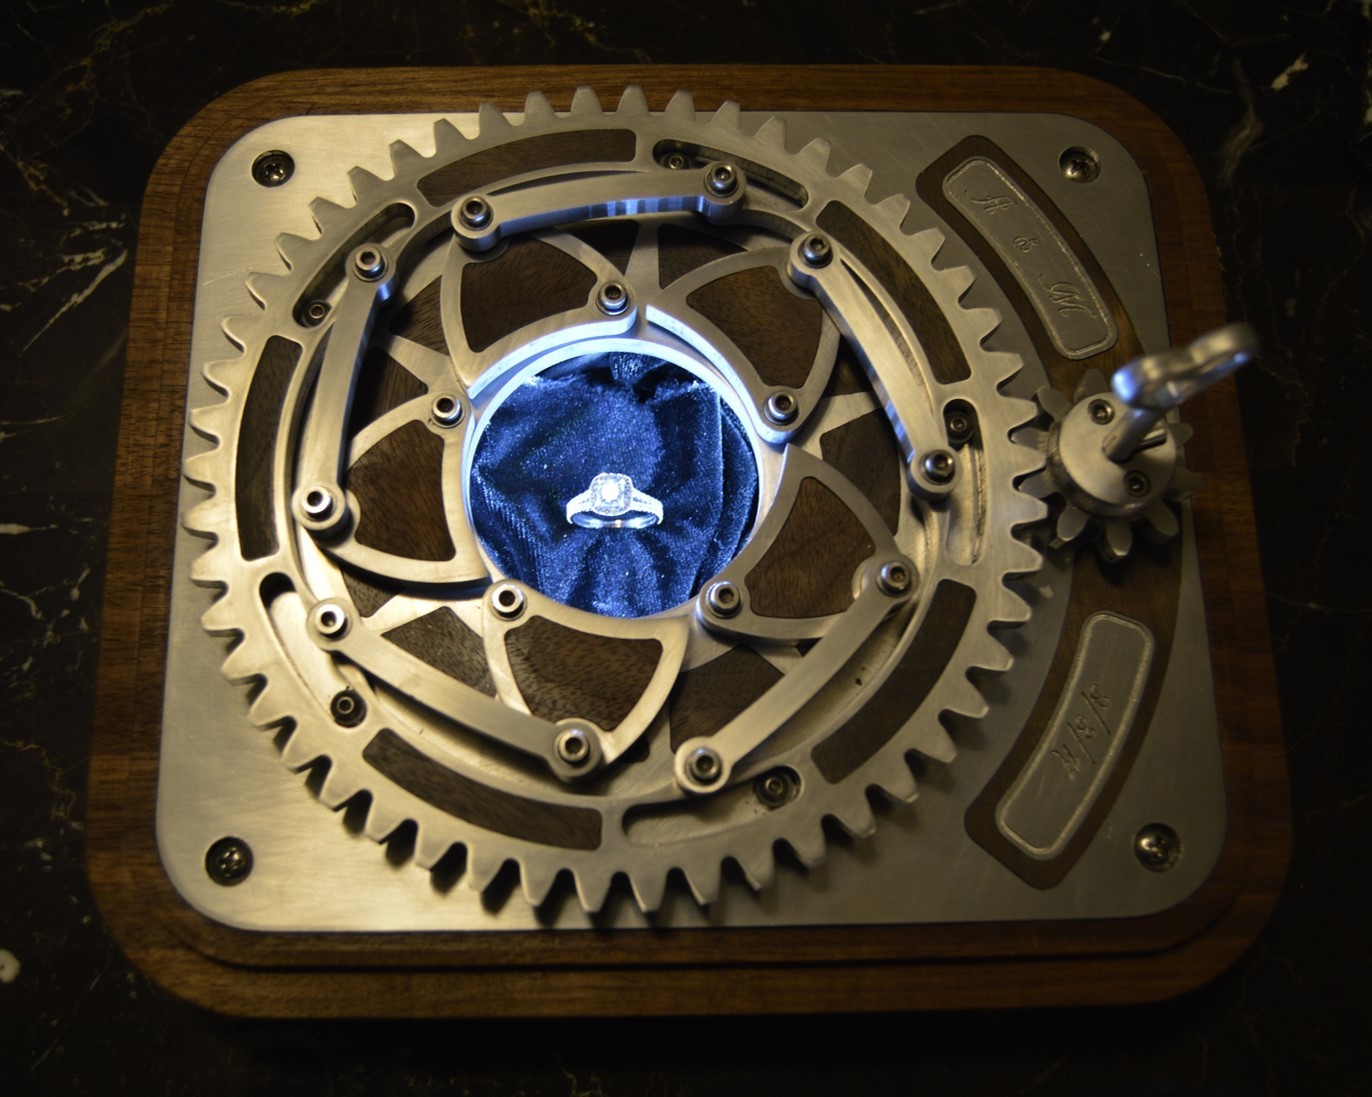
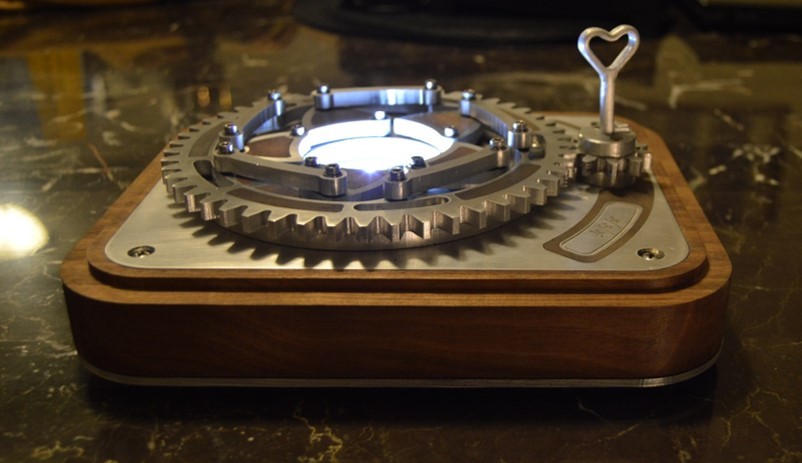
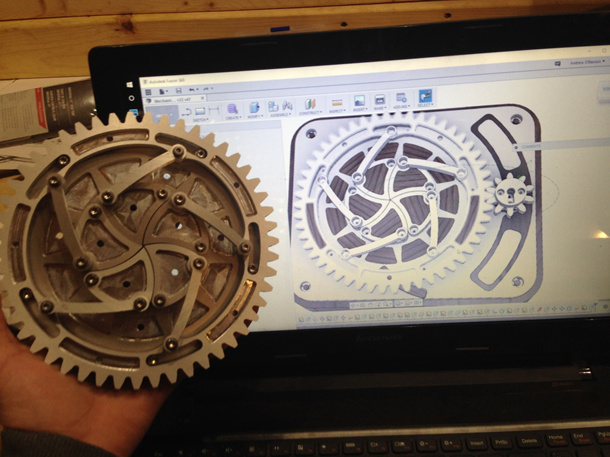
This is a mechanical iris lock box that I made on my Shapeoko for my fiancee’s ring (Yes, turns out you can use your cnc to get engaged). It consists of two gears, key and lock, LEDs with hidden switch and batteries to illuminate ring when opened, solid walnut box, 22 walnut inlays and of course the iris mechanism. Each joint uses 3mm ID micro bearings so the operation is very smooth.
Raw Materials:
Walnut - home depot
Aluminum (6061) - amazon/ebay
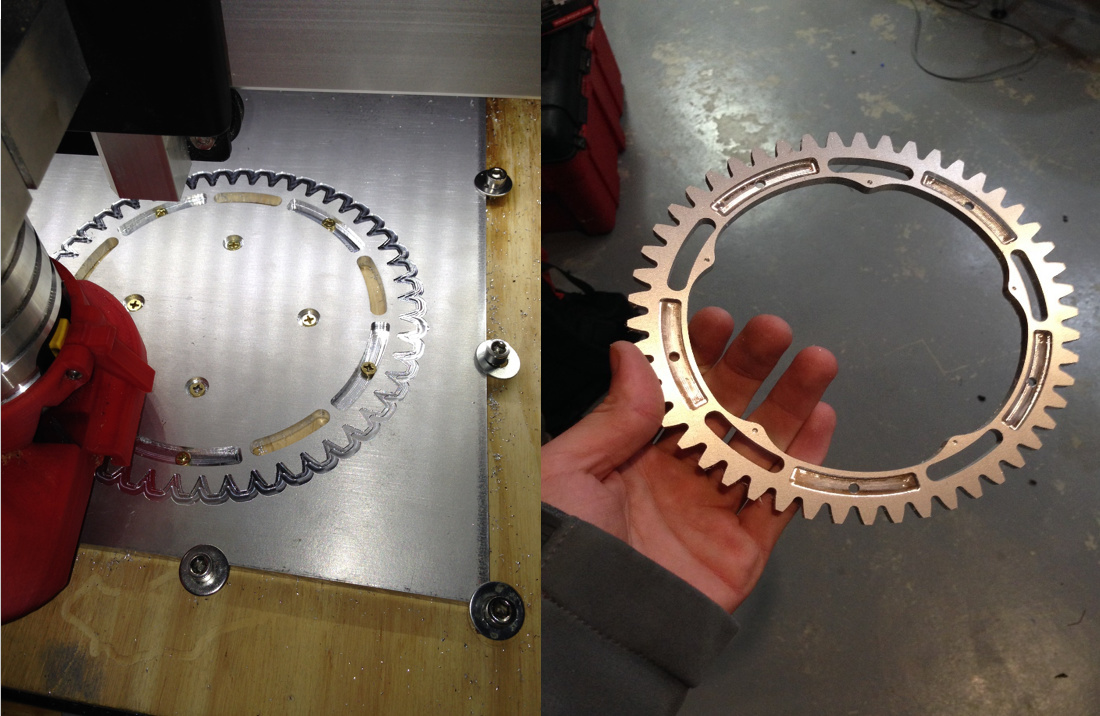
Fusion 360 - Gears generated using Fusions built in application, set backlash to 0.2 mm. I found the best finish on the teeth was achieved by leaving .05 to .1 mm radial stock for a full depth finish pass. The mechanism was also animated in Fusion.
@DJ_Valenski Thank you! Yes, I made the key and lock mechanism. On the backside of the small gear there is a receptacle for a spring loaded ball bearing. The key is made to compress the spring and ball allowing the gear to turn. Very simple, but it works fine.
@drichard Yes, the home depot by me stocks walnut boards. Not necessarily cheap, but convenient!
Incredible work! I’d love to see a walk through on this design/build, starting with fusion. I love that you made it mostly with the Shapeoko at home. This simply wouldn’t have been possibly even 10 years ago without a massive investment of $$$. Thanks for sharing.
@J20jeepster It took me about 2.5 months from start of CAD to finished product working a couple of days after work and on weekends.
@wiremonkey Thanks! Is there anything in particular you are interested in seeing? I thought about doing a walk through, but I was in a hurry and didn’t take as many pictures as I would have liked during the process.
I’m interested in the whole process: fusion 360 file-cam-export to g-code. How you chose the type of aluminum, what parts were made via CNC vs by hand, your trials and tribulations, how you installed the light inside, is the lock/key mechanism your creation or did you buy it? Ha! Just very curious overall as it’s the type of project I hope to achieve once I get a CNC router. If there are mistakes you made along the way, those are significant as well… Any or all of that you’re willing to take the time to share. She’s I fortunate gal!