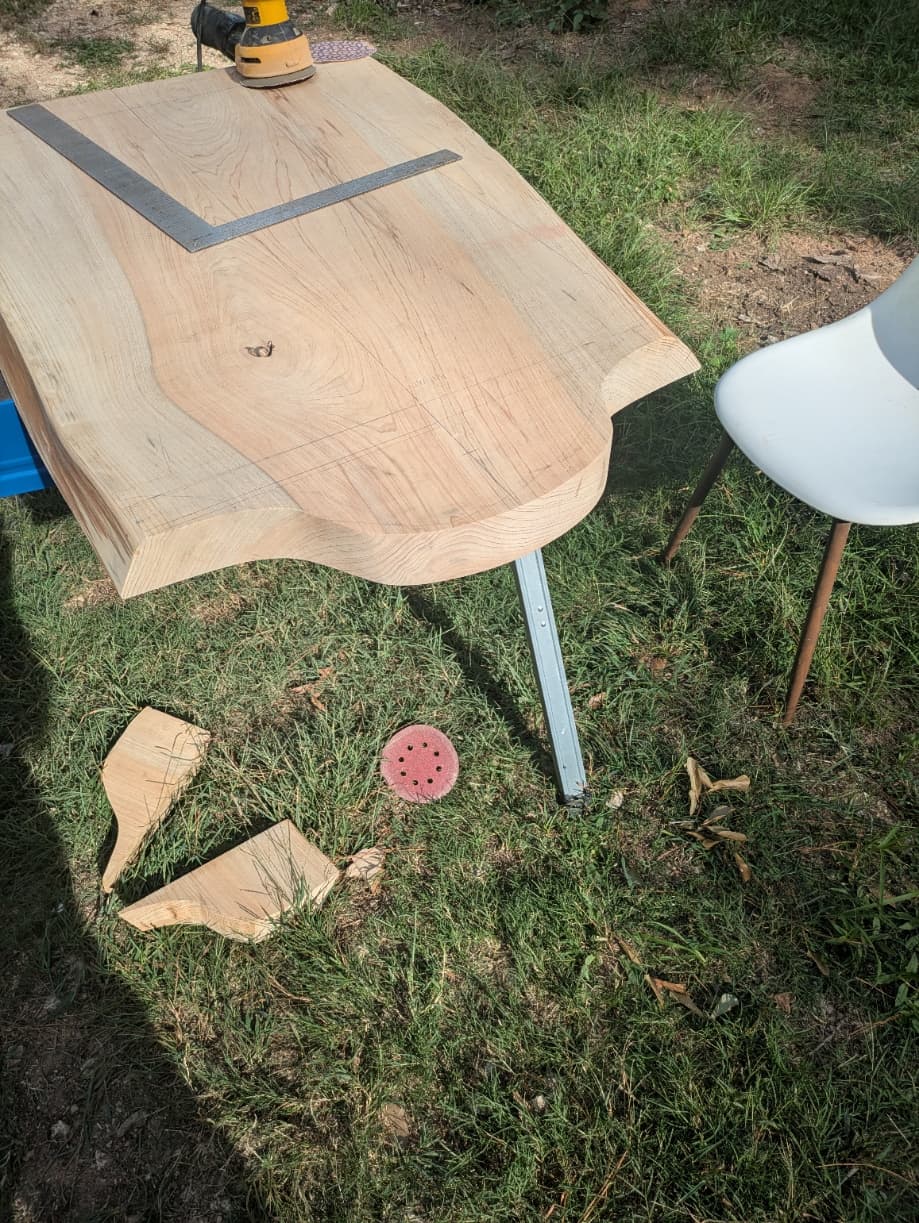
I have a commission to make a memorial headstone for a woman’s husband. He had worked for the Forest Service. She wanted a cypress slab with natural edges. I found one at a sawmill in Rusk Texas. It was about 8’ long. I cut it in half and got it slabbed on my slabbing table on both sides. That was quite a chore. The cypress is soft but my big Porter Cable router started acting up. I had to make a new base for my slabbing jig to put a Frued router on to finish. I was using an Infinity Mega Planner bit. It is 2" wide by 1" tall. It is a monster. What Infinity recommends is 22,000 RPM. That is a lot of RPM for such a big bit but it worked.
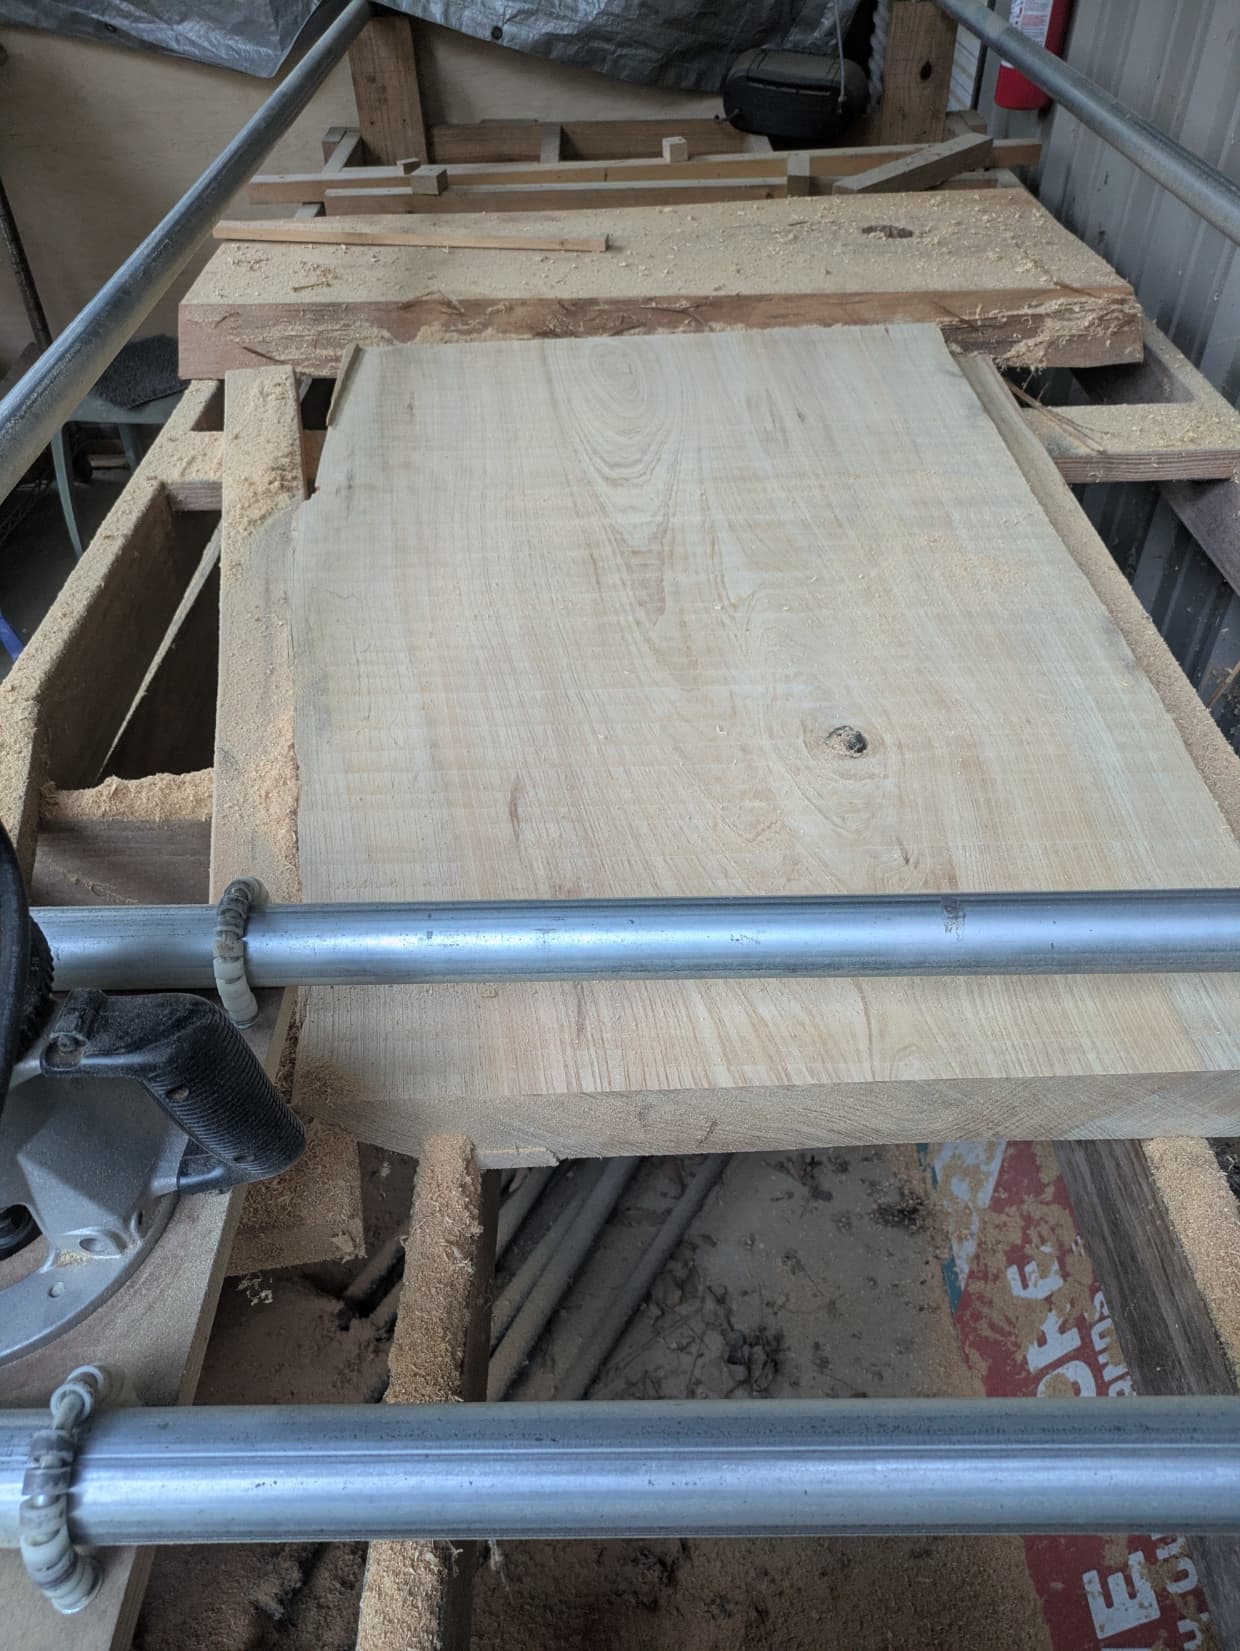
Here is the slab and the line is where I cut it with a circular saw. Because the slab was over 3" thick I had to finish with a Japanese pull saw.
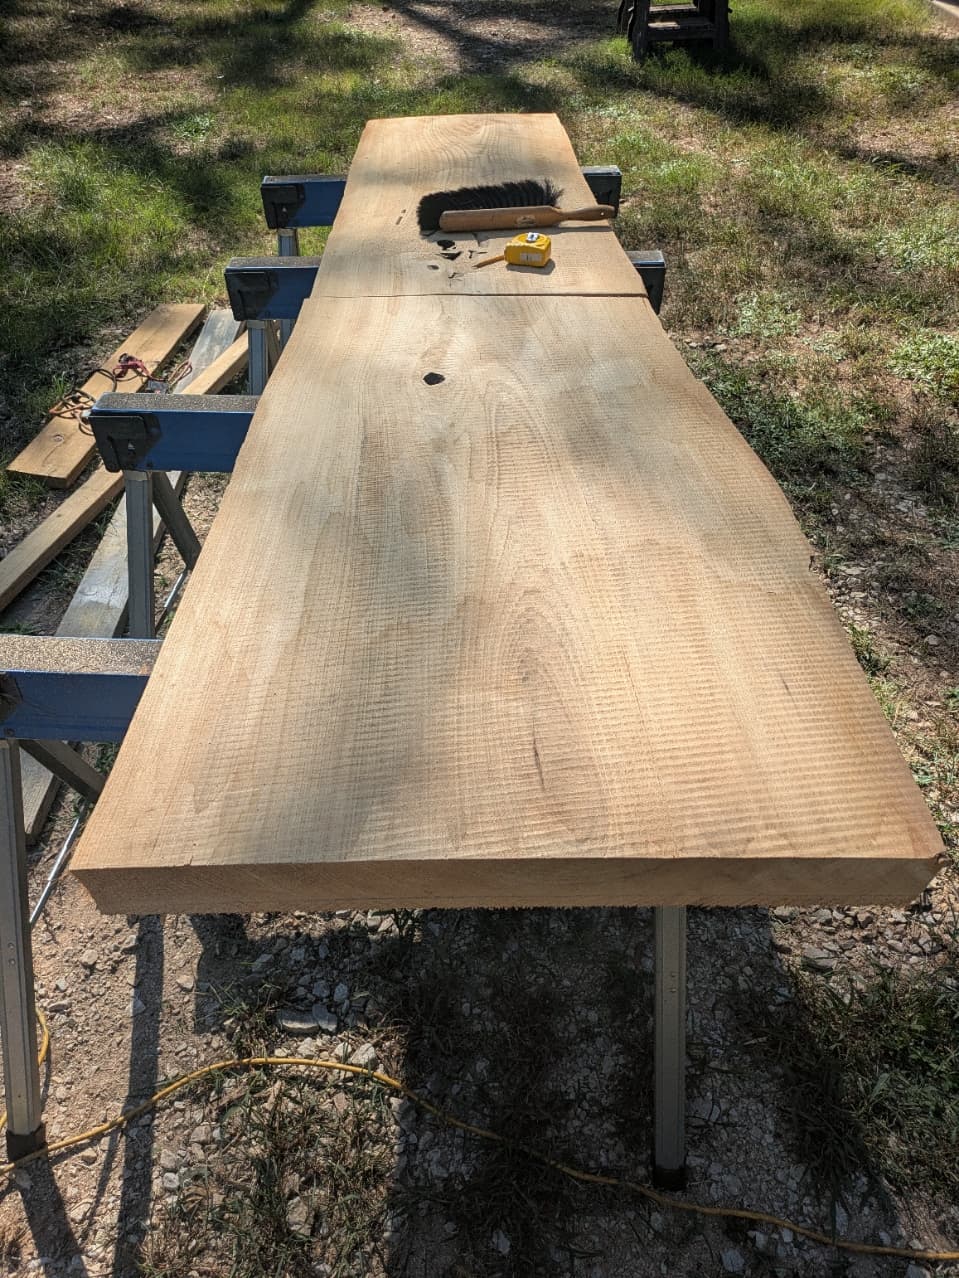
Here is the slab on the slabbing jig. It is a Veritas jig that uses 1.5" EMT. It works but if you push down too hard in the middle it dips. I have new linear rails to replace the Veritas Jig but that would take days to build and get tuned and I just want this project on the road.
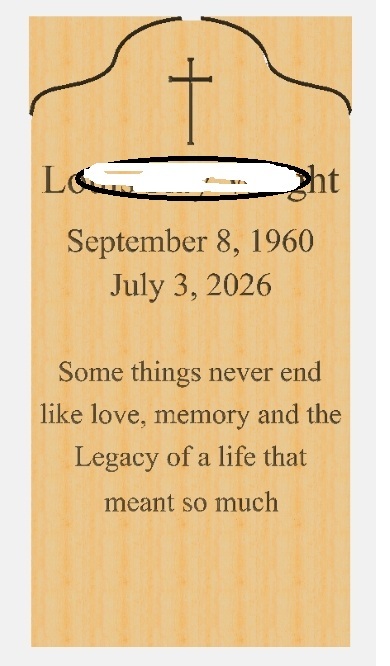
I had designed the CNC part with the customer and got that finalized.
The slab is not square on the sides and has a natural edge but you cannot really draw that in CC. Well maybe but I did not want to try. I found the center of top and put pencil lines. I will do advanced vcarve for the text. The letters are about 4" tall so it will take some time. My plan is to divide each line into a smaller box and just do one line at a time. The total time is waaaaay to long for me to stand to sit and watch the paint dry. Over the next few days I will get this done in small increments.
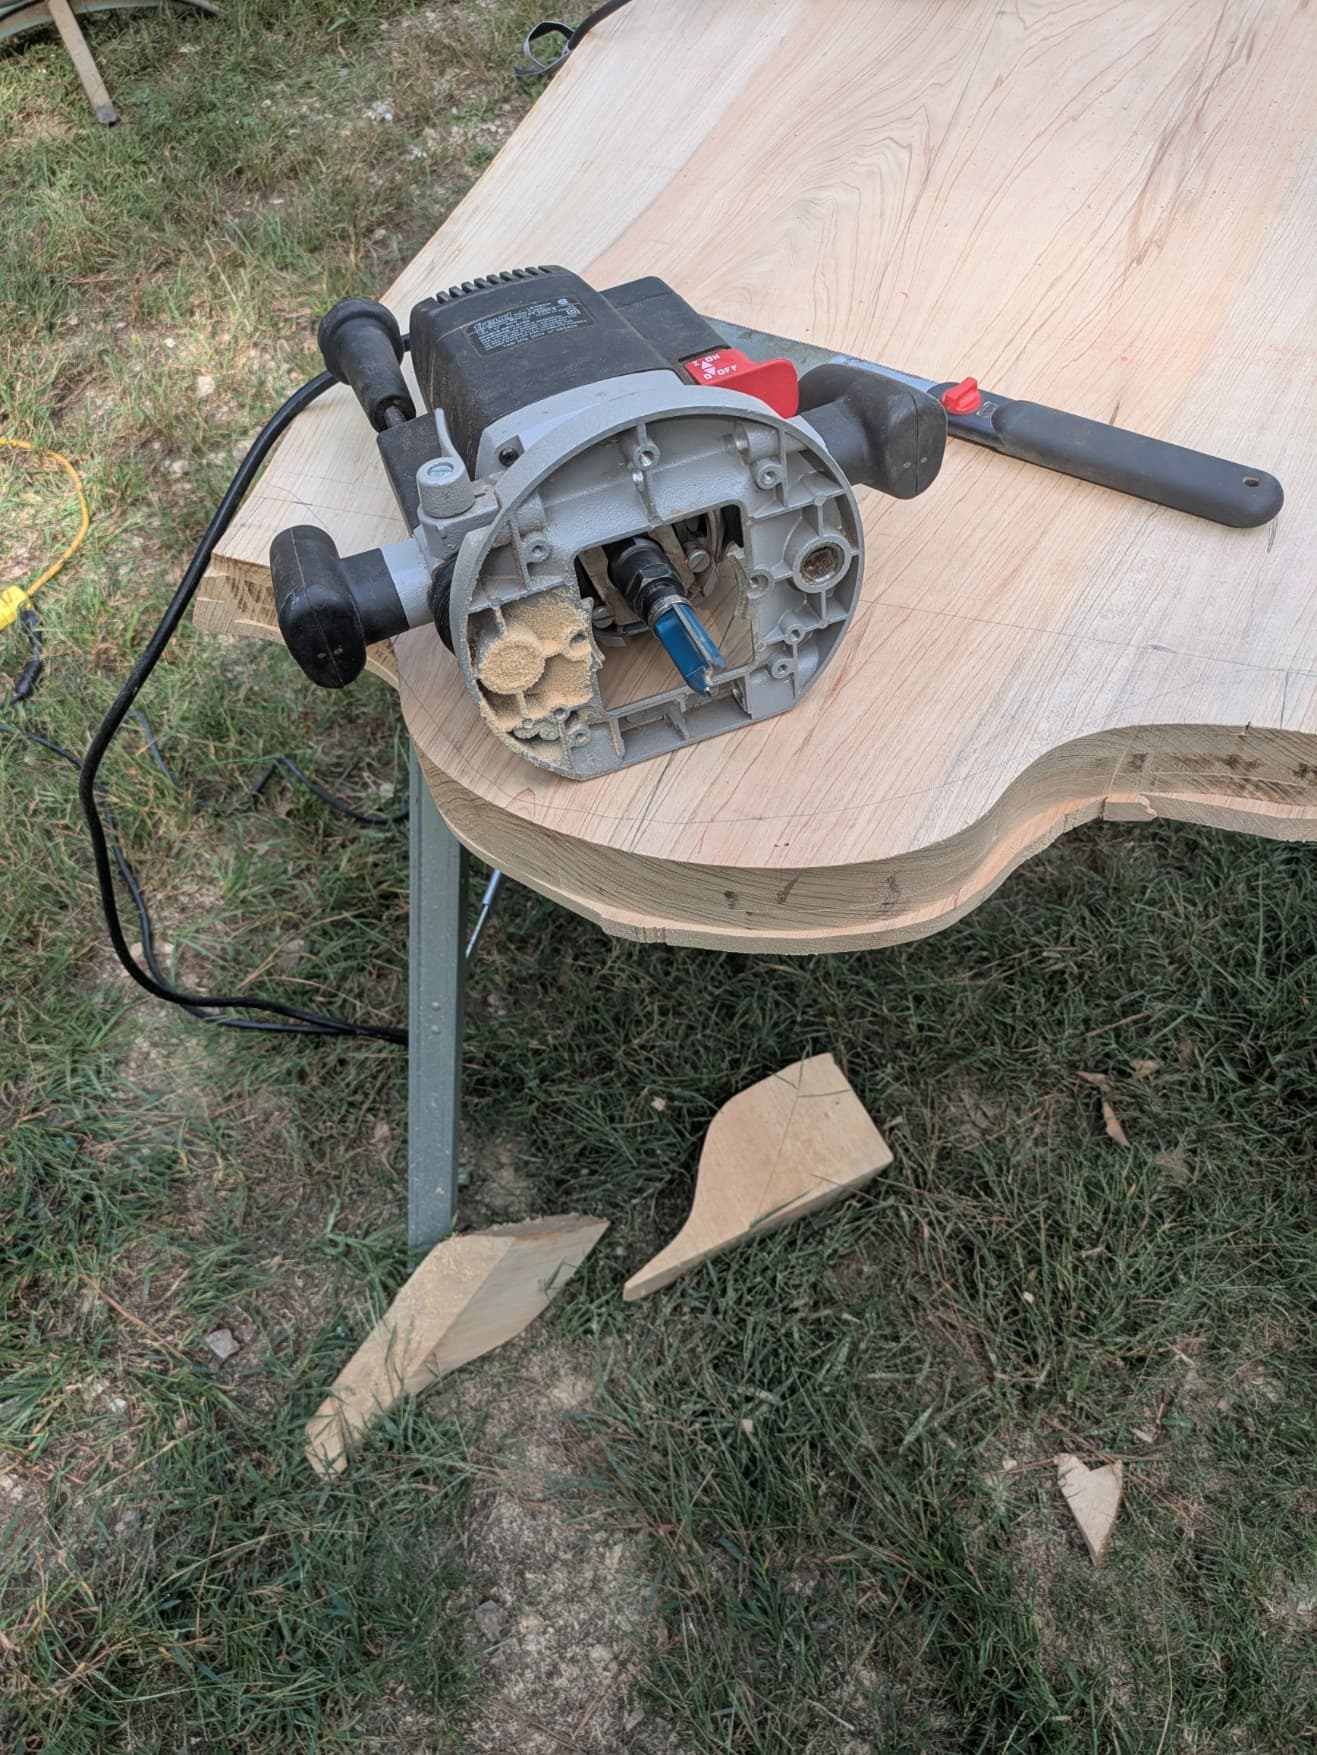
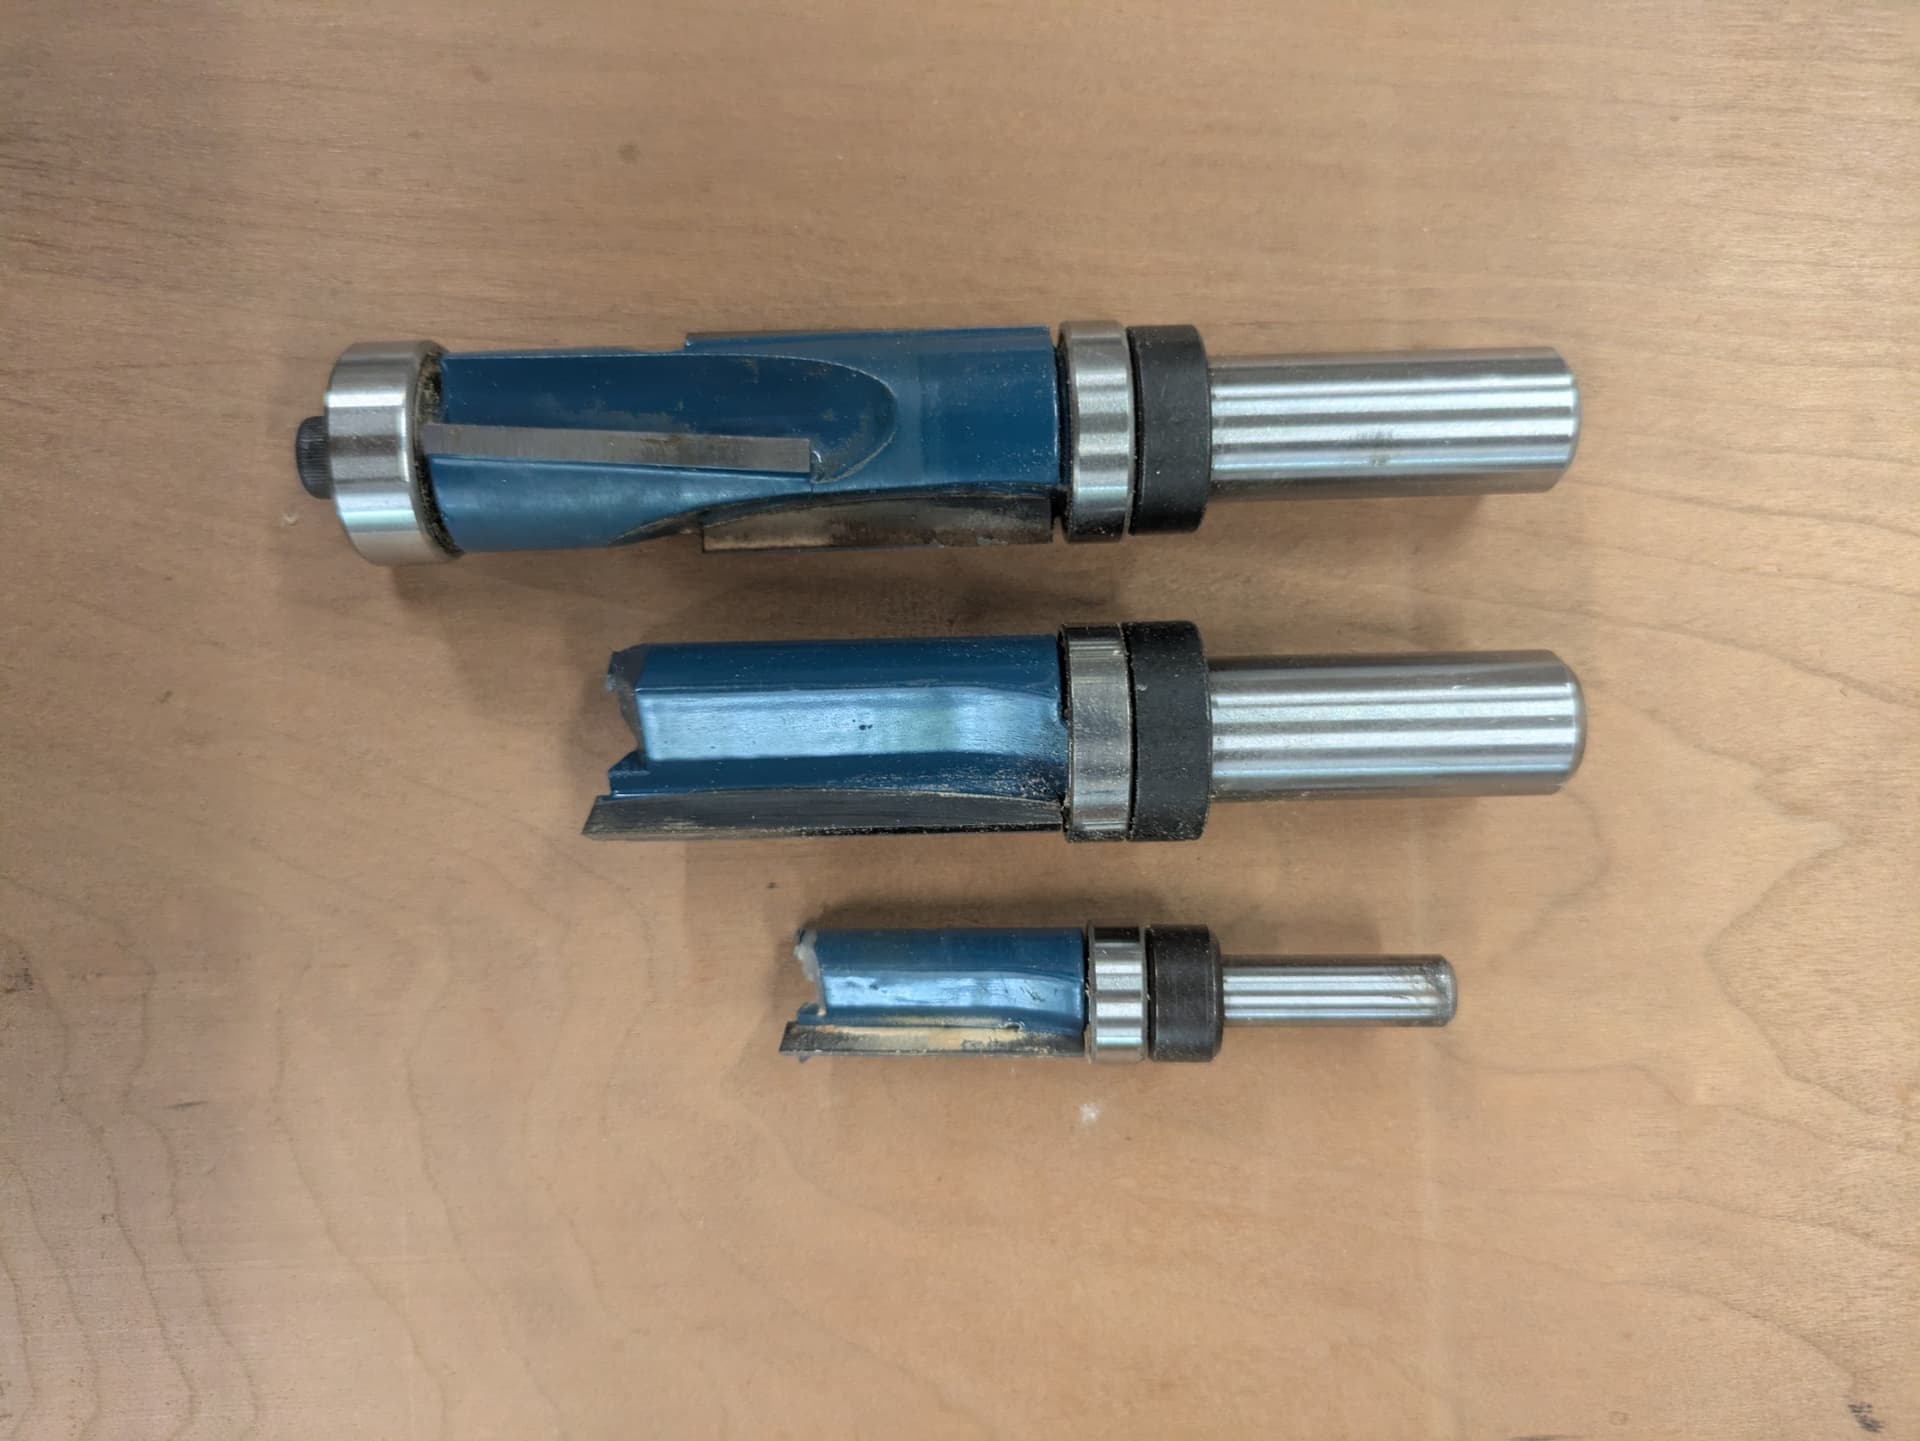
The top arch was from a previous project that looked like a mantle clock. I already had the SVG but it was a closed vector. I had to go into edit node and figure out how to get the bottom deleted. I then did a contour tool path about .675" deep with a #251. I will need to cut off the waste and get it trimmed close and finish with some flush trim bits. That will be fun. Luckily I have some long flush trim bits with bearings at the top and bottom so I can router from one side and finish on the other.
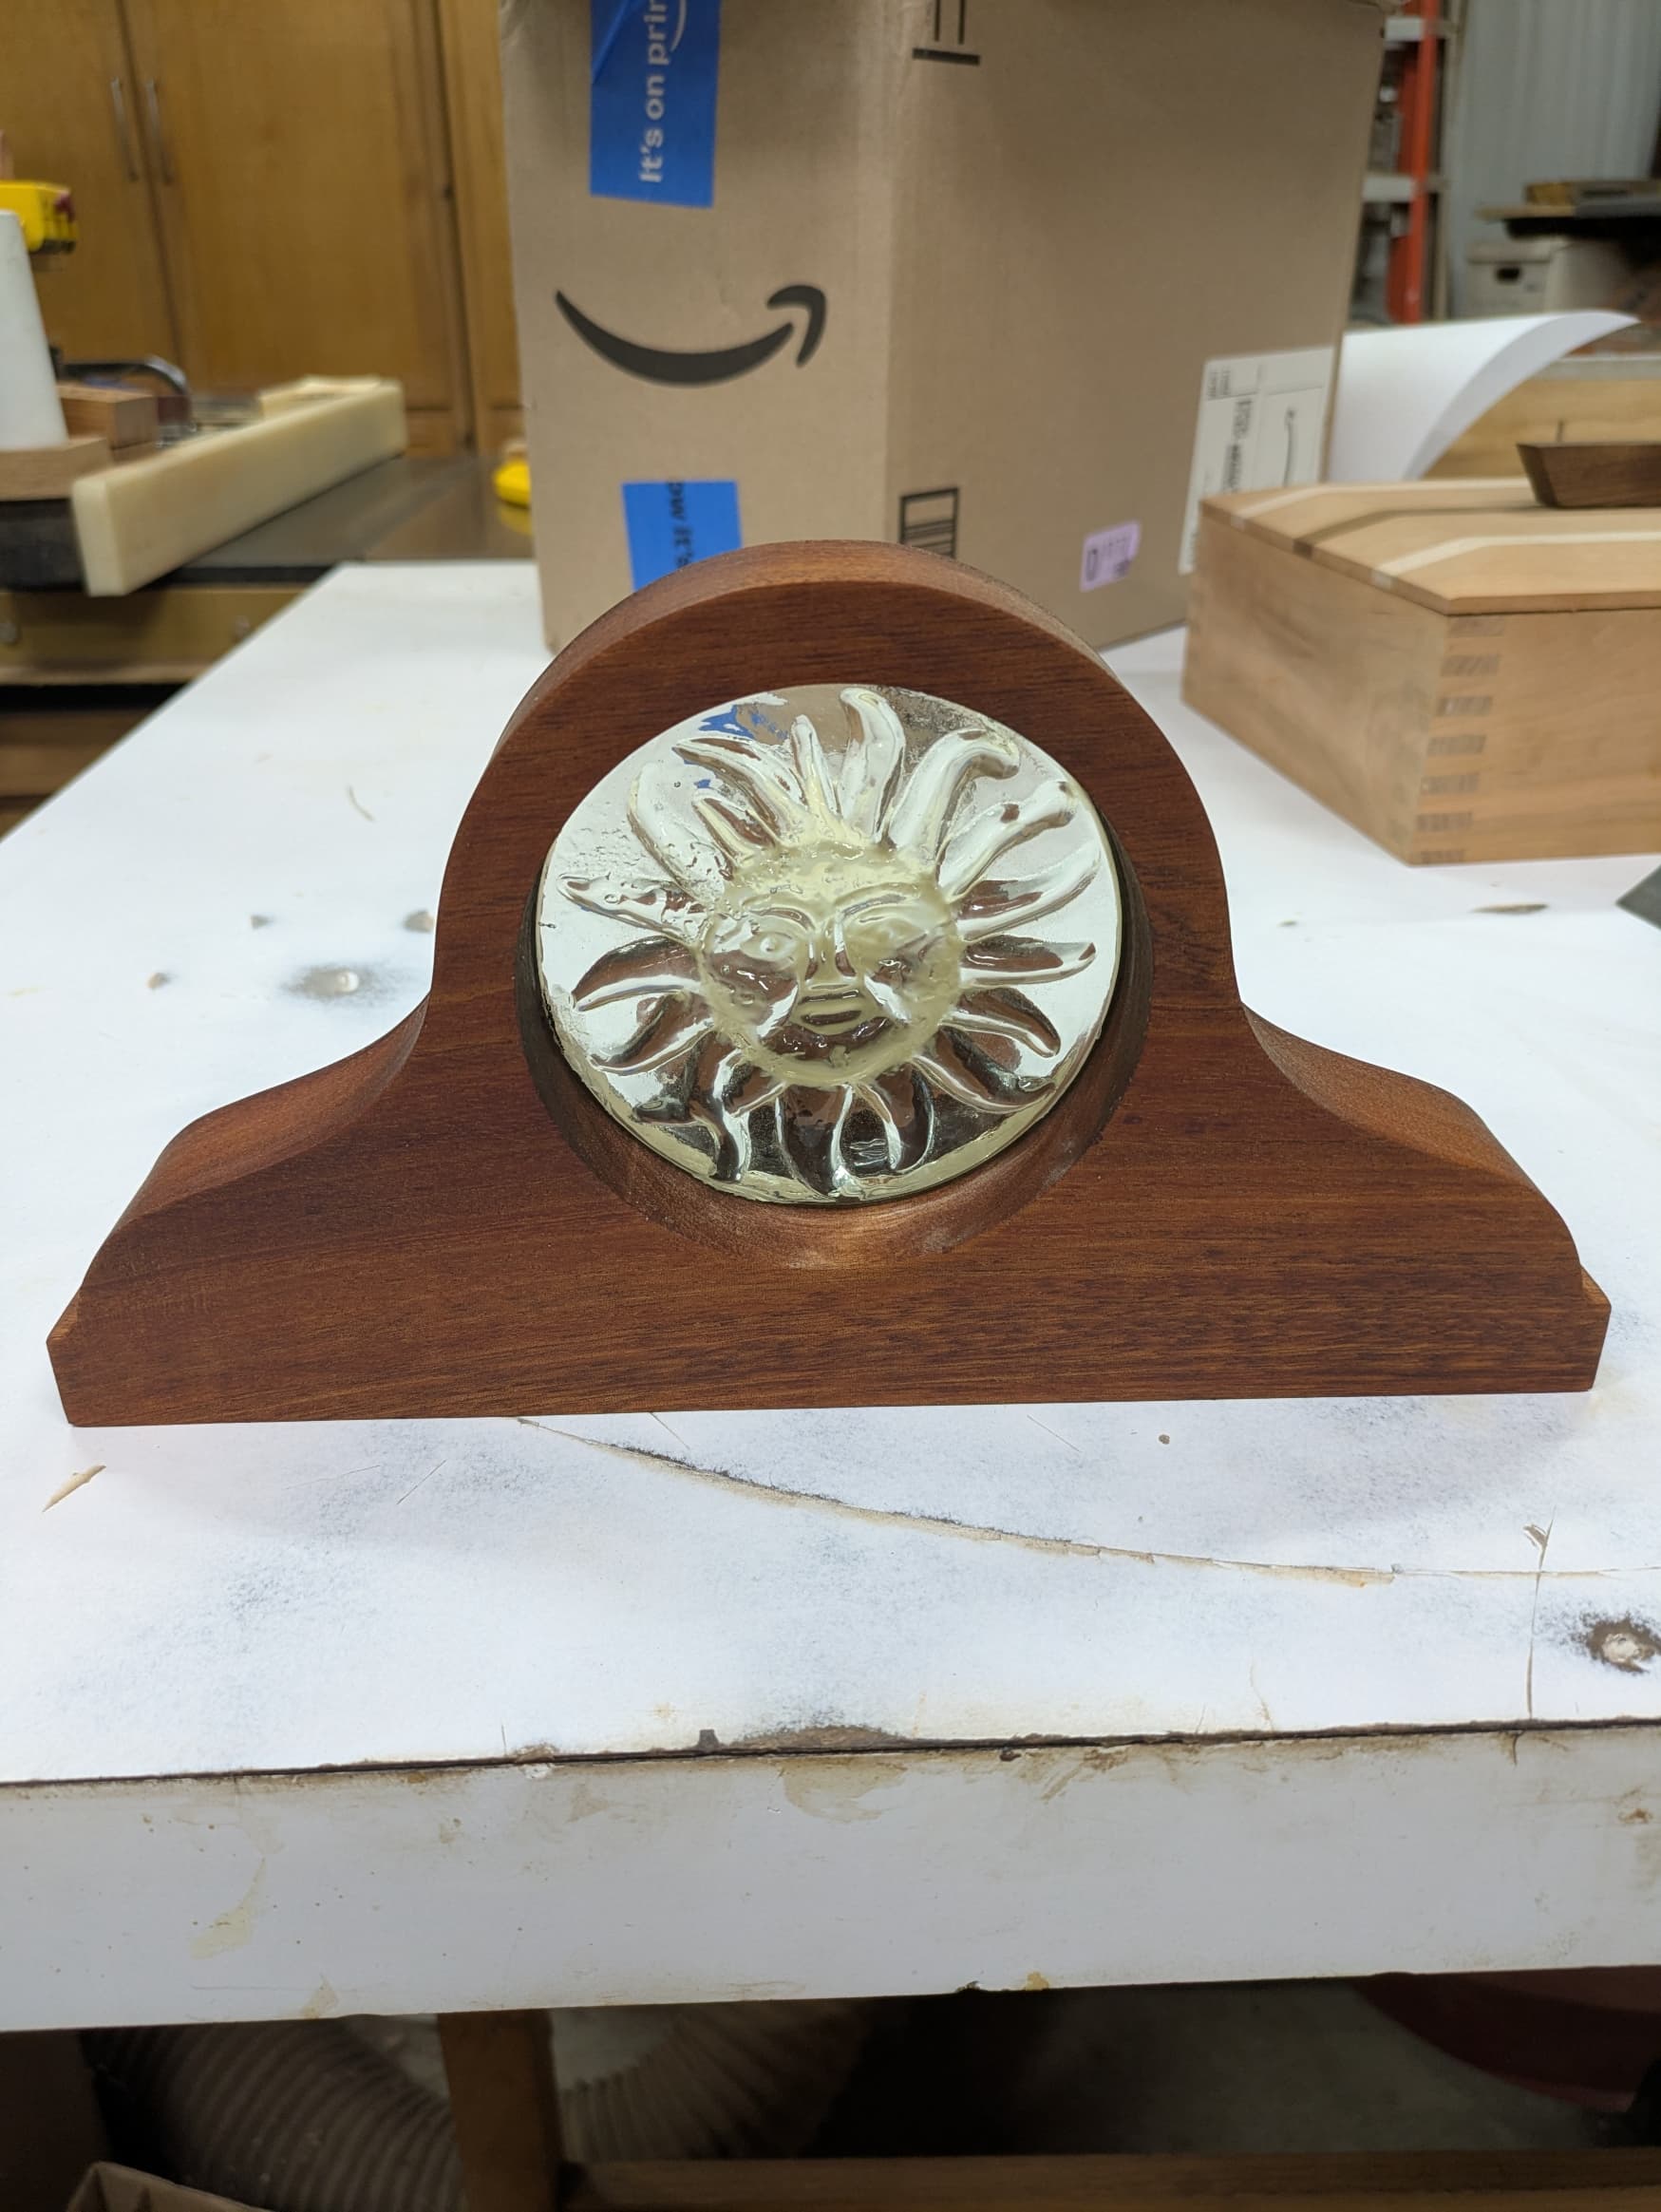
I did change the size to 24" x 7" and got it squashed down.
Here is the start of the top.
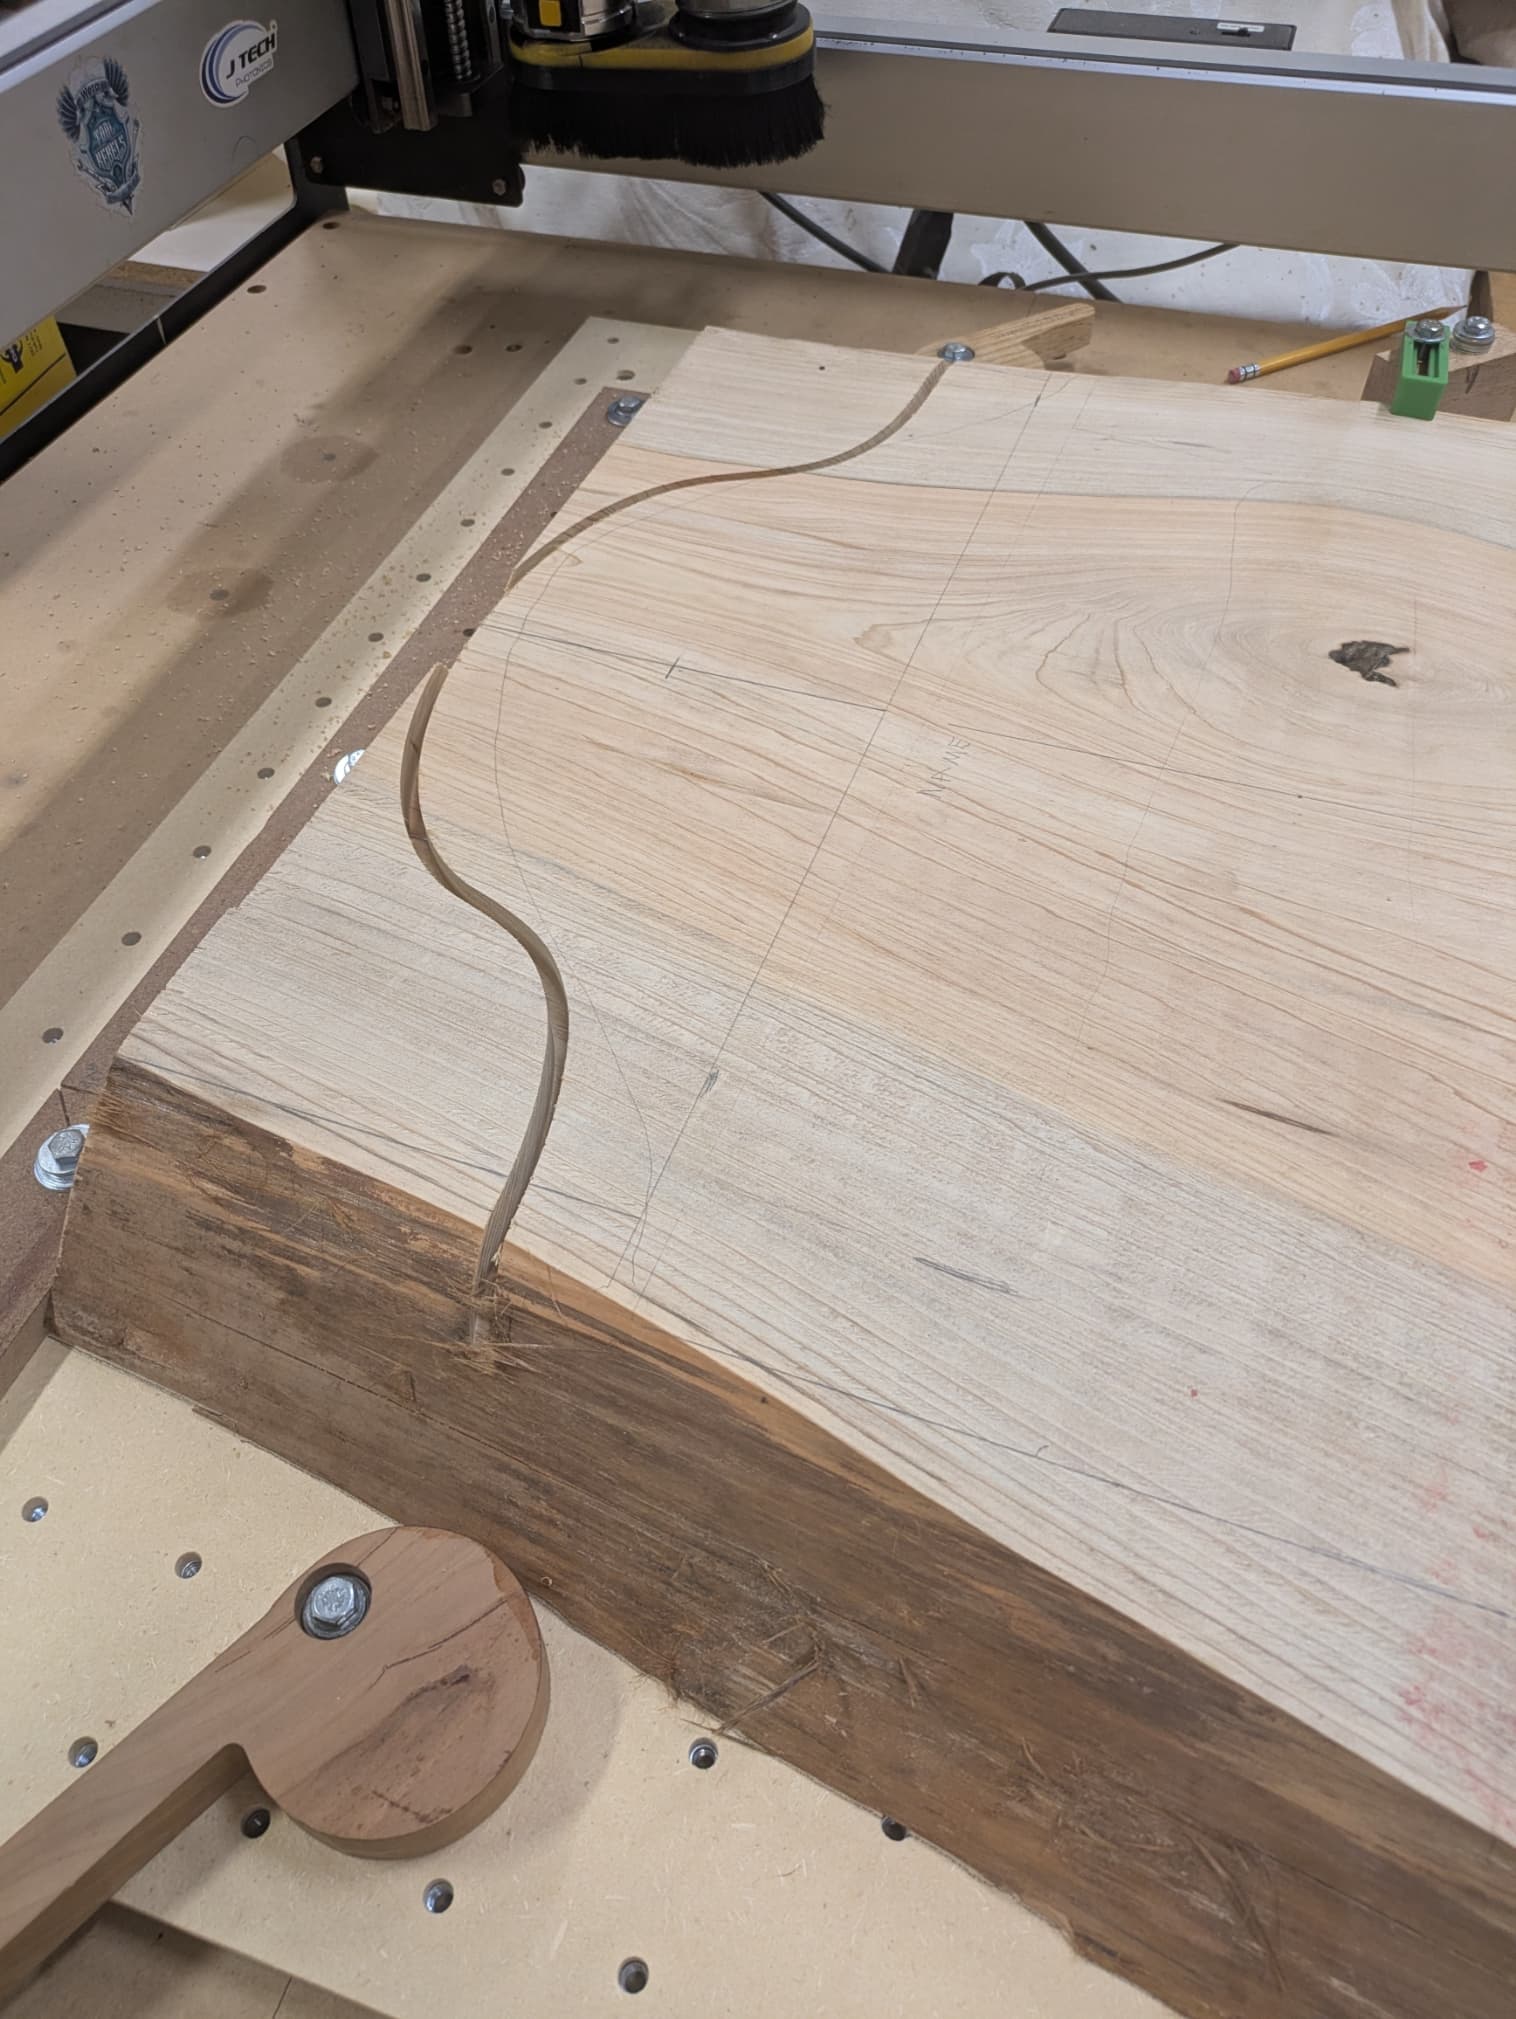
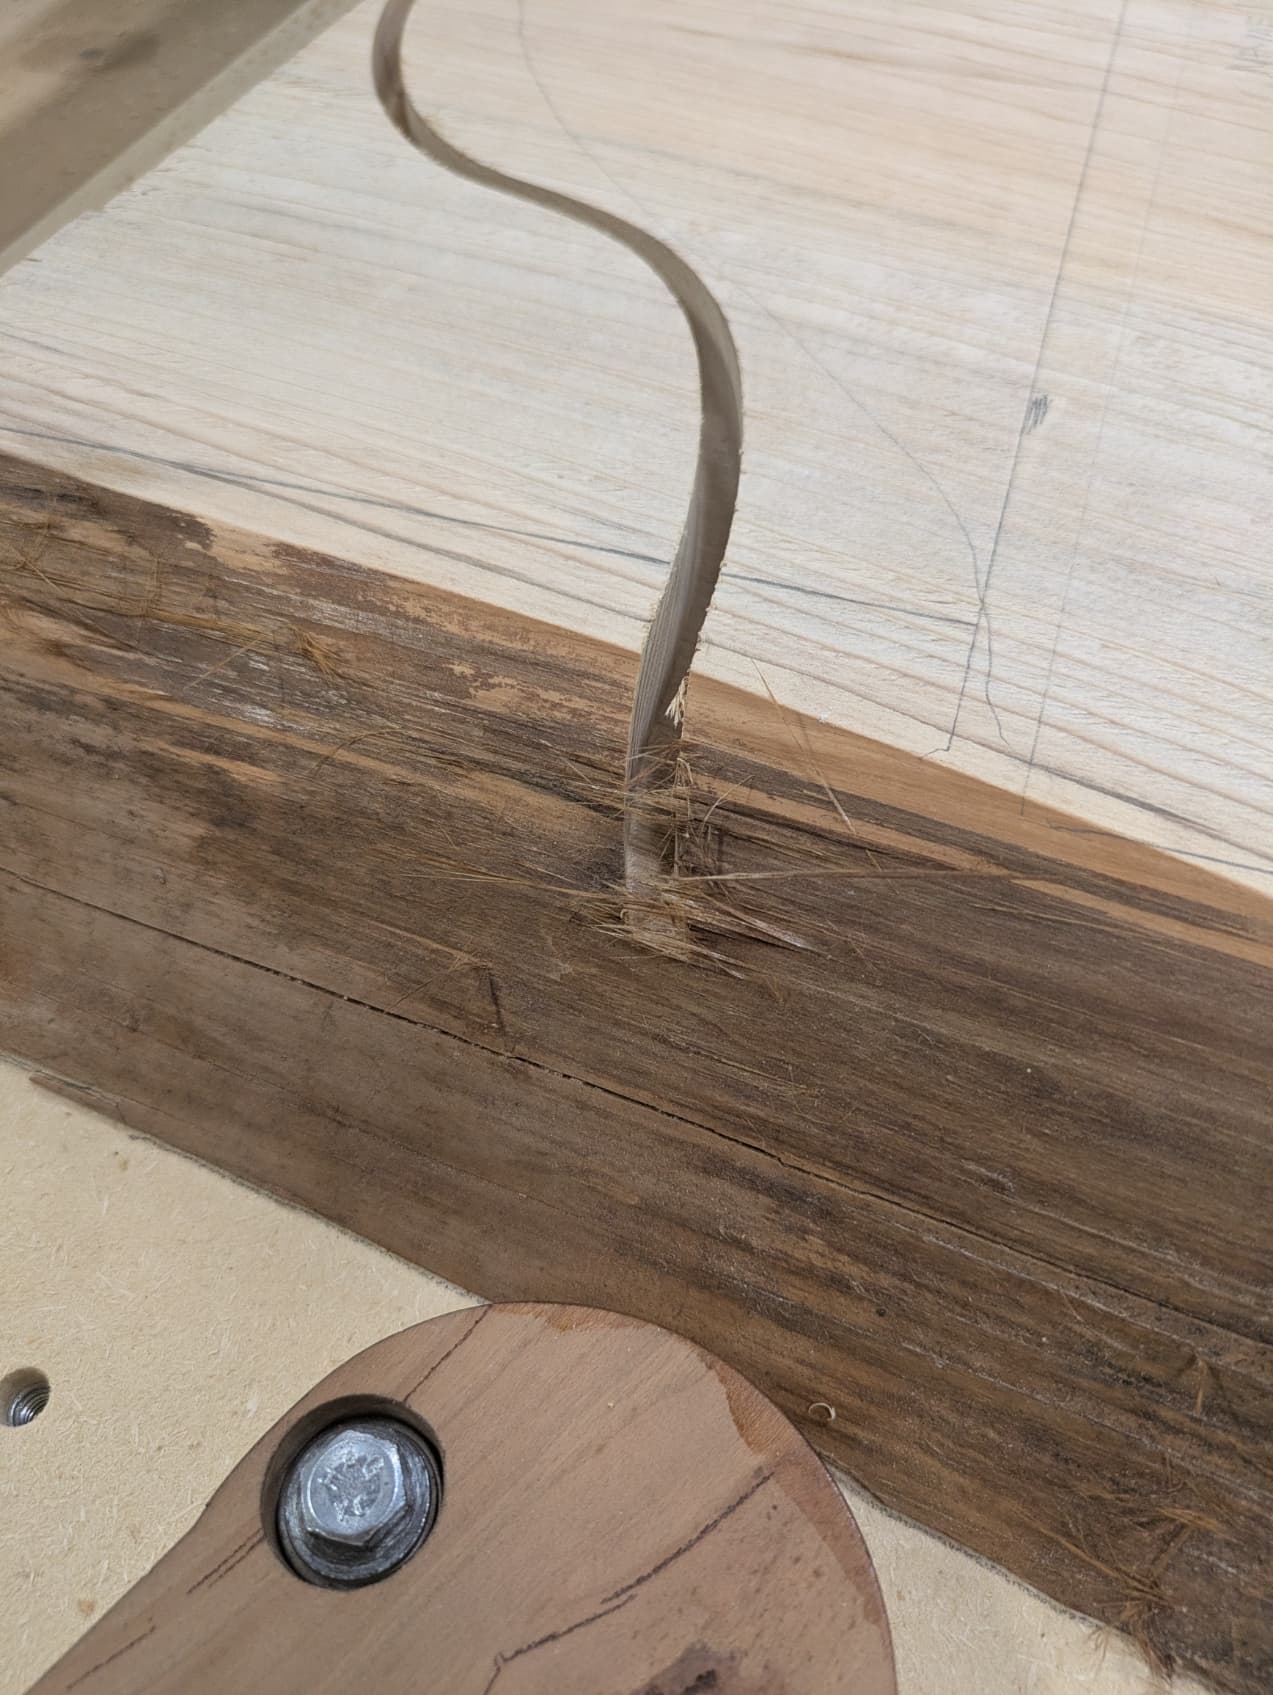
I stopped for the night and will decide if I want to remove the piece from the Shapeoko or just go ahead and finish the advanced vcarve and cut off the excess after the machining. I used a laser level to get the piece square to the bed of the SO3. Not sure I want to remove it and start over but I will sleep on it and decide in the morning.