You have me pretty convinced that deflection is my issue here.
Incorrect tool diameters when mixing Imperial and metric units is not uncommon. My first post.
Then I thought about it, reread what you’re trying to do, noticed the rate, and looked up the diameter of the end mill. The lightbulb went off.
Deflection is ALWAYS an issue, even with “super material composition” end mills. All it takes is pushing an end mill into a material faster than the flutes can clear the material and one has deflection.
When working with 0.125" (or 3mm) end mills and smaller, the deflection issue becomes critical. It is SO EASY to deflect that unusual things happen.
Understanding how conventional/climb milling cause forces on the end mill and which direction they are pushing really helps to understand how weird a finish can come out when deflection is running amok.
That makes my milling times multiply greatly which isn’t ideal
You’ve entered the realm of a more experienced machinist. It’s all about trading off machining time and finish quality. Remember that a roughing pass leaves material behind intentionally. This protects the ideal surface underneath. When there is a lot of material to remove, one can go fast as long as it doesn’t harm the machine and end mill - and damage the protective layer to the point that it touches the ideal surface.
In high end machines and milling, there is often 2 roughing passes - hogging and roughing. The former requires POWER (which the Nomad does not have but an SO3 may be able to do in some cases) but basically it is a messy, noisy pass going super fast to removing material as fast as possible. Then slow down and remove a bit more material via a brisk pass (the roughing of MeshCAM). Obviously one hogs when the geometry of the part requires a great deal of stock removal.
Hogging can heat end mills to hundreds of degrees Centigrade so please do not experiment with it unless one is prepared. Hogging (for all intents and purposes) requires coated end mills that have a coating that can withstand the temperature and any chemical reactions with the stock (material).
Those nice glass like finishes don’t often get that way in a one pass. Often one finishes 2 or 3 different ways; the settings have to be well understood to. Even there, there are tool marks. As long as they are not noticed by the eye (which is amazingly sensitive), one is done.
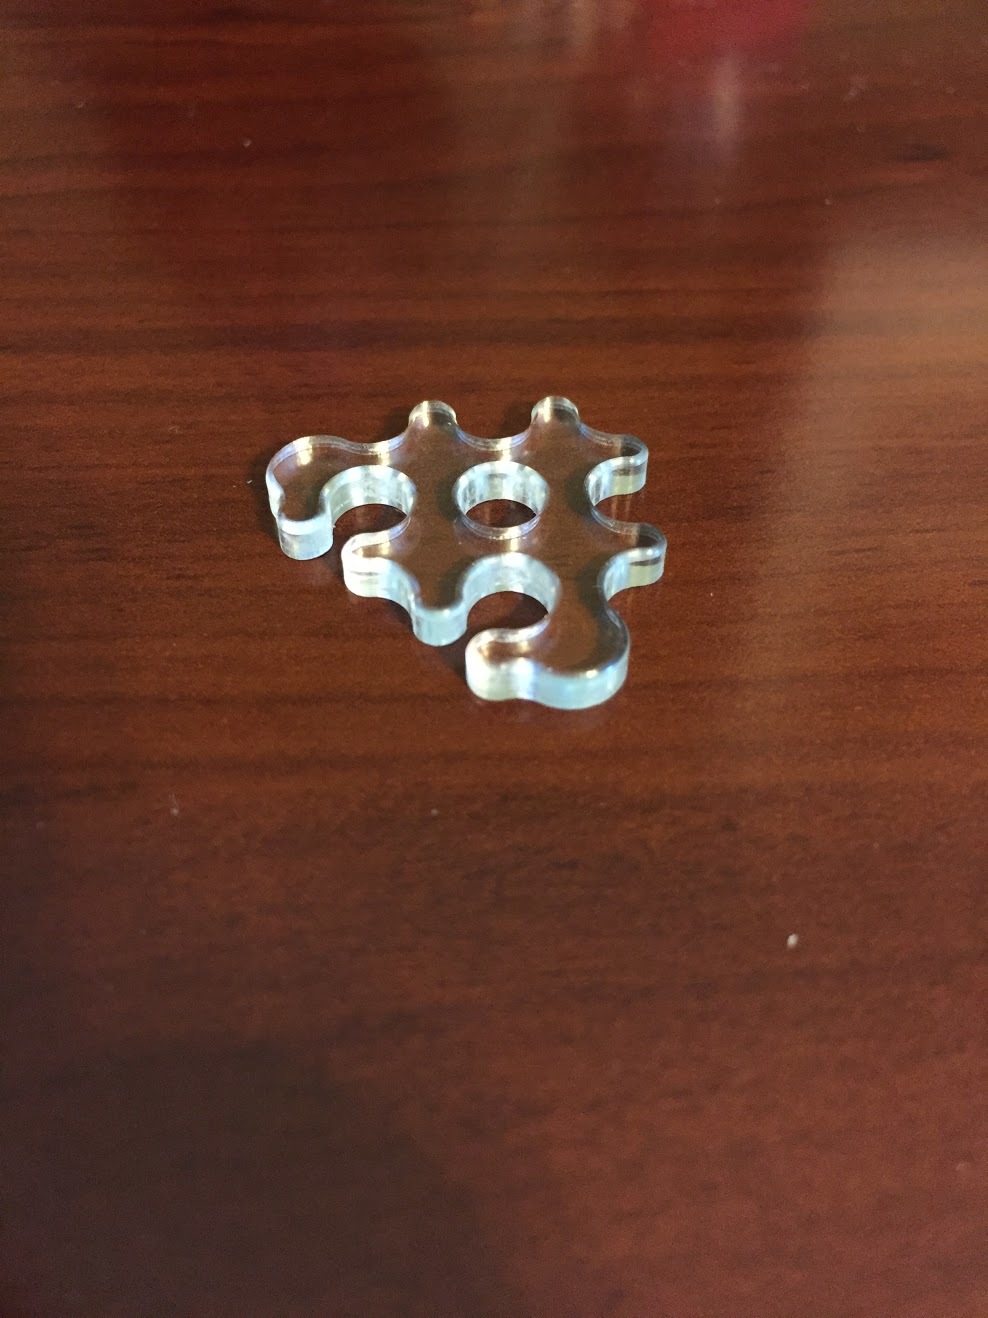
I’m wondering if I really even need the roughing pass since I’m cutting a straight vertical wall through the stock? Could I just set a finish pass with waterline, do my corner rounding pass, and then finish up with another finish with pencil cleanup?
You’re understanding things correctly. If all one is doing is cutting out cookies (with an expensive cook cutter) then all on needs is a waterline pass - to cut away the material without stressing things - followed by a pencil pass to remove as many tool marks as you can.
MeshCAM is presenting three types of milling common for 3D work - remove the bulk material and two ways to achieve a good finish. Nothing prevents one from using the three techniques in any fashion that makes sense. If one doesn’t need to bulk remove material, don’t use it - that’s what the check boxes are for! 
Furthermore, nothing says that MeshCAM cannot be run multiple times! The operations could be intentionally separated - different G code files, each with one type of milling. With complex objects, MeshCAM can be run multiple times and one lands up with many passes. @Randy is a wiz at doing this.
Higher end CAM programs allow more than three passes and allow specifying operations on specific features. It’s not uncommon to have 10, 15, or more operations defined. Then the high end CAM program figures out what can be optimized, what can removed, and what the ordering should be. The final result is the best result in the minimal time. This is why they are expensive… they do a lot of work for you and remove manual steps.
mark