I got a new copy of Wood Magazine today and they had an article about making a minimalist wallet. There are 6 pieces you laminate together. 4 are alike and there is a top center and a bottom center piece. I got CC cranked up and made the 3 pieces (one you make 4 times) and just need to buy the elastic to hold it together. I want to get the elastic before I start cutting and measure the thickness so I know how thick to make the bottom and top center pieces. If it works I will post it here and on cutrocket.com
The nearest Walmart store with the elastic in stock is 30 miles away in the next town over. I live in the country where there is only one Walmart in each county. Of course my local store (15 miles away) does not have the elastic in stock. Will update on progress. I really like the design and intend to make two of them, one for my grandson and one for his girl friend. They go to concerts and clubs and with this design they can take their IDs, a credit card and some money and not risk losing their billfold/purse.
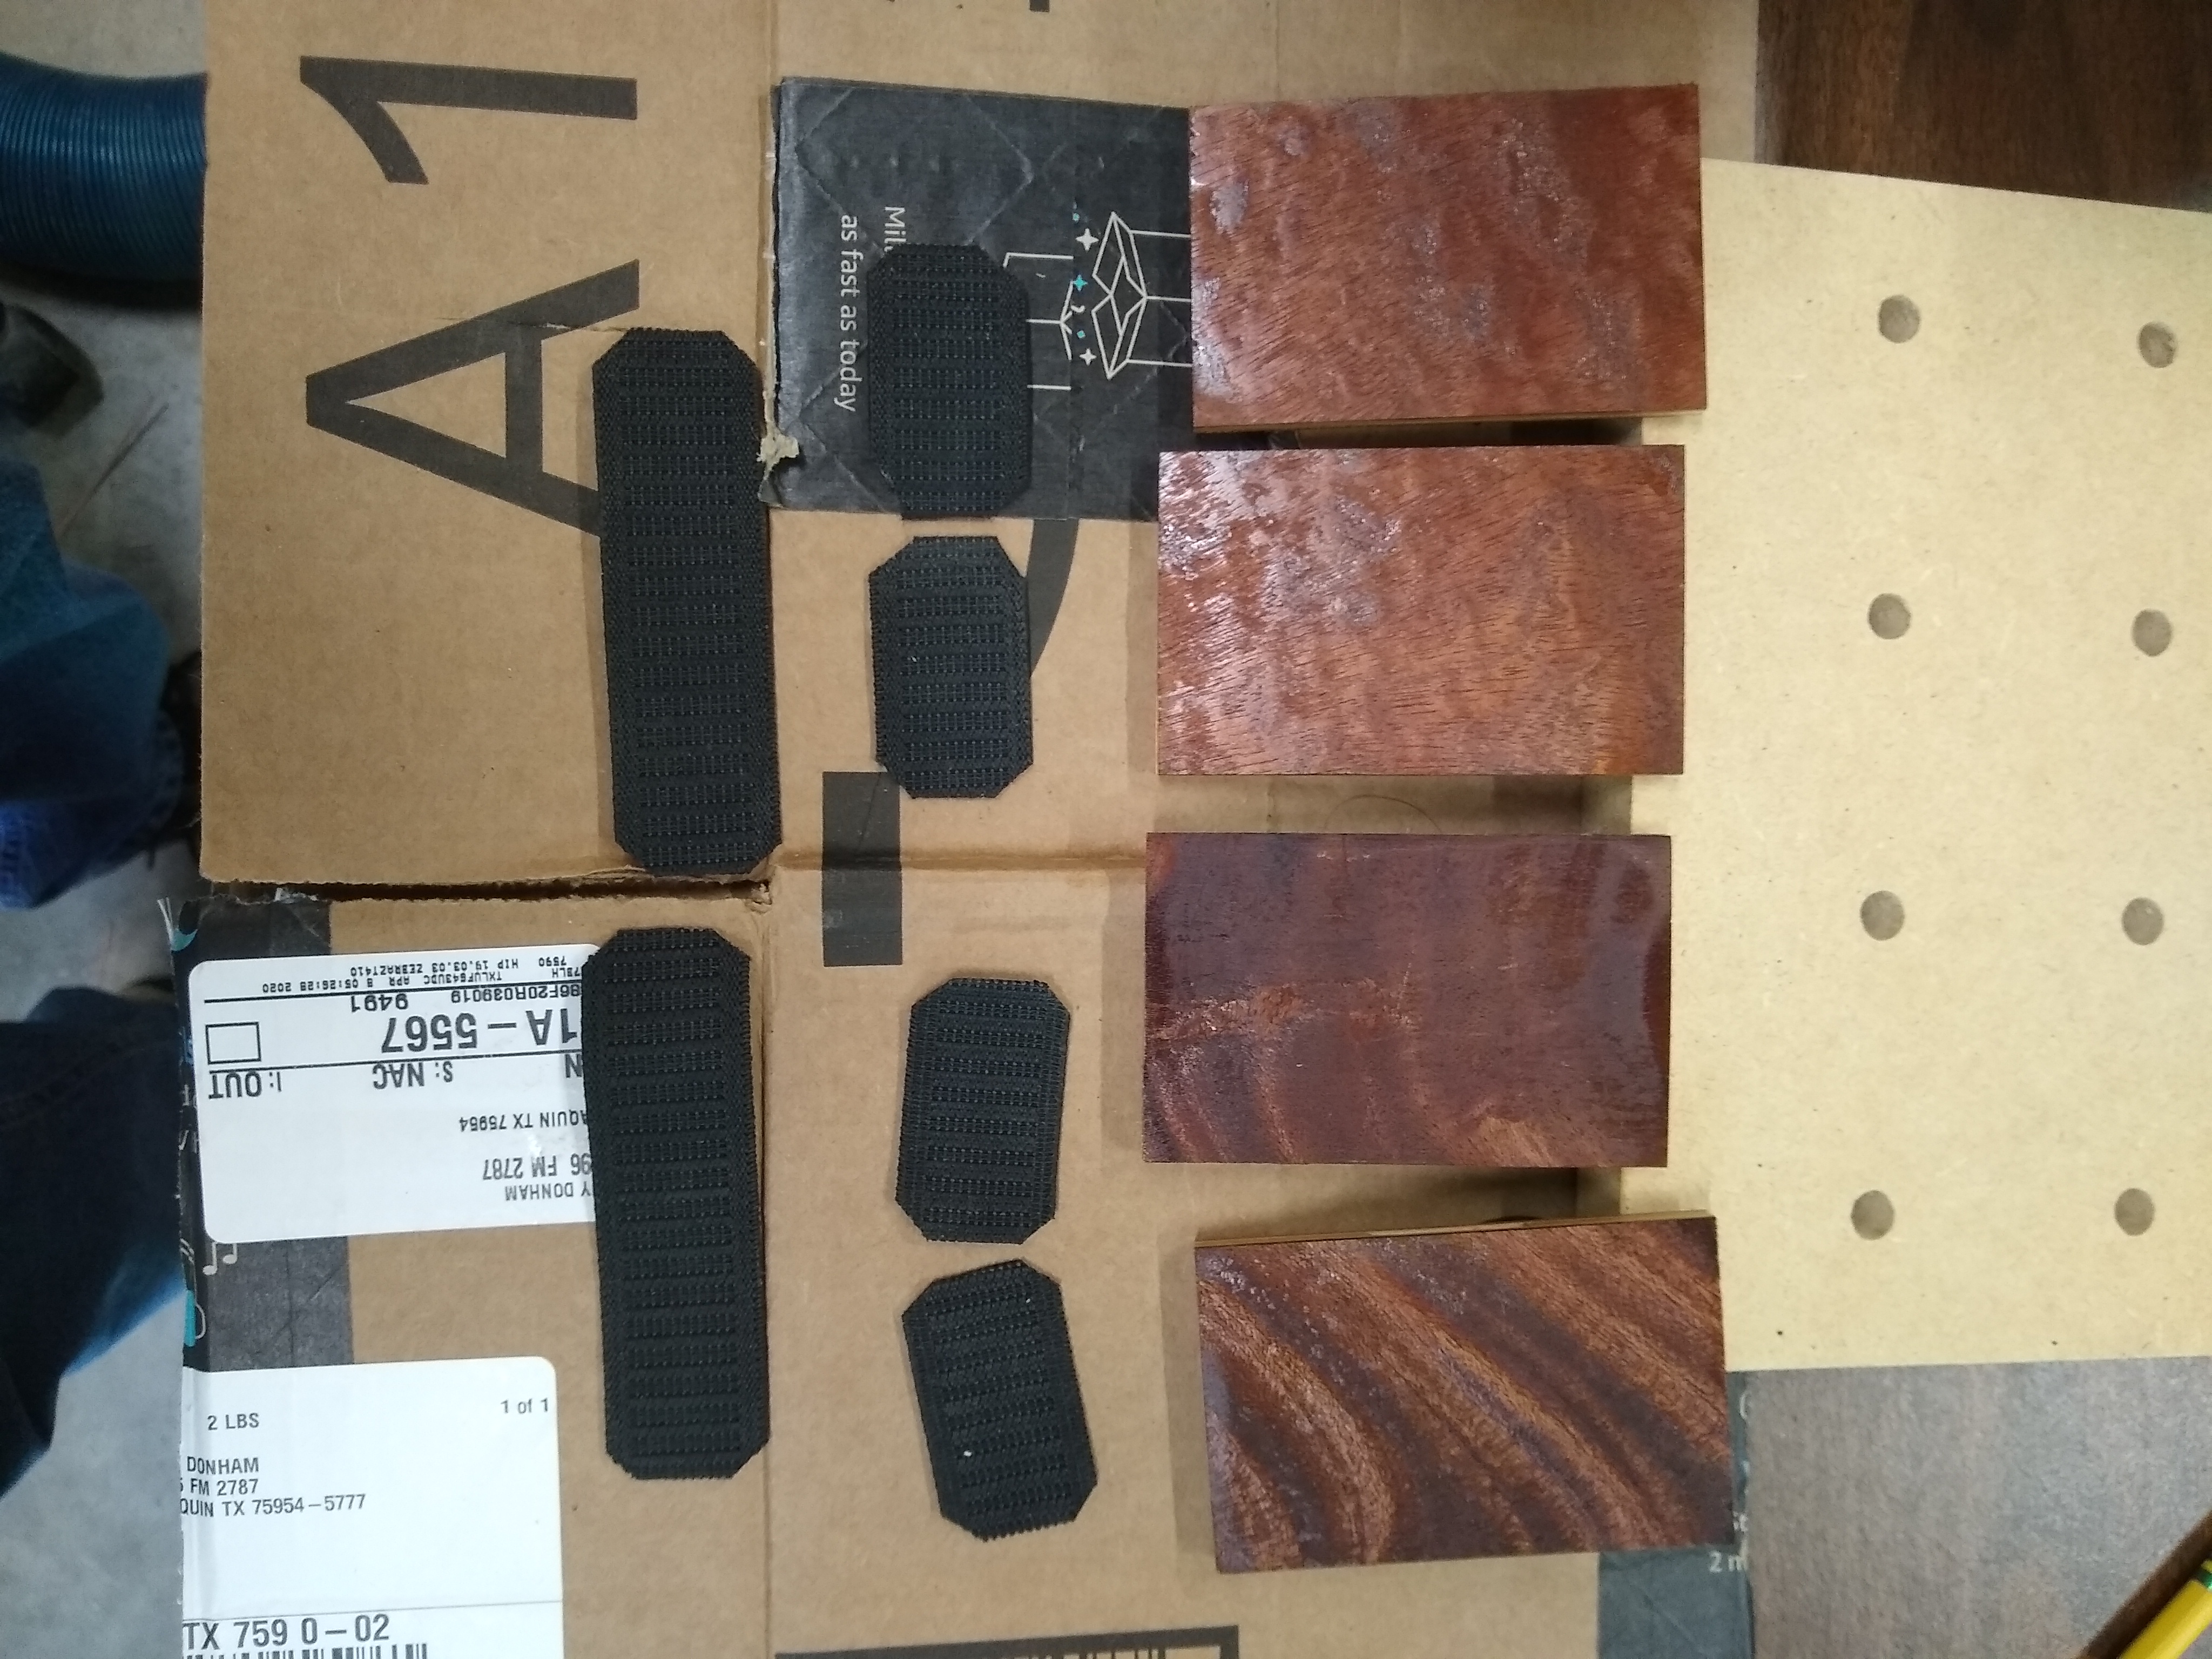
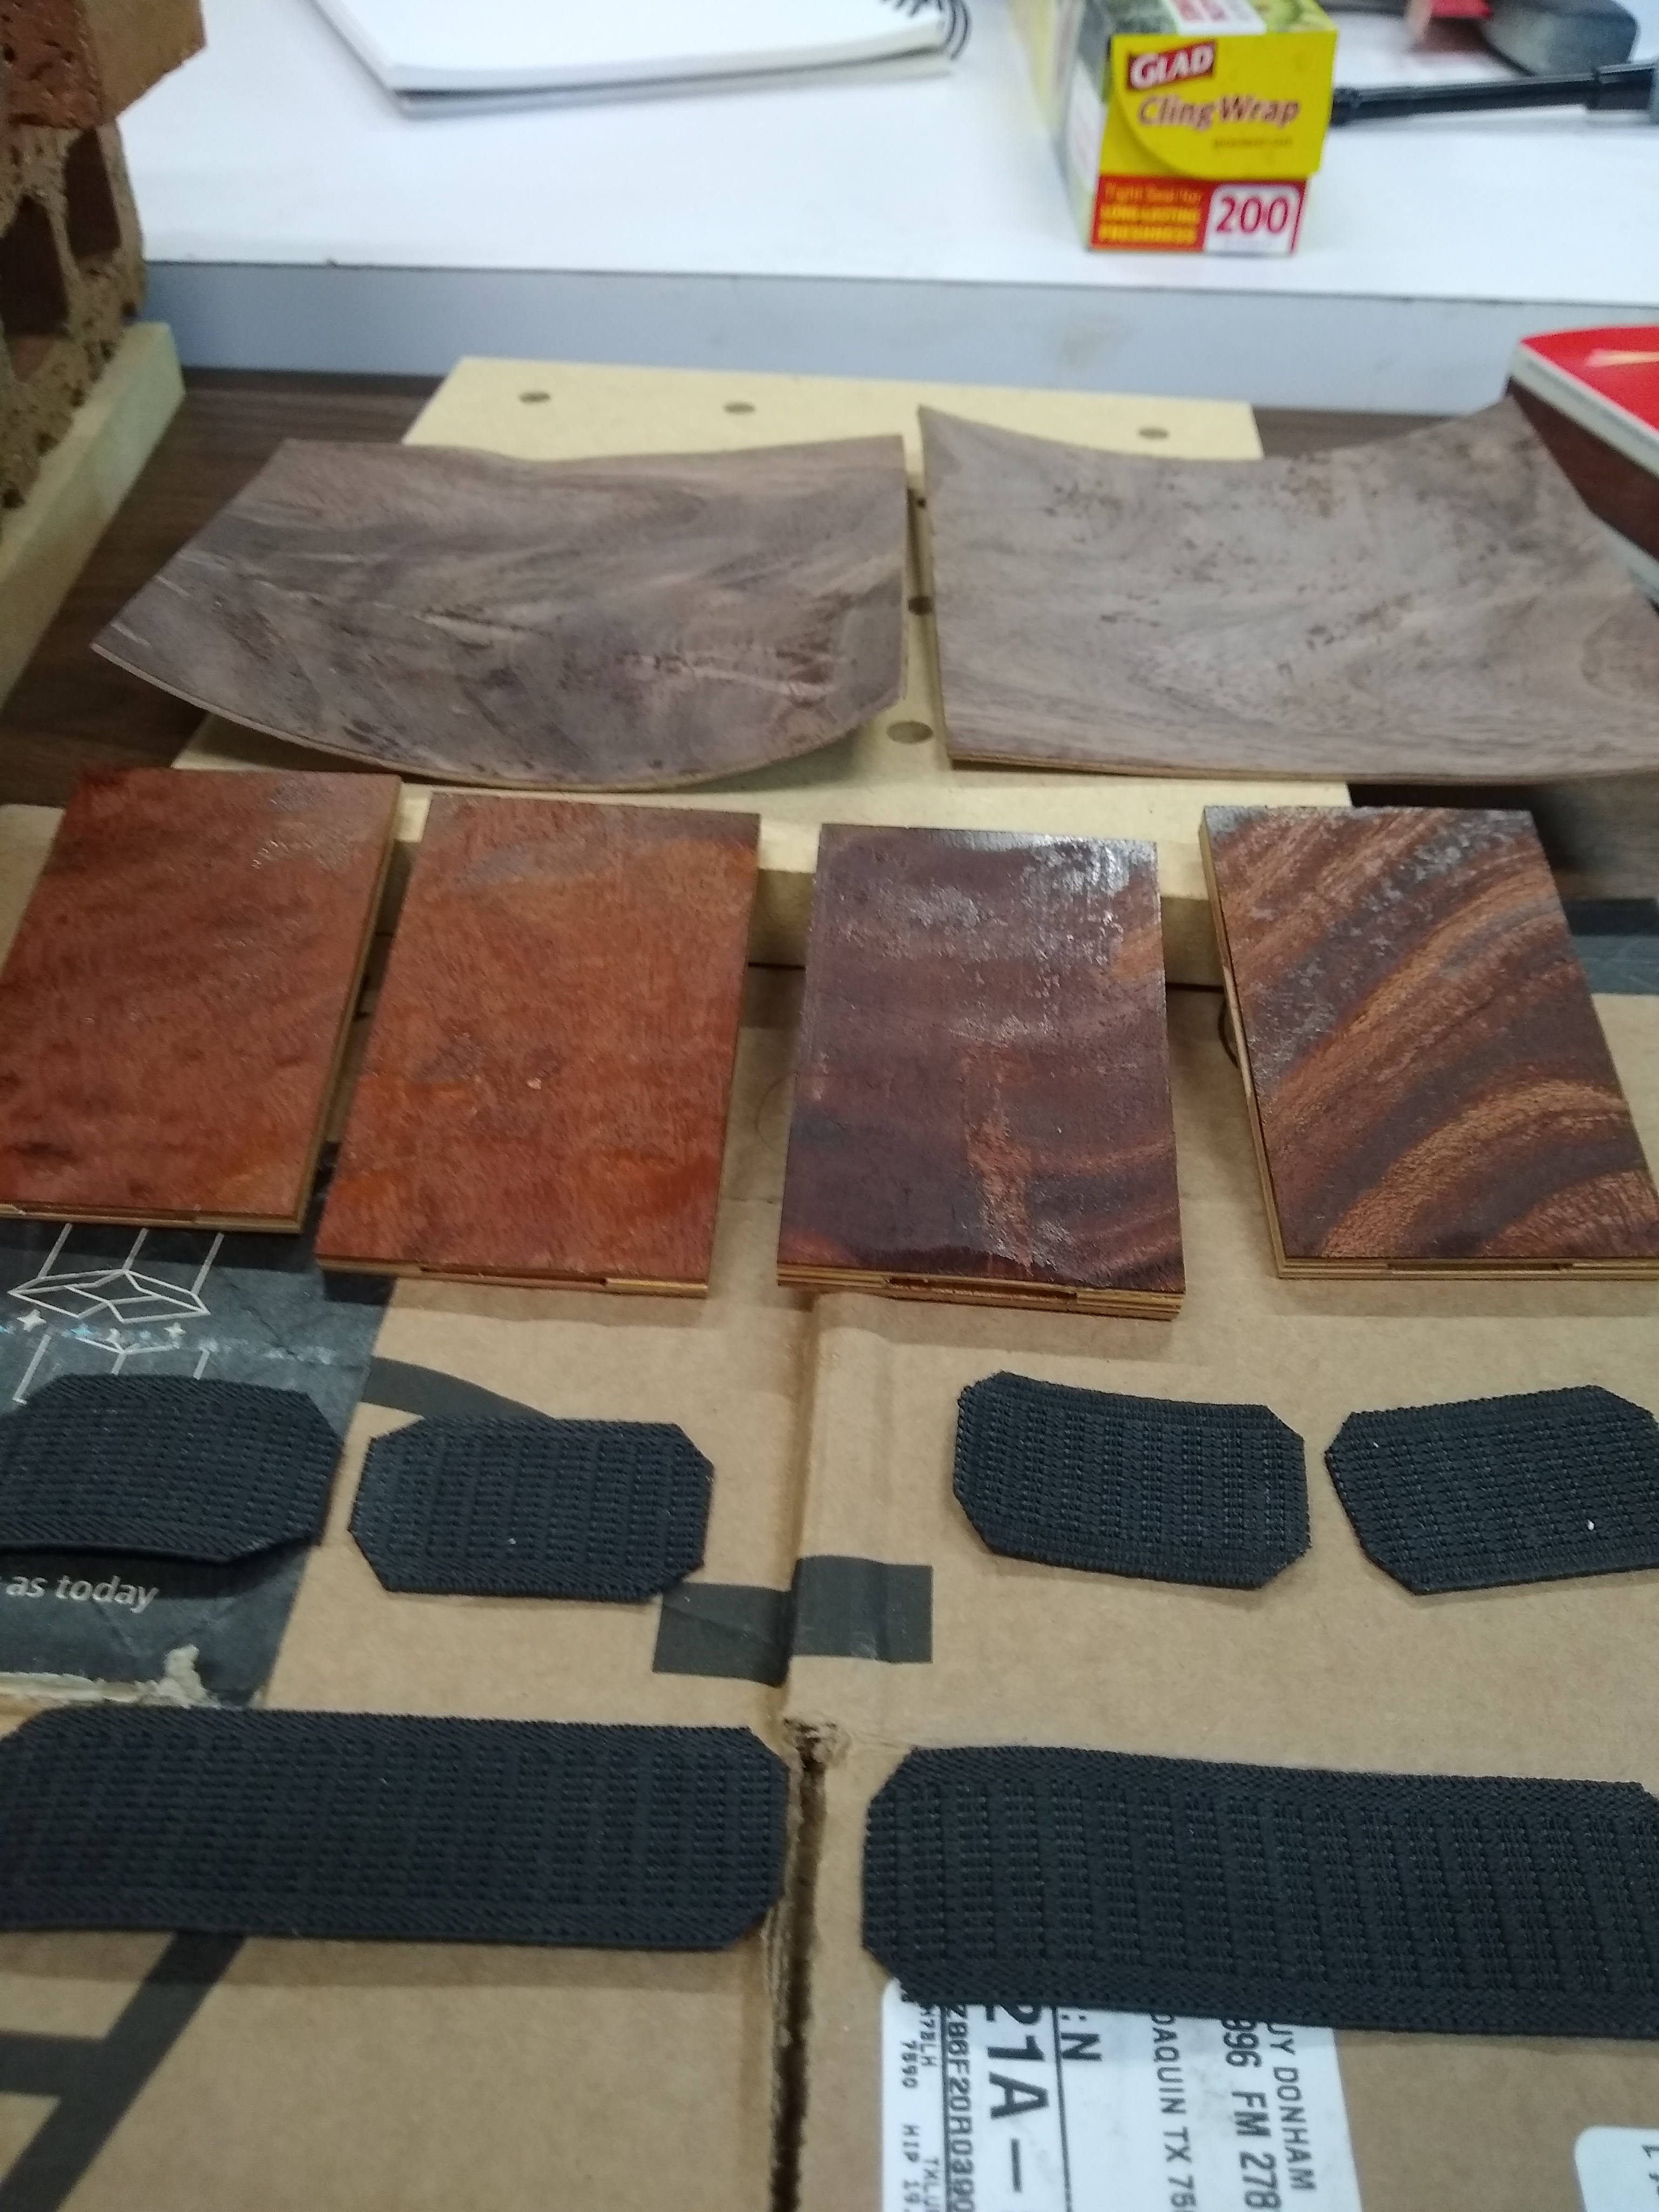
There are three laminations for the top and 3 for the bottom. On the ends there is 1 inch elastic that holds the top and bottom together and on one side you install another piece of elastic to hold the folding money.
After I get the laminations glued I will use a forstener bit to make the thumb slot to retrive the cards. I think this will be better than trying to line of 6 pieces of wood. I will just use carpet tape to hole the top and bottom together and cut the thumb hole all at once.
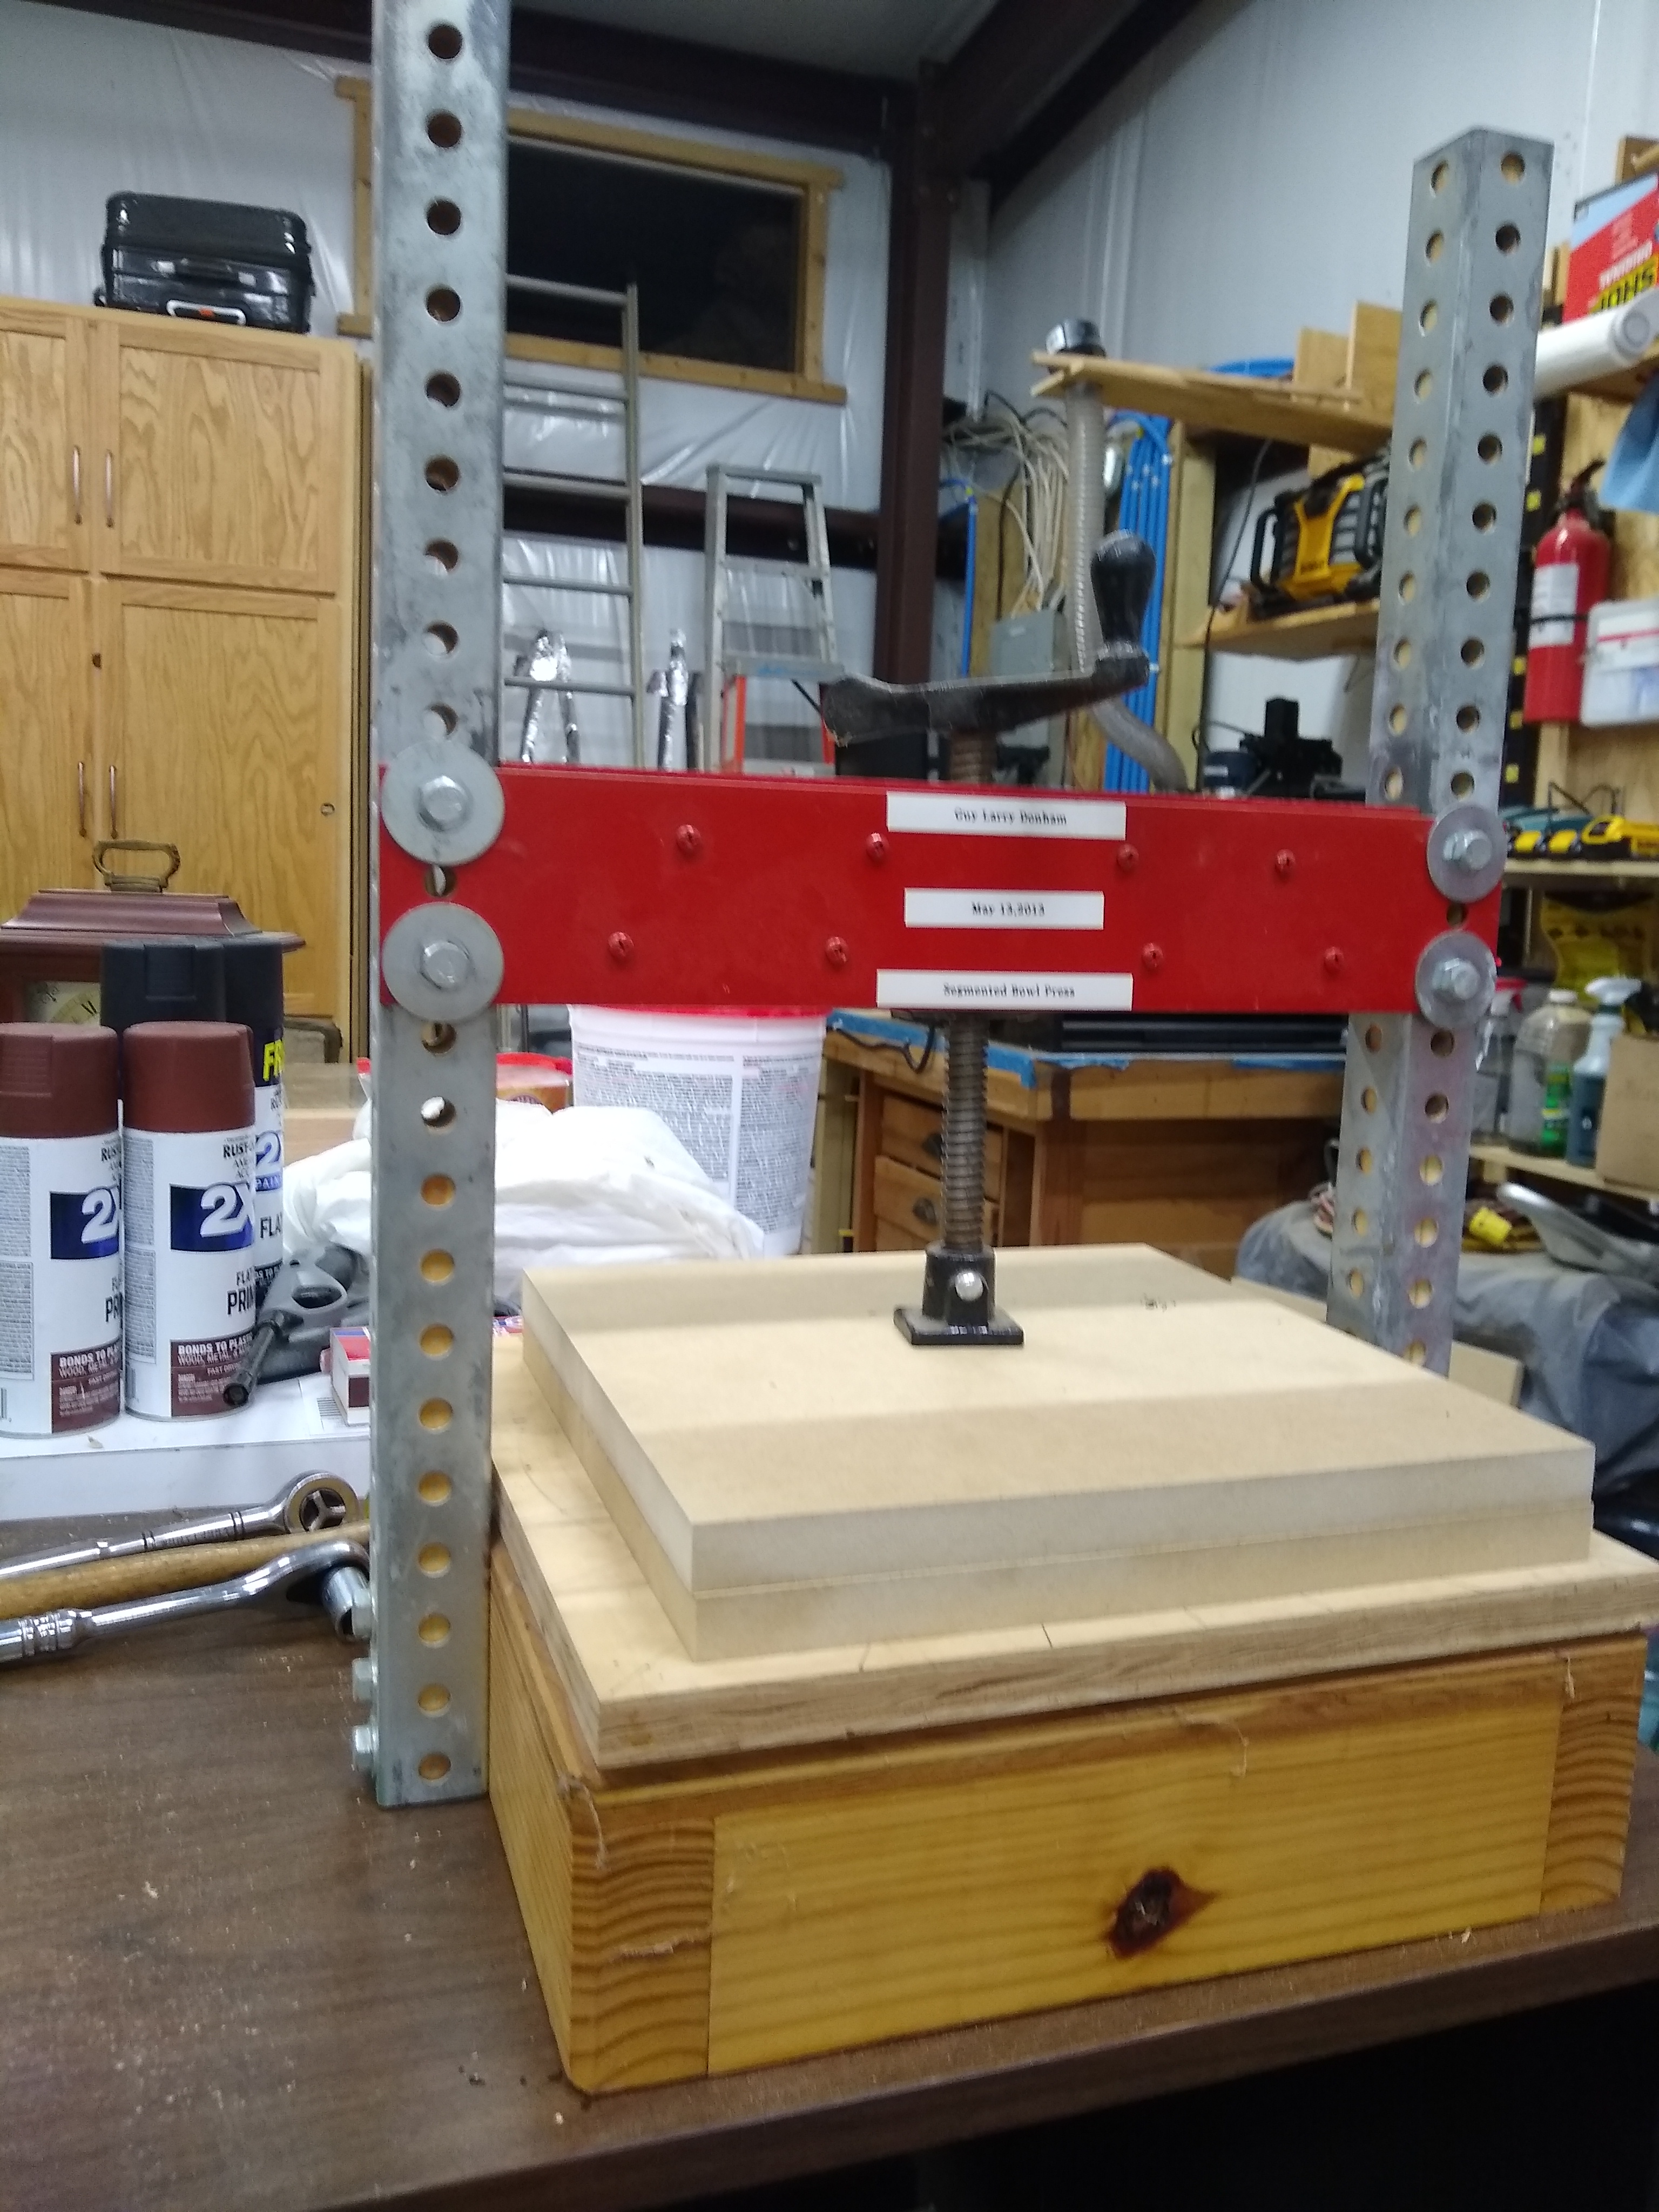
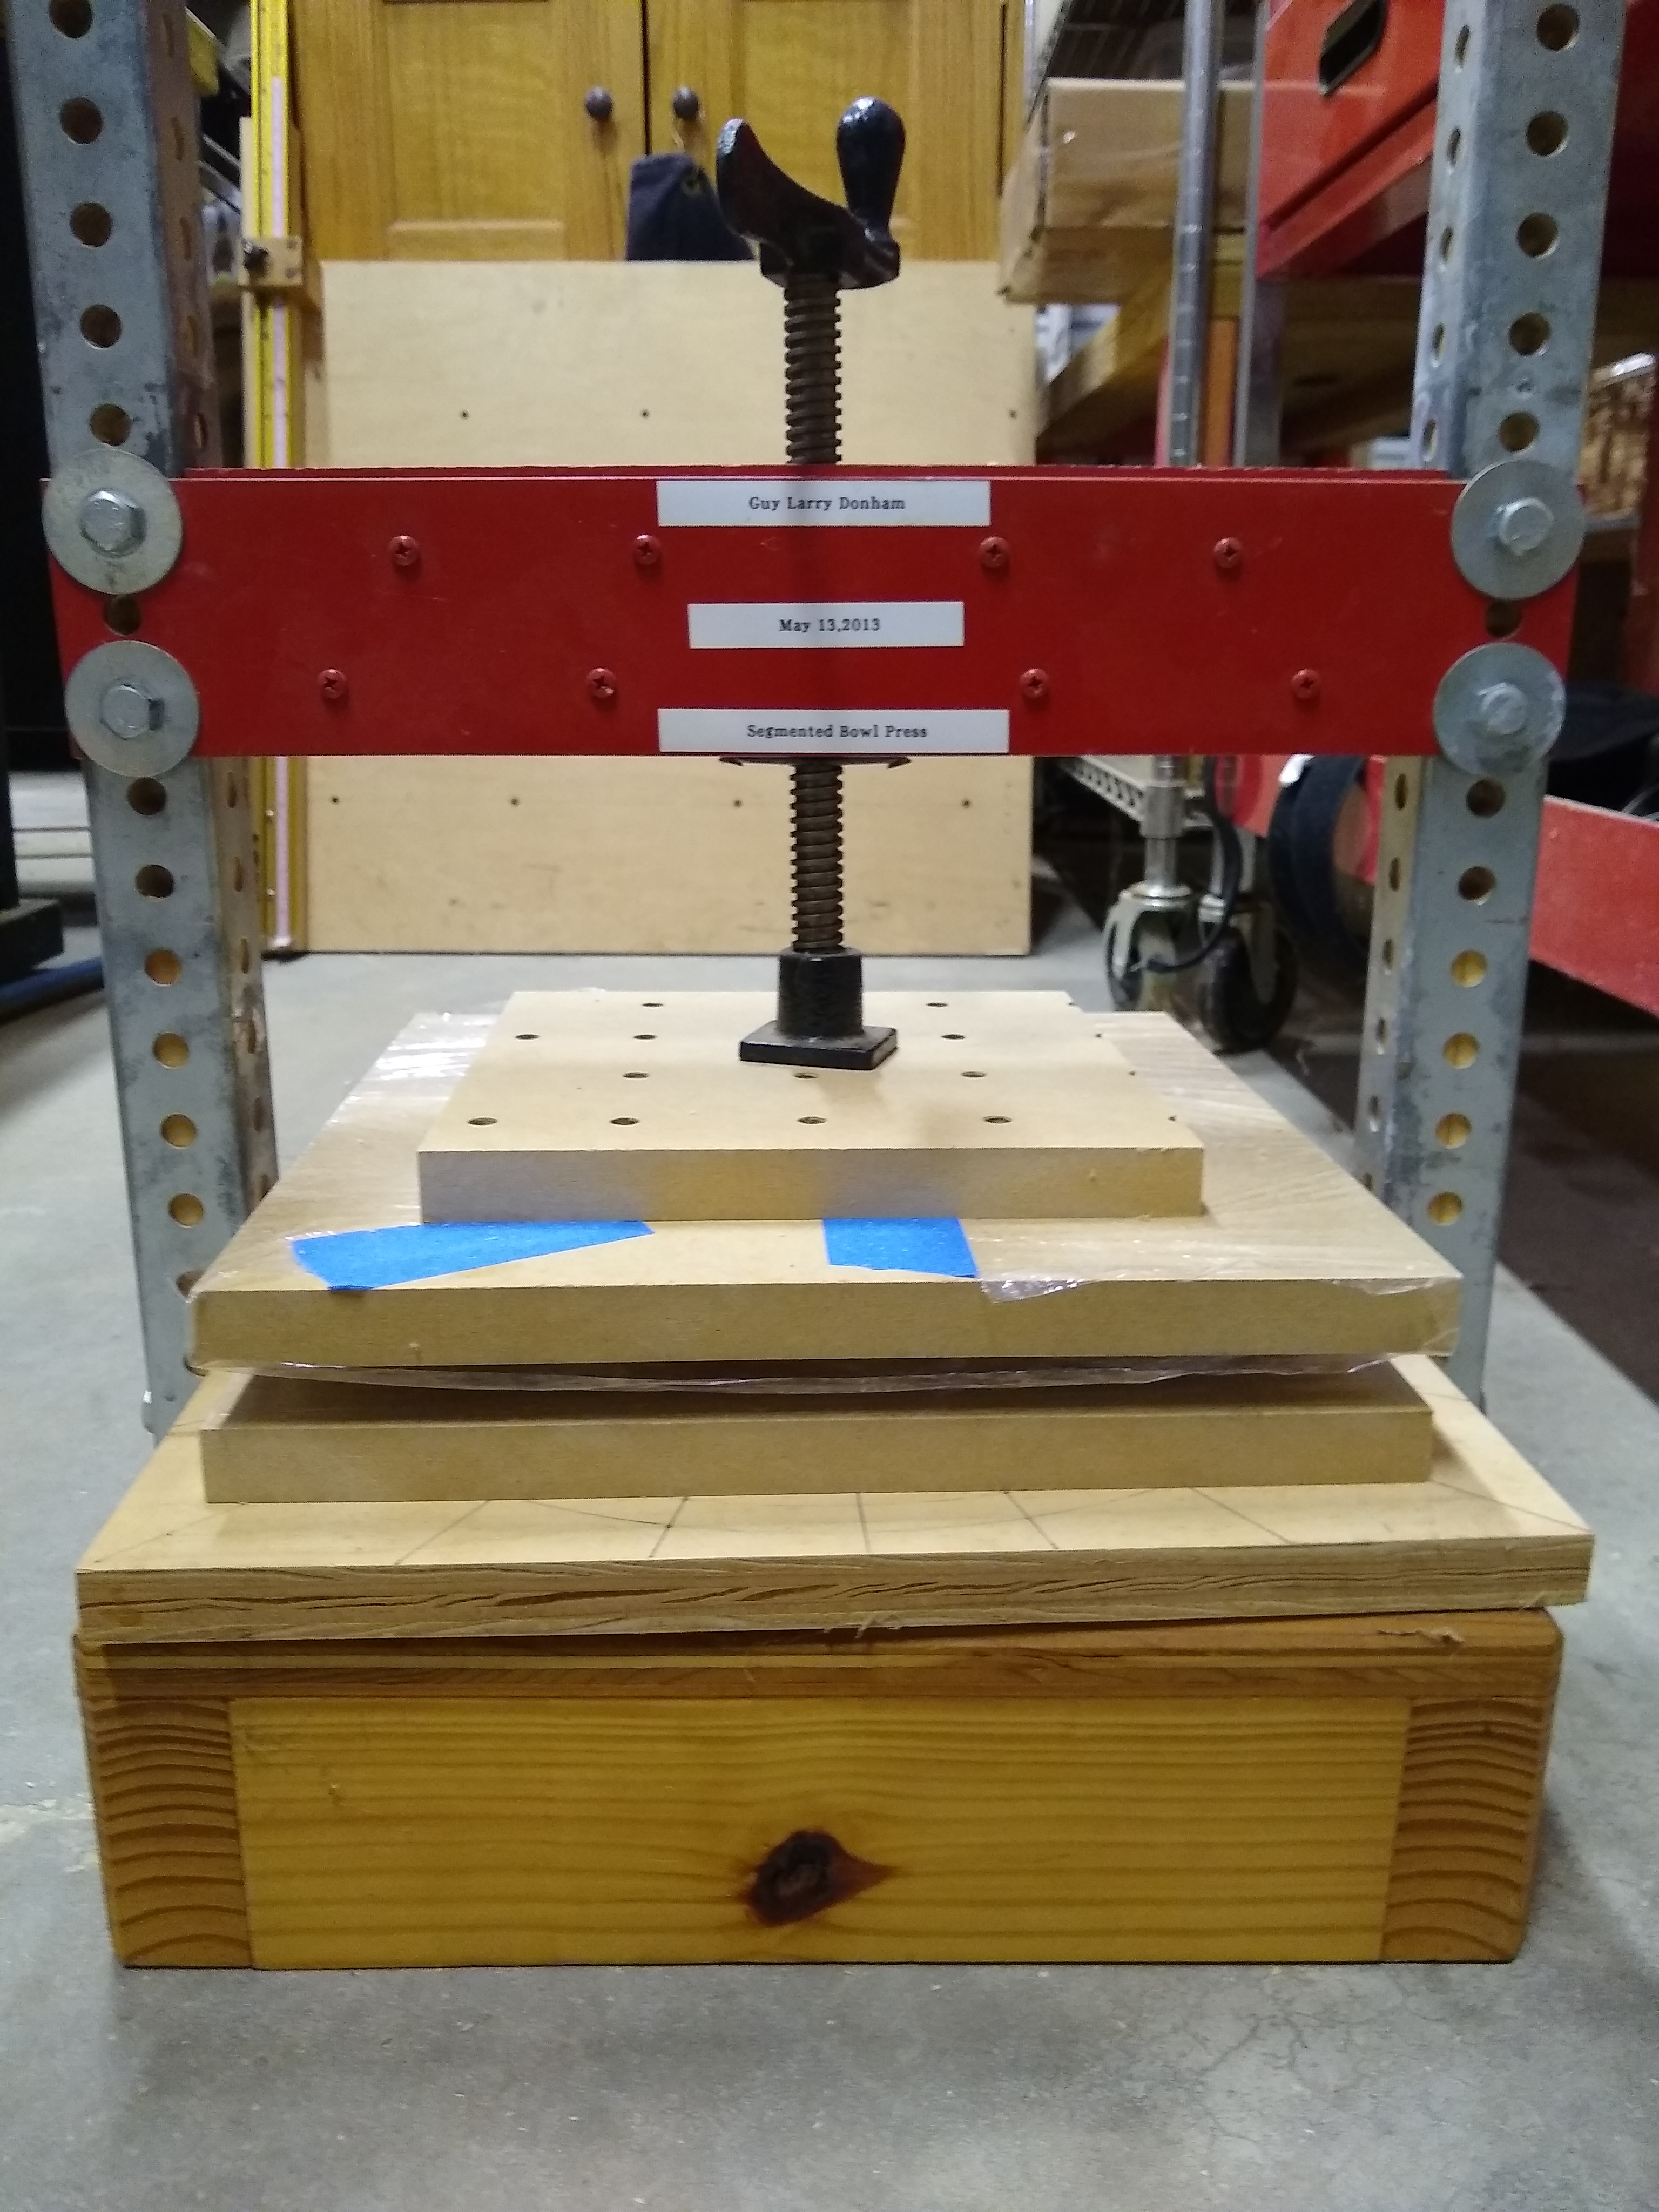
Well I got started with the veneers to glue up. I also got my segmented bowl press out and cleaned it up.
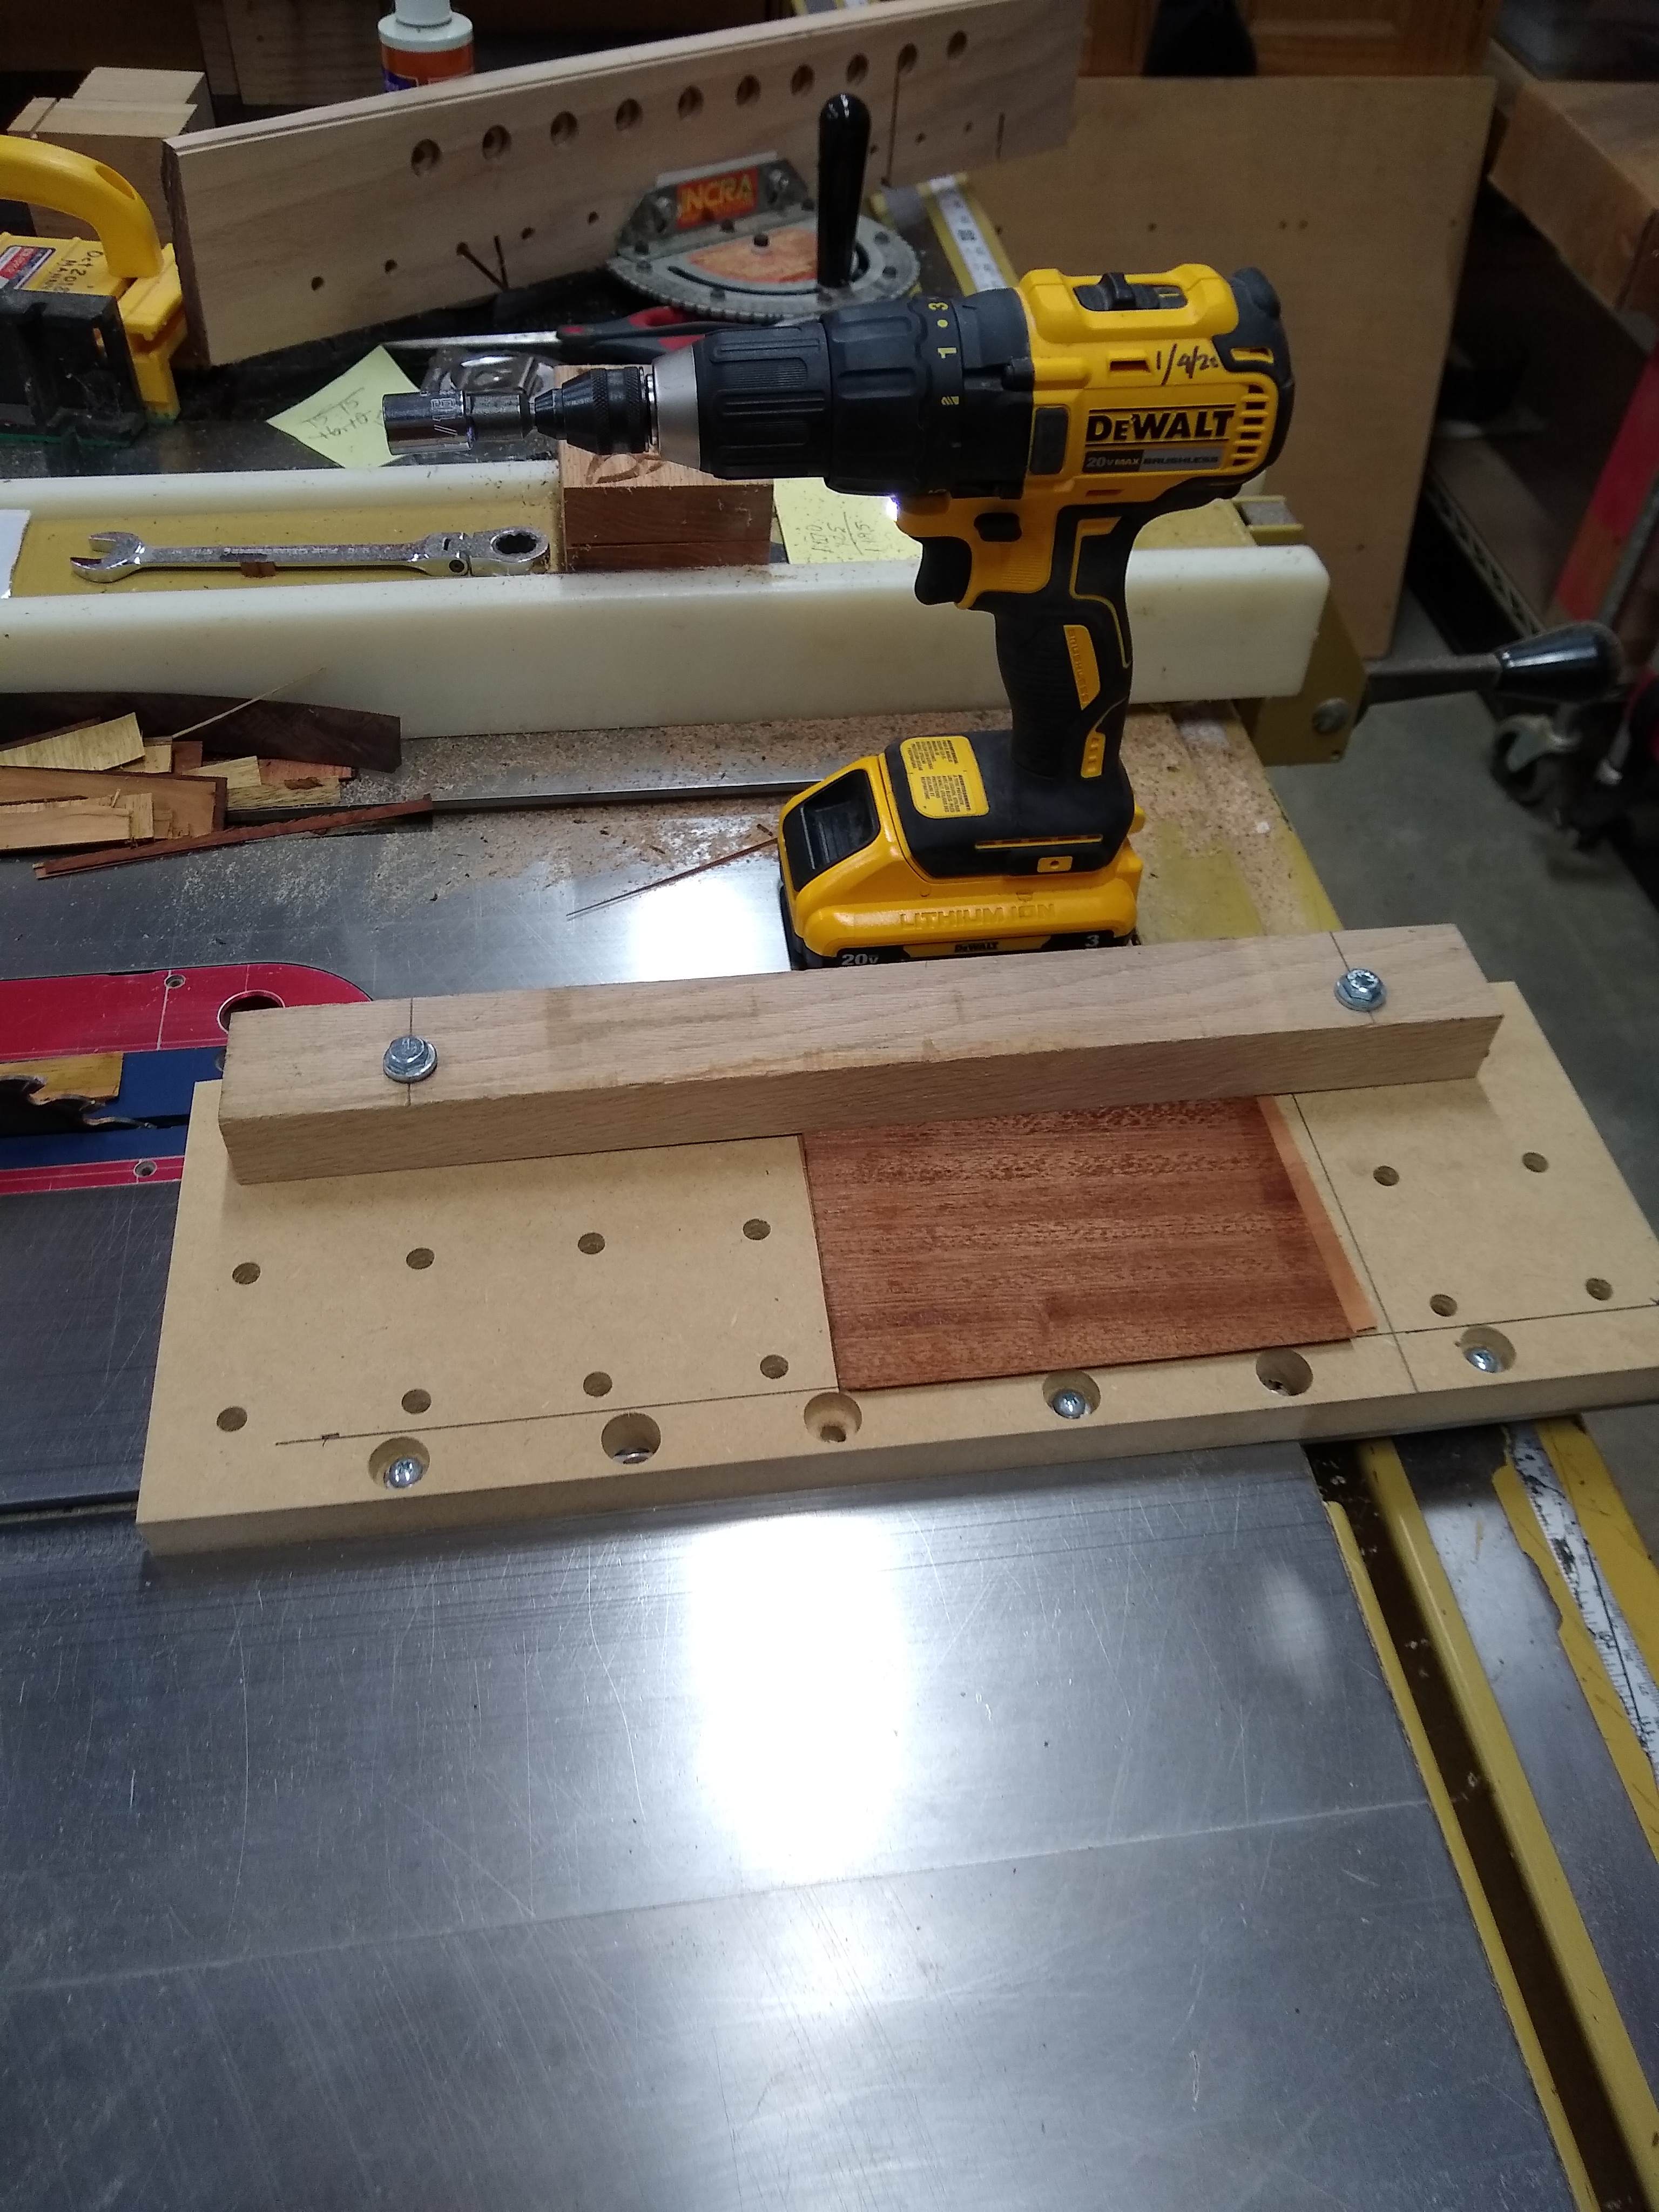
Tomorrow I will start gluing up the veneers to make the 4 layers. I got the 1 inch elastic at Walmart today. I cut some platens to press the veneers together. After gluing the veneer together I will cut the individual layers out after measuring them for accuracy. Not all of the veneers are the same thickness and then I just have to edit the CC files.
Wow! That’s pretty awesome! I love these style wallets, I can’t wait to see the final. I’d love to try to cut one of these out of aluminum as well or maybe wood with brass inlays!
The plan from Wood magazine has the plans, I am only following them. The one change is I am going to cut the pieces out on the Shapeoko instead of sawing them out. Today I got all the layers glued up and put them in the press over night. I used Titebond III and left them in the press for about 45 minutes. I did the first one and removed it and inserted the second of 6 layers (actually 12) I am making 2). The first one started to curl up so I got a piece of mdf and put the lamination under it with about 6 bricks on it and added layers as they came out of the press. When the last one came out of the press I put them all back in with glad wrap between each layer. I will look at them in the morning. If necessary I can resaw some oak to 1/16 inch thick and simply laminate the layers together from solid wood.
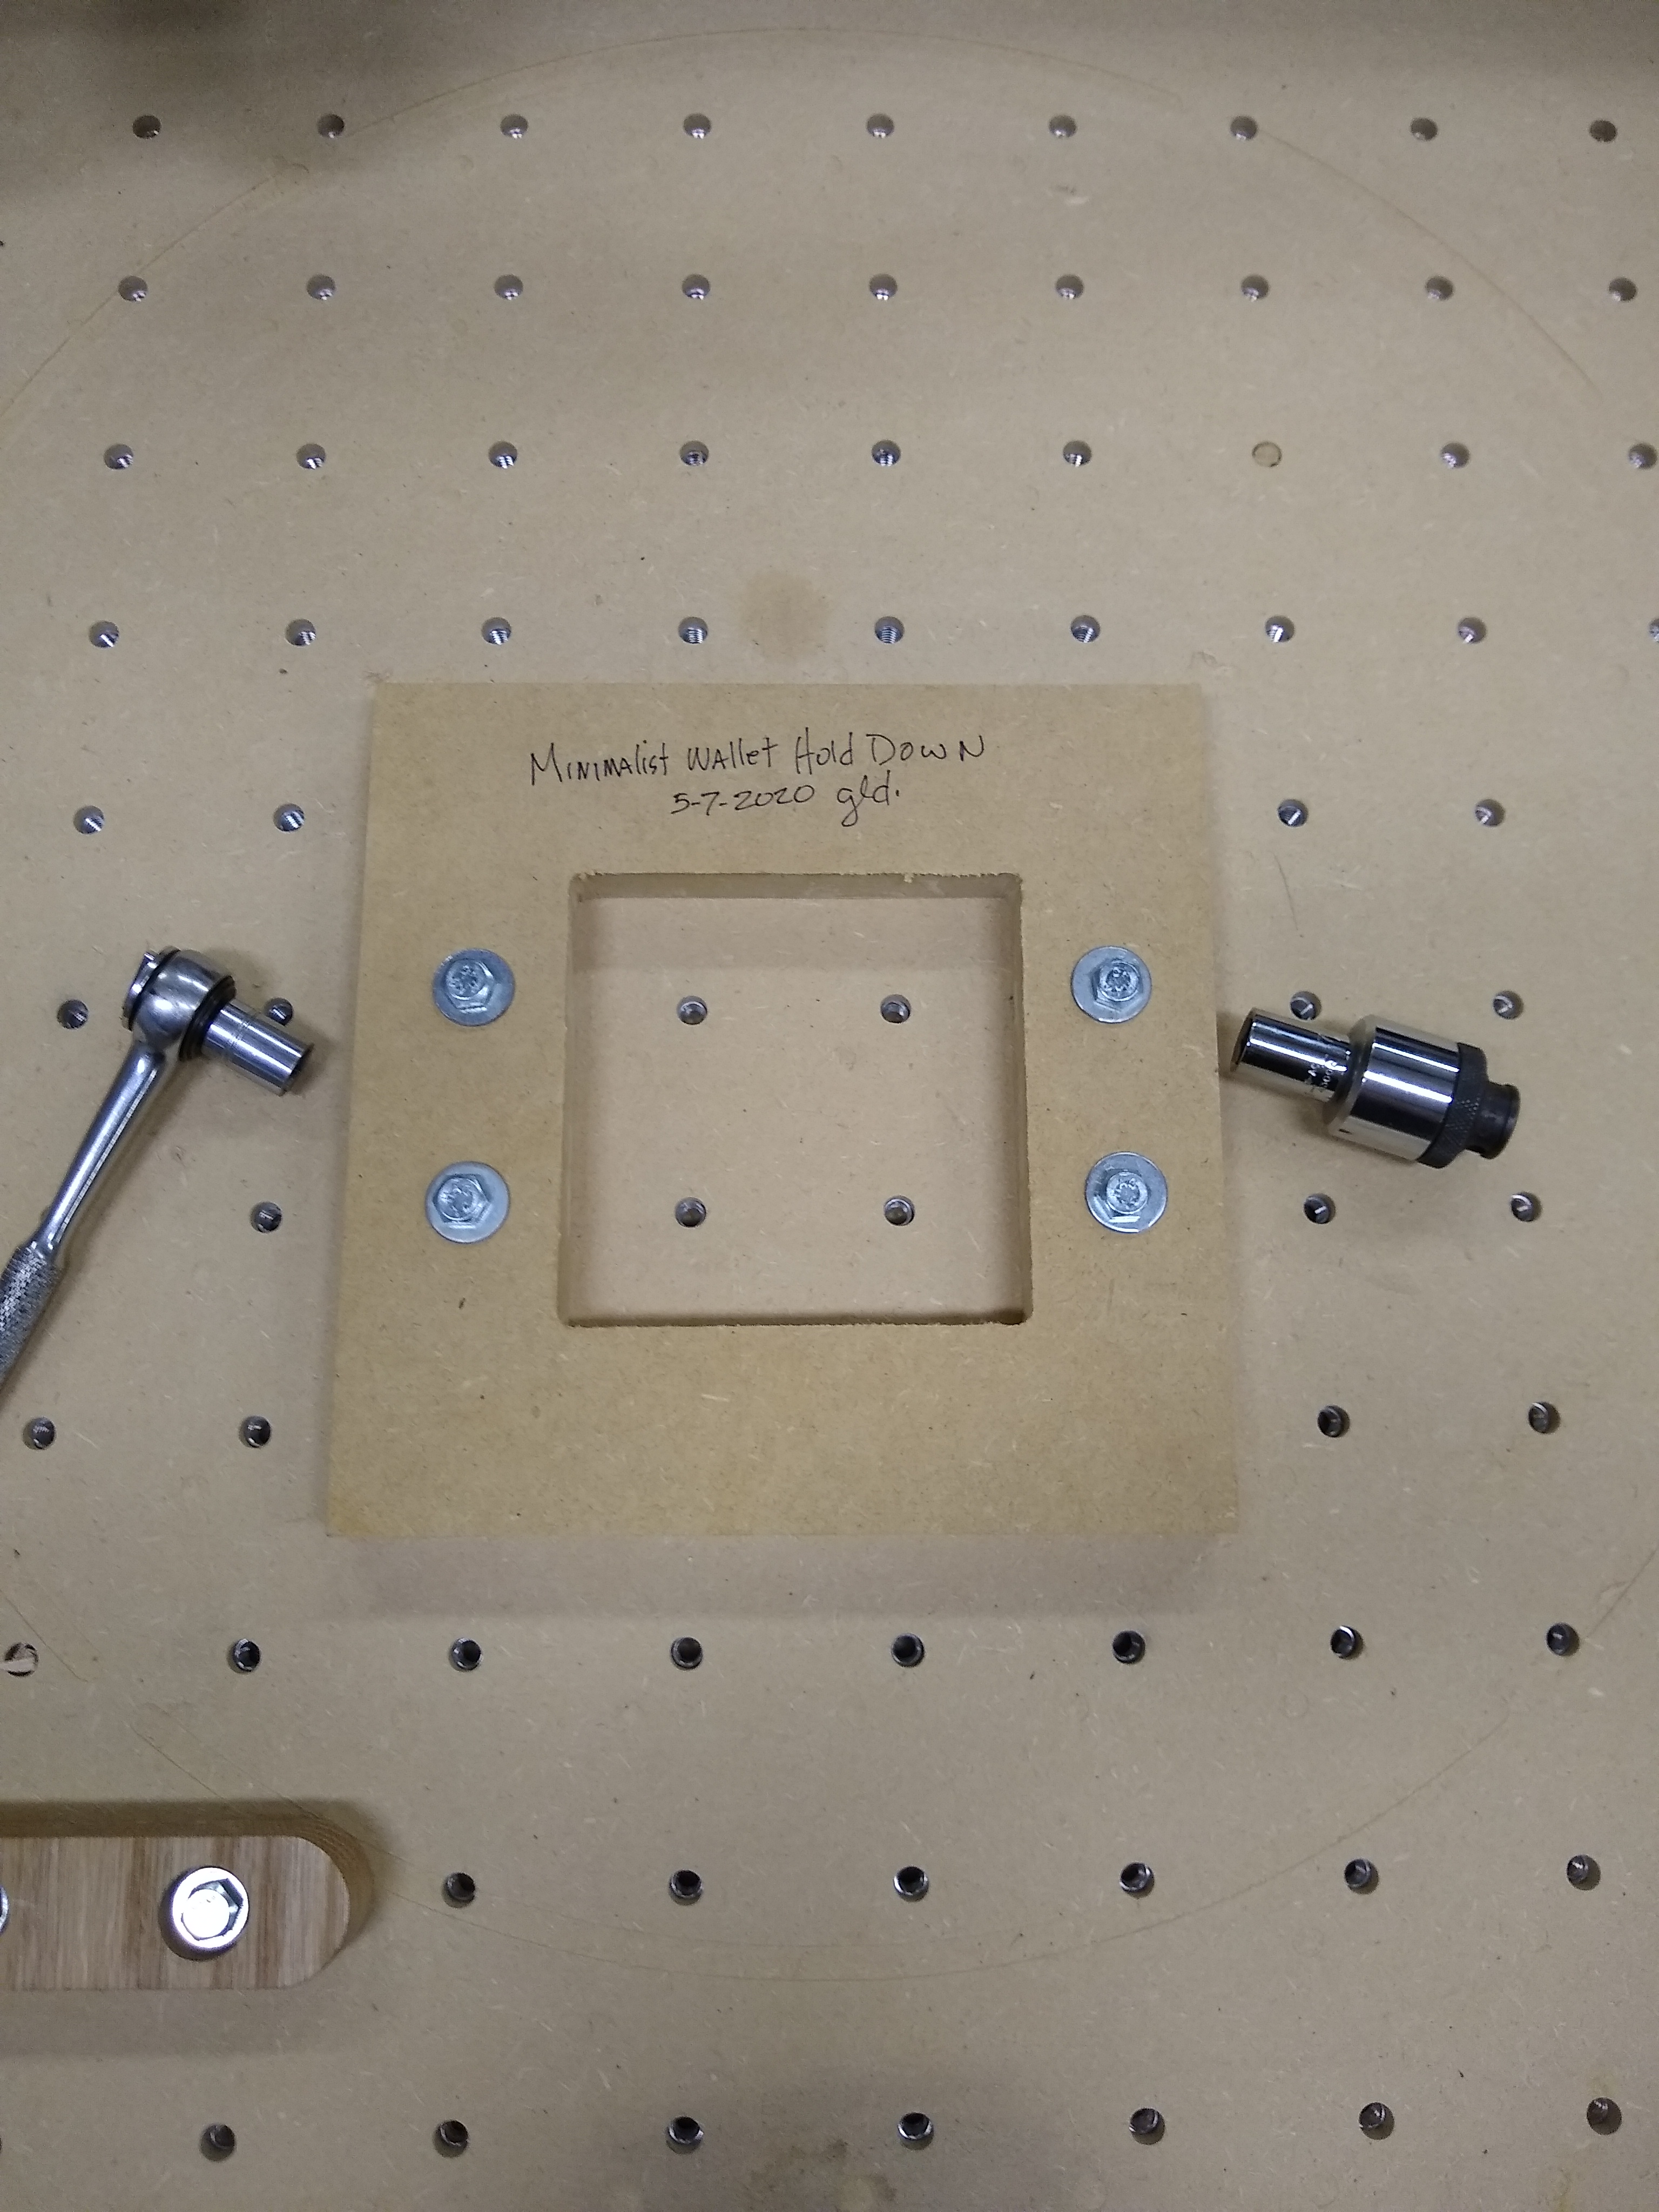
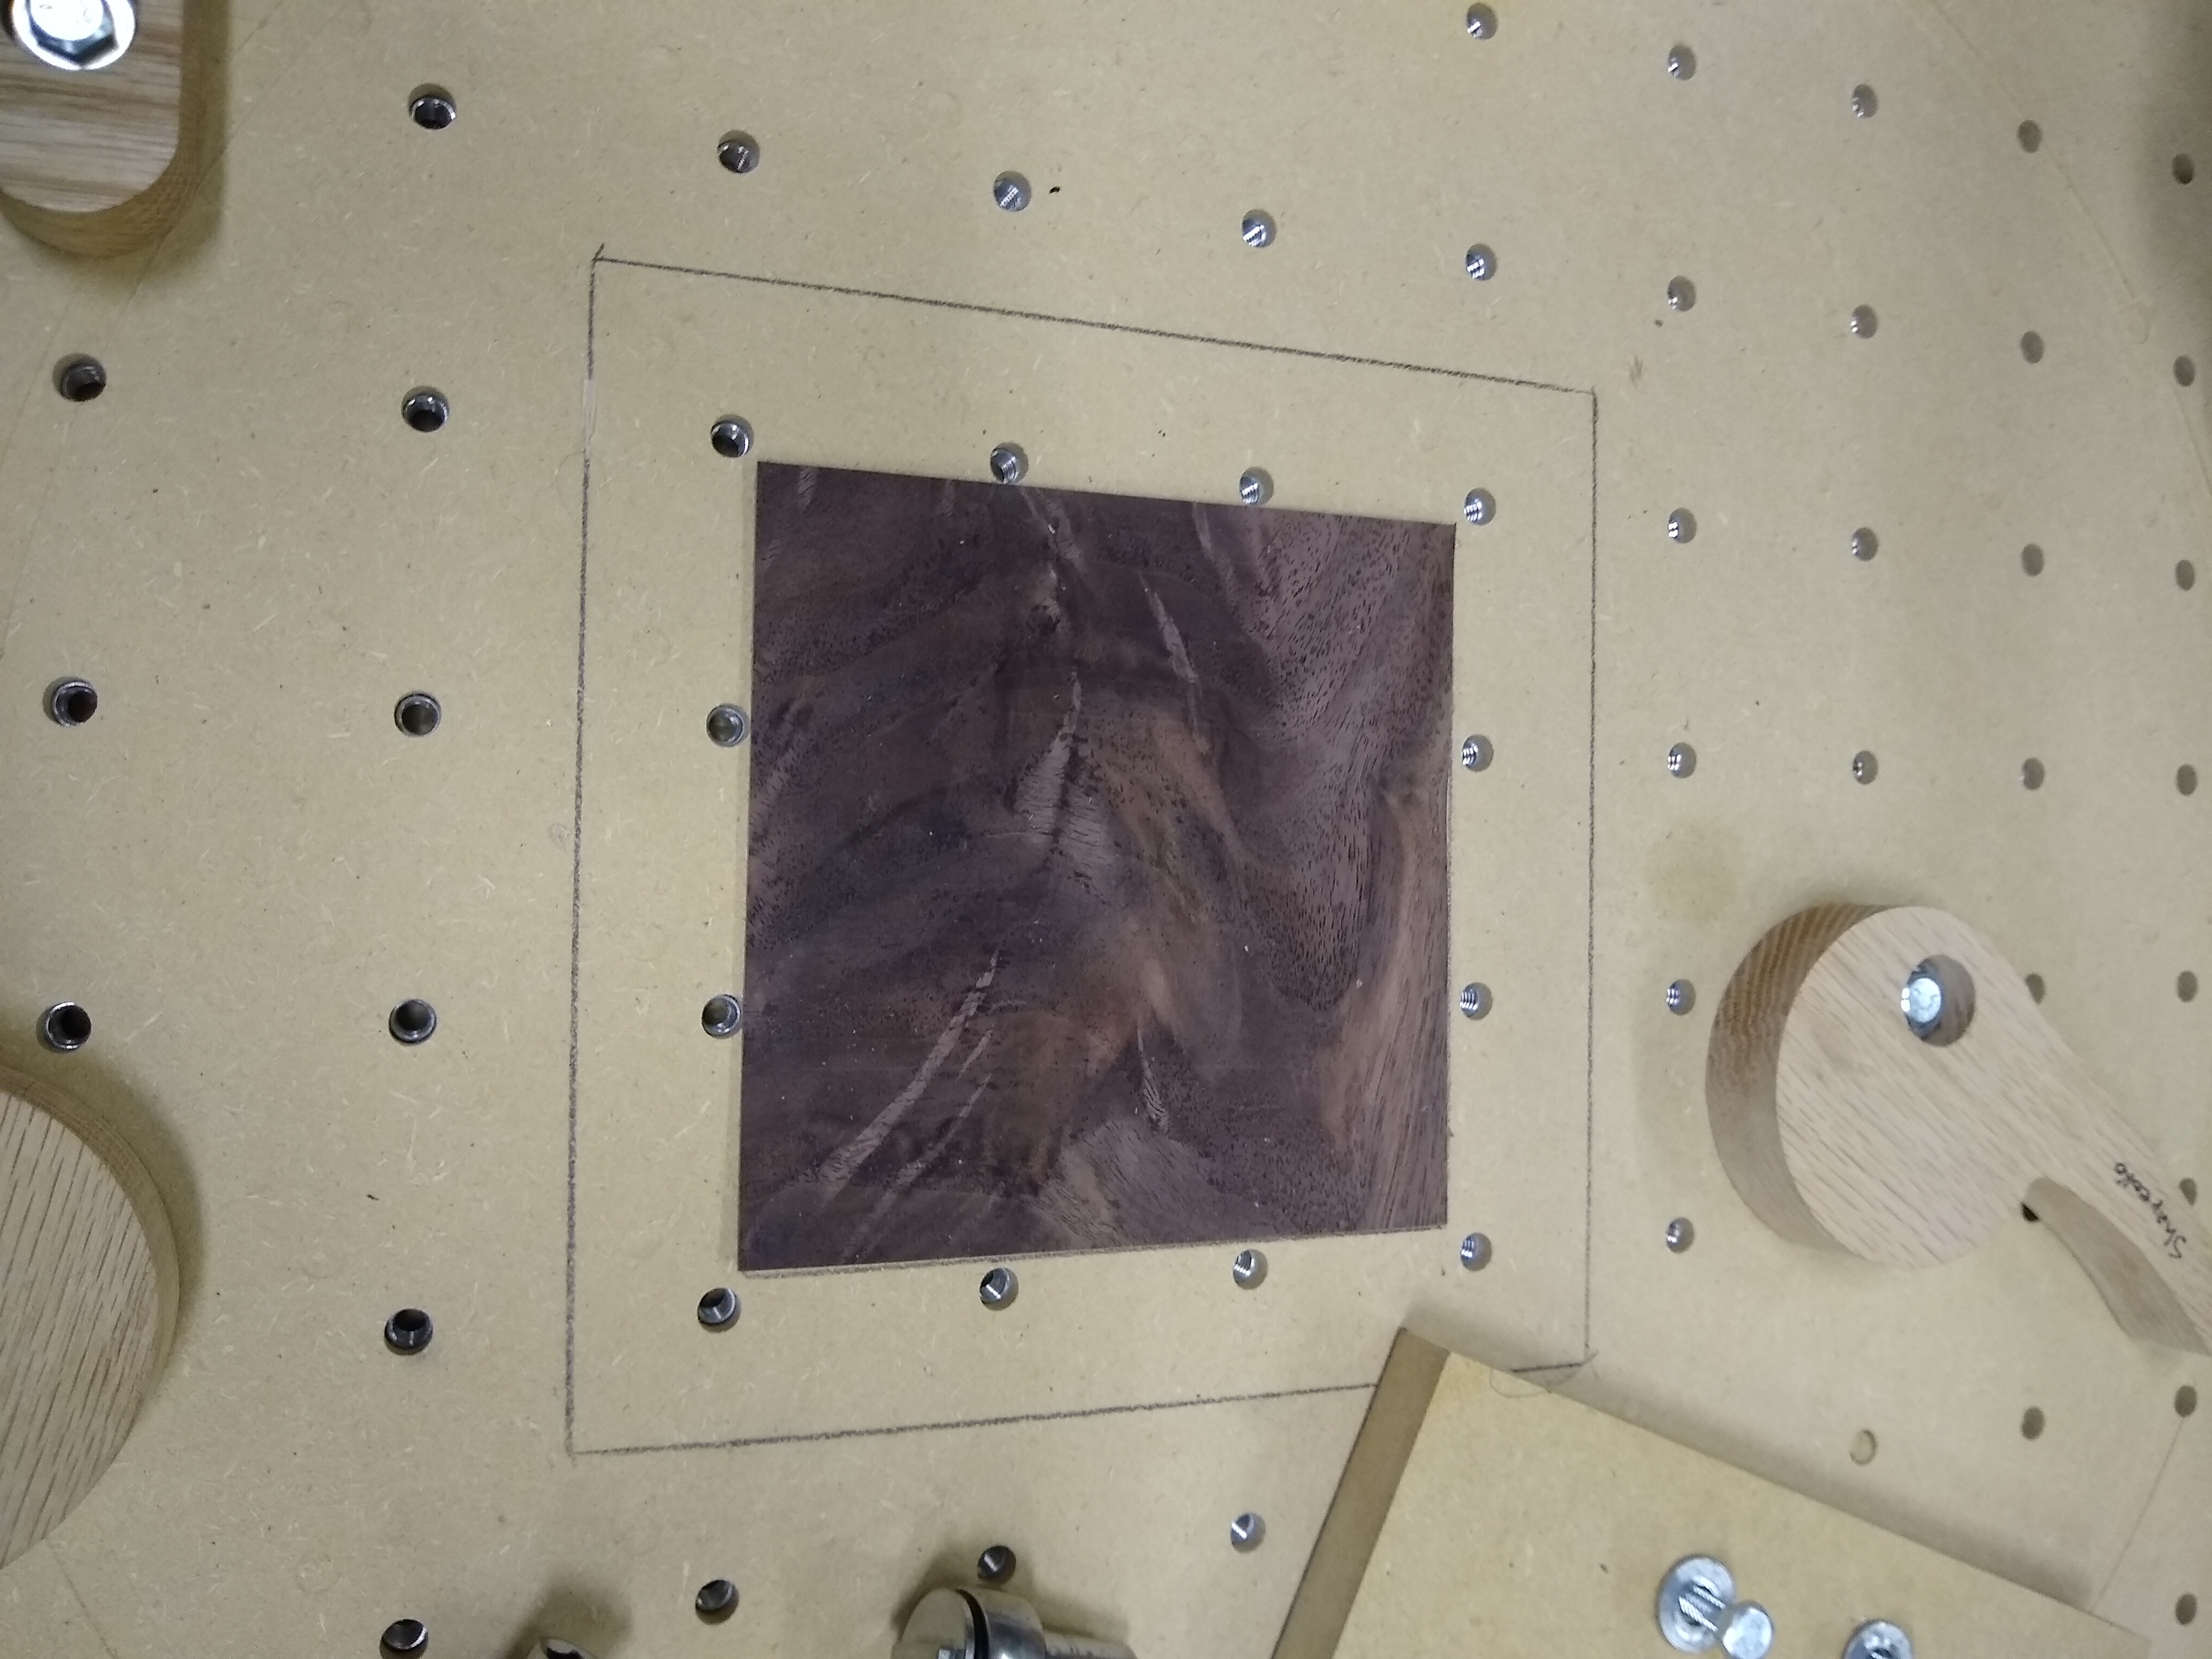
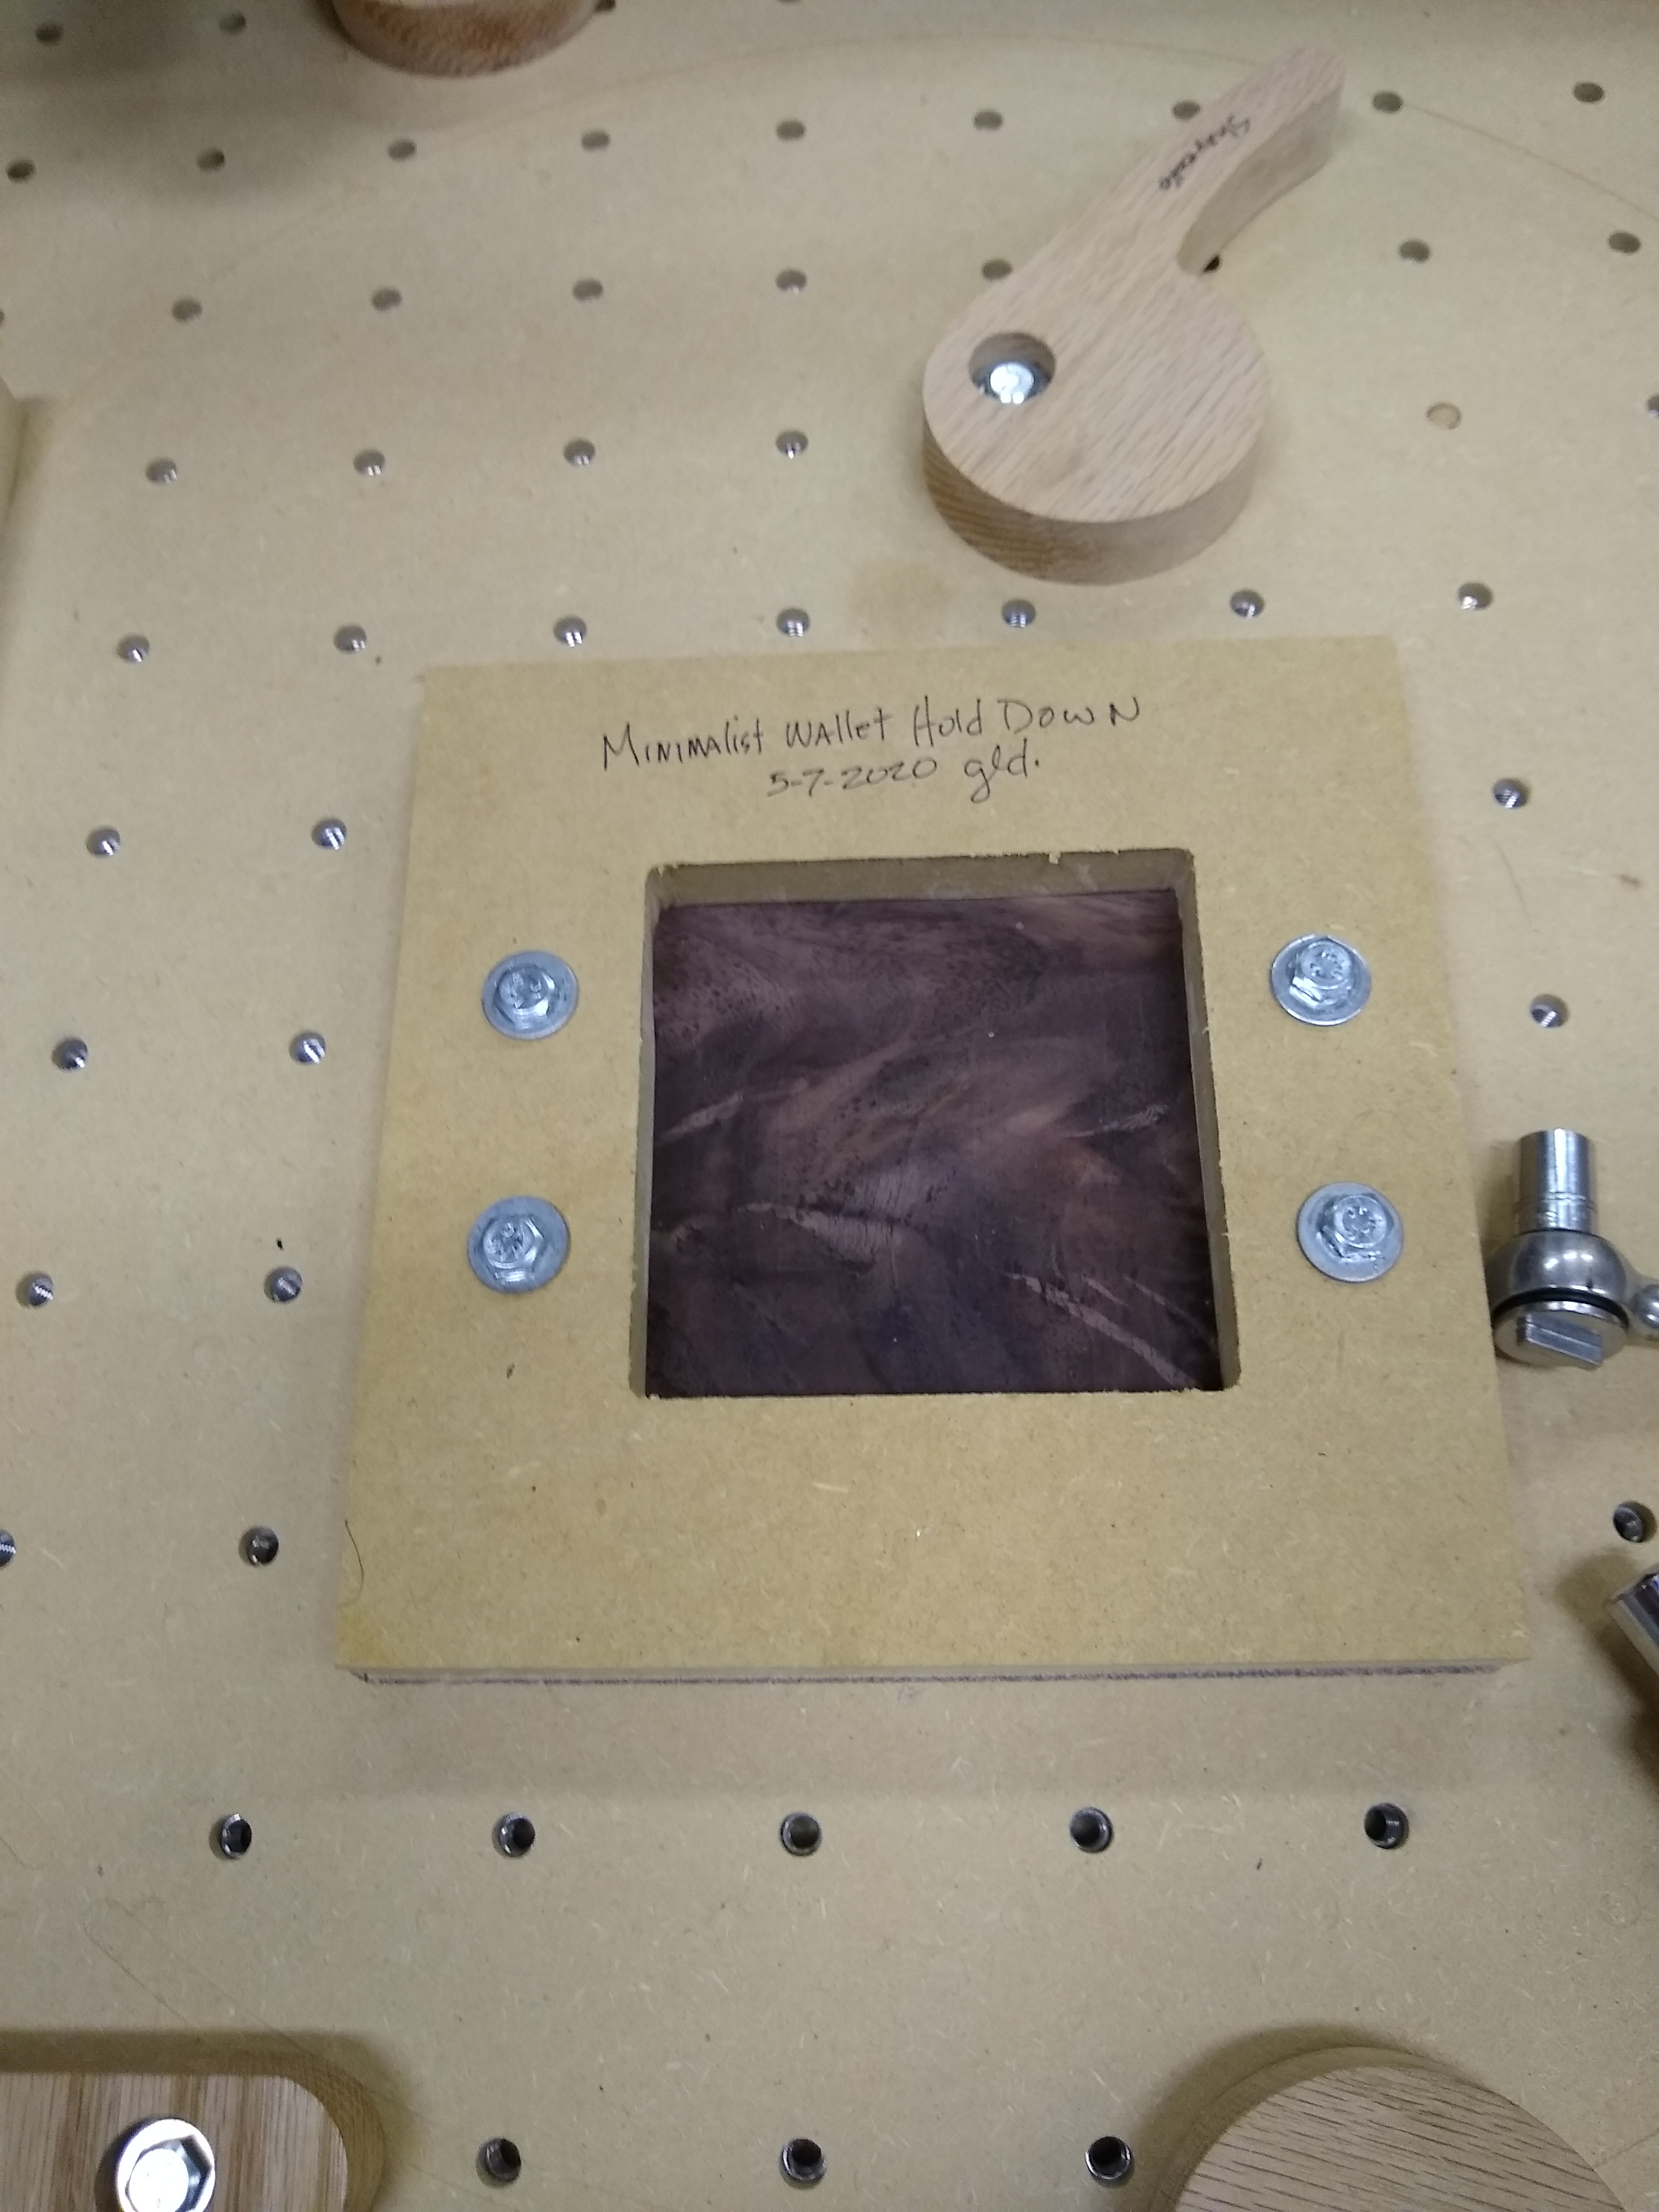
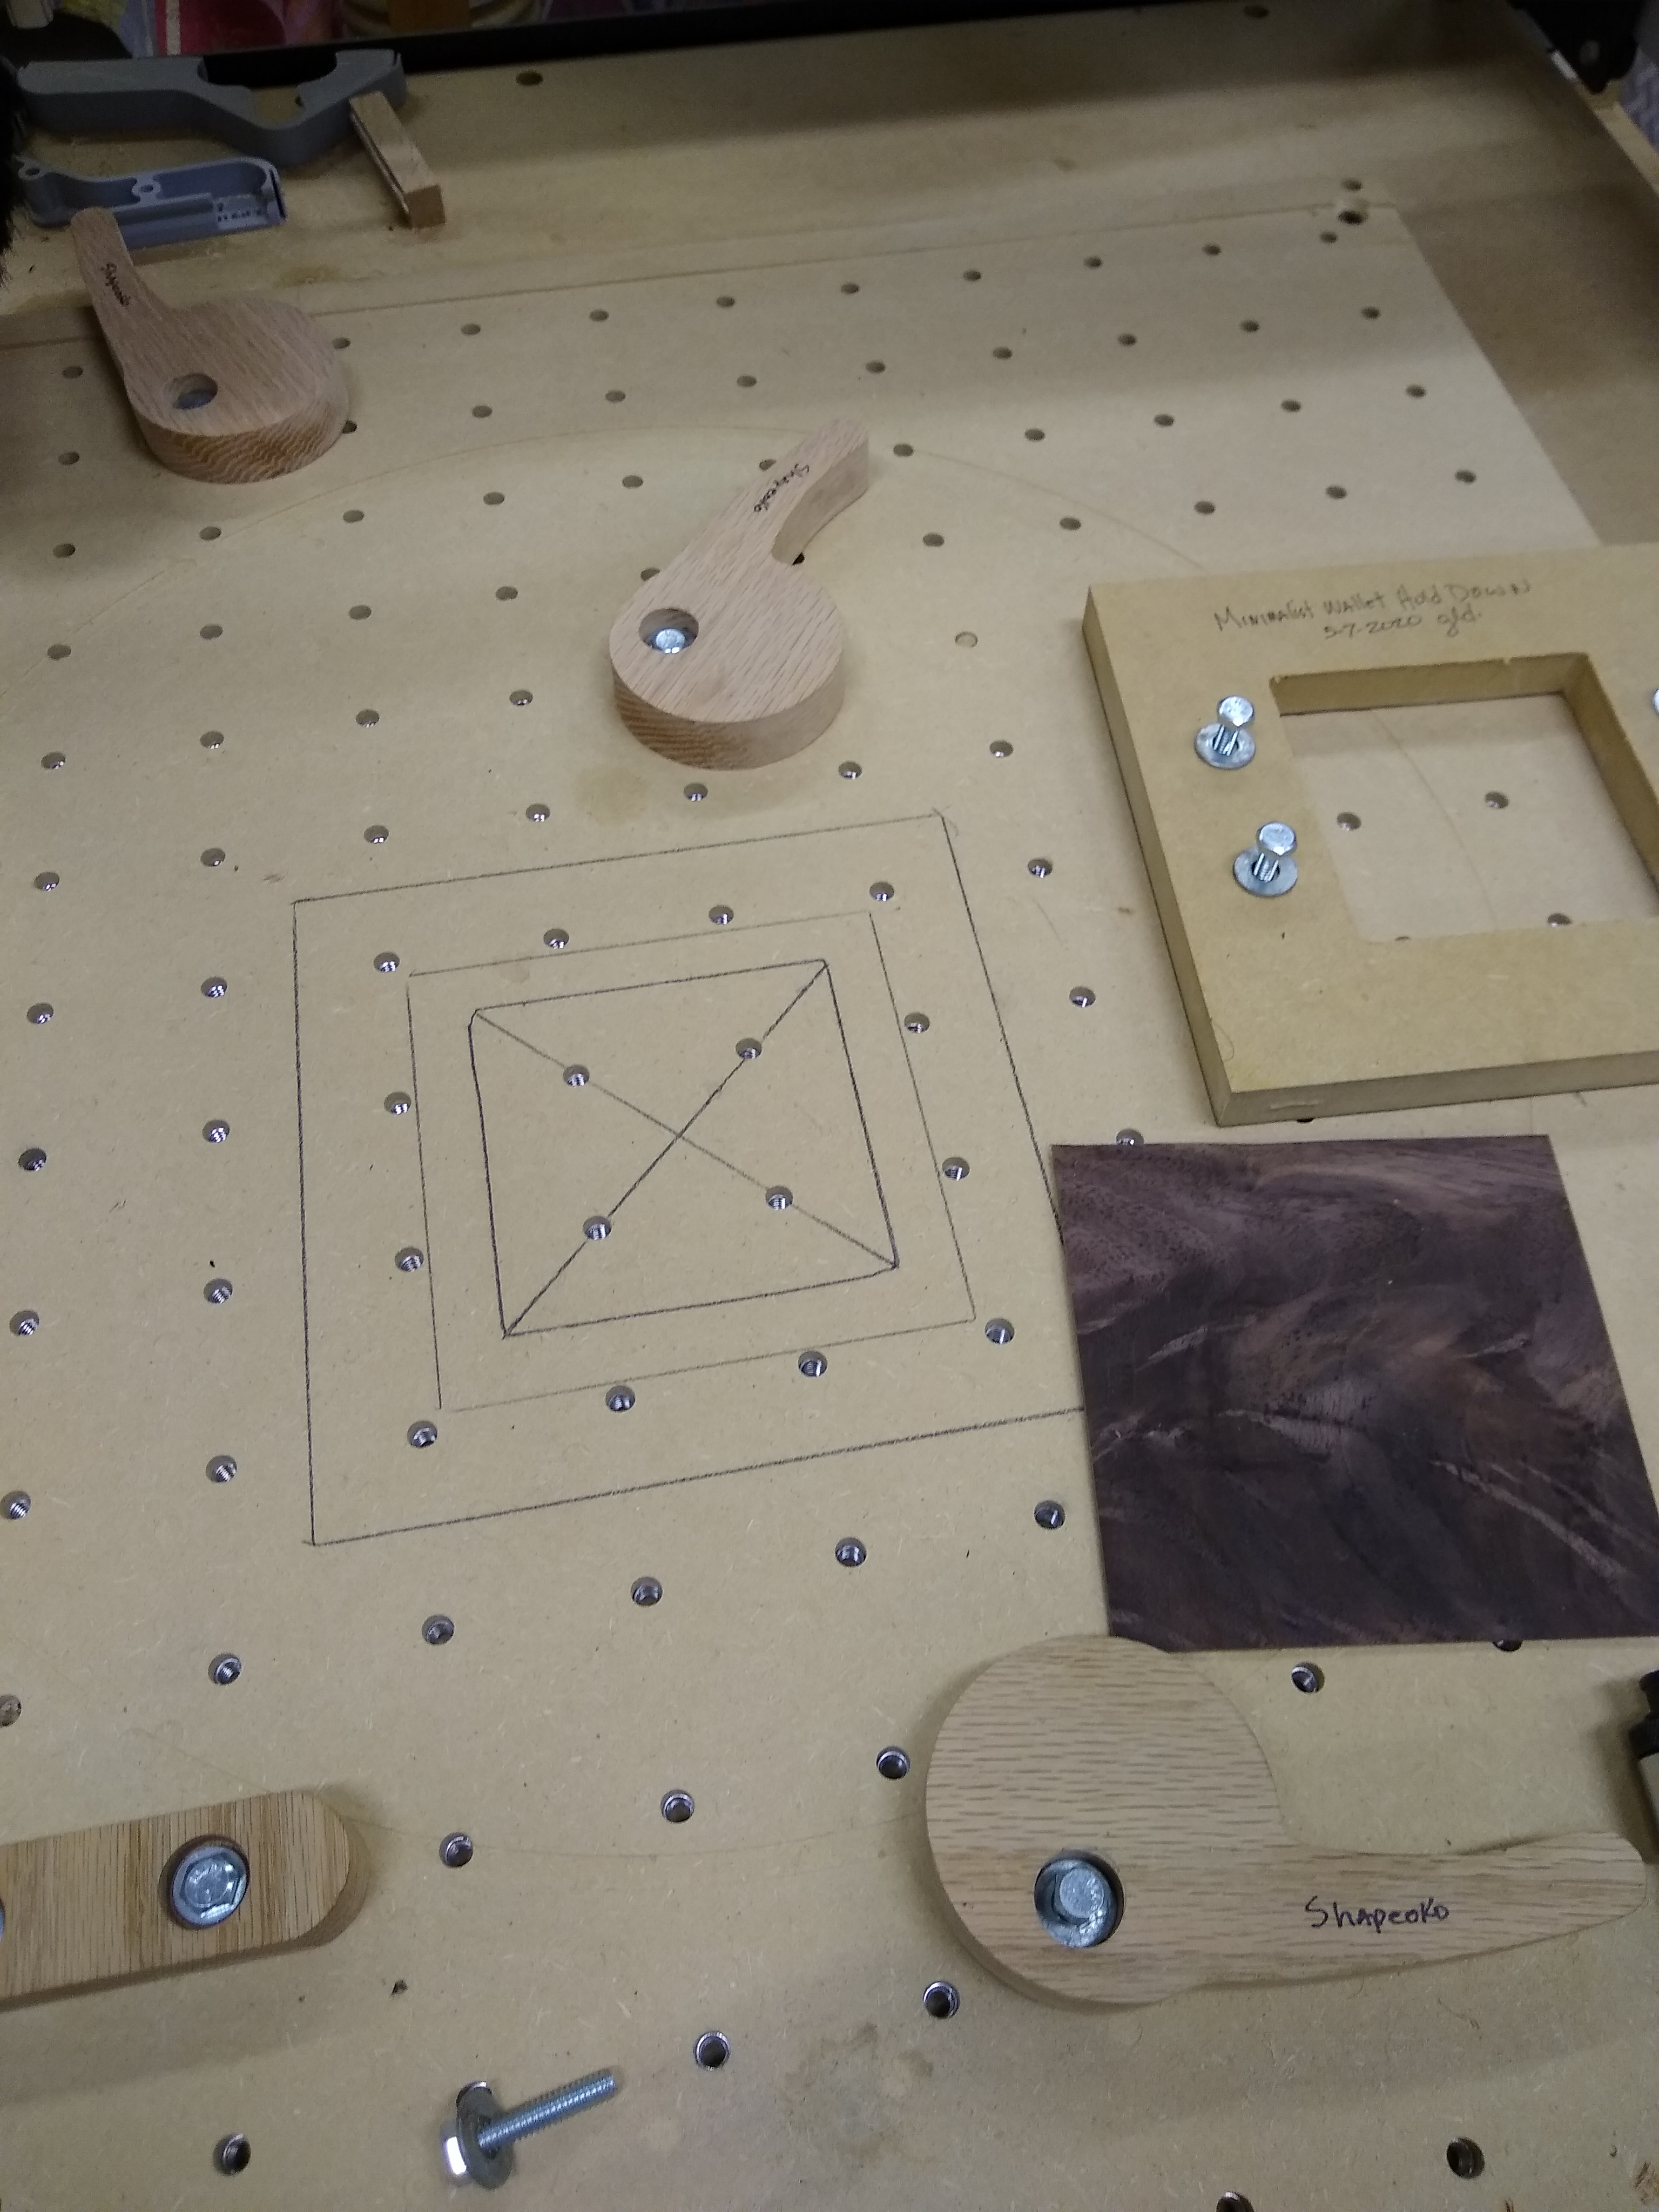
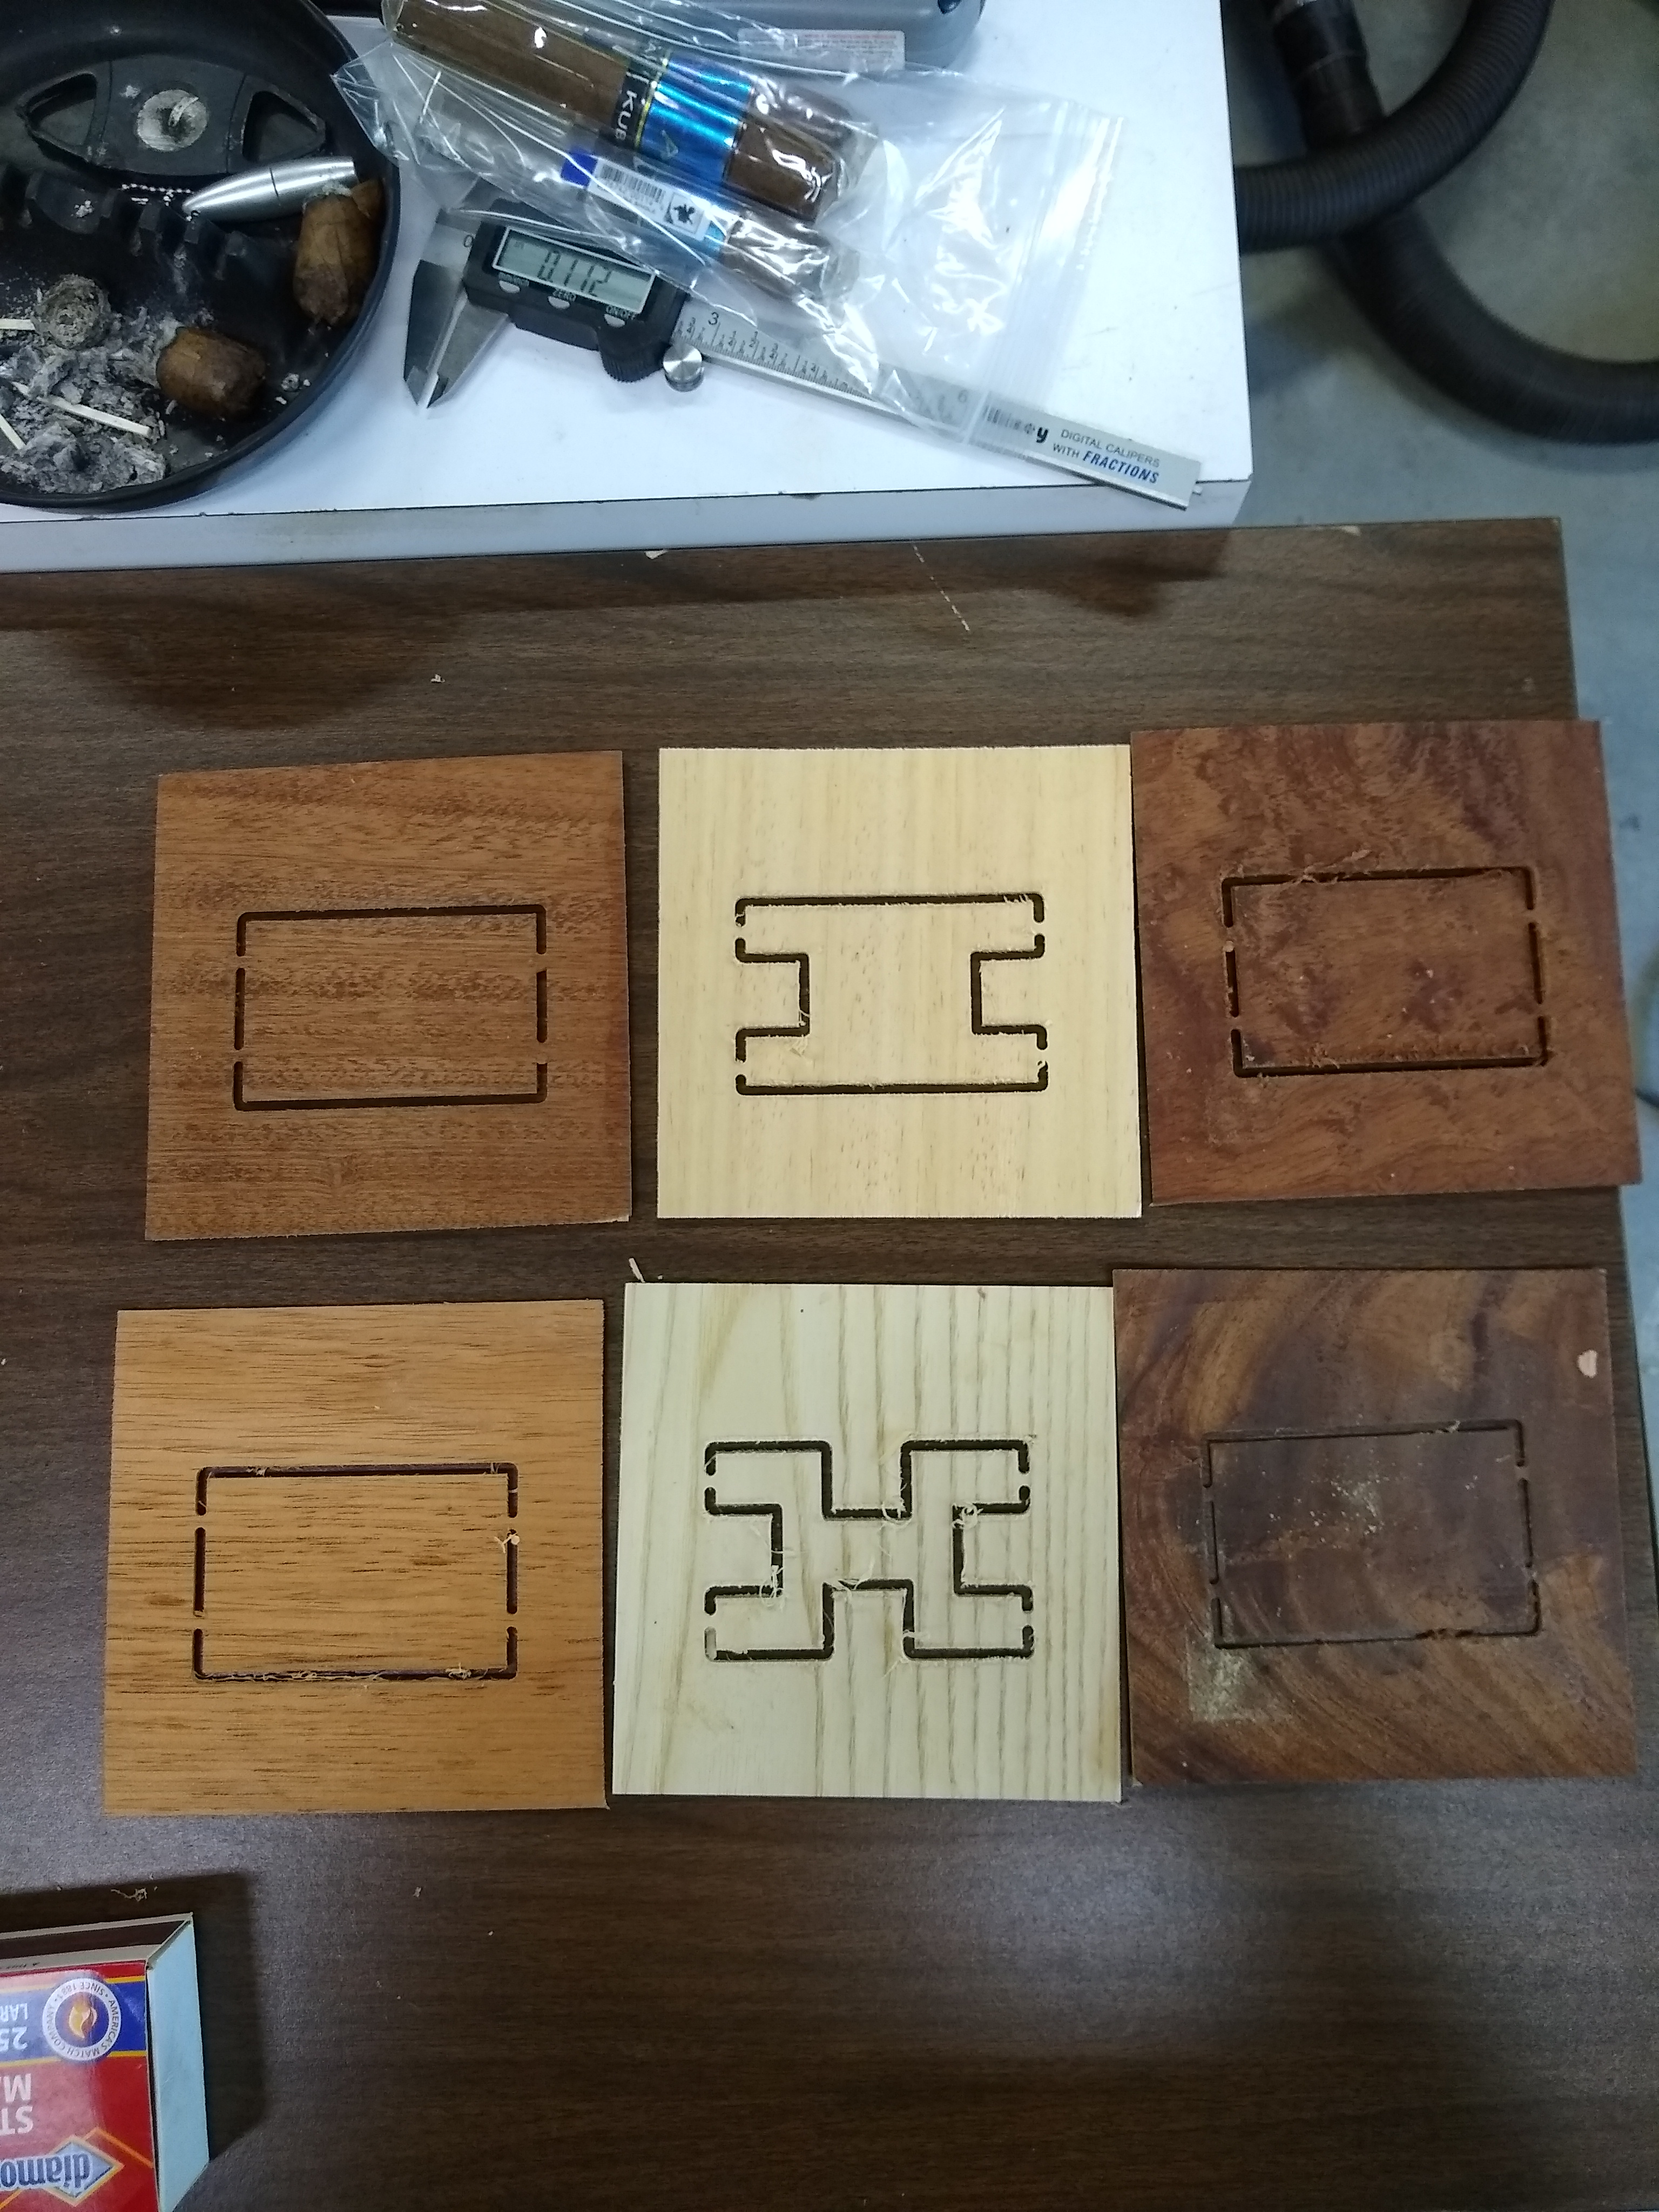
I also cut out a holding jig that is 8x8 inches with a 4.5x4.5 inch hole and the 4 holes are for the two inch spacing on my threaded spoil board. The laminations are about 6x6 inches square. I will put the lamination under the hold down, bolt it down and then cut the individual layers.
@gdon_2003 I’m admiring your planning and preparation. I tend to figure things out as I go, and I’m usually left solving the same problem at a later date. Anticipating the post-lunch update!
All parts cut out with 102 bit. I sanded with 220 just to get rid of fuzzies. Glued the parts together on a jig to keep them aligned. Trying to glue up small pieces is like cat herding. You can gather the cats together but you can’t get them going the same direction. Ready for finish and installing elastic.
So I am almost done. All machining done and elastic cut and test fit. A couple more coats of wipe on poly and I can give them to my grandson and his gf.
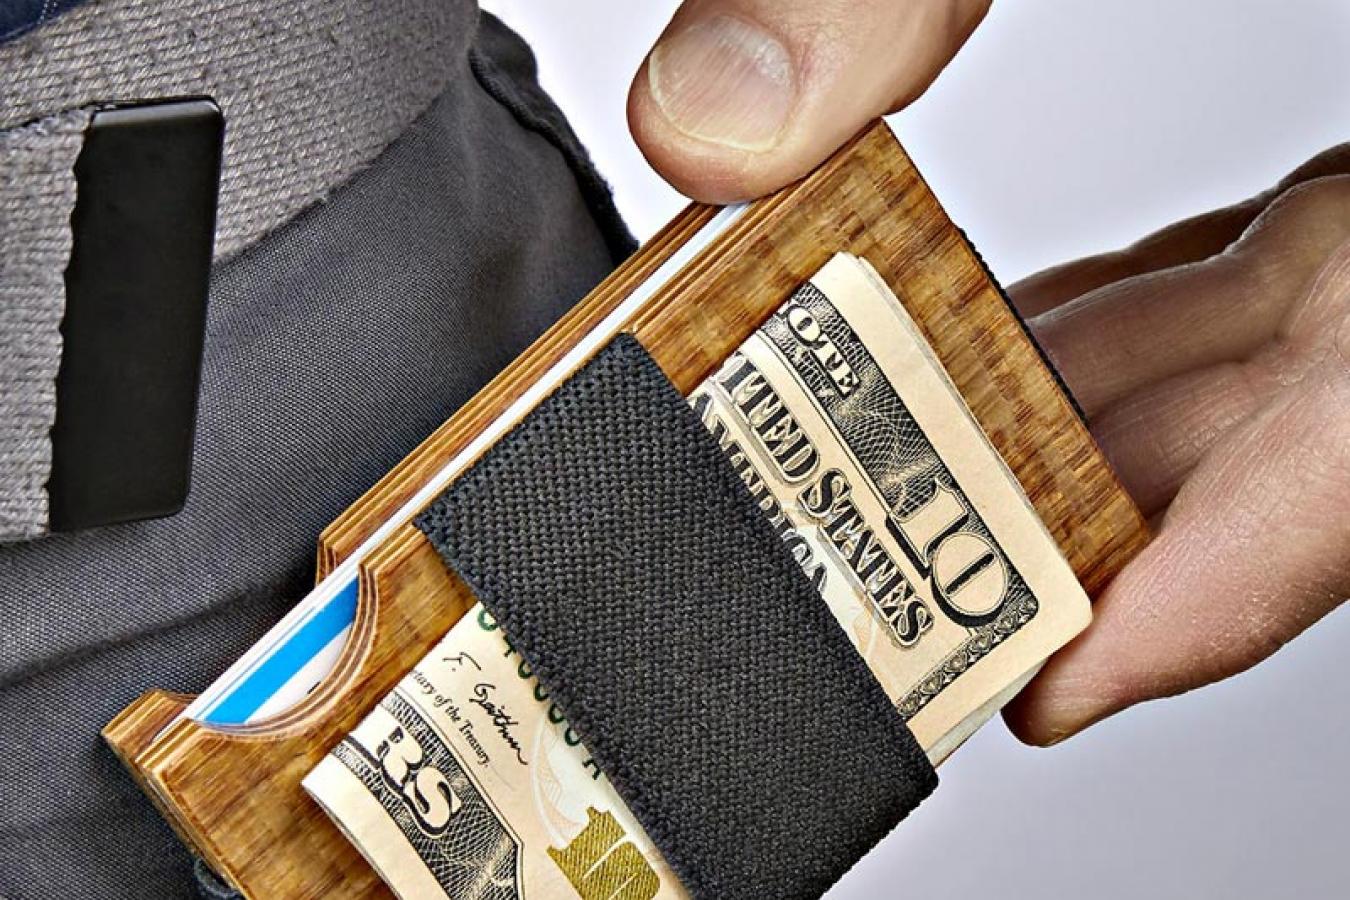
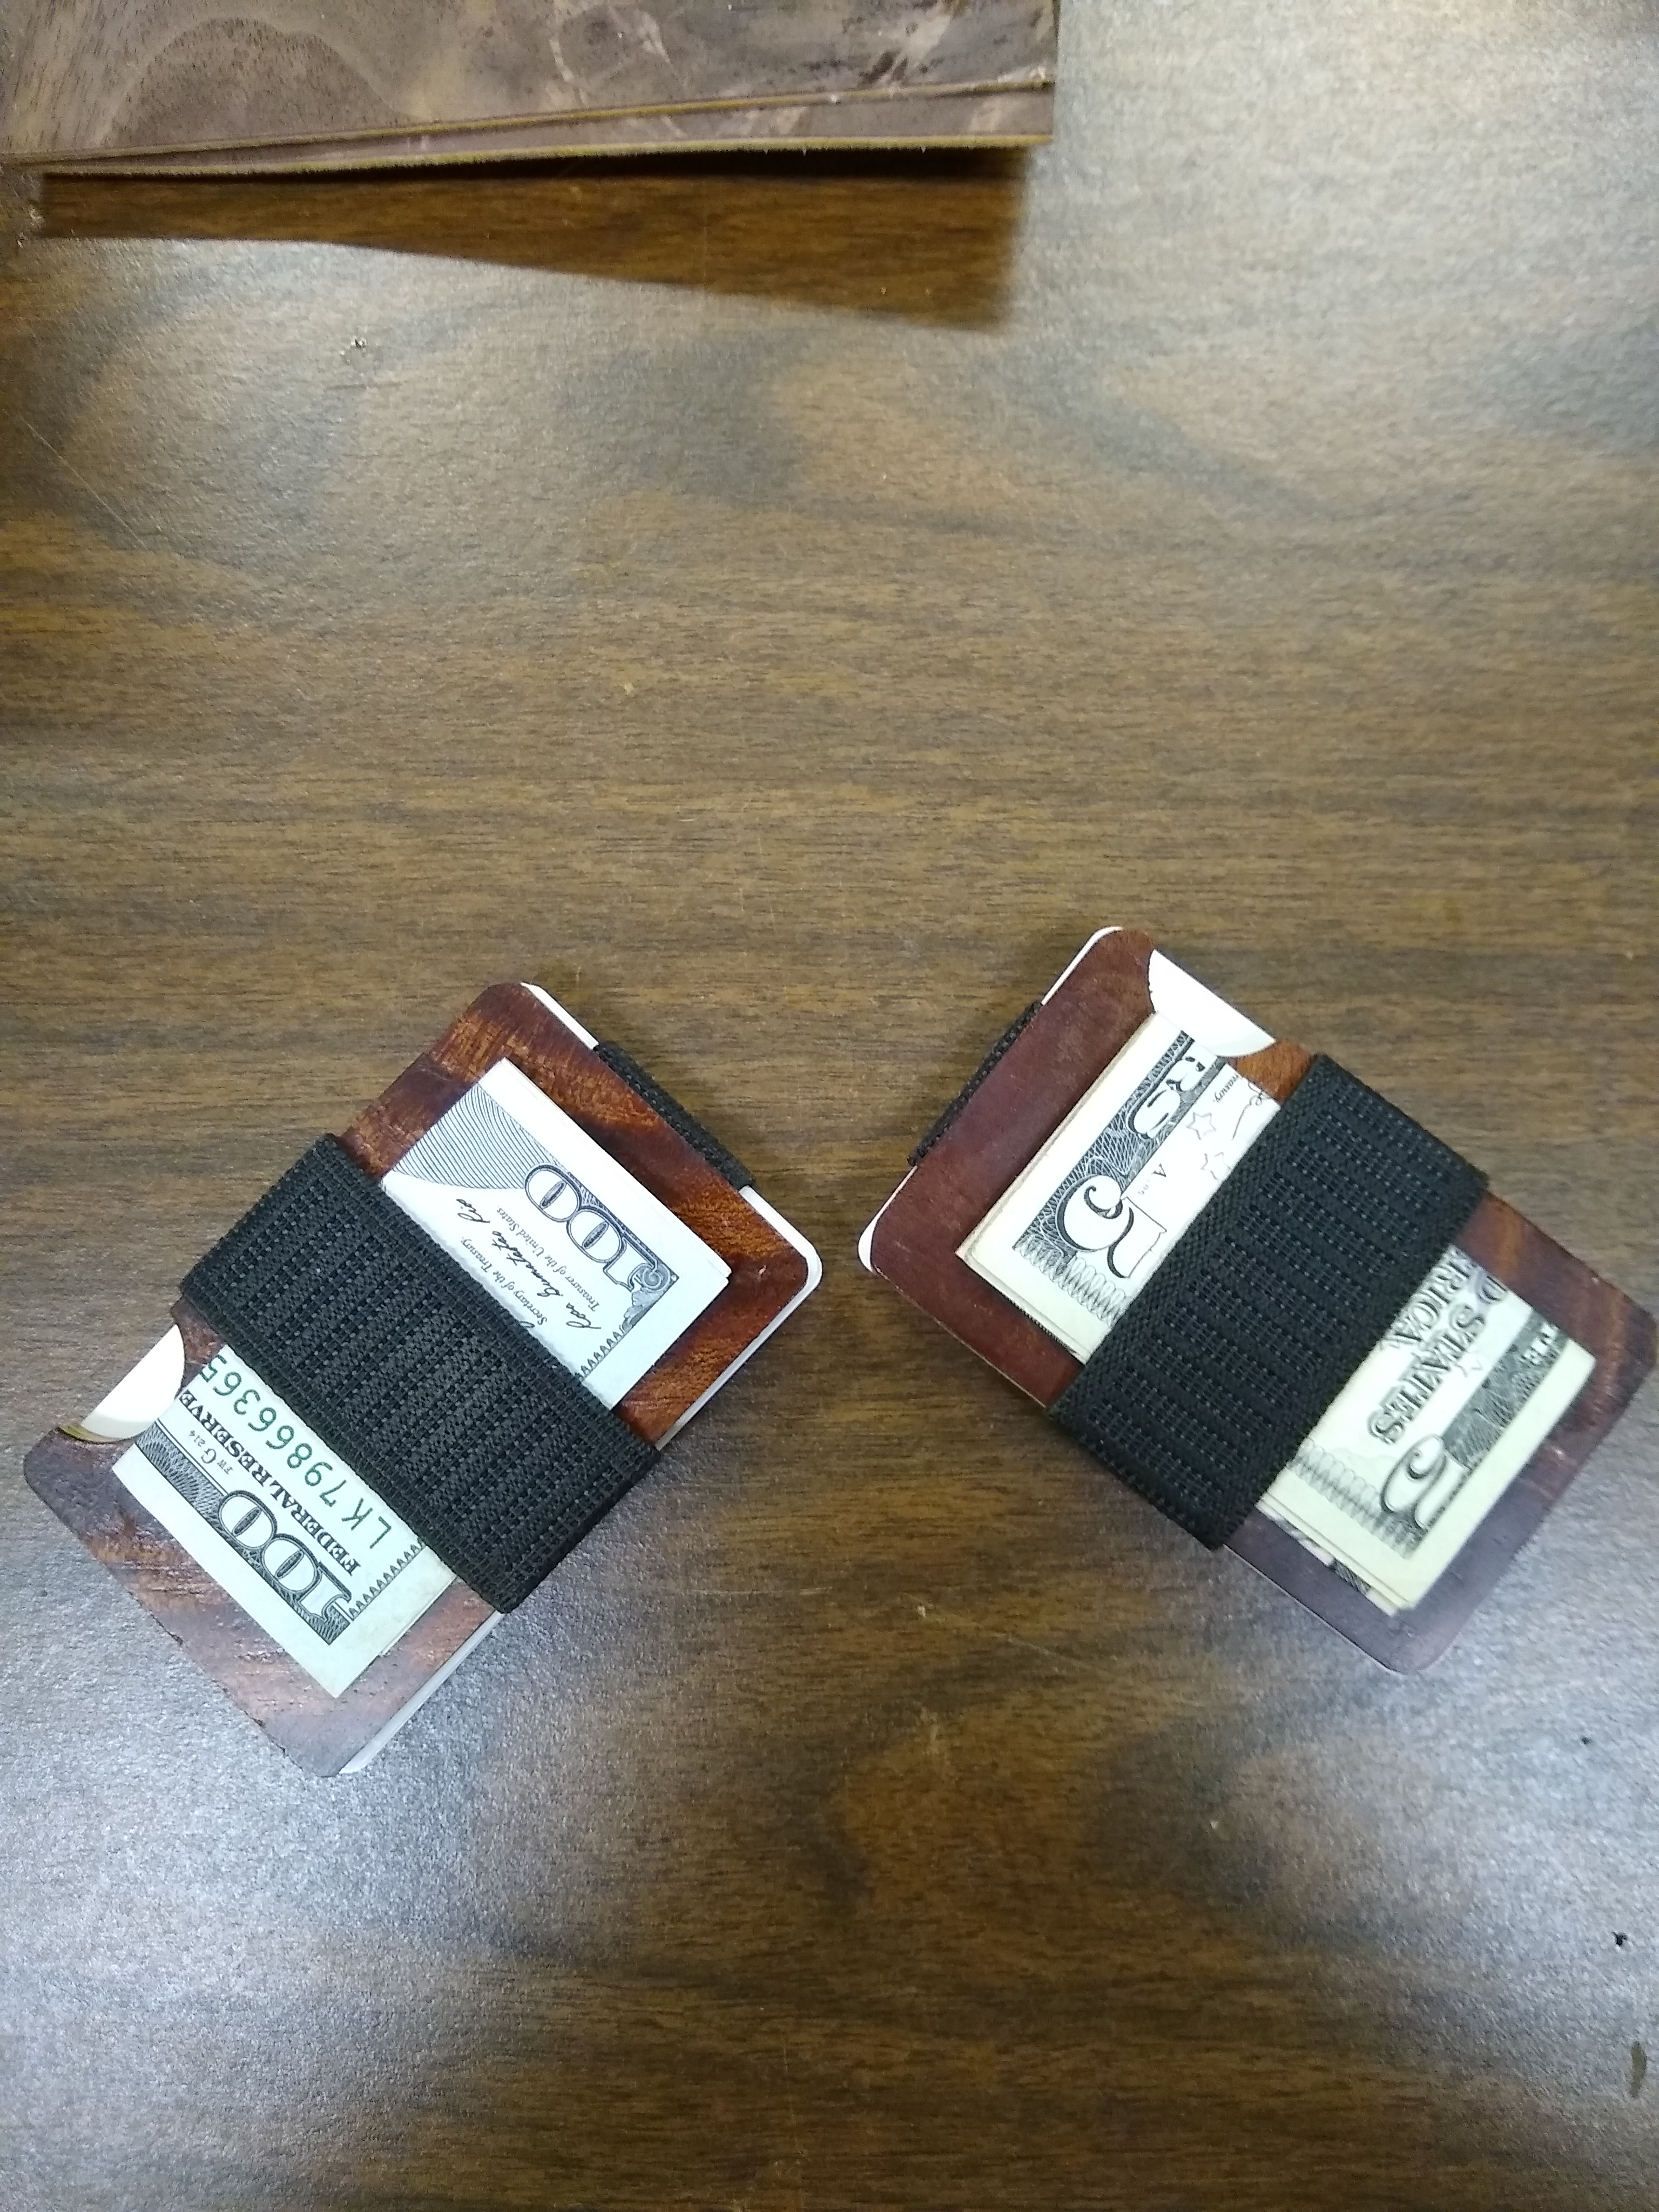
The top picture is the original Wood Magazine article with my finished Minimalist Wallets on top of the article. The second picture is the Minimalist Wallets laying on a desktop. Pictured is real US Money and inside I used some Java Cards to see how they fit. The Java Cards are basically blank credit cards. I have a whole box of them and use them to spread glue in the shop.