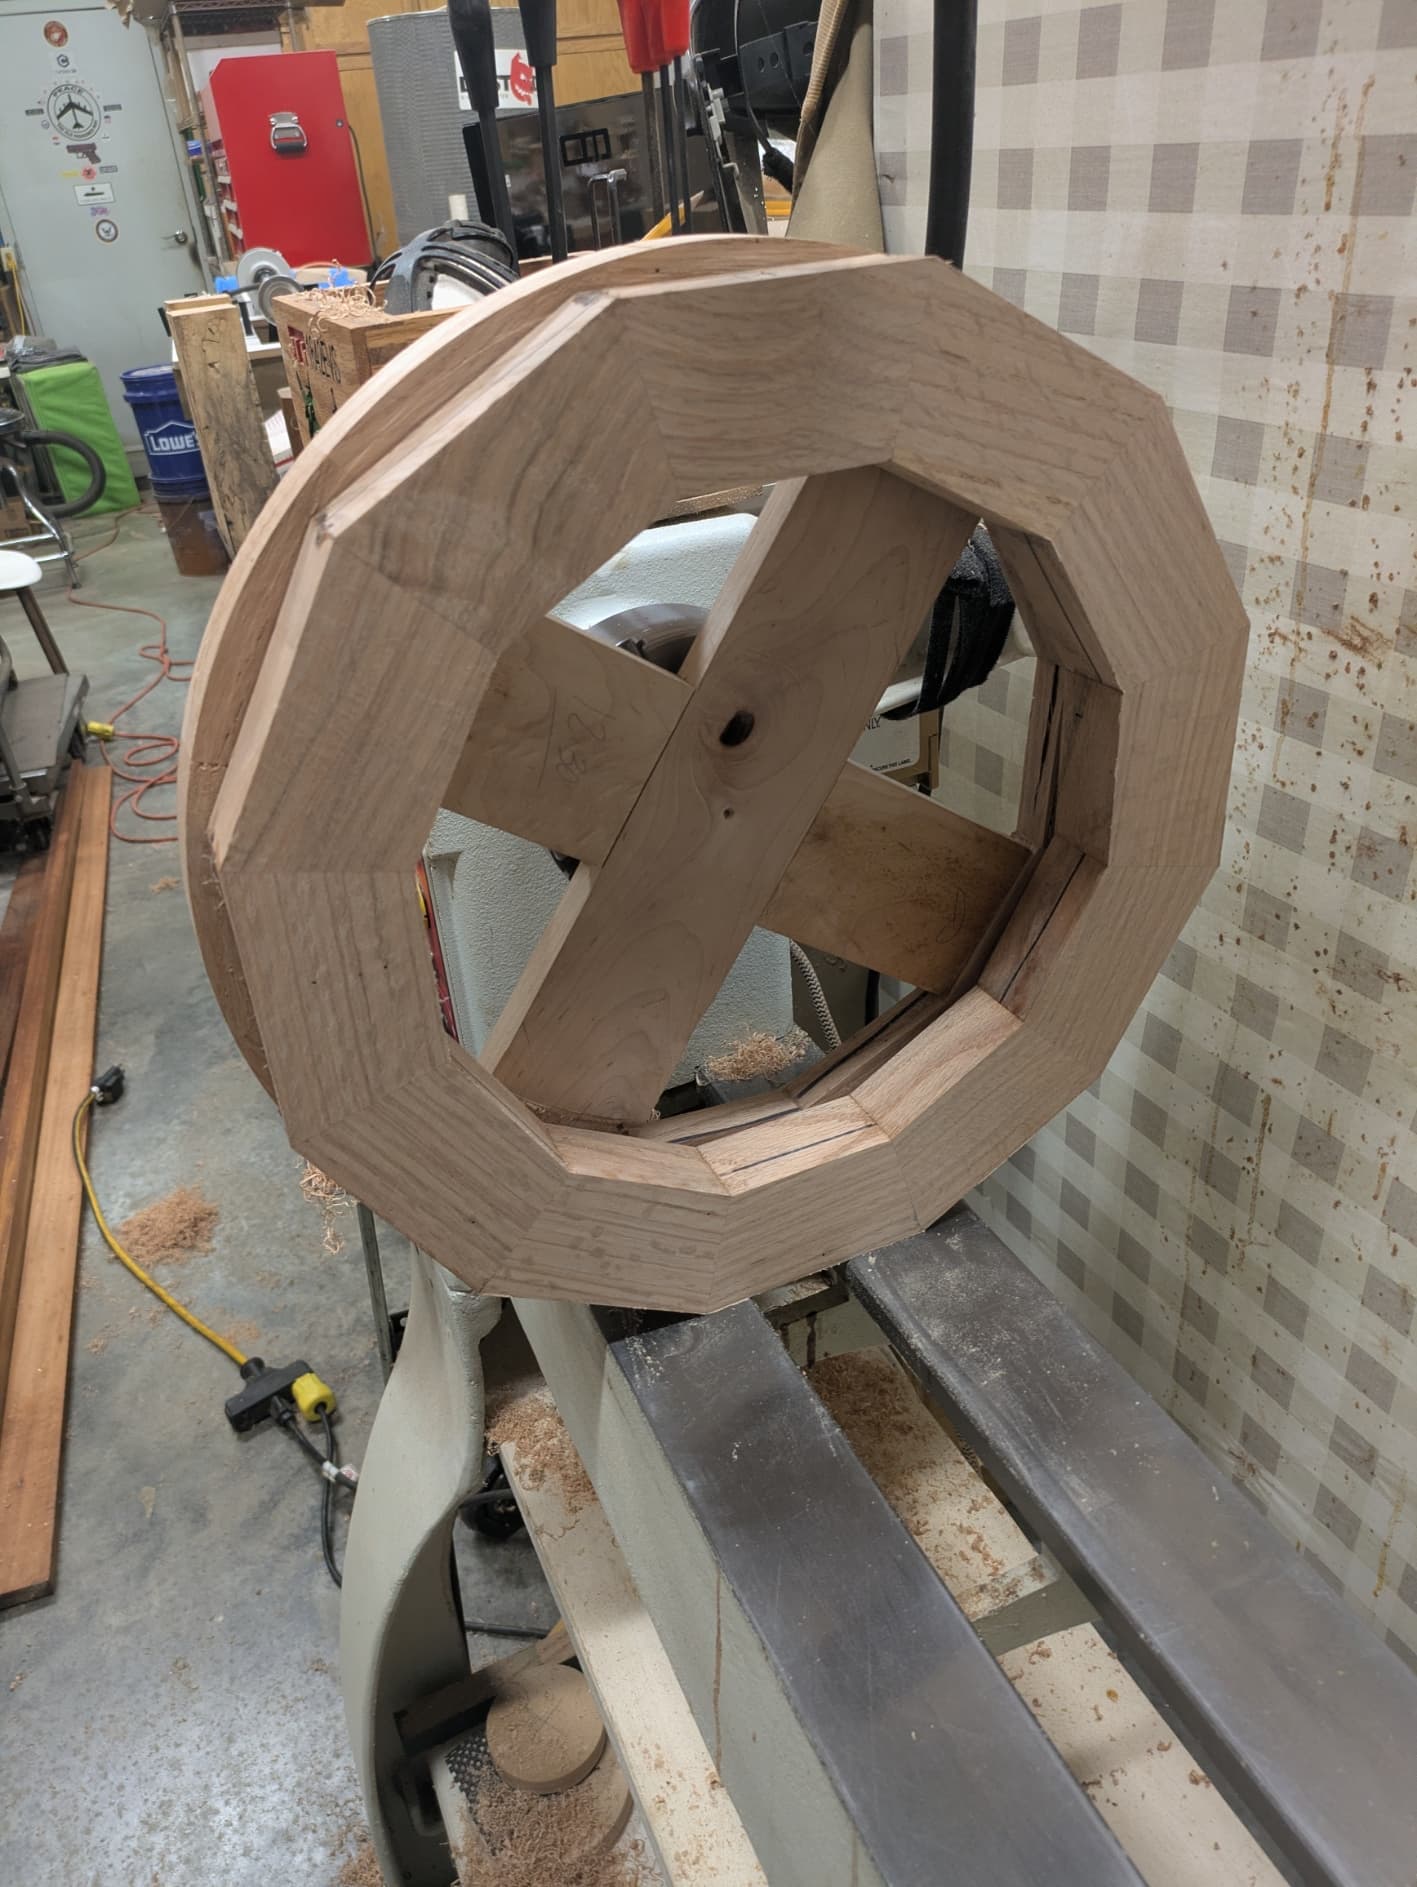
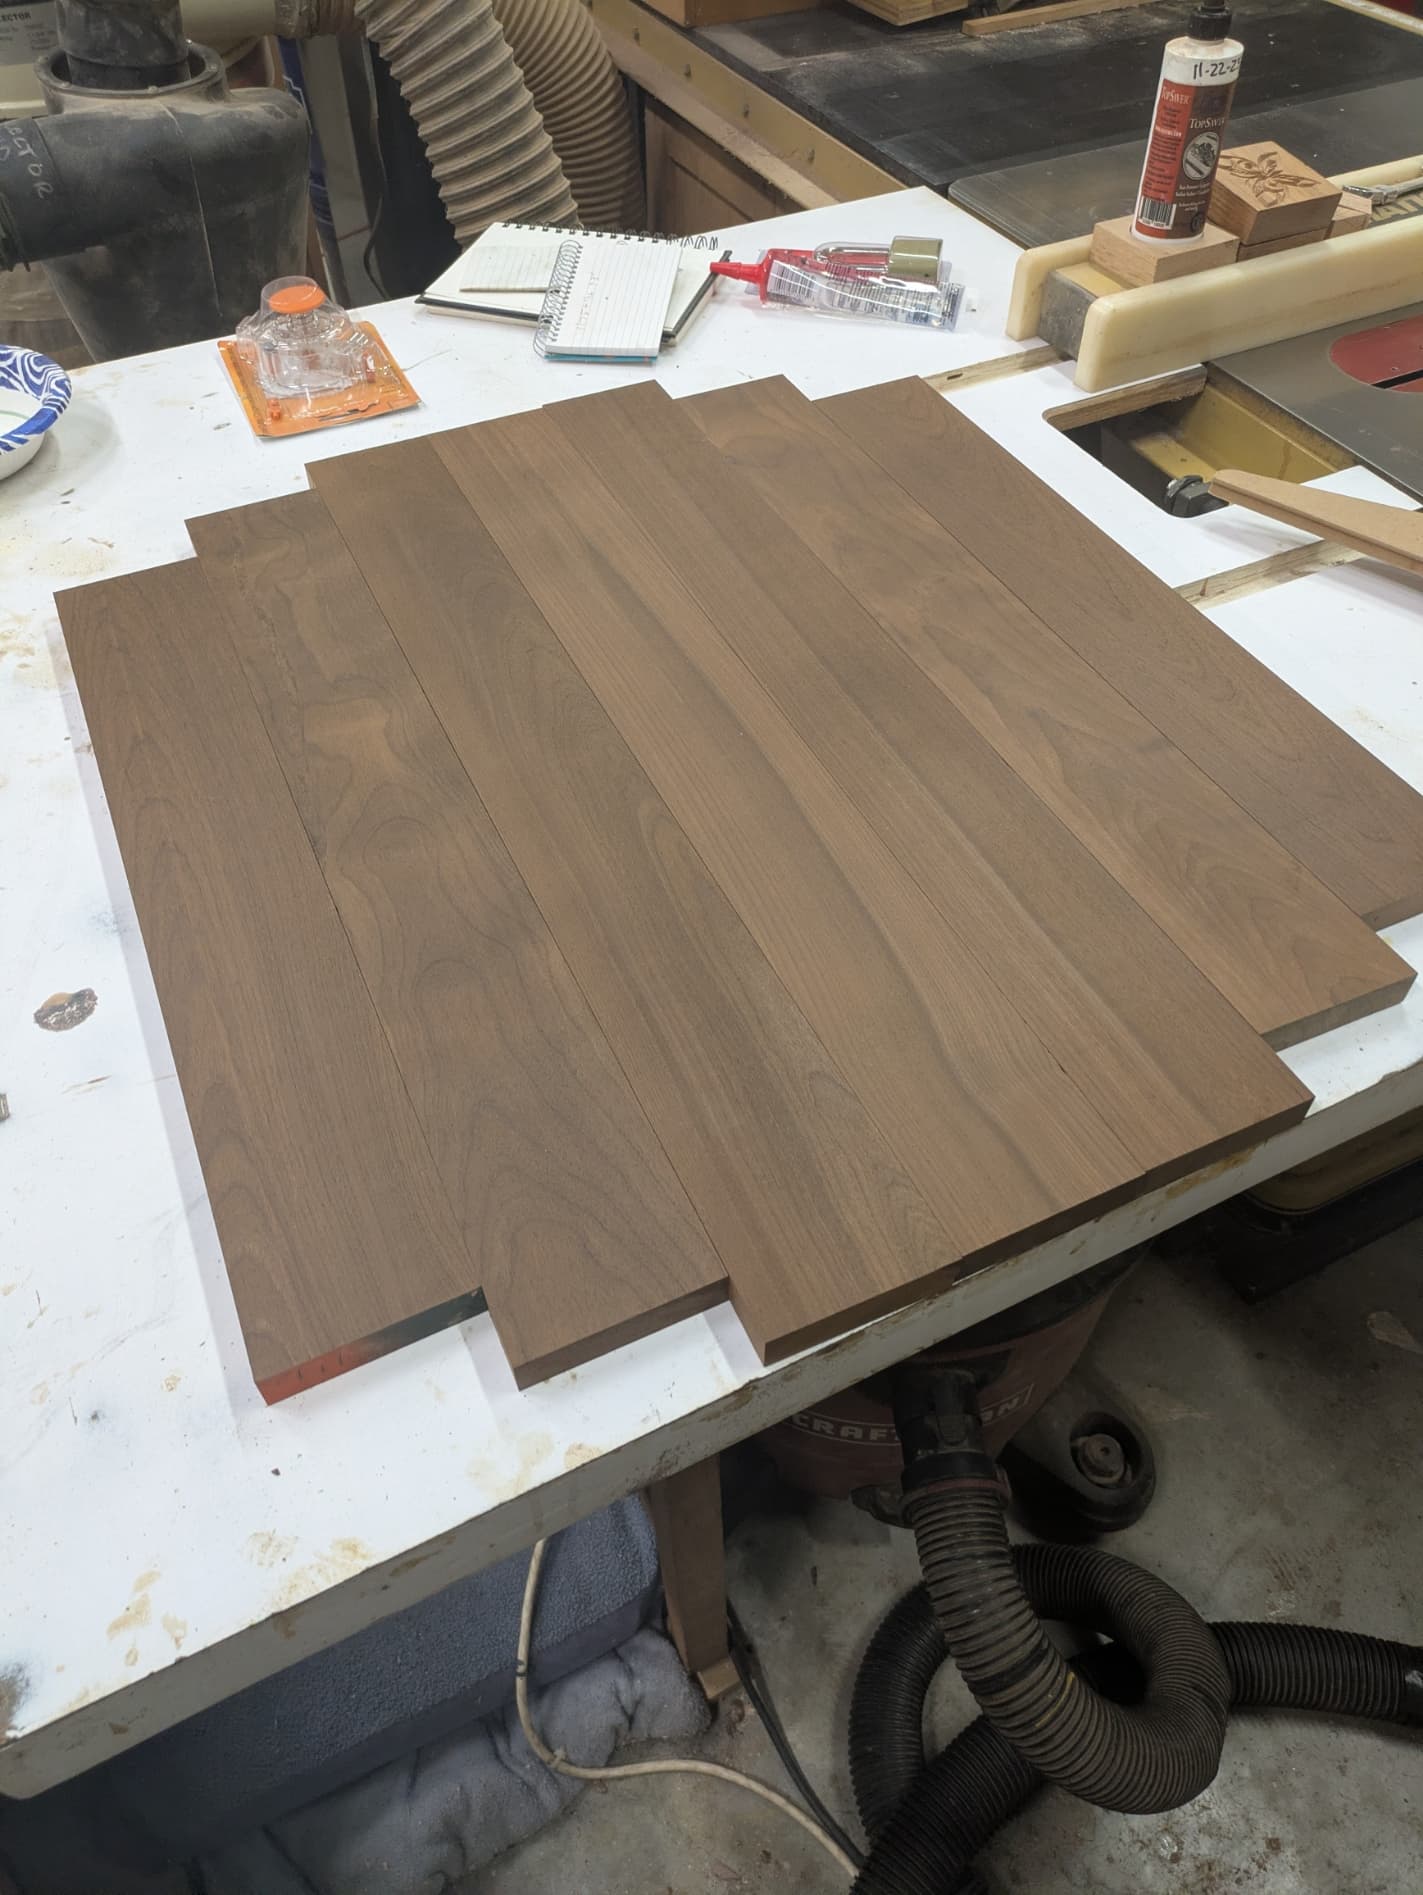
I put the rough cut pieces on the chop saw today and cut them to rough length. I need to joint 2 edges and then cut the other two sides. I have a plan in SegCalc to make the table.
The original video had stained the wood very dark. Not sure yet if I will leave the oak natural or stain it. The inlay will need to be a light wood like maple or sycamore to show up well.
This is an ambitious plan but if you dont push you do not advance.
Some progress from yesterday. Got all the rough pieces cut to length and squared up. Will be cutting the segments out after I use my Shapeoko to make a Wedgie for 8 Segments per ring. I have from 12 up but never made an 8 segment wedgie. It is a 22.5 degree with 45 degree included angle. Should not take long to cut.
I hate using tabs but because this is so big I dont want to spend the time using painters tape and super glue. The tabs are in places that will not affect the accuracy of using the Wedgie.
For those wondering what a Wedgie Sled and the Wedgies are here is a picture of my segment cutting sled.
I made a course correction. I went into the software SegCalc and changed from 8 sides to 12. Surprisingly the length of each layer decreased. So my sled was already setup and verified for 12 segments per layer. Got to cutting. Since I had extra material I made extra segments and marked each layer and the extras. The reason for the extras is some of this wood had cracks and bug holes. This way I just swap out any bad segments.
Next is sanding 180 pieces with 220 grit paper on all 6 sides. Then gluing and waiting overnight for the glue to set. Then onward and upward.
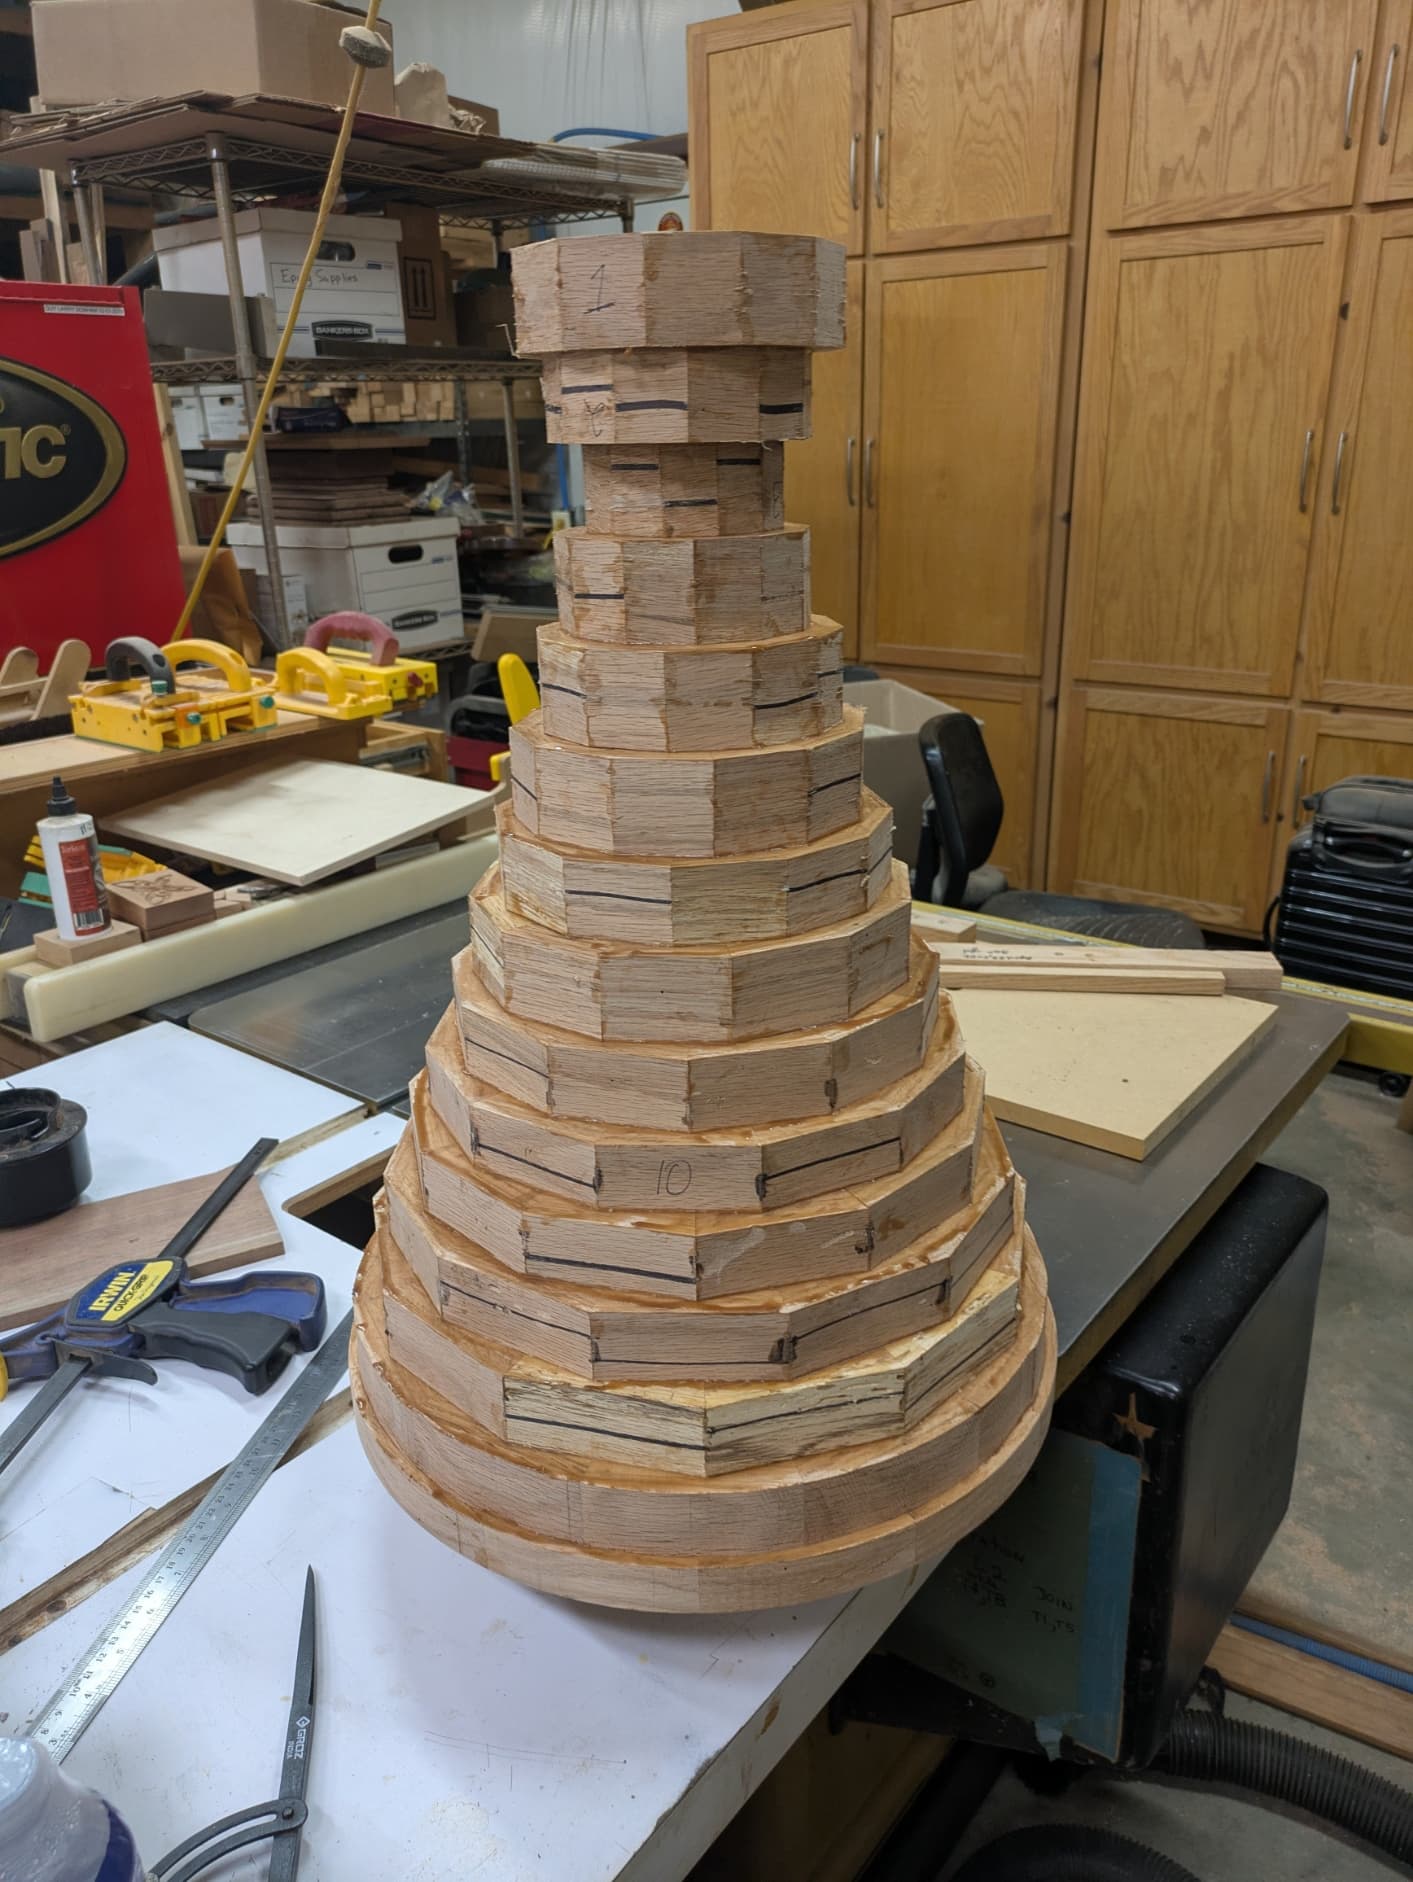
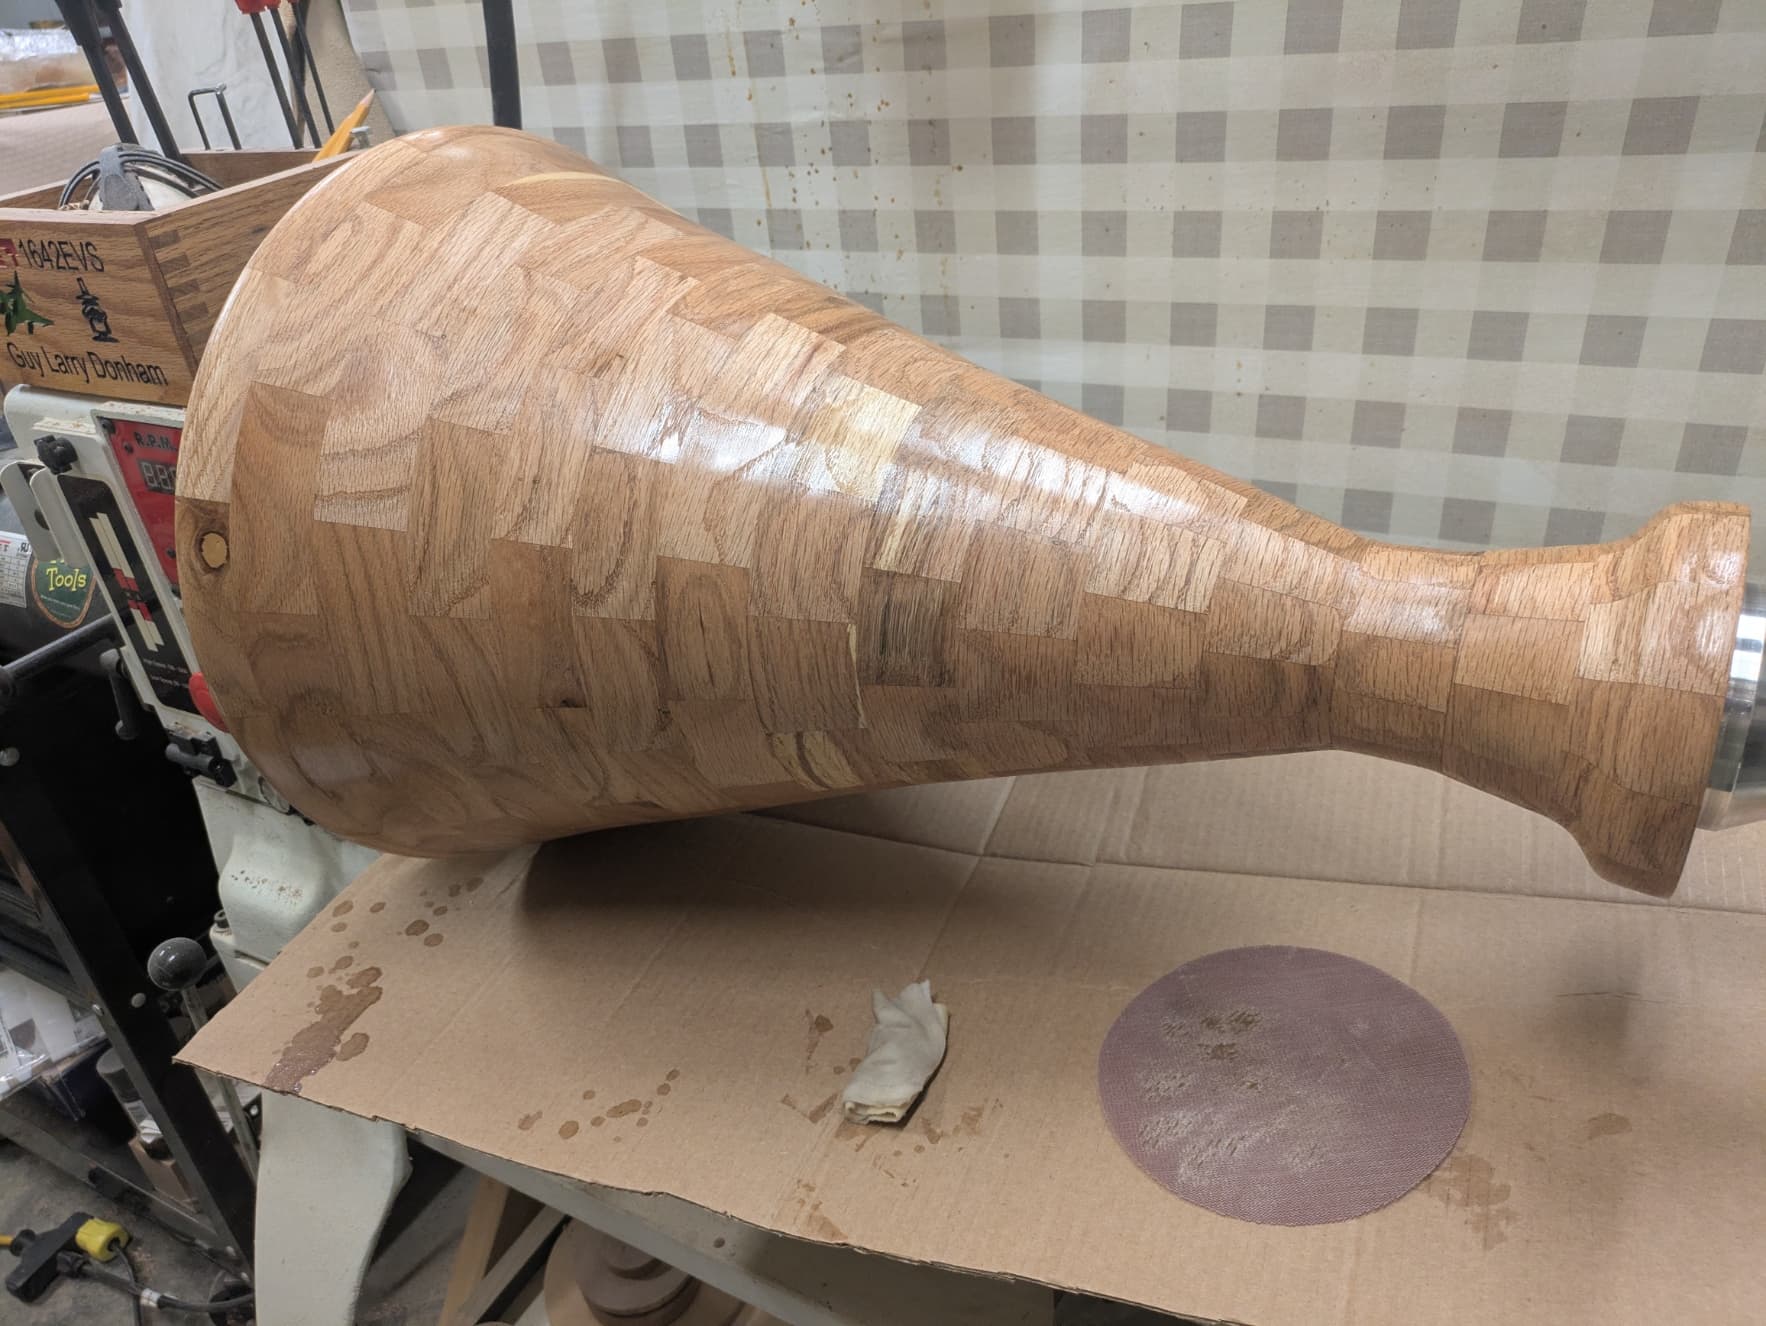
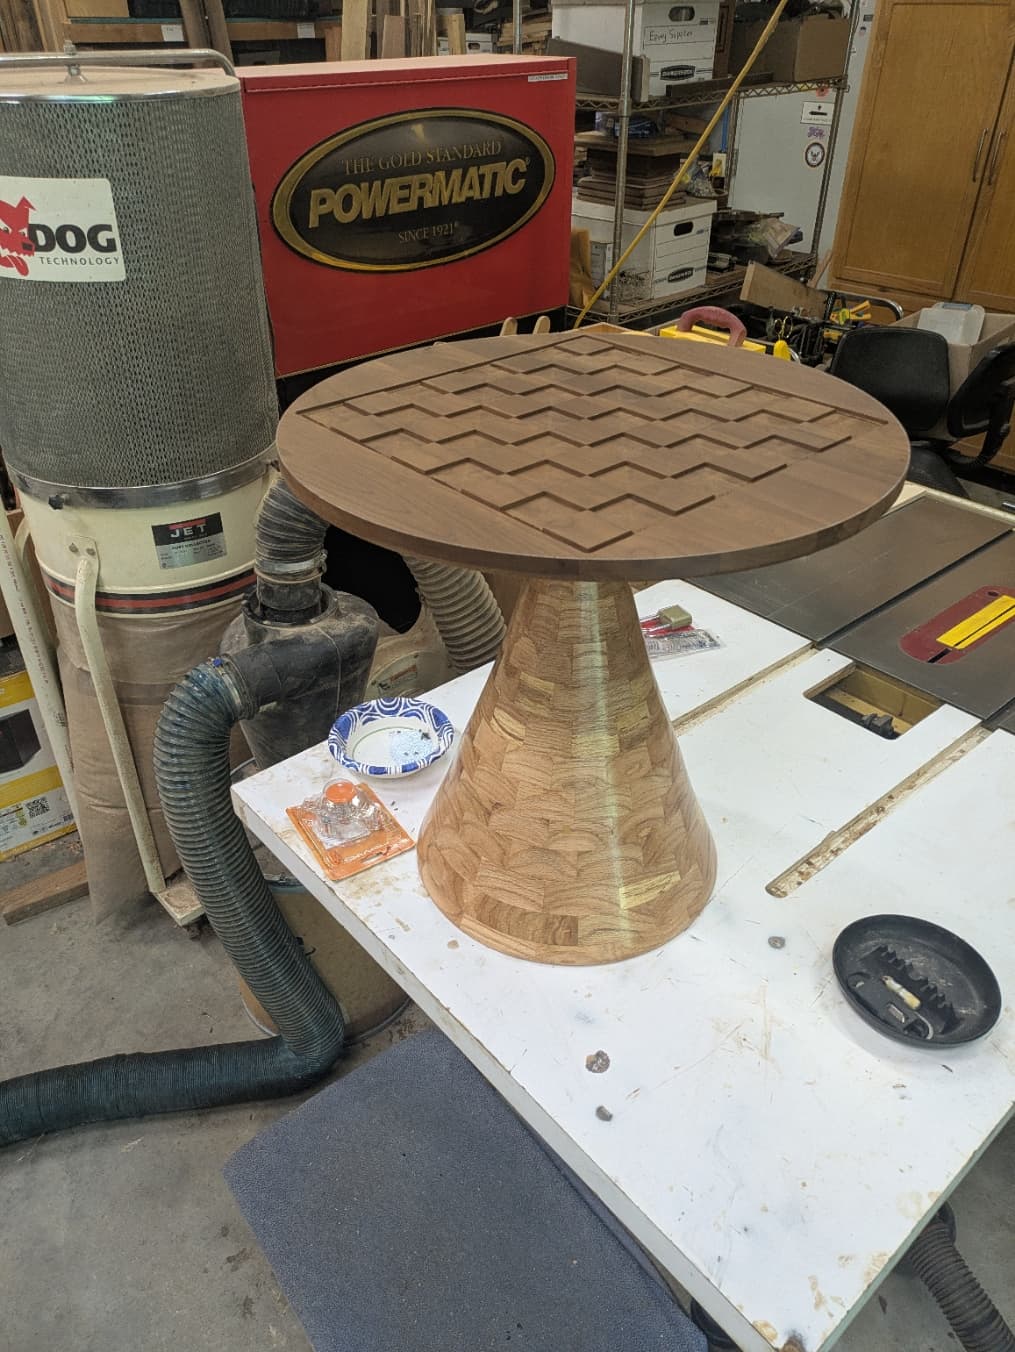
Here is the dry fit of the table. It measures 24.5" high without the top on it.
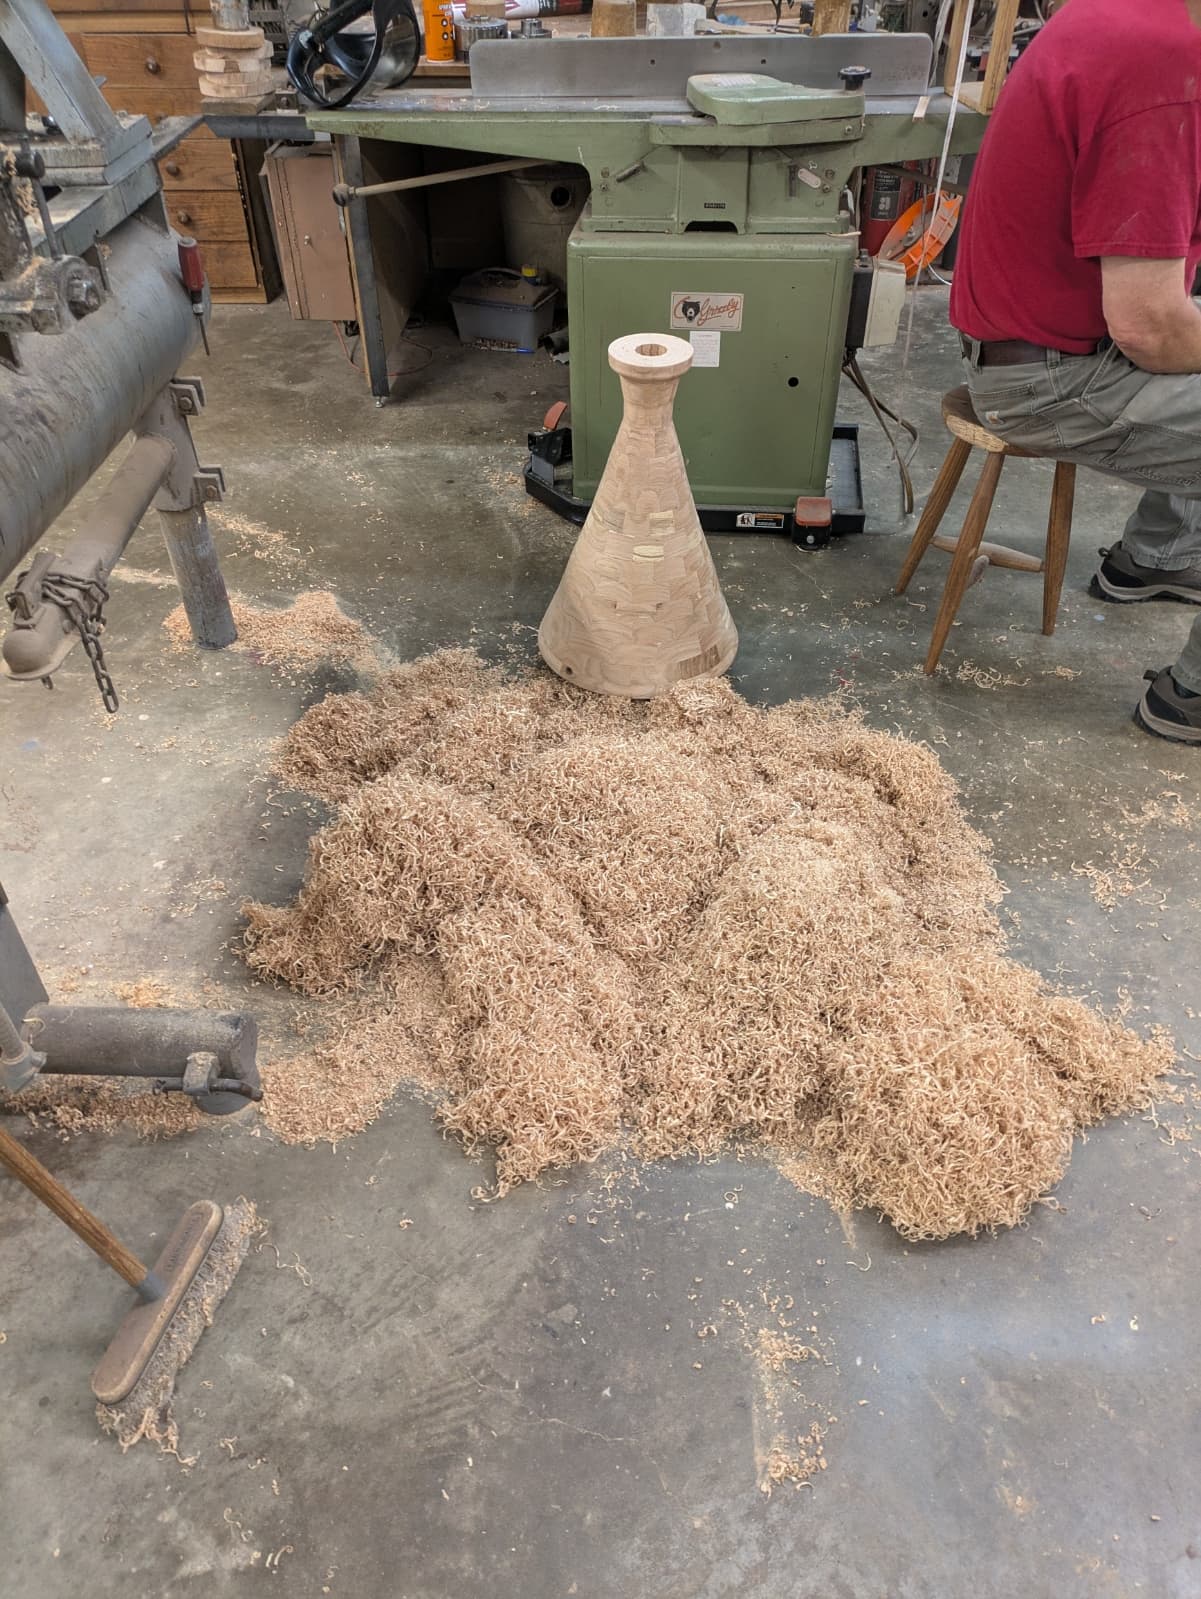
I am about 1/3 through with this project. The second third will be gluing the project together layer by layer and then turning it round. The third third will be sanding and finishing. Well maybe 4’s because I need to mill up the top and inlay it.
The original video had the table stained a dark color. My debate is over the top. If I inlay it I cannot stain the top without staining the inlay. So I am thinking about staining the base dark and using maple or sycamore for the top and inlay mesquite dragon. Still just thinking about it because I have a long way to go before that decision has to be made.
Hit a roadblock. I got all the layers glued up and started running them through my Jet drum sander. On the second layer the conveyor belt got a tear so that meant replacing the belt. I went to the parts bin and there was a spare belt but when I pulled it down it had a tear which I must have already replaced in the past. I keep the conveyor belts and glue them to mdf to make great sanding boards.
I ordered a couple of belts and they will be here in maybe a week. So this project is stalled until I can flatten the 15 layers. There are other ways to flatten rings but I would have to retool and I will just wait for the conveyor belts.
Such is the life of a woodworker. Just as you get a full head of steam up the boiler fire goes out.
I have plenty of other projects to work on. Like cutting grass and finishing up a bathroom project. None of which I like to do.
Well I have gotten a road block dismantled. My Jet 1632 Plus Drum sander had a ripped conveyor belt. That rendered the drum sander useless until I got a replacement. I found a company called Maverick Abrasives that had the conveyor belt in stock. I order 2 of them and they arrived a few days later. Well they did not fit. I called their 800 number on Friday afternoon about 3:00PM and got some idiot. I told him the belt did not fit. He said to go to the website and start a return. I told that was fine but I still needed a conveyor belt. He repeated to go to the website and start a return. Obviously he was not going to help me get the correct belt. The belts were returned Saturday and have not seen the credit yet. Customer Service is a dying art.
Went on Amazon and found the belt and got it today and of course it fit. Got my rings sanded and will start assembly tomorrow. I have run into a slow down and not necessarily a road block but the bottom ring has been turned round. The next ring #14 is too big for my cole jaws. I can glue it on and spin the lathe and try to get it centered but as big as this turning is everything must be as centered as possible. So I decided to put my thinking cap on for tonight and get a fresh start on it tomorrow. Not a road block but a slow down. Also I discovered I will need to put a few rings on and start the curve because the base is almost as big as my 16" lathe. So the banjo wont fit under it. My plan was to blue up everything at once and then round it off. Not road block but yet another slow down.
In the mean time I need to get some boards ready for the top and my inlay material ready. Yesterday I did maintenance on my SO3 by cleaning everything, v-wheels and rails and lubricating my HDZ.
In case anyone noticed on the top of my lathe head is a box for various lathe tools. I made this on my SO3. I was in the 12th Tactical Fighter Squadron and they flew F4E aircraft. That should age me as very old to be associated with an F4.
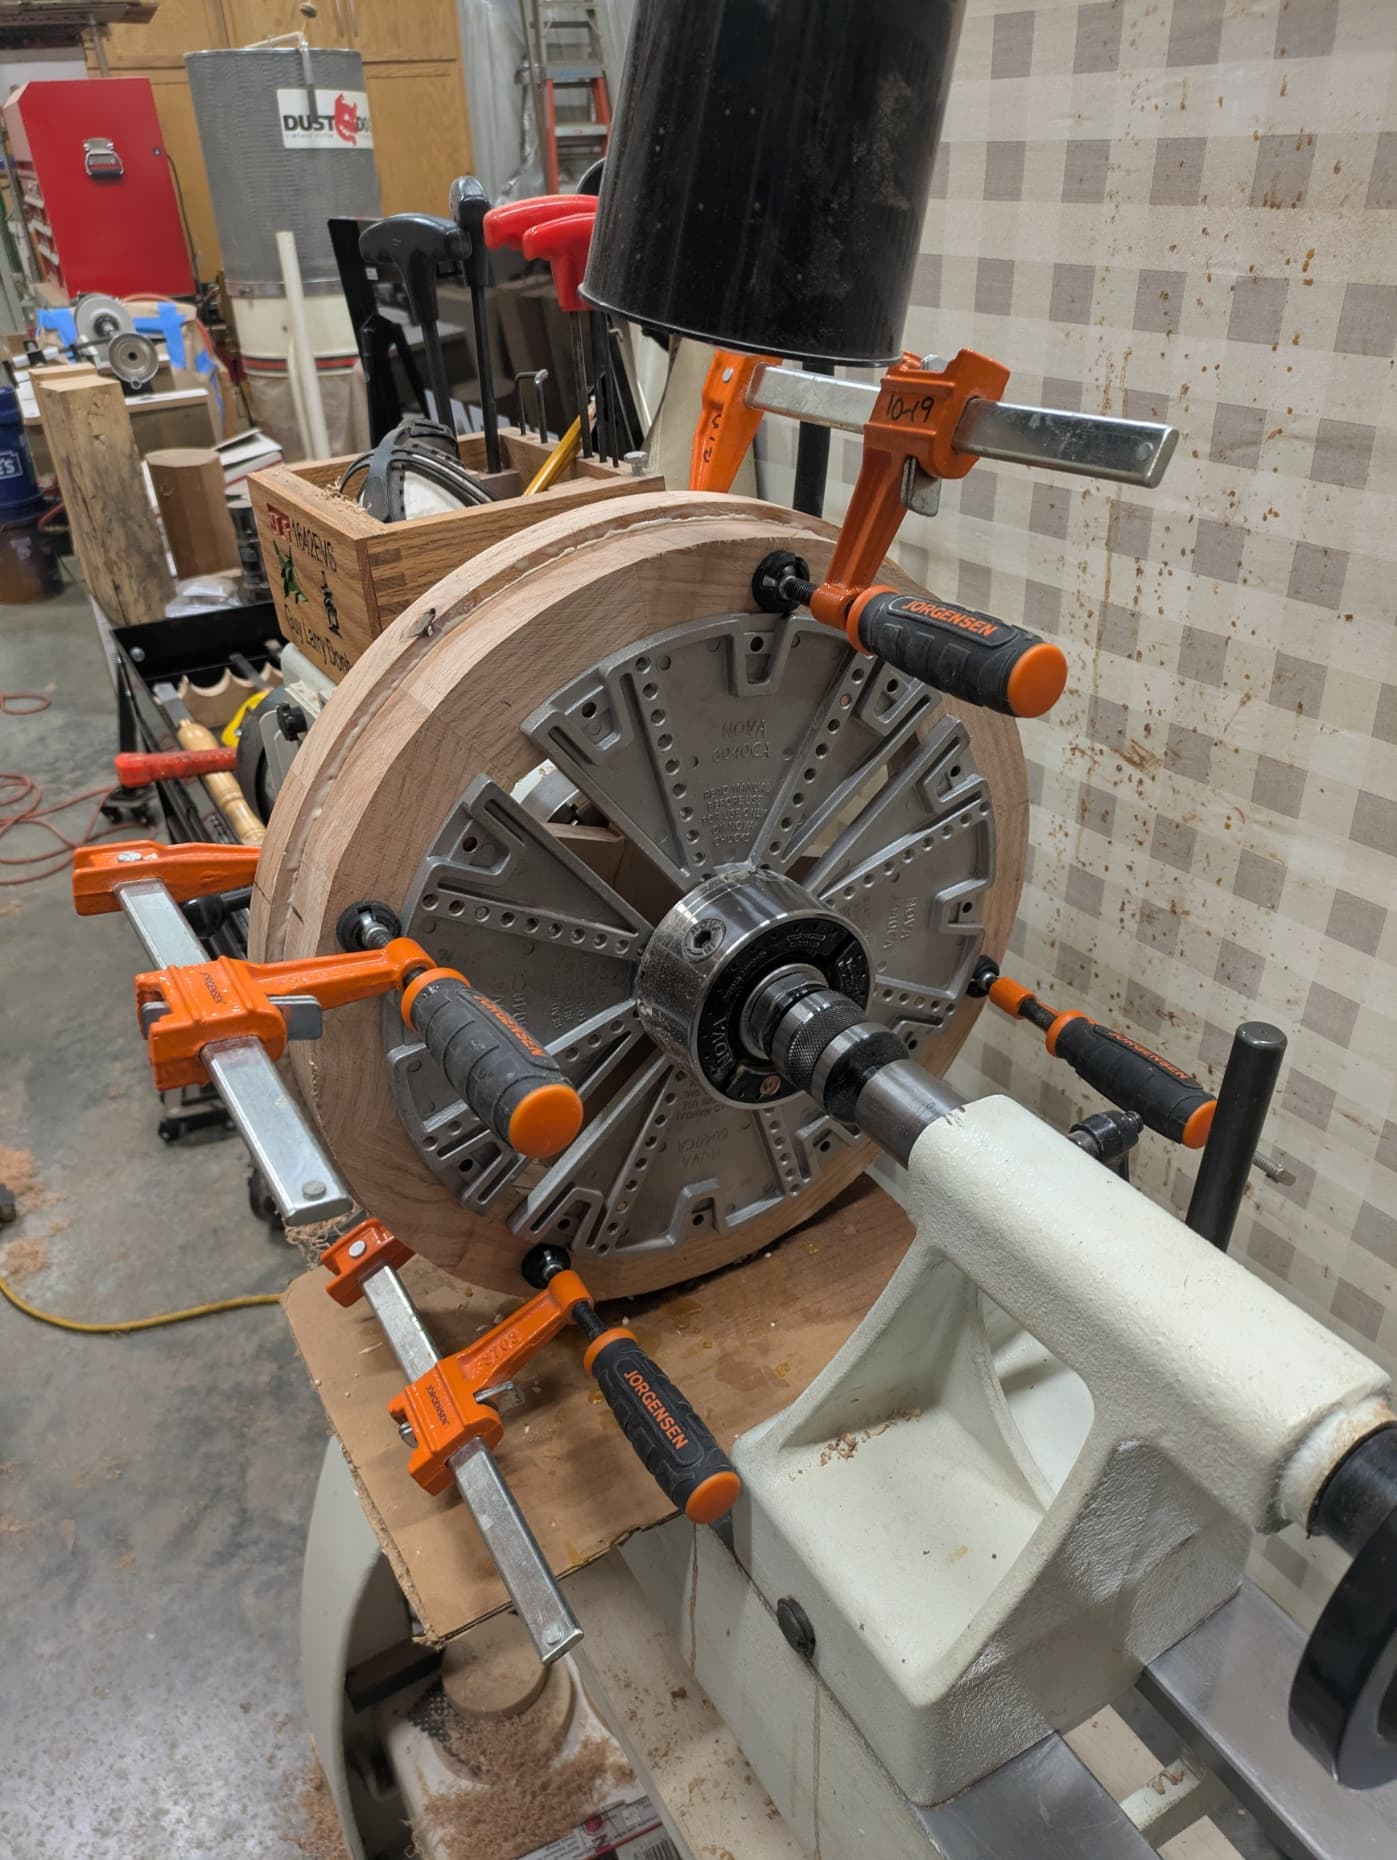
Have you ever done something just because you have always done it that way? I use a rotating tail stock with a cole jaw to hold my segmented rings while I glue them on. I have always had the bumpers on the outside. So this first ring is bigger than my cole jaws. Suddenly a light bulb went off, very dimly, but went off. So I put the ring on from the inside. All of woodworking is running into problems and solving them. Sometimes you have to do things a different way then you did it last time. Can anyone relate?
Because this ring is 15.5" round I put some hand clamps on it to make sure I get a good glue bond. The cole jaws are aluminum and might flex. As the rings get progressively smaller I wont need the clamps.
Since this is a Shapeoko CNC forum I wont bore you with the assembly of this base and will get back to this post when I get ready to make my top and inlay it. Sometimes you have to hang upside down in the dark to get a new perspective.
The top is Peruvian Walnut. After I get it glued up I will take a look at the top and table together and will decide if I need a different material. I can always use the PW for another project.
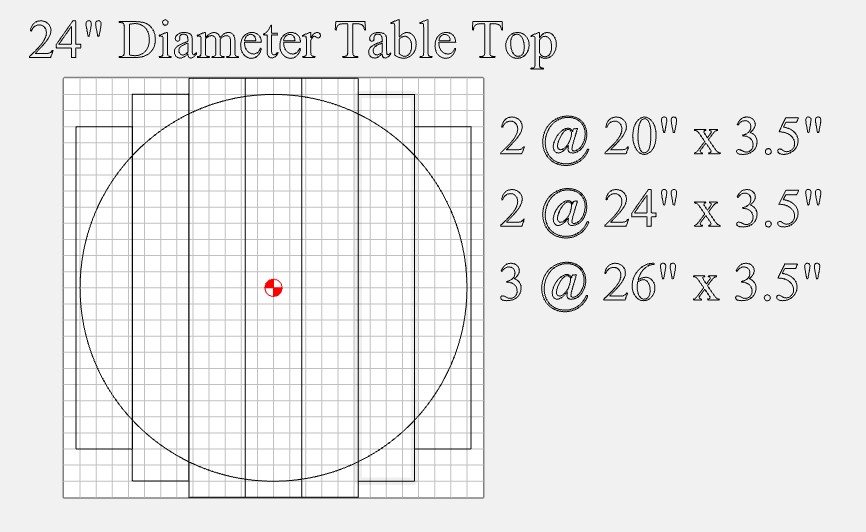
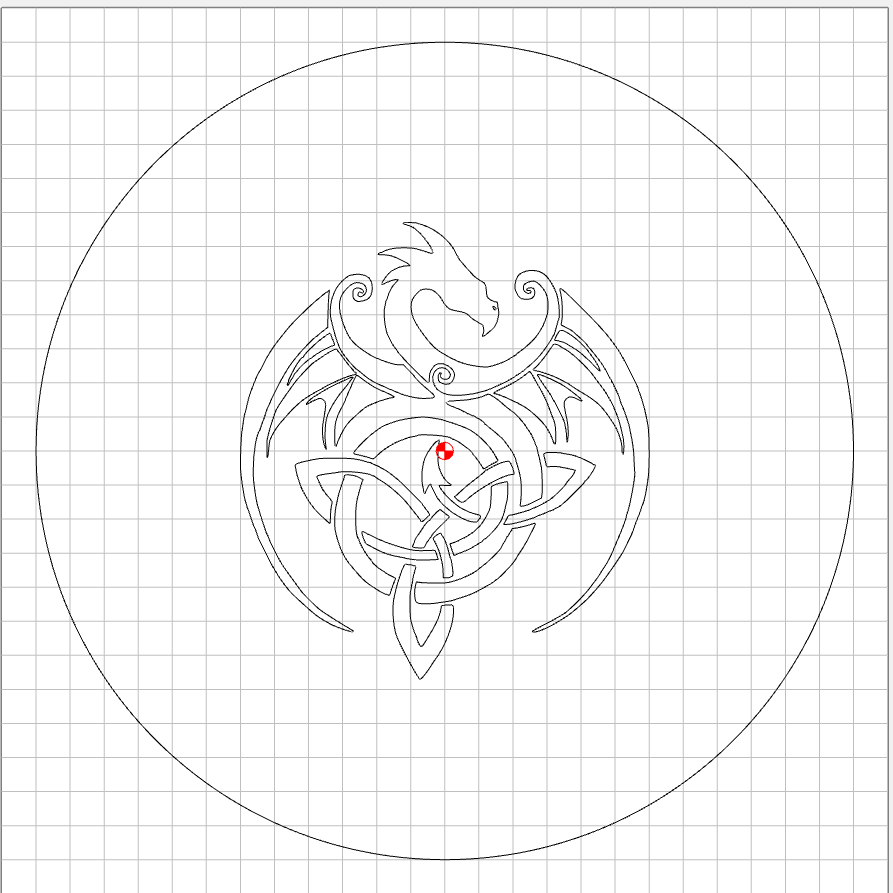
My goal is to get the top glued and cleaned up and put it on my SO3 XXL and inlay a dragon. I used CC to help design the top for how many boards I would need and the rough measurements.
I will be using the Peruvian Walnut for the female half of the carve and Maple for the male half of the inlay. I originally was going to use a #102 (1/8") bit for clearing but substituted my custom 3/16" tool and significantly reduced machining time. I will be using a 60 degree vee bit.
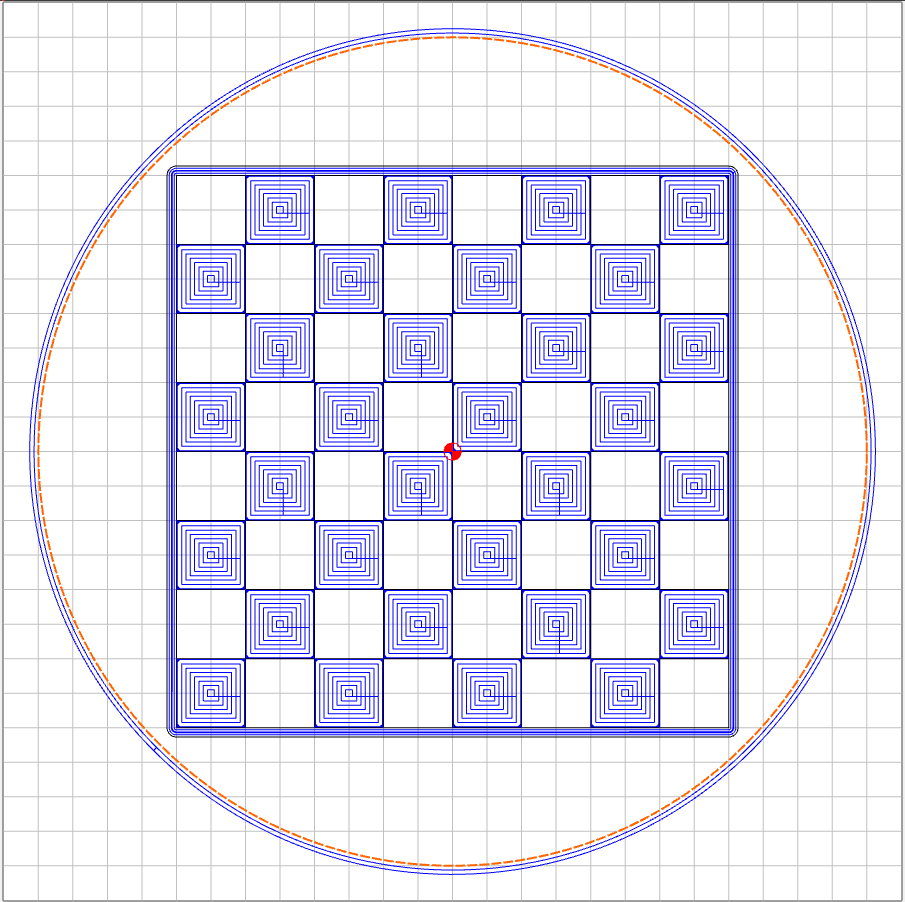
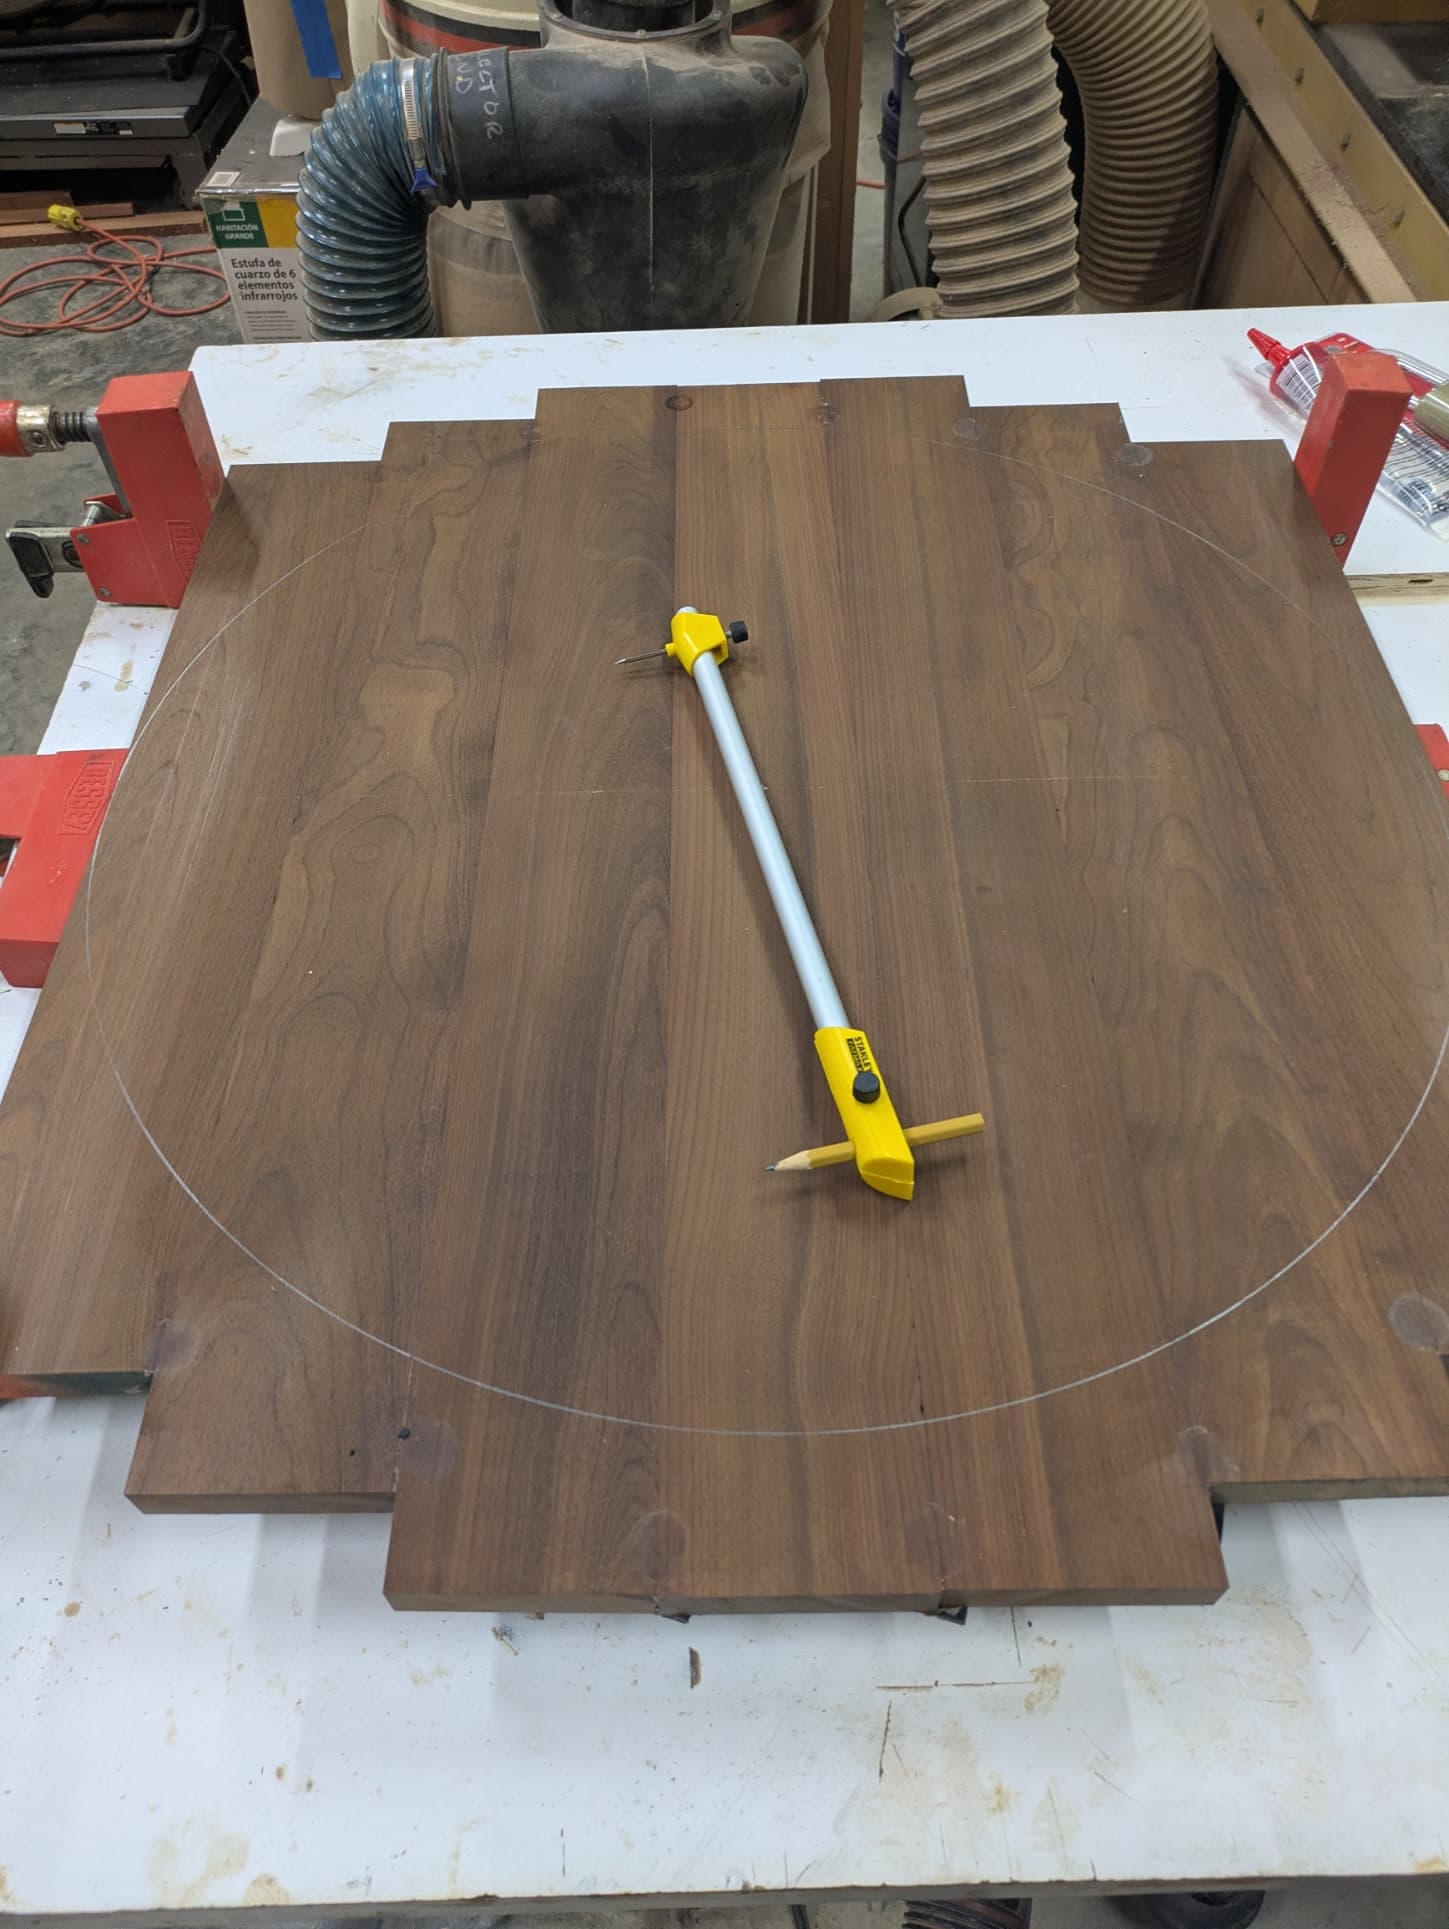
I got my table top glued up and put a compass on it to trace the 24" diameter. The top is much bigger than my mind imagined. So I am rethinking about my dragon. If this is just a table it would likely get a lamp or other objects on it obscuring the dragon. So just spitballing I drew up a chess/checker board at 16" square and would advanced vcarve the 2" alternate squares and fill with white epoxy. Then cut a 1/4" boarder around the permiter of the 16" square and fill with white epoxy. Here is the simulation from CC
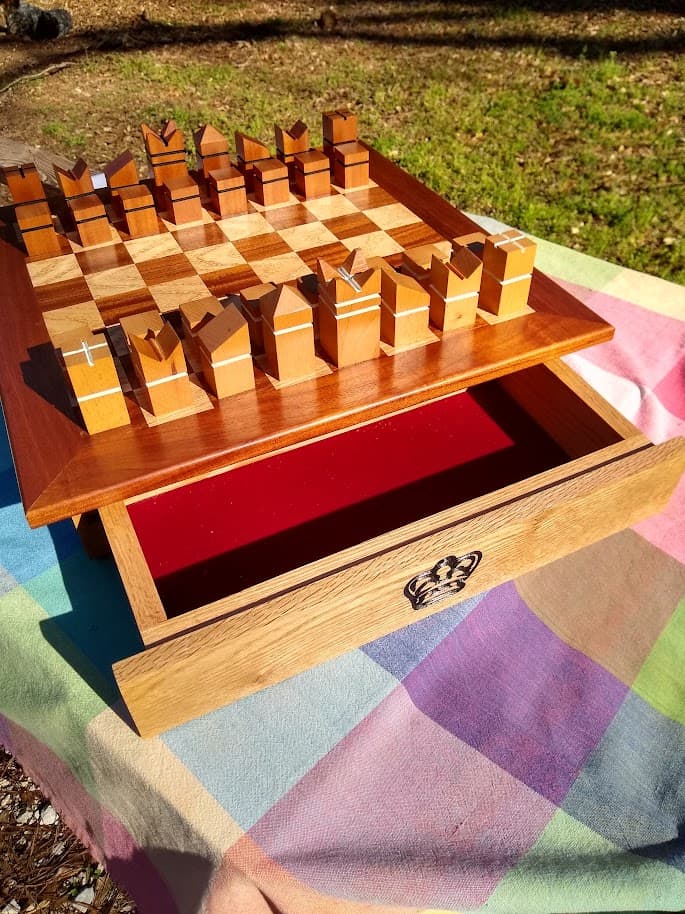
I have the templates for my lathe duplicator to make a chess set but would likely just buy a set. Then make a box to store the chess and checker pieces.
The possibilities are limitless but I have to get this figured out pretty soon.
I think the dragon would look good but will be obscured if it is just a table. As a game table it would be useful.
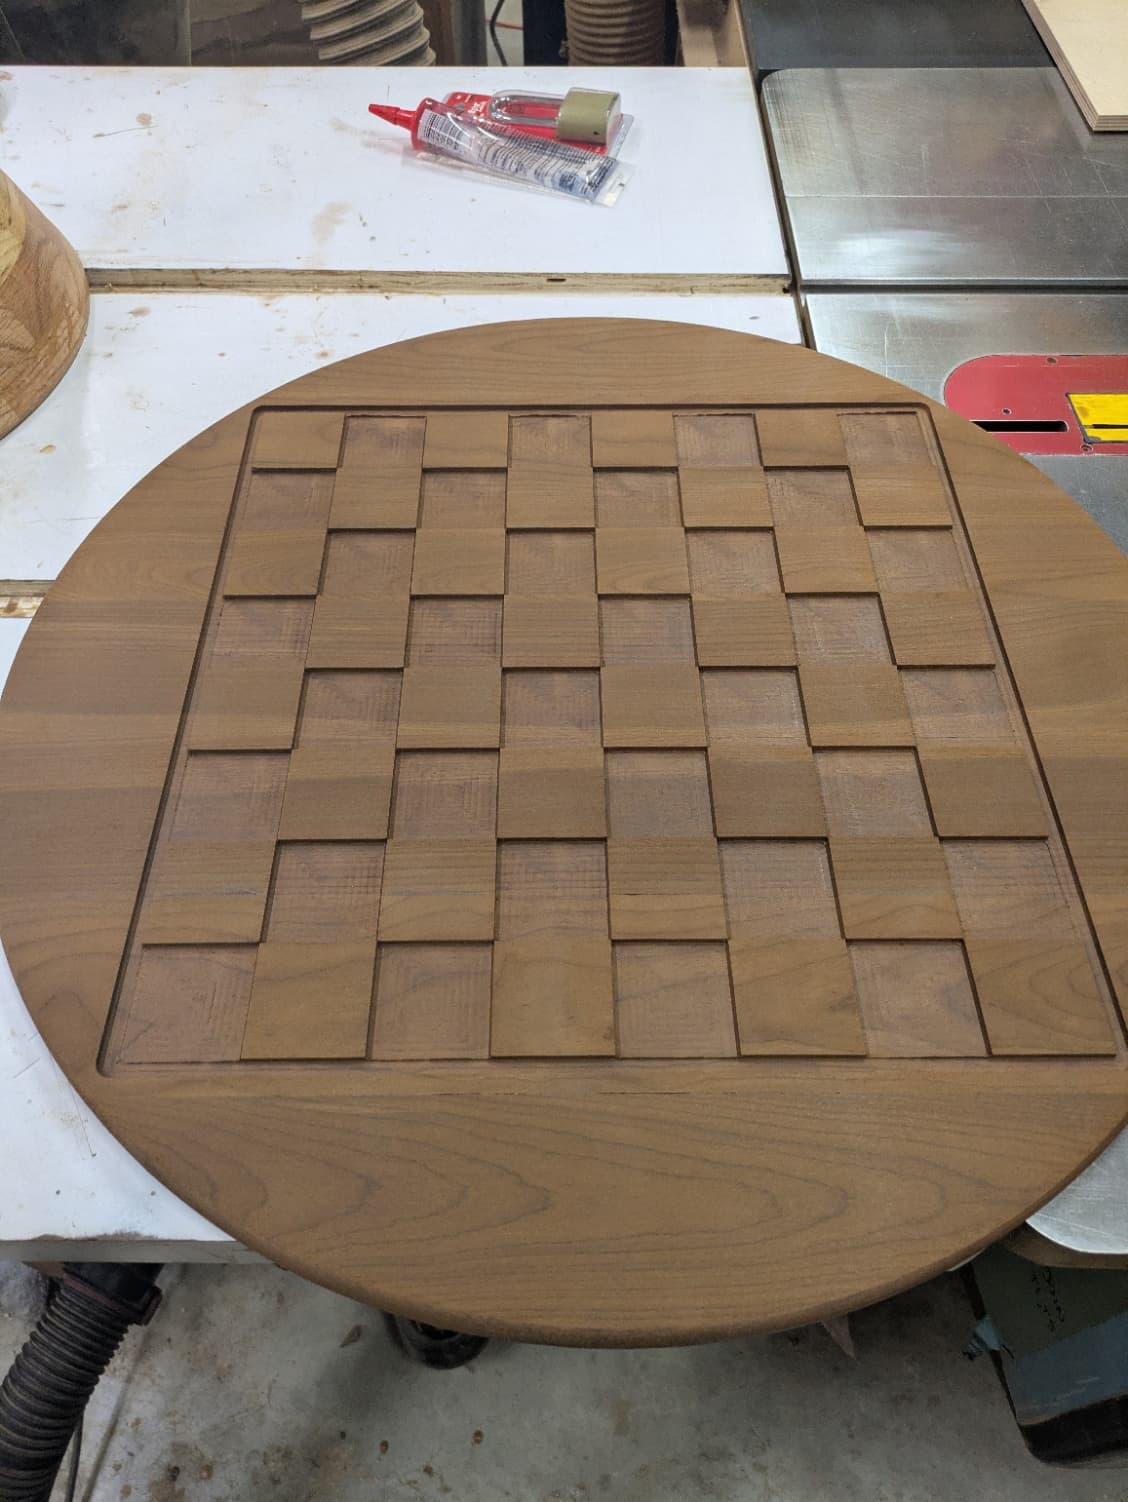
Made progress by carving out the chess board today. I need to do a little clean up. I took the edge to the router table and rounded over top and bottom and sanded it to 120.
Still need to work out how to attach the top to the table base. Ideally I would like to make it removeable for east of transport. That is not required but I think it would be handy.
Tomorrow I will mix up the table top epoxy and add white colorant and pour. Hopefully by Saturday and/or Sunday I will be ready to surface the top.
Why not use threaded inserts in the stand and the bottom of the table? I would think even a 1/4” threaded insert would be more than enough to hold it tight and stable with the surface area on the base.