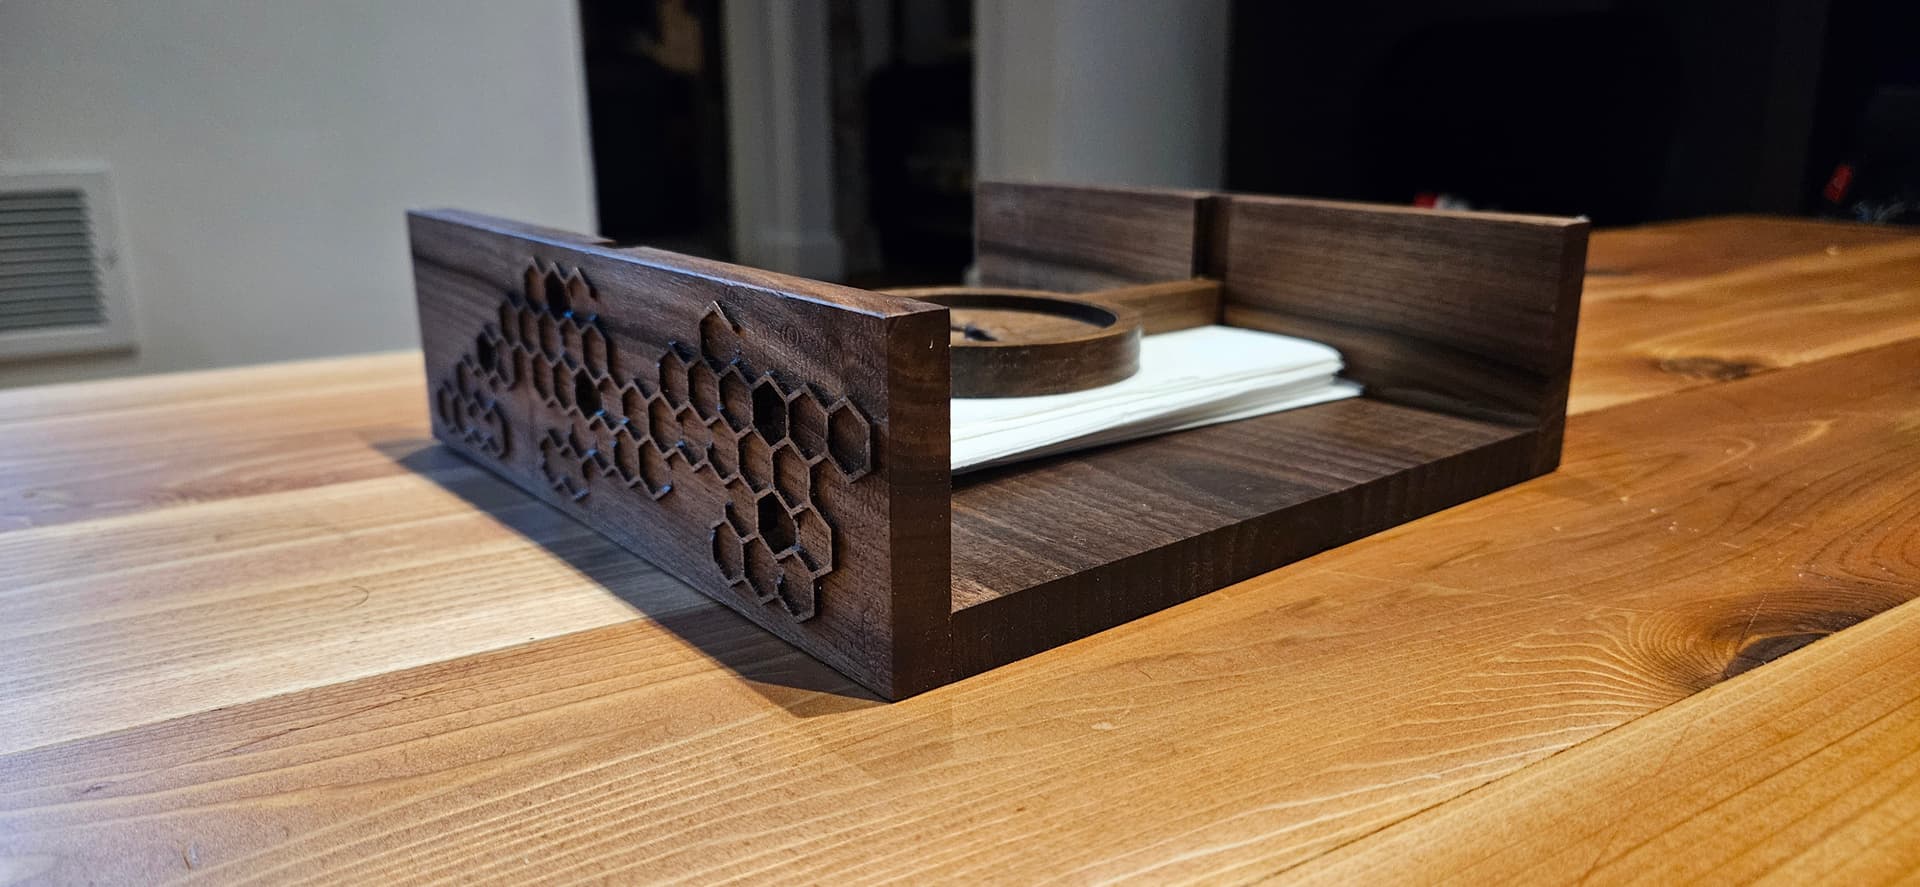
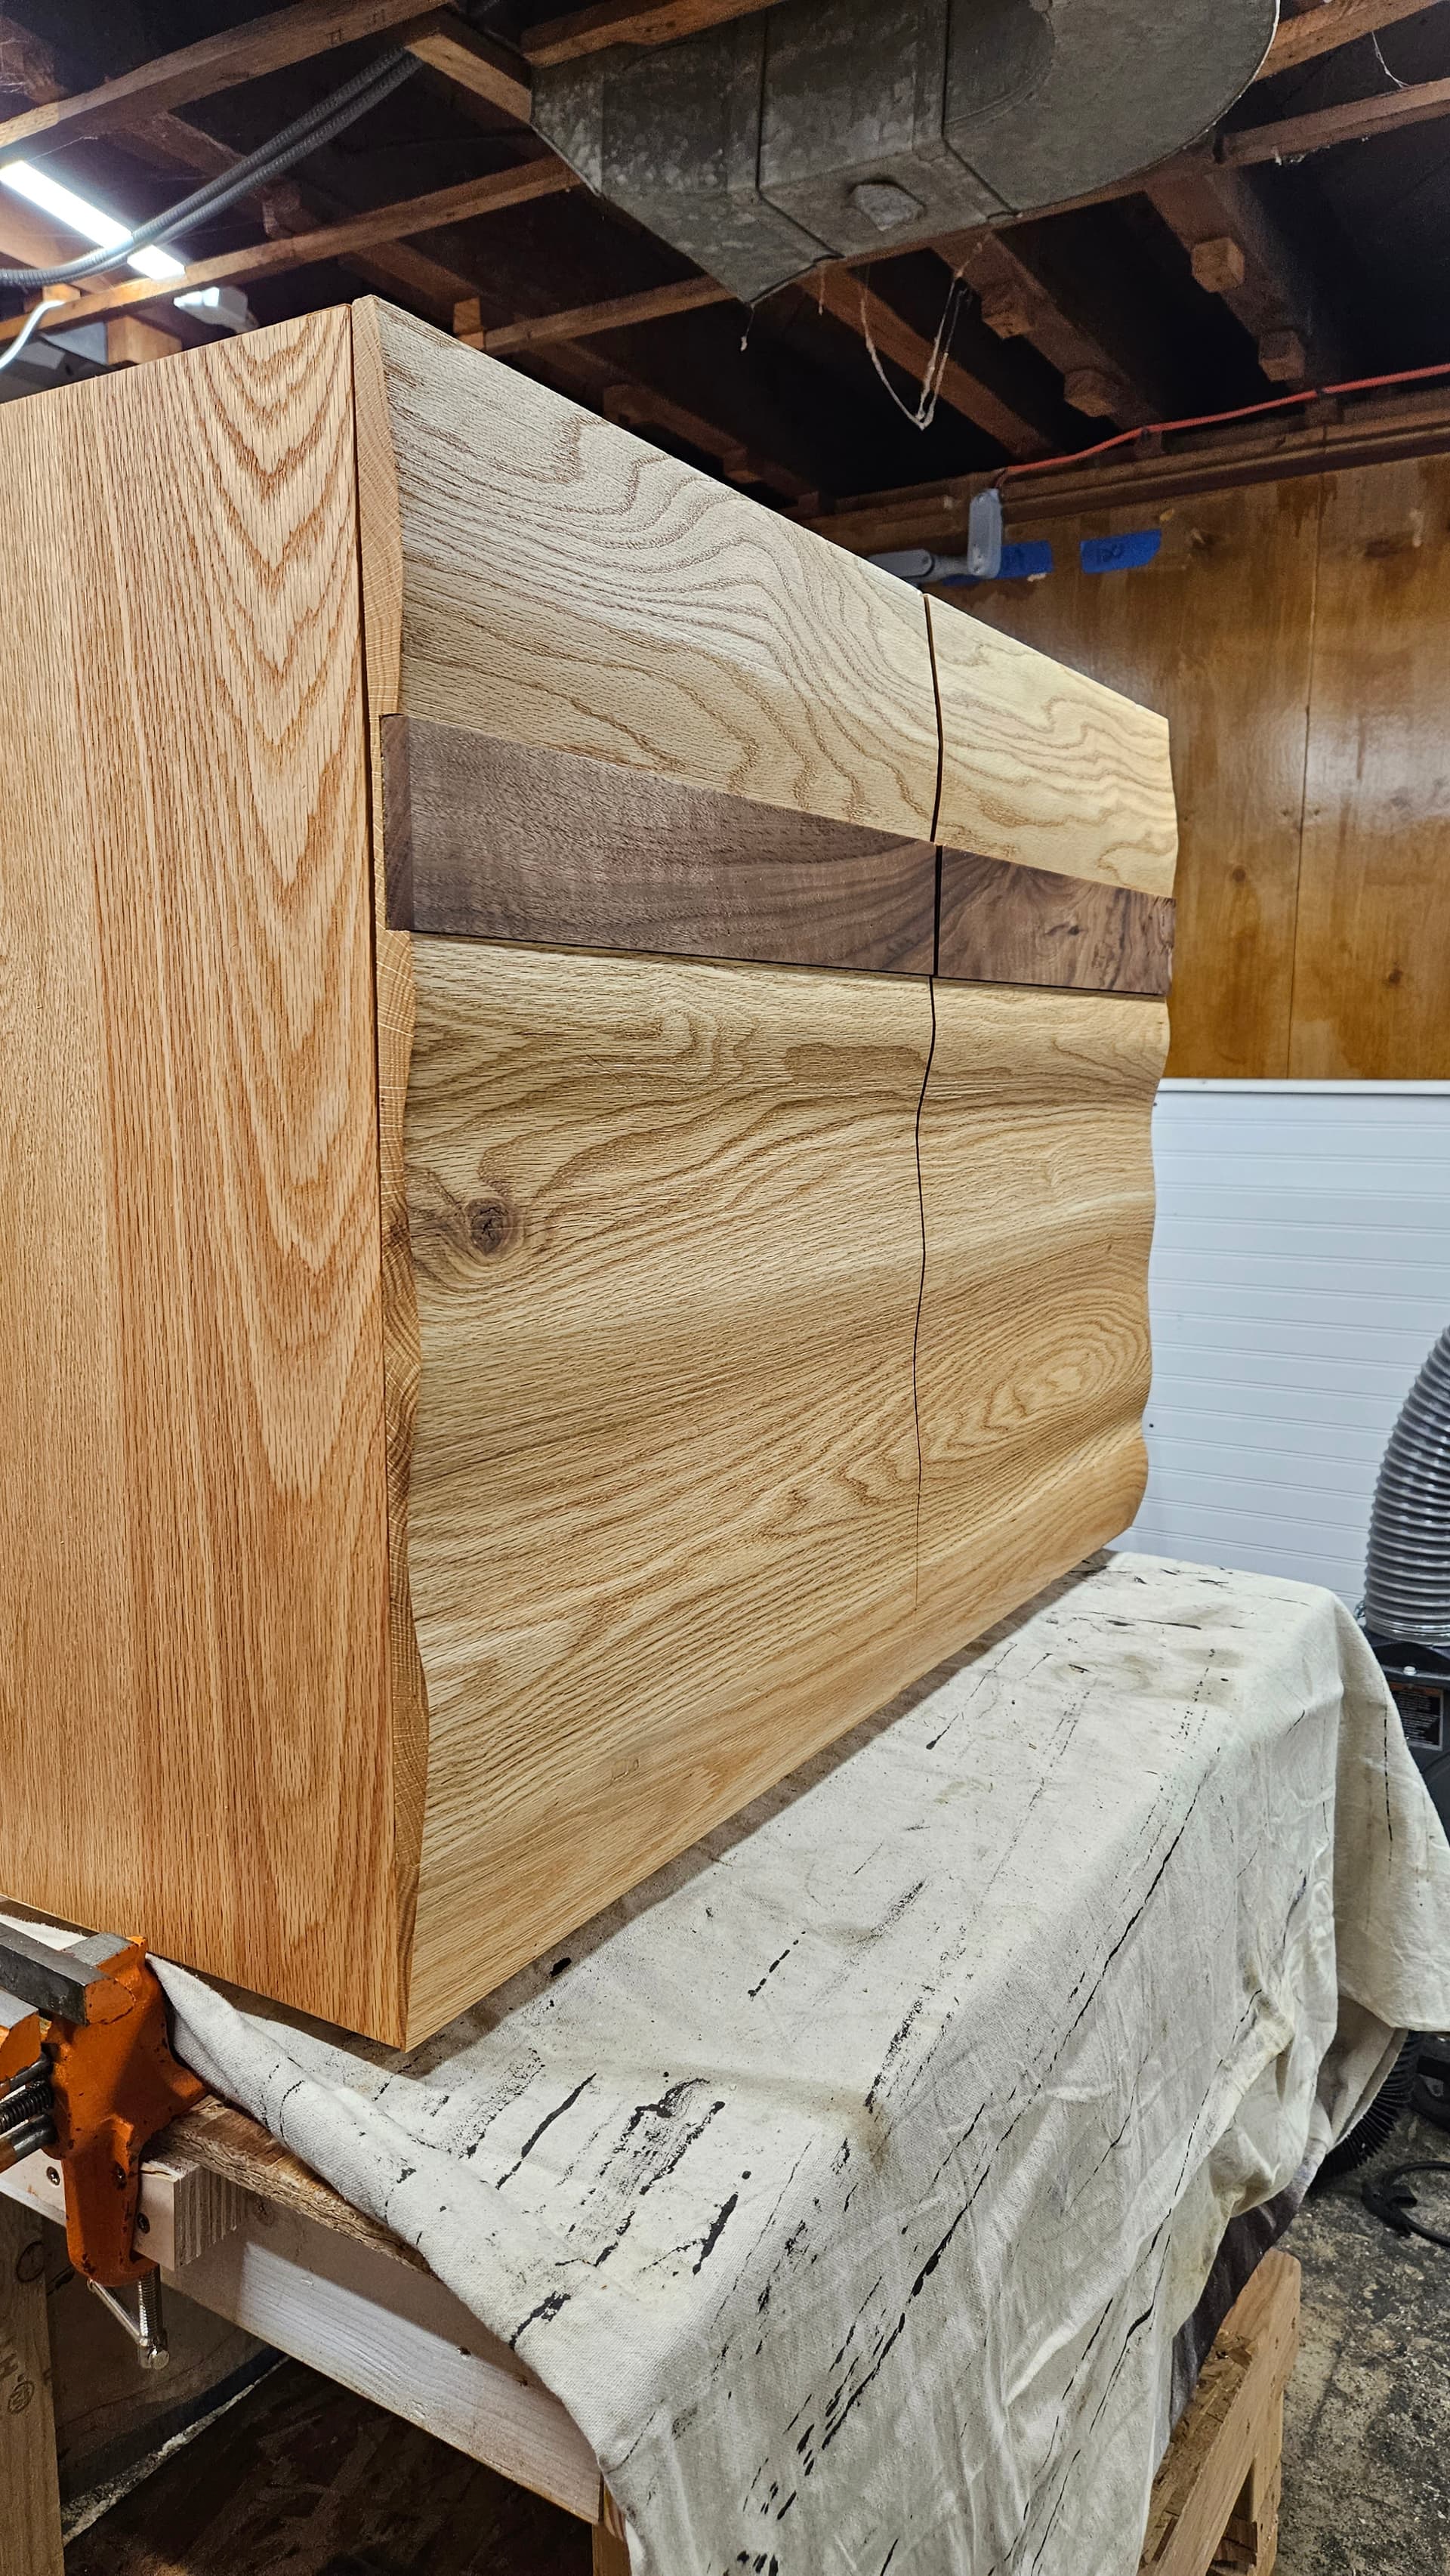
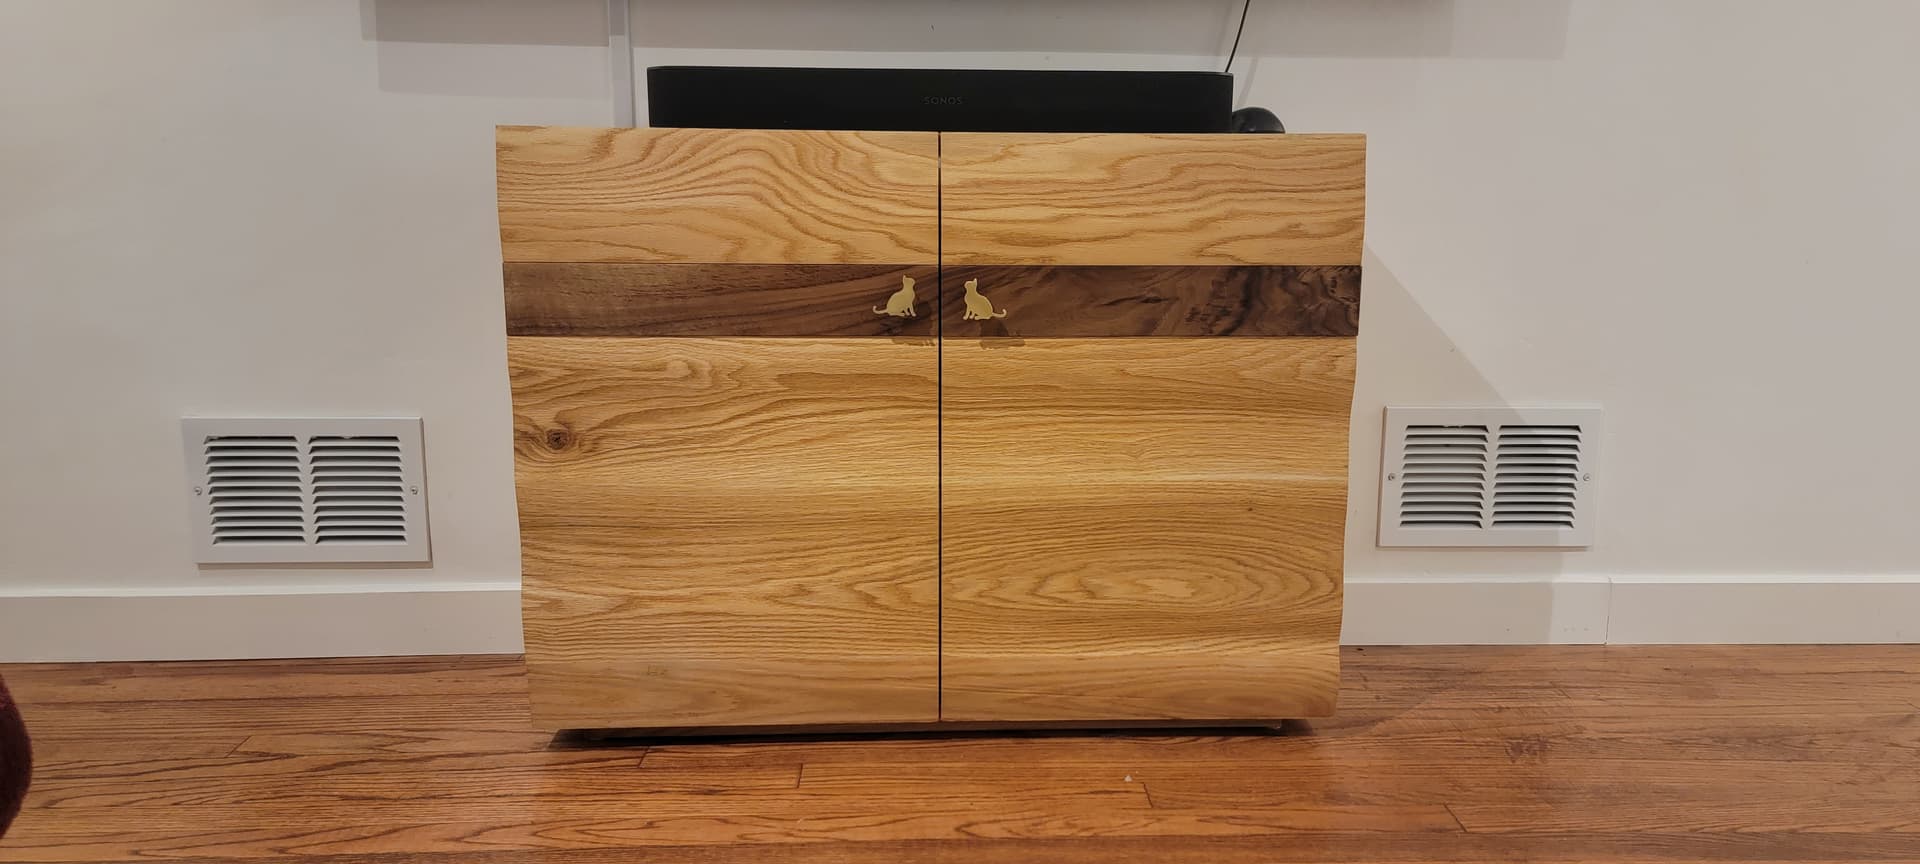
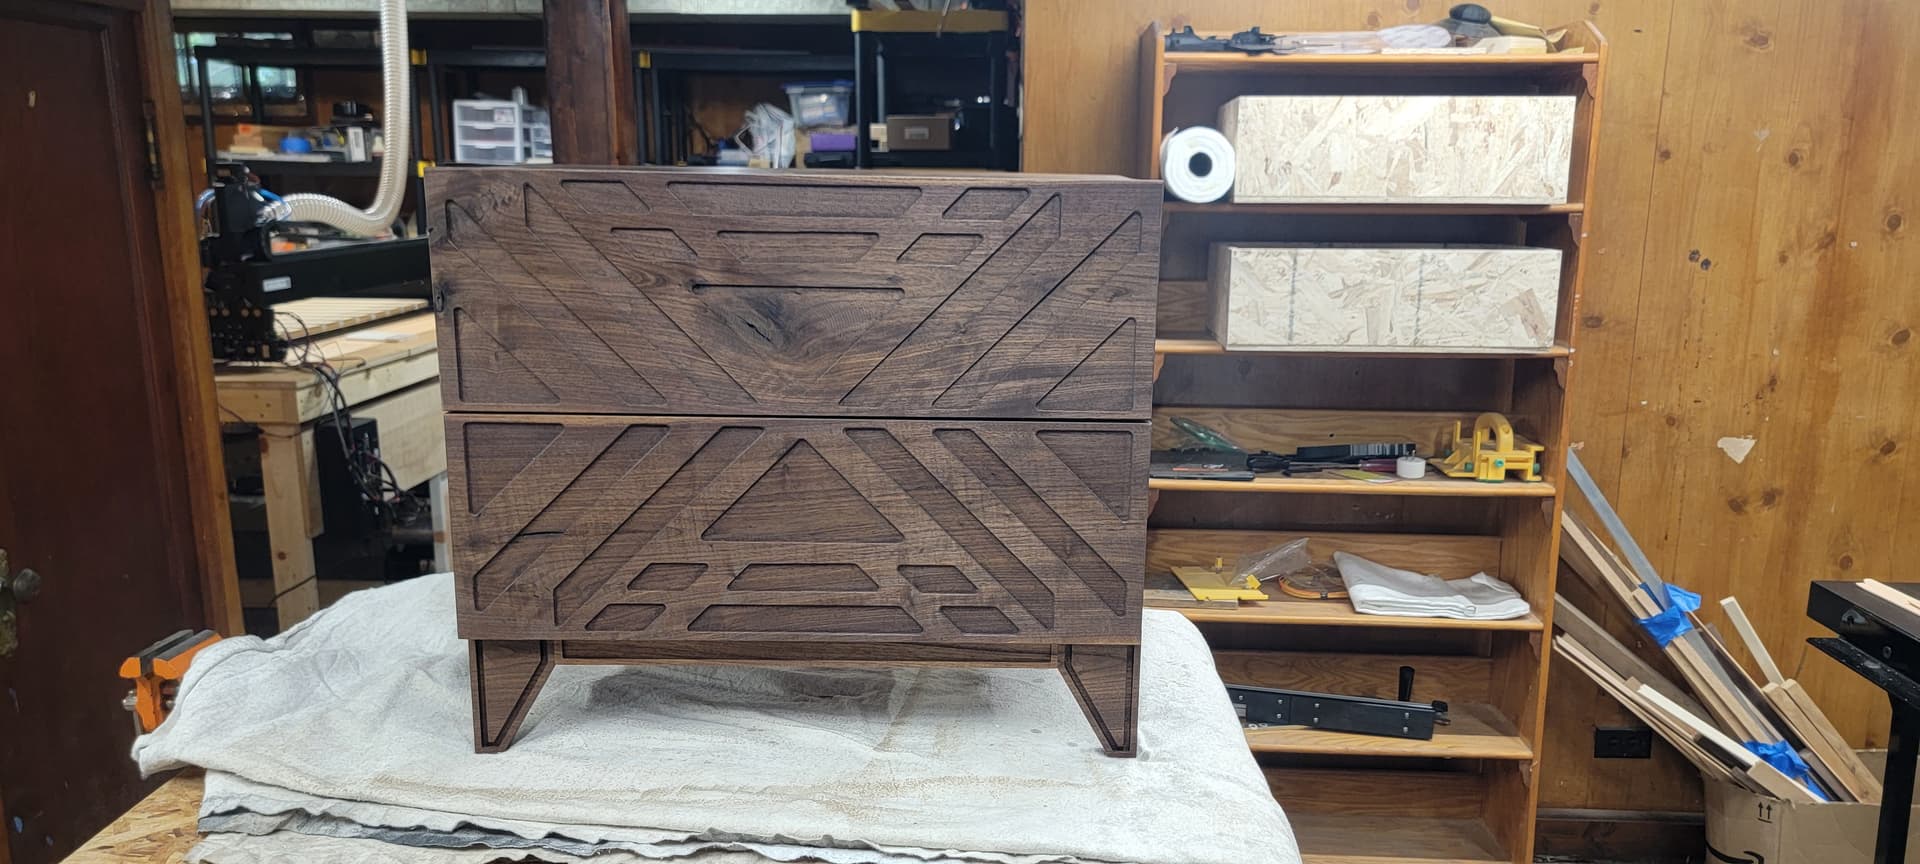
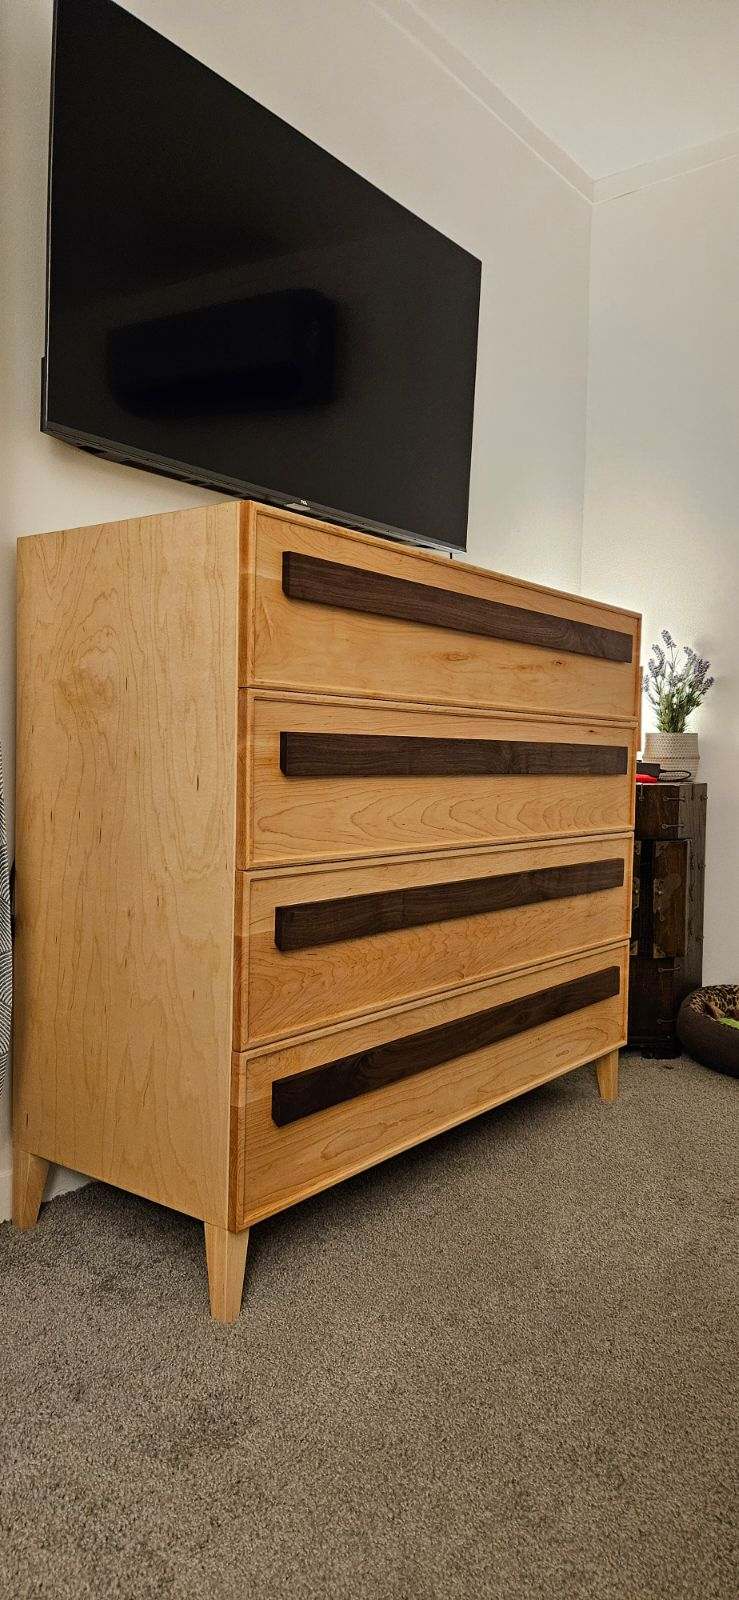
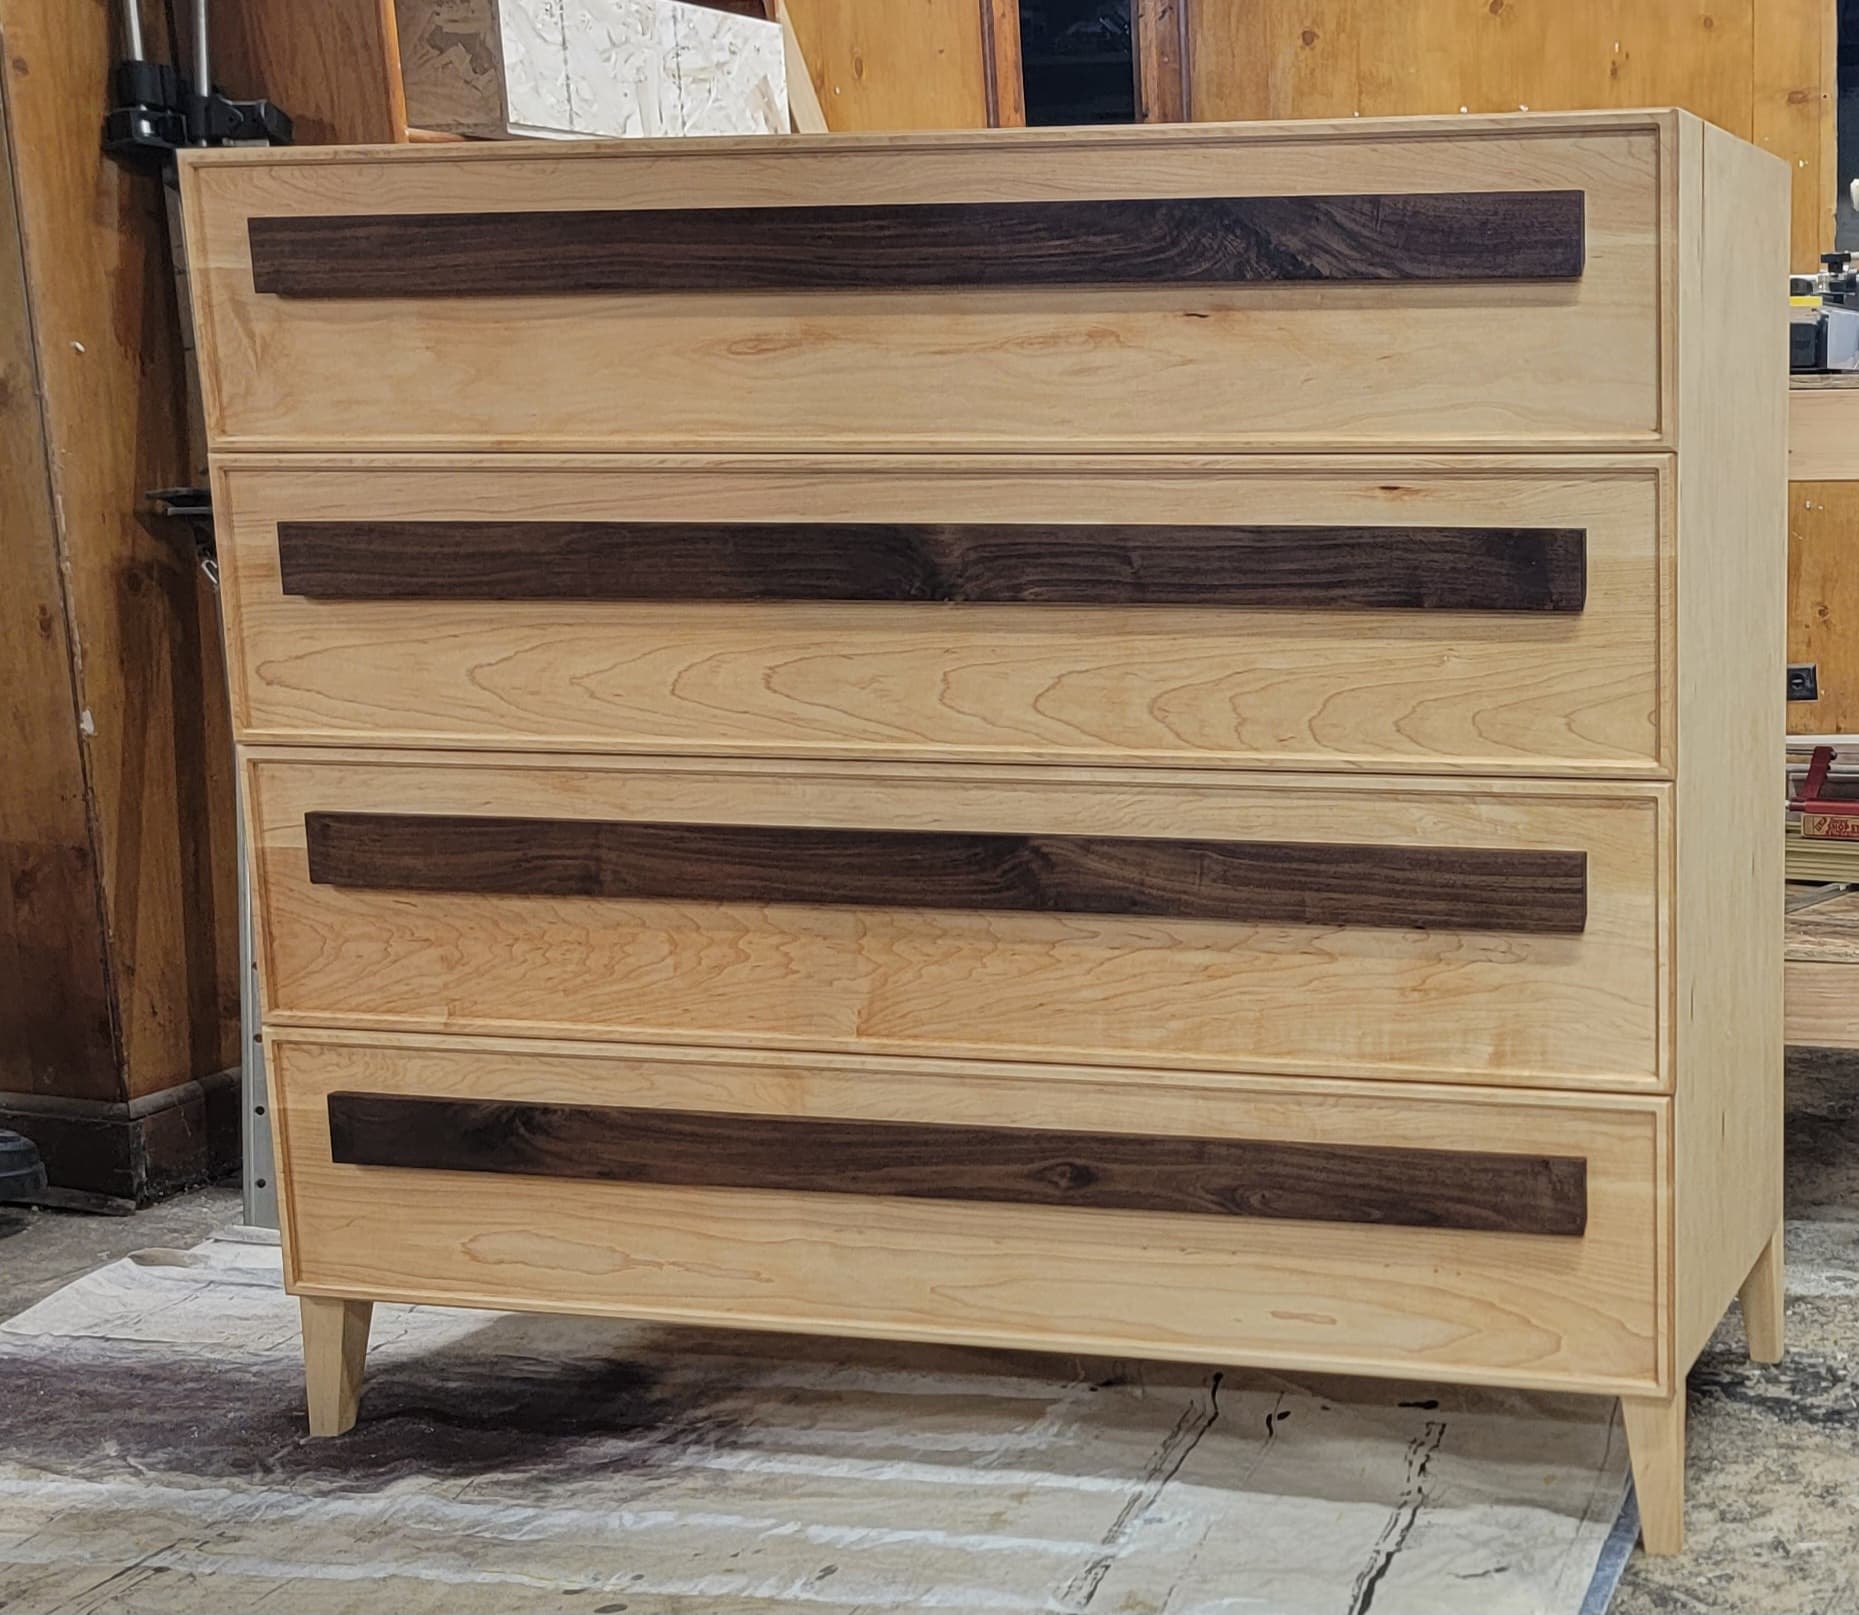
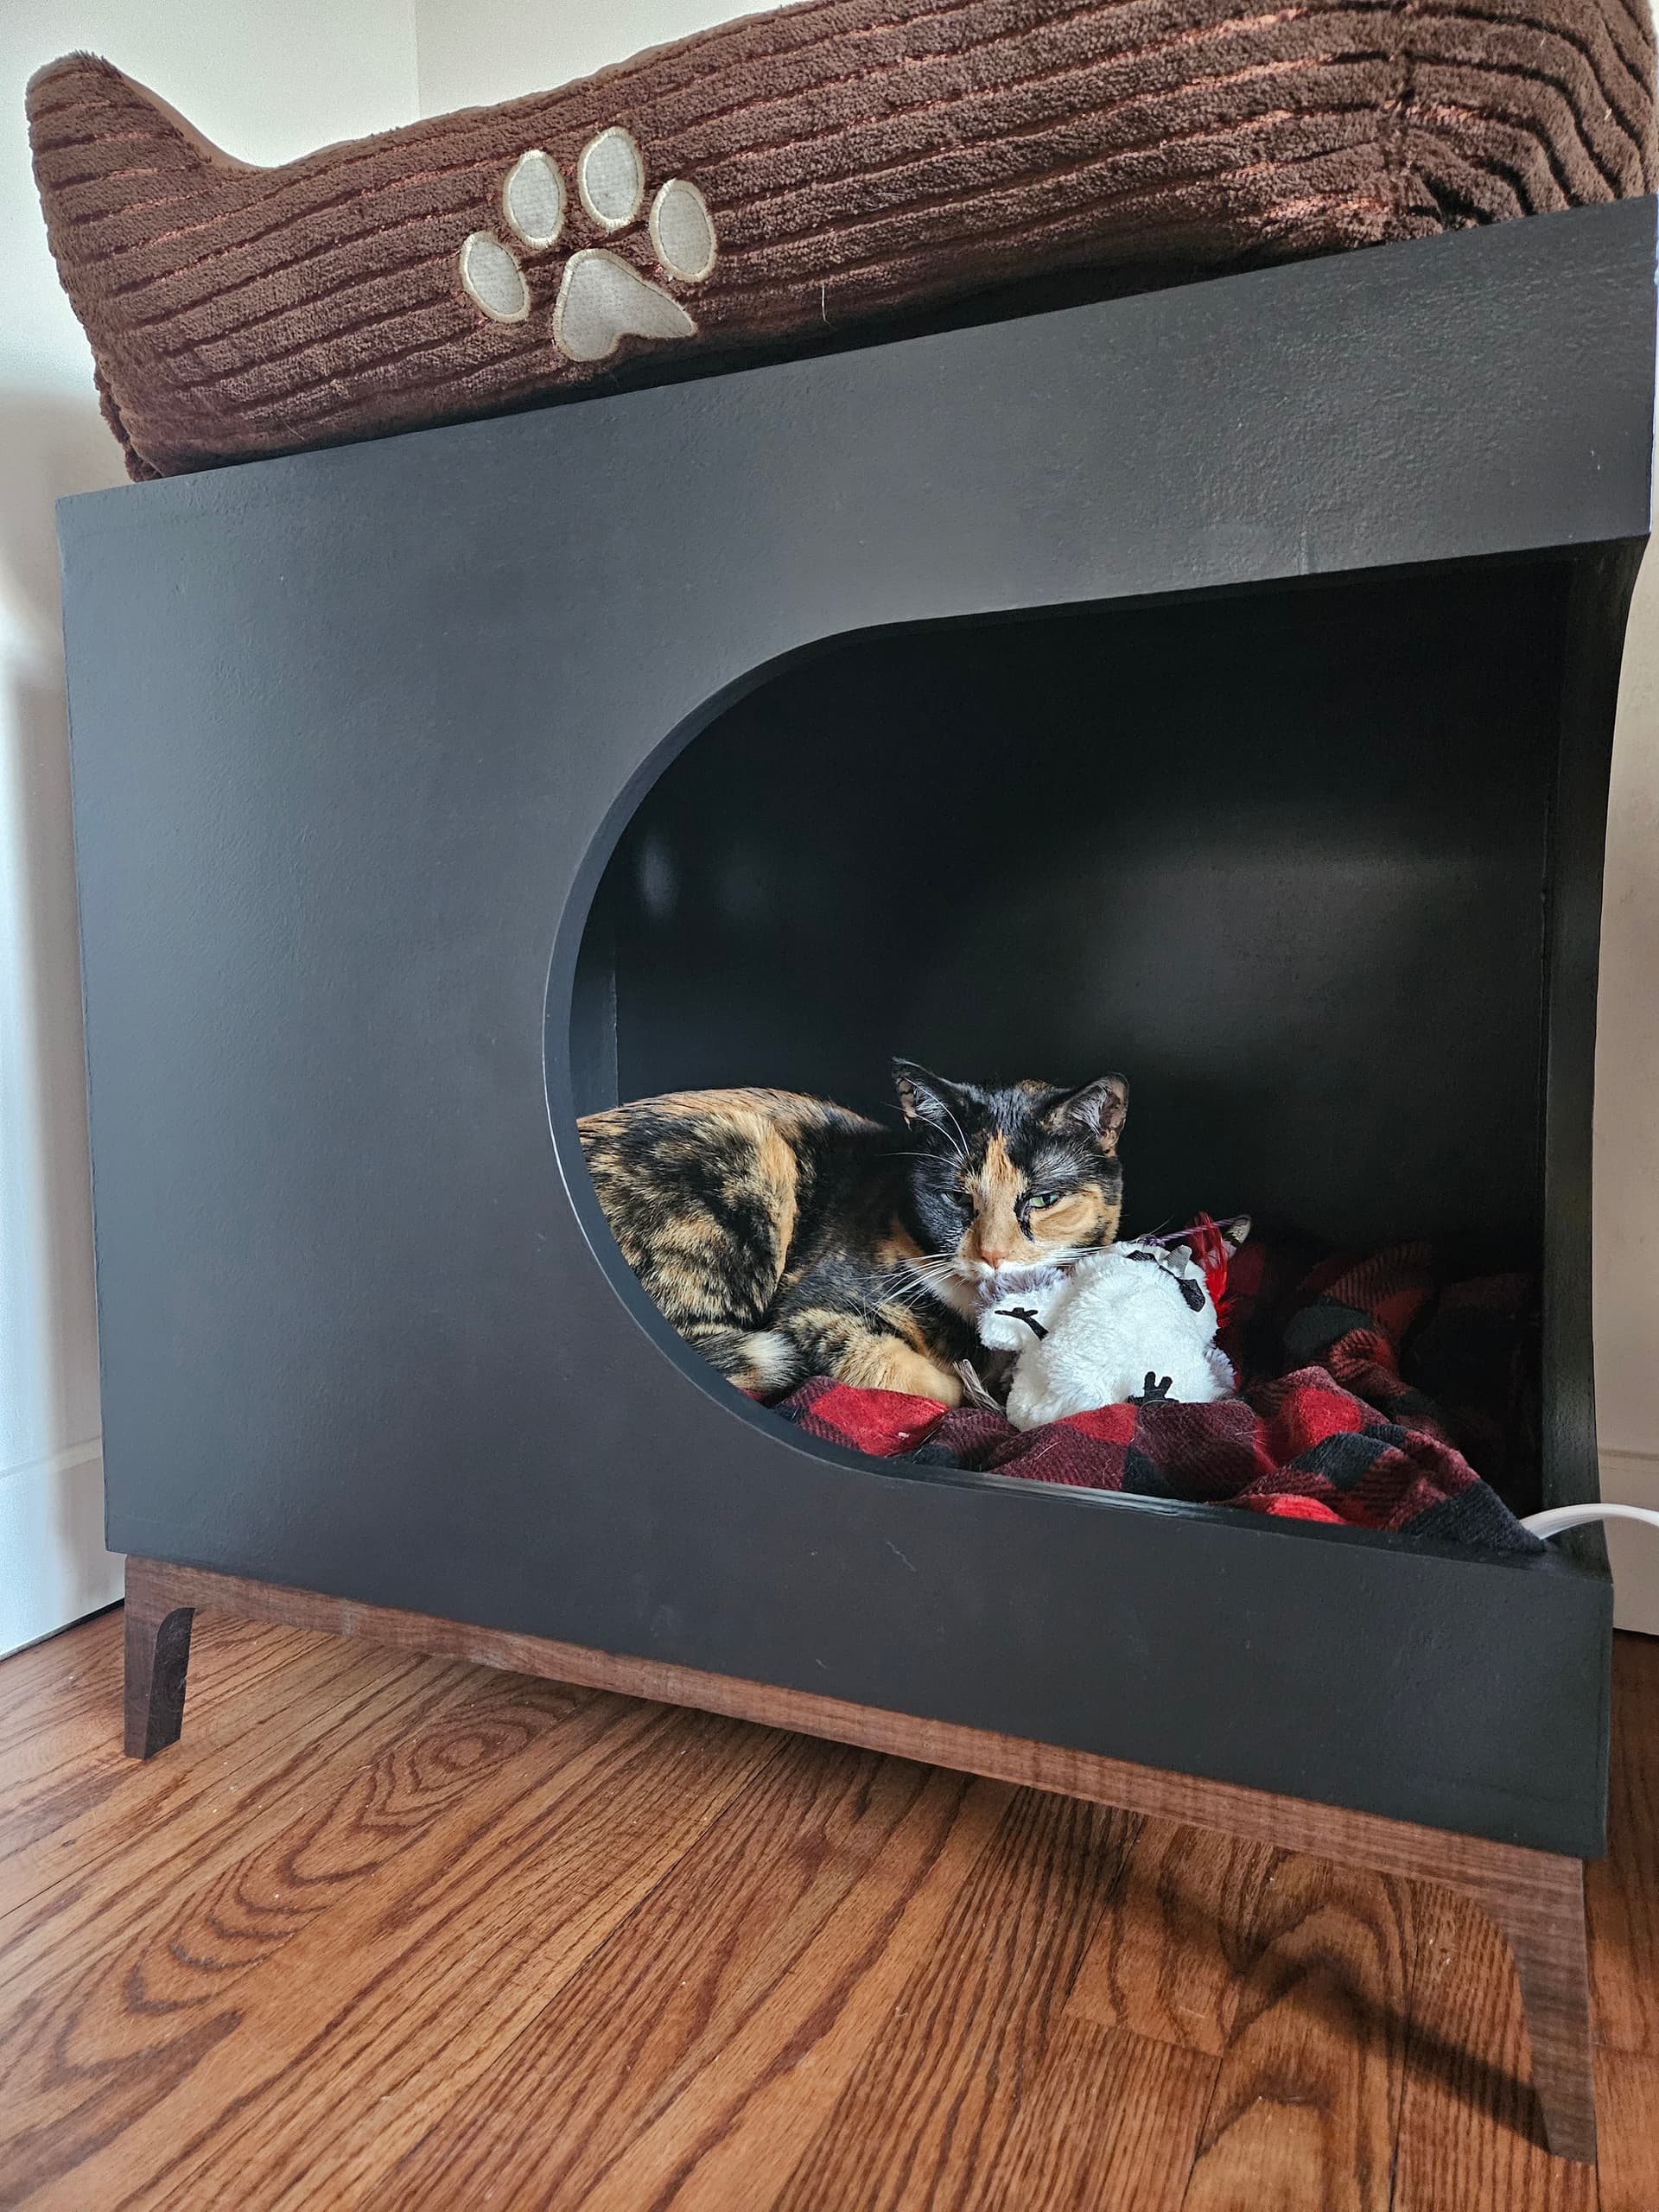
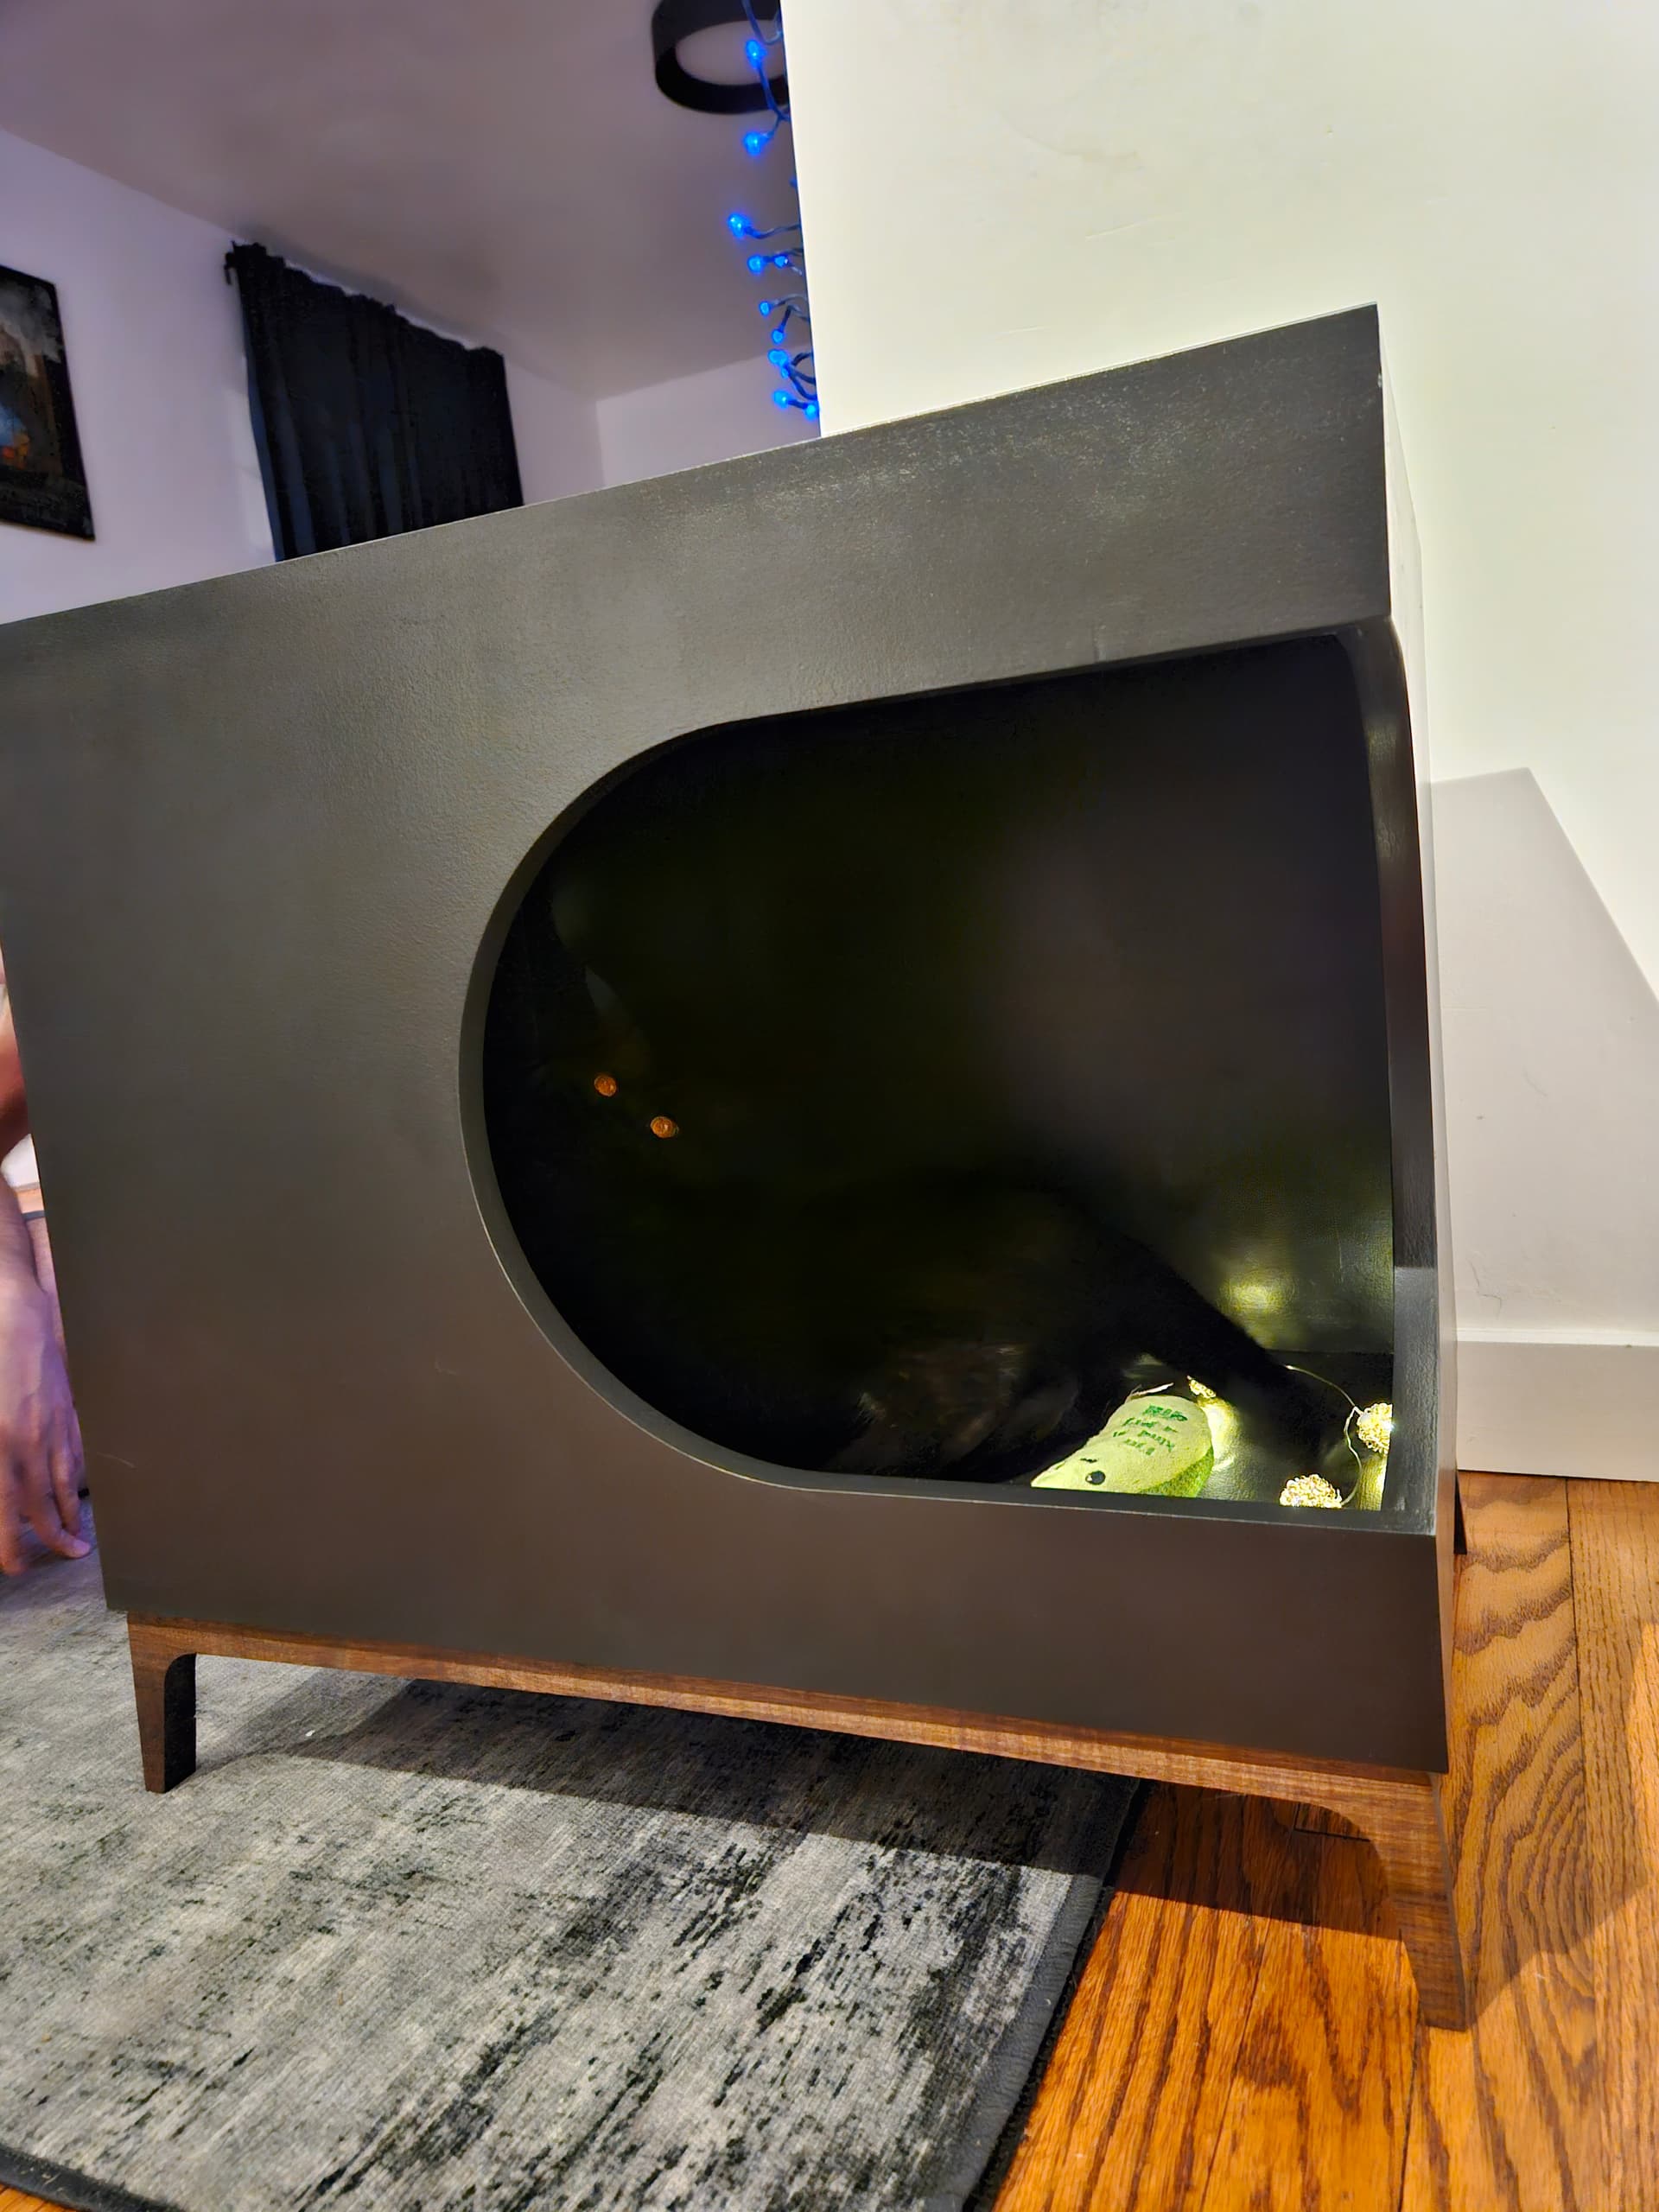
Just wanted to share my first year of using a CNC machine (SP5 4x4). Lots of learning from these projects. Some were partially cut out on the CNC and some were entirely done on the CNC.
Nice work. With woodworking it is a live and learn process. Sometimes a design on paper is not also the same when you actually make it to scale. All of your projects look good to me and since I assume they are in your house you are final judge of what looks good. Just keep moving forward. Many woodworkers are over critical of their own work. Dont fall in to that trap. Be proud of what you make because so everyone else will.
I used to live in suburban neighborhood in Kingwood Texas. I lived on a very long block and the gang mail box was right in front of my house. I was always working the garage and my neighbors would get their mail and come and look at what I was doing. They were all amazed that I was making stuff. Most people do not know how to do anything anymore. I was the only person on my block that cut my own grass and fixed my own cars. So be proud of what you have accomplished. You are at so many levels ahead of your peers.
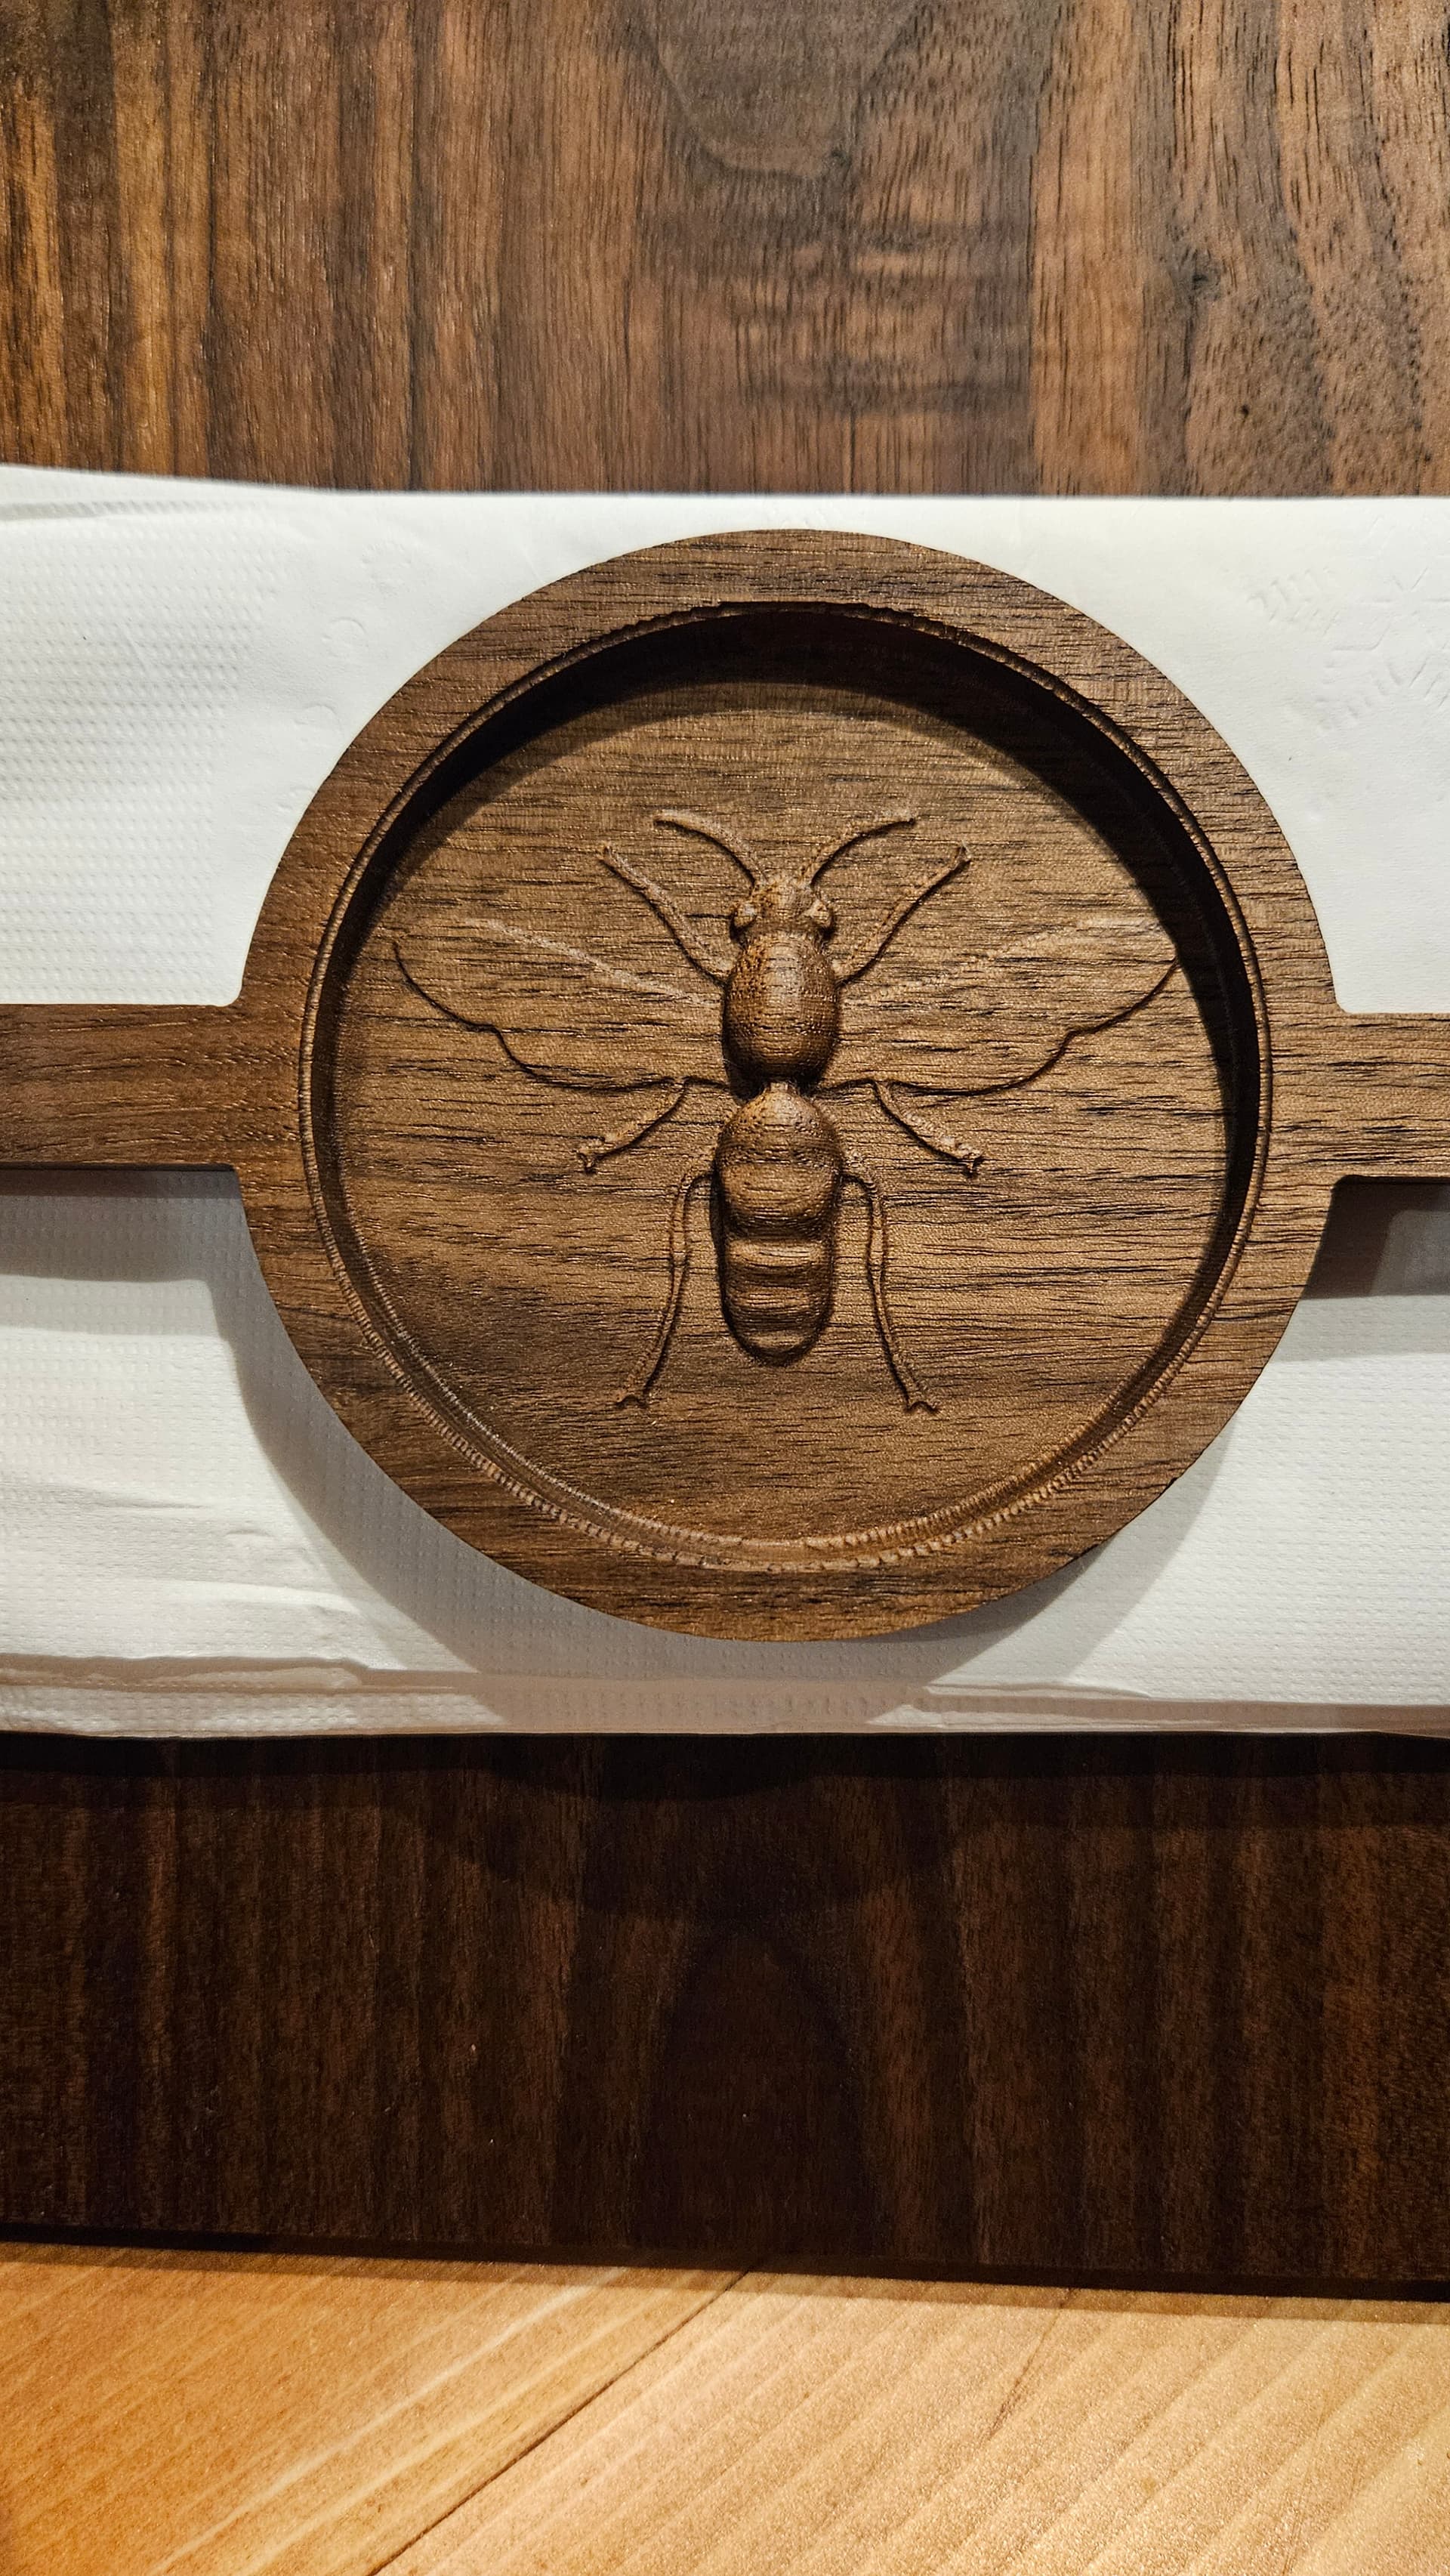
Those are ALL gorgeous. Very nice! I am brand new at CNC, but really want to learn how to do something like the 3D image of the wasp. How did you create that file? Do I have to upgrade to Carbide Motion Pro in order to do something like that? Was the wasp made with Advanced V-Carve?
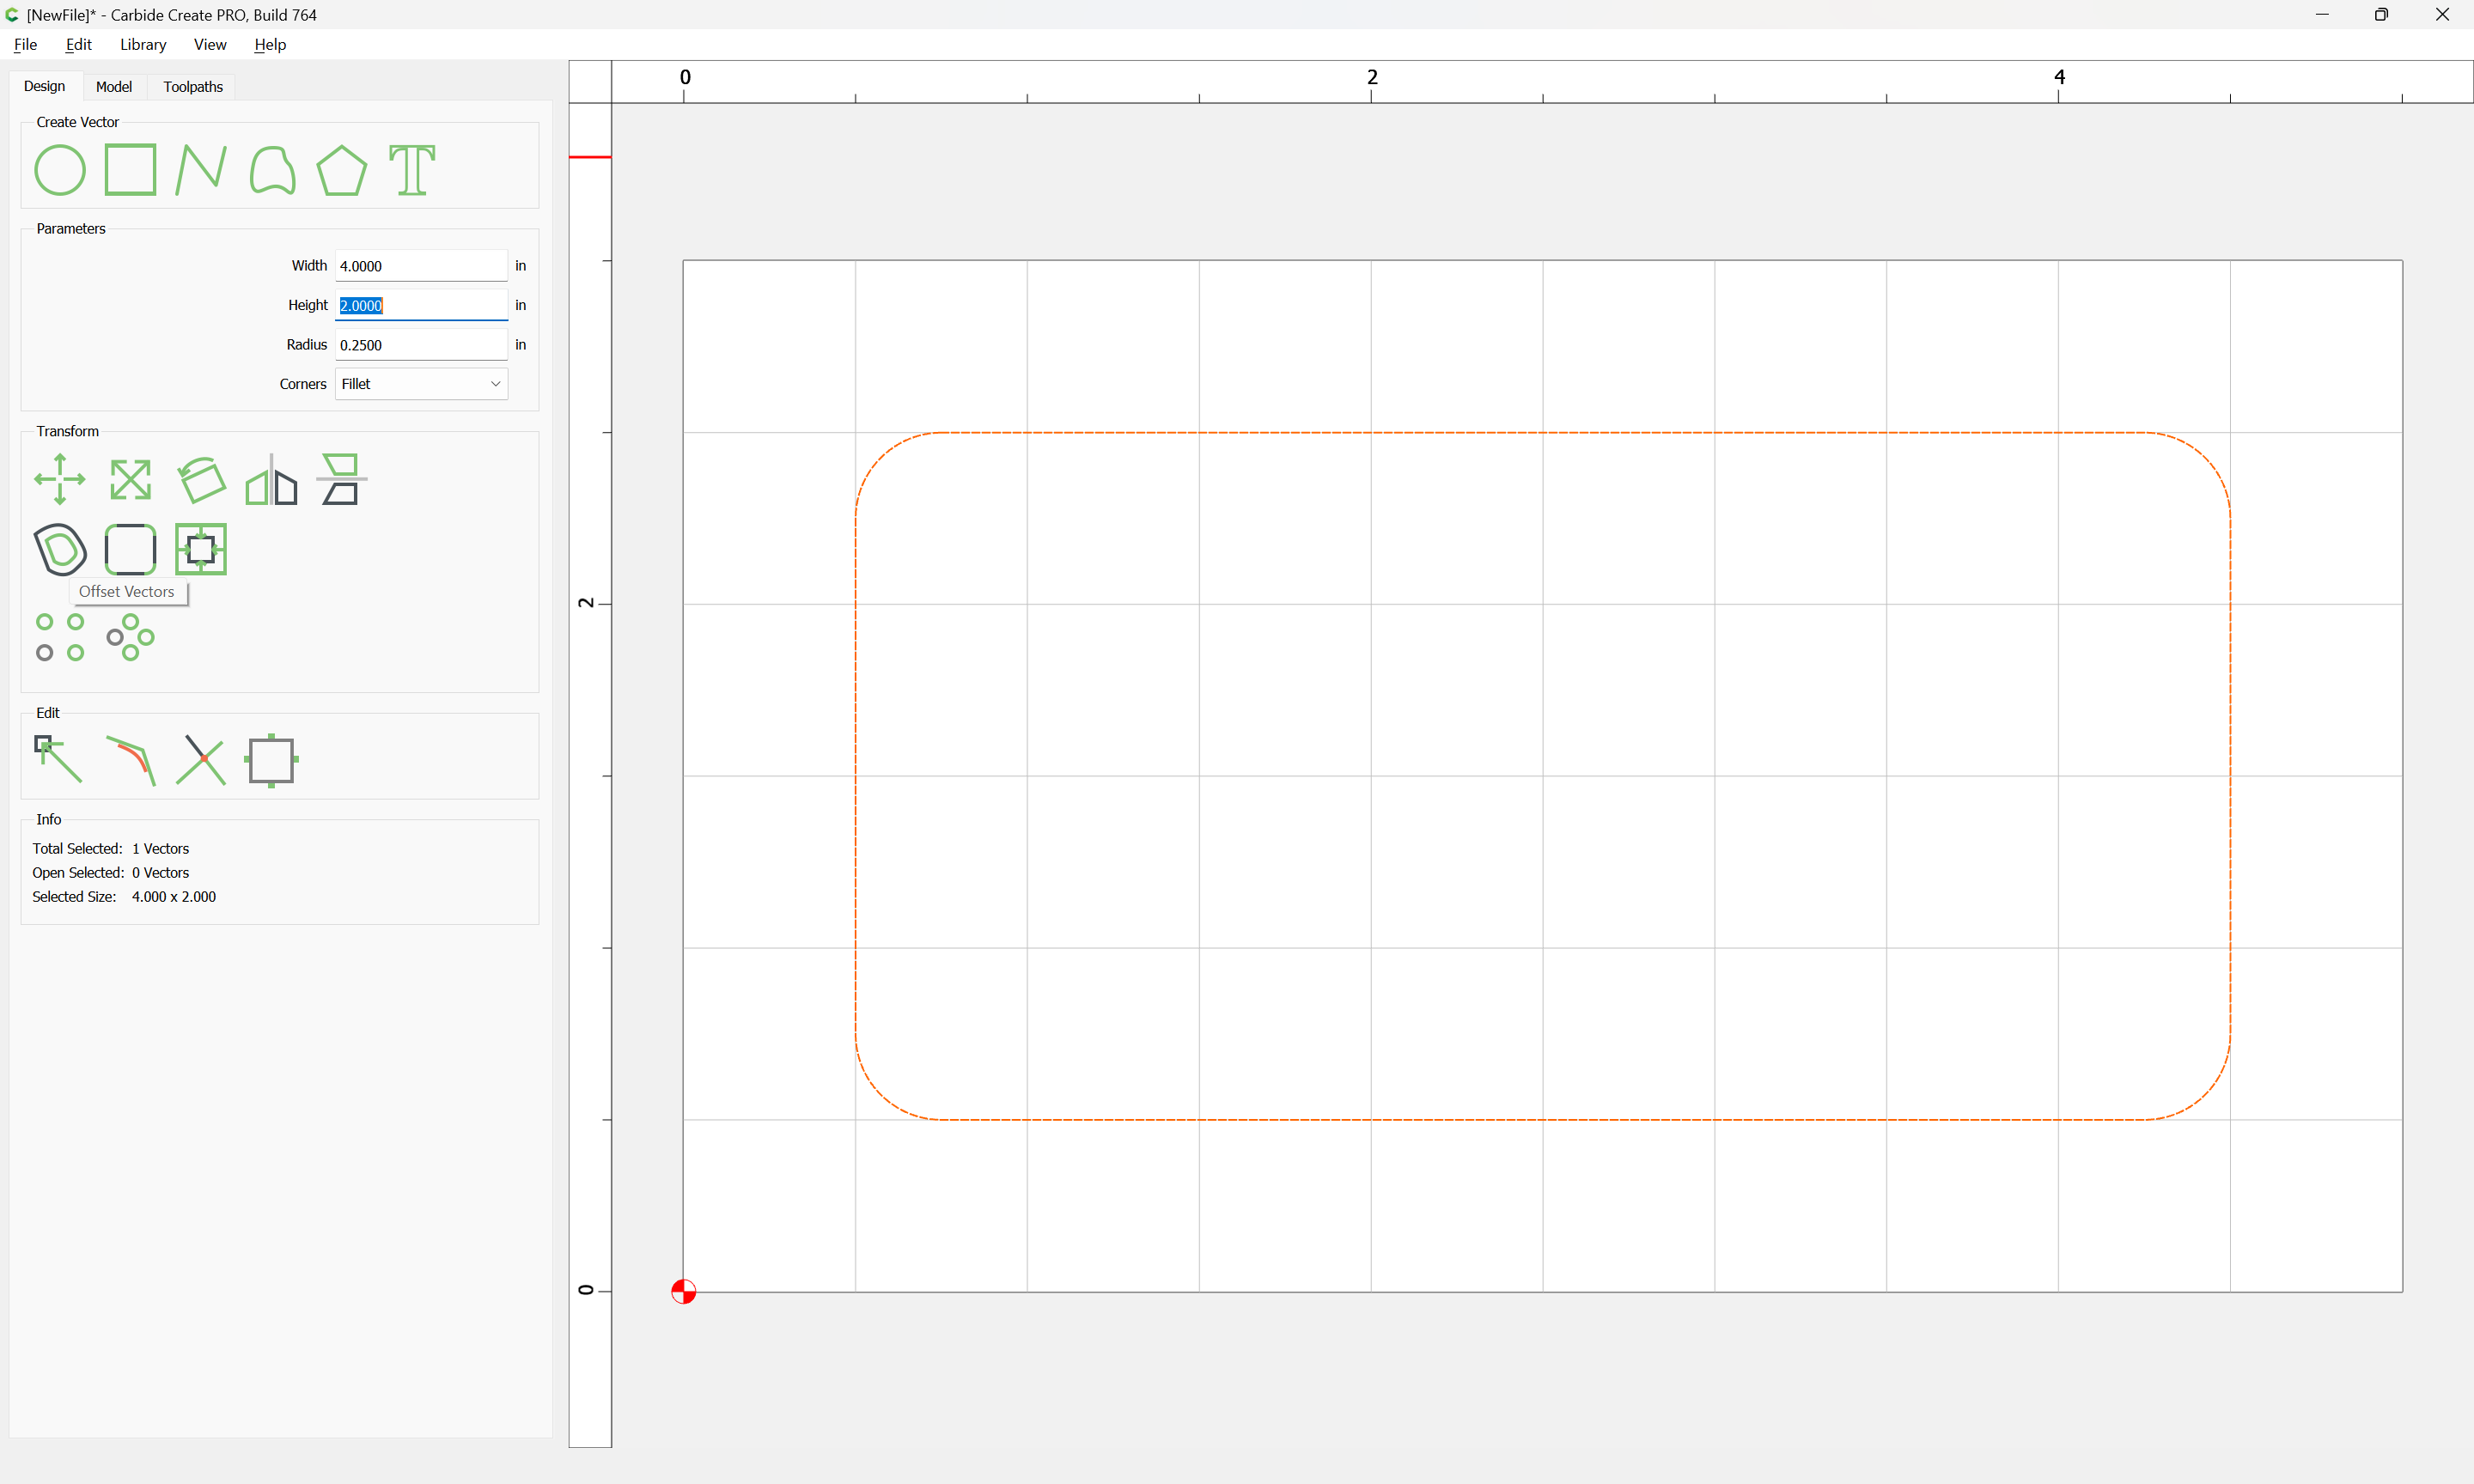
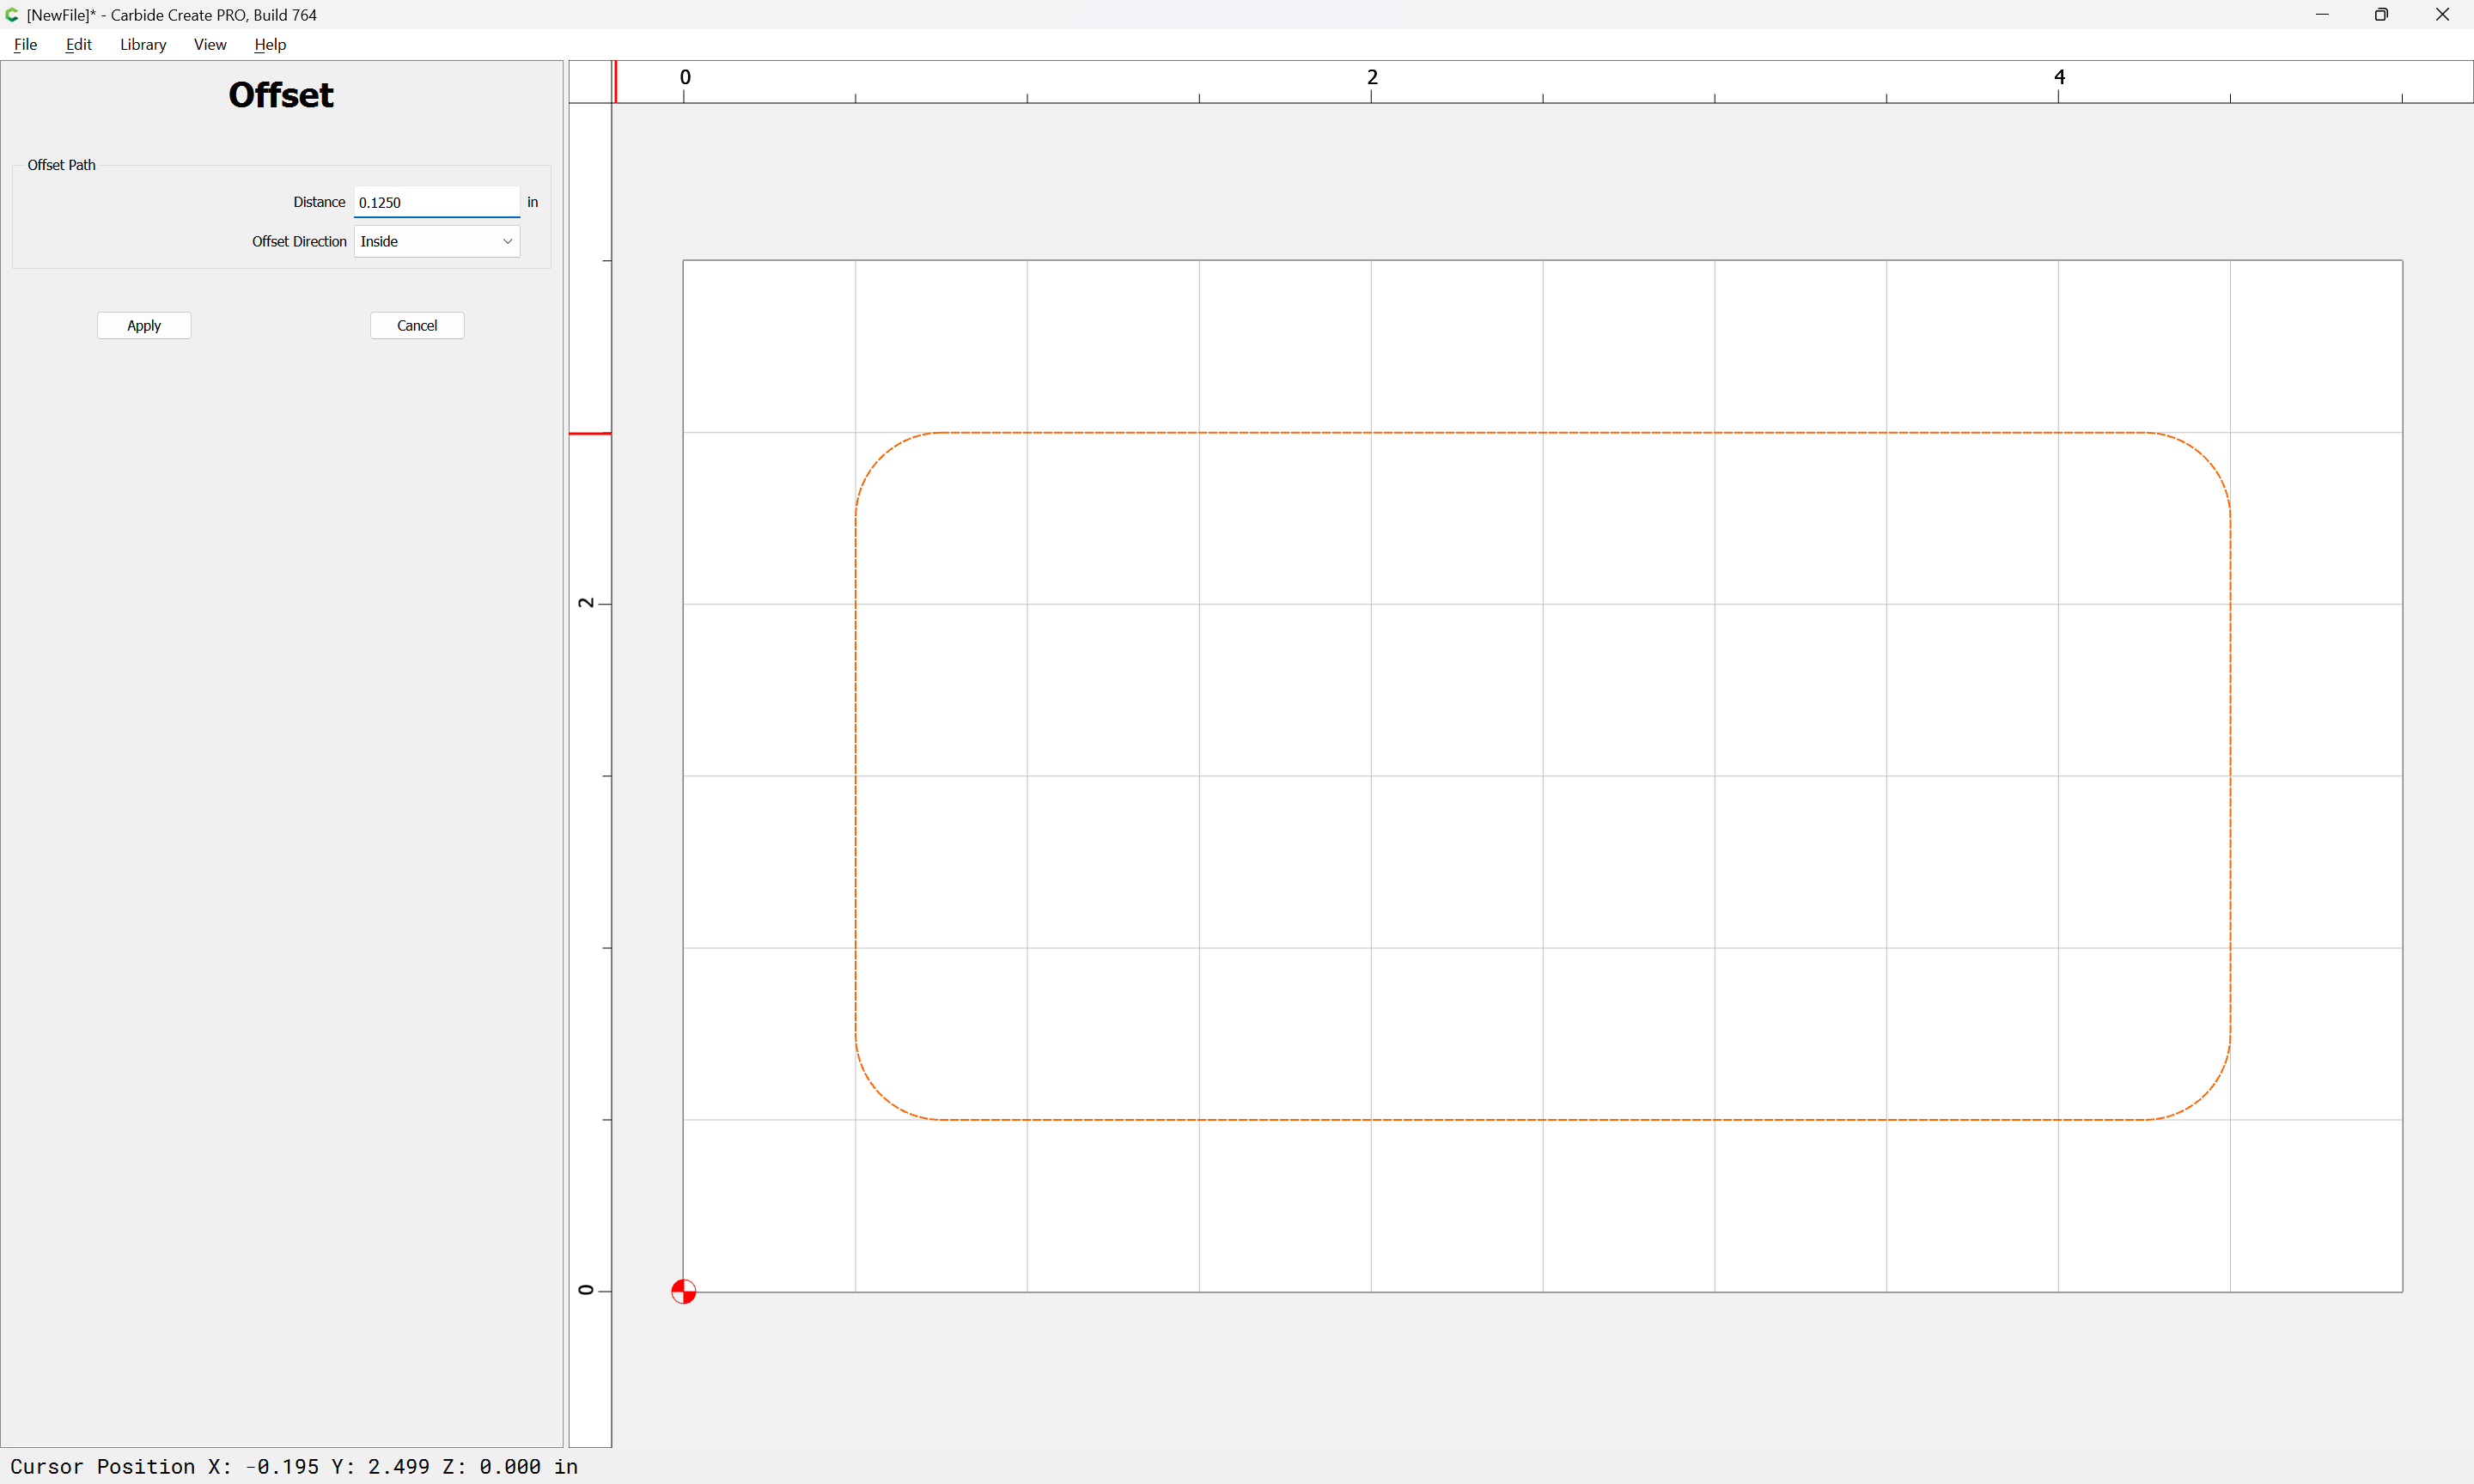
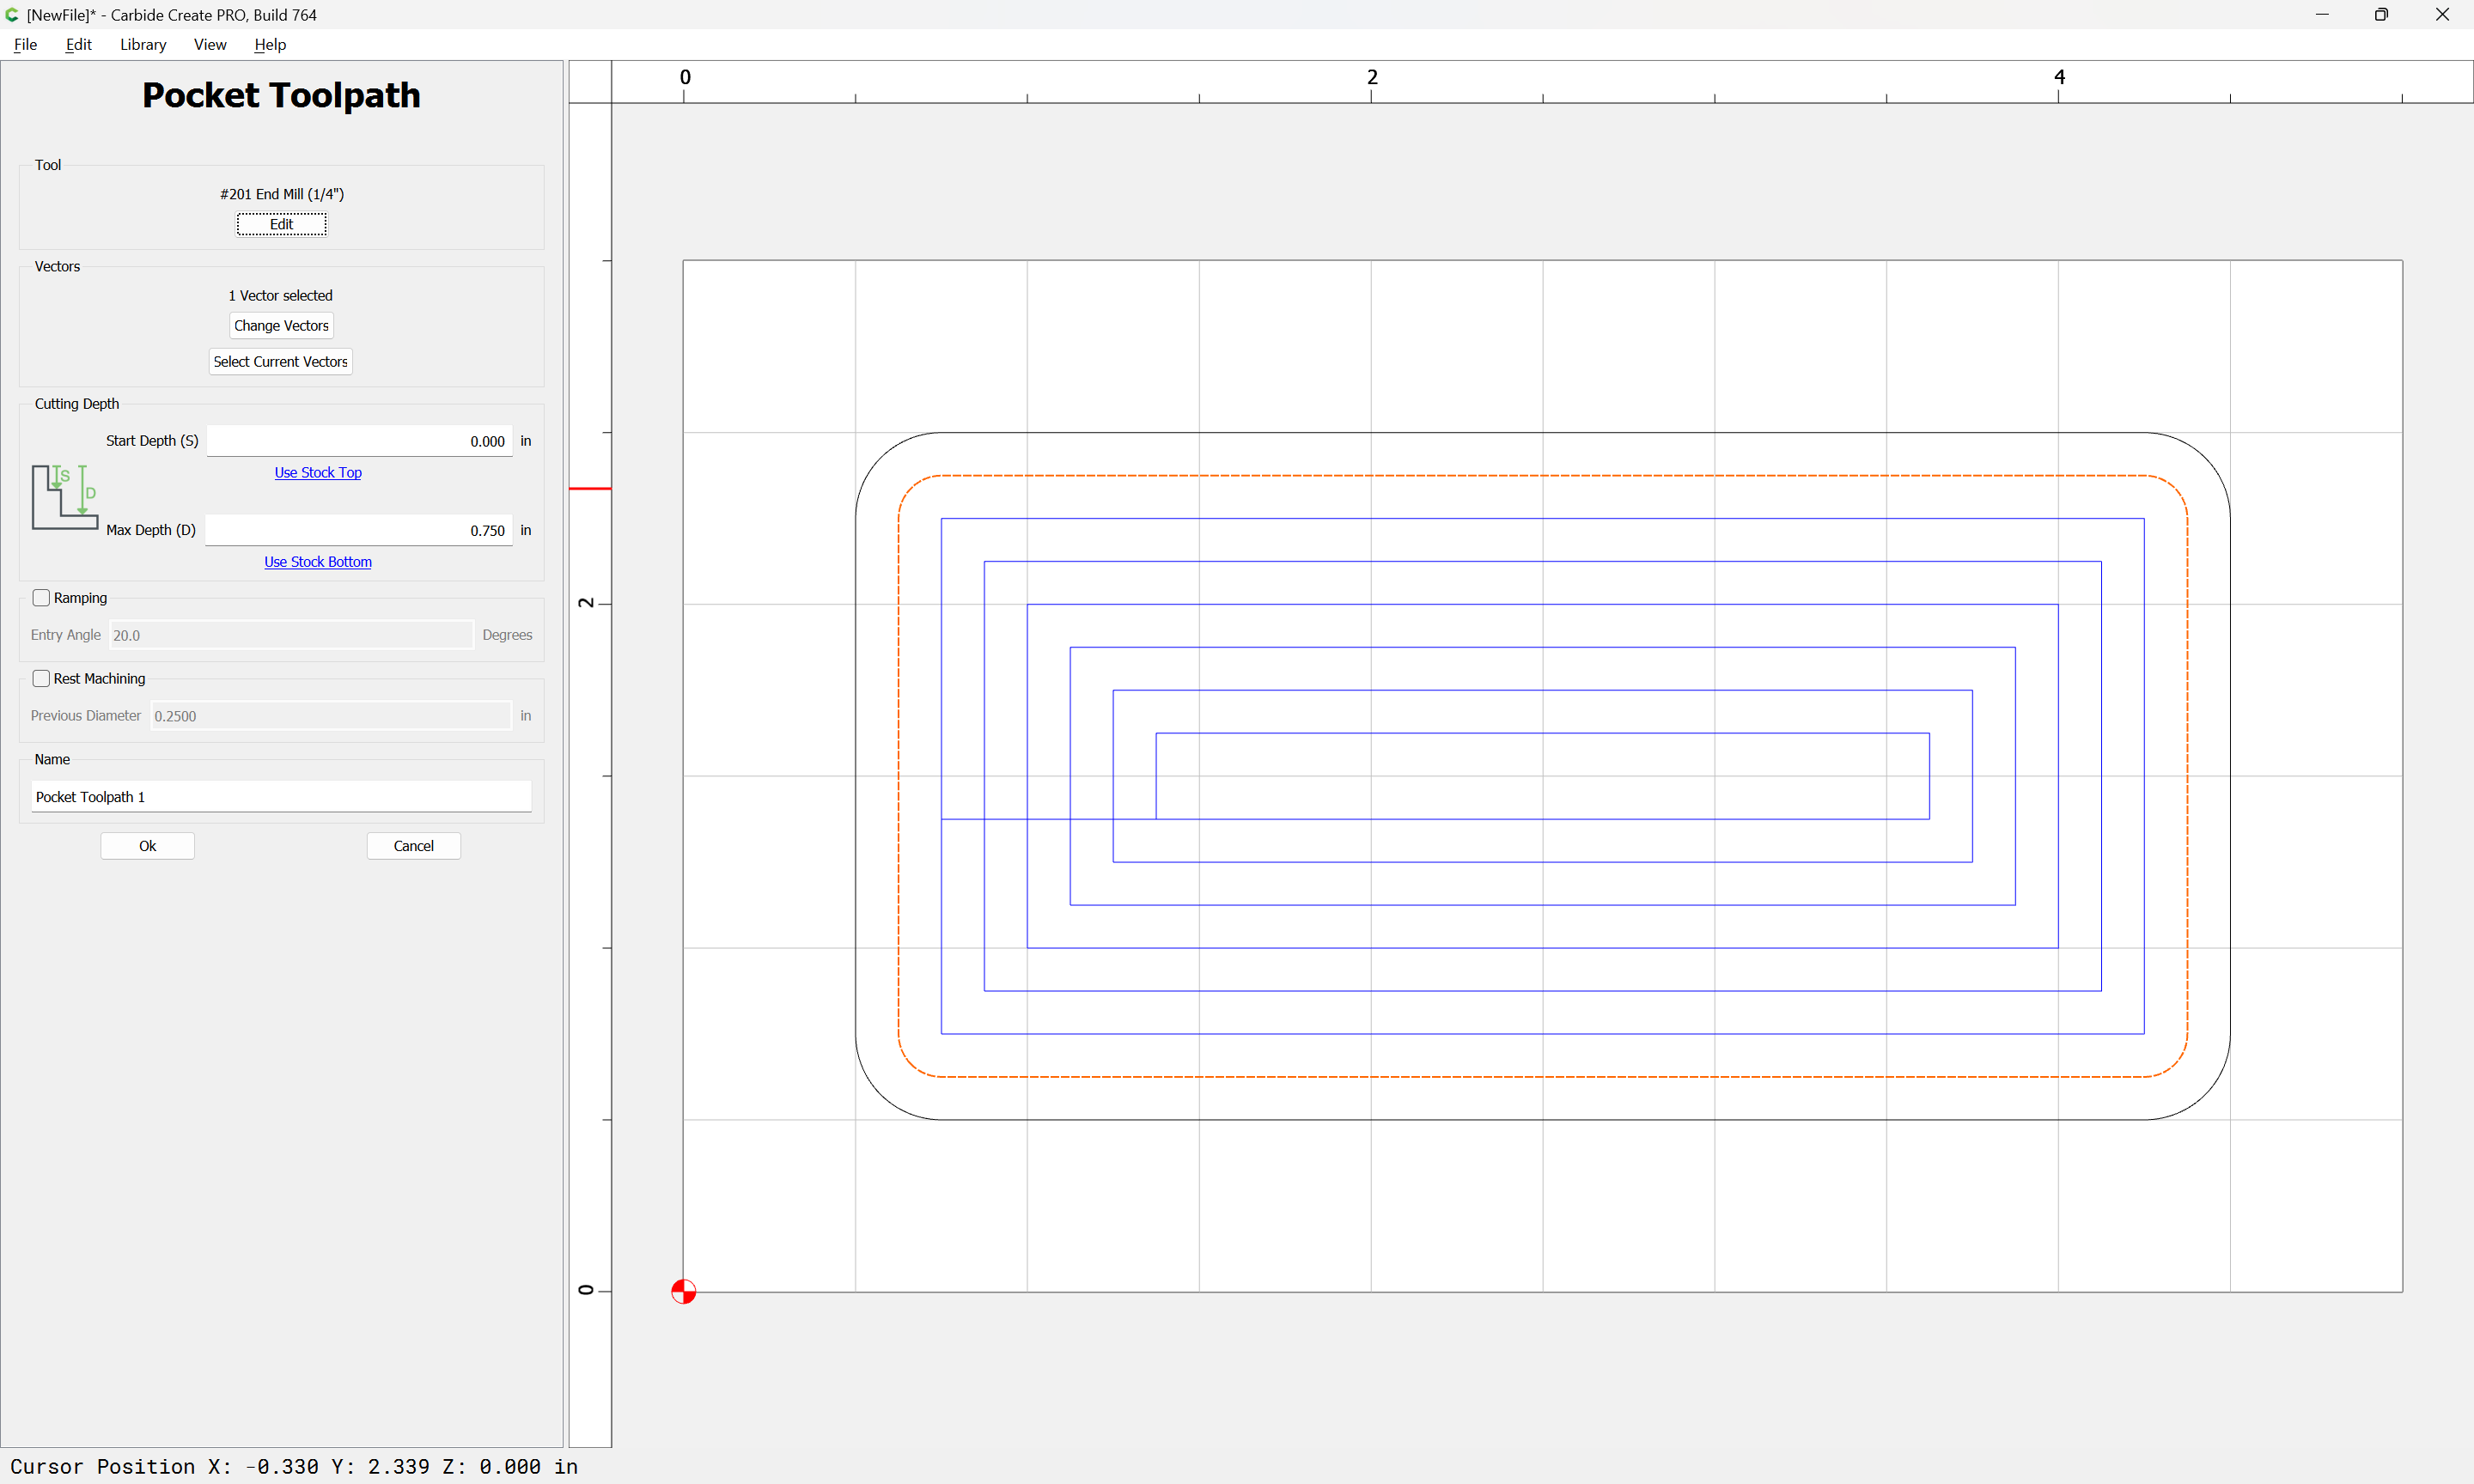
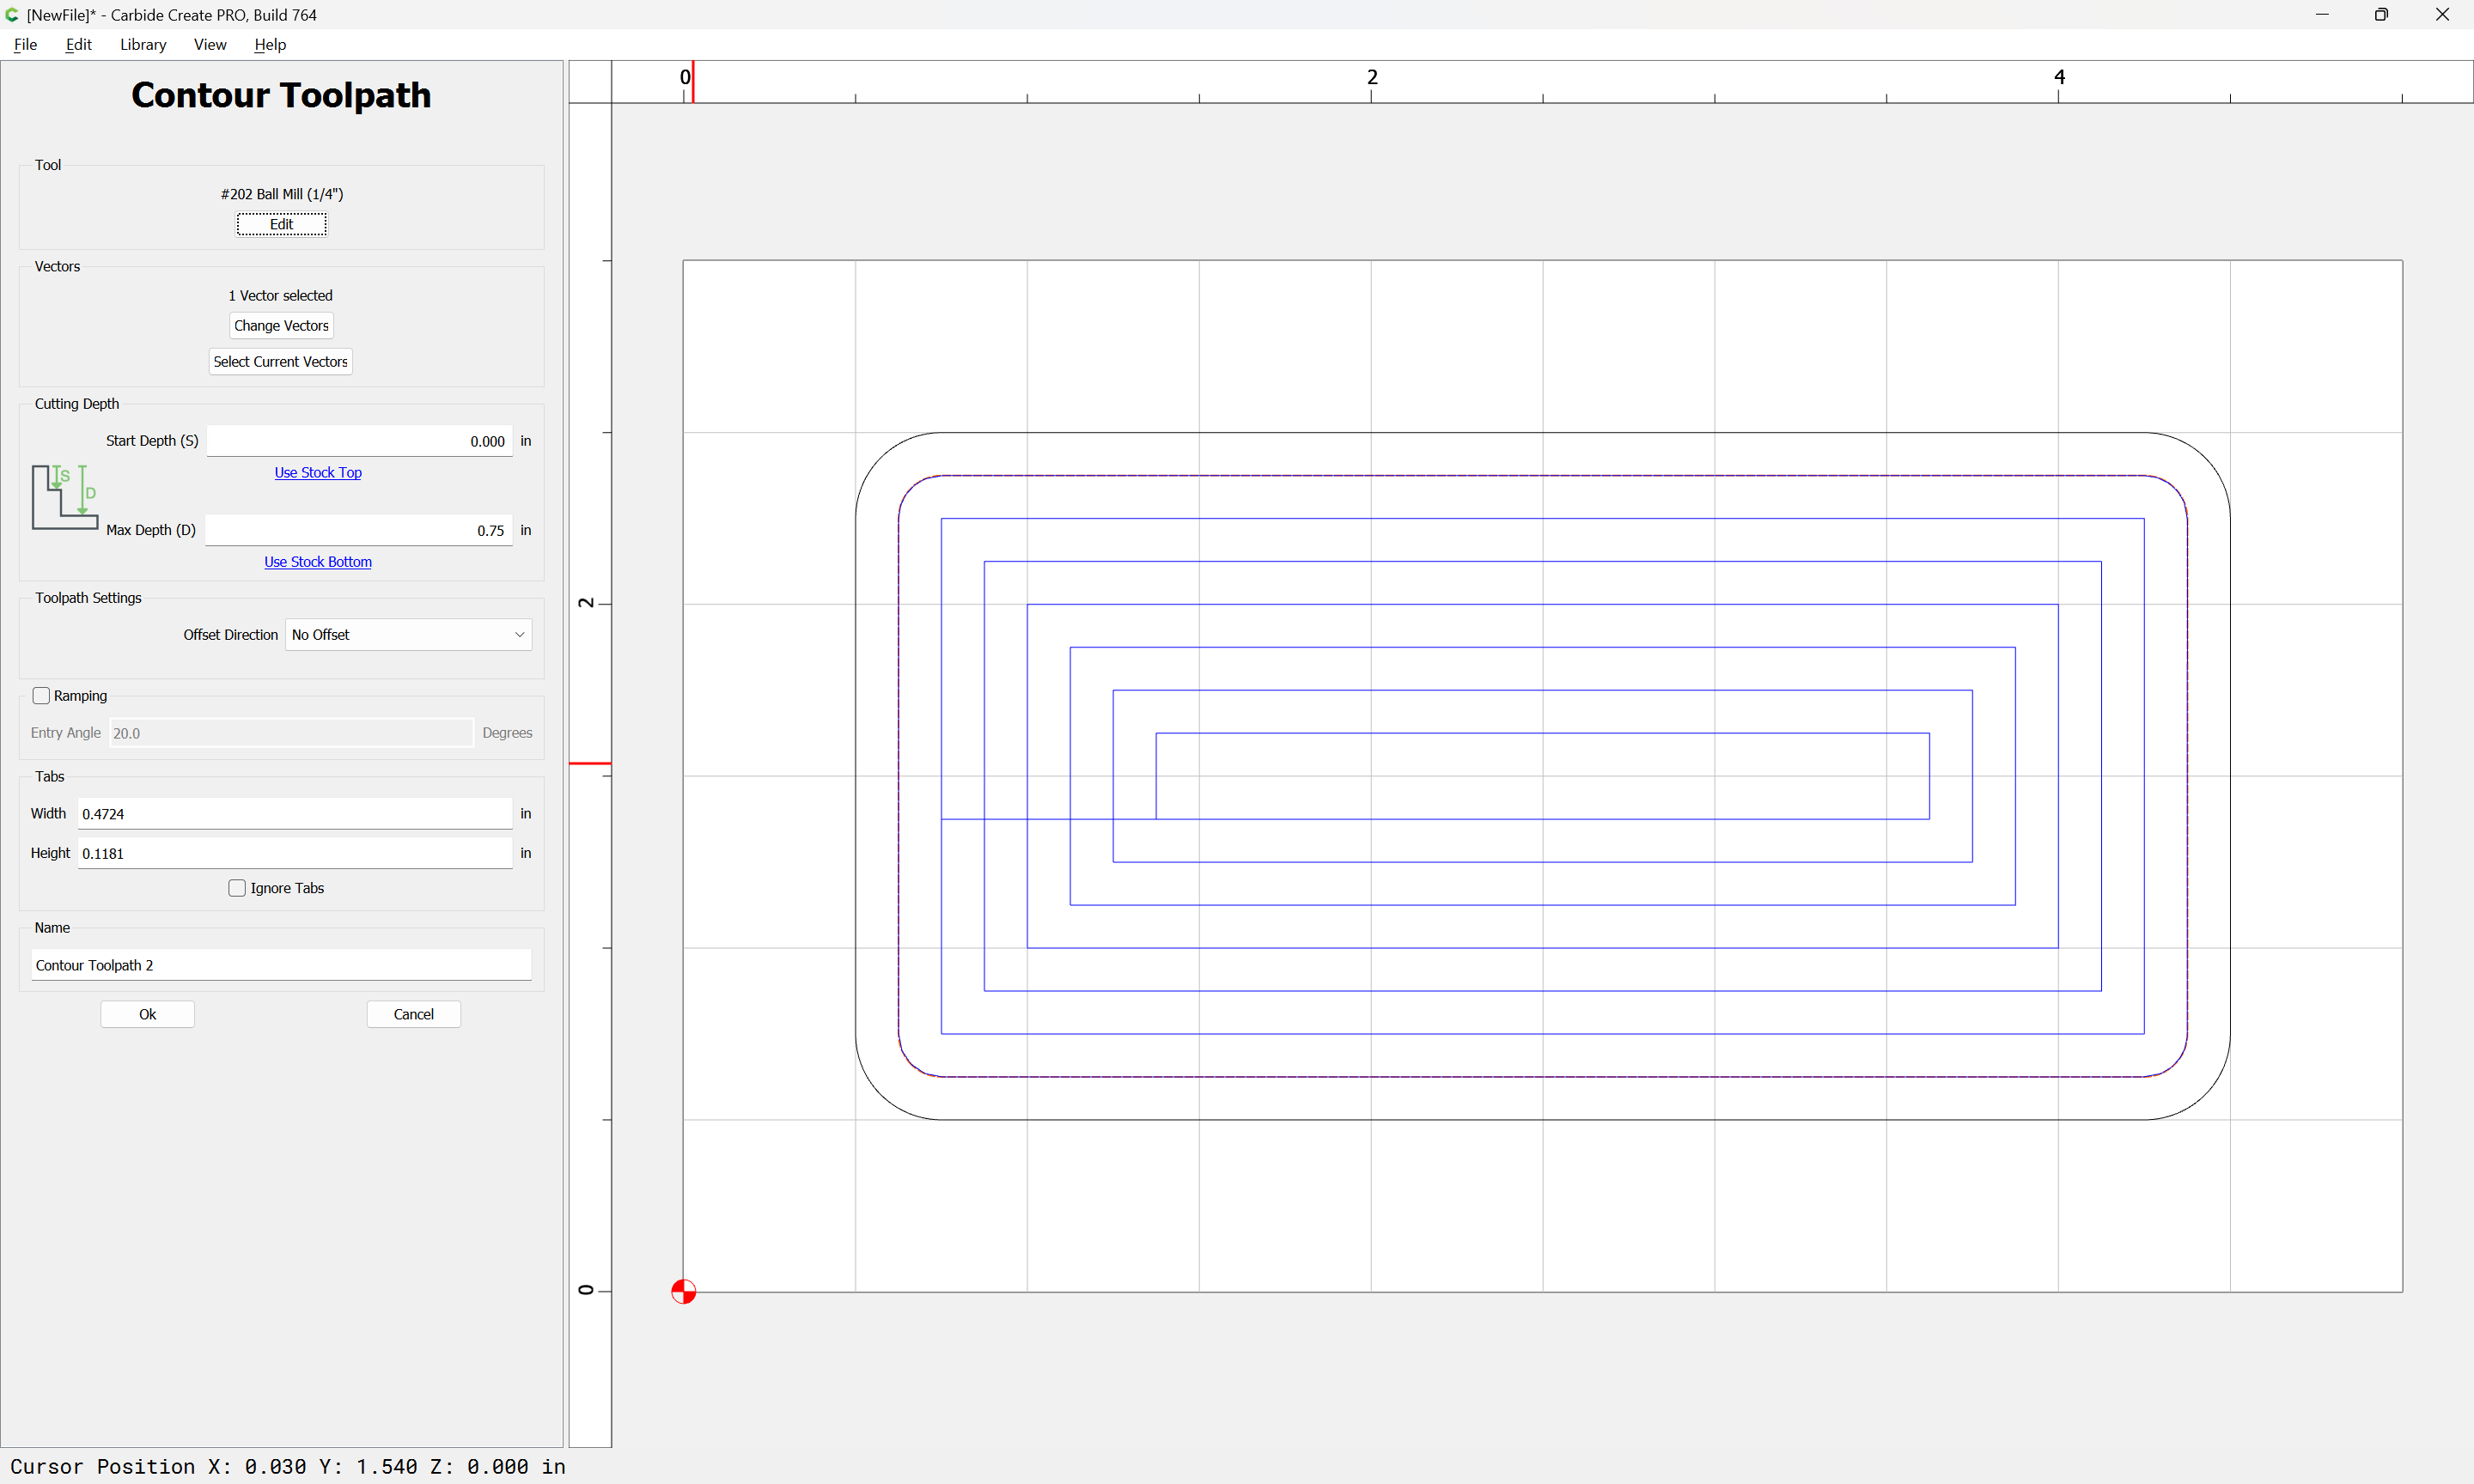
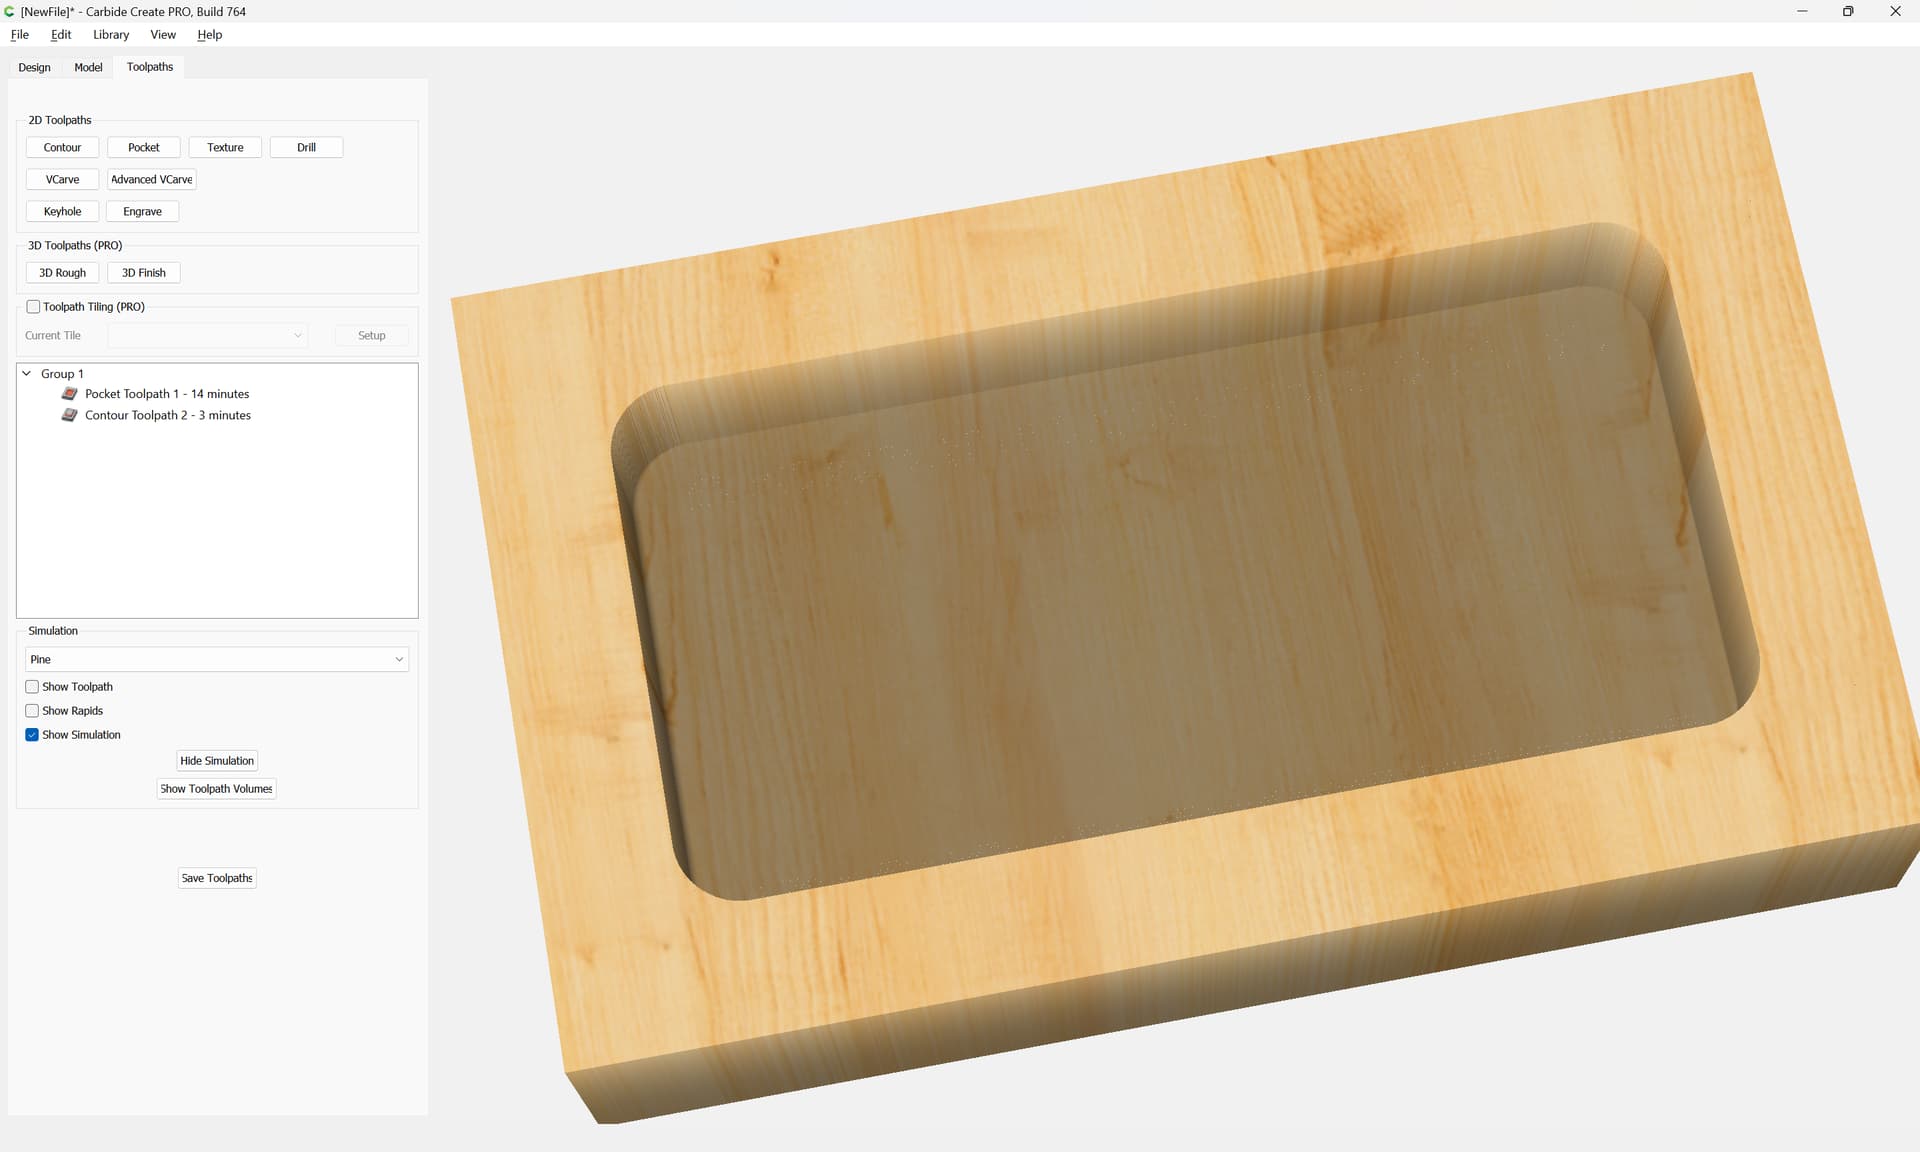
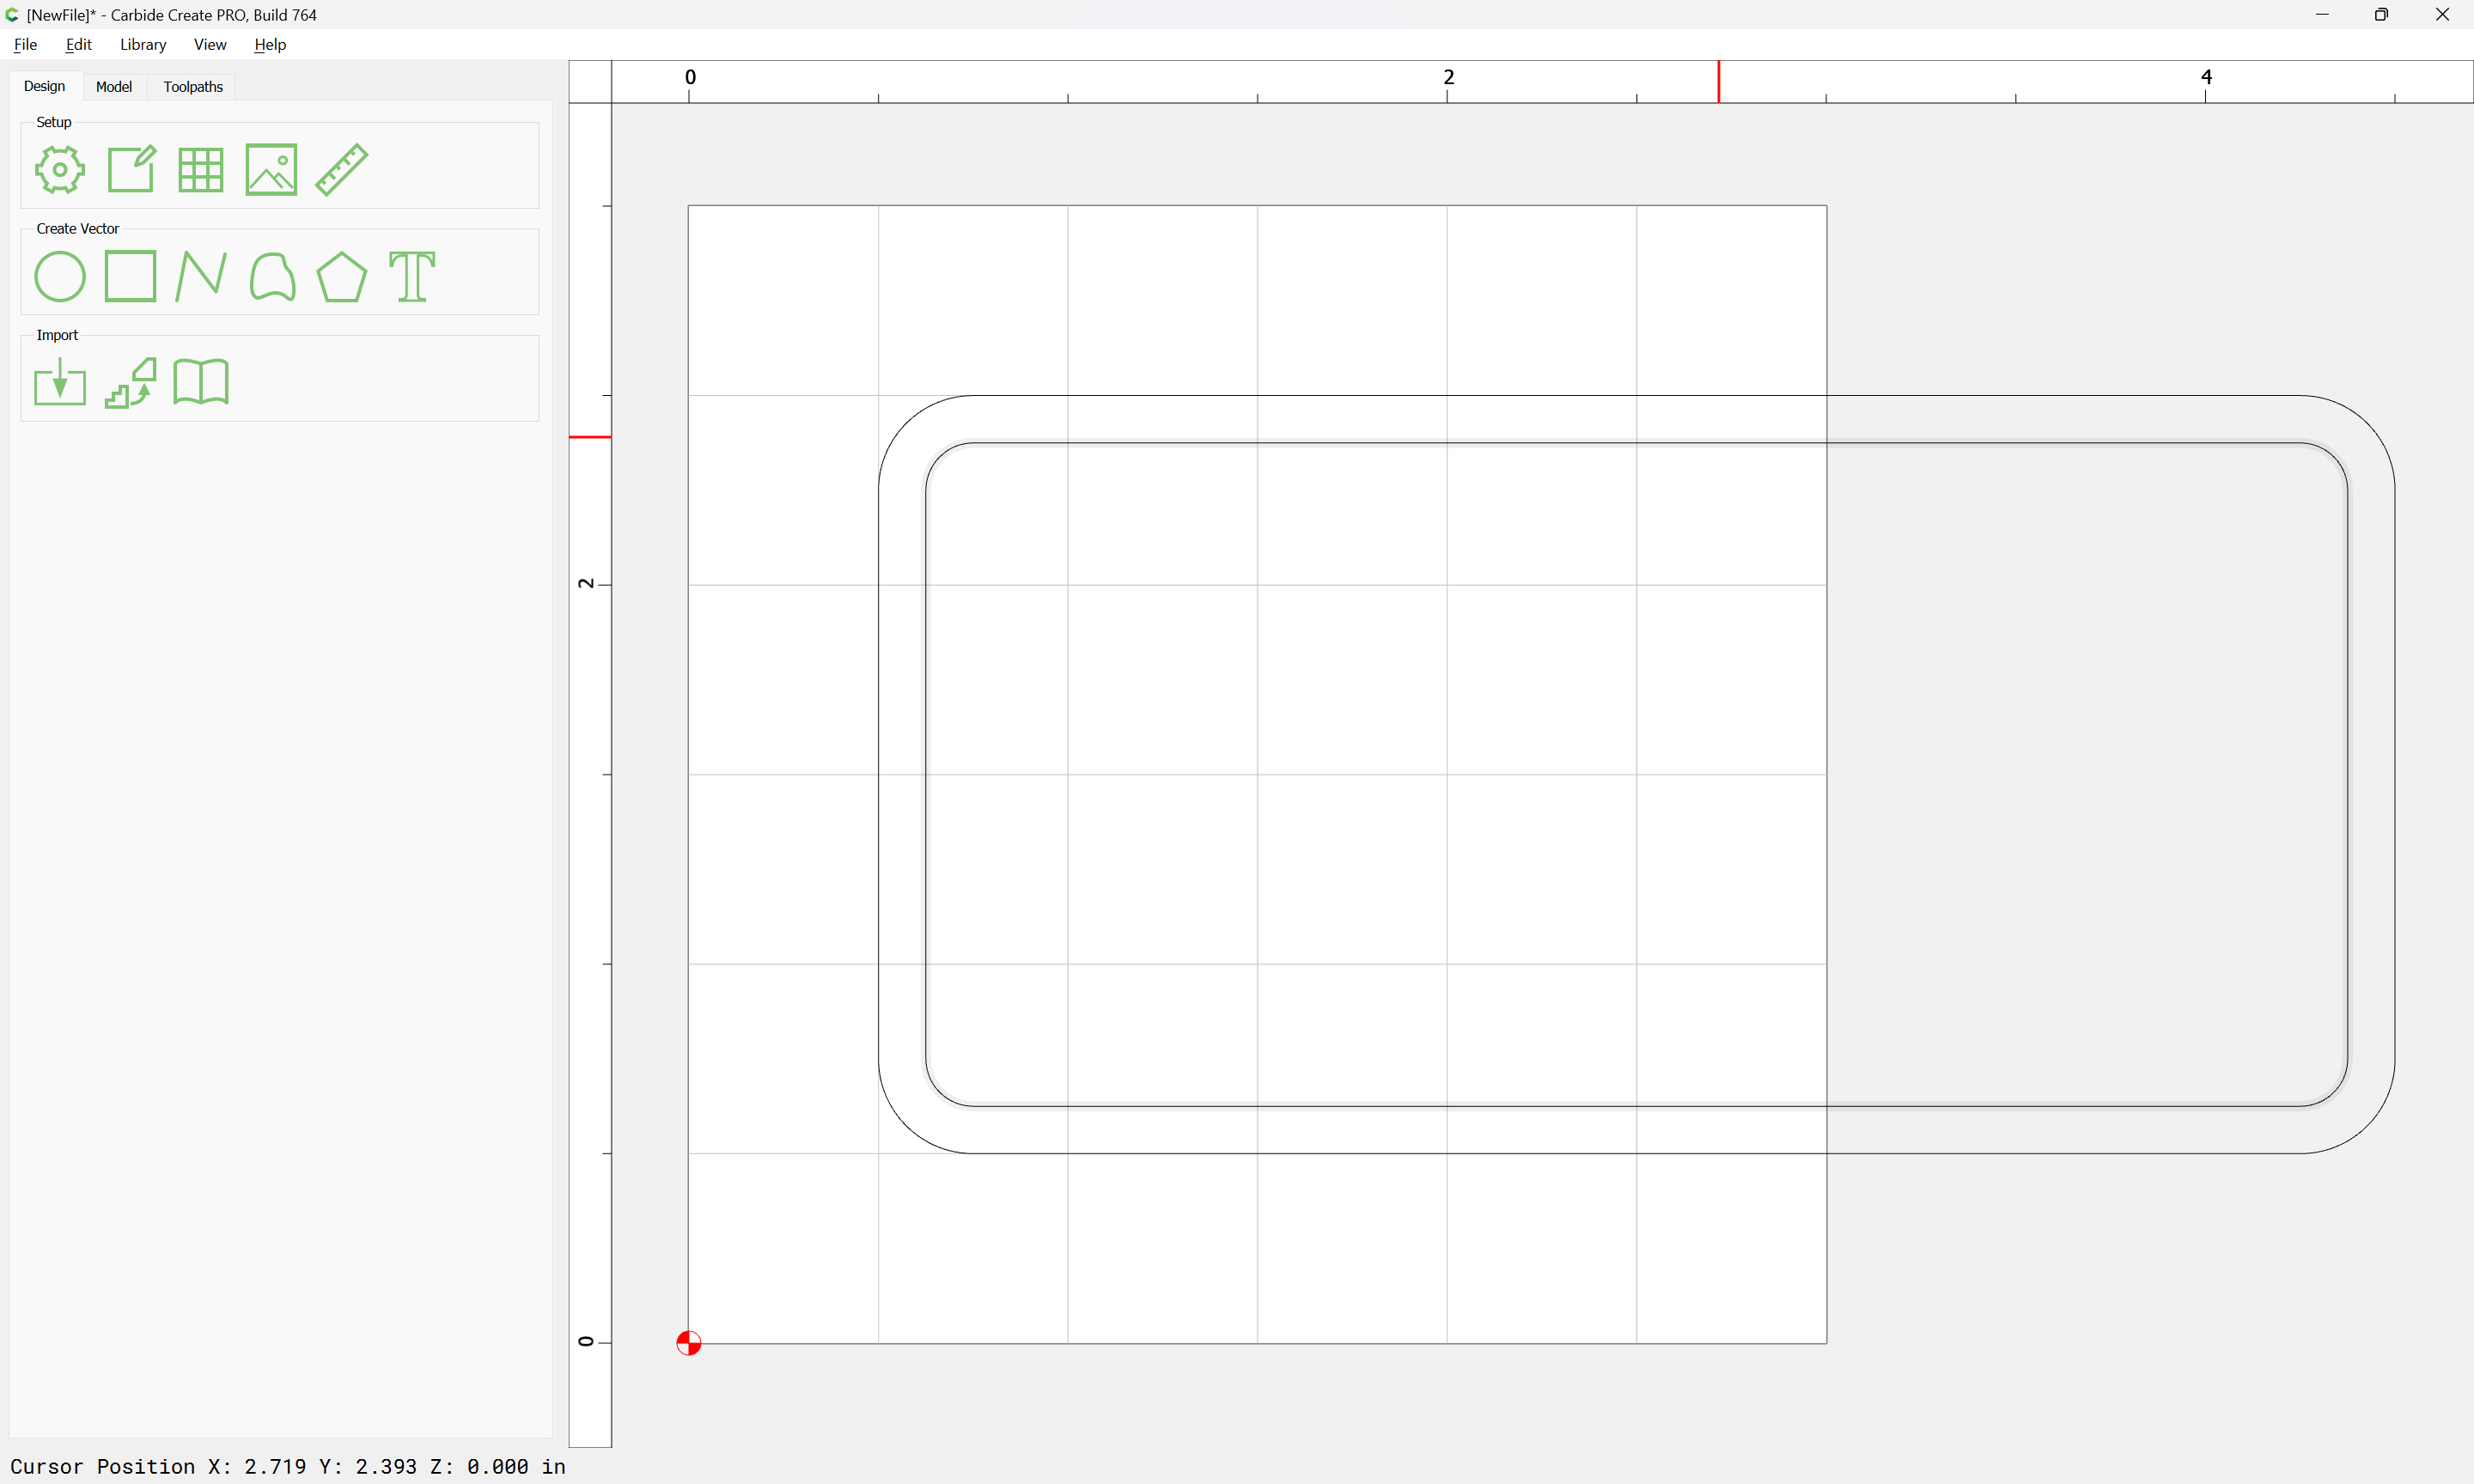
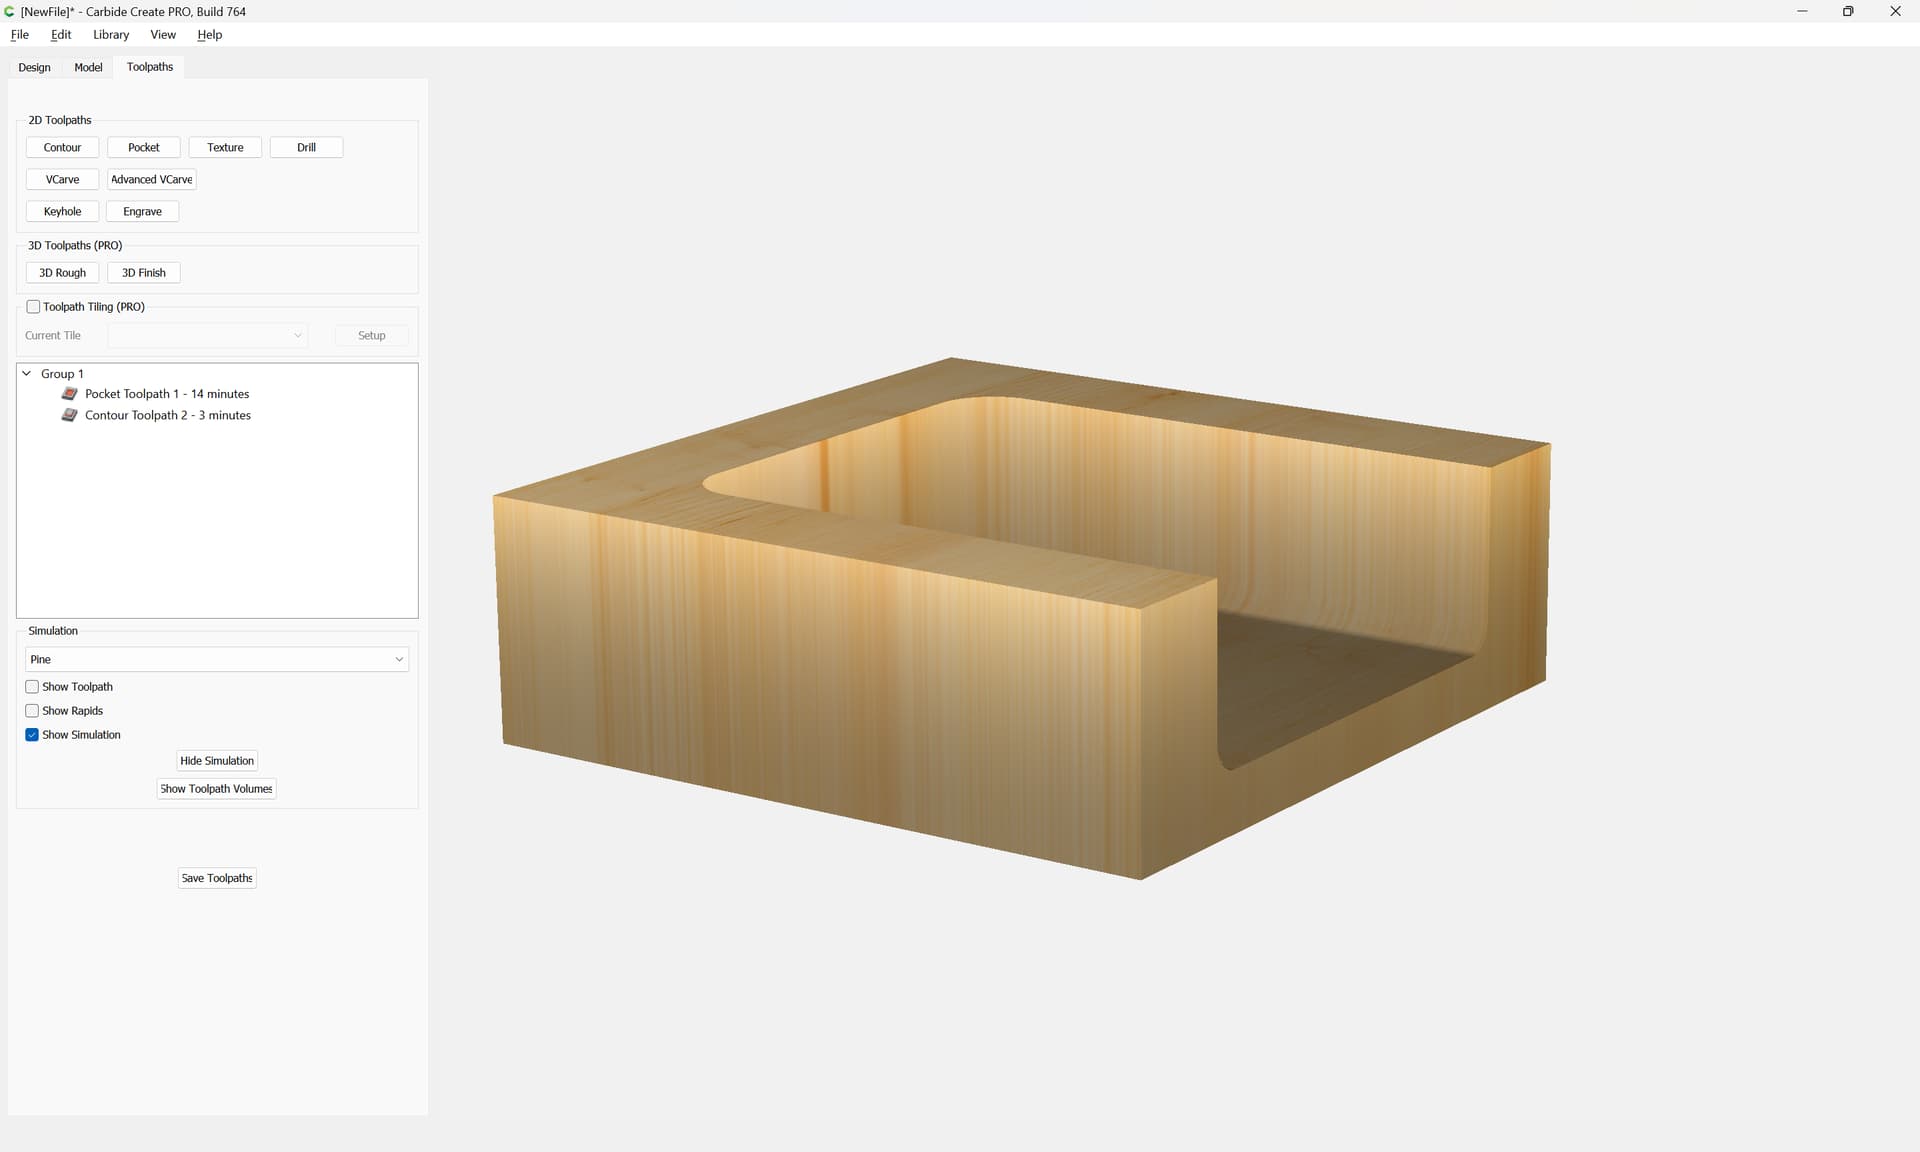
Just getting started. Looking forward to my third piece. Already have it planned. Question if you don’t mind. When creating a pocket is there a way to apply a radius between the vertical walls and the floor of the pocket? Can that be done in Carbide Create? Thanks.
There are a couple of ways to do this — the easiest is to assign a pocket toolpath to the inset geometry using a square endmill (to get a flat bottom):