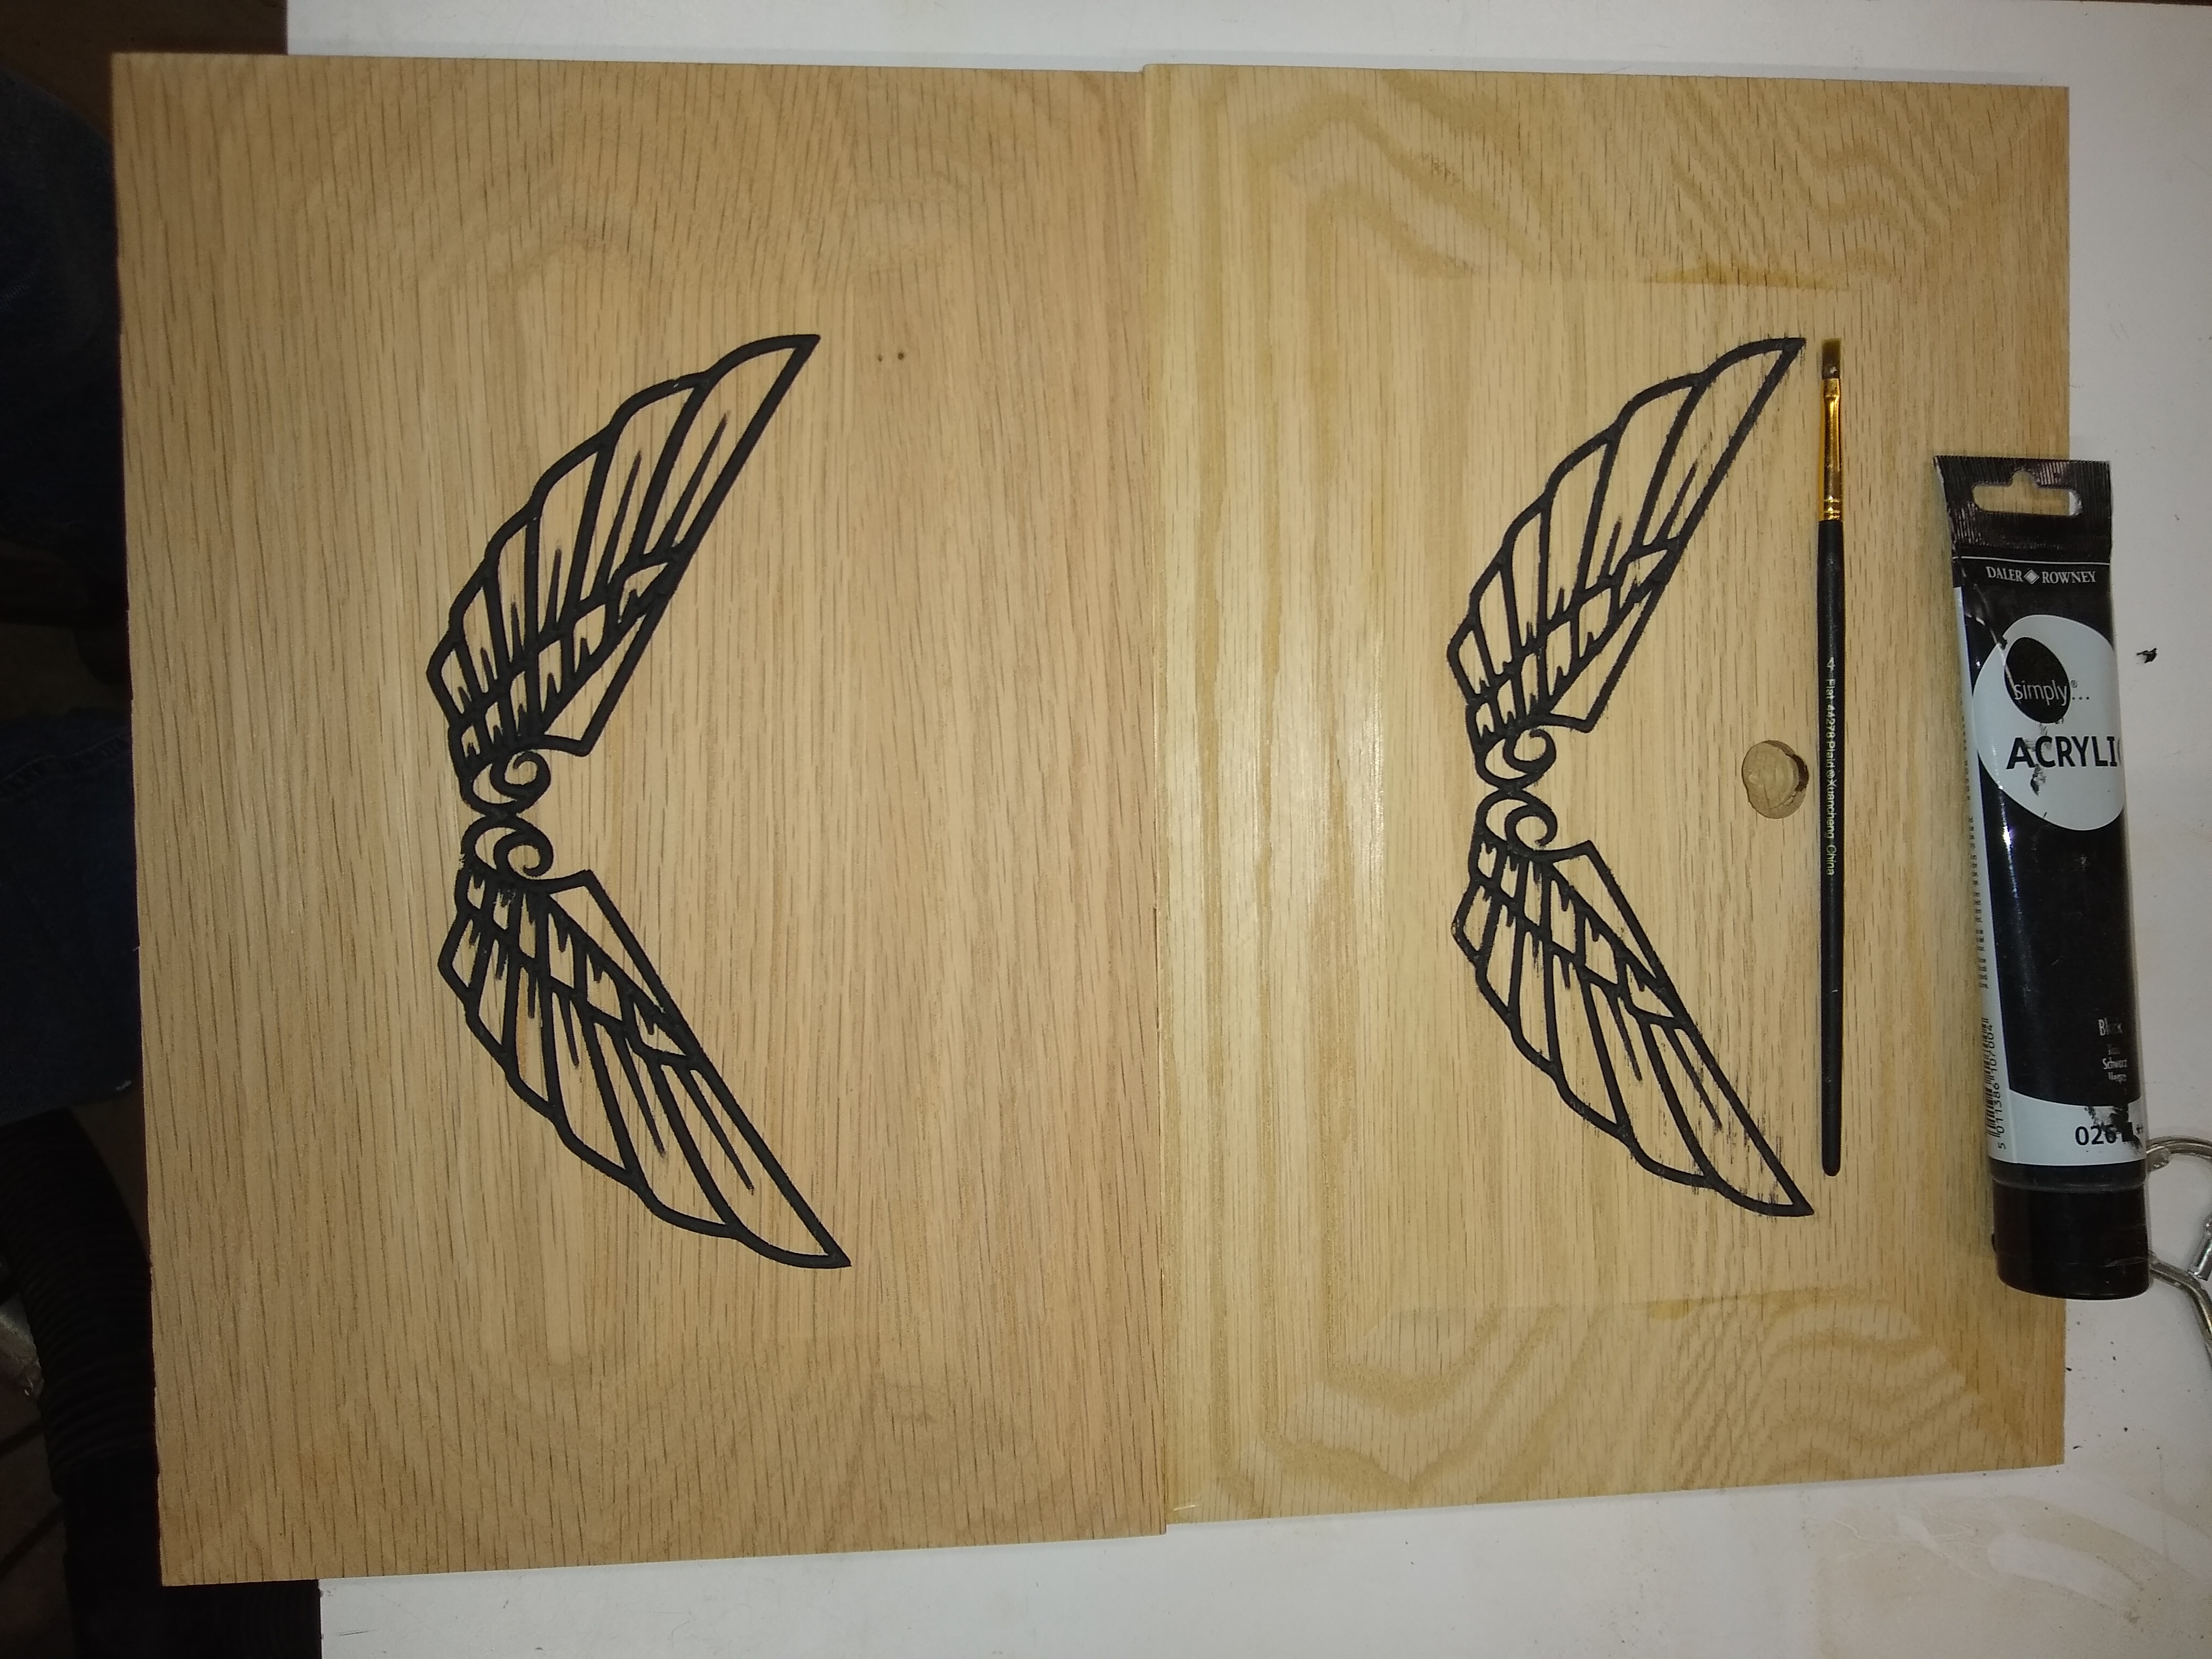
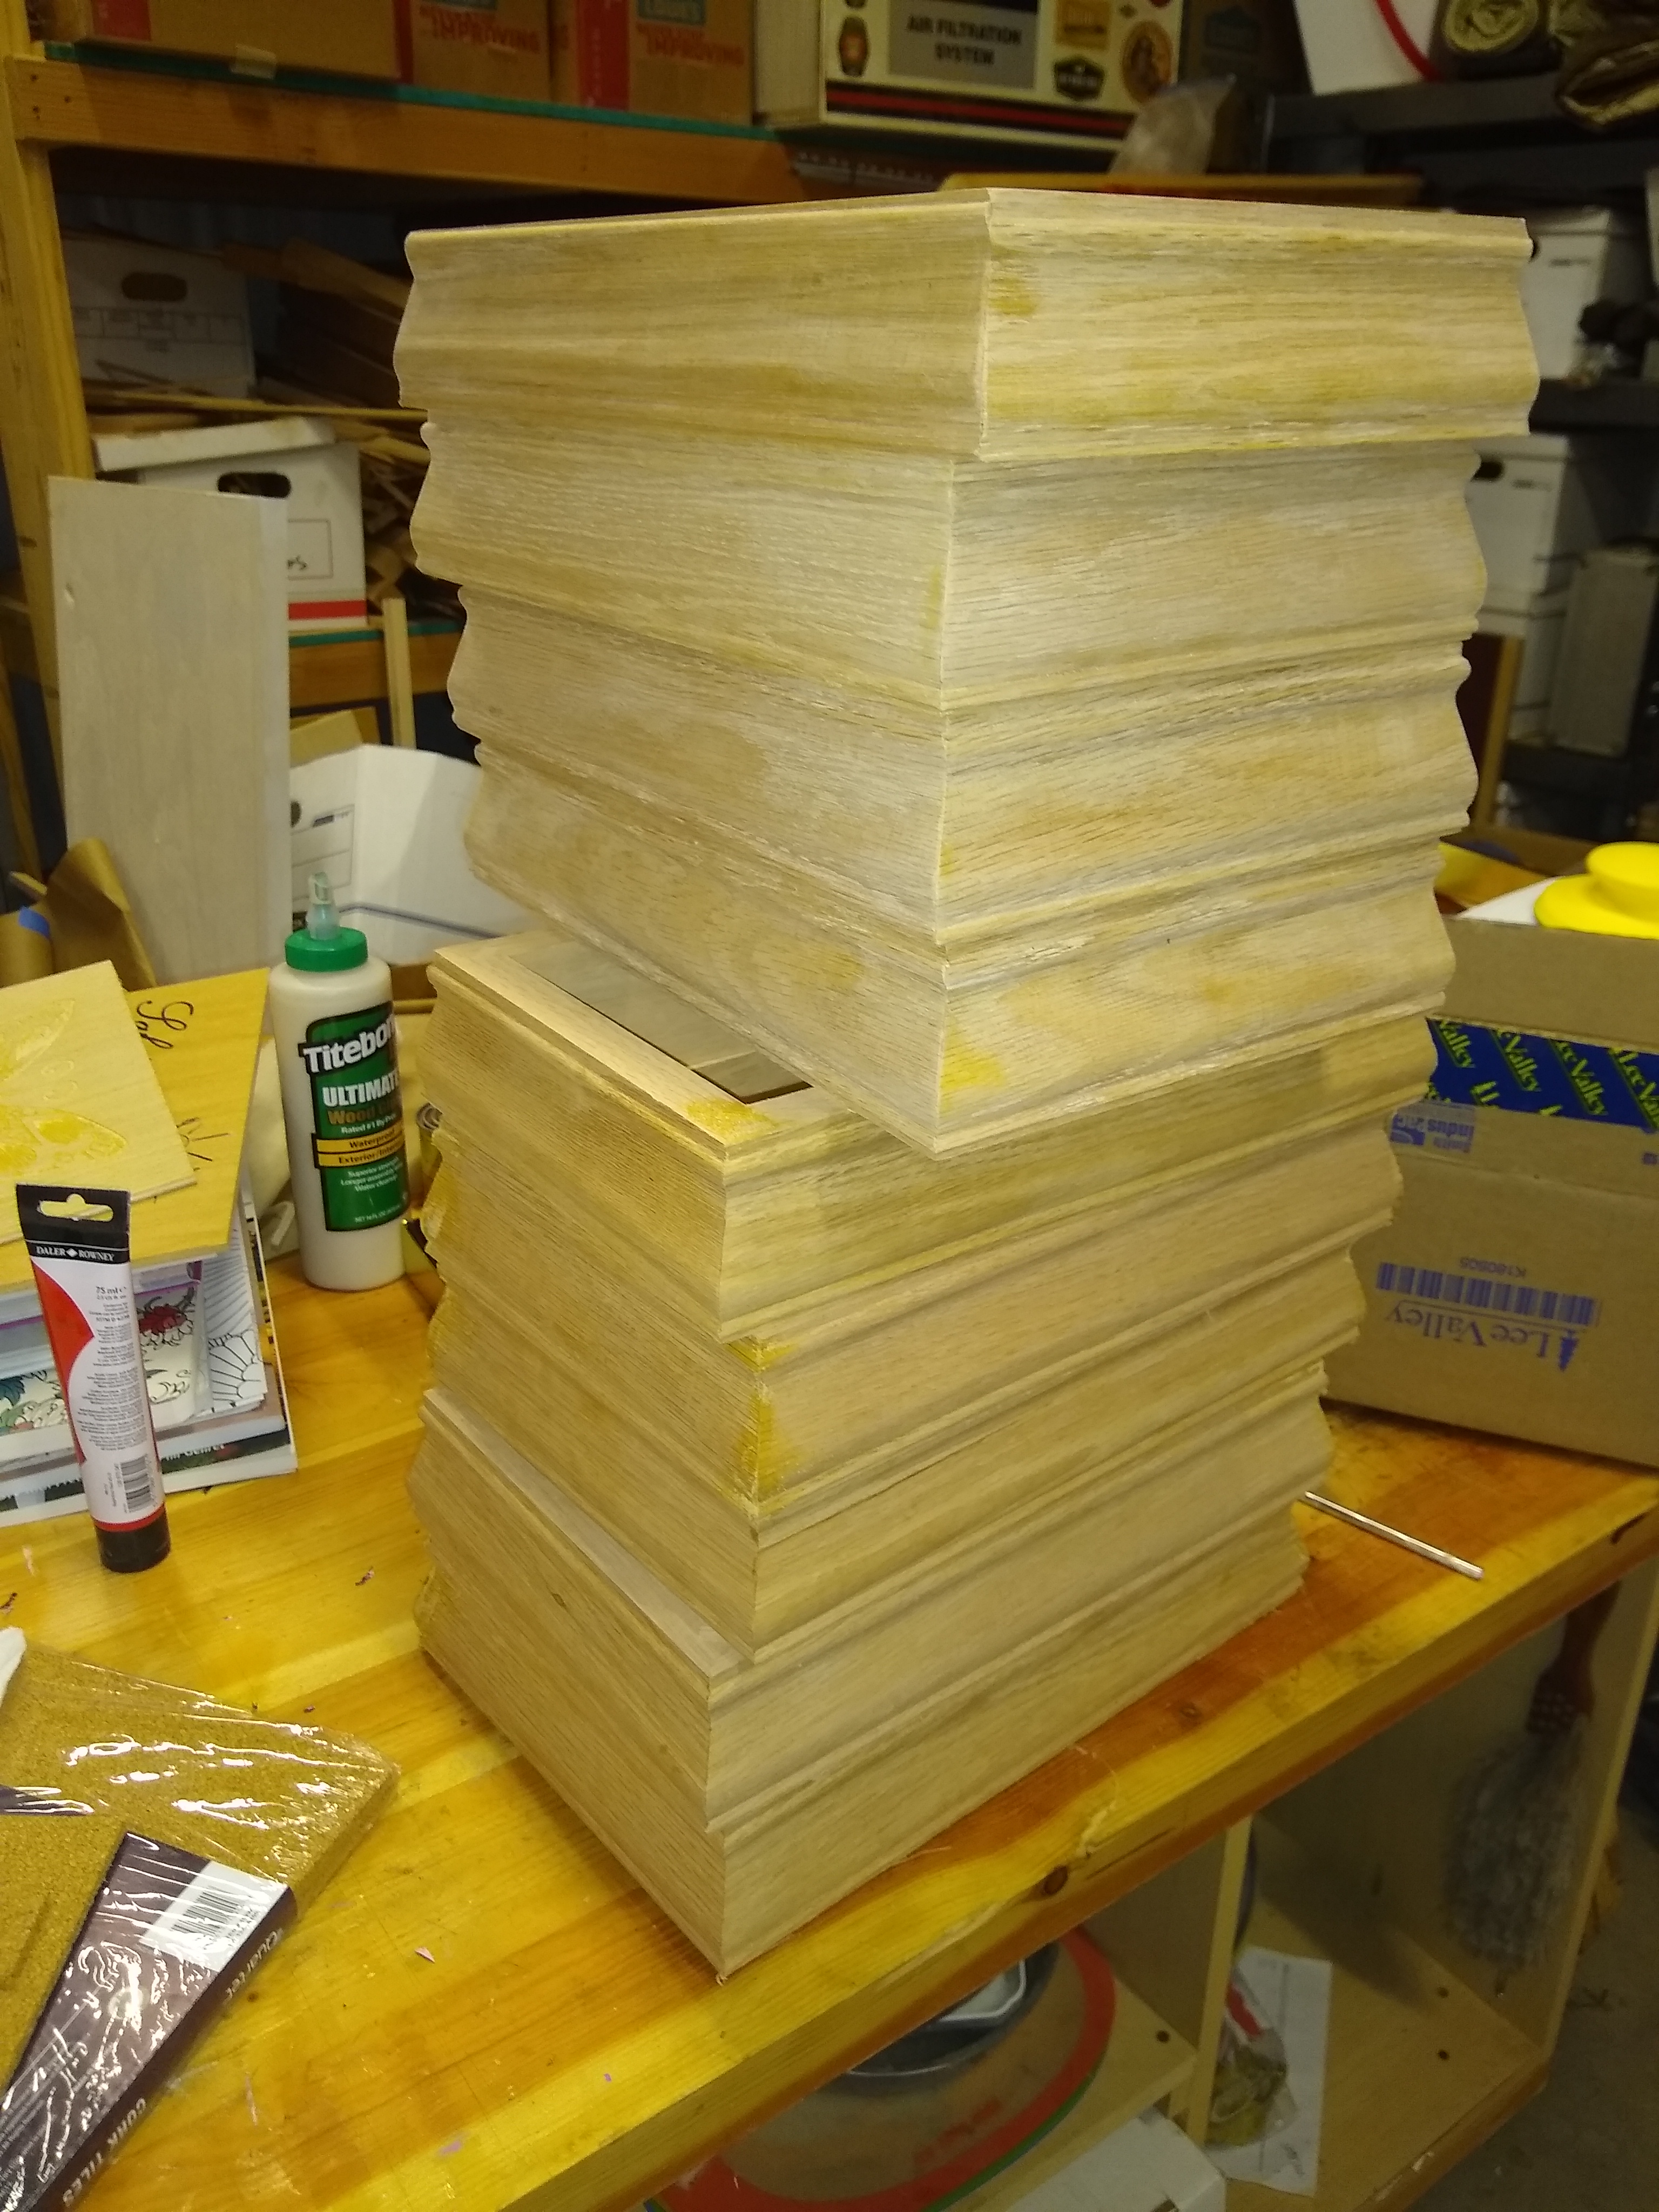
Here are some of the keepsake boxes lids I have been working on.
These are not finished and are raw. I have not put any finish on yet but wanted to show what I have been working on. I installed my HDZ about a week ago and cannot say how much I am enjoying it. I never had a lot of problems with the standard Z but the HDZ is head and shoulders above the stock Z.
These are not all but what I got so far.
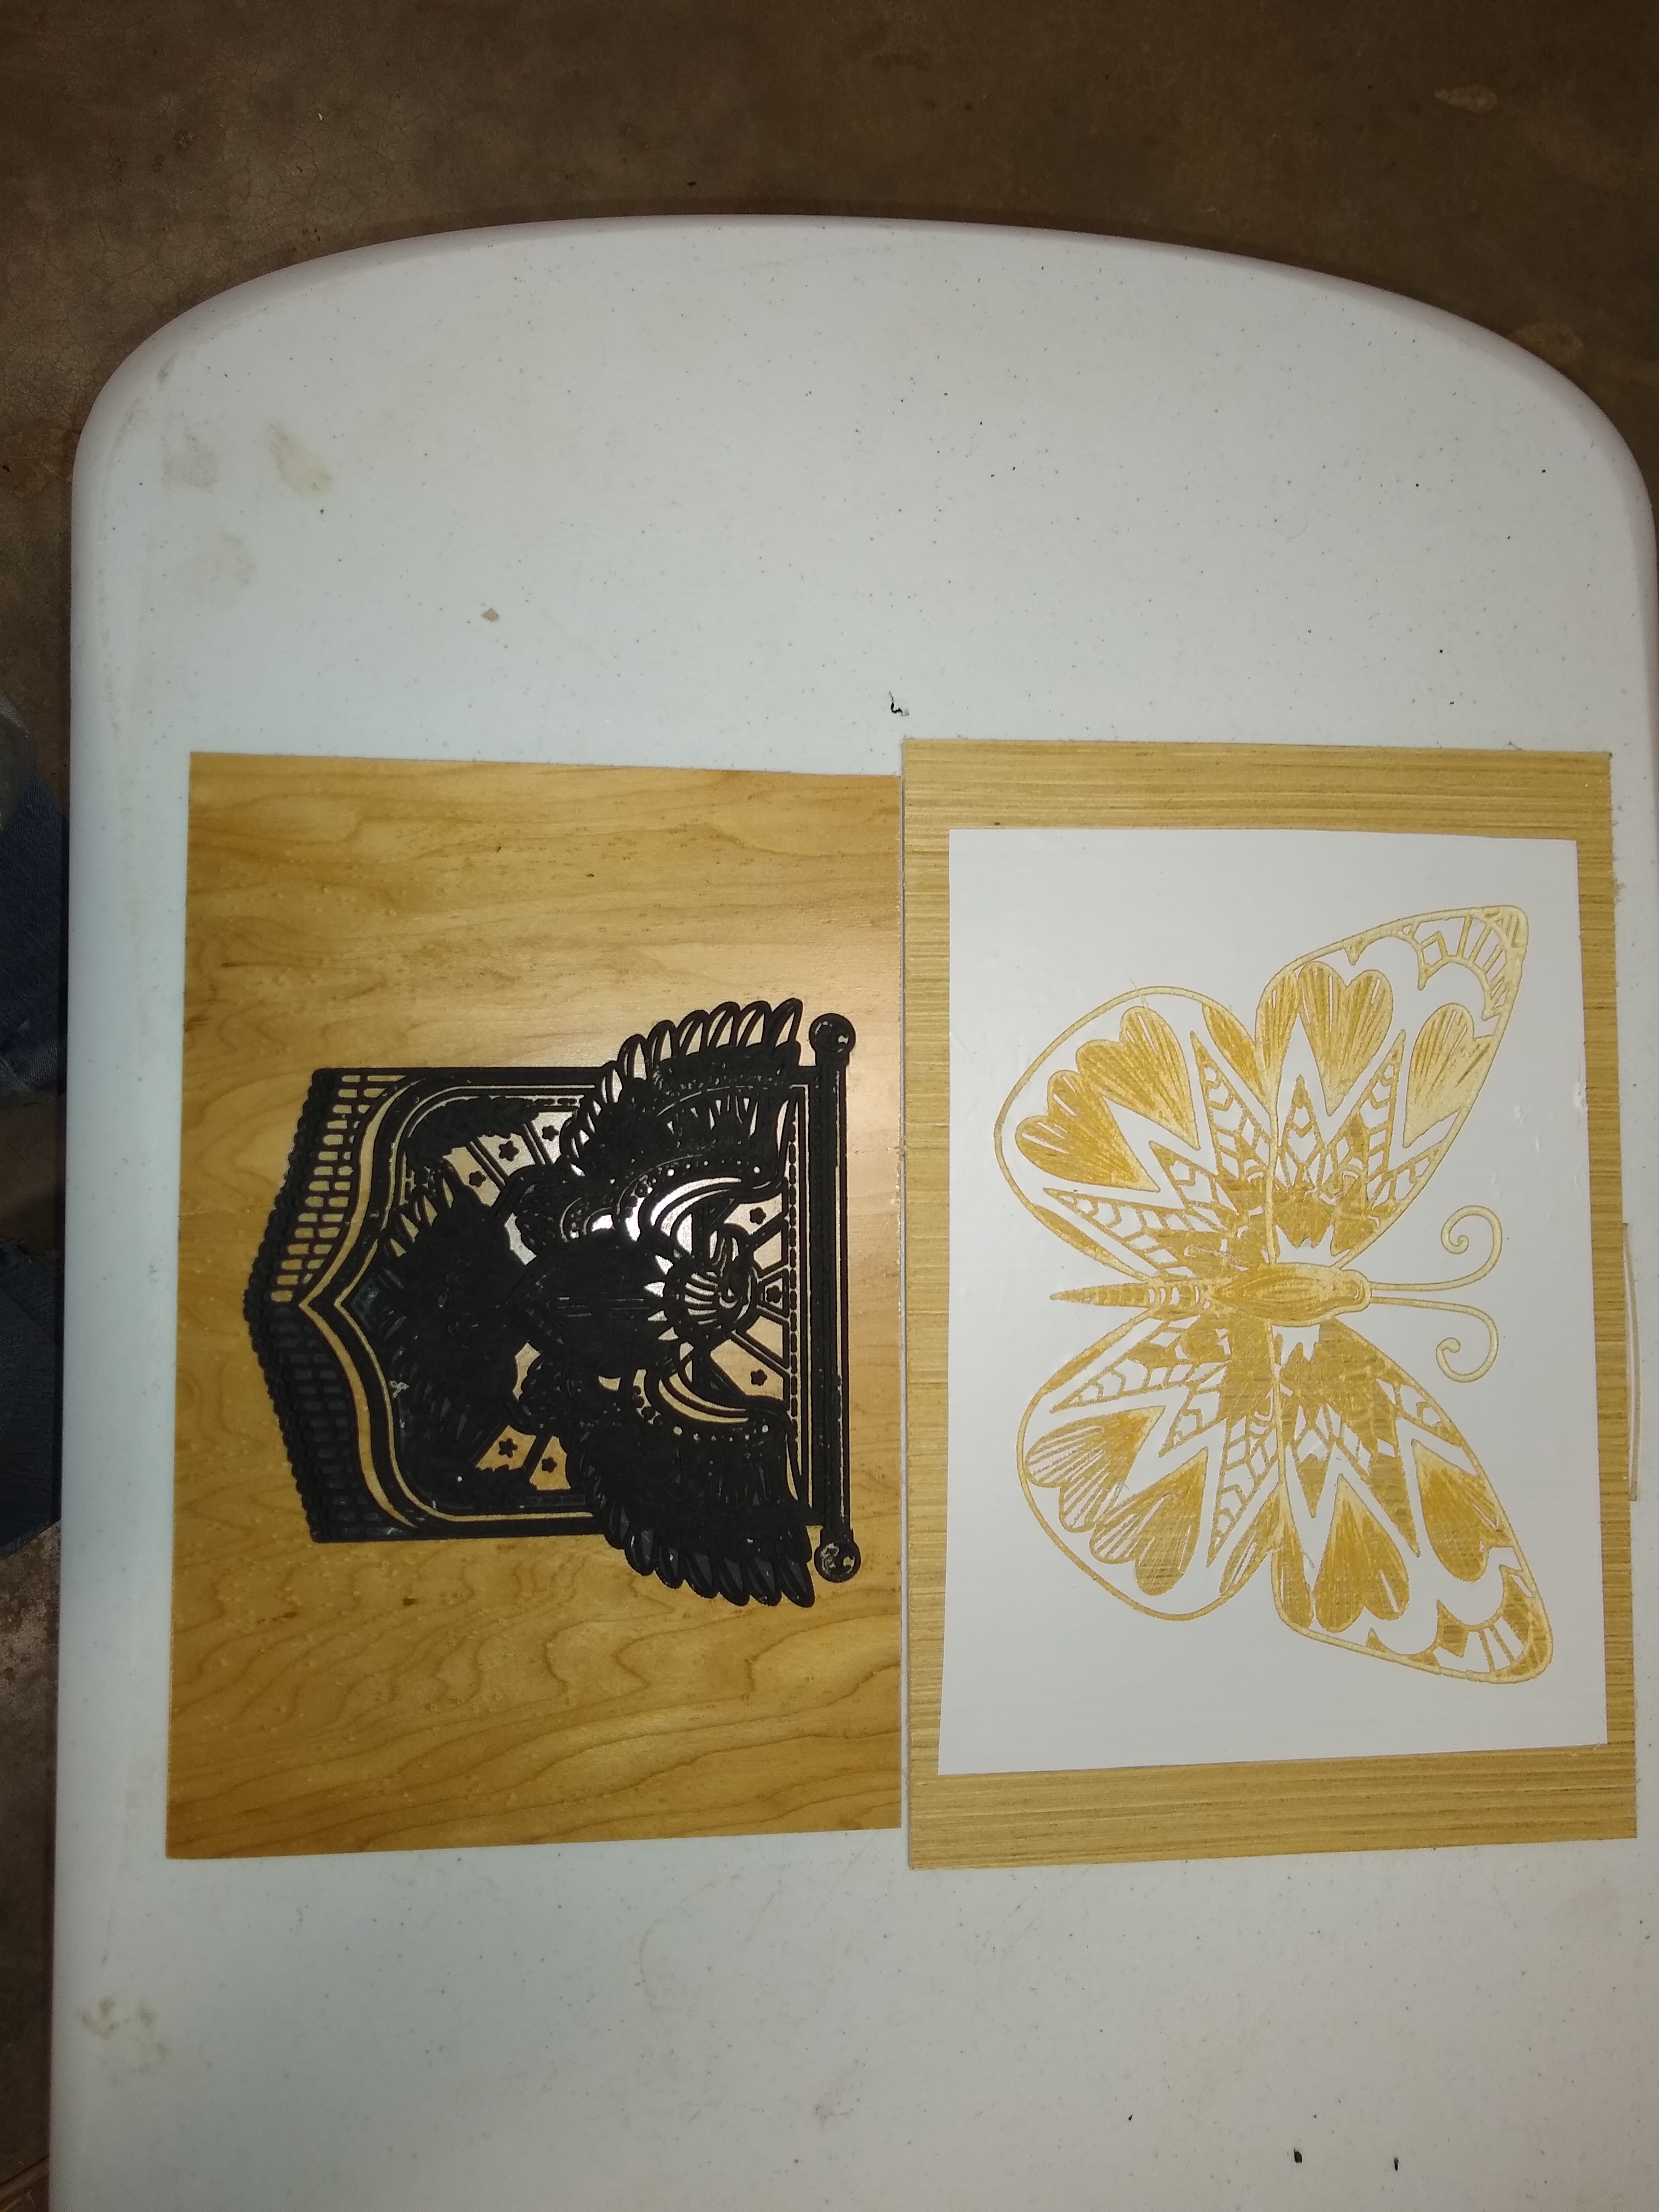
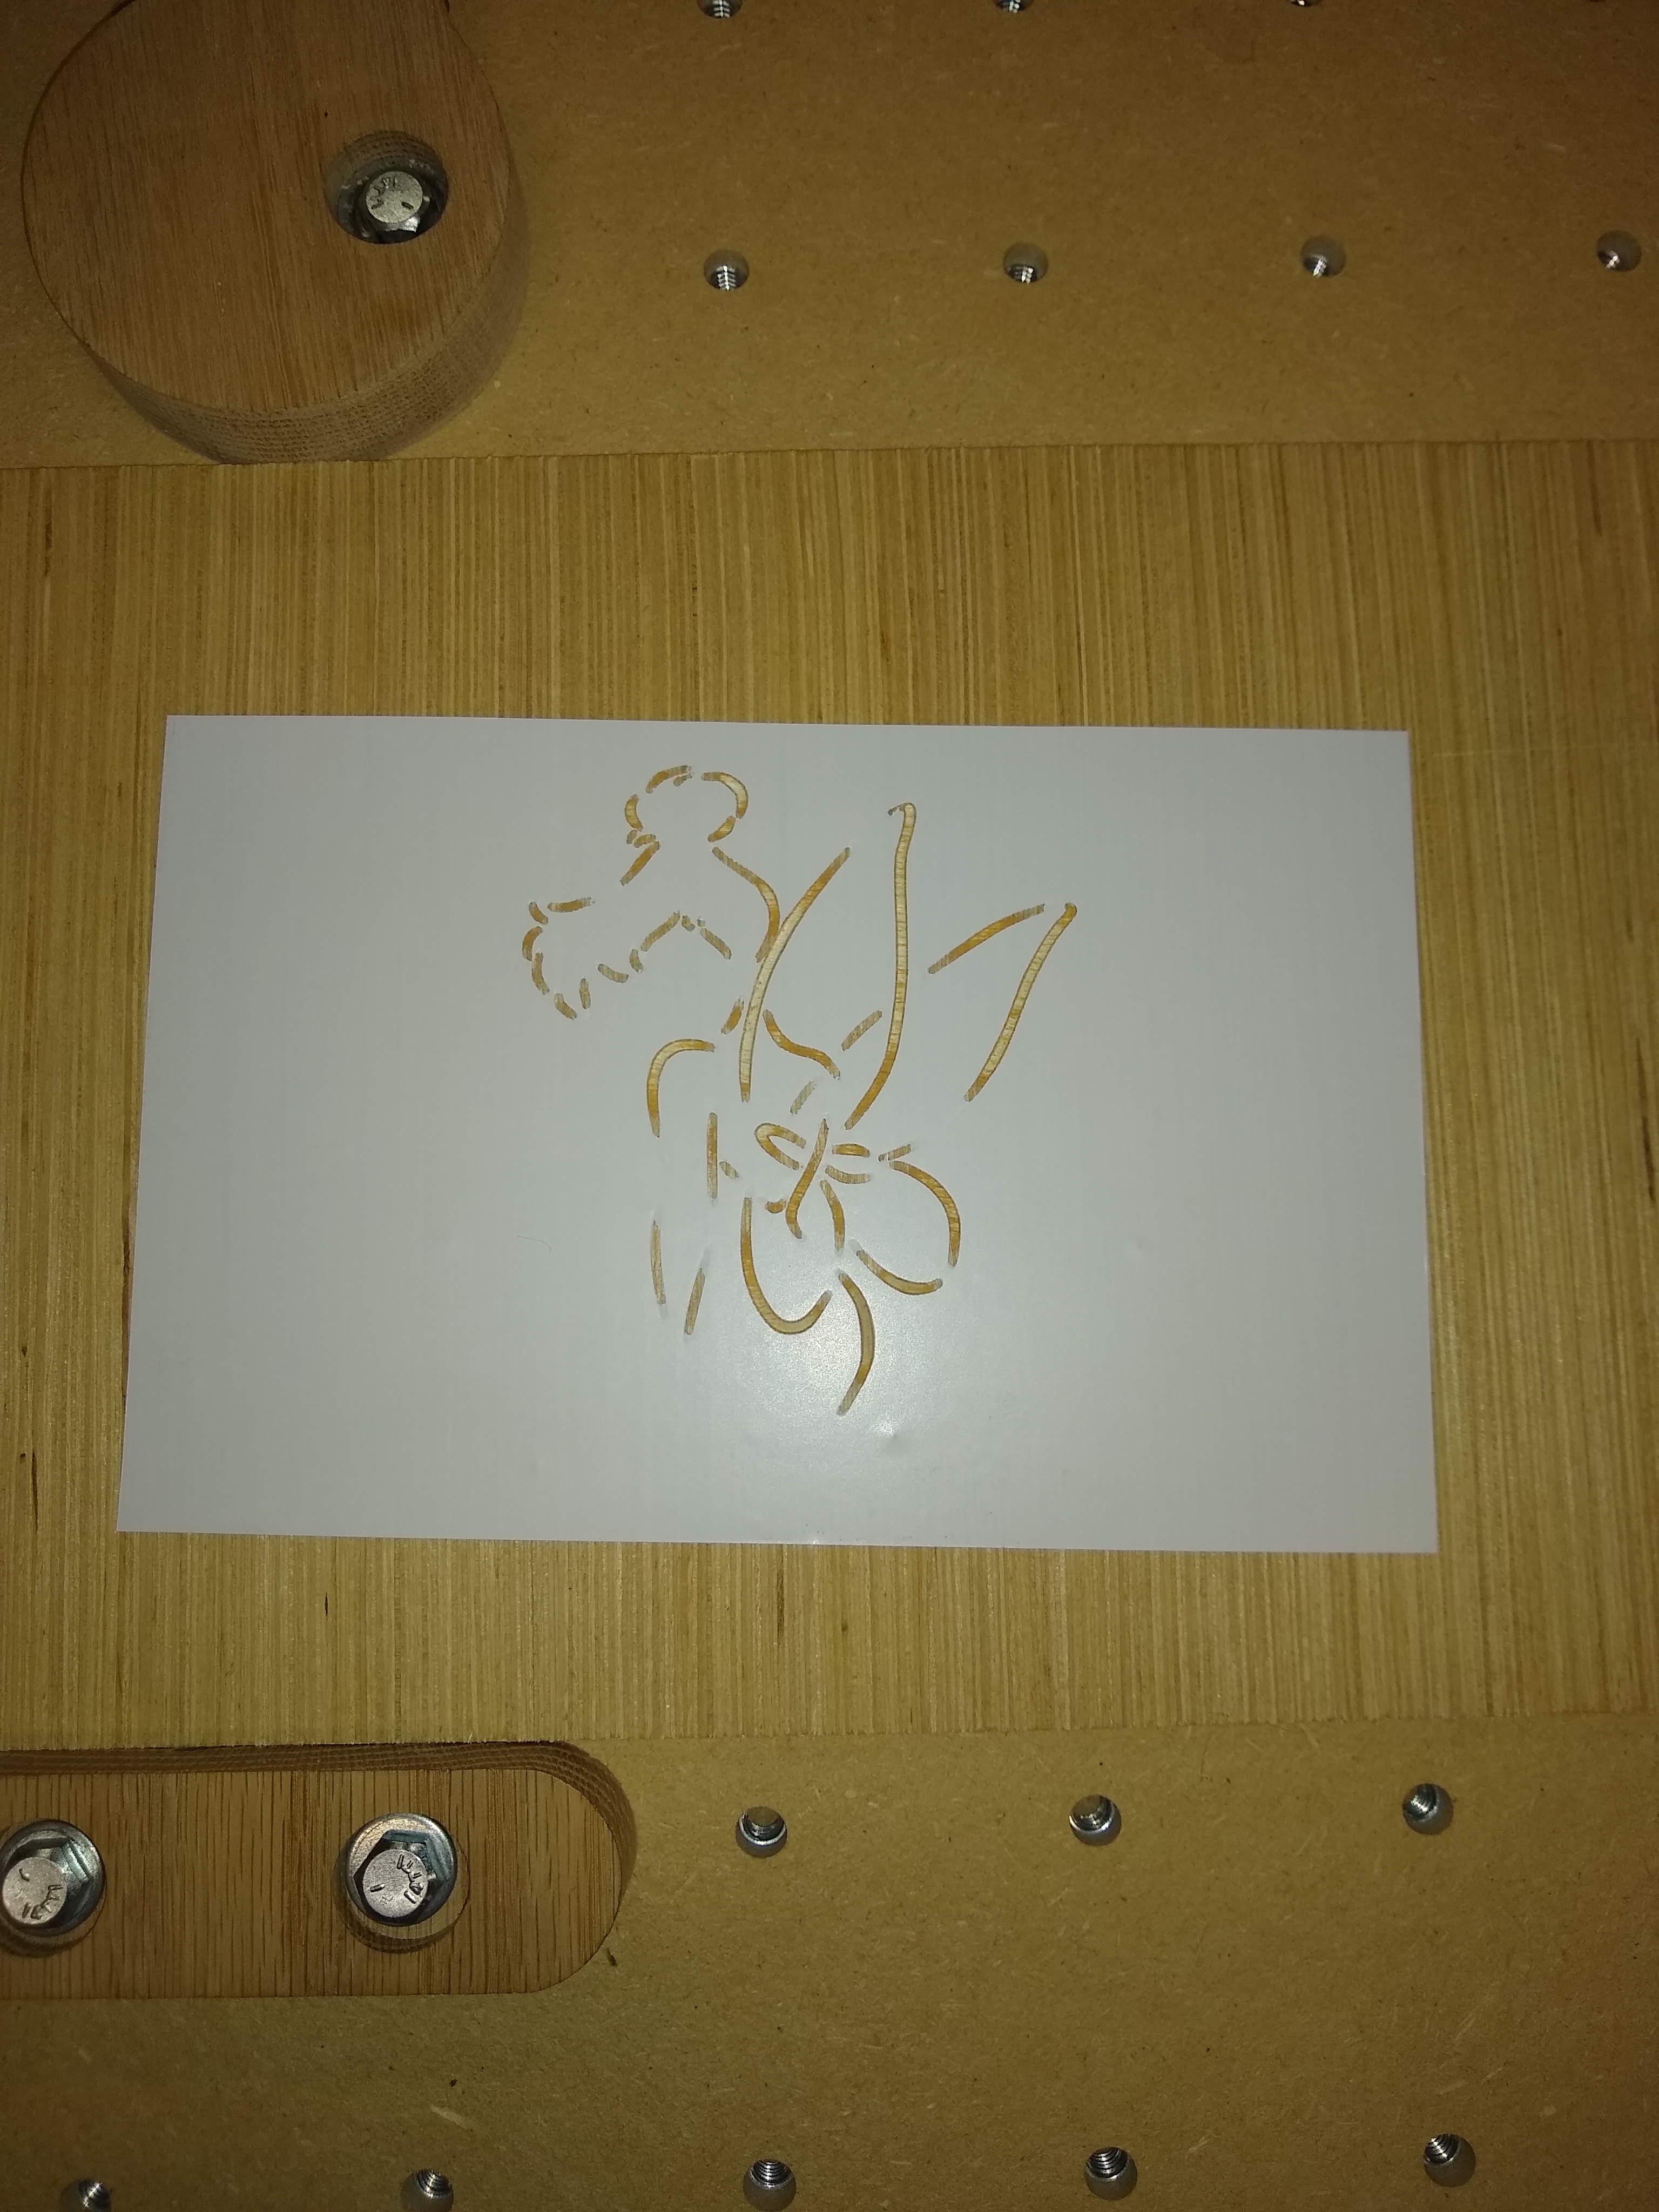
The top image was a test of the wings without the Easy Liner Adhesive Shelf Paper. You can see that even though I put a cost of Dewaxed Shellac on I still had some bleed into the porous Red Oak. The bottom image was with the shelf liner and a quick sand at 80 Grip with RO sander.
They look great! Do you do the spindle moulding as well?
Also, I have never come across Easy liner adhesive shelf paper. Do you stick it to the oak before cutting and apply the paint before removal?
The box bodies were made with Eagle America box making bit. The shelf paper is available at Walmart and others. It is a light adhesive. You stick it on, carve, paint and then remove. It works for most projects but for intricate projects it can be pulled up. It makes a lot of sanding go away. Too much sanding can ruin a project because you loose detail.
These are examples where the project is too intricate for the shelf paper. You could always try on any project and peel off before painting if bits are in the way. After carving I use a stiff plastic bristle brush to knock off saw dust and dangling shelf paper.
Many thanks for your detailed response. I have been having trouble with bleeding, particularly with oak this appears to be a very simple solution, as long as the carve is not too detailed. I am the other side of the pond to you, I will have to see if it available over here, or something similar. Keep up the good work.
I too was once from across the pond. Of course that was in 1642 when my ancestors got here. I did a dna test and it shows I am 95 percent English, Irish, and Scot.
Go to a store and look for adhesive shelf paper that is removable. Maybe try Amazon as well. Cheers
@gdon_2003 in the words of Jonny 5 “I NEED MORE INPUT” lol I would love you to, if you did not mind to explain your workflow with the acrylic in wood. Your results are amazing but also puzzle me. could you expand on the carve part, are you saying you carve the stencil or right through the wood as well? sorry if I am being stupid or over thinking this.
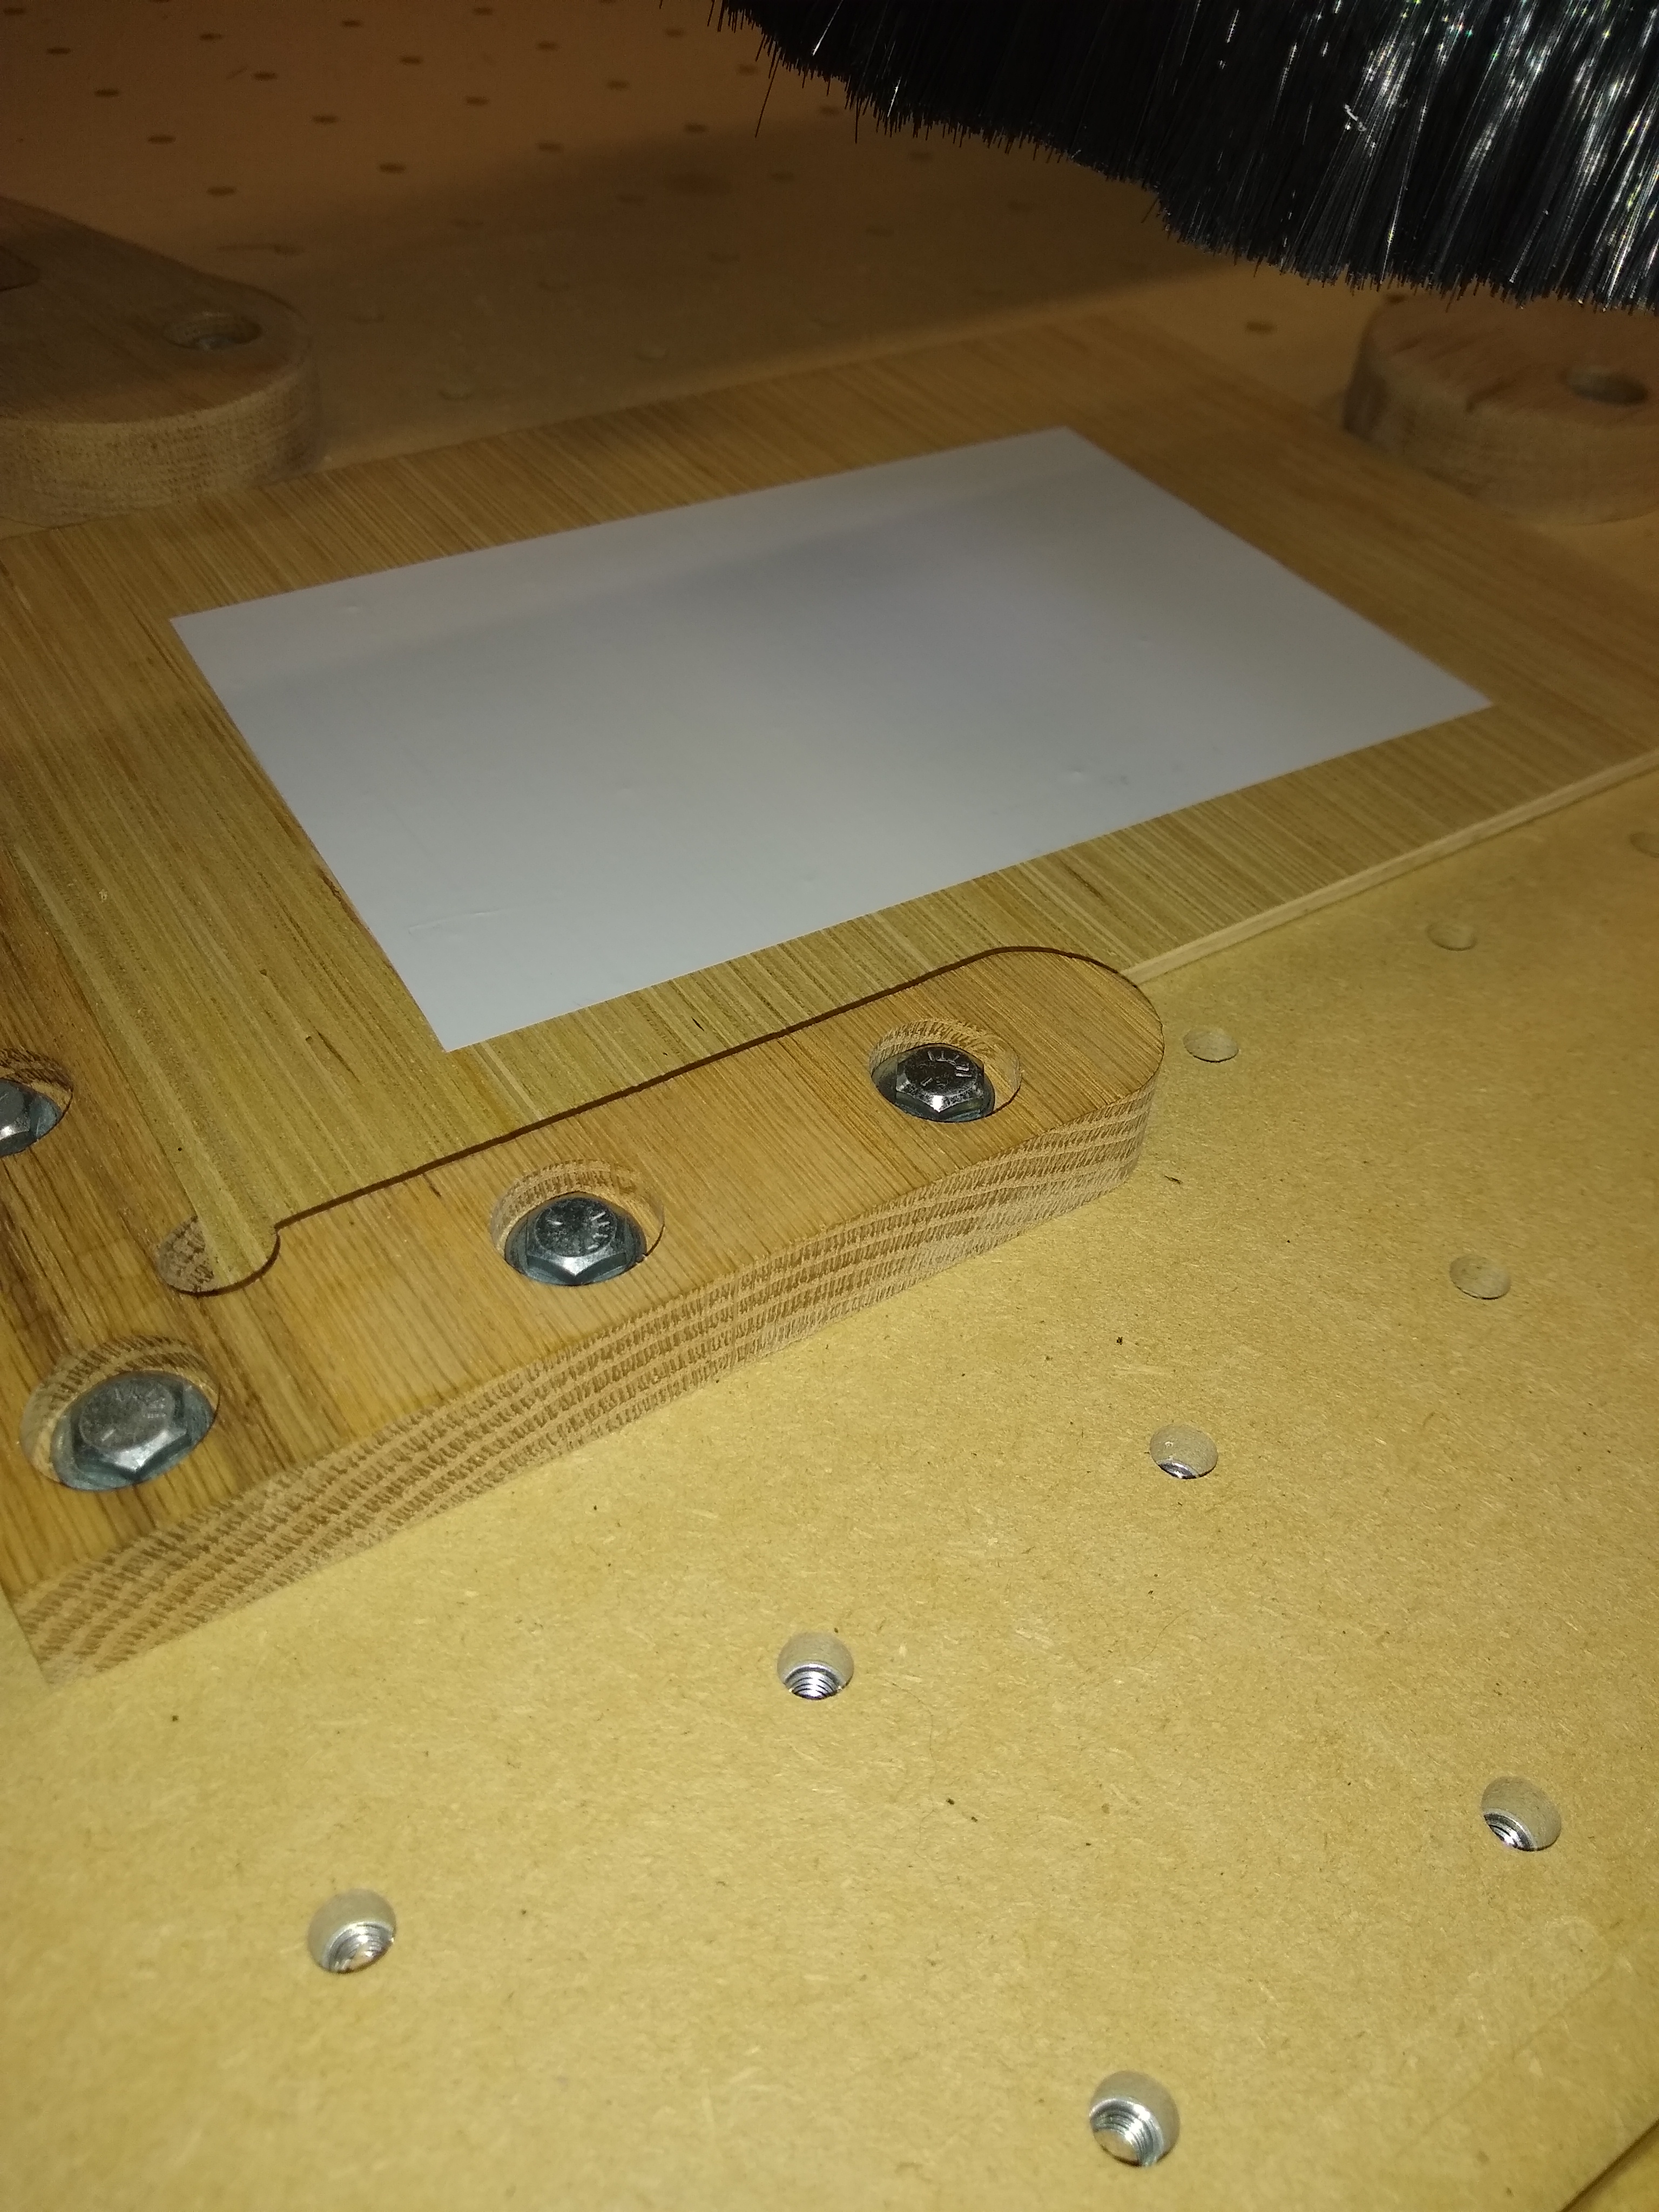
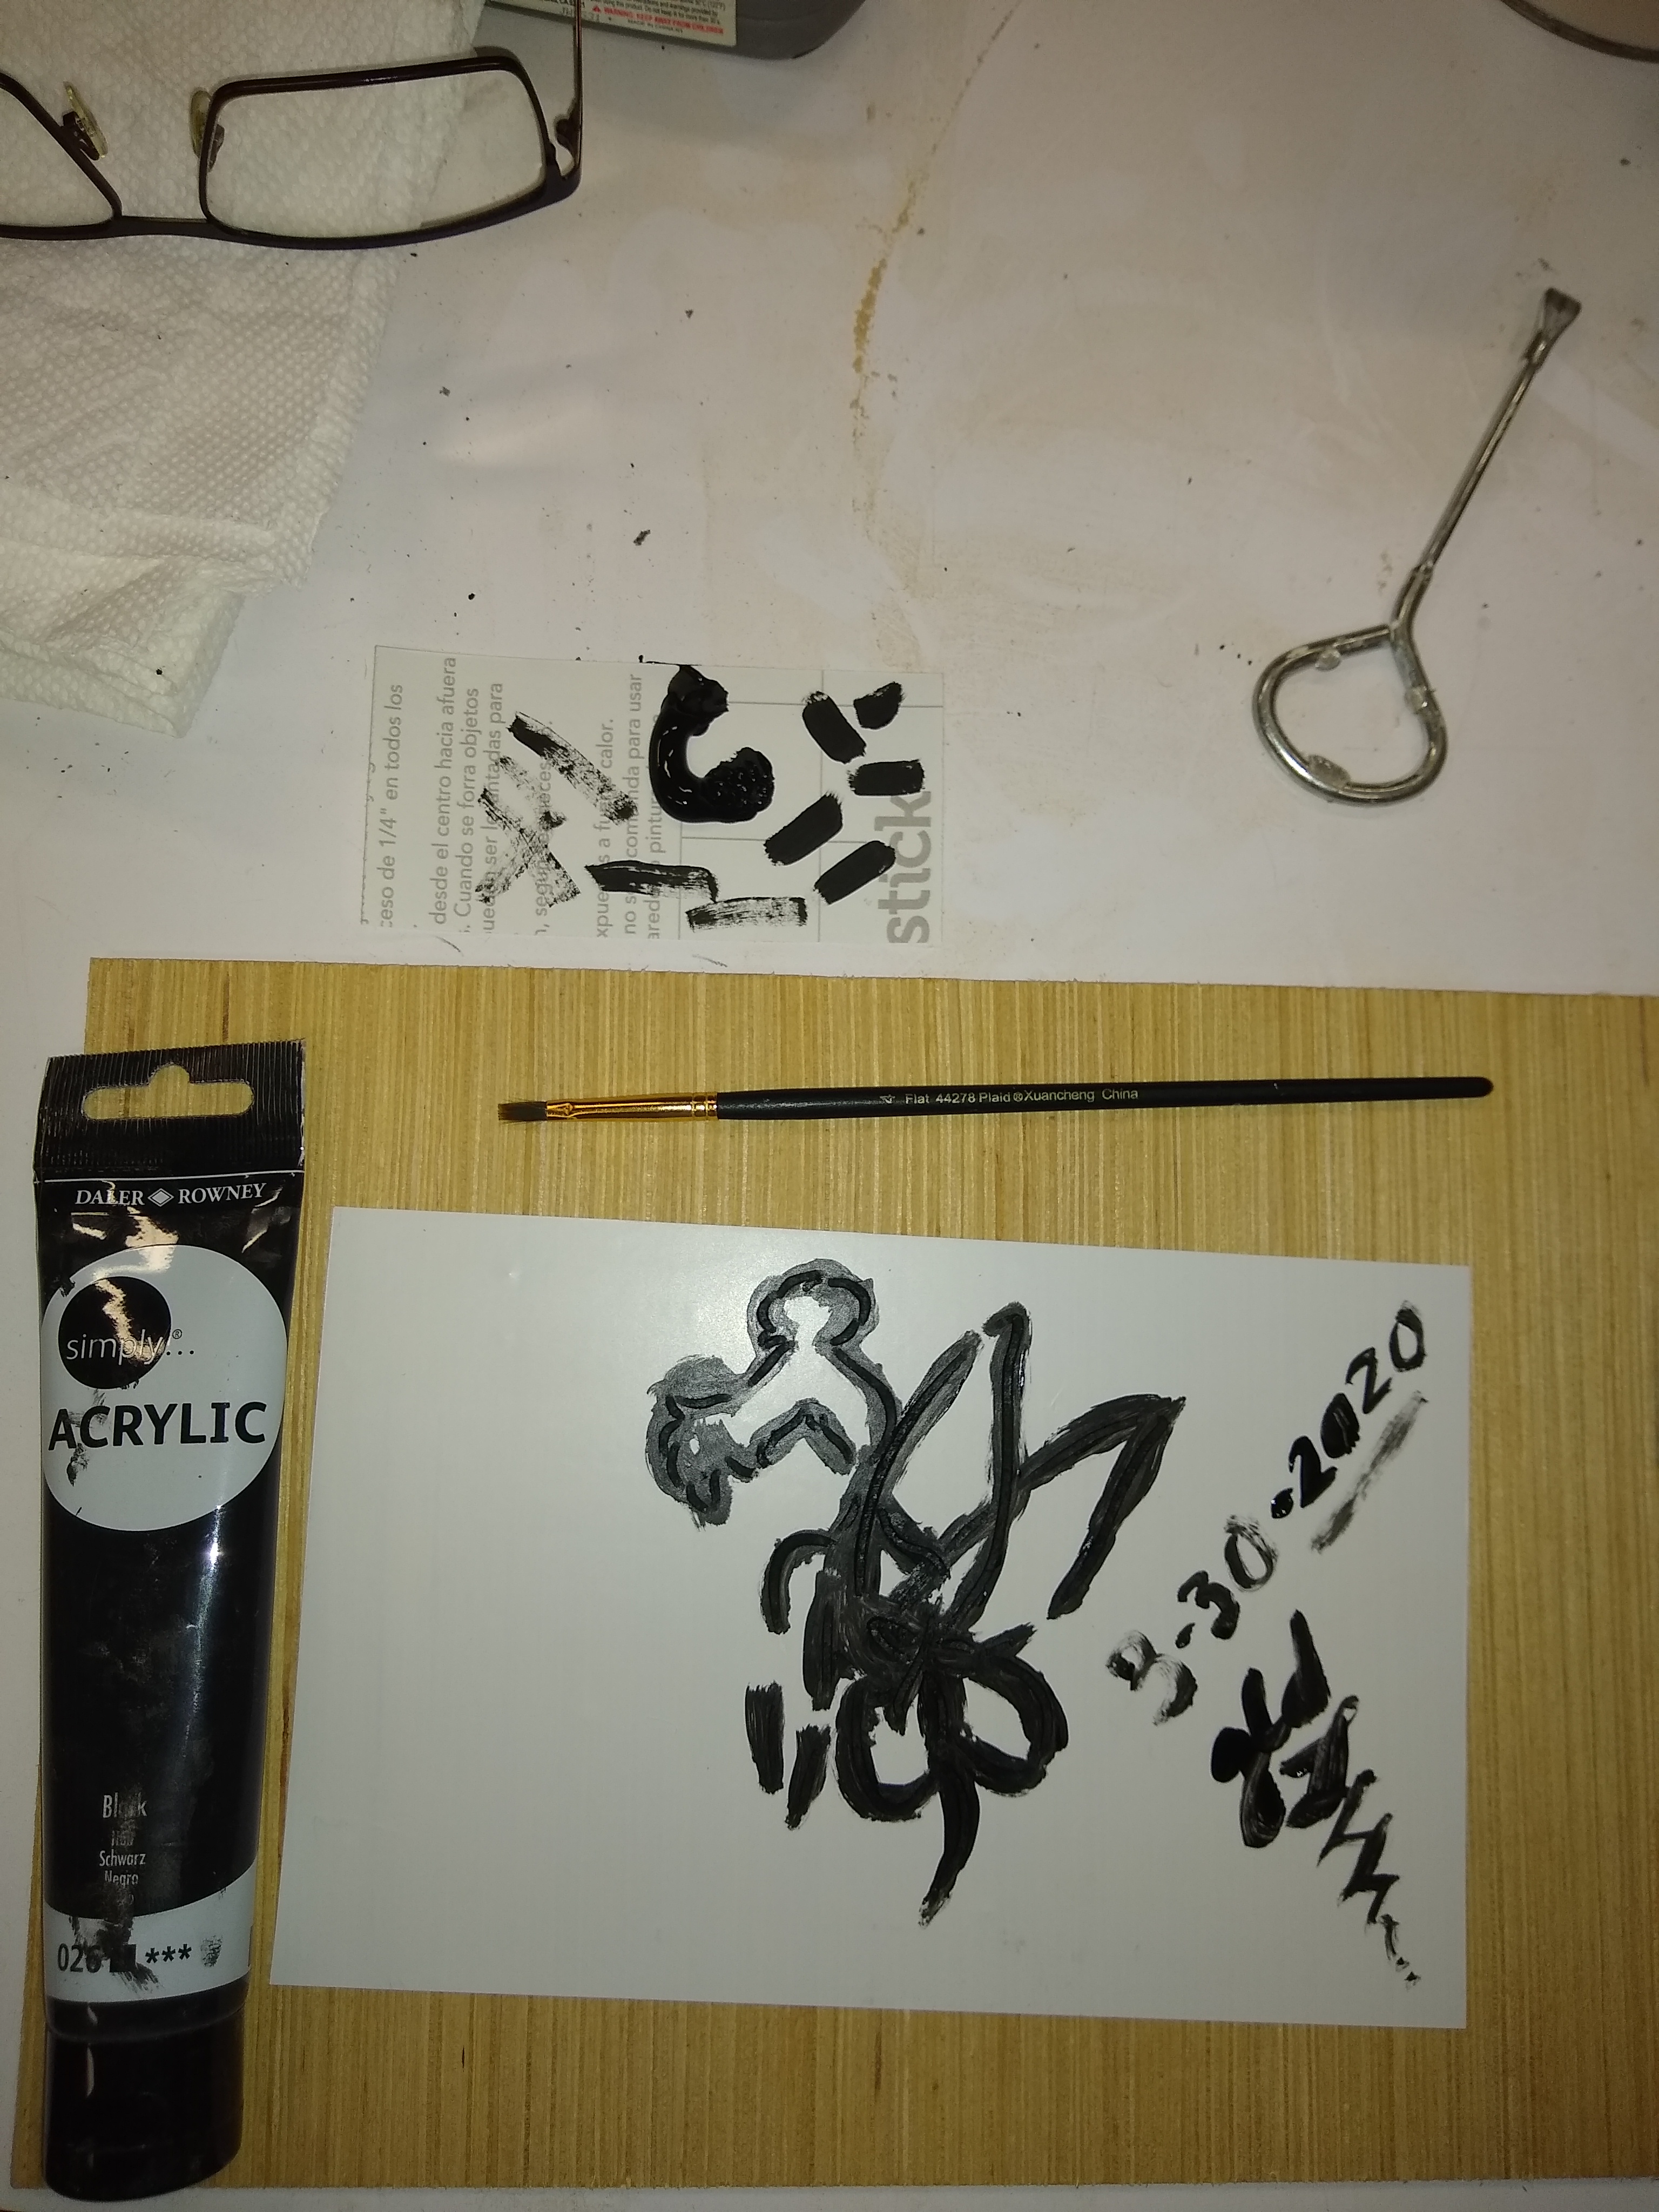
As stated I use the Easy Liner Adhesive Shelf Paper. Since the shelf paper is quite thick I almost always carve with the origin at the center. I set the zero for X, Y and Zero. I manually set X & Y by jogging. Then I use the touch probe for Z. The touch probe sets exactly on the surface and I set on the little circle on the touch probe because two sides of the probe are unsupported. After setting Zero for all I move the router out of the way and apply the adhesive shelf paper. There are some other products that some use like Oramask but that is not as cheap as the shelf paper. After putting the shelf paper on the project I use a J roller to get all the air bubbles out. I start at one end by removing the paper and apply it across the project keeping the air bubbles to a minimum then roll it to make sure it adheres well. Then I carve the piece. After carving I remove the project from the hold downs and paint it with Acrylic paint pictured in the above posts. I make sure that I rub the brush on a piece of paper to get a lot of the paint out and then go back over the project to make sure I dont have puddles of paint in the v carve. I let the paint dry for 2-3 hours. It is very important that you let the paint dry all the way. If you sand with damp paint the sawdust sticks to the paint. With the simple v carves I usually dont even have to sand. Some times in oak there is some small pieces that are the fuzz and I hit the project with 150 grip paper. Then I apply dewaxed shellac to seal the project and usually apply several coats of Minwax wipe on poly. Viola
Projects that are very complicated still work but sometimes the shelf paper gets pulled up and even if it does not peeling the small pieces of shelf paper off often stick me under the fingernail. I have started using a razor knife to lift remove the small pieces left. You have have a smooth surface to get the paint and the little pig tails of shelf paper can keep you from getting the paint in the right places. So if I see a lot of fuzzy pieces of shelf paper I use a stiff nylon brush to go over the project to remove those small pieces. Sanding with the 150 will clean any paint that gets on the flat surfaces. Just be careful sanding because you can loose detail in the carve. Some times it is better to cut a few thousands of an inch deeper by setting zero for Z a little lower so you have enough fine detail left after sanding.