Hi,
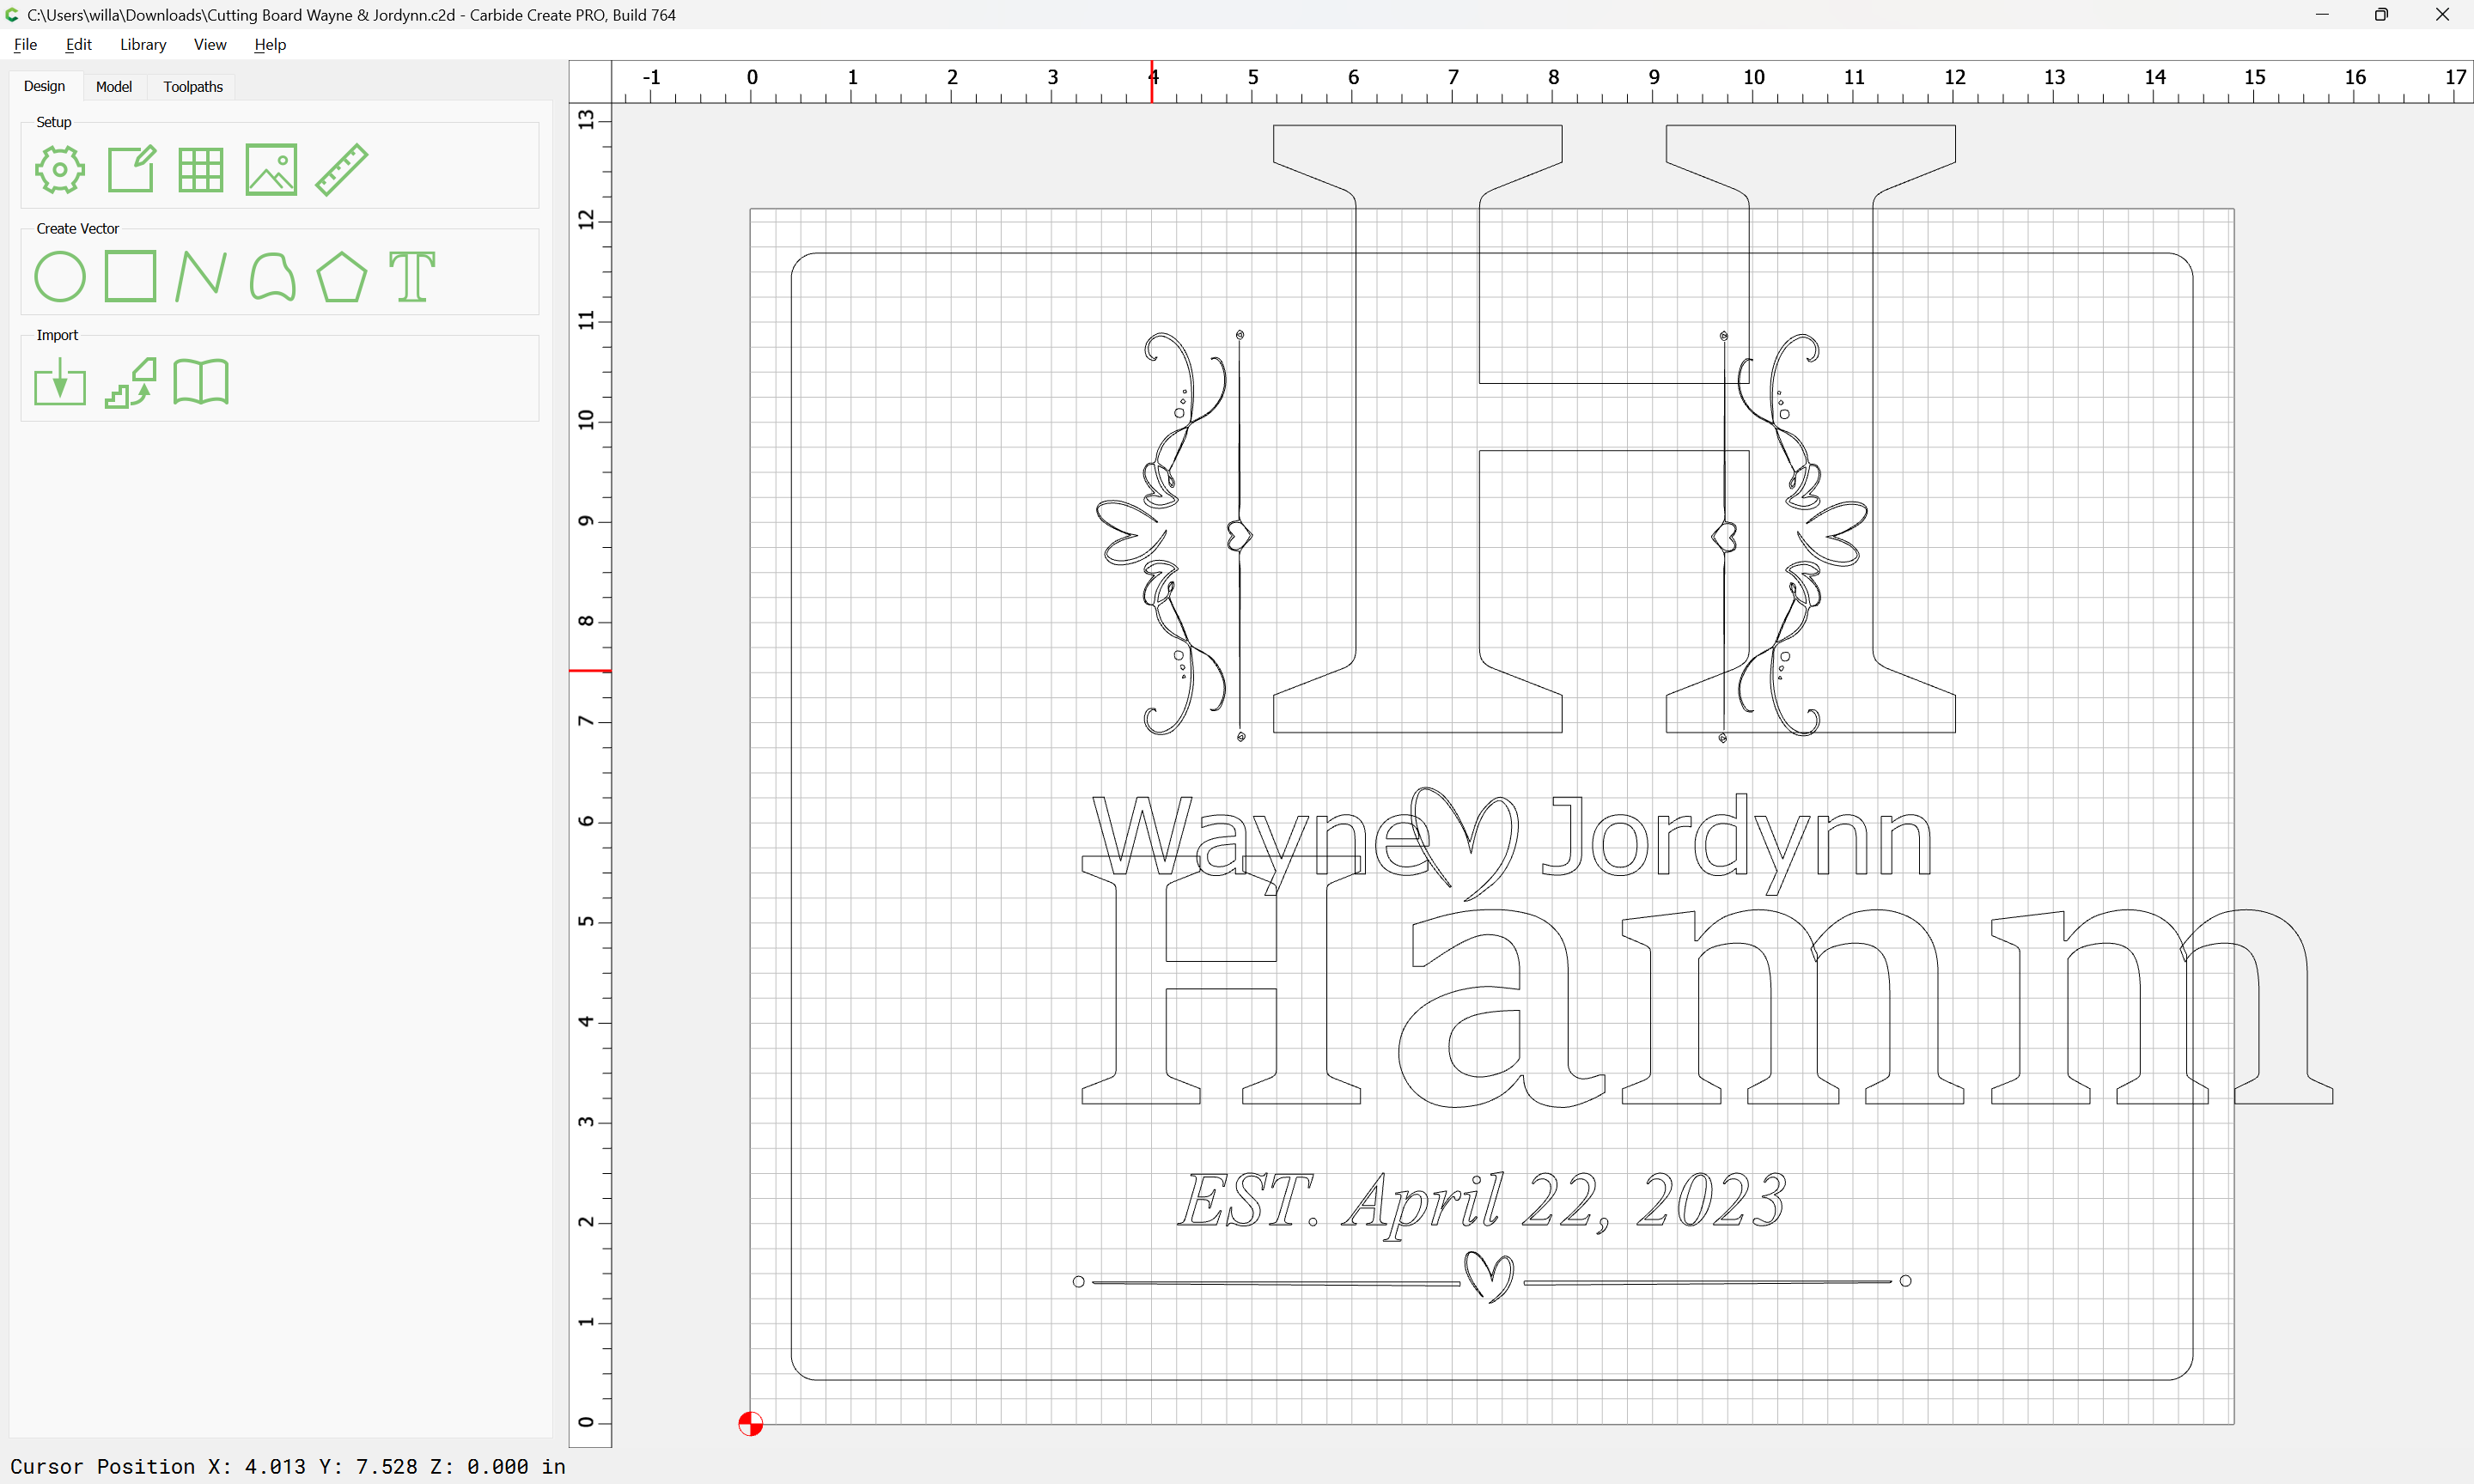
I’m new to Carbide 3D as I recently purchased a Shapeoko Pro XXL and I’m trying to carve out text on a cutting board. The issue I’m having is with flourishes not cutting out. Parts of them are barely cutting and other parts are not cutting out at all. I tried using different flourishes and that didn’t help the situation.
If possible, can someone take a look at my file to see if I’m not creating it correctly?
Thanks
John

Cutting Board Wayne & Jordynn.c2d (524 KB)
You’ll have to upload your .c2d file
Thanks, I think I’ve uploaded the right version now.
You will probably want to join the script text together:
https://carbide3d.com/blog/merging-script-fonts-in-carbide-create/
I don’t have the same fonts here:
so you’d need to duplicate a copy of the file and then convert everything to paths for us to actually be able to help.
1 Like
Thanks I will work on that and upload a new file
John,
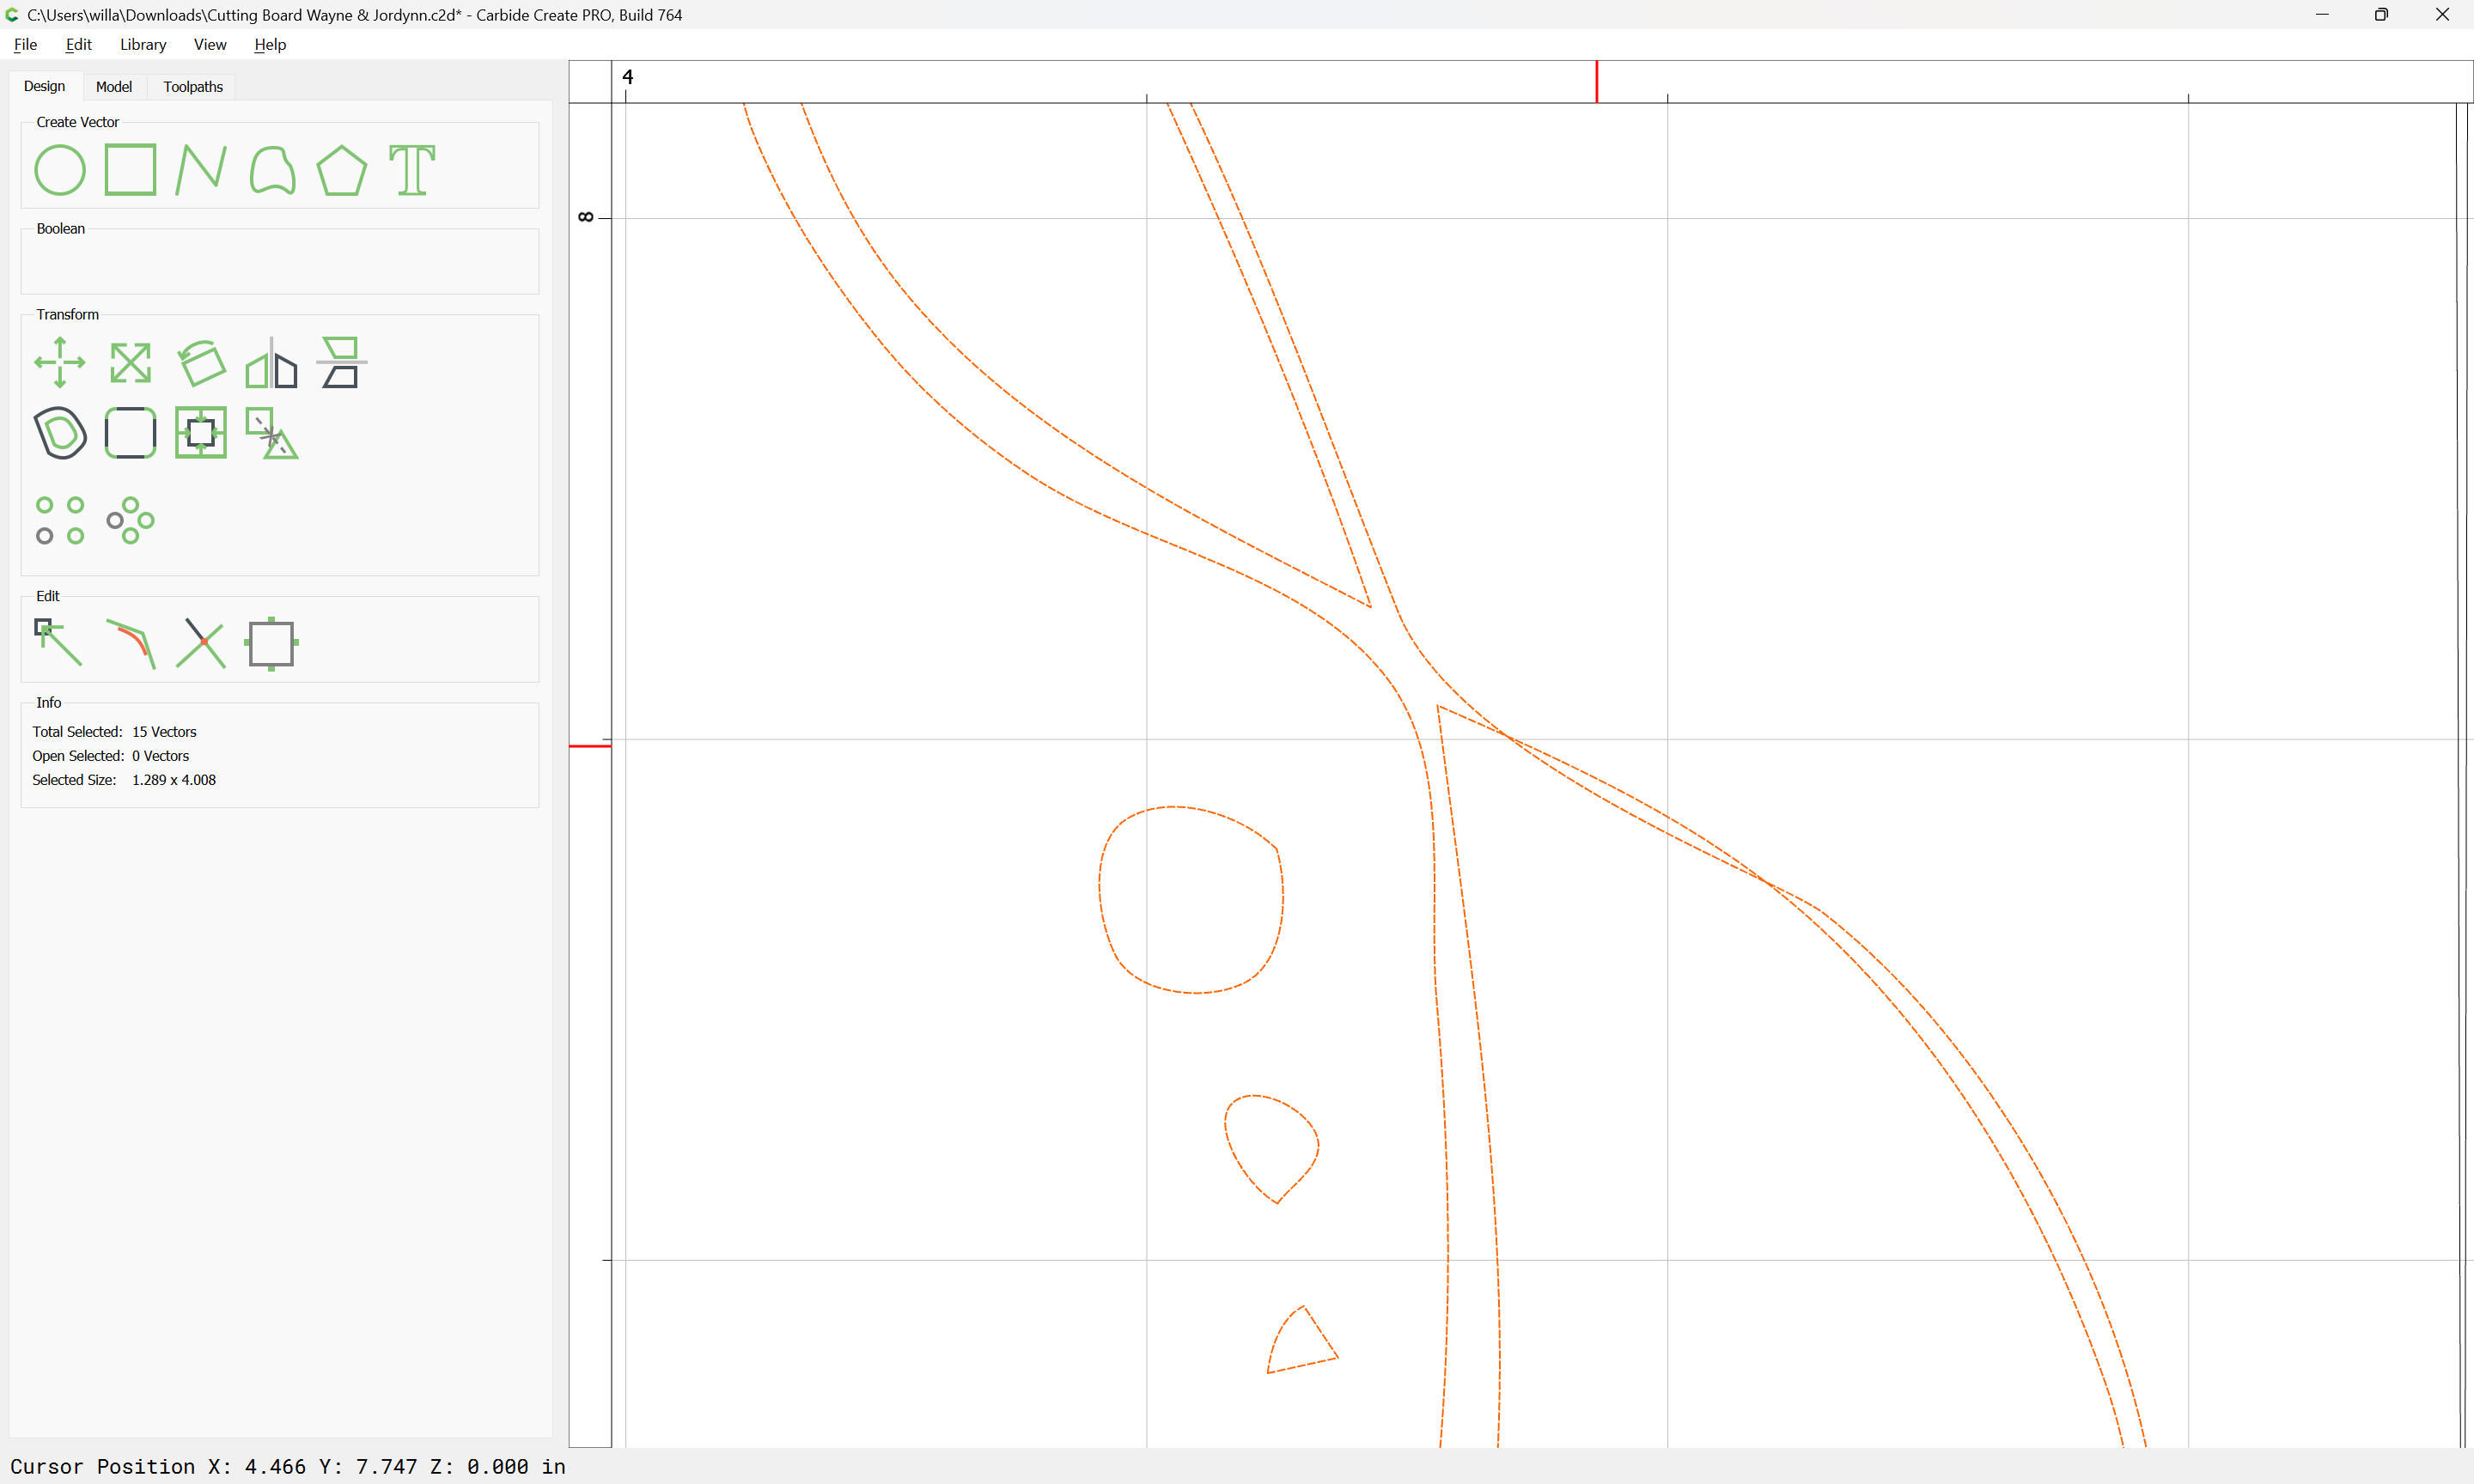
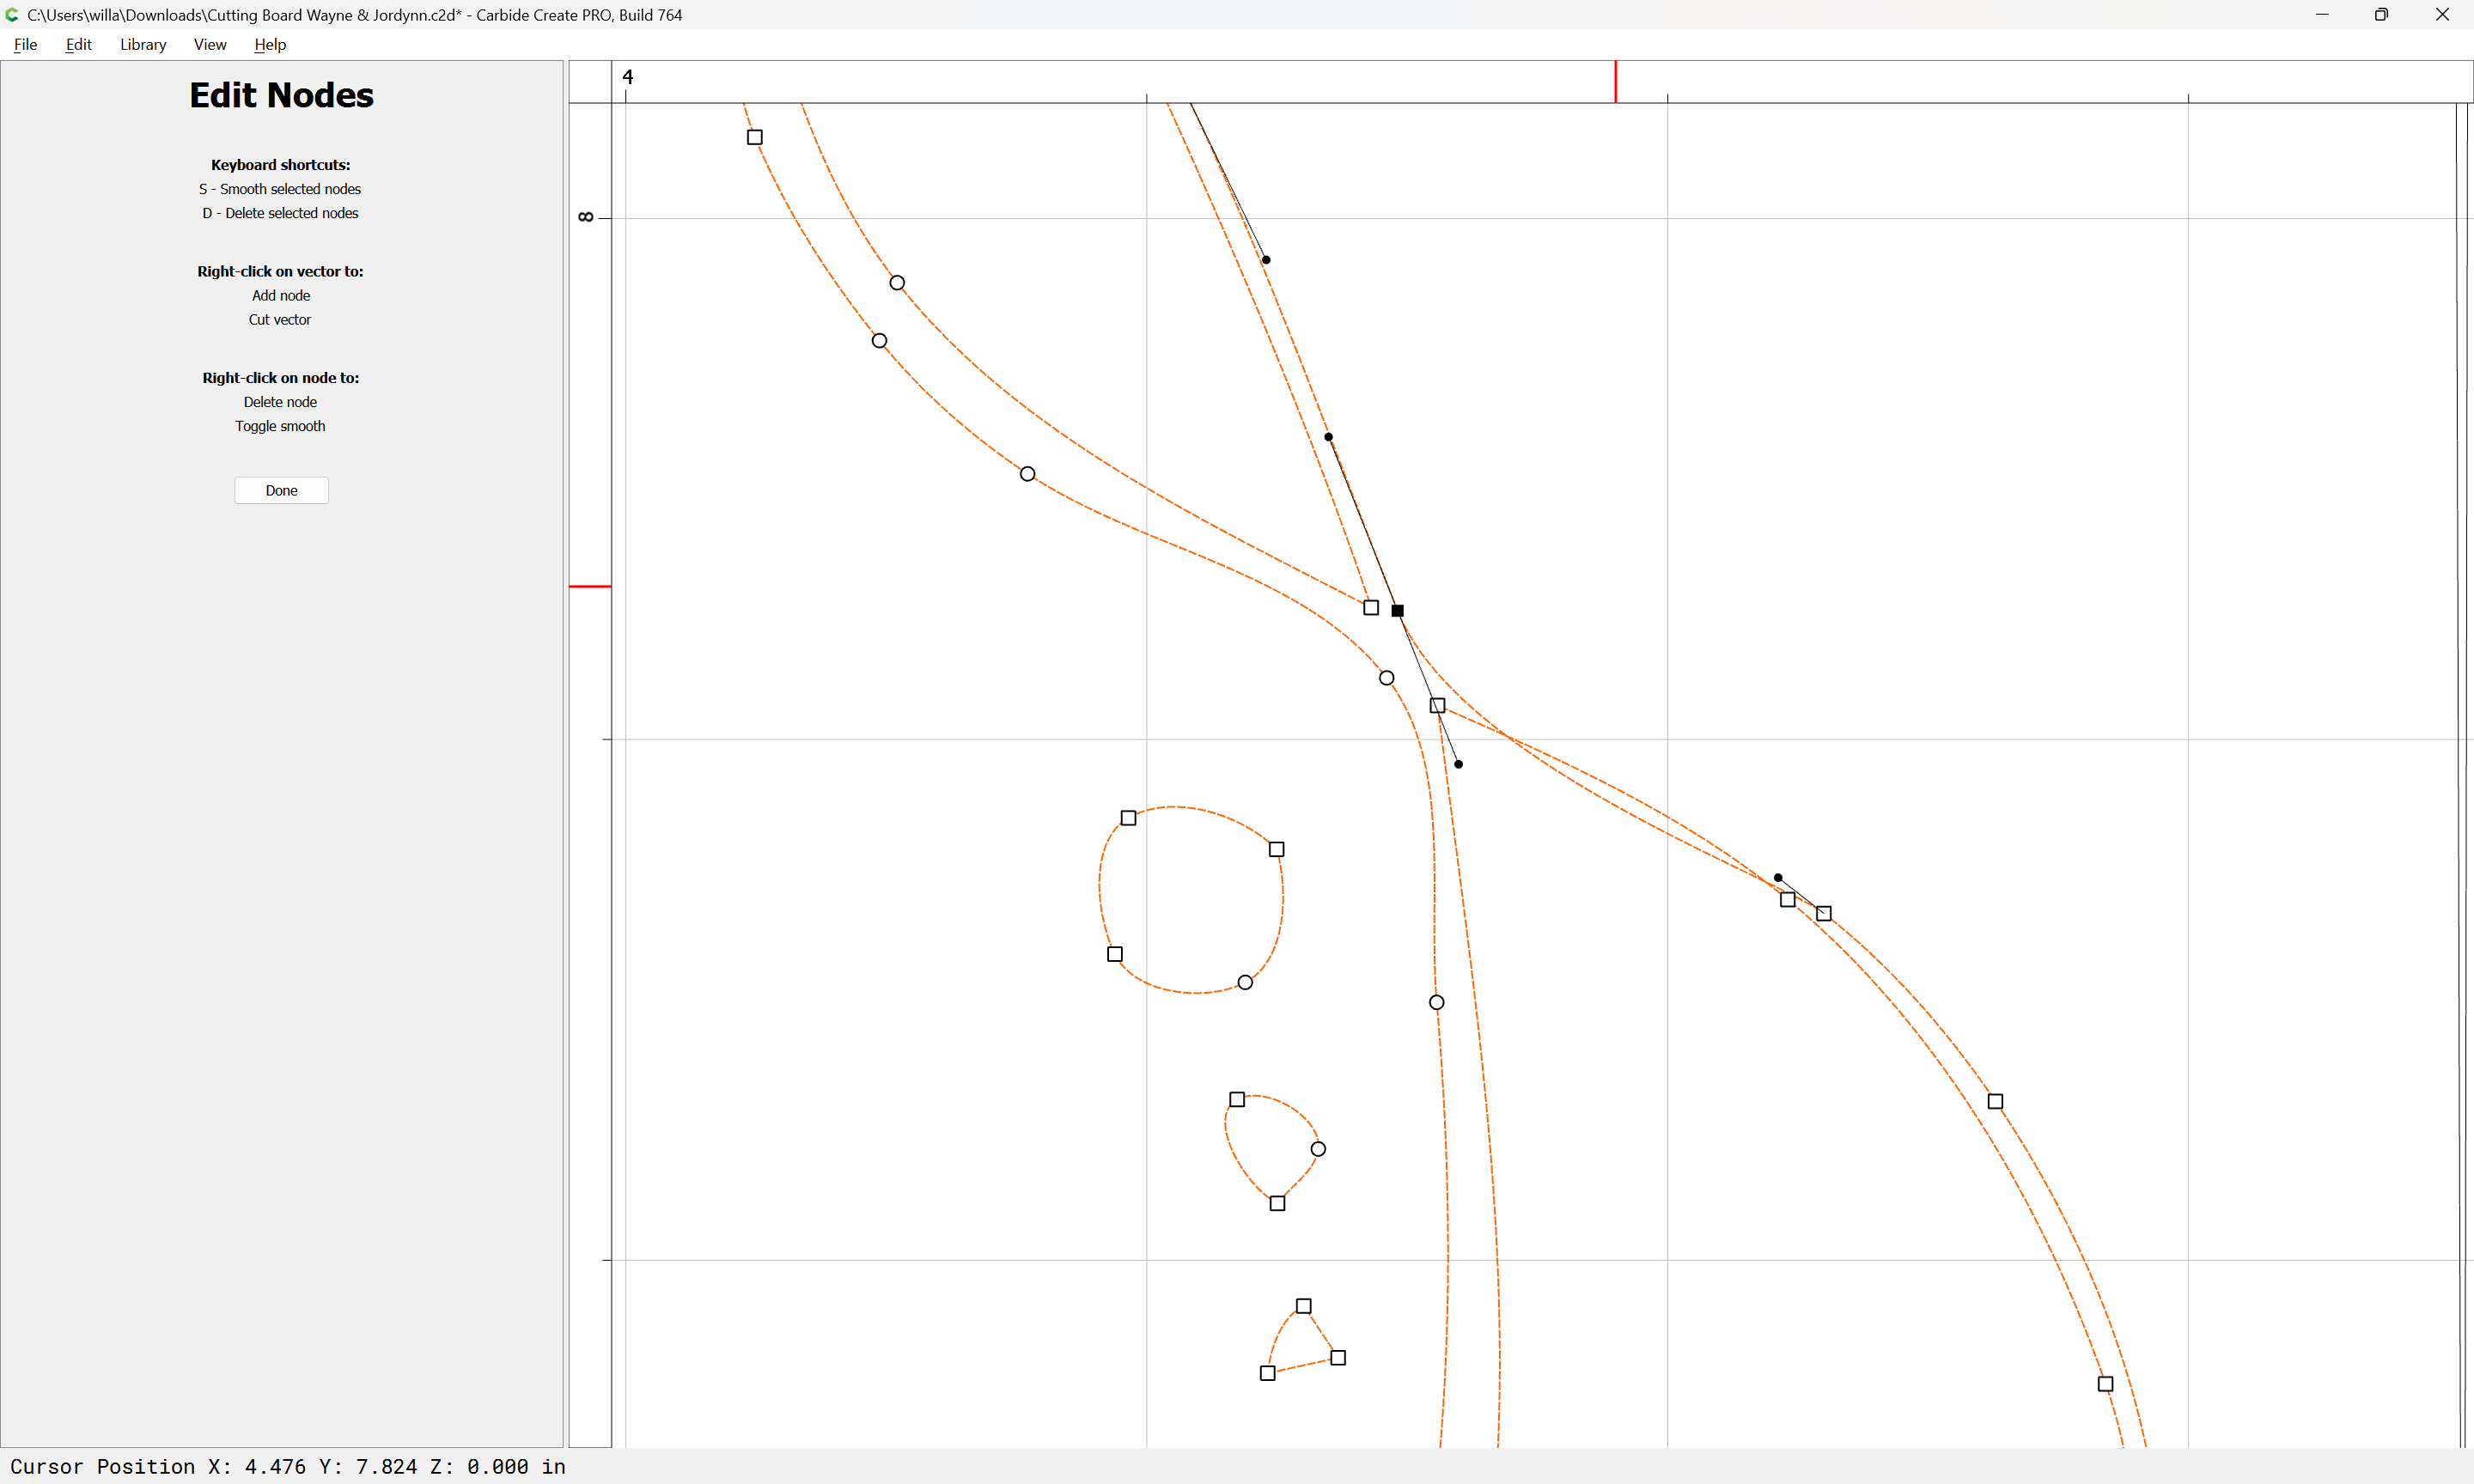
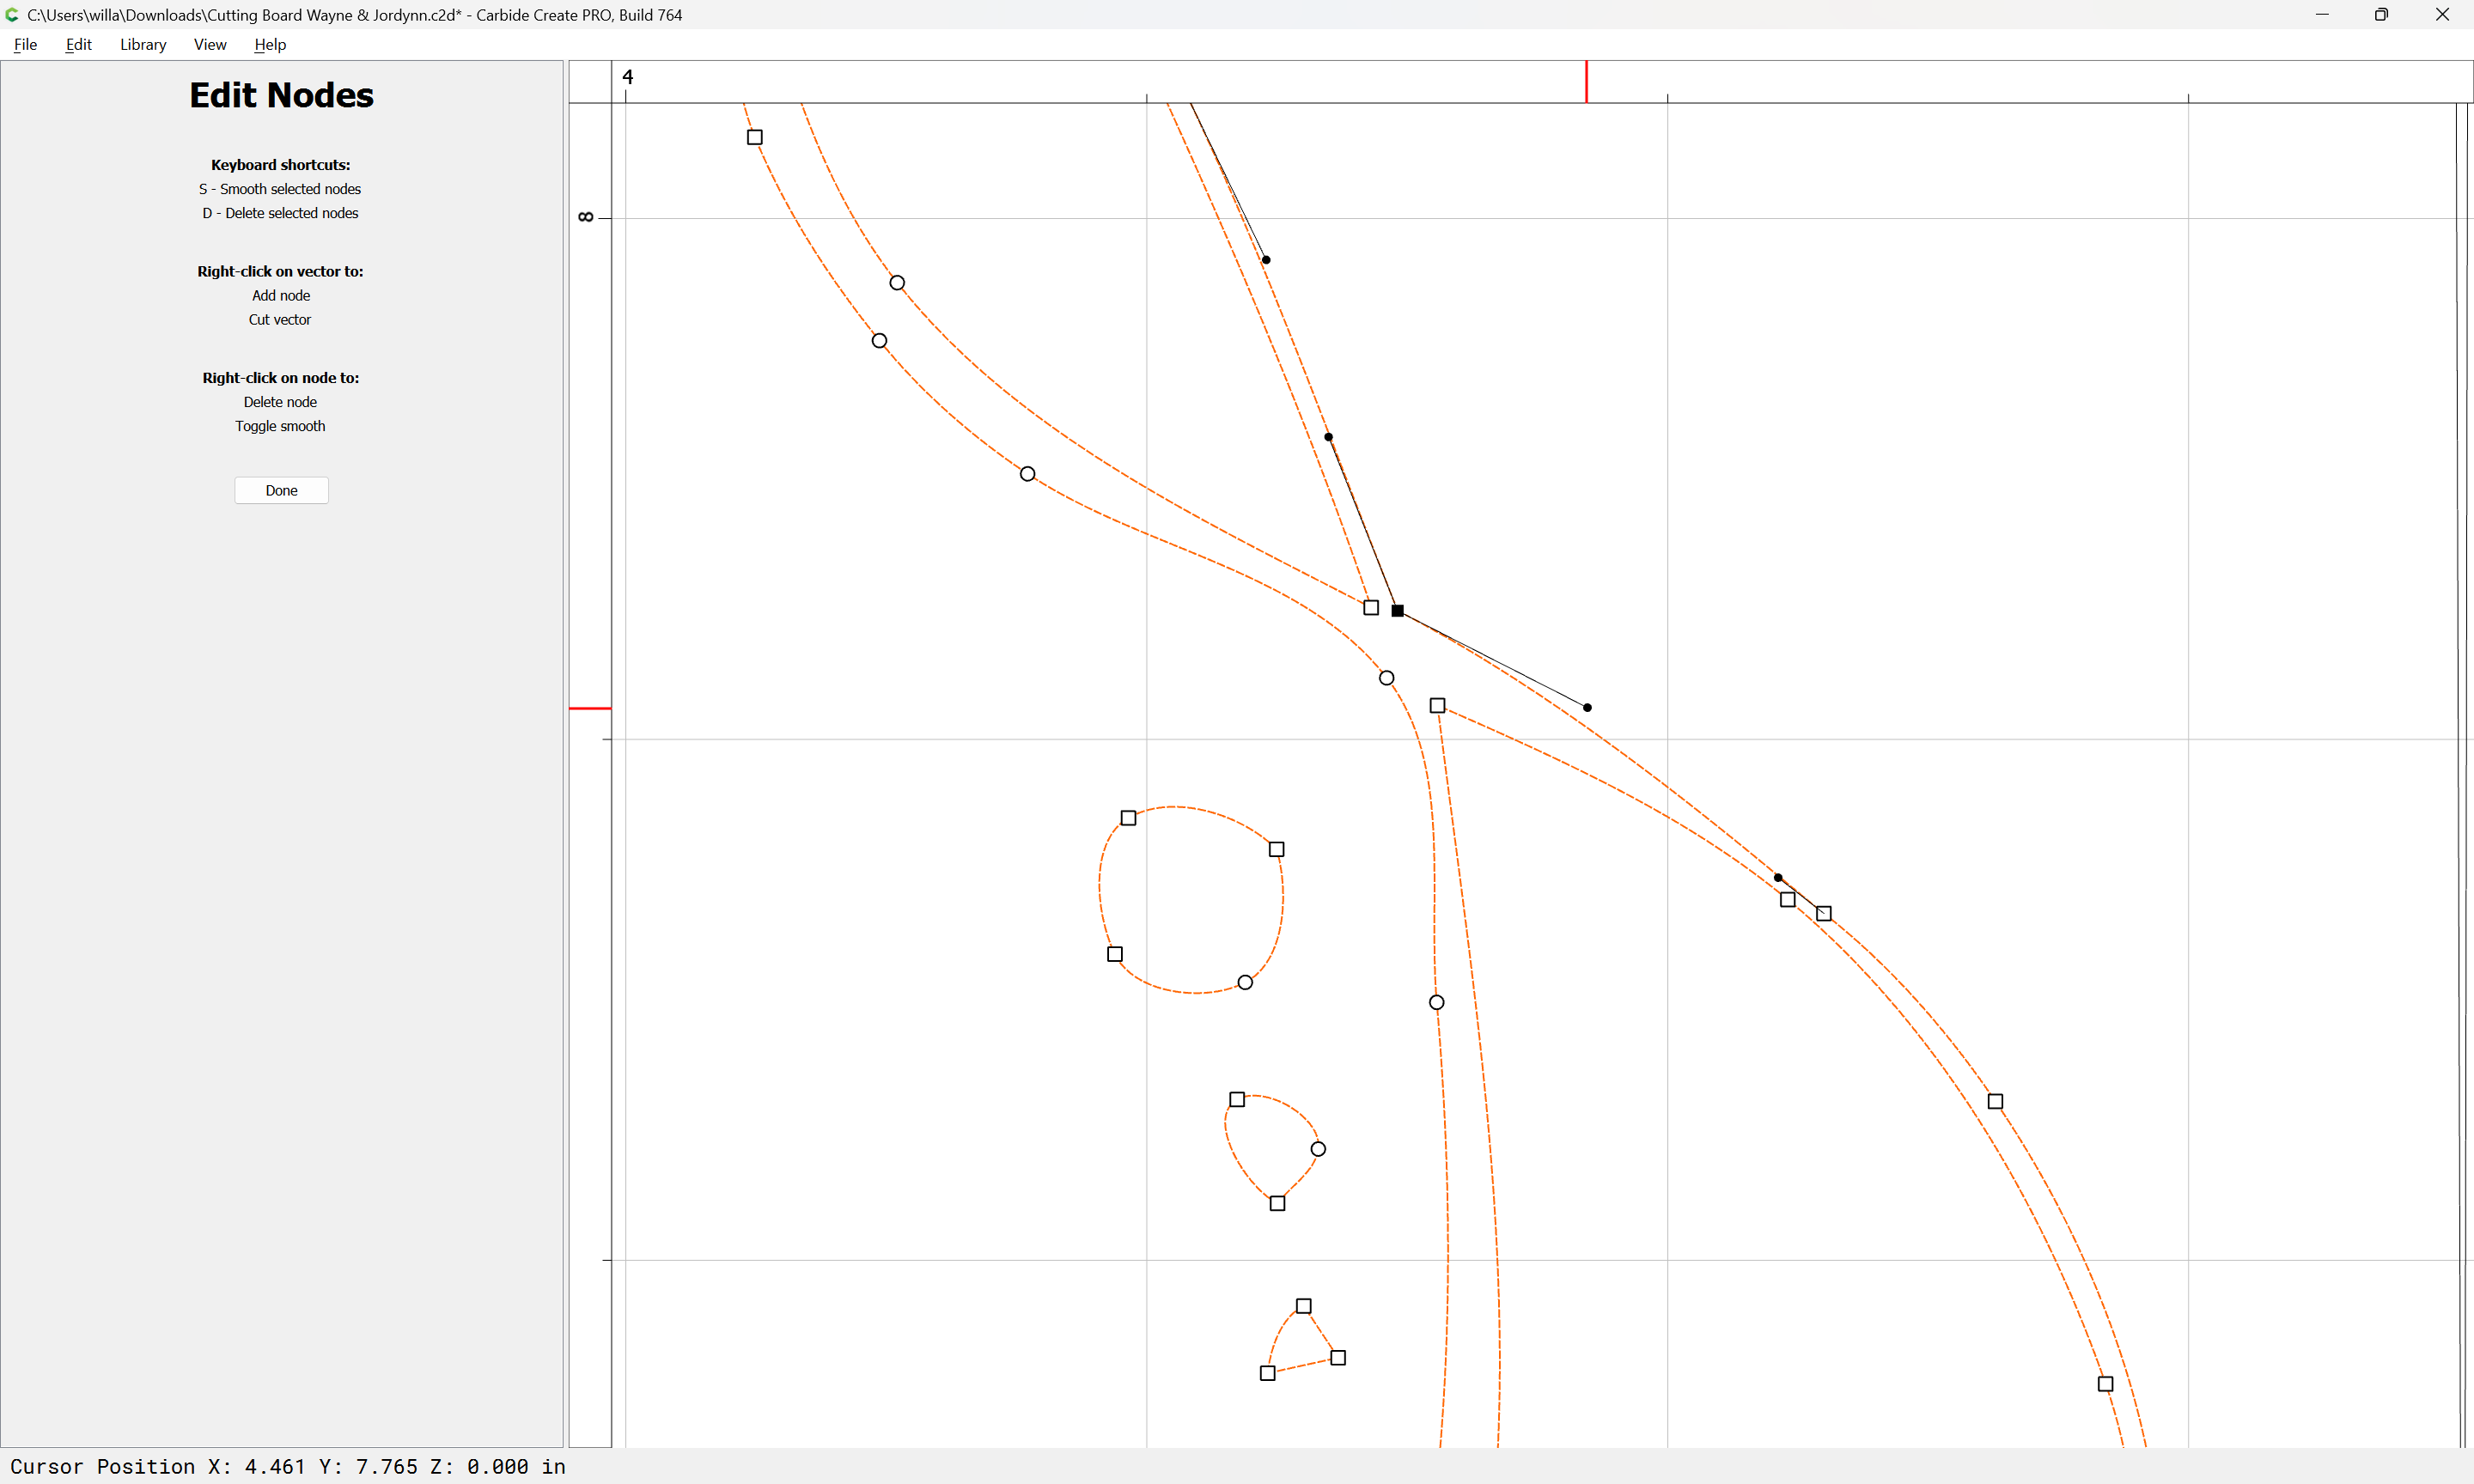
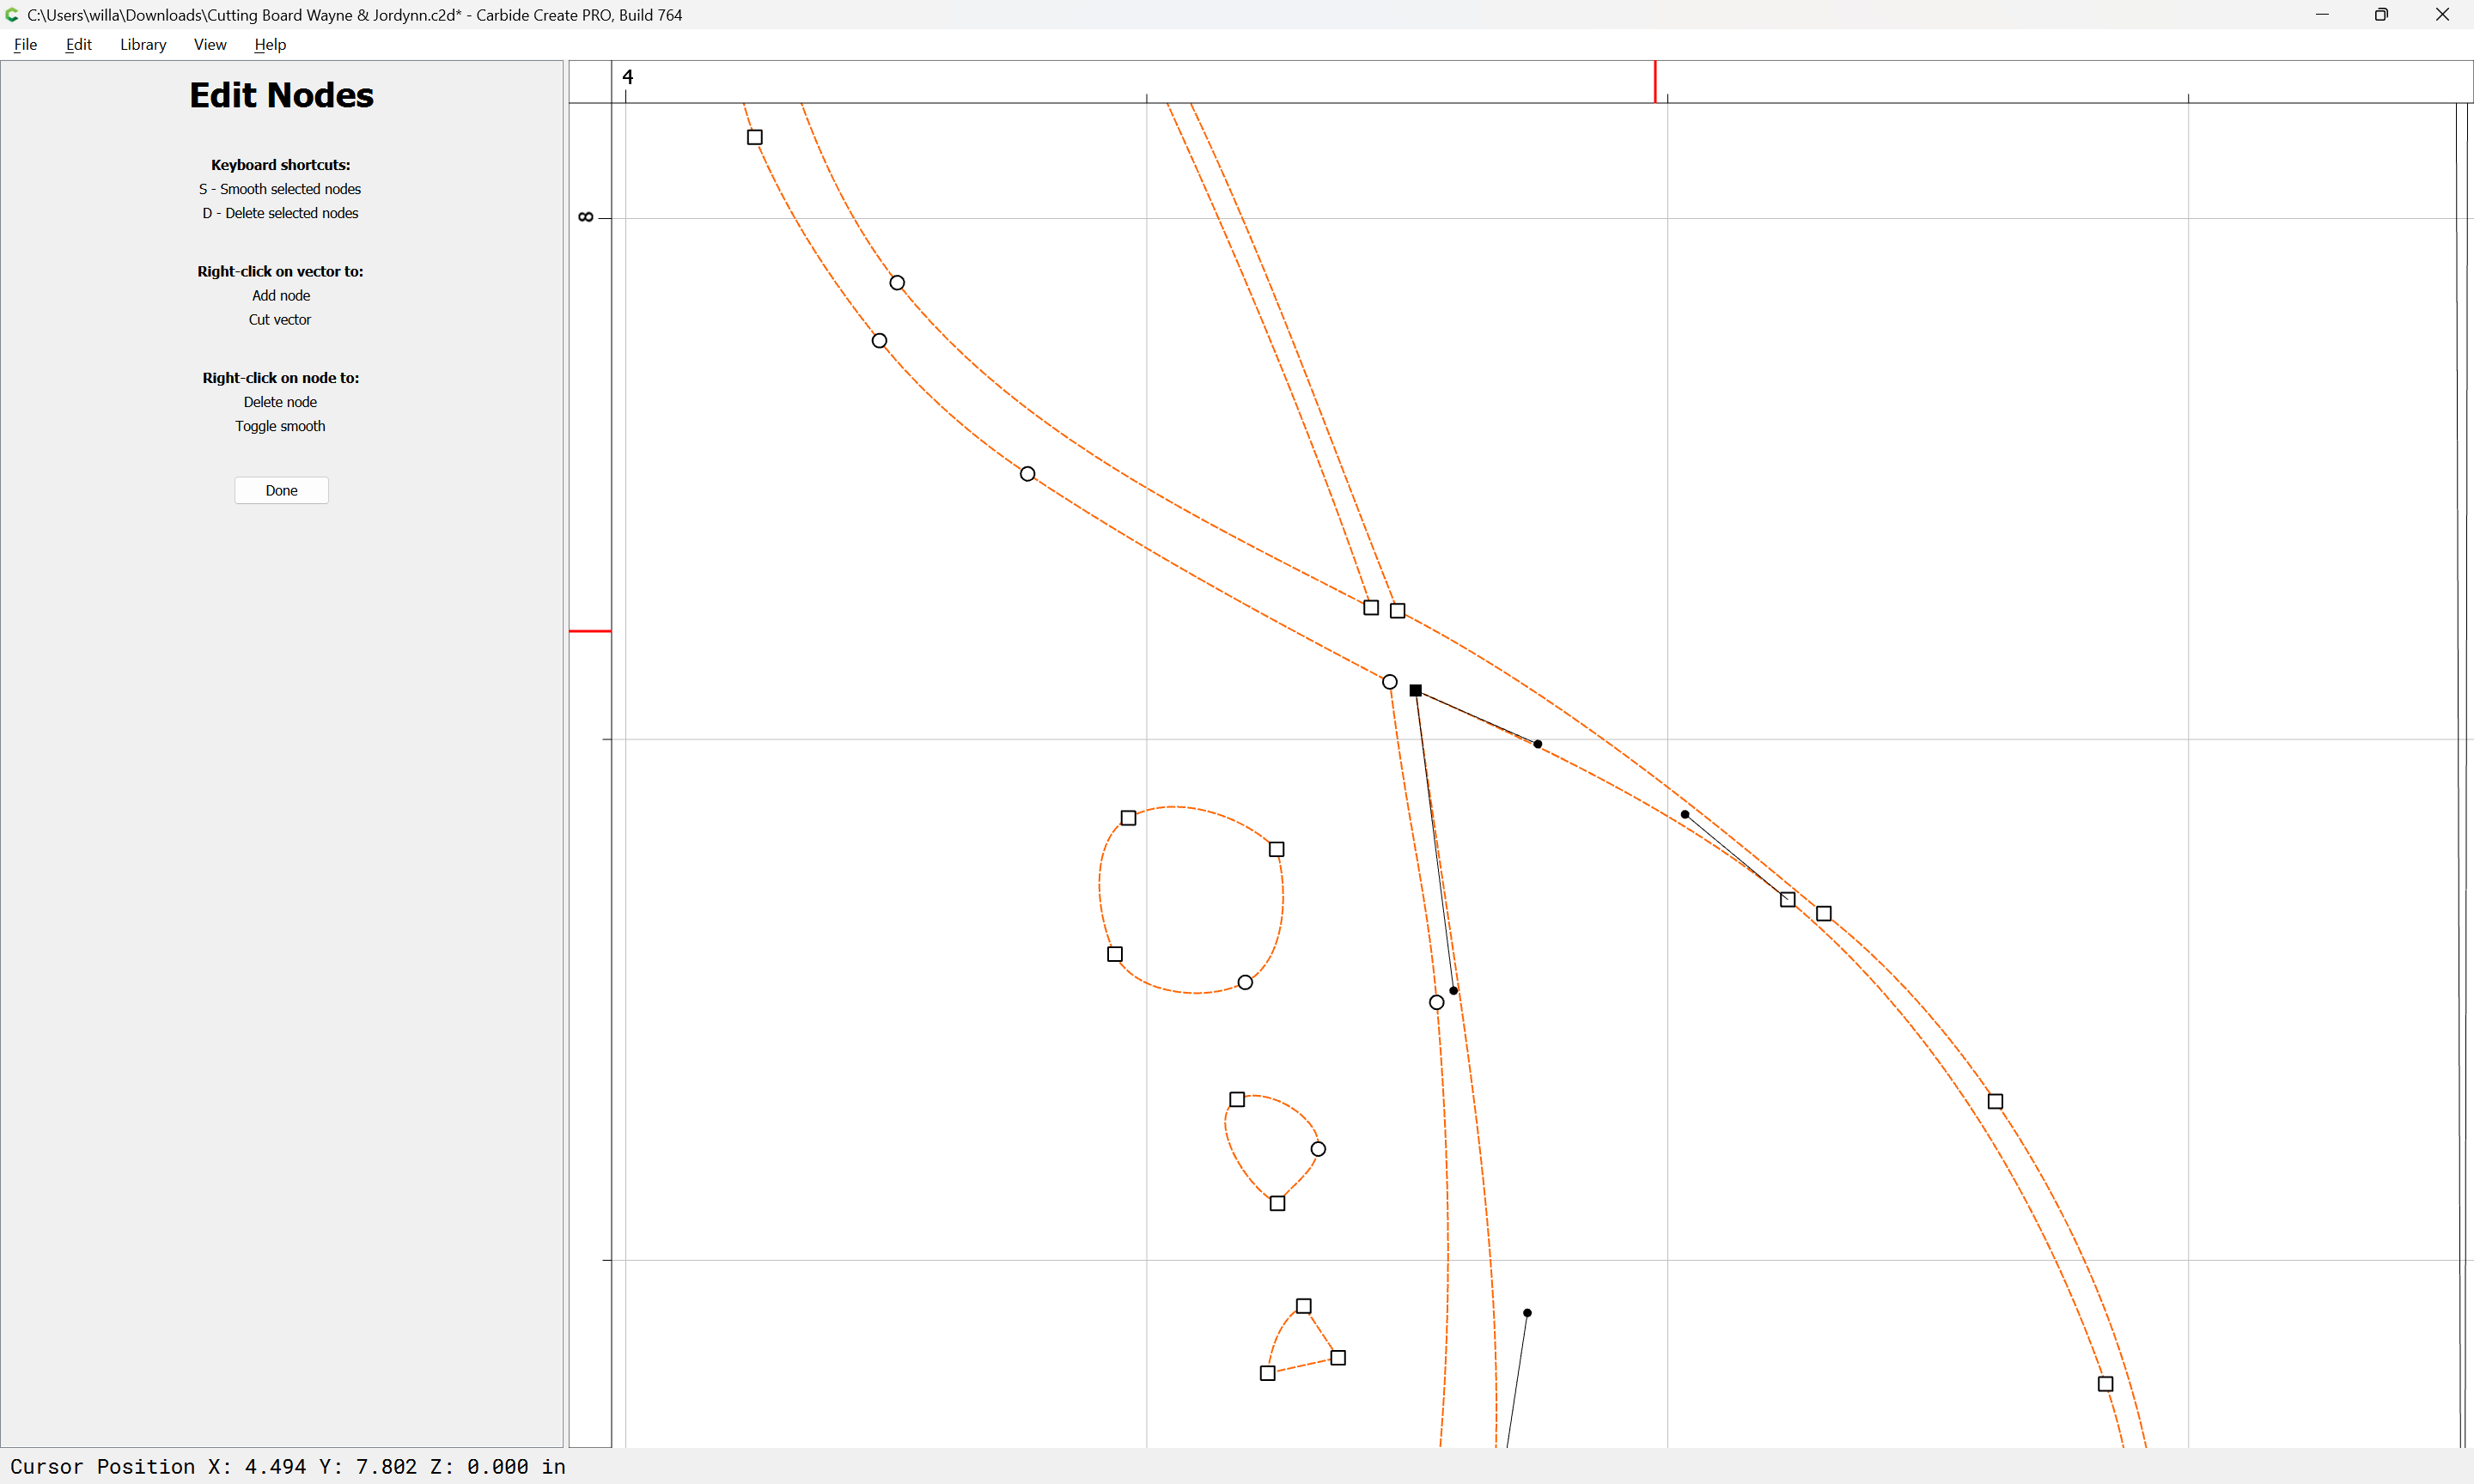
I found a few issues with your file.
- The flourishes vectors had overlaps/intersected themselves. That’s a problem. I changed them up a little.
- You had multiple duplicate vectors in the text. I deleted the extra vectors.
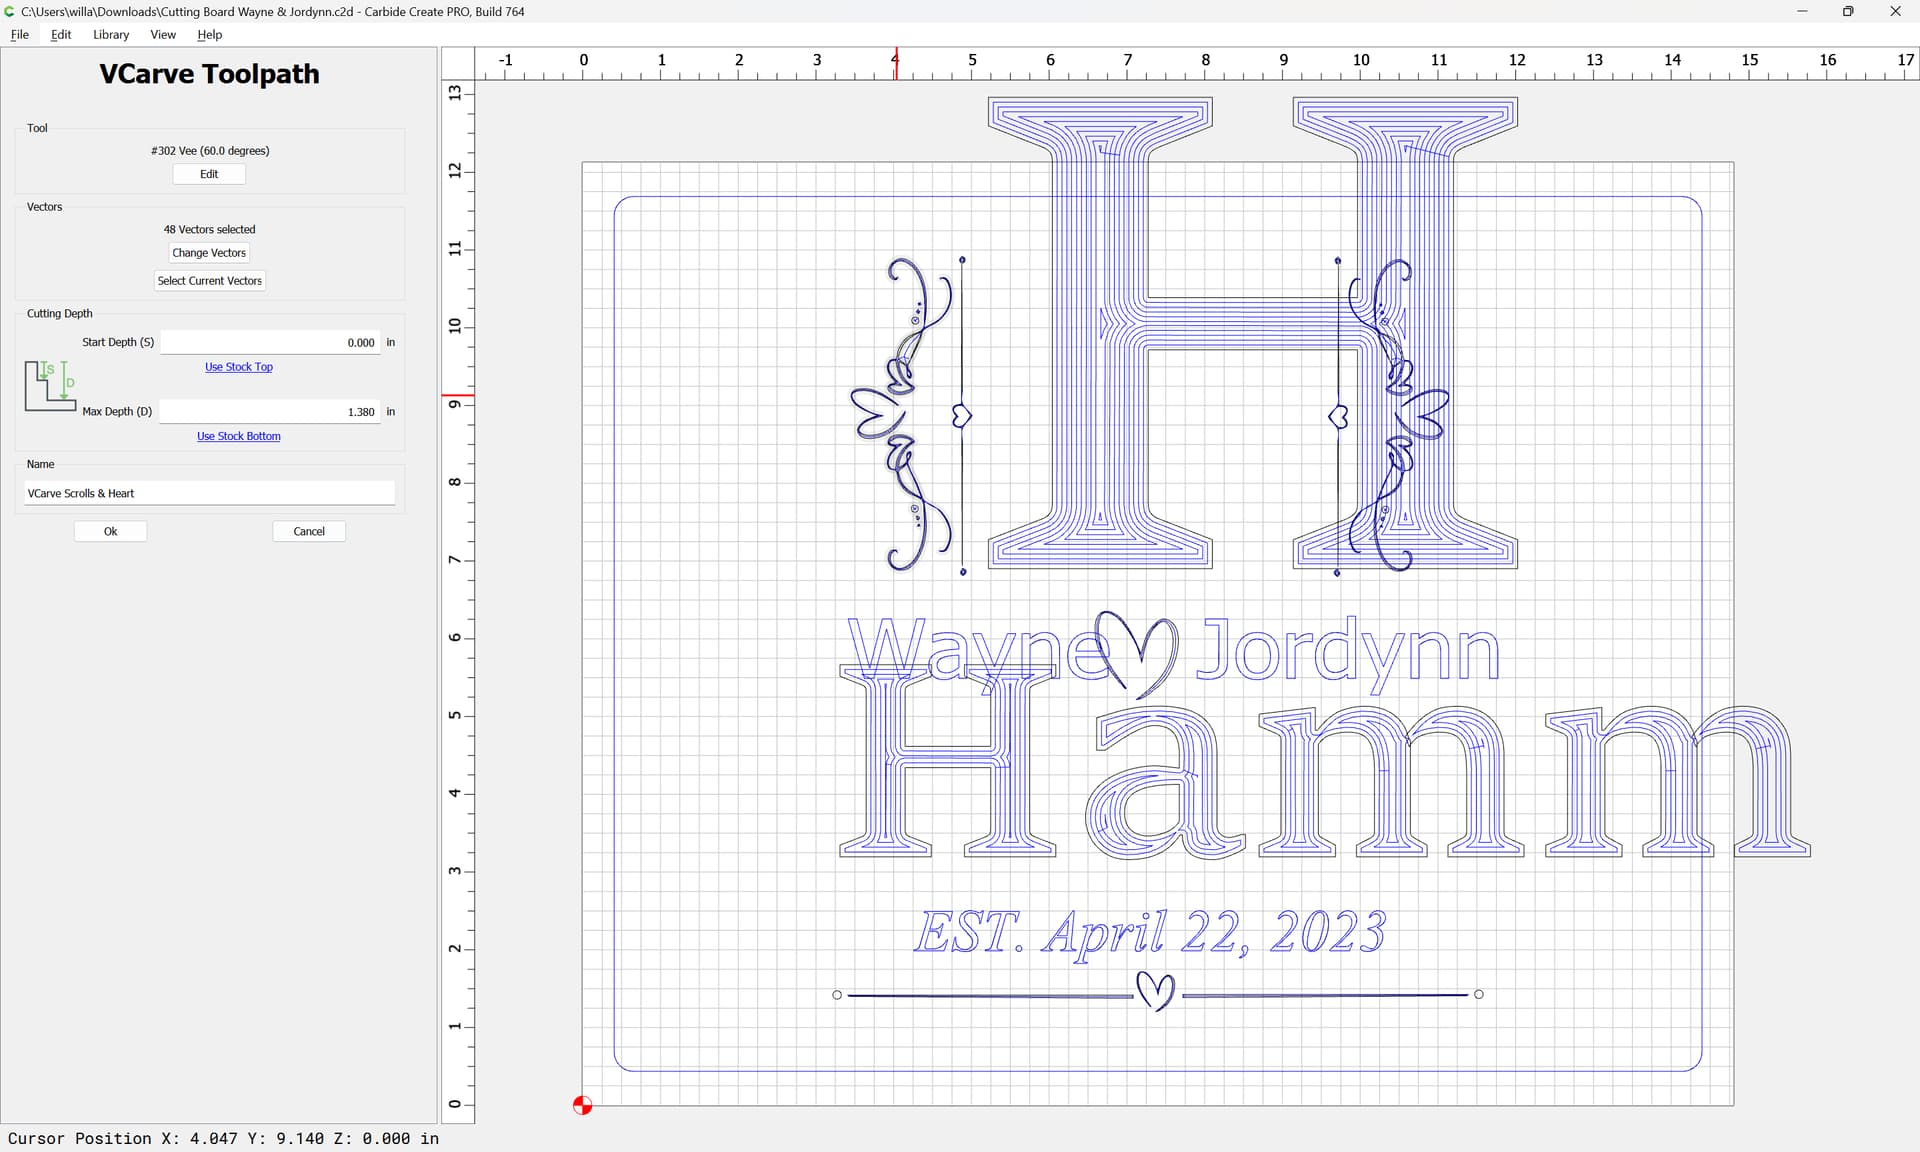
- When carving the flourishes, they are so thin even a small V-Bit makes them hard to see. I ran a V-Carve pattern with a start depth of .05 just on the Flourishes, which makes them work.


Also, when I make cutting boards, I contour cut around the entire work area. I do not cut all the way through; I cut down until there is about .25" left and use a hand-held router bit to clean it up.
5 Likes
Please note for the flourishes that you are using a 60 degree V tool:
At its widest point, the design is scarcely 0.04" across:
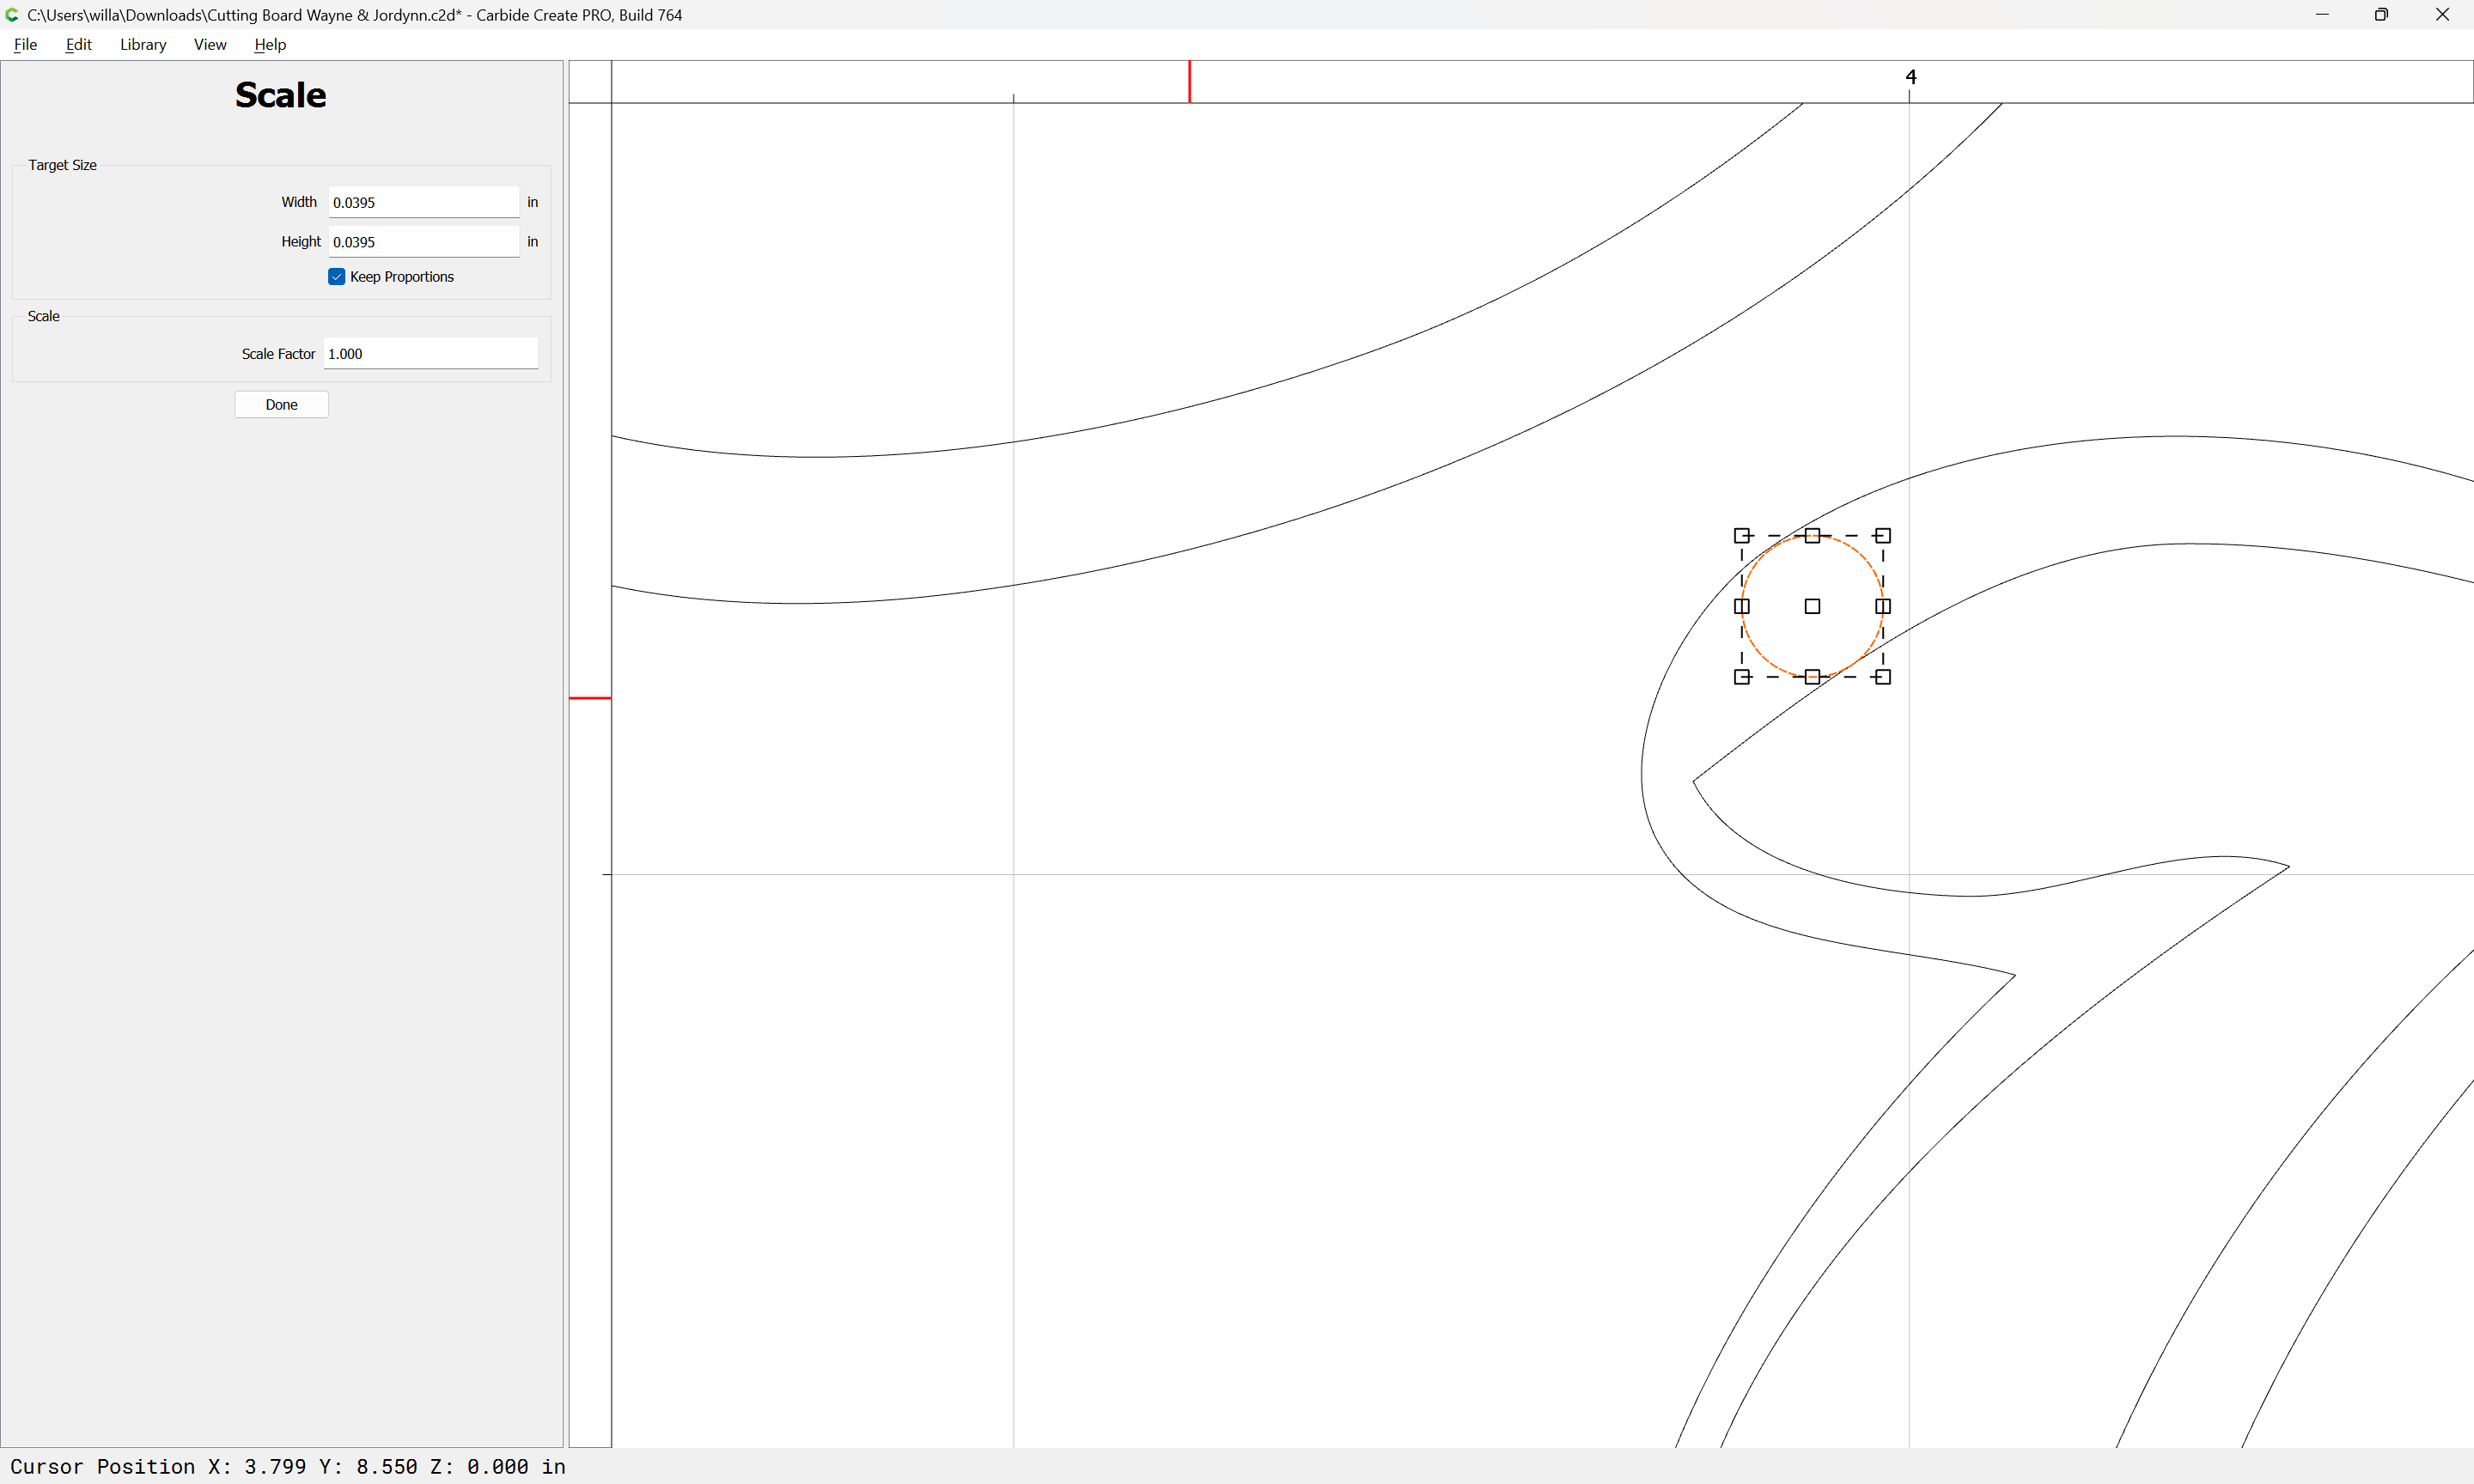
With a 60 degree tool this means that the machine will only be plunging the tool 0.0346" deep:
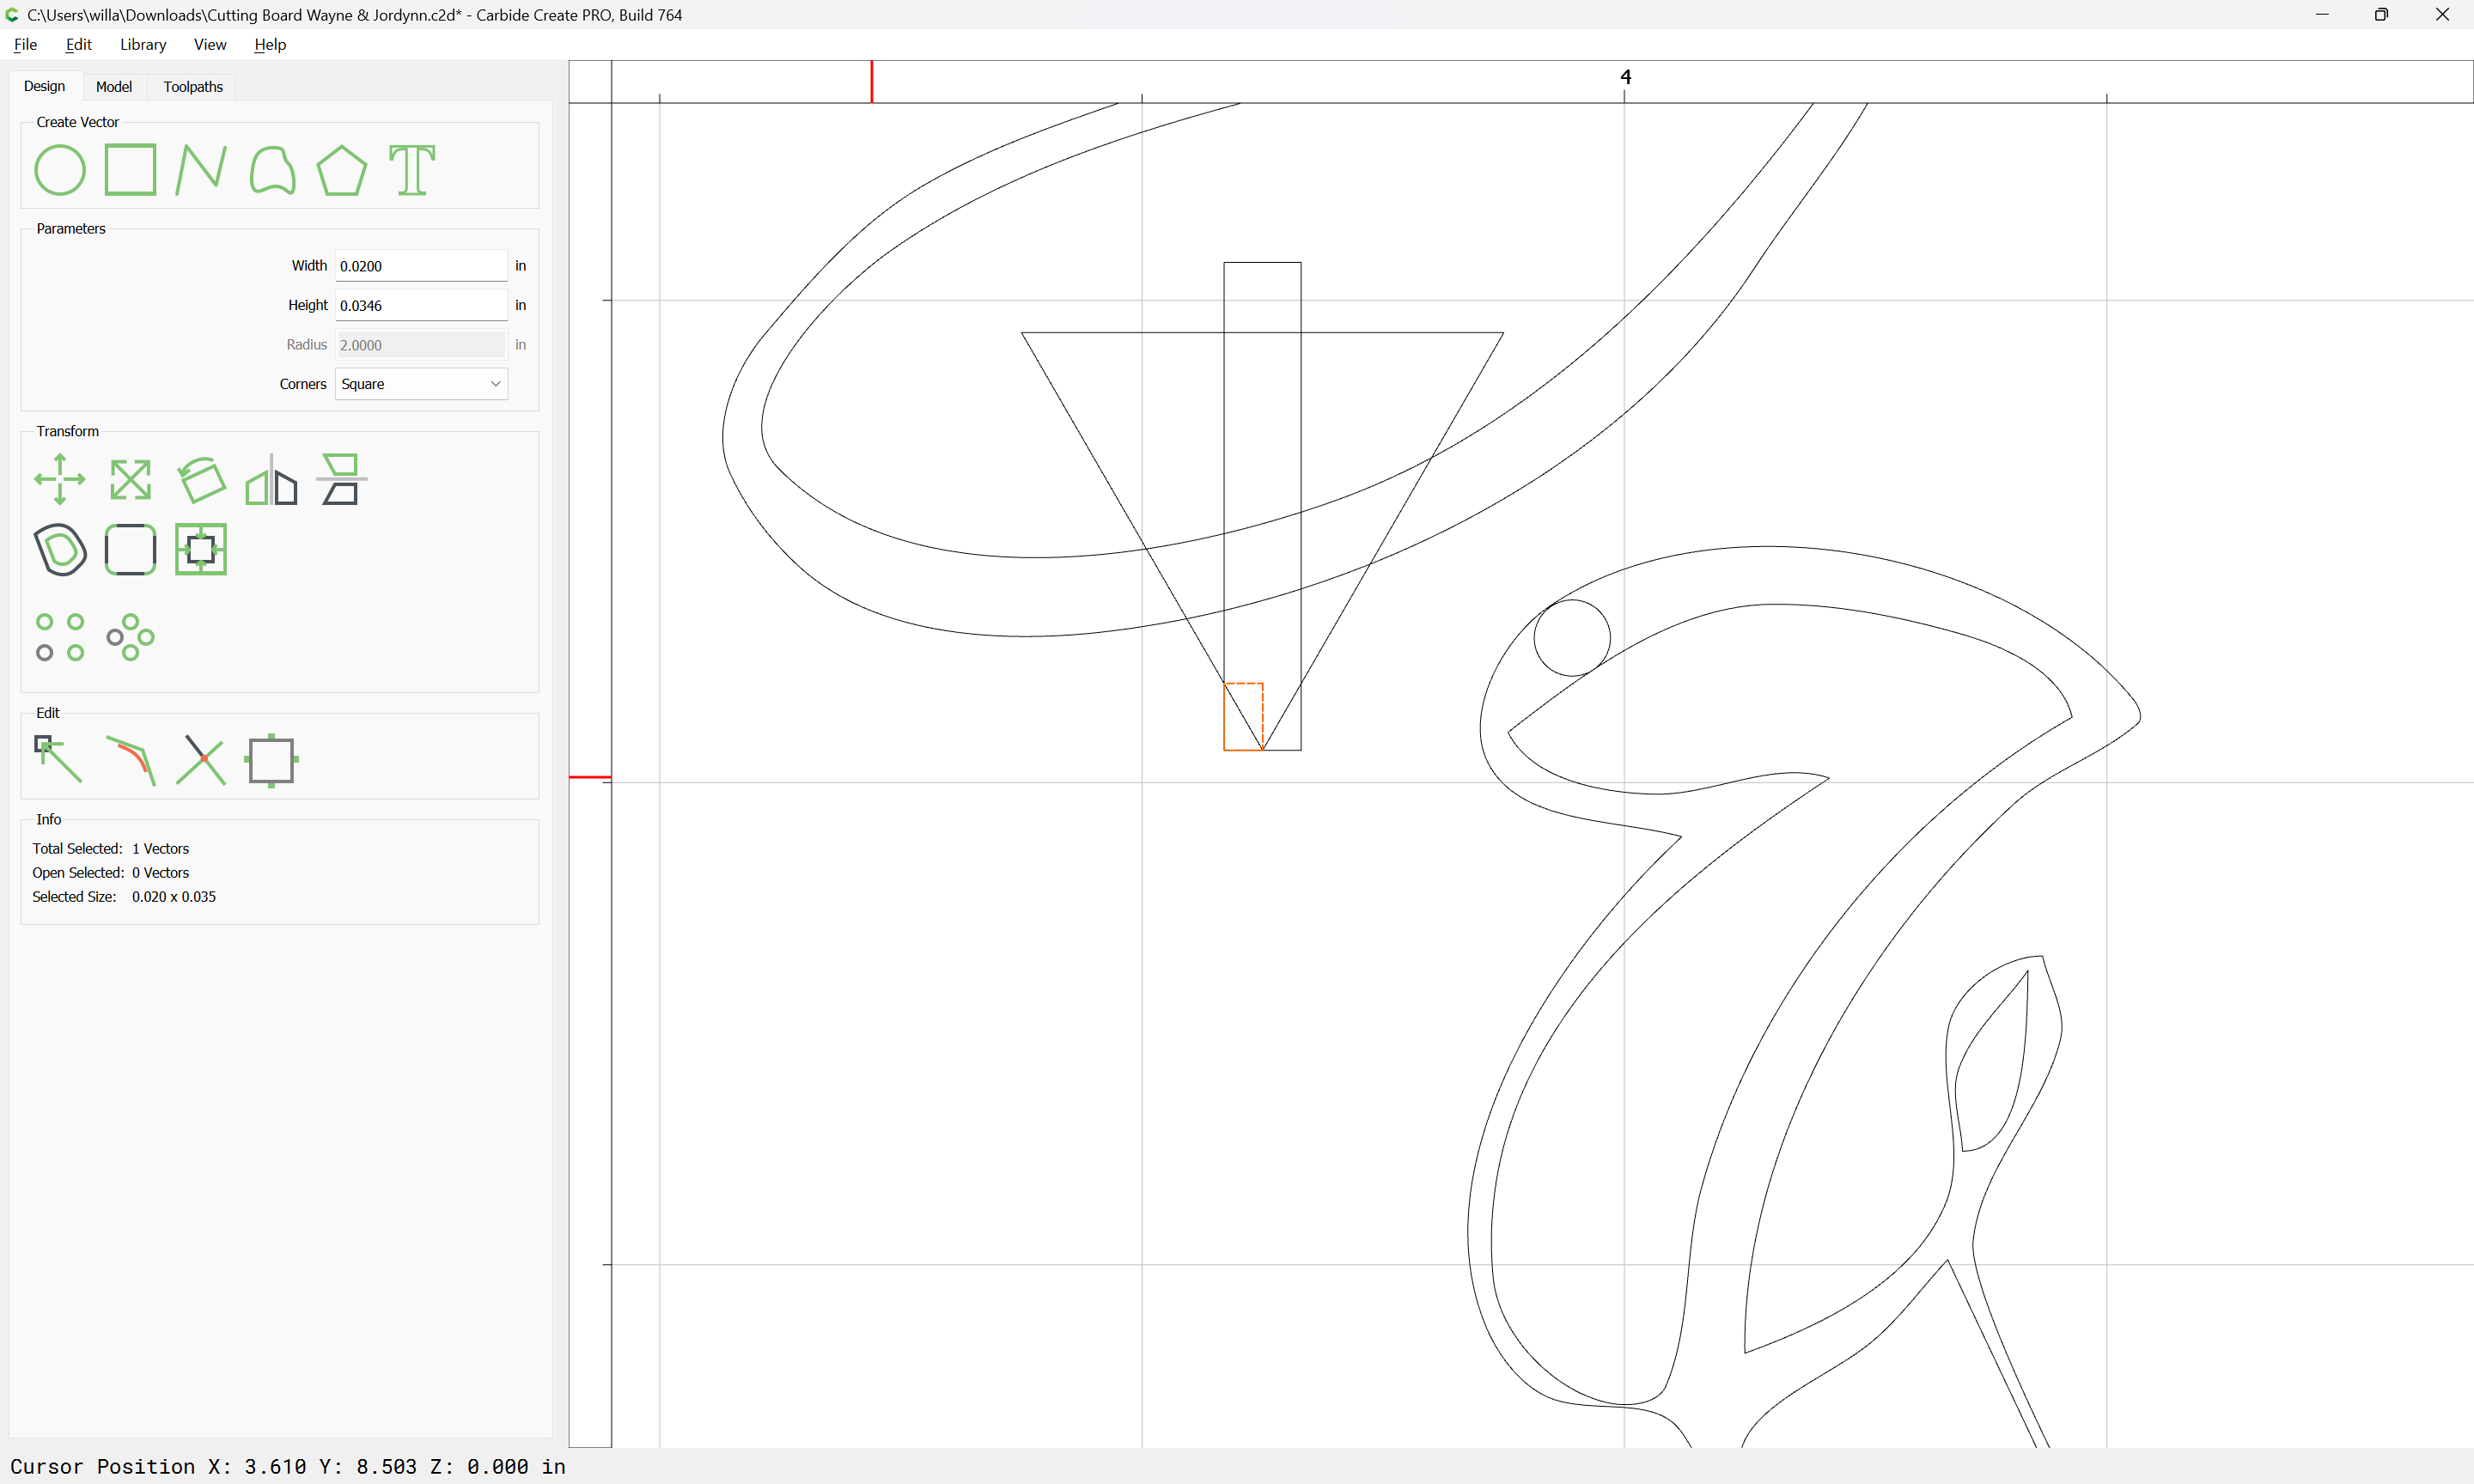
It will help if you re-draw the design so as to be more consistent:
and it will be necessary to edit it so that that it does not self-intersect:
2 Likes
When cutting very thin lines in vcarve you cannot limit depth. A simple vcarve tries to touch both sides of the line and cuts a deep as necessary to do that. However in the case of very thin lines with a 90/60 degree vee bit you barely scratch the surface. On very thin lines you need to go down to a 15/20 degree vee bit. When using simple vcarve use bottom of material or the “t” to allow the maximum depth and dont limit depth or you get strange vcarving.
You can also use advanced vcarve and the difference is an advanced vcarve just goes around the edges of the lines. You still need to use a 15/20 degree vee bit because a 90/60 just wont cut deep enough to see your lines. You can limit depth in advanced vcarve to what ever depth you want and if there is enough space a flat end mill can cut out flattened areas. Areas like your flourishes a 1/32" end mill would likely not even fit in there. If you check use end mill and the space is too small the bit will not even be called for and the vee bit will do the clearing.
1 Like
Thanks Anthony
I’m going to work on the flourishes.
I appreciate your help and feedback on design for both the font and flourishes and I will definitely take your best practice about not cutting all the way through the material.
I’ve learned more in the last 30 minutes than I have reading over the past month.
Thanks again!
John
2 Likes
Will,
Thanks for the article and the step-by-step tutorial, I’ve started making changes to the sizing between the vectors on the flourishes. This will definitely help moving forward not only with this project but projects to come.
Guy,
When working with a Vee carve, I will keep in mind to use T or the bottom of the material. I will be getting a few more bits like 15- or 20-degree bits.
Thanks again
John
Keep it up, John! The reason the guys on here are so helpful is because we’ve all crashed badly a few times.
My all-time favorite mistake caused me to literally throw a sandwich like a toddler I was so mad. Destroyed a project on the last step after I had already inlayed copper.
4 Likes
And ruined a perfectly good sandwich. I usually throw something harder which does more damage and typically bounces back at me.
2 Likes
Here are some public-domain SVGs you can play with.


2 Likes
Hi @John610 In addition to above ![]()
You are dealing with some fine lines there ( very close together )
Since the V-carve bit only cuts as deep as it takes to span between the the lines; it going to barely make a cut. Then if you factor in the compounded tolerances. IE setting zero, bit changes, variances in the flatness of the stock surface, bed flatness … So starting zero will not be perfect across your project. It is theoretical design versus actual reality.
What I do as a quick cheat, is not start at zero. I add a couple of thou as a start depth offset.
I just did a job and it was too light in some areas, so I set my start depth to 0.005" . And that worked perfect for me. I didn’t have to redo the design. It is a balance of how much you can offset the start depth before it starts to impacts the design.
Hope this helps.
I used to have a neighbor that when he and his wife got into a fight he would break stuff. Somehow he only broke her stuff and never his stuff. Funny how that works.
We all make mistakes and hopefully you learn from them. Some mistakes are more painful than others but it is always a good lesson not to do that again.
Hopefully the floor was clean and you could still eat your sandwich. I heard a song lately that the lyrics are “Alcohol abuse is pouring it down the drain” Same for a good sandwich.
1 Like
Funniest thing I’ve read in a while! I can see my grandson doing this easily after seeing him pitch a spoon of yogurt at the dog last week.
1 Like
My twins turned 3 last weekend. No clue why it’s a fresh visual in my mind.
![]()
2 Likes
I intercepted a PPJ sandwich that one of my grandsons tossed because there was too much jelly. The wife thanked me as the blinds were in the range of fire. Nap time.
2 Likes
I was having the same issue, especially when cutting very shallow. My problem was I had not surfaced my spoilboards. Once I did that, my problem went away. Not saying that is what it is, that was my experience.
2 Likes
Using a v bit the comment above is useful, secondly, if the borad is not completly flat and the CNC cutter has not been run for flatting, this will cause the same issue. as your new to the craft, flat is essential to have a resoable cut. I had simular issue with wood round coaster, when I mic’ed them for thickness they varied in thikness bu several thousands.
Tom