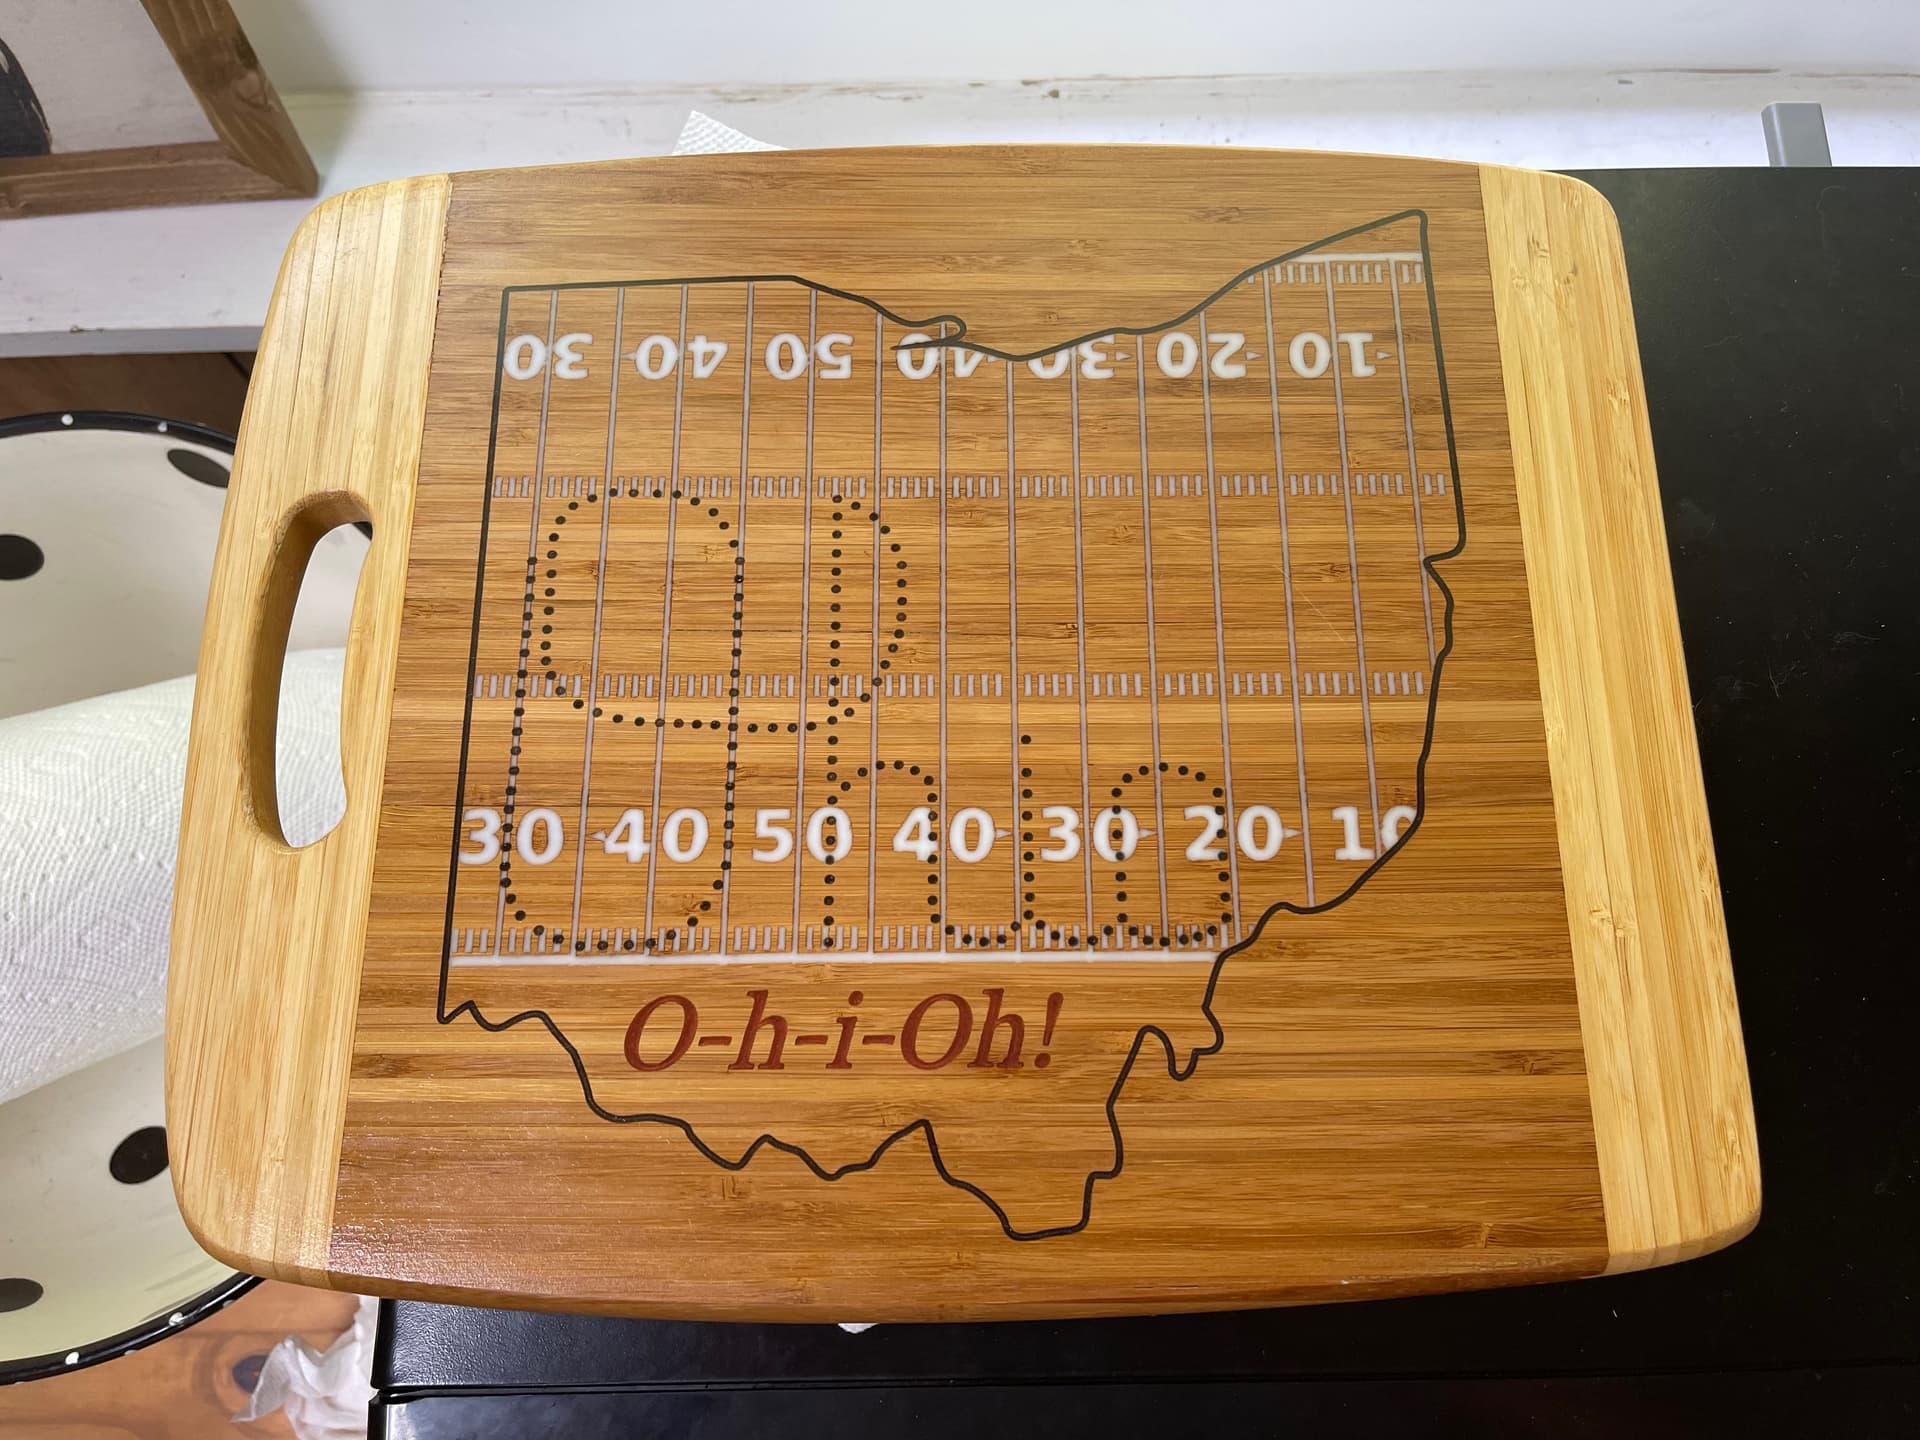
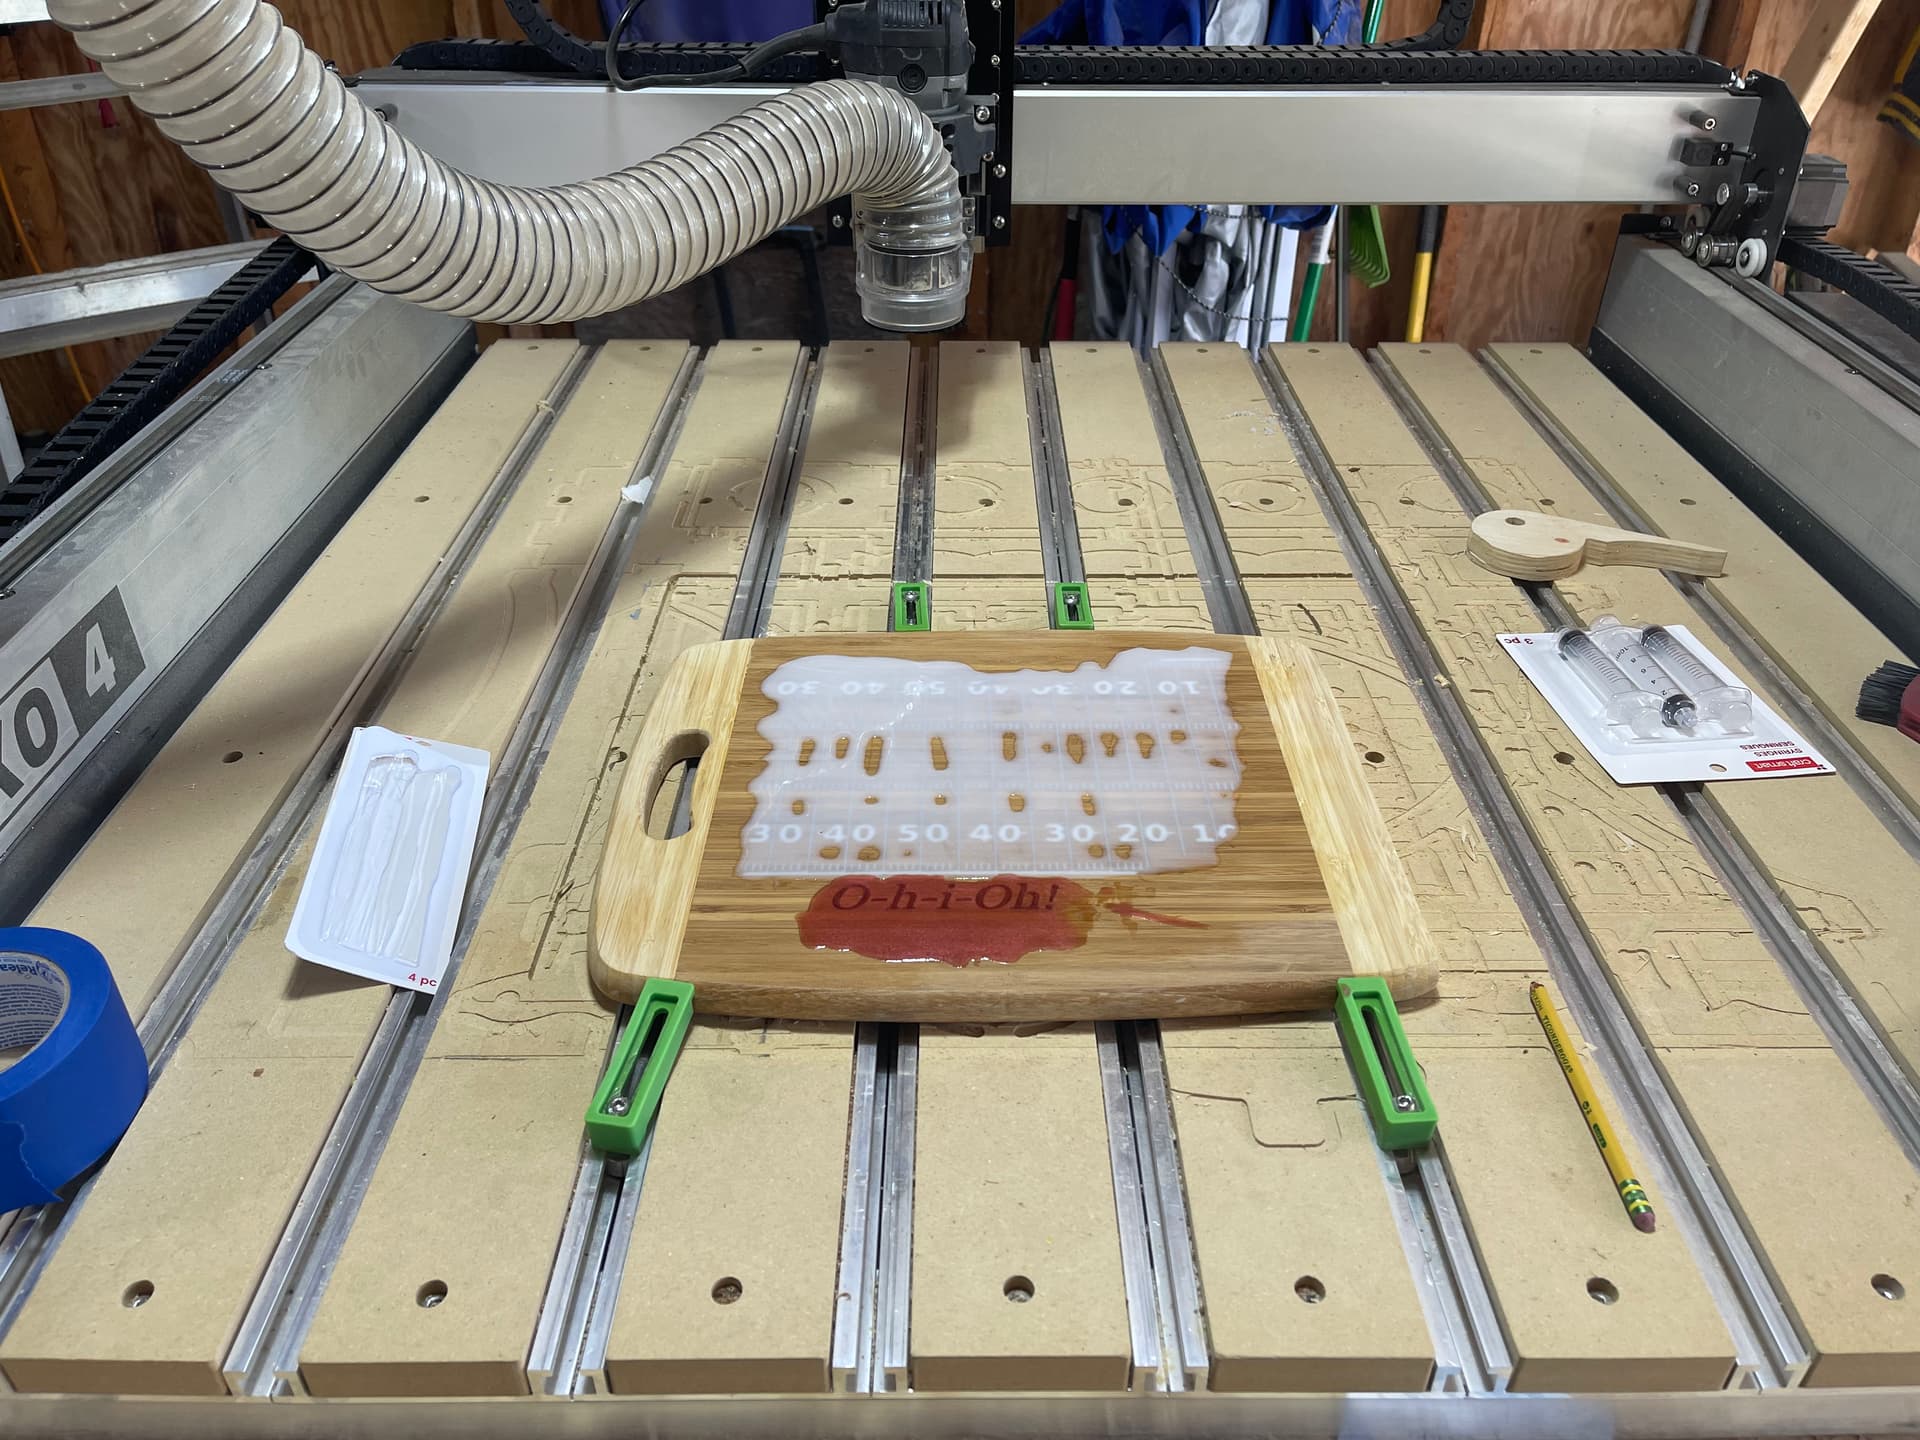
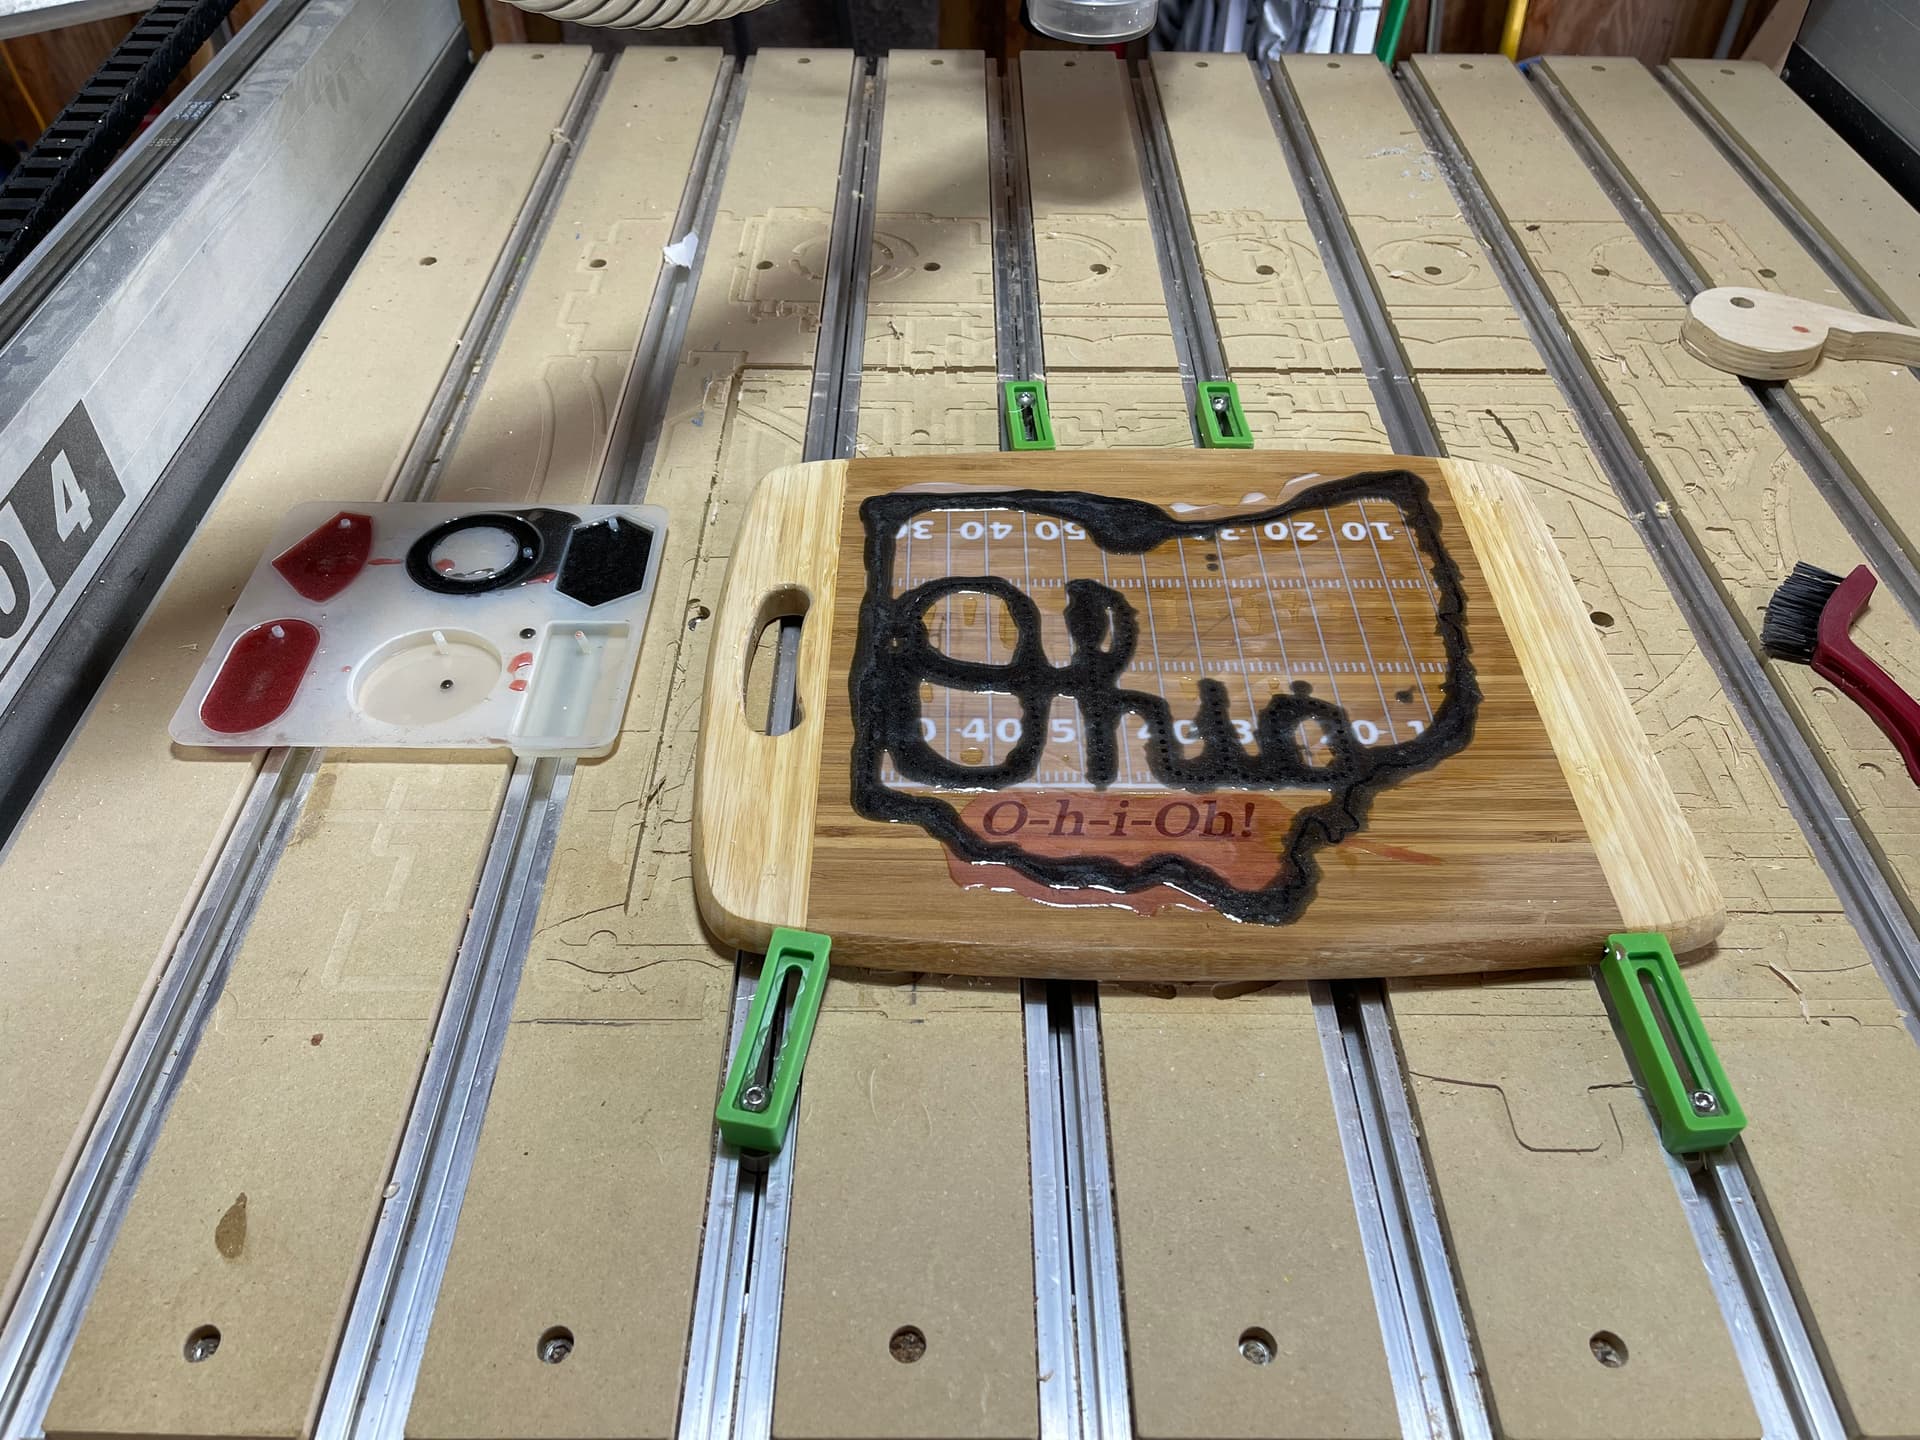
I designed this for an Ohio St fan that I know. It was a bit of a struggle to blend the state outline with the football field. The new Boolean tools will take some getting used to.
I made it as vcarve only so that it could be scaled up or down without too much trouble.
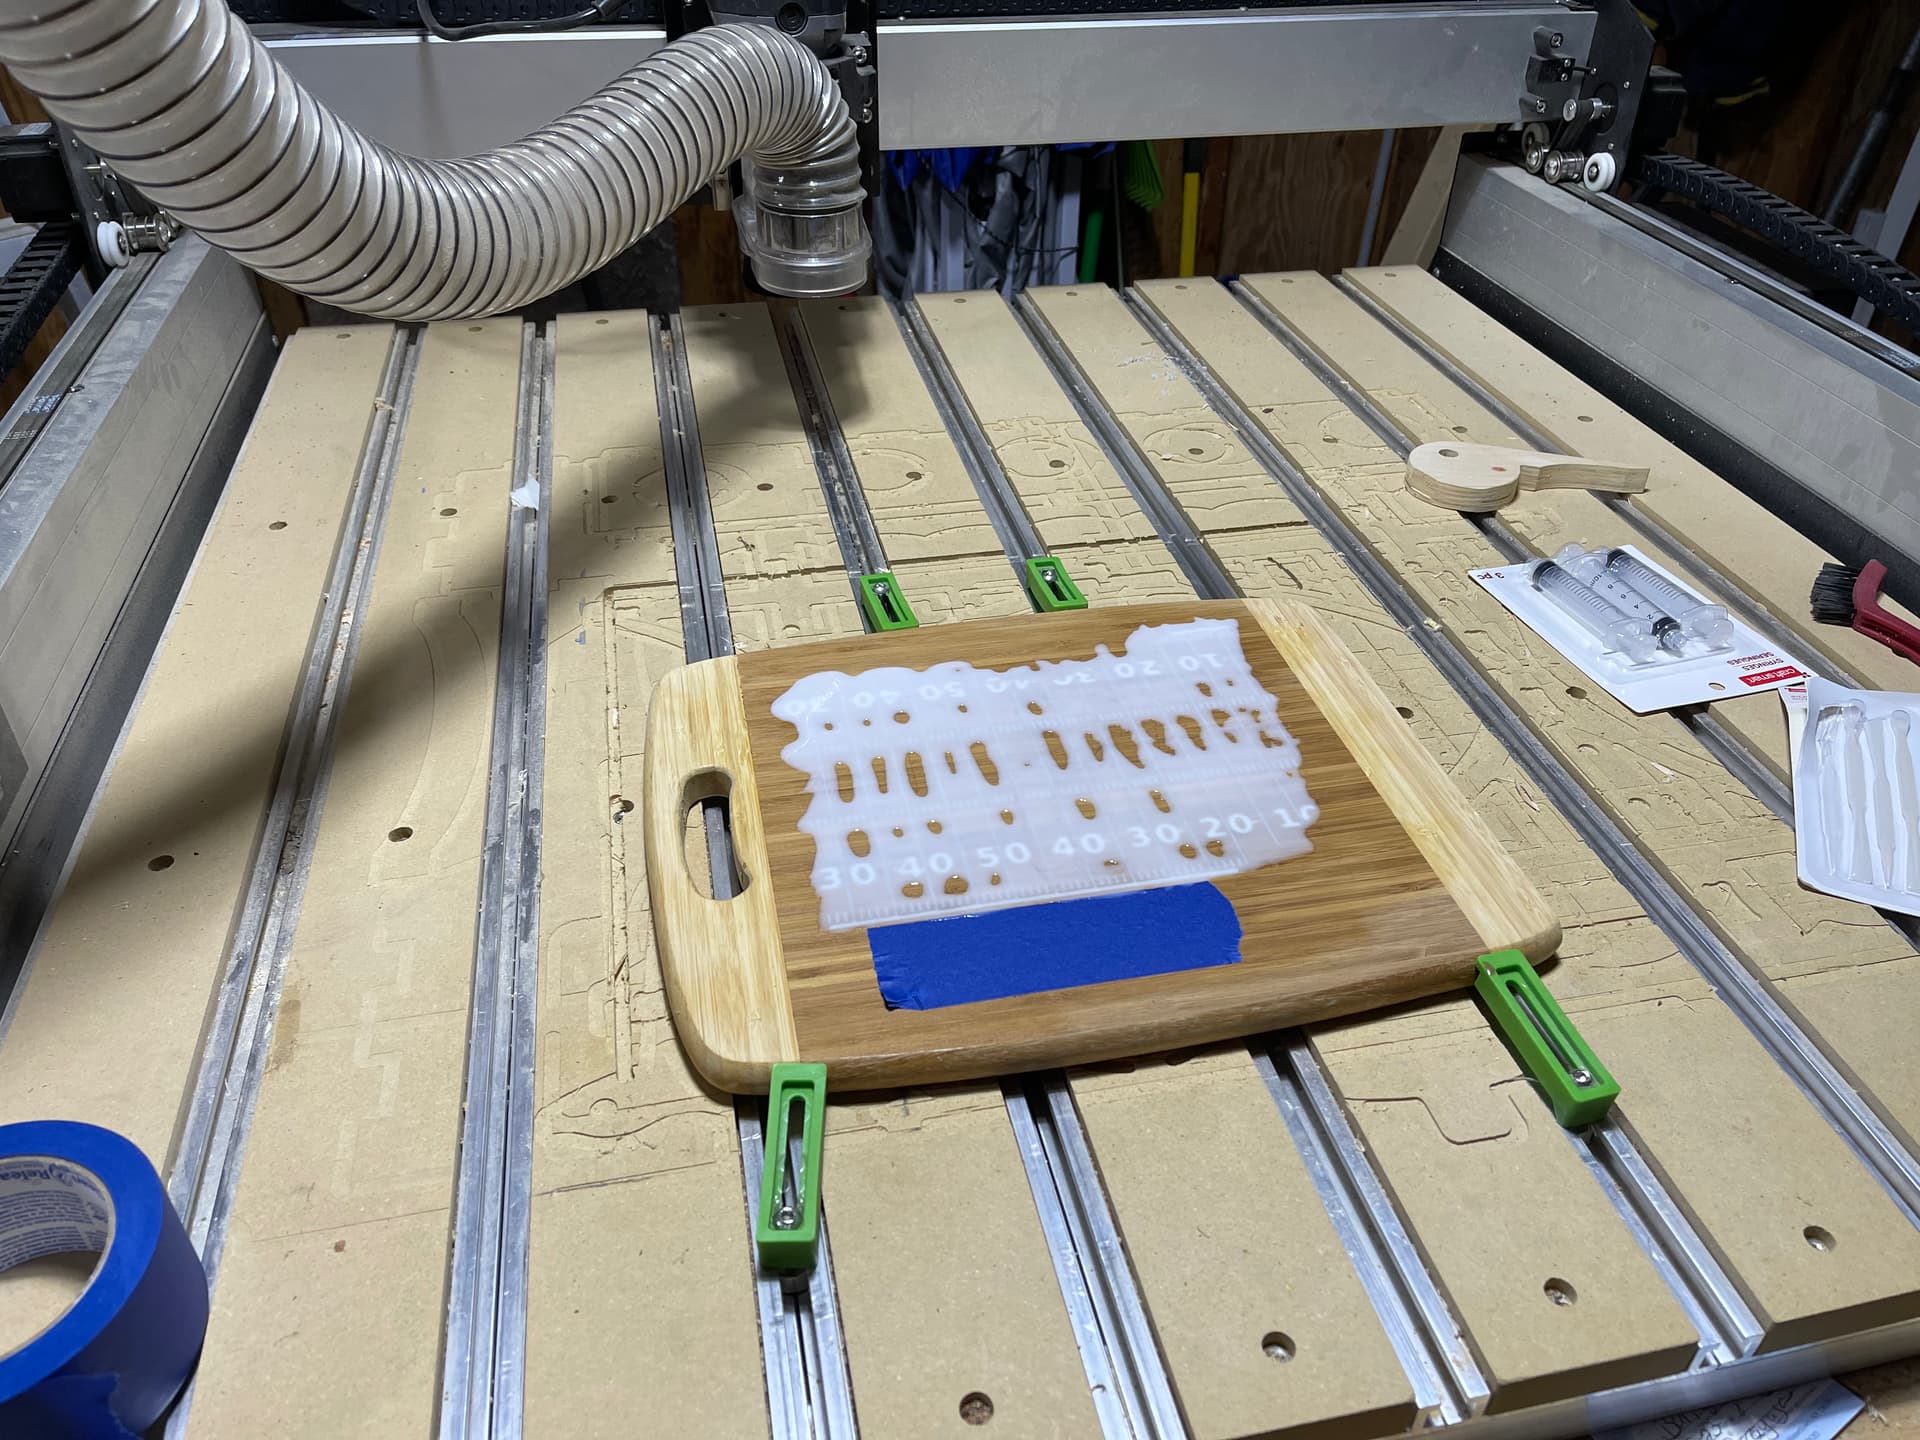
I ran it on an existing cutting board in stages so that I could do separate epoxy colors.
I would like to post more plans on Etsy. Anyone have suggestions?
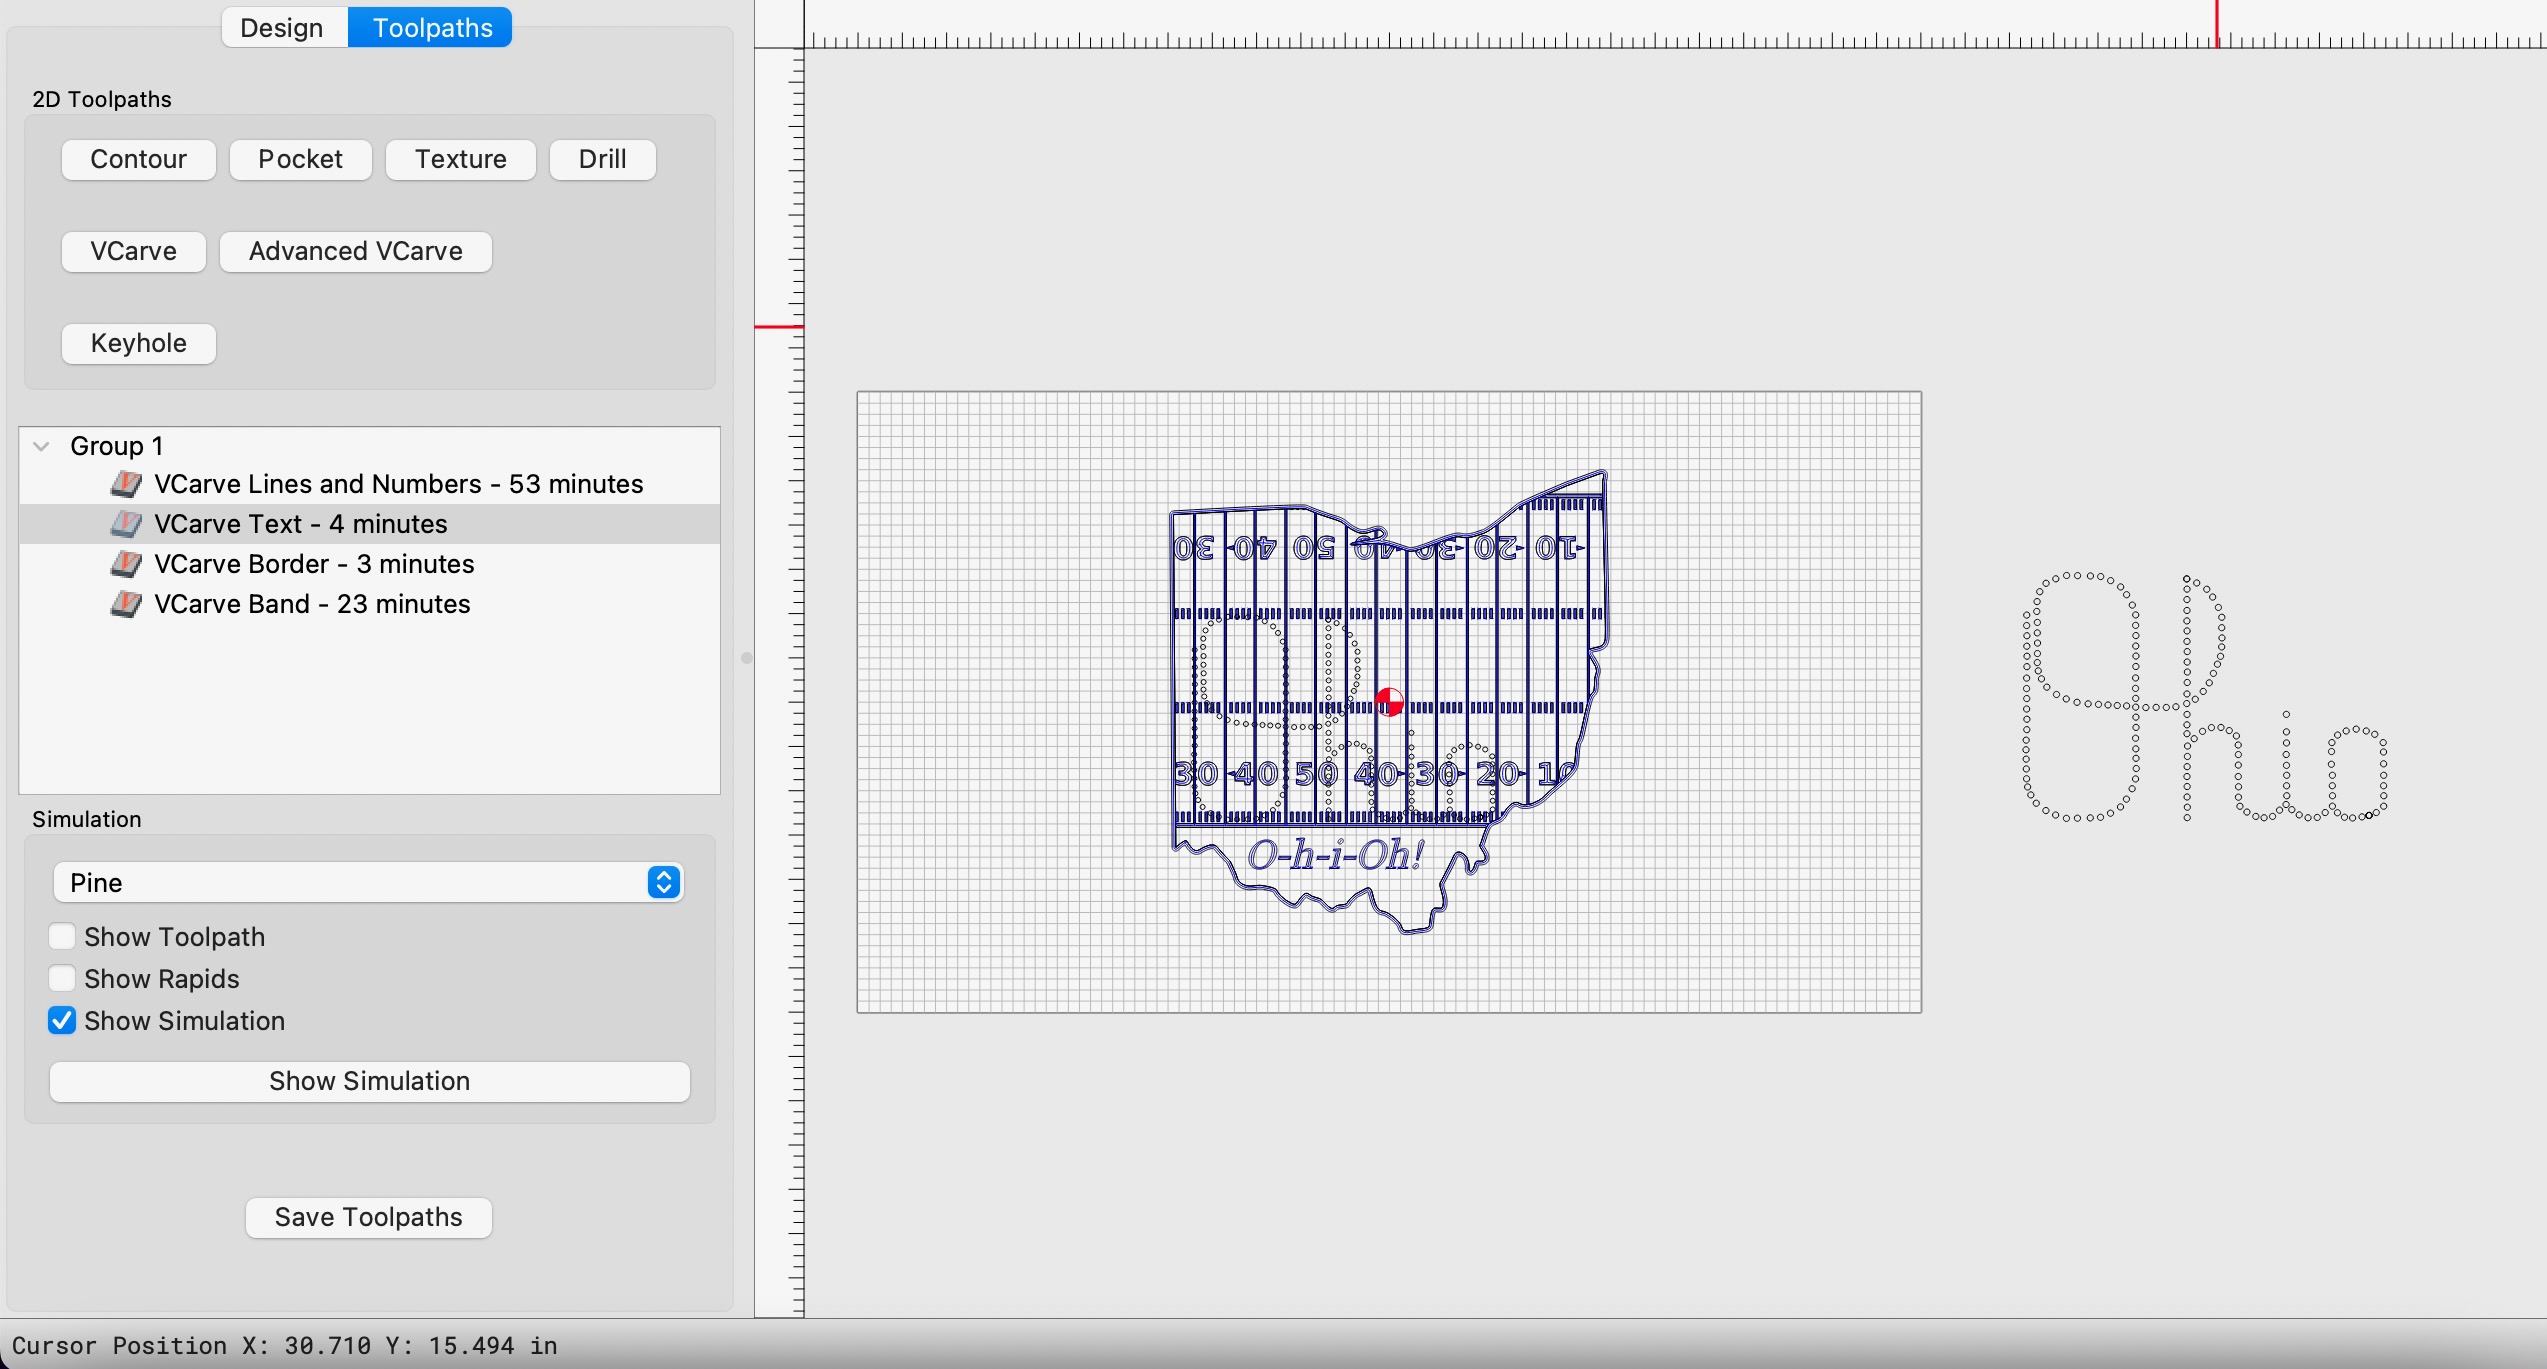
So, I broke the project down by the color of epoxy that I wanted to use.
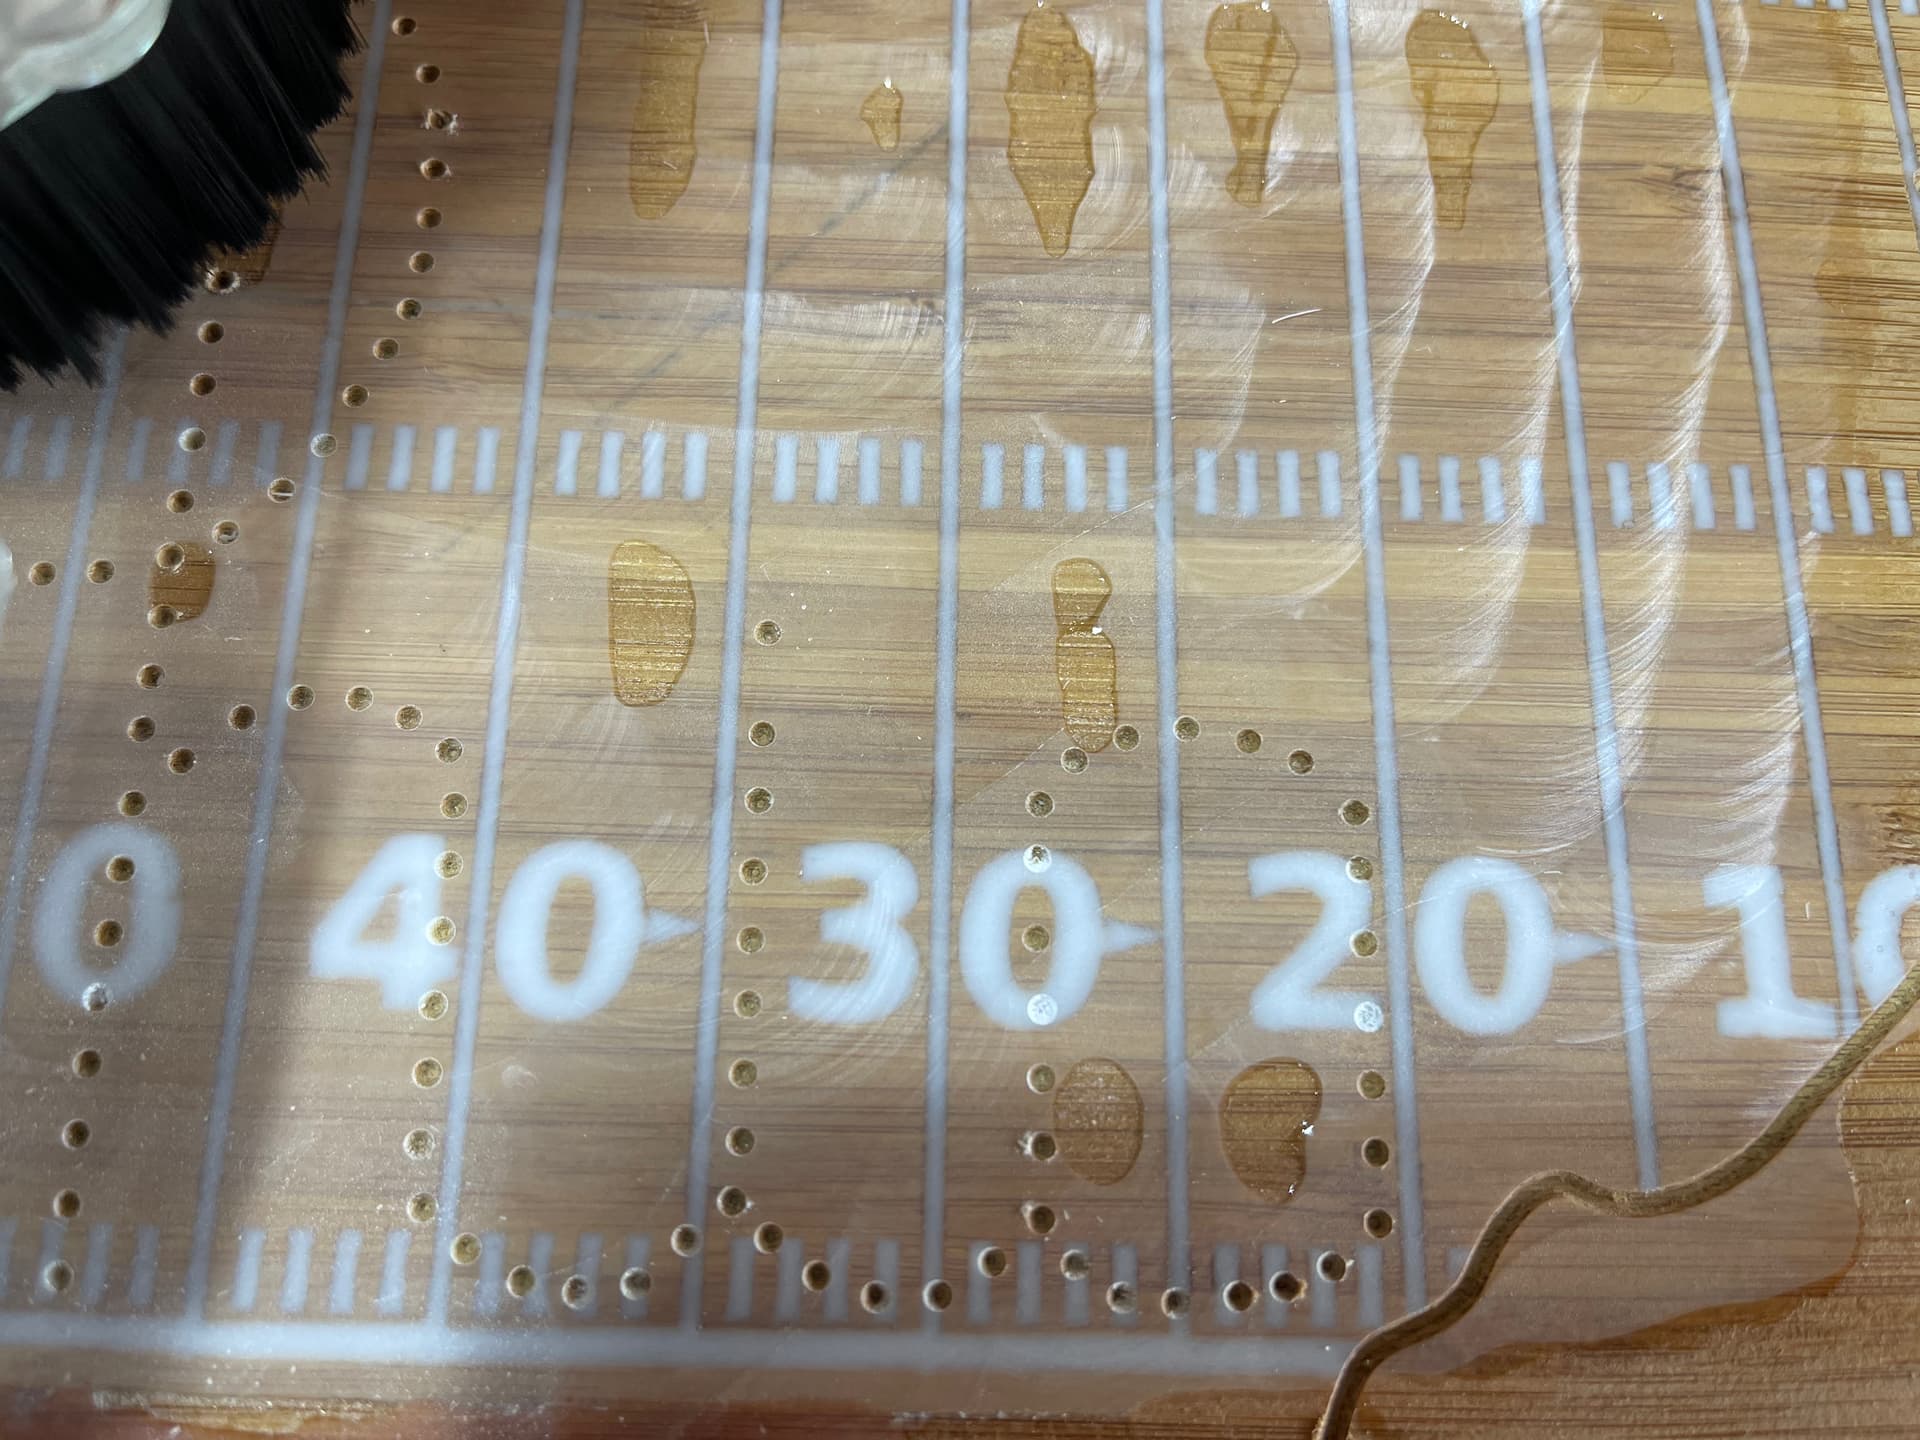
Numbers and Field Lines (white)
Text (red)
State Border and “band members” (black)
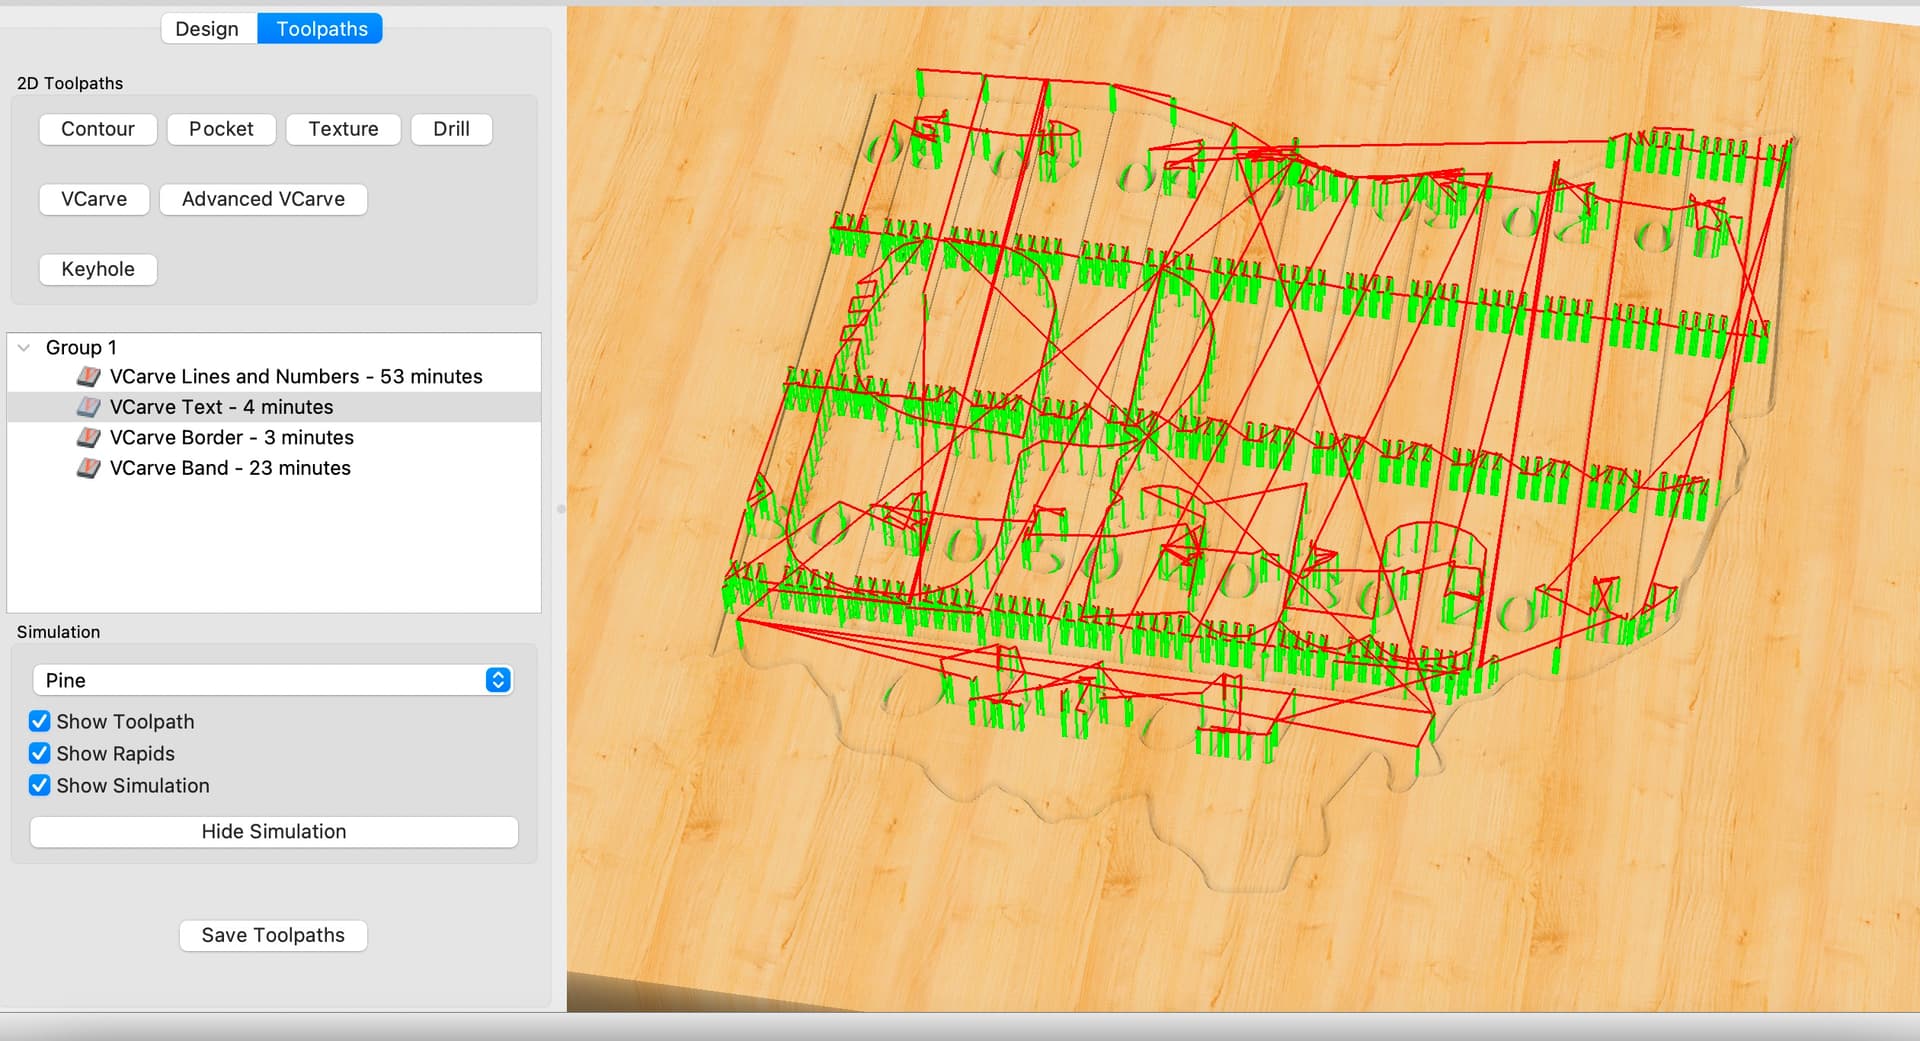
I made sure that the project was sitting level enough and then did the vcarve in those stages. Since I didn’t want to lose the exact XY zero, I had to leave it on the machine.
It was not an efficient process. I had to do the first vcarve and epoxy pour and then let it set for a day before using the leveling bit to take it down to the surface. Then I ran the next vcarve, poured the epoxy, let it set, carved it down. Then do that for the third color.
After that, it was sanding and then finishing with mineral oil.
I’m really pleased with how it turned out. I’m thinking about doing a College Football series with major schools and their band formations.
Nice! I do a TON of epoxy inlays, and the first ones I did, I used this method. However, in order to maximize my machine usage, I have revised my process. Now, I do the first set of cuts, and take the board off the machine. I fill epoxy and let it cure. Then, without machining back to the flat board, I carve the second cut (for the second color) and then fill that. Sometimes, the cut needs to cut through the first pour’s epoxy before getting to the board, but it handles it just fine. I repeat this process for up to four or five pours with different colors if needed.
Of course, I set up a standard XY jig so 0,0,0 is always the same and it generally works out just fine. I was nervous about this at first, but it’s pretty reliable. Then, when I am done with all the pours, I simply plane the board in a Dewalt 735 13 inch wide planer. For big boards (wider than 13 inches), I still machine back to the board with a 1 inch flat bit, but my wife now knows to design boards that are less than 13 inches wide to keep the “production team” happy.
I then sand with 120, 240, 320, 400, 600, 800 and then 1000 grit to get the epoxy nice and shiny. I use Osmo PolyX instead of mineral oil, as i think it works nicer on the epoxy.