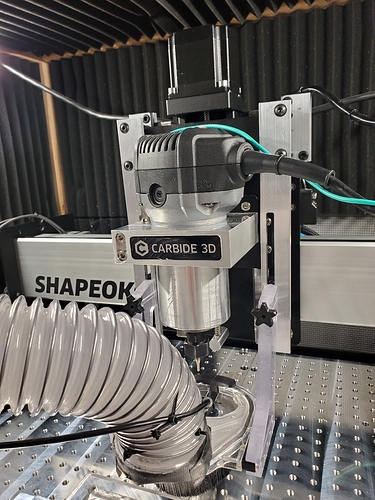
As some may know, I make a mounting bracket for the Suckit Dust Boot that works with the Z-Plus and sell it on Tindie. I have now started making a V2 of it that is easier to make which allows me to sell it for cheaper.
There were a couple problems with my original version when it comes to manufacturing it. First, all the parts were cut from a single piece of 11" x 4" x 1/4" bar stock. This meant that I had to hold the stock from above while I bored holes that I would use to screw it down to a fixture I had made to hold everything. Second, all of the screws that put it all together were M4 which meant that I needed to switch to a very small tool to bore the holes. With tools smaller that 1/8" I am not comfortable boring deeper than 1x the tool diameter because I have found that any tram error in your machine can cause these small tools to break. After machining (about 2 hours plus tool and fixture changes) I would then finish the holes on a drill press.
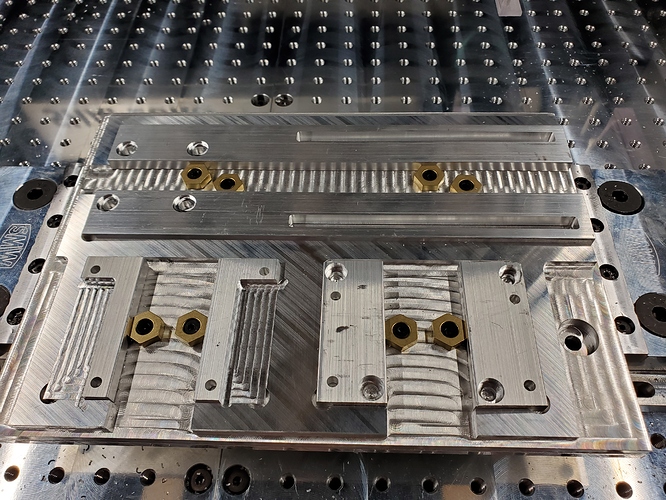
On V2 I wanted to solve all these problems. V1 took to long to make and the 3 tools I used cost too much. I designed the new version to use M5 screws and be machined from lengths of 1" x 1/4" bar stock cut to the right lengths. I also designed a new fixture that uses Mitee-Bite fixture clamps to hold everything. Here is a picture of a finished set in the new fixture:
I am now able to make a full set in 45 minutes with no tool or fixture changes. The only thing that needs to happen after machining is tapping a few holes.
I machined the fixture from 1/2" ATP5 jig plate and followed the instructions on how far to put the fixture clamps from the parts. They work fantastic and are worth every penny. I highly recommend them to anyone cutting small things repeatedly. It was very nice to be able to cut a whole job without having to change workholding halfway through.
The finished product:

