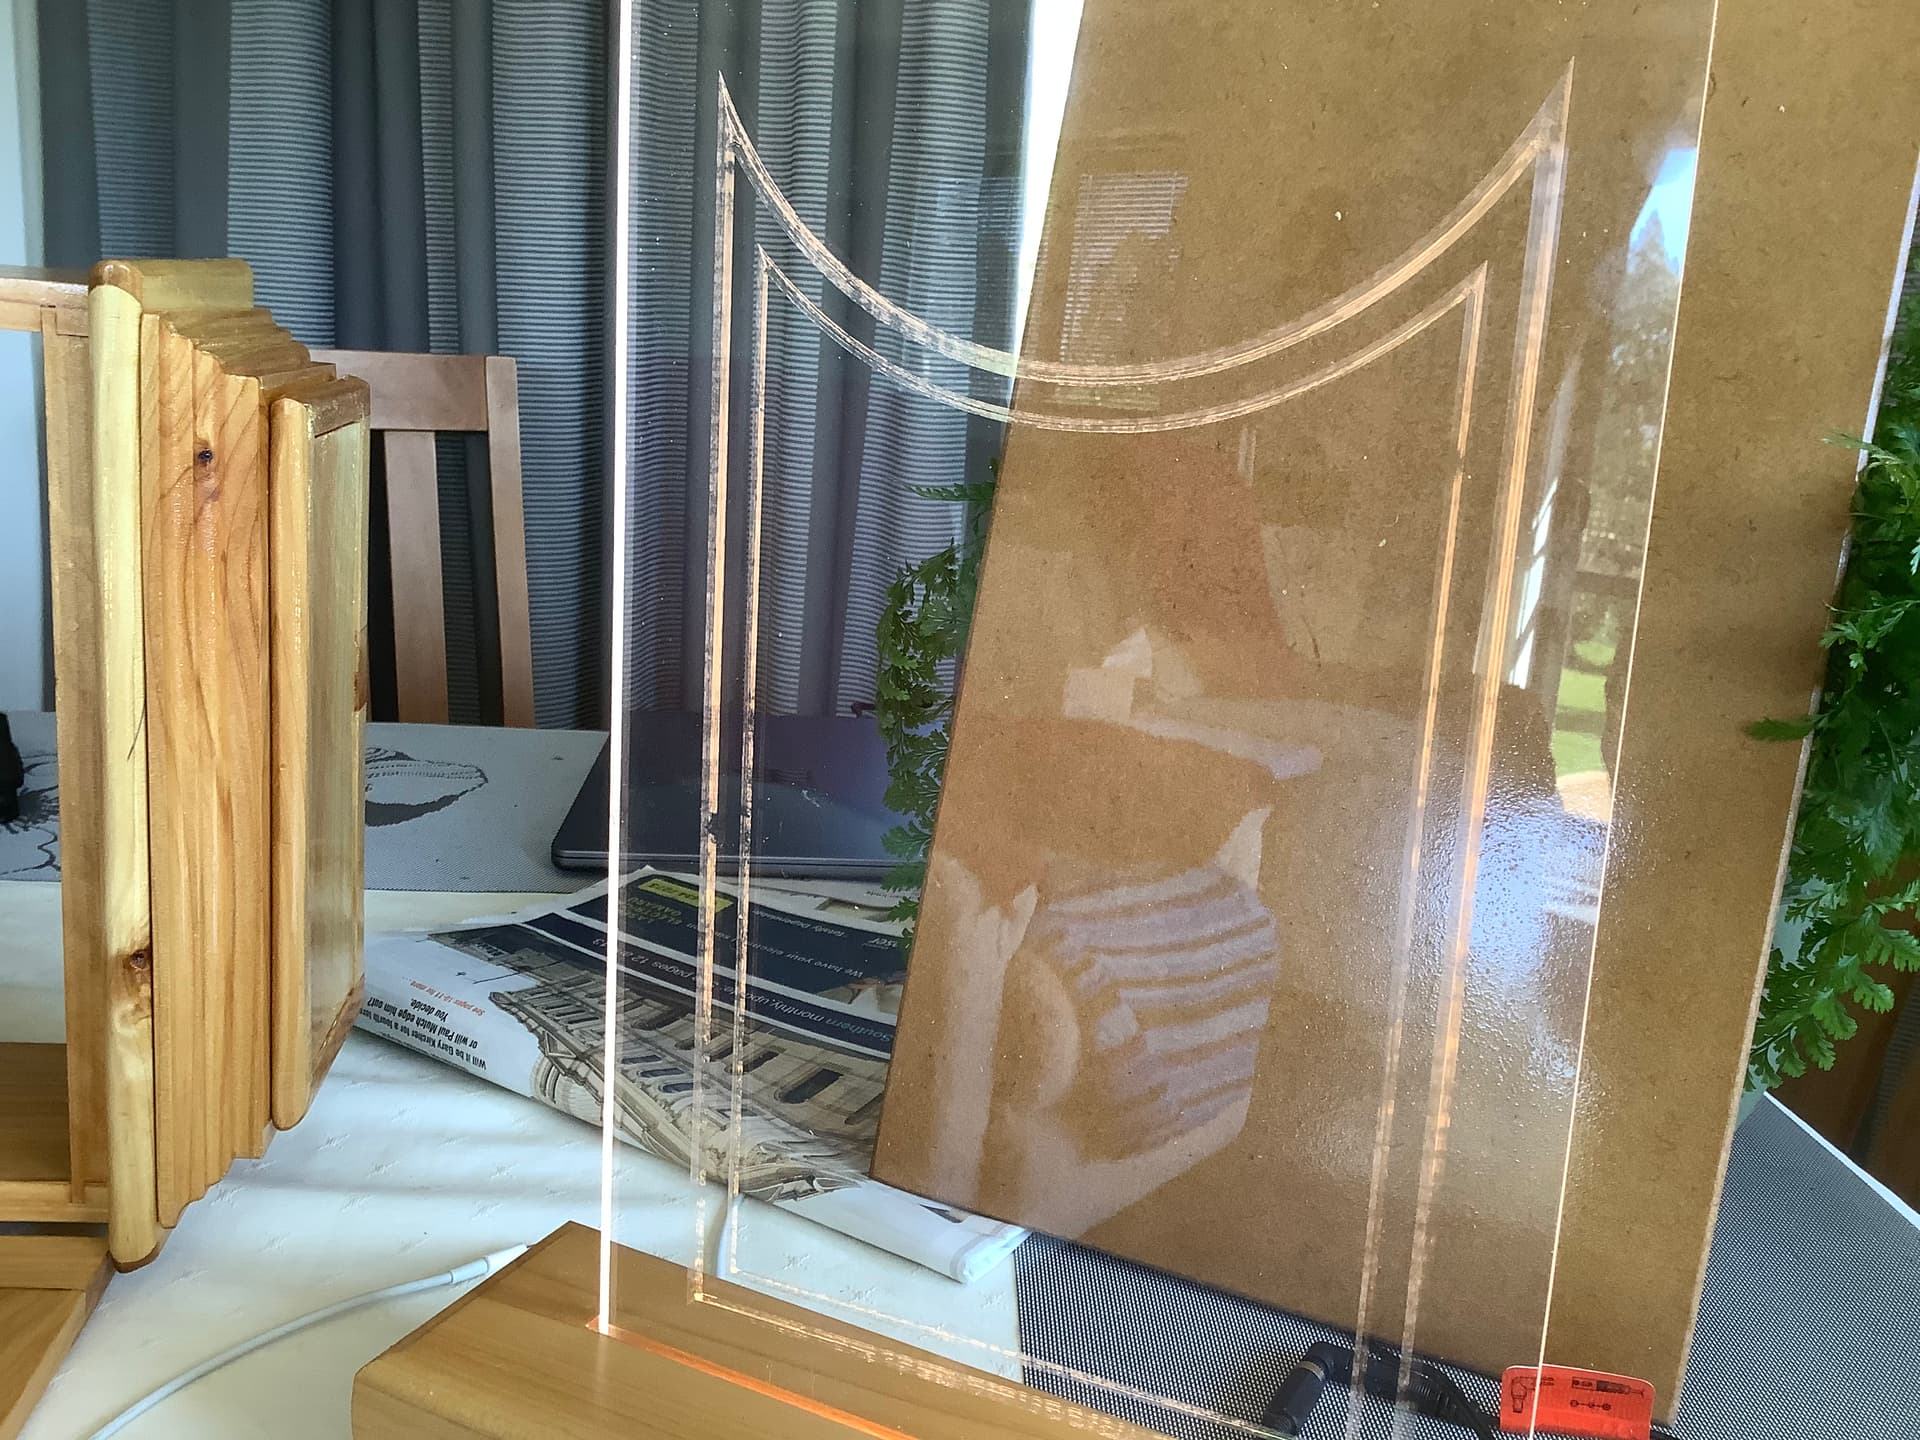
Hi All,this my first use of the 120 degree etcher and it is the door for a wall clock.I have etched onto cast acrylic and is 6mm thick.I used CC.I can see some not so great etching,could the experts critique what I have done.Would the CC Pro help in any way??
I put it on top of a LED base to try and highlight the etching.
4 Likes
When I started cutting Acrylic, I ended up with areas that looked like material was left or melted on. So much time was wasted trying to get it presentable and I still was not happy.
Following suggestions I went with a Zero flue bit, increasing my feed to about 100 ipm. Ya got to play with it to see if that works for your design. I also only cut .001 - .002 deep. Your spoil board has to be true, to obtain results with that.
Looks good from your picture.
If you dont like the look when through carving do not remove the piece and simply run the job again. As Michael suggested above run fast to avoid melting the acrylic. If you run a second time and still dont like the results then try resetting Z to 0.001 deeper and reset z Zero and try a 3rd time. Also as Michael suggested your spoil board must be dead flat because of the very small depth of cut and any areas that are not flat will not look as good.
Since you have a cnc it is good to use what you have but I have etched glass with chemicals you buy at Michaels and elsewhere. You mask it off and paint the stuff on and wash it off. So free hand masking is hard to do but they make the Sting Ray Vinyl cutter or if you have access to a Cricut machine to make your stencil. Certainly from a safety standpoint acrylic may be safer than glass but glass is more resistant to scratches than acrylic. Hopefully a clock will never hit the ground but things sometimes happen.
1 Like
Thanks Michael and Guy.redoing another cycle I should have done,but as this was my first go at it the finish will be OK for the clock.I set all the zeros manually and now looking at what I did for the z was I zeroed it to a thin piece of paper,I should have been right on the plastic.
The spoil board is very level.
I will try a LED sign and repeat all the suggestions

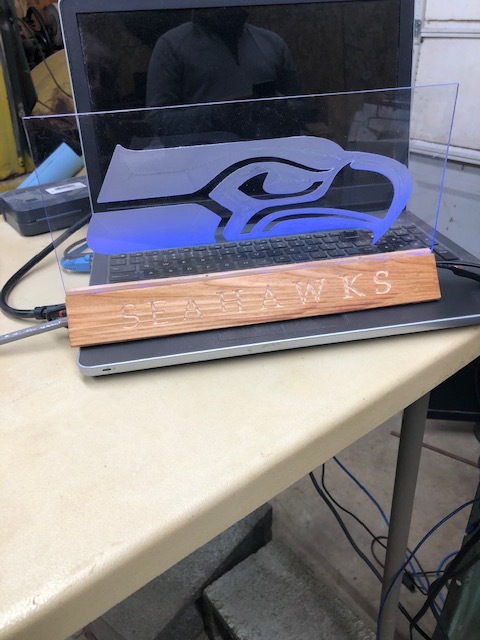
That looks nice and clear,great.Is that with the zero flute?
That one was not. Like I said it didn’t look right. A short time after this I got my Zero flutes.
No expert here but I have successfully engraved brass, steel, aluminum, and acrylic with MC Etcher. I have both the 120 and 90 degree. Regardless of the material, I played with “depth of cut” (which is not really depth of cut but better thought of as down force) and step over until I got the result I wanted. Because you can adjust the spring tension on an MC Etcher, one person’s “depth of cut” down force may not be the same as another’s with the same setting. I recommend testing settings on a piece of scrap acrylic. Too much down force especially combined with too little step over gave a poorly defined engraving. Without Pro I was limited to contours and pocket toolpaths. A pocket toolpath is not the same as the toolpath Pro makes with its engraving feature (someone else will have to elaborate). With the MC Etcher you use no spindle speed. I had no issues with melting going as fast a feed rate as I wanted. You can fly.
2 Likes
This topic was automatically closed after 30 days. New replies are no longer allowed.