
8 Likes
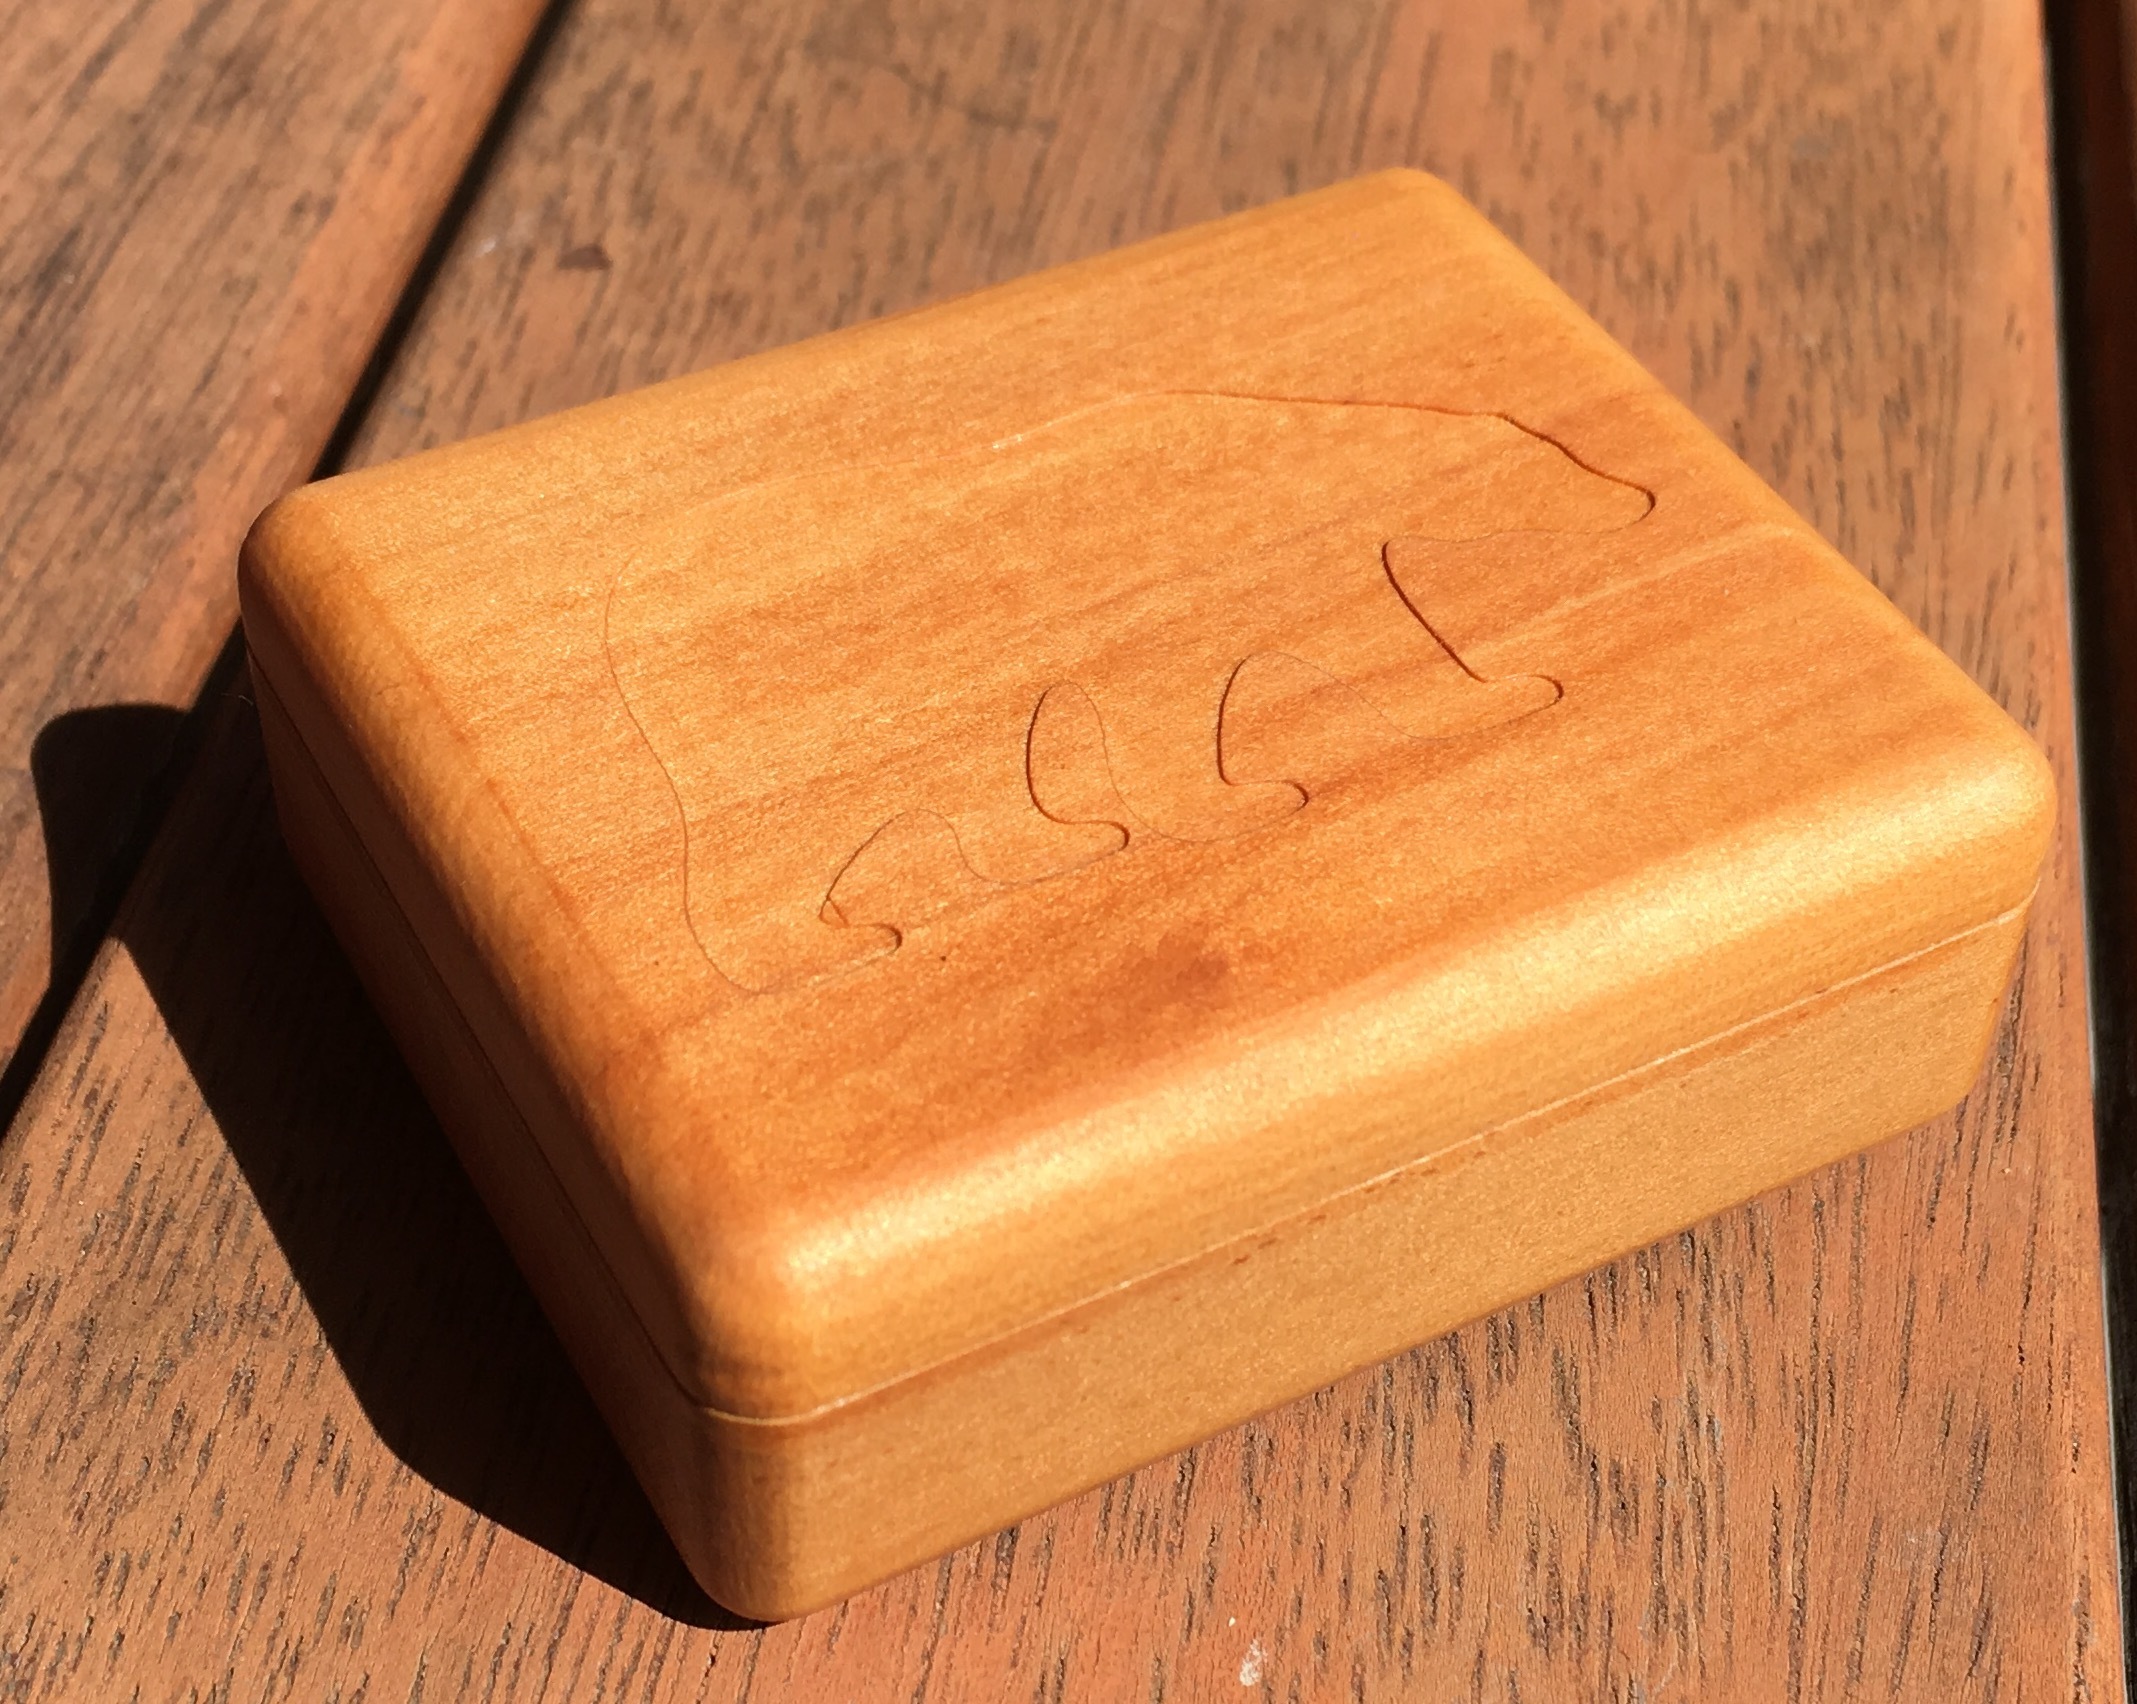
Beautiful! It looks amazing. My first thought was that my daughter would love it… she would recognize the bear on the lid, and would want to put her little kinder-egg toys inside of it 
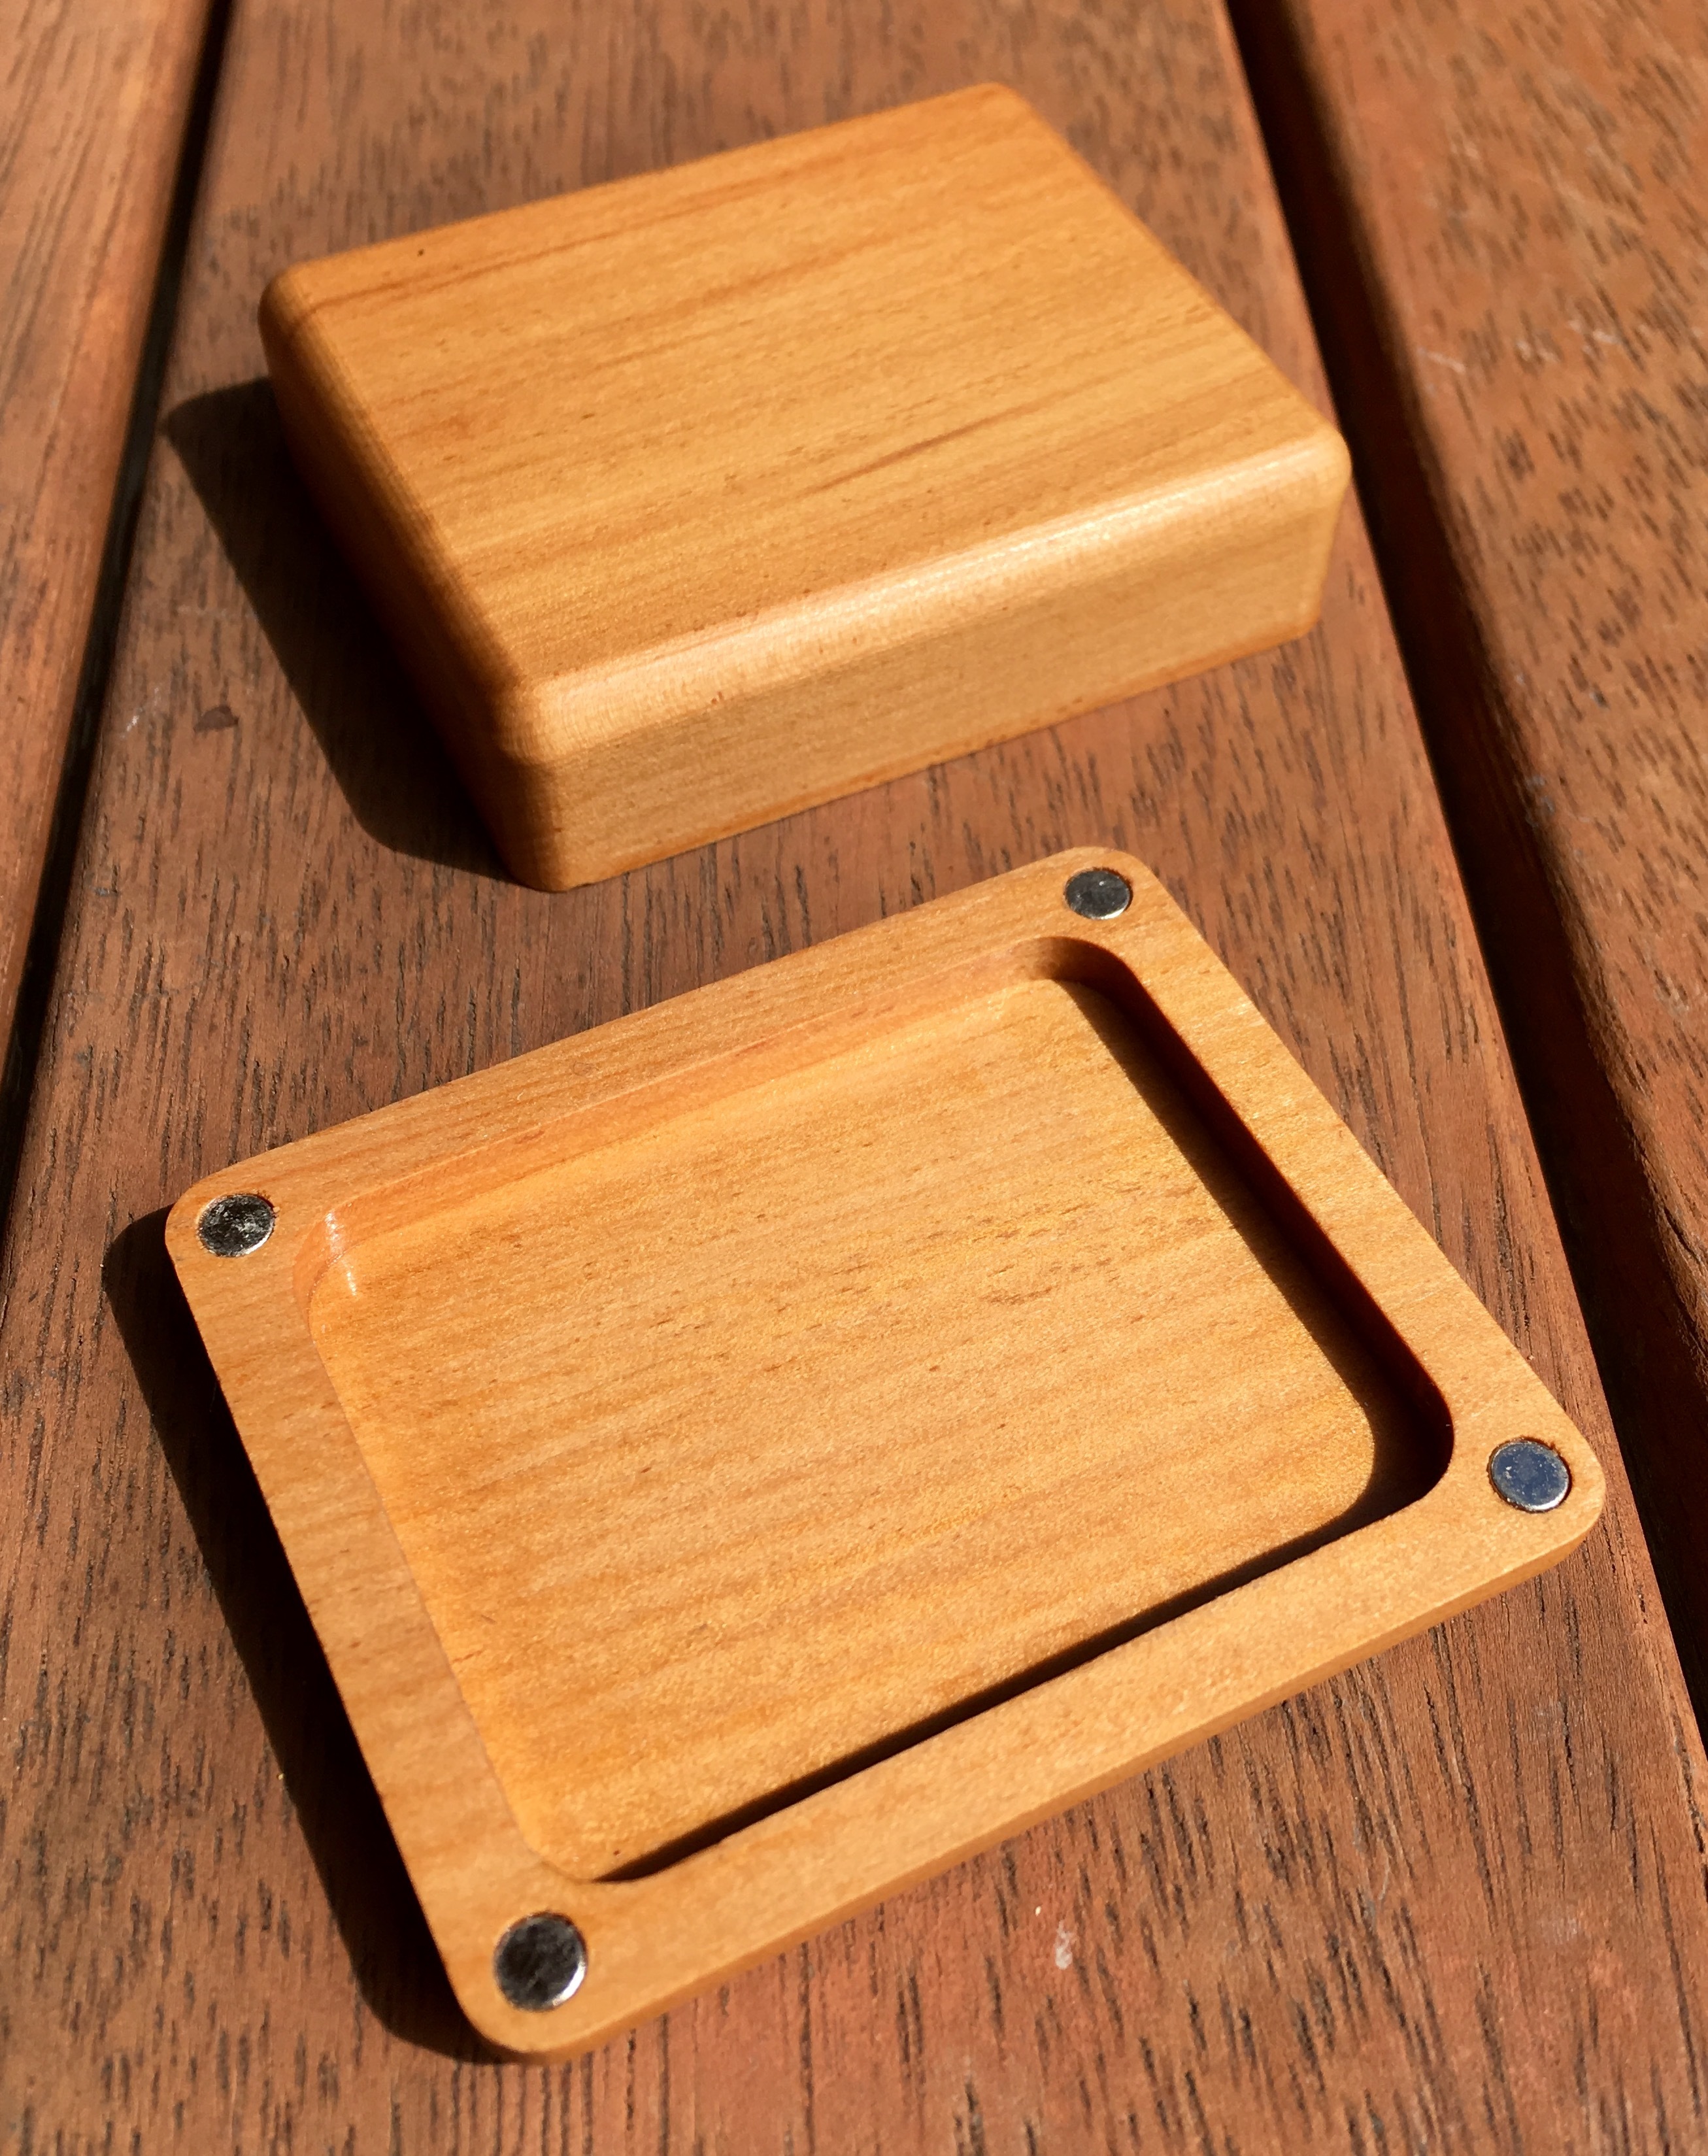
And the fit of the lid on the base - looks darn near perfect!
Lastly, I love the rounded edges - that really sets it off!!
FIRST!?!?!!
AWESOME SAUCE!
NICELY DONE!
Would you care to talk about how you did it? Two sided machining? Use the clamp?
mark
Very nice! Well done!
Very nice!
How well would it work w/ hidden magnets? (Concealed beneath a layer of veneer)
Did you consider using magnets held in place w/ screws? Lee Valley has them (not sure how small they get) and using nice brass screws would set them off nicely and you could use steel screws on the lid.
1 Like
Darren, mbellon, buhmiller, WillAdams Thanks Guys! I’m glad you like it, the motivational feedback has me excited to start project two.
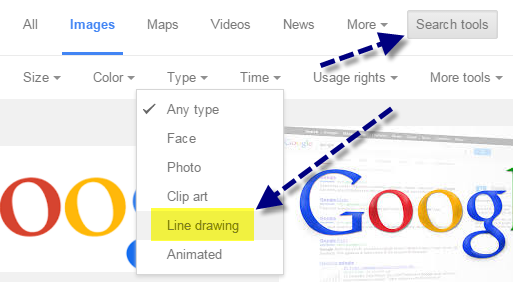
I designed the whole box in SolidWorks, as an assembly so I knew it would fit together nicely. The bear was a jpg I found online (google image line drawing)
Both pieces were machined on 2 sides although I didn’t use that feature of MeshCam, I created an .nc file for each side manually, in fact I did one for the bear, the radius, the outside and top, the pocket and the holes for the magnets.
I don’t have a flip jig and at the time or even a low profile vice so the entire thing was fixed down with carpet tape to the table. First I did the outline, pocket and magnet holes of the base, then flipped it and faced the bottom and did the radius. Then made the pocket, lip (there was a locating lip on version one…) outline and magnet holes in the lid. Then I glued all the magnets in with henkel loctite super glue (magic stuff that doesn’t dry in the tube and is easy as to use - much better than any other super glue I’ve ever used). Then I taped the lid to the base as with the lip there was not enough surface area on the lip to hold it to the table. However after doing the whole bear and the roughing cut on the radius I was just setting up for the finishing pass (about 11pm by then) and I set the datum wrong and gorged the whole lid… epic fail.
So I started the lid again this time without a lip and to locate it I made a pocket in the wasteboard the same size as the outside of the lid so I could locate it for the second side perfectly. I also faced the waste board first as it was slightly out of square - I found out later that that was because one of the little pins holding the table to the linear bearings on my machine was still protruding slightly and holding the waste board proud.
To set the datum each time after flipping the part I used a dowel pin and the backing of the carpet tape.
To keep the part square when I was sticking it down I used a ruler to line it up parallel with the front of the table.
I had initially planned to conceal the magnets behind a layer of felt (which is why they are so large - to have the power to work through the felt, I have smaller ones I would use if I did it again), however I ran out of time since it was a Christmas present. I’ve sourced some self adhesive, thin felt now though so the next one will have that concealing the magnets.
Finally I oiled it with 3 coats of linseed oil sanding in between each coat with progressively finer grades of paper.
I think this machine could quite easily make very nice inlay too, that would be next level inlaying the bear in a lighter color wood  and lining the box with felt. Also I couldn’t source any hinges of an appropriate scale and quality so maybe one of you knows where I could get them else I might have a go making some out of brass.
awesome work mate 
Fine work there @1st_Kiwi_Nomad …
I can confirm the inlay capabilities.
Here is an example of brass and maple:

2 Likes
Windsor Brass does traditional small hinges of excellent quality.
Brusso makes lovely hinges which are well-matched to the modern practice of fetishizing hardware.
We list some suppliers here: http://www.shapeoko.com/wiki/index.php/Vendors#Brass
Great project! You can also find a variety of small hinges like [this one at Woodcraft] (http://www.woodcraft.com/product/06r91/miniature-barrel-hinge.
The linked hinge is sized for a pen case, I think, and so might be too small for your purposes, but they have lots of other stuff.
well cant vouch for the quality but just got some of these http://m.aliexpress.com/item/32308239259.html
the price is surely right…
Vectric VCarvePro has REALY GOOD inlay support. I haven’t looked recently but in the past I never found anything as easy or ask capable.
Now that CC is moving along, inlay support could be requested.
mark