Sorry for the vague posting, just want toget a framework with some human words and photos up.
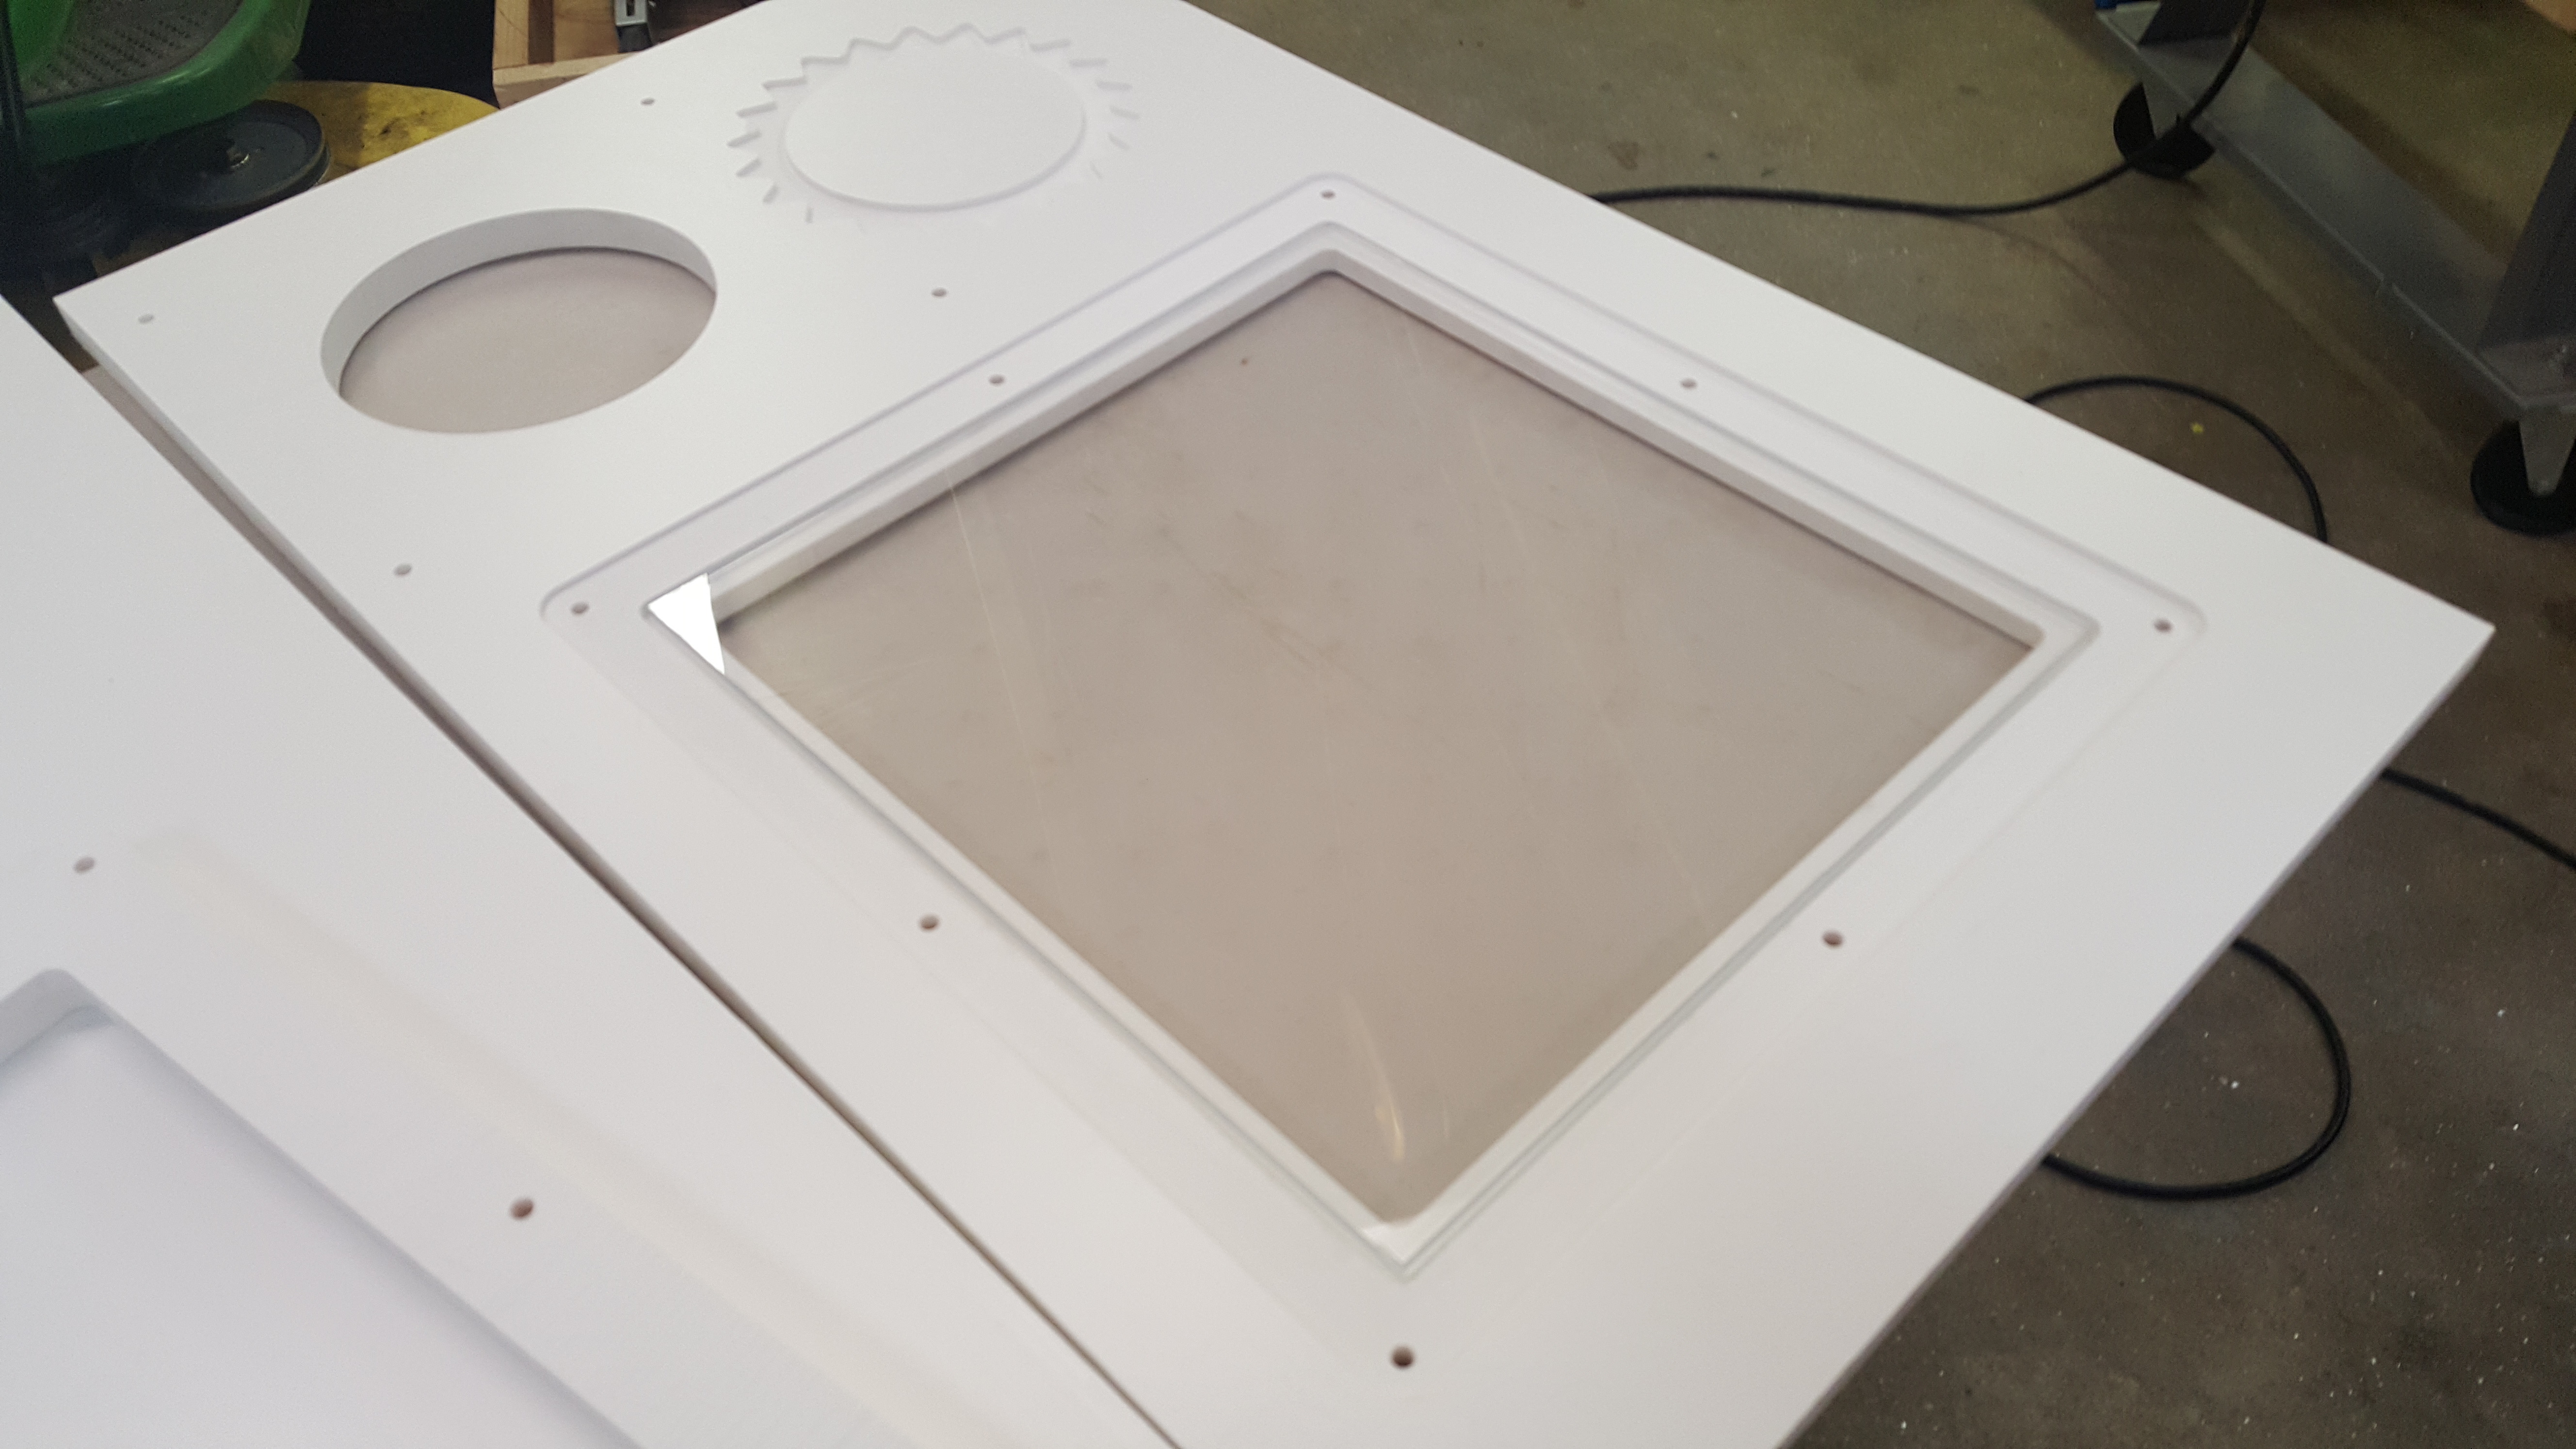
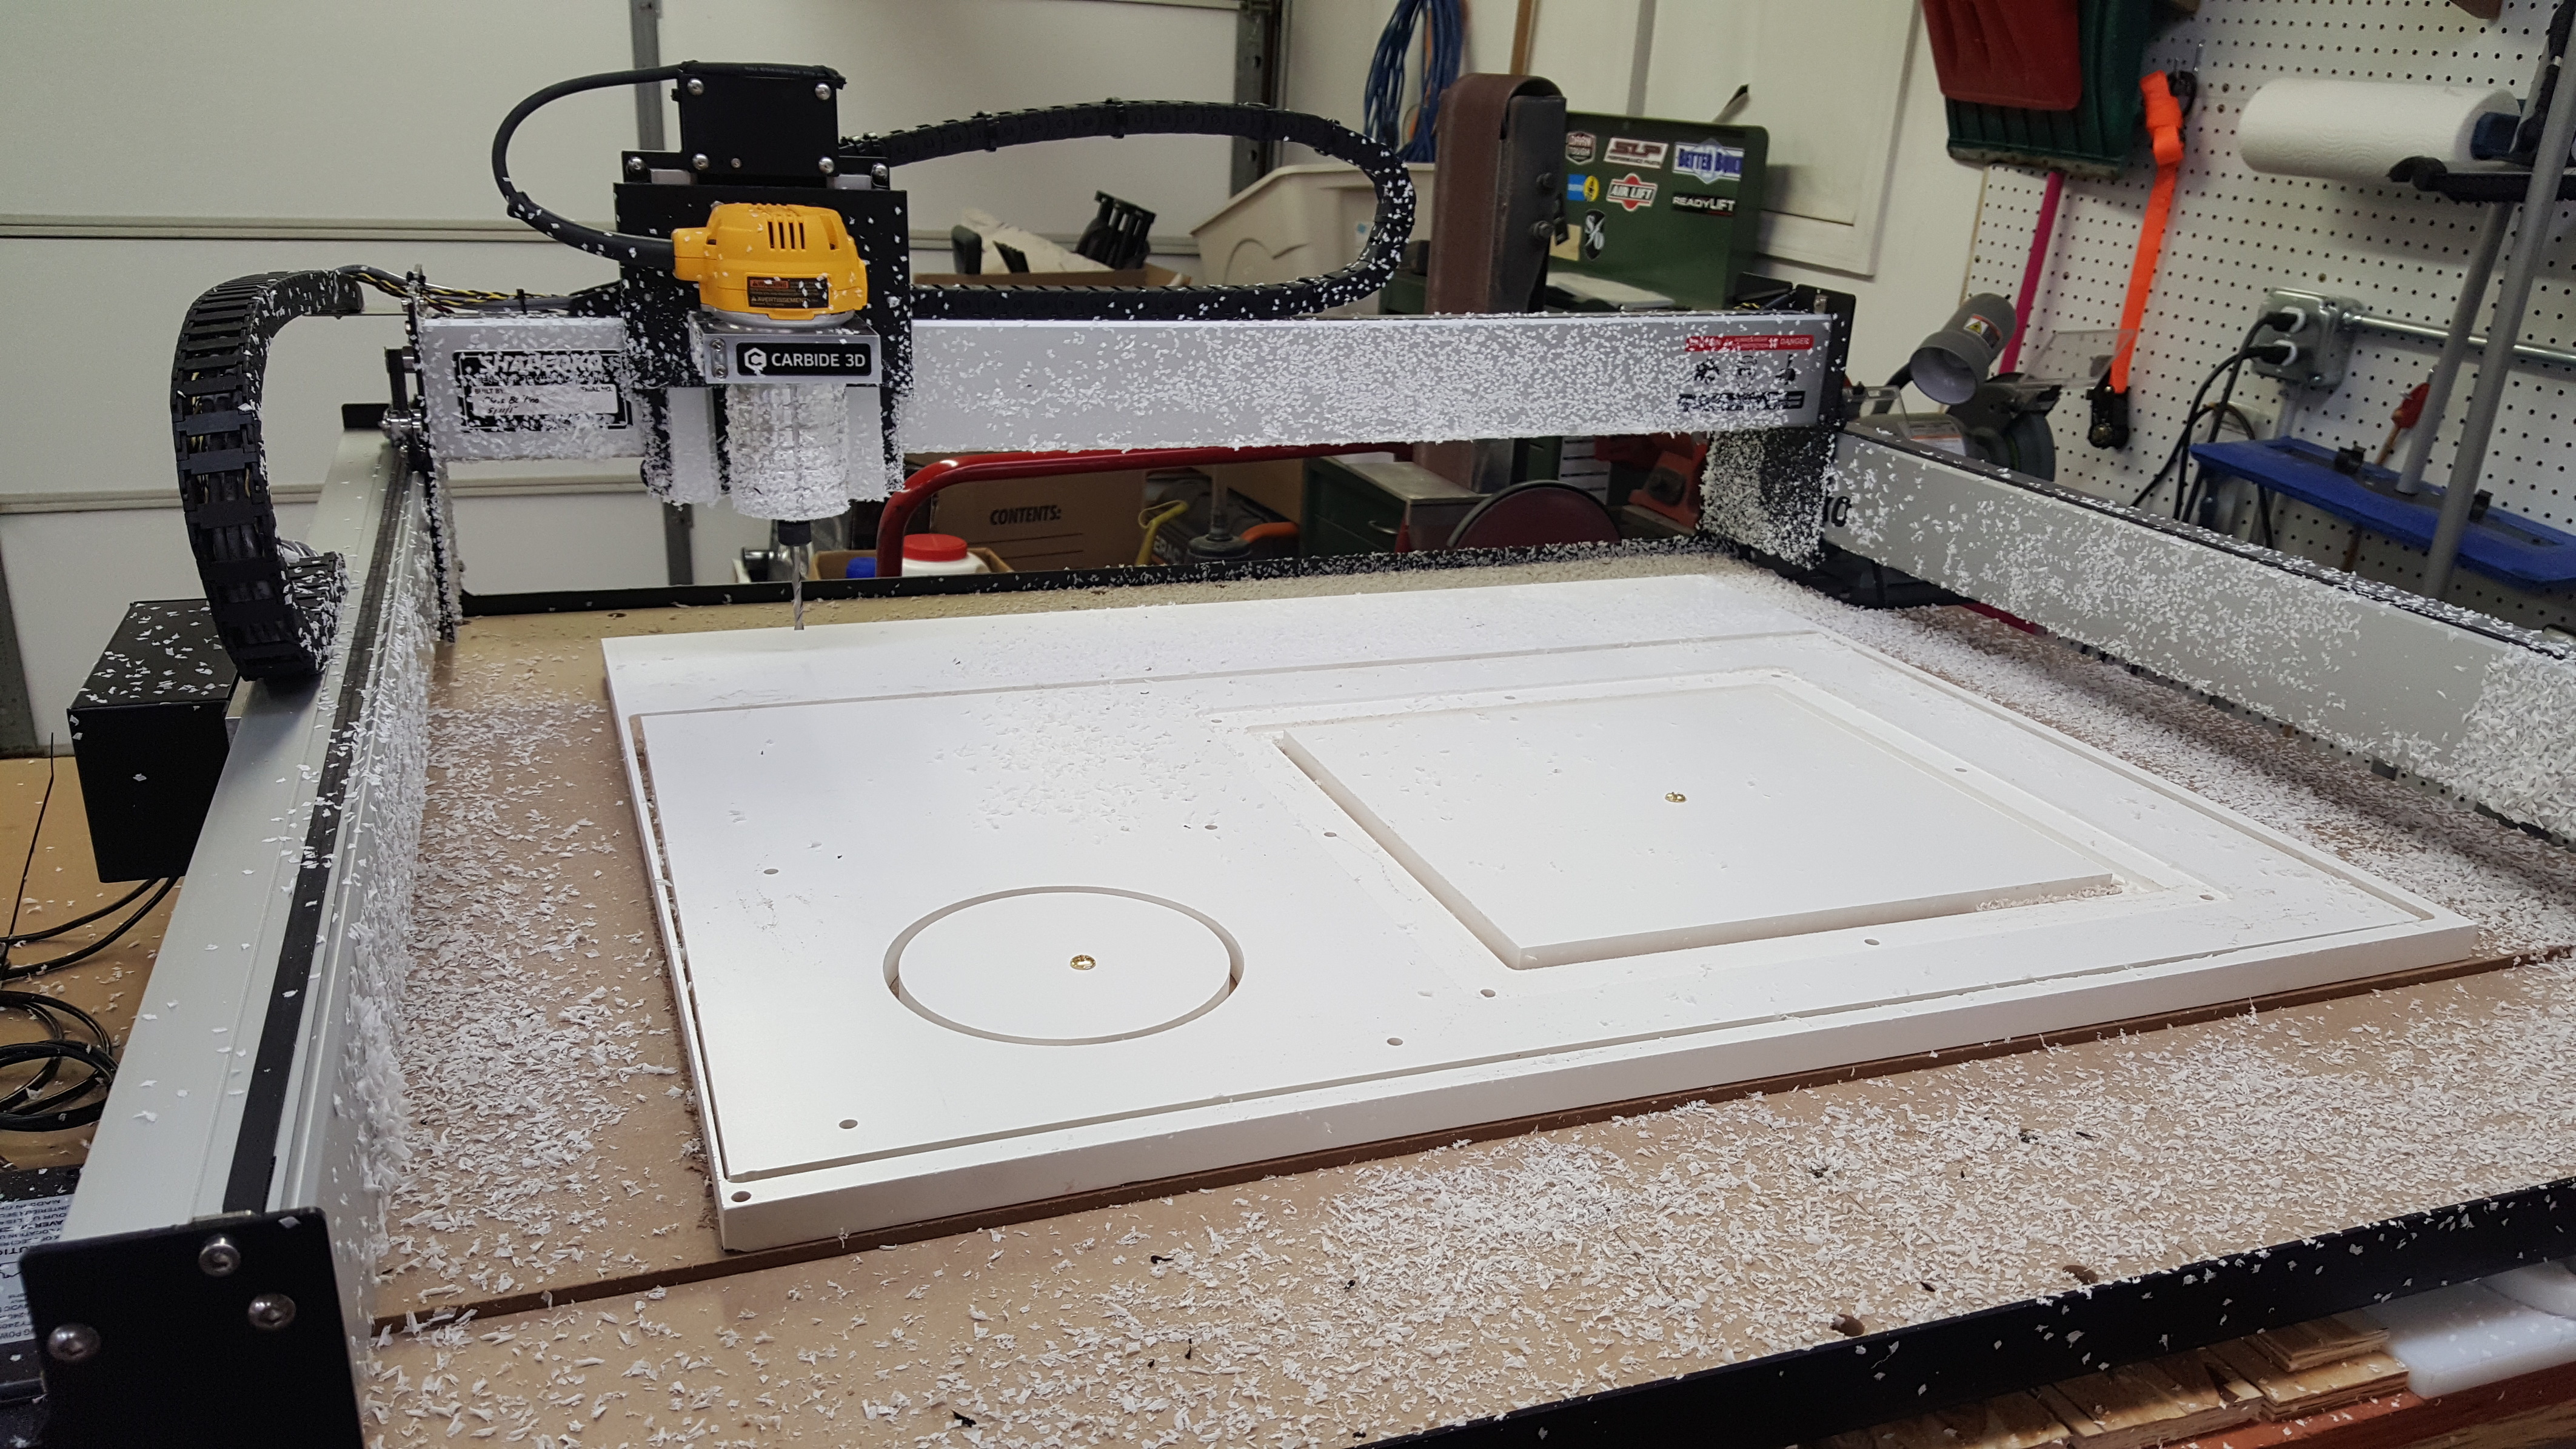
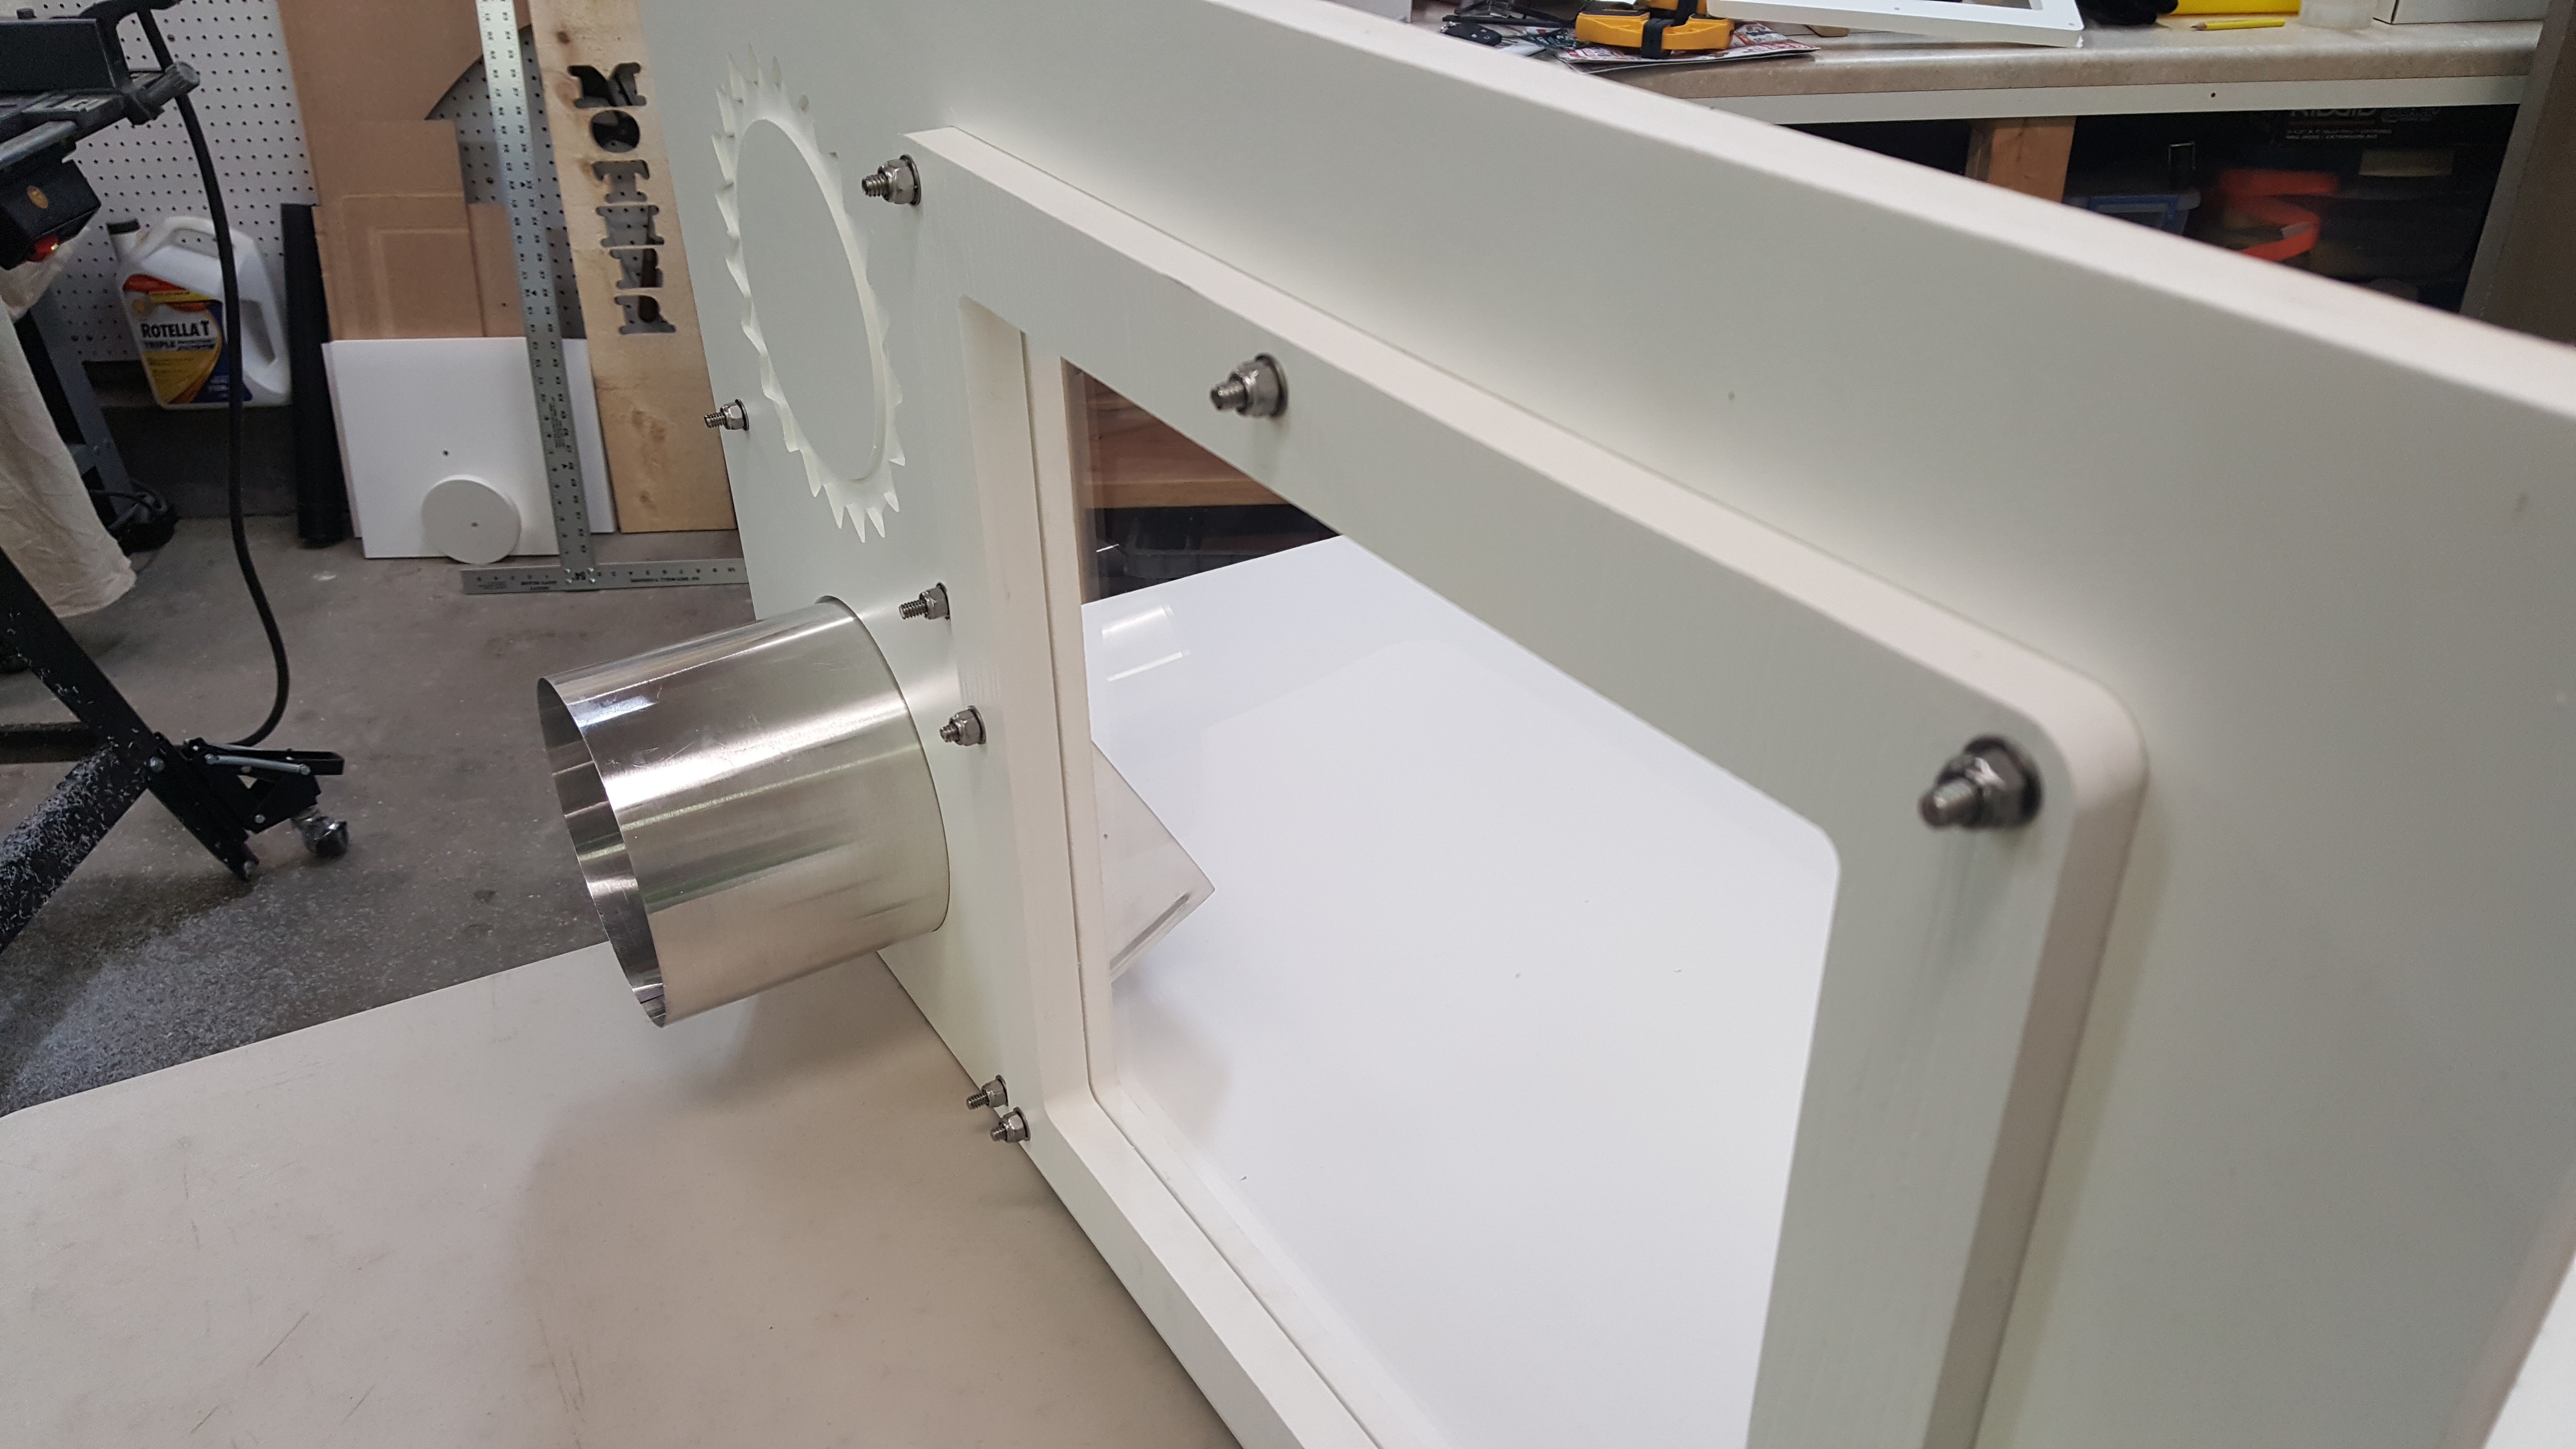
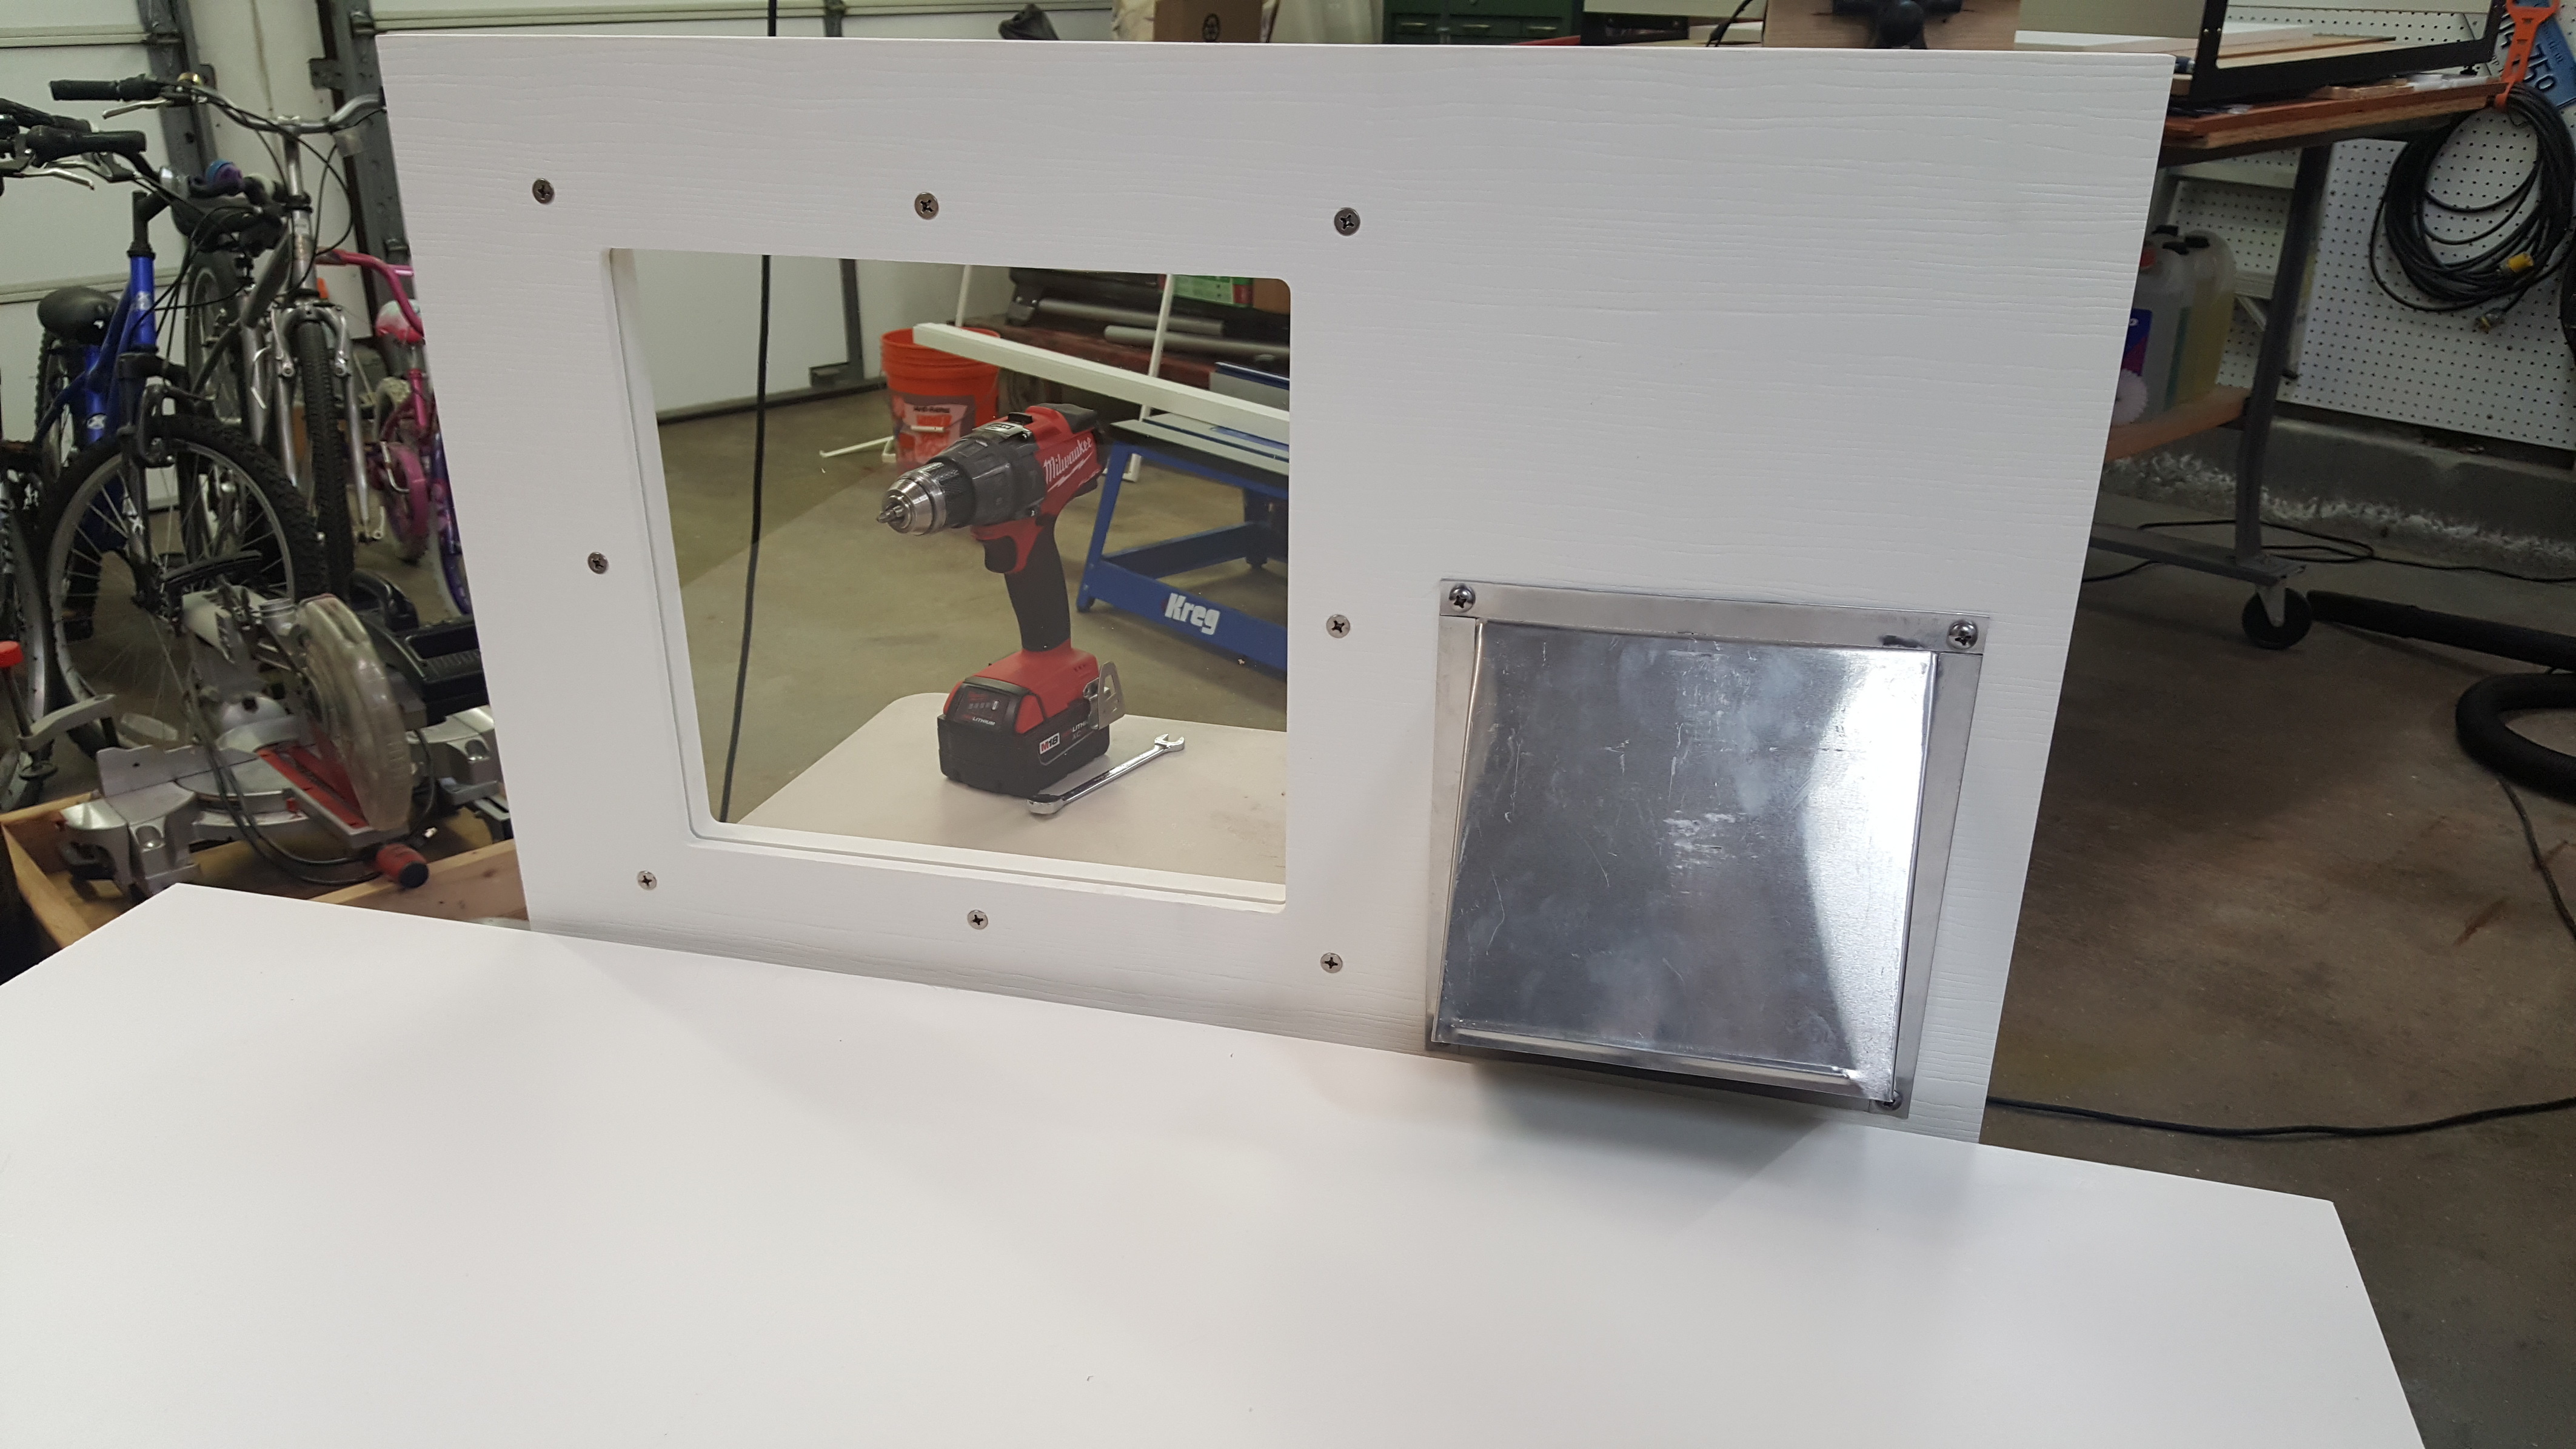
Window Inserts to vent a couple of portable A/C’s waiting for mine to be approved
for payment then ordered.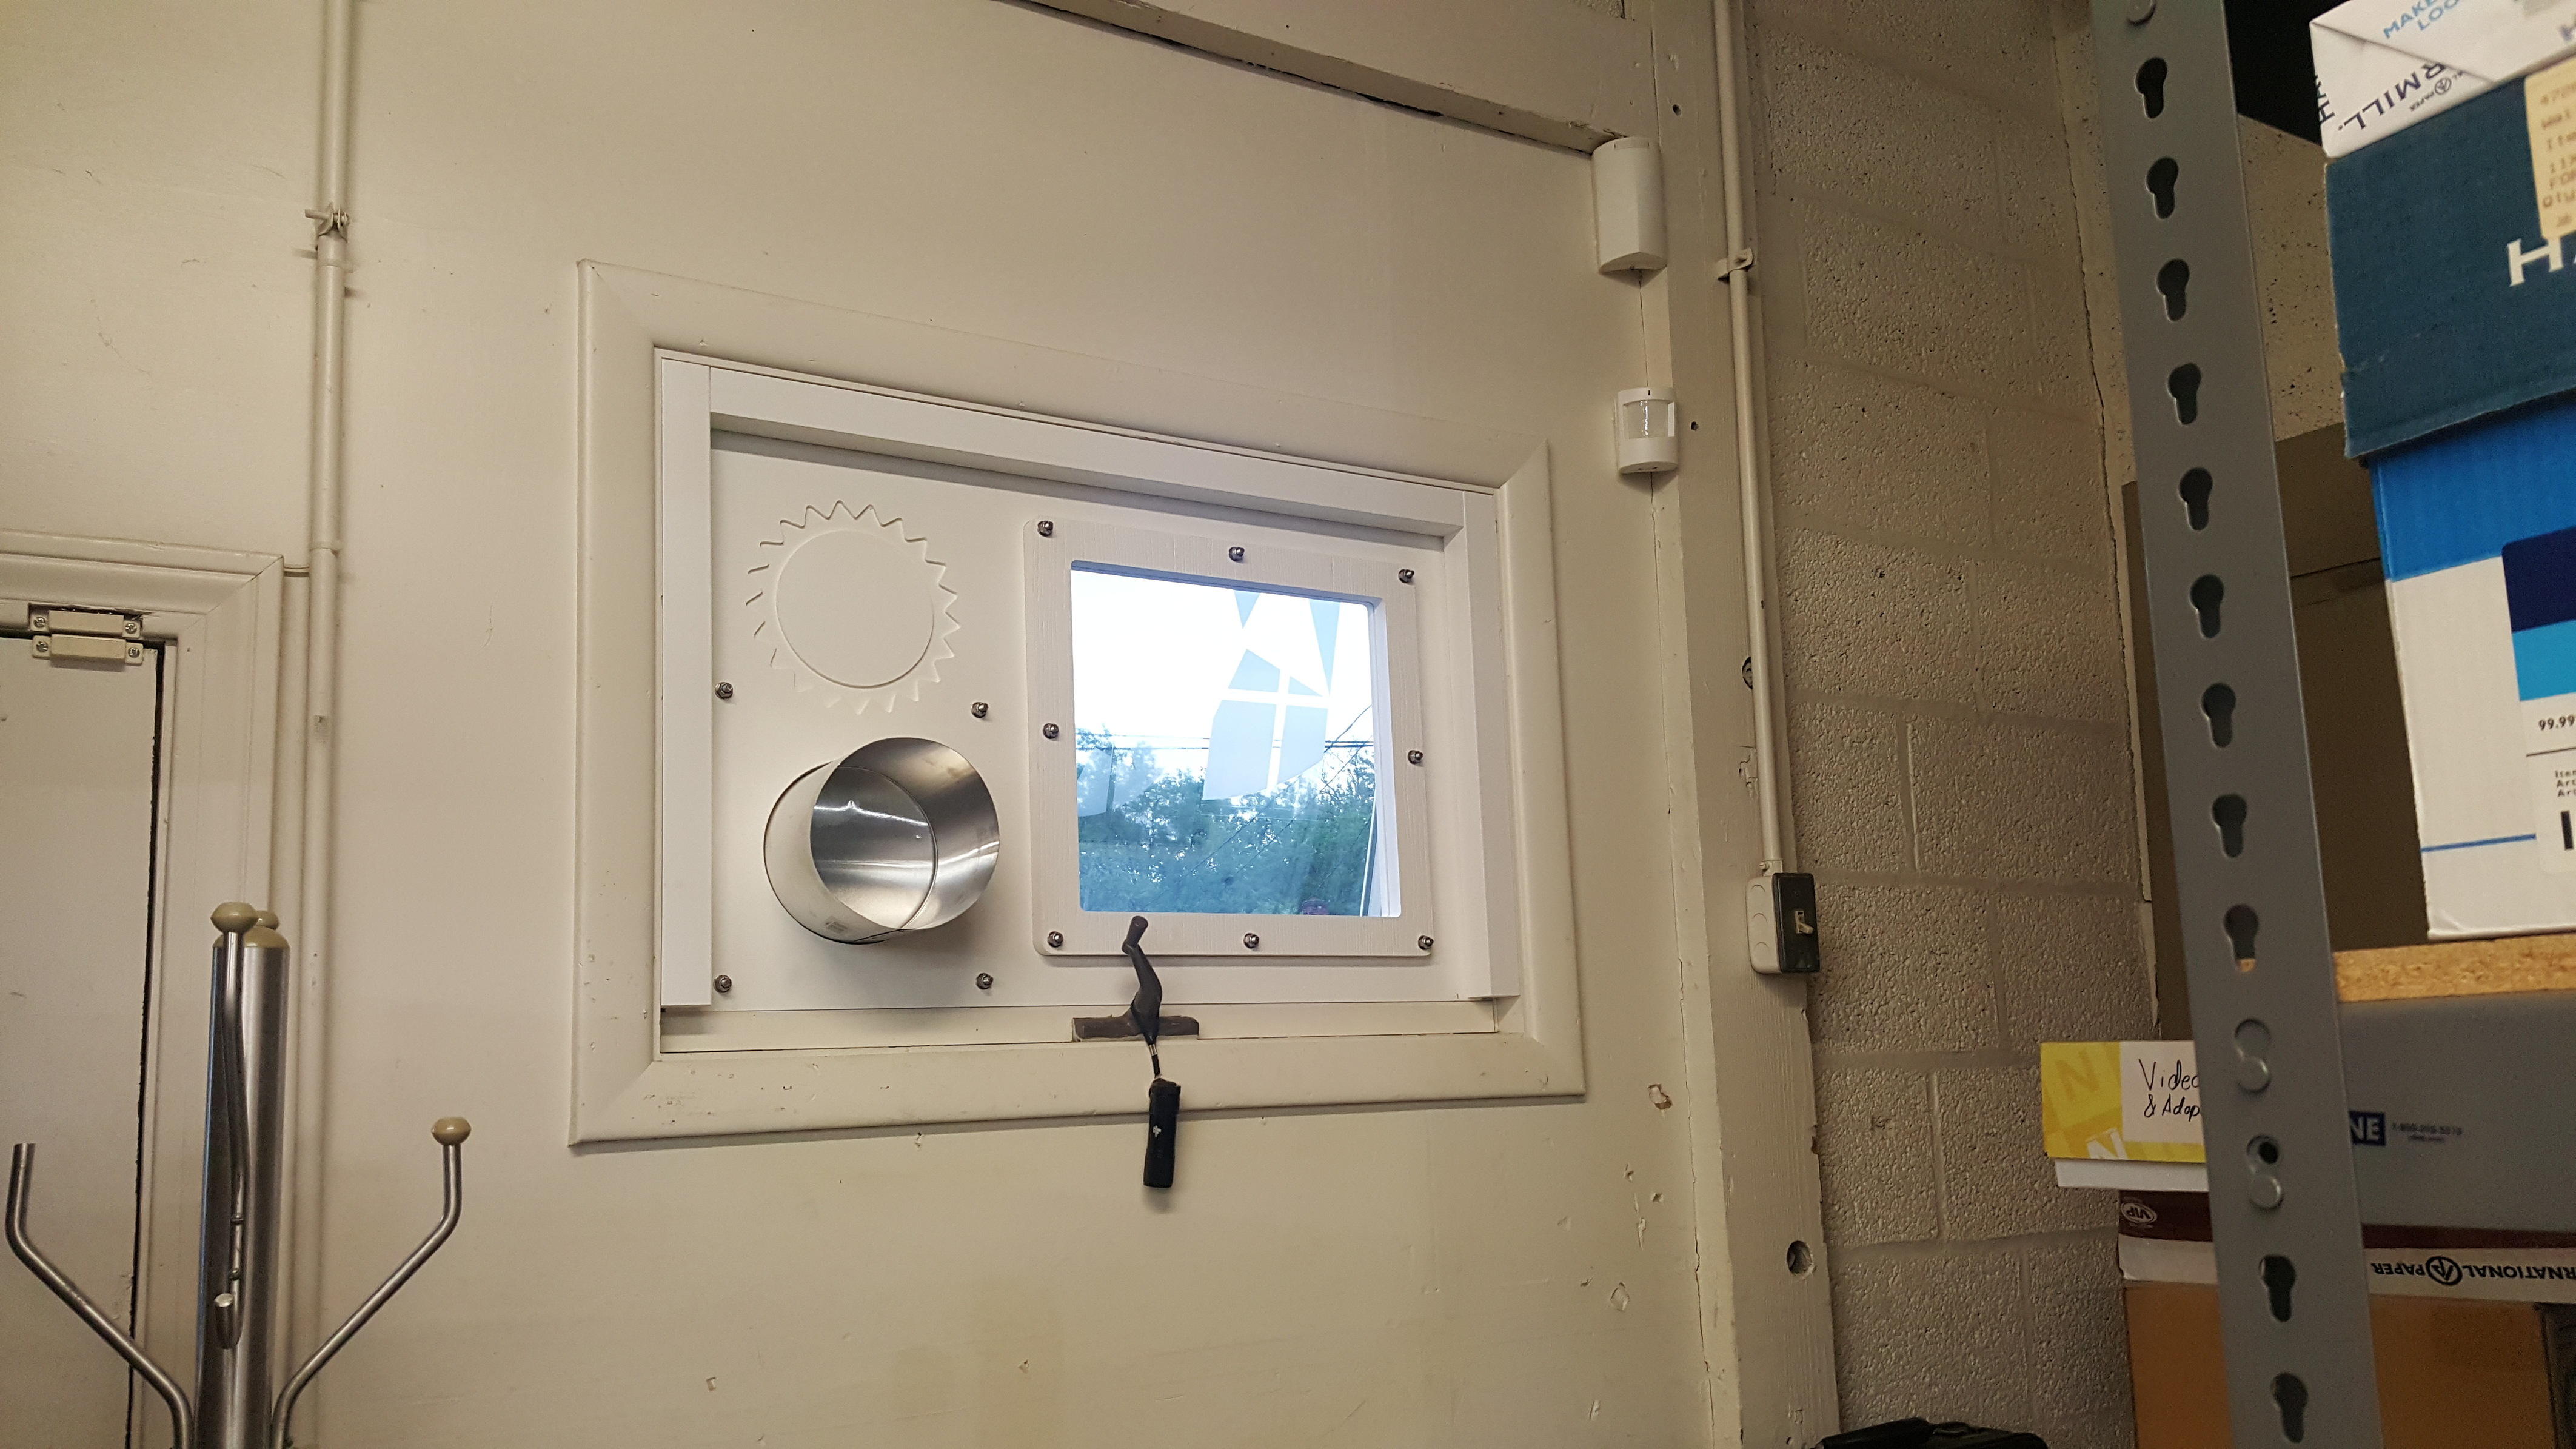

2 Likes
Working on the new adjustable height bed… not sure 100% on the format it’ll have, but it’ll be able to be STRAIGHT AND LEVEL.
4 Likes
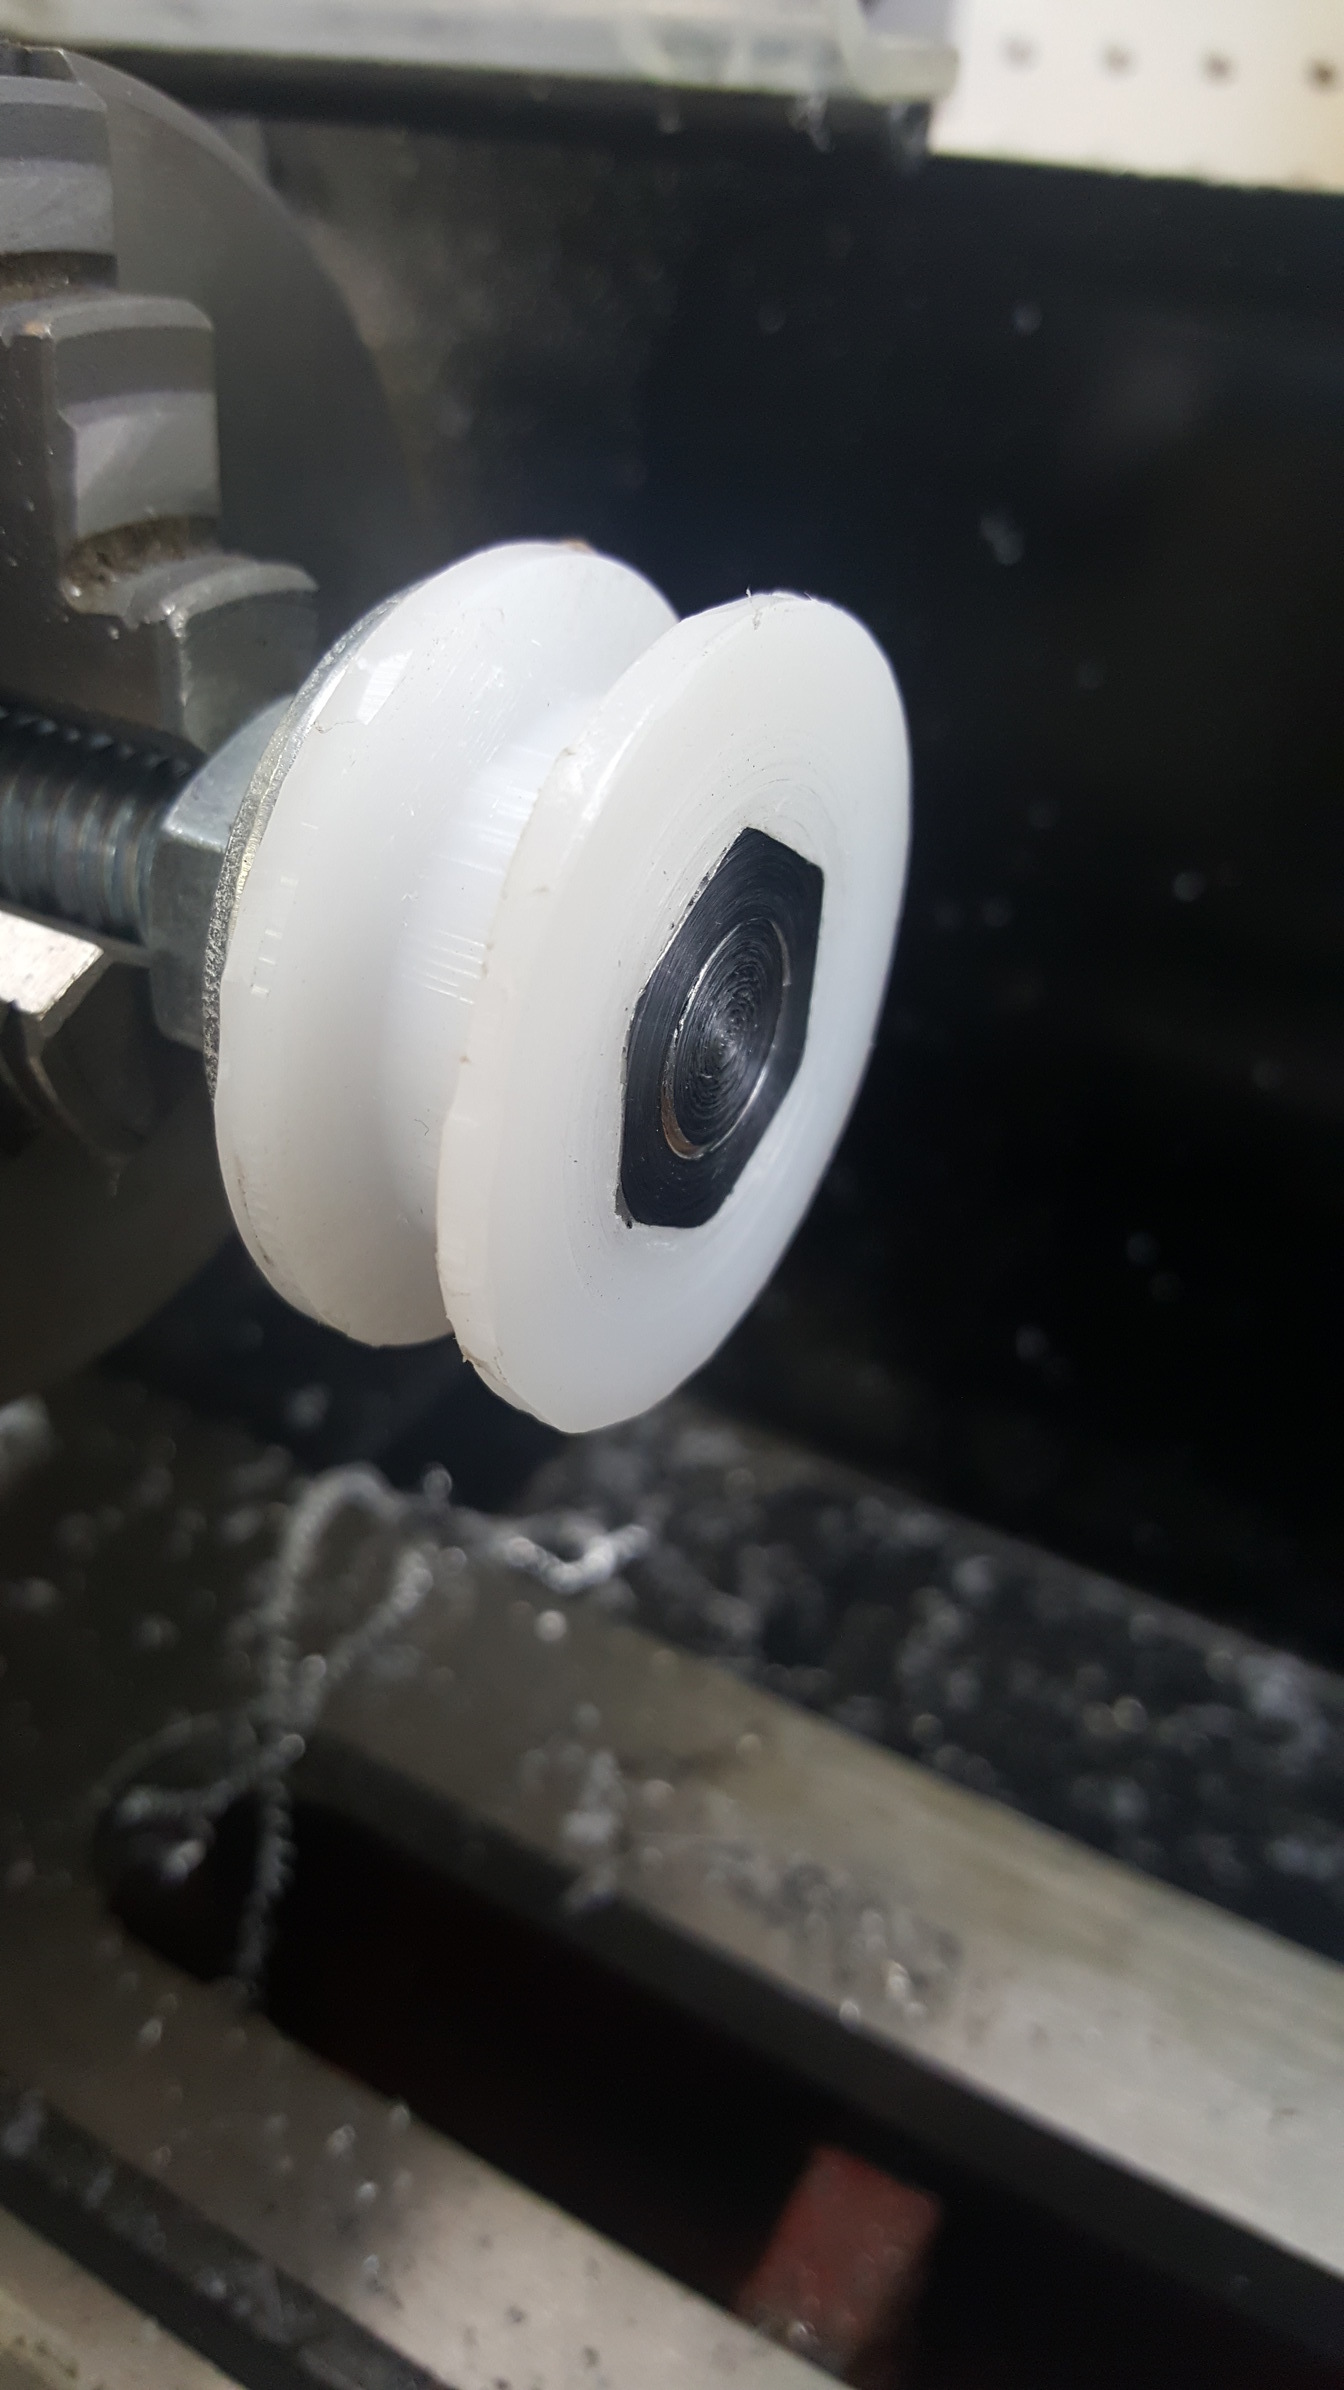
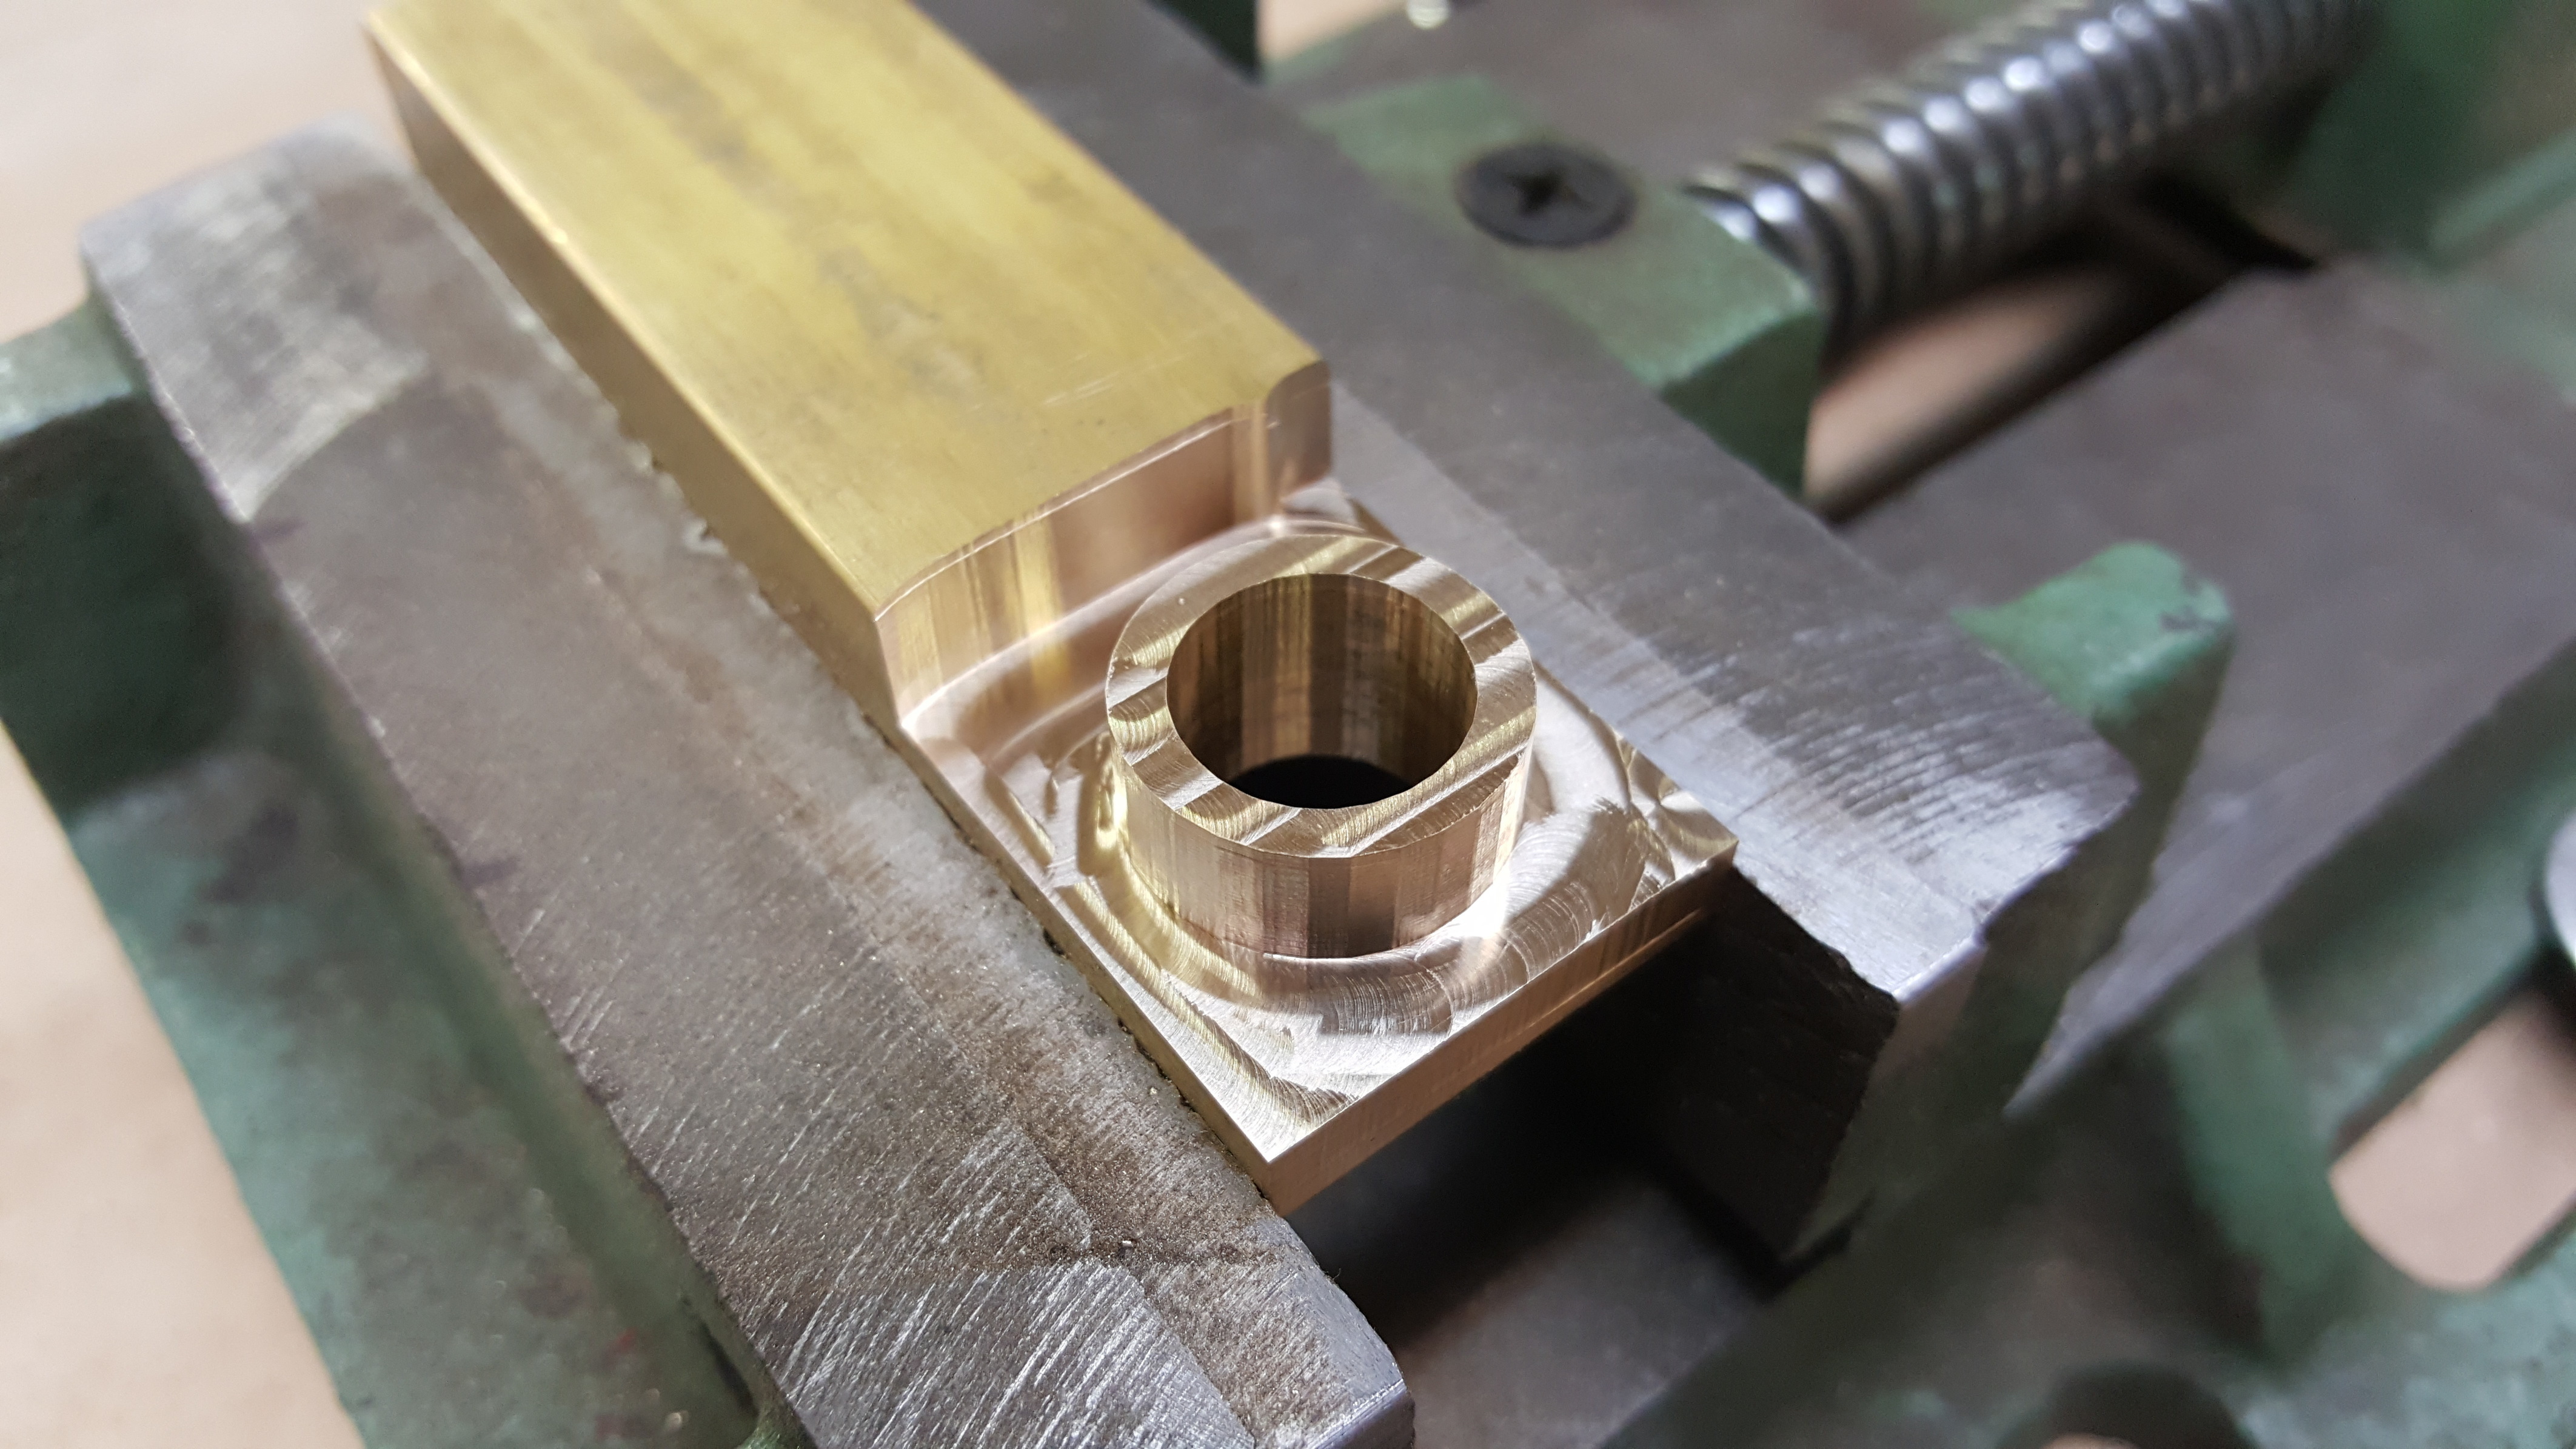
THREAD MILLING SUCCESSFUL: 1st Try, matched size and pitch and recreated 2 metric threads for use in an adapter machined in BRASS on the shapeoko XXL.
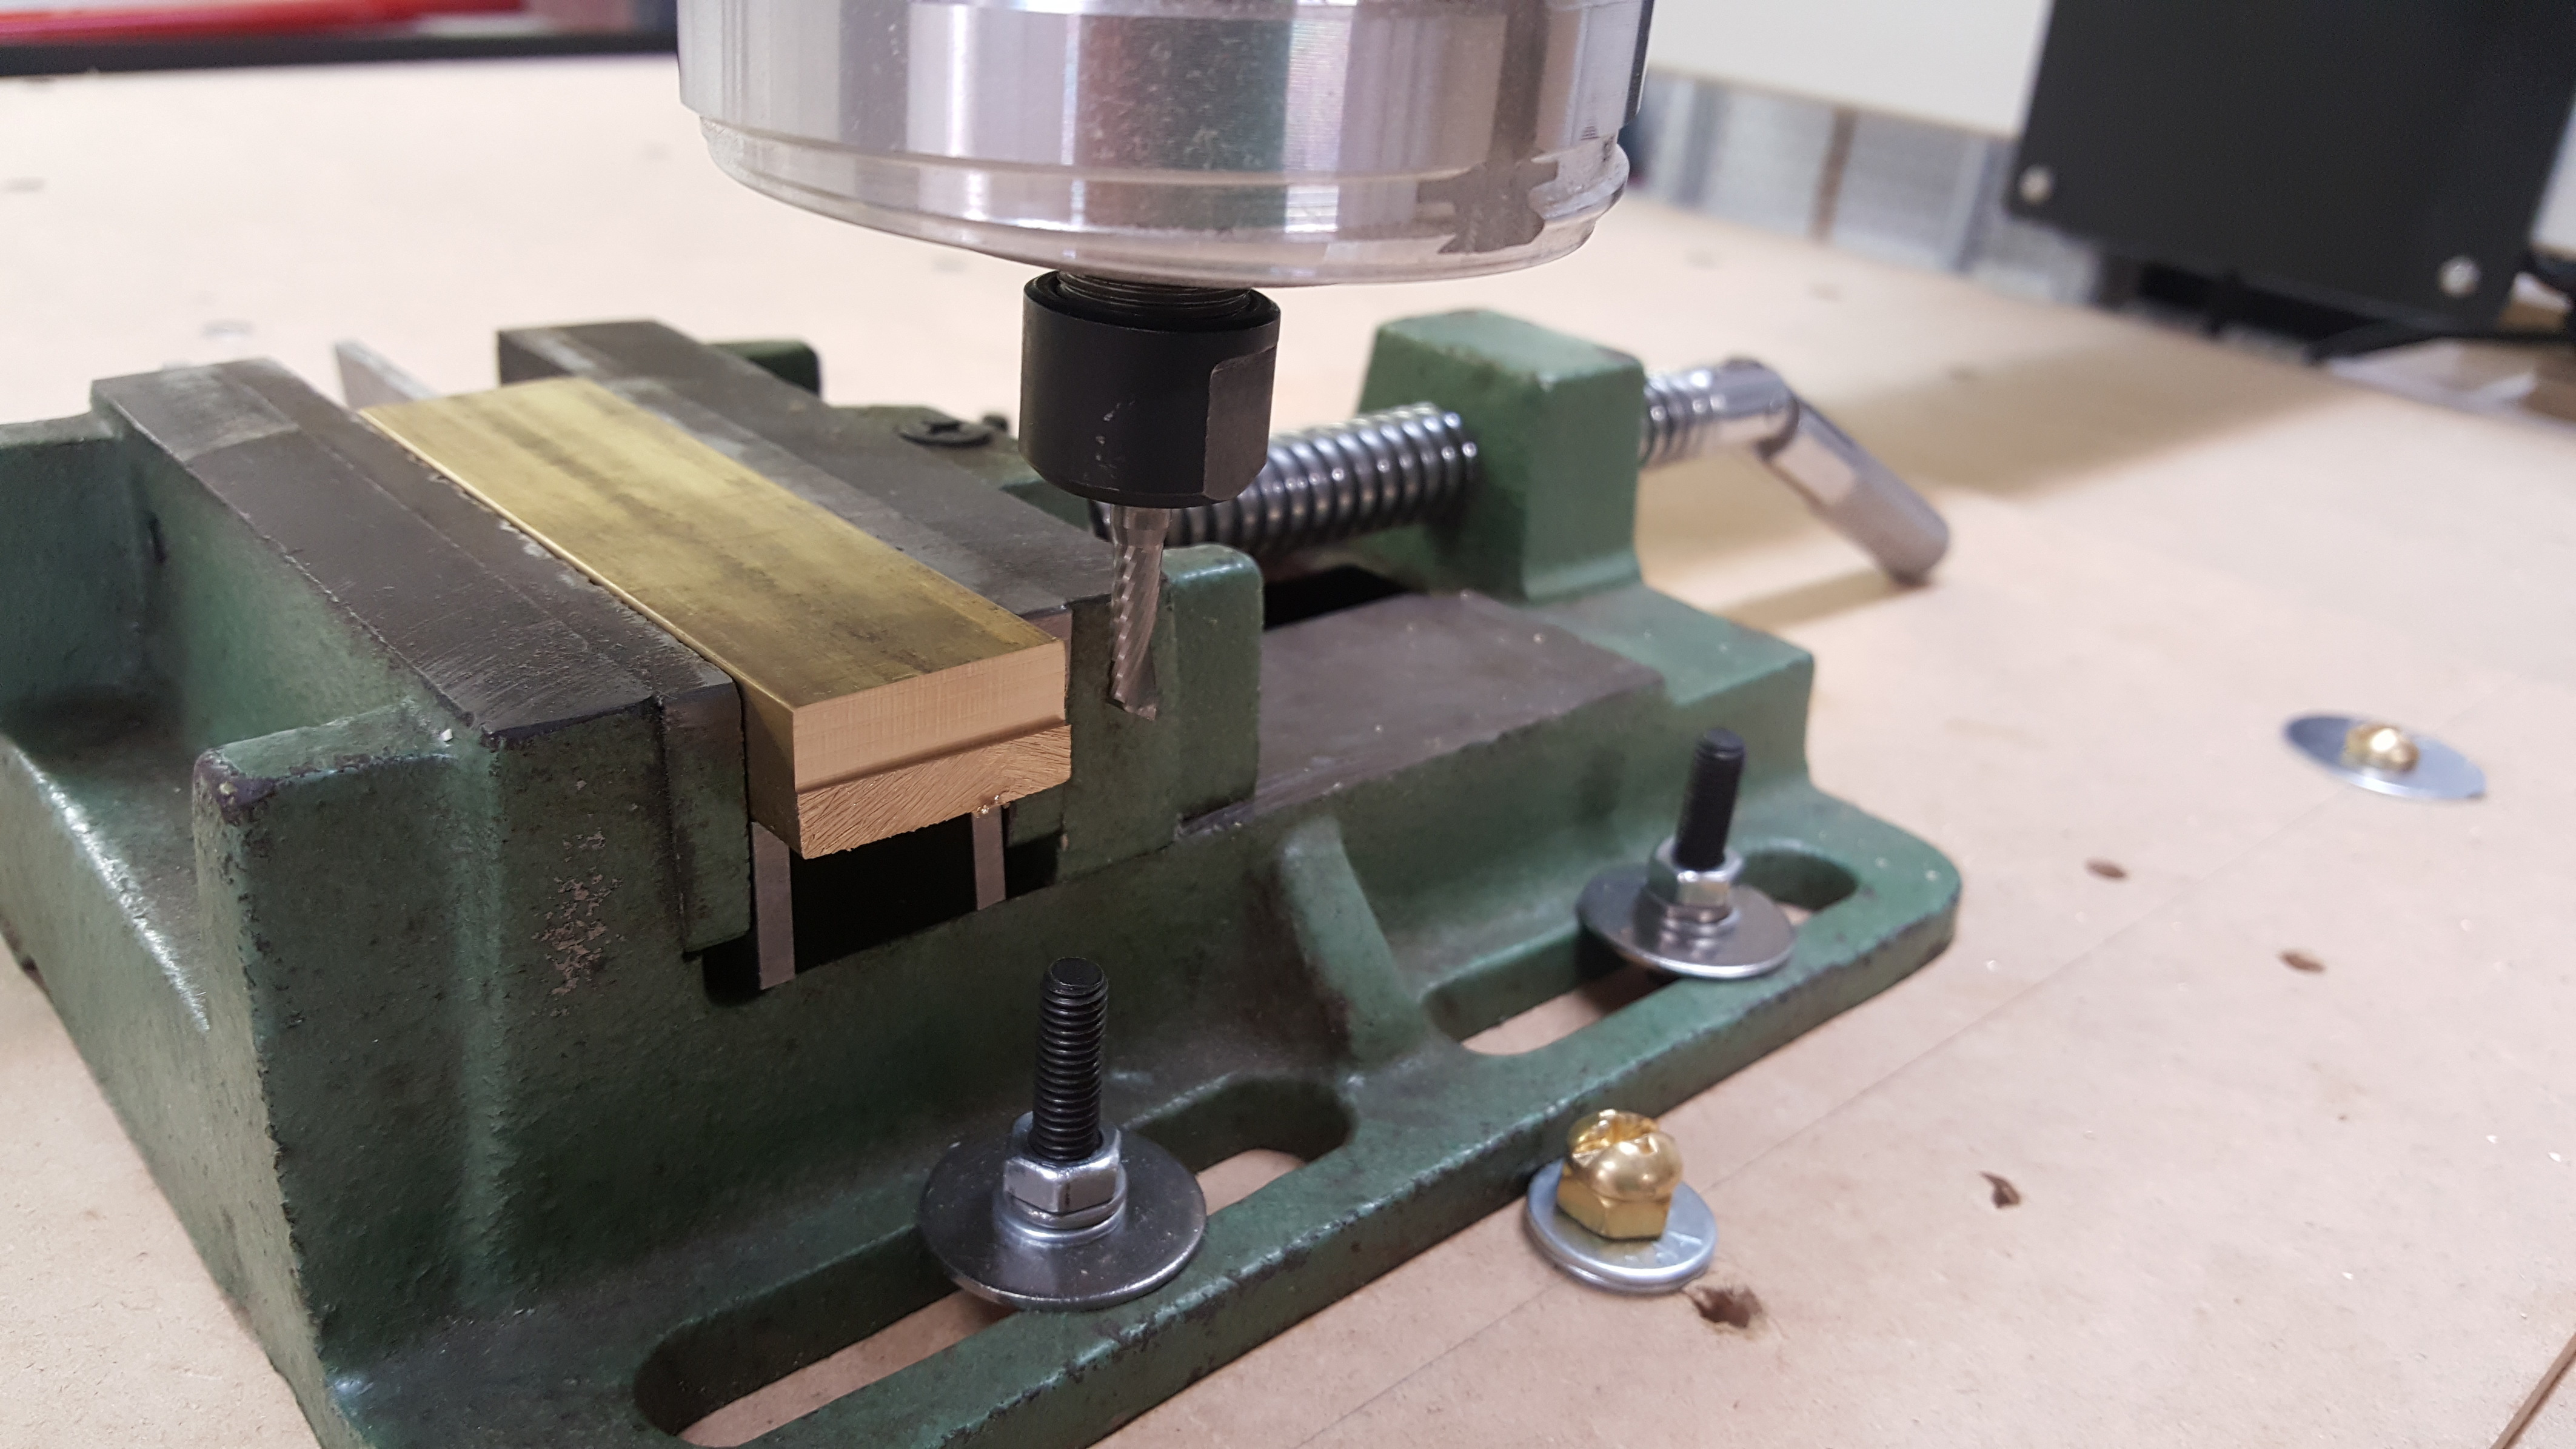

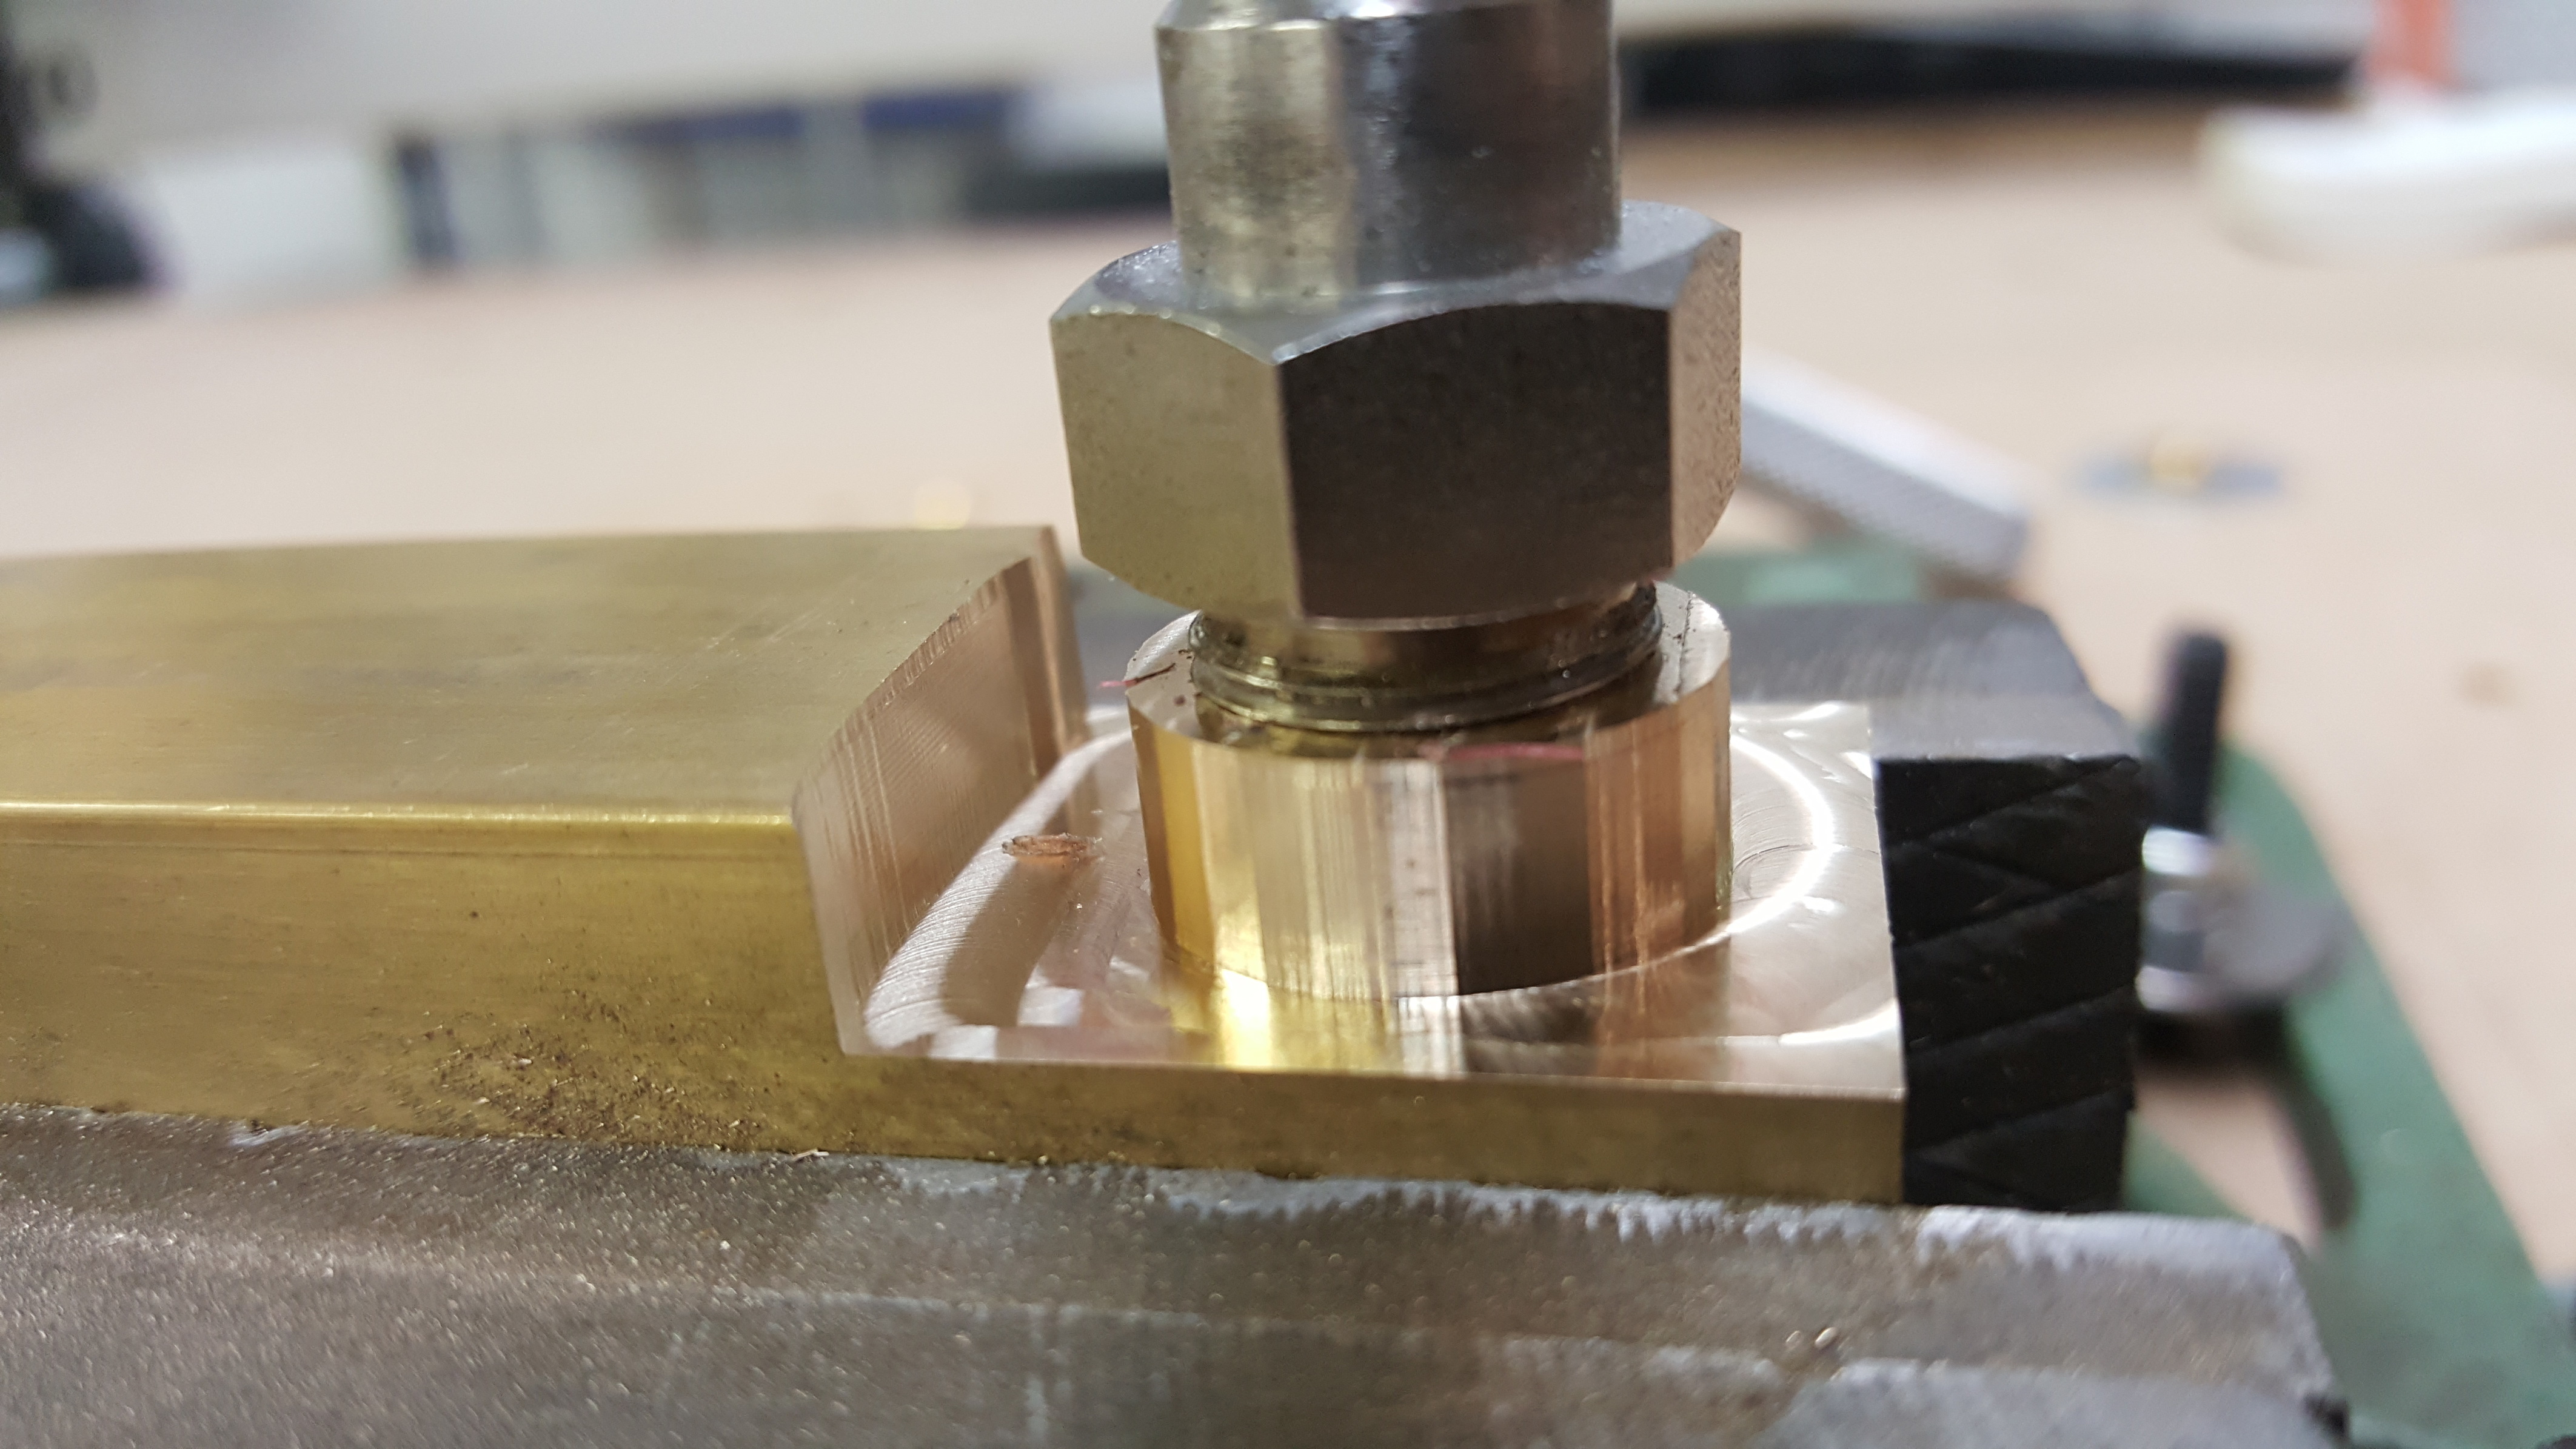
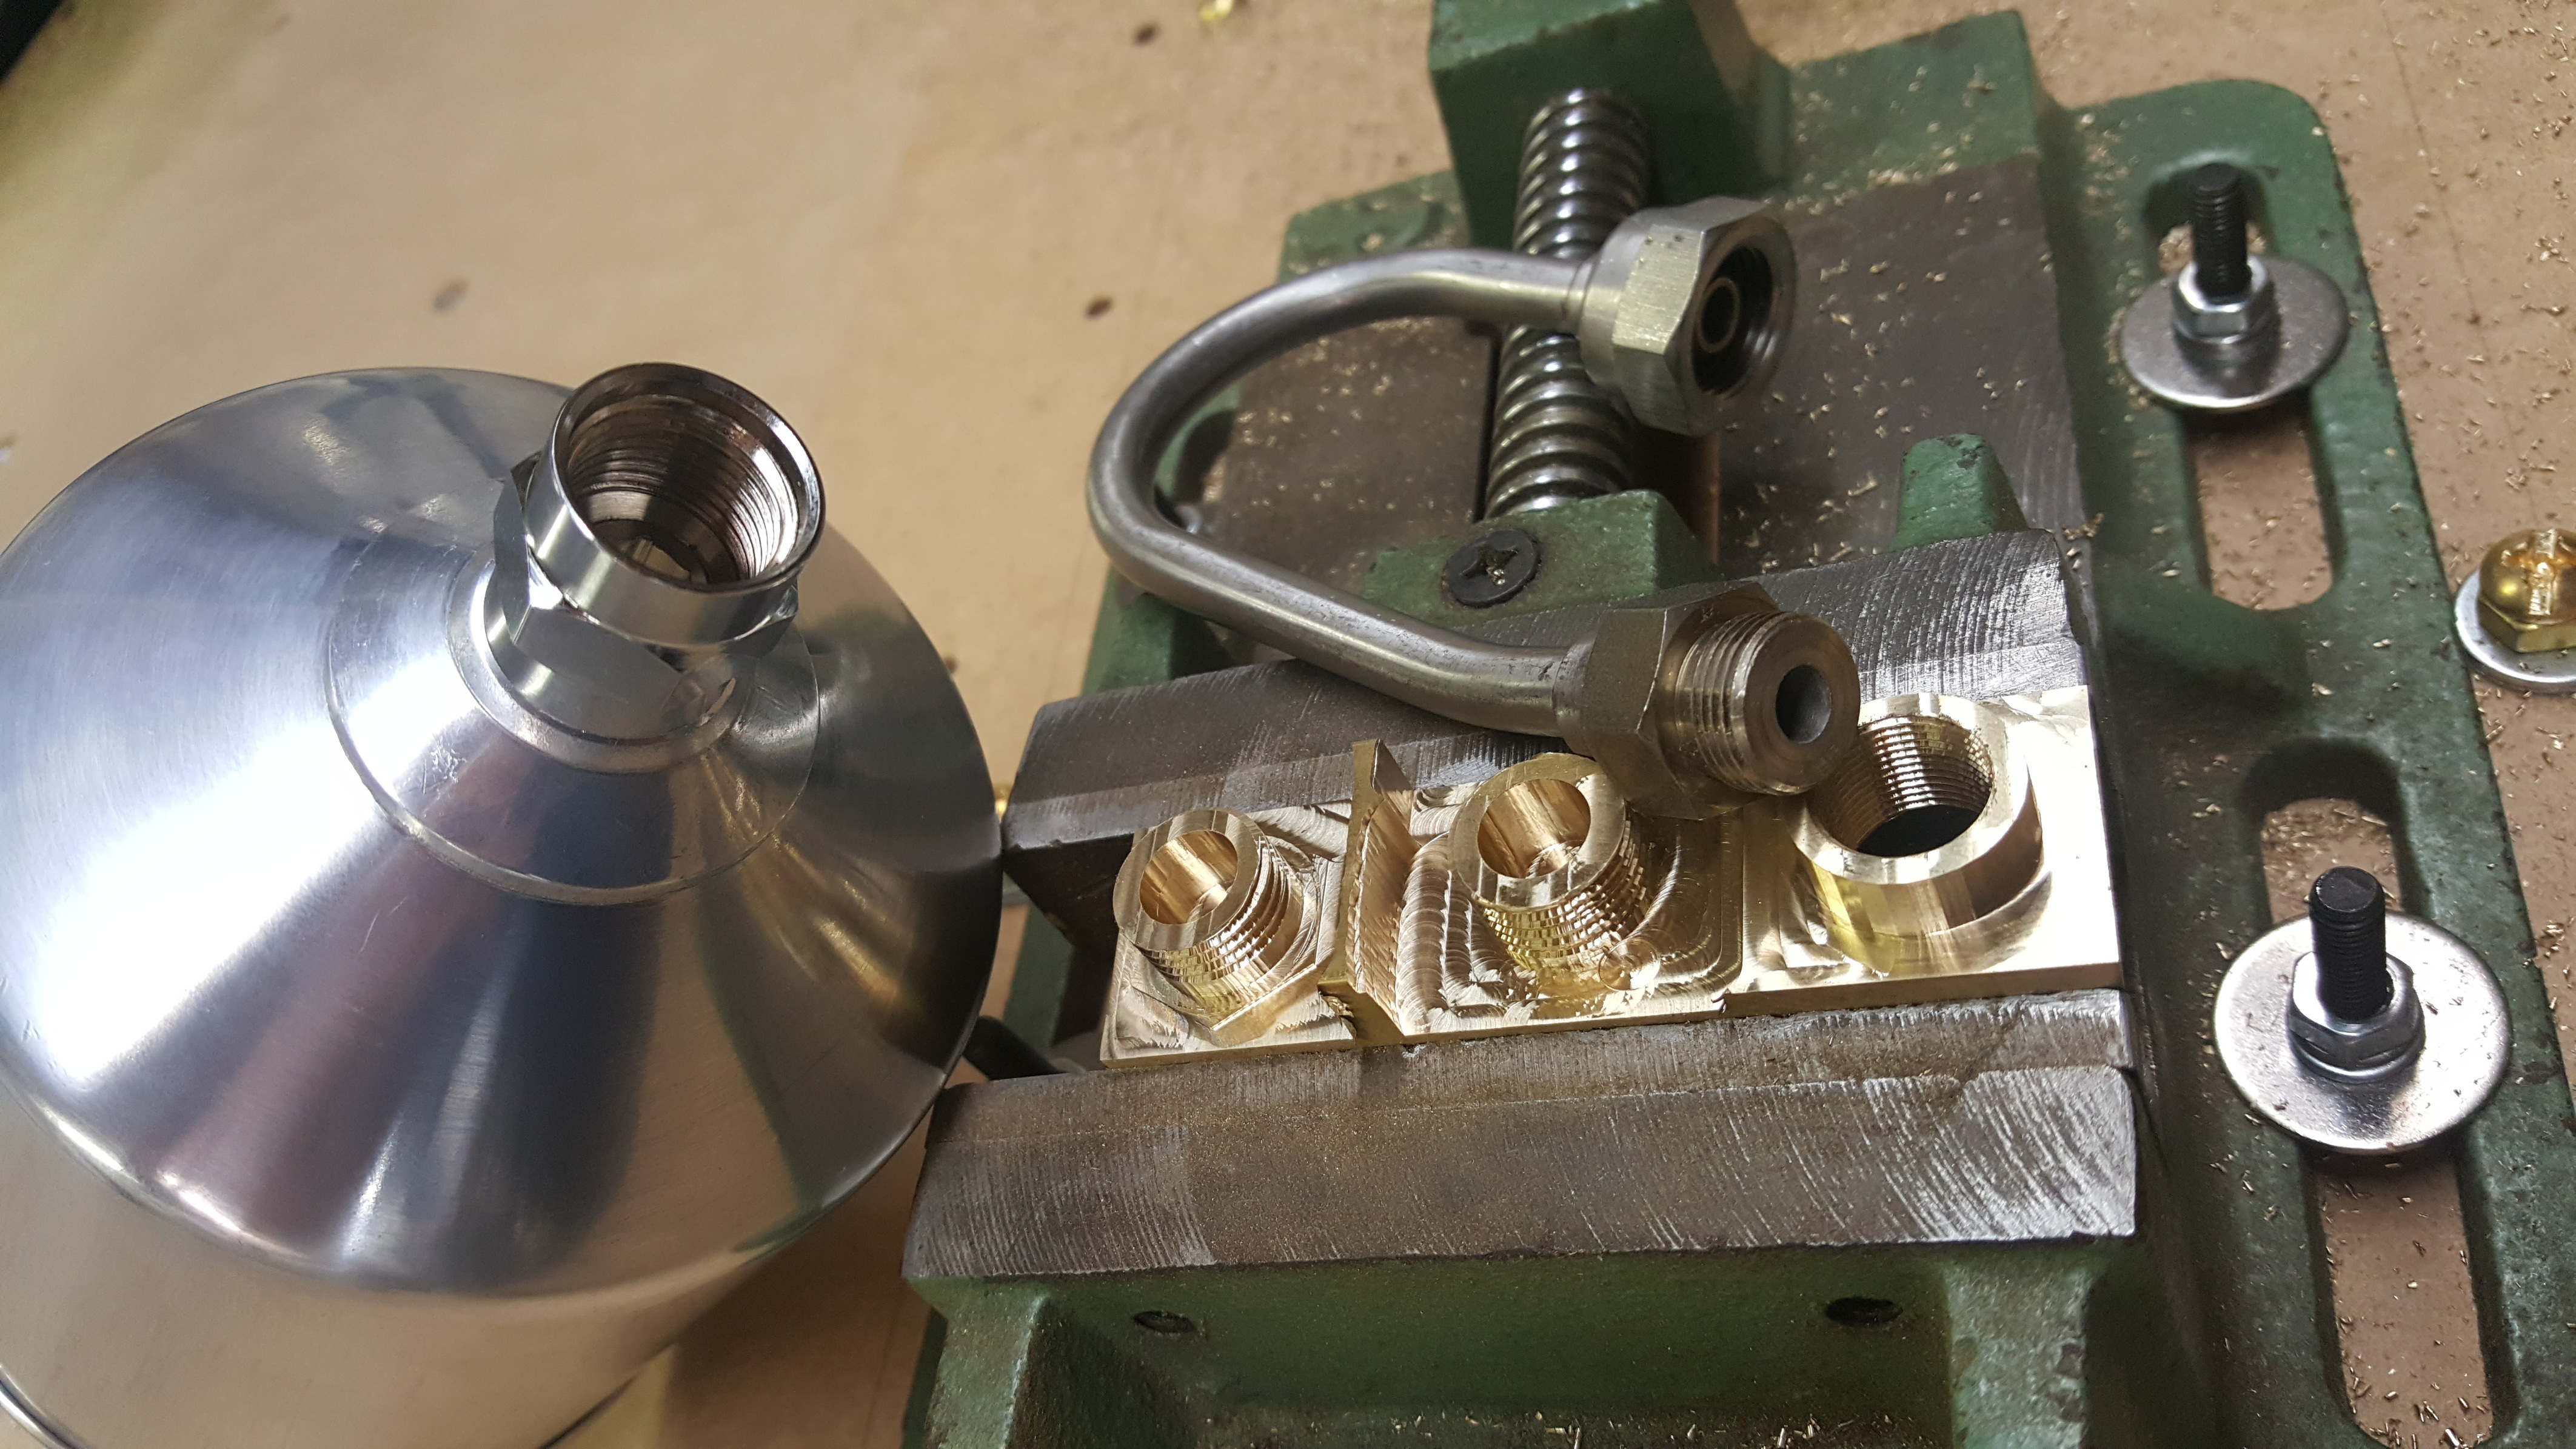
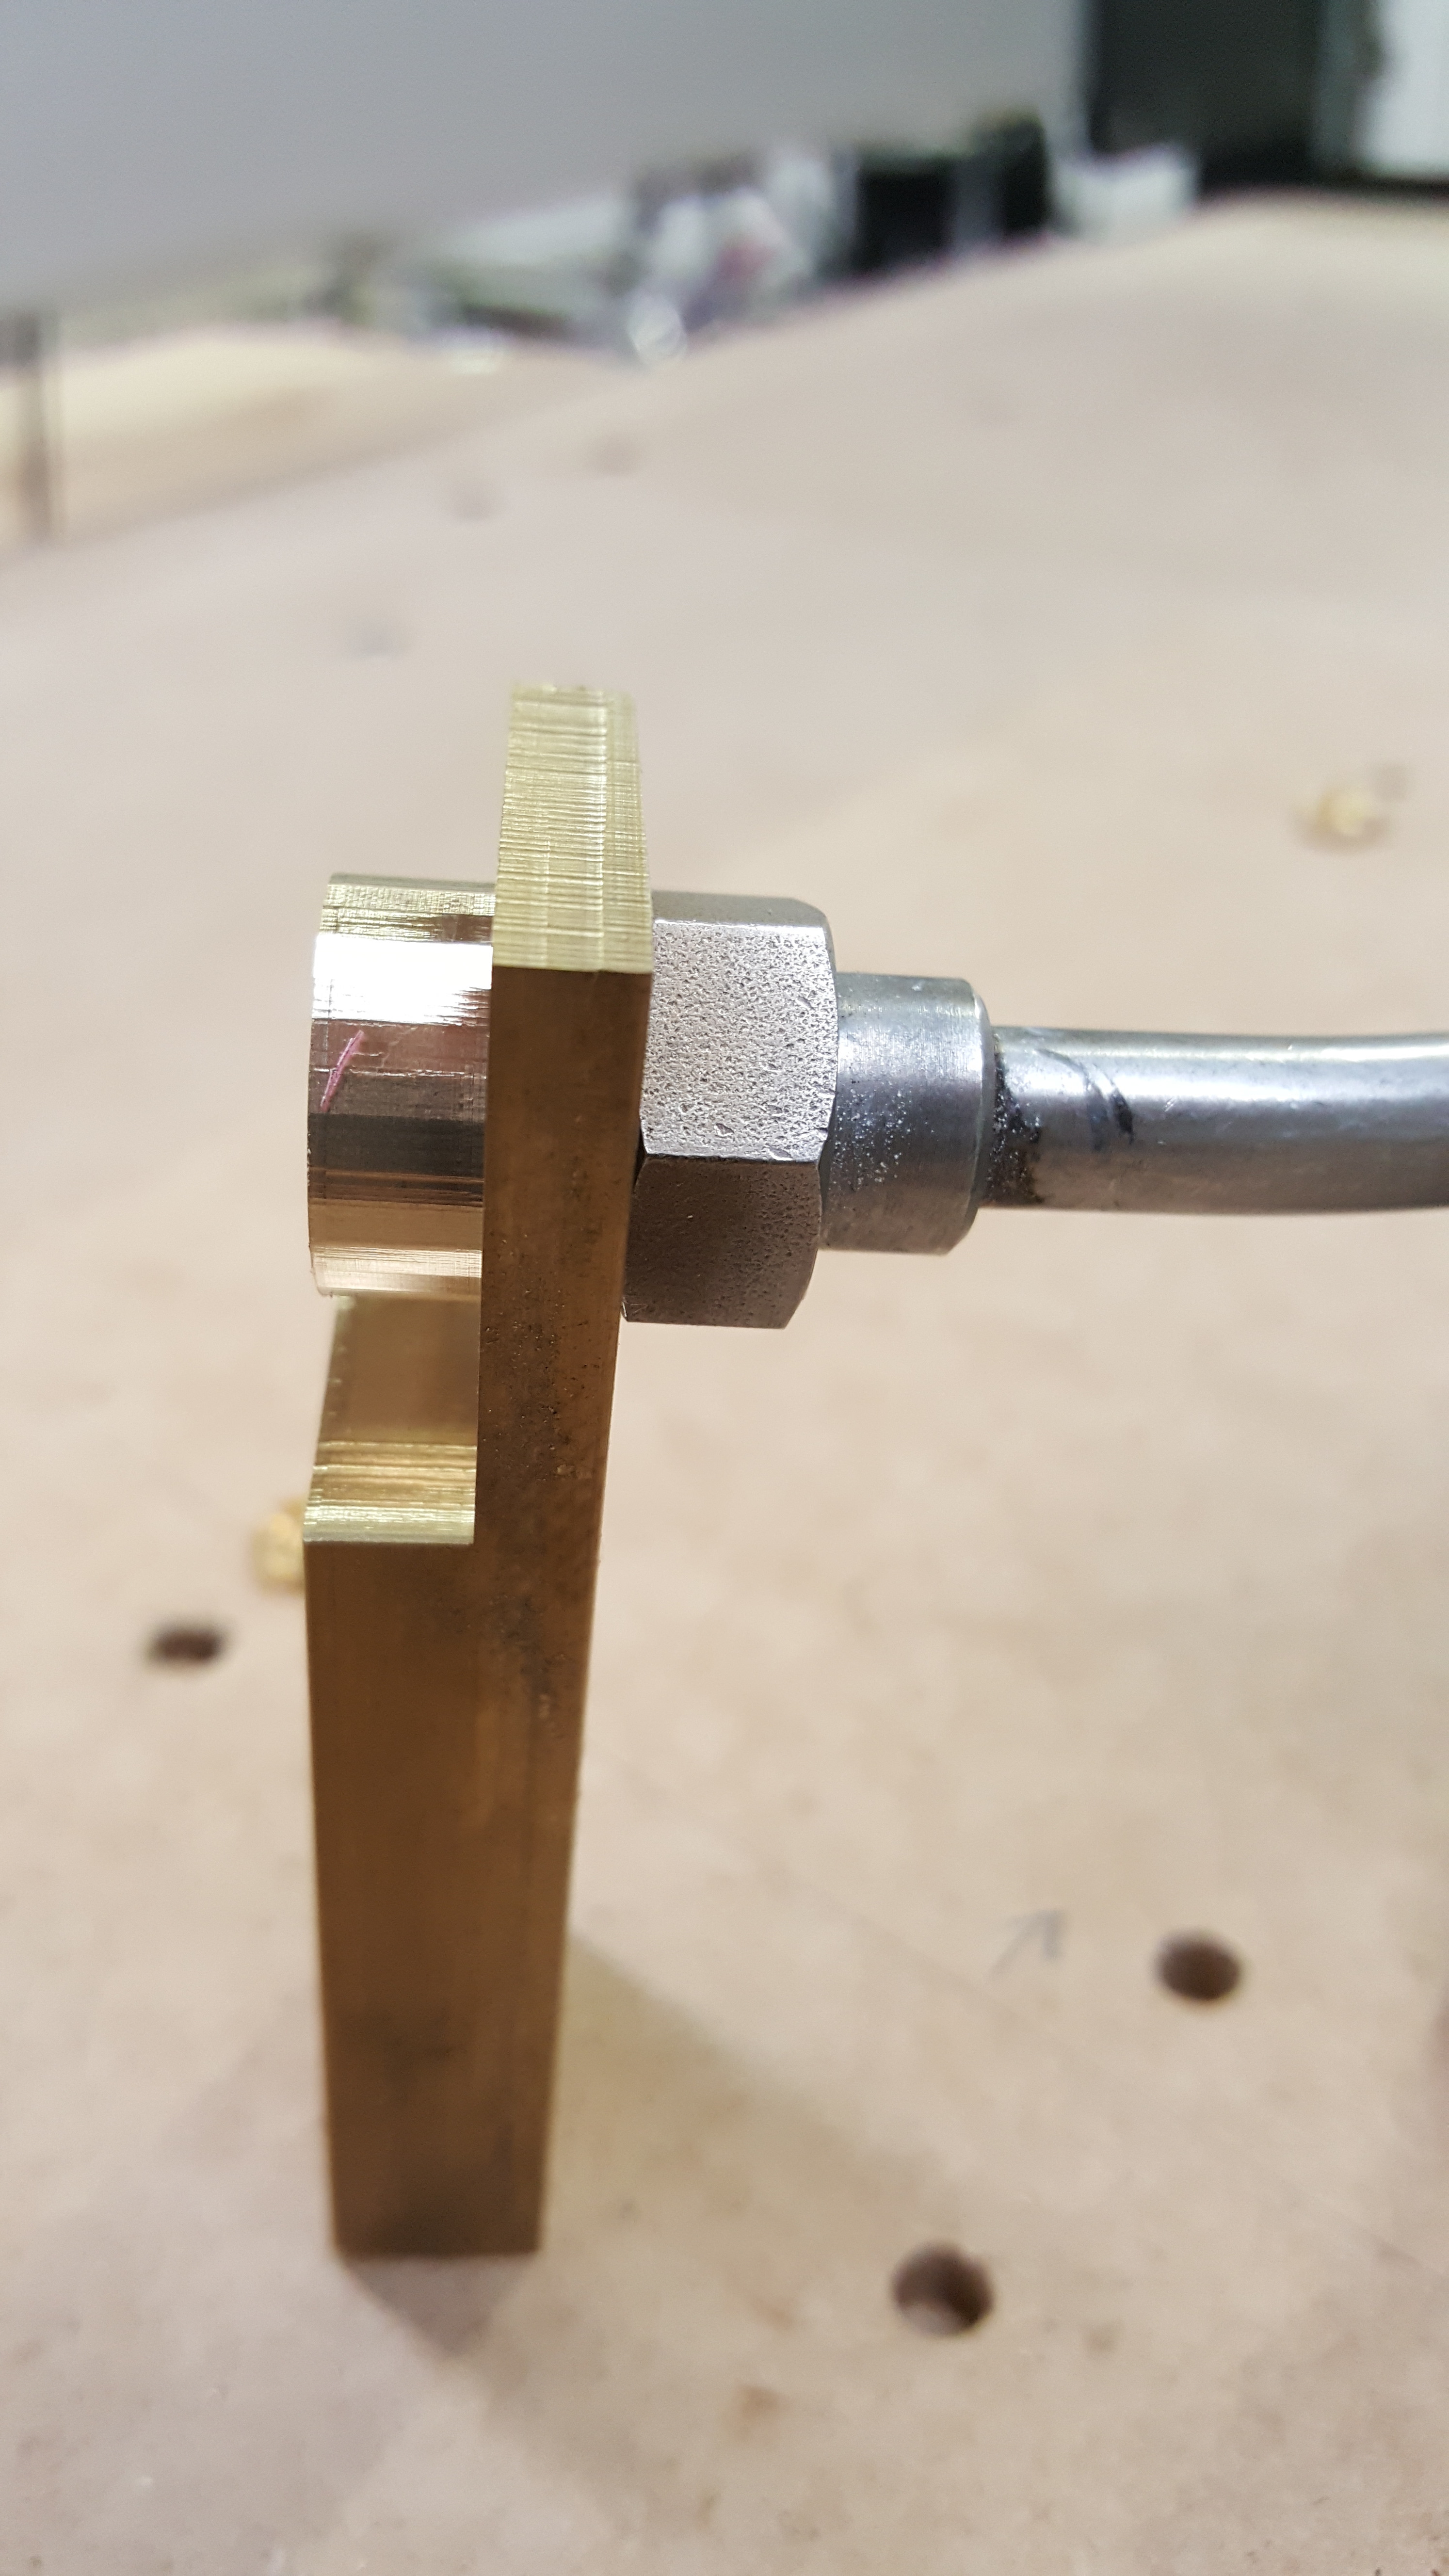

8 Likes
Great work!!! I love seeing what other people are doing with their nomad and shapeoko machines 
someday I hope to have my own!
2 Likes
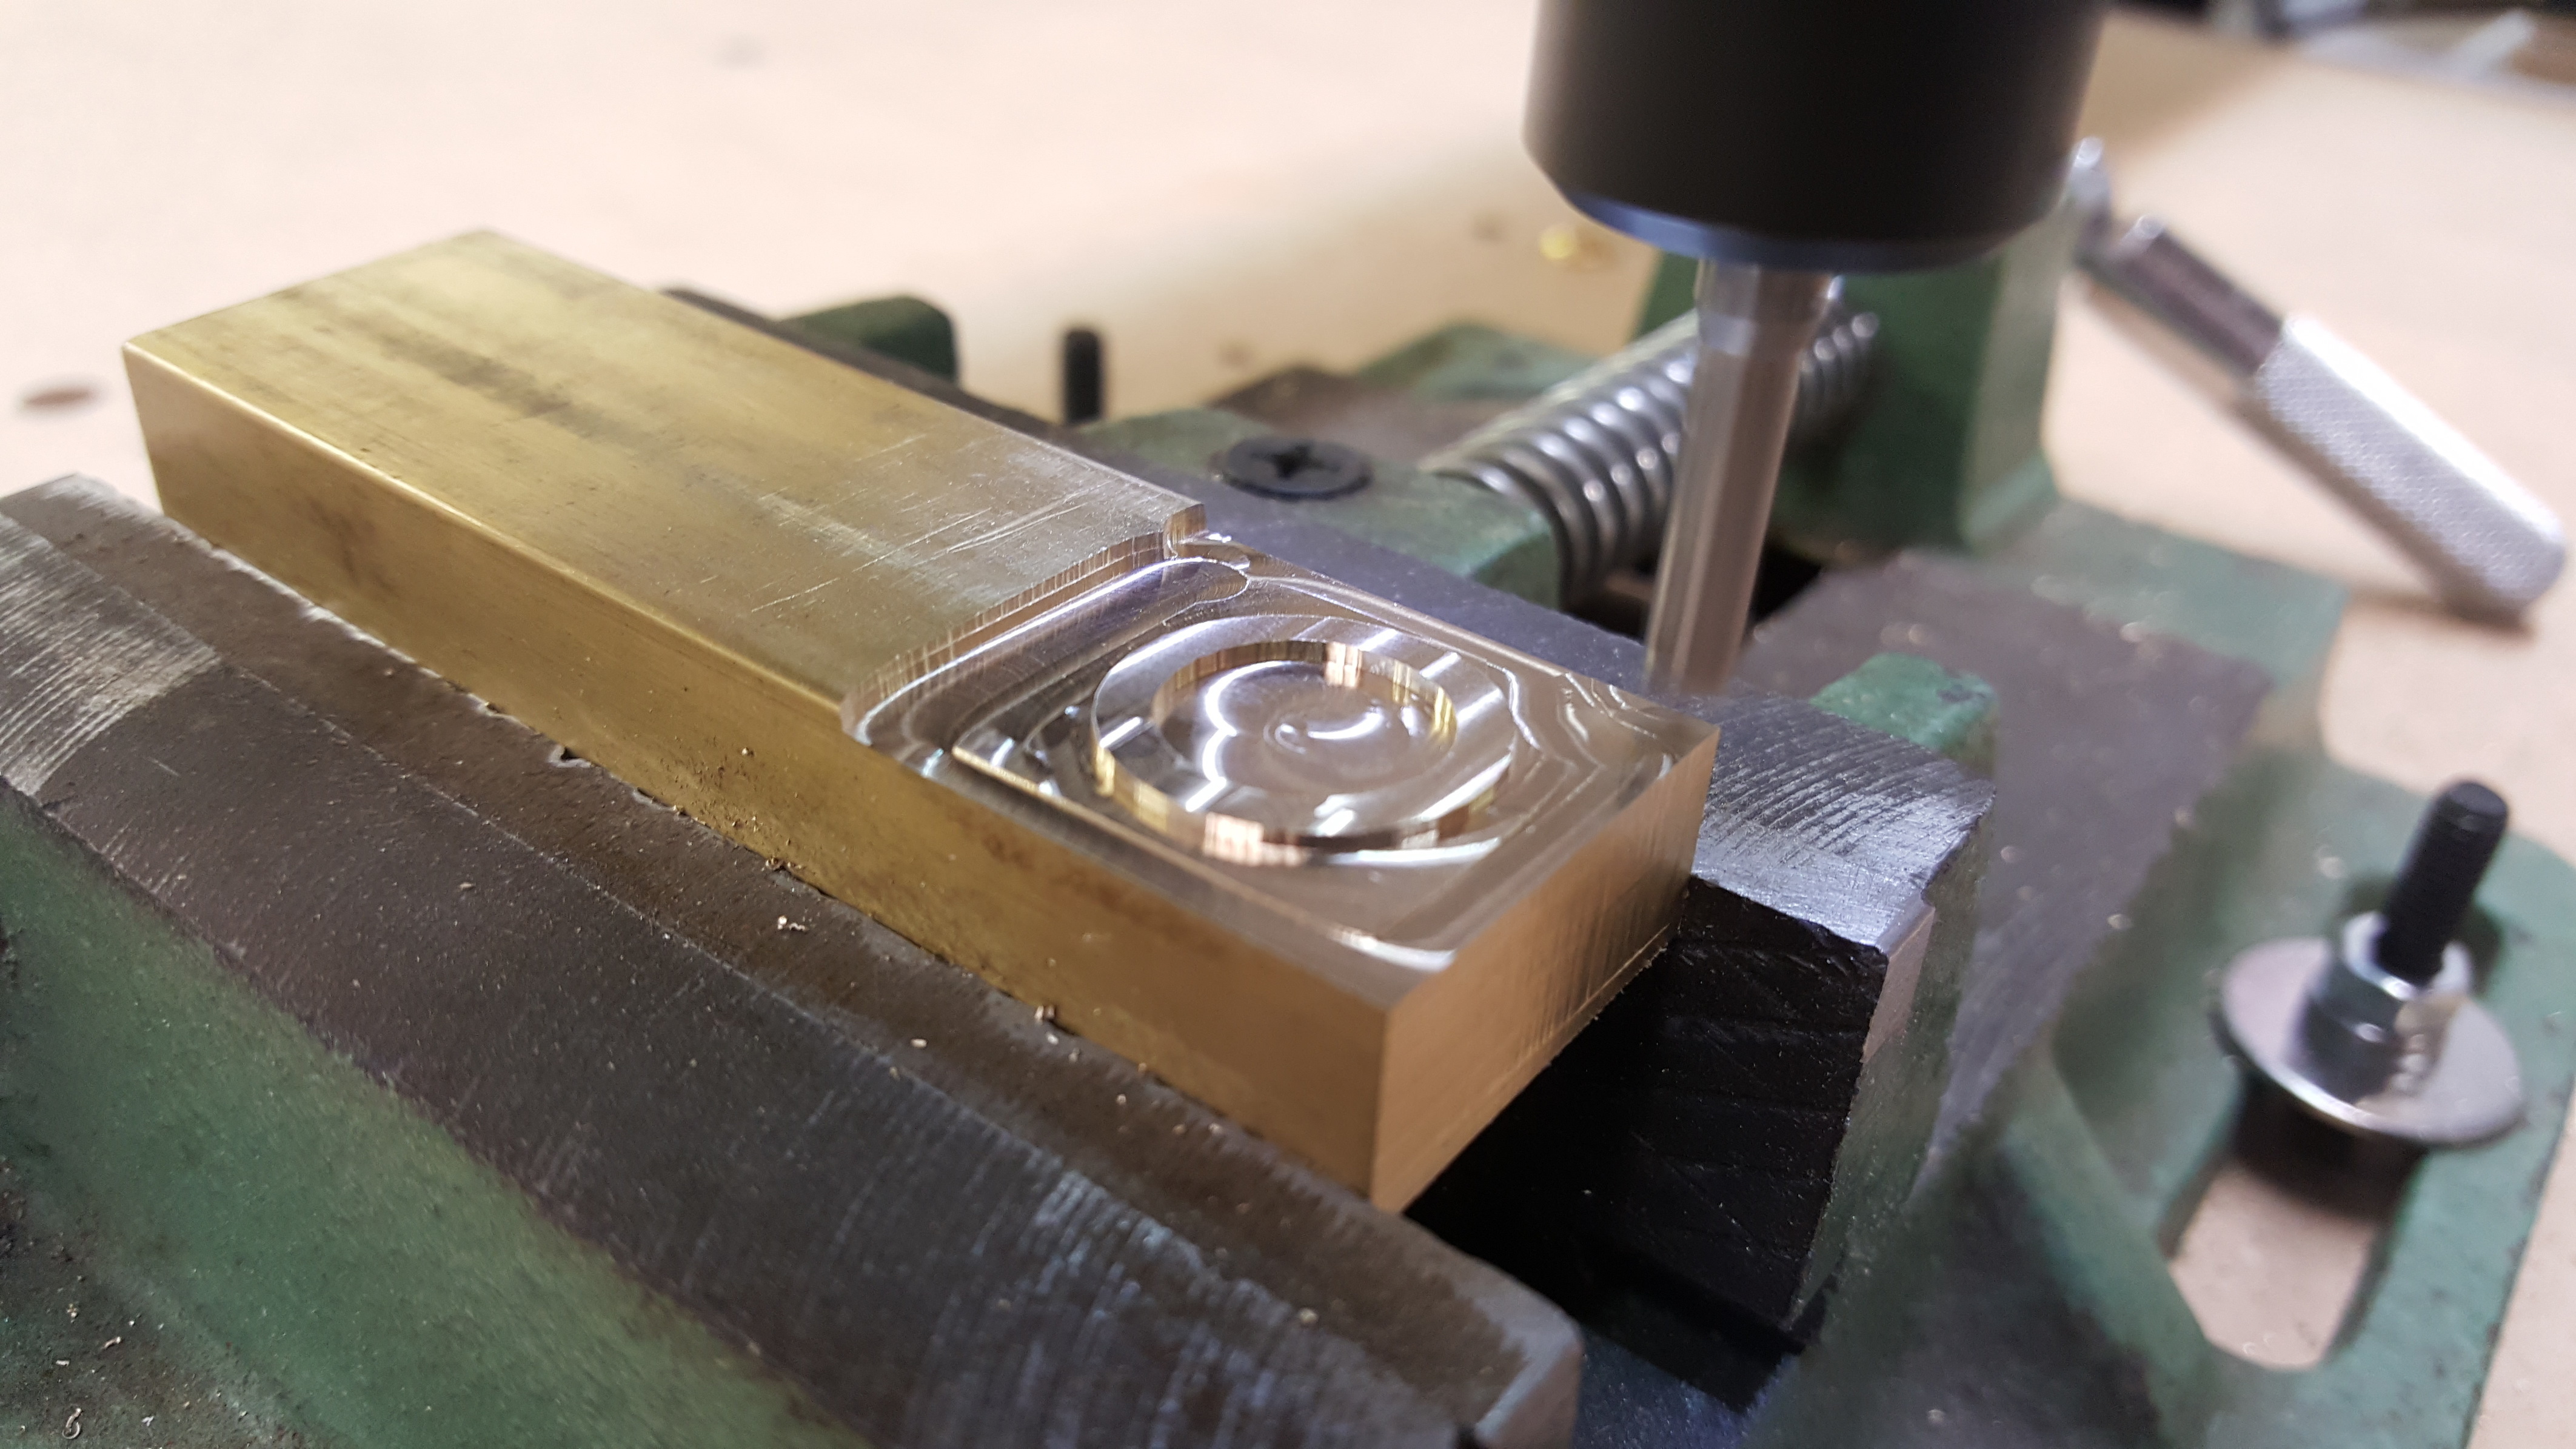
What CAD/CAM stack are you using? Is the visible faceting intentional?
1 Like
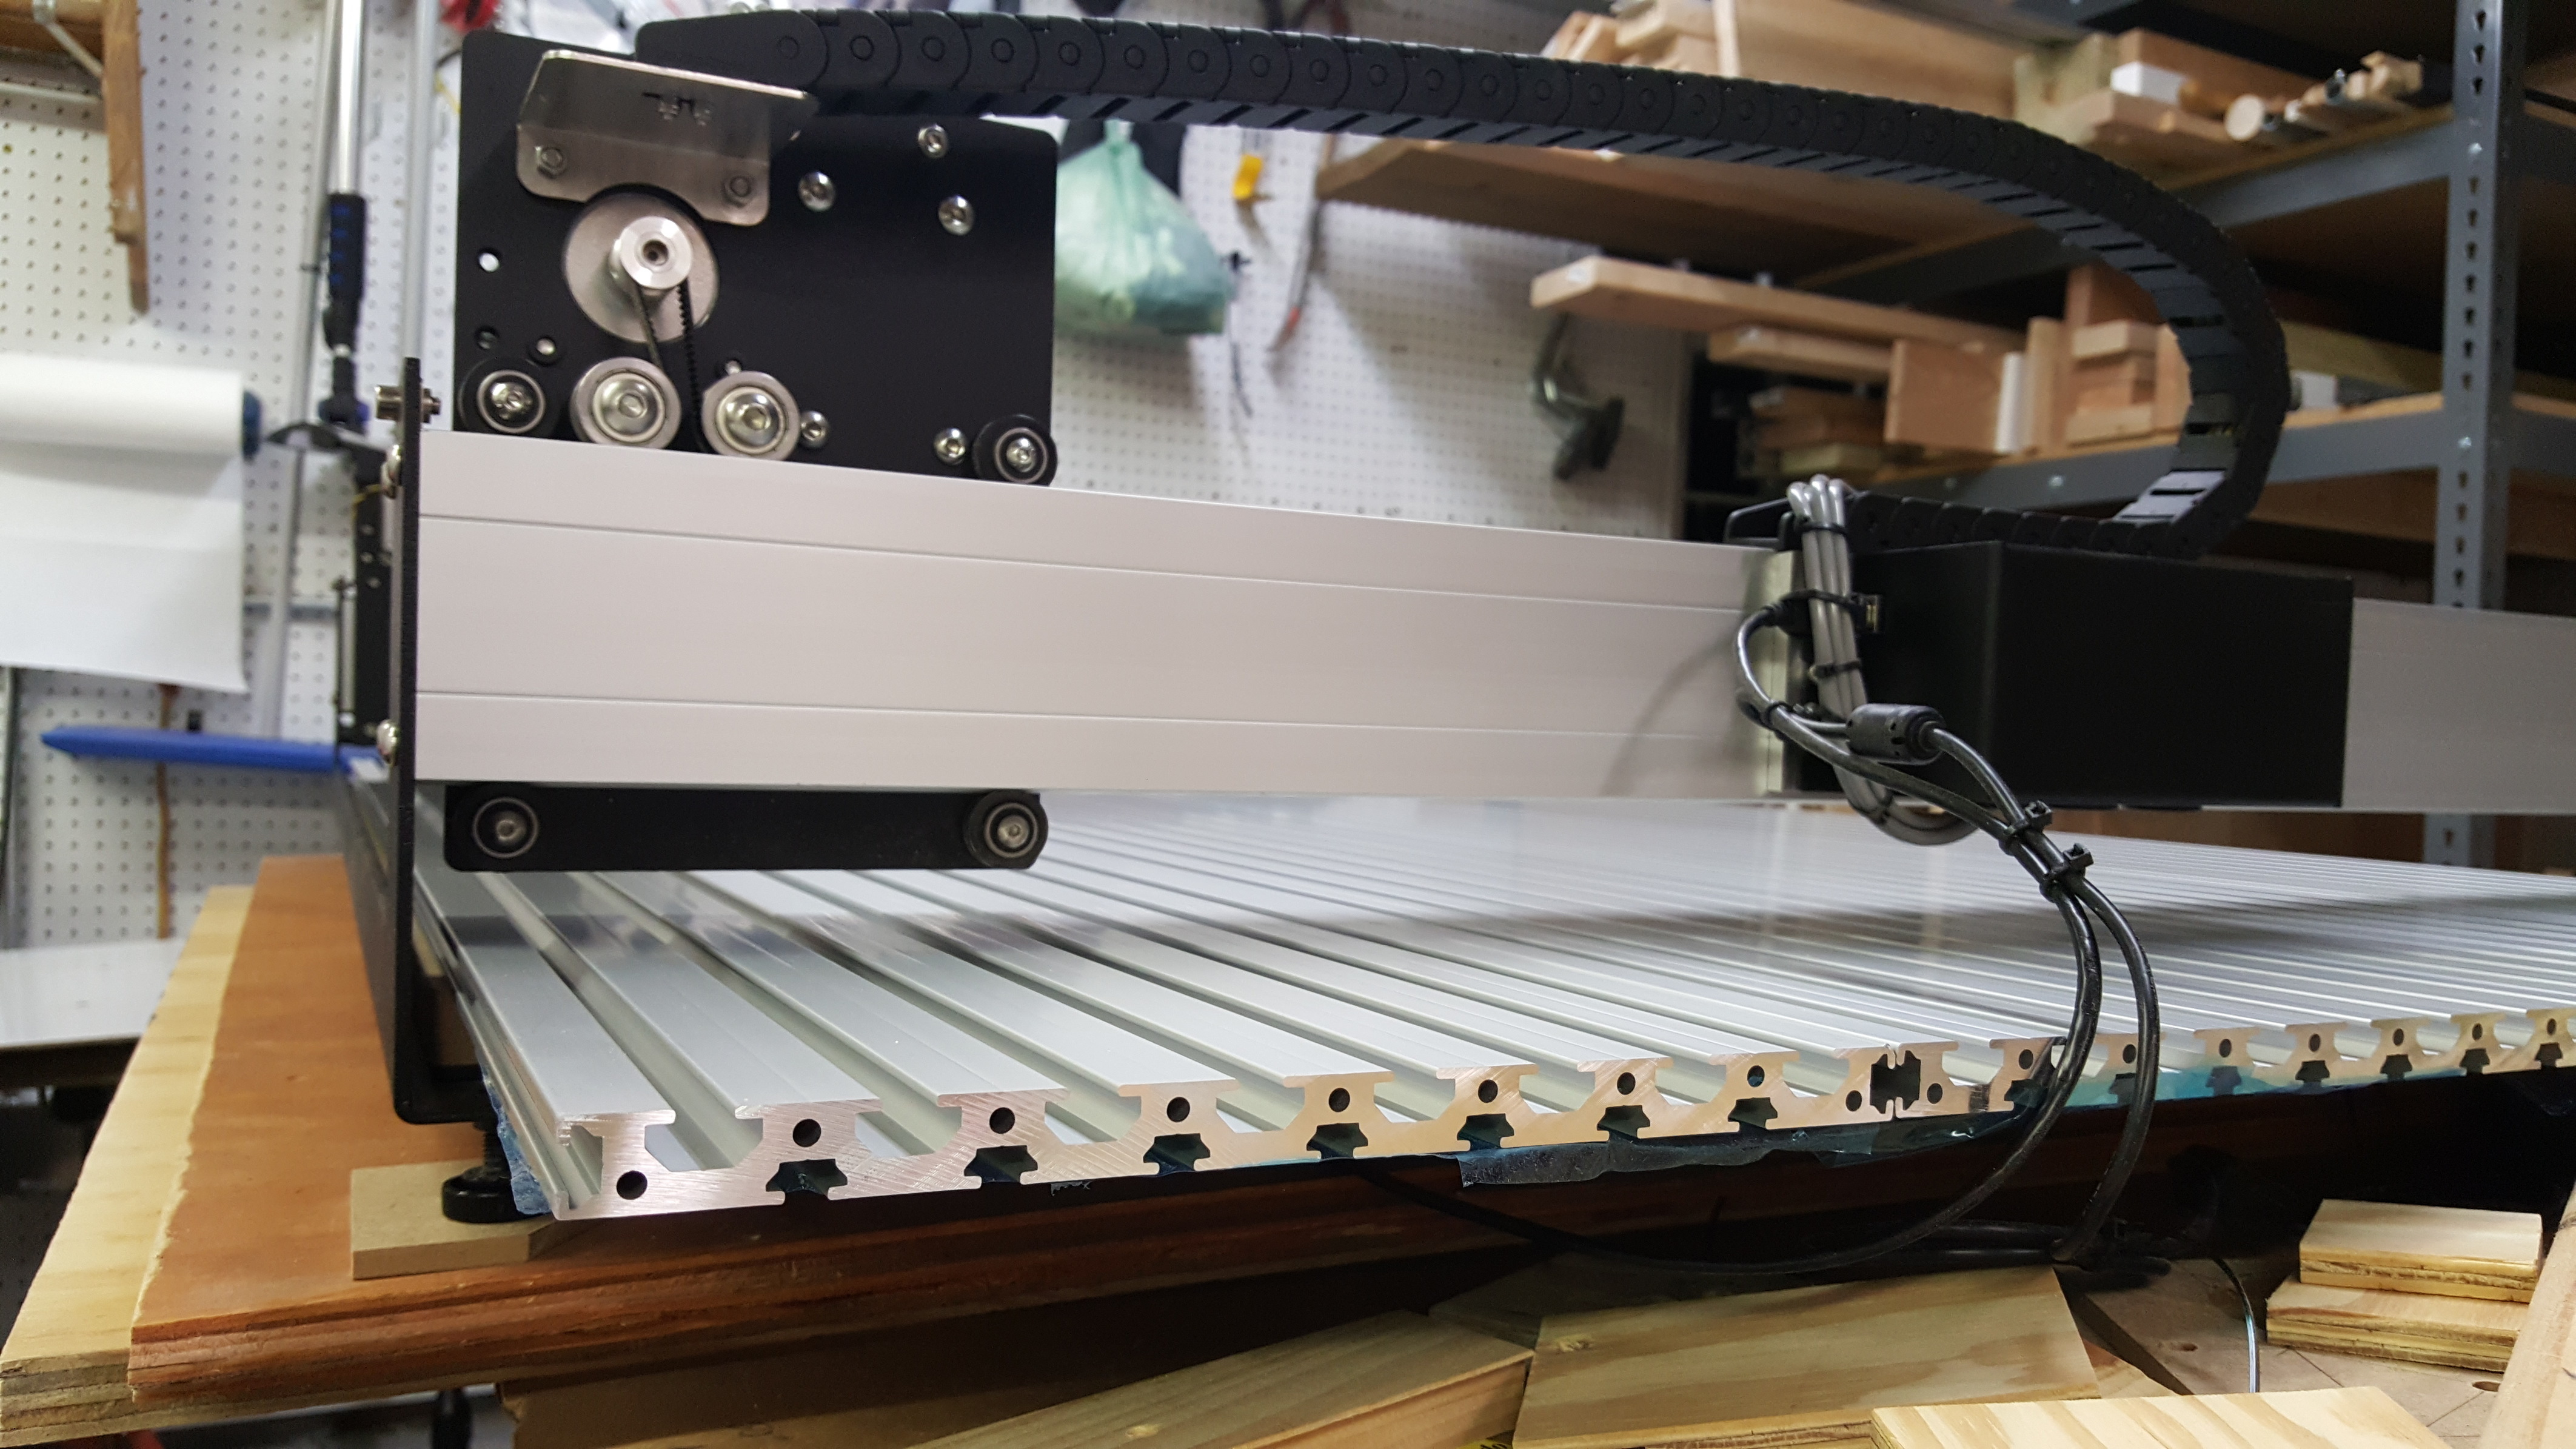
What are you using for the aluminum bed? Source?
Not sure of which aluminum extrusion it is, but there’s been some discussion of and links at: https://www.shapeoko.com/wiki/index.php/Parts#Structure
http://us.misumi-ec.com/vona2/result/?Keyword=HFSQN4-15250-500
was popular in the SO2 days, since it fit well and was affordable for that size.
My concern here is having to load workholding gear from the side (which was why I sacrificed some Z-height w/ a spacer board which I mounted my T-track to)
@meximelt — how is loading that sort of thing working out? I’m guessing you didn’t want to sacrifice Z-height so that you could use things such as the side vise?
I’ll reiterate what other have asked, can you cite what extrusion source are you using? Following your updates with interest having just finished my first leveled/T-Nut’d XXL wasteboard.
My only observation with your stock extrusions are they’d need to be sized such that T-bolts wouldn’t have to slide out via passing under the XXL Y-rail extrusions.
I’d just load nuts from the side, and use machine screws through my fixtures and into the nuts. Clearly the machine screws can’t be too long but that can all be taken care of during planning your fixture setup.
1 Like
OK, it was Fusion 360 and all I can think of is the accuracy setting was down there because it didn’t happen again. What does happen all the time to me is 360 going out of control and just taking some random full depth cuts and destroying the bits no matter how nicely it was machining in the 1st portion of the programs I created. Back to CC and Meshcam for a while!
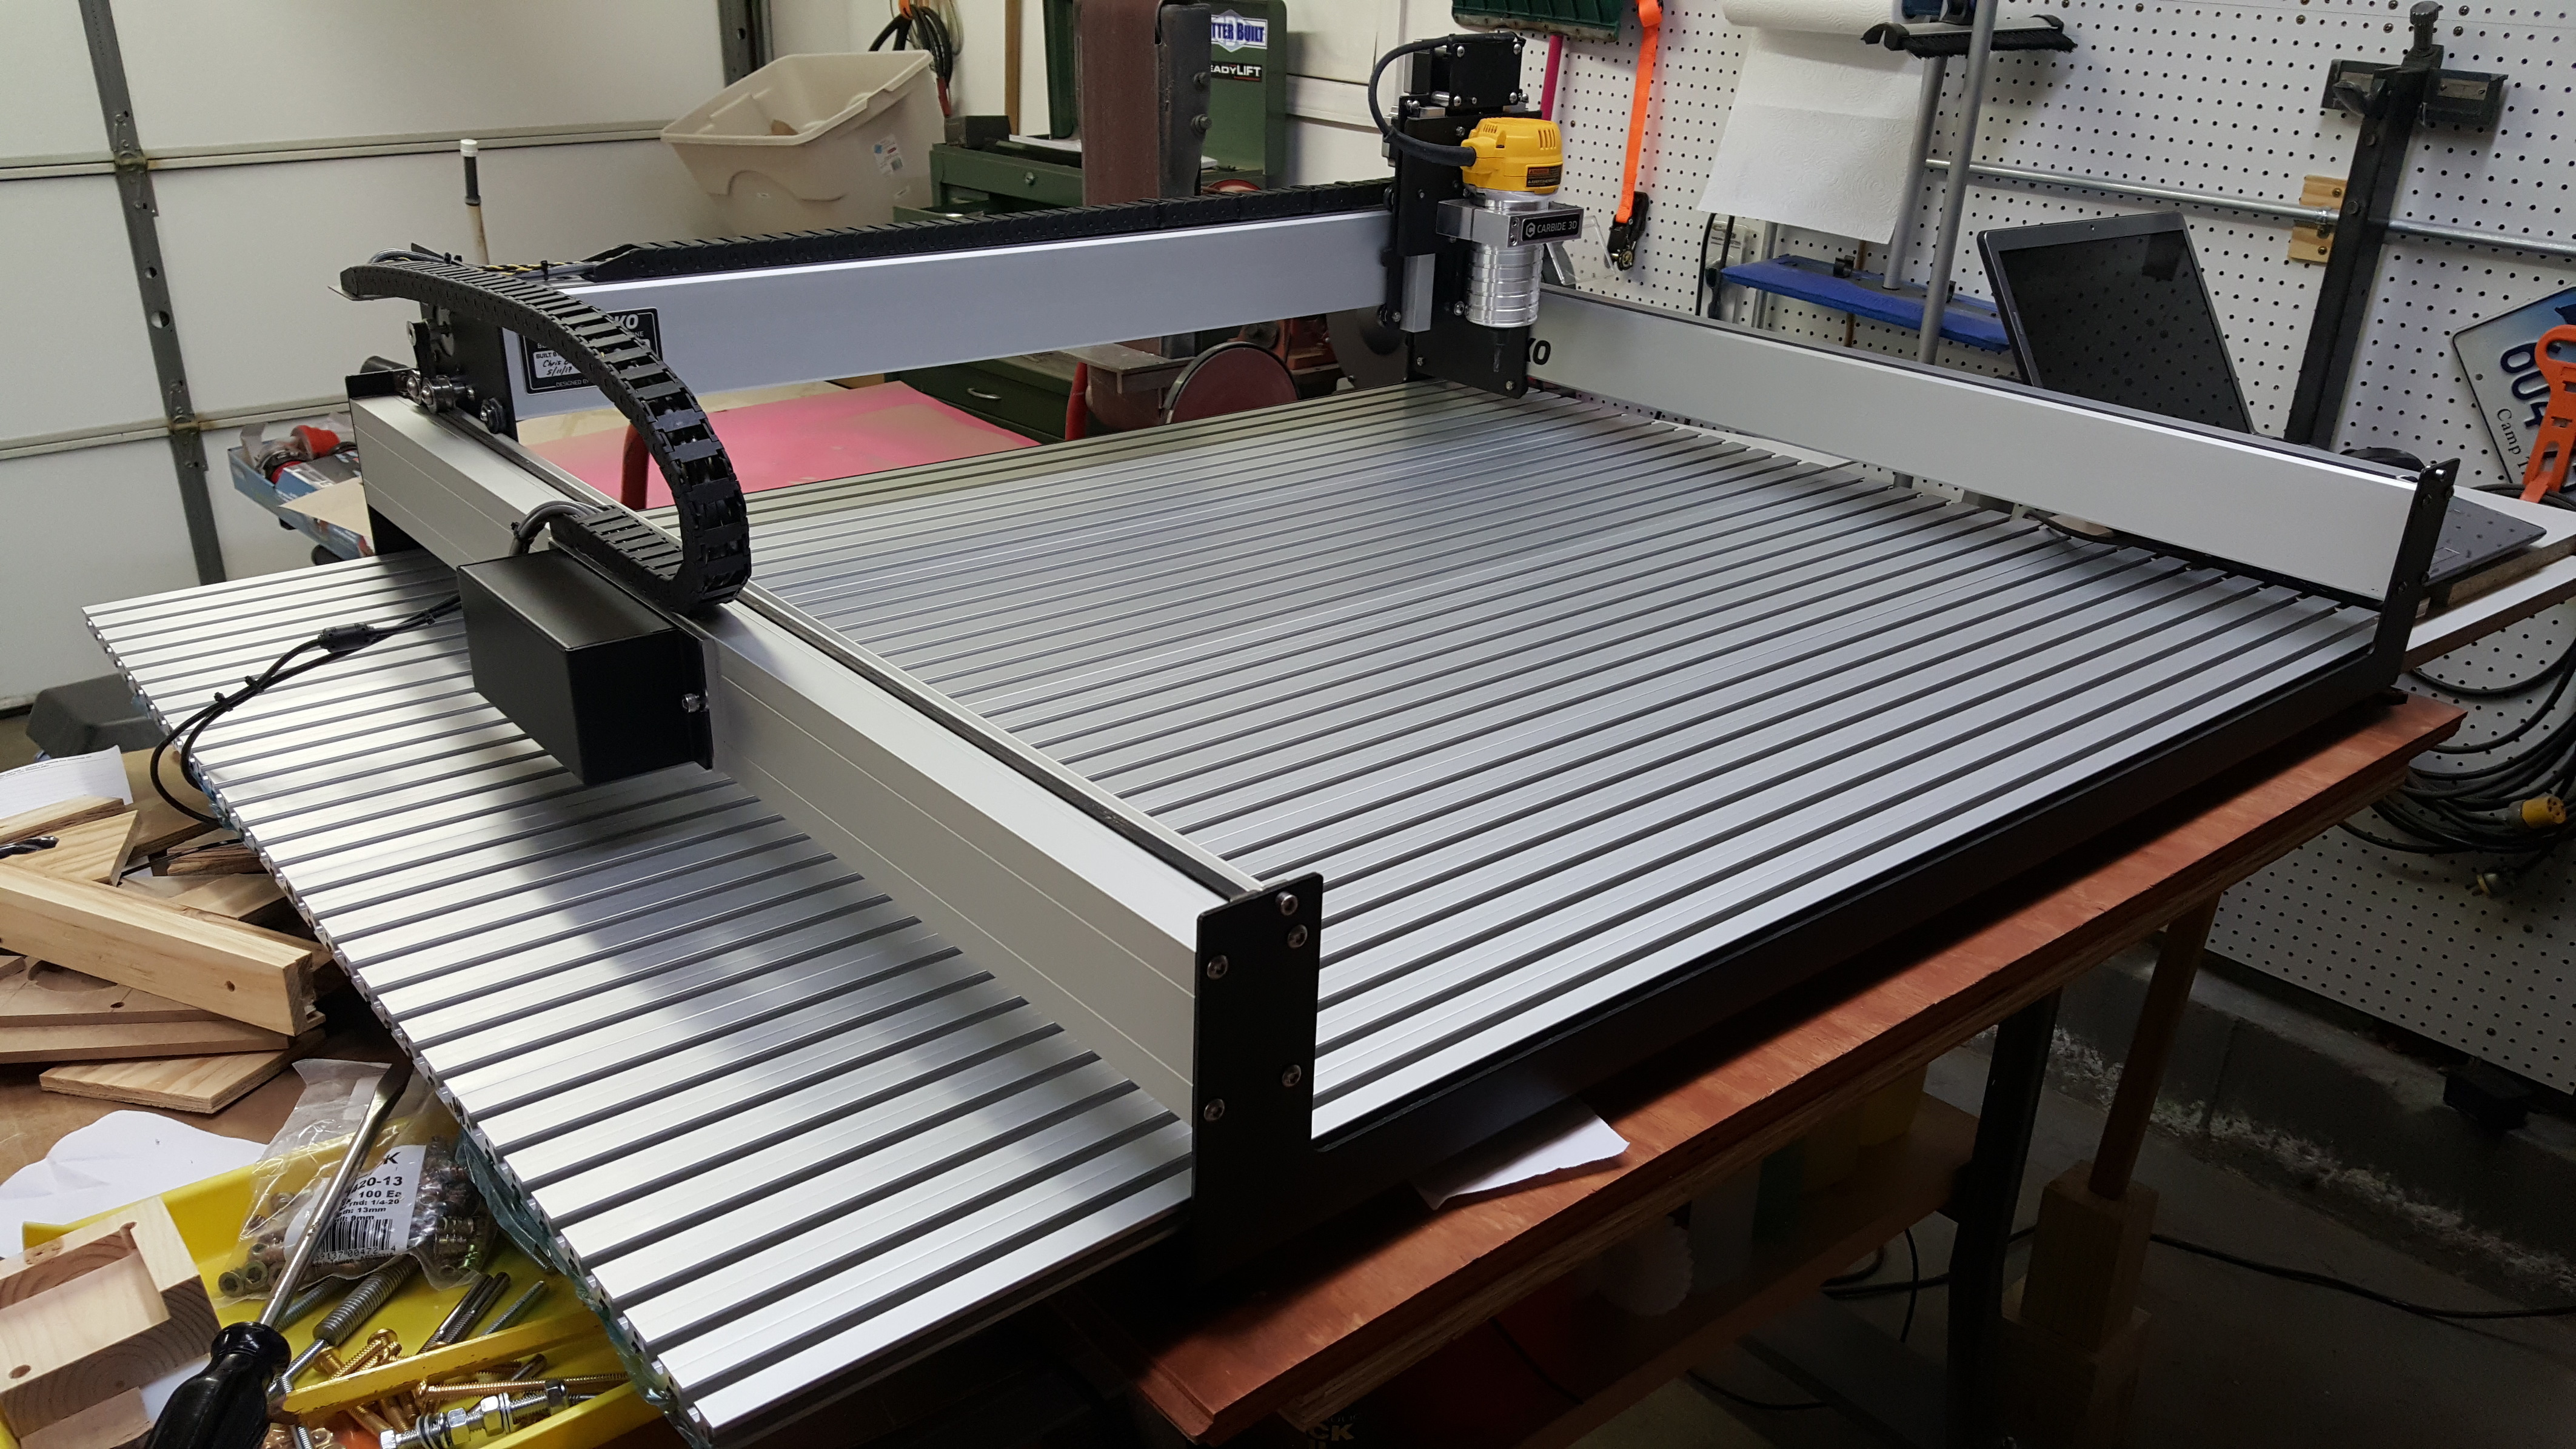
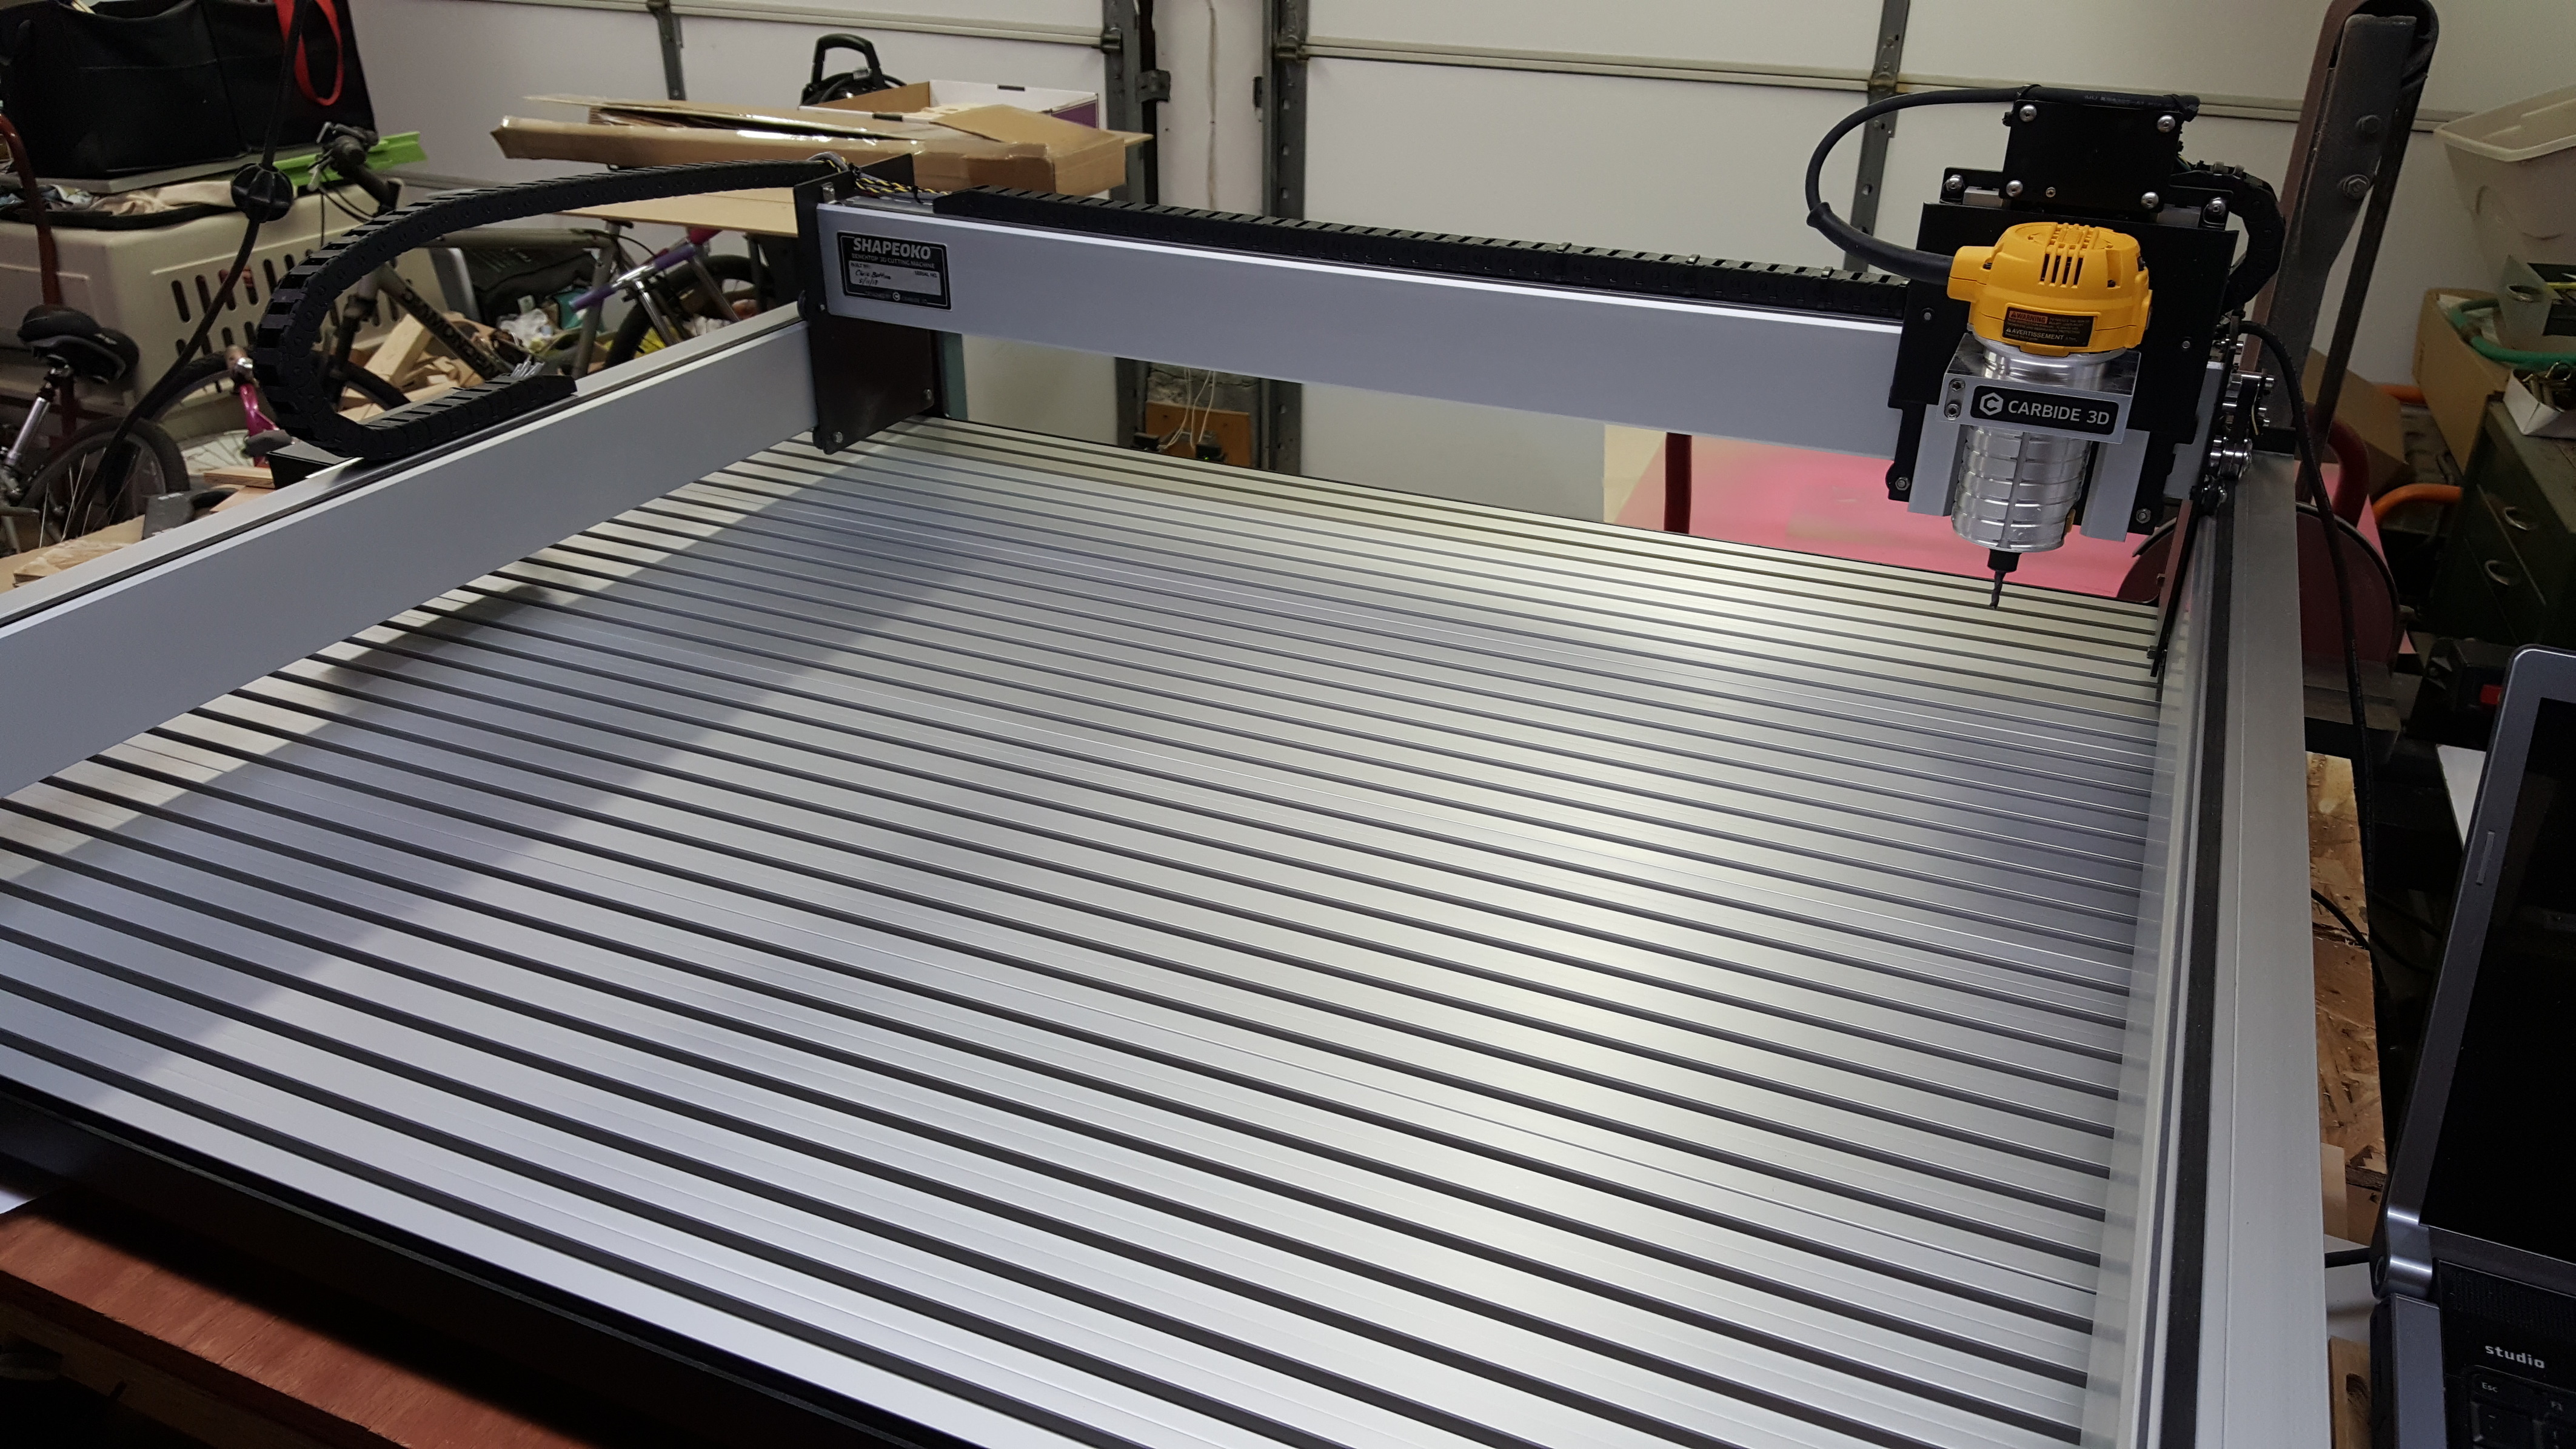
Misumi.com I purchased 4 of these Aluminum Frames: HFSQN4-15250-1367
They look awesome, are relatively thin, but unbelievably not rigid due to the material and geometry. I have mounted directly to a bench with shims all around by running the head to random positions. I also have all secured to the wall so Nothing will move during cutting, except for the XXL’s parts.
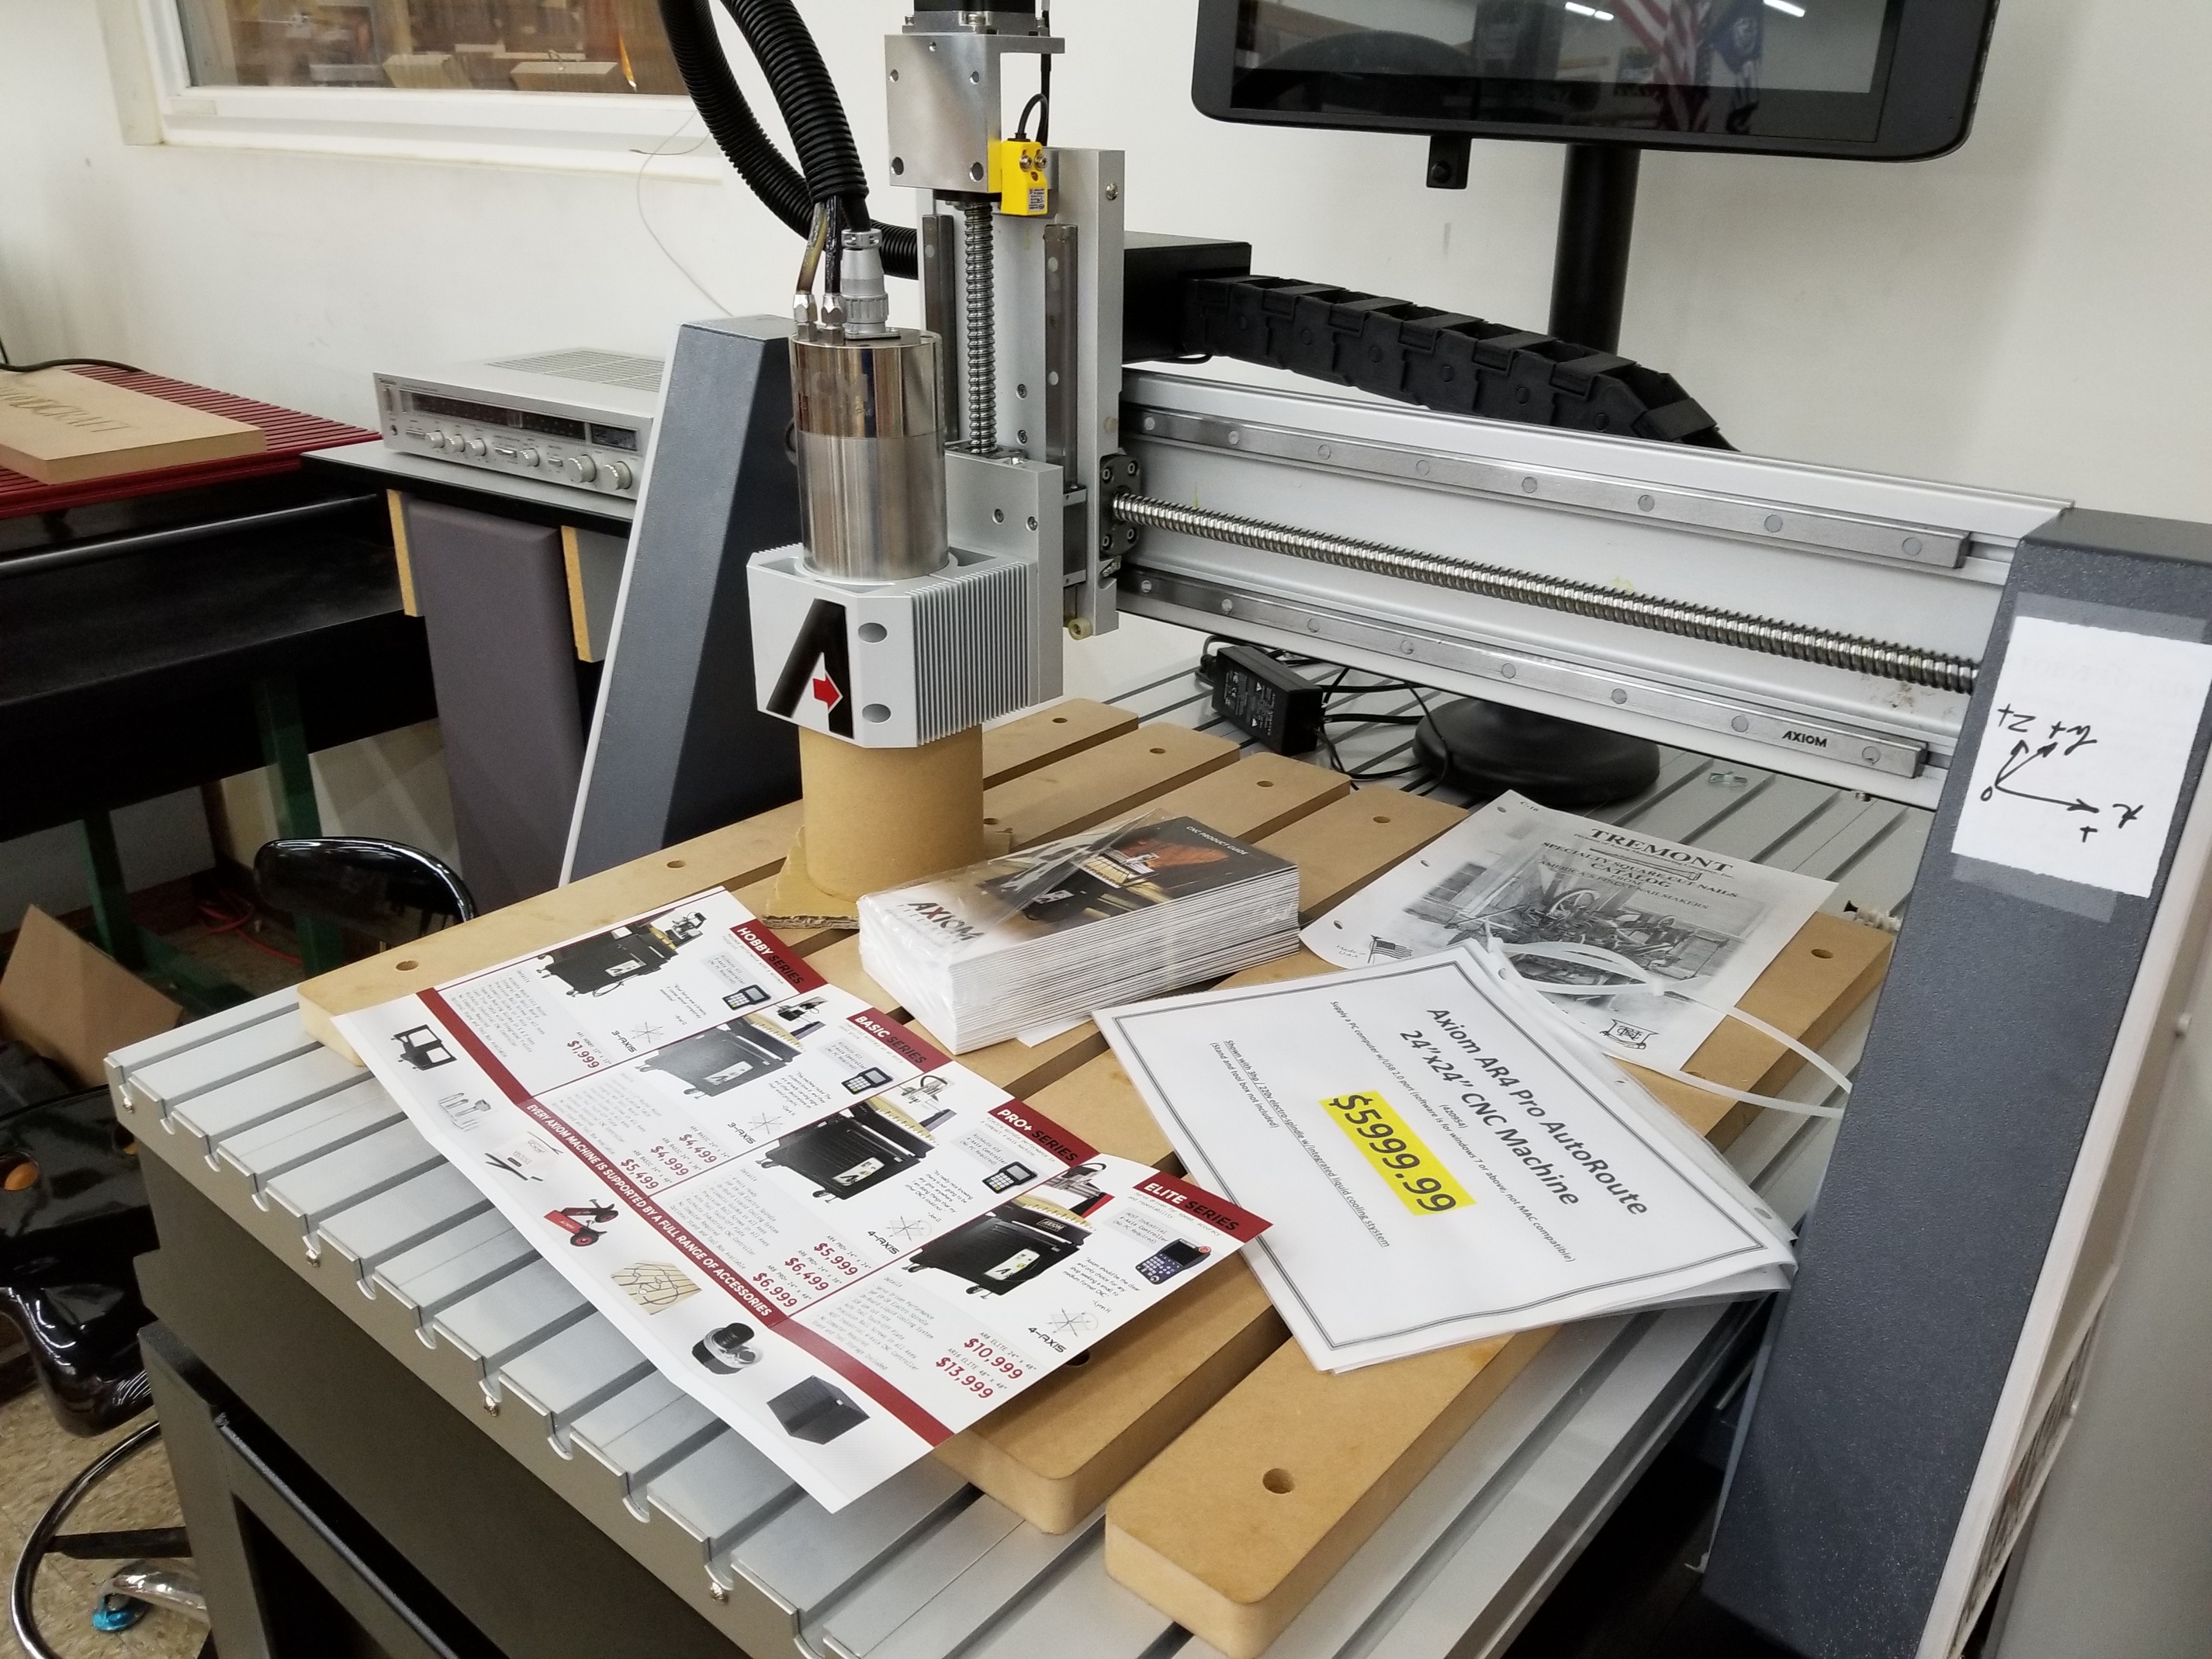
I am looking into putting on some sacrificial pcs like on this machine I just saw. A little jealous of it’s rigidity when I touched it at the Woodcraft Store!!! I couldn’t jiggle ANY of the AXIS… love the lead screw setups too.
All in all I’d rather spend time using my XXL than upgrading it… too much 
Hi - sorry for the delayed response. A little but into it now, I can answer better as well. Typically, loading it is great! I mainly am using just plain M6 Stainless rounded hex head screws, sometimes recessing into the work-piece in certain spots.

Every time I use a clamp, I nail it with the cutter or my dust shoe!!!
 I actually am going to make my own “Clamp T-Bolts” in a sense by just using lengths of brass M6 threaded rod I’ll trim, then a nut in the track and a small M6 knob I’ll spin on from top over the clamps as usual. Nothing special but wouldn’t have to find the exact length screw/washers, etc. to keep from bottoming out on the extrusions and making them look old. Cleaning motor oil and wd-40 and aluminum chips are not fun either. I bought a cheap, cheap cooling mister and some dilutable solution for misting while spraying piece with air.
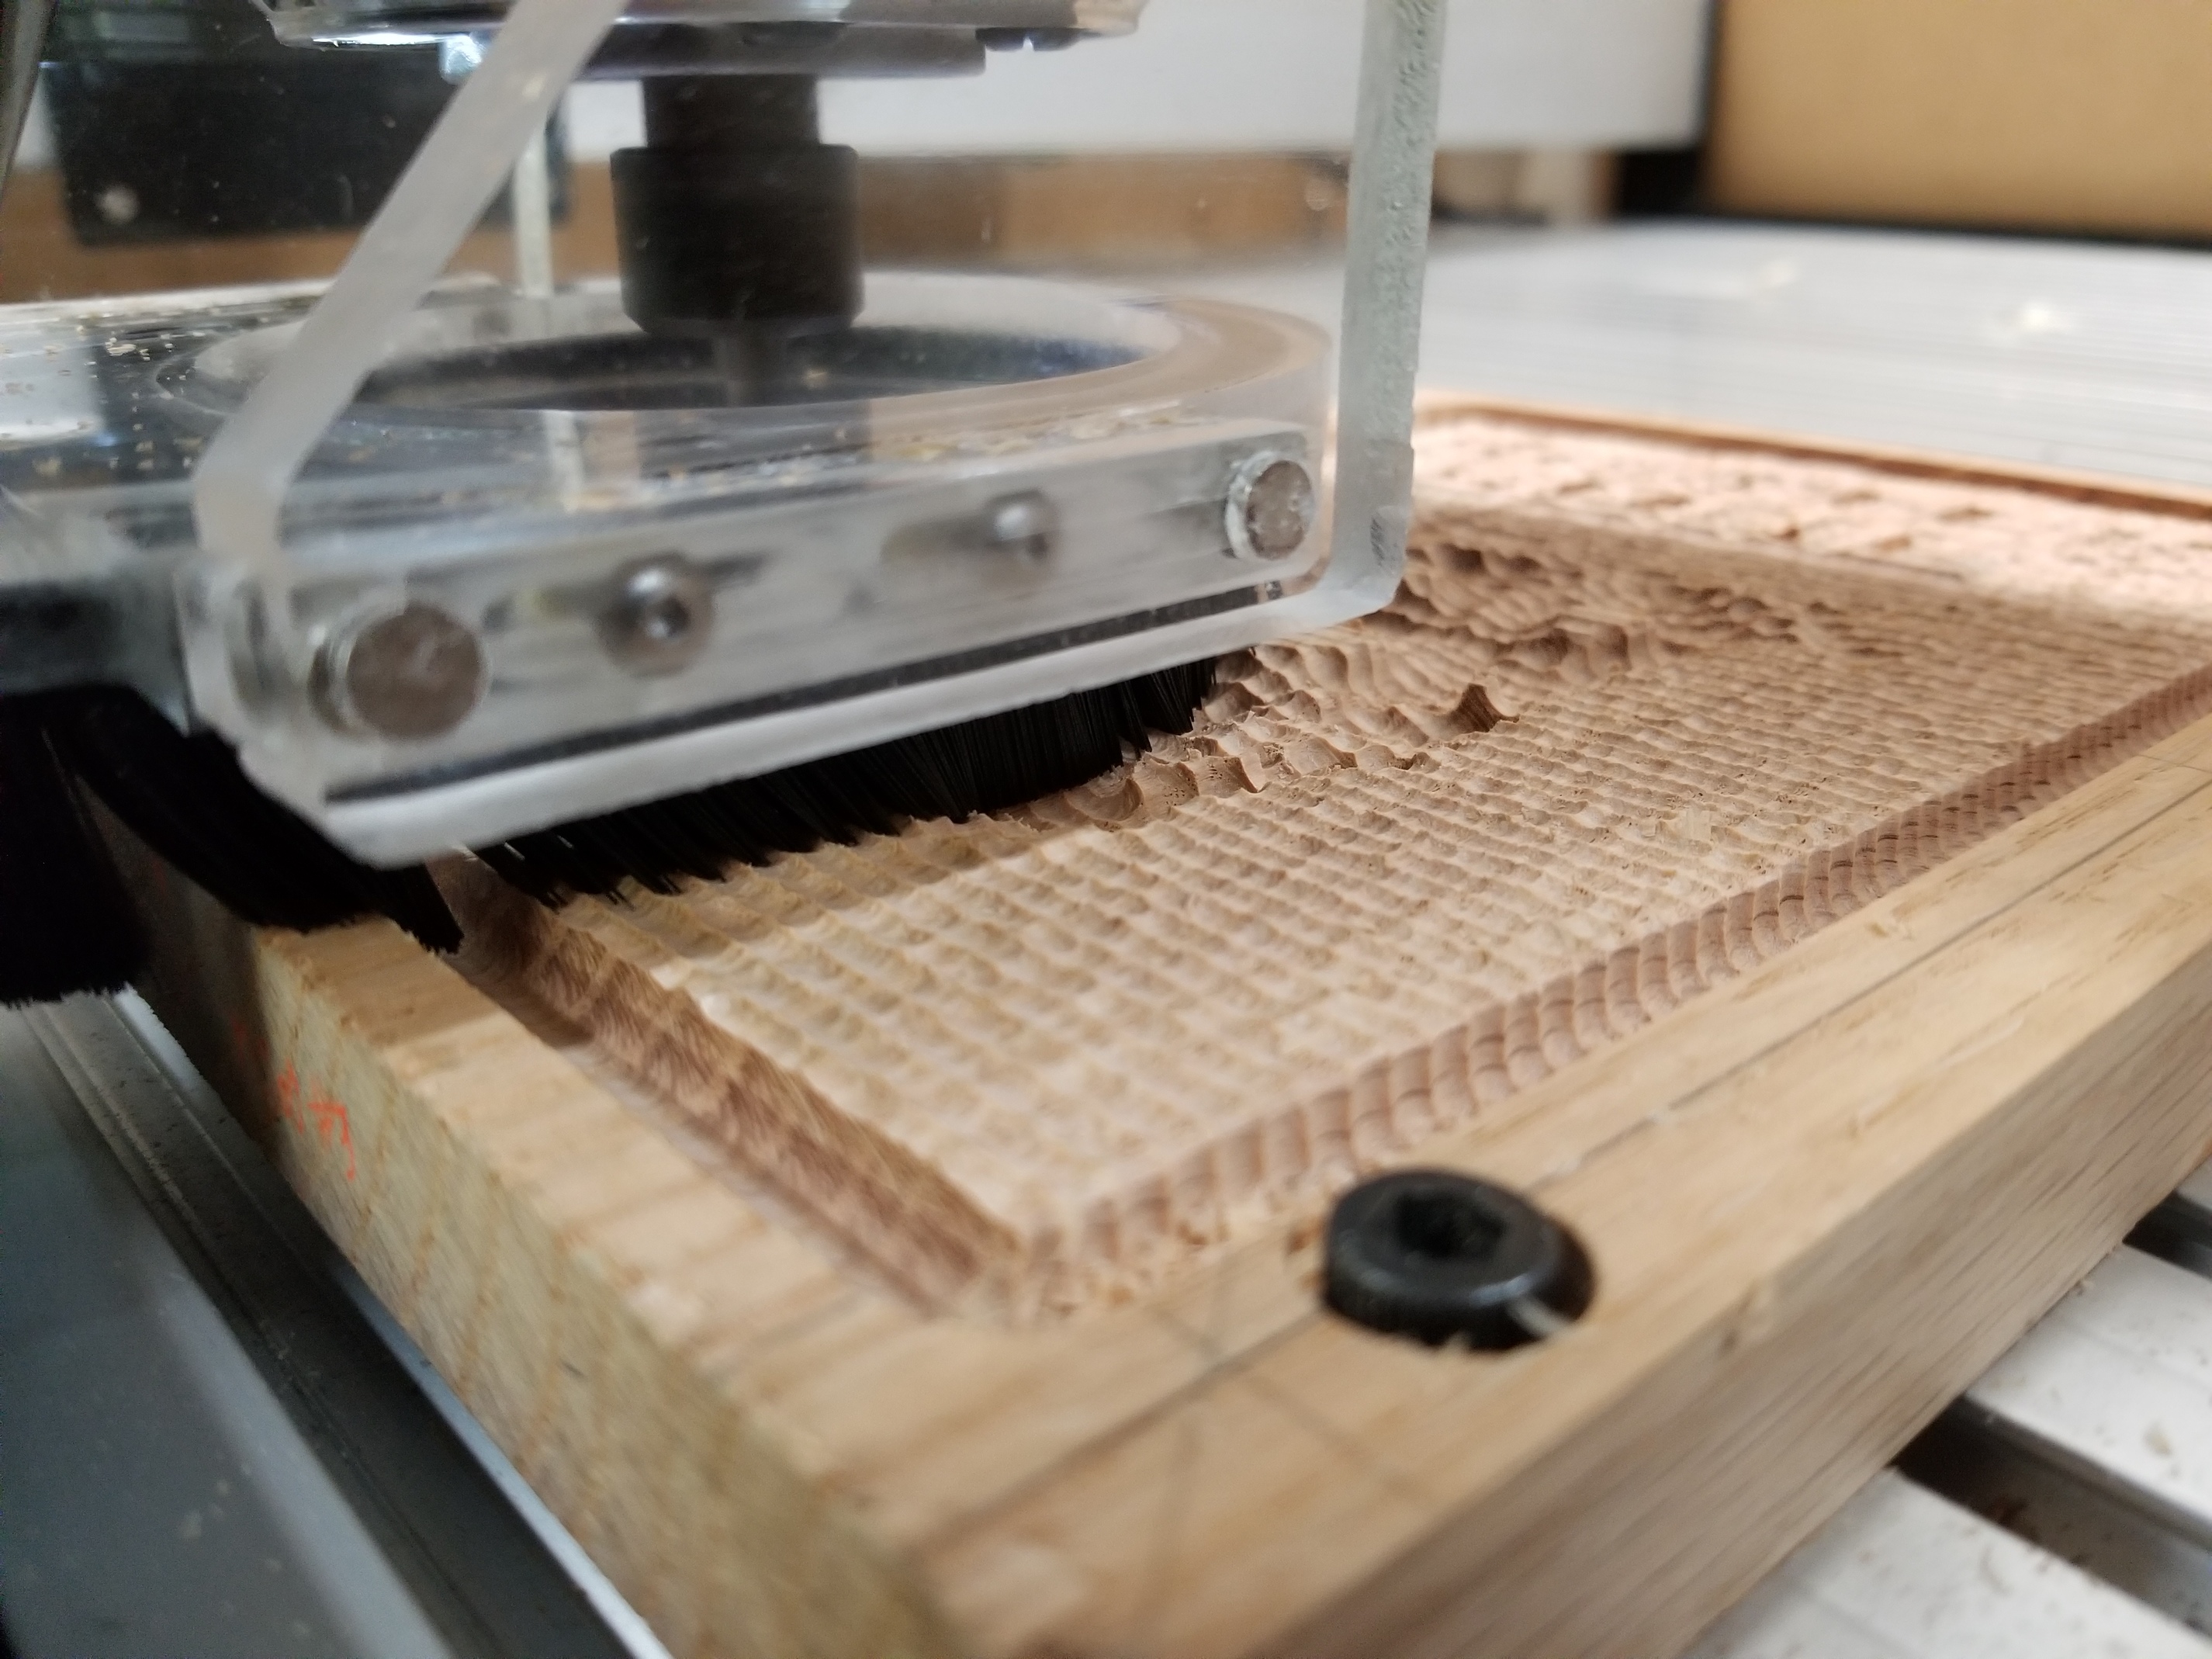
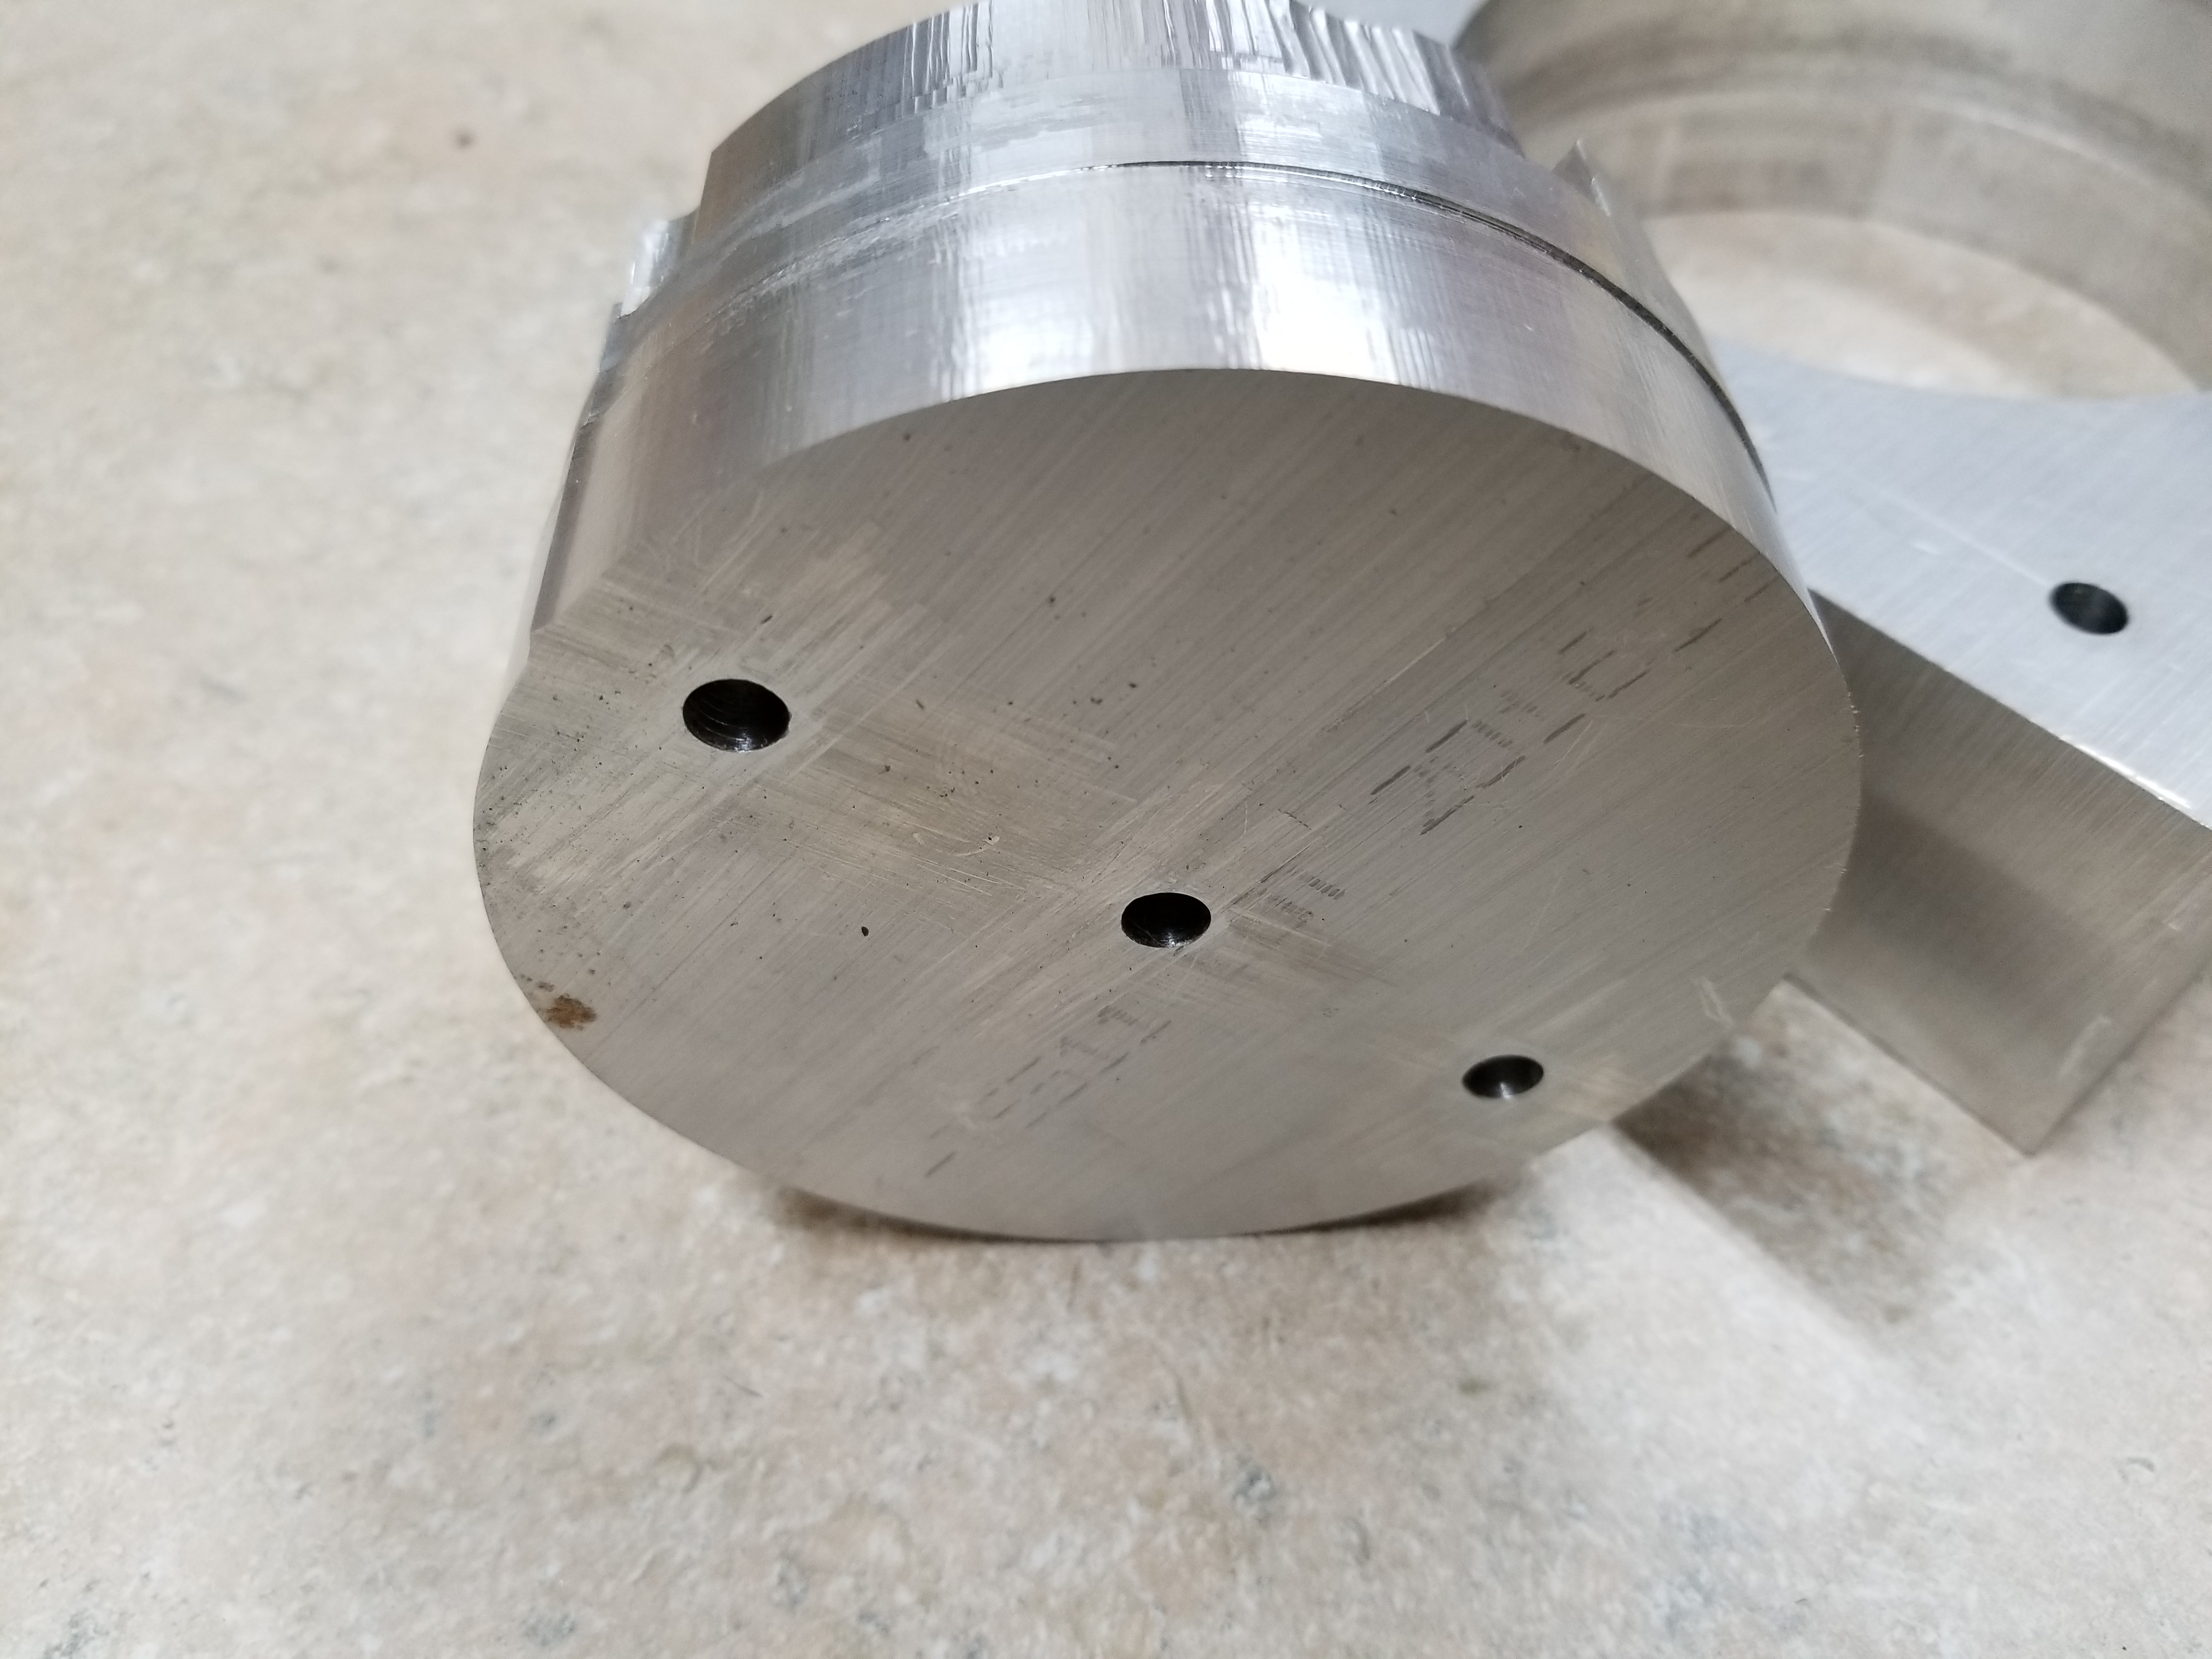
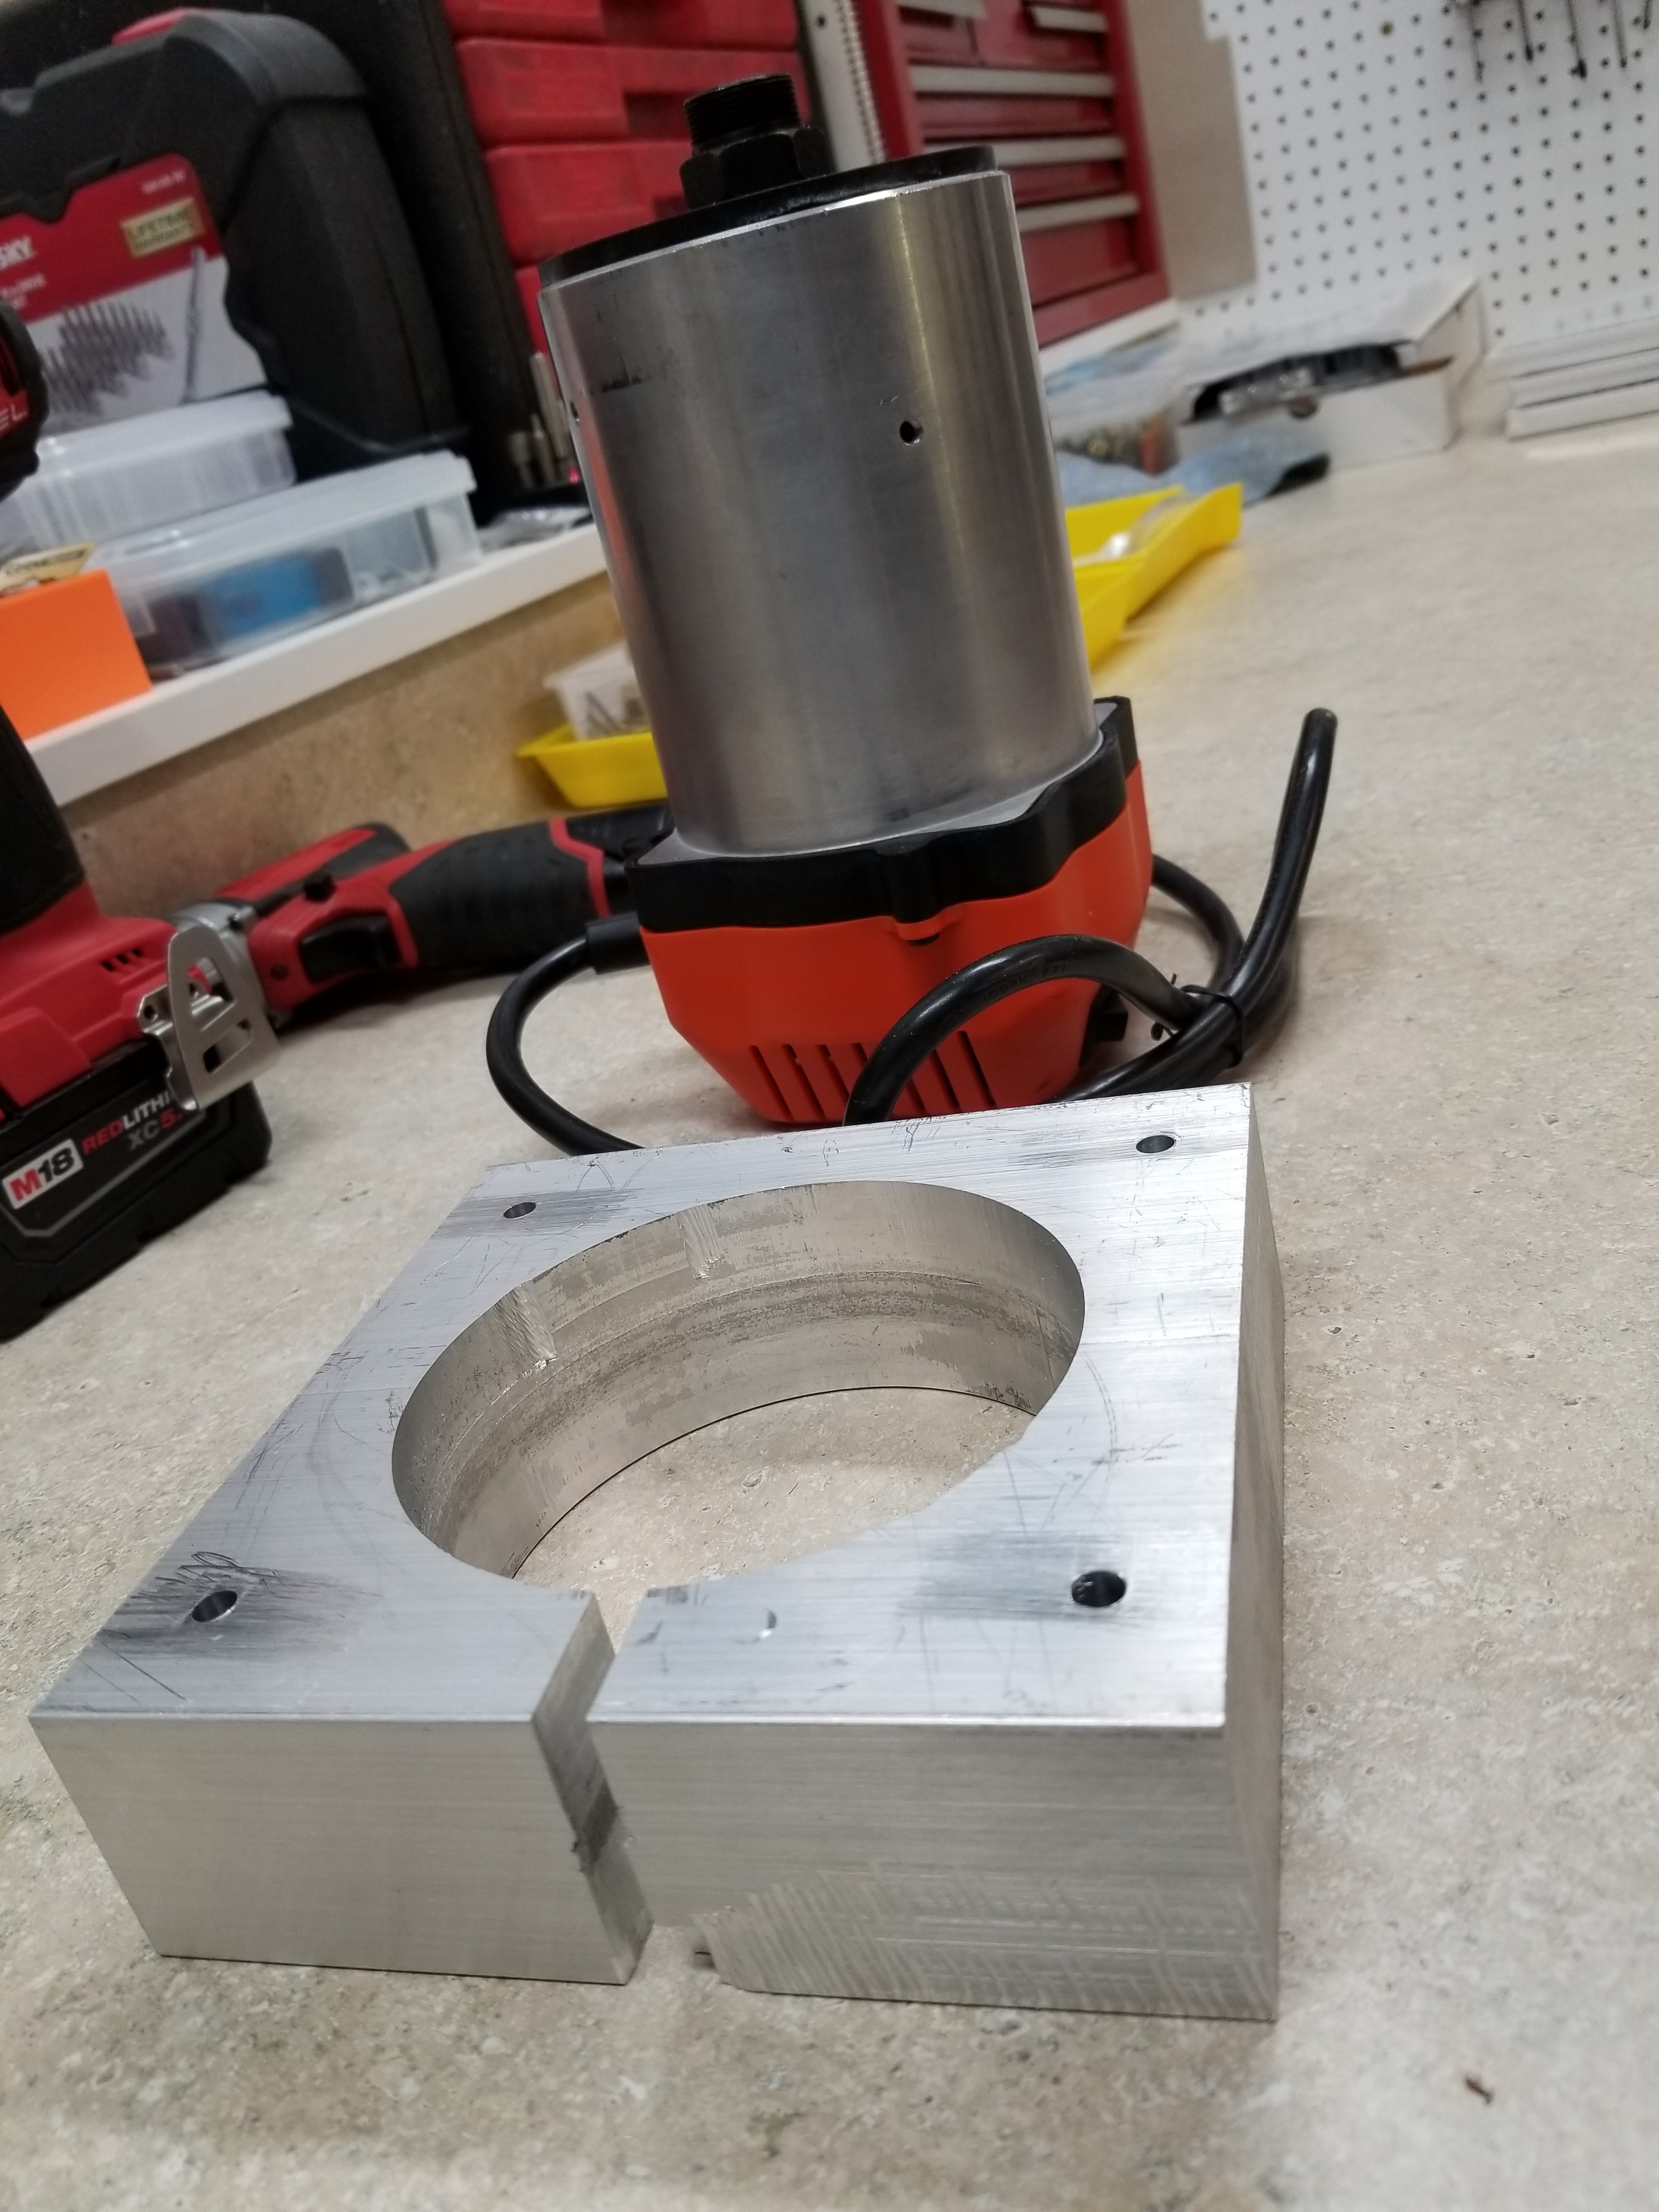
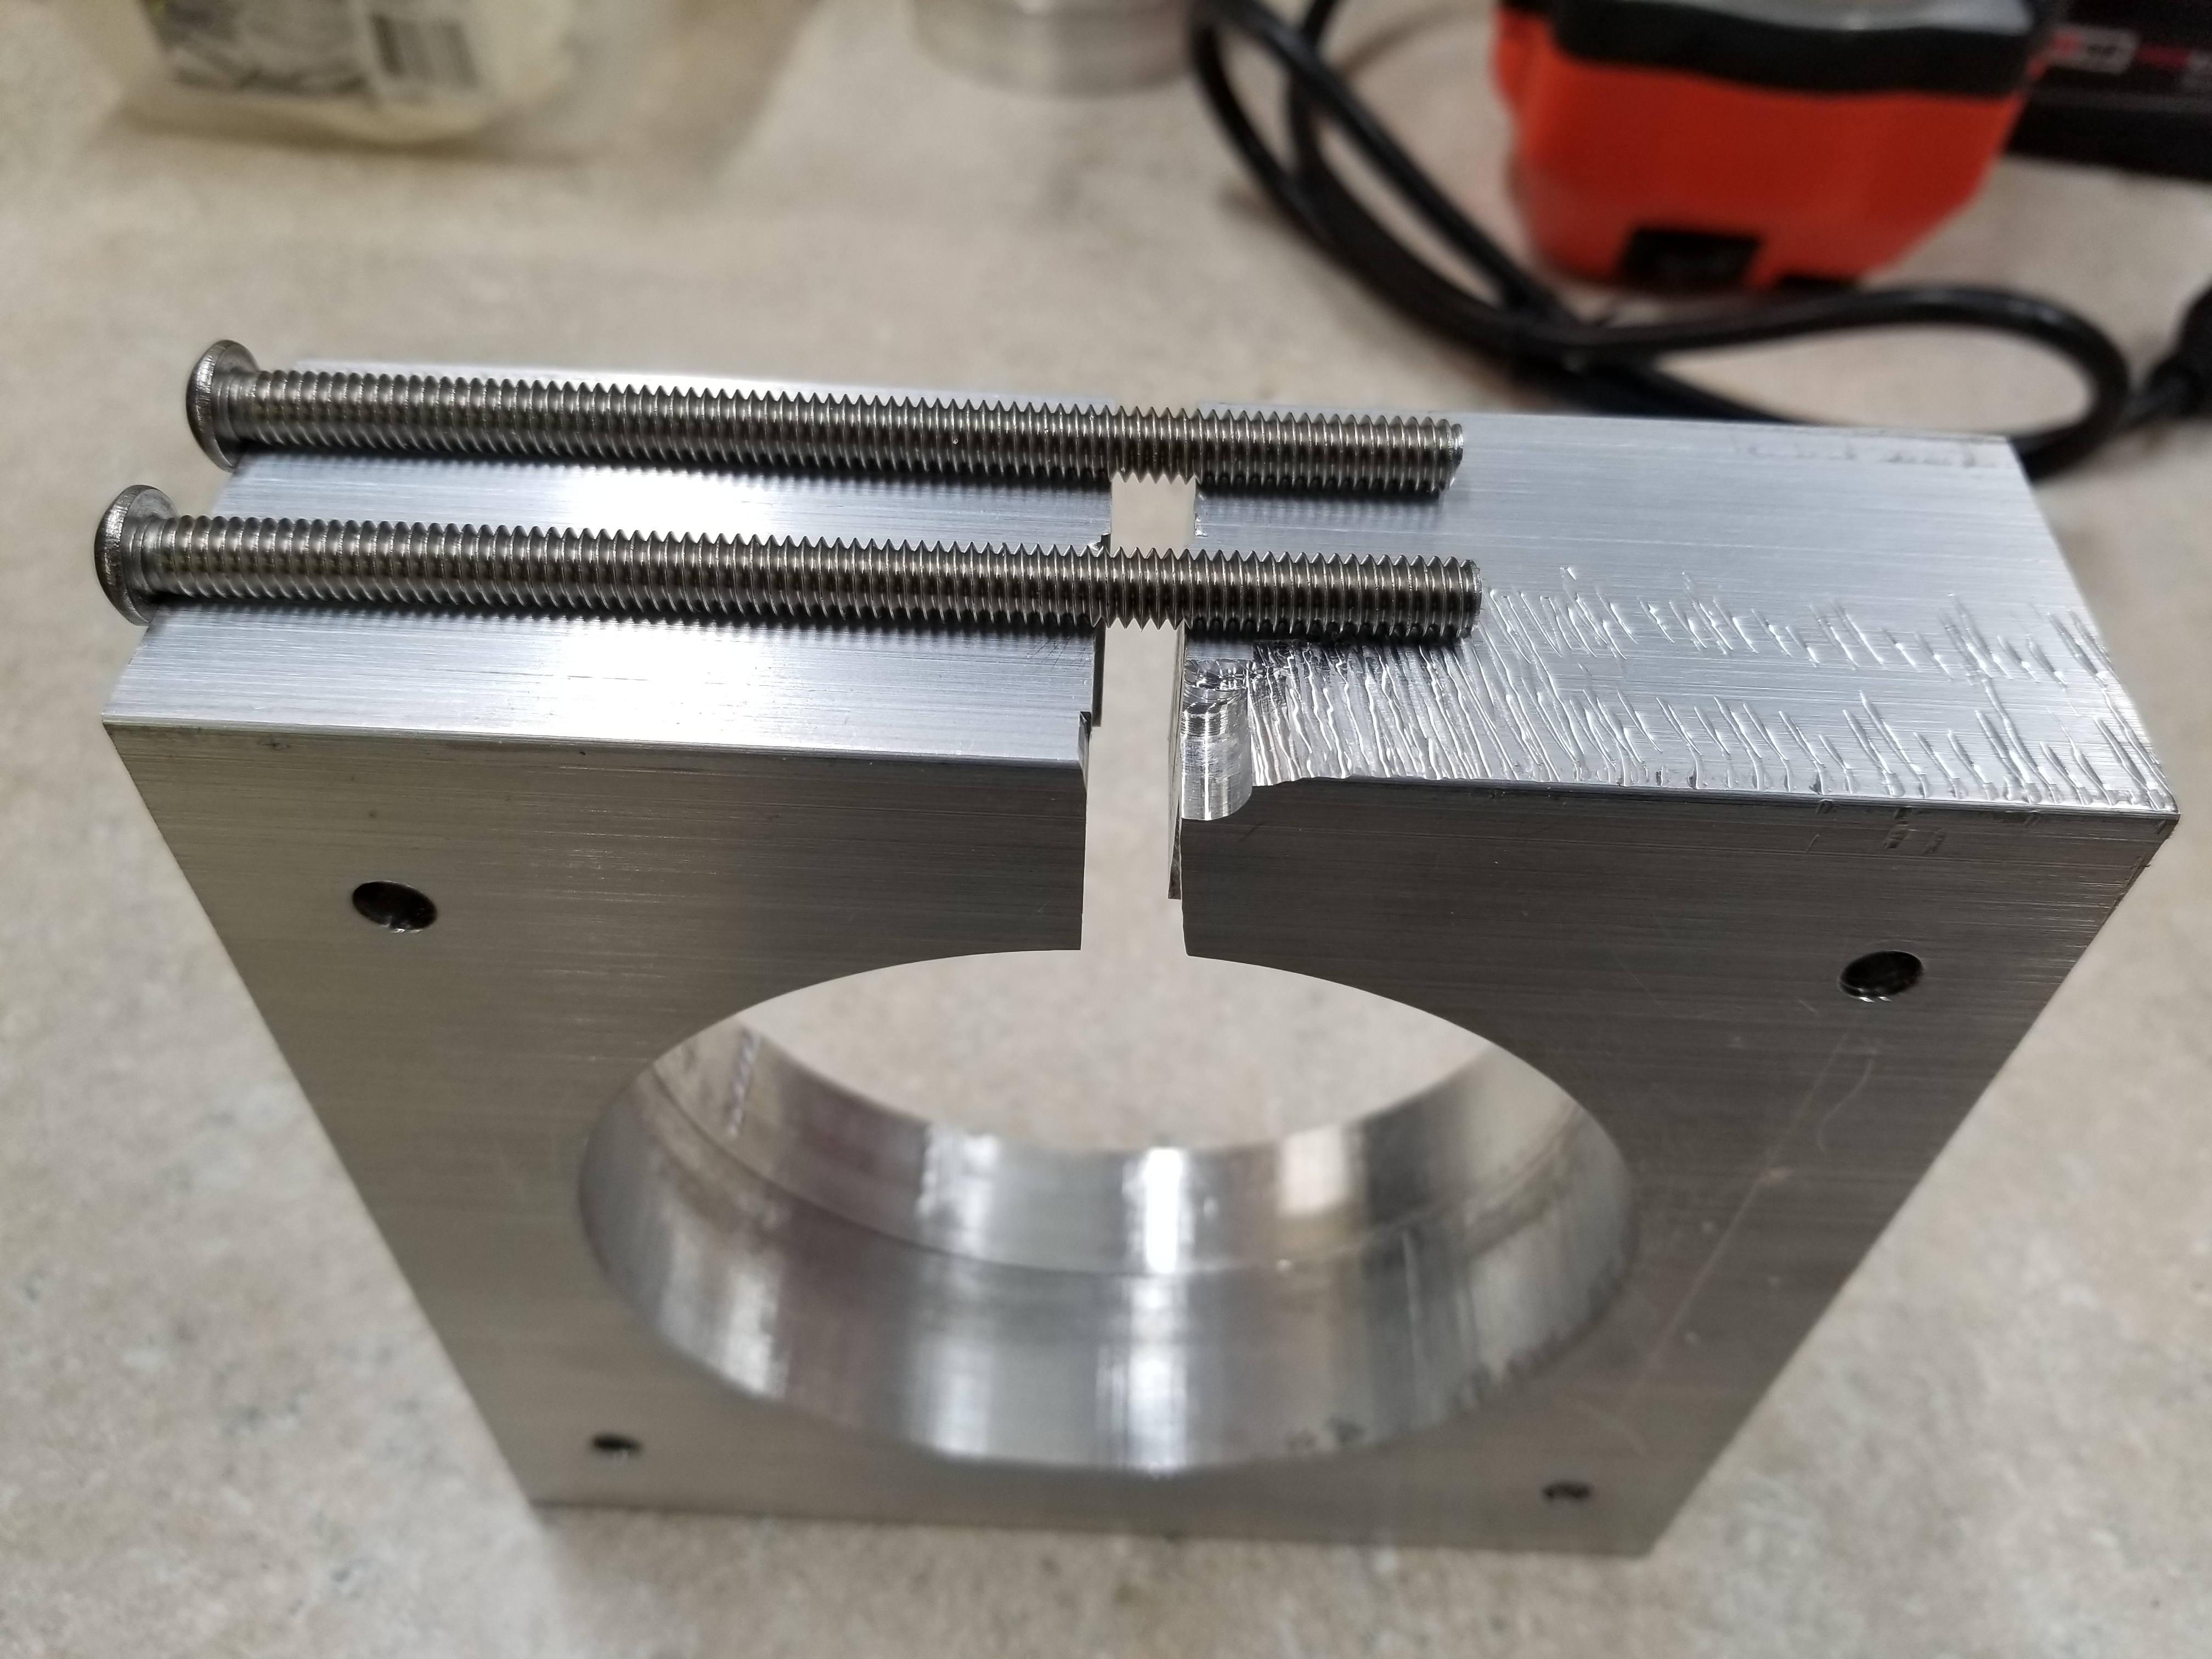
And yes, I did semi-successfully mill out a 4.2" Circle and Slot from a 6" x 6" x 1.75" Chunk of 6061 Aluminum Again, all was as rigid as possible, but the machine took off and cutter went where it was being dragged to assuming due to big d.o.c. and deflection making it hit the wall and start its journey off track. Top/bottom didn’t align even due to the best of my attention to details. My initial center locator hole may have been a little off square on the drill press.
Going to see what this thing can do with a 0.5" shank and 3.5 hp spindle…


2 Likes