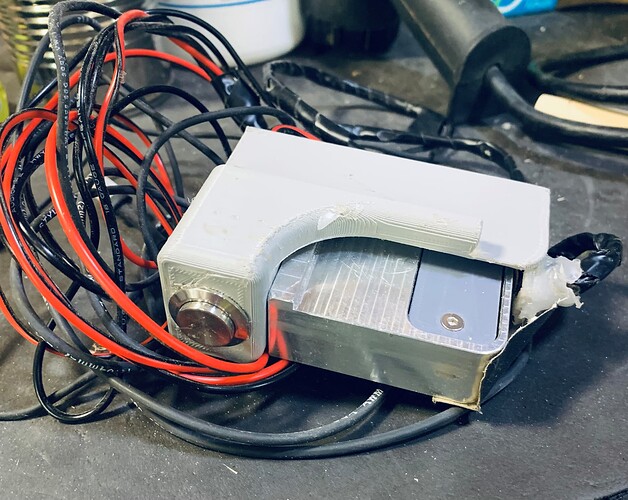
Bought a used machine and thanks to the incredible help of this site I’m up and running. Now I’m going through the box of stuff that I got with the machine and found this item (pictured). Can someone tell me what this is exactly. I’m looking for a manual. As you can see the previous owner was a fan of hot glue and electric tape. I’m not. So I’m wondering if it’s worth cleaning up and rewiring it properly or if there’s a newer and better option to go with. Just trying to use my time wisely.
Looks like a homemade bitsetter…
The aluminum block looks like the Bitzero V1. The 3D printed portion and button looks like a home brew BitSetter.
If it is a BitSetter, and it works, you could use it until you buy a genuine one - or not. ![]()
EDIT: It might be a combo BitZero holder / BitSetter.
It’s a custom Bit Setter/Bit Zero Combo.
One of the things I do not like about my Bit Setter is that it reduces the maximum size piece I can cut.
If I go 17" on a full-length Carve in the Y my Bit Setter gets in the way so I can only carve 30.5" in the X
I bet you there is a little mark on the front right side of the machine so you can index the bit setter for bit changes, but then easily remove it for larger pieces.
What I’d like to do is return it to a Bit Zero and purchase a the new Bit Setter. Is it possible to get wiring replacement for the Bit Zero V1. The one on it has been spliced, glued, taped and generally tortured.
For a passive probe the bitzero interface at the controller side boils down to one PROBE signal and one GND signal, and electrically closing the loop between the two triggers the controller. But since this is a hacked/custom probe I doubt support will be able to provide you with any piece of wiring and I’m afraid you will have to figure out how to sort it out ![]()
If you are fine with a little testing with a multimeter it should be doable though
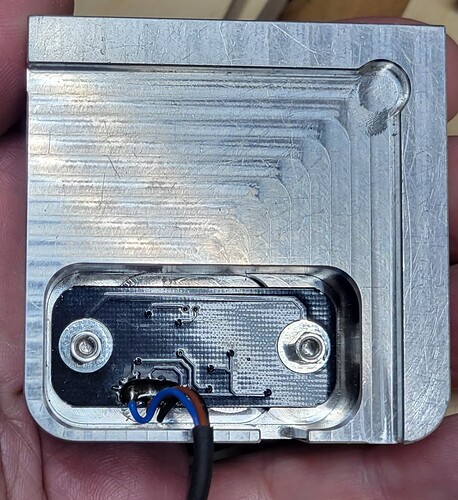
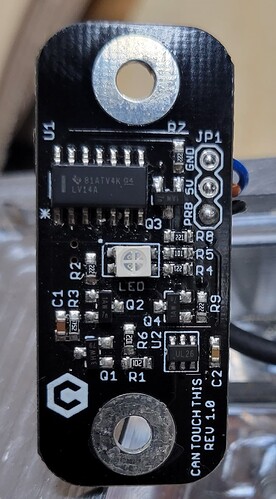
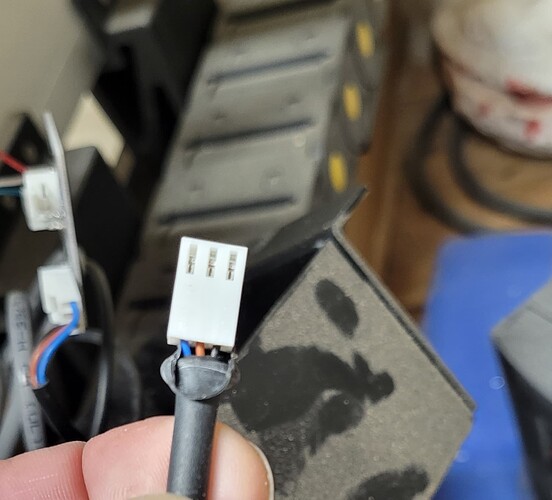
I’ll open up my BitZero V1 and take some pics of it tonight, so you can see what wire you would need, and how the original wiring hooked into the circuit board inside it. I hope you have the original connector for it, and if not, you can search the forum for the connectors. They are (or were, in the “before times”) common connectors and should be available at your electronics distributor of choice (Mouser, Digikey, Arrow, Jameco. . .)
Thanks that will be super helpful.
Here is the touch probe with the cover off.
Here is the other side of the board, since I was in there. There is a lot more going on there than I expected.
Here’s the plug, and the wire-pin arrangement.
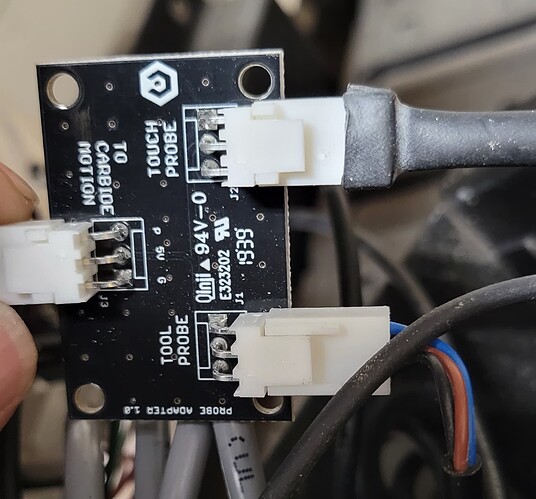
Here’s the adapter board you may need if your CM board is old like mine.
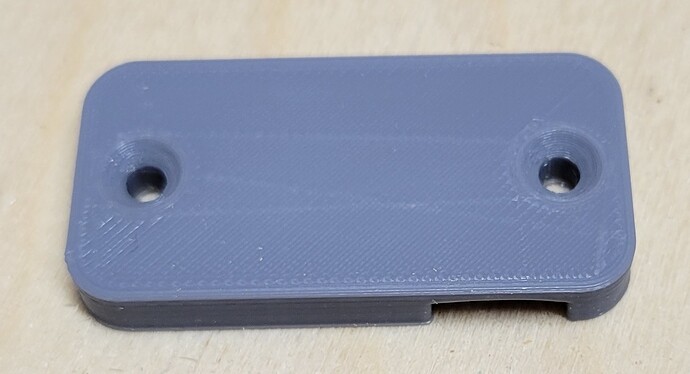
The cover is 3D printed. I grabbed all of the dimensions, and if you don’t have it, and don’t have the ability, I can print you one - in just about any color you would like.
Thanks MadHatter. I’m away from my shop till Monday but will dig into it when I get back. I think I have that supplemental board.
There was a spot. It looks like the newest version of the bitsetter mounts outside the front rail.
This topic was automatically closed 30 days after the last reply. New replies are no longer allowed.
