Hi - I hope this isn’t a repeat; I’ve not been able to find exactly what I’m looking for in the forum.
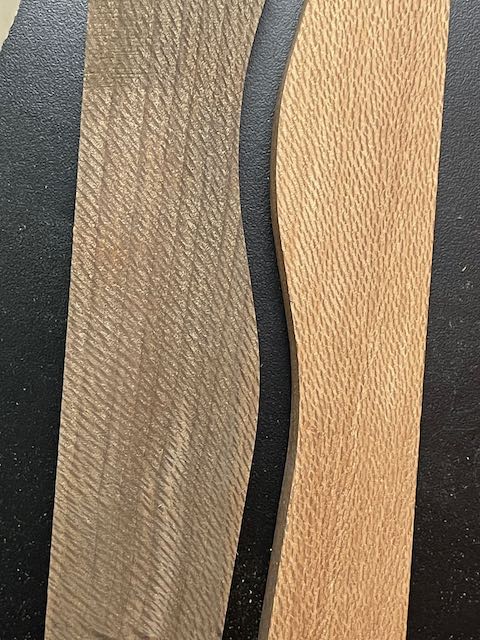
I’d like to cut 1" thick hardwood with narrow (1/8") contours, along gently curving paths (see example photos). I’m planning on making projects that match different stock with the same curves, and the pieces mate more accurately the smaller the diameter of the end mill. I’ve managed to locate longer end mills but recently have seen cautions against making these types of cuts.
If anyone could please let me know how to go about this prudently, I’d very much appreciate it.
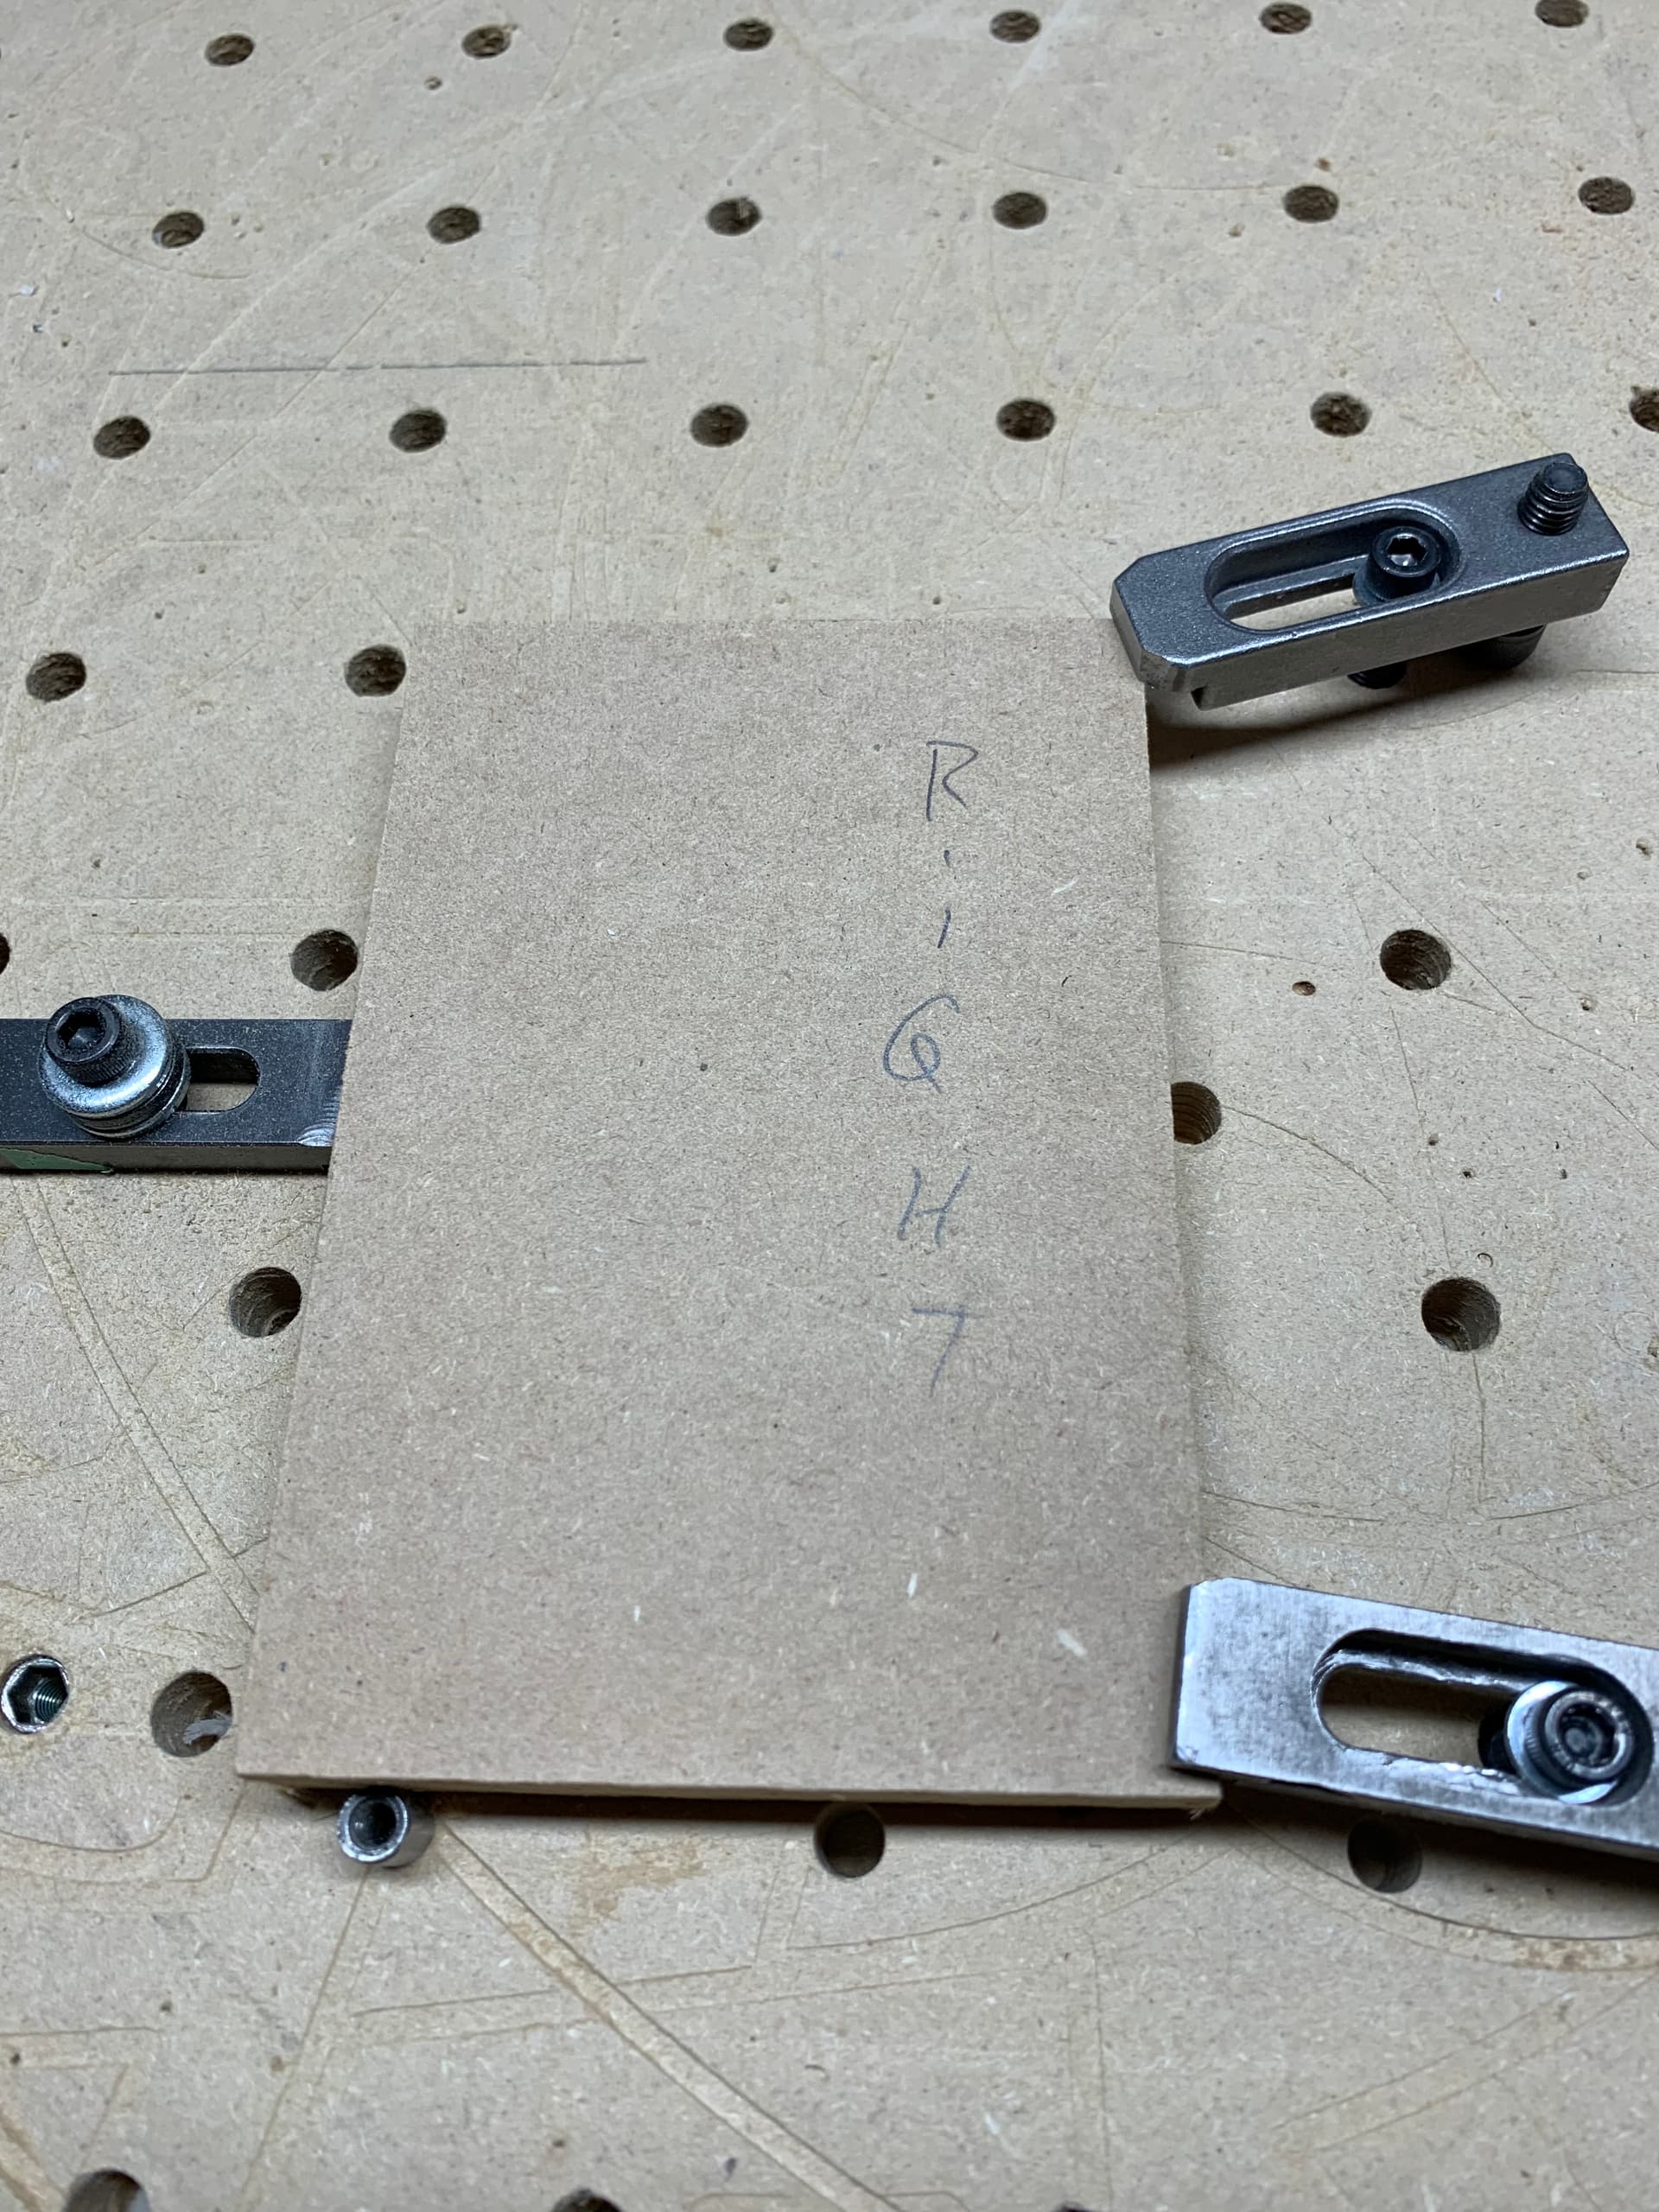
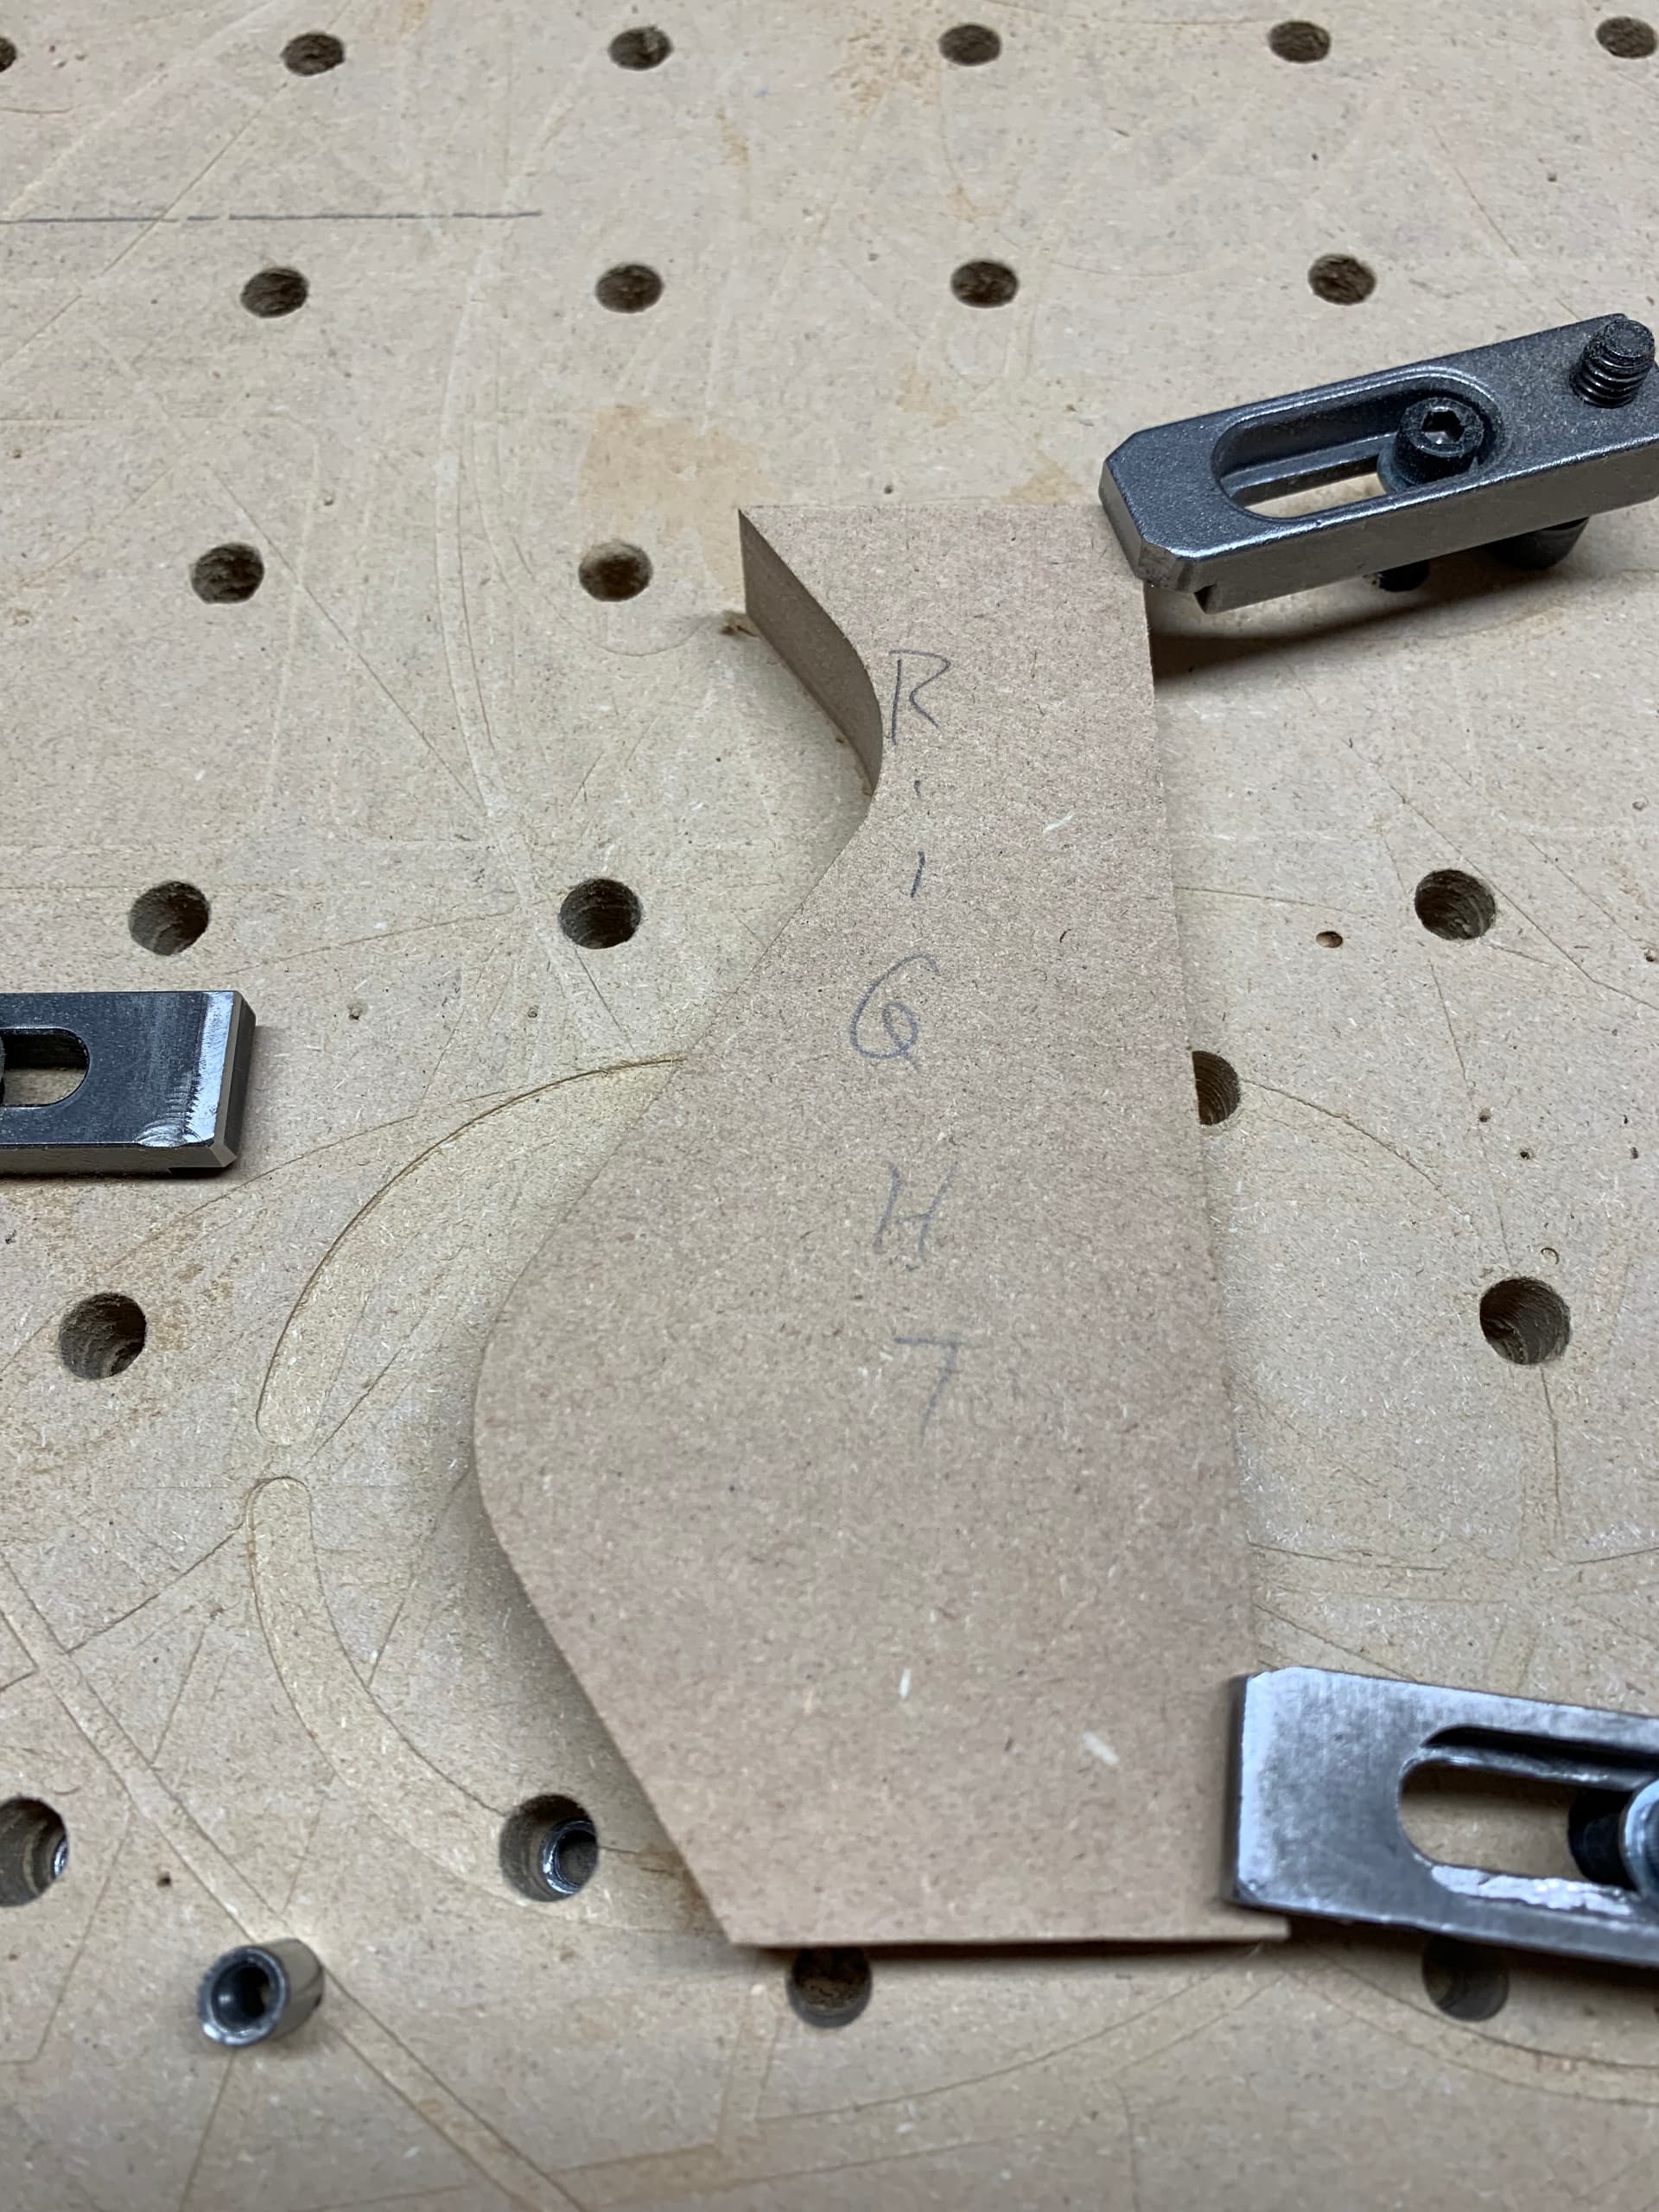
Fyi, these pieces were made using the Shapeoko pro, and using the 1/8th inch Carbide3d end mill. This stock is about .7 inches thick beech, but will end up using 1" thick pieces in the finals.
Thanks; currently I’m cutting completely through the stock (Stock A) without the offset roughing clearance, and then running the exact same file on a different piece of stock (Stock B), and then staggering the cuts between stock A and B. Ideally, I’d like to avoid the roughing pass, as keeping a tight tolerance is key to getting the parts to mate cleanly without gaps. In a perfect world, something smaller that 1/8th would provide tighter tolerances, but would probably be too slow and fraught with risk of the bit breaking.
If you’re shooting for a high tolerance fit, then make 2 shapes with the same curve copied.
Relying on the width of the cut, you are getting an offset curve on the other piece no matter the size of the tool. With an 1/8" cutter you could get away with cutting a ~3/16" groove and the pieces should bit a lot better.
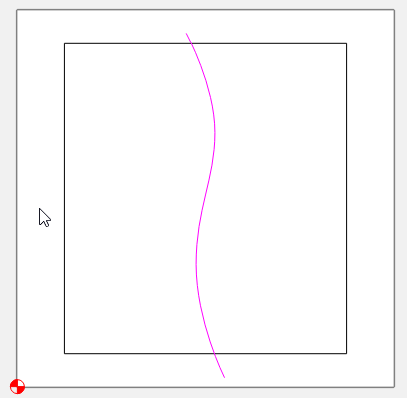
If this is the shape you want to cut
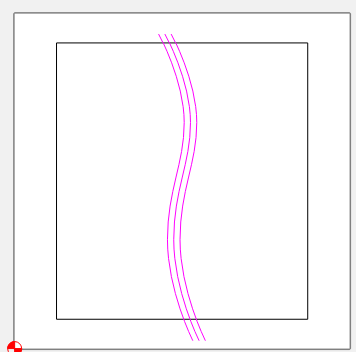
Copy the curve and place it 3/32" on either side of that curve. MOVE it 3/32, don’t offset it.
Now you can cut the center line to full depth, with smaller DOC. This is your roughing pass for both sides. Then contour/profile the other 2 curves at full DOC. Your only removing 1/32" (0.031") so you should get a nice smooth cut. And you’re only losing another 1/16" of wood.
You could even join the ends & cut it all at once.
This is brilliant; thanks for the explanation. I will give this a try as soon as I get my new bit, but was wondering what you mean when you say ‘join the ends’ and cut it all at once.
Maybe I’m missing something here, but if the the cuts go the entire length of the board and there are no inside corners, what difference does it make what size tool is used? Other than making less sawdust. I personally would rather the biggest tool I could use to get the least amount of defection. Of course rough and finish passes are a must.
EDIT: there are inside radius so as long as it’s larger than the radius of the tool it should be ok.
Thanks for the clarification, and for the great info. This is a very big help. As a woodworker first, joining the ends only had me thinking of the physical stock.
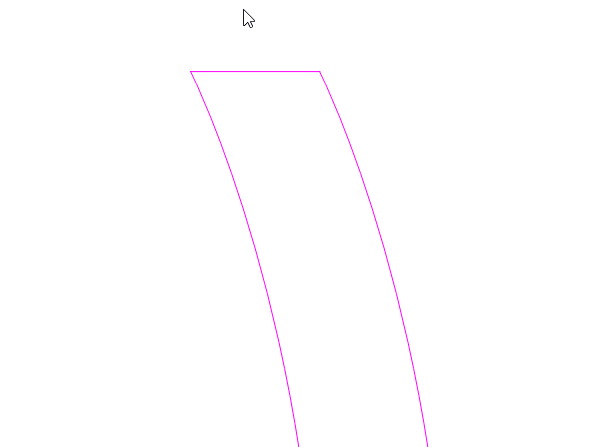
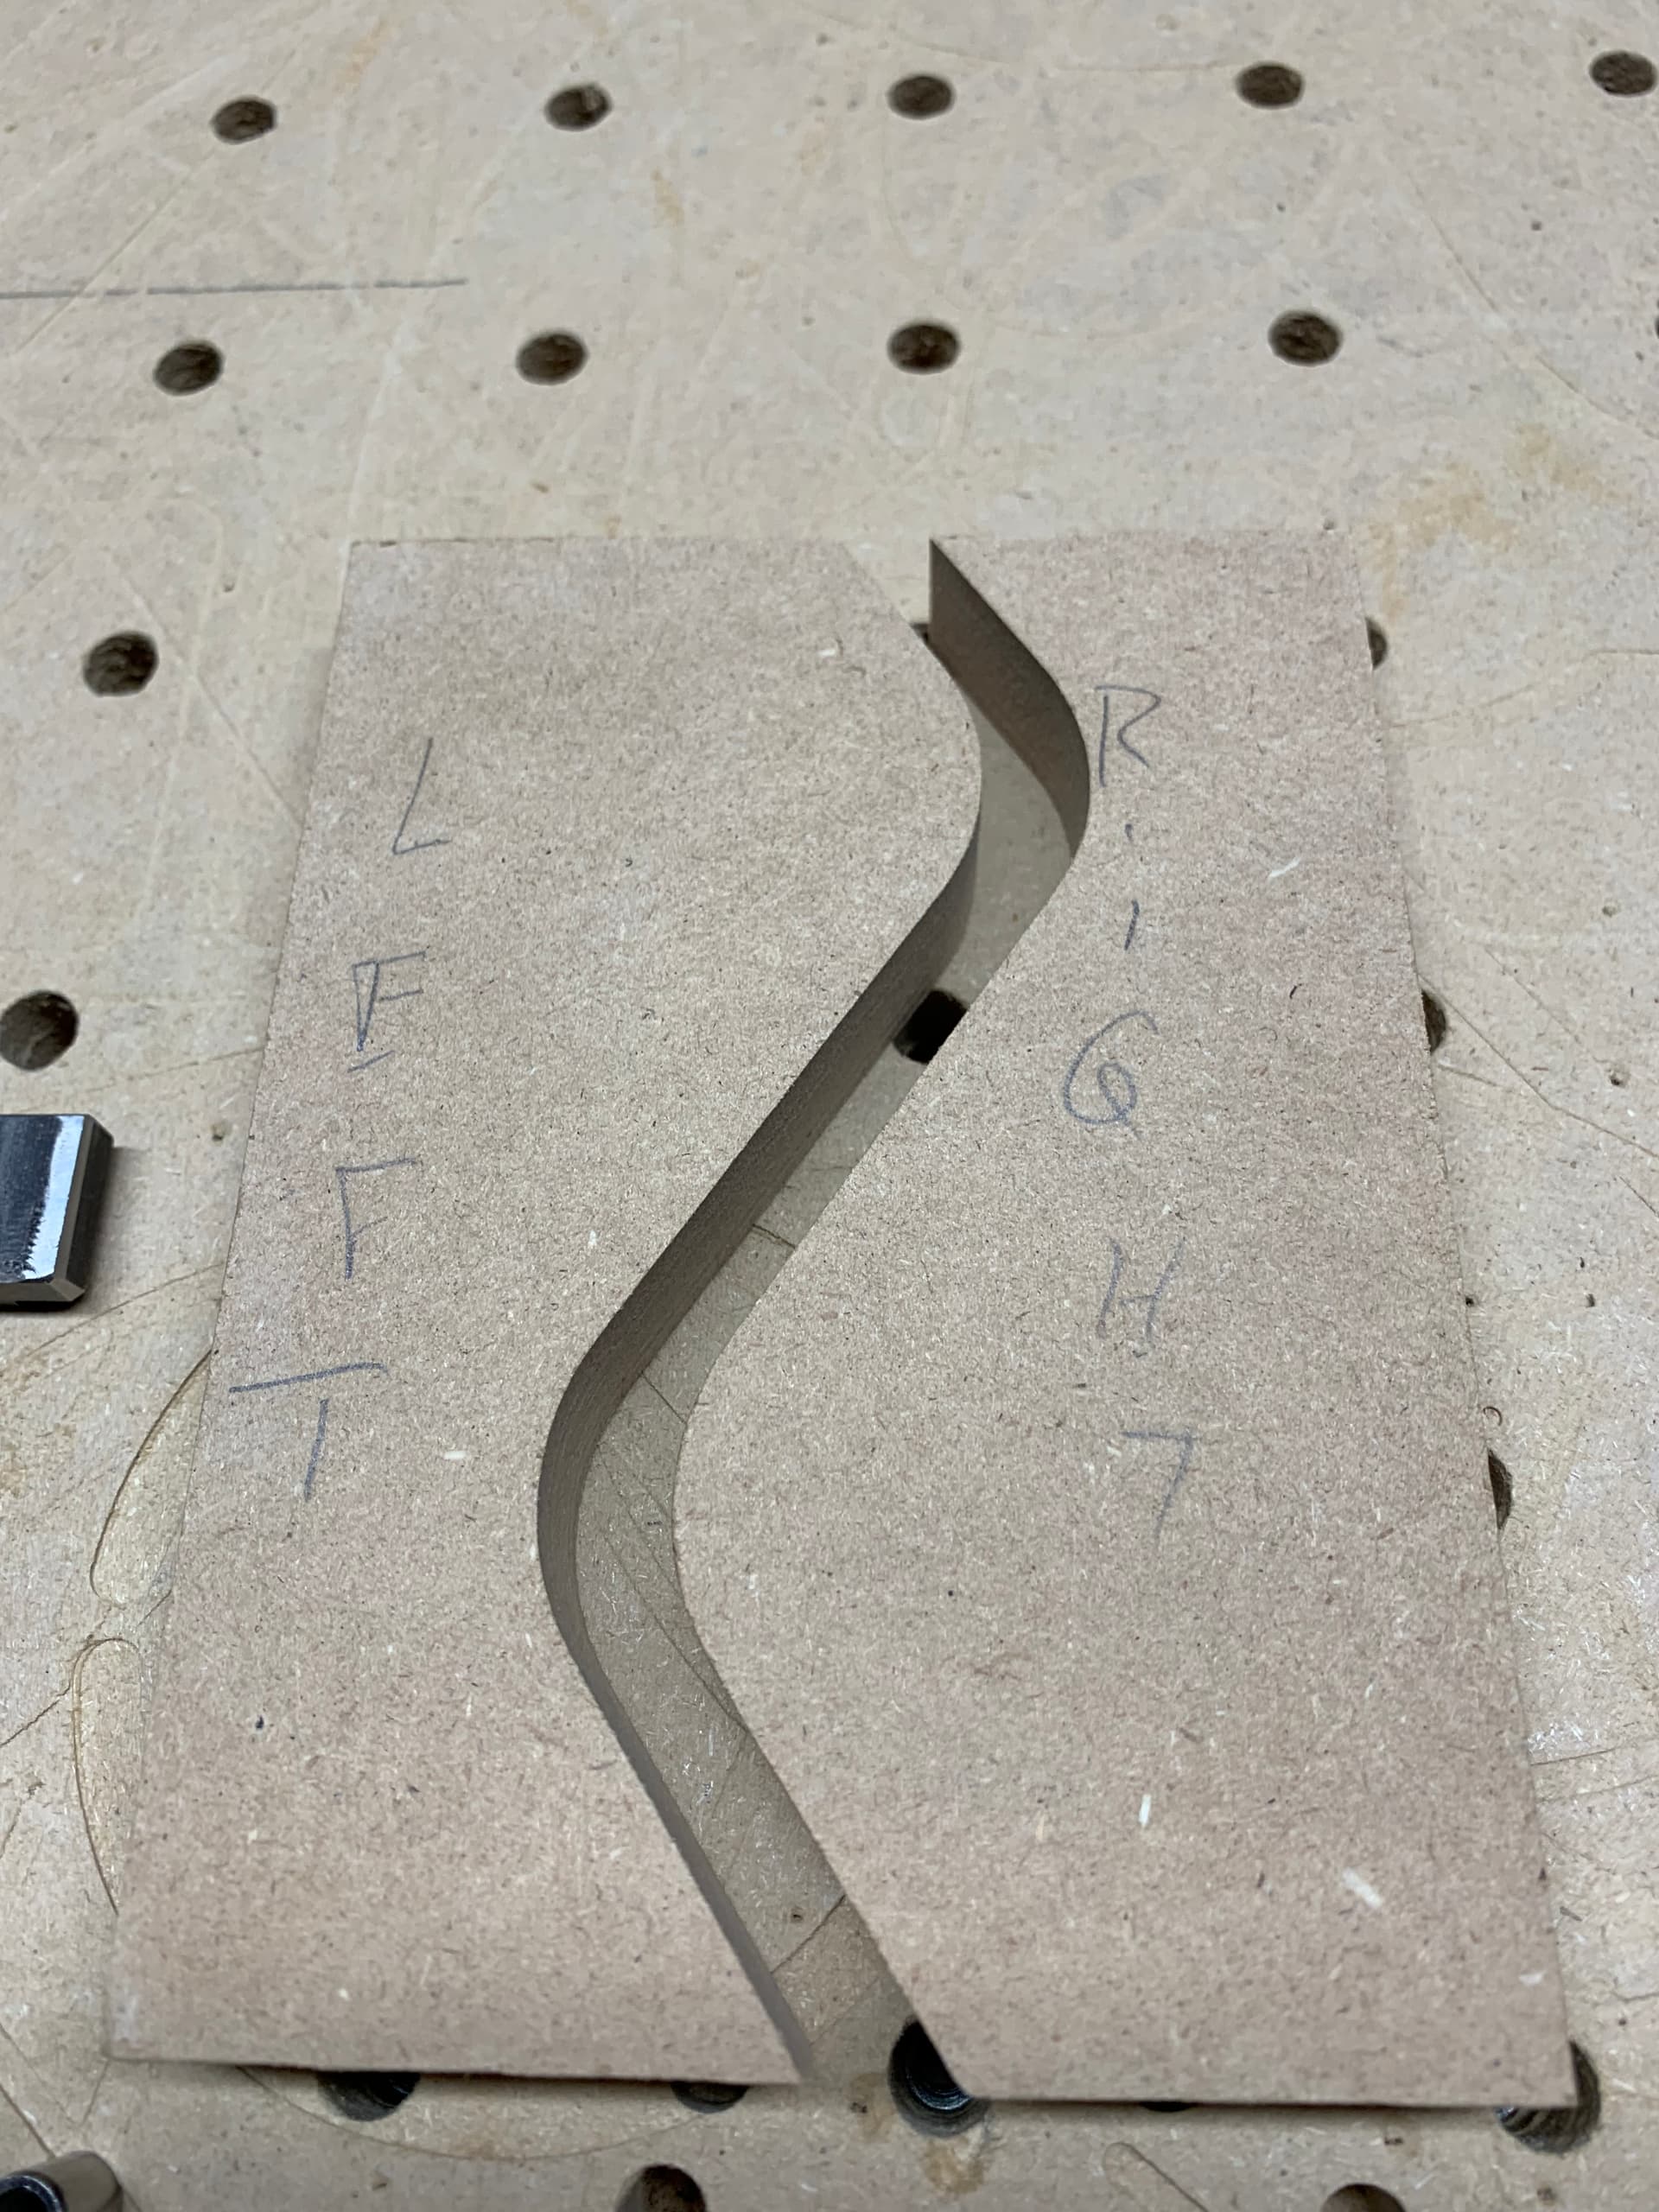
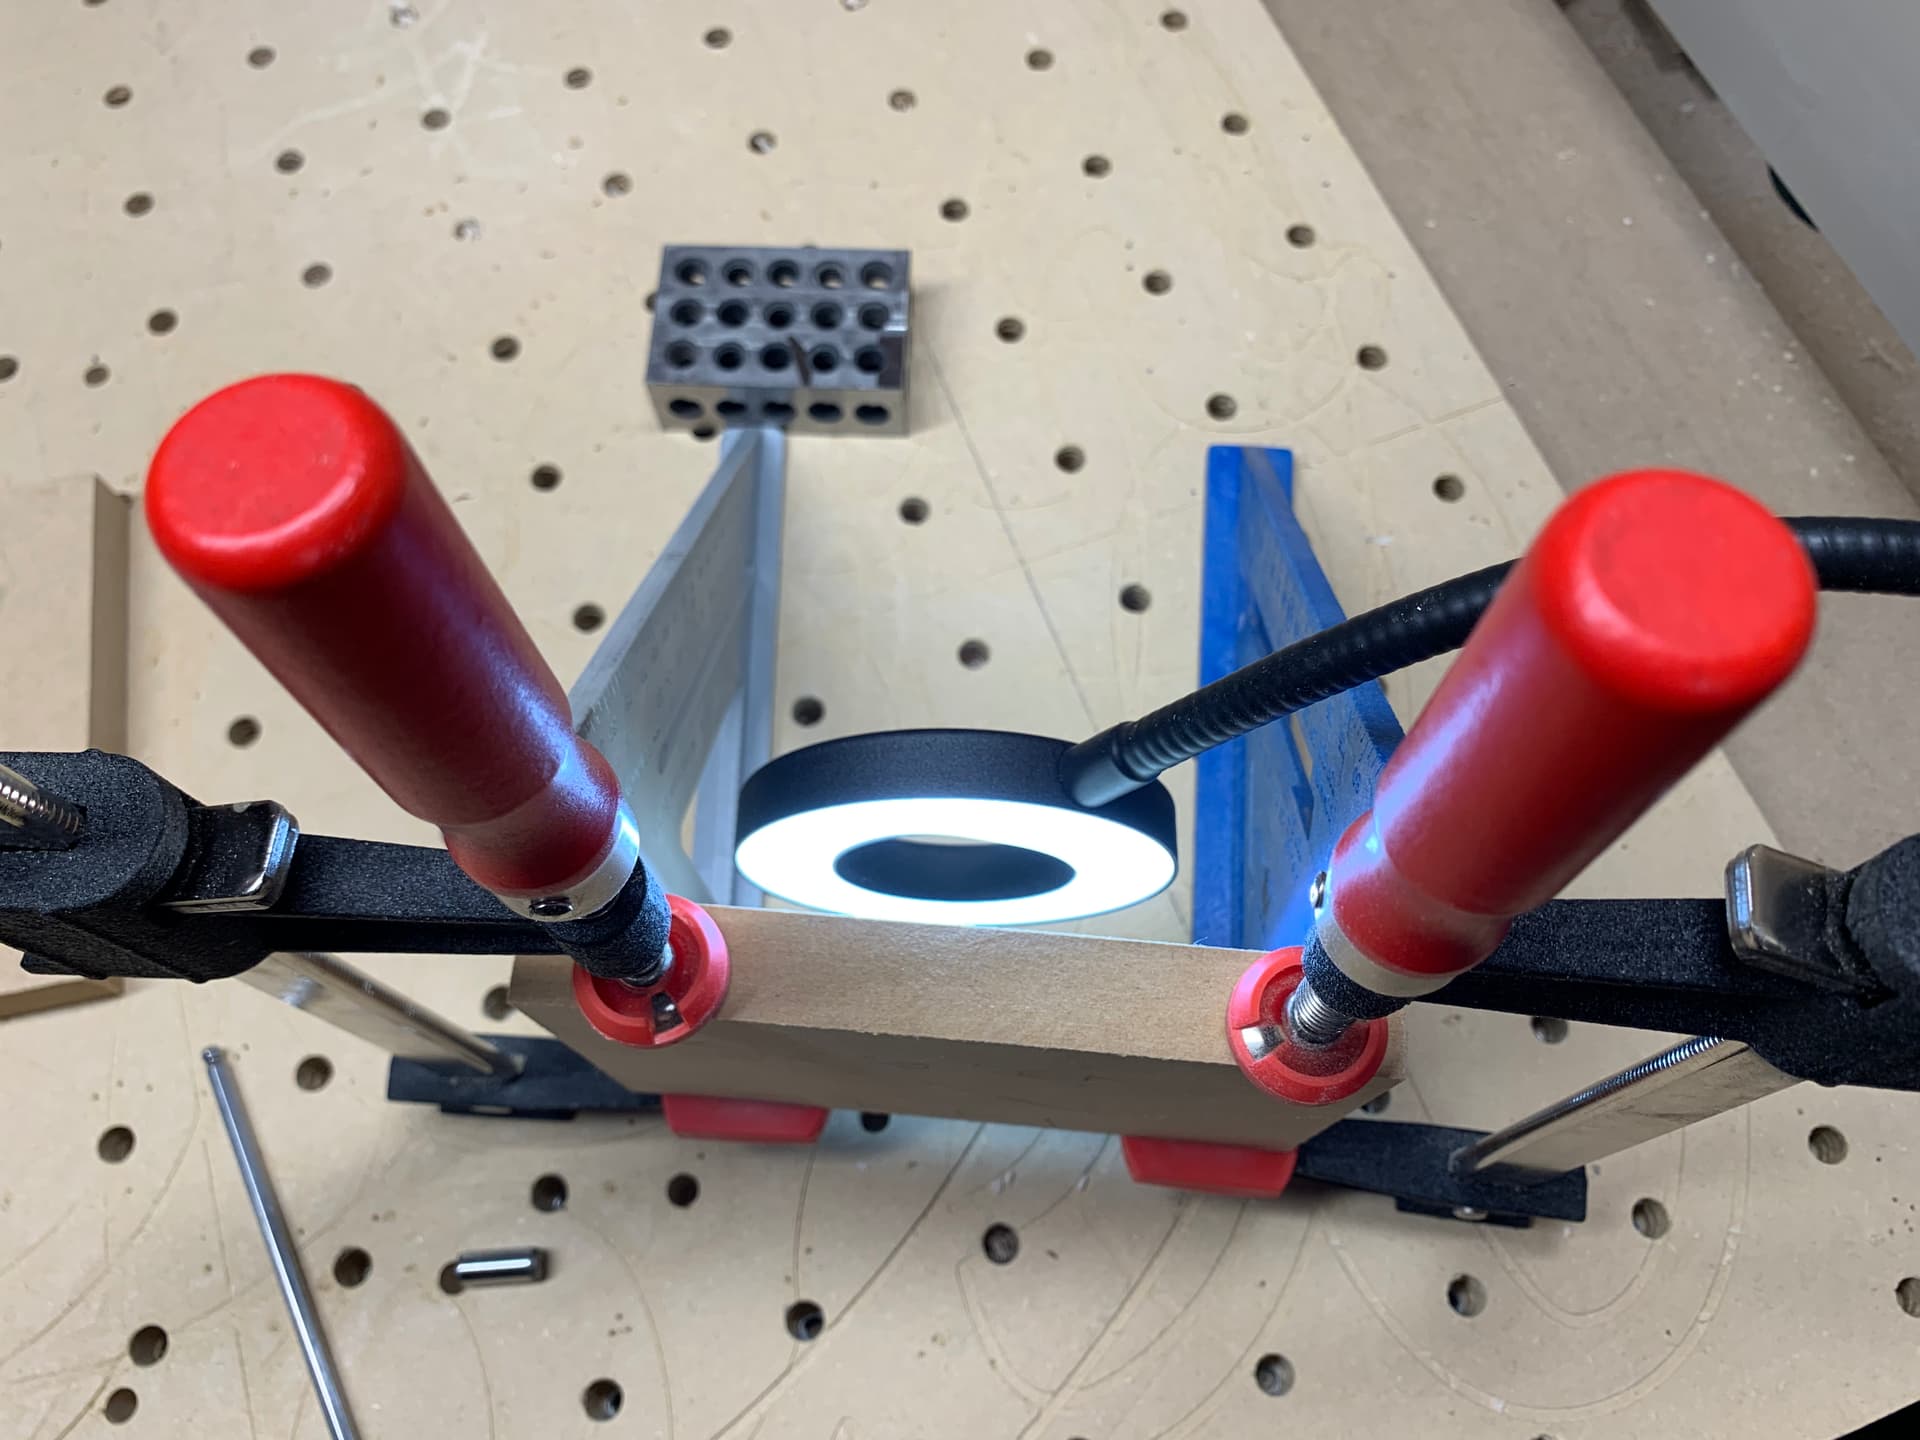
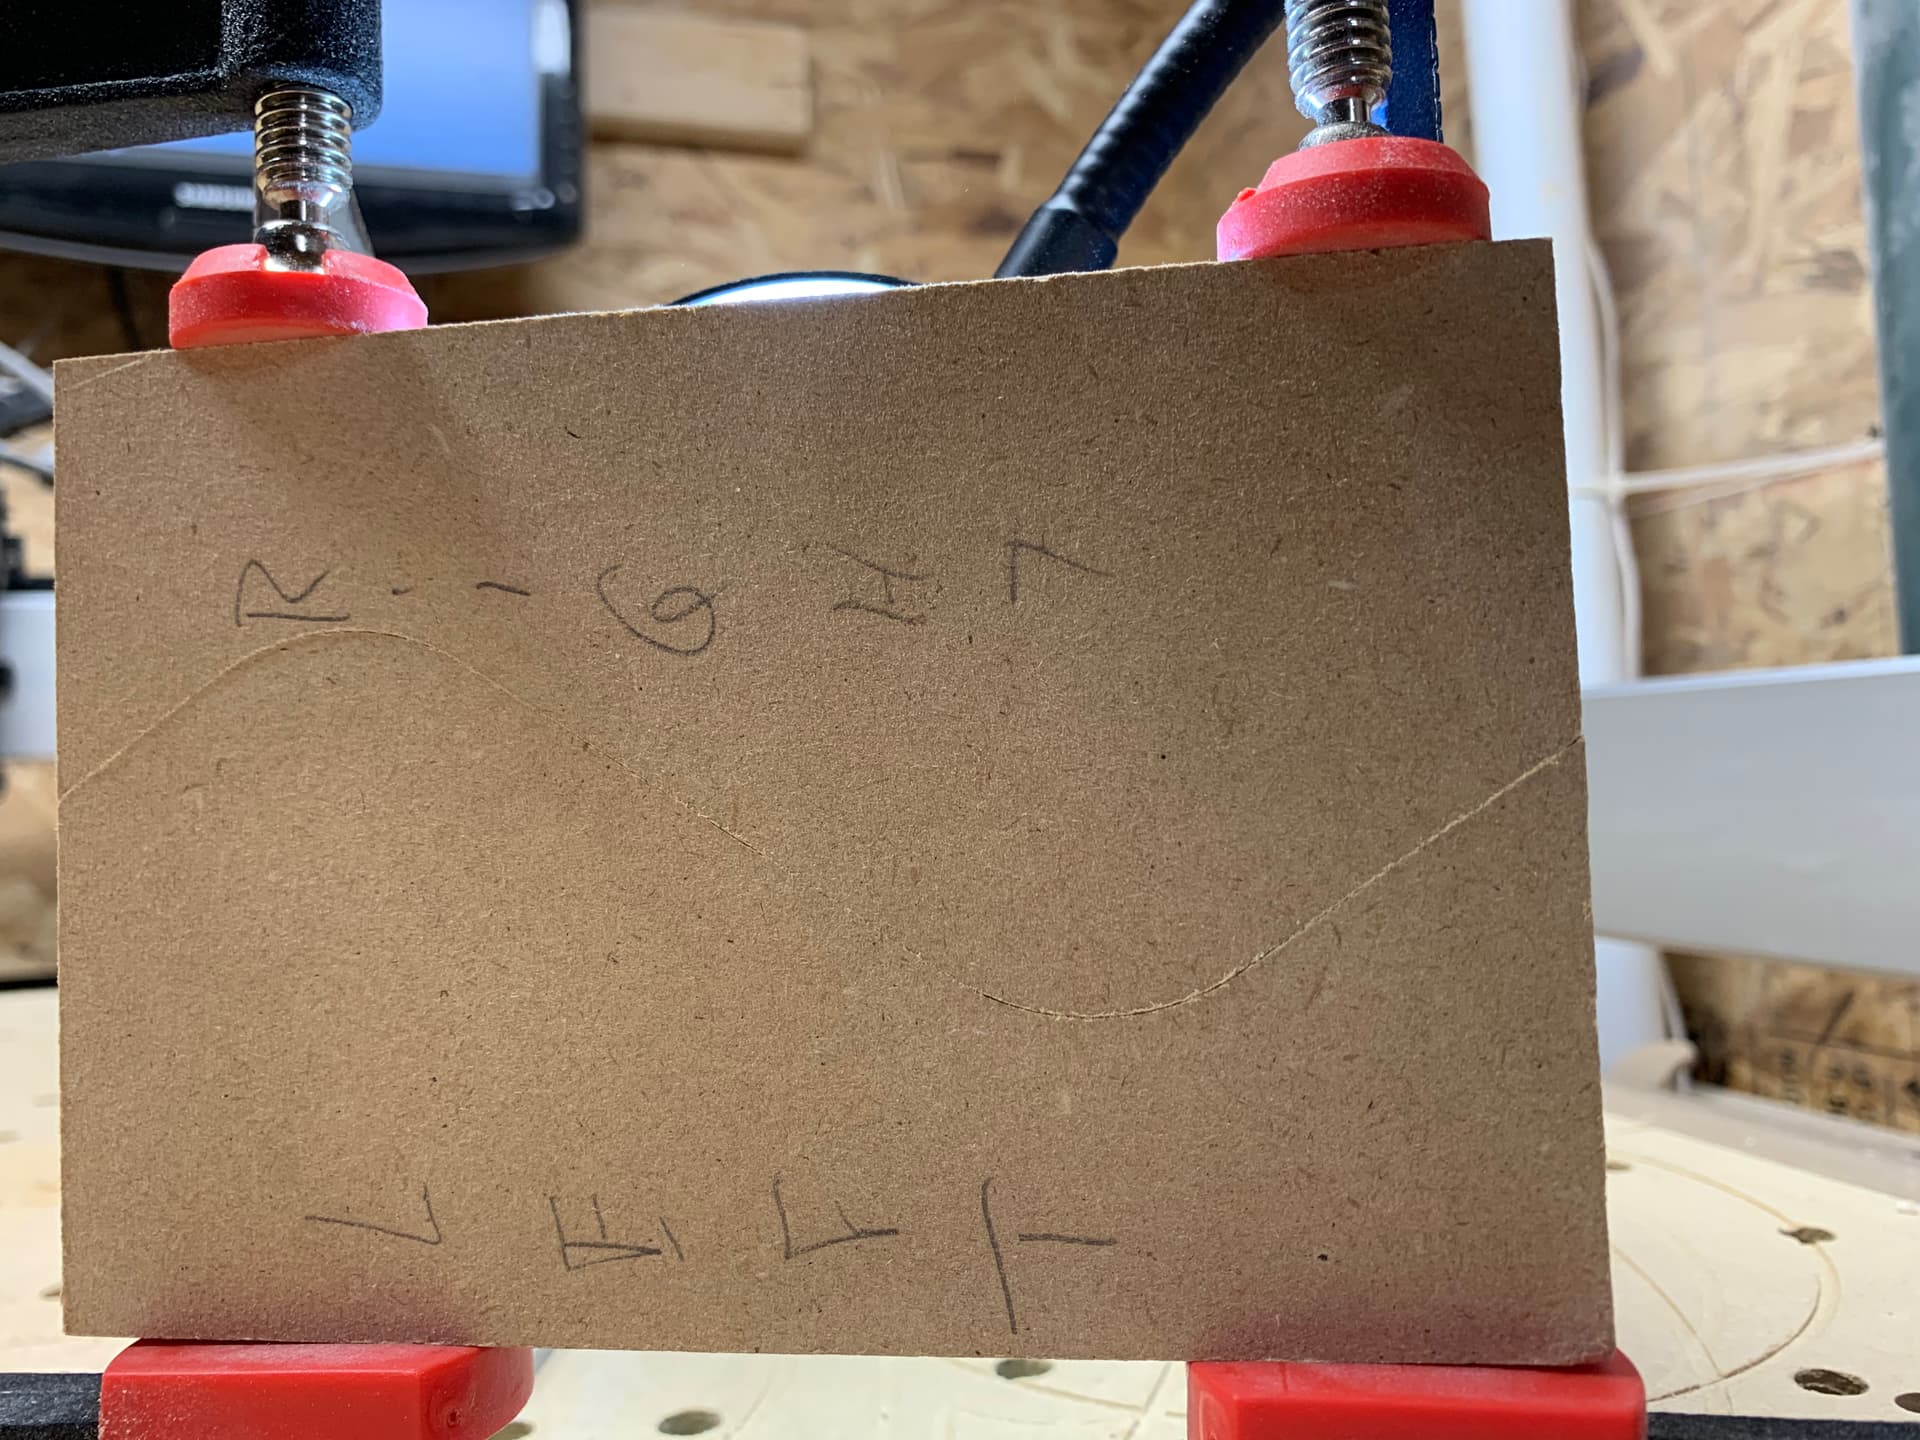
Ok. I get that if you’re using a bandsaw. I’m a Visual person so I had to test out my thinking. I made two identical boards and labeled the left and right. Made
my toolpath and offset it 0.025” on either side for my rough and finish passes. As I said before as long as the inside radius are larger than the radius of the tool being used they should fit together. Here are some photos of my findings. To me they fit together pretty darn good.
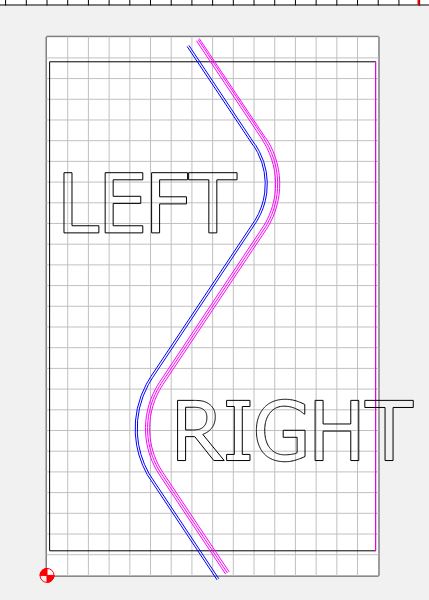
Thanks for sharing that test; it brings up a good point which is I’m really new to this whole thing, and I’m still trying to get my head around it. If you don’t mind, does the pink line represent a rough cut and the blueish line indicate a final cut? Is the process you used similar to that shared by Tod1d, such that the vector is duplicated and moved over rather than offset? Sorry, but I’m really just getting started, so this is all probably pretty basic for most folks. Thanks in advance.
I think what tod1d is suggesting is if you are trying to cut one board in half with the curved line and put it back together. Maybe I’m wrong idk. The pink lines are the the actual contour I want the machine to follow and with an offset not a move like tod1d said. The blue lines are what side the endmill will go on. When you see the blue line on the right it’s actually cutting out the left blank and vise versa.
We all start somewhere. Don’t be sorry for asking questions. It’s how we learn. Believe me I’ve asked plenty
Yes. If I understand what Paul is saying. He has 3 curves. the original center curve is the design curve, and the tiny offsets to either side are for the roughing passes. For the left piece he uses the right rough curve, and the center curve to finish. Then for the right piece he uses the left curve for rough, and the SAME center curve for finish.
The caveat here is he needs to move the right piece after cutting the left piece, or start with 2 separate pieces. Whereas WP was trying to cut both halves from the same board with as little loss as possible.
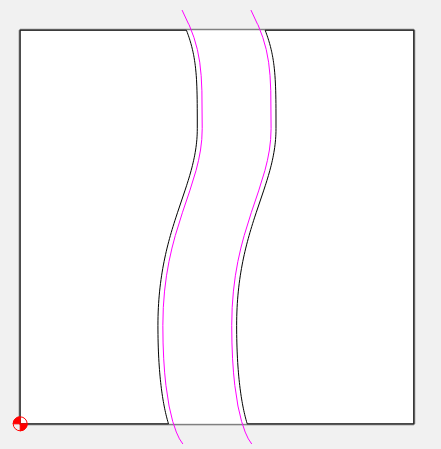
If it helps, think of it this way, cutting each side independently, but without moving anything.
So for each side I rough using the pink curve, and finish to the black curve.
Now just move them closer together to reduce the gap to just a little bigger than the tool width + rough stock. i.e. 1/8" tool, 1/32" rough stock. Total width 3/16"
Yes exactly. You were able to articulate it much better than me. I guess I misunderstood from the beginning. I thought he wanted to joint 2 different types of wood together, that’s why I couldn’t wrap my head around it.
He does, but I think he wants 2 finished pieces so he’s making the cuts, then swapping one half to mate with the other wood type. At least that’s how I read it.
Not necessarily “better”, but different. It helps me a lot to see the same thing explained several different ways. And we all look at things from a different perspective.
To be fair, you are both right, in that I want to make a cut in a certain stock, say Walnut. Then a cut in say Maple. Then merge the left Walnut piece with the right Maple piece, and vice versa again with the left Maple and right Walnut, so end up with two separate projects, one Walnut/Maple, one Maple/Walnut, so as not to waste much wood. But this is all a bit moot right now, as my new carbide router is defective, and they are sending me out a new one hopefully by next week, so everything is on hold until then. Thanks again for your help, and will try it all out next week.
This is the type of things we do all the time … we make a sandwich of two species of boards and cut through both pieces with the bandsaw simultaneously.
You might be able to do something very similar on the CNC. Stack your pieces and make one cut through both. They will match perfectly every time without any need for calculations or really, much precision.