Hello everyone, I’m Thomas I just got my shapeoko 3 XXL about a week ago and just got it set it up with being at work all week. Anyways I need help,I have my machine set up but something is not right, I tried to perform the homing setup and all it does it just make a terrible noise and doesn’t move. I also am trying to jog it but it won’t allow me to move it completely like if I want to move it to the right I can do two clicks and then it’s done moving. Would anyone happen to be around Columbus, Oh and able to help me out??? Thanks in advance!!!
Hard to tell what the problem is from your description the machine could be getting hung up on something, or it might be the homing switches not working.
Assuming you’re trying to home first and it does actually lift and get stuck at the top, skipping belt teeth please check the homing switches: http://docs.carbide3d.com/software-faq/home-switch-troubleshooting/
If that’s not it, let us know step-by-step:
- what you did
- what you expected
- what actually happened
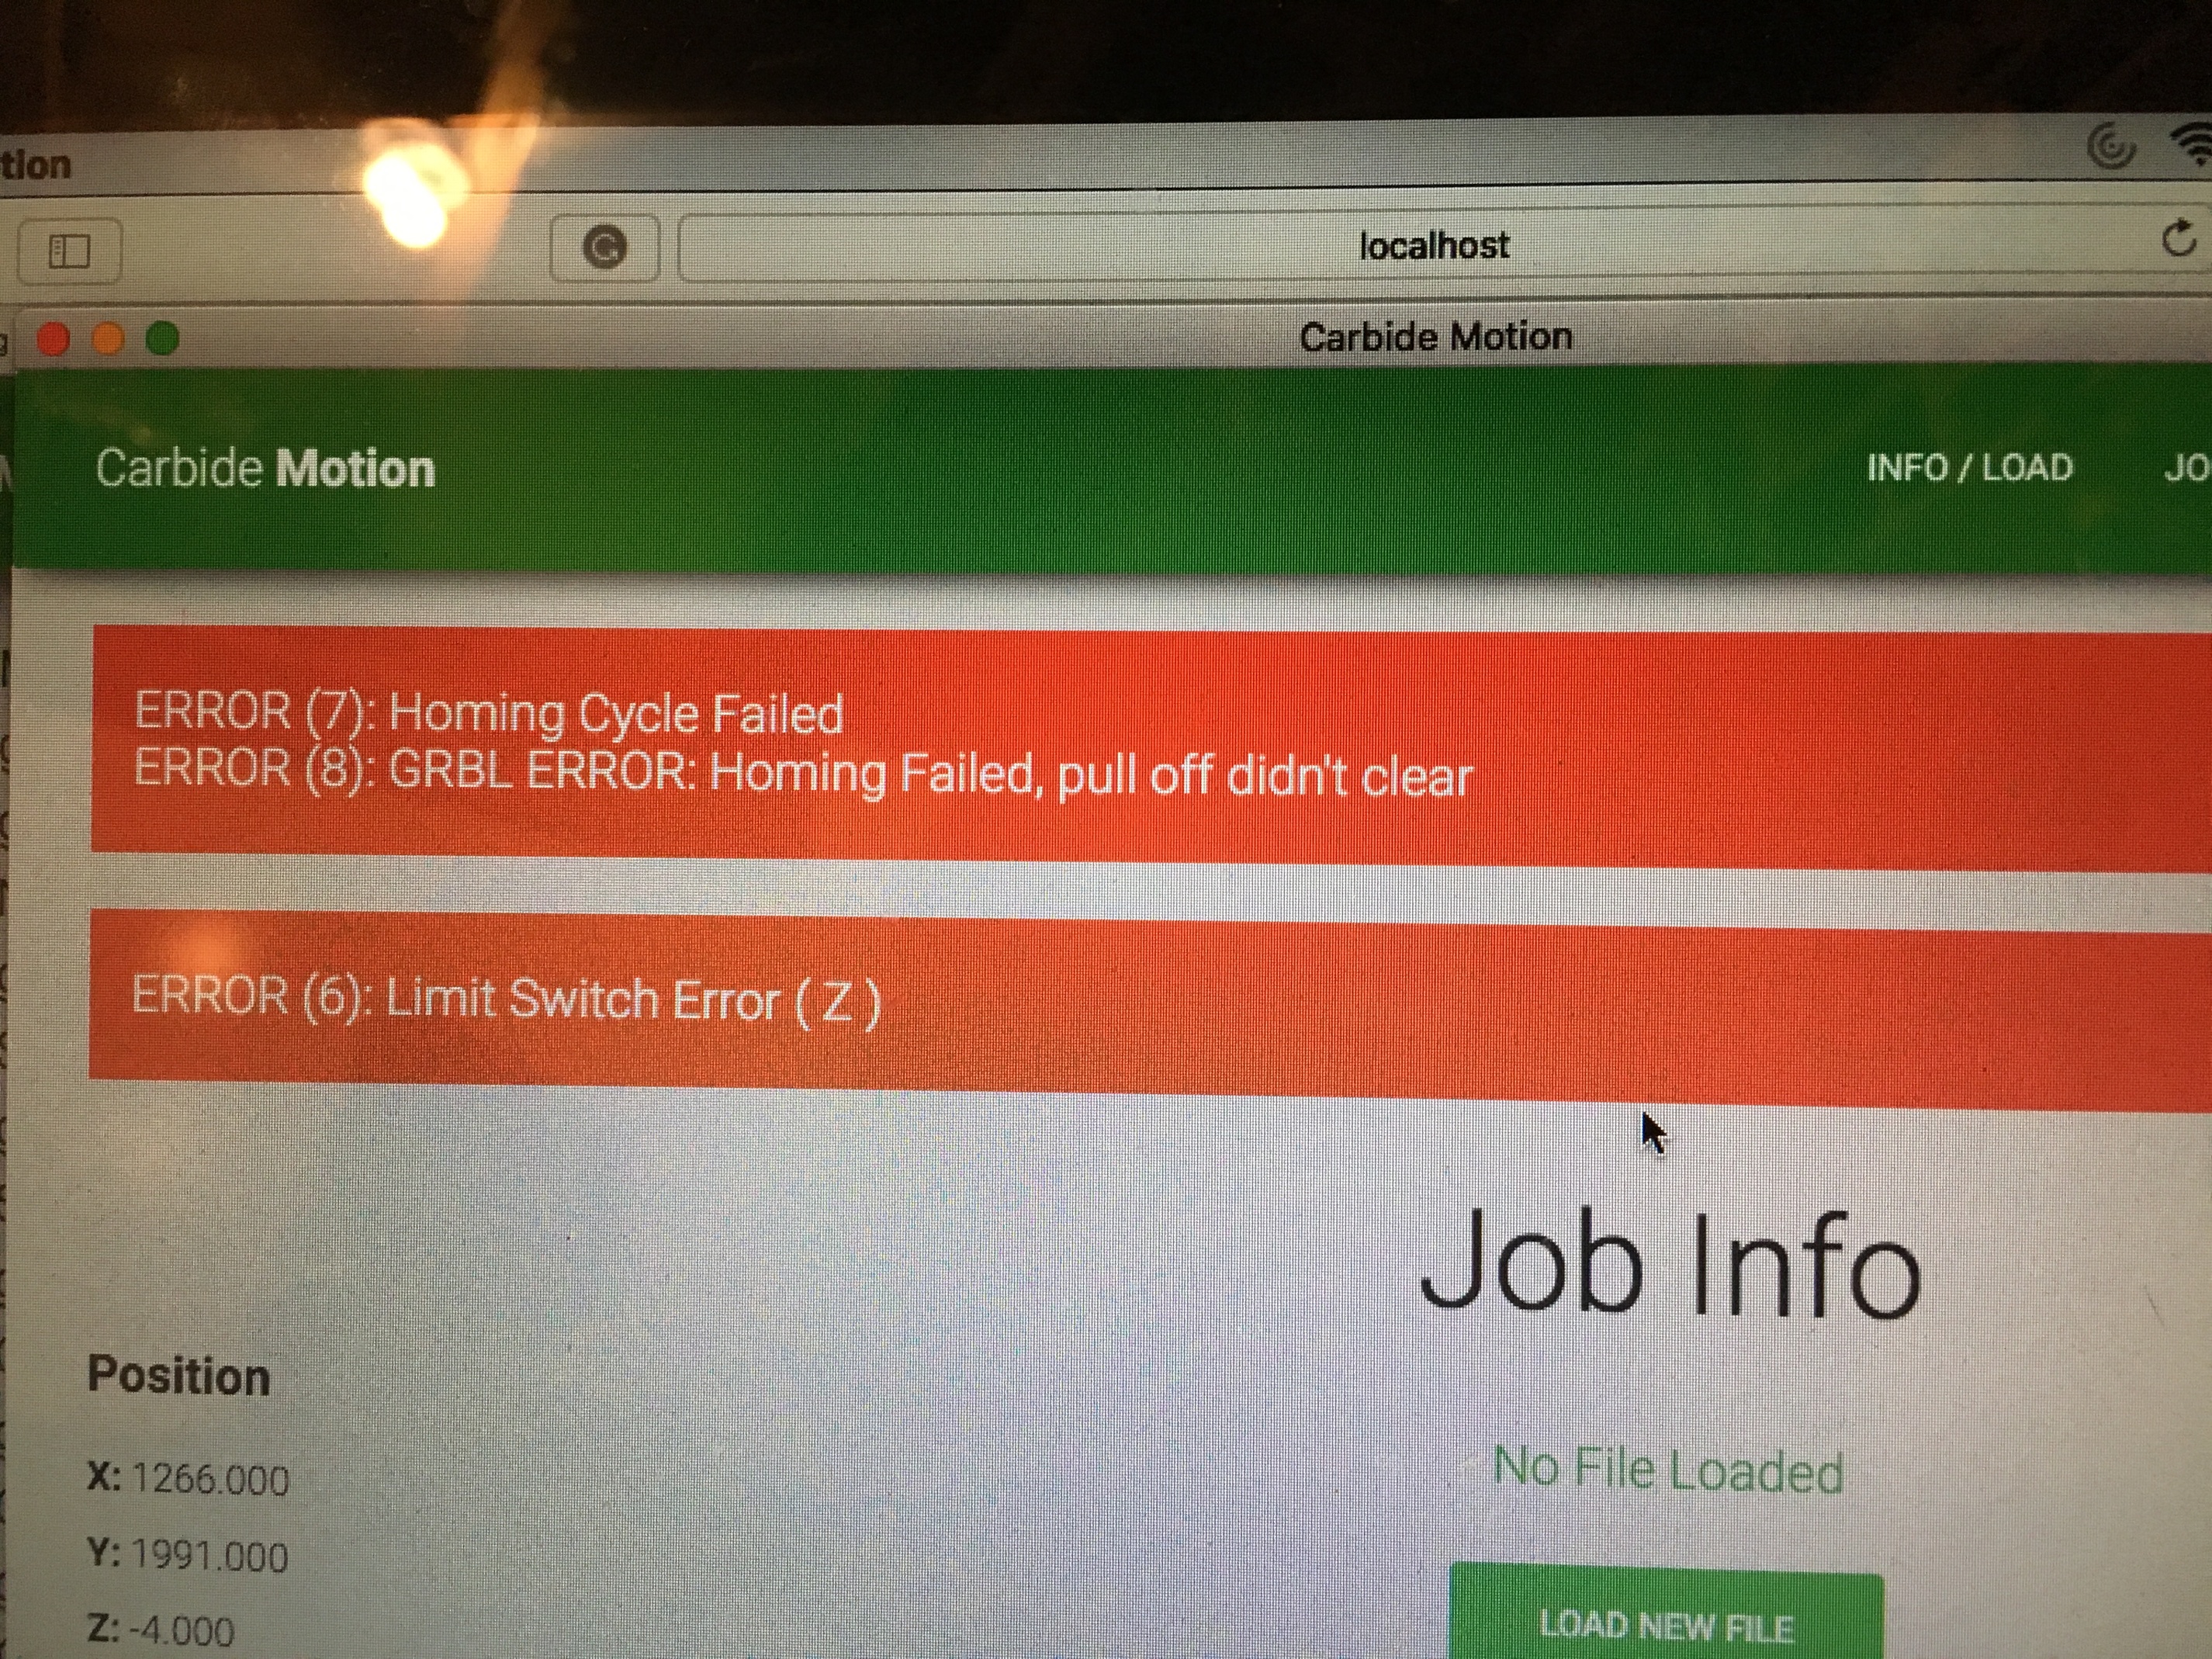
My first problem I found was that I was using carbide v3 instead of v4 but am still having problems. I am getting a couple errors. So I have a couple questions, does it matter where the rails and positioning of everything is when you attempt the homing? So I went into the setting changed it to an XXL and then click jog to attempt homing. I went through the troubleshooting but it seems like that was not the issue.
Is there a way I can send you a video of what is happening?
I believe the machine configuration will determine the speed at which the machine seeks.
Ideally any problem would be addressed at: http://docs.carbide3d.com/software-faq/home-switch-troubleshooting/
If not, let us know step-by-step:
- what you did
- what you expected
- what actually happened
I’m new to this forum and don’t know where to post a question so here it is: how can you set up the rapid position to go dead on the center of the possible working area on the Shapeoko3 xl .It would be quicker to zero in your work piece.
I’m afraid that there isn’t a software option to adjust this in CM4 — you can slightly adjust it by changing how much you have the machine back off the switches and you can add pads to the plates to push things forward and to the left — I suppose you could drill indentations for the switches, but that’s risky — some homing switch designs have bolts for adjustment.
Thanks Will. Here’s what I have a hard time with. When you home the XL machine all axis are at -5 but if you want the machine to go to the center of the working area of 16x33 inches( not the work piece) it won’t go because the y axis at home should be at about -200 (-8 inches) since it’s away from the center by half. Works well with the x axis because it is really at home at -5 and will travel 33 inches to the other end. How can you correct that?
I wrote up my experiences on how things move on the wiki — check in w/ the developers via support@carbide3d.com and see what they can work out.
Well…no. In CNC land, the machine workspace is always the negative quadrant. I don’t entirely know why, but that’s the way it’s been for many, many years, and grbl just stays with that convention.
That said… I think you may be misunderstanding what homing is.
Homing is the machine finding a starting corner. Thats all. For all SO machines, that’s the back right of the work area. Once it knows this, you have a working reference that you can go back to -after the power has been cycled-. That’s all it’s really for (or to make it easy to set up fixtures). The working coordinate system could be…anything. It doesn’t really matter at this point. When you “zero” your workpiece, you’re setting the centerpoint of the >working coordinate system< (not the machine coordinate system) - usually G54, at that point. When you “Zero” you’re basically telling the machine the offset of your work from the machine coordinate system. The CAM tool (in your case, probably CC) generates it’s gcode based on that working coordinate system, not the physical machine coordinate system. There are a multitude of these working coordinate systems…G54, G55, G56, G57, etc. Where you set that makes NO difference in what homing is, does, or where the carriage is after homing.
So, if you’re saying “I want the carriage, by default, to stop after homing in the middle of the workspace so I don’t have to jog as far”… you’re probably asking for something you won’t want in a few months as you come to understand the relationship of all of this and start doing more complicated setups. So in the meantime, ask yourself if it’s really that hard to push the button to jog the carriage around, and if it bothers you -that much-, write yourself the 20 character gcode to move it to the center of your machine (G0 Xxxx Yxxx Zxxx) and type that in on the MDI screen instead.
1 Like
Thanks Mike As I said I am new to this. I have a Shapeoko3 XL and the y axis extends past the machine’s platform by 2 about inches and I was making a 16 inch piece which is the maximum for the XL so it was important to have my workpiece centered on the Y axis. I only hoped there was a way to be sure you were centered.
Thanks again
@alaryj You call use G28 or G30 as predefined reference locations. Jog to where you want the location to be. Send G28.1 (or G30.1) and it’ll store that location. From now on, as long as your machine has homed, you can return there by sending G28 (or G30). That said, if you’re always wanting your work zero to be in the same place on the machine, just set it and don’t change it.
@tconnell21 Is the machine attempting to home? The only thing with positioning before you home is that you can’t be on a switch when you start the process. Basically, make sure none of your limit switches are pressed when you try to home.
I’m in Dublin, OH by the way.
The problem here is the 16" of working area includes a ~2 3/16" overhang at the front of the machine — you can either clamp the stock so that it hangs off the front and cut it unsupported or fabricate a spoilboard to allow for that portion of the working area to be supported when you cut.
1 Like
Yes this was while it was attempting to home but I figured it out, somehow I had missed a pin while hooking up the z axis limit switch so it wasn’t registering  I may hit you up if I need some help though. Thanks everyone!
1 Like
This topic was automatically closed 30 days after the last reply. New replies are no longer allowed.