Need some help with pocketing

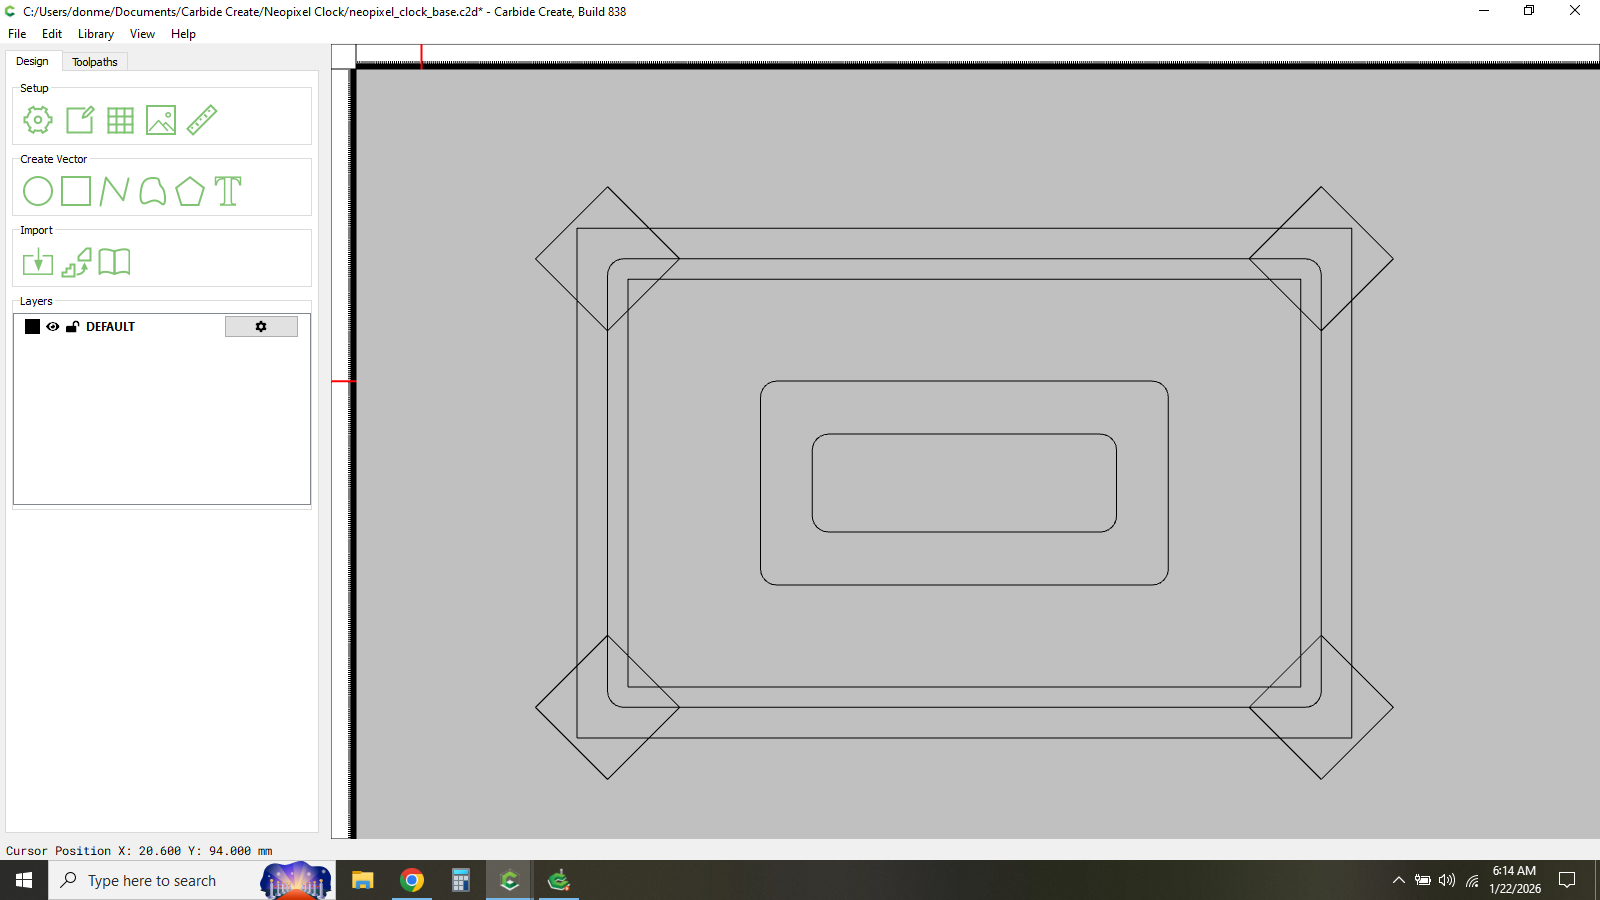
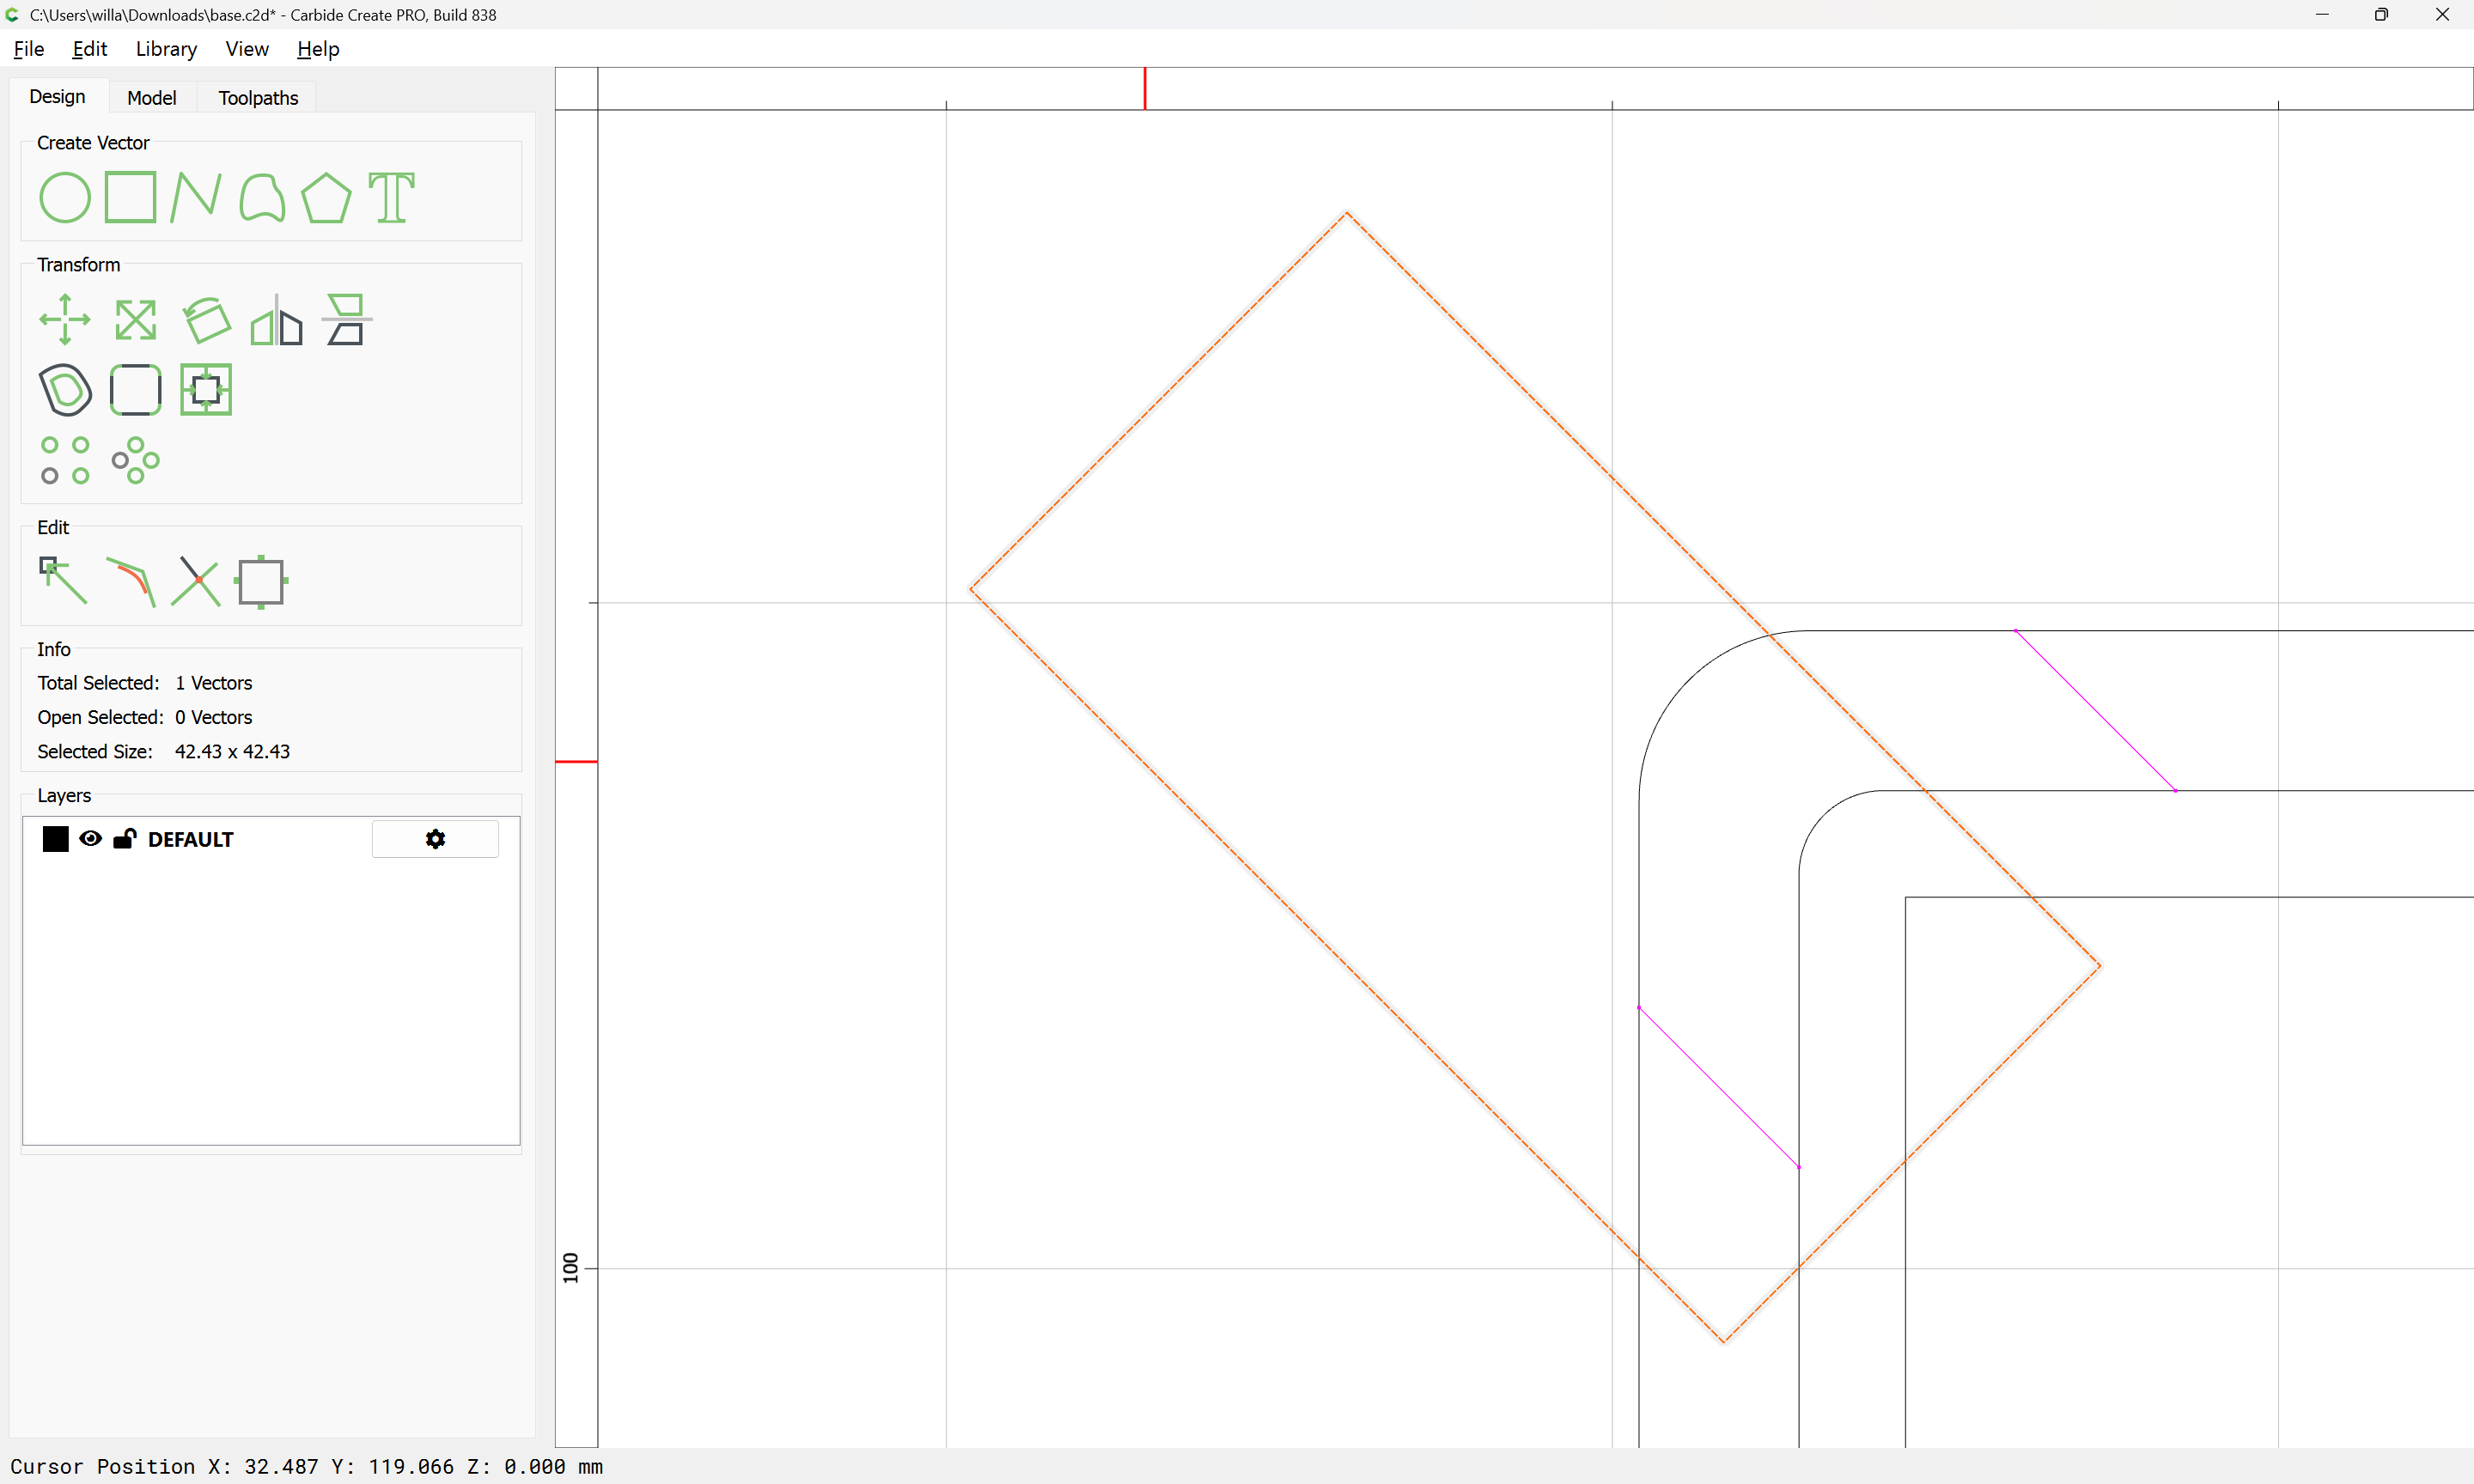
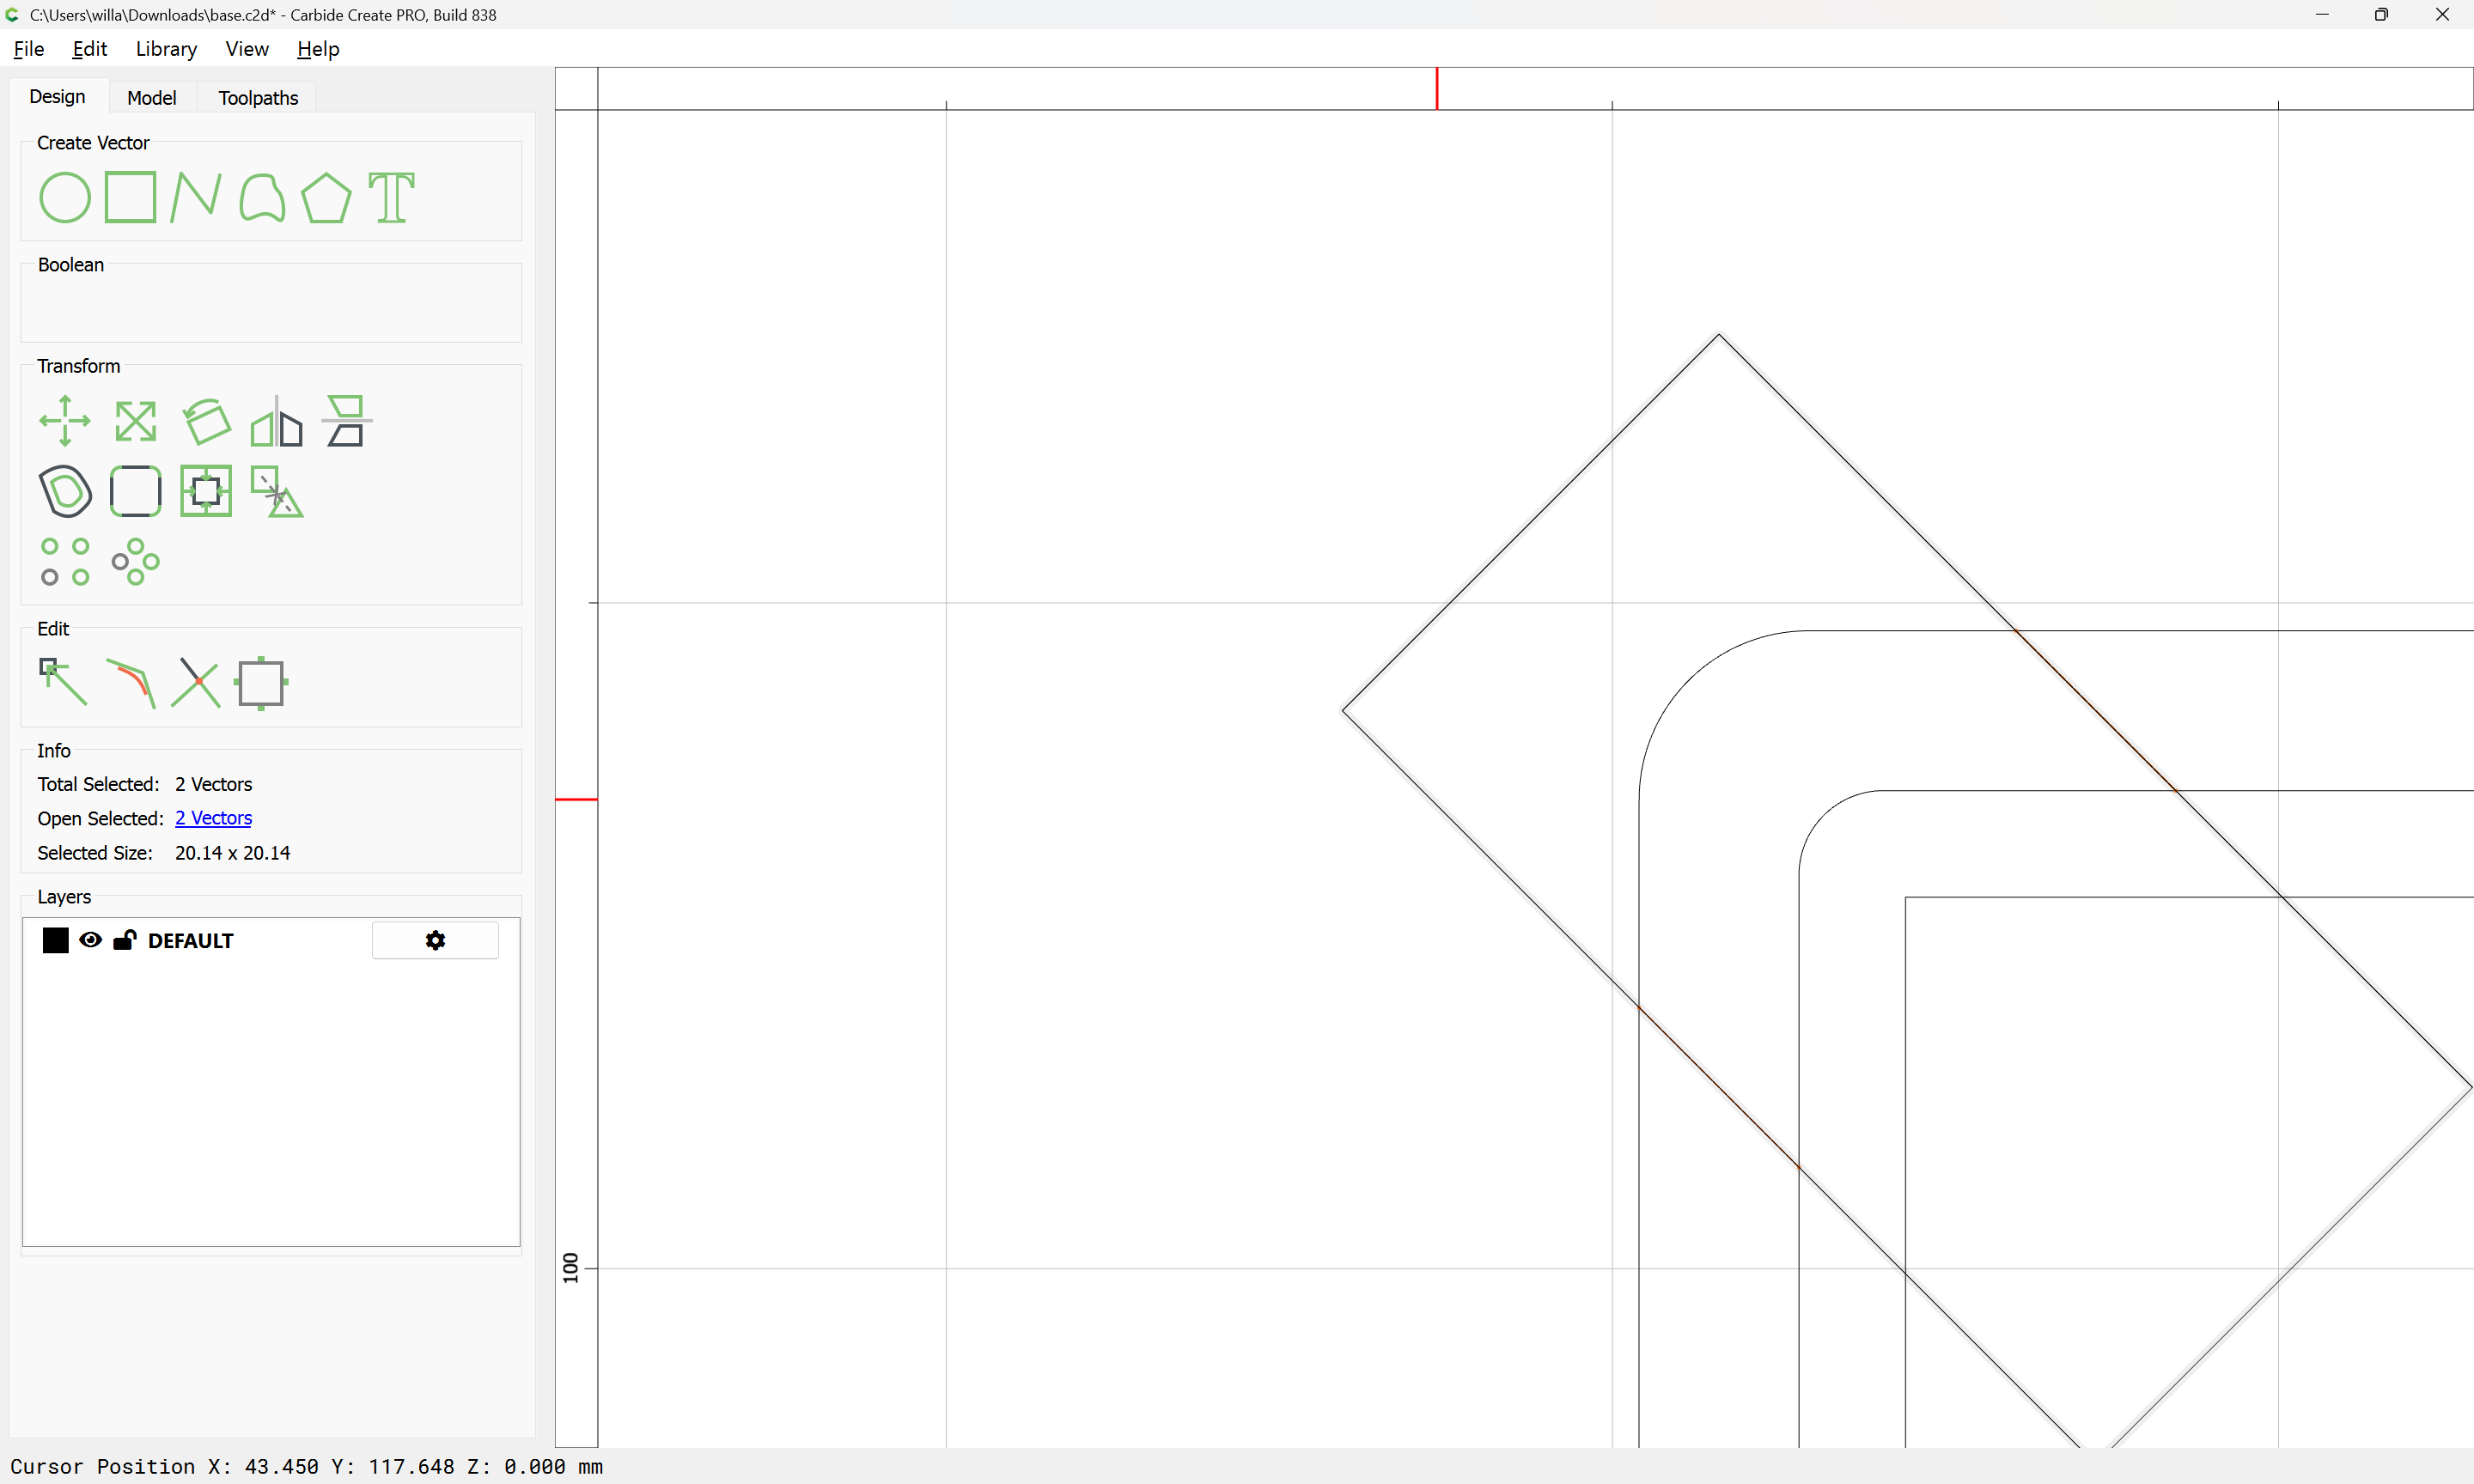
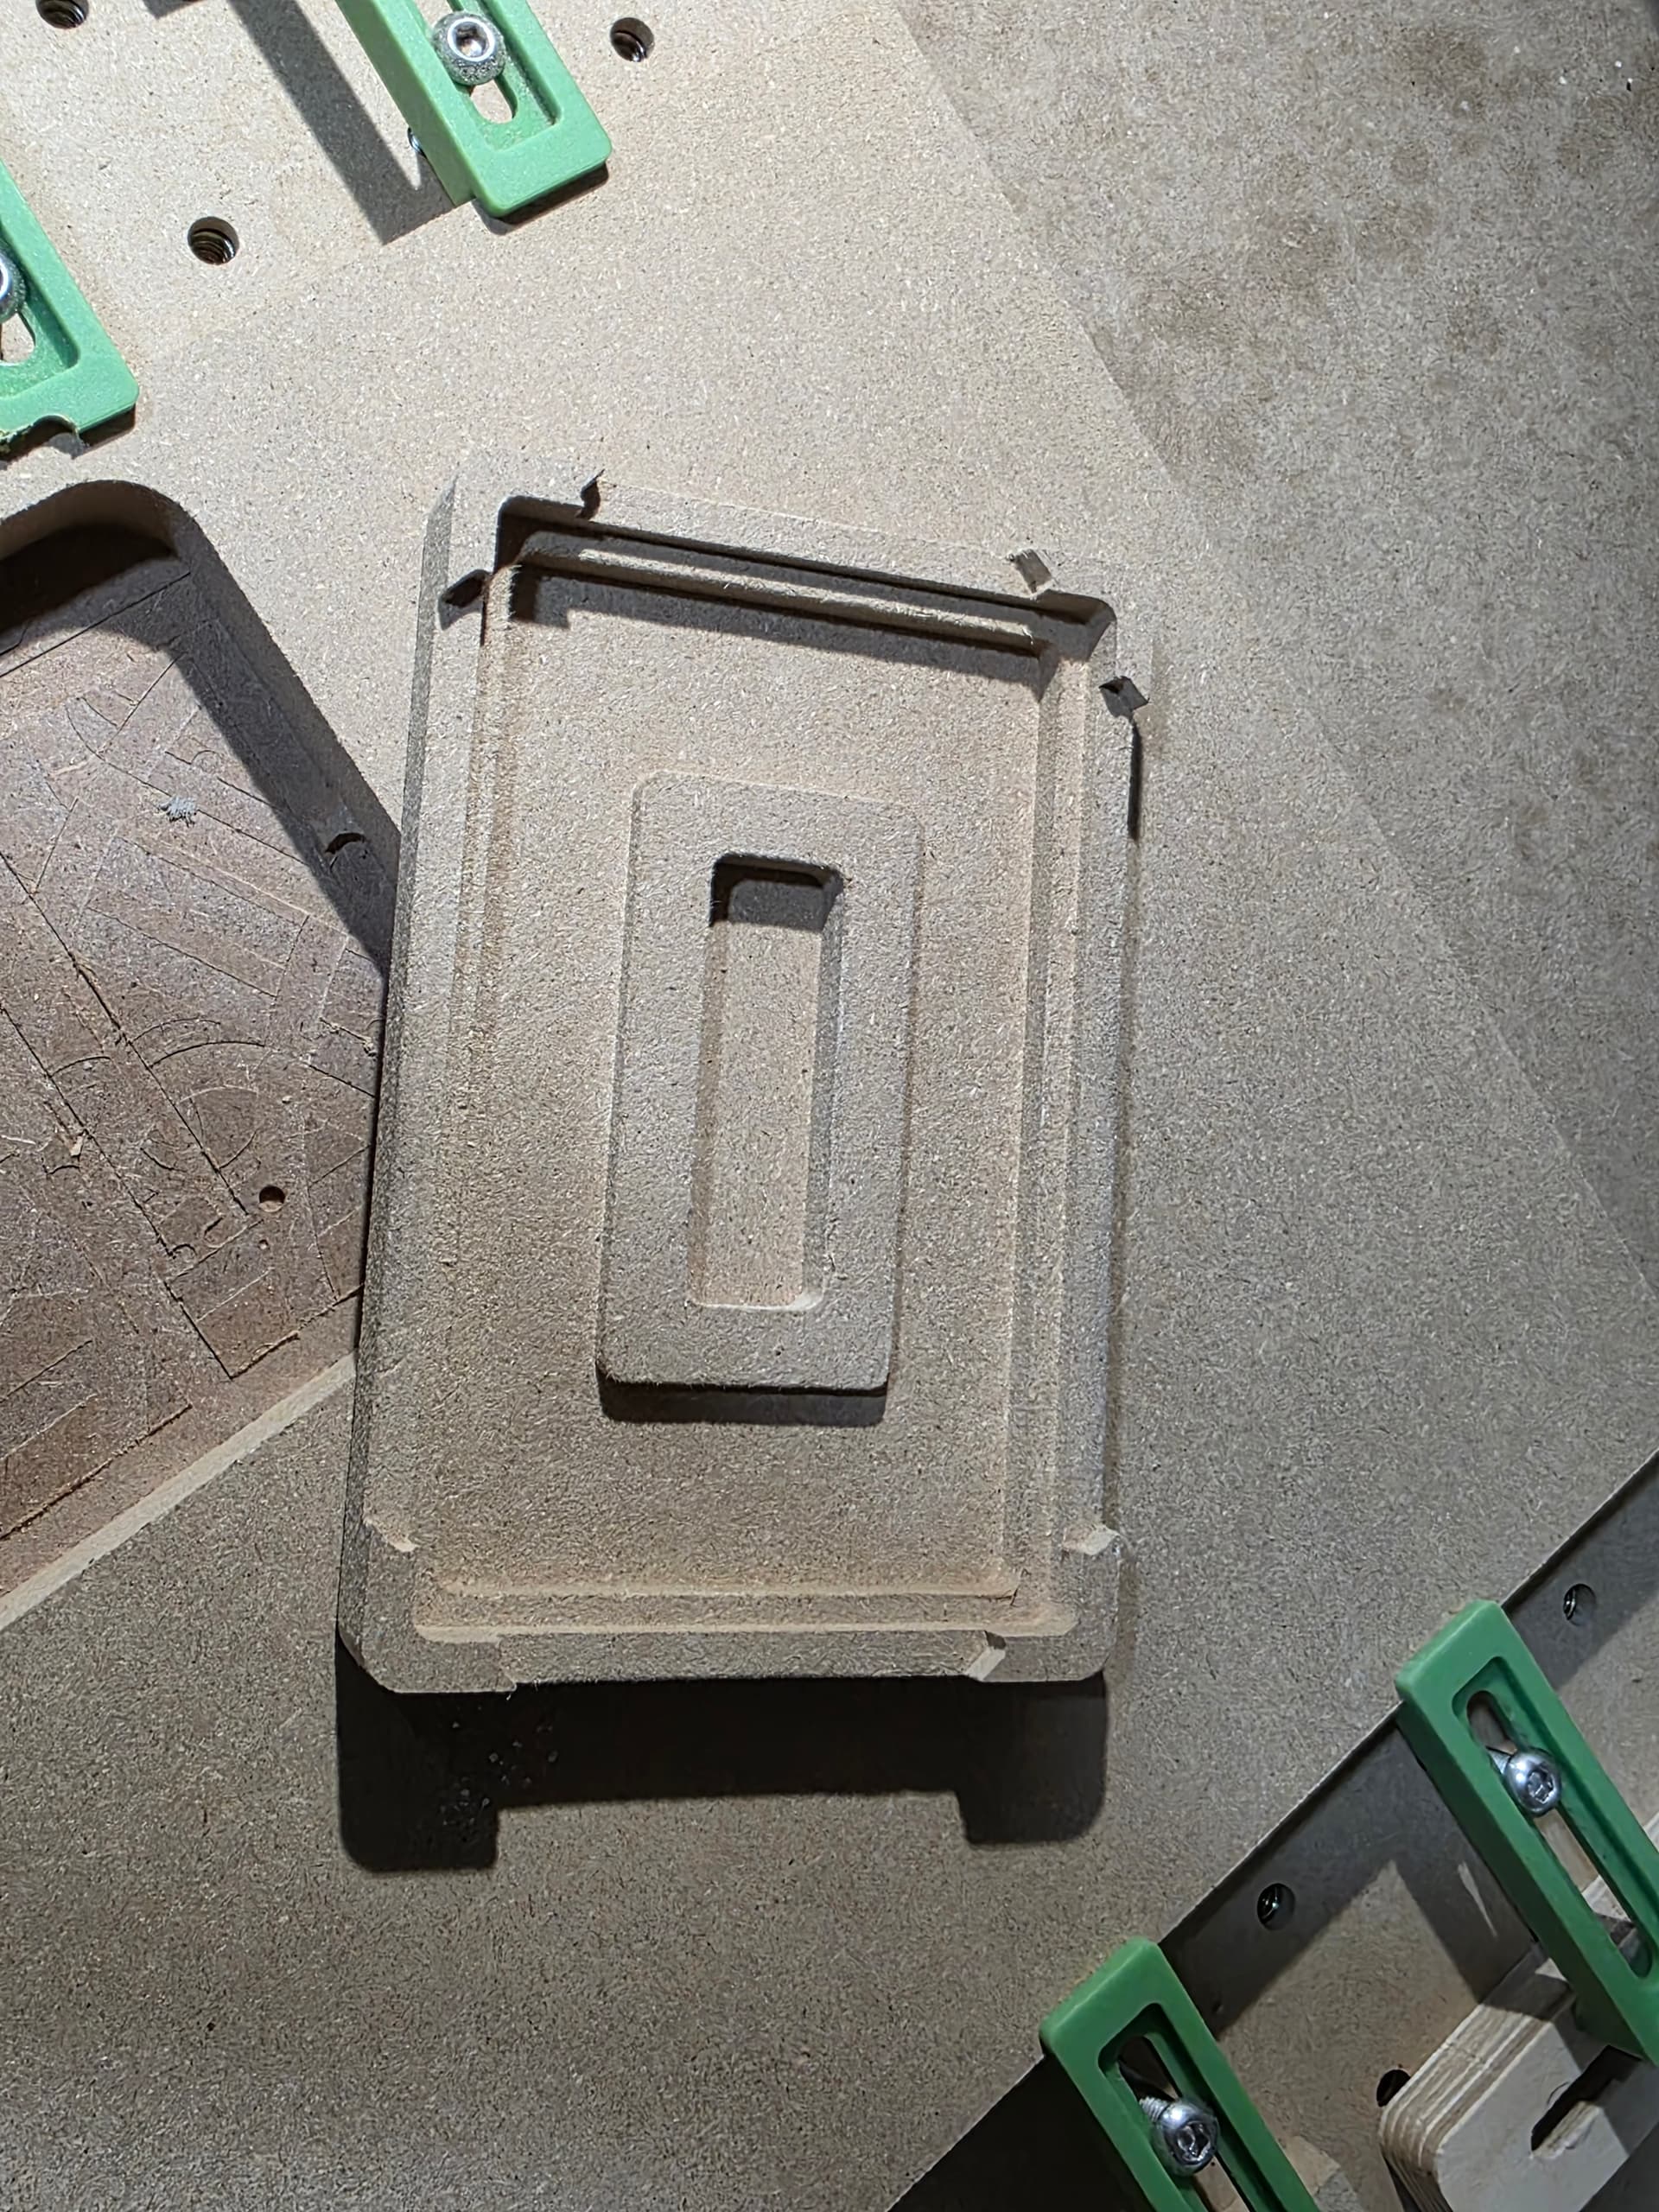
I’m making a base for a project and want to have the bottom corners as legs. I’ve gone through these steps but when I try to define the pocket path for the skirt between the legs it doesn’t work right.

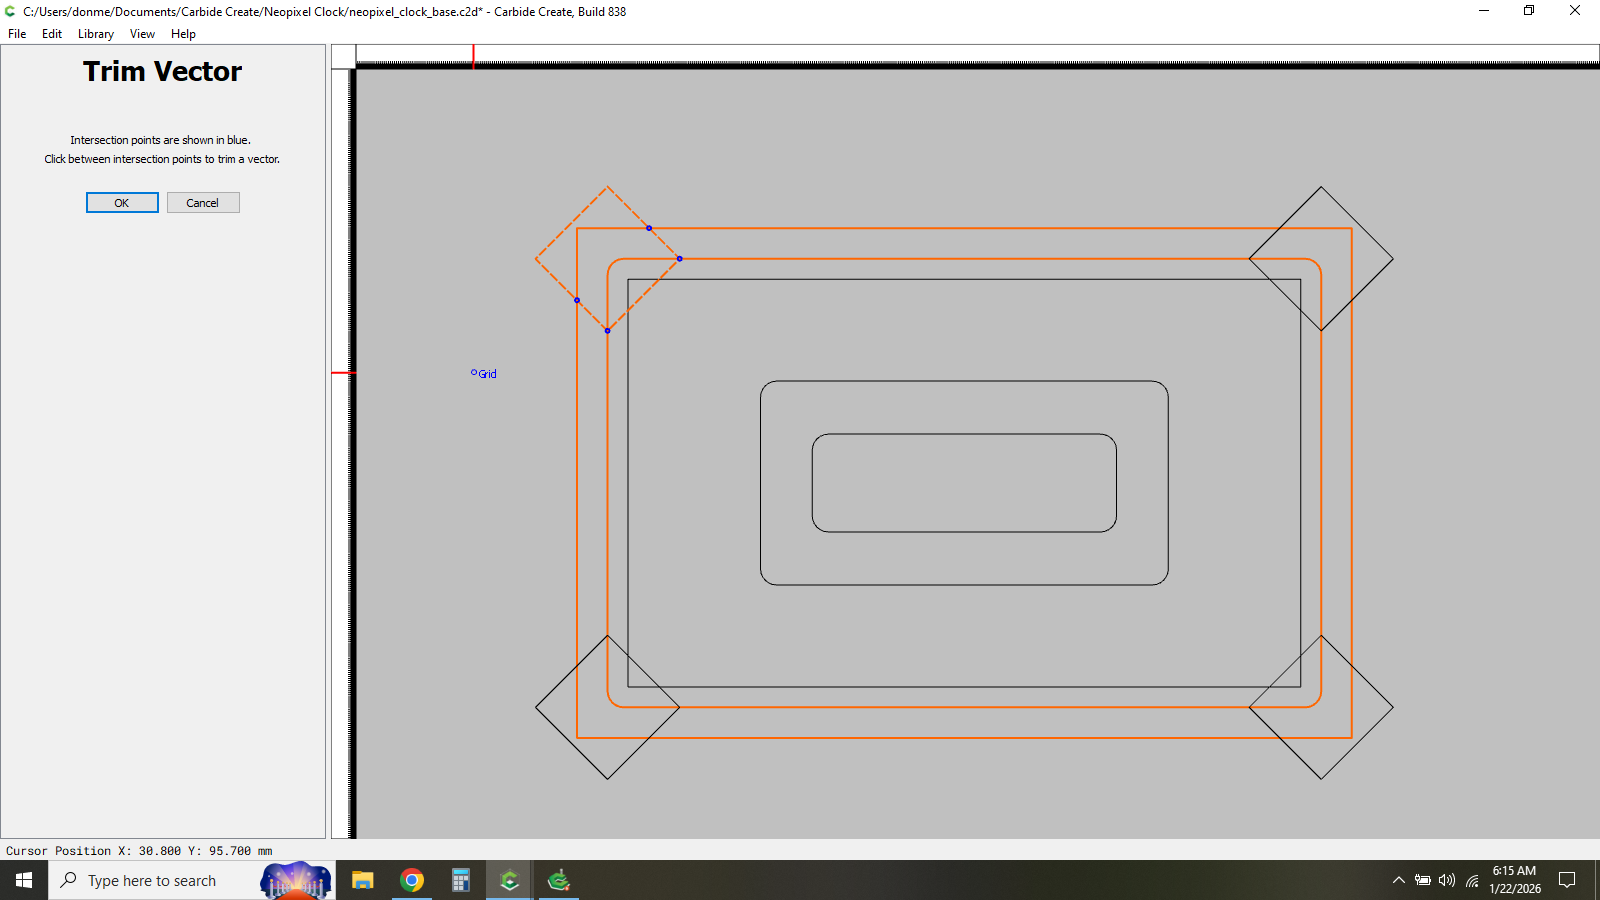
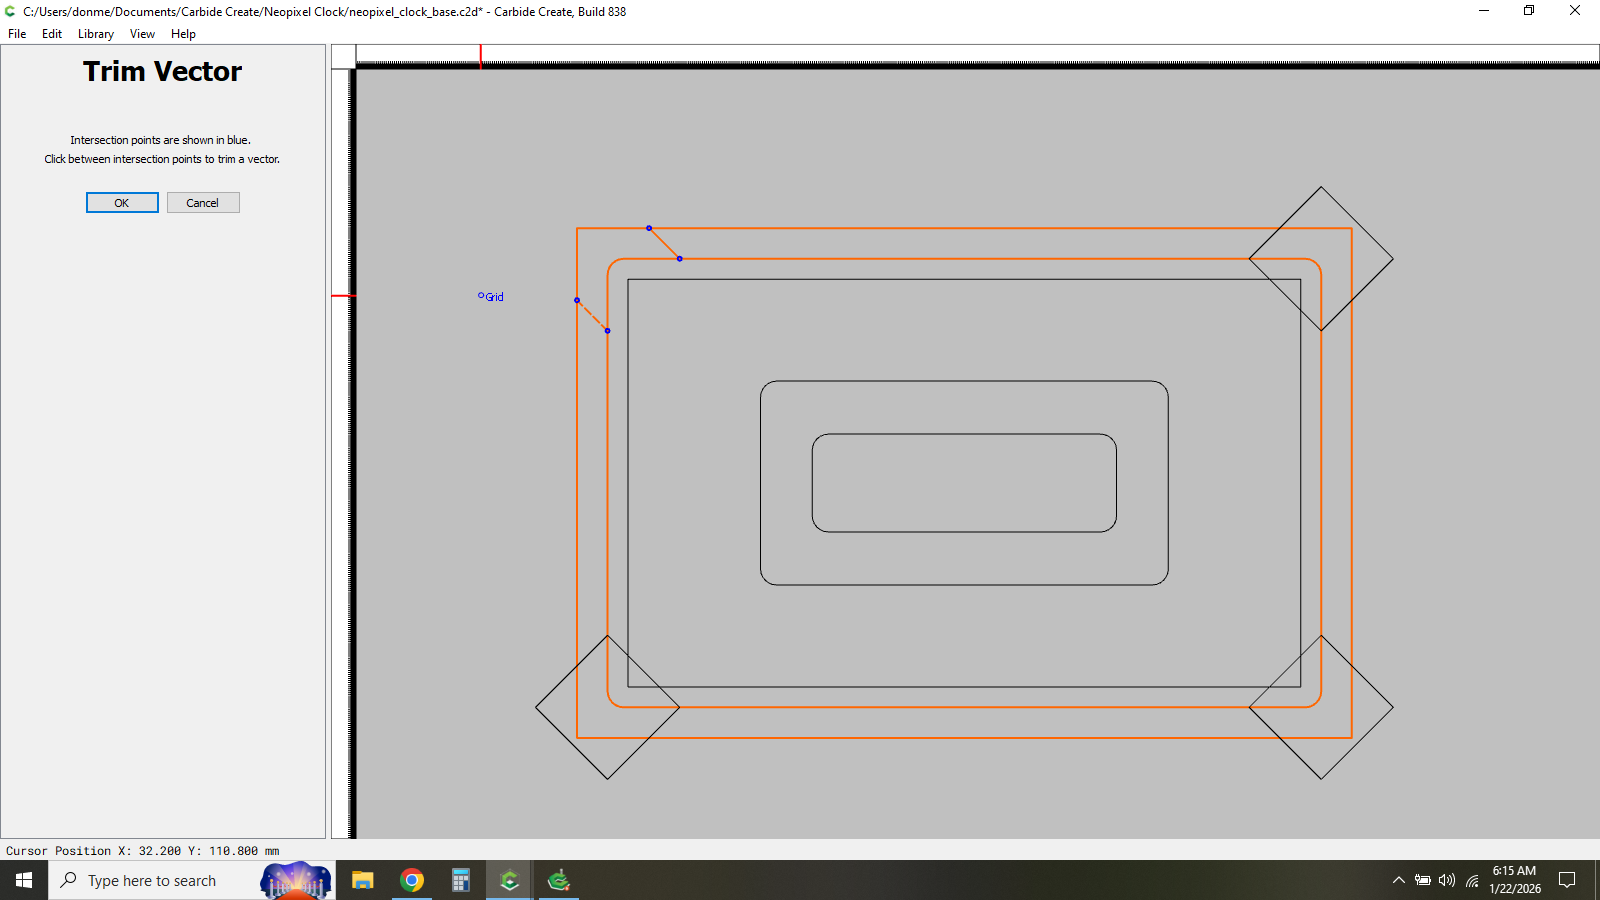
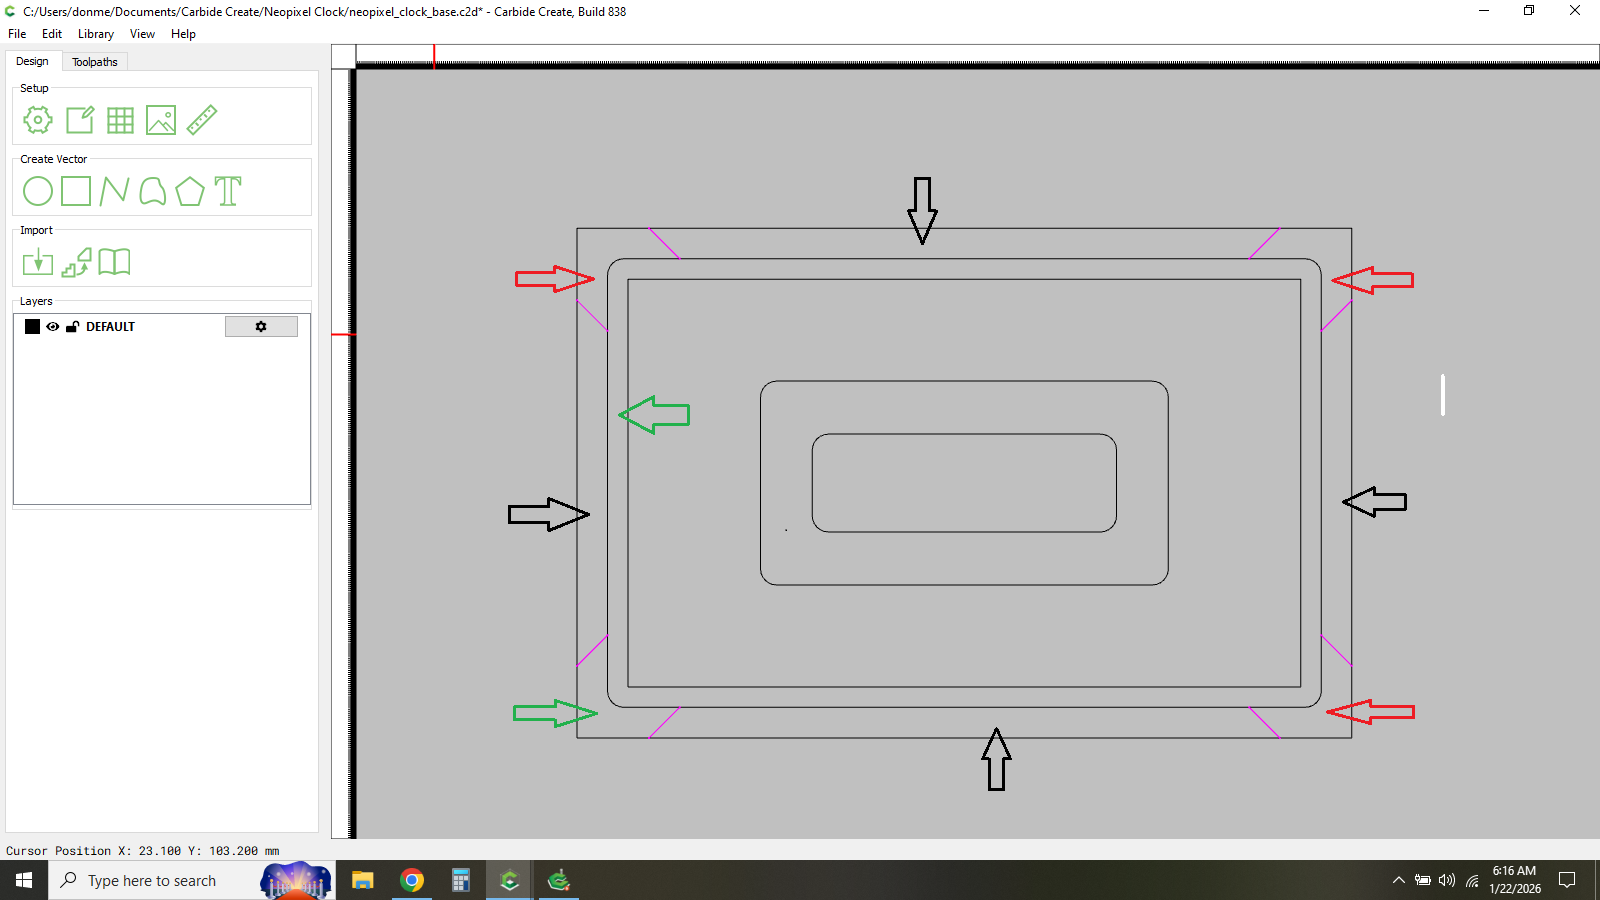
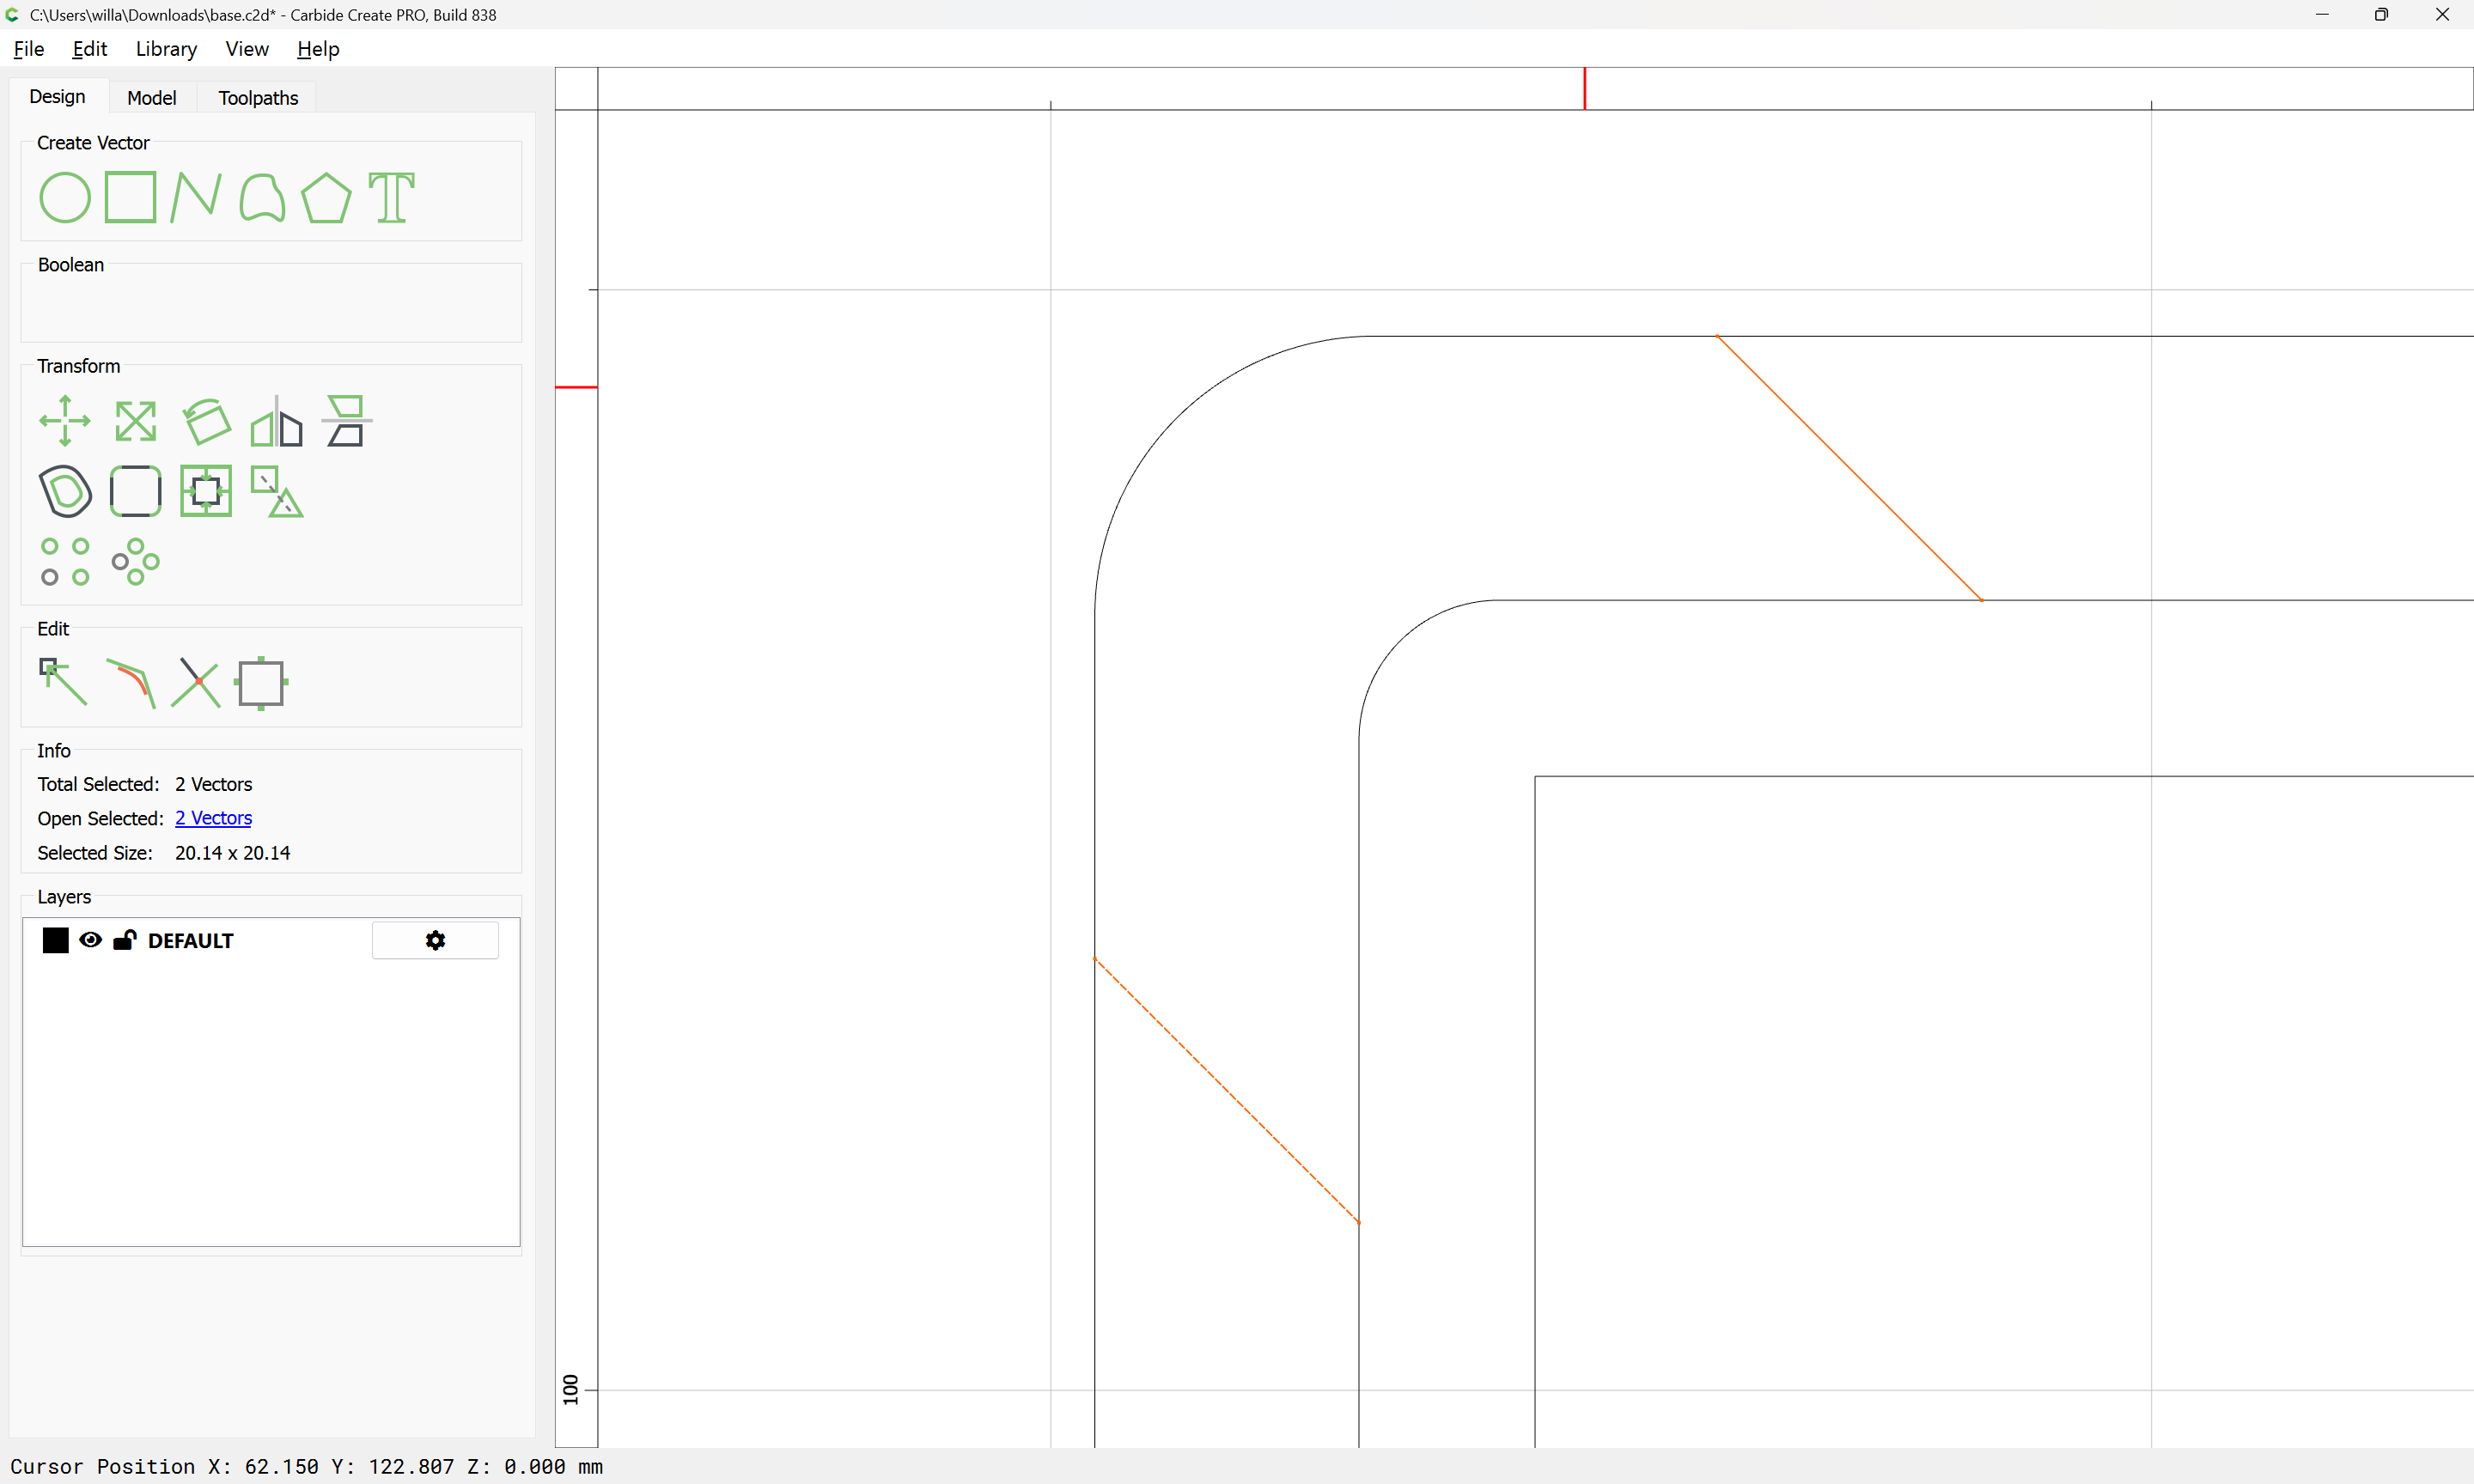
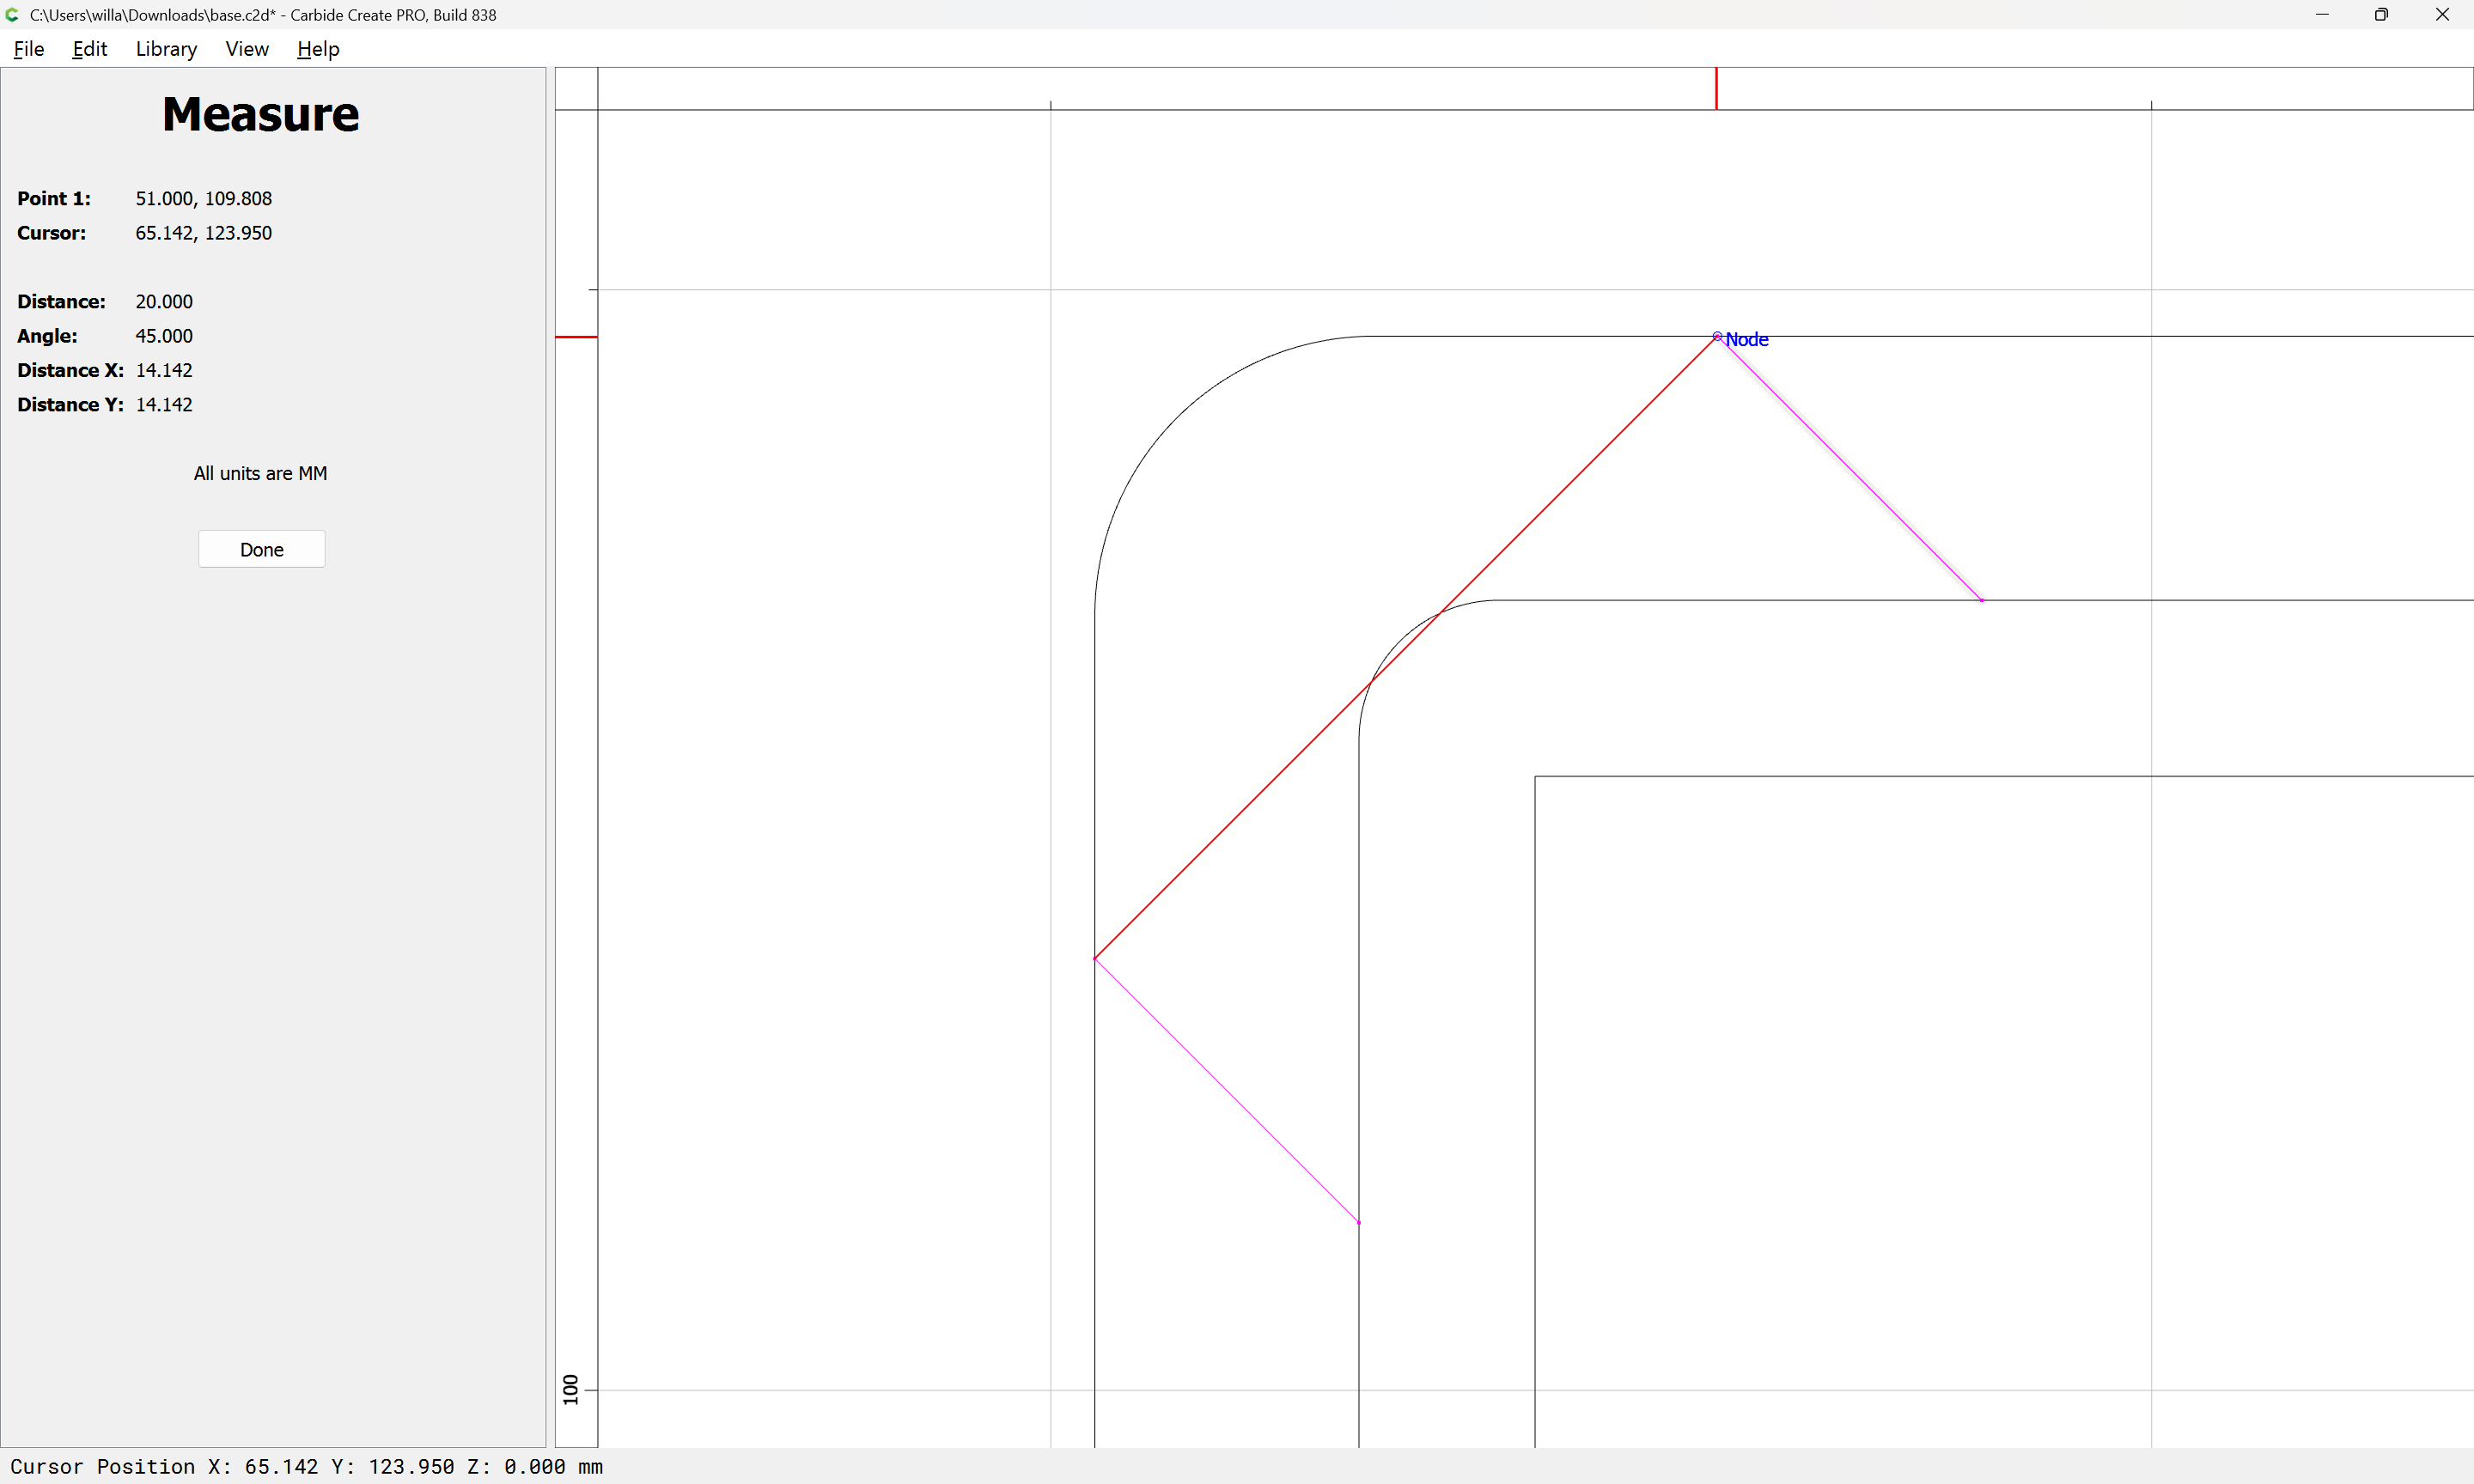
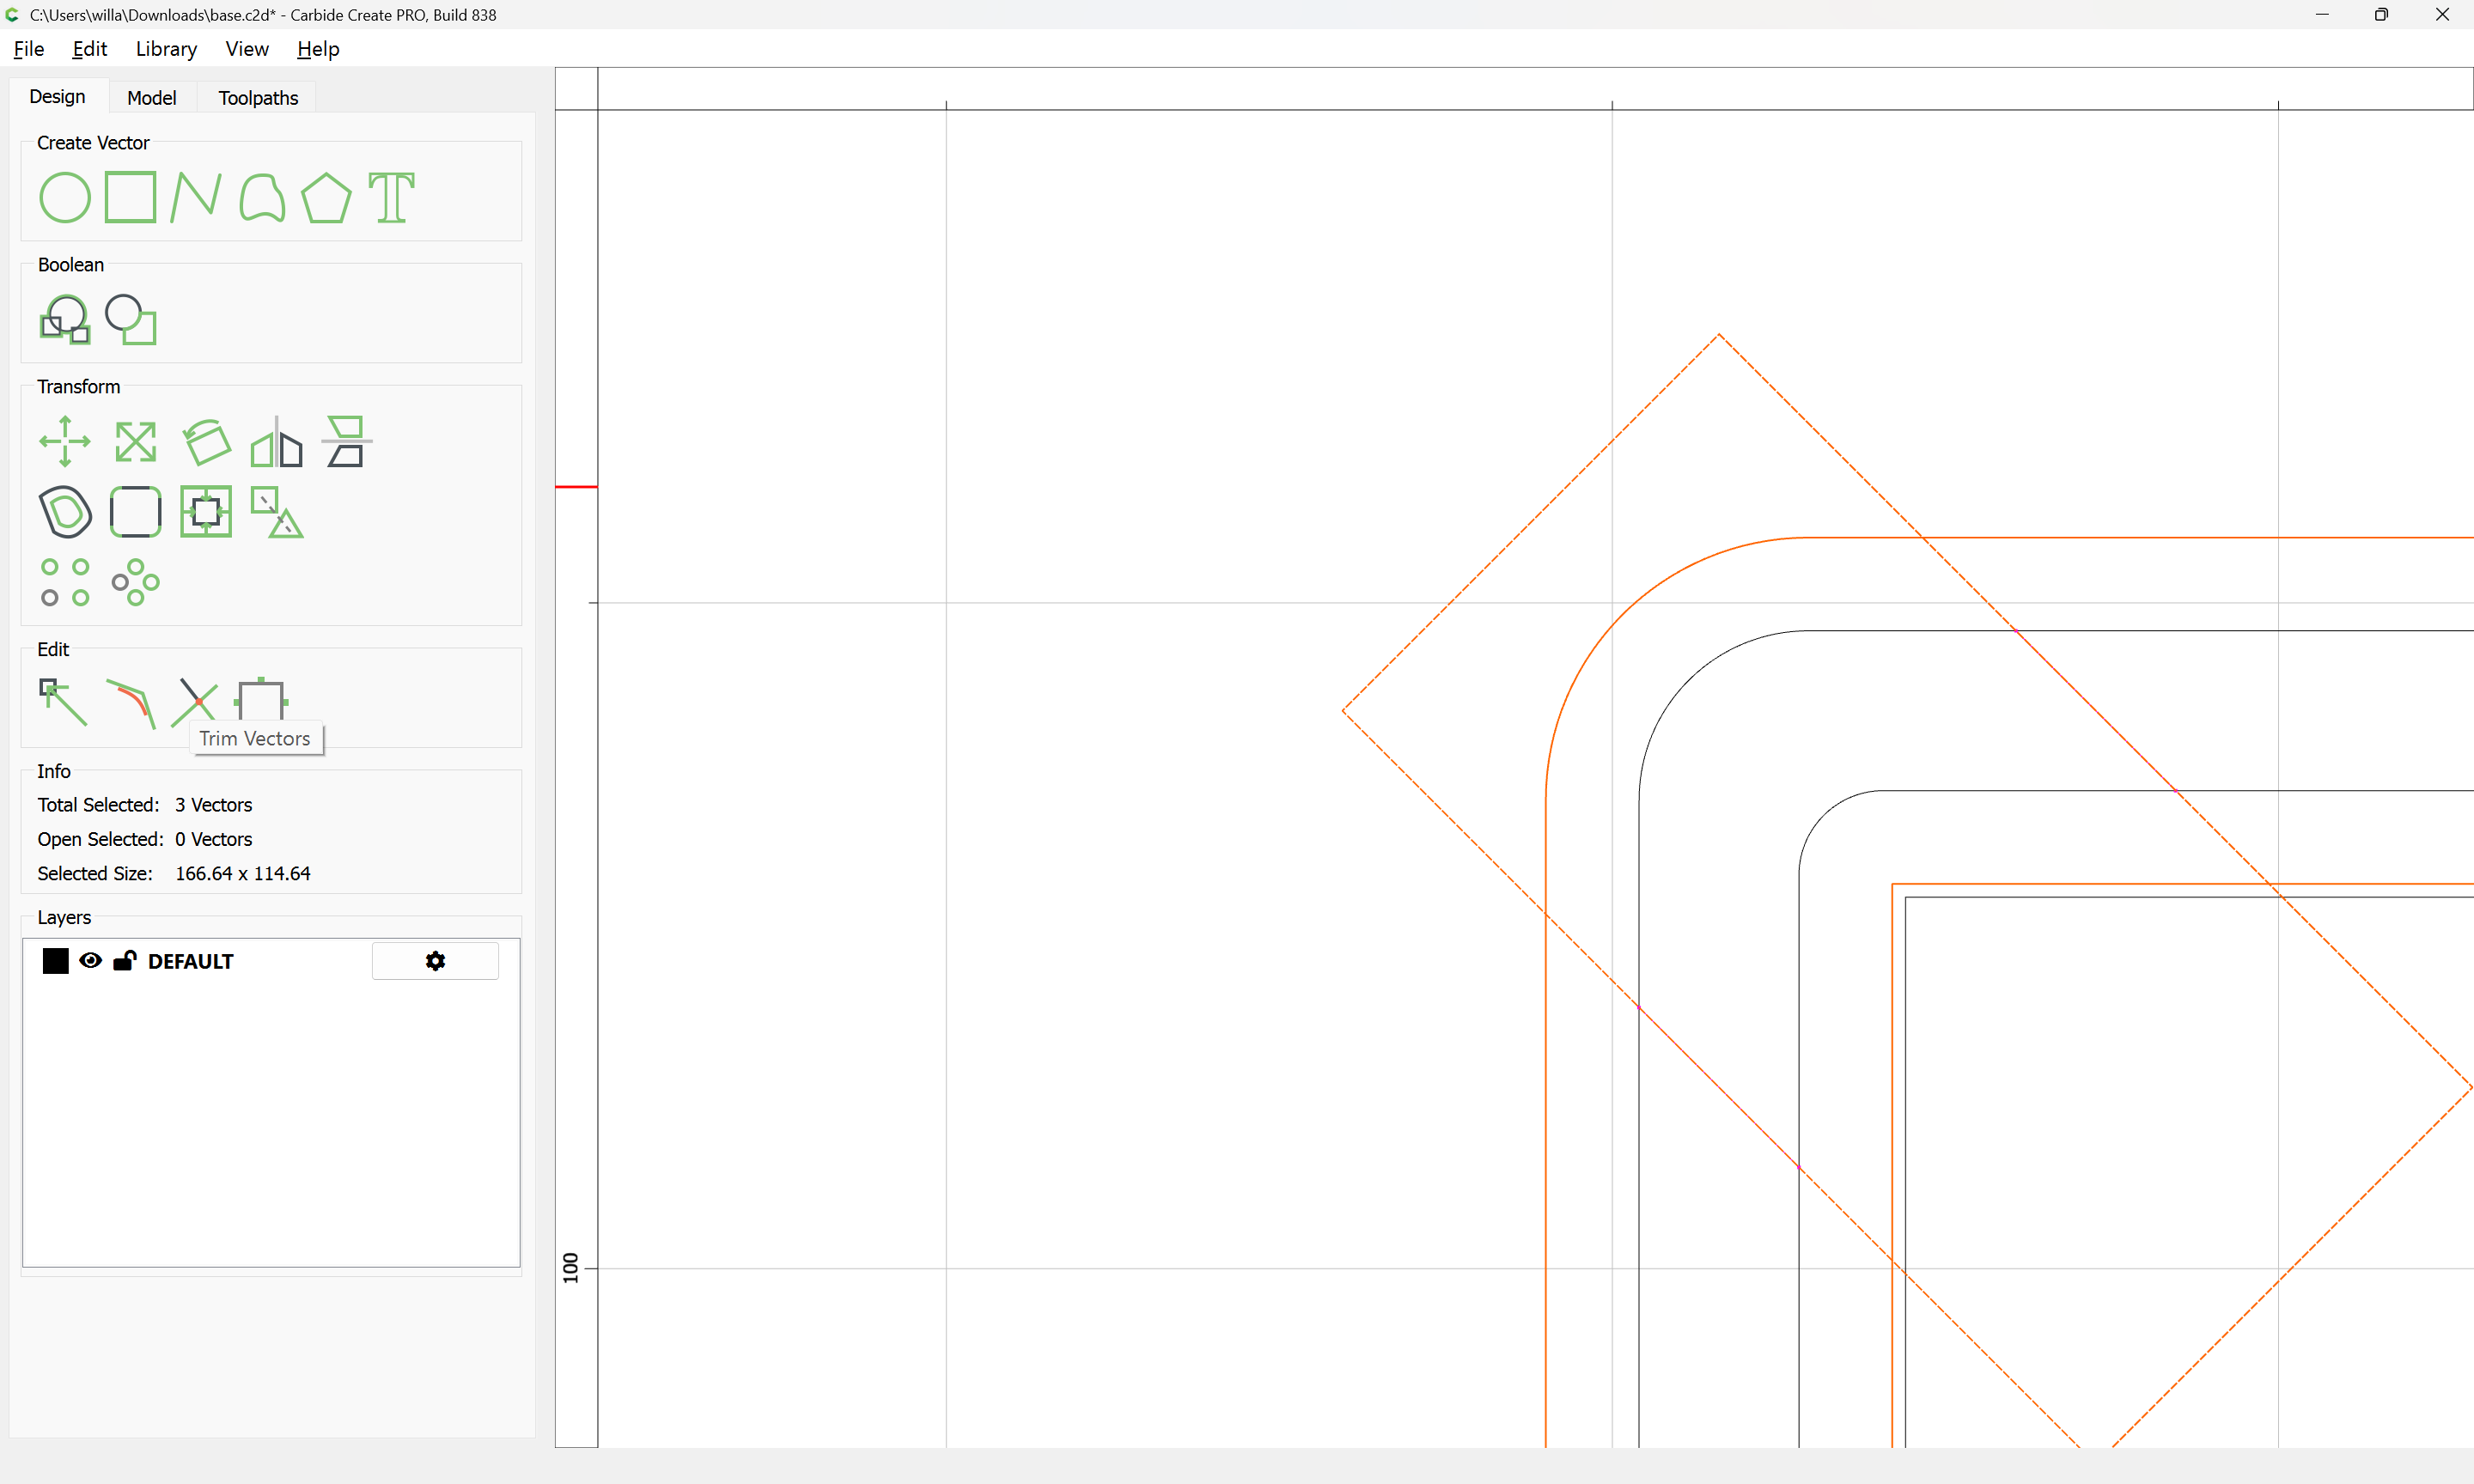
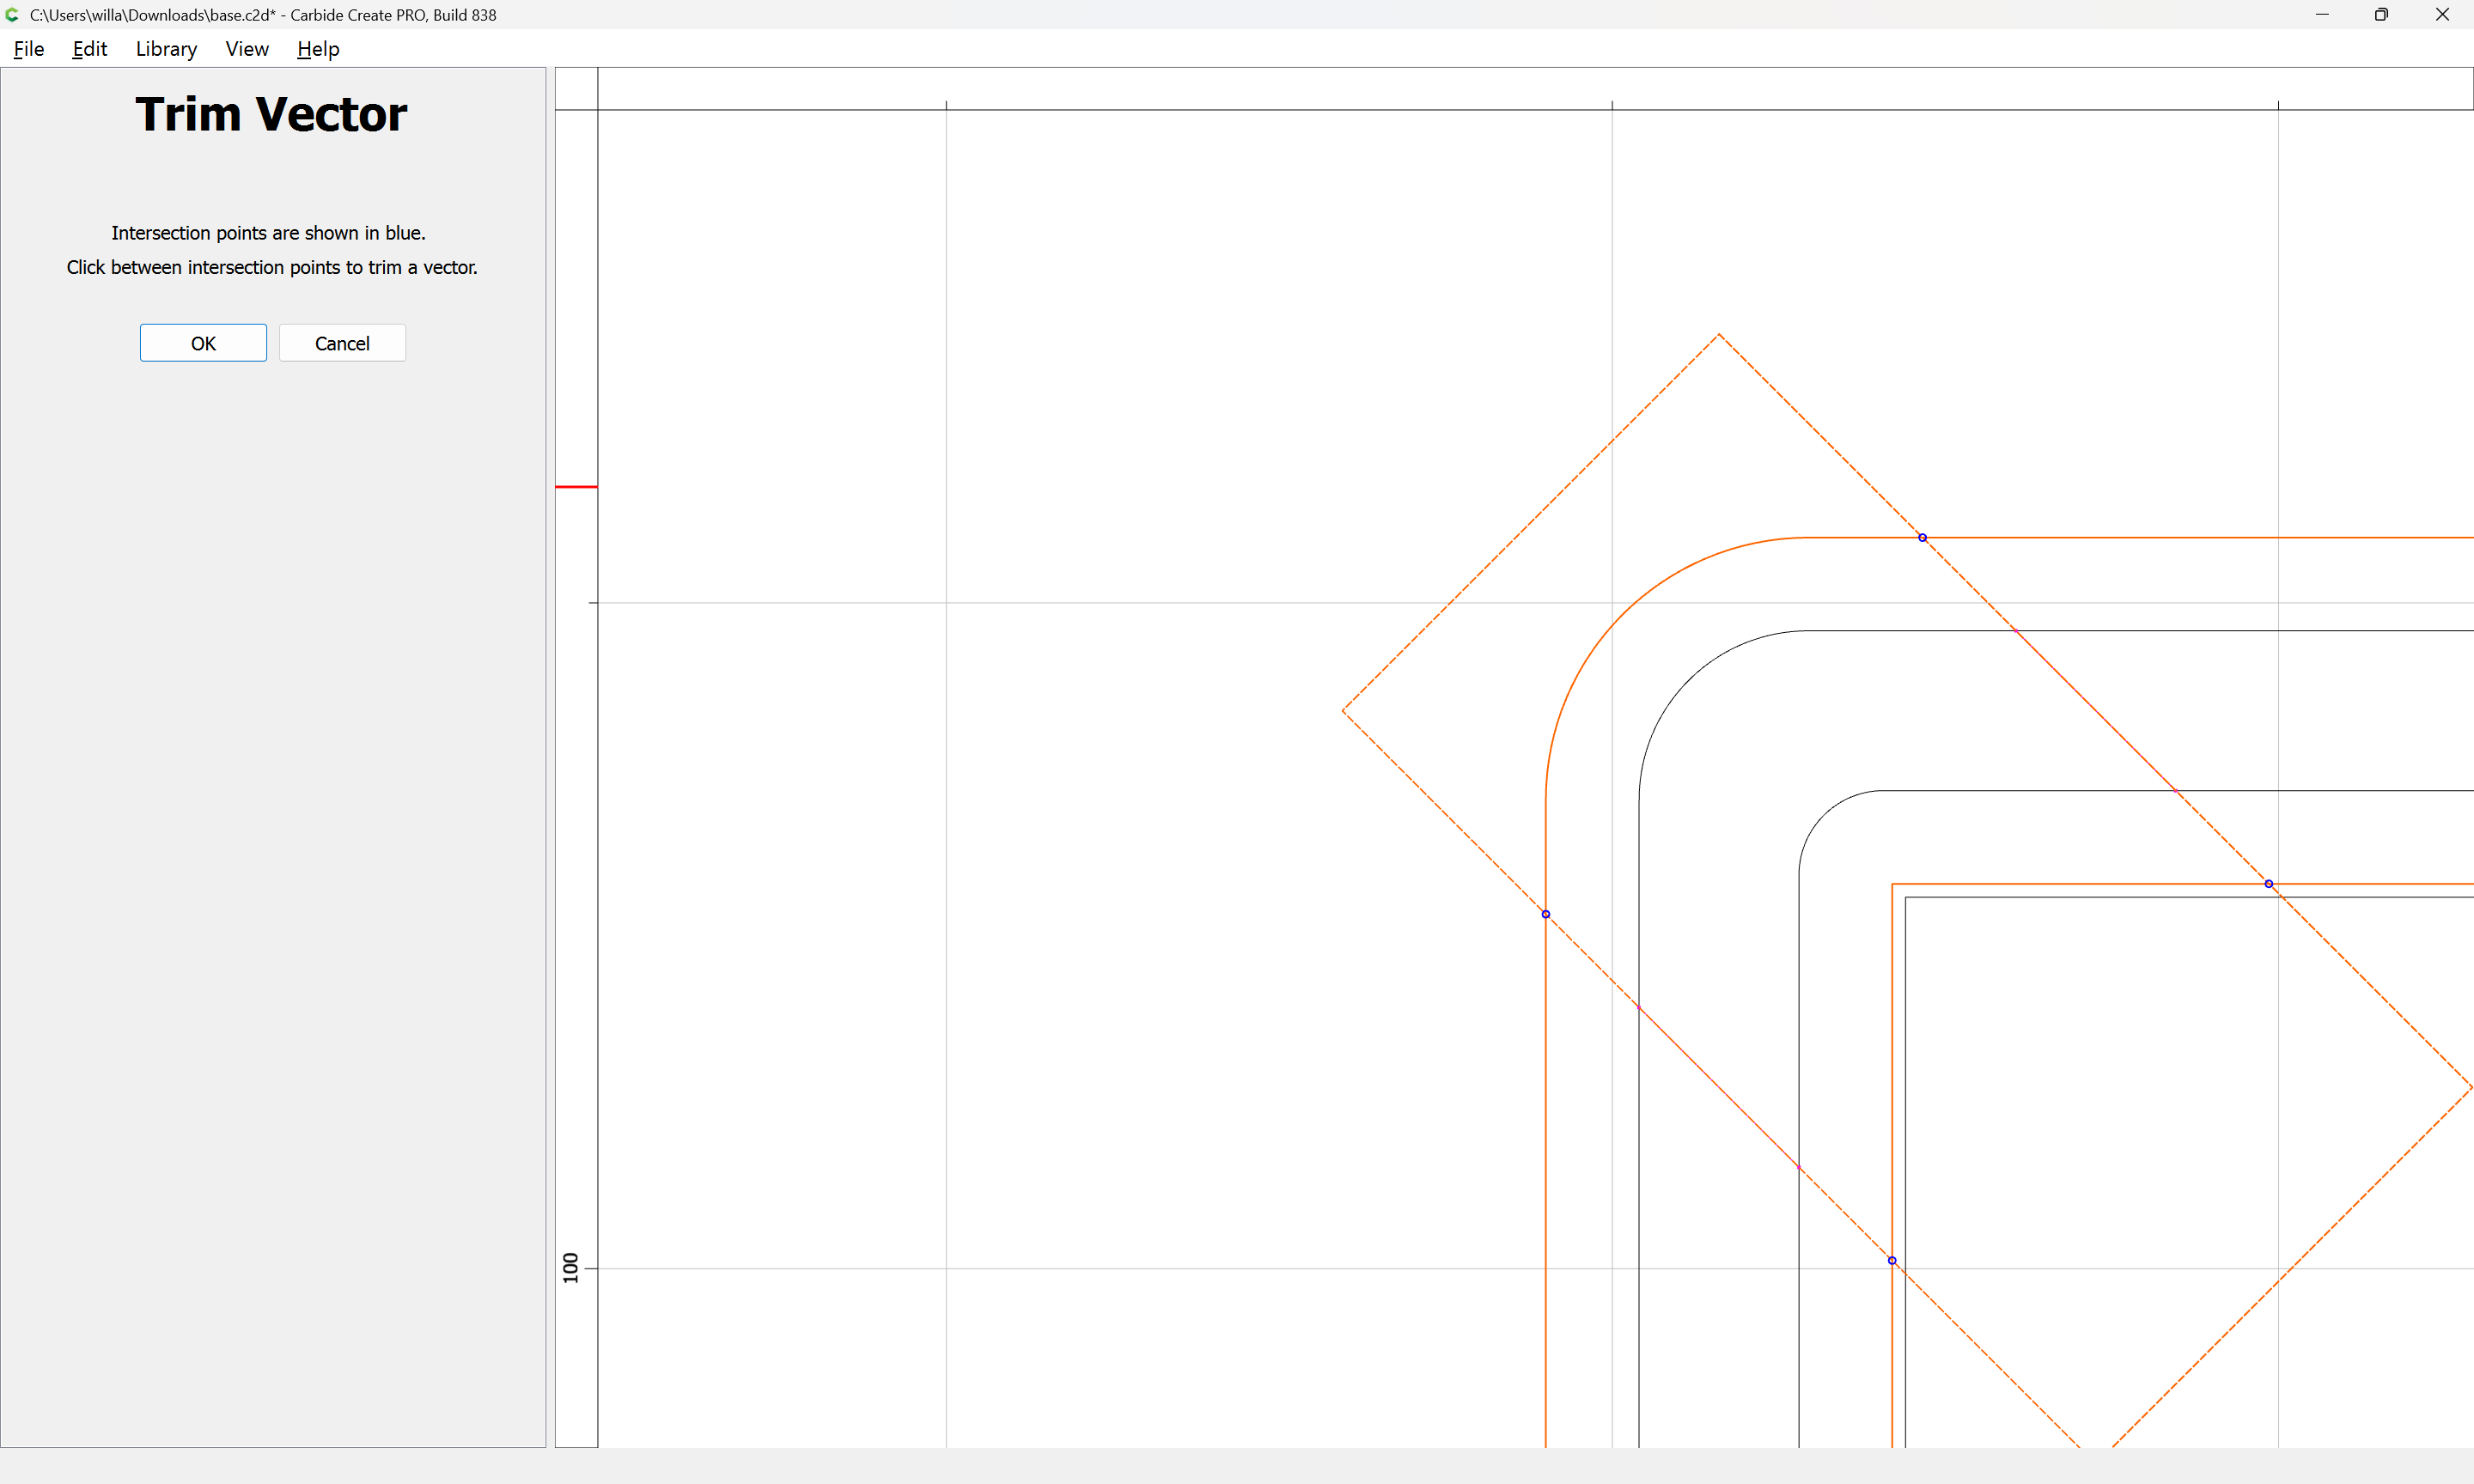
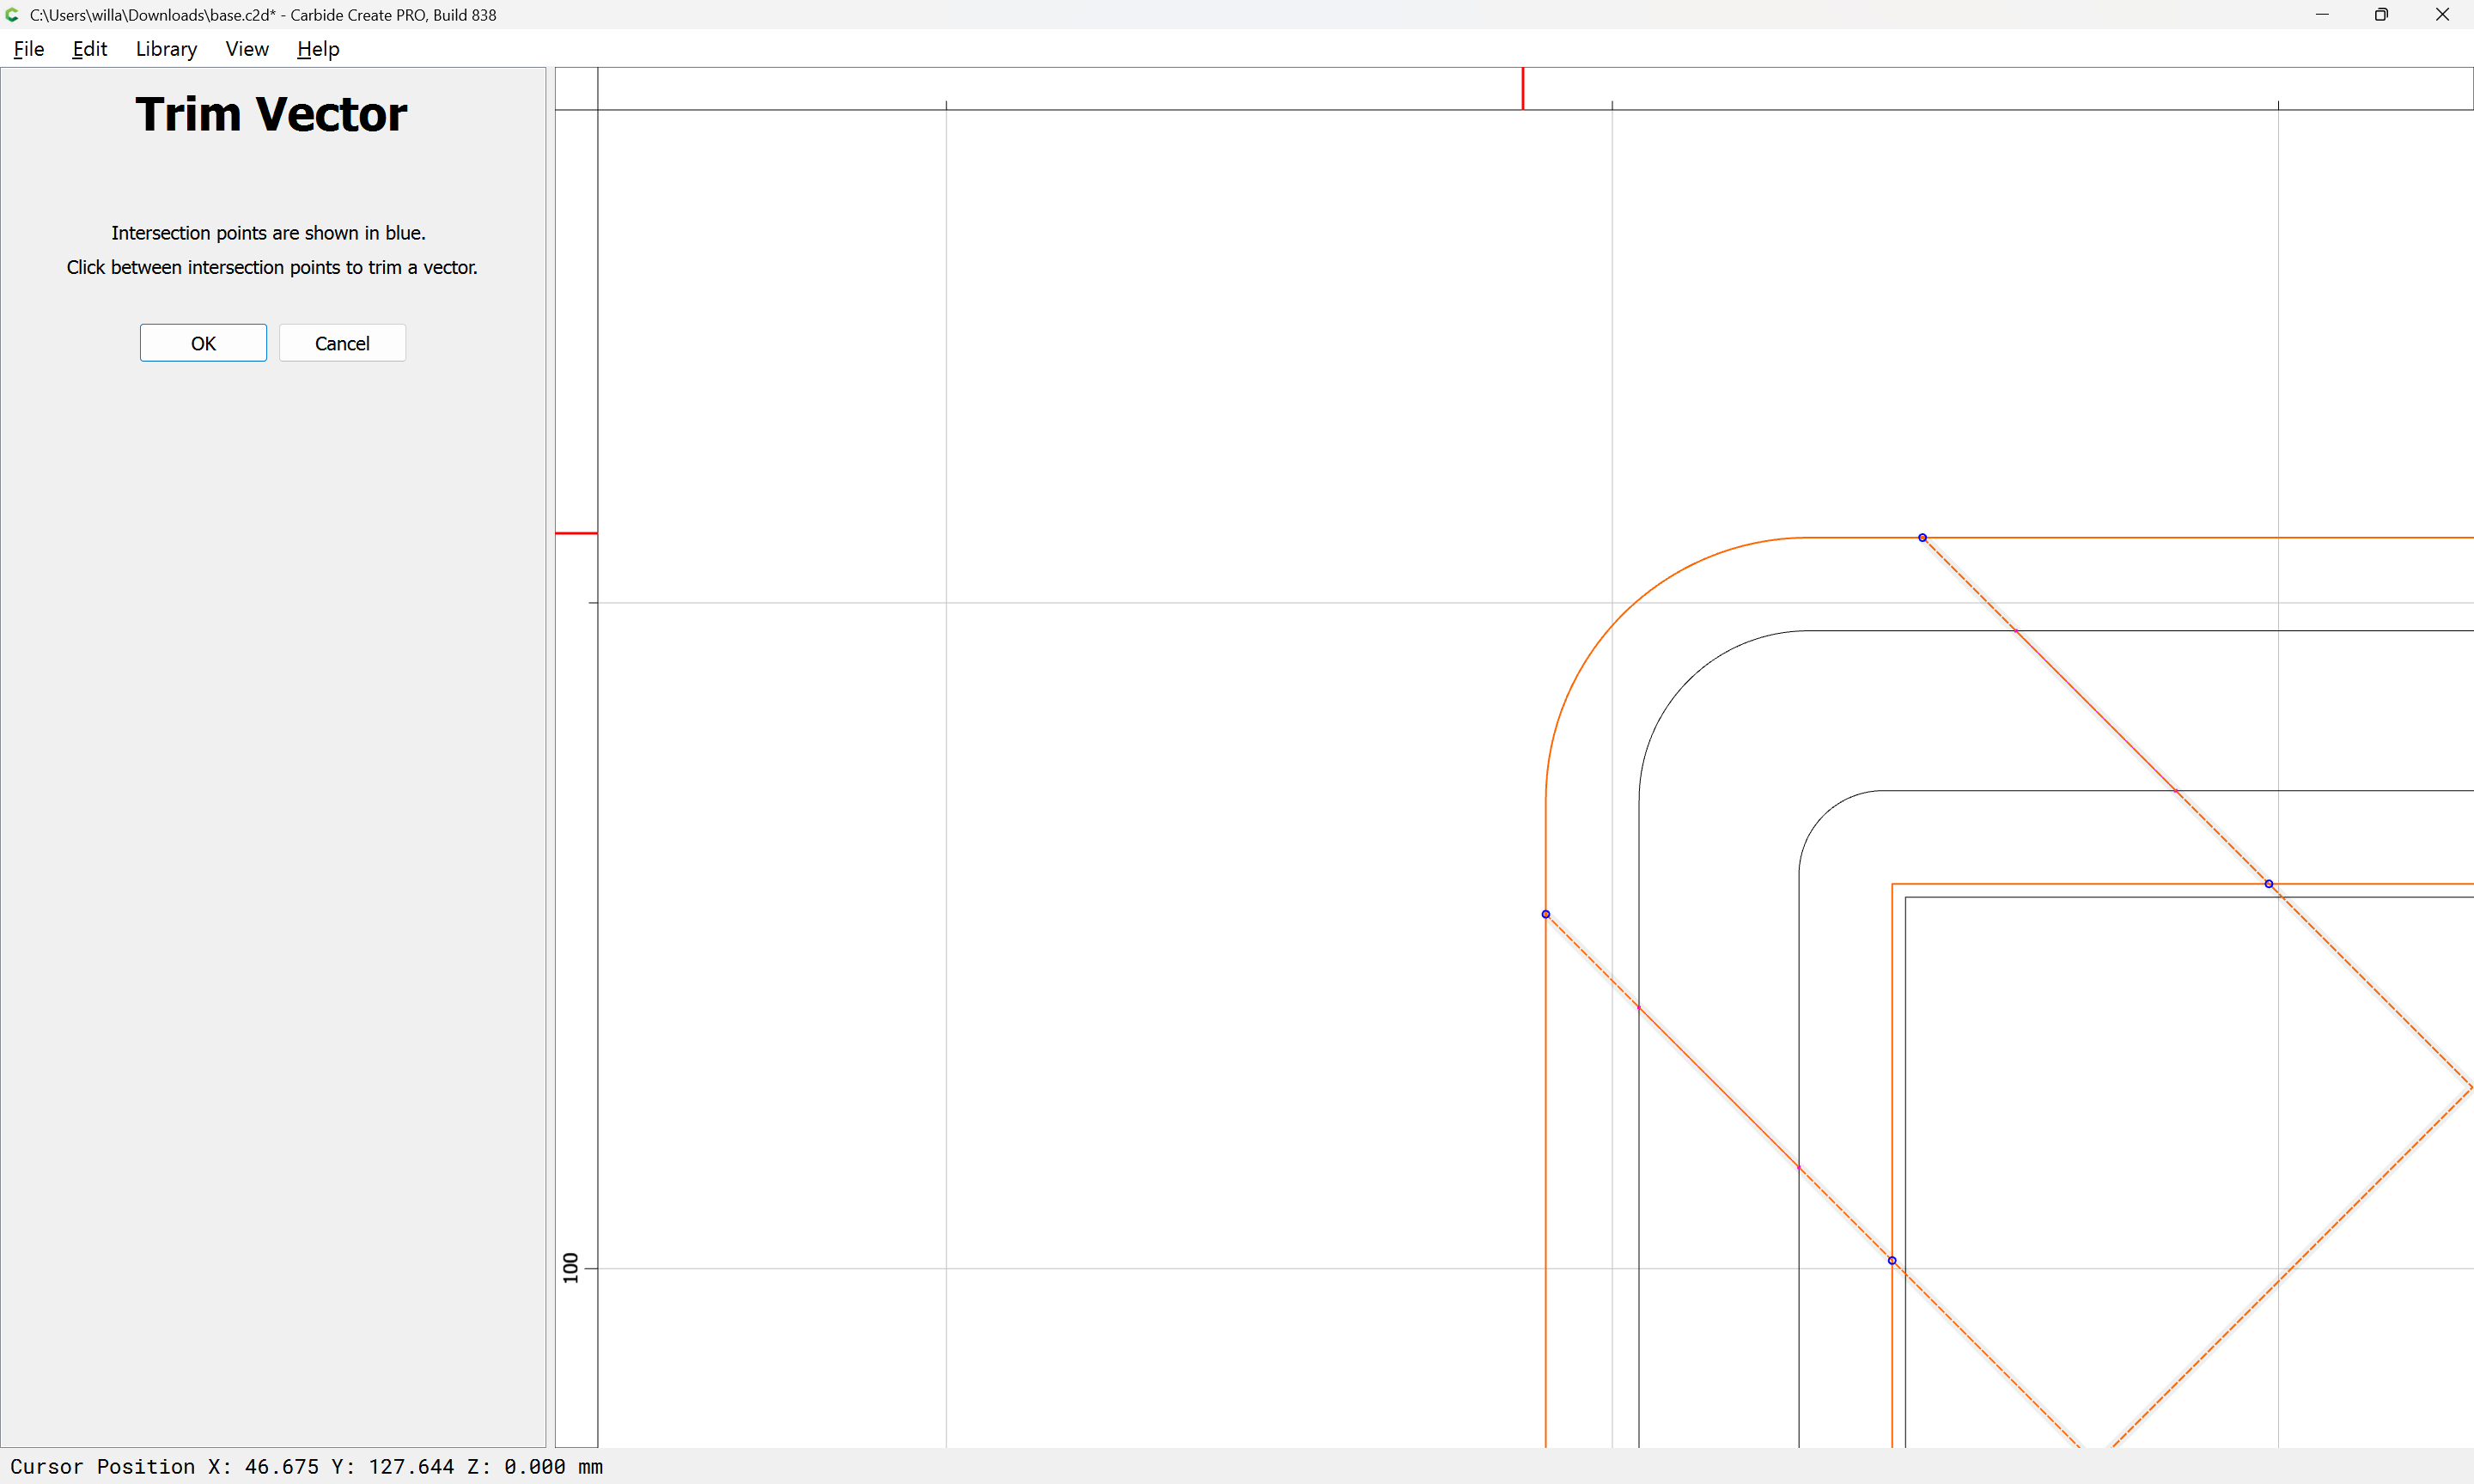
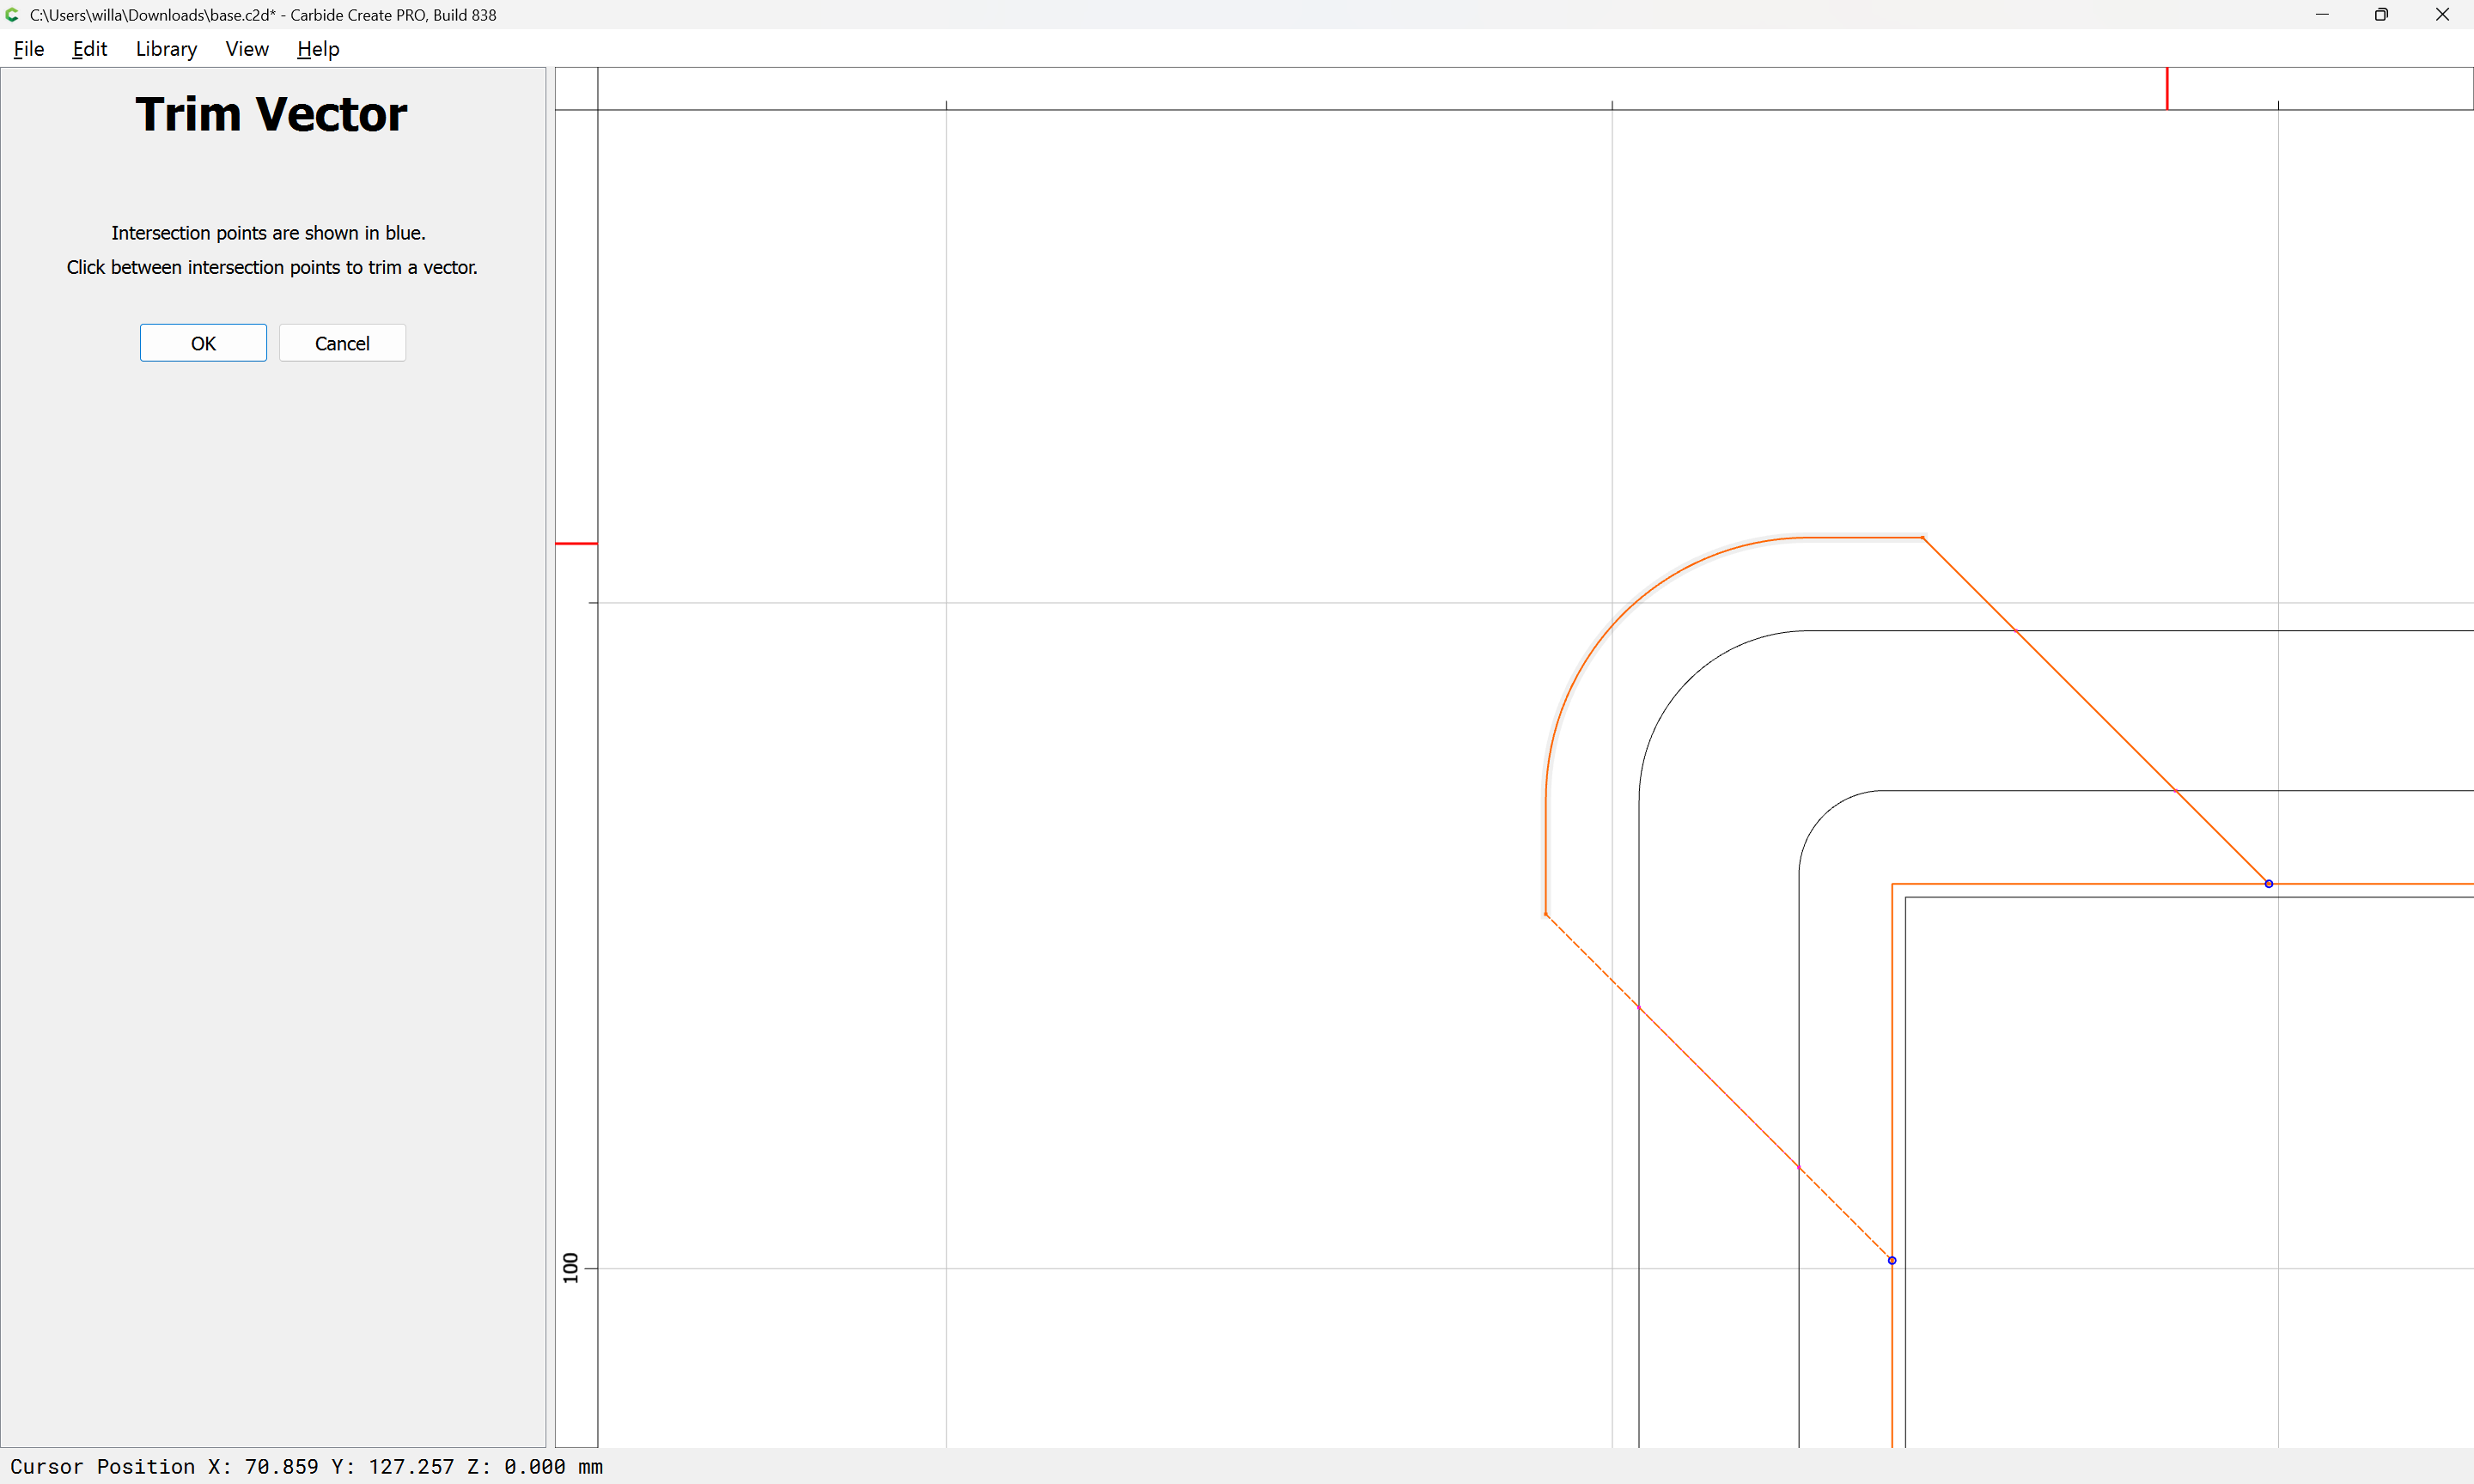
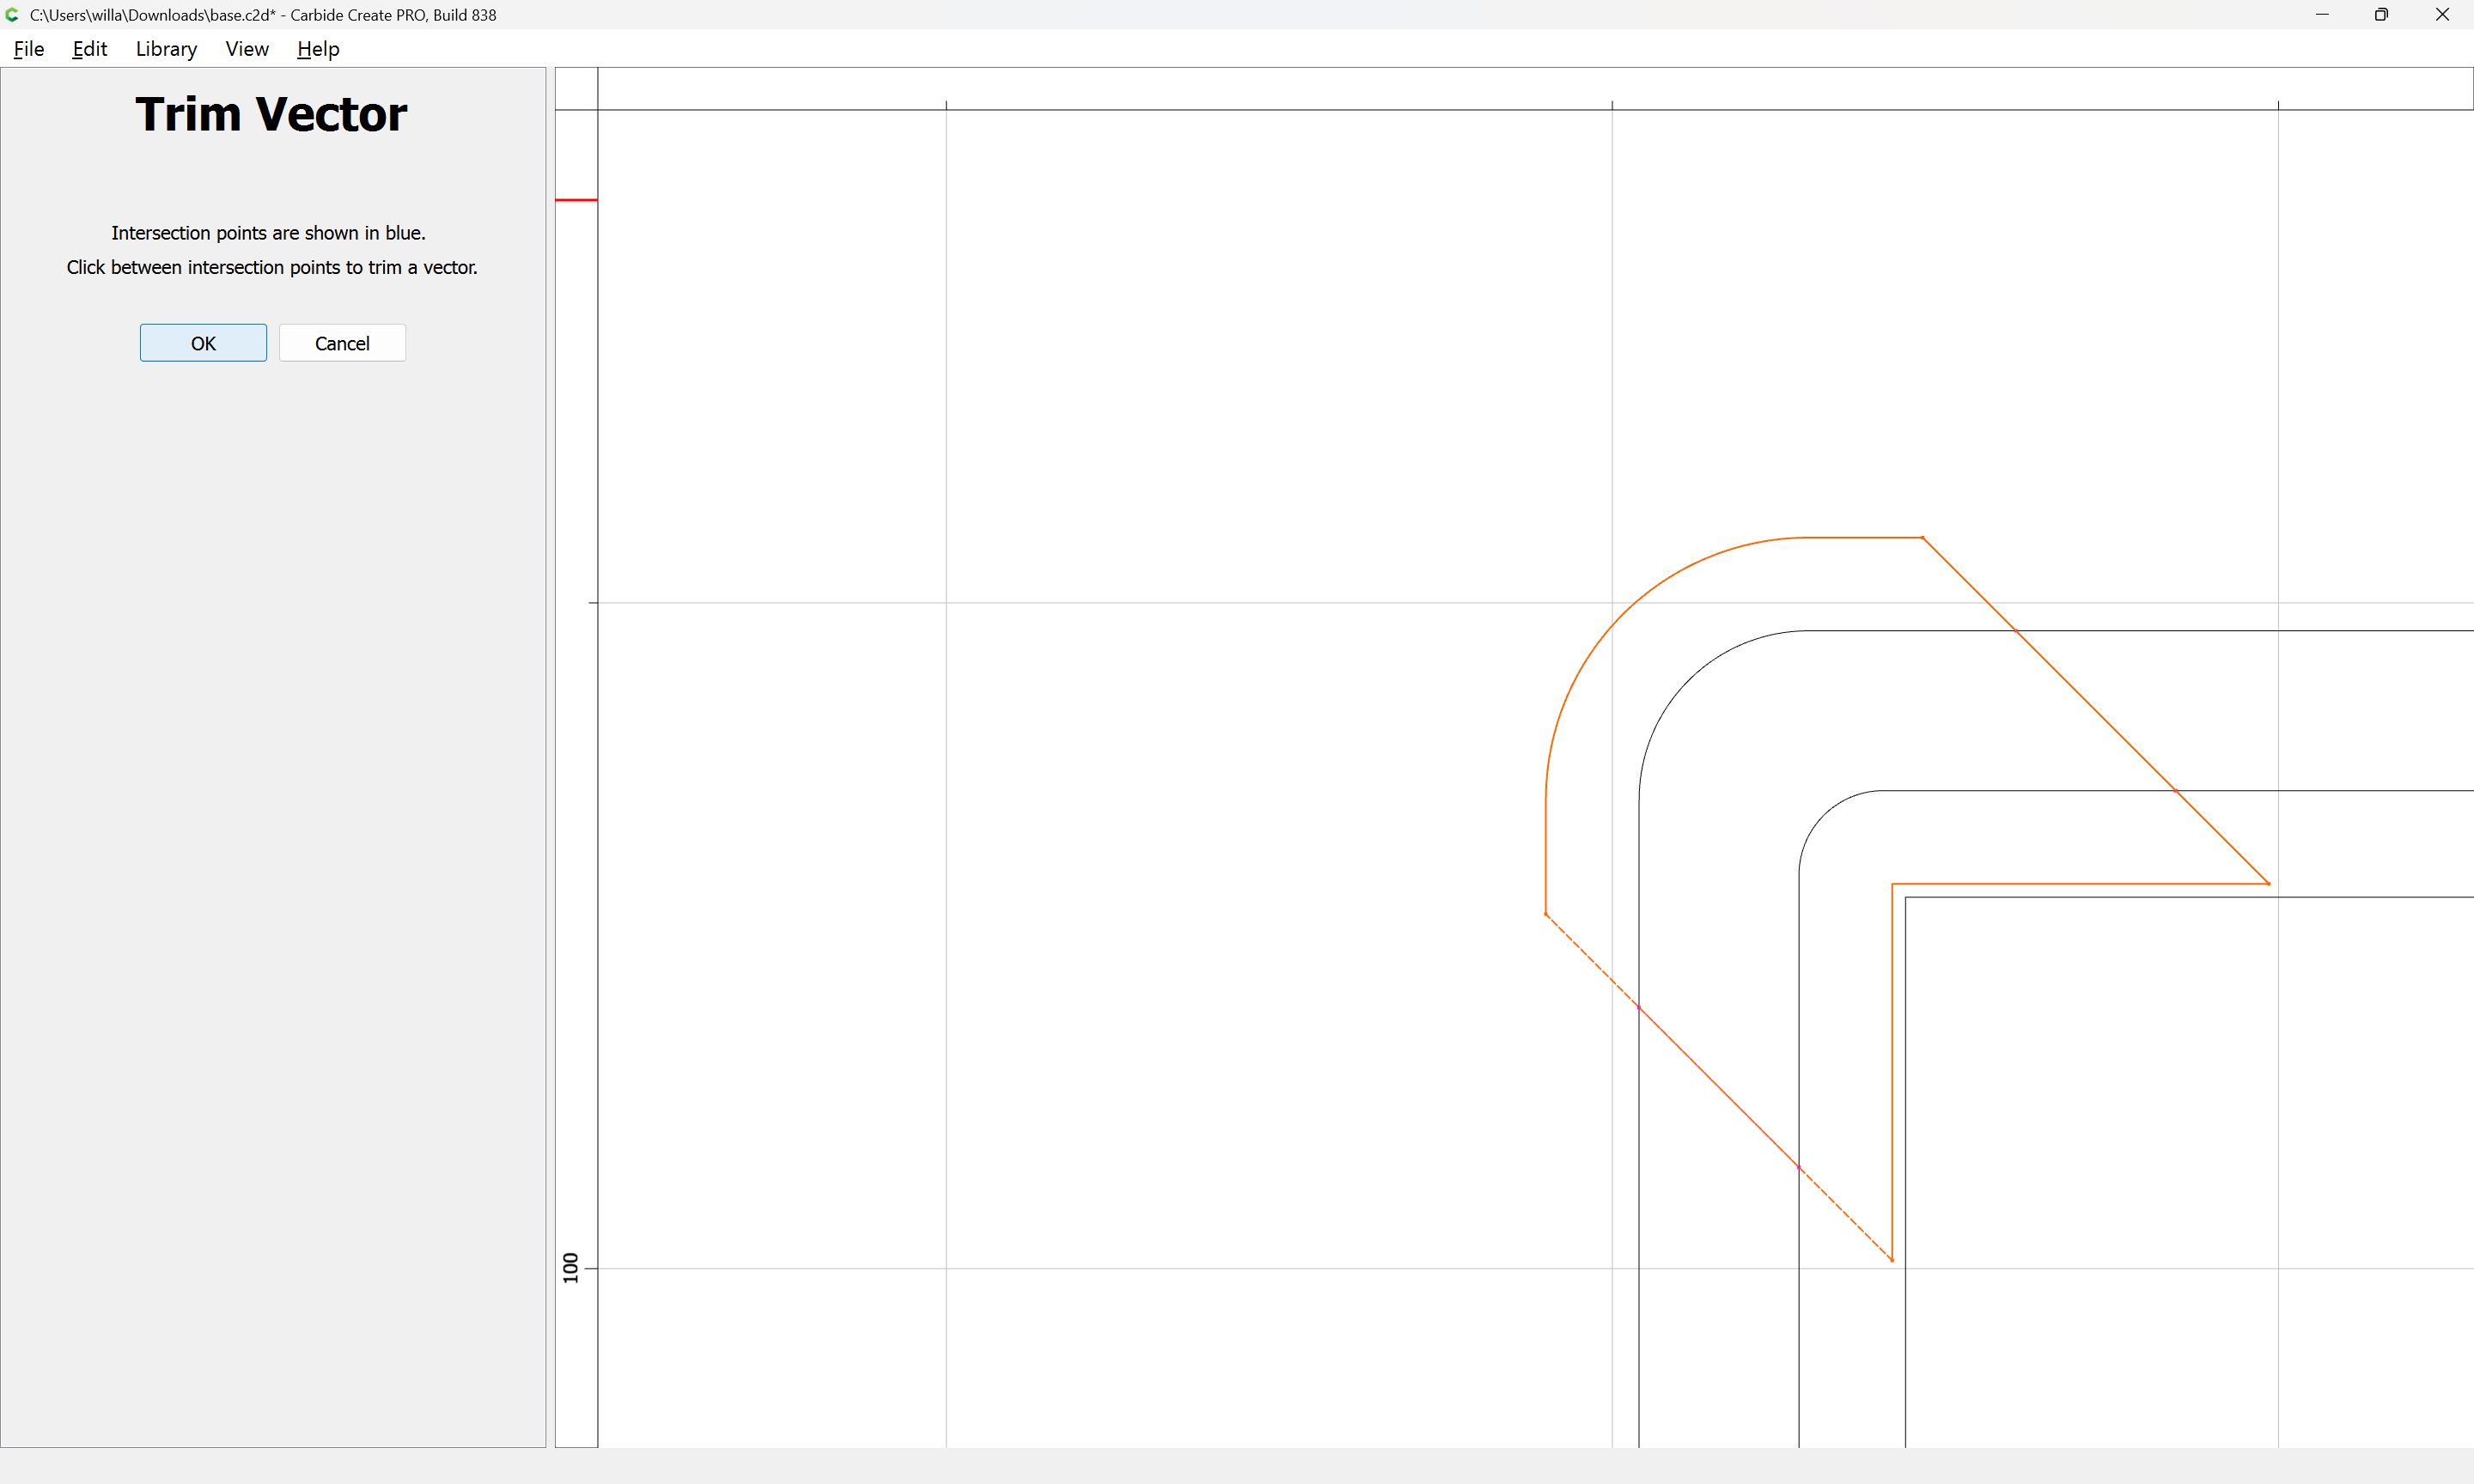
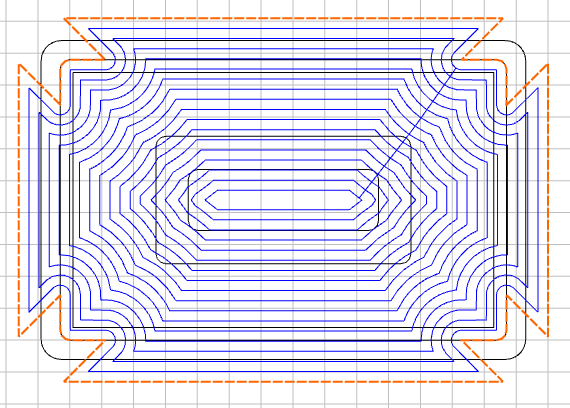
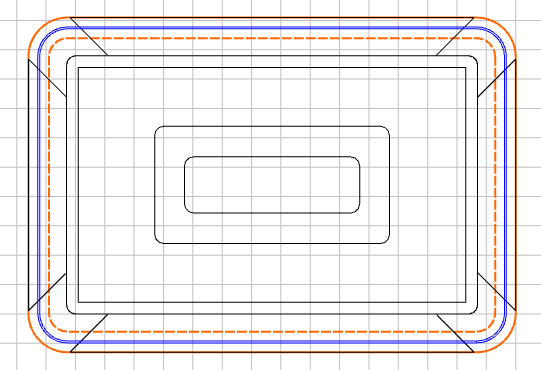
The black arrows point to the area I want to pocket recess. The red arrows are the legs (also the bottom left green arrow should be red). The center green arrow area will be recessed further than the skirt to accomodate a fitted cover. How do I define the skirt pocket areas to route? Also what does the purple color of those lines indicate when you trim vectors?

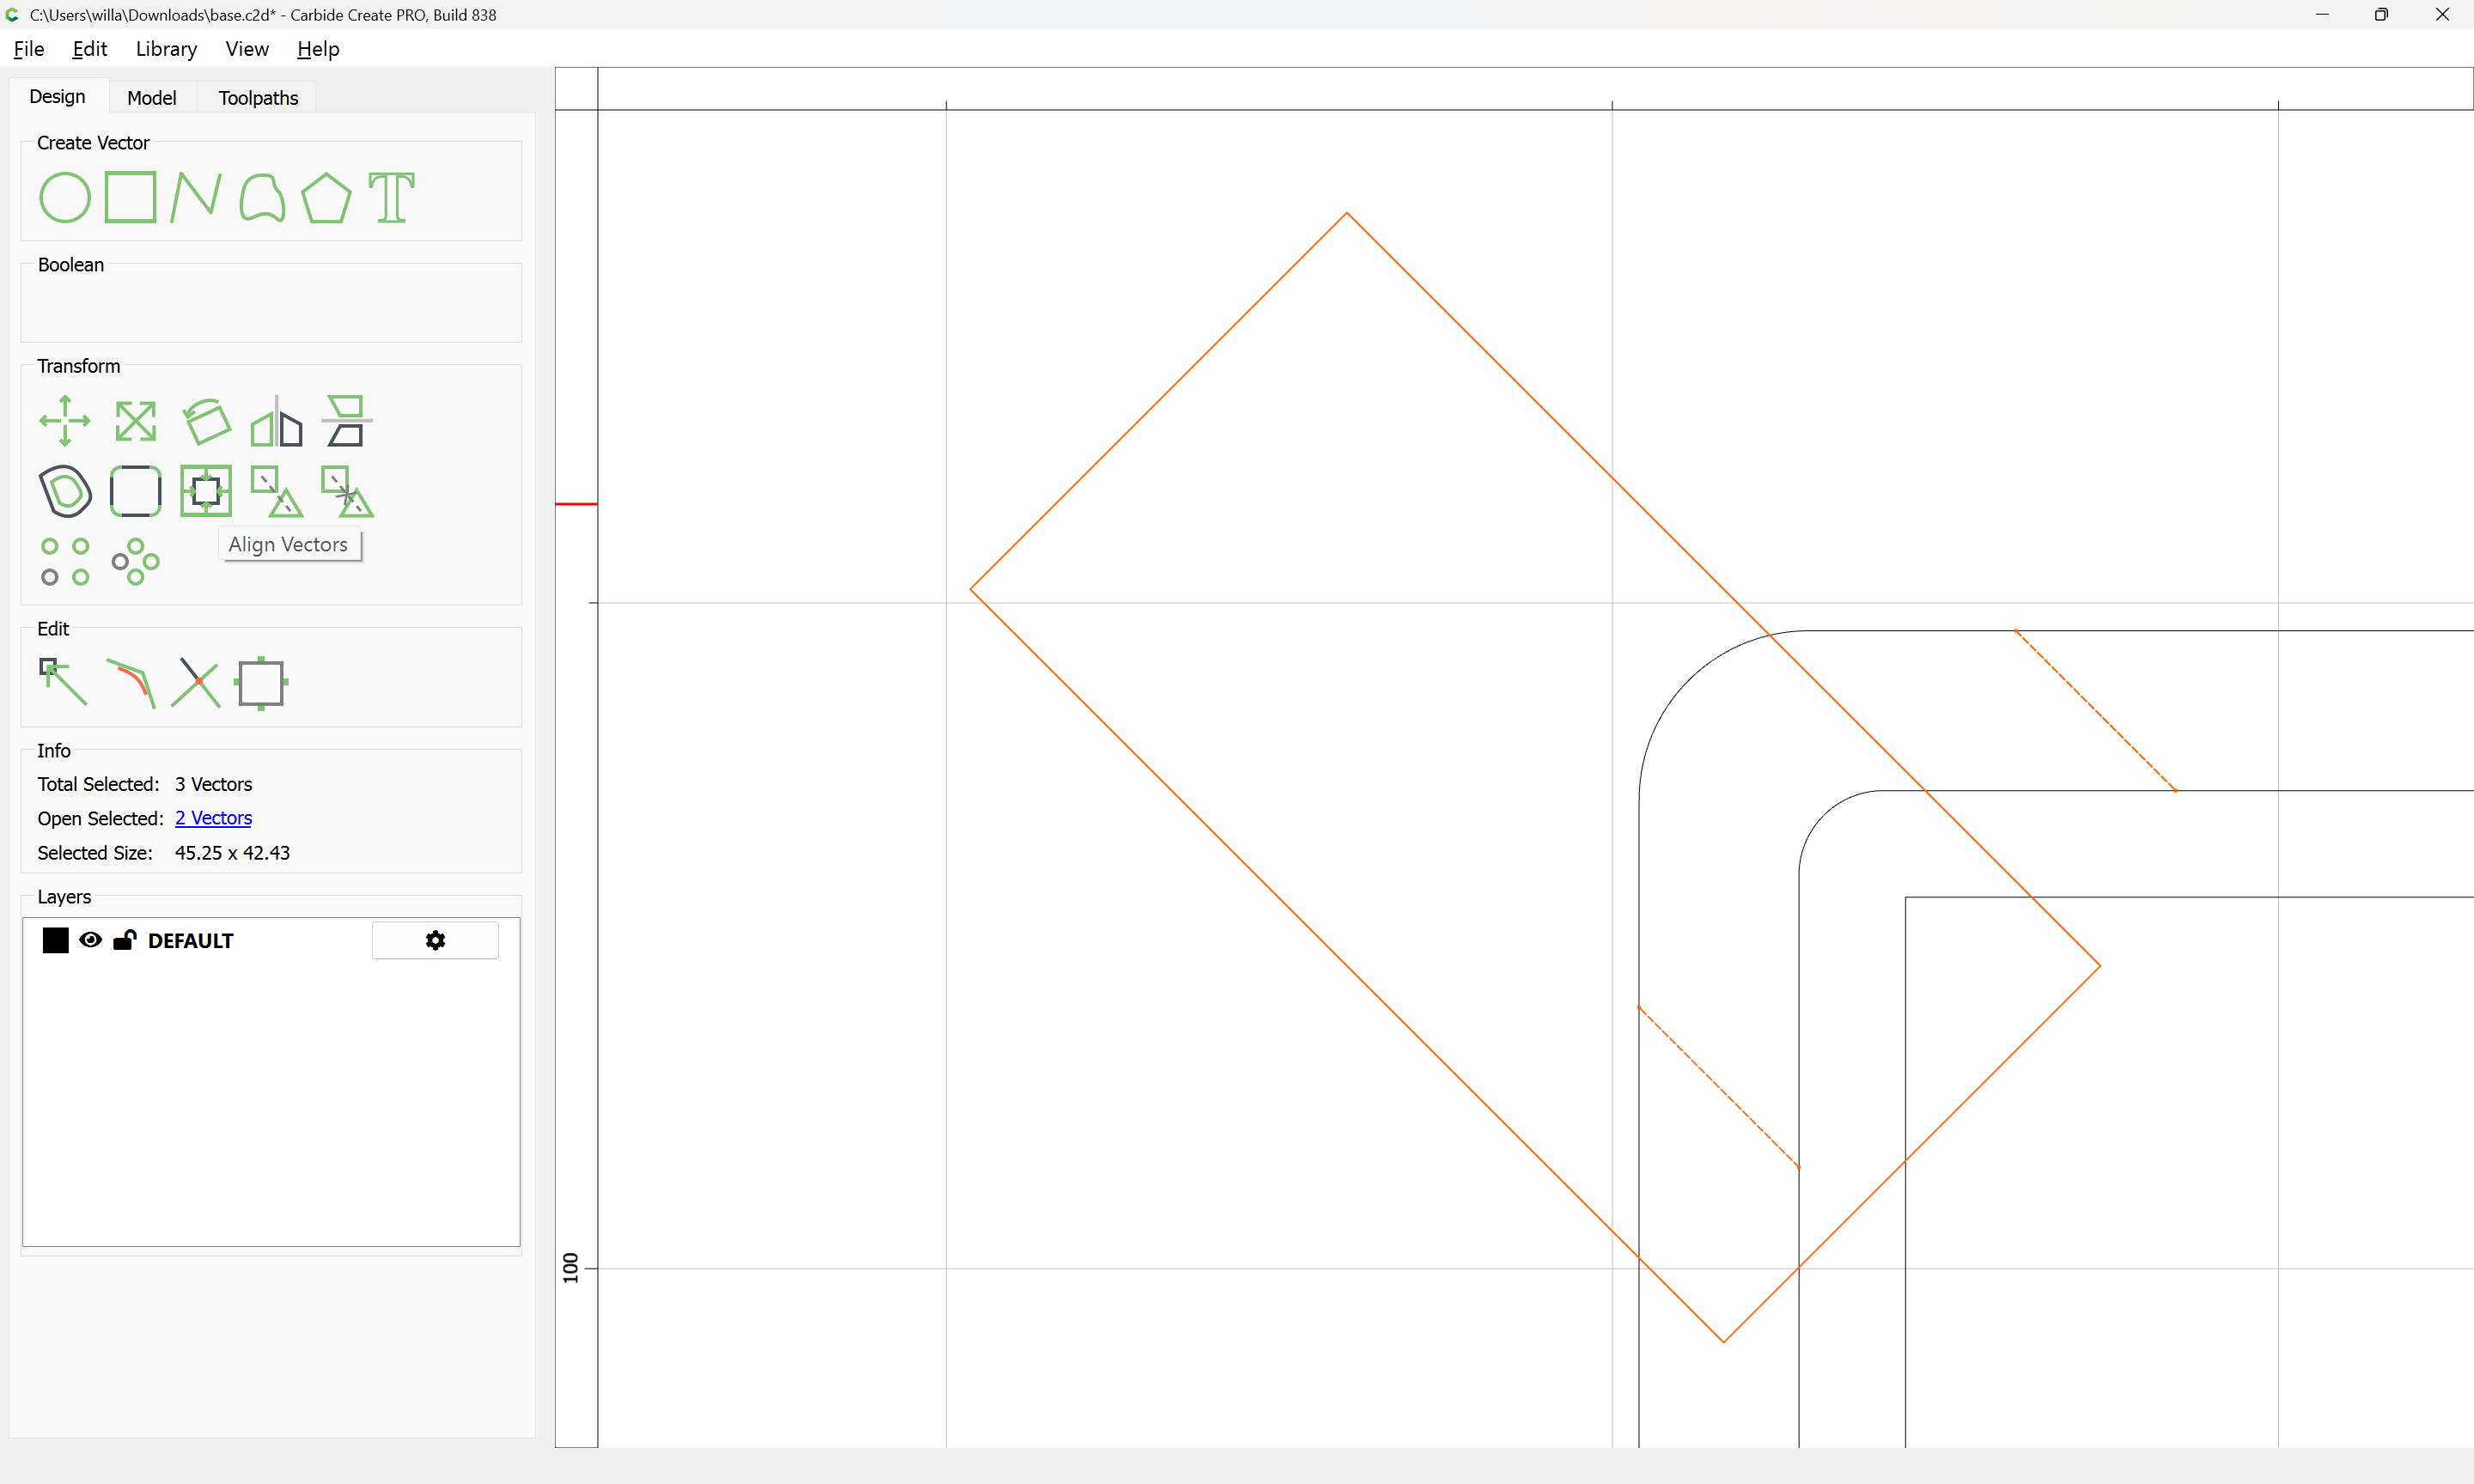
i’d also be happy having the corners use the square not at a 45 as well but same concept.

You will need a closed region for a Pocket operation — open vectors only work for Contour toolpaths.

To use the Trim Vectors tool you’ll probably need to duplicate some geometry so that more may be removed so as to define a closed region.

If you have difficulty with this, upload your file and we will work through this with you.

Oops I forgot to upload my file. Here ya go…
base.c2d (56 KB)

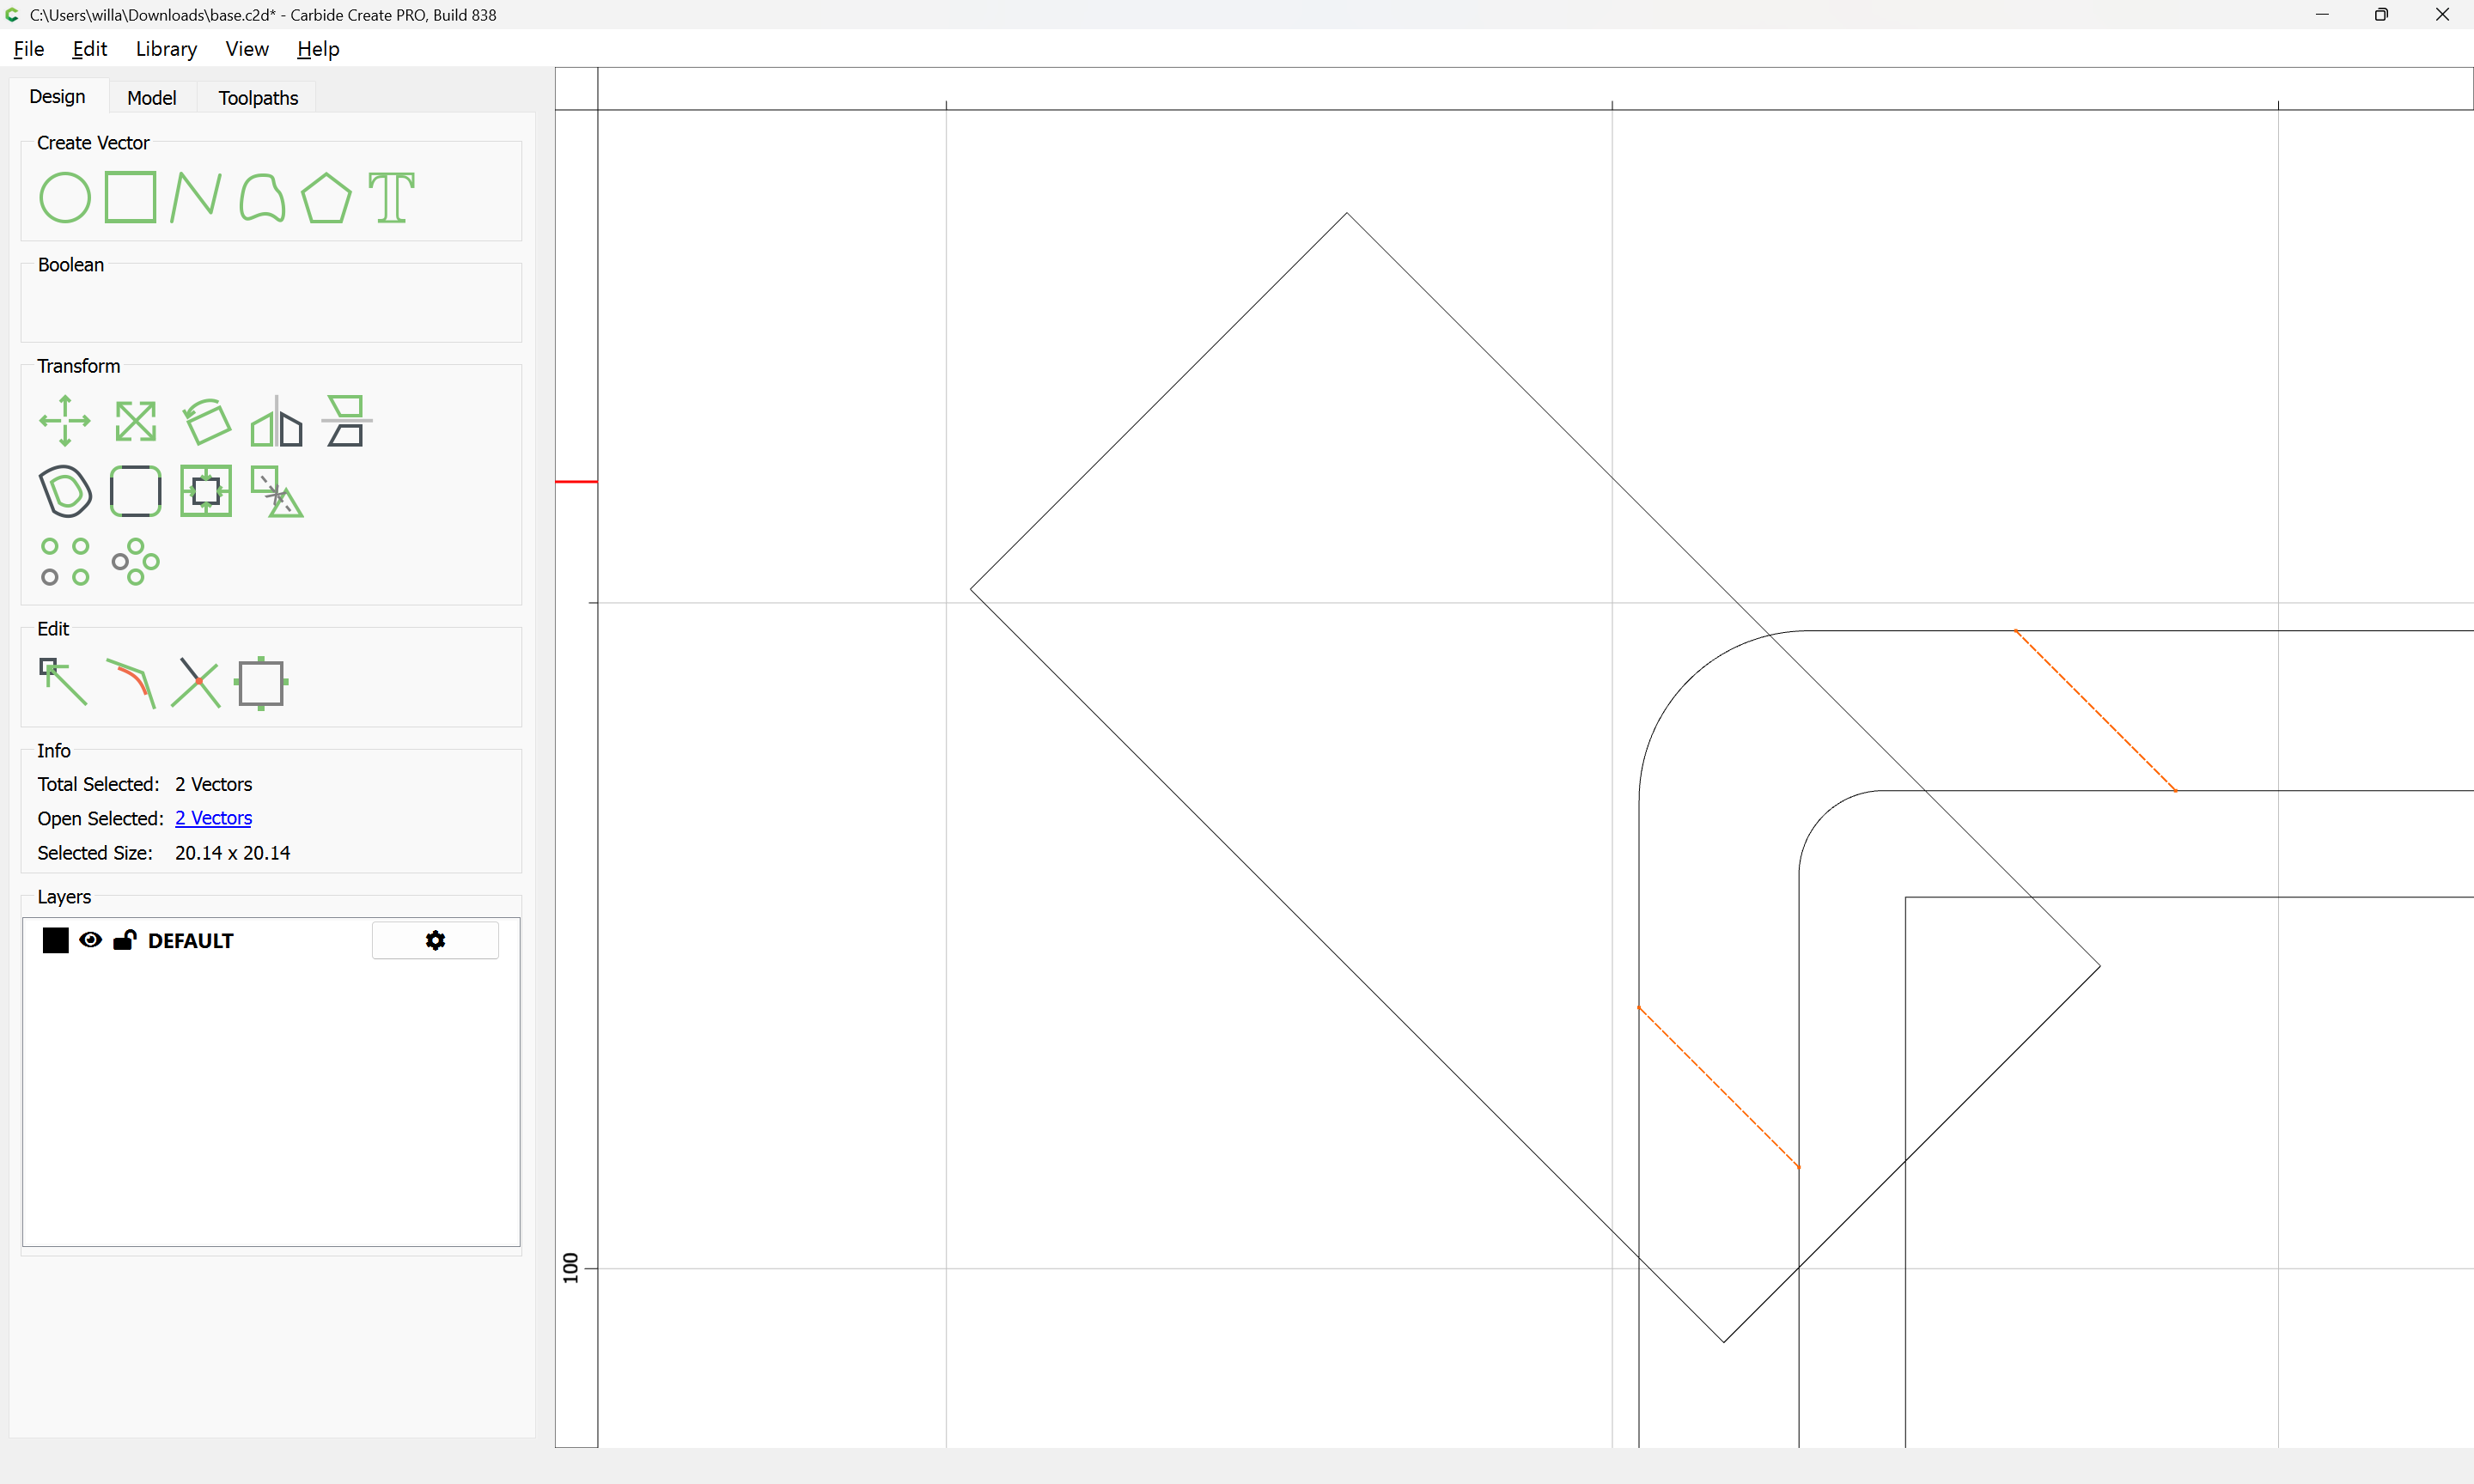
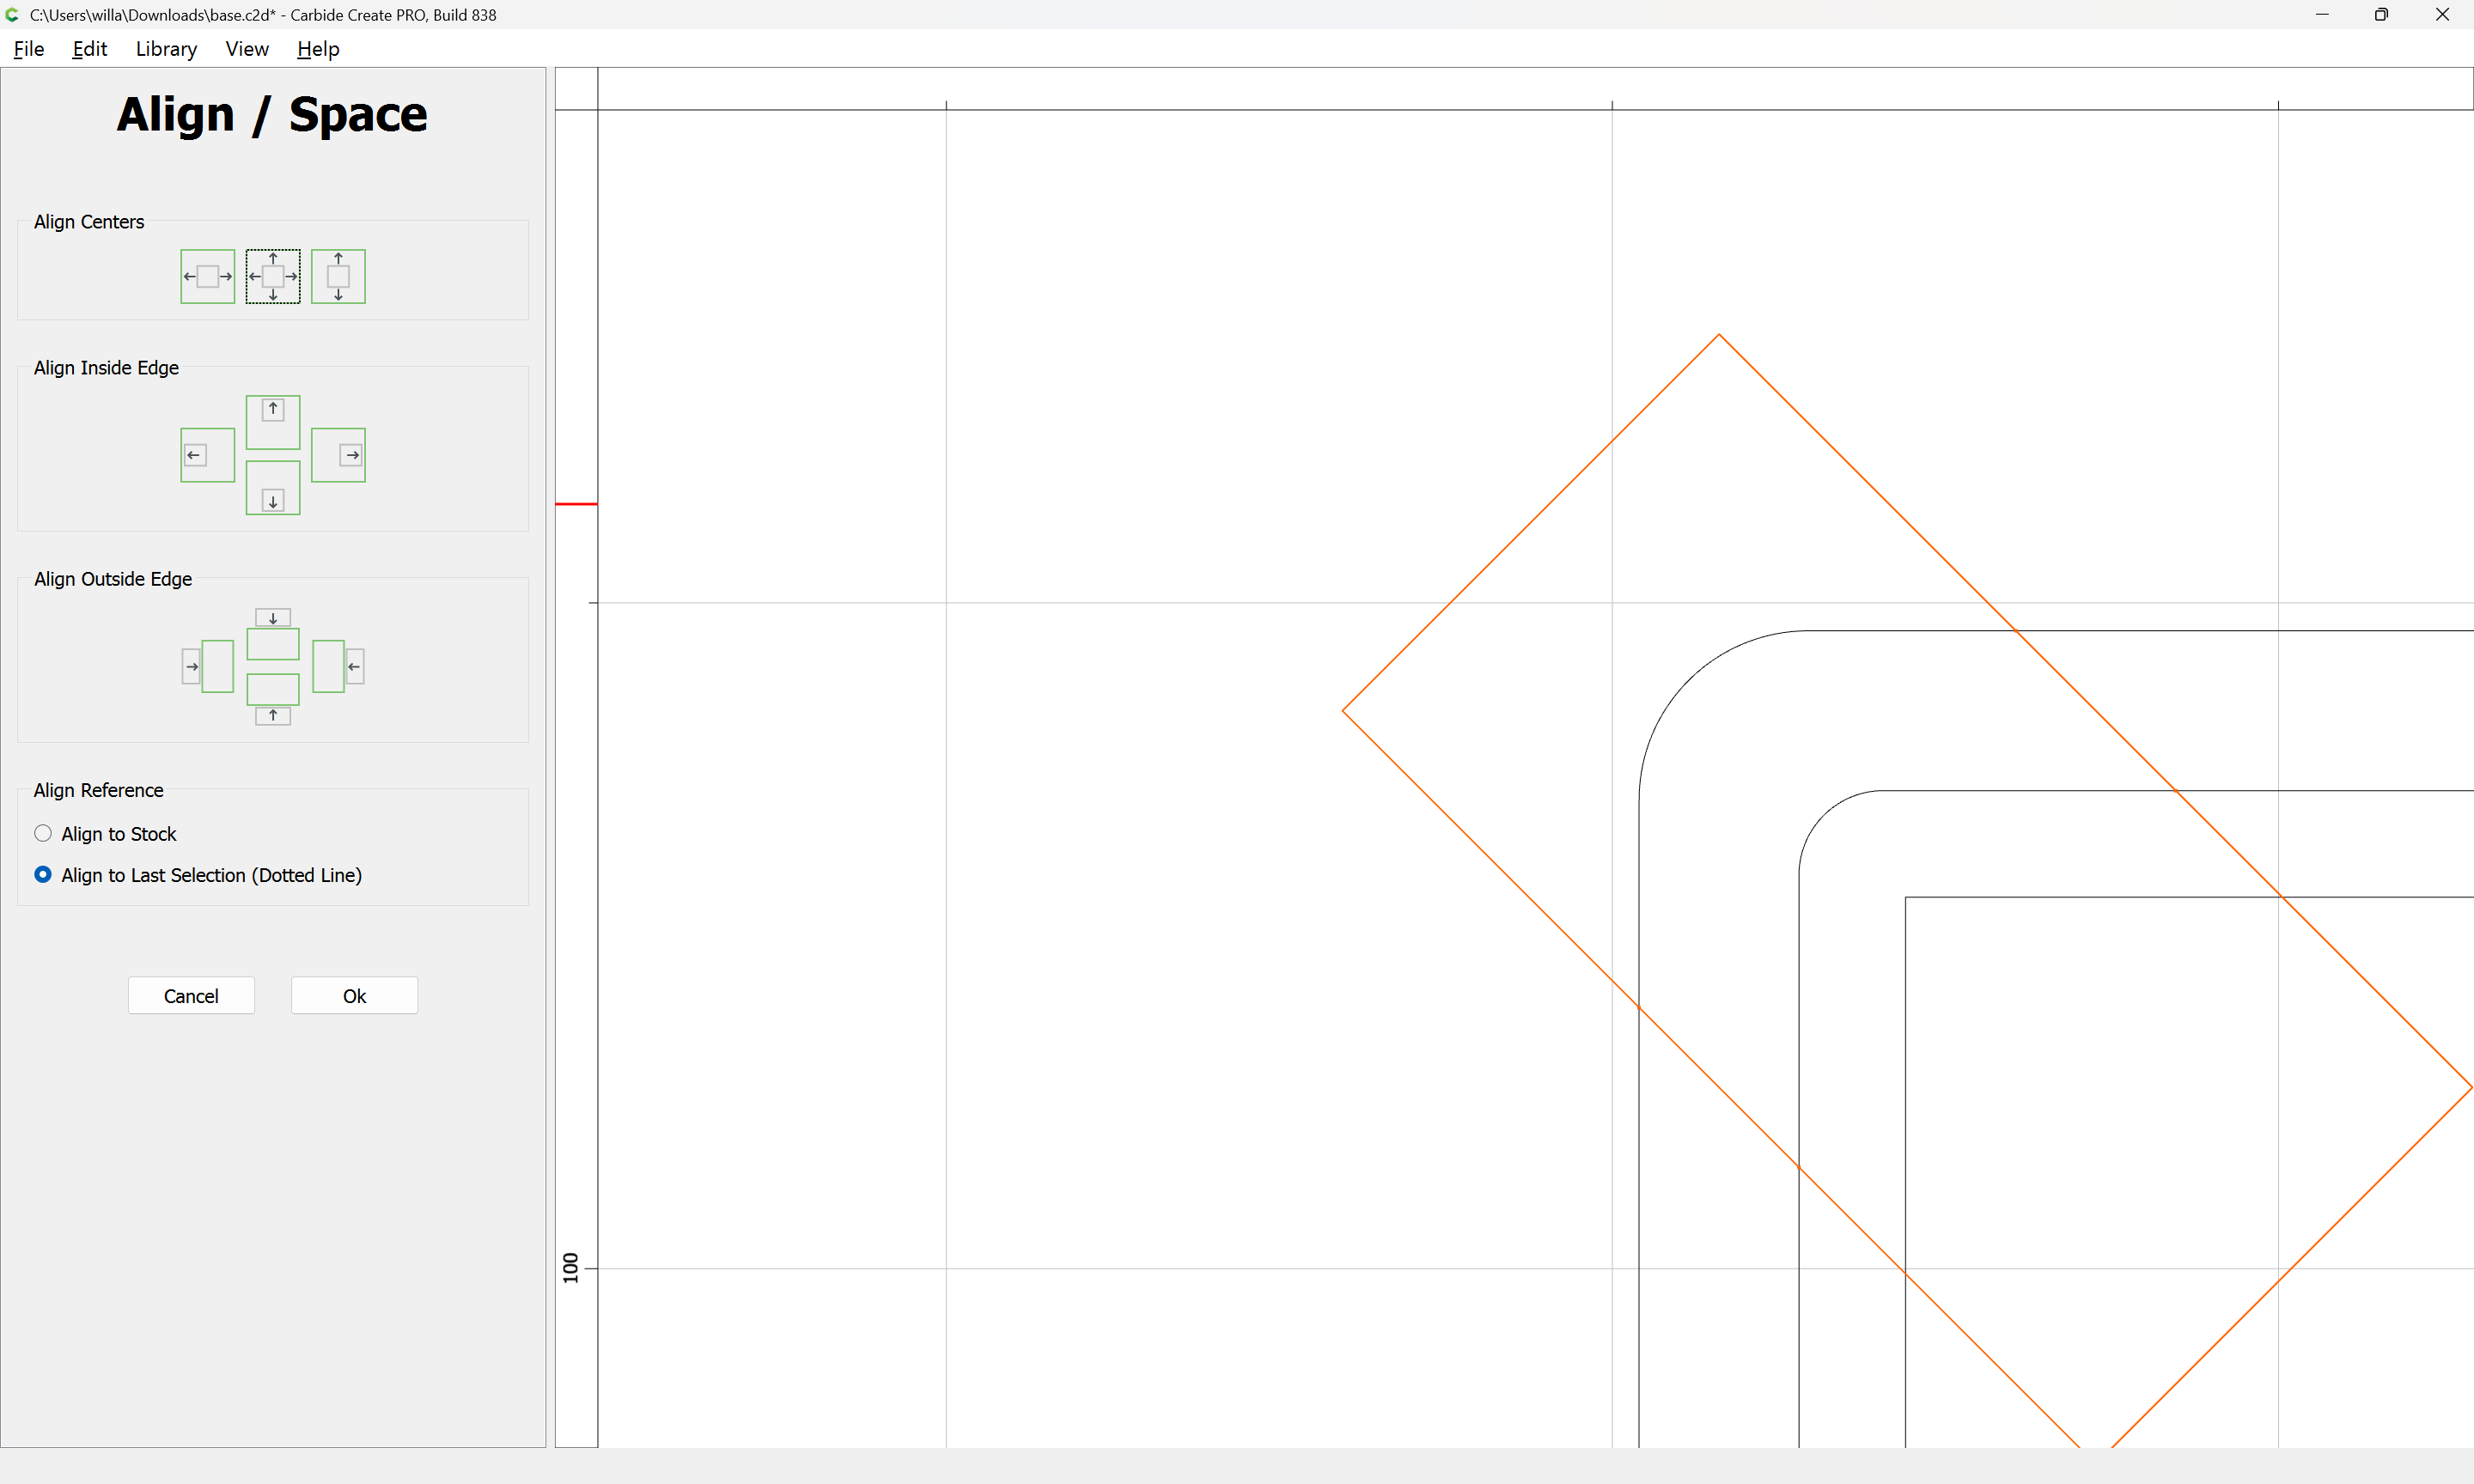
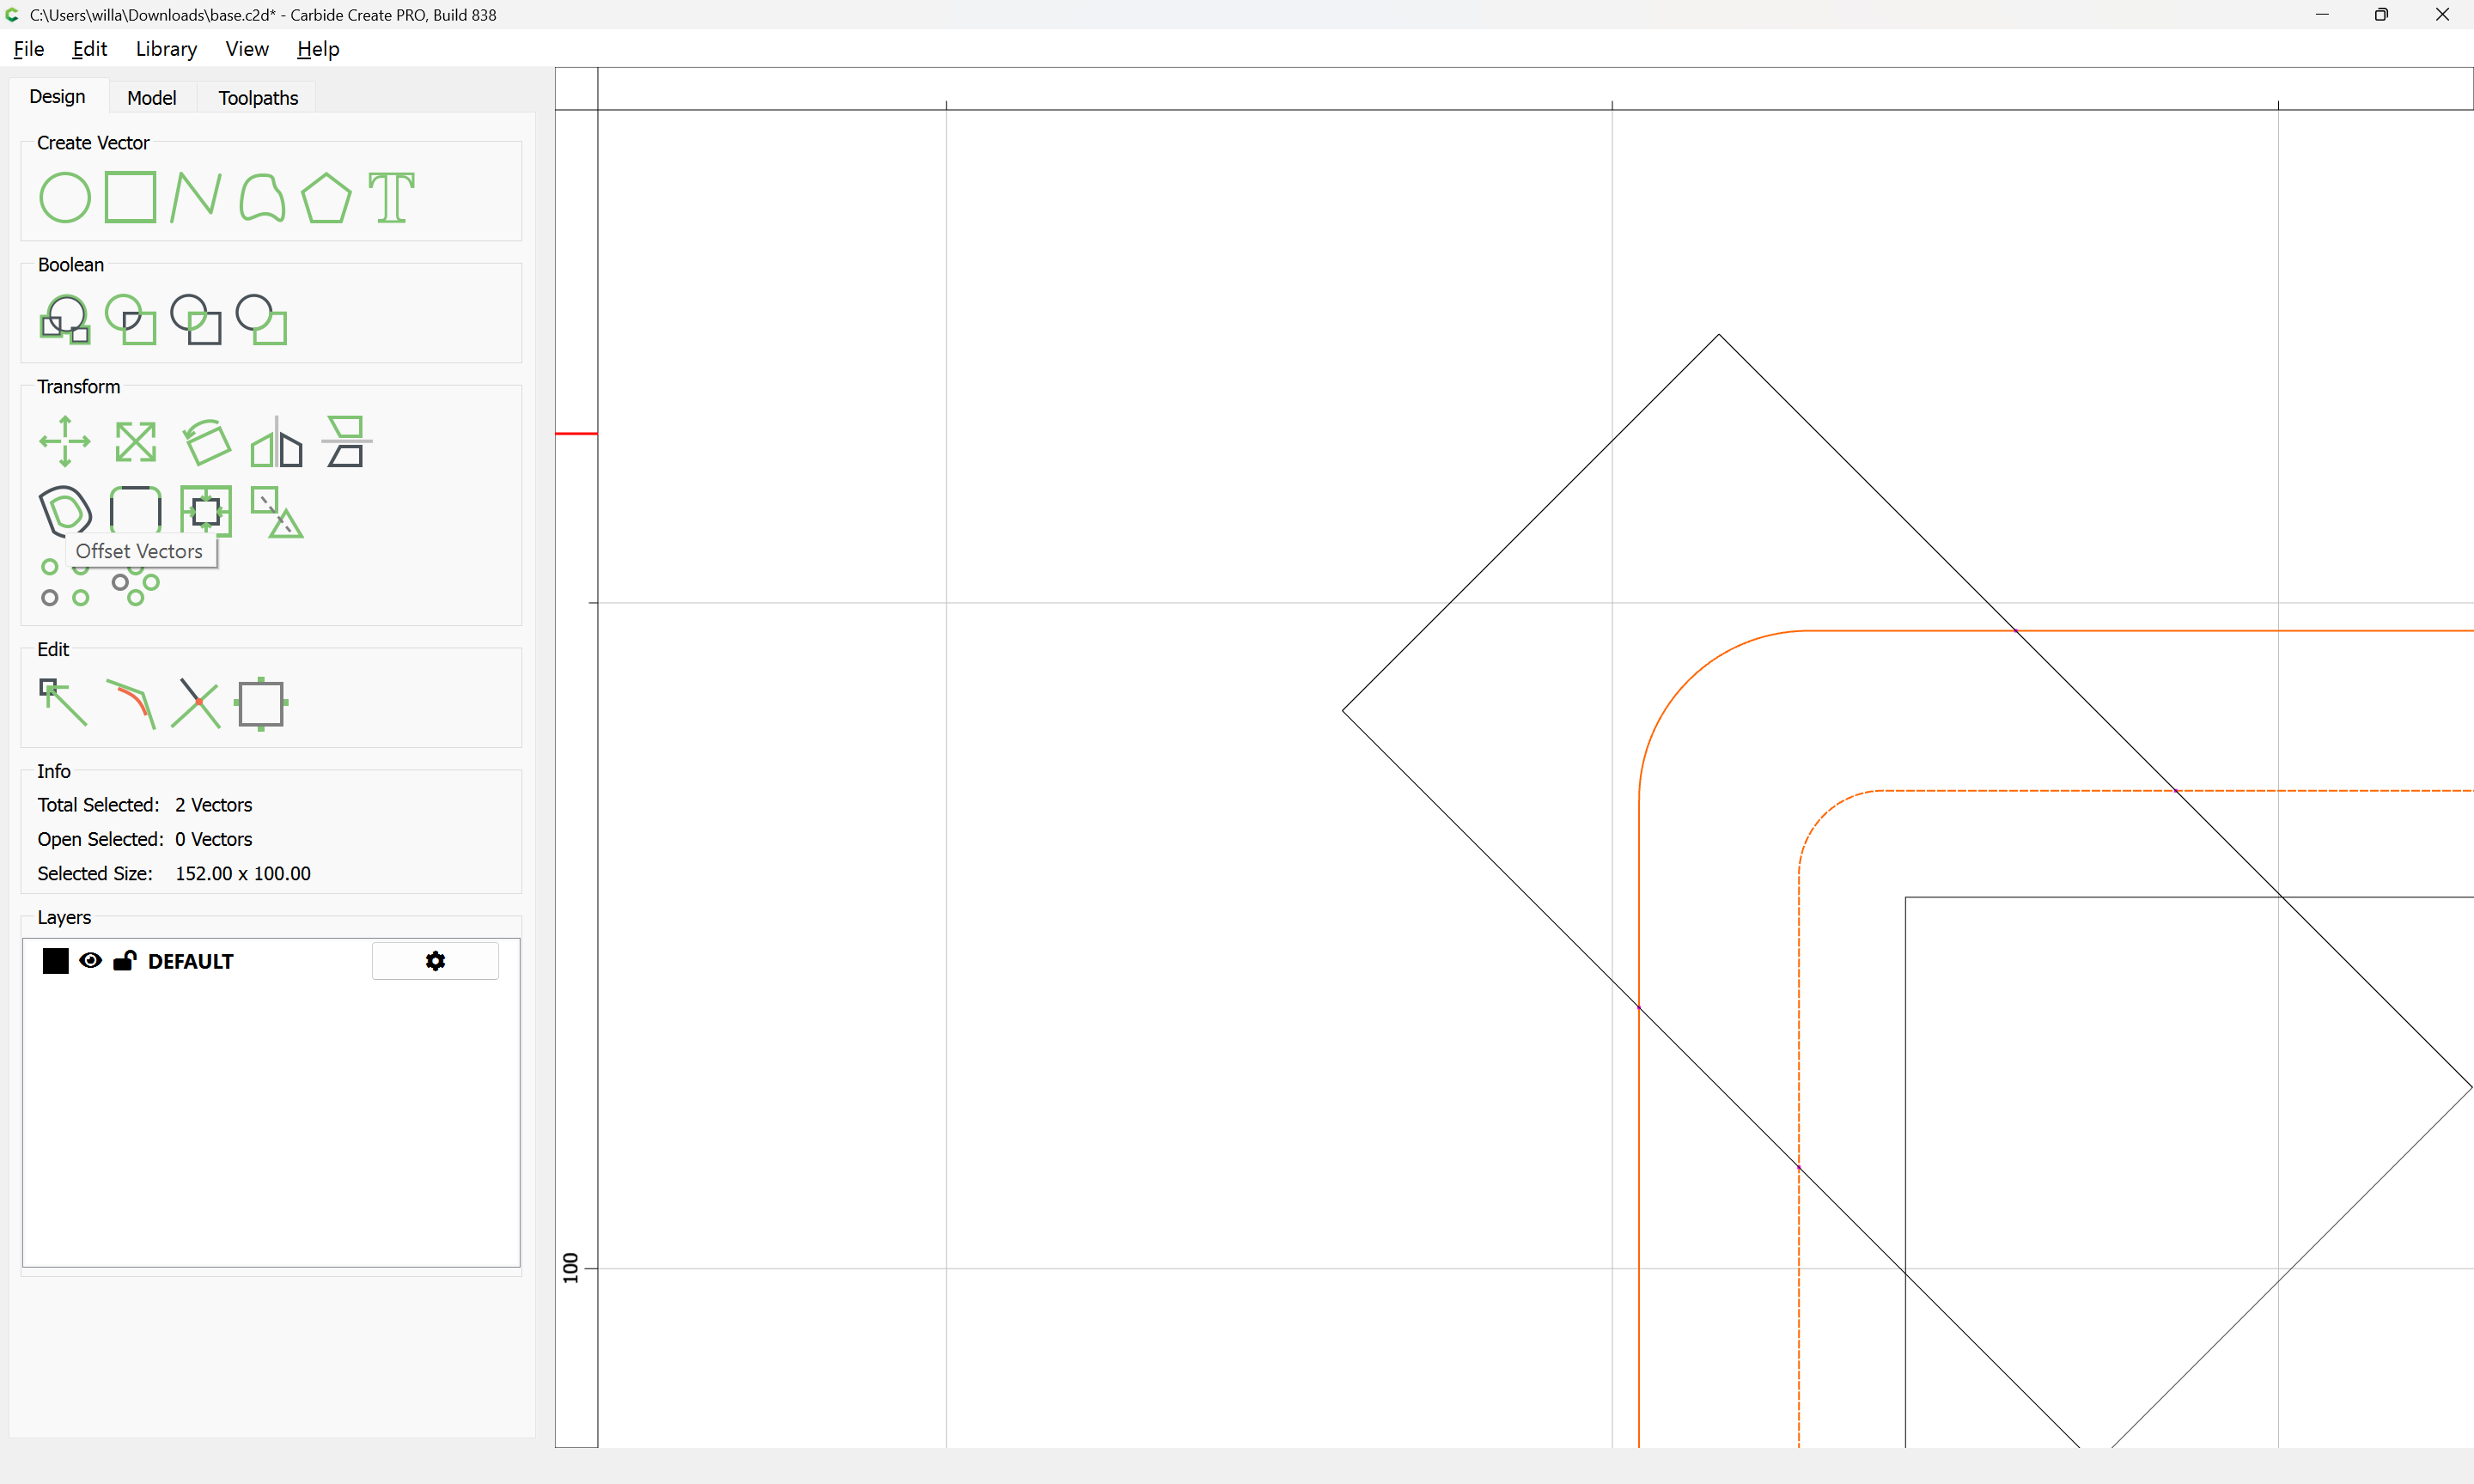
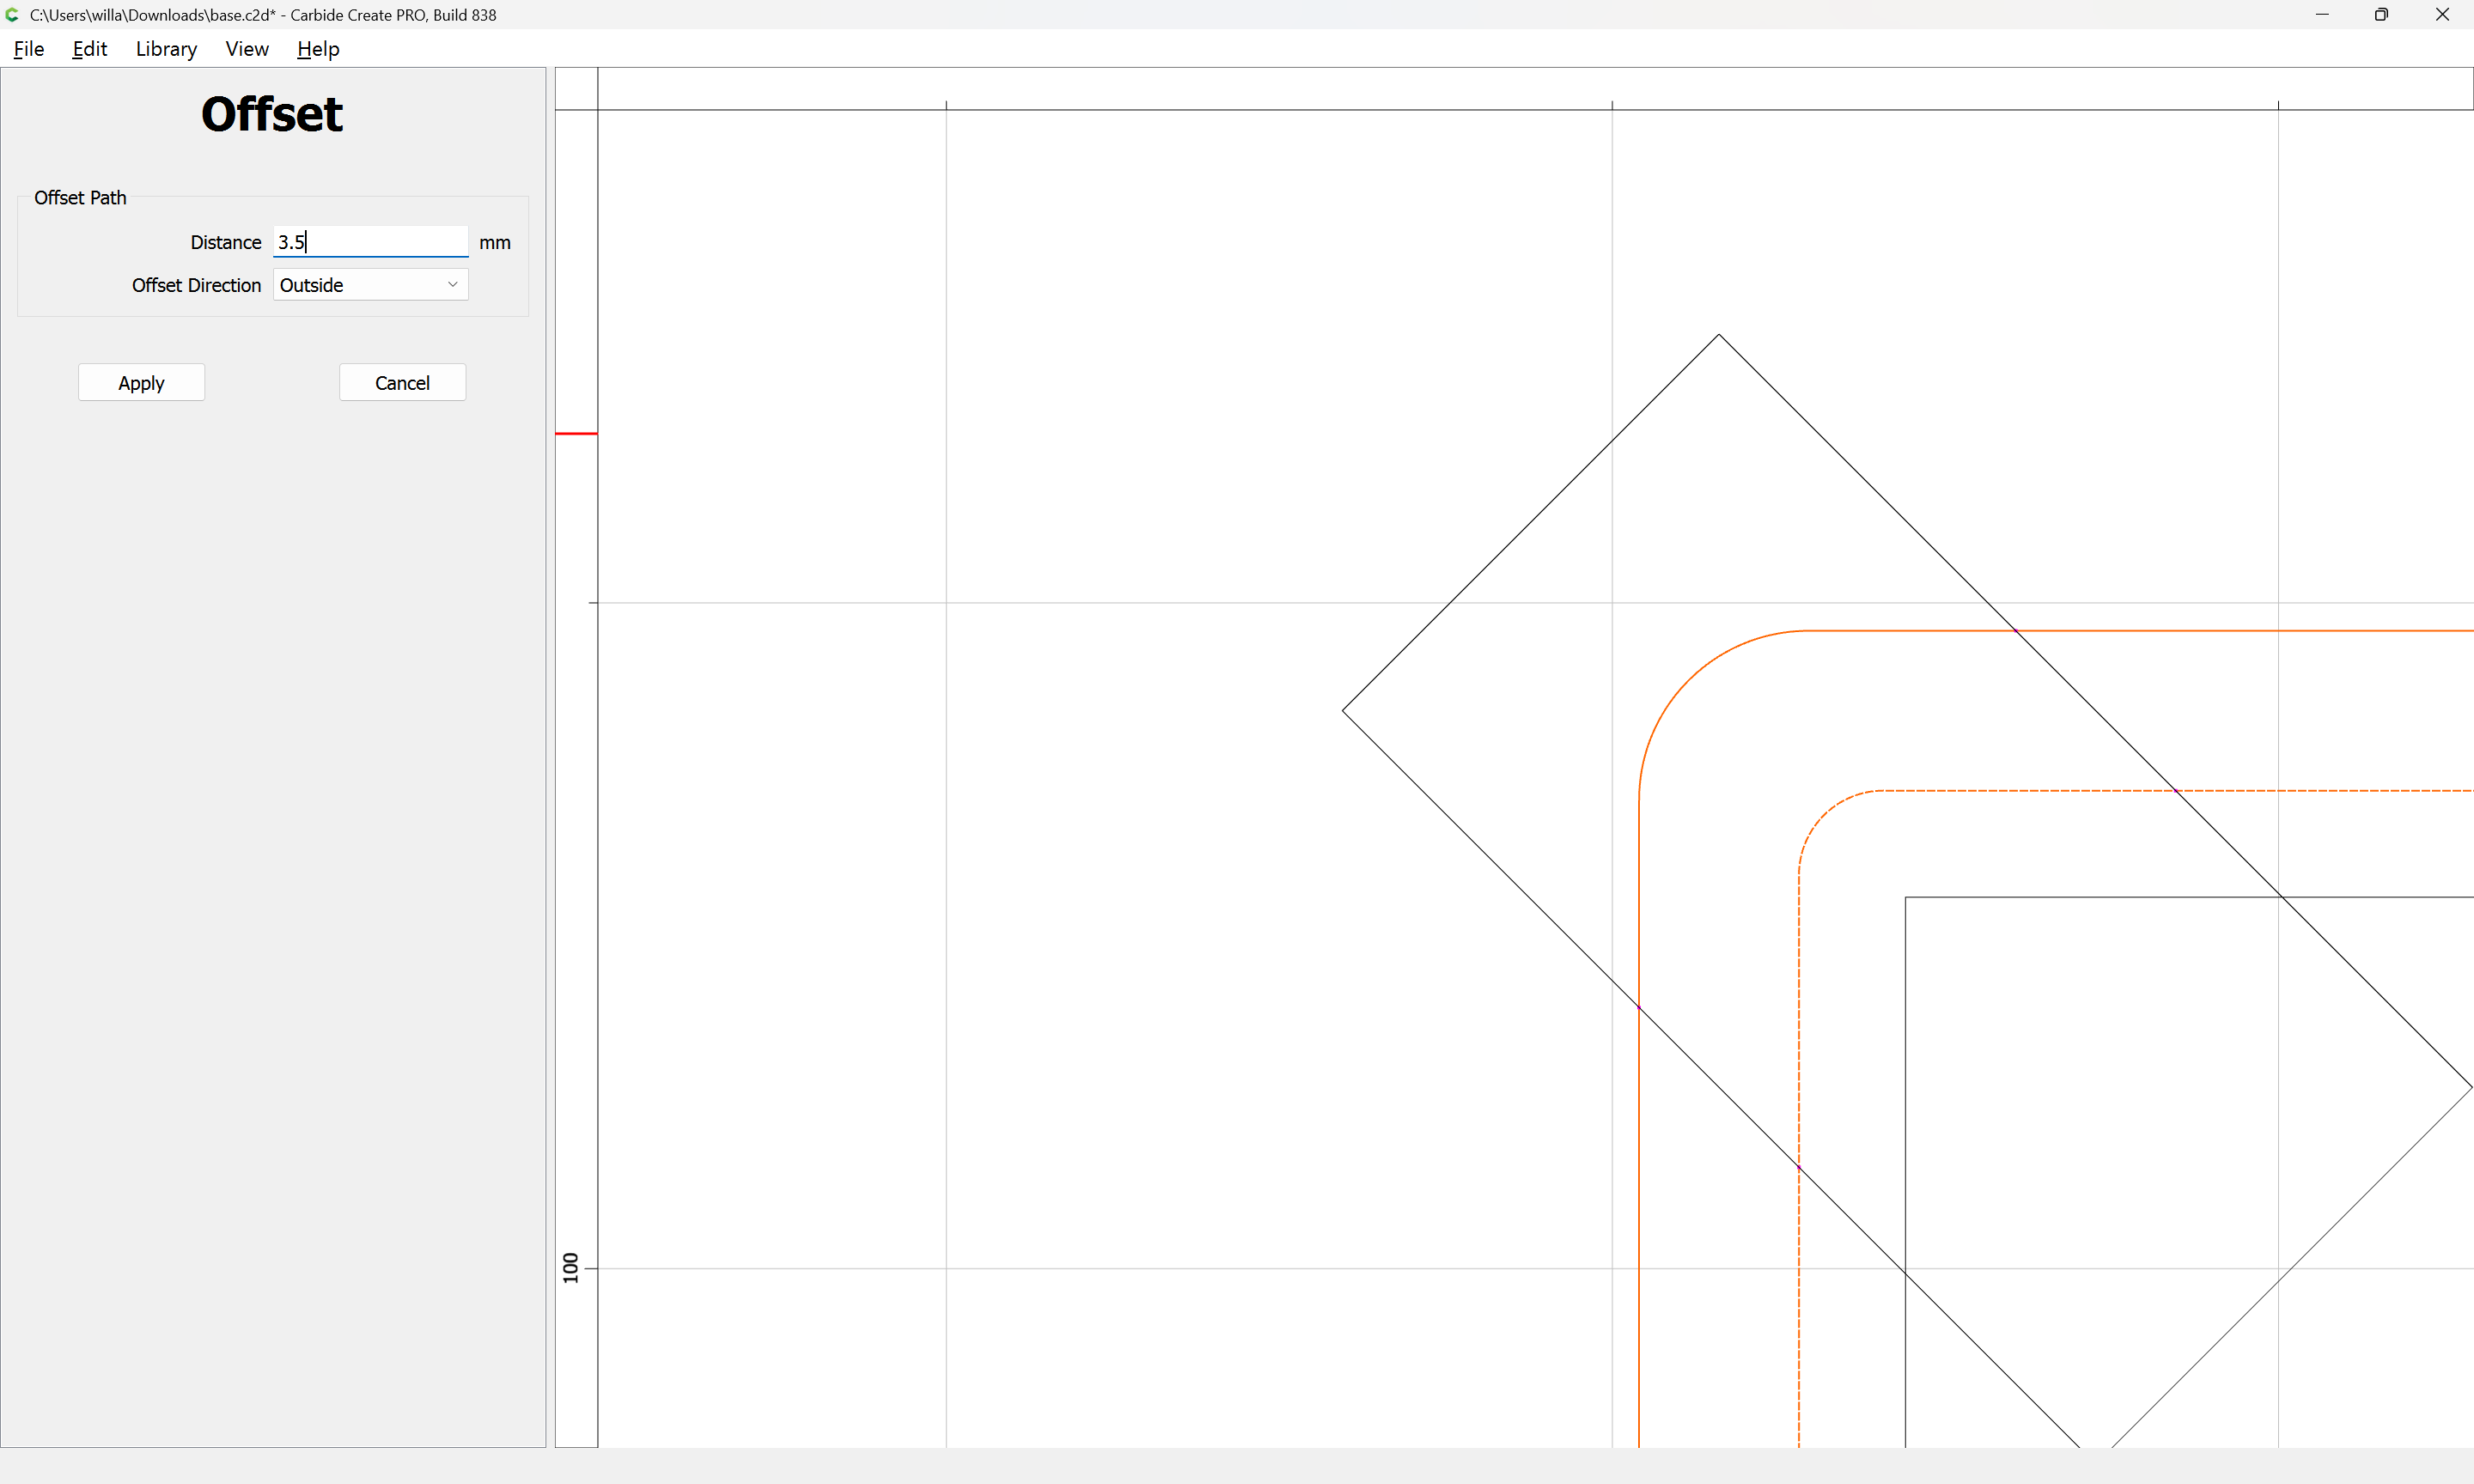
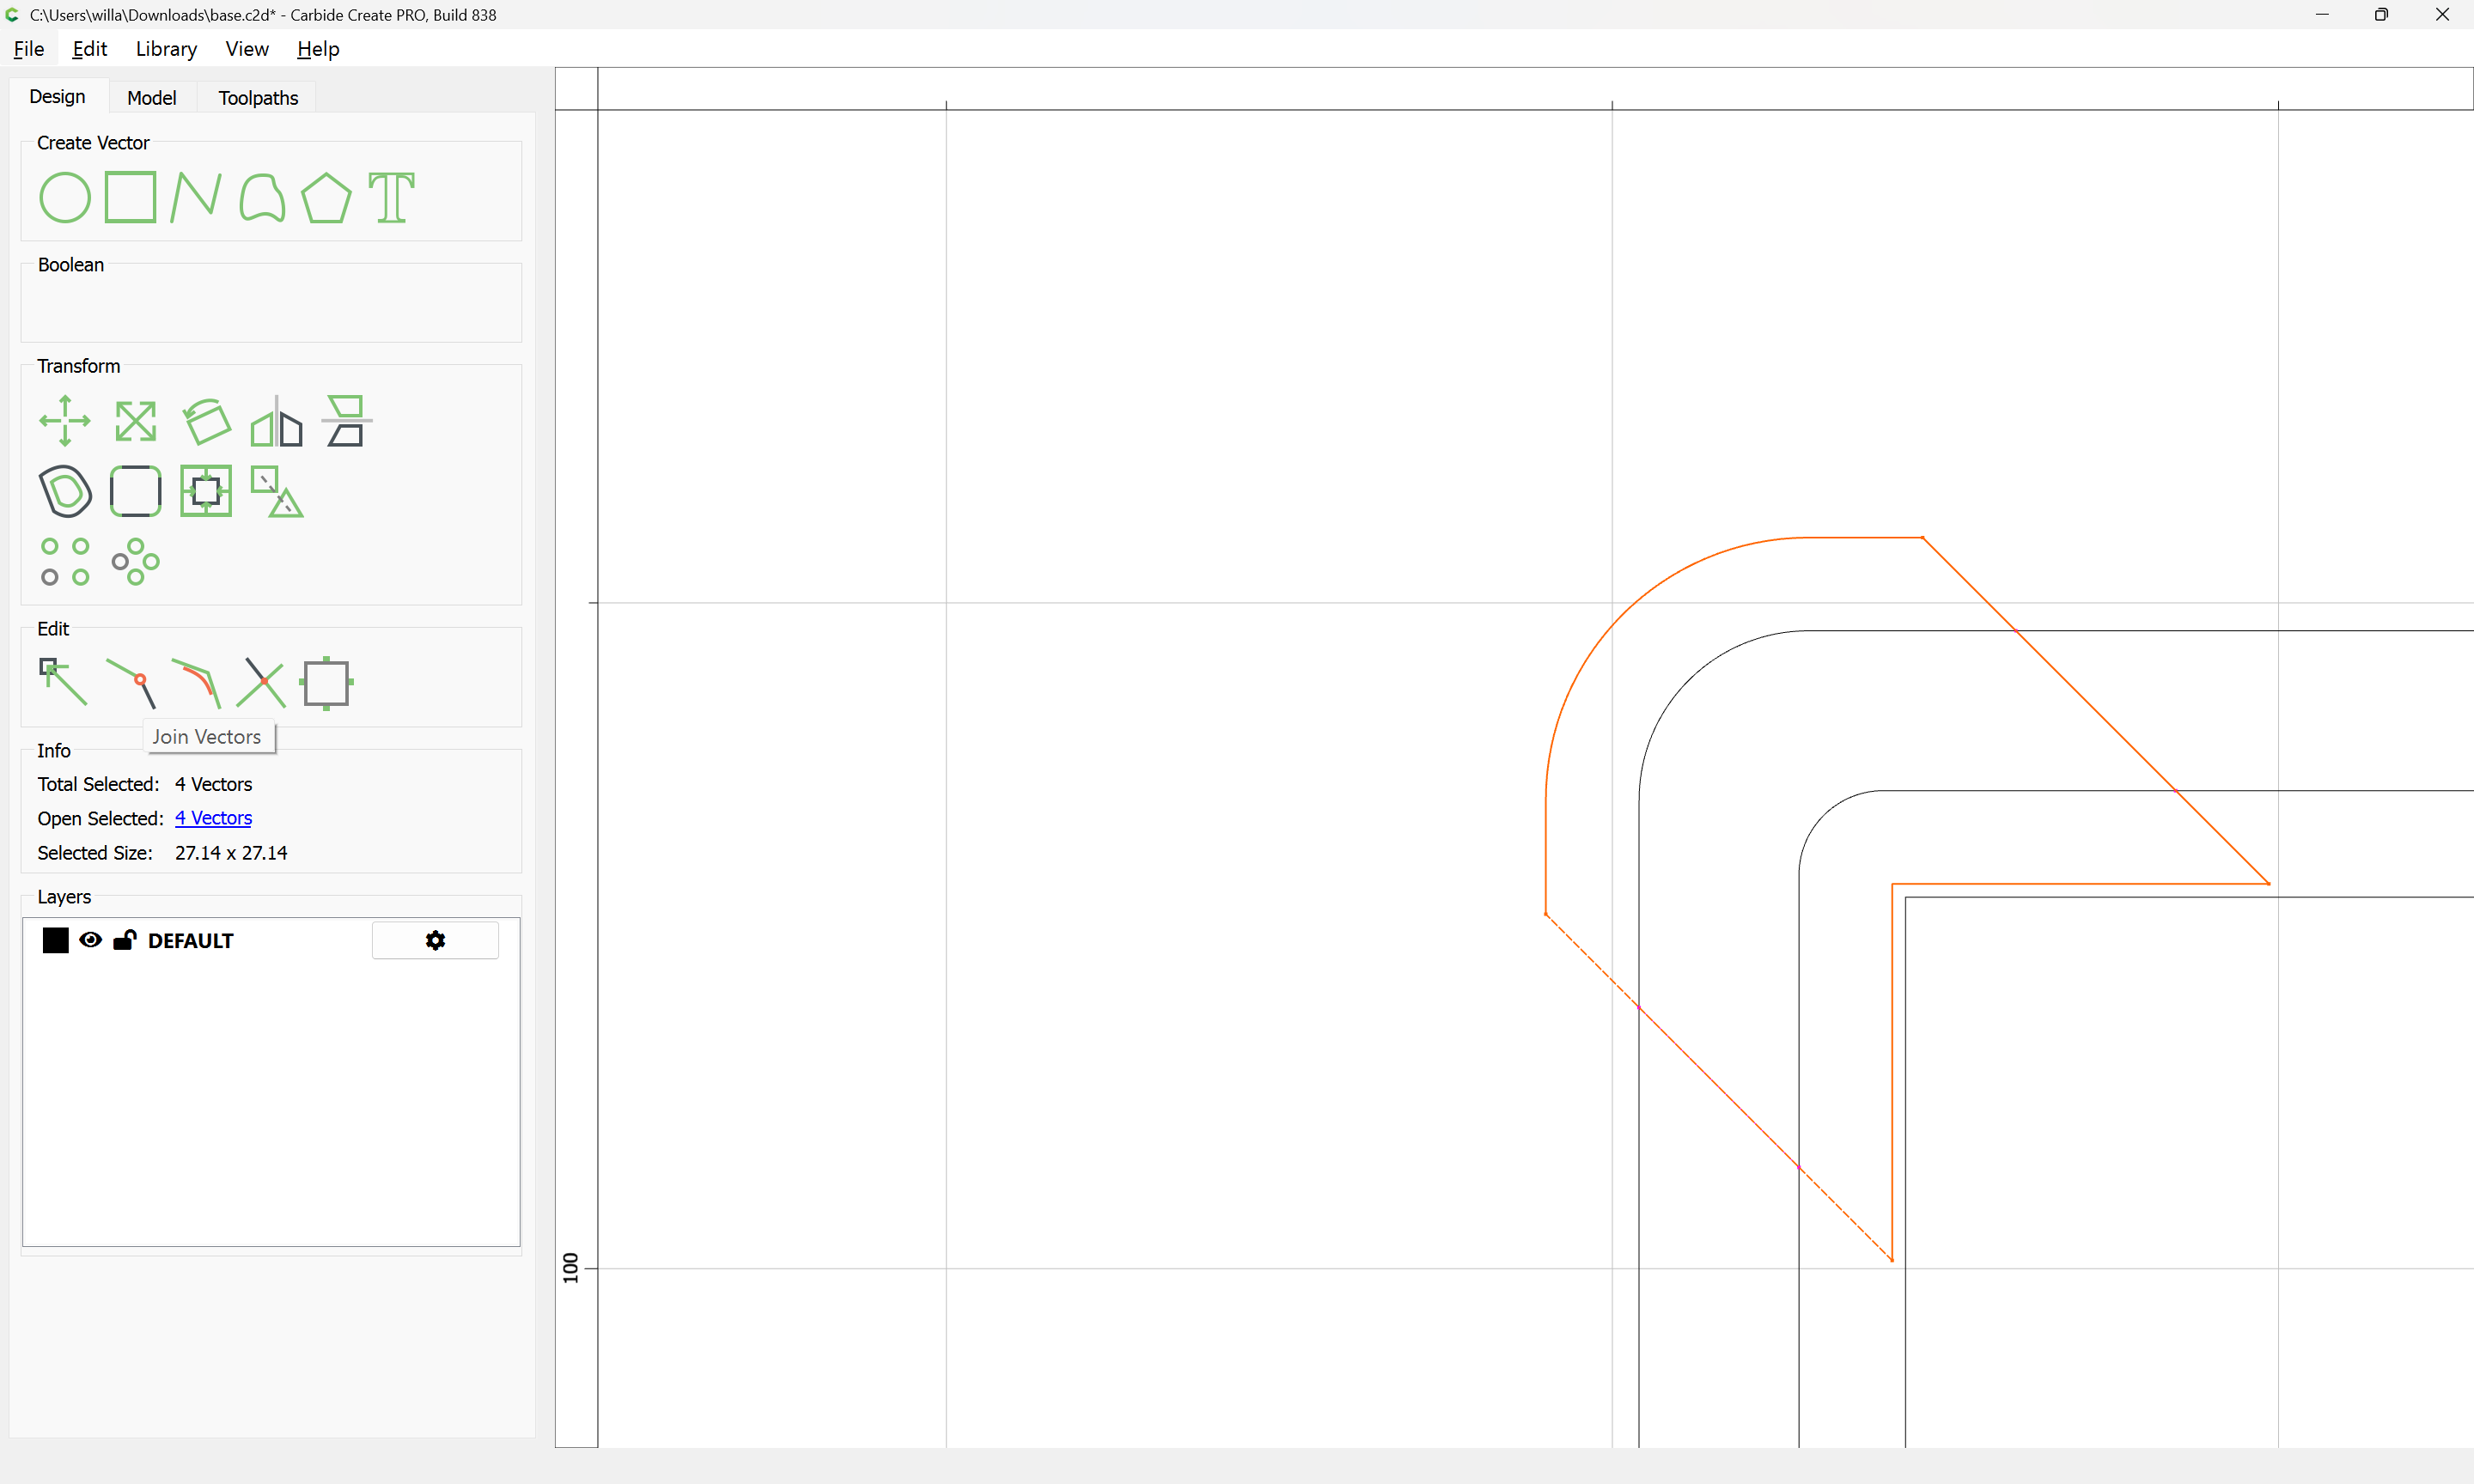
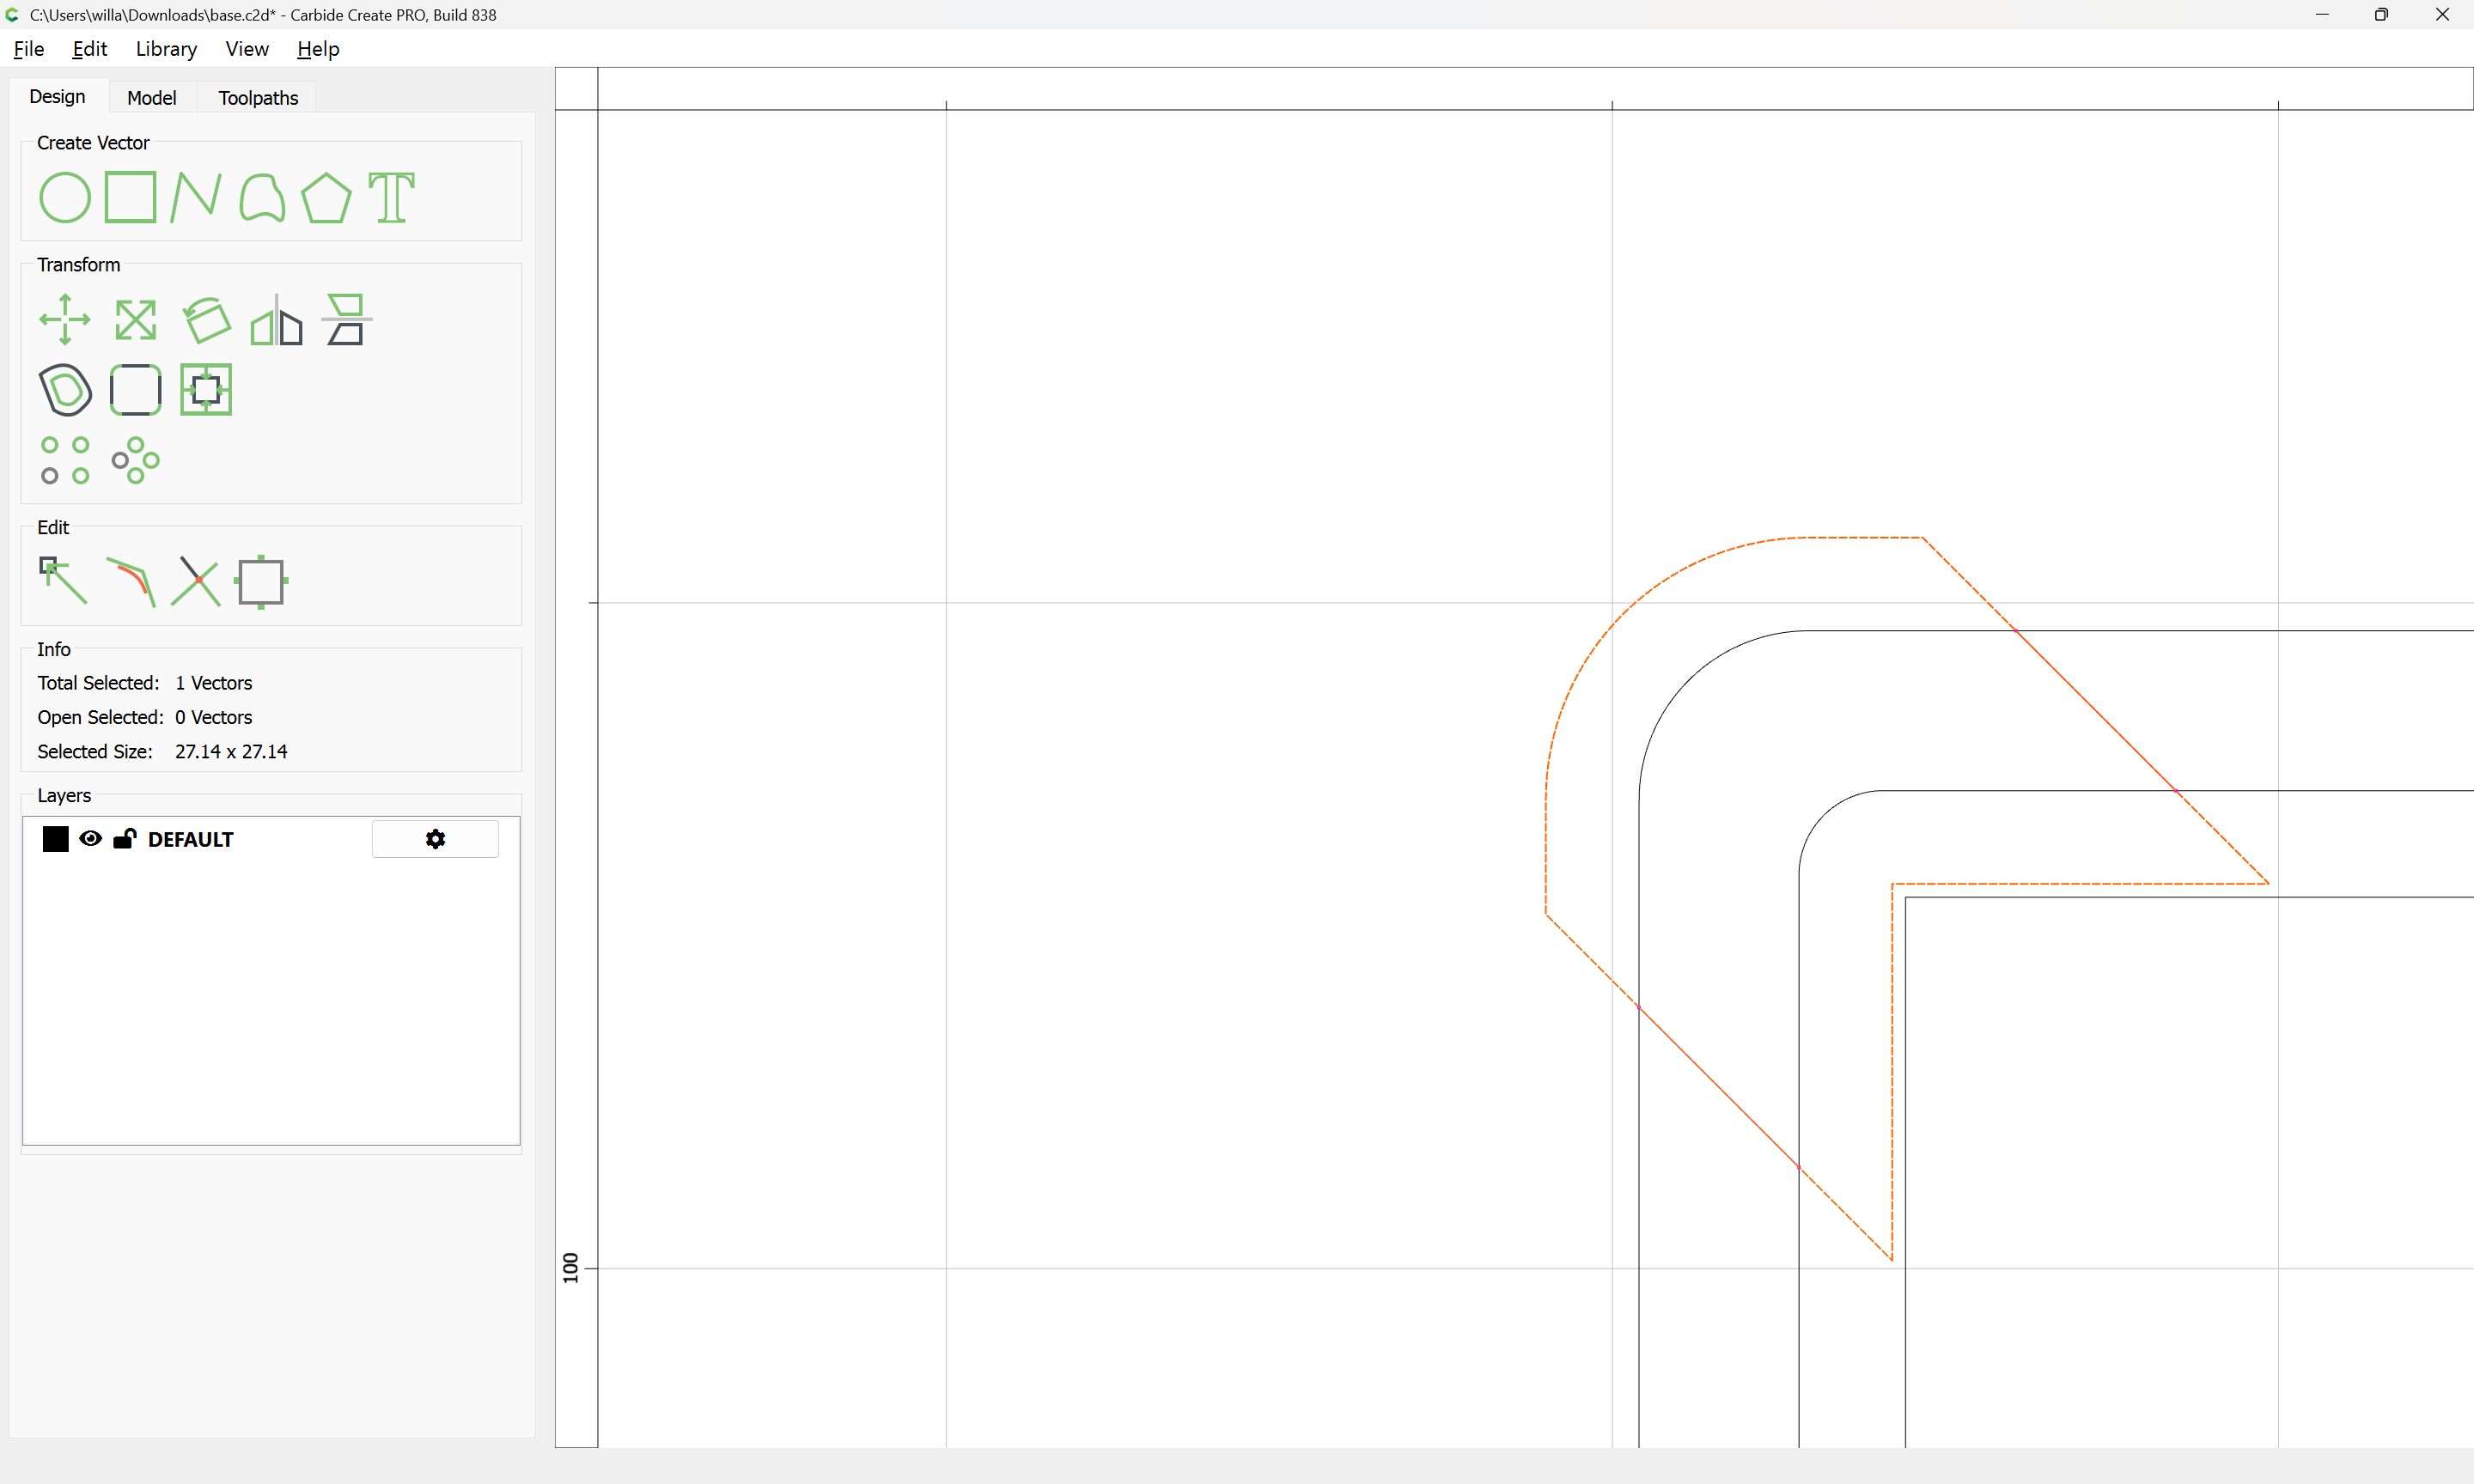
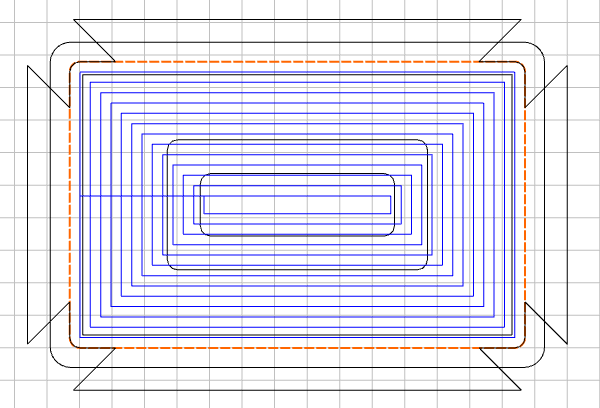
So I guess what you’re saying it that I could create a geometric shape the same dimensions as the area I want to pocket (skirt) and then overlap that area and select that to then pocket?

It’s difficult to understand. Can you maybe provide a cross section…

Or describe the depth of each section?
This is being cut from a larger stock, so it will also need a profile? with tabs?

For one corner:

Recreate the original rectangle by measuring:

then rotating:

Select the two lines:

and group

Select the re-created rectangle:

then shift-click on the grouped lines to add them as the key object:

Align Vectors

center the rectangle on the lines

Ok

shift-click on the rectangle to remove it from the selection:

delete the now redundant lines:

In order to ensure that the pocket is fully/cleanly cut, select the geometry which defines where it is to be cut:

and offset to the outside by the radius of the tool to be used plus 10% or so:

Apply

shift-click on the rotated rectangle to add it to the selection:

Trim Vectors:

Remove what does not define the desired pocket:

until one arrives at:

OK

OK

Join Vectors:

Attached as a v8 file:

base_v8.c2d (56 KB)

1 Like

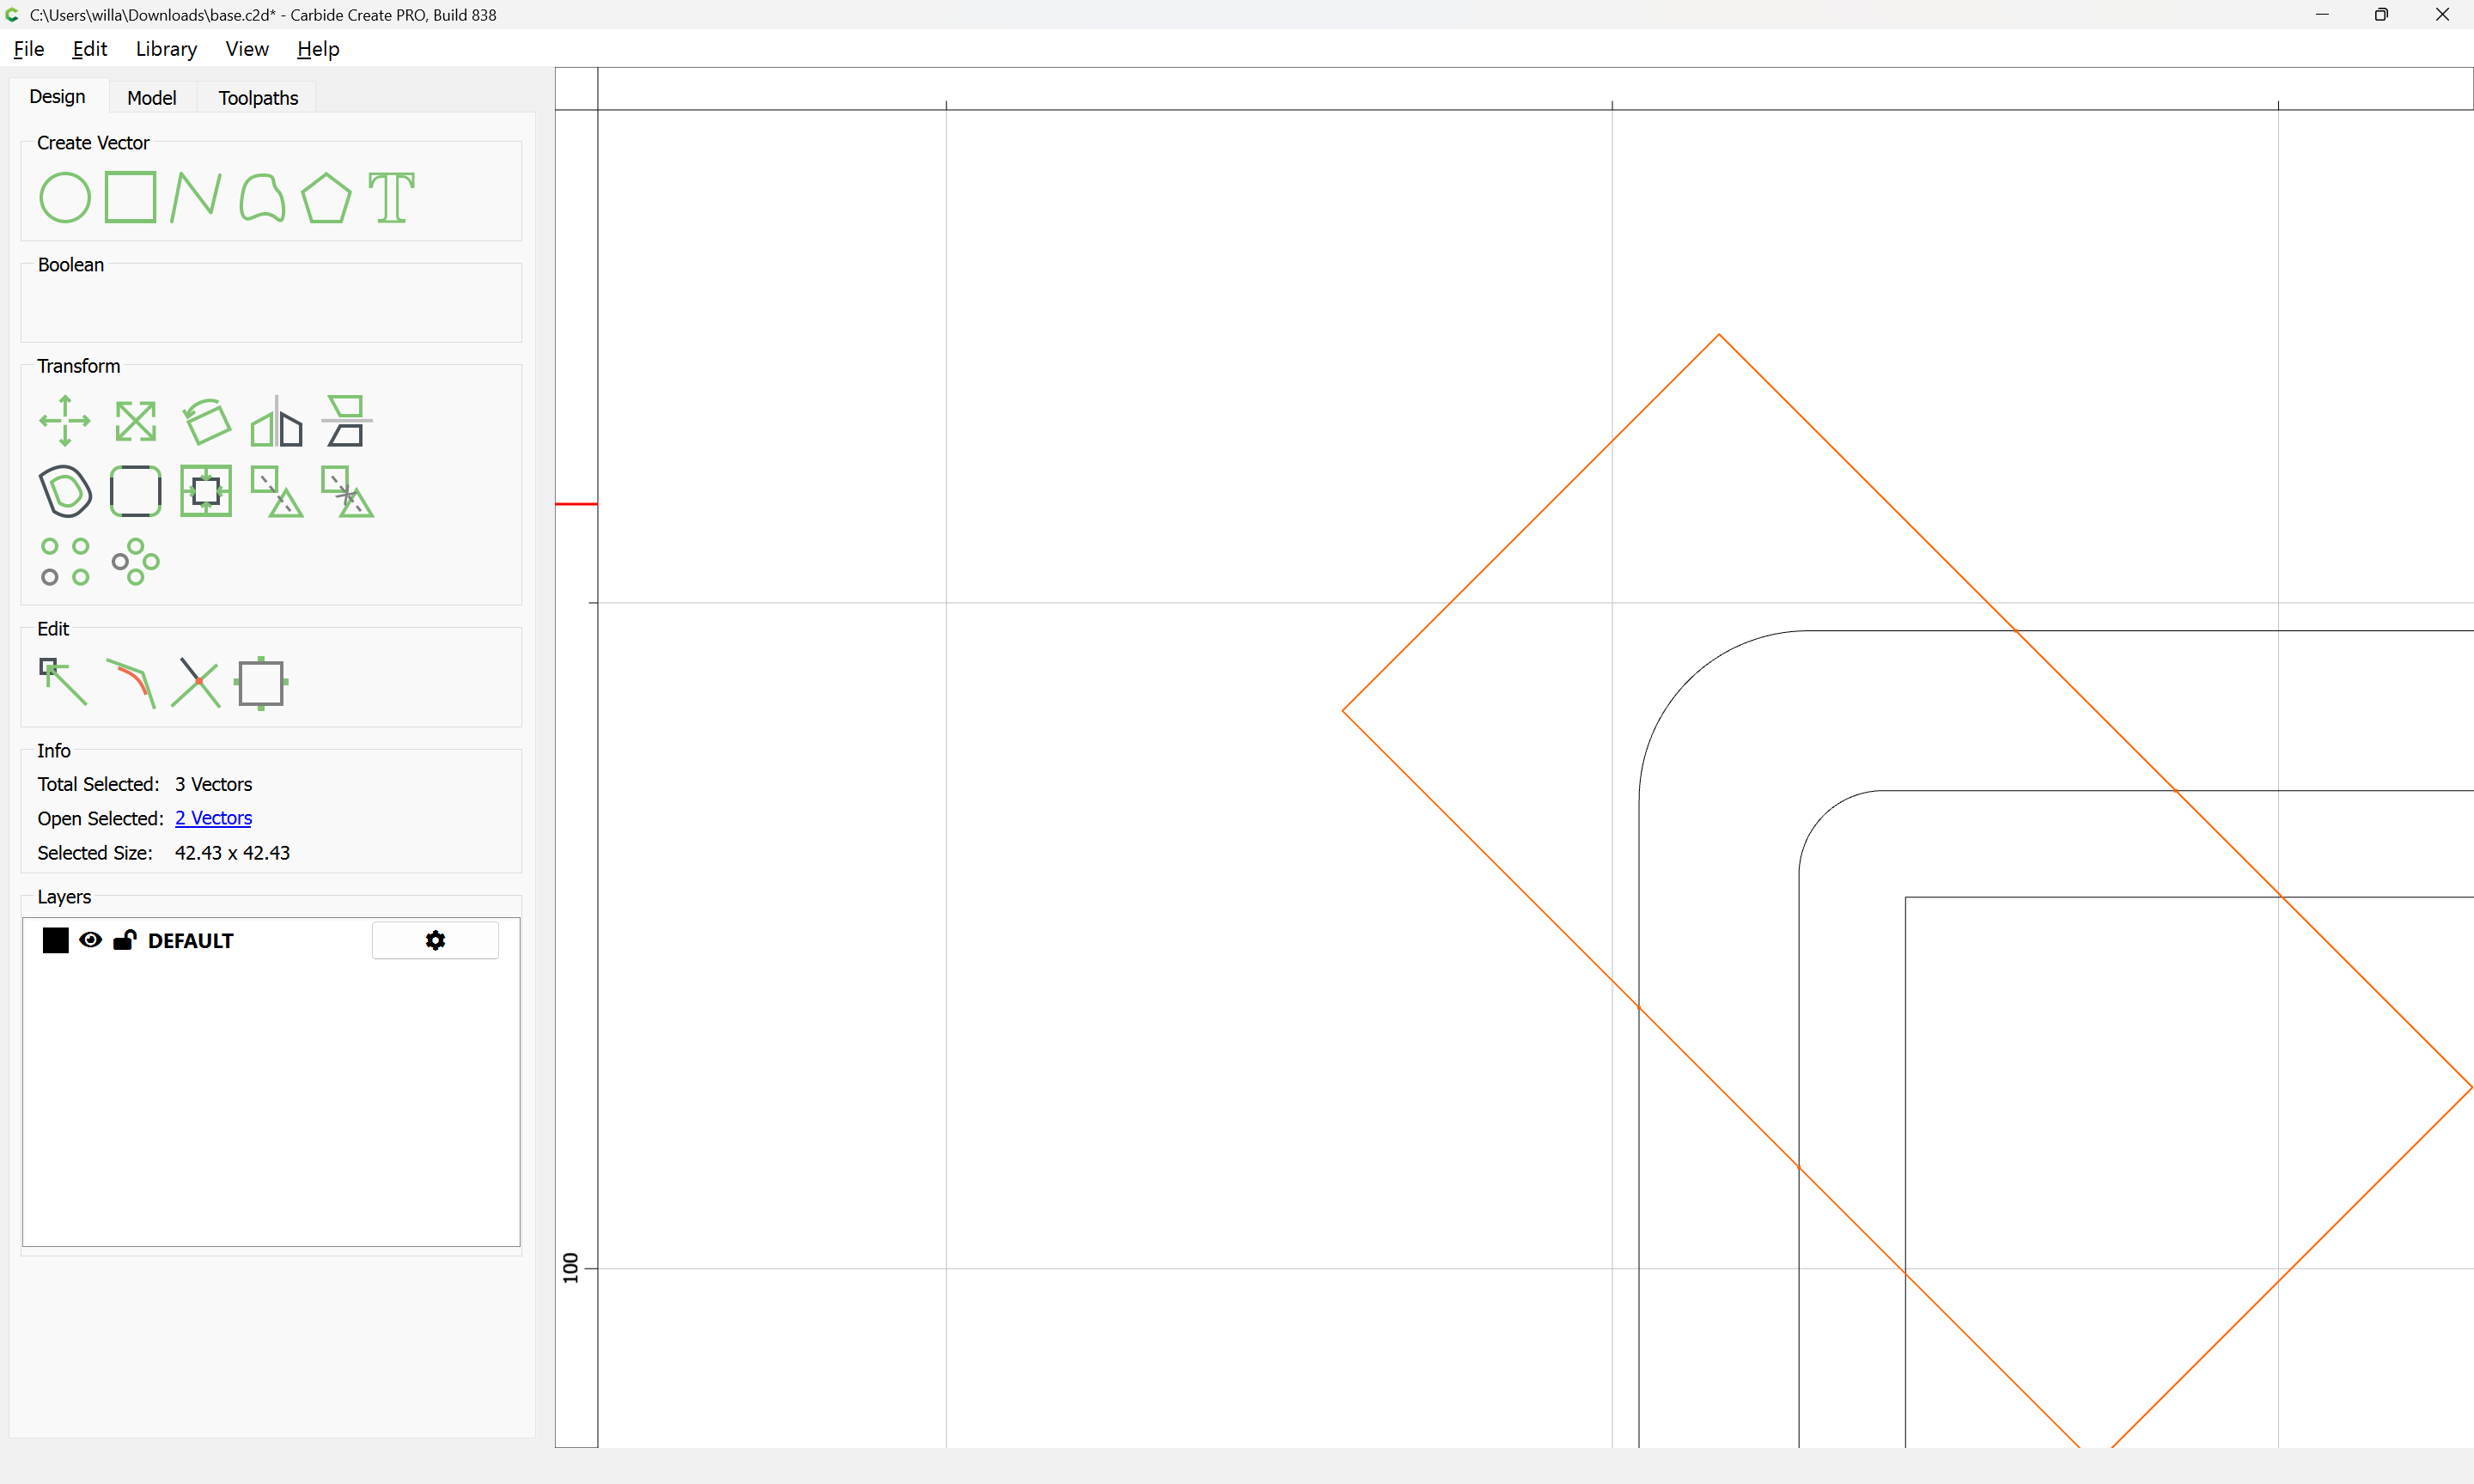
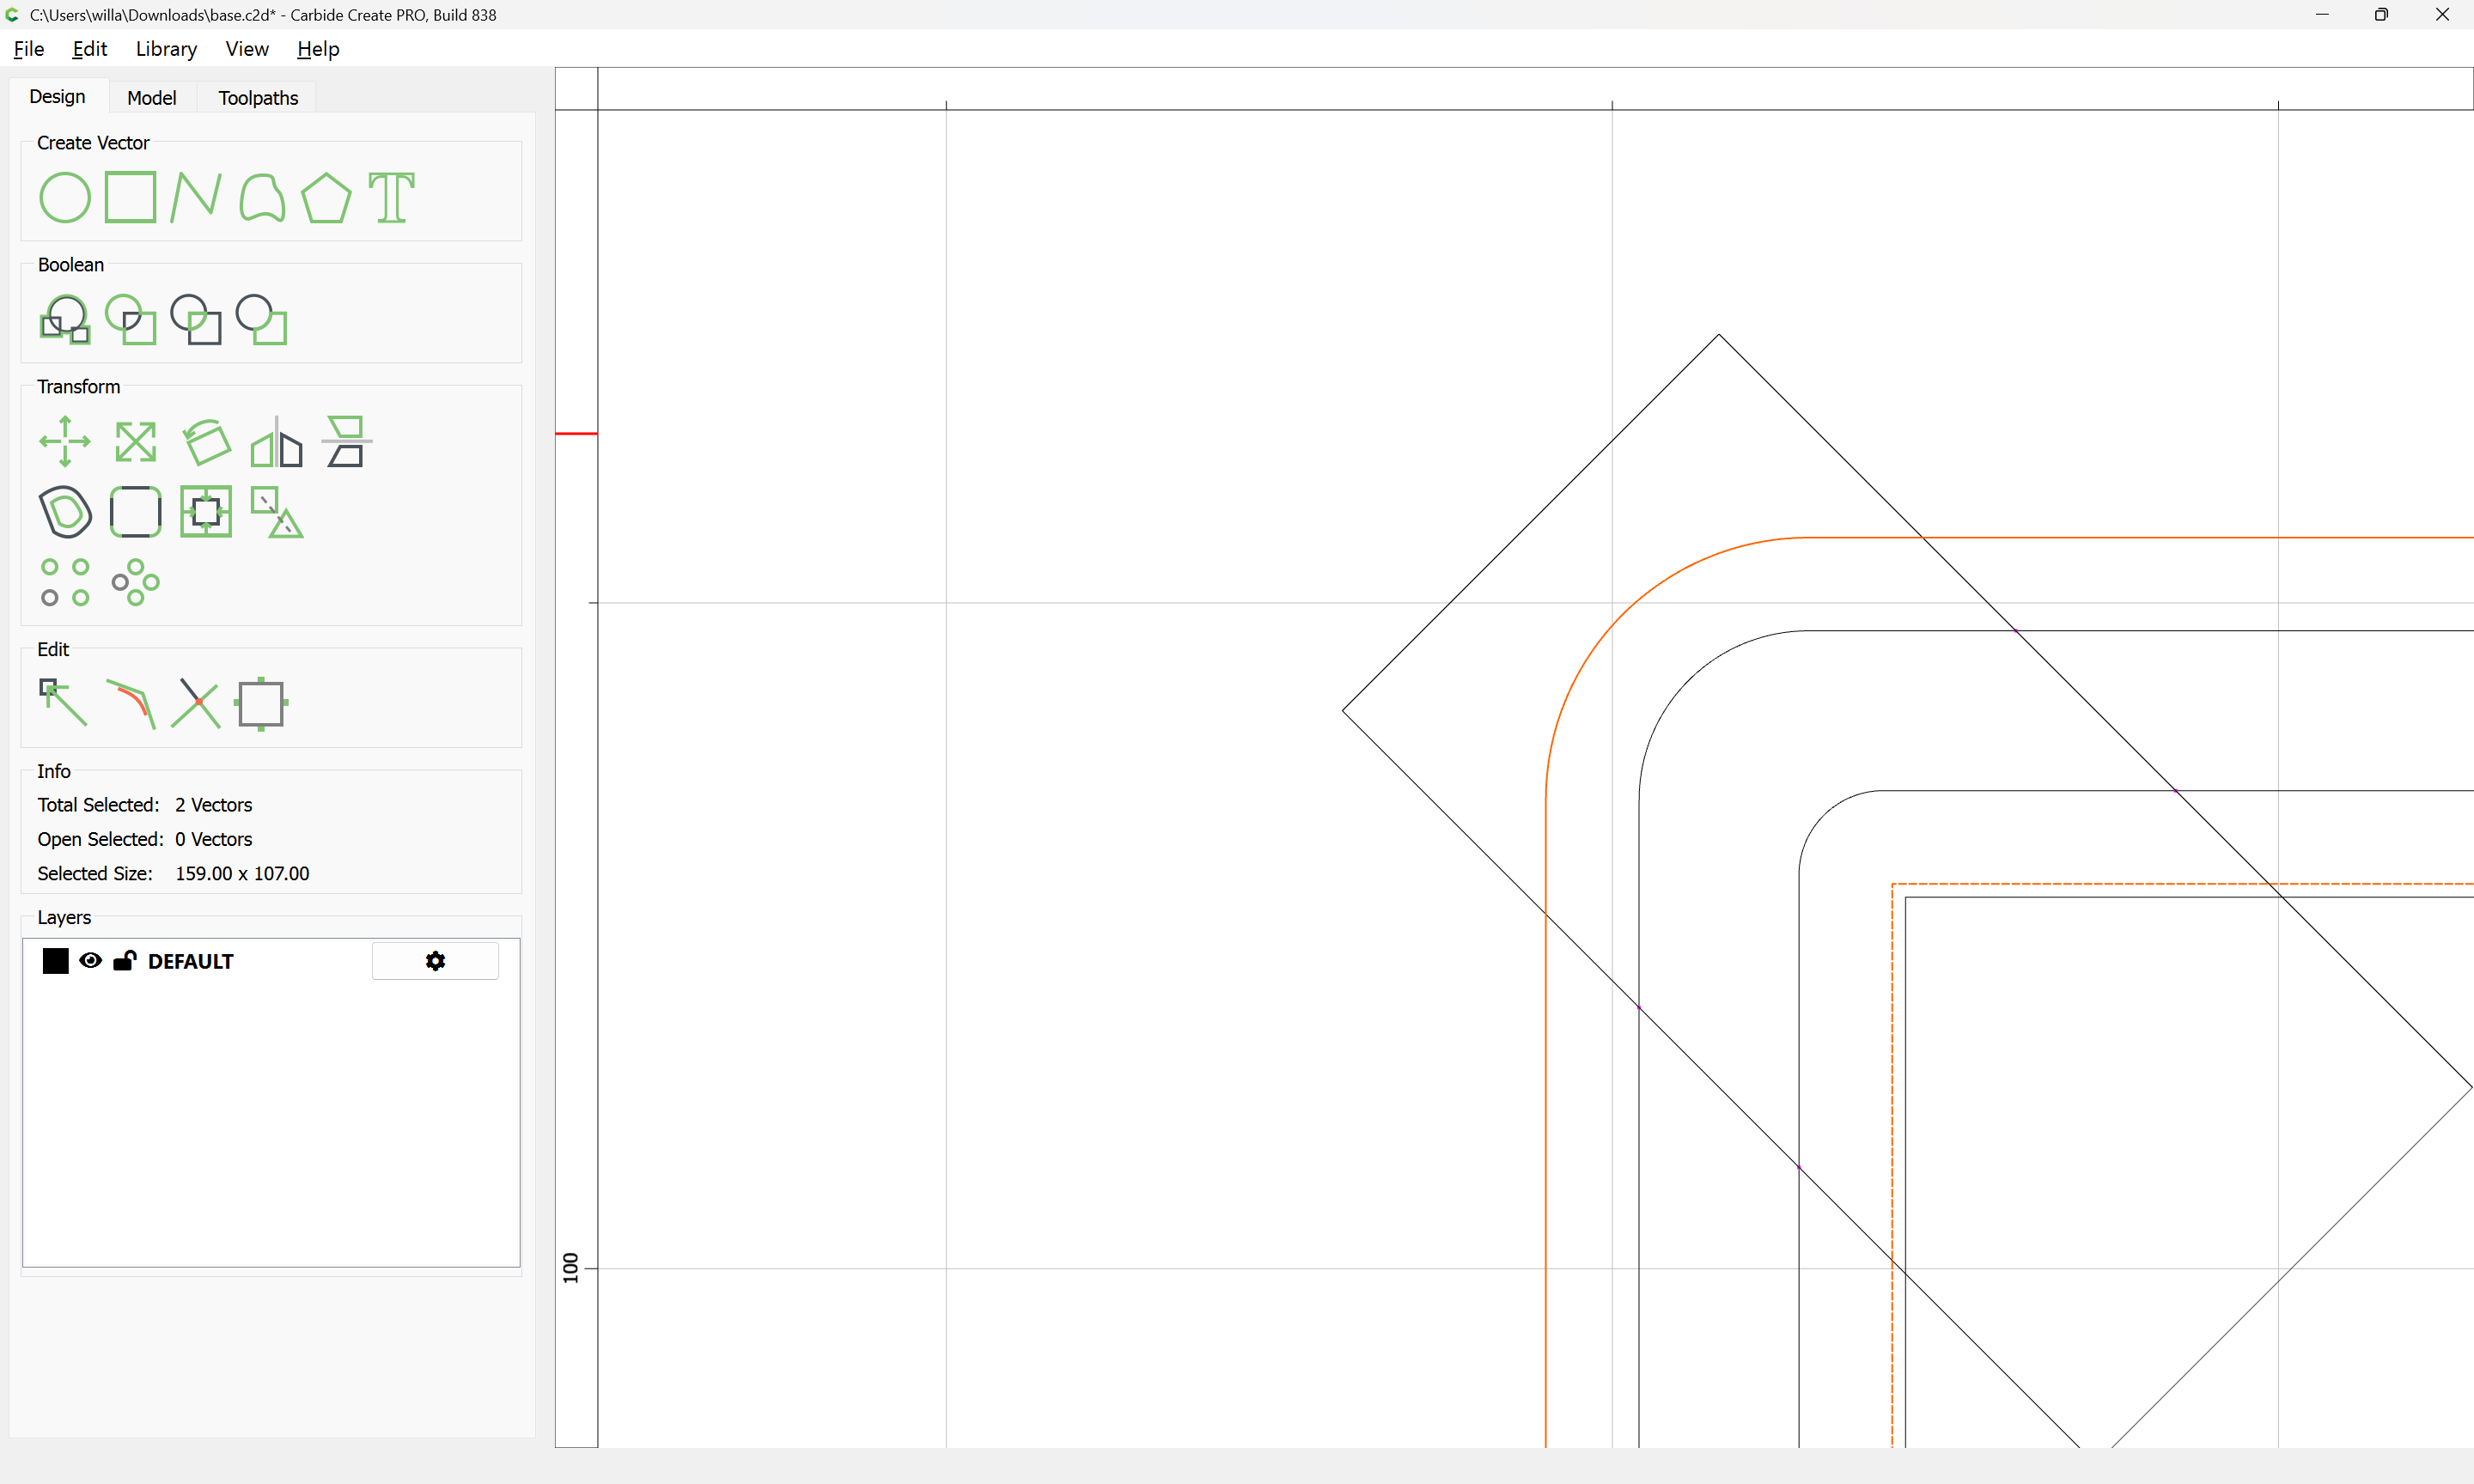
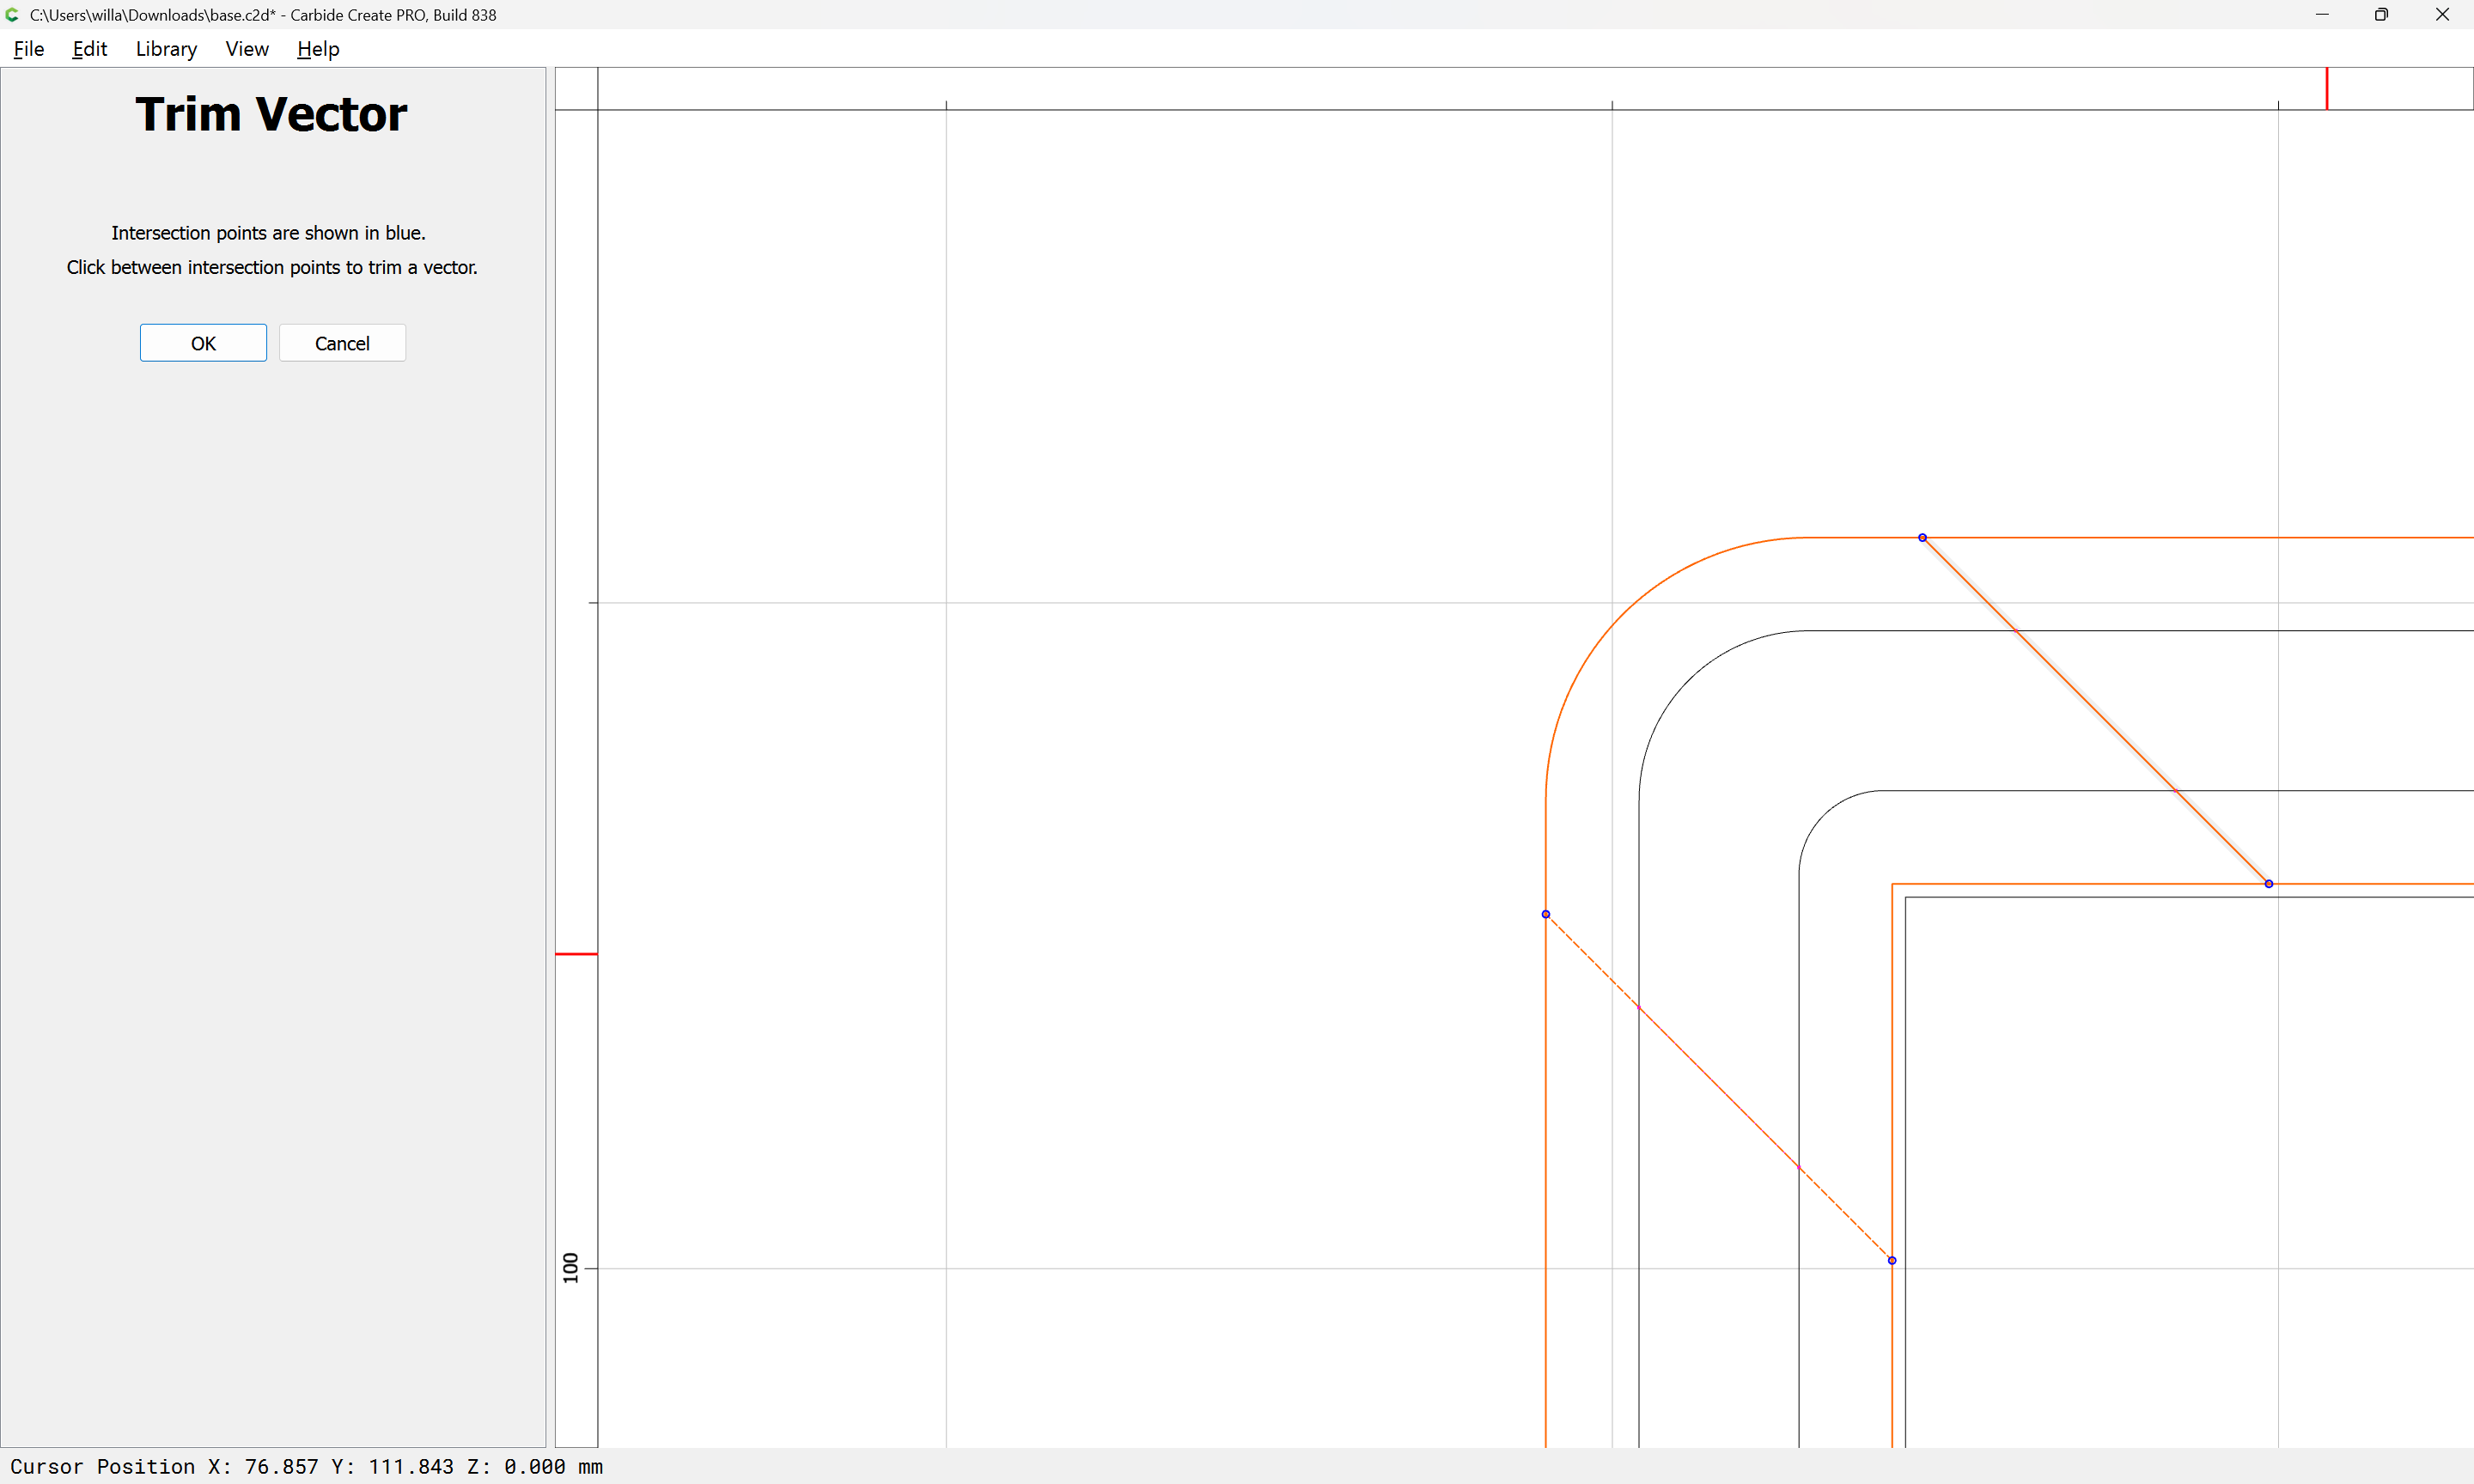
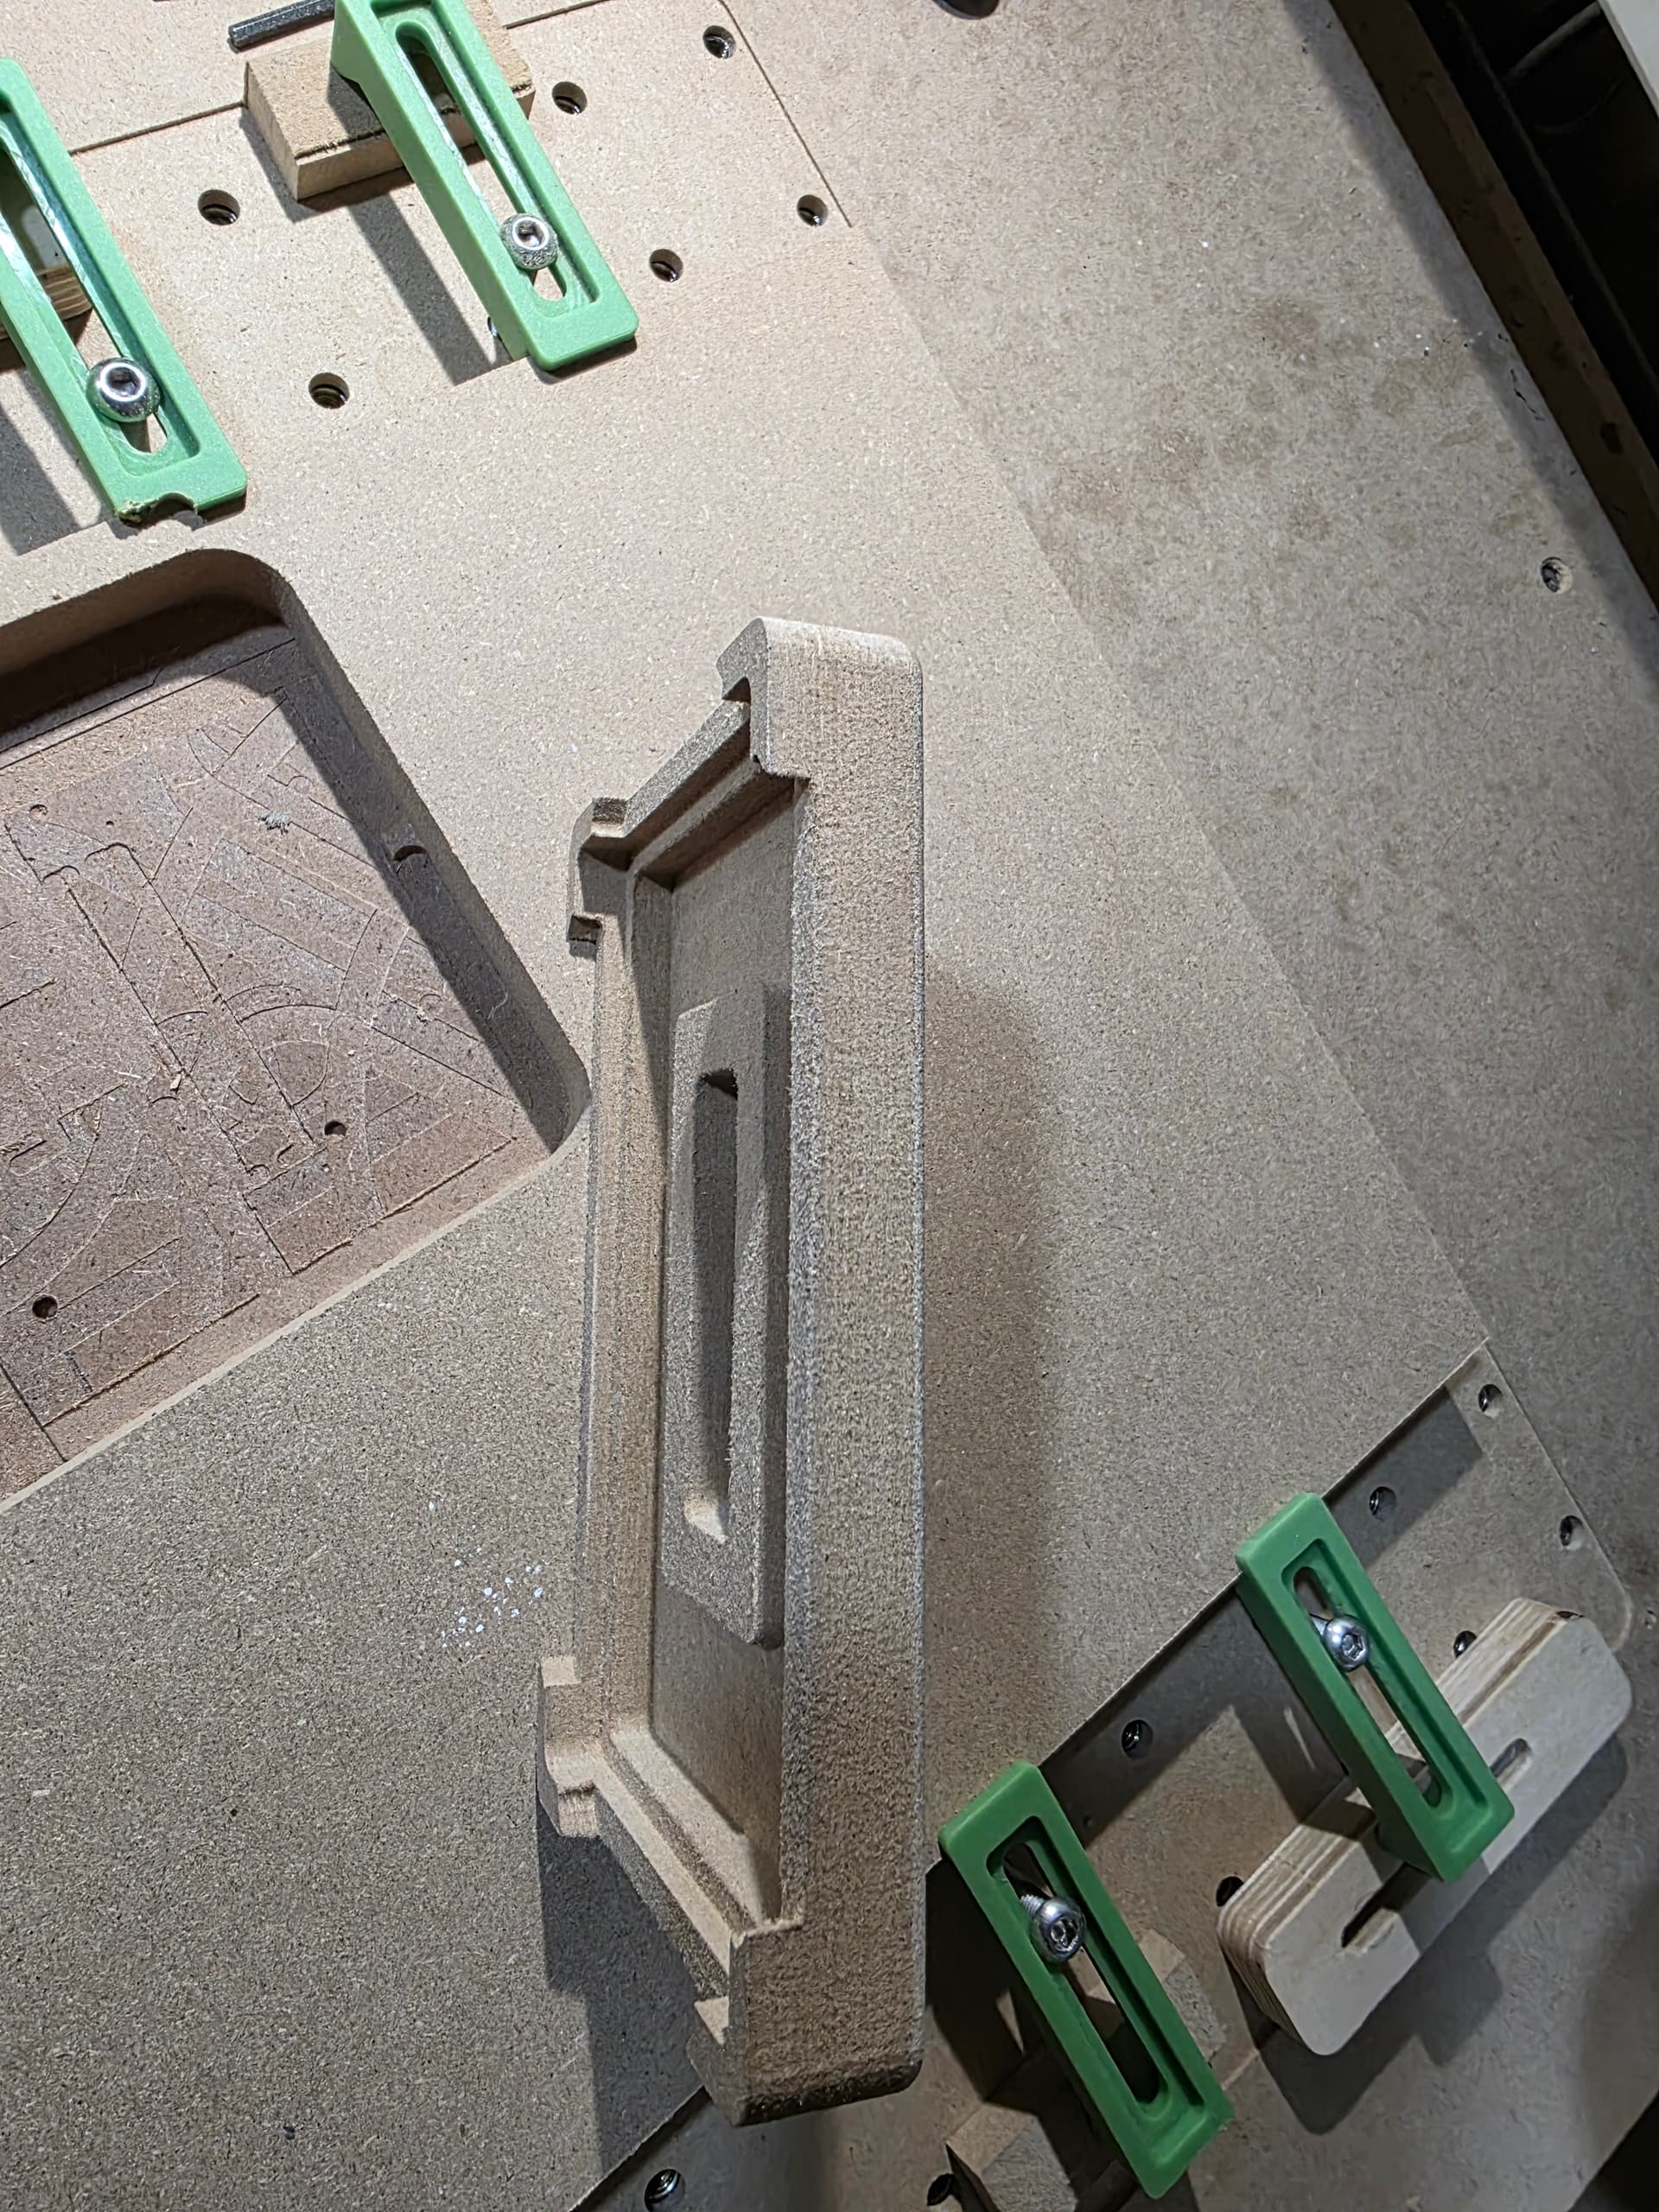
I recreated the 4 areas and overlaid them. I actually need to make each one taller so the I don’t get the radius of the cutter on the edges of the ends as you can see in the picture.


I would extend the first boundary to clean up the legs, and machine it at the first depth

Then select the inside of your skirt & machine to the next depth

Last, select the next pocket & the 2 inner vectors & machine to the 3rd depth

Finally, add a 7mm offset to the outer trim & pocket that all the way through.

2 Likes

This topic was automatically closed after 30 days. New replies are no longer allowed.