I received my replacement control board today (Carbide Motion 2.4e) with no enclosure. I know the install should be as easy as unplug from old and plug in the new, but my question is this: Does anyone know what type of screws are in the 4 corners holding the board in the enclosure? (circled in red above) I have tried everything I own, and nothing seems to fit. There doesn’t seem to be any shape to the inside of the screw, making me think that’s not what’s holding it in the enclosure.
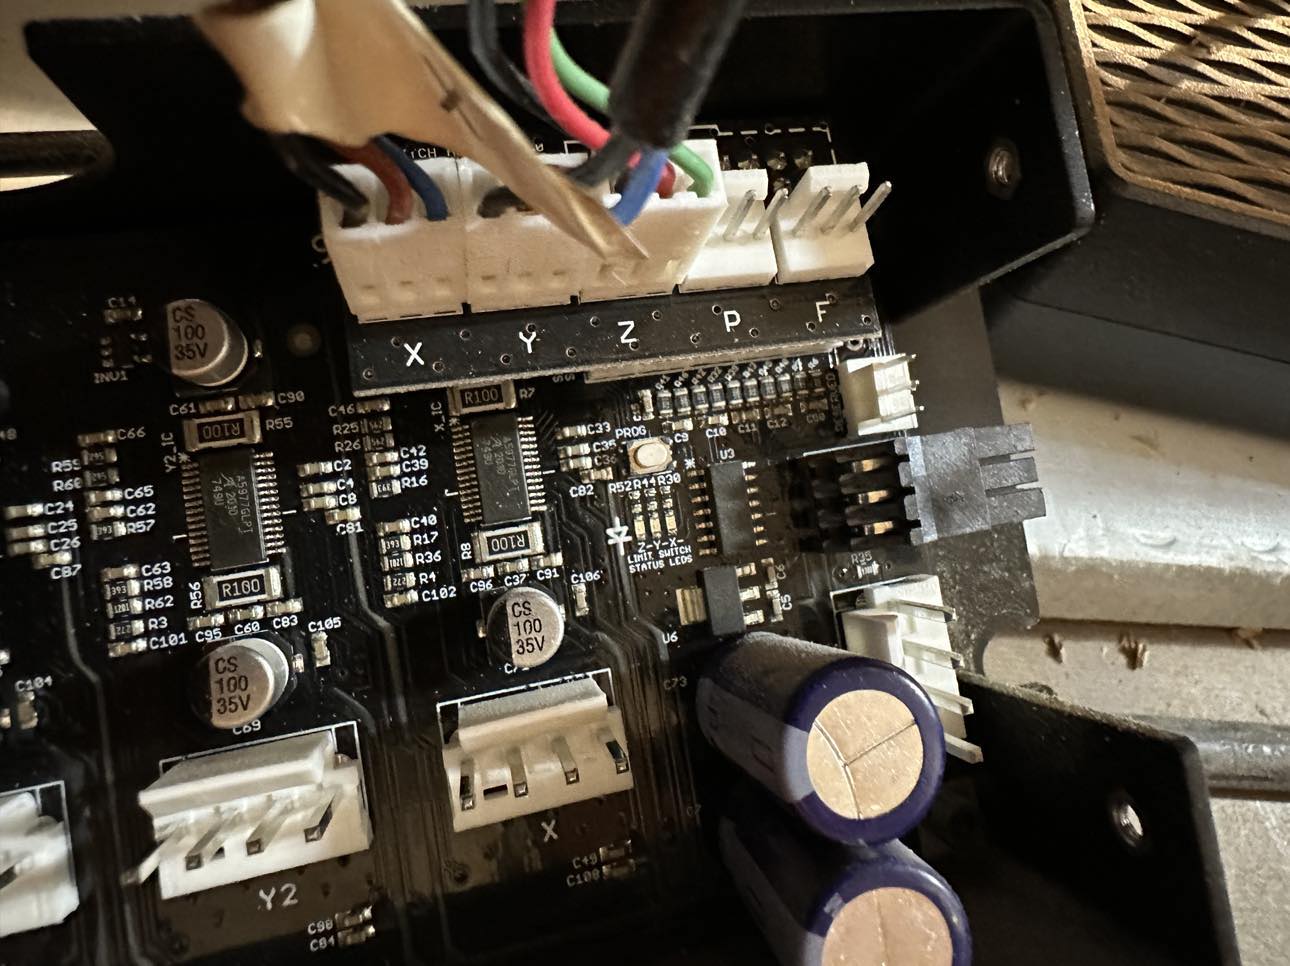
2ndly, the limit switch cables don’t seem to fit onto the new board (everything else snapped right in) The new board connectors have a slightly different design and I don’t want to break anything.
Old connectors:
Those are basically the only screws on the entire machine that are not metric. I think they’re a 2-56 thread with a 5/64" hex drive, maybe one of the support guys can actually jump on and correct me. If the socket is truly messed up though, you’ll probably have to go in there with needle nose pliers to get the job done.
I didn’t even think to try sae wrenches. Luckily 3/32 fit and I got the screws out. Now, however I am faced with the dilema how to get the old one out, since the USB connector sits outside the enclosure, and even with the 4 screws out it is still in there really tight! I don’t want to destroy the old control board in case this new one doesn’t resolve my problems.
Any clue on the limit switch connectors?
Thanks
Edit: Never mind about getting the old one out… I bit the bullet and put a little elbow grease on it and it came out… held in with a little double-sided tape. Now I just have to deal with the limit switch connectors.
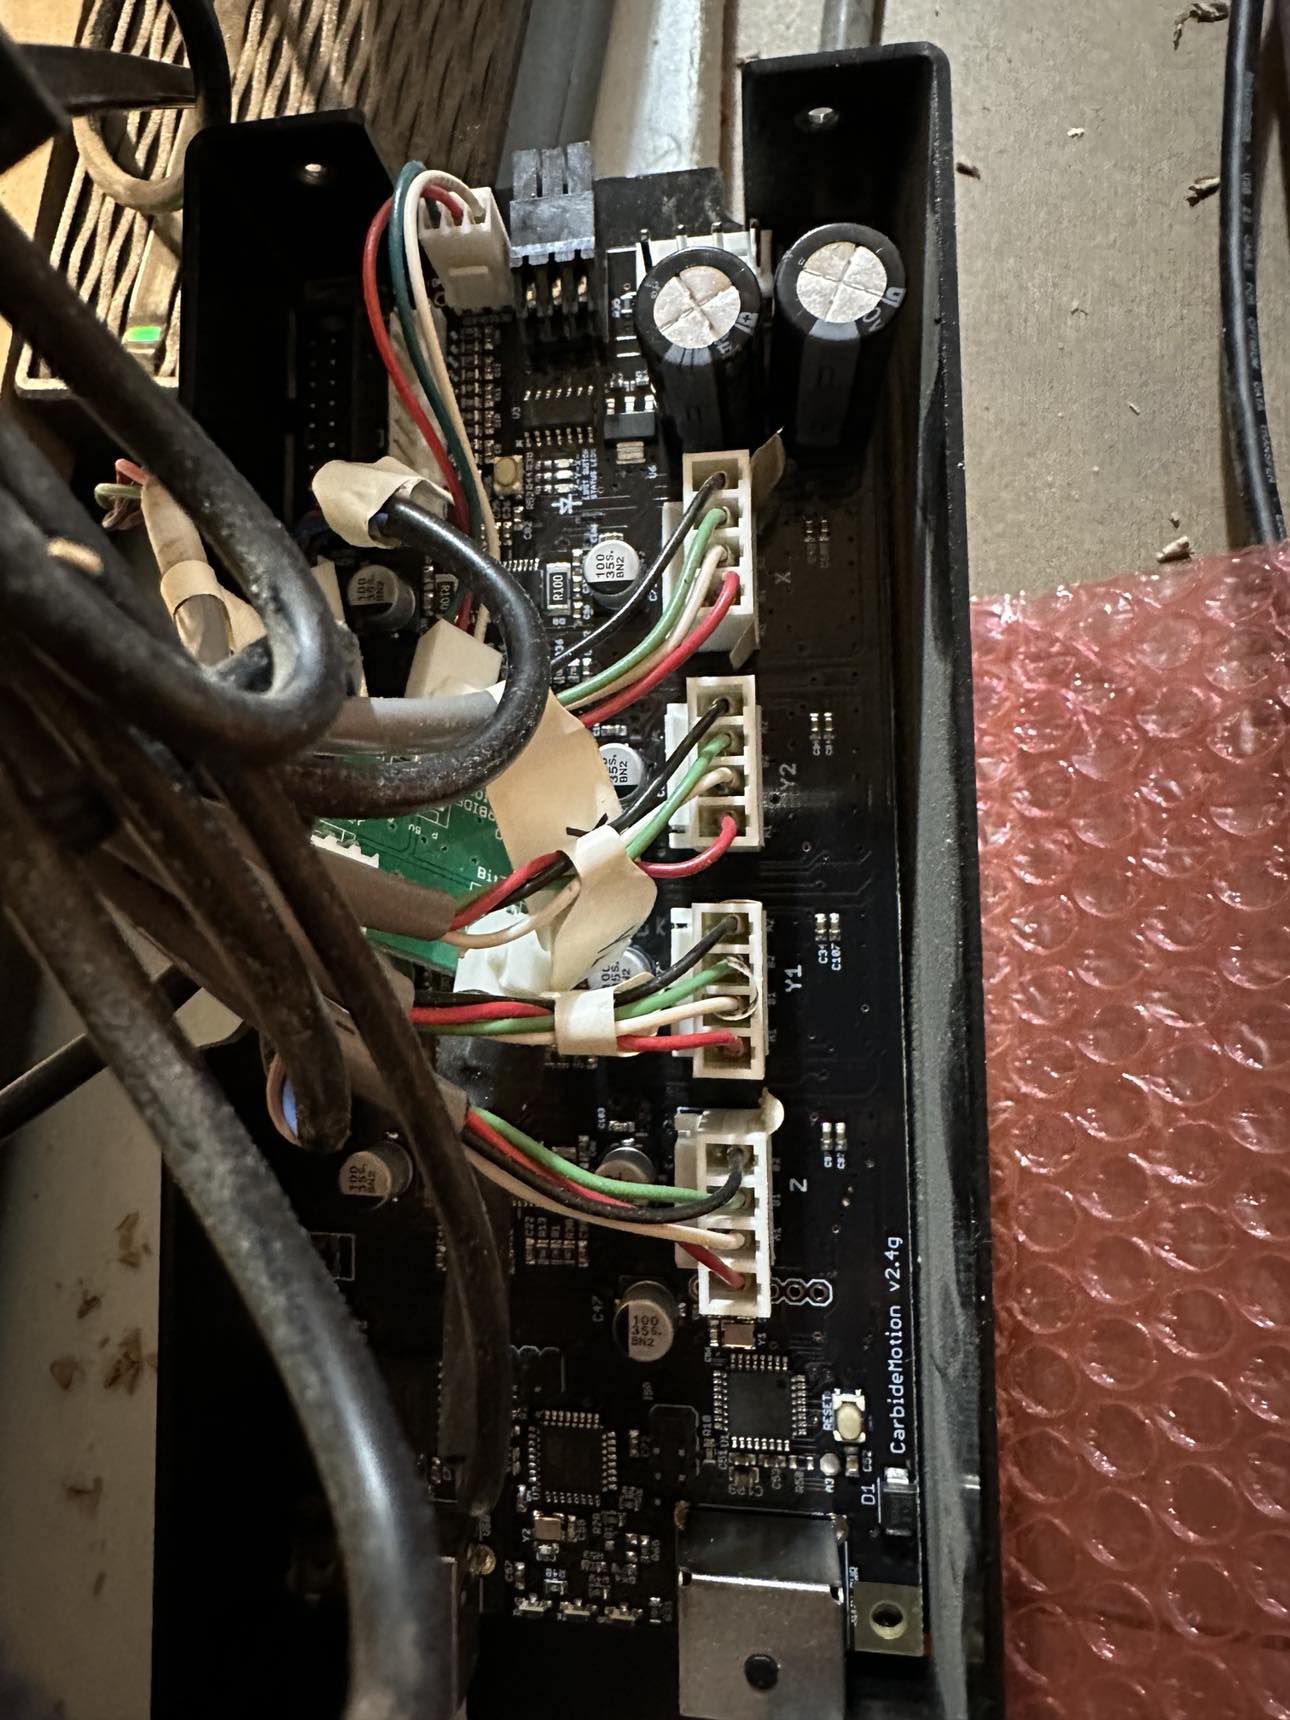
I upgraded my original SO3 controller. My original controller had the big alum block with heat sink compound on it and some sticky tape. The new controllers have a different enclosure. If your machine is newer then your existing housing will work but if it the original one the old housing will not work. I did not see what machine you have. If an SO4 then the housing will work with the newer boards. If it is an older SO3 with the giant alum heat sink you will need to buy a new housing. The new housings have a hole for the BitRunner connection. That is the easy way to tell if you have a newer housing or the older housing.
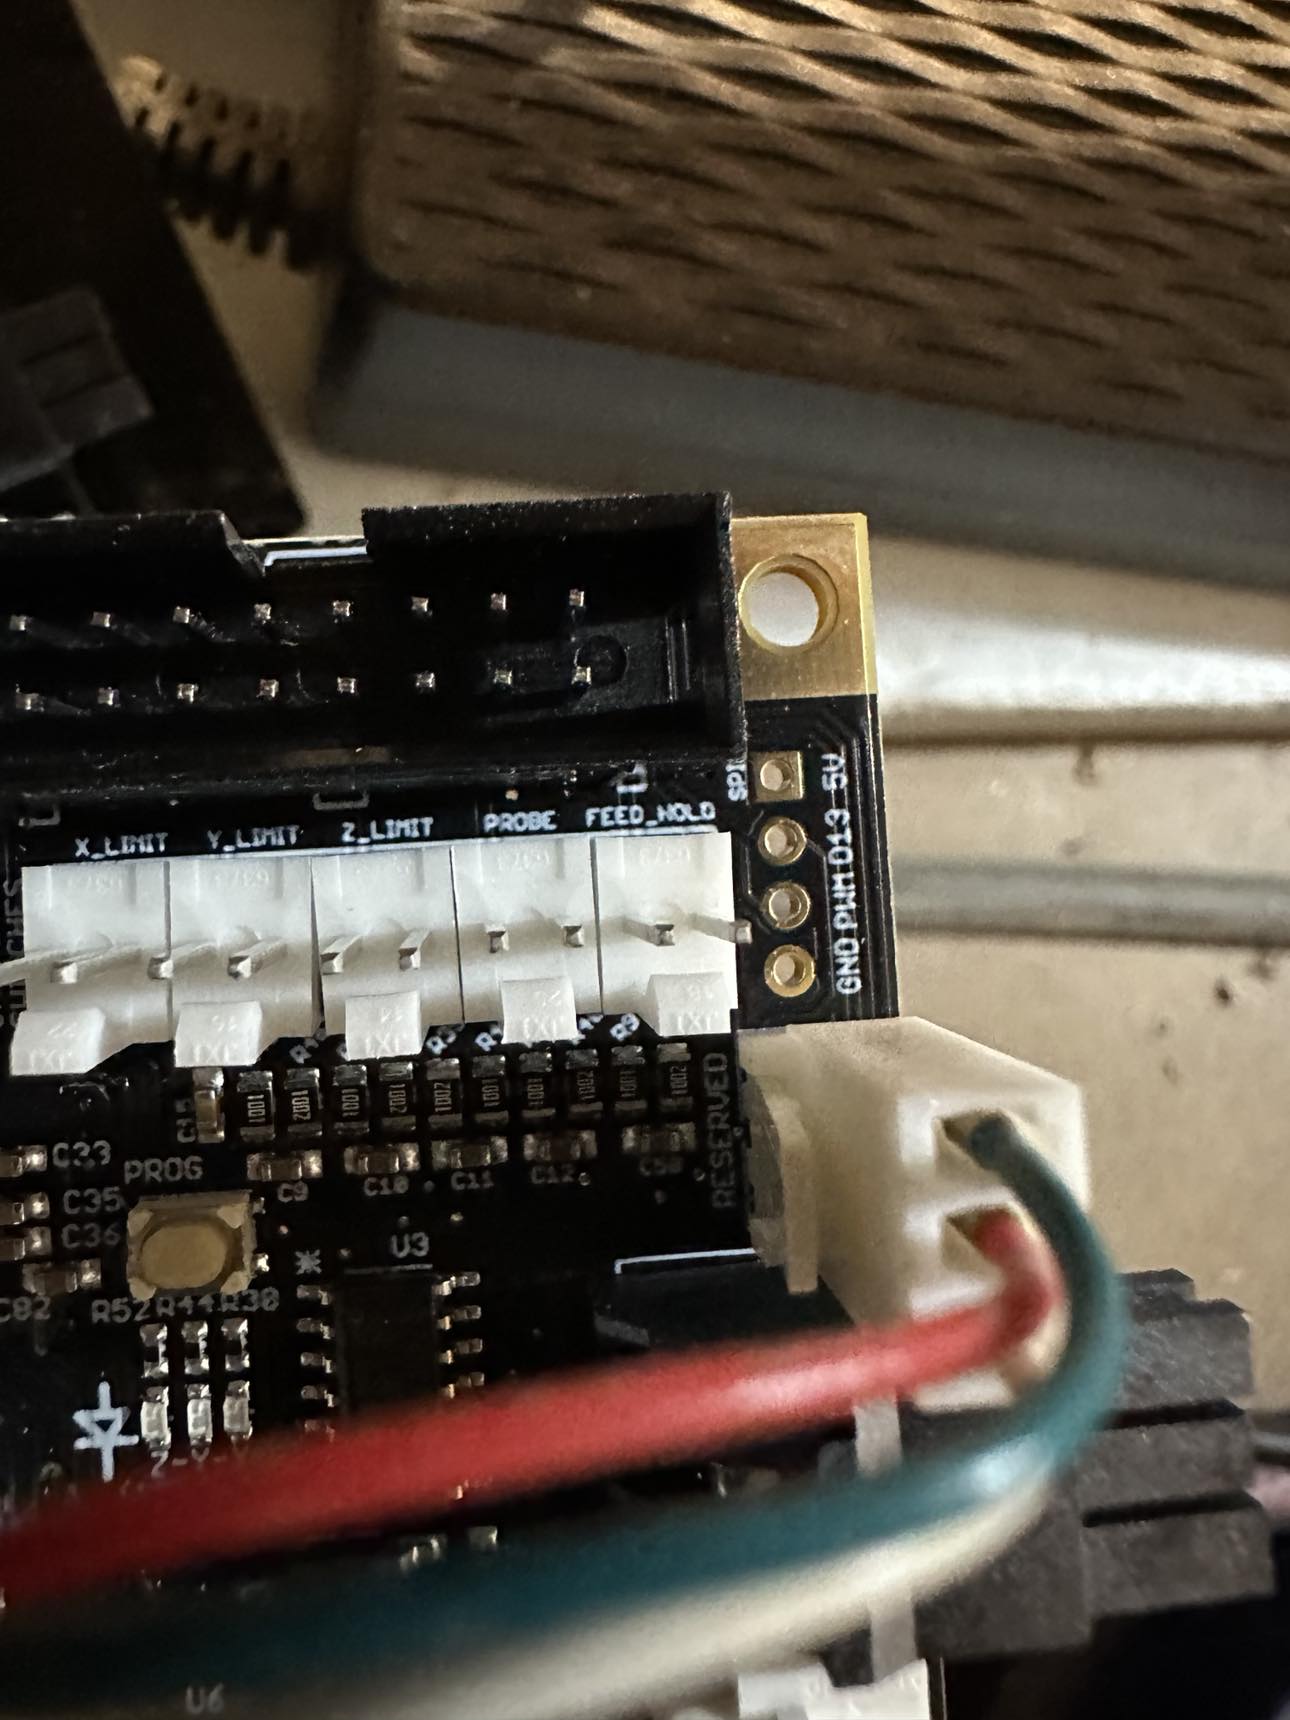
The new board seems to fit perfectly in the enclosure. I haven’t put the screws back in yet… the issue I’m having is not the enclosure, but with the x,y, and z limit switch connectors.
After zooming in on them, I see the board (male) is 2 prong, but the cables (female) is 3. Are there adapters or do I need new limit switches… or is it possible to put new ends on the cables?
Well gang, I think I am going to either cry or throw this whole thing in the trash, or both. I plugged everything in, turned the power on the machine (blue lights came on!). BUT I immediately got this message on my computer:
Powered everything down. Unplugged the computer, unplugged everything from usb ports, then powered up the computer again, but still getting the same message.
Are you sure you removed ALL USB devices (including wireless adapters for keyboard/mouse, etc., external drives, etc.) and still got the USB over-current message. Also any USB hubs, if you have them.
If so, check that there is nothing bent or remaining in any of the USB sockets. Anything shorting the + to ground or to the - on any USB socket will produce that message. While it’s unlikely here, I’ve seen someone with a USB-micro plug “plugged into” a USB-A socket doing just that .
Much more relevant here though: I’ve also seen where a damaged USB plug bent the internal connectors on the computer USB-A socket so that one was touching the metal shell even after removing the plug. In another case, the colored plastic separator in the computer USB-A socket came out along with the USB plug and the floating metal connectors were shorting!
If everything looks mechanically sound, go one level further back. Assuming it’s a Windows machine (not a Mac), power on from fully shut down and unplugged/ plugged back in and enter the BIOS screen as it boots (different motherboards do it differently, but it tells you at first wake-up - commonly ESC or a function key needs to be held down while booting). When in the BIOS screen, simply exit without making changes and let the computer reboot. That will sometimes reset the error.
Yeah, I removed all the usb devices. I powered down my pc and pulled the cover off. I unplugged the usb port from the motherboard and rebooted. That did the trick. Will just have to use the other usb ports on the pc in the future.
Was able to connect to the machine now though, so that’s fantastic. BUT, when I tried to initialize I am now getting a homing error (z axis)
I put a wrench to the z switch and red light comes on so I know it is at least getting power.
I shut it down and unplugged power to the machine and raised the z axis by hand. Plugged everything back in and tried again but still getting the homing error.