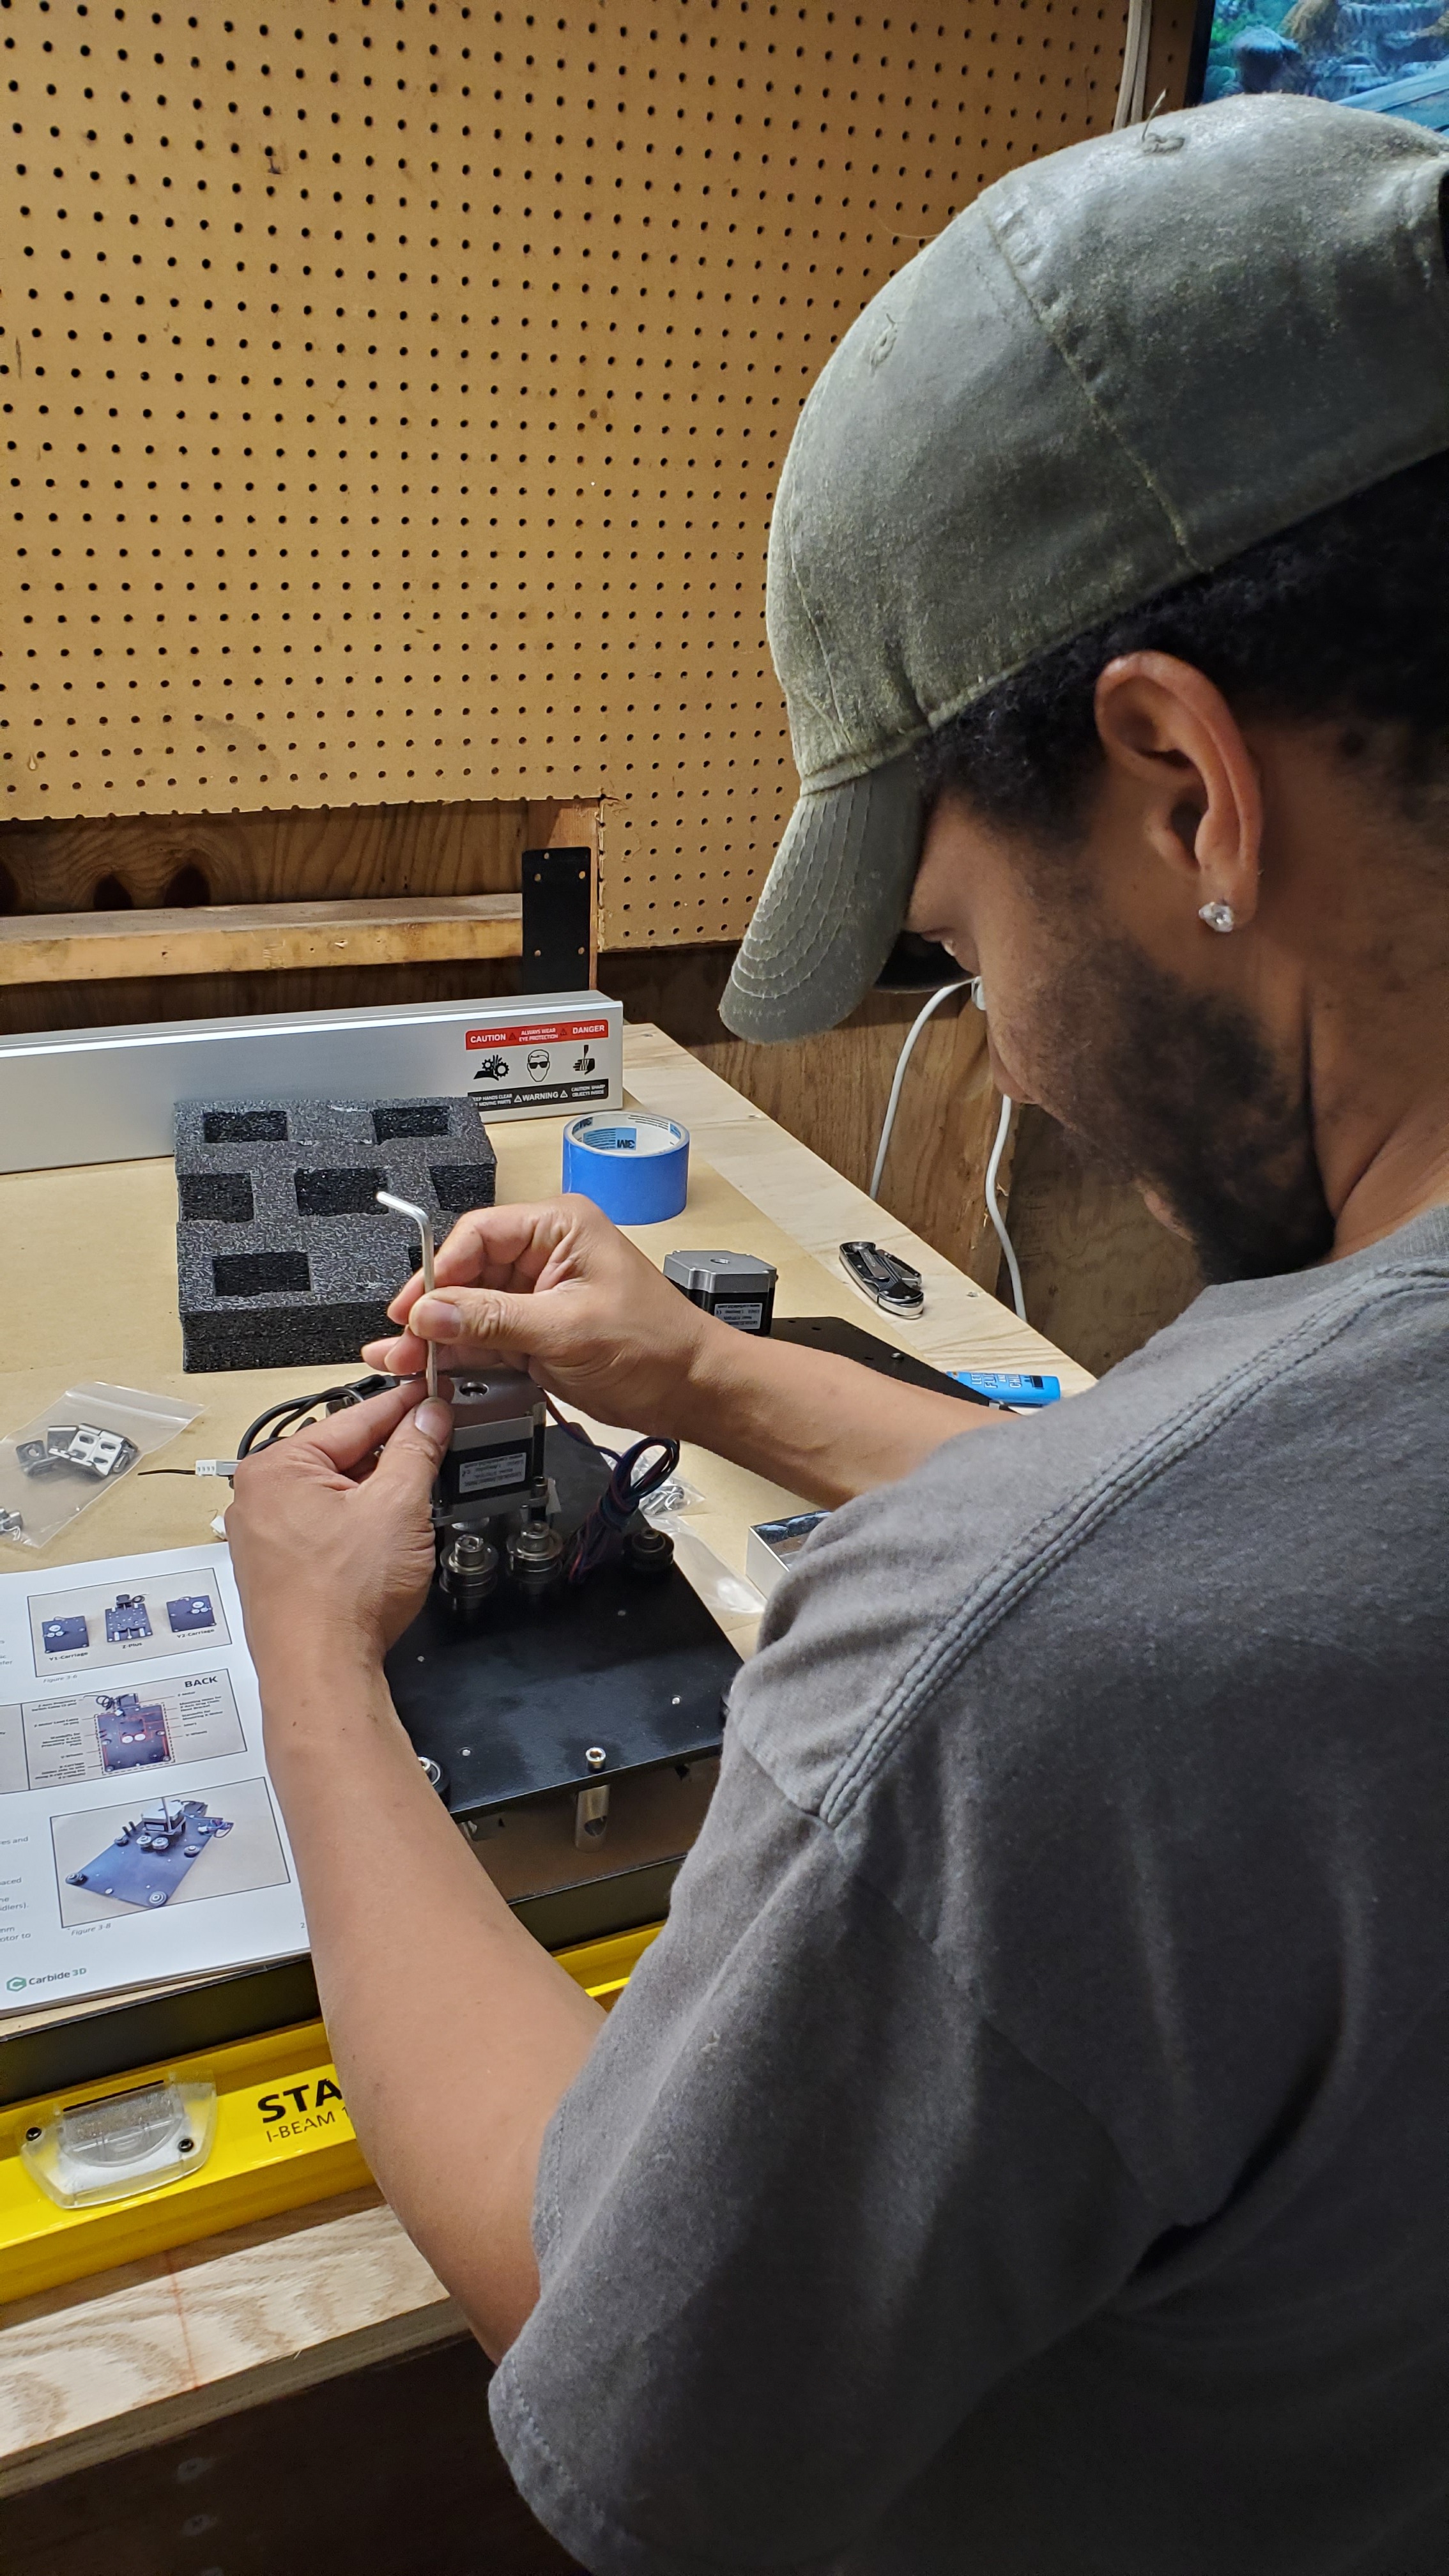
While reading the installation “instructions”, try to match the photos with reality. That will save some confusion when you have the parts laid out, and they don’t seem to match with the “instructions.”
Don’t tighten all the screws/nuts/bolts when you put them in, but decide when an assembly needs the screws tightened down. I left too many of them loose before I realized that the “instructions” informed me when to leave them loose; not when to tighten them.
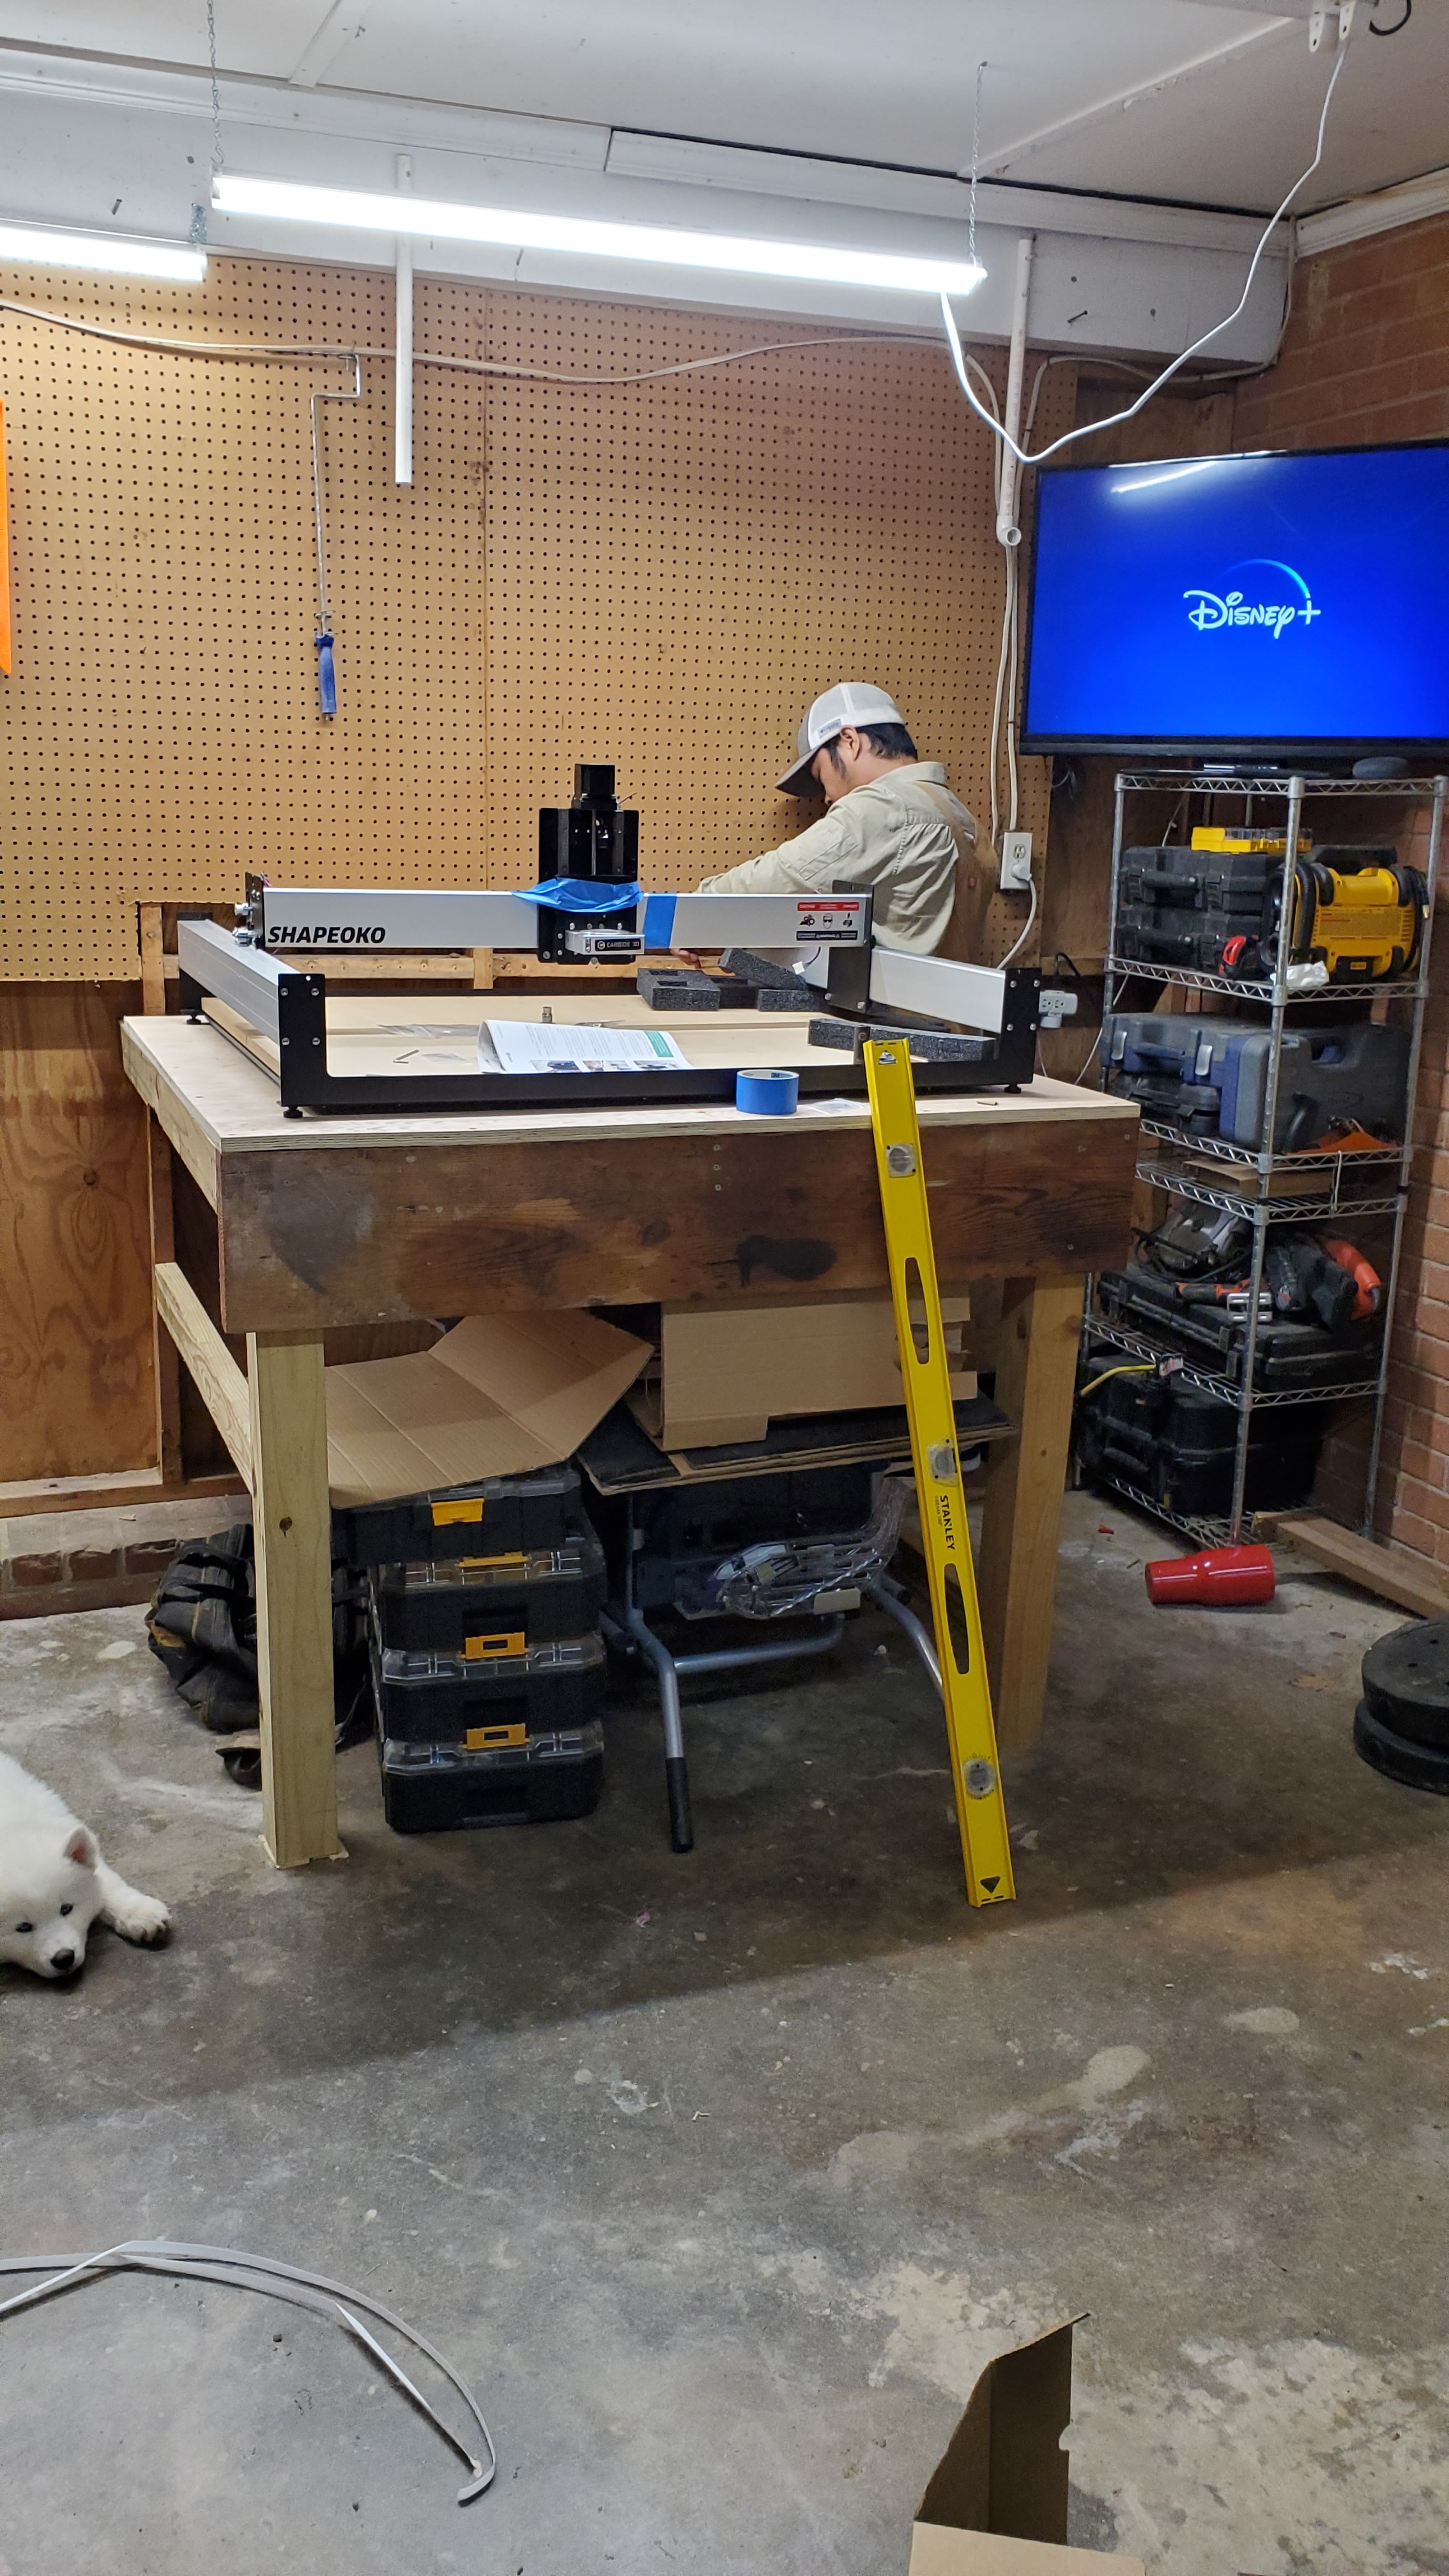
Don’t use the adjustable feet. Build you a solid table and let the Shapeoko bottom rails sit on it (watch out for those long assembly bolts extending below the rails.) Your whole assembly will be naturally flat.
Don’t do anything else at the same time you are assembling your Shapeoko. The time you spend now will be well spent.
I’ve been away for a while after having an open heart surgery. I’m sure I missed a lot of good stuff. Will be spending lots of time reading and catching up. Also will try to get a new machine that I purchased a week before my surgery up and running. It’s a Laguna IQ desktop CNC router. I bought it from FBM, and got it the same day I had my surgery.
I see some added hardware to the Shapeoko 3, but no major stuff. I remember there was a rumor about a Shapeoko 4, is this still a rumor?
Enjoy !
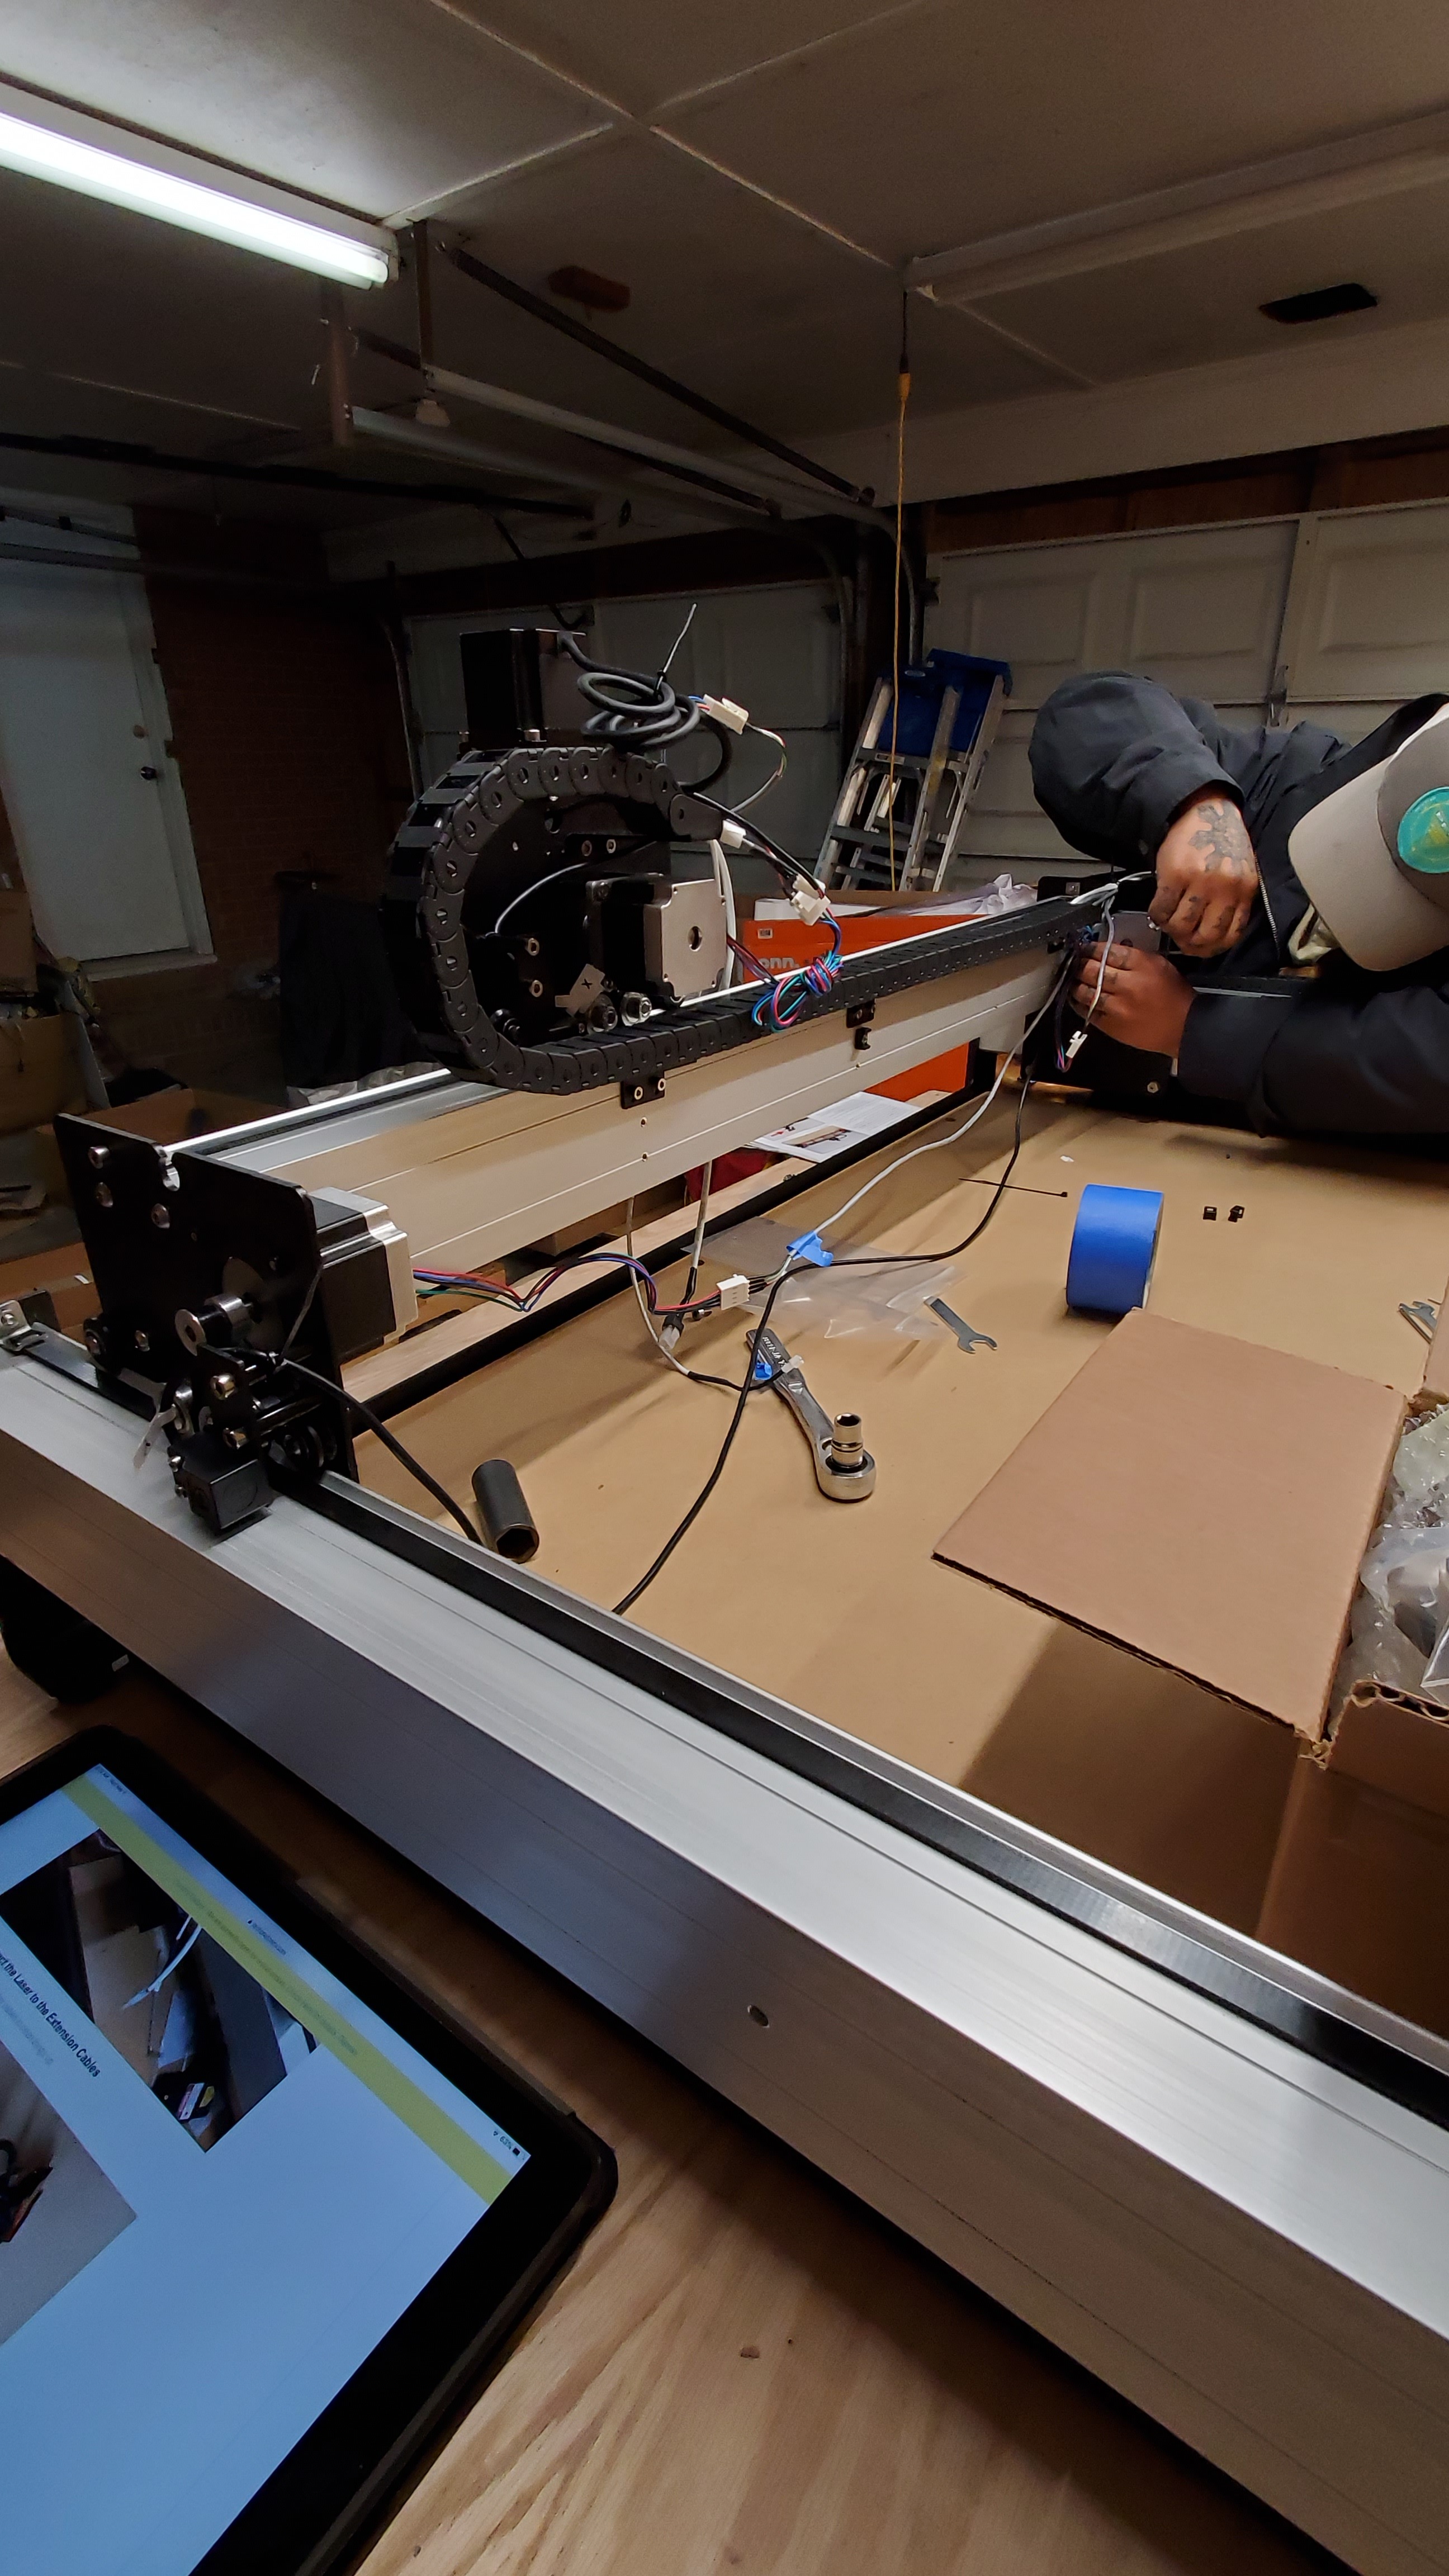
And take your time (and more), assembly is the perfect time to get to know the machine in detail, it will come in handy later when you do maintenance or troubleshoot a problem
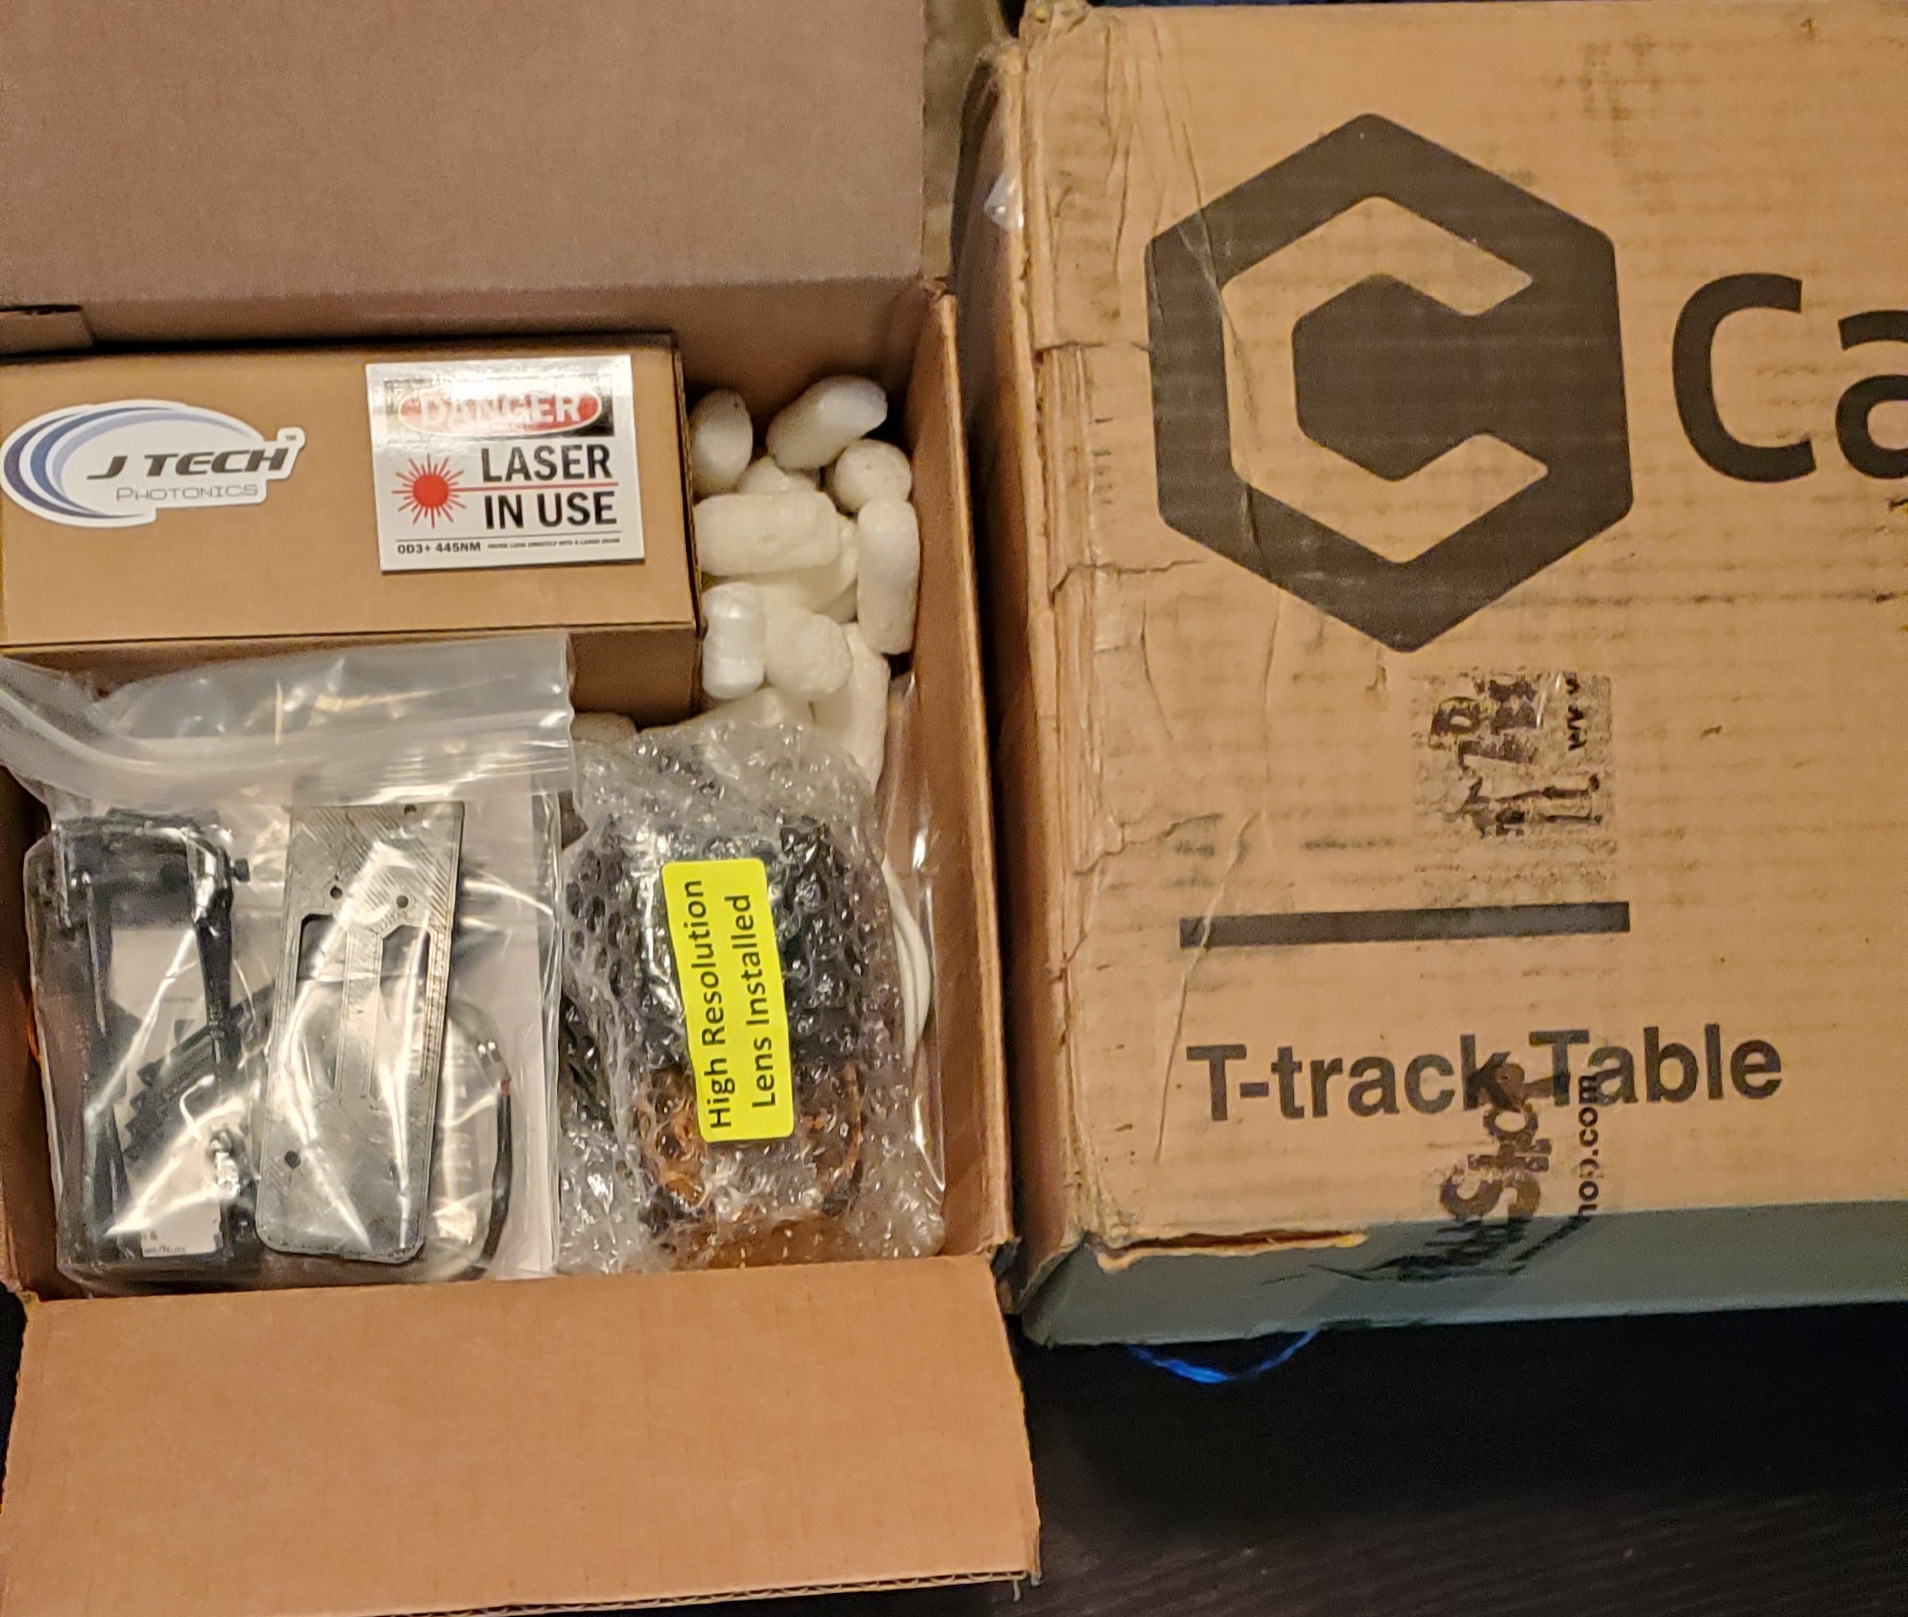
I appreciate you. I’m fingering through the manual. (Which is AmAzInG btw) I think I’ll begin when the sun goes down and its cooler. I’ve got time cause the CCR won’t be here until Wednesday anyway.
I agree with what @Julien said ×10000! I put my shapeoko together over the course of many nights, an hour or two at a time, after my real work day was done. With no experience in cnc and electronics, I made sure to have my laptop handy and as many tabs open as possible in my web browser (each being a different forum post about machine maintenance, setup and complaints, and common mistakes made by new users). I kept going back and forth between the machine, instructions, and forum posts (and my assortment of levels, squares, straight edges, measuring tapes and rulers, etc) trying to meticulously comb over every piece as it was installed. My business was particularly busy at the time and I was coming home from the job site completely exhausted which didn’t do me any favors. I got frustrated many times, going back and forth on assembly steps and in my head constantly. Only to come back the next day to redo whatever it was I was working on in about 2 minutes and move on to the next step. Many folks could/would laugh or scoff at the way I went about it (especially if they saw all my SUPER IDIOTIC mistakes), but I learned soooo much. I just wish I would have recorded the first few weeks of running the machine as there were a few moments that would have had folks on the floor laughing hysterically at the overly perplexed monkey (with cheap/beat up tools) trying to masquerade as a machinist/CNC operator. (I still am, just a tiny smidge better at looking like I know what I am doing )
Only thing I can maybe add:
Having a good flat and level table/bench for the machine is a must.
Double check gantry ends for squareness before installing the plates (prob a non issue since C3d has started machining the ends)
What @CrookedWoodTex said:
Leave the front and back end plates and wasteboard/baseboard screws just a tad loose (not really loose, just don’t crank them down super tight) until the machine is all together and ready for final squaring and tightening of gantry-to-endplate and baseboard screws.
Go ahead and locktite those set screws on the belt pulleys.
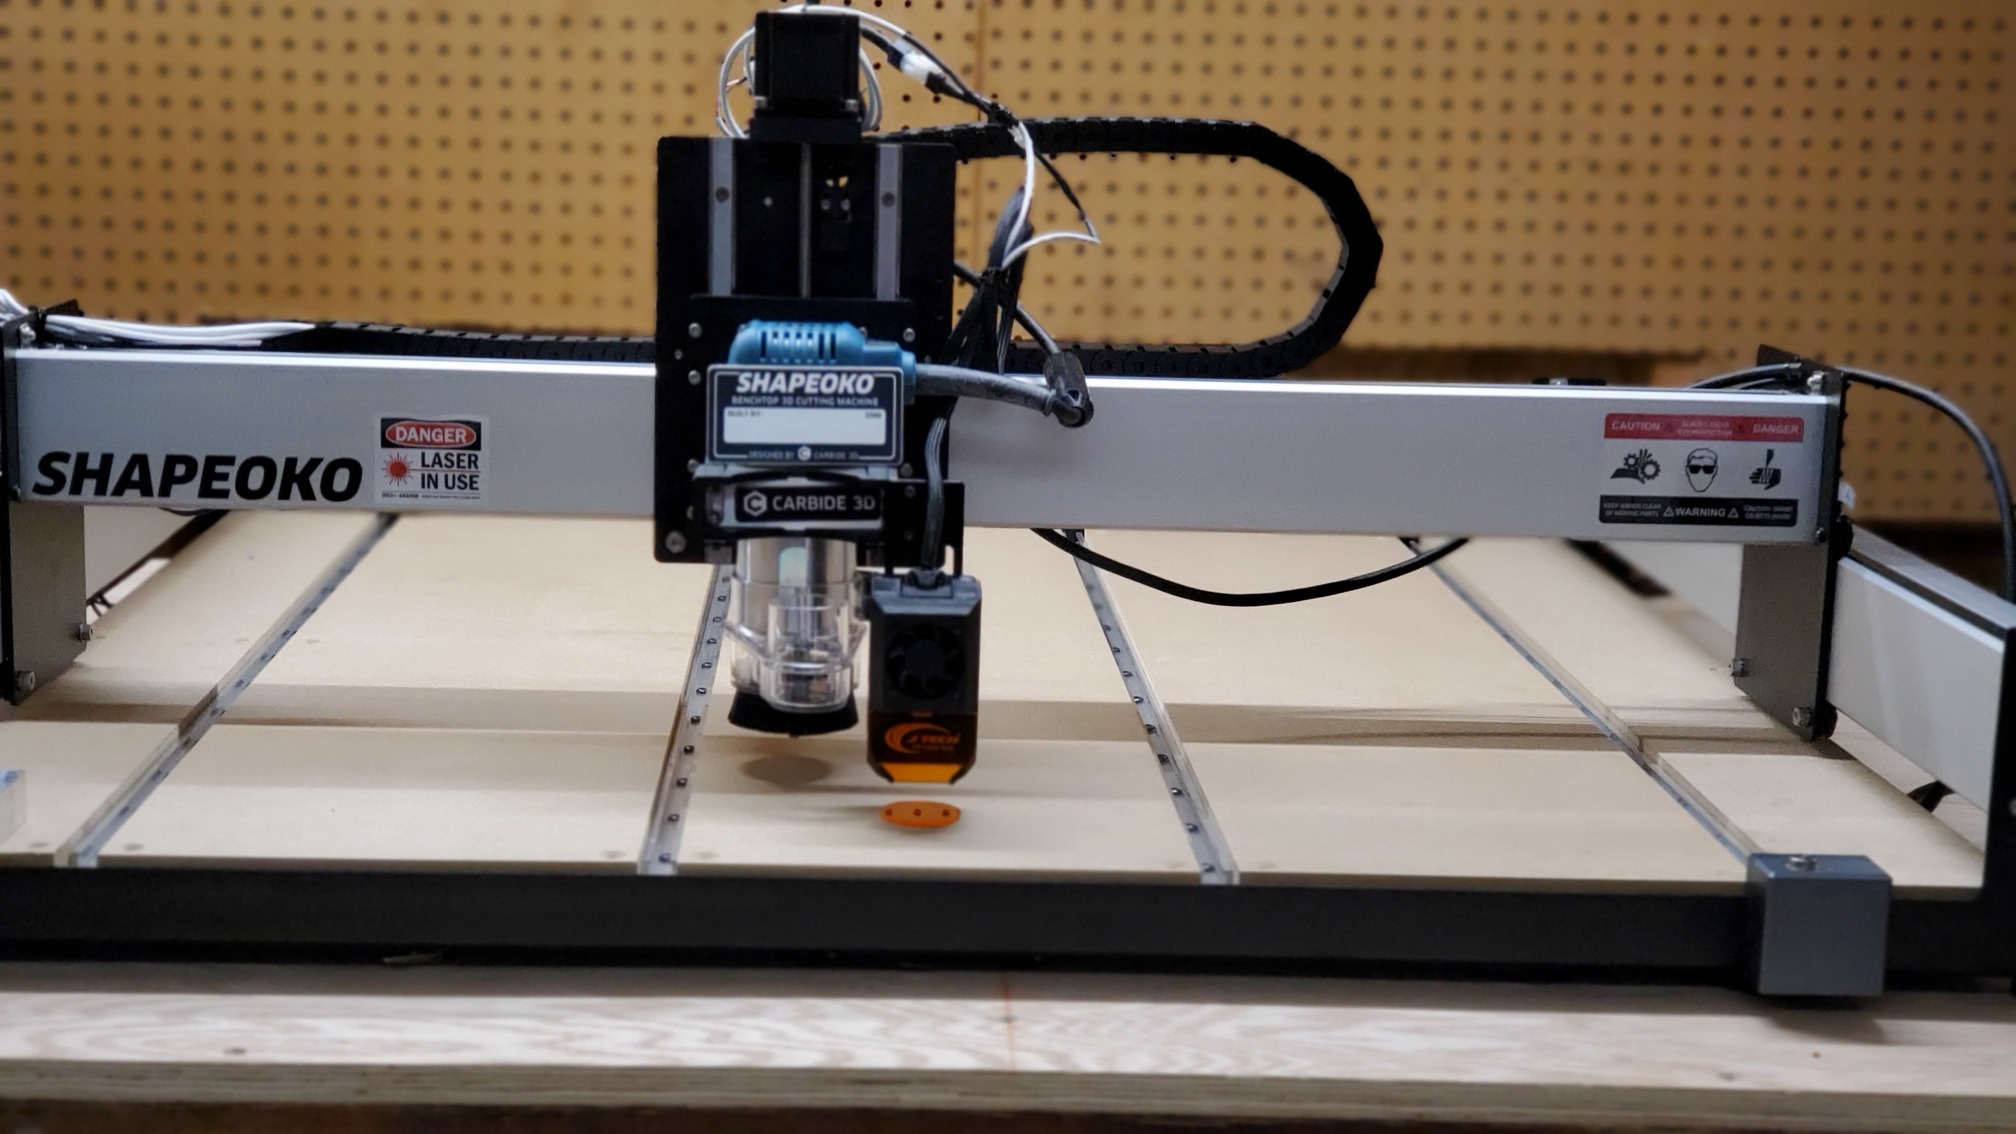
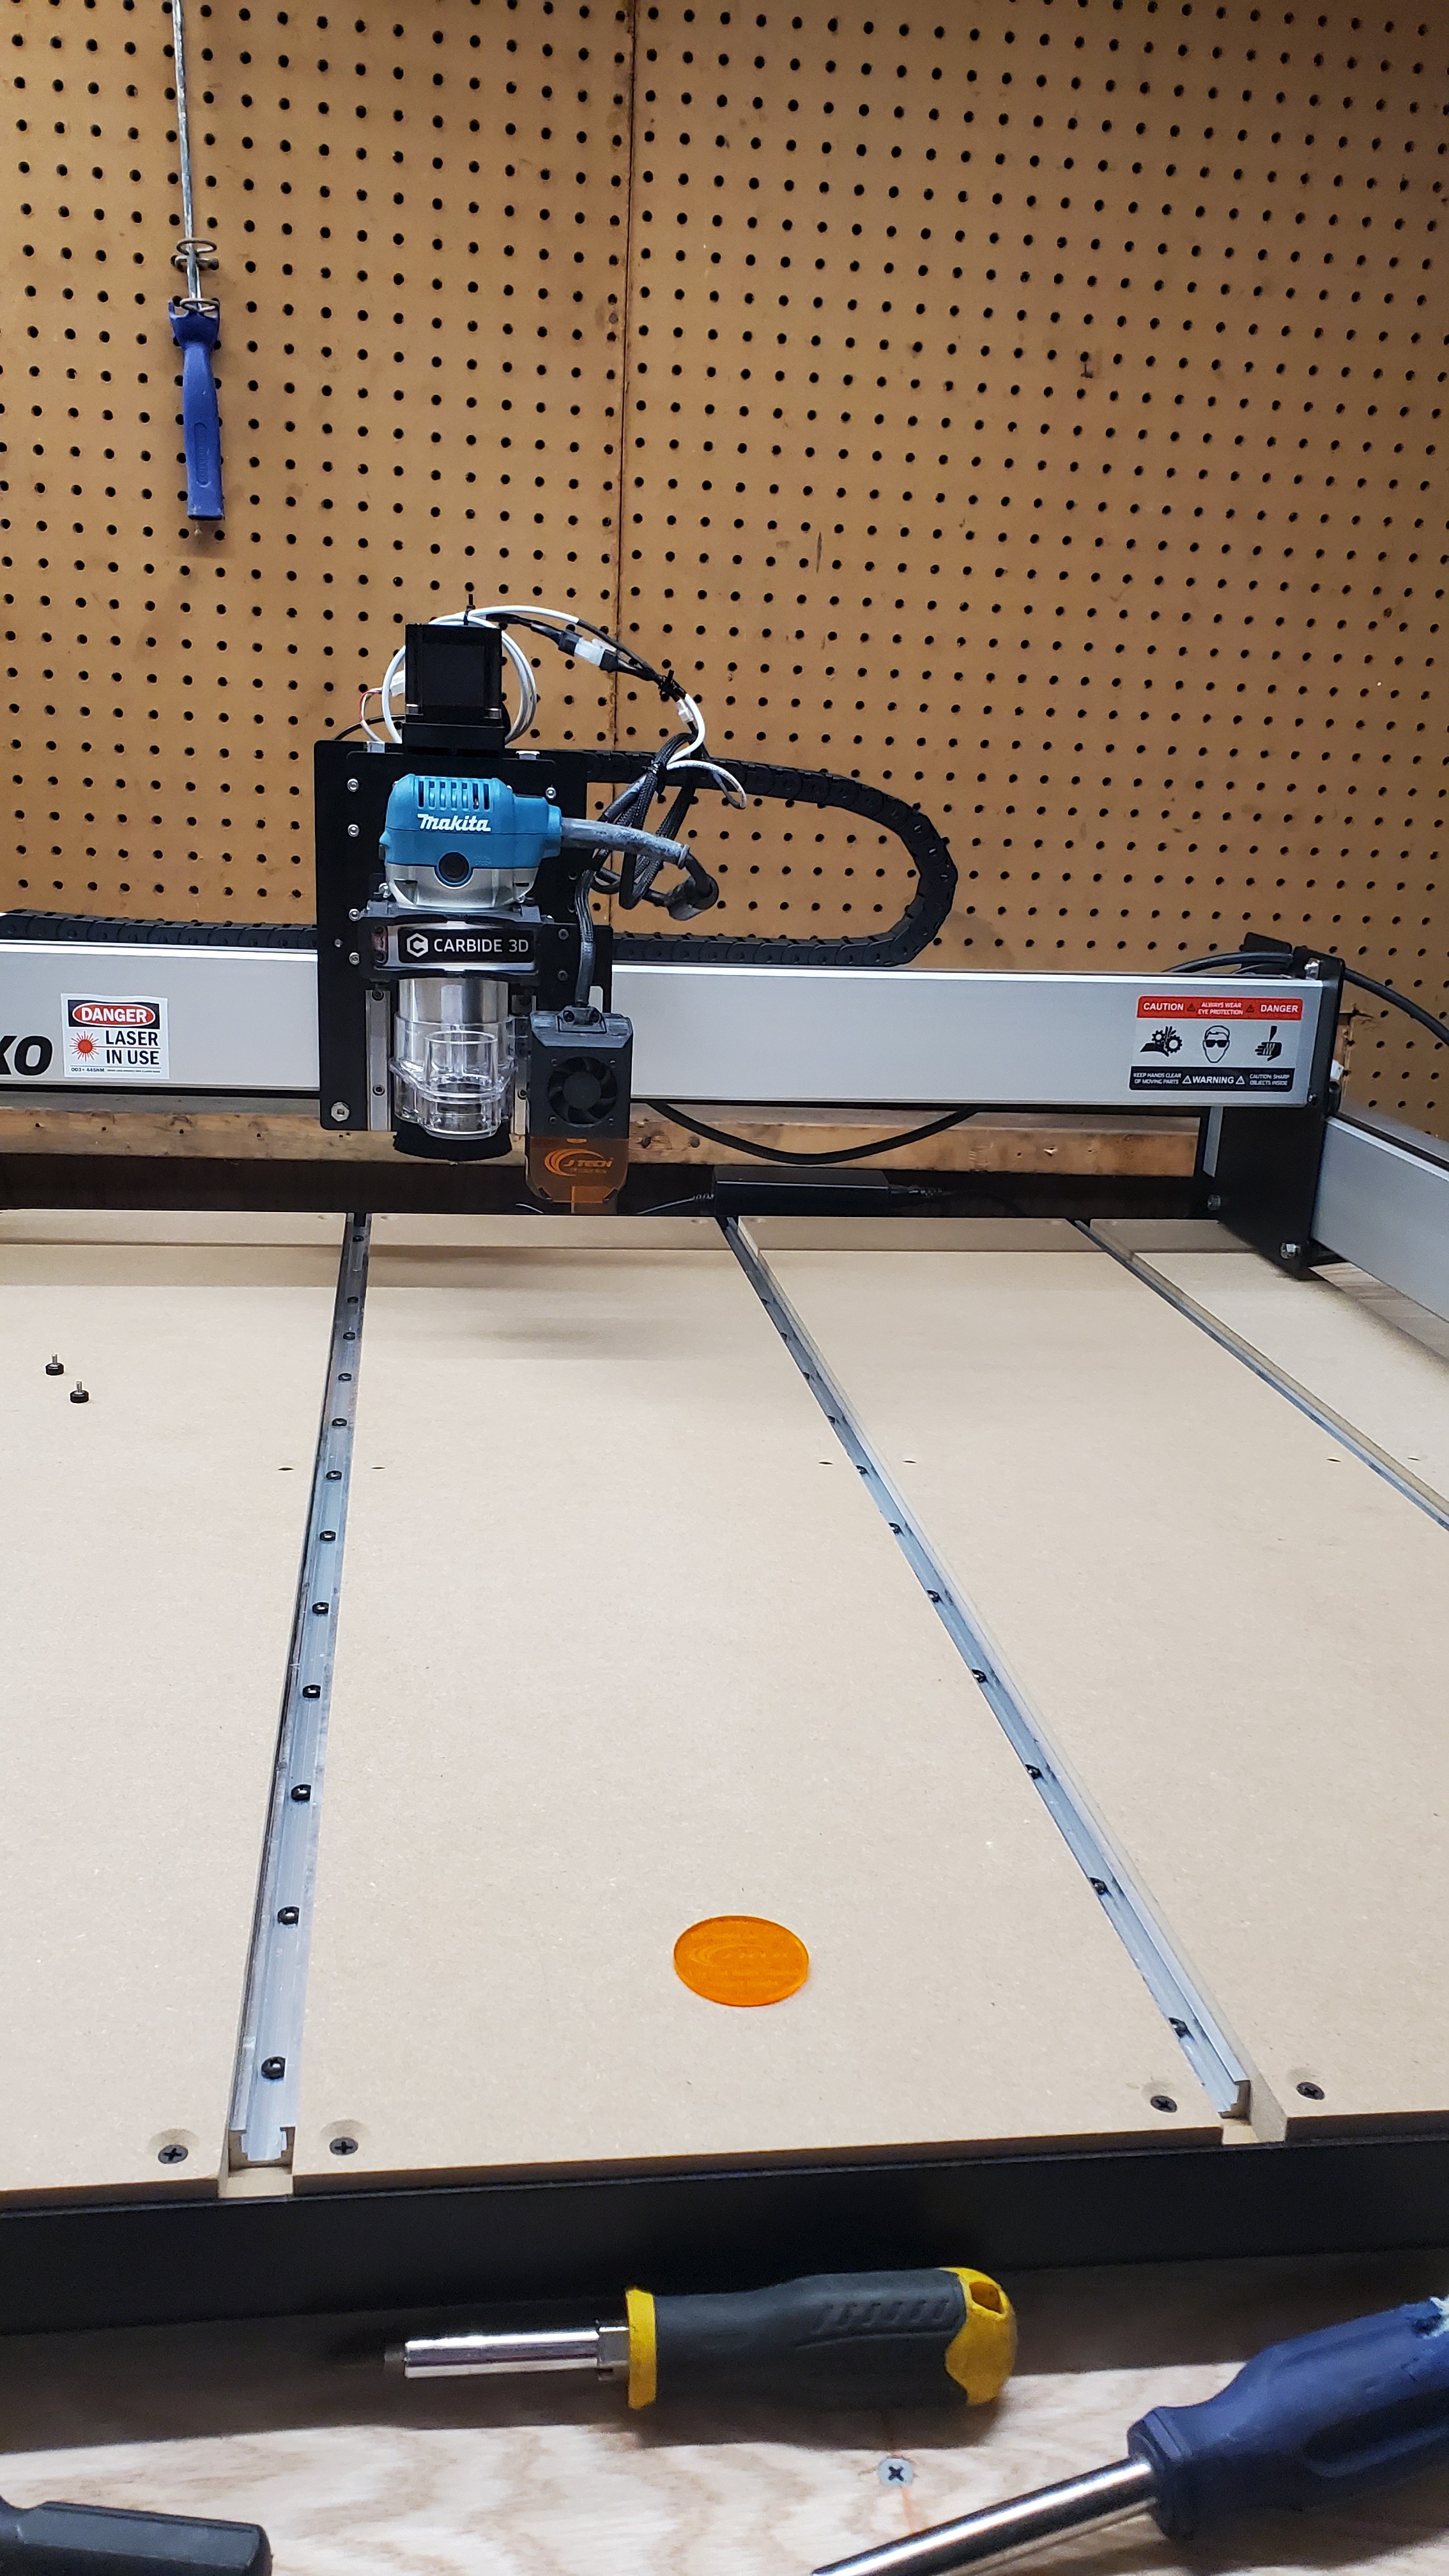
Did a thing this week I know I know everybody’s got one but I’m super proud/stoked, and thanks to yalls help it couldn’t have went any easier. I appreciate all that have chimed in and I CANNOT wait to get to work.
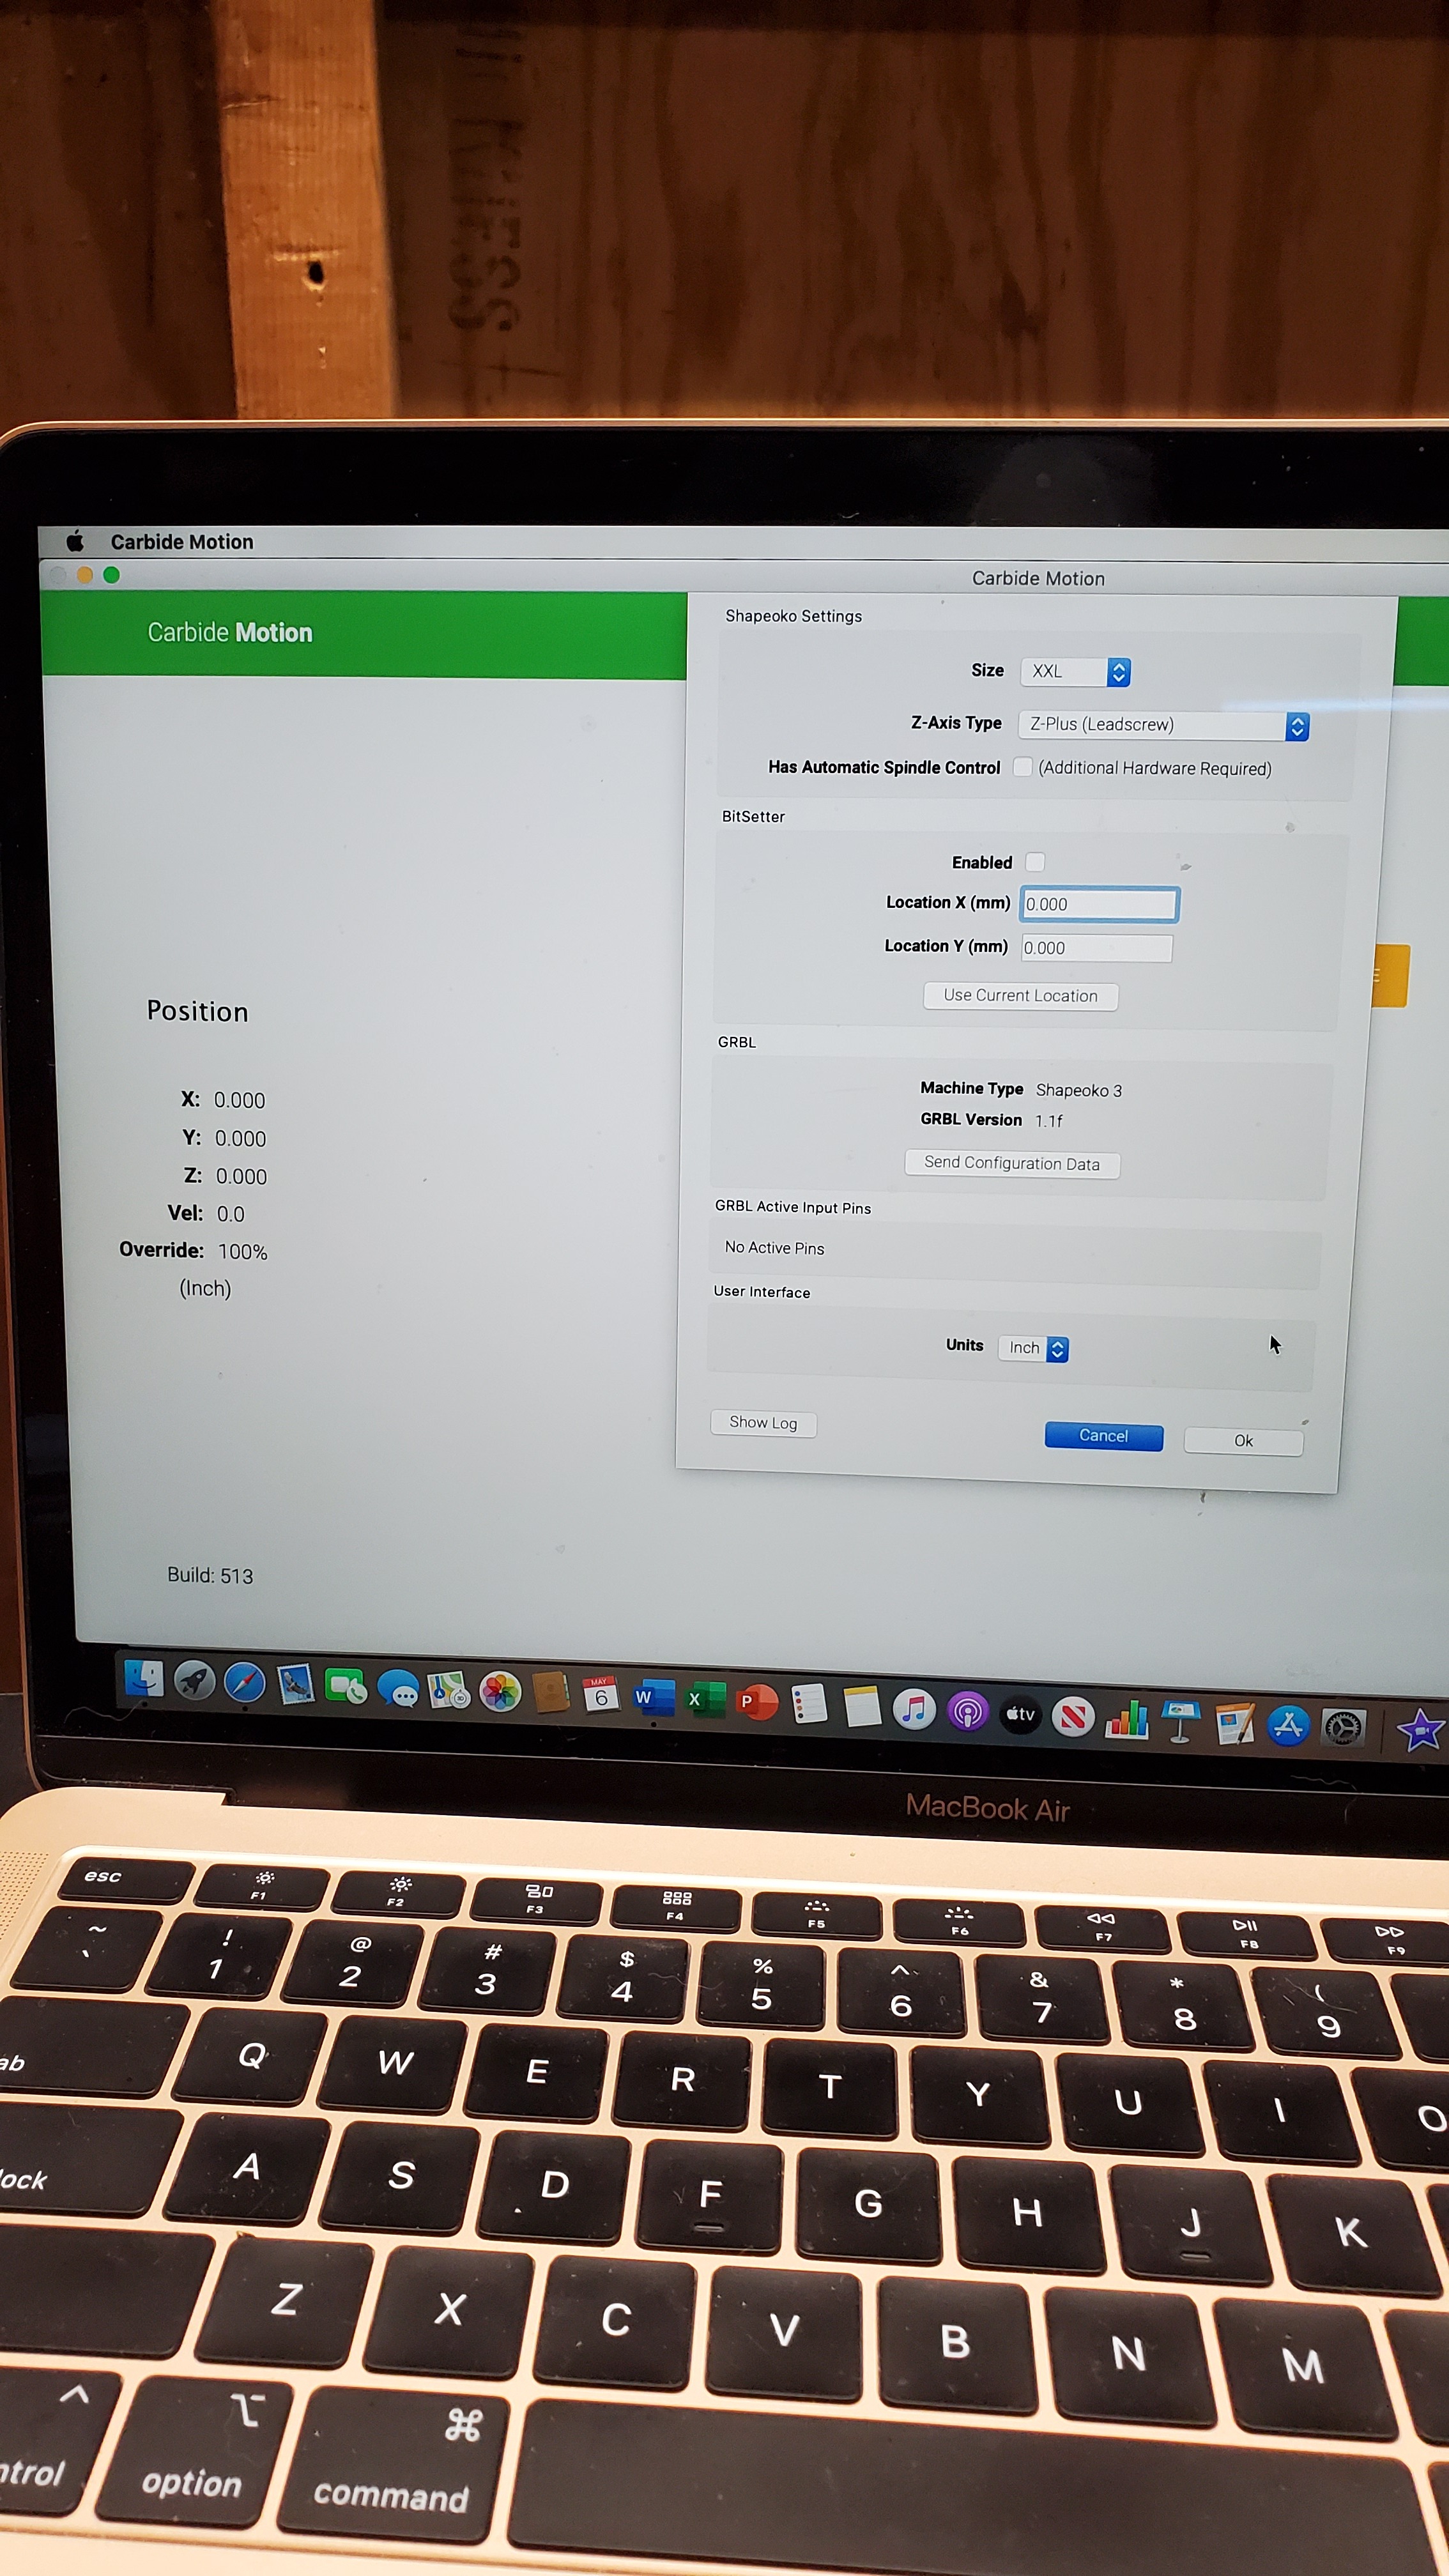
ok so in the settings screen of Carbide Motion it will tell you in sort of a live view, which of the sensors is triggering…
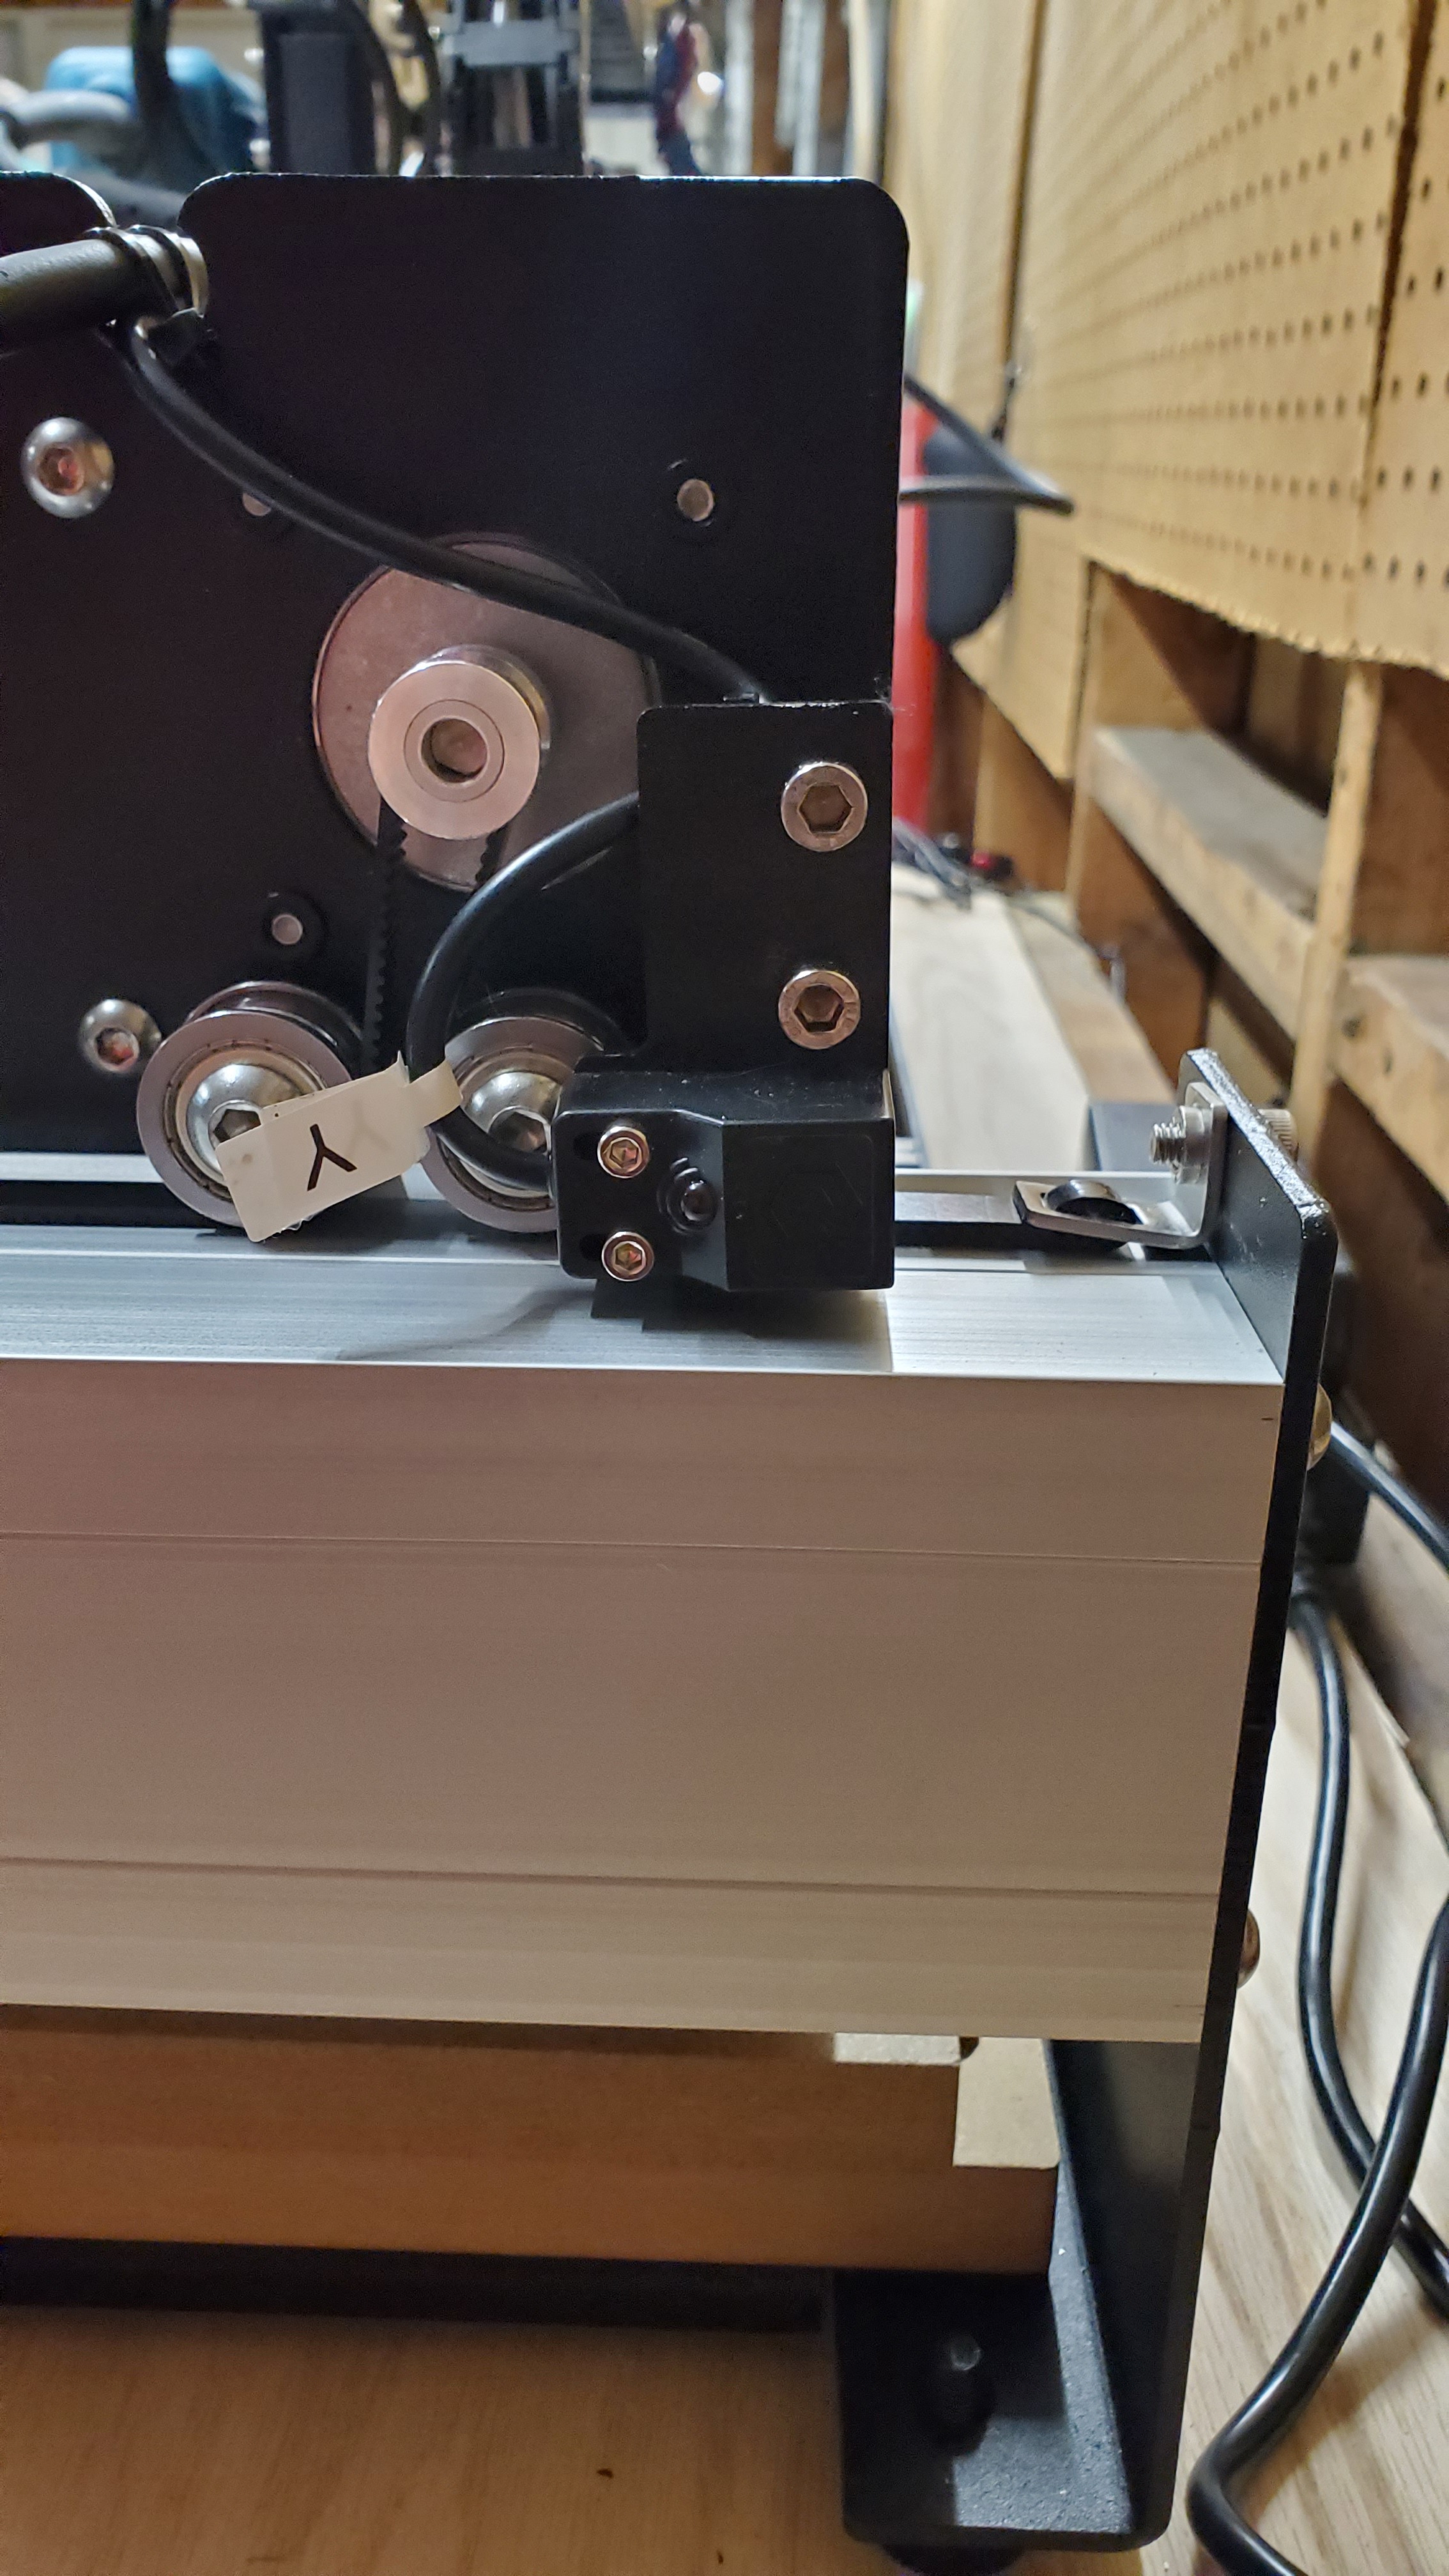
one thing to try is to turn off the machine, move it to the place where ONLY Y is supposed to trigger,
turn on the machine and go to the settings screen…
Y should show there.
(you can do this also with X and Z to see what it looks like)

 grew 10 sizes that day


 )
)