Greetings from Kansas City, USA. Just ordered my first ever CNC, excited to join this community and learn from y’all. I’m a digital designer by day and into woodworking by night, I’ve been looking for ways to combine both worlds, to push my creative explorations, and possibly start a little business eventually. My shop space is limited so starting with a 2X2 5 pro (staying within a budget and a space, taking advantage of the Black Friday deal).
Whats one big advice that you’d share with a newbie like myself?
I just started the CNC world mid-summer. I would say the best way to get familiar with the software and machine was making things for your machine and setup. Wasteboards, jigs, laptop holder, bit organizer and all that. I thought 3D carves would be the bee knees. After a few I found that it’s more of just getting the file and hitting play unless you are actually designing your own 3d models (which would up the fun).
I have been playing with some “artistic” tests such as
trying to test some find interesting ways to use the machine.
Play with the machine, think out side the box and most of all have fun.
I have been woodworking for over 45 years. About 4 years ago I got an SO3. I have built everything from a house to boxes, furniture, cabinets. When I got the Shapeoko it took over for about 2 years. The CNC is very addictive. If you already do traditional woodworking hopefully you wont fall into the trap of trying to do everything on the CNC. I bought my Shapeoko to supplement my traditional woodworking. The CNC is still woodworking because you have to feed it with prepared material and then sand and finish your projects. So just dont get wrapped around the axle and try to do everything on the CNC.
The learning curve is a little steep but not that hard to overcome. If you already handle graphics then that part is going to ease your learning curve to Carbide Create. Everyone on this forum started some where and some become proficient and some just barely make it. The key is to do your homework and learn as much as you can. The forum here is quite helpful and dont hesitate to ask questions even if they seem dumb. The only dumb question is the one you dont ask.
Also from Kansas City, and also new to the CNC arena (I just got my 1st CNC up and running two weeks ago – a 48x48 SO5 pro). So I don’t have much to add to what has already been recommended, though I would say a good digital caliper needs to be in your toolbox if it isn’t already.
Define “good”. My fairly cheap calipers from Lowe’s give inconsistent readings but are within tolerance specs from their manufacturer. And it seems to eat batteries like crazy. I wouldn’t think so would need to replace it every few weeks.
The next step up from the $15 calipers to get tighter tolerances seems to be $125 and I don’t know if they would really provide more consistent readings.
The placement of the calipers and how you hold them has a “huge” impact.
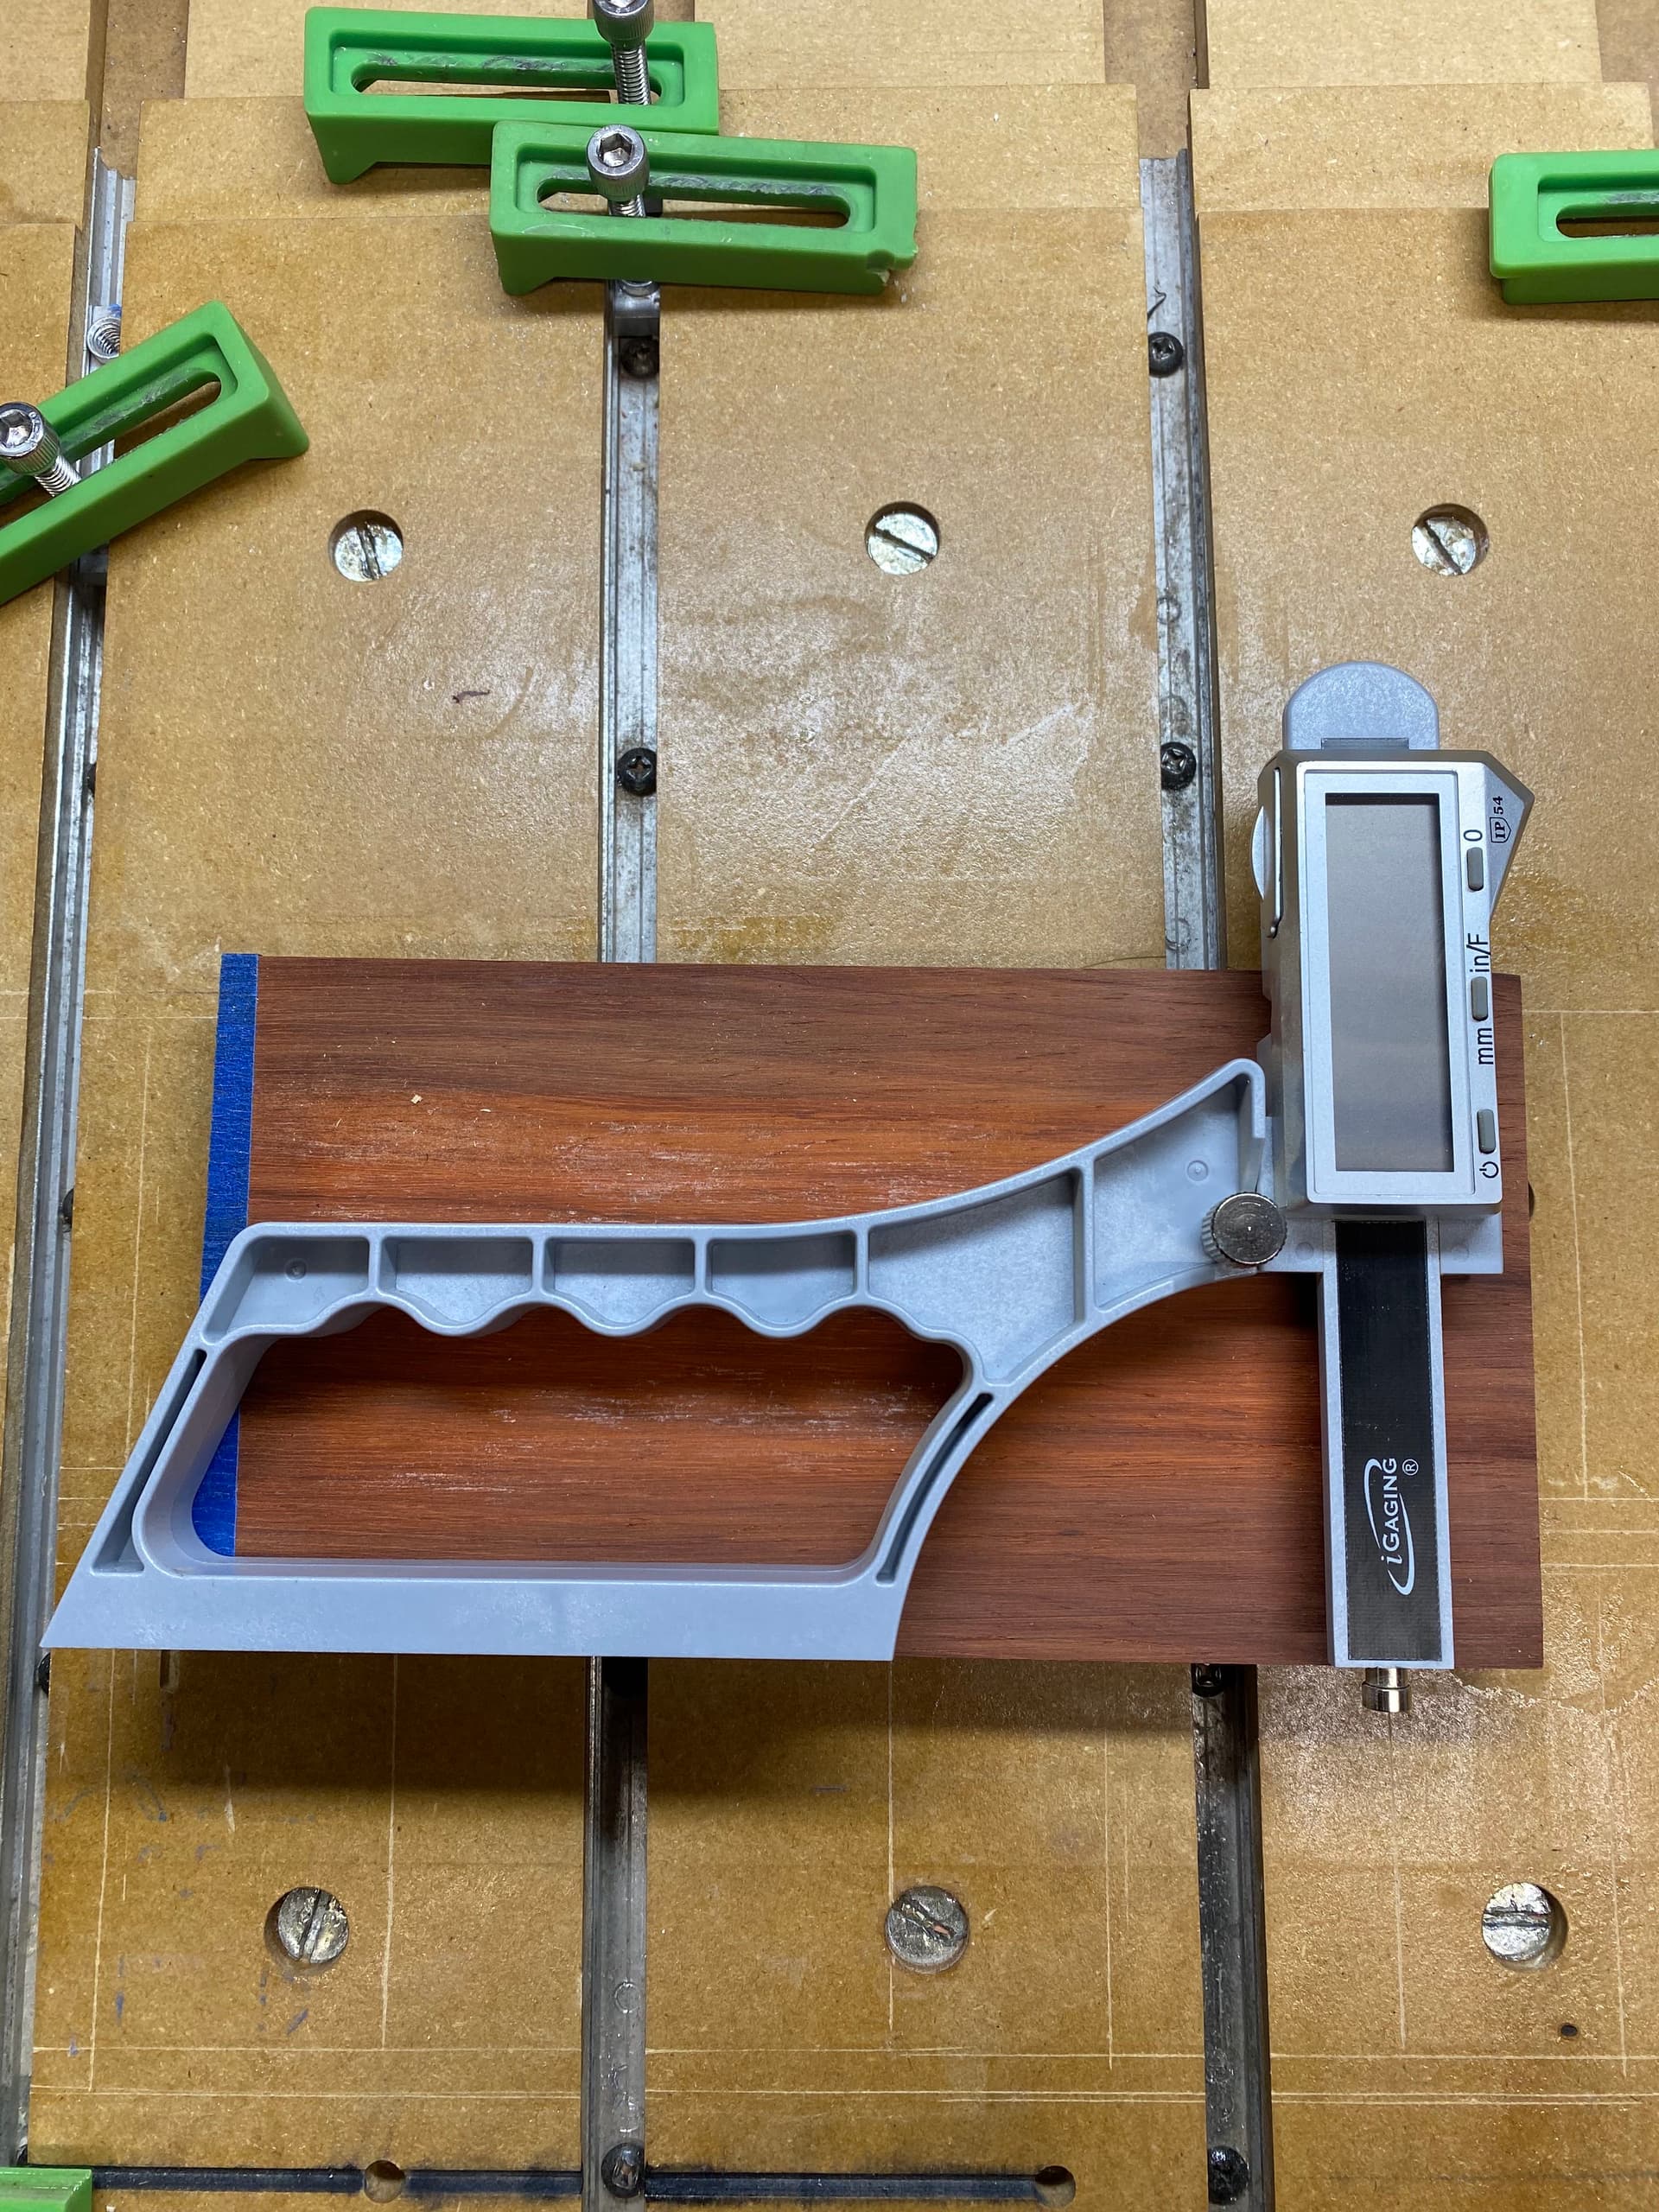
For material thickness maybe something that sits flat on the piece or spoilboard and not subject to angle with a probe that can lower to the source would be better like this:
There seems to be a lot of variability at the low end in terms of production — I have an inexpensive pair which works quite well, and actually powers down and stays off when put away in its case which I am glad of, since it switches from metric to Imperial and back, unlike the Mitutoyo I have of my father:
Yes it is those Mitutoyo that are the pricey ones. Probably worth it.
I do have a much nicer pair of dial calipers but the convenience of digital is nice. Mine power down after a few minutes of not being used, but still the battery seems to only last 3-4 weeks which seems short given my usage level. I wondered why it came with 3 extra batteries in the package
It sucks to get old.
I was about to order one of those depth gauges like I linked above and then thought I may have something similar already.
I dug around in my drawer of “precision” equipment and found it. Of course the battery was dead but it looks much better than the one above given the metal vs plastic base.
I have two digital calipers. One is 6" and one is 12". I occasionally use the 12" but the 6" is the go to.
Here is a link to the 6" one I have. What I like about it is it keeps its zero. If you turn some of them off and they are not closed they show zero where they are when you turn them on and you have to calibrate. I like having fractional and decimal and this one has always been accurate but does not do fractional only decimal.
My 12" one is good and has both the decimal and fractional readings and both have imperial and metric.
The IGaging line seems to be good calipers as well as lots of other tools that are accurate and a good price.
YMMV, well, at least mine has — they seem better with the more sophisticated stuff — the small double square I got from them wasn’t (square), but at least the rule from it was decent enough I use it w/ a centering head.
I use 8" Mitutoyo Absolute Digimatic. They are a bit pricey but they are accurate and consistent. They stayed powered off (as long as I remember to acutally turn them off) The current battery has lasted 3 years with daily use so far.
Thanks so much for your insights!! Quick question: do you put something under your project to make sure you don’t scratch the Pro table? I realize you should gauge Z axis, but when you do a cut out that goes all the way through the project - want to make sure it doesn’t ruin the table…
You can cut right into the mdf spoil boards that come with your machine although I do recommend using a separate piece of mdf that you place on top. Pocket holes to bolt to the table slots. Then you can flatten it using a McFly cutter (or something similar). This will give you a nice level bed and keep your original spoil boards intact. You may have to remove it once in a while if you need the extra clearance height.
I also recommend watching on the tutorial videos on the carbide website. They go through a lot of information to help get you started. Finally, clamp everything nice and snug to the table when cutting. I learned that the hard way on one of my first cuts. Haha
The hybrid table slats are also called a spoilboard. It is meant to get spoiled and surfaced and/or replaced periodically. I use the bottom of material when cutting through a project and my spoilboard was replaced in October 22 and has a few battle scars but is otherwise in good shape. Using the top tends to either leave an onion skin or cut through. For projects that I do not cut through life vcarve and/or advanced vcarve I use the top because especially vcarveing is sensitive to the exact top of material when using the BitZero or the paper method. Also the surface of vcarve project need to be as flat and level as possible.
As far as something under the project that is not necessary but a lot of people use painters tape and super glue to hold projects down. That is not protecting the spoilboard but when I use bottom of material it usually cuts through the top layer of painters tape and not through to the spoilboard.
The painters tape and super glue method you put a layer of painters tape on the bottom of the project and a layer on the spoilboard. Then use super glue to bond the two together. Let is cure a few minutes and you are ready to do. When the project is cut out you simply remove the tape and finish as usual.
This picture is a large project I put down the 2" tape and matched the seams on the bottom of the project. I use TiteBond Medium Superglue in an S pattern. You want enough super glue to hold the project but not so much it squeezes out to the seams between the rows of tape.