I started my woodworking journey about a year ago and have been slowly acquiring skills and tools with each project. Early on, I started with cheaper tools and quickly hit their limitations, so I upgraded to better versions. When I decided to get a CNC, my only criteria were that it should be at least 48X24 in size and should be almost plug-and-play, backed by a good community and a company that stood by their product. I’ve lost the patience I used to have in spending hours building a tool. One of my favorite Youtubers, Matt from 731 Woodworks, recommended the Shapeoko 5 Pro 4x4 with the VFD Spindle, which tipped the odds in Carbide 3D’s favor. After much deliberation, I settled on this option and ordered it in early February. The two huge boxes arrived at the end of the month, but I couldn’t build a workbench for it beforehand due to work and life being busy.
The weekend after the delivery, I went to the local Rockler to buy a couple of their shop stands. I have 5 of them for various tools and they are awesome. I decided to bolt together 2 56X28X28 stands to build the workbench, dividing the underside of the workbench better and giving more support to the top. The top was 2 layers of birch ply, and the top is 60X60. I partitioned off the underside but didn’t add shelves or drawers yet. The plan is to add 2 banks of drawers in the front and shelves in the back sides. I finished the top with a layer of Harbor Freight anti-fatigue mat.
Assembly of the machine was easy and took about an hour. Everything worked, but the Carbide 3D logo did not turn on. I couldn’t reach anyone by phone but got an email response to my voicemail in minutes. A couple of email exchanges with photos and videos, and it was determined that the front PCB was bad, and a replacement was shipped to me. I got it in about 2 days, and after a quick swap, I was up and running.
The second hitch was that the machine kept shutting off. This time I was able to get a person on the phone. GFCI and VFDs don’t mix well, so I had to switch to a regular outlet. I’m now running both the Shapeoko and Spindle off a standard 15amp outlet, which also has my garage lights and garage door opener on it. I haven’t seen any issues.
Here are some random thoughts after my first couple of projects:
-
If you get the Spindle, get the deep sweepy boot. The standard one that comes with the machine is useless for the spindle.
-
Always figure out your clamping strategy when designing your project. Two-sided tape and Painters Tape/CA Combos are not very effective when you have a lot of through cuts. The Crush-It clamps are awesome.
-
Baltic Birch gets a ton of fuzz on the edges (not tear-out). Sanding the edges is not always an option. If you are cutting dados for joints, sanding it makes the joints loose. The best way to avoid it is to do 2 passes. First pass a bit larger (about .02 in) and then go shave it off with a compression bit to get clean edges.
-
My first set of projects were a few French cleat tool holders. I bought a couple of plans from Etsy, and going through those gave me enough knowledge to design my own.
-
I used Easel Cabinet Maker to design a cabinet for my drill press. I exported the SVGs from Easel and imported them into Carbide Create to build one cabinet. I also drew up the tabletop on Carbide 3D and cut it on my Shapeoko. I would have spent about an hour to an hour and a half on the CAD software and about 2 hours to cut and assemble everything, including the drawers. I’m not a great fan of the drawer spacing calculation in Easel, but this was more of a learning exercise, so I didn’t spend much time customizing the plan. I did get creative with the toolpaths, though (a recommendation from someone on this forum).
-
For cutting the cabinet parts quickly, I used the IDC Woodcraft “Beast” roughing bit but set the bit diameter to 0.27 in CC and used 0.35 DOC , 80ipm feed rate. Then used a Spetool compression bit with full DOC and 150IPM taking off .02 off the edges.
So far I’m doing only shop improvement projects. I’m hoping to start some creative carving in the upcoming weeks.
Here are some pictures.
-
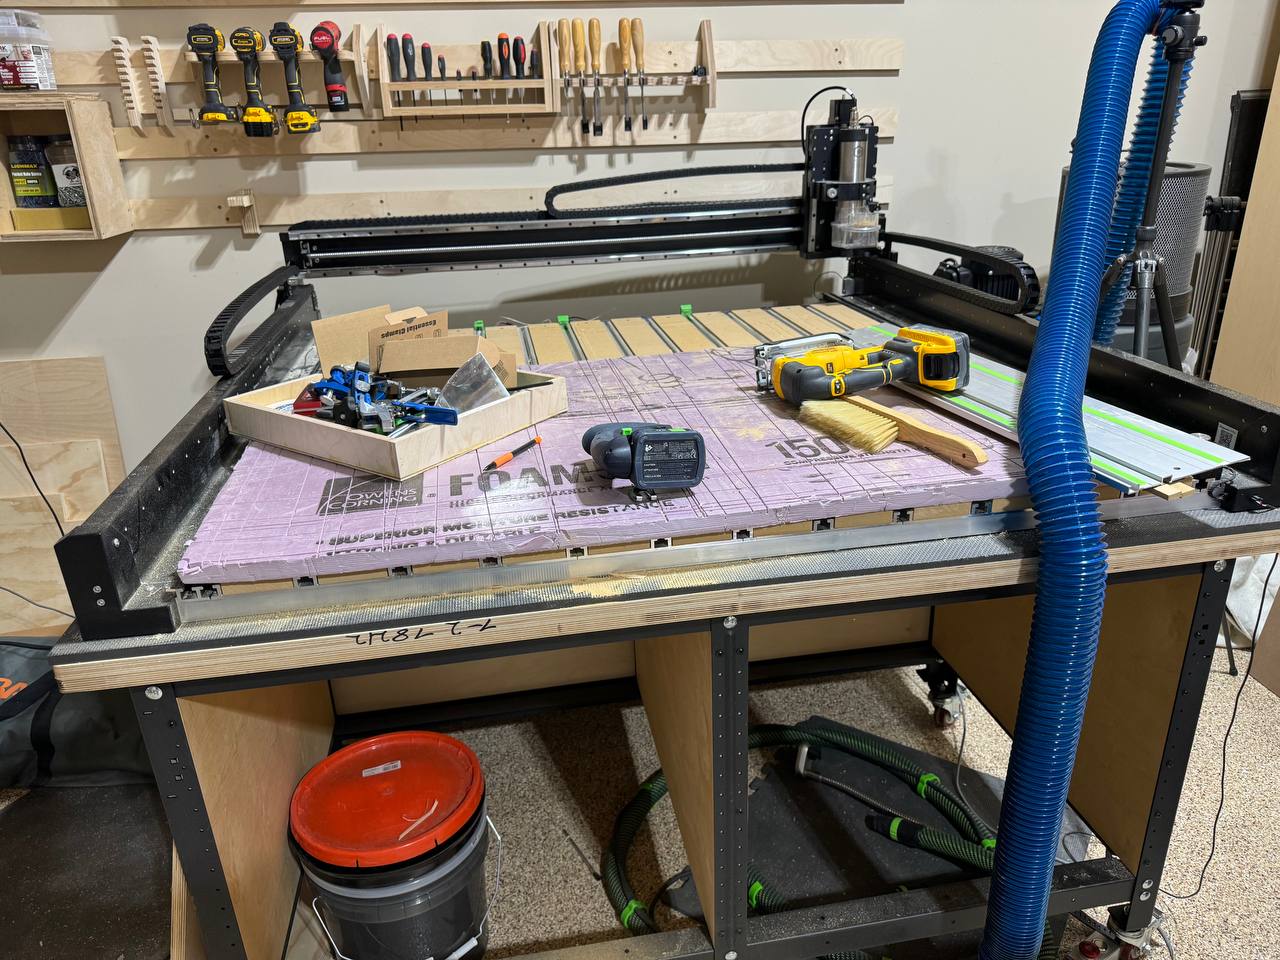
The Shapeoko on the Rockler Rocksteady Stand
-
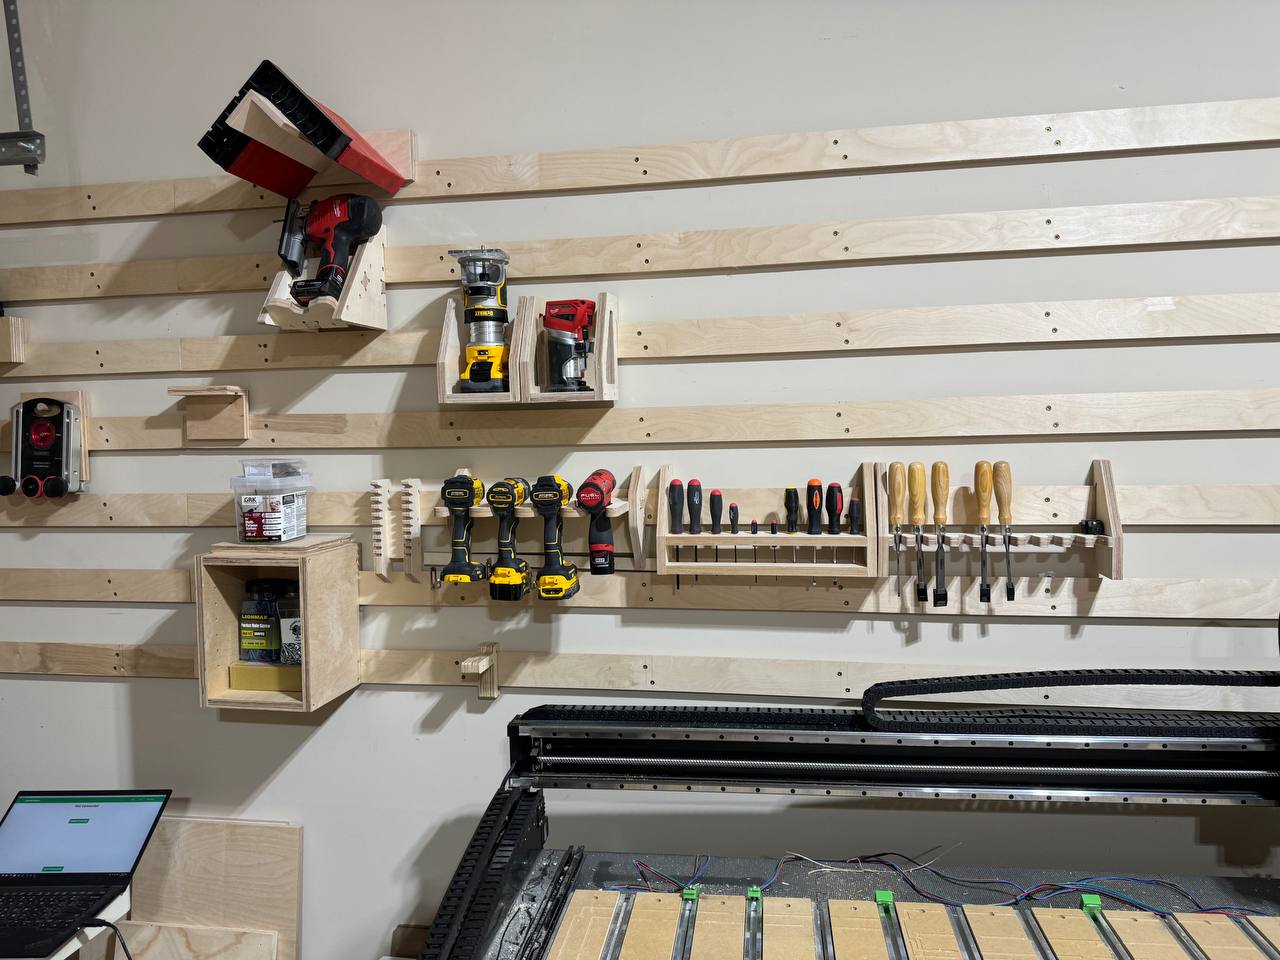
some French Cleats holders built on the shapeoko
-
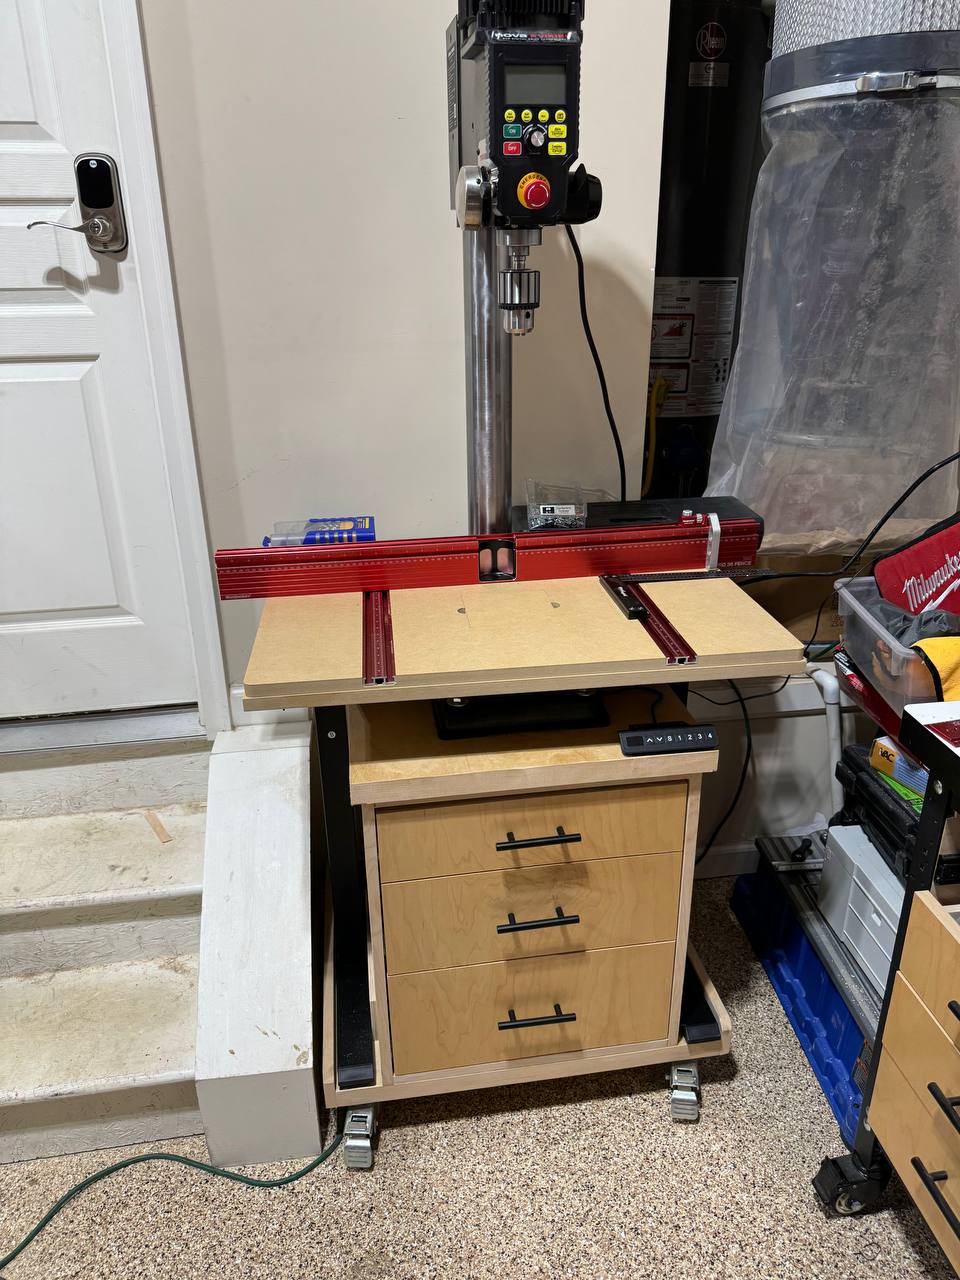
My new drill press table. I removed the metal table that was part of the Drill Press and added a cheap standing desk that I got during thanksgiving. The drill press table is mounted on the standing desk. Added the Woodpeckers DP fence to it. Now I have a drill press with a motorized table
 and I’m loving it. Except for the base with casters, everything was cut on the shapeoko. I still need to flush trim and add some edge banding to the drill press table.
I’m impressed by how easy the whole process was.