I am sure this is addressed elsewhere, but cannot find what I am doing wrong…
Learning to inlay, believe I have a grasp of the basics / depth offsets. However, no matter what I try the plug (male) never fits the pocket (female). Learning with a simple .5’’ diameter circle. The strange thing is the the plug is always smaller than the pocket, not too large to fit inside. I have tried so many different variations of tool paths, I will describe the simplest and hope someone can see what I am doing wrong.
Pocket
vector: .5 circle.
Path: Advanced Vcarve, Start depth 0’’. max depth .2’’ Note: center clearing done on separate path, area pocket NOT enabled. Waiting on bitsetter…
Plug
vectors: .5 circle and bounding square.
Path: Advanced Vcarve, Start depth .17, max depth .25 Note: Again, surface clearing out to bounding vector done on seperate path to .25’’.
The above results in a pocket of .75’’ diameter (surface) and a plug of .645’’ diameter at base/surface.
I have also tried running a contour inside path for the pocket. This results in a pocket diameter of .51’’.
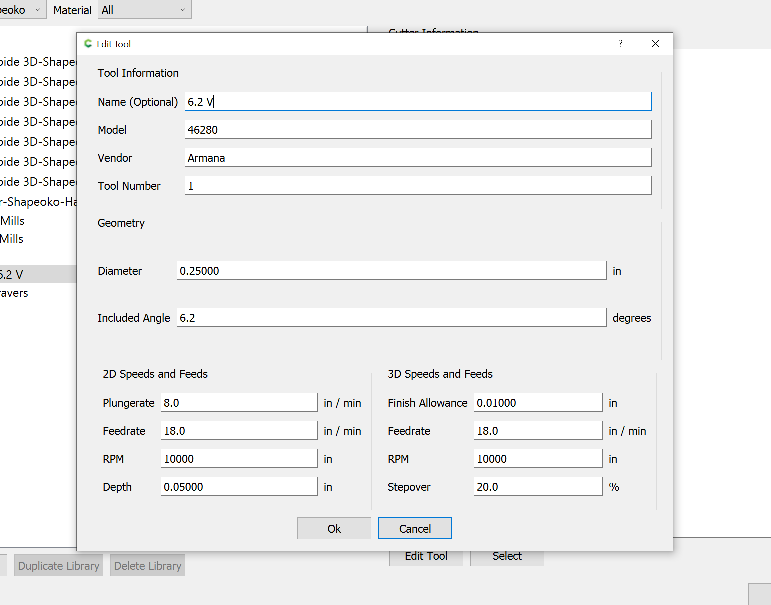
I realize the above numbers make no sense given that the circle is .5’’ diameter. It is as though CC does not understand the geometry of the cutter. Here is a screen shot of the manual tool load info.
With a 0.5" circle? That’s not right. Can you share the project? Pocket gcode too?
Principle is the same, but the words are used differently. Max depth in CC is the actual max depth, not the depth from the start.
That’s not the issue here.
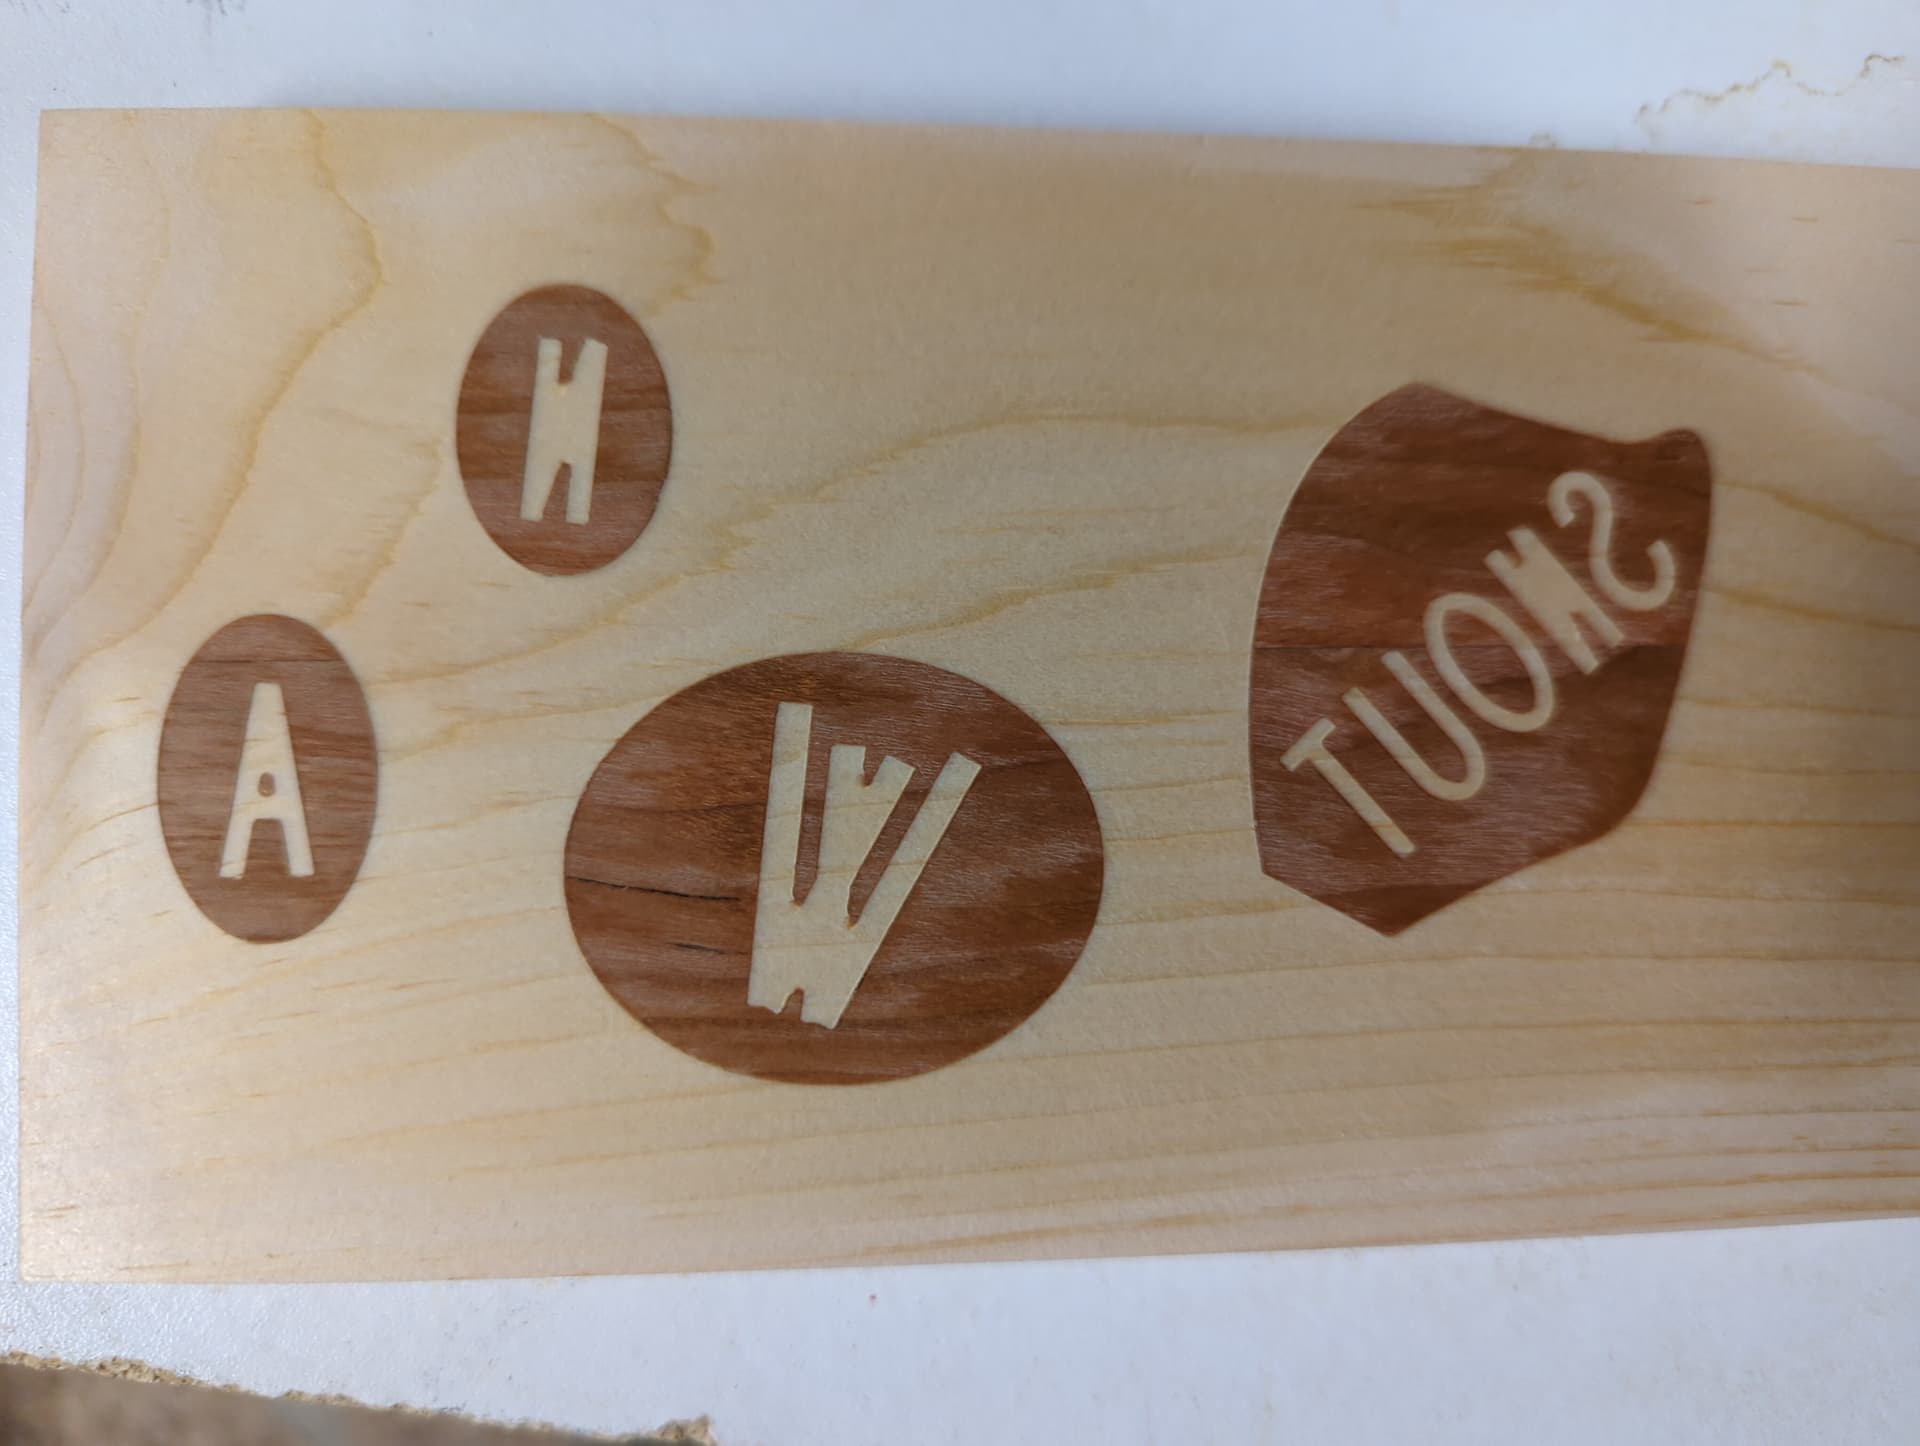
Since posting I came to the conclusion that the only explanation for this behavior was CC not understanding the tool geometry. Since I could not find a way to load the tool properly, I downloaded Vcarve Desptop, imported the Amana tool library, and did this on my second attempt.
(ignore the mirror, it was expedient. Like every noob I forgot to mirror while assigning paths and had already cut the plug when I realized.)
This confirmed the suspicion that the paths were assigned wrong due to incorrect tool geometry.
There may be a way to fix this / load the tool properly (I had it loaded as a Vbit, could not load it as a tapered ball end), but I could not figure out how.
Curious if others are using the “pocket” material as the image/letters? Obviously it make the image/letters smaller since it is the top of the pocket cut, but if you want this effect it cuts your inlays in half. Note: This can only be achieved by using a very low angle (sharp) bit like the 6.2 used above.