I went crazy and did the fixture setup again, now milling the form in the waste board itself. This is how it looks like, with the case inserted:
You can also see a new clamp, now made from a solid block of wood, which is more stable than the previous try with the two parts. It is lower profile as well, to avoid to much retract height or other problems. The new file:
clamp.c2d (98.6 KB)
And now the toolpaths have tabs as well. Very useful if you don’t want your cutter getting blocked by a wildly rotating cutout. Did I mention I’m a newbie?
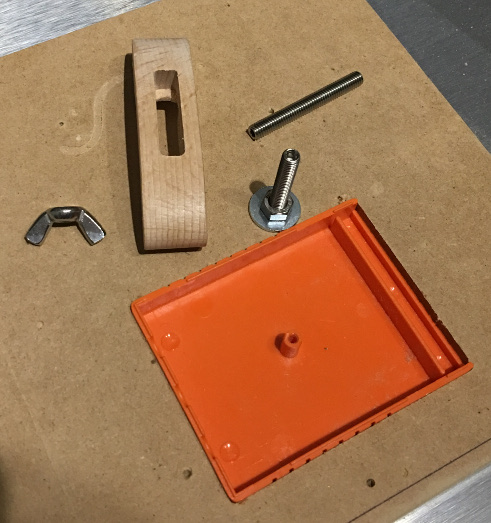
For mounting it I used a grub screw. I placed it all in a way to use the existing threading in the metal base plate, so I didn’t need a threaded insert in the wasteboard. With the wing nut I can now clamp and release it very quickly.
Last week the low profile vise arrived as well. With this it was easy to mill the slot in the clamp. I drew a rectangle, centered at (0,0), then centered the cutter at the center of the clamp and done:
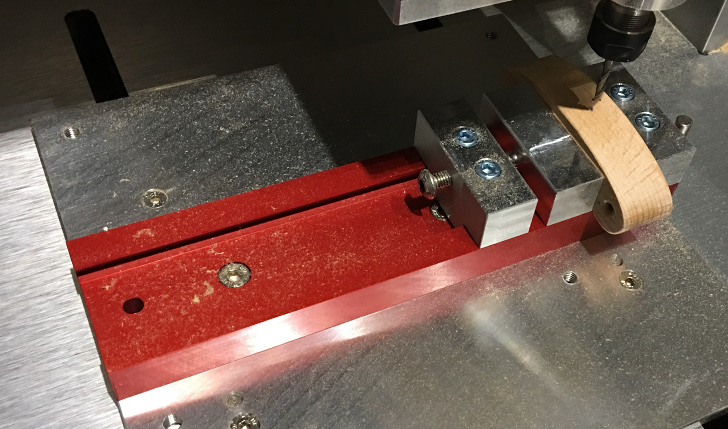
I think with the vise a better fixture would be possible, because I noticed with the MDF wasteboard that you have to be careful when screwing it in the metal base plate, because it is not always perfectly aligned. I tried to align it with the bottom and right side, so when I screw in another wasteboard and someday this jig again, then all coordinates will be right.
Speaking of coordinates: For zeroing I used the rapid position SW. Then I just had to manually zeroing for z. All design files are using the same zero, so I can just place and measure everything in absolute coordinates on the wasteboard. This makes things much easier. Later I had to add a small additional board as well for zeroing z above the wasteboard, because Carbide Create doesn’t allow negative start coordinates, but still easy enough.
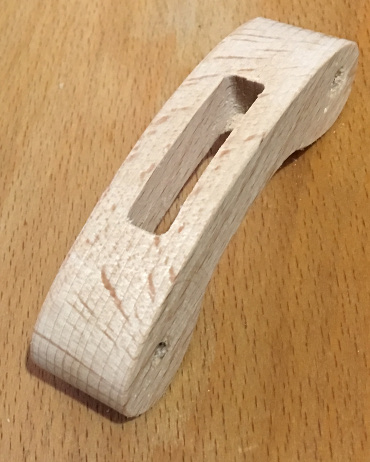
This is the final clamp:
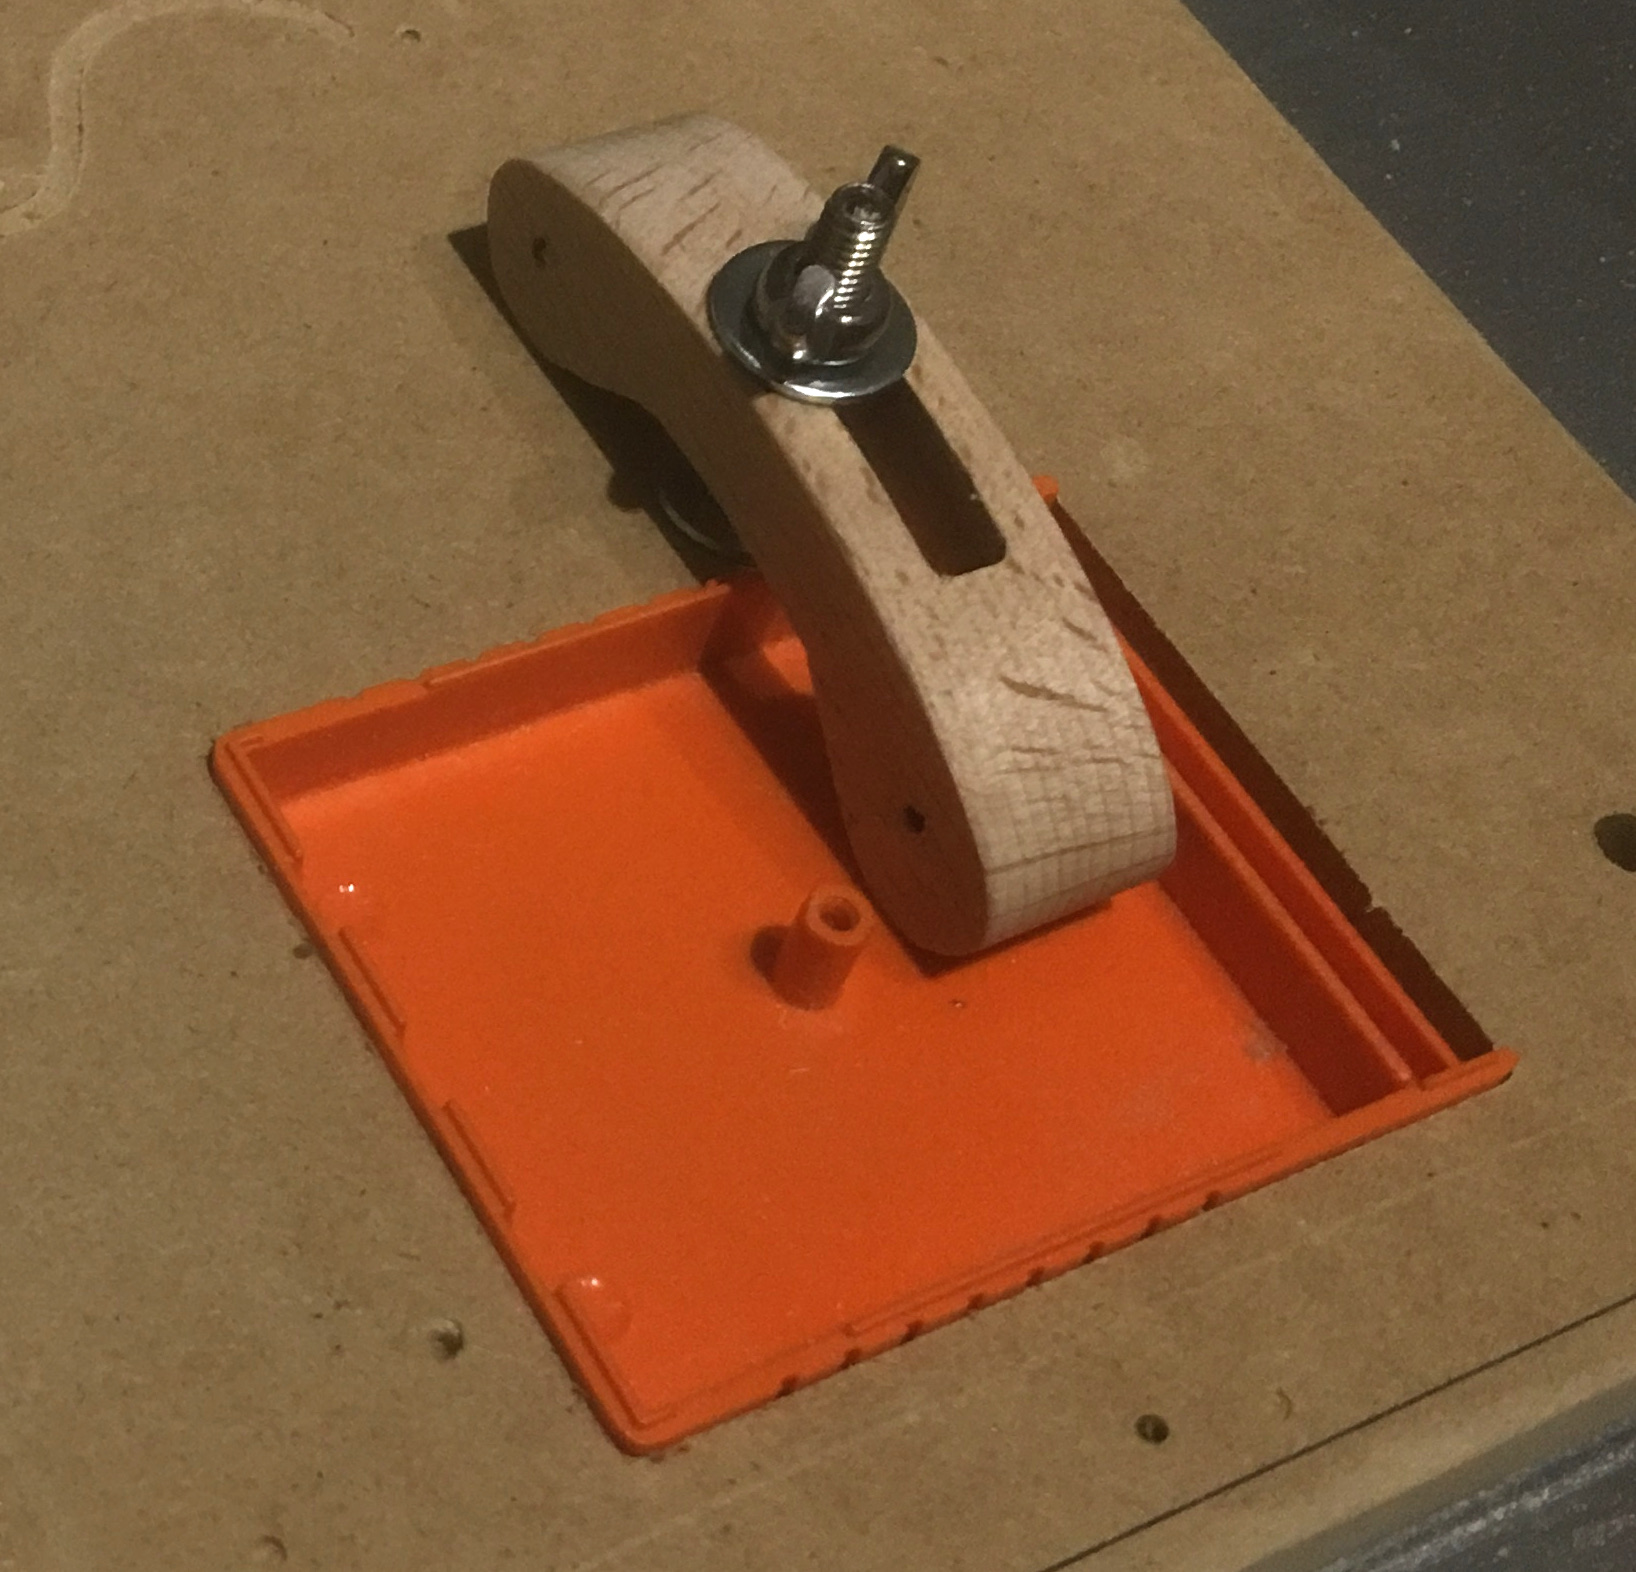
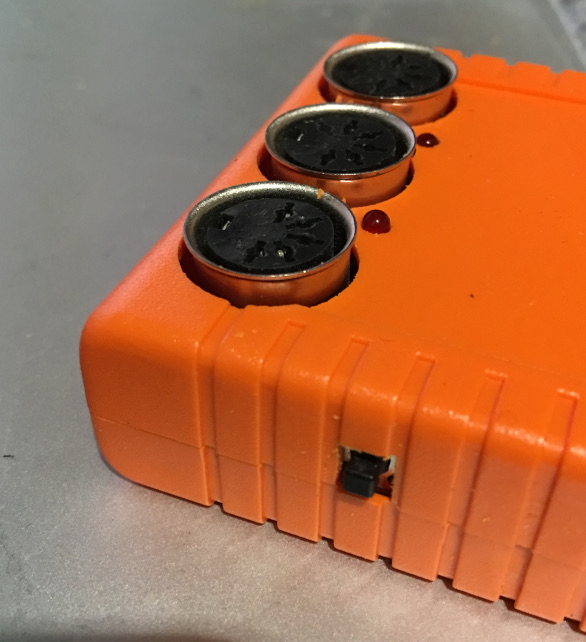
The tiny holes are from screws I used to fix it on the baseboard, because without a clamp, I couldn’t clamp it.  How it looks like in use:
After some problems with the RPM and feedrate (see here for the details), I can now mass-produce the holes very accurately:

I learned a lot and I’m sure now I will be faster with my next projects. And thanks for all the help from the forum members.