I am new to the CNC world and recently purchased a Shapeoko 4 XXL. With the shapeoko, I already purchased the BitZero and BitSetter accessories.
Right now, I am learning how the machine works, being of not doing a mess the first time, so what I am doing right now is to create very simple shapes in CC V7 to understand how everything works. Now I am having an issue trying to machine a simple square contour. The problem is that the machine did not reach the full depth of the stock I put, according to the caliper measurements, I am missing 0.15 mm to reach the complete stock depth. What can be causing this issue?
What I did was the following:
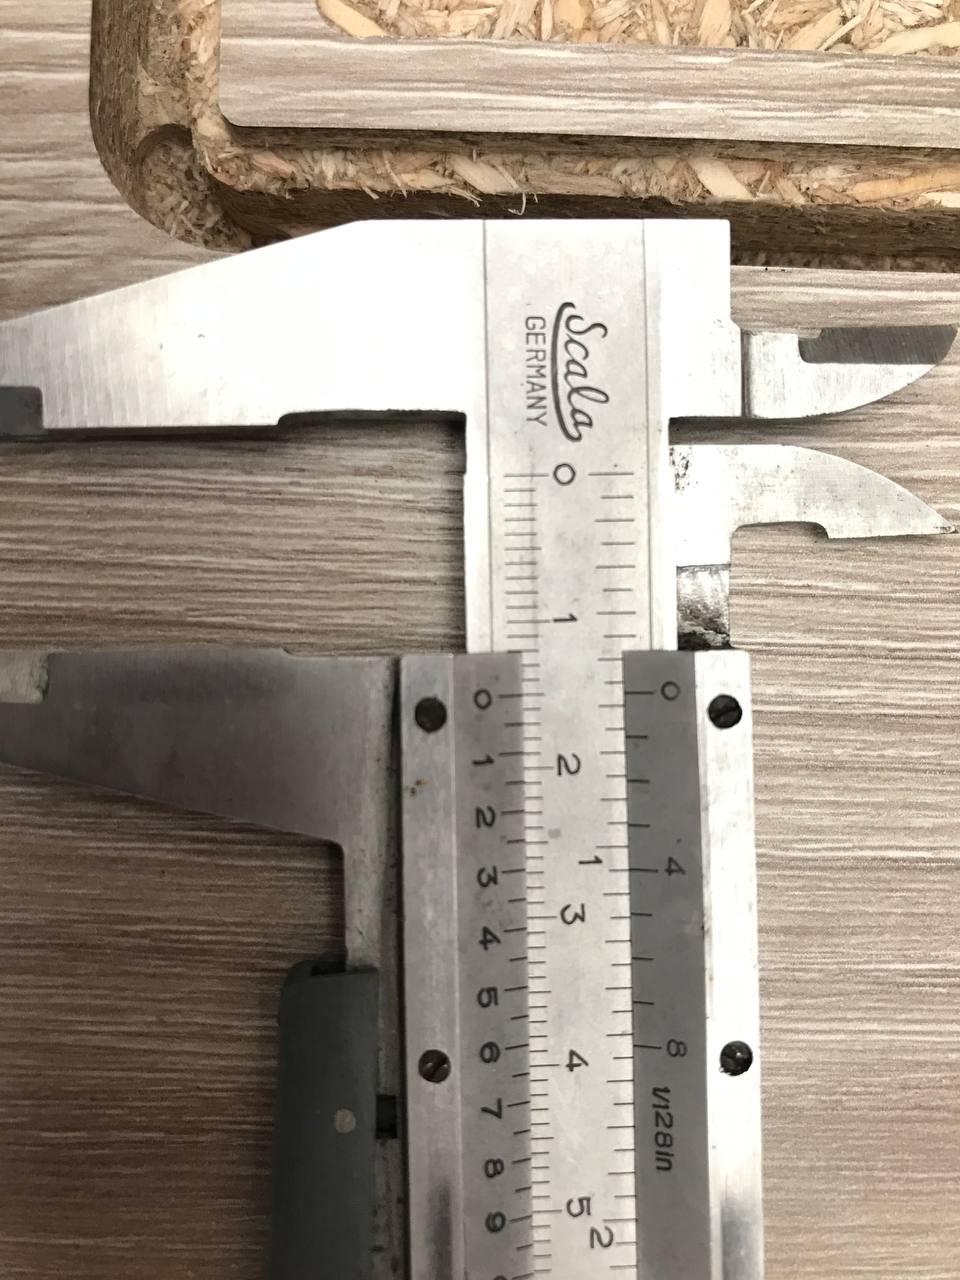
Measure the stock with the caliper, the measurement was 15.15 mm
Create a simple shape in CC, and put correct depth in the job setup
Place the stock in the machine, initialize it, use BitZero for X, Y and Z zeroing
Put a 1/4 endmill, and start the job
The problem I found is that I was expecting a full contour cut leaving only four tabs, but the finished product did not reach the complete depth. The measurement of the groove with the caliper shows that the maximum depth was 15 mm.
What could I do wrong?
Attached you will find the “finished product” and a copy of the design in CC.
To be clear, “Initialize” includes inserting the tool you intend to use to set your zero, and the machine going to the bitsetter to measure it, correct?
Add step 3.5) After setting your zero. Move your cutter to X0 Y0 Z6 (can use rapid positions in Jog)
move Z down until it just touches the stock. Check you are really at Z0.0.
If you are, move your cutter to several other places on the stock & check your Z height there. Despite your best efforts, your stock may not be sitting perfectly flat.
Number 4 says you put in a 1/4" end mill after setting X,Y and Z. This is what’s causing some confusion on my part. If you in fact put in a 1/4" end mill after setting X,Y and Z with something else, you will need to measure the 1/4" end mill prior to cutting with it.
Yes, you are right, I messed up with my explanation in the first post, I made everything with the 1/4" endmill on place, so I did not perform a new measurement as I did not change the tool.
Yesterday, I made some testing starting from the first step, and something that I noticed was that the stock is not completely flat, so maybe that is the reason why I am losing those 0.15 mm during the cut. I guess that for these cases the best scenario would be to set the stock depth a little above the real measurement.
Or surface the stock first. You can surface to Z0 by entering 0.0001 in the max depth. It will output 0.000. If you make an edit you will need to type in the depth again, as it rounds it to 0.
I usually set my cut through depth a smidge over the stock thickness. (+ 0.010 - 0.020", 0.25-0.5mm)
Are you setting your Z on top of stock? When I cut all the way through, I put my Z 0 on the bottom. That way you don’t need to know the exact thickness of your material. If it is over or under by .15mm the machine can take that easily on a pass.
I am setting the Z on top of stock, in fact one of the pending tasks I had was to understand the difference between putting it on top or on the bottom, and you have gave me the answer!
When using the BitZero, you really should use a dowel pin in the spindle for setting X and Y then tool change to your end mill, measure length then set Z. If you use an end mill for X and Y with the BitZero even if it is a 4 flute, you will be off. If the remove or flip your stock then try to re-find X/Y, chances are your end mill will not be in the same orientation and X/Y will not be the same.
Is it possible to use the dowel pin also for Z, before changing the tool? In that way I set all three measurements at once and do not repeat a new measurement once the endmill is installed.
I always use the pin included with the BitZero for X, Y, and Z. Consistency is never a bad thing. Then change to the first tool. Usually the program has a tool change at the beginning, but if you do not know if it does, then change before you run the program.
It may also be worth, after setting zero to spoilboard height, setting your toolpath to cut to -0.1mm or so on the Z depth to make sure you go all the way through and get a decent finish on the bottom of the piece.
If you don’t cut into it, it’s not really a spoilboard is it
TBH, I’m not yet prepared to make the tool go beyond the stock depth! My machine is less than one month old and I want it to be like new at least for a couple of weeks more
If the dowel pin length was measured with the BitSetter, X,Y and Z were then established with the BitZero, you should now be able to install you 1/4" end mill, measure it with the BitSetter and go.