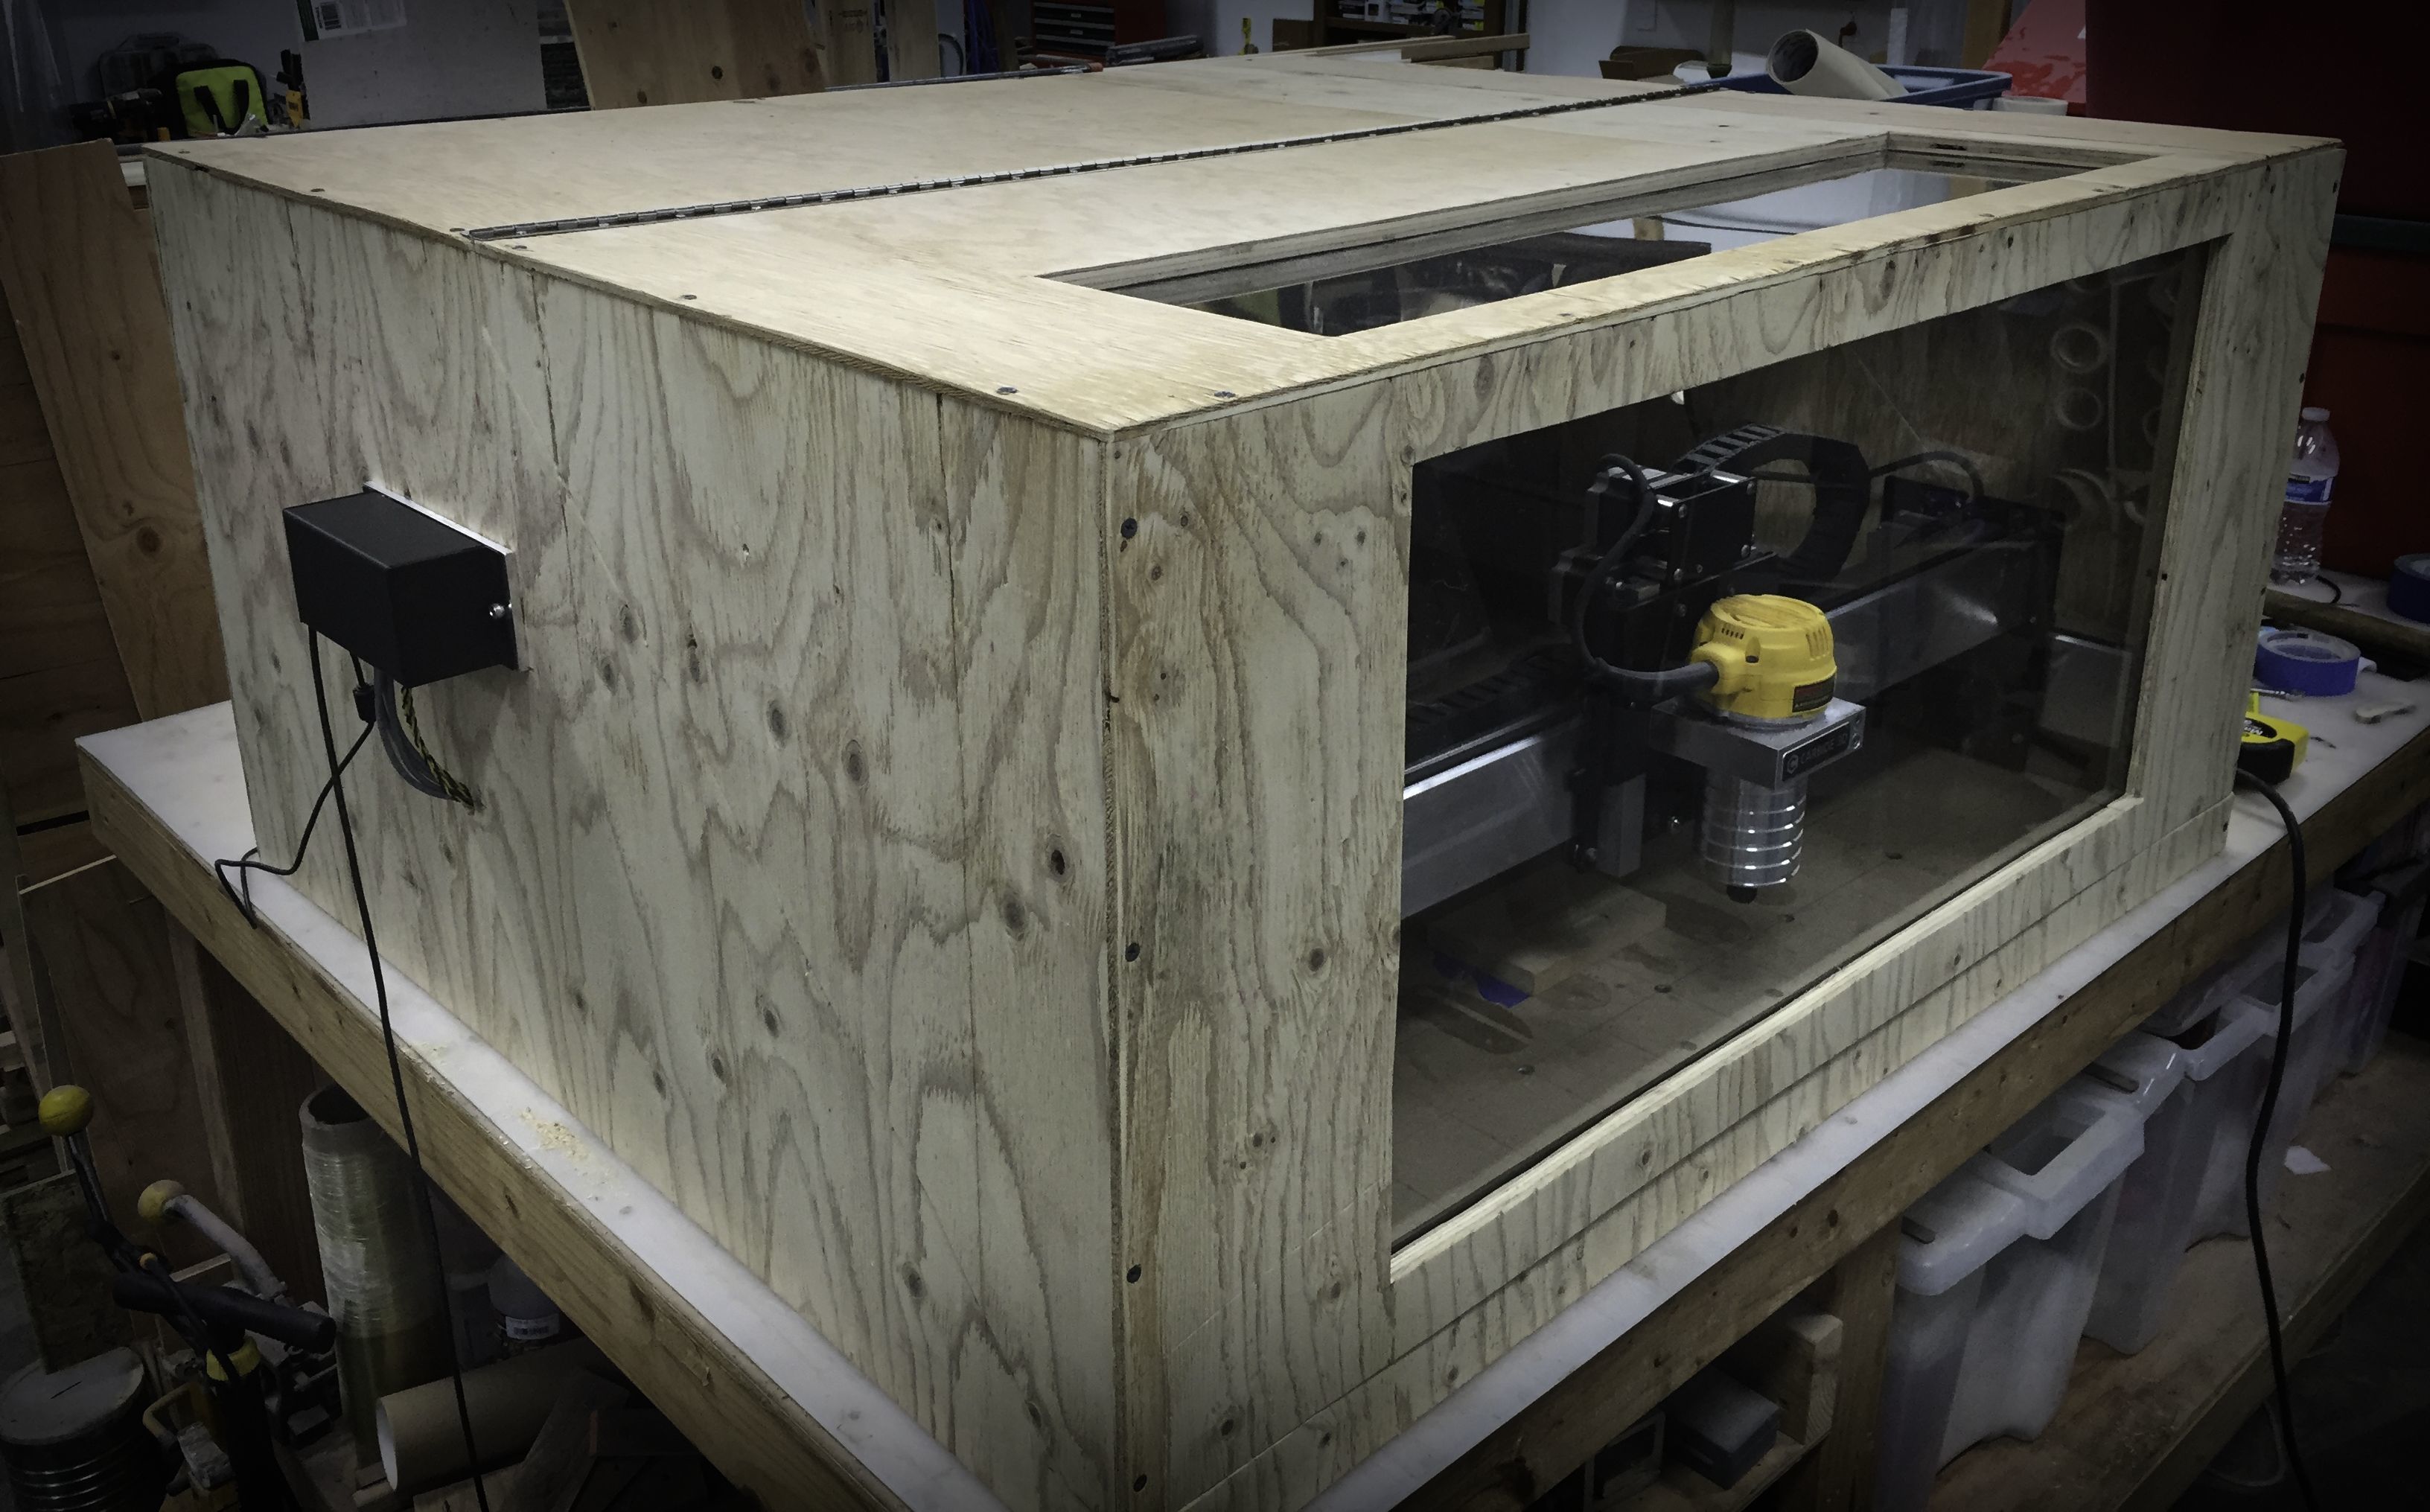
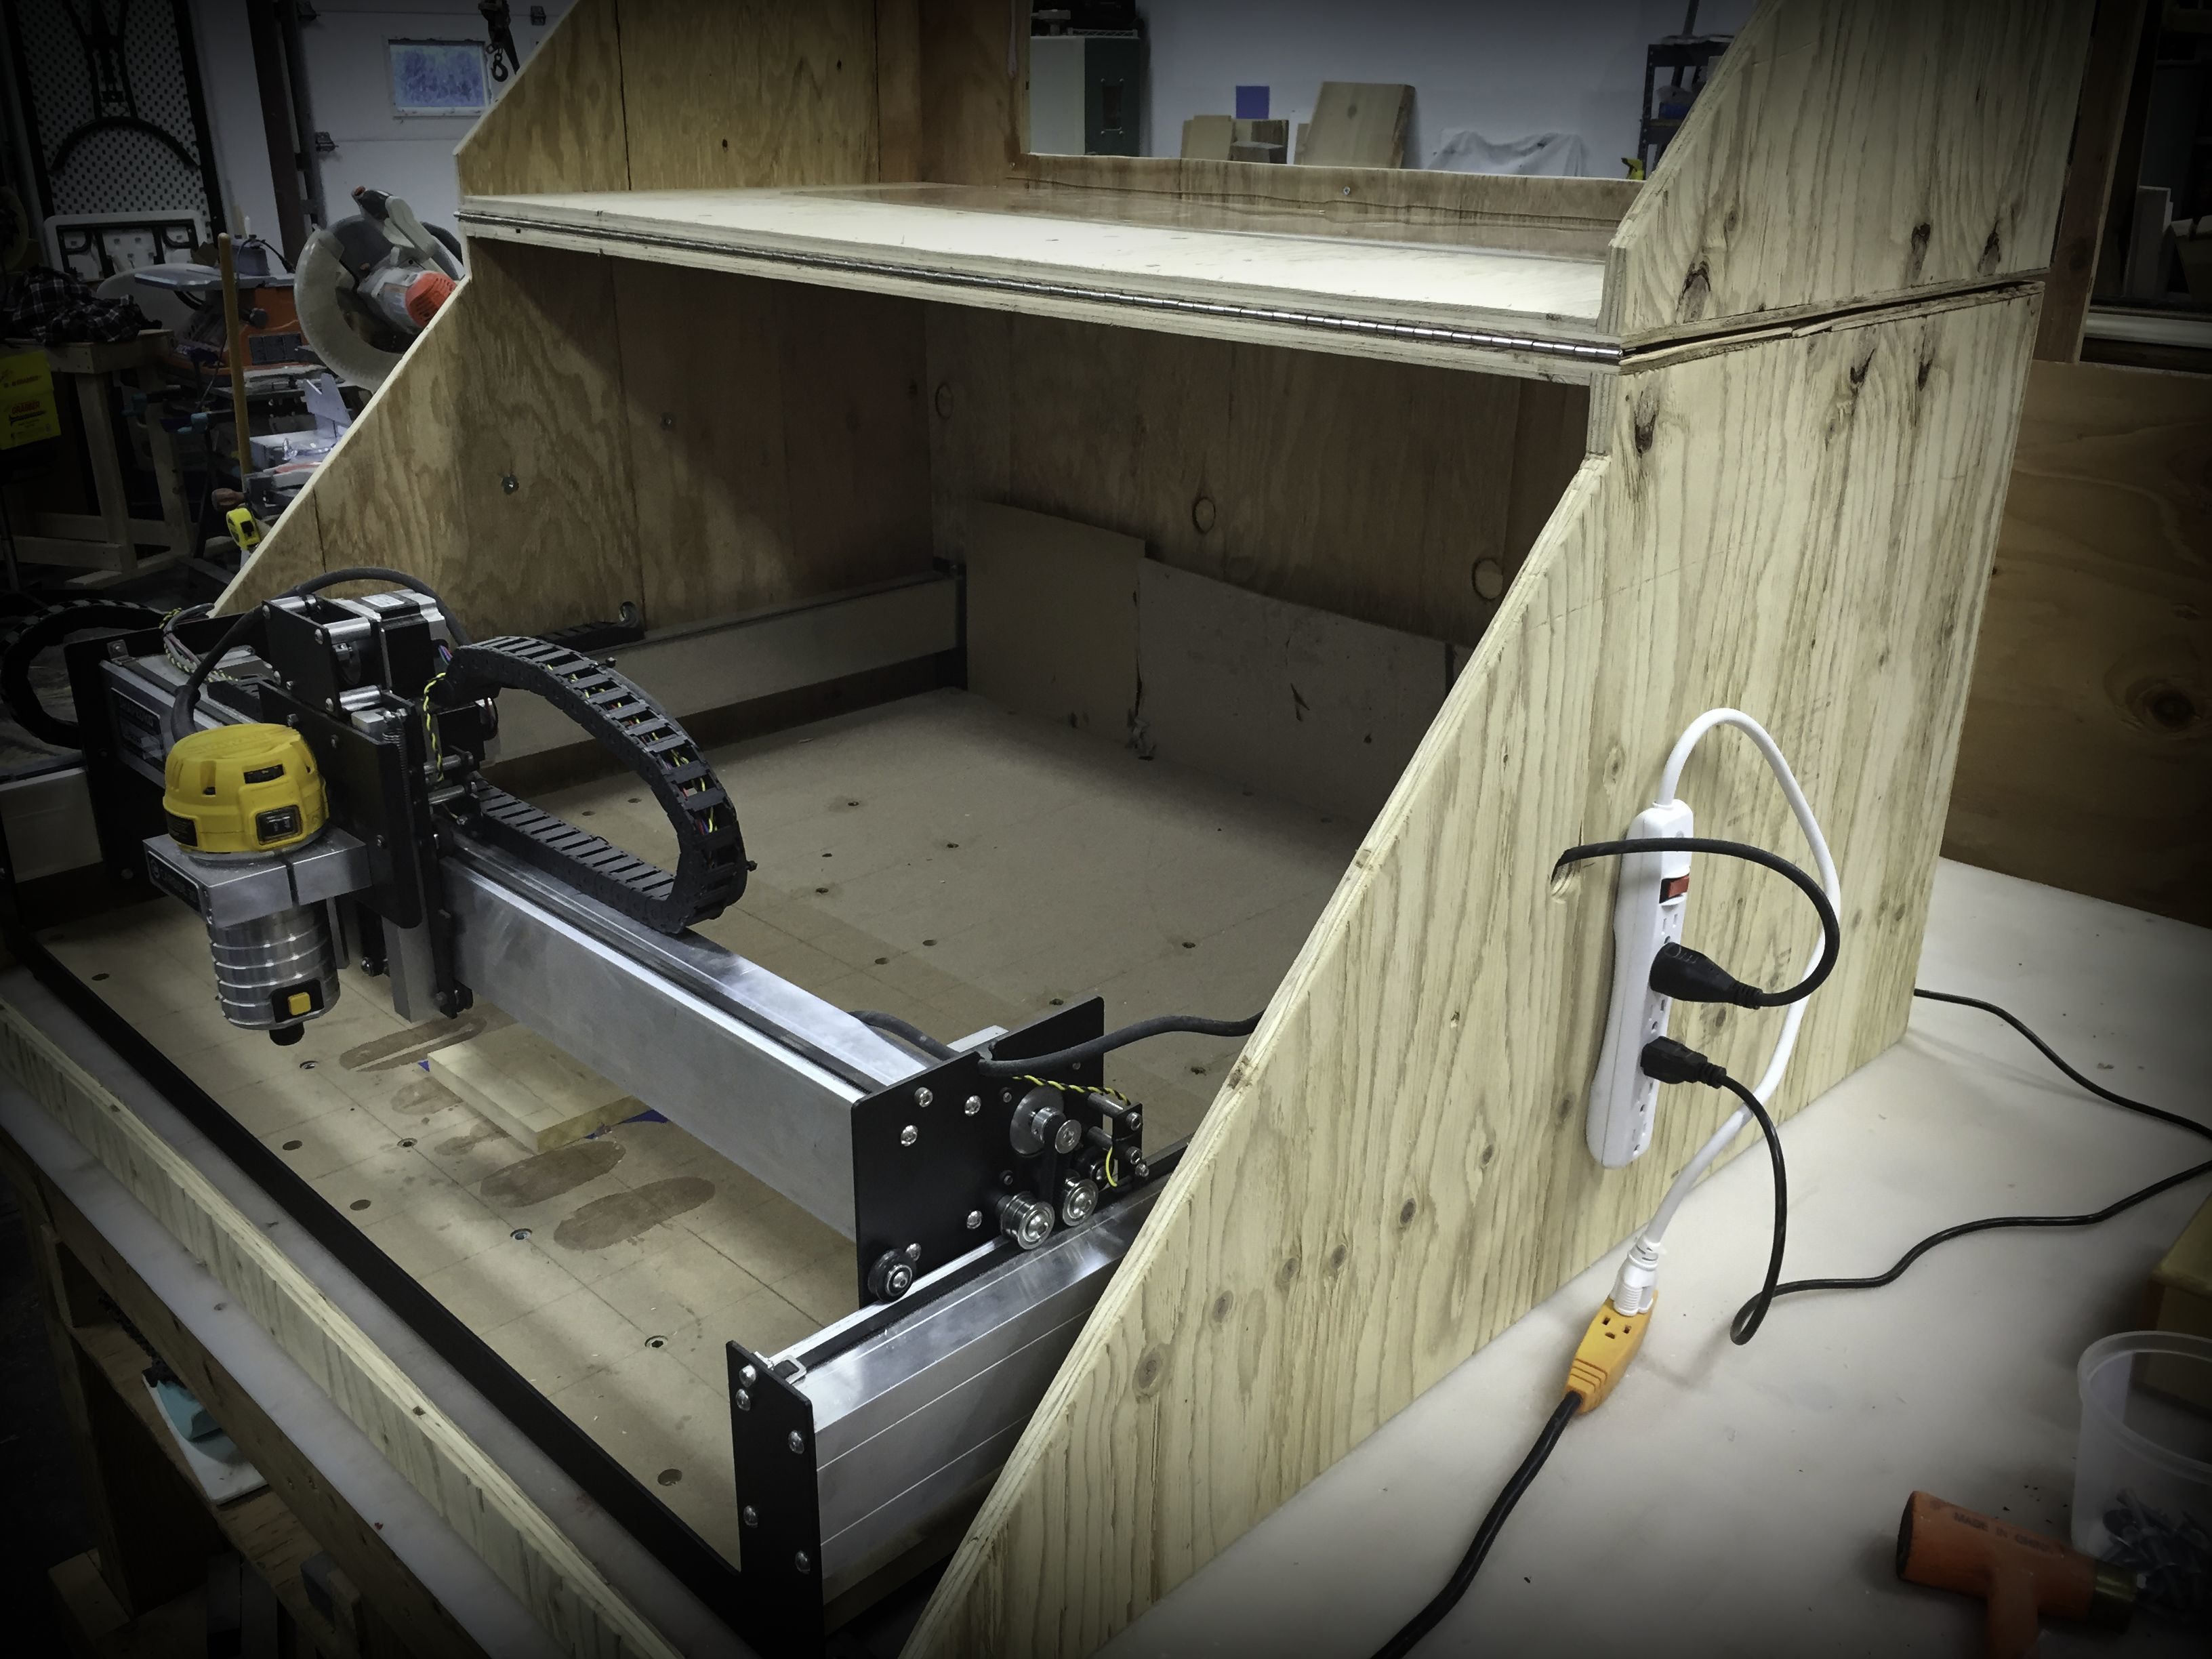
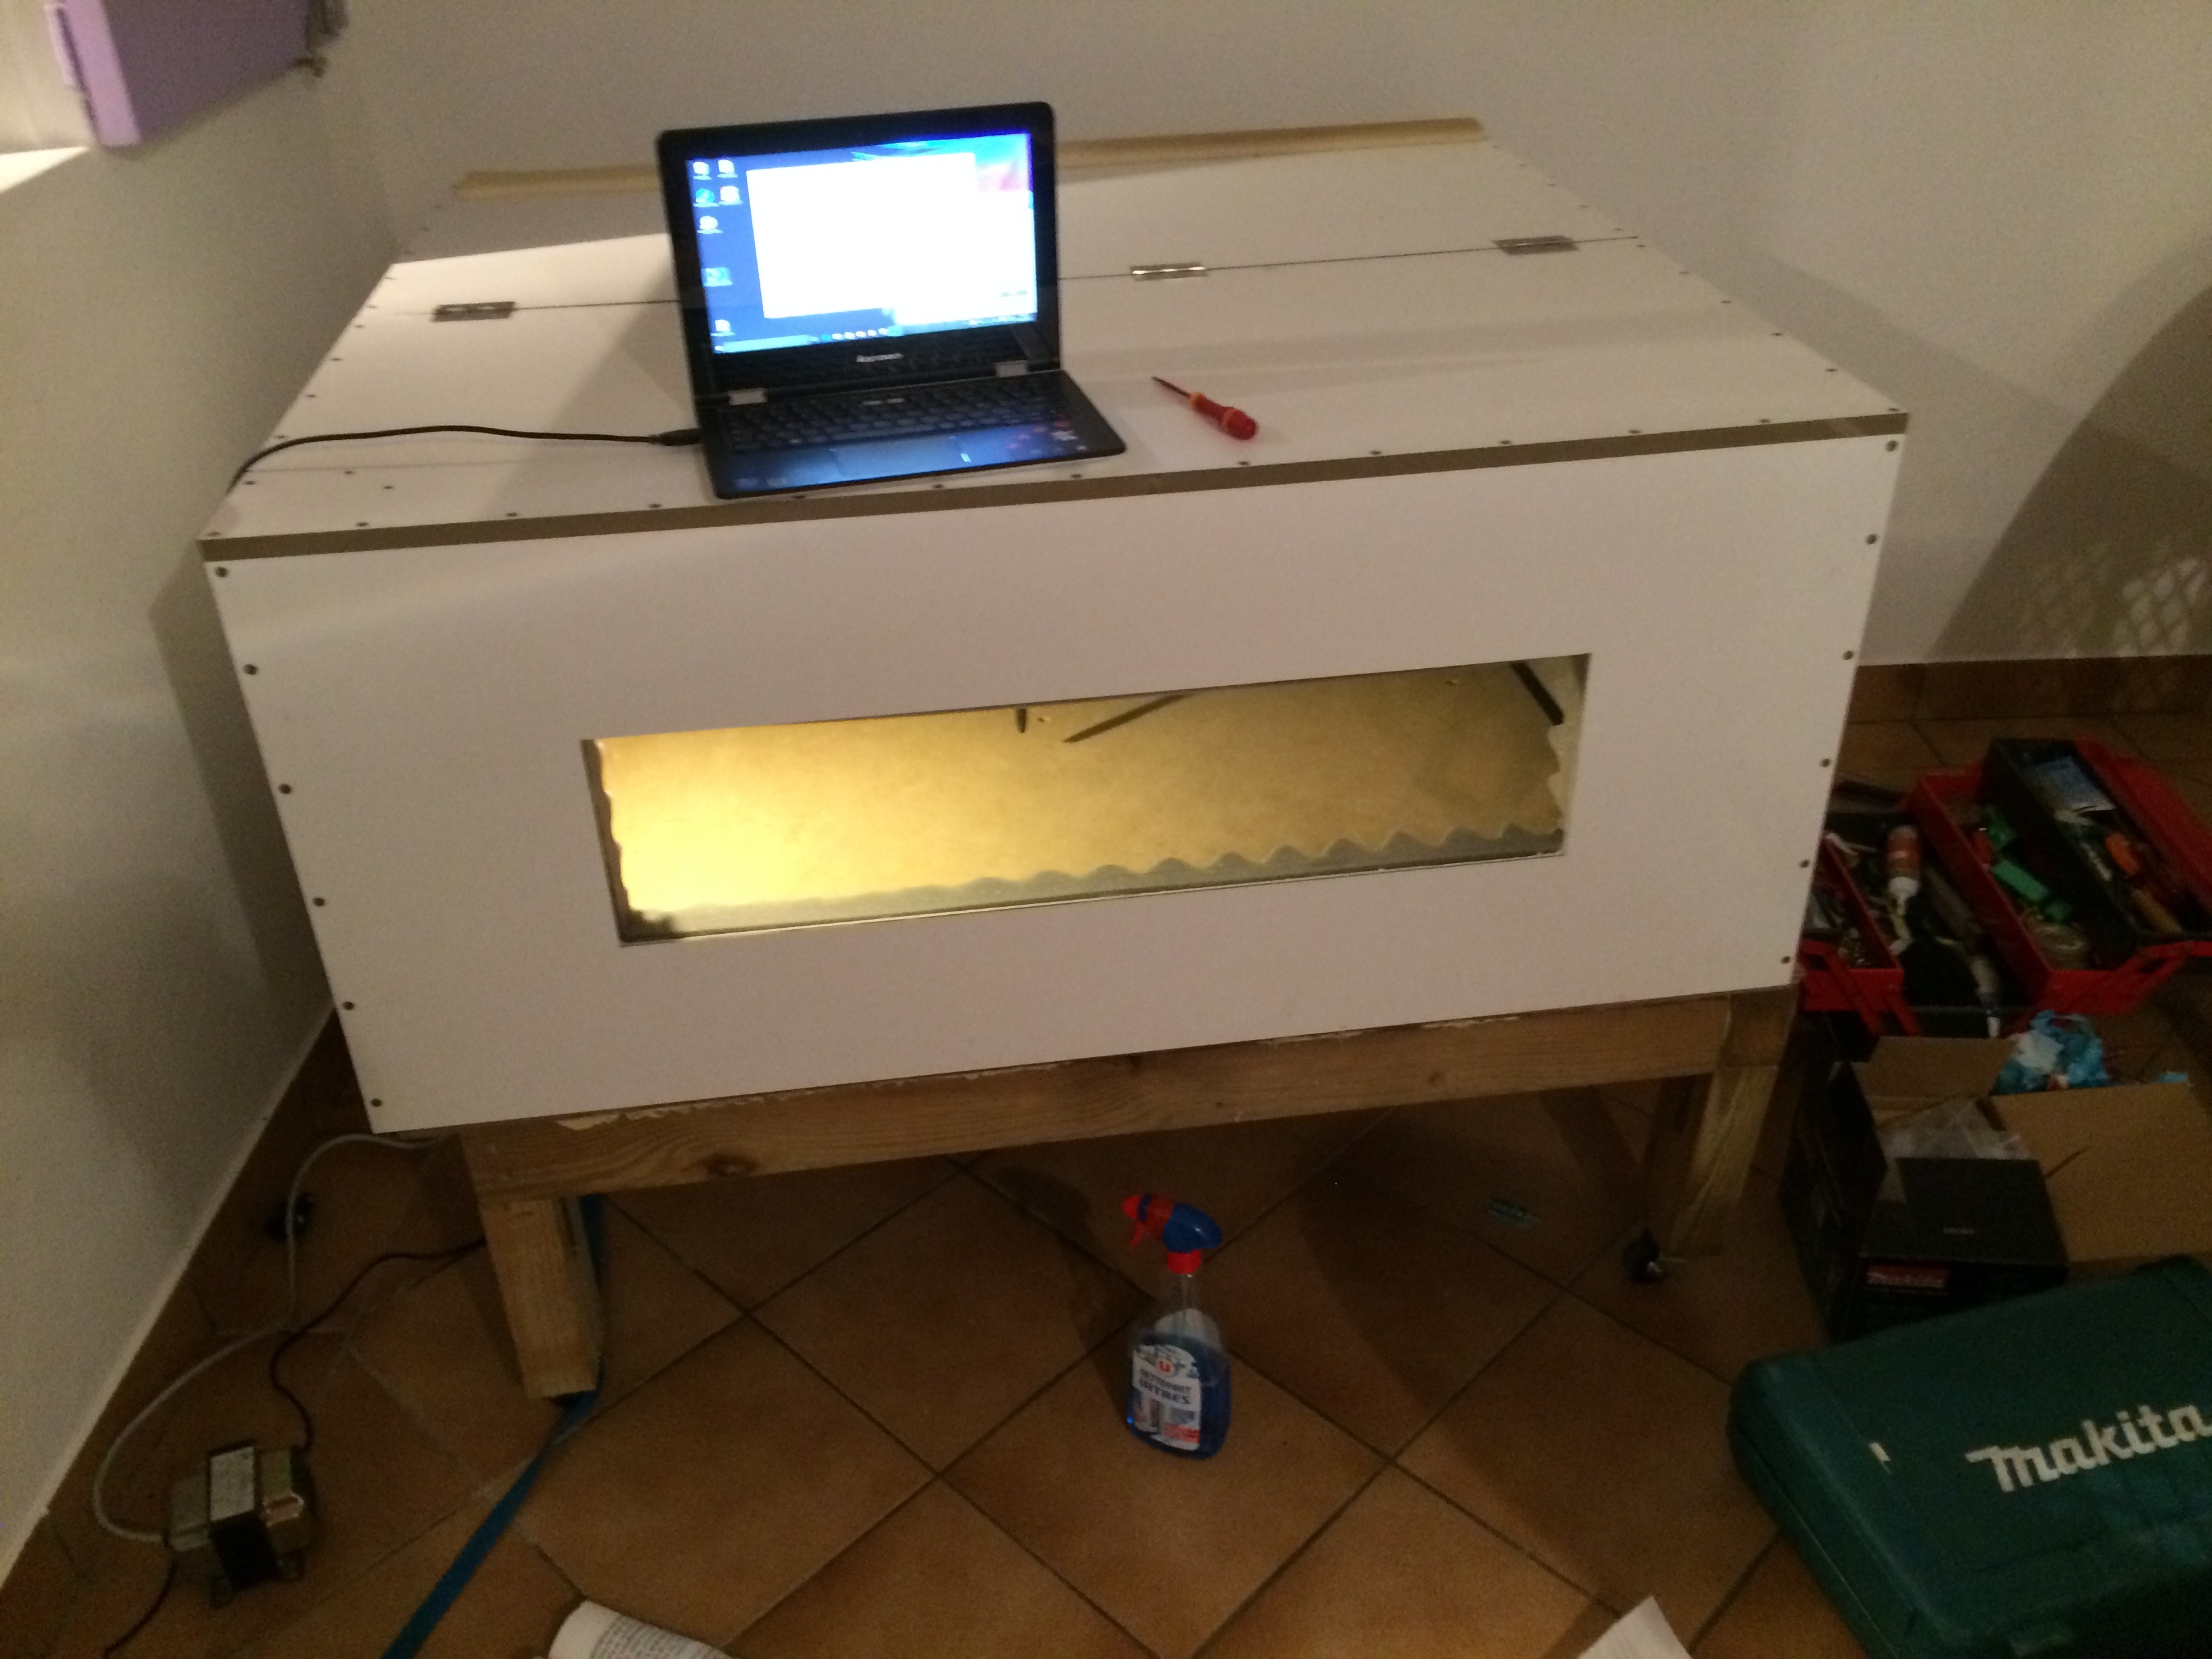
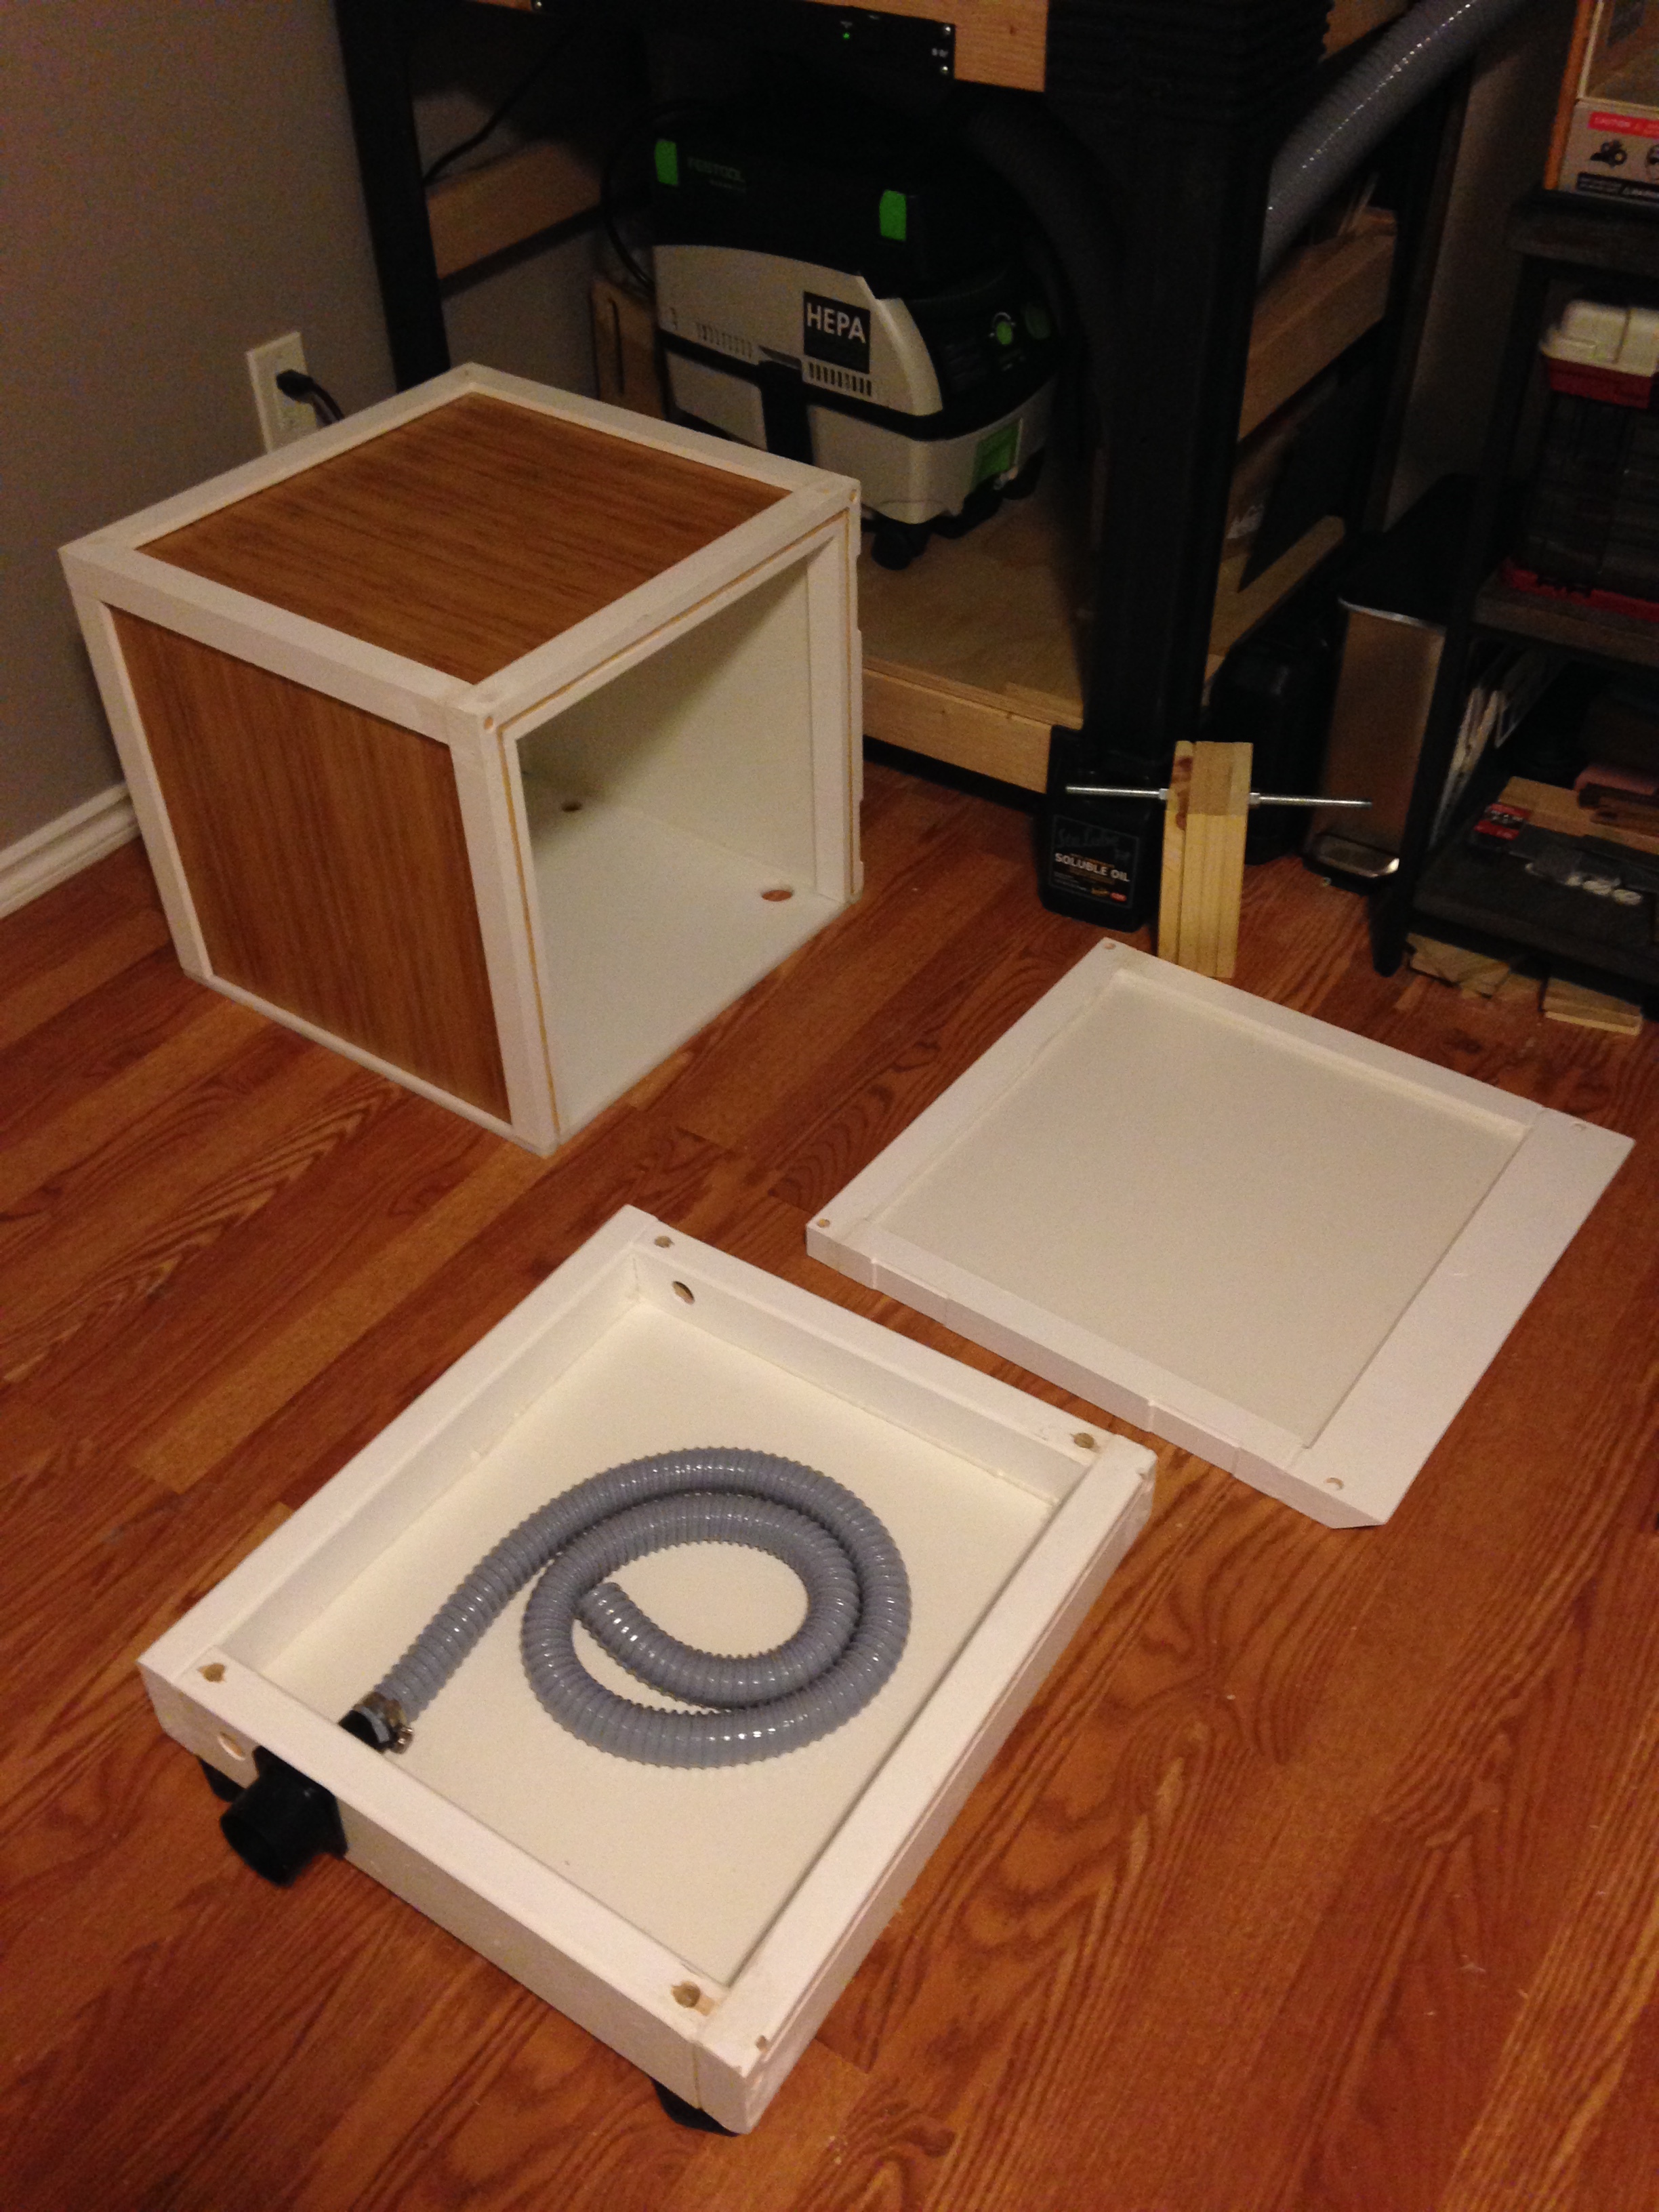
Definitively not fancy, strictly utilitarian, quite similar to @Tshulthise’s enclosure. I used 5/8" exterior grade plywood as I got it for free. Windows are .093" acrylic.
I plan to add some sort of dust extraction as I have a 1100 cfm cyclone collector, just not entirely sure how I want to go about it. Thinking about adding a large dust hood to one side and plumb it with 4" PVC, just not sure if it will do much other than grab the dust, but would like to be able to suck up chips too. Probably the only way to do that is with a proper dust shoe at the router or with an additional blower inside the enclosure to direct the chips to the dust hood.
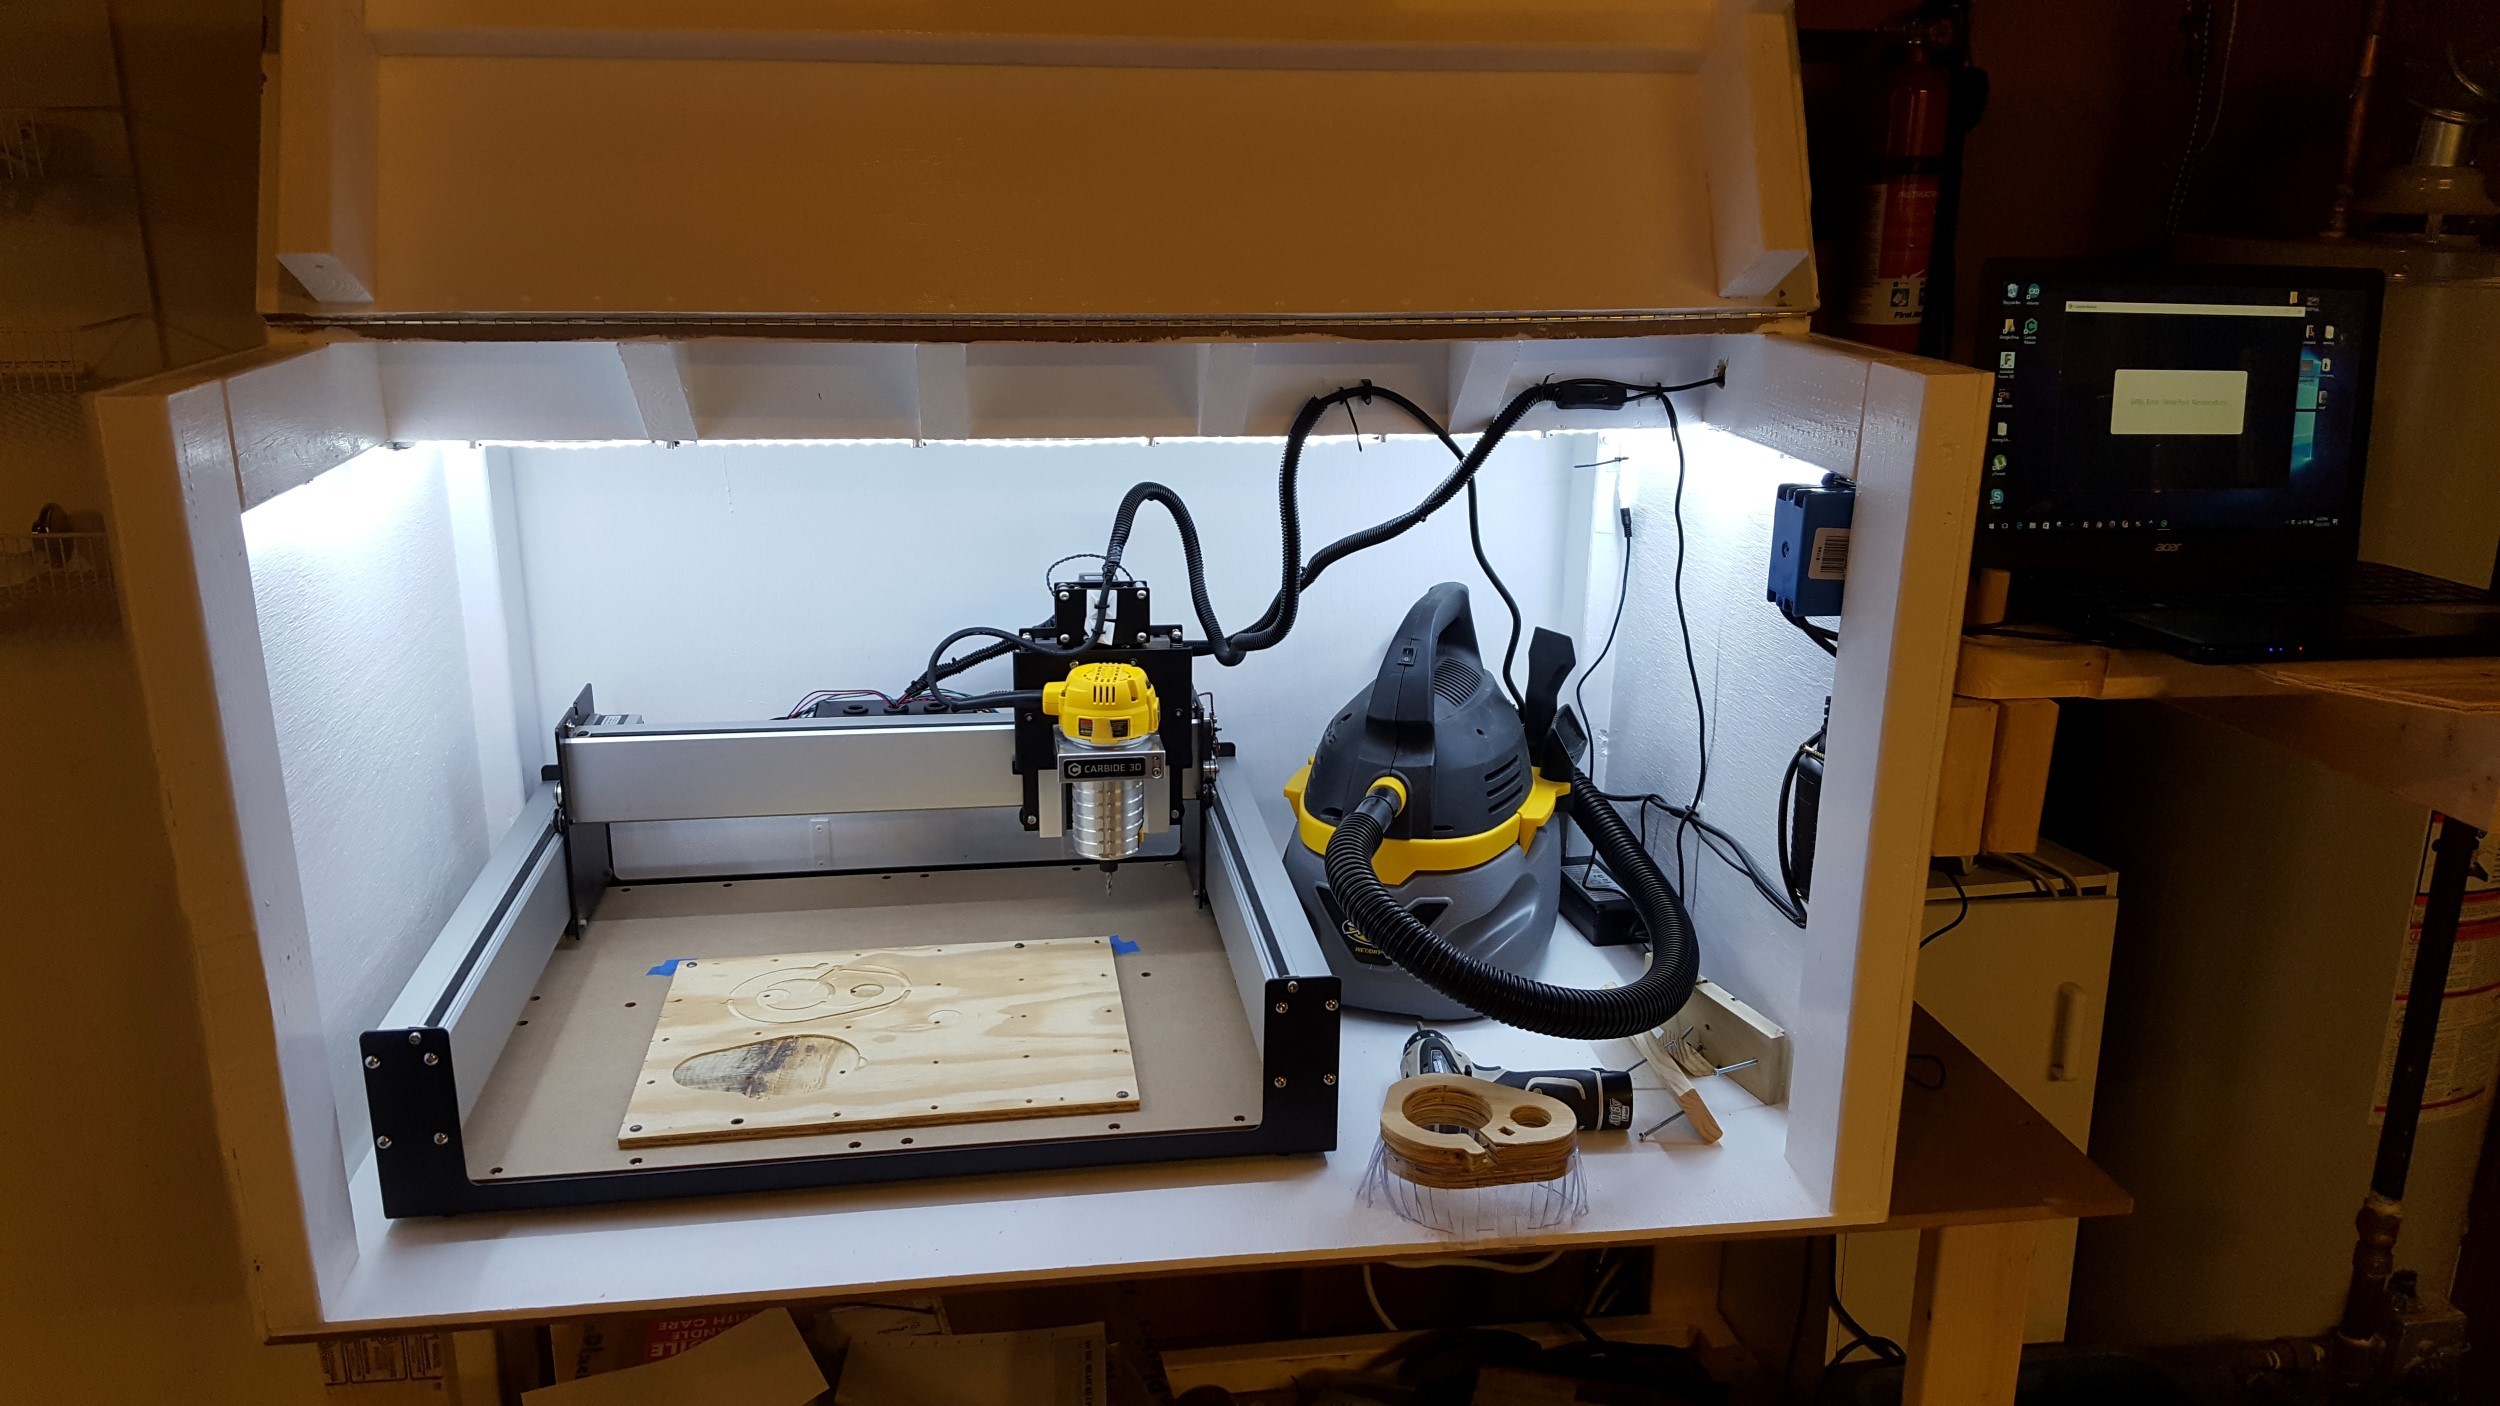
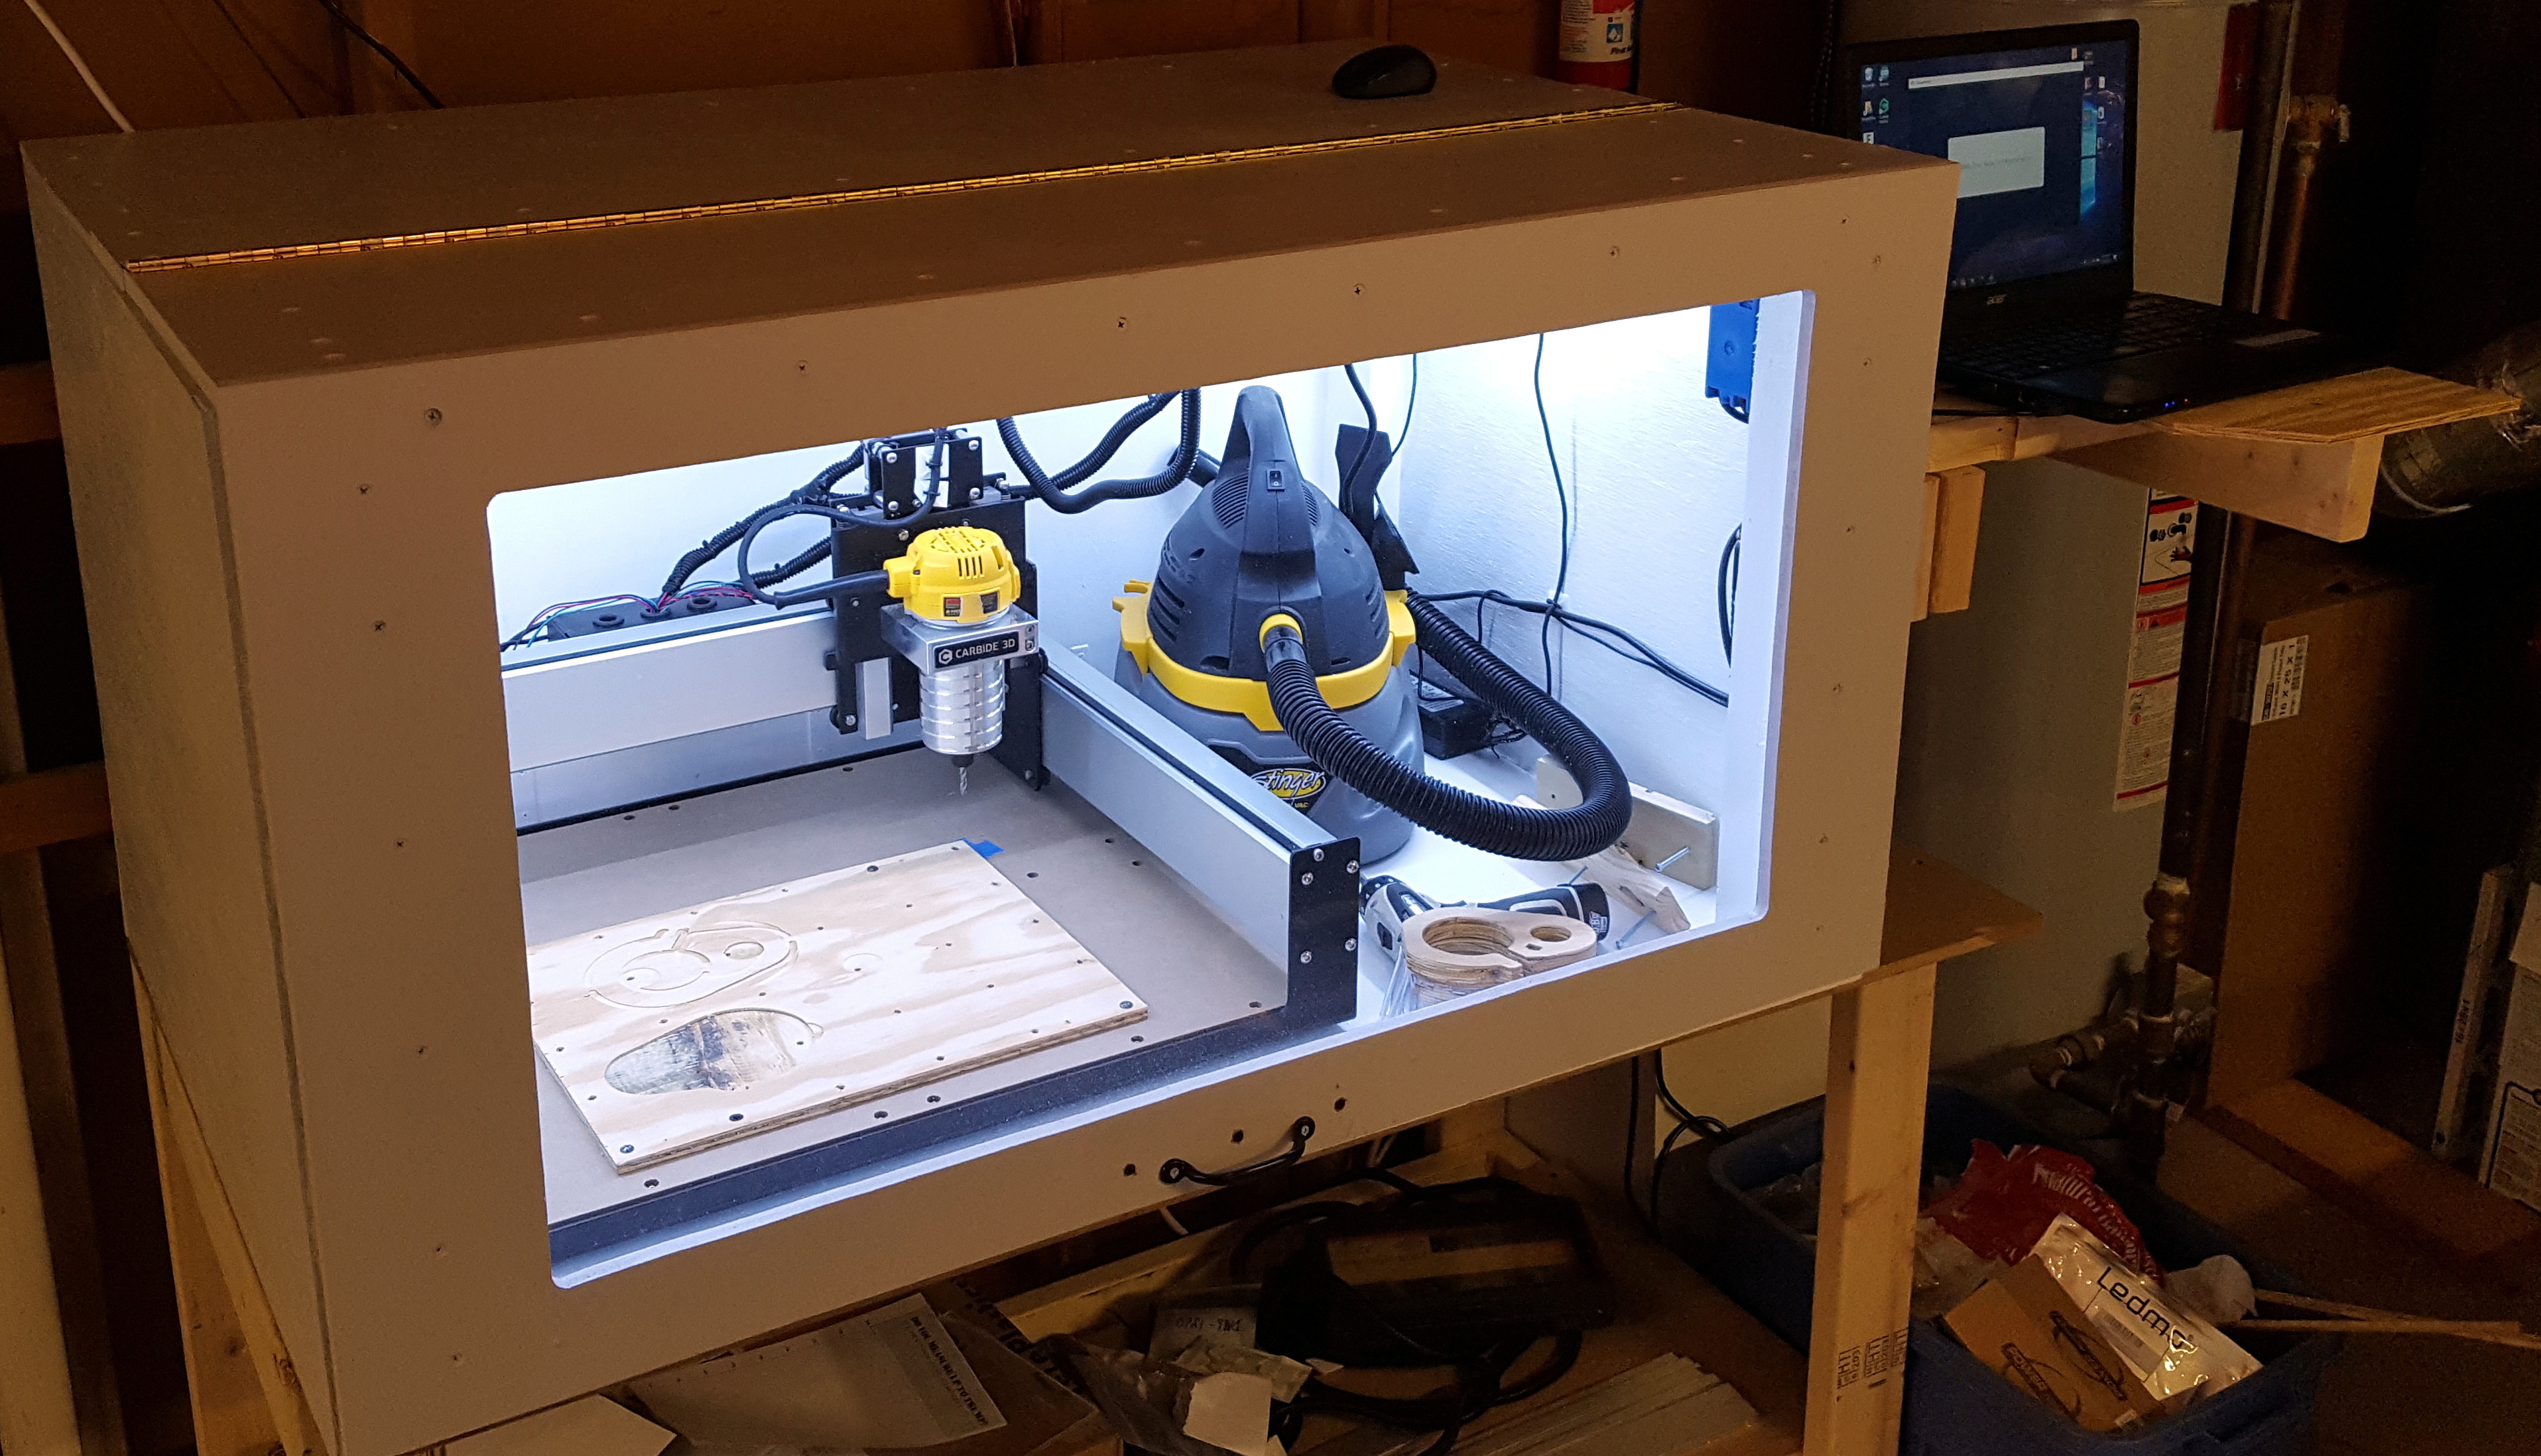
Recently finished wood / mdf enclosure with space for cheapo mini shop-vac. My first time using LED strip lights, they are awesome but the adhesive backing didn’t stick to the rough painted wood. Turns out you can attach them using 1/2" Romex staples which worked great. Also added an arm on the side for my laptop, this stretched the USB cable to its limit, thinking about testing a slightly longer one - has anyone tried that?
I’ve messed with LED light strip quite a bit and I’ve found that on some surfaces they just don’t stick well…solution, hot glue every few inches along the run. Have also been successful with regular old super glue, but if your runs are long (or upside down like yours) you may end up being the surface they stick to, haha!
I wish I could get my vacuum inside an enclosure like that, but with my XXL it would have to be huge. My vacuum is the loudest part of my setup when running.
Thanks, will have to try the glue next time, I went with the staples because I already saw adhesive fail presumably from the heat of the LEDs so I went straight to mechanical hold.
Yeah I have found the vacuum and the cutting noise are the two loudest things. Funny how people talk about getting quieter spindles, that’s wasted money because the Dewalt is already very queit and not a factor at all compared with the cutting sounds or the vac if you choose to run one.
I like the angled opening, you could improve the look just by painting white - pain in the ass but it reflects light a lot better and looks a little more finished. Utilitarian works though, nice job.
Thanks for sharing, researching for my enclosure build. What foam did you use and what is the fiber tape on the edge? There are so many “sound sealing” edge treatments. I’ve read so many different type of foam and each description degrades what the other says. A real example like yours is so important. When you test it with a router are you able to measure the decibels? A sound clip helps too. Thanks alot. Looks like you put the emphasis on effective.
i will try to make the test as soon as possible, with a video and sound test . but i dont have any decibels measurements… for my enclosure it s not finish, and the ruber fiber tape is only for protect the sound foam.
I read so many posts and learned a lot about building a enclosure and wanted to share the (almost) final result before I never do it because I am too busy machining great stuff ;). I also had Mark providing some very useful tipps, as the first version of the enclosure did not provide the expected sound suppression. Thanks to all for the very helpful posts.
My goal: I have the Nomad standing in my appartment with kids and wife, so I aimed for maximal sound suppression within a given space (I hide the encasing in a wardrobe)
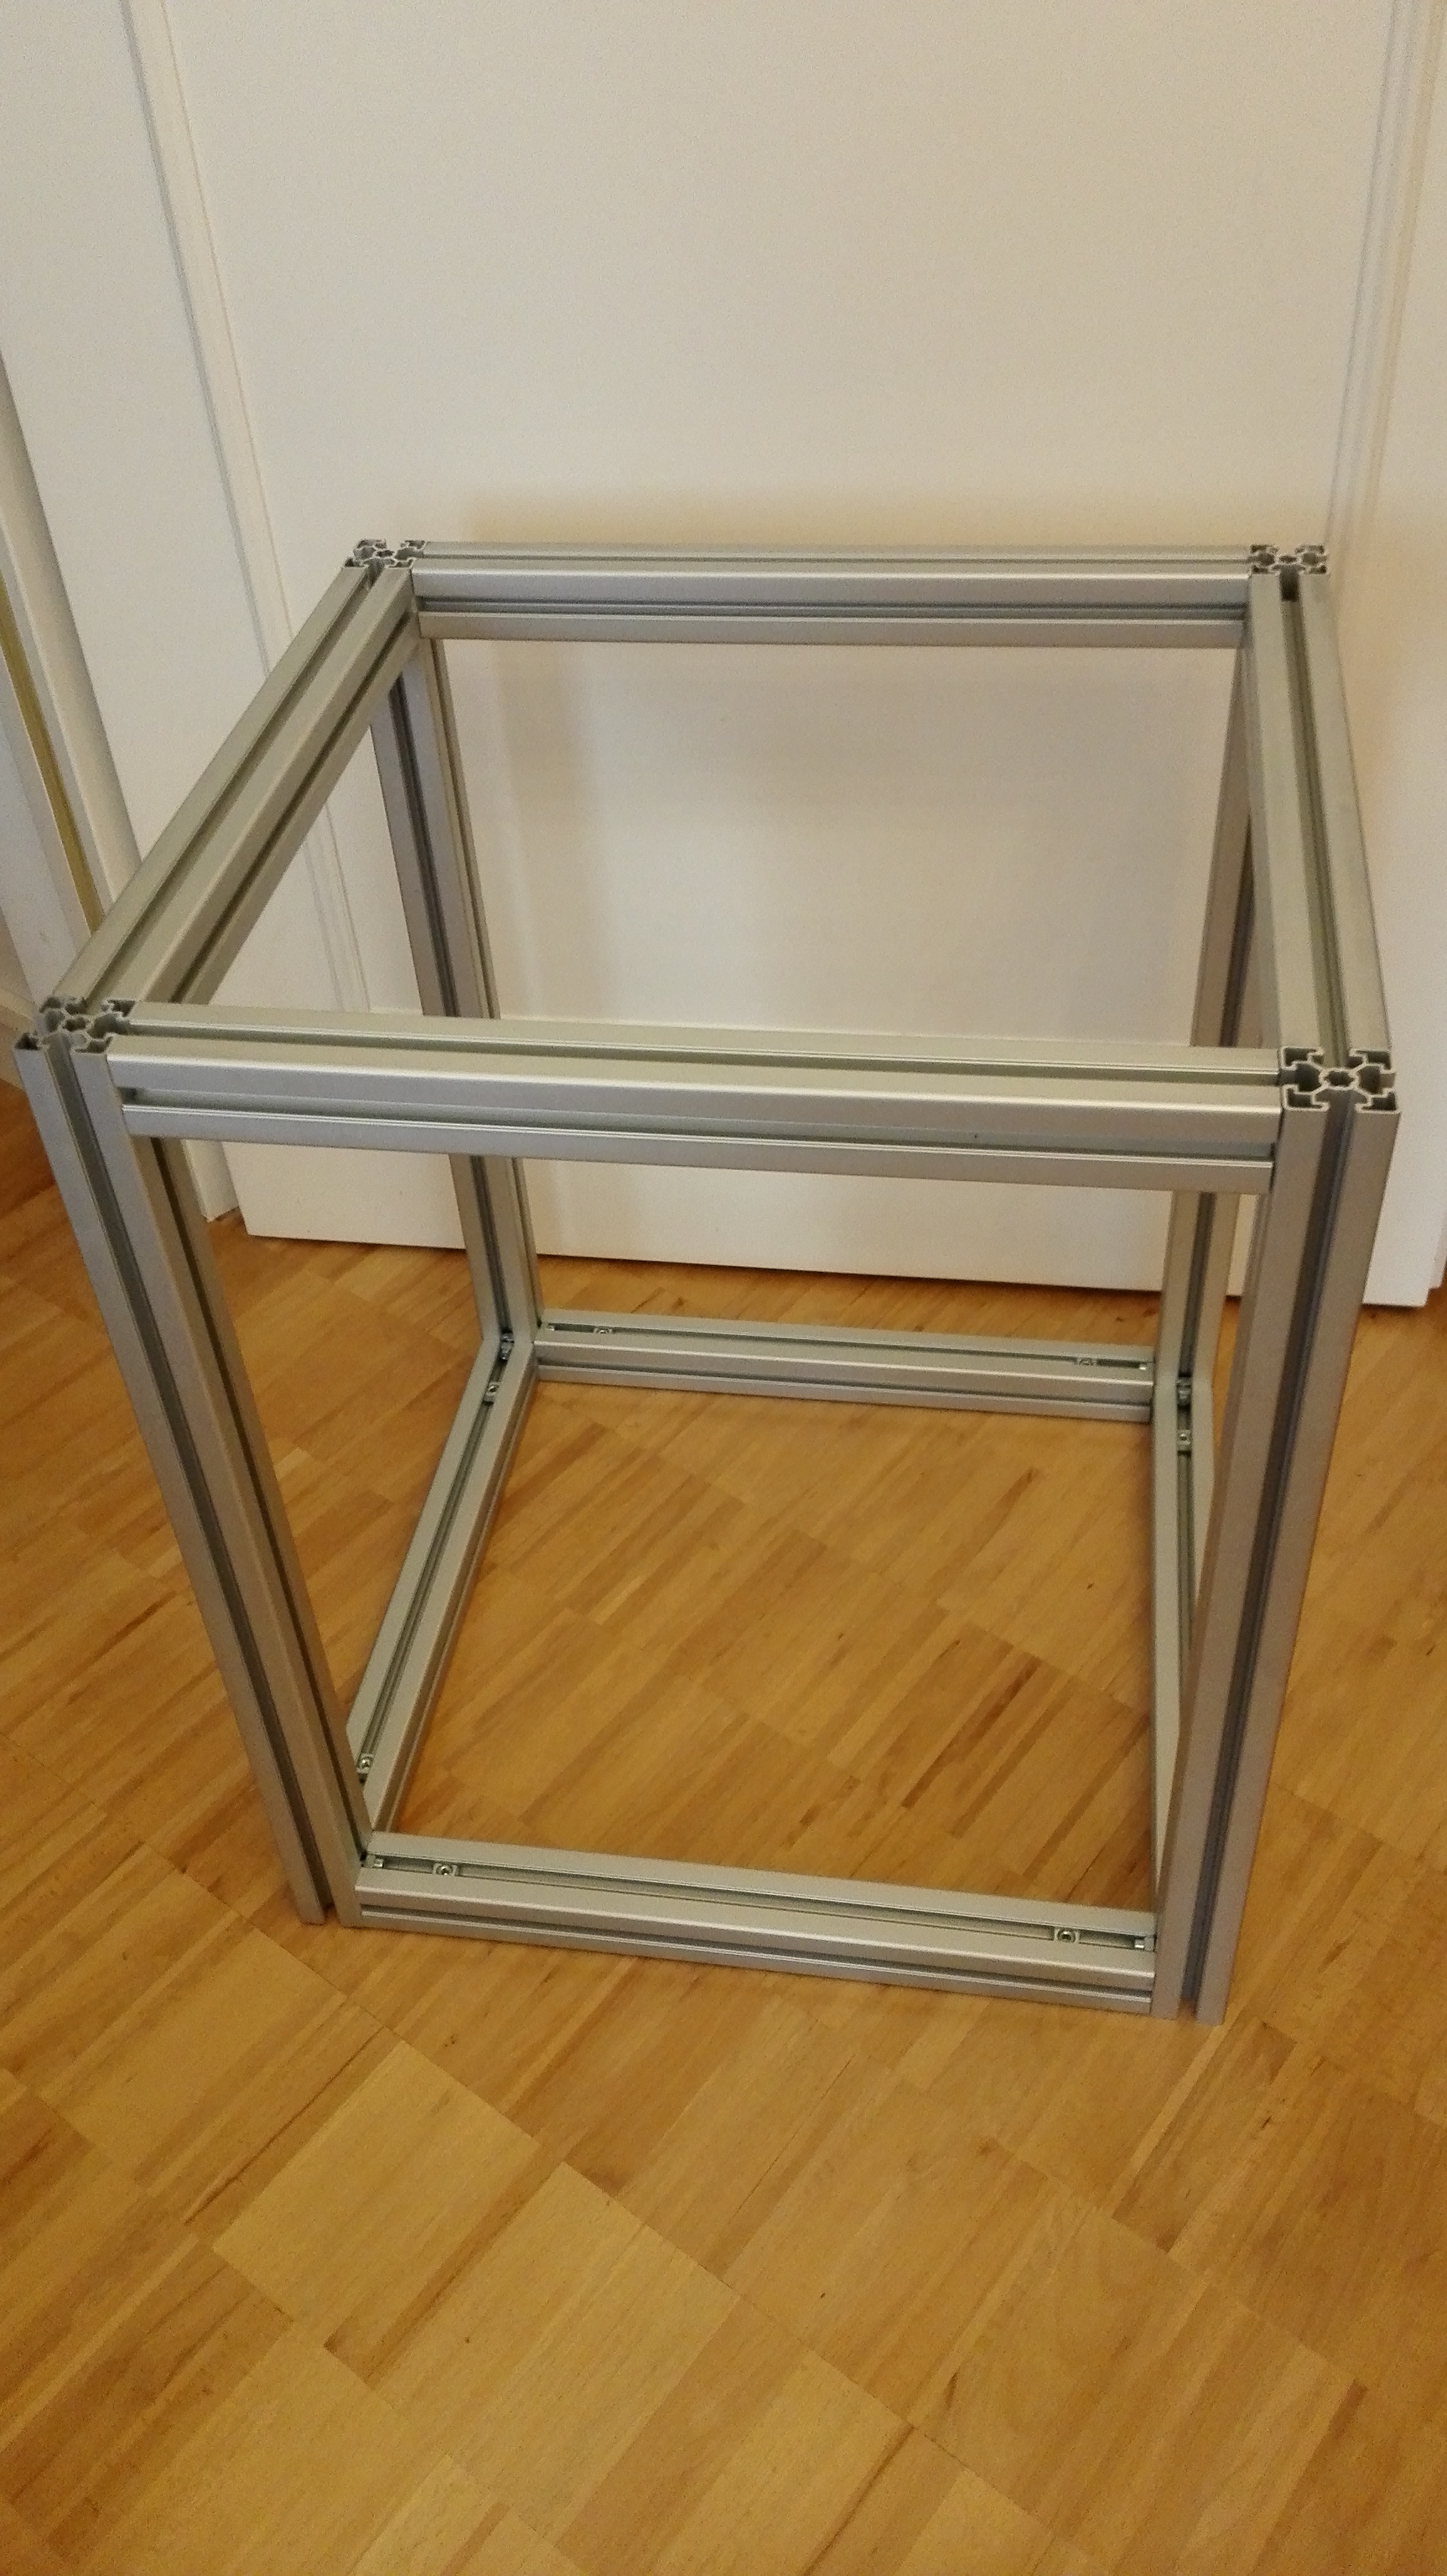
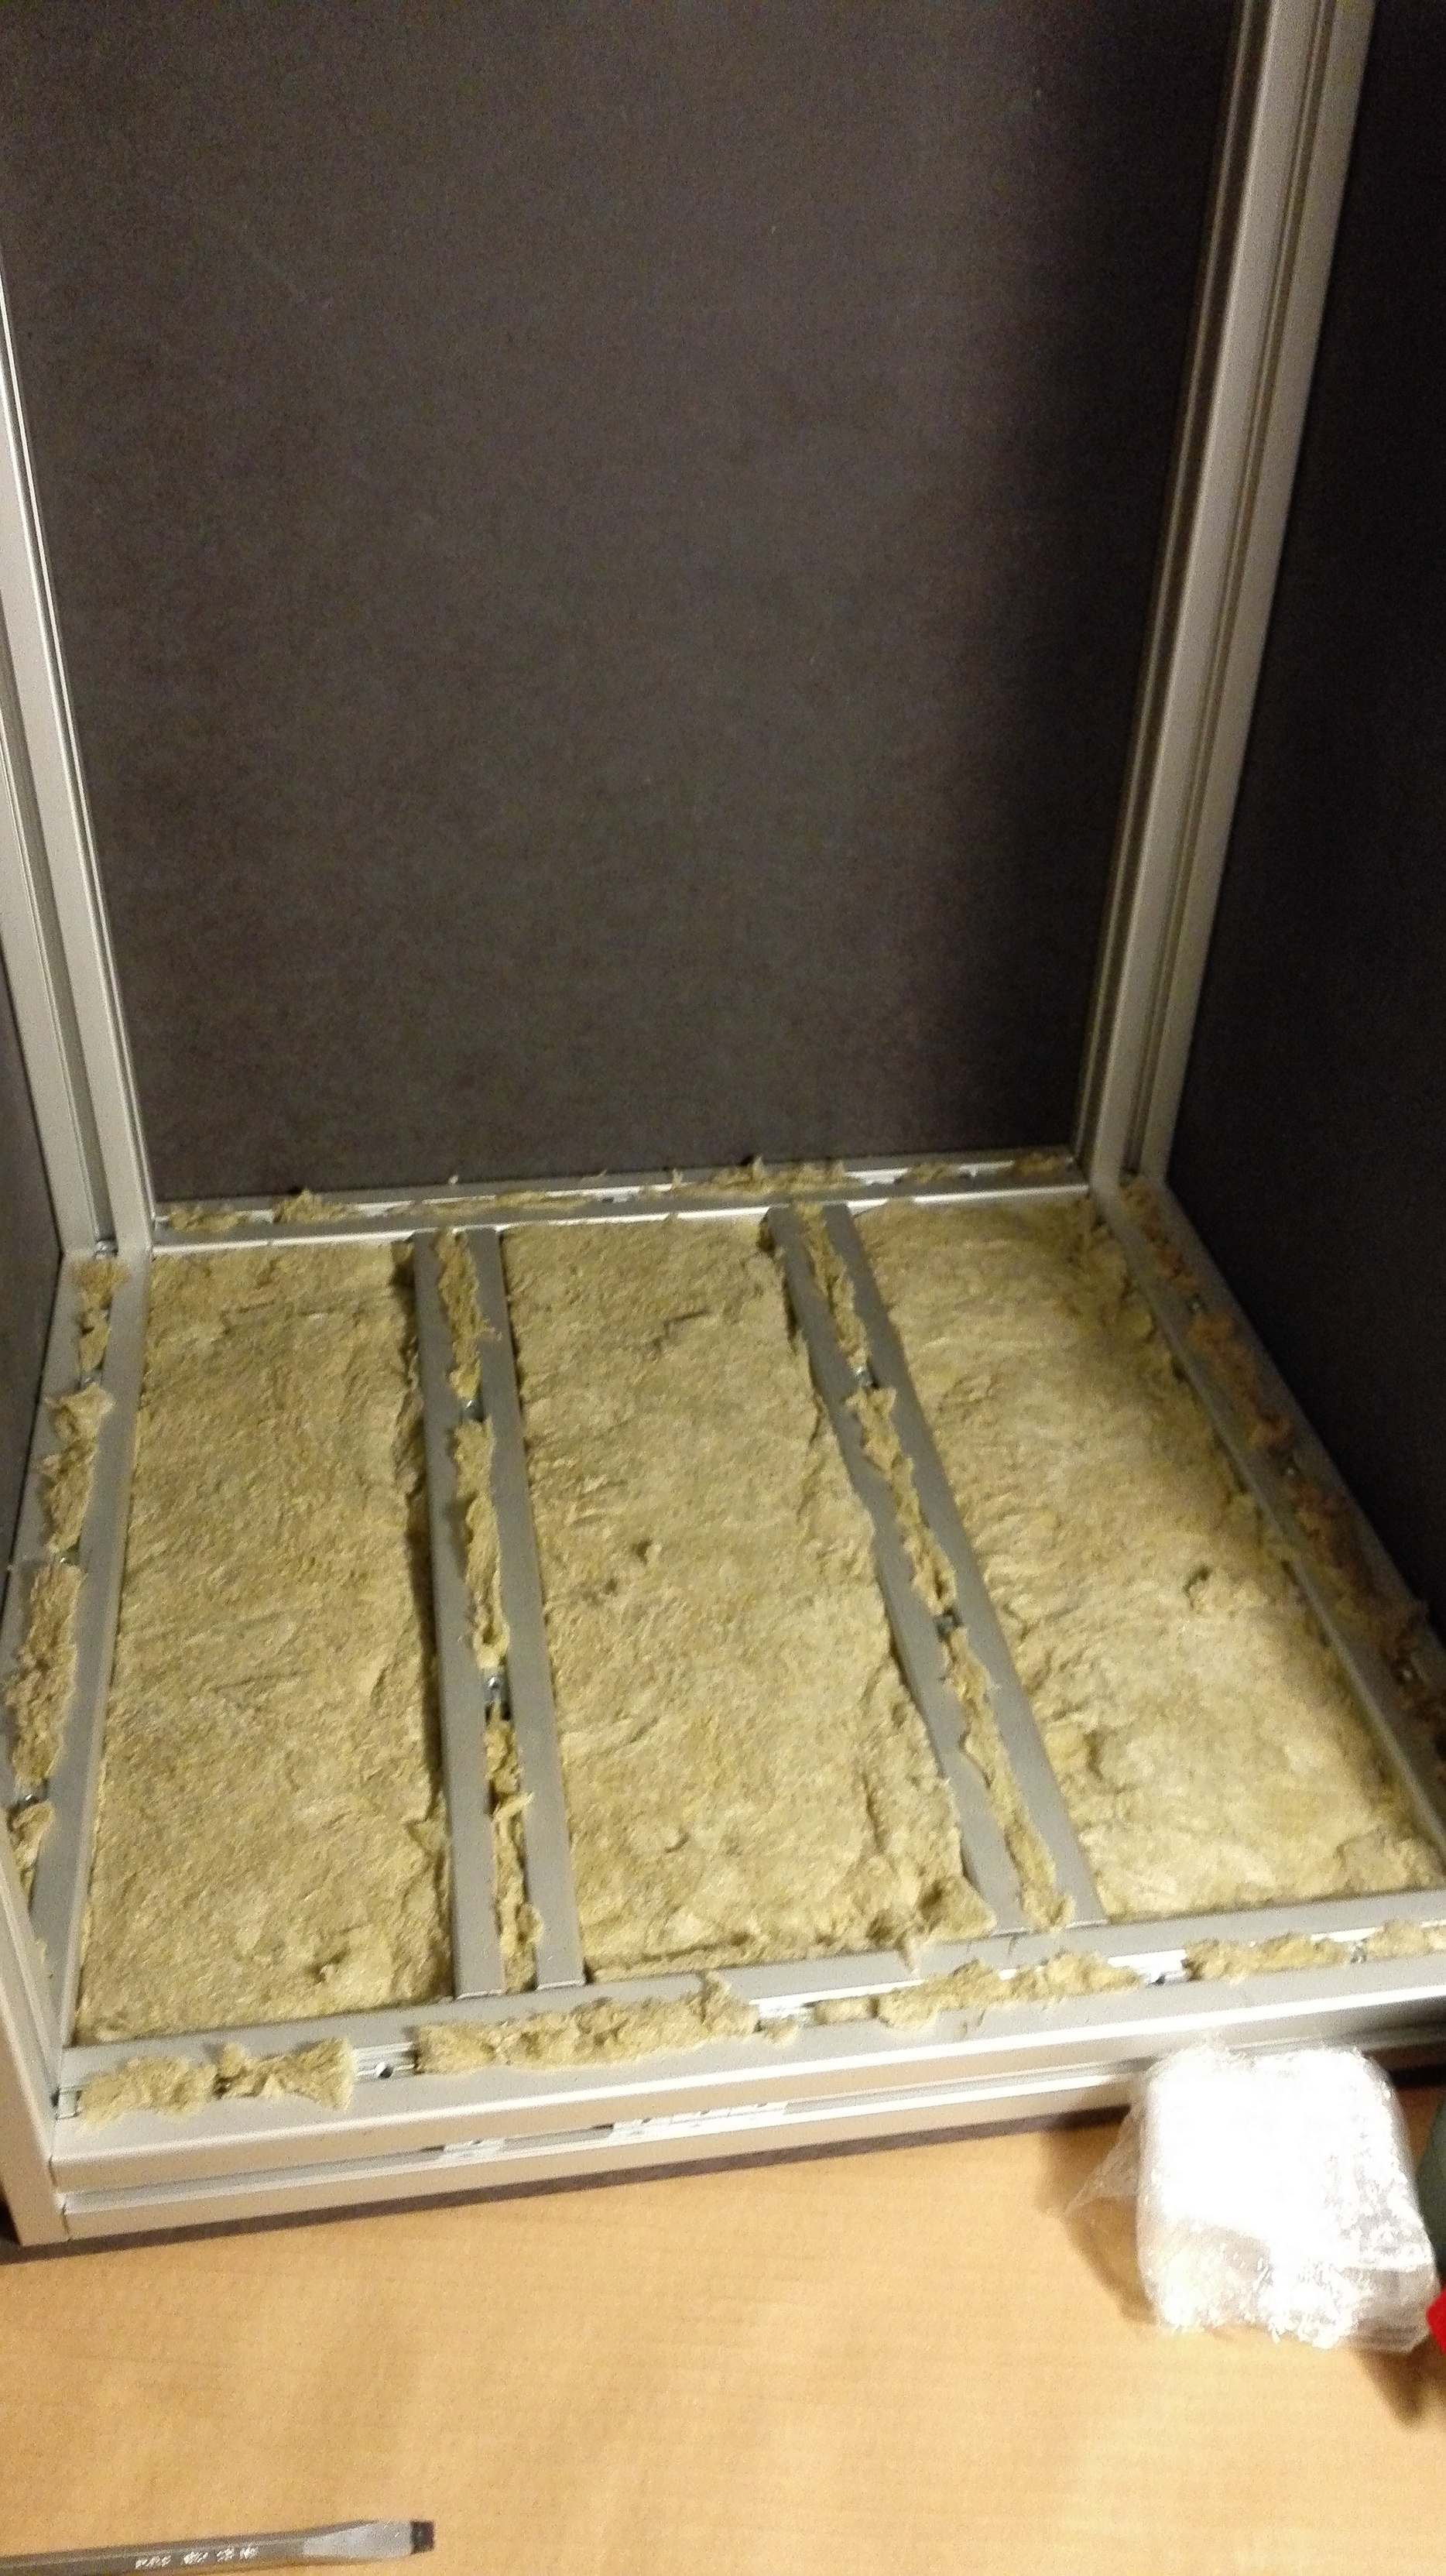
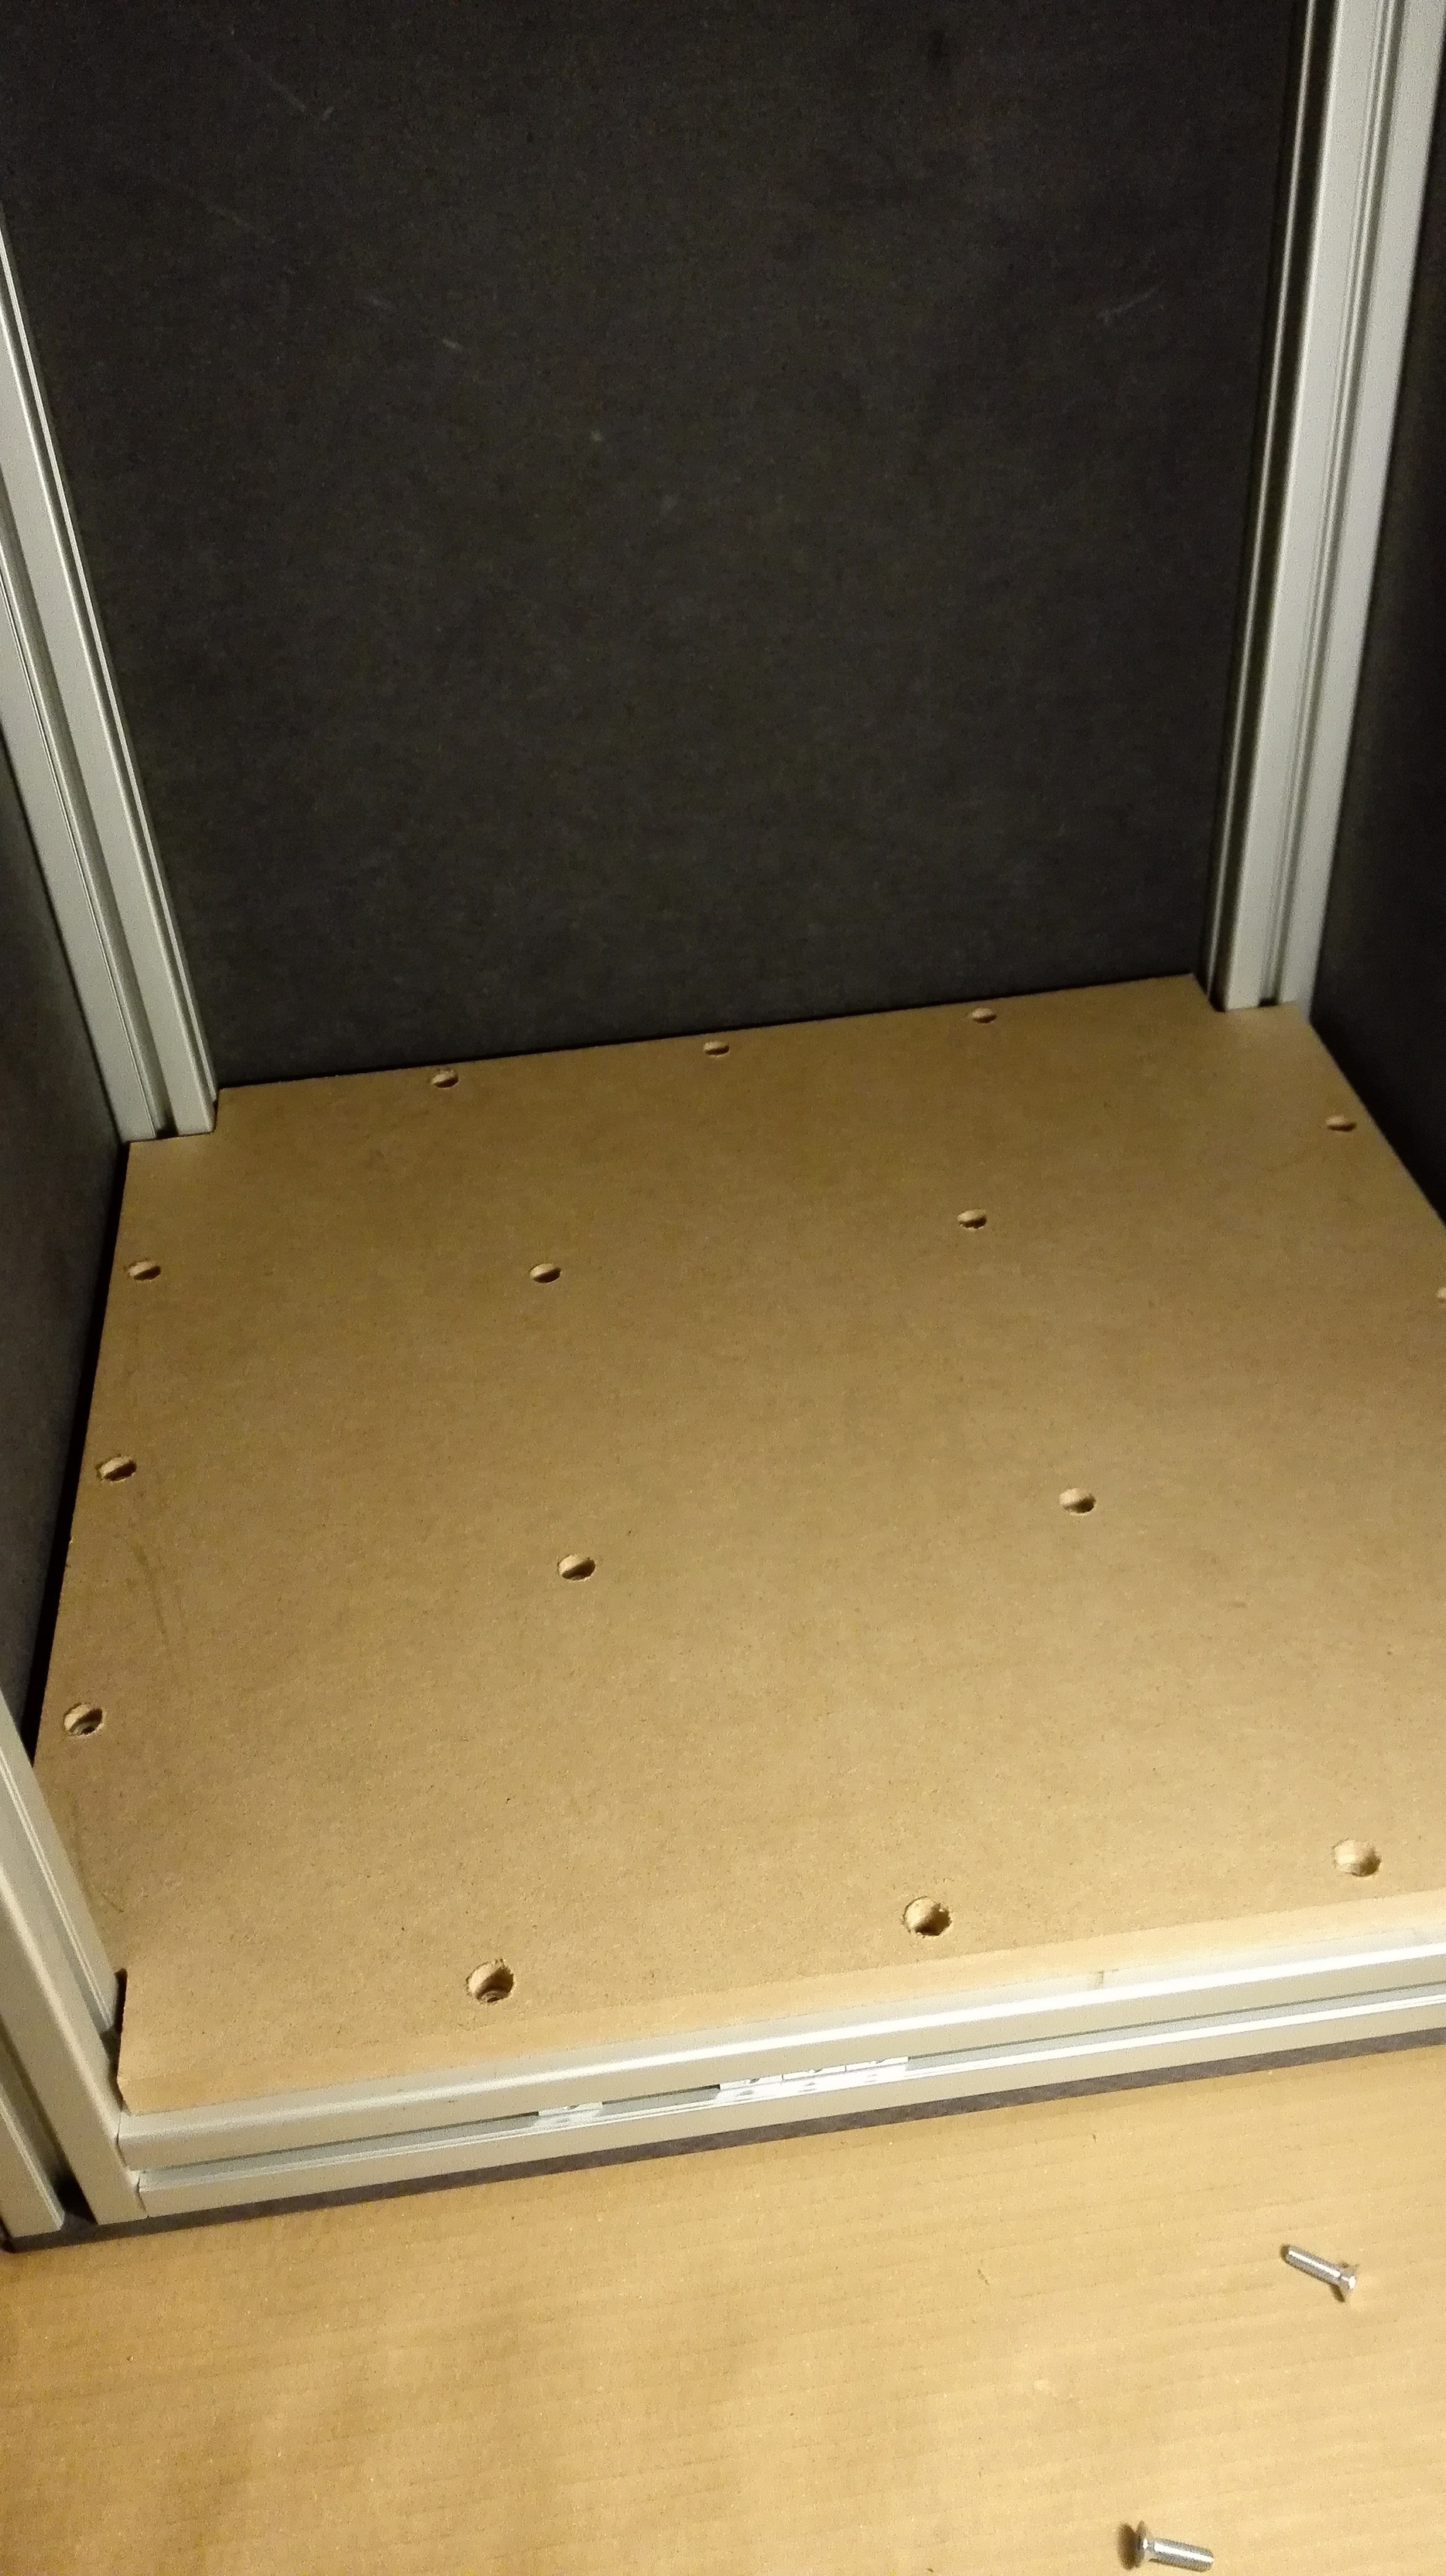
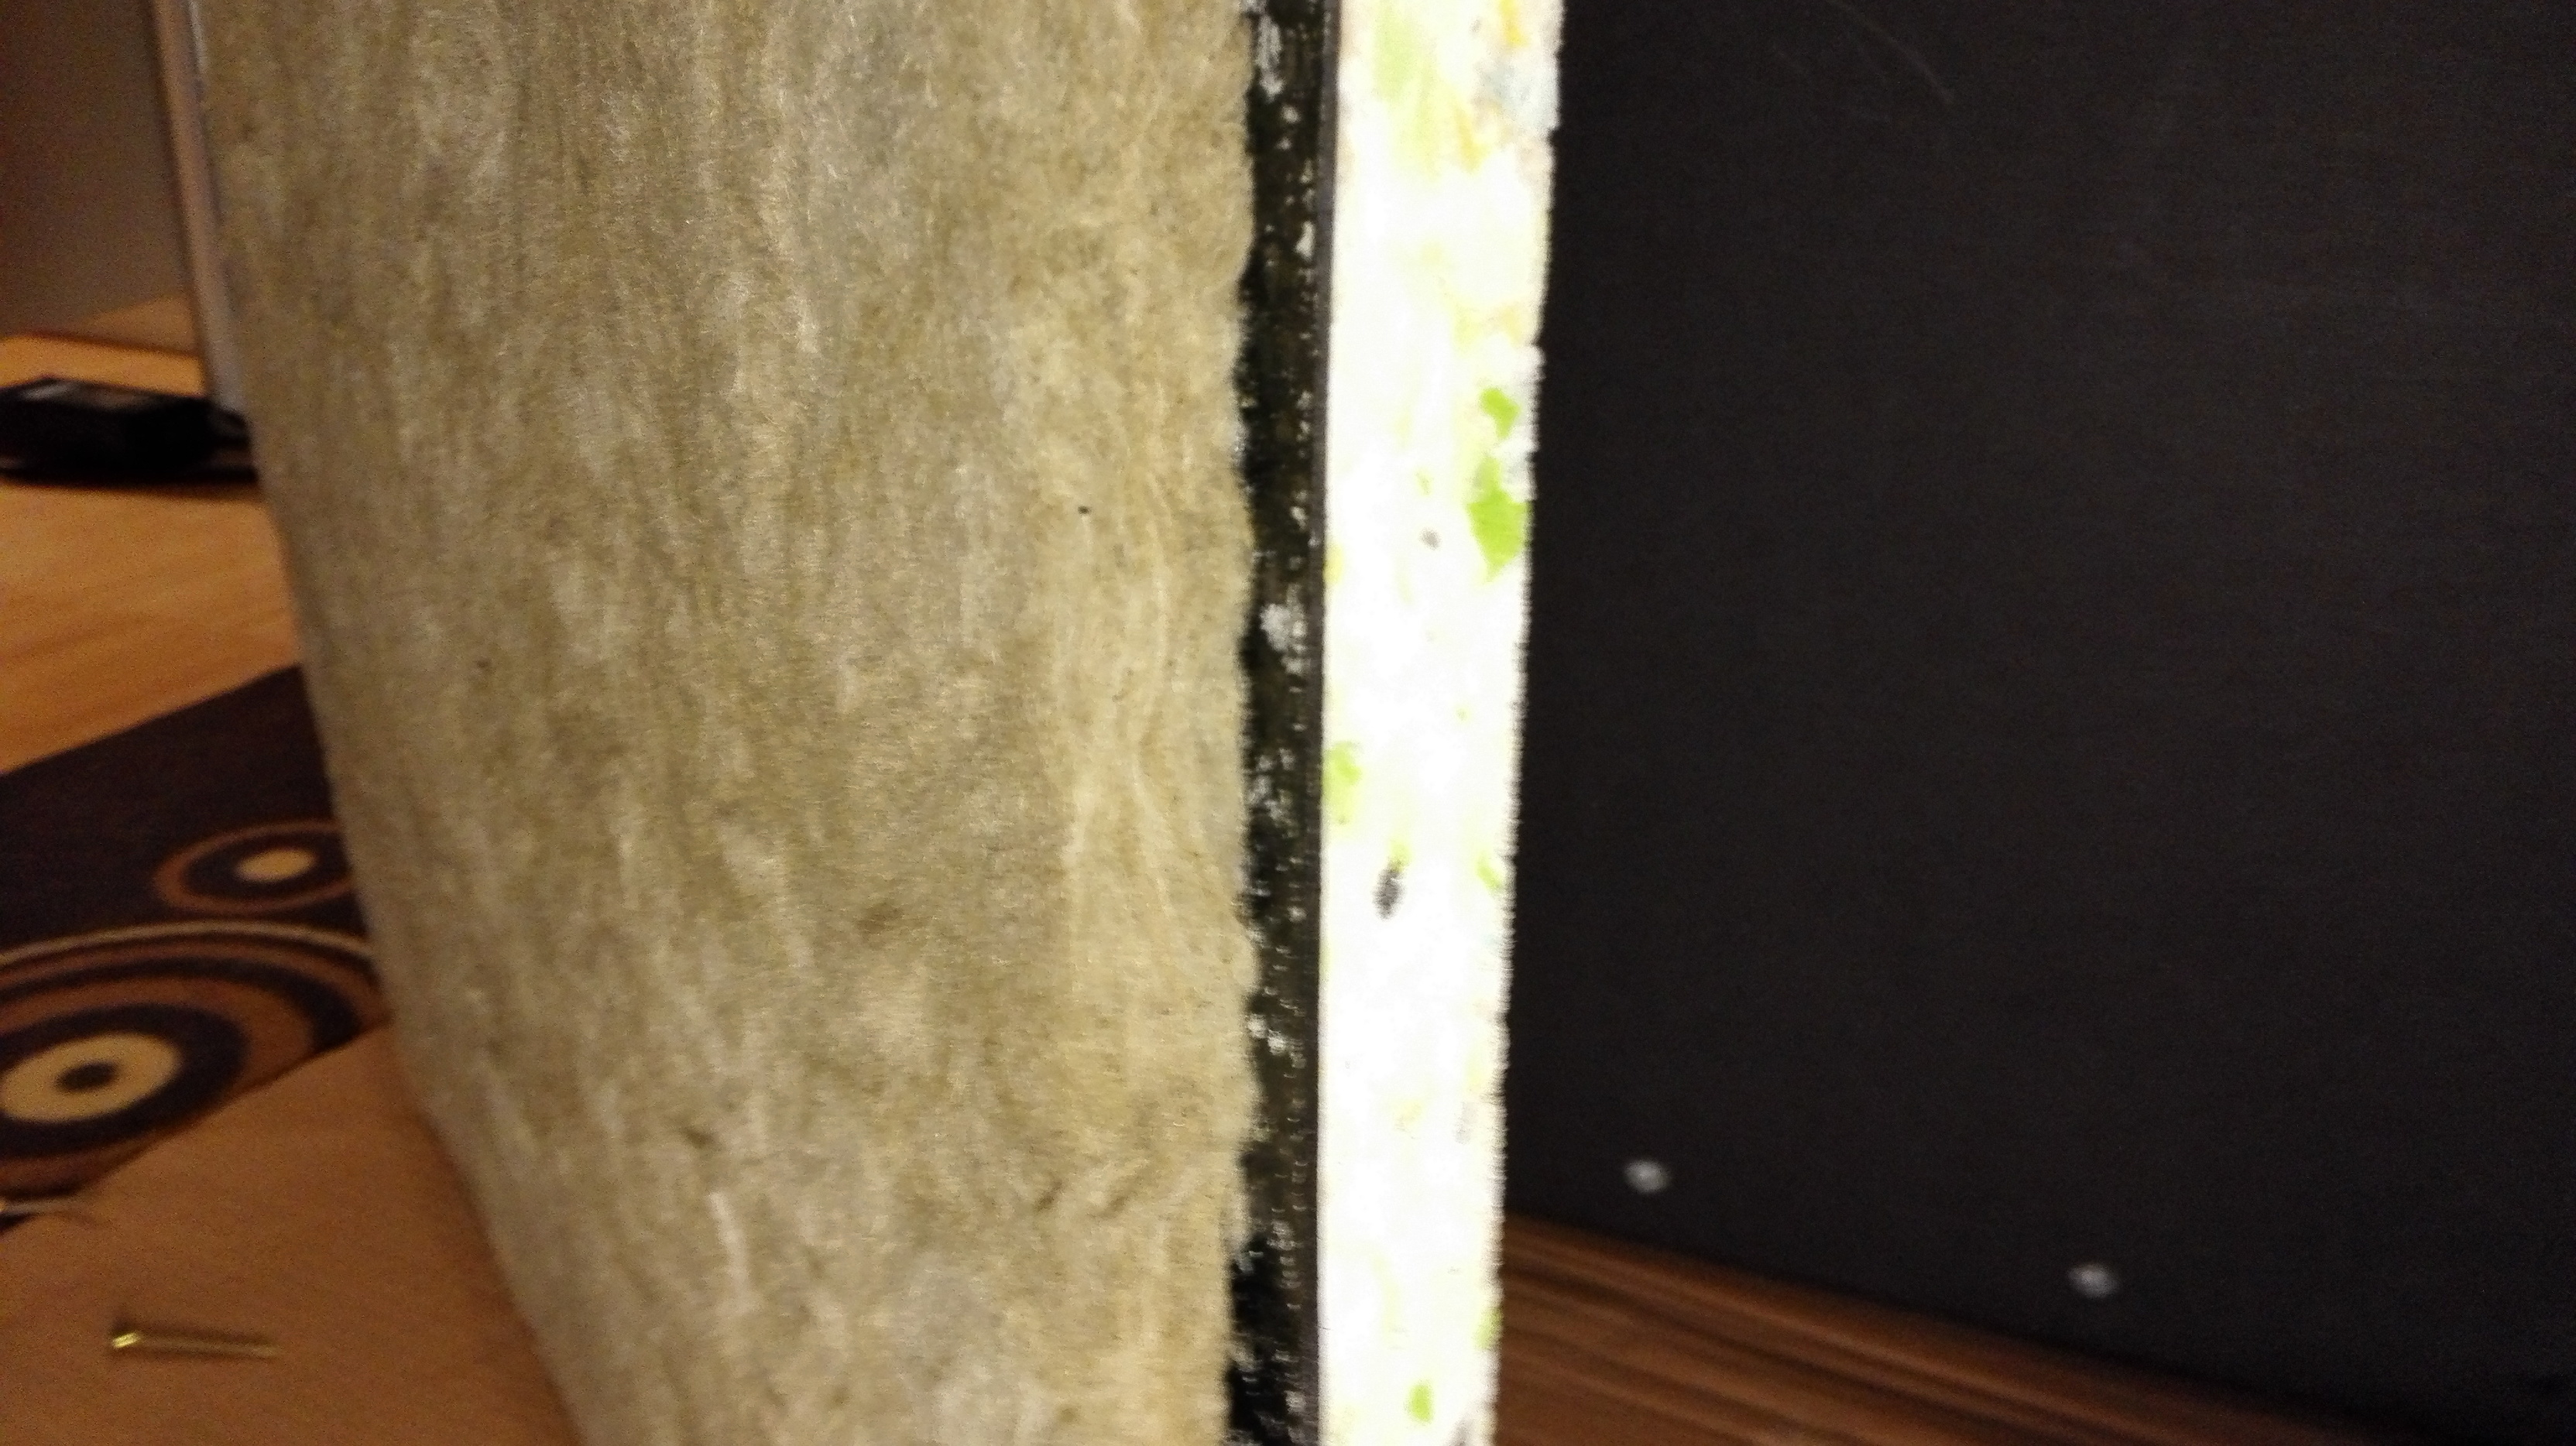
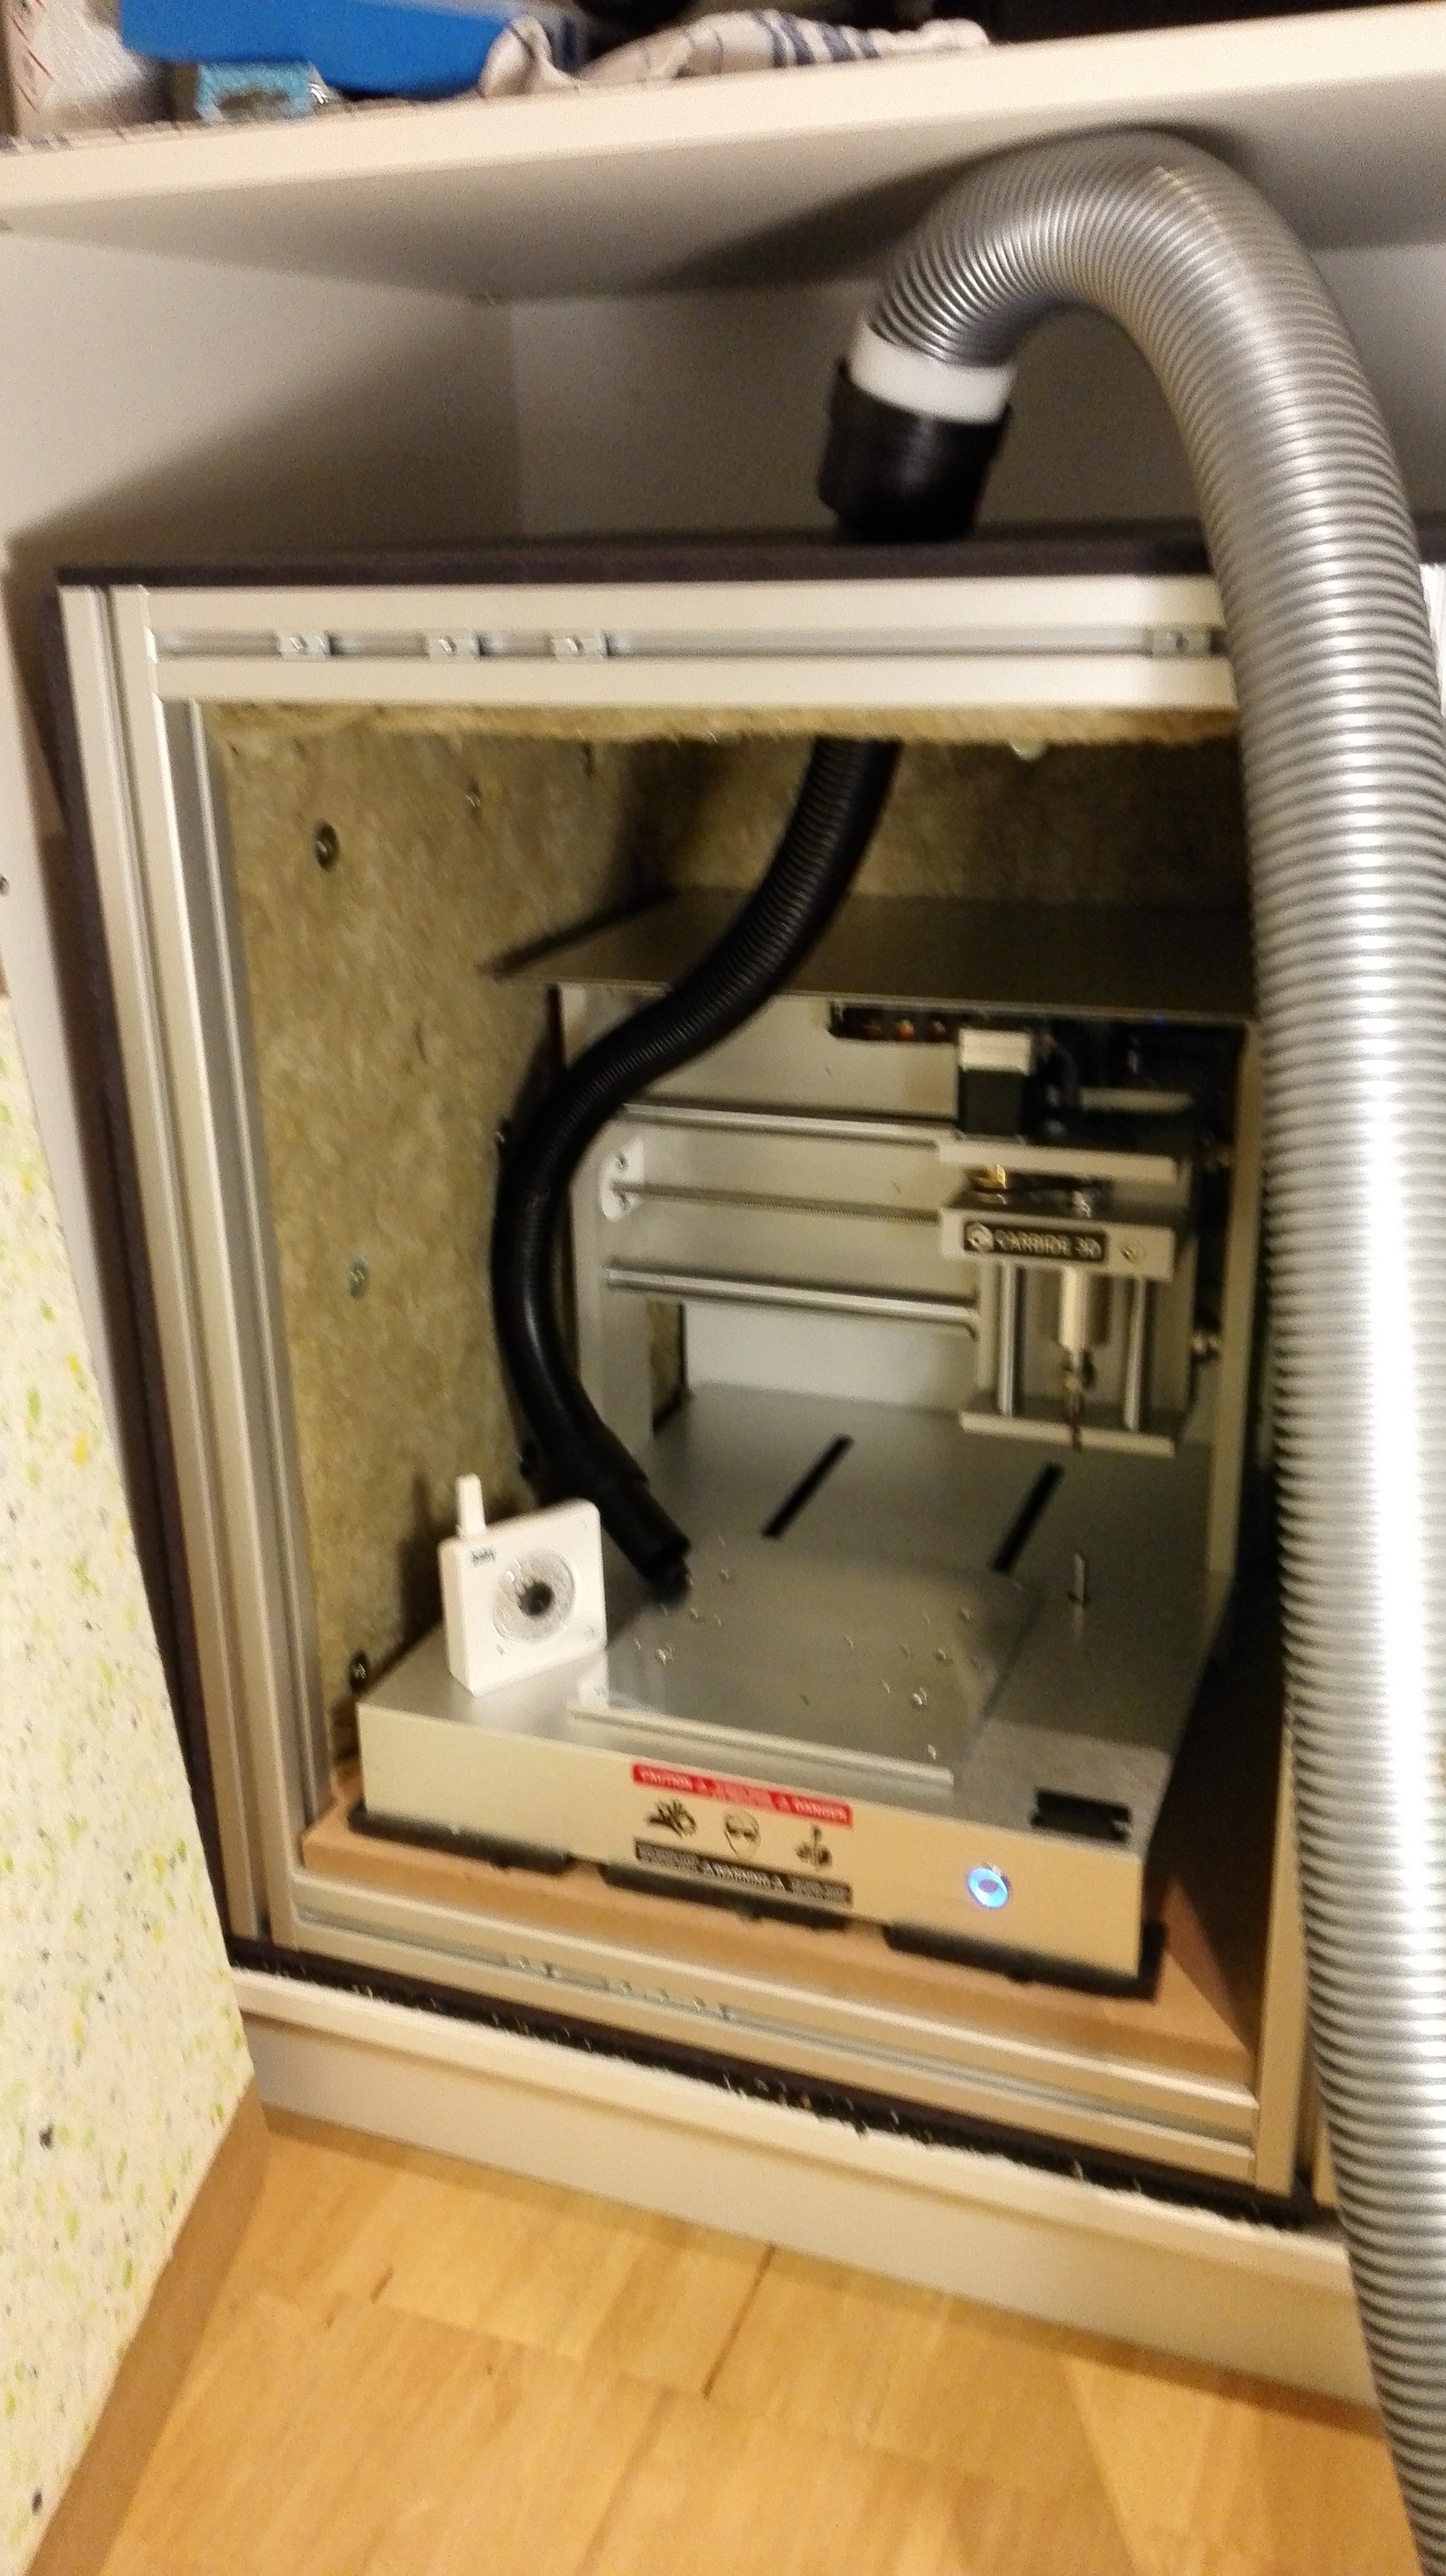
Included extra profiles for the bottom to minimize vibrations…also added “Sonorock Plus” from Rockwool…as the Quiet Fiber stuff ins not available in Europe (at least i could not find a supplier…). Bottom is made of 18mm MDF plate. Black cover around the case is 10 mm MDF plates.
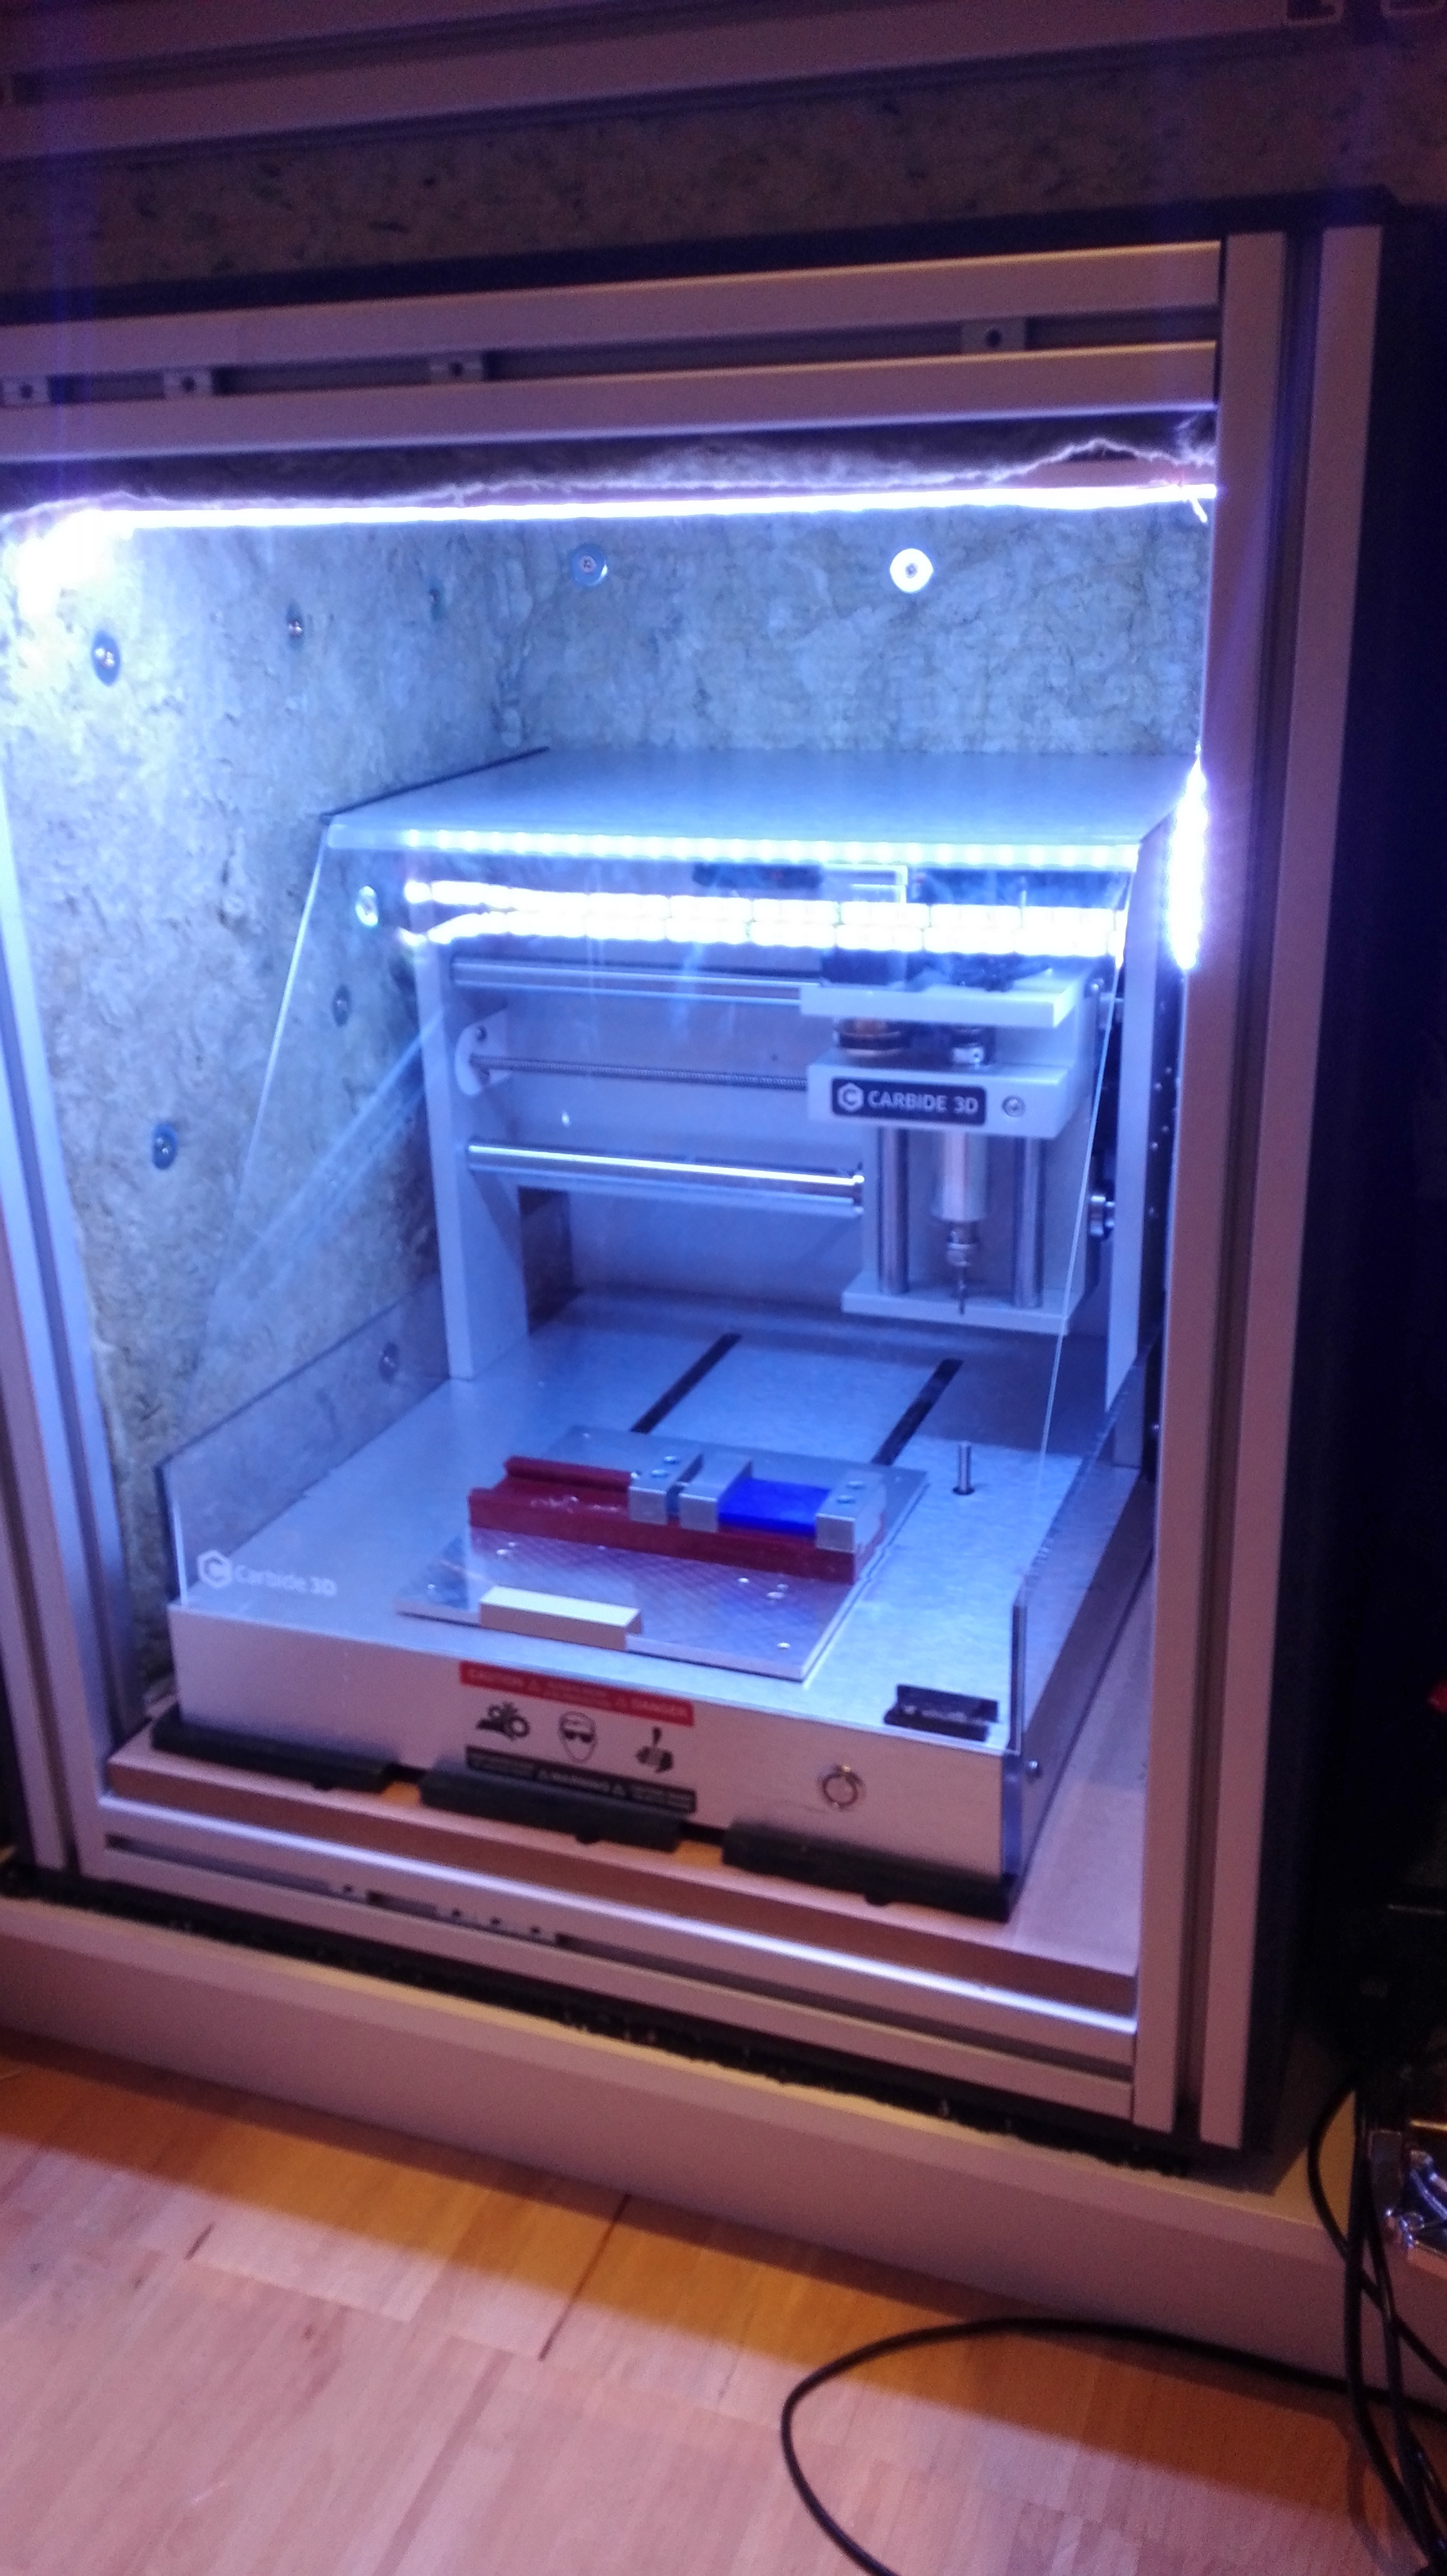
Sucction: 35mm from the dust head (not visible in that picture) to the top…then 50mm from the top to a Festool CT 26…the 35mm tube is directly connected to the 50mm tube…the foam layer i use is forming a pretty tight fit around the 35mm tube…so I can not see and hear any air going in there…i also added a seperate air intake hole (not visible)…i will use a muffler to cover the air intake if there is a sound suppression problem…but so far the festool is the one making the greatest noise
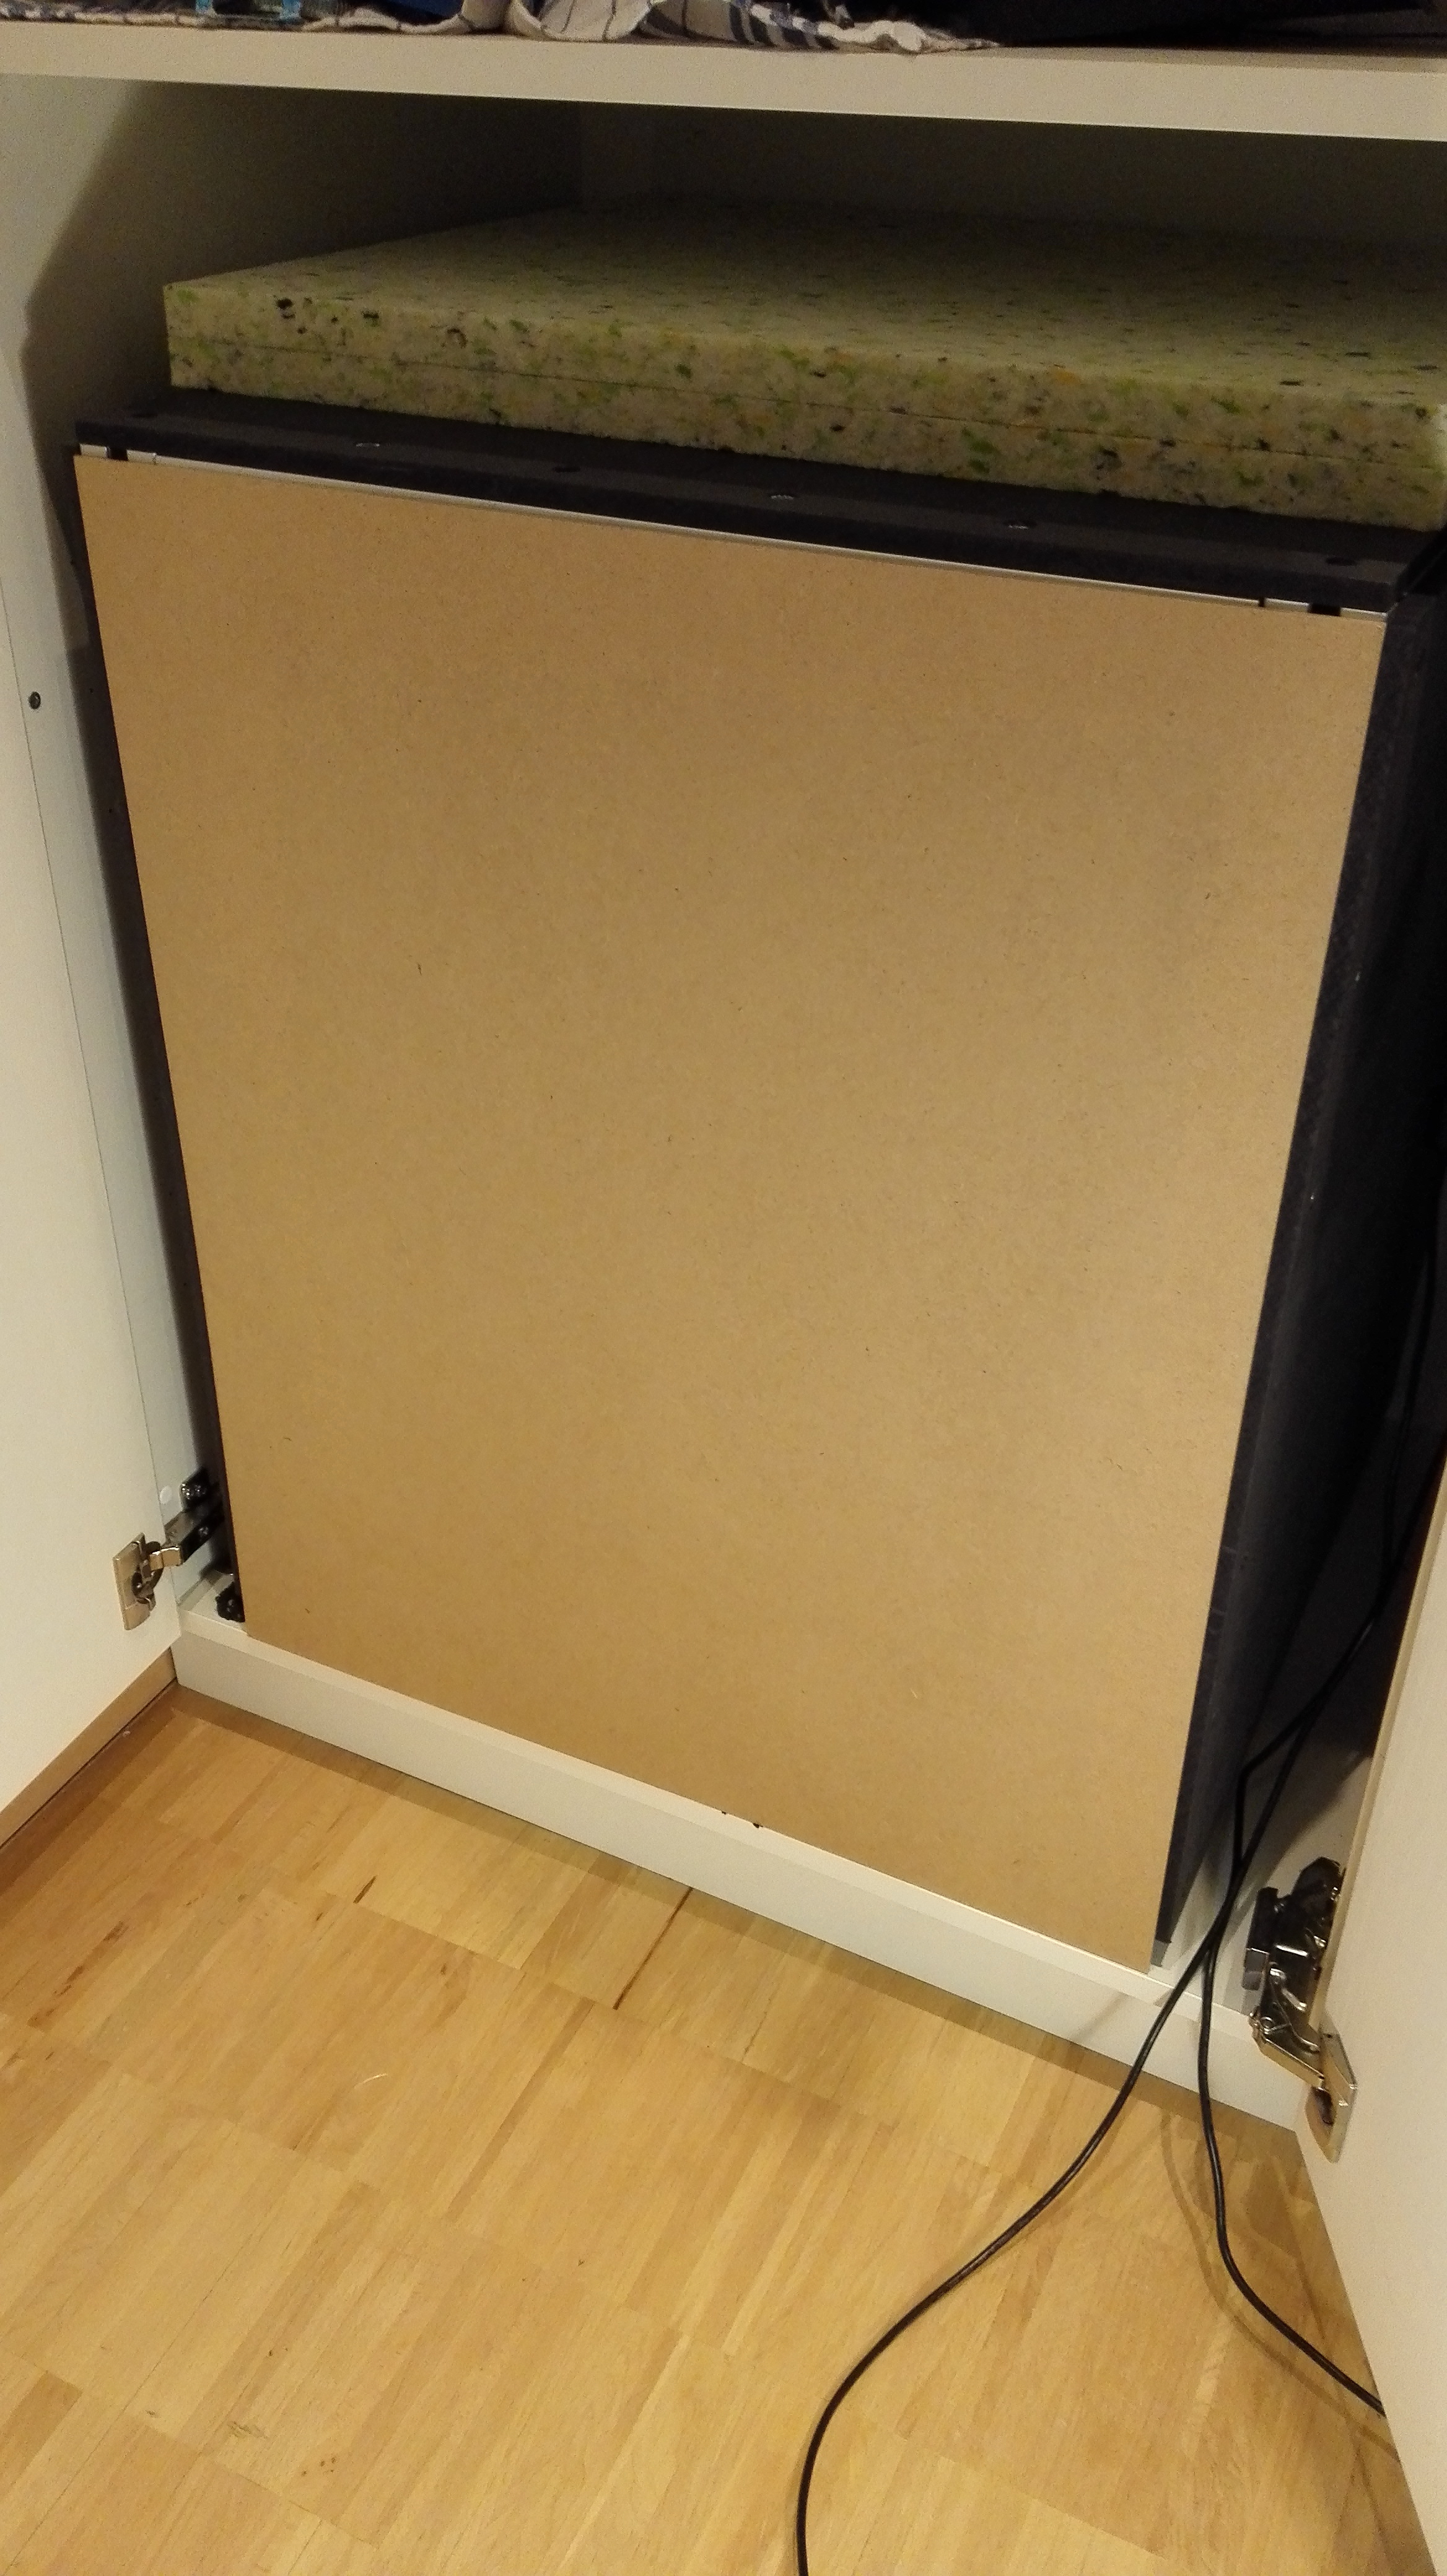
I also discarded the idea of a window as the noise suppression was far below what I expected…so I fully plug in the cover you can see…the “glue of foam” makes a very tight fit when i plug it in (i really need to push to get the air out, which is a great sign)…doing the homeing cycle of the nomad without the plug gives me 58db of max noise level…with the plug i measure only 45db, which is what I need…
I plan to add a camera at the back of the Nomad, so that I can see whats going on within the dust head.
What I learned during the process:
One looses a lot of noise suppression with a window
Make the bottom stable as shown with a heavy 18mm MDF Plate
Use different layers and layer types
A Festool CT 26 is a great investment even if you do not plan to install a dust head and constant suction
Use the feedback of the community before you start
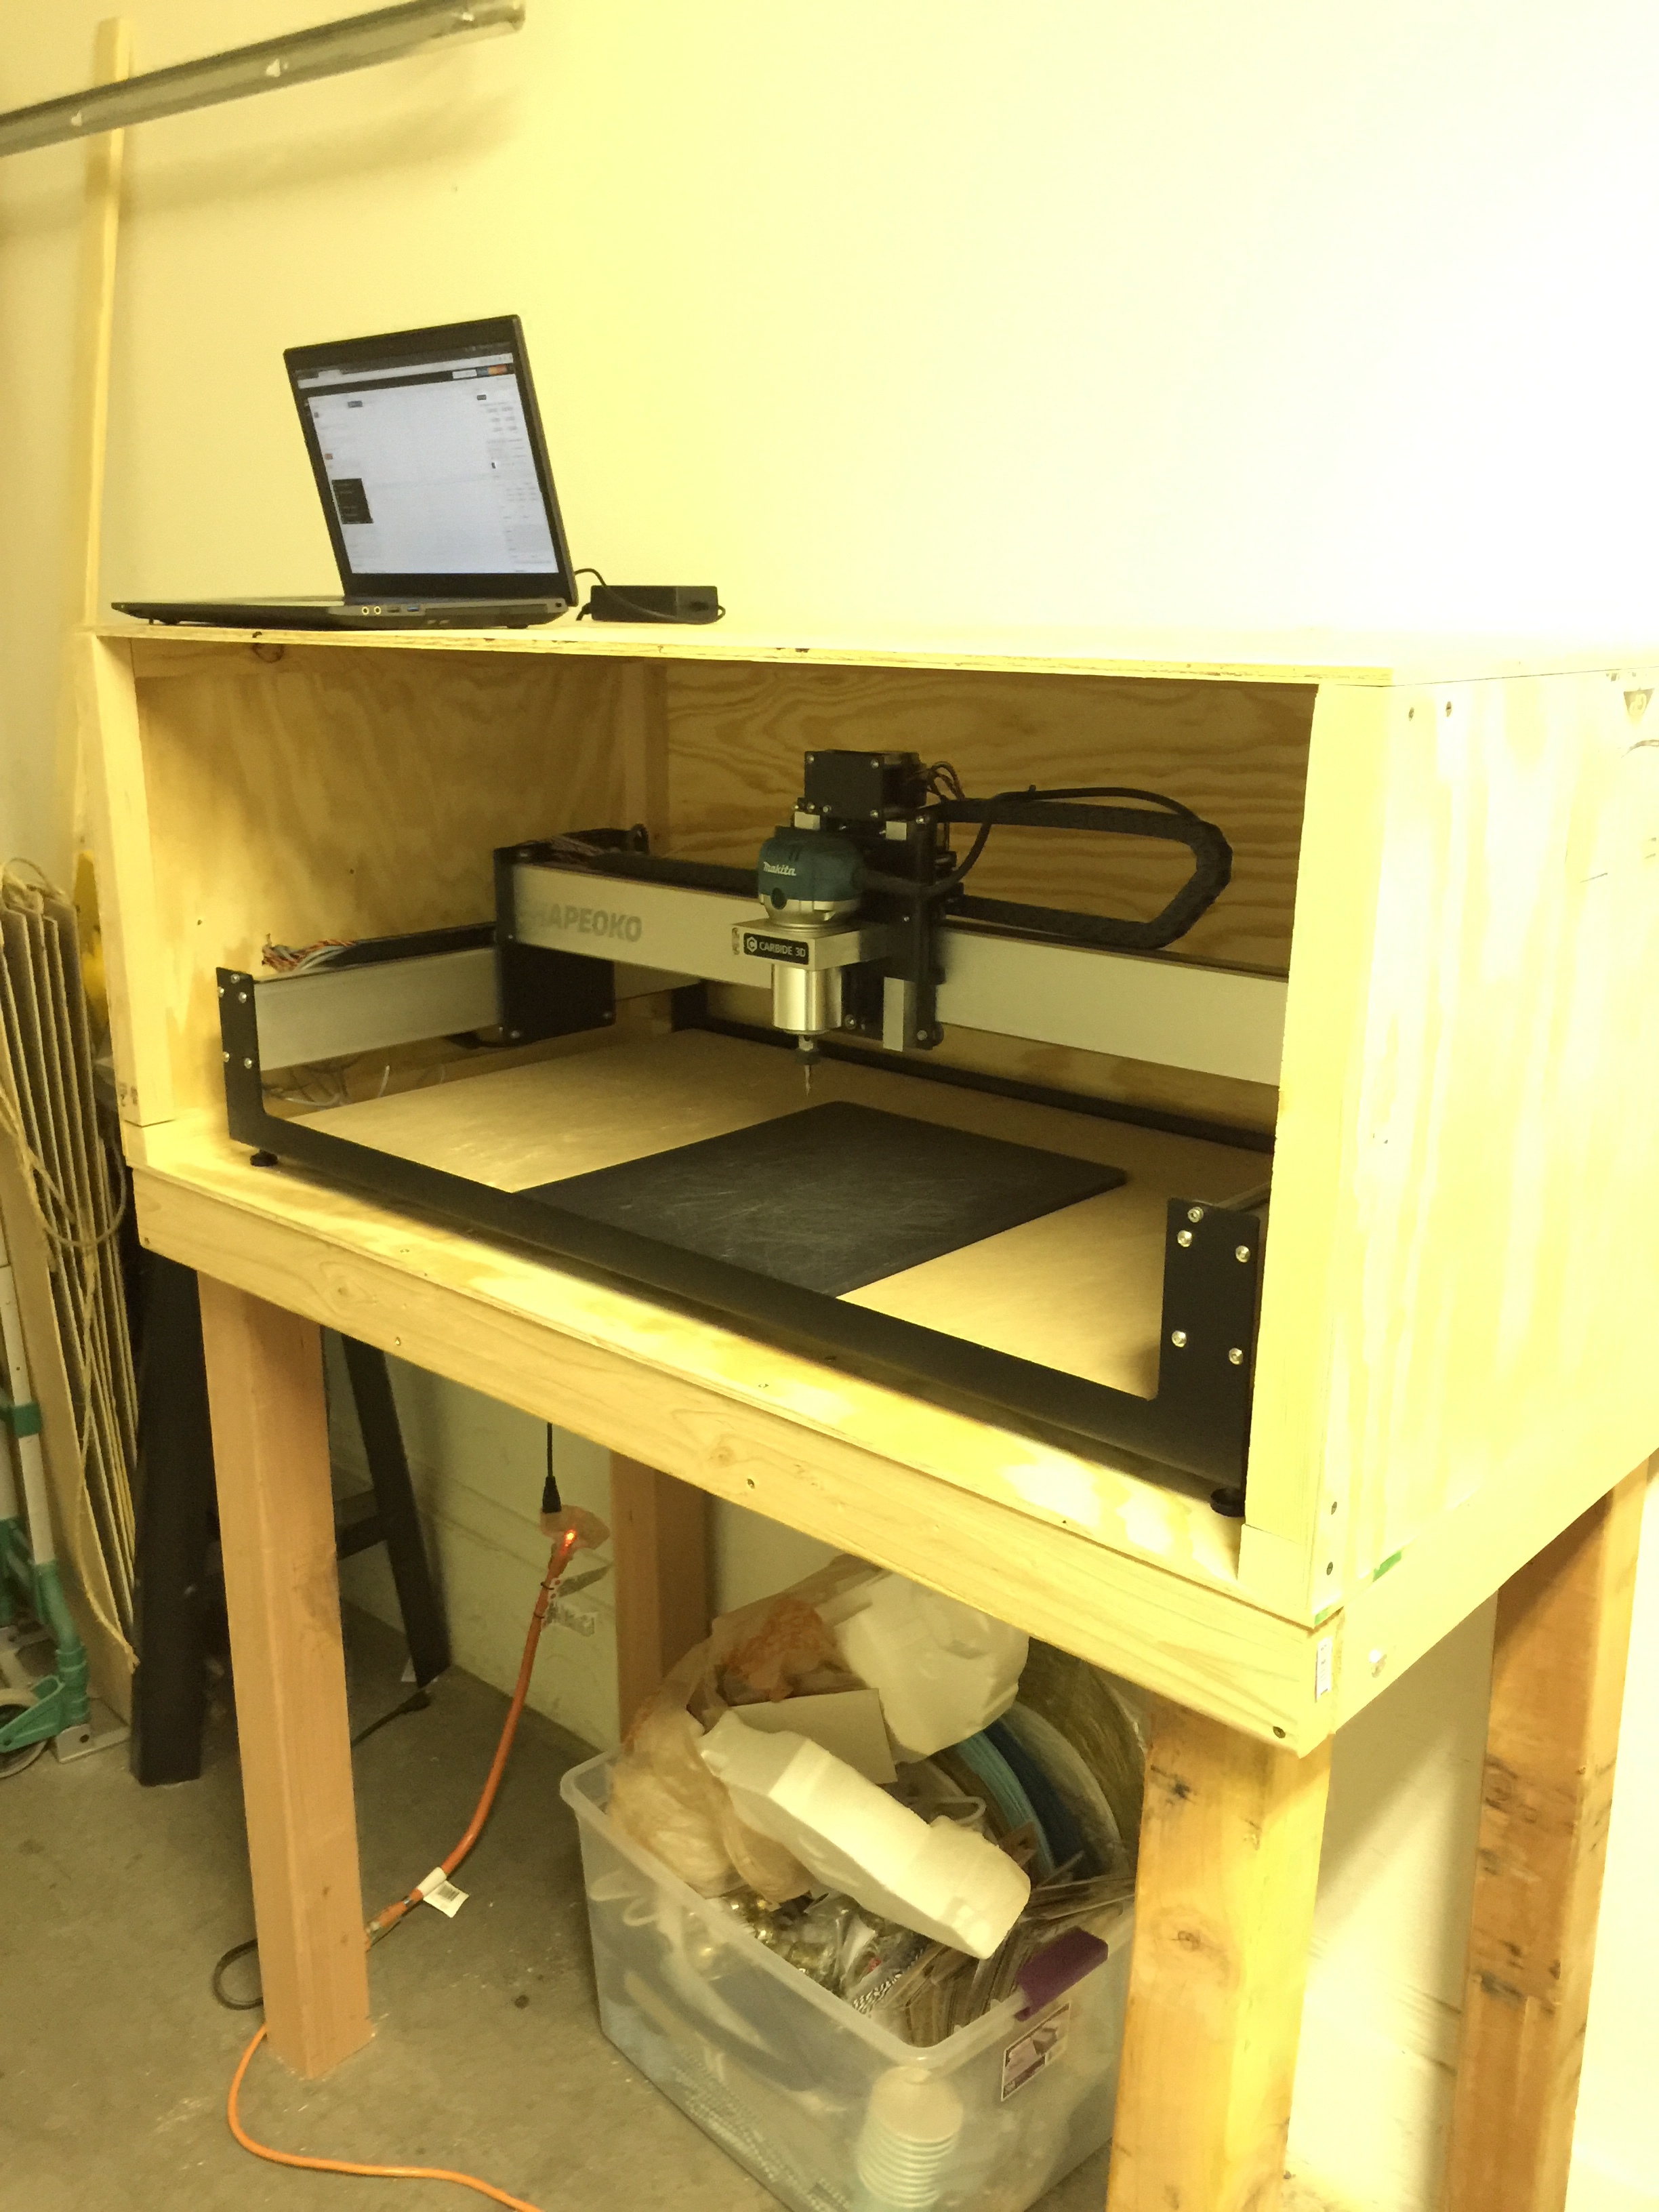
Hello Everyone. Been watching this thread and planning for like 5 months, excited to finally post something. Here’s my super basic enclosure. Built a sturdy platform and a box to go on top. Used some old blankets for sound dampening, cut them to line the walls. Between the wood and the lining the sound dampening is considerable. Still looking at getting some high density foam. Apart from that the only thing left is making a front door. Haven’t had the tools to cut the window.
Anyone have any thoughts on ventilating to make sure nothing overheats? I wondered if that is a fear with an insulated enclosure?
My thought on an enclosure is that some reasonable portion of the heat should get vented out w/ the dust collection — currently trying to work something up for my Nomad…
@WillAdams I’m in a similar boat, long runs leave it quite toasty in there, so I’m working on figuring out a good ventilation/intake setup before I cut some holes in my enclosure for vacuum hoses…
An enclosed SO3 should be vented since you are pumping in up to 1000 watts. However, I can’t imagine not using dust collection while cutting. When enclosed the fine dust will be very hard on bearings if you don’t use dust collection of some sort. Plus, adding dust collection completes the beauty of having an enclosure… low noise and practically no dust or cleanup.
Markus, your enclosure build looks like just what I need. I also live in an apartment and need to keep the noise under control to avoid upsetting my family and neighbours. Would you be able to share the dimensions of the enclosure with me and let me know if you’d tweak any part of the design now that you’ve been using it for a while. Thanks in advance.
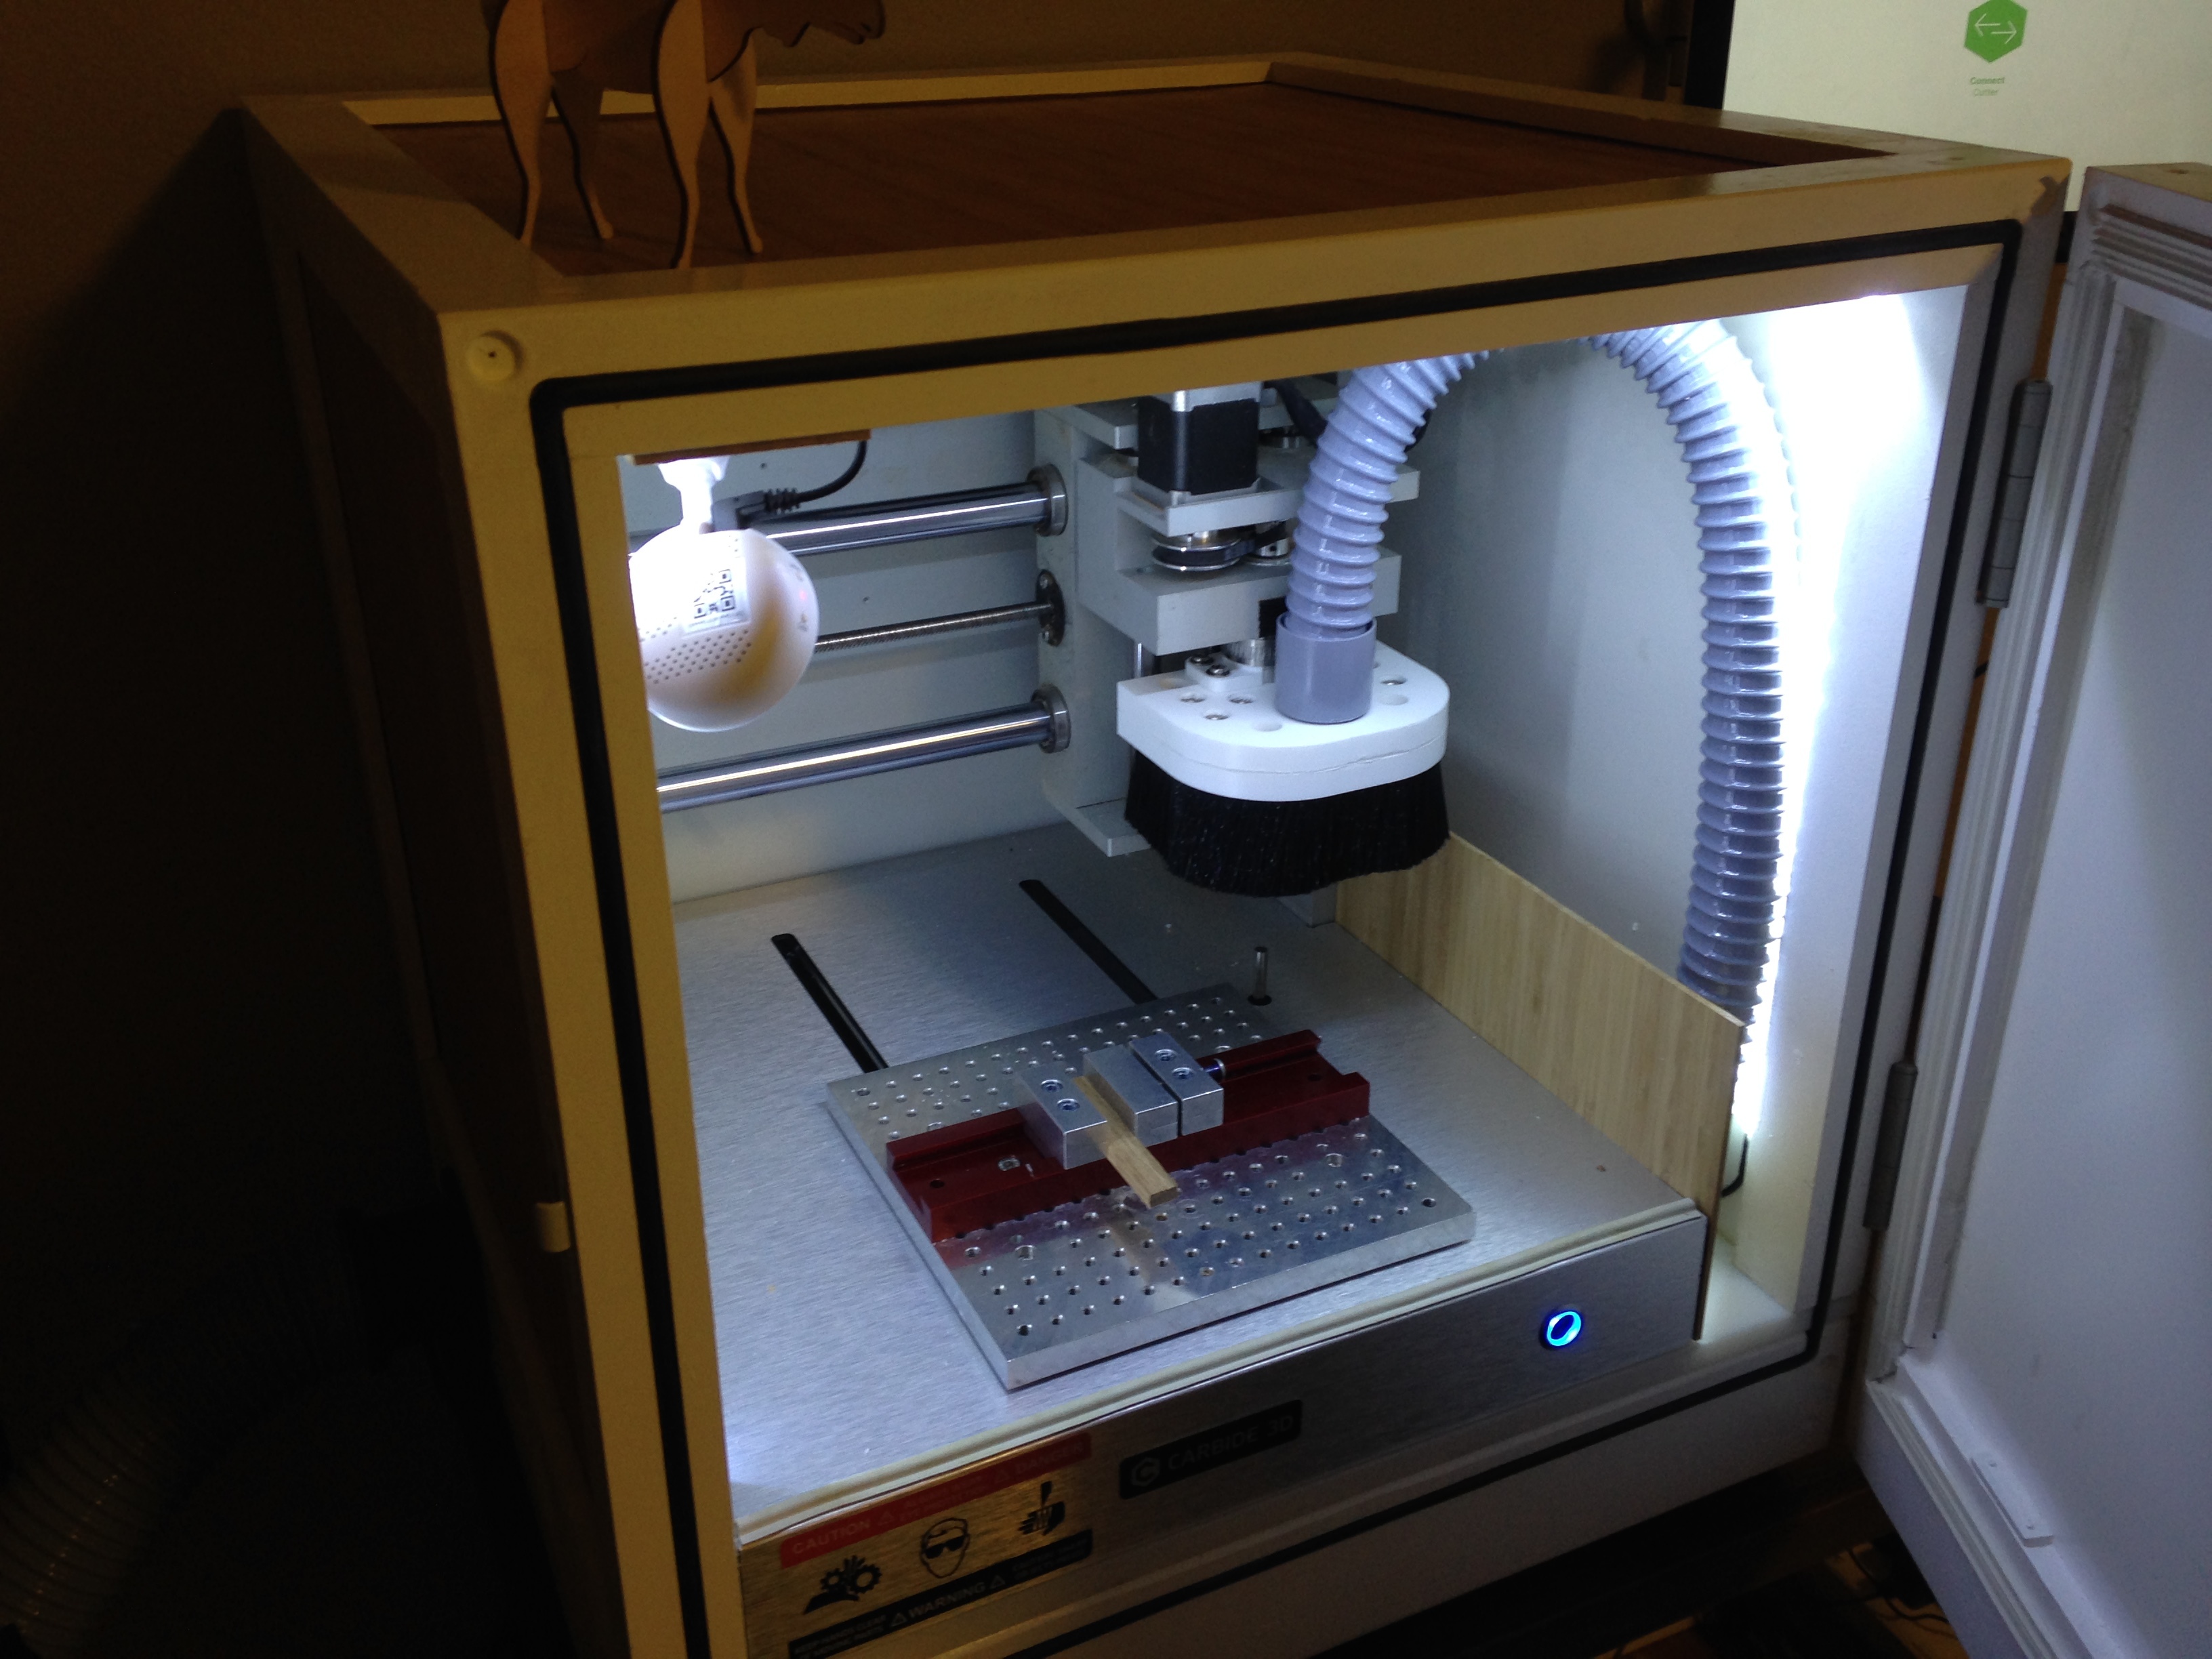
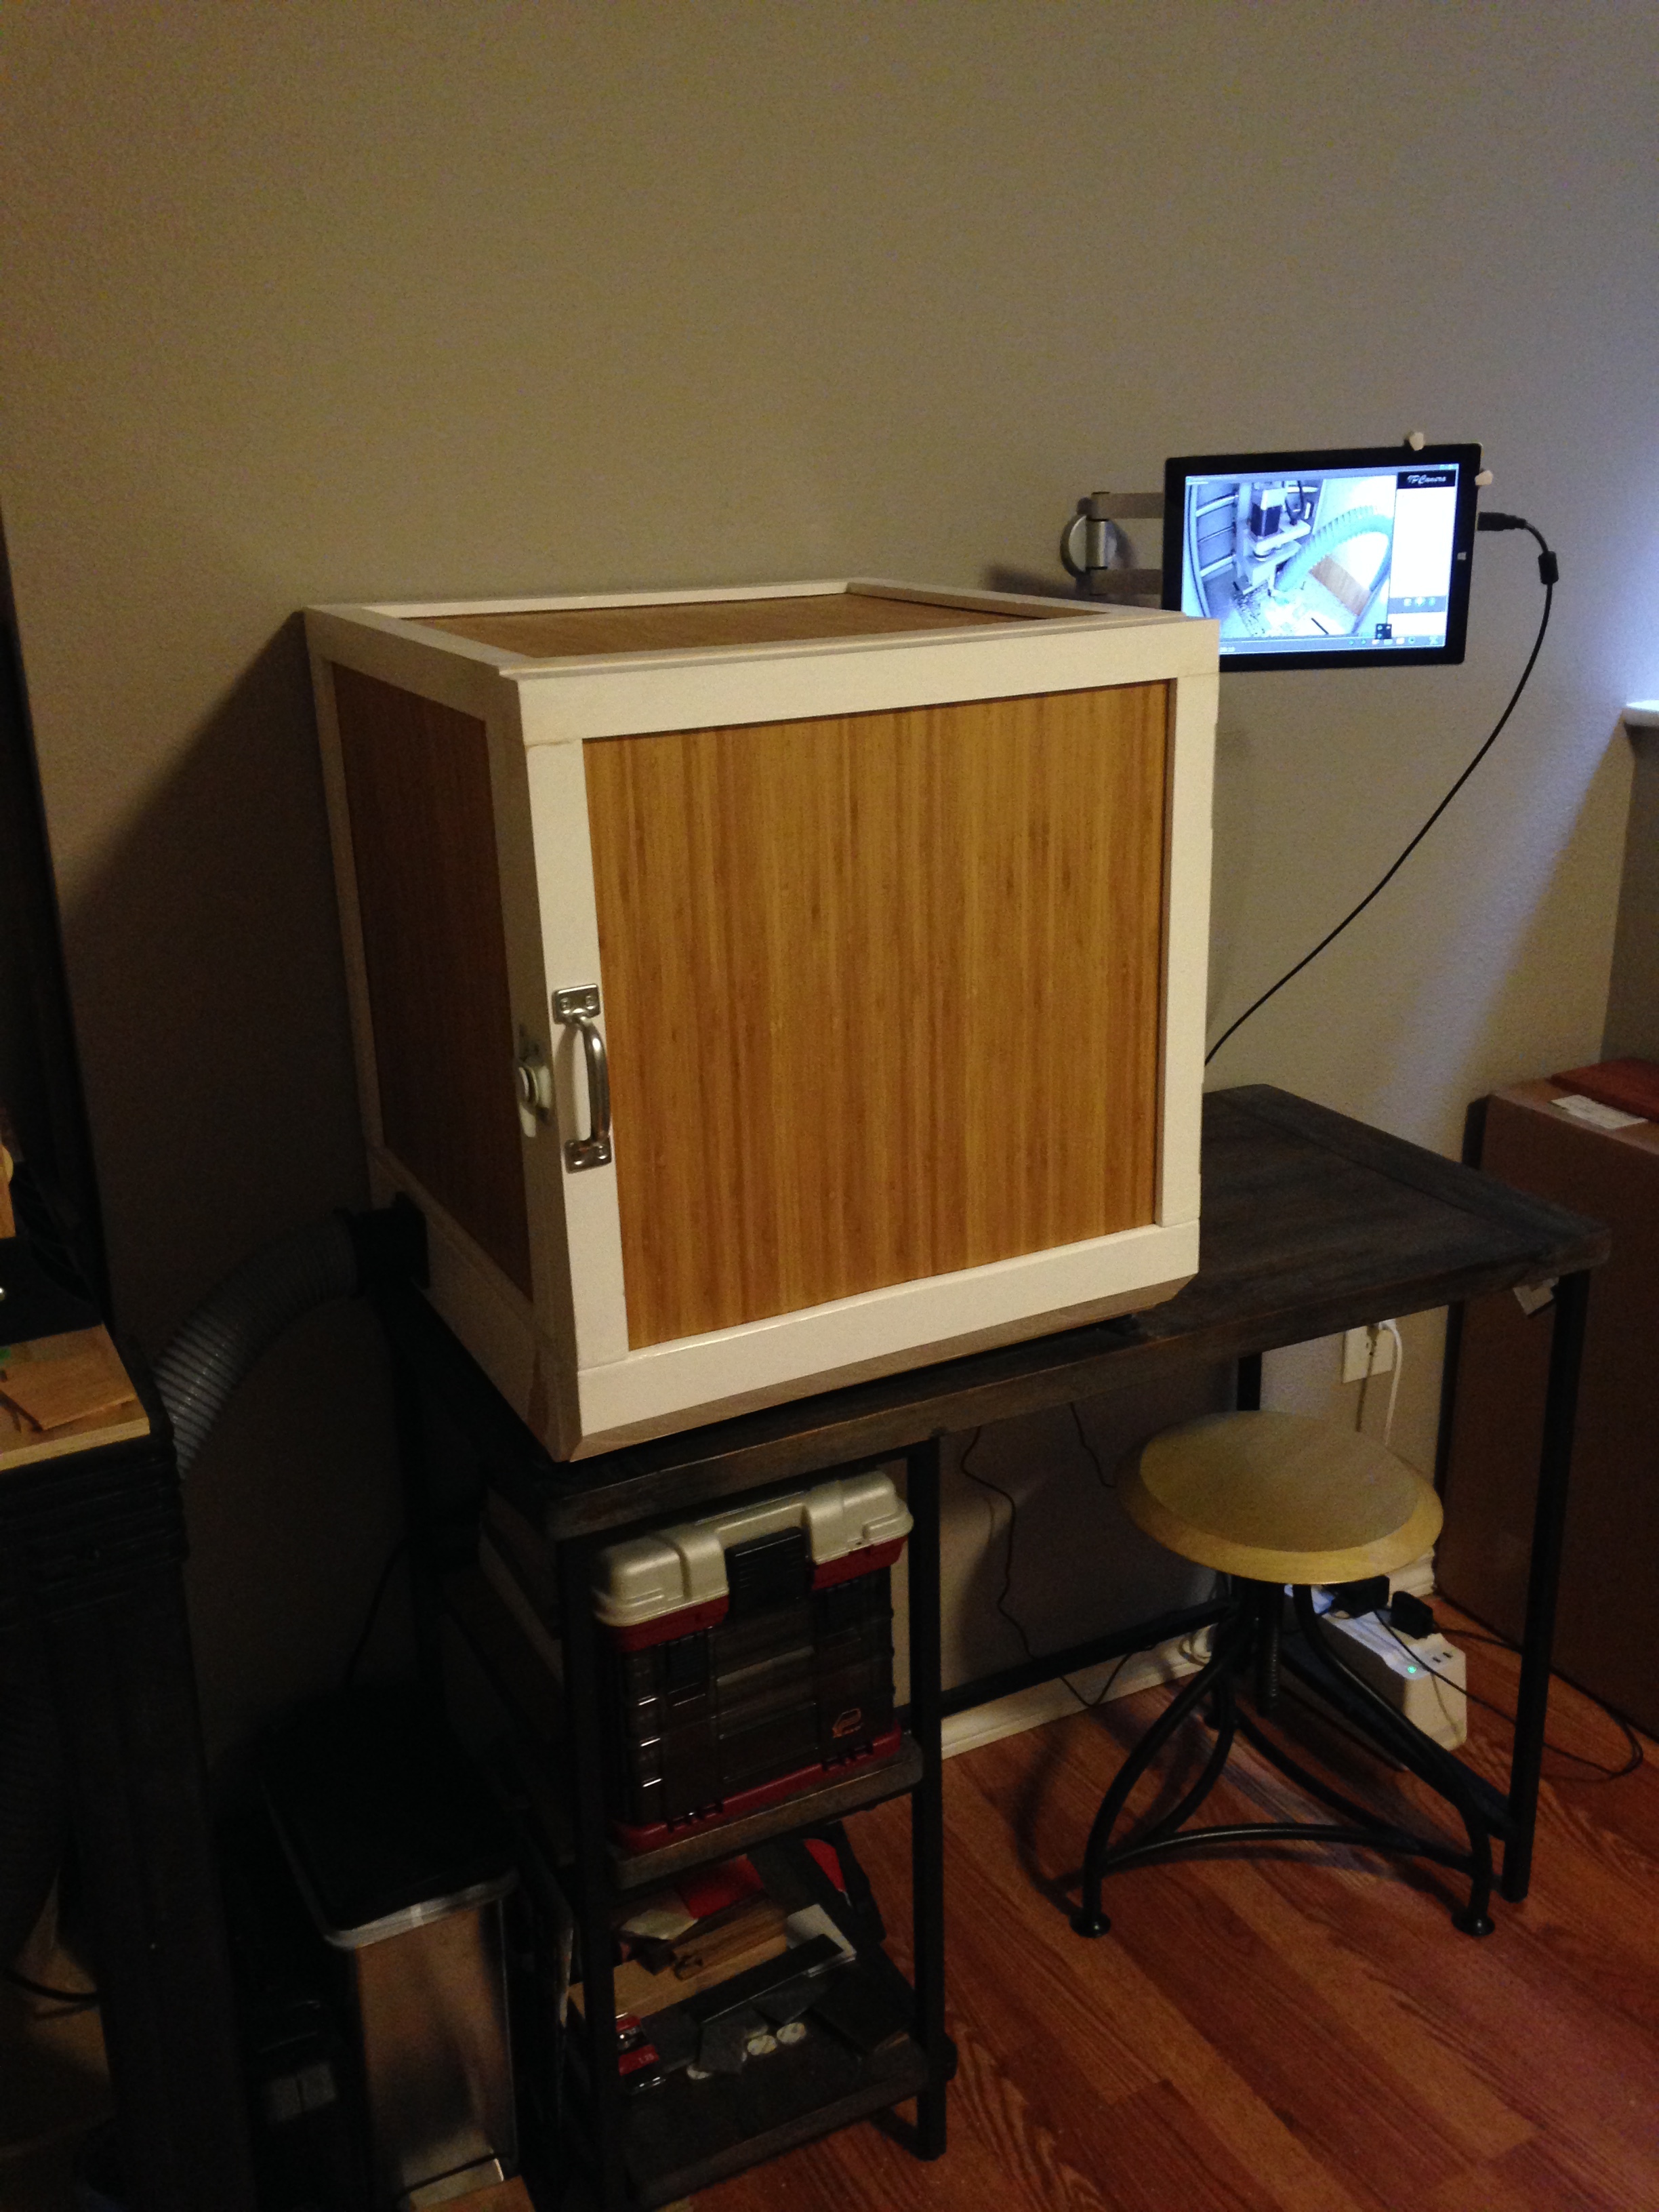
I’ve finished an enclosure for my Nomad that will keep the noise down and control the dust. Thanks to everyone here on the forum for ideas and especially to @mbellon for the dust head design. The walls are a 5-layer composite panel of bamboo, MLV and Masonite with green glue holding them all together. With this stackup, I’m getting about 32Db of noise suppression.
I also routed the vacuum hose underneath the mill in the base of the enclosure so that I wouldn’t have to drill holes through the side panels and to reduce the bend radius to the dust head. I saw a comment above about reducing heat within the enclosure and I’ve been able to run my Nomad for 8+ hours with the vacuum running without noticeable heat buildup. Running it with the vacuum off would be a problem so I have to remember to turn it on every time.
I tried to keep the BOM cost down but using 2x2s for the frame but, in the end, it was about $400 dollars. Half of this was the bamboo, green glue and webcam, but I think they were worth the extra cost!