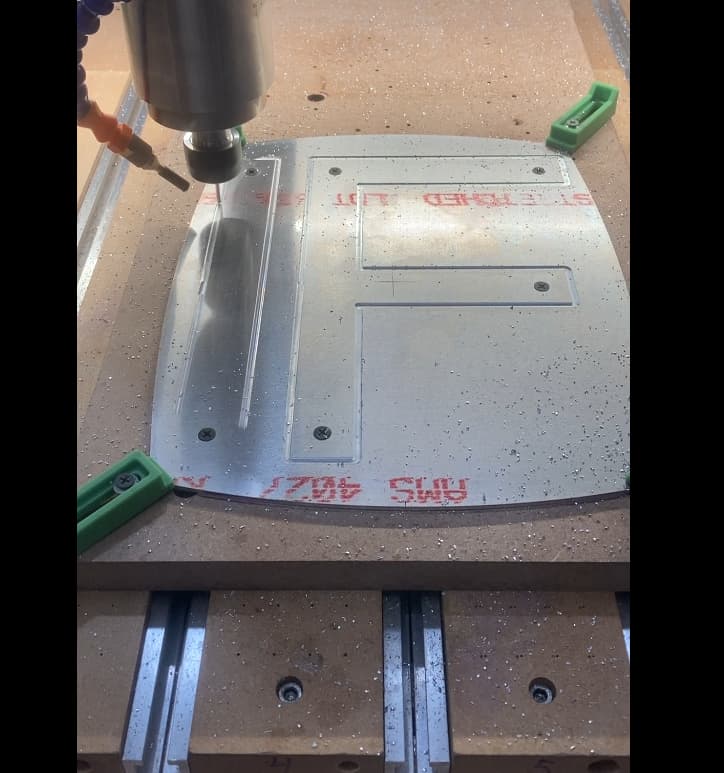
First time cutting aluminum plate on my Shapeoko, I want to cut out a shape from 1/4 6061 plate with some 3mm holes on the plate. I’m not sure how I would go about mounting the aluminum to the T-tracks or a waste board without cutting in to the MDF slats.
I saw this video from Winston: Machining an Aluminum Pumpkin on the Shapeoko HDM - YouTube and I think this method would work pretty well for this job, but I’m not sure how he was able to separate the pumpkin from the stock without cutting in to the MDF. In the video, he says he leaves 2 thou of stock at the bottom holding the pumpkin and stock together, but when he runs the cut, there is no material left between the stock and pumpkin. Does leaving 2 thou of stock in Fusion cause a through cut? Or did he add another cut to the complete depth of the stock?
My rough outline of steps go:
Surface aluminum plate using tape on T-tracks
Tape surfaced size to T-Tracks
Drill holes (Or use engraving bit to mark holes to drill out manually)
Roughing cut to separate part from stock completely.
Also I do want to use an additional MDF sheet as a spoilboard just I case I screw something up, would I just mount a surfaced MDF board to the T tracks using screws and nuts, and tape the plate stock on to the MDF and follow the same procedure?
I also saw in this video: Simple Meets Shiny, a Shapeoko HDM story - YouTube (14:38) that he was able to do a full depth cut using superglue and painters tape without damaging the surface underneath (other than drilling) If I were to do this would I program the cnc to make a cut the entire depth of the stock or leave a certain amount behind? I know the whole point of a spoilboard is to use it as a sacrificial surface but I’d rather not have to “spoil” it unless I really have to.
Sorry for the sheer amount of questions, I just want to make sure before I screw something up. Any additional advice would be greatly appreciated too!
Use bottom as your z origin. I replaced my spoilboard in Oct 22 and started using bottom and my spoilboard is almost prestine. I simply place BitZero on spoilboard and probe z only. Works great.
My response is usually along the lines of “It’s called a wasteboard for a reason.”
In other words… cut into it. MDF is the cheapest material to sacrifice. If you have a SO3…put a secondary on top of the original and let it take it for the team. If you have a SO4/SO4Pro/SO5Pro/SOHDM… then just cut into the slats. I’m not saying deep… but they’re made to take a few thou. And it’s easy to replace 3" strips.
As you can tell, there are two types or people in this community, those who use their wasteboard as a wasteboard, and those who take pride in keeping their wasteboard pristine
There is no right or wrong answer, it’s all habits.
Me, I like the satisfaction that comes with zeroing off two layers of blue tape on the wasteboard, and then enjoying cuts that go all the way through the material but not quite cutting into the tape. It’s a silly little pleasure though, nothing wrong with overcutting into the MDF.
When I do want/need to overcut, I tend to install an additional sacrificial piece of MDF on top of my MDF slats, using tape and glue, and then attach the stock onto that (tape & glue again). The only catch is that you MUST surface that additional piece of MDF before installing the stock onto it.
Whether you should leave an onion skin of aluminium that you take out in a final contour pass is up to you. Depending on the geometry of the final piece, it may or may not be useful. It’s very useful when you need to do profile cuts (not quite all the way through) and THEN do some more cutting: leaving the onion skin at this point helps improve stock rigidity and reduce risks of the piece coming off the wasteboard. But if you can just defer your outer profile cut to the end, AND you use enough tape & glue beneath the final piece, then you can directly cutting through and it will work just fine.
I’m in the middle (Libra). I try to keep my slats nice, but have also put screws in it, and will cut into it rather than change a setup.
It really depends on the job. The stock you have to work with, how you’re cutting it, features in the final product. I use a combination of clamps, 2 way tape, screws, vise, T-track, additional sacrificial wasteboard, or jigs. And will change the workholding in the middle of a job.
Here’s one I recently did. Sacrificial board, clamp the blank & machine the screw holes. Stop & put screws in the screw holes, then finish. Now both the letters & the remaining stock are both clamped.
I agree it is called a spoilboard for a reason but by using the bottom of material a side benefit is the spoilboard is not spoiled so fast. Those with the hybrid type tables can eat into their t-tracks very easily.
When I used top of material I regularly cut into the spoilboard even though I had carefully measured the material and set that in CC. Since moving to the bottom of material there are very few oops. When using the painters tape and super glue I have a thin very pale blue line left on the spoilboard which disappears with a light touch of sand paper.
Use what ever method you want but using the bottom is more consistent for me. The only down side is if you do not accurately measure your material your first cut will either be deeper than intended or an air cut. So measuring your material is very important but less critical when using bottom.