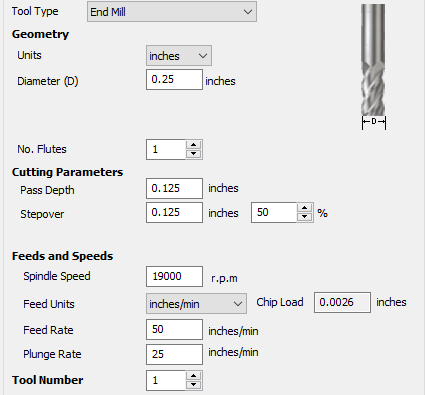
I have been through @Julien’s F&S pages and @gmack’s spreadsheet. a little unsure about the settings for an Amana Oflute 1 single flute bit I want to use to cut cast acrylic. Question 1 is cat acrylic hard or soft plastic? 2. @Julien you used 1/8 2 flute at 10K rpm chipload .0023. So I am using 1/8 oflute at 19k rpm. Now I would go with half the chipload at that speed from yours but since I can increase the chipload with a single flute I have set chipload to .0021 40"/min. I get the same in @gmack’s wheet. Am I on the right track? pics of my settings. Included a 1/4" oflute as well.

1 Like
Yep, that sounds about right. People have different ways to approach feeds & speeds, mine is to start from a target chipload value. My goto chipload reference is
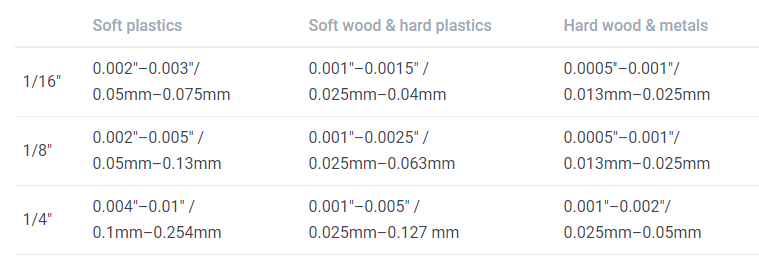
so in cast acrylic (which falls in the hard plastics category) with a 1/8" endmill, I would target somewhere between 0.001 and 0.0025, and probably closer to 0.0025 since I wouldn’t want to take any chances of rubbing in case my cutter was not perfectly sharp.
So say 0.002" target chipload.
Then in theory you must take chip thinning into account, but in practice it’s not that common to use very small stepover values in acrylic, so let’s ignore that.
You can then pick the RPM you like, and the higher the better (a lesson I learned from @gmack), so 19K is fine. Only then do you have to consider the number of flutes (in your case, one) to figure out the feedrate:
FR = Chipload x nb_flutes x RPM = 0.002 x 1 x 19 000 = 38ipm, round that to 40ipm, i.e. exactly what you said.
So it’s not so much that you can admit different chiploads on a single flute versus 2 flute, it’s that you adjust feedrate to get the same target chipload with either a 2 flute or a single flute. At least in my approach, that is.
O-flute are fantastic for cutting plastics (and aluminium, and…well they’re just fantastic), let us know if you get good results !
5 Likes
Great! You provided a very good nugget there (for me anyway) in regards to # flutes to chip load. That was a piece I of the puzzle I also was struggling with. You should add that to your feeds and speeds discussion. Everything I have read lead me to the same conclusion that chip load is the starting point. I’ll let you know how it goes. Thanks!
1 Like
Mmh, I thought I did, here, but maybe you are referring to a post here on the forum instead ?
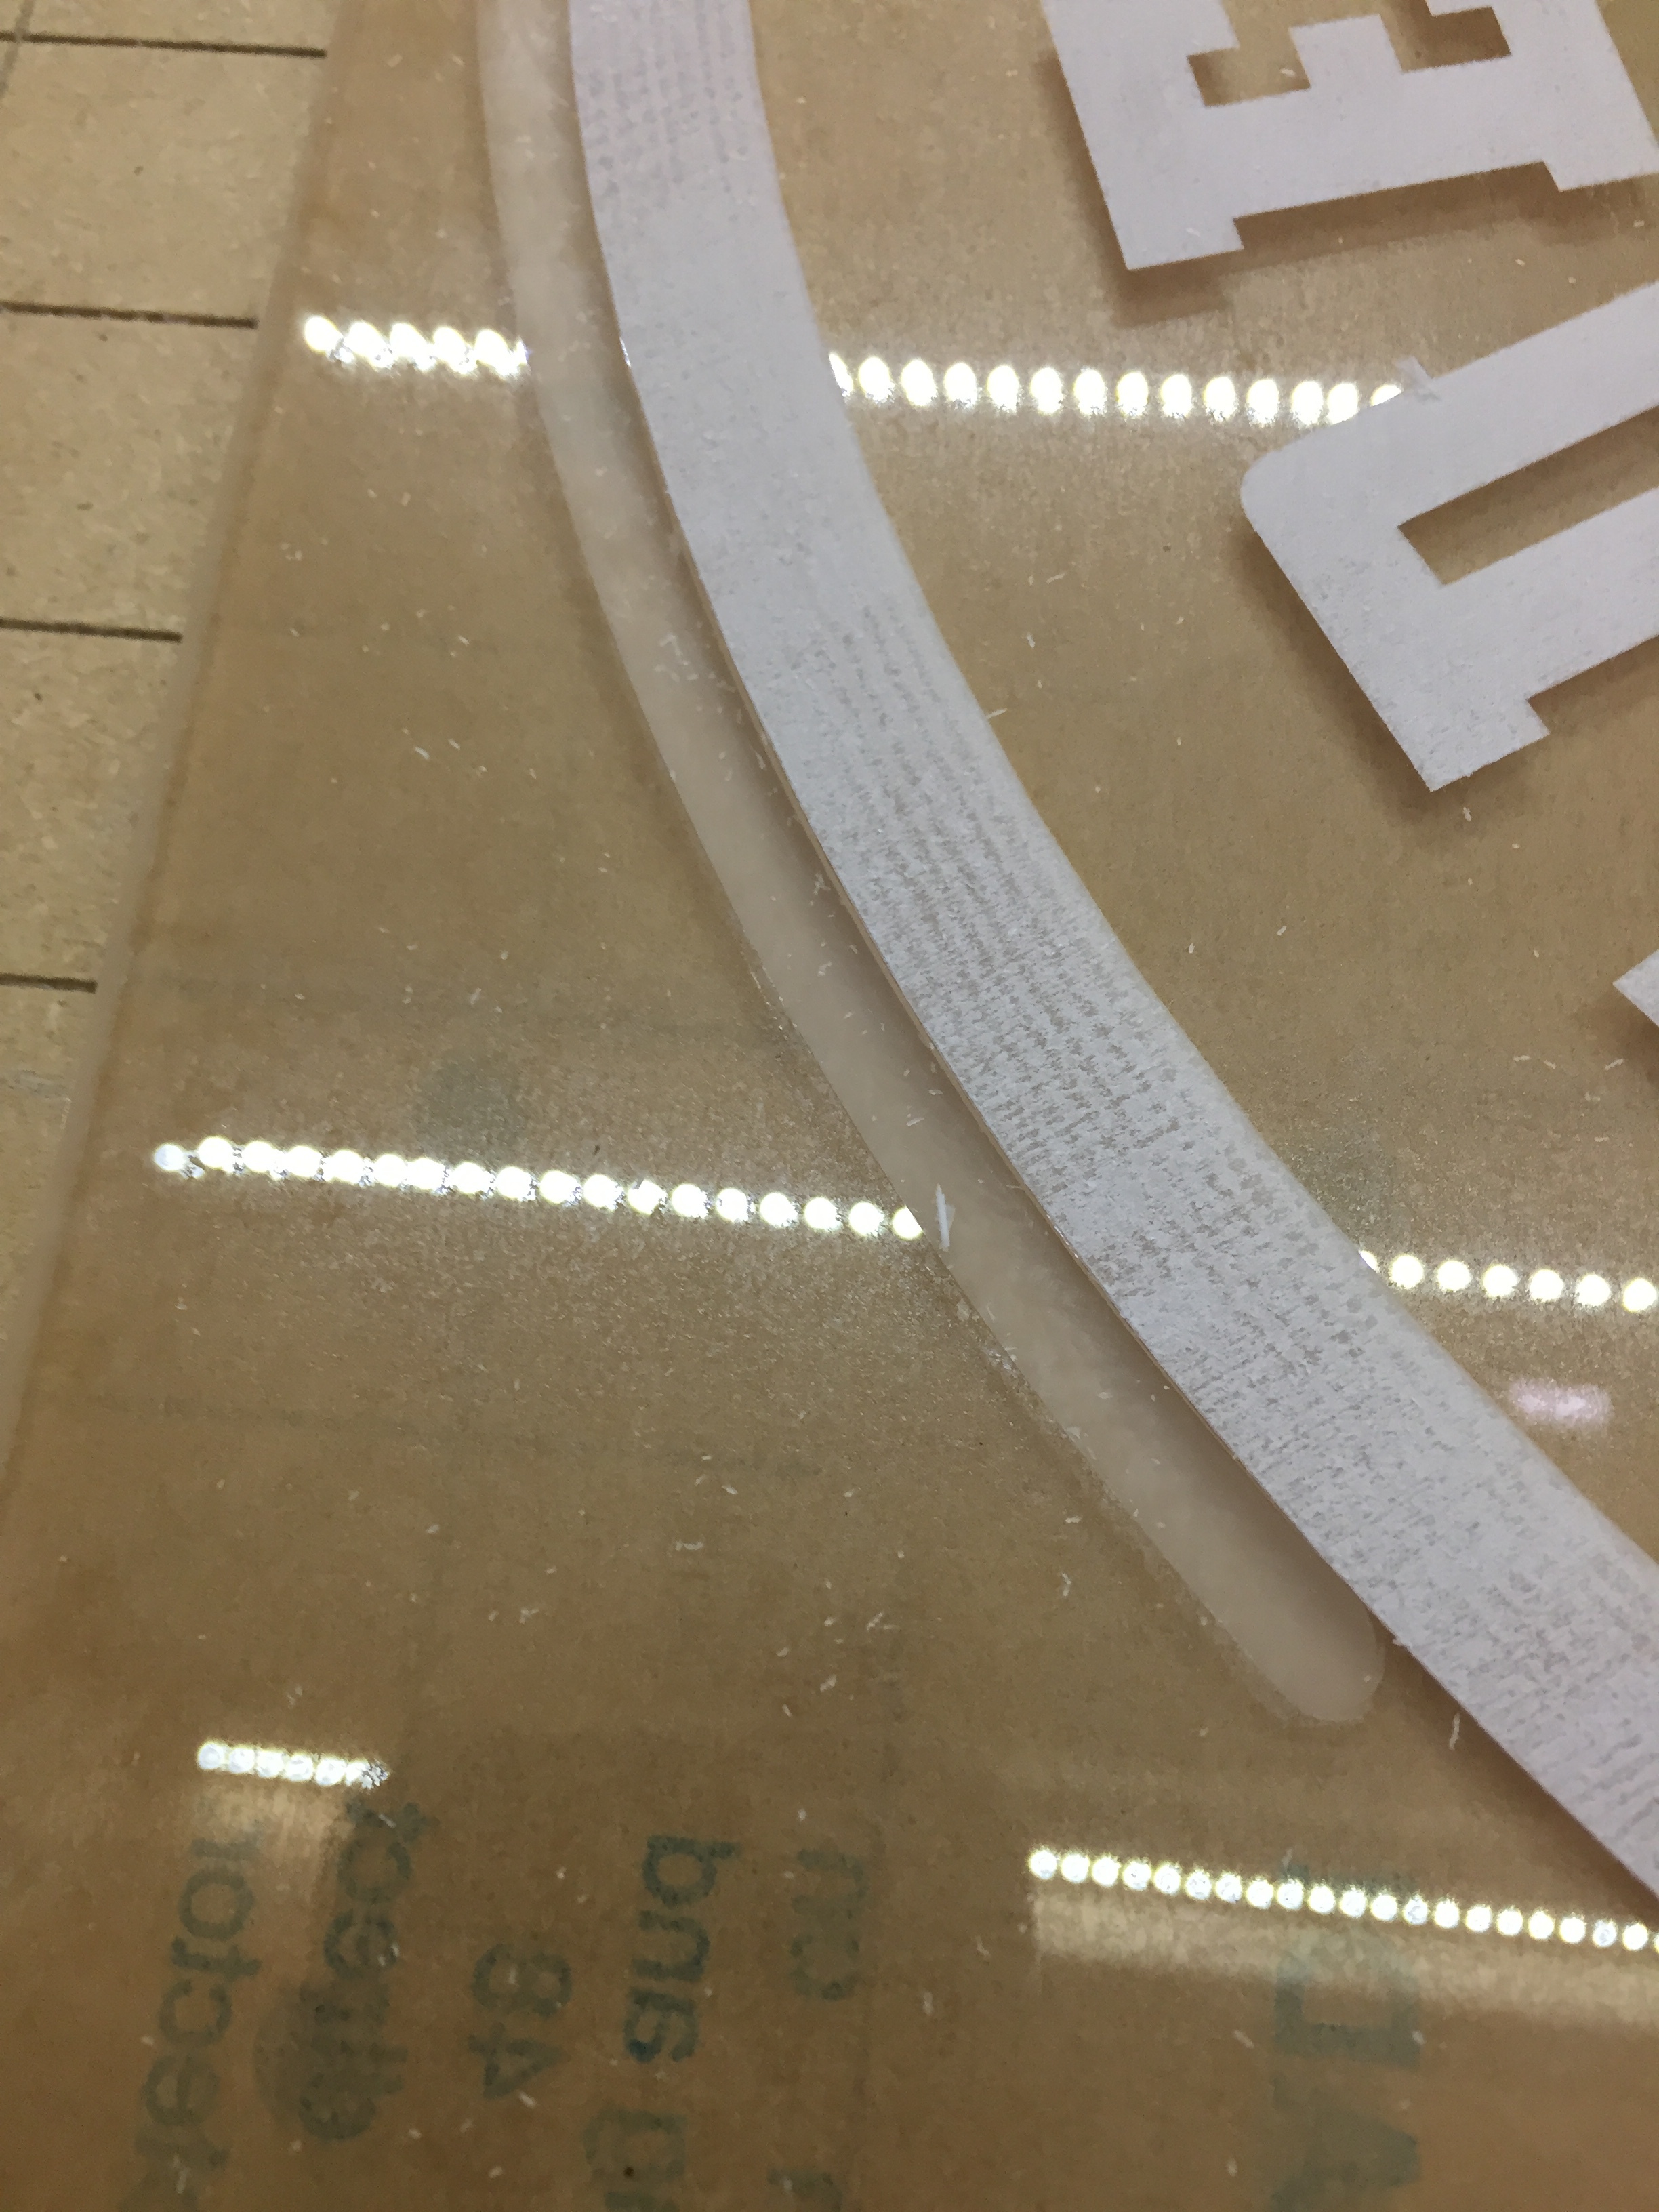
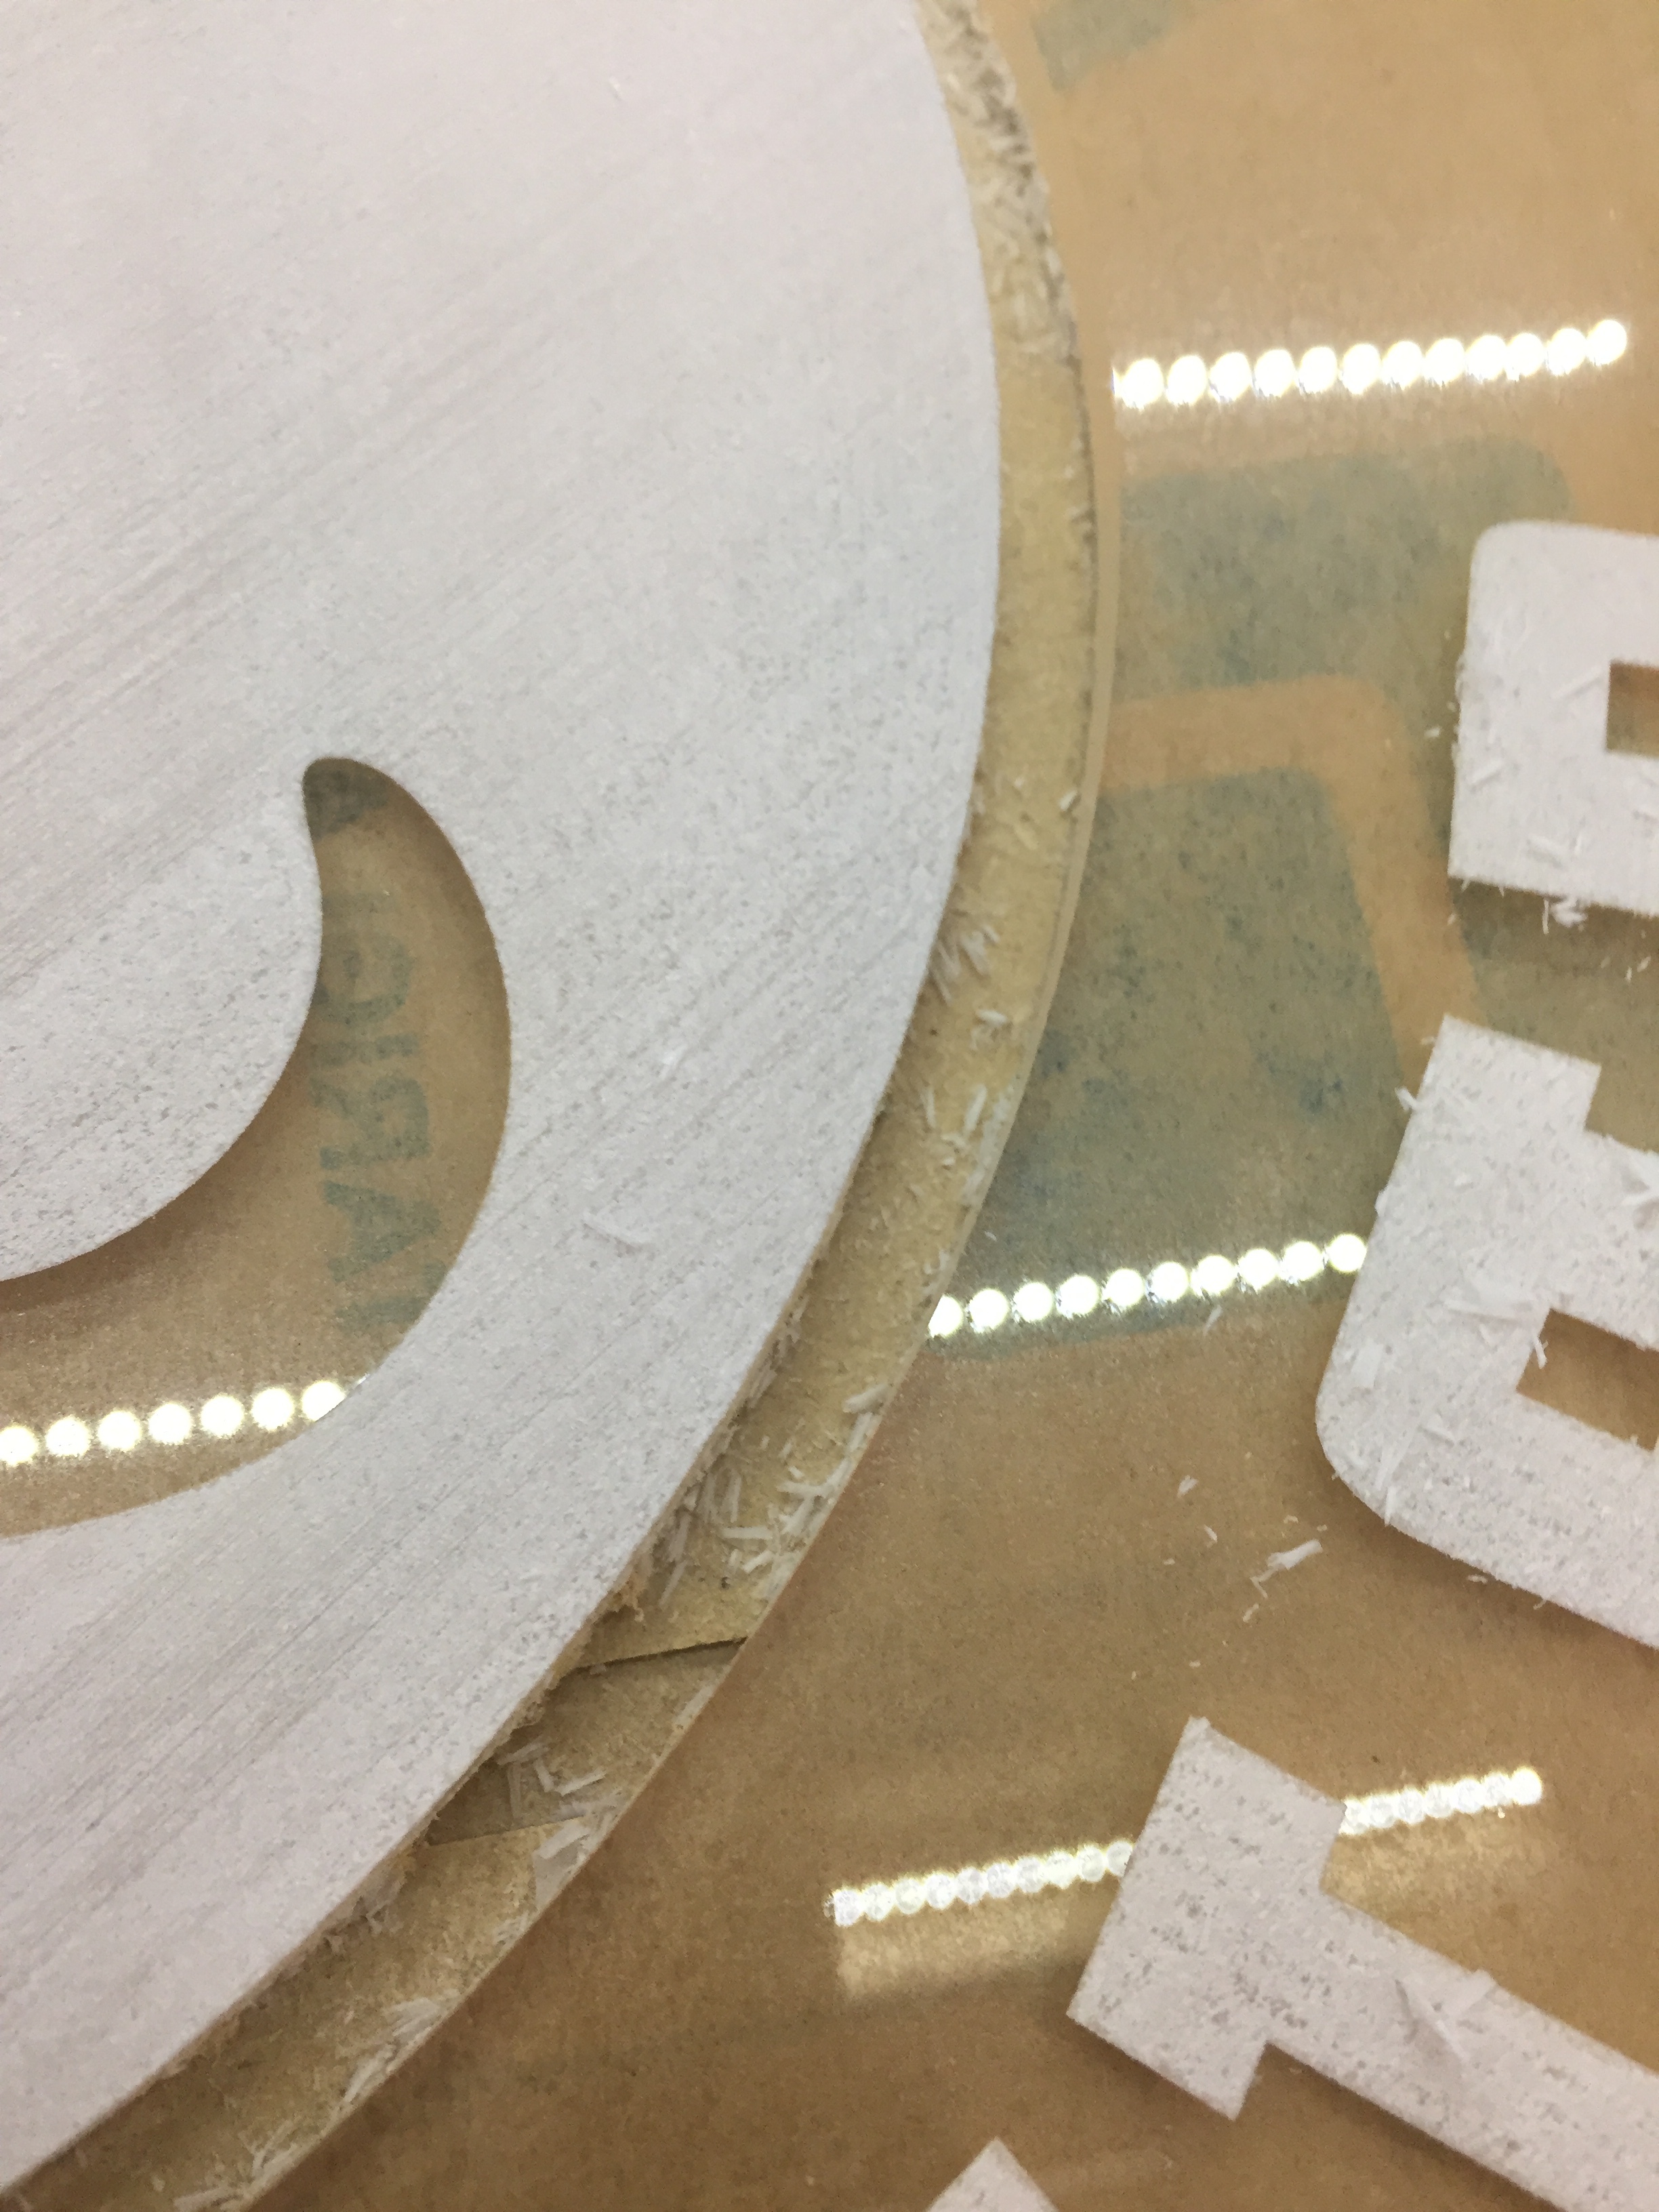
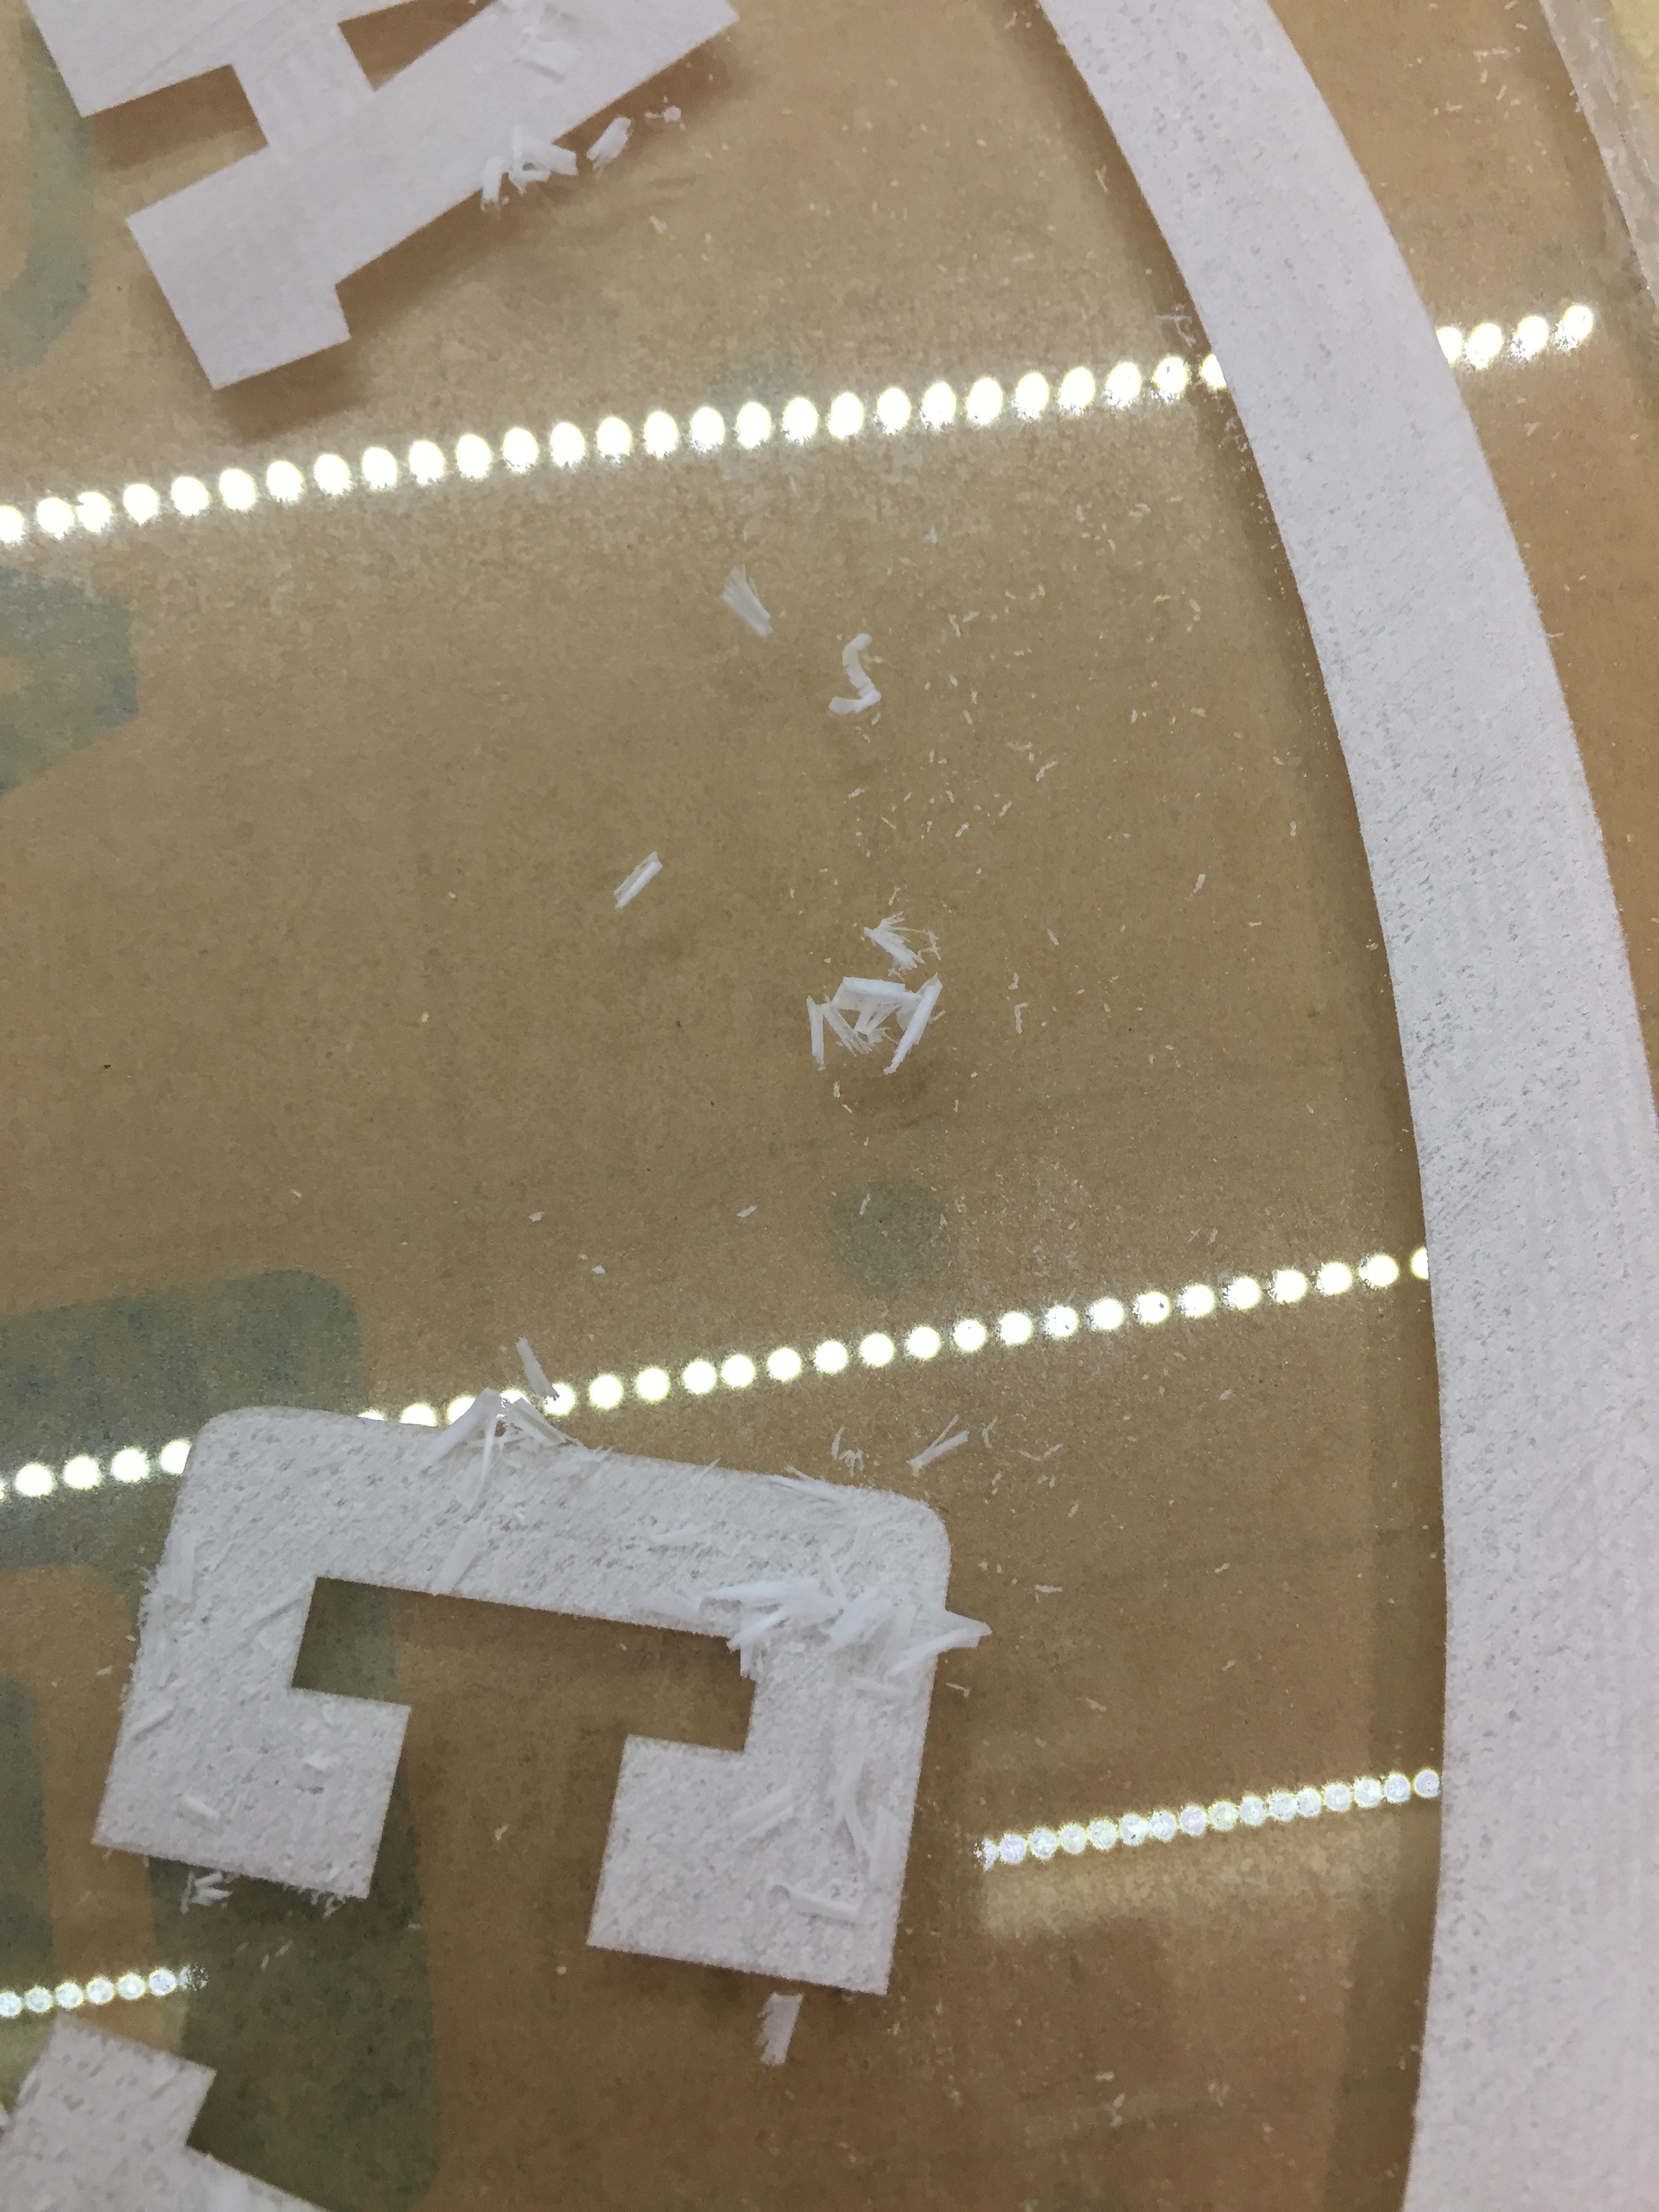
No, that’s the place. I guess the bulb simply did not light up for me. I am Blonde, at least in my youth. Now nicely gray but those roots are deep. Anyhow, my engraving step finished and time to give it a try. Beautiful chips and not a sign of melting! here are some pics. Thanks for the help!
3 Likes
I’m curious, what tool did you use to engrave the inside of those letters ? diamond drag bit?
yes. 90 degree diamond drag bit. I got it from https://www.engravingbit.com/
This topic was automatically closed 30 days after the last reply. New replies are no longer allowed.