One piece box with angled ends

Had a request for this on the Unofficial Facebook Group:

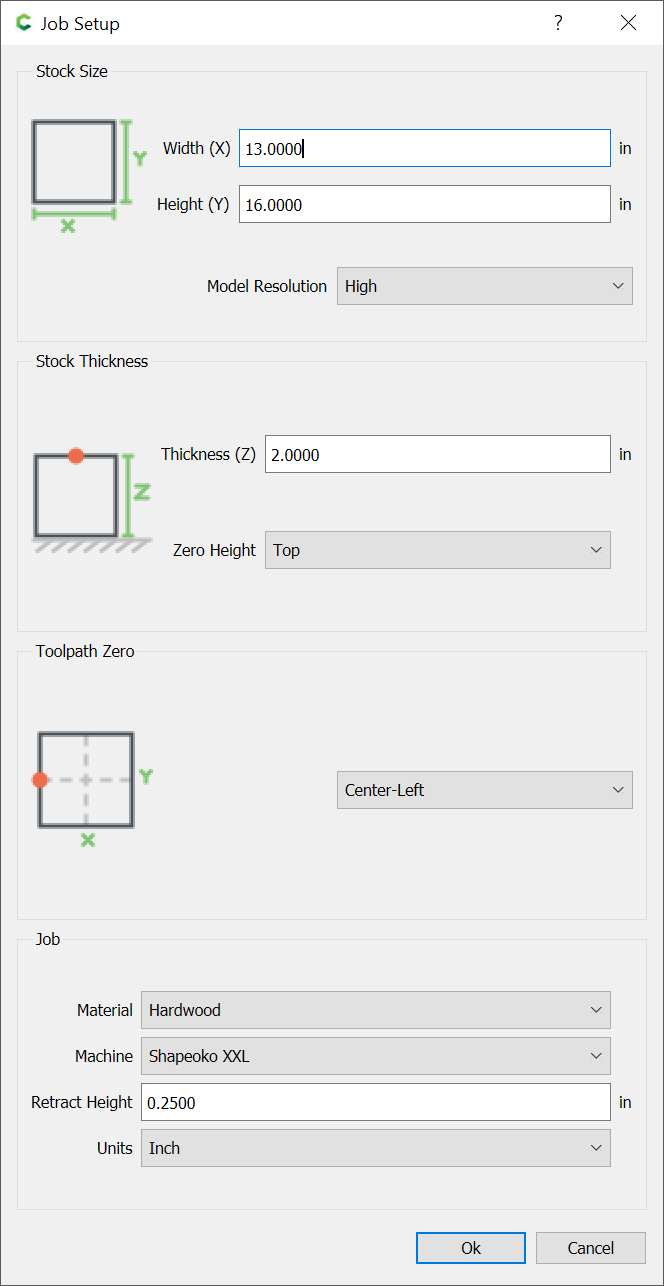
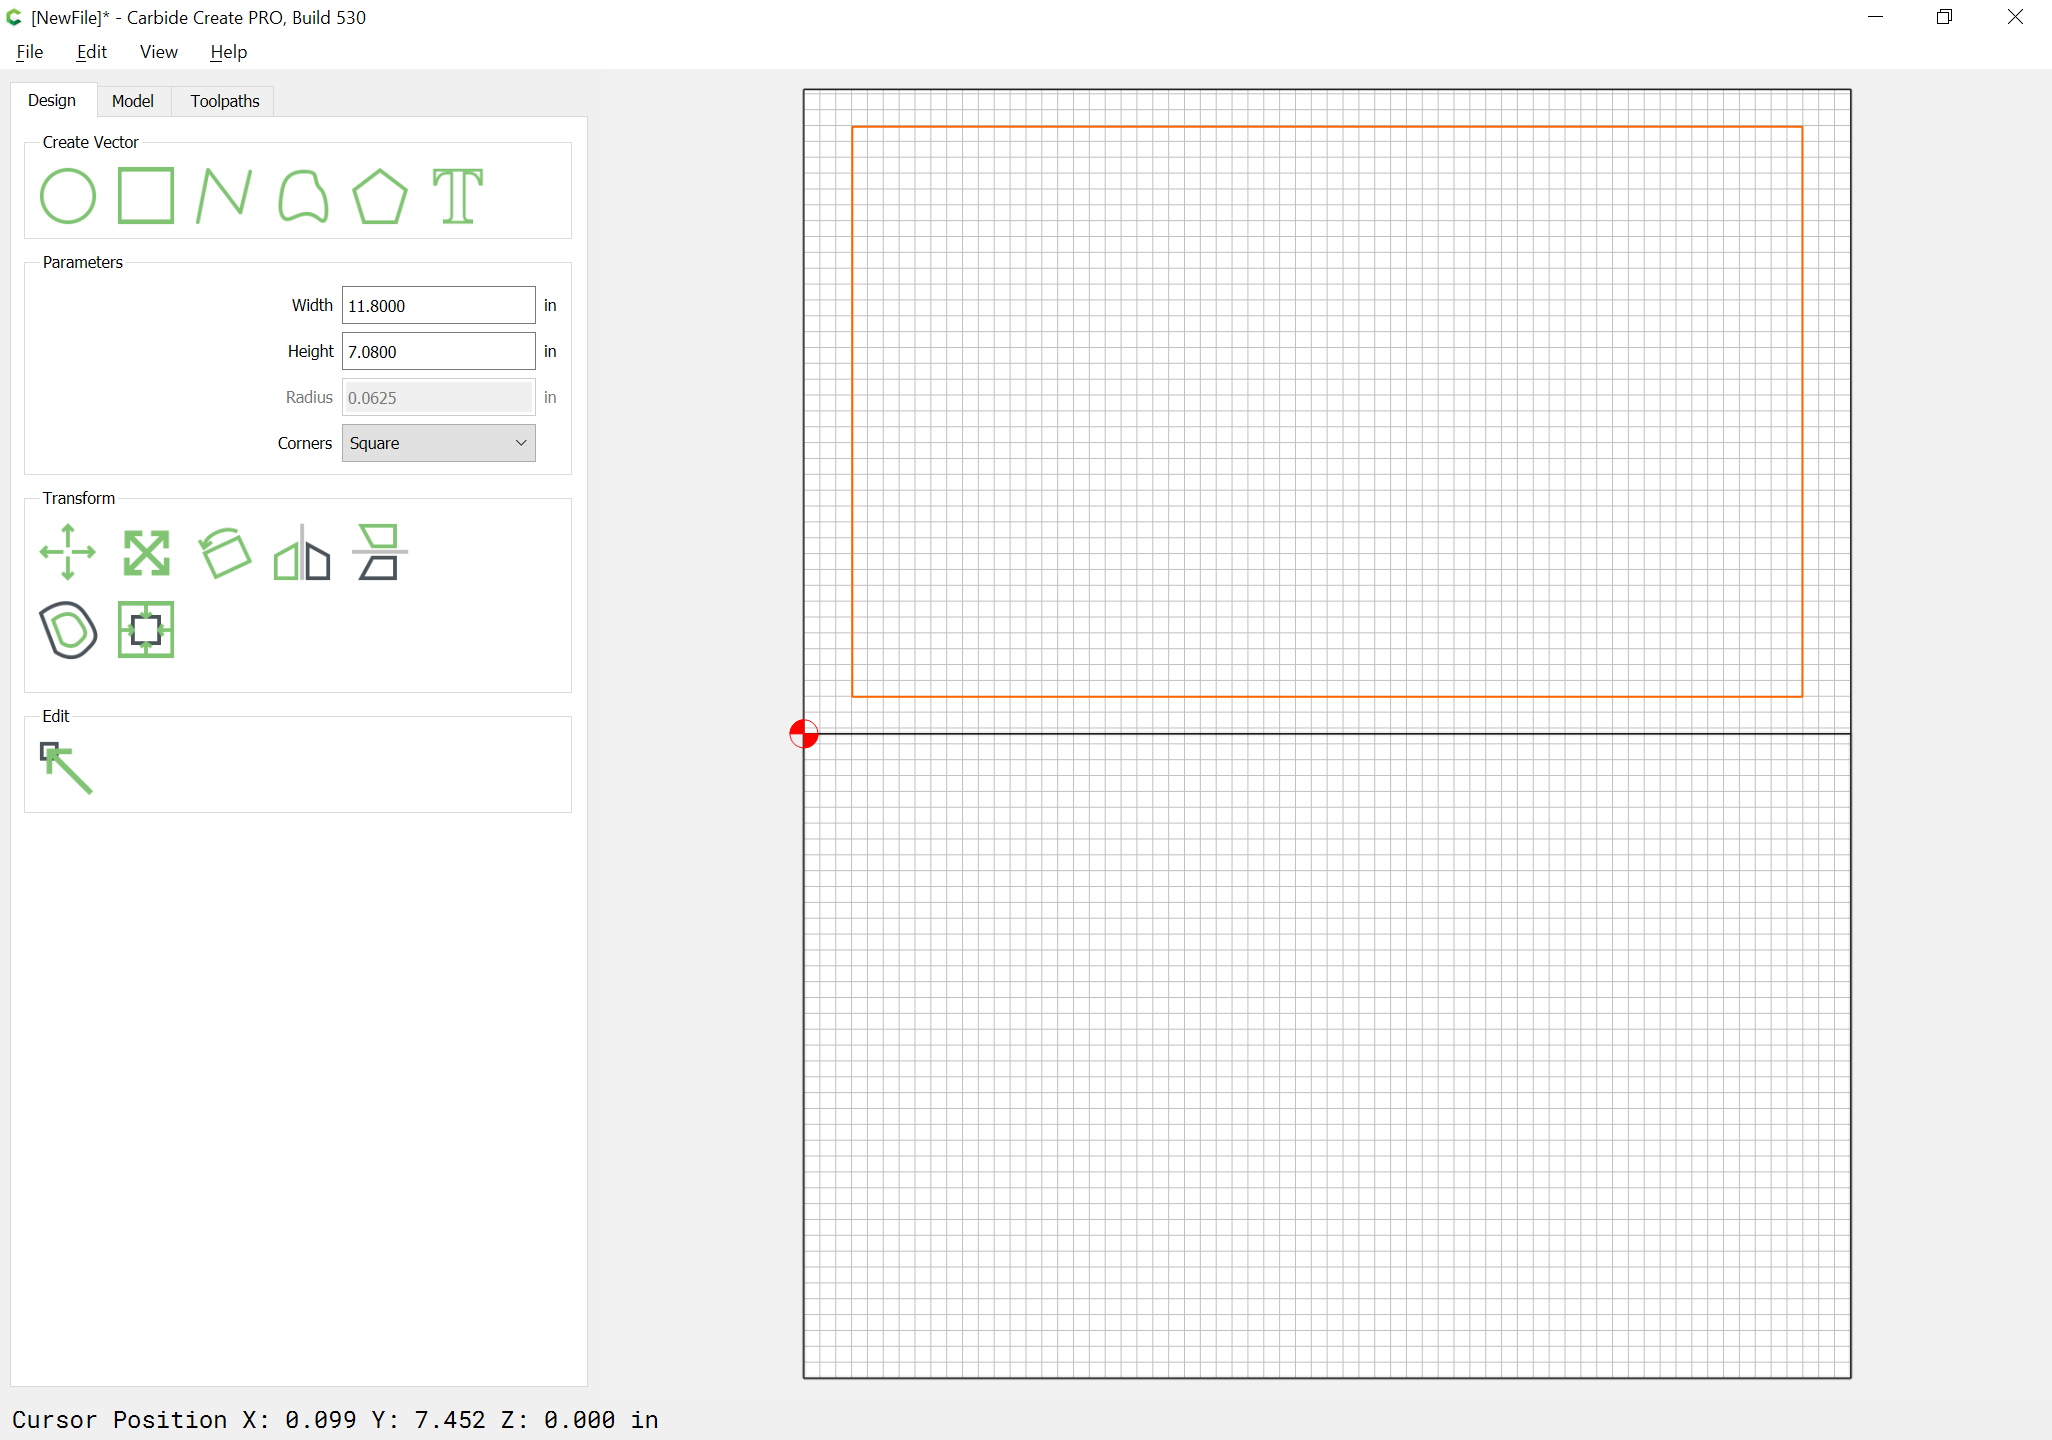
Request is for an 11.8" x 7.08" x 2" box (where folks are getting this sort of stock, I’d like to know and have access to) w/ 15 degree angled ends and straight sides otherwise.

Here’s one way to do this:

First, define the stock:

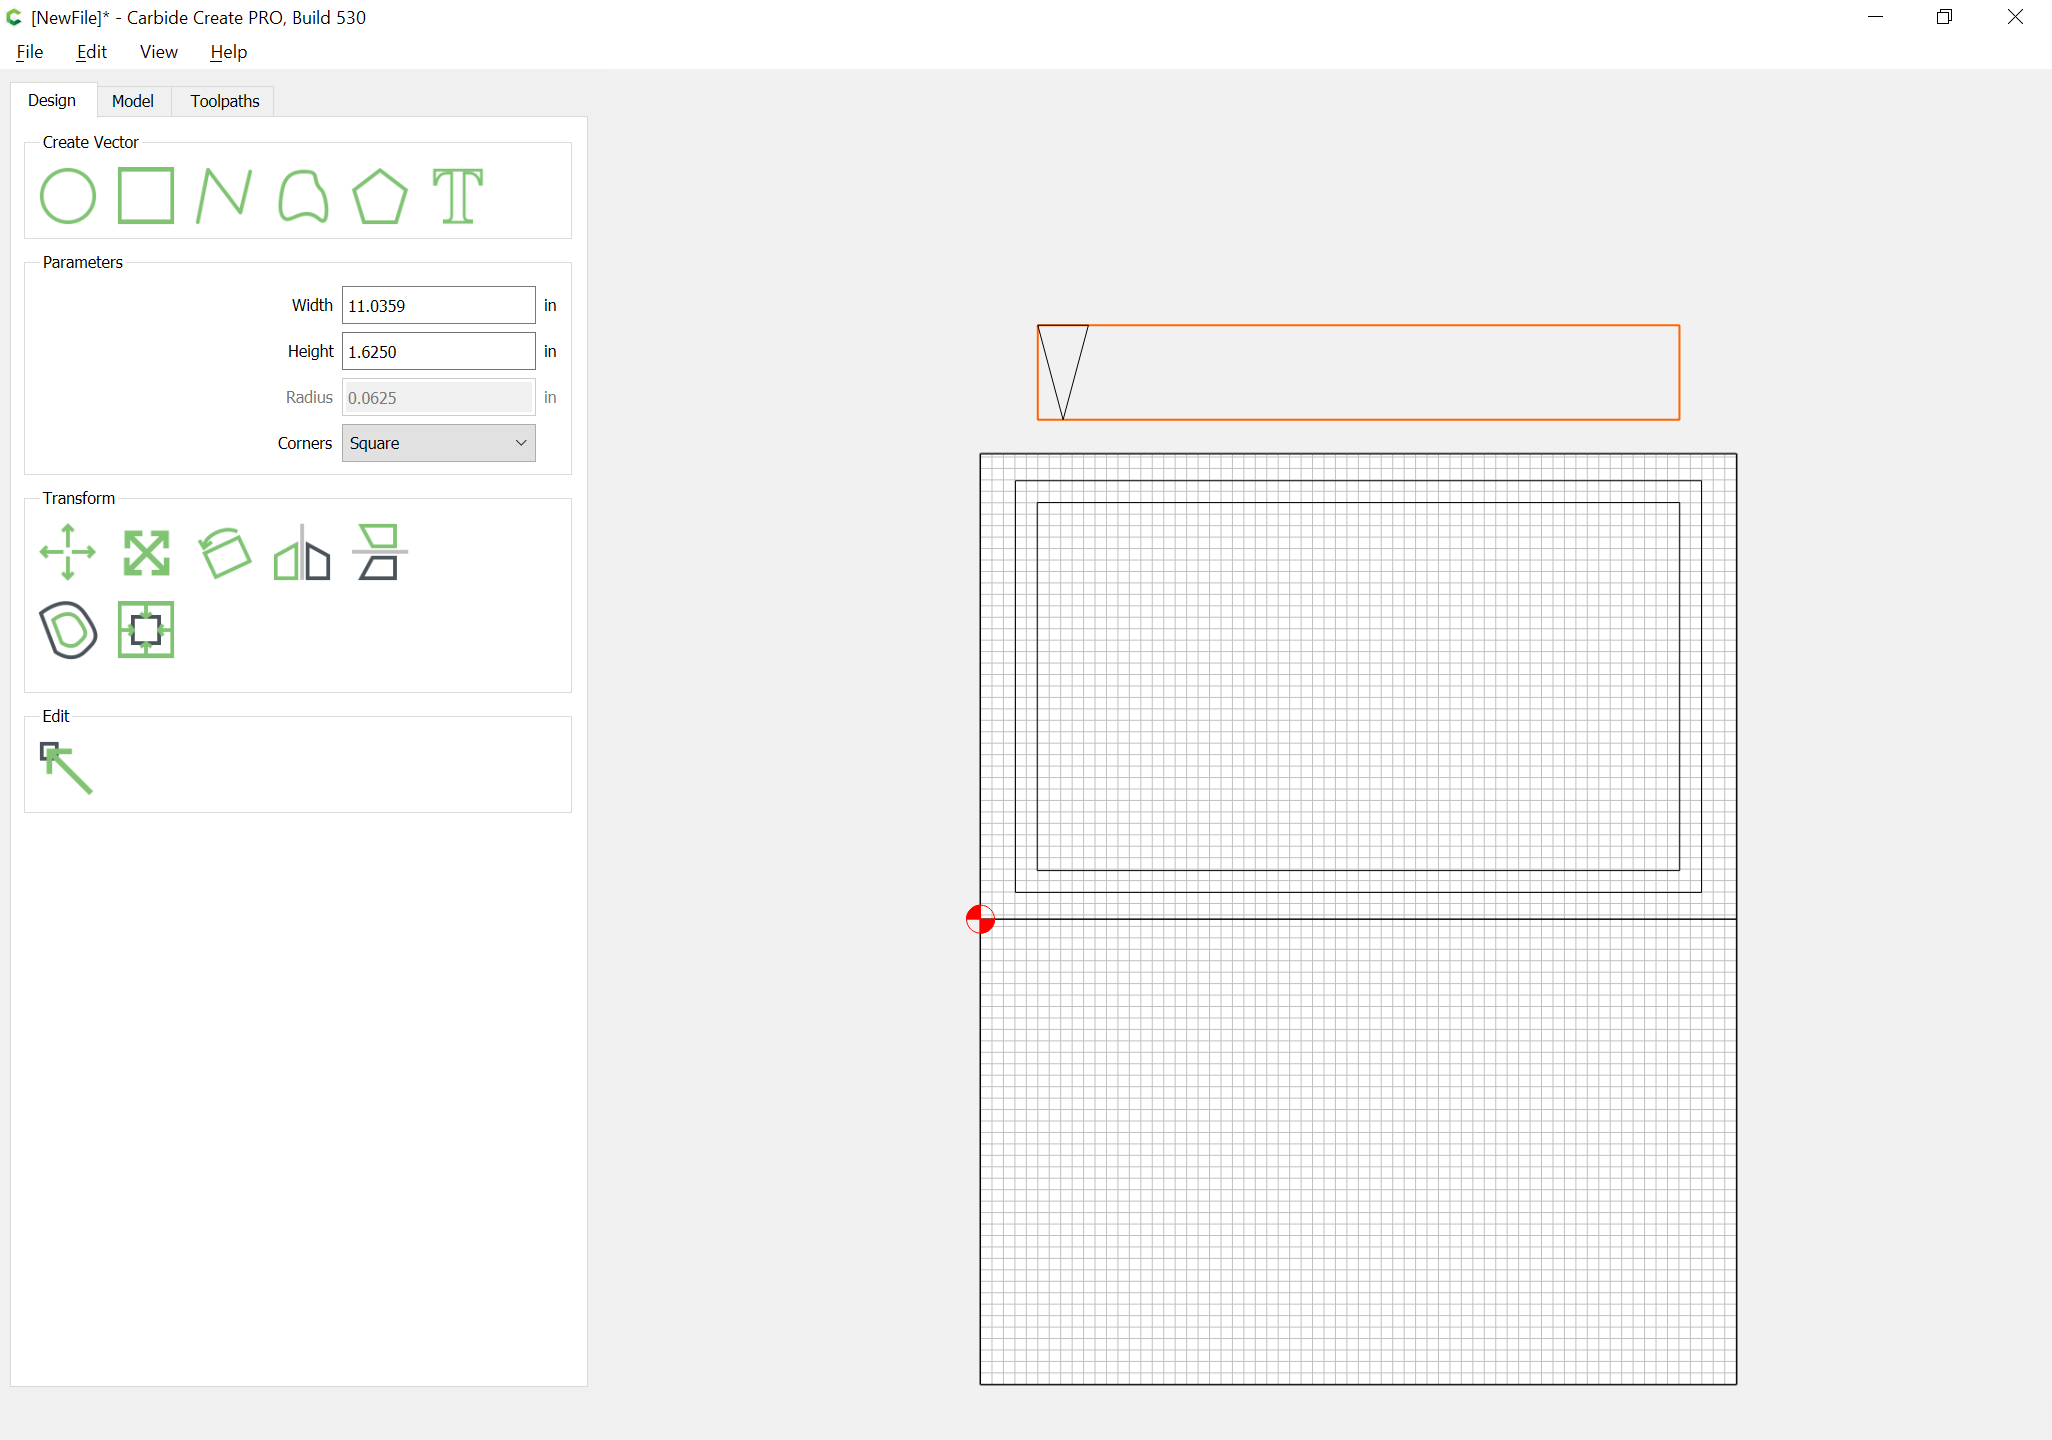
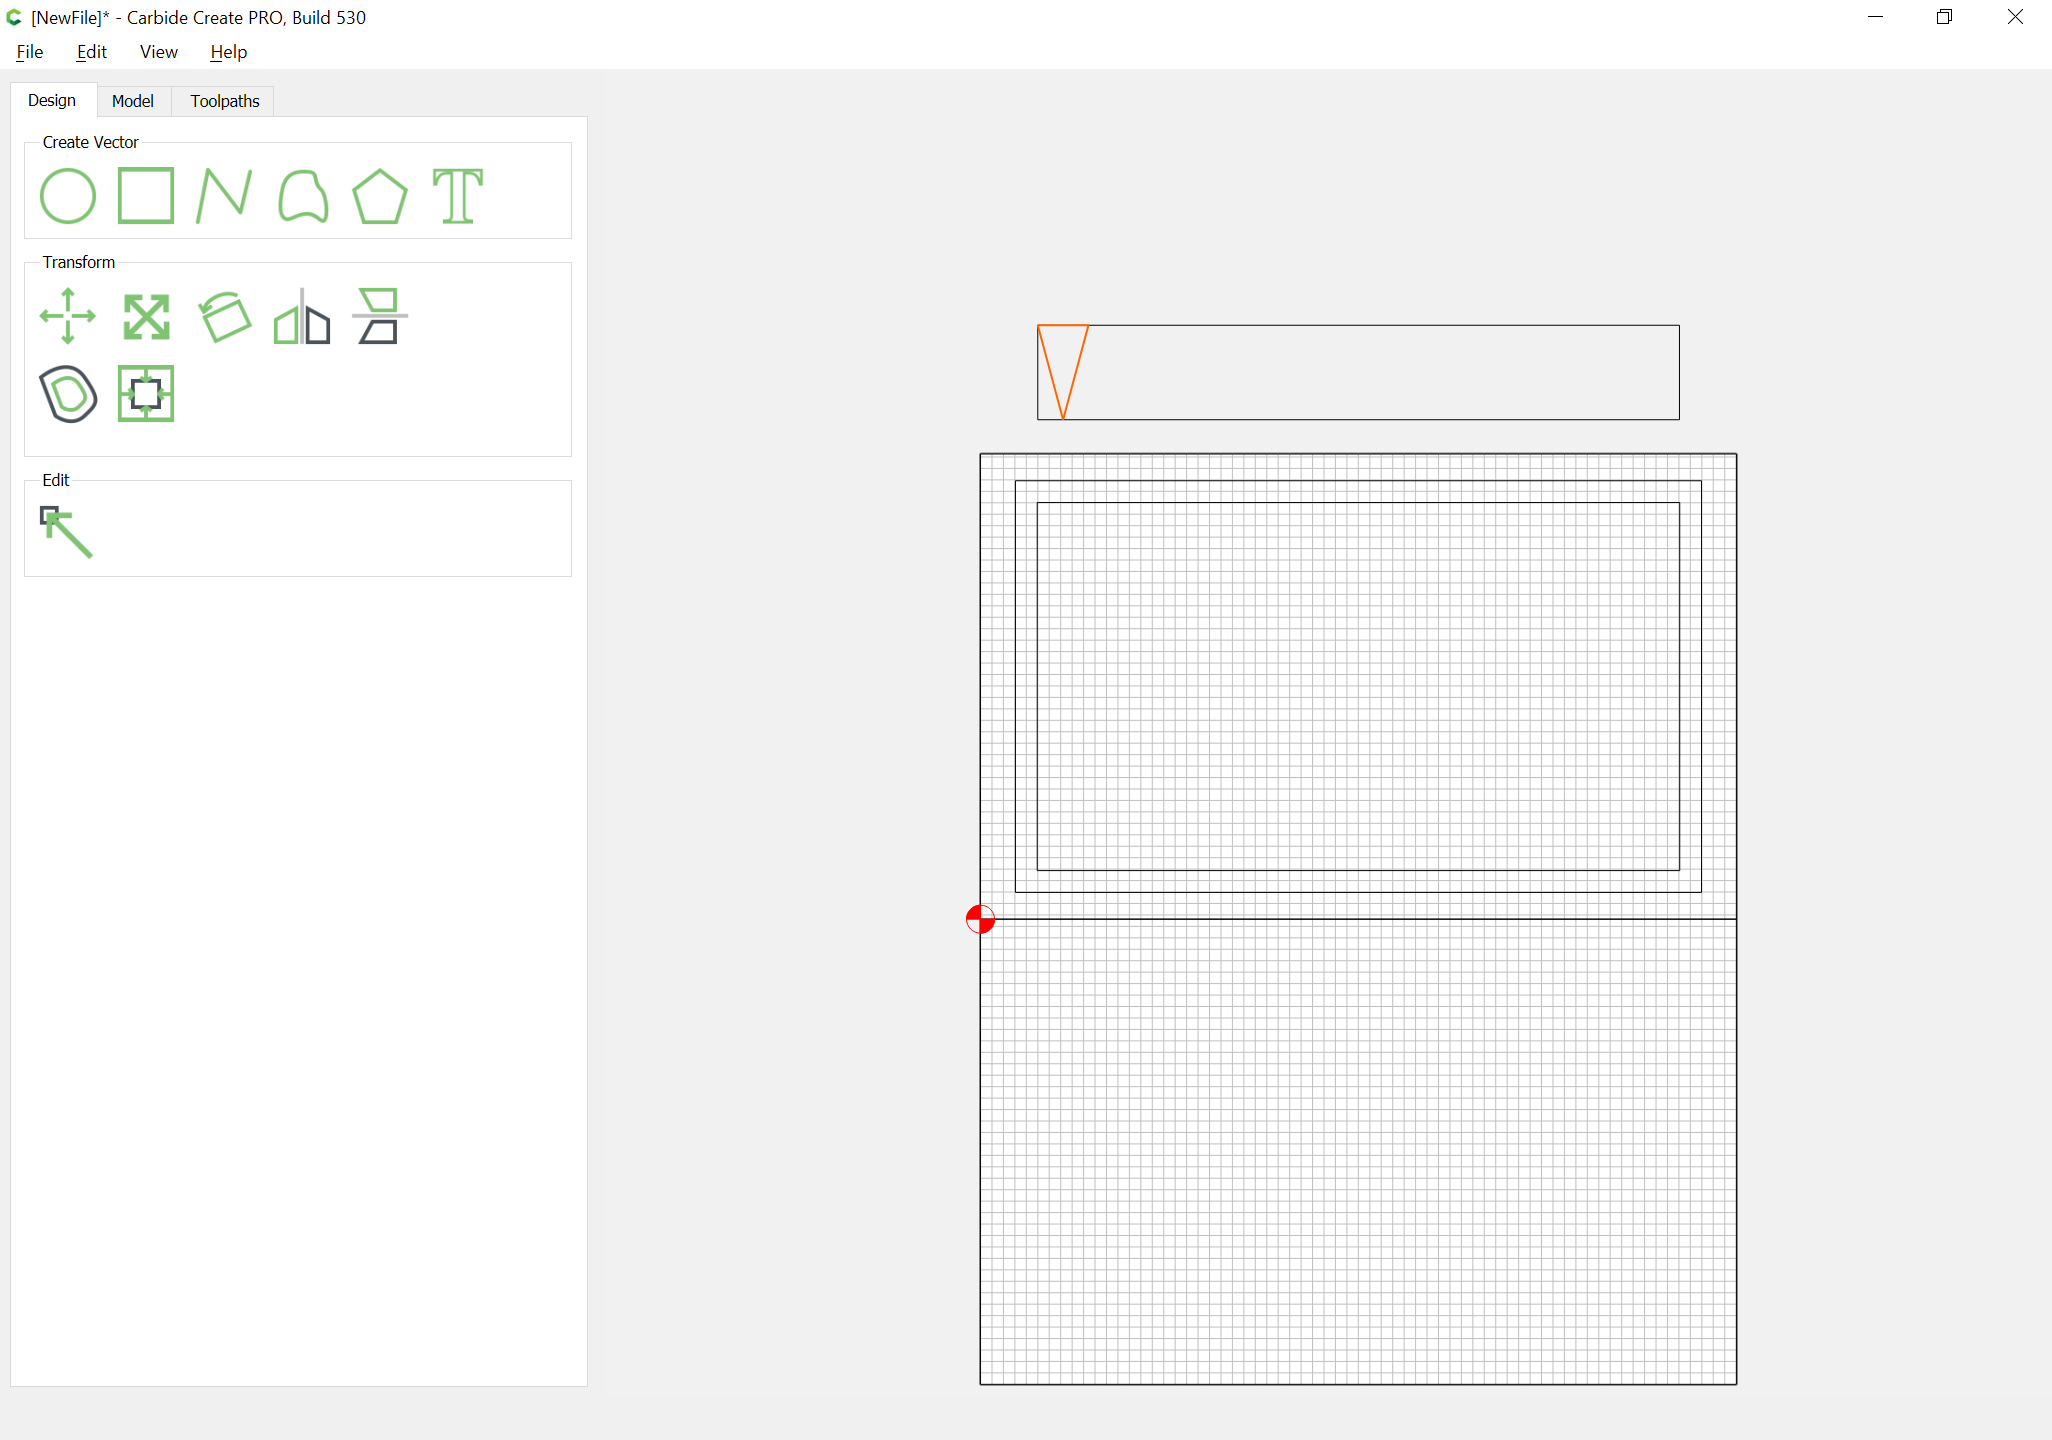
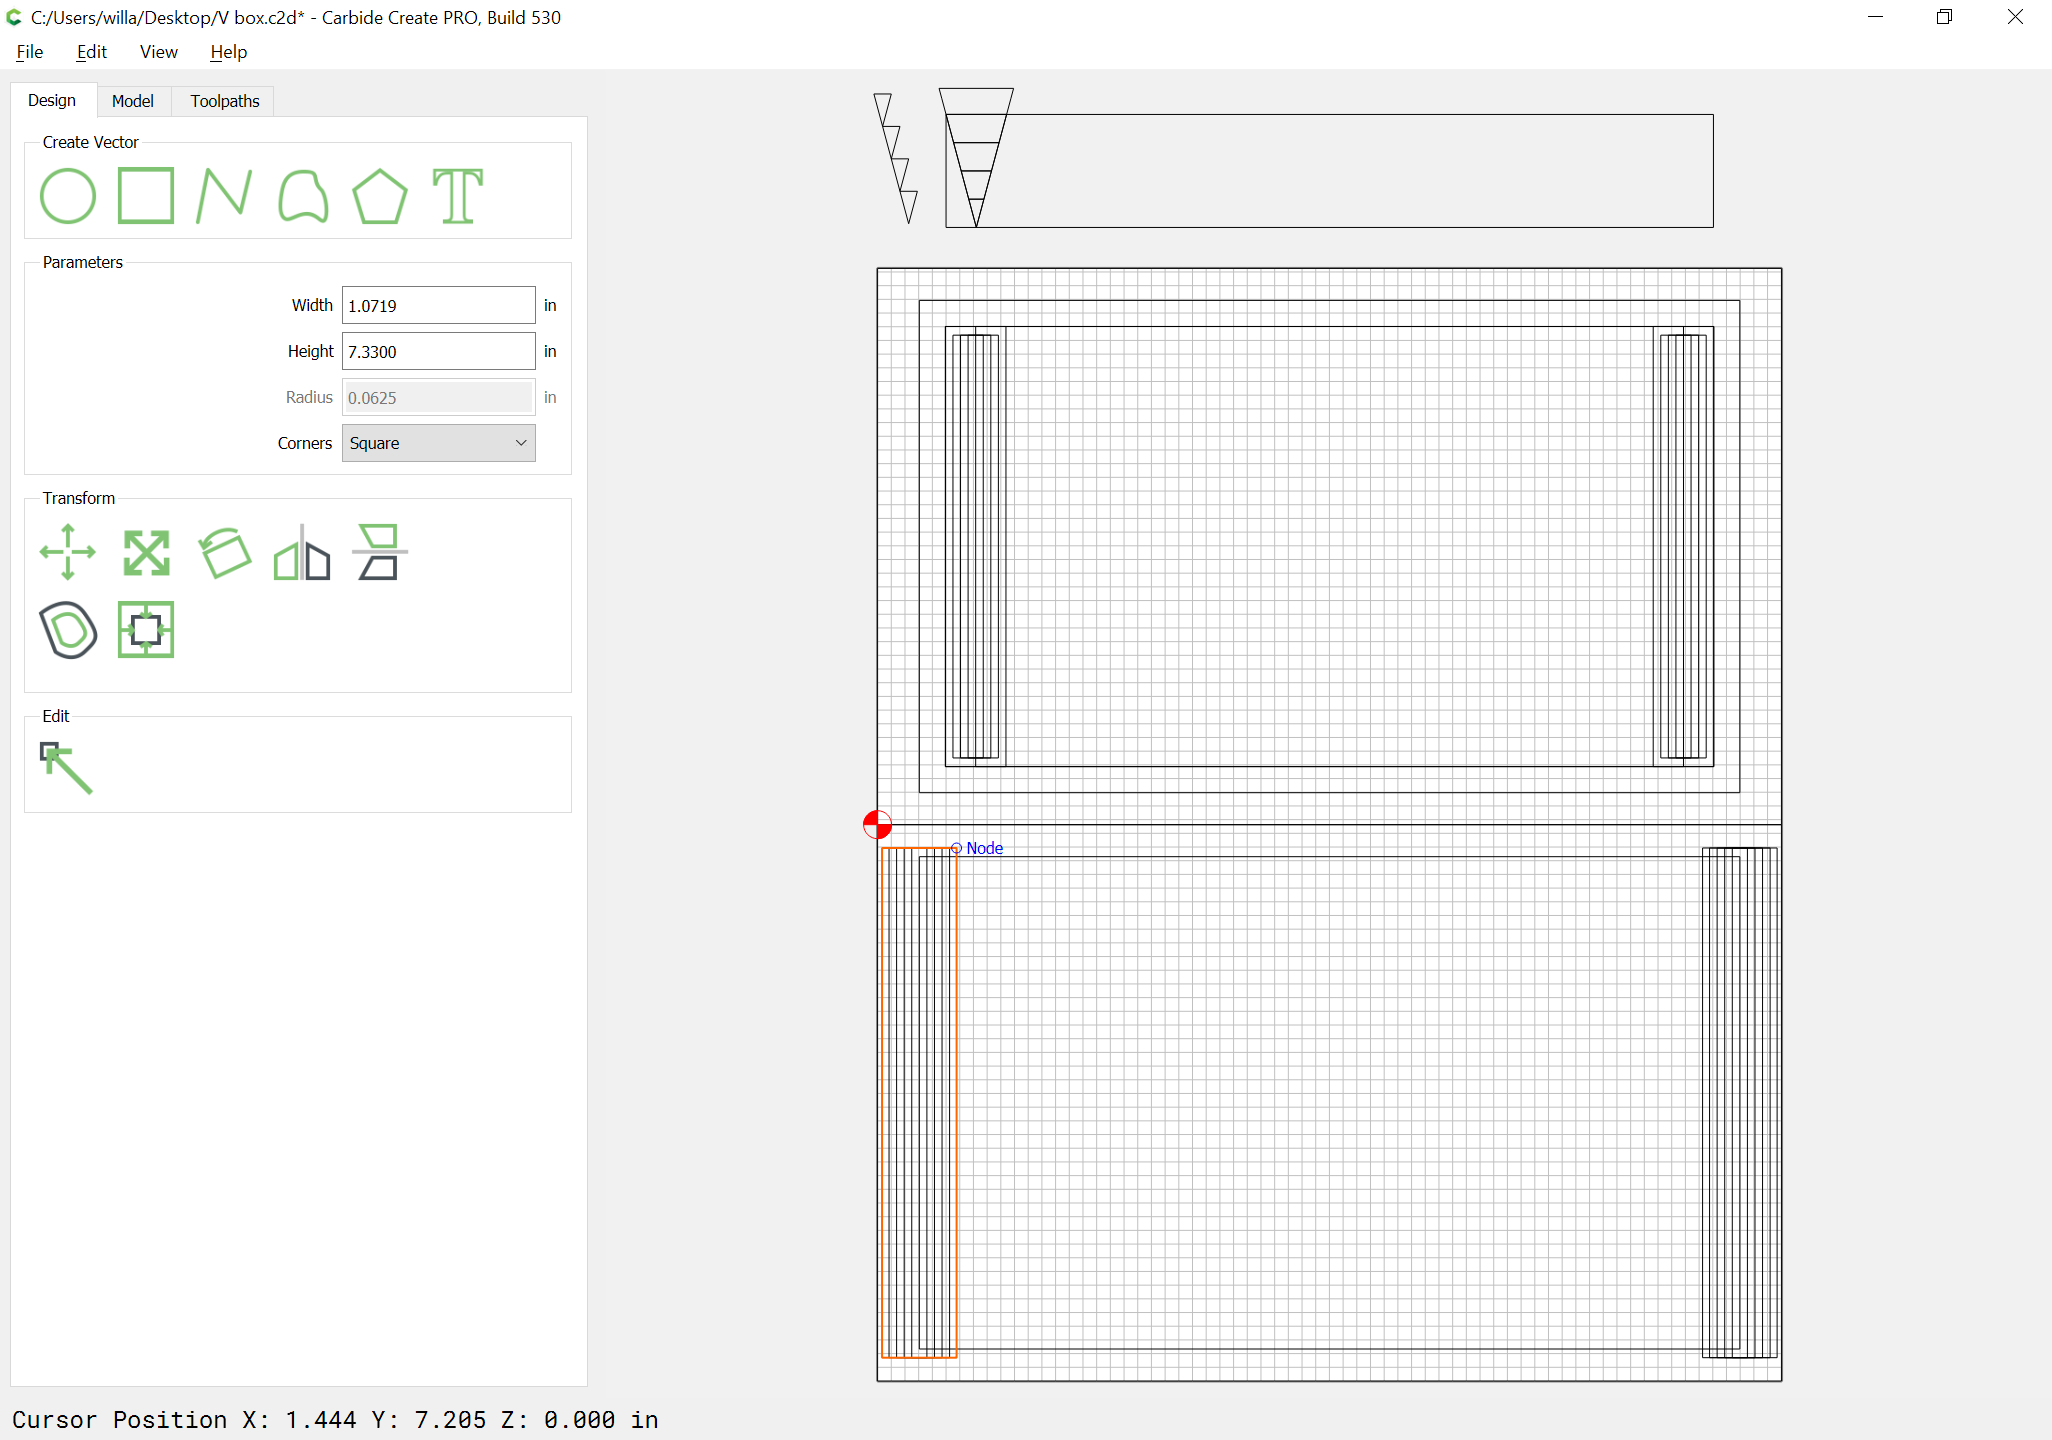
Note especially the use of the center-left for origin — this allows setting up the top and bottom in one file (just use groups and disable the one you don’t need), setting at top left corner for the bottom cut, and bottom left for the top cut.

1 Like

Draw a pair of boxes which define the top and bottom working area:

Draw in the geometry for the top and center it in the working area:

Then inset by the thickness of the box — 3/8" should be sturdy enough and yield a good proportion:

Apply

1 Like

Next we have to calculate the width of the V carving at the ends — this could be done w/ some trigonometry, but it’s easily done by just drawing, so:

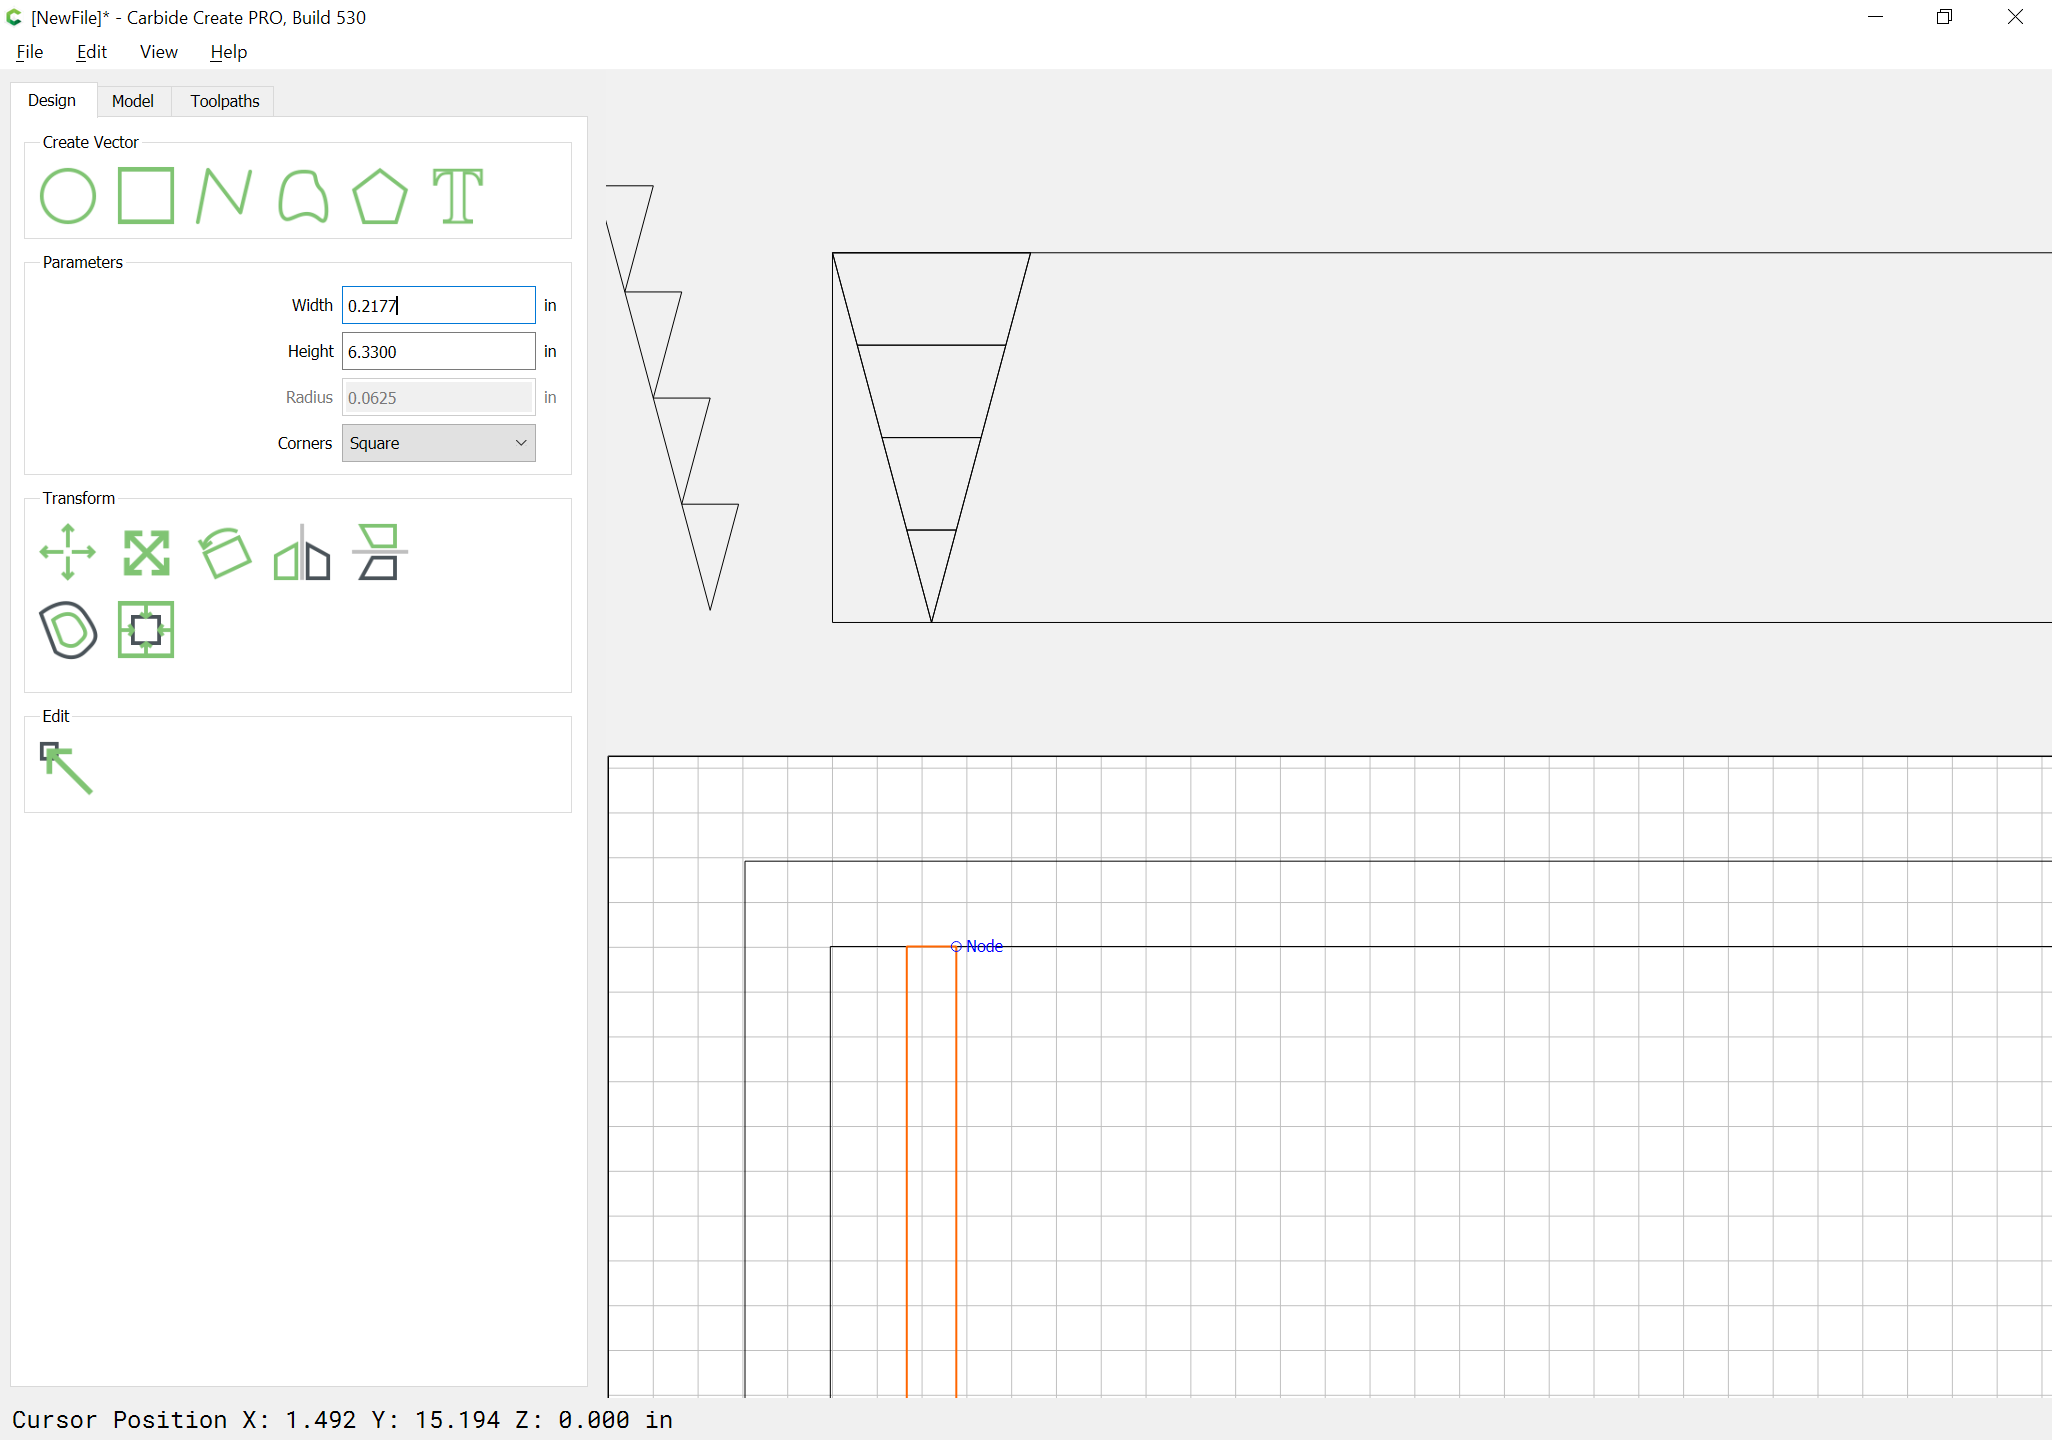
(the triangle is made by drawing a tall rectangle, rotating it 15 degrees, the positioning the rightmost tip at the bottom midpoint of a duplicate of the profile geometry and Boolean subtracting it, then flipping it along the vertical axis and repeating)

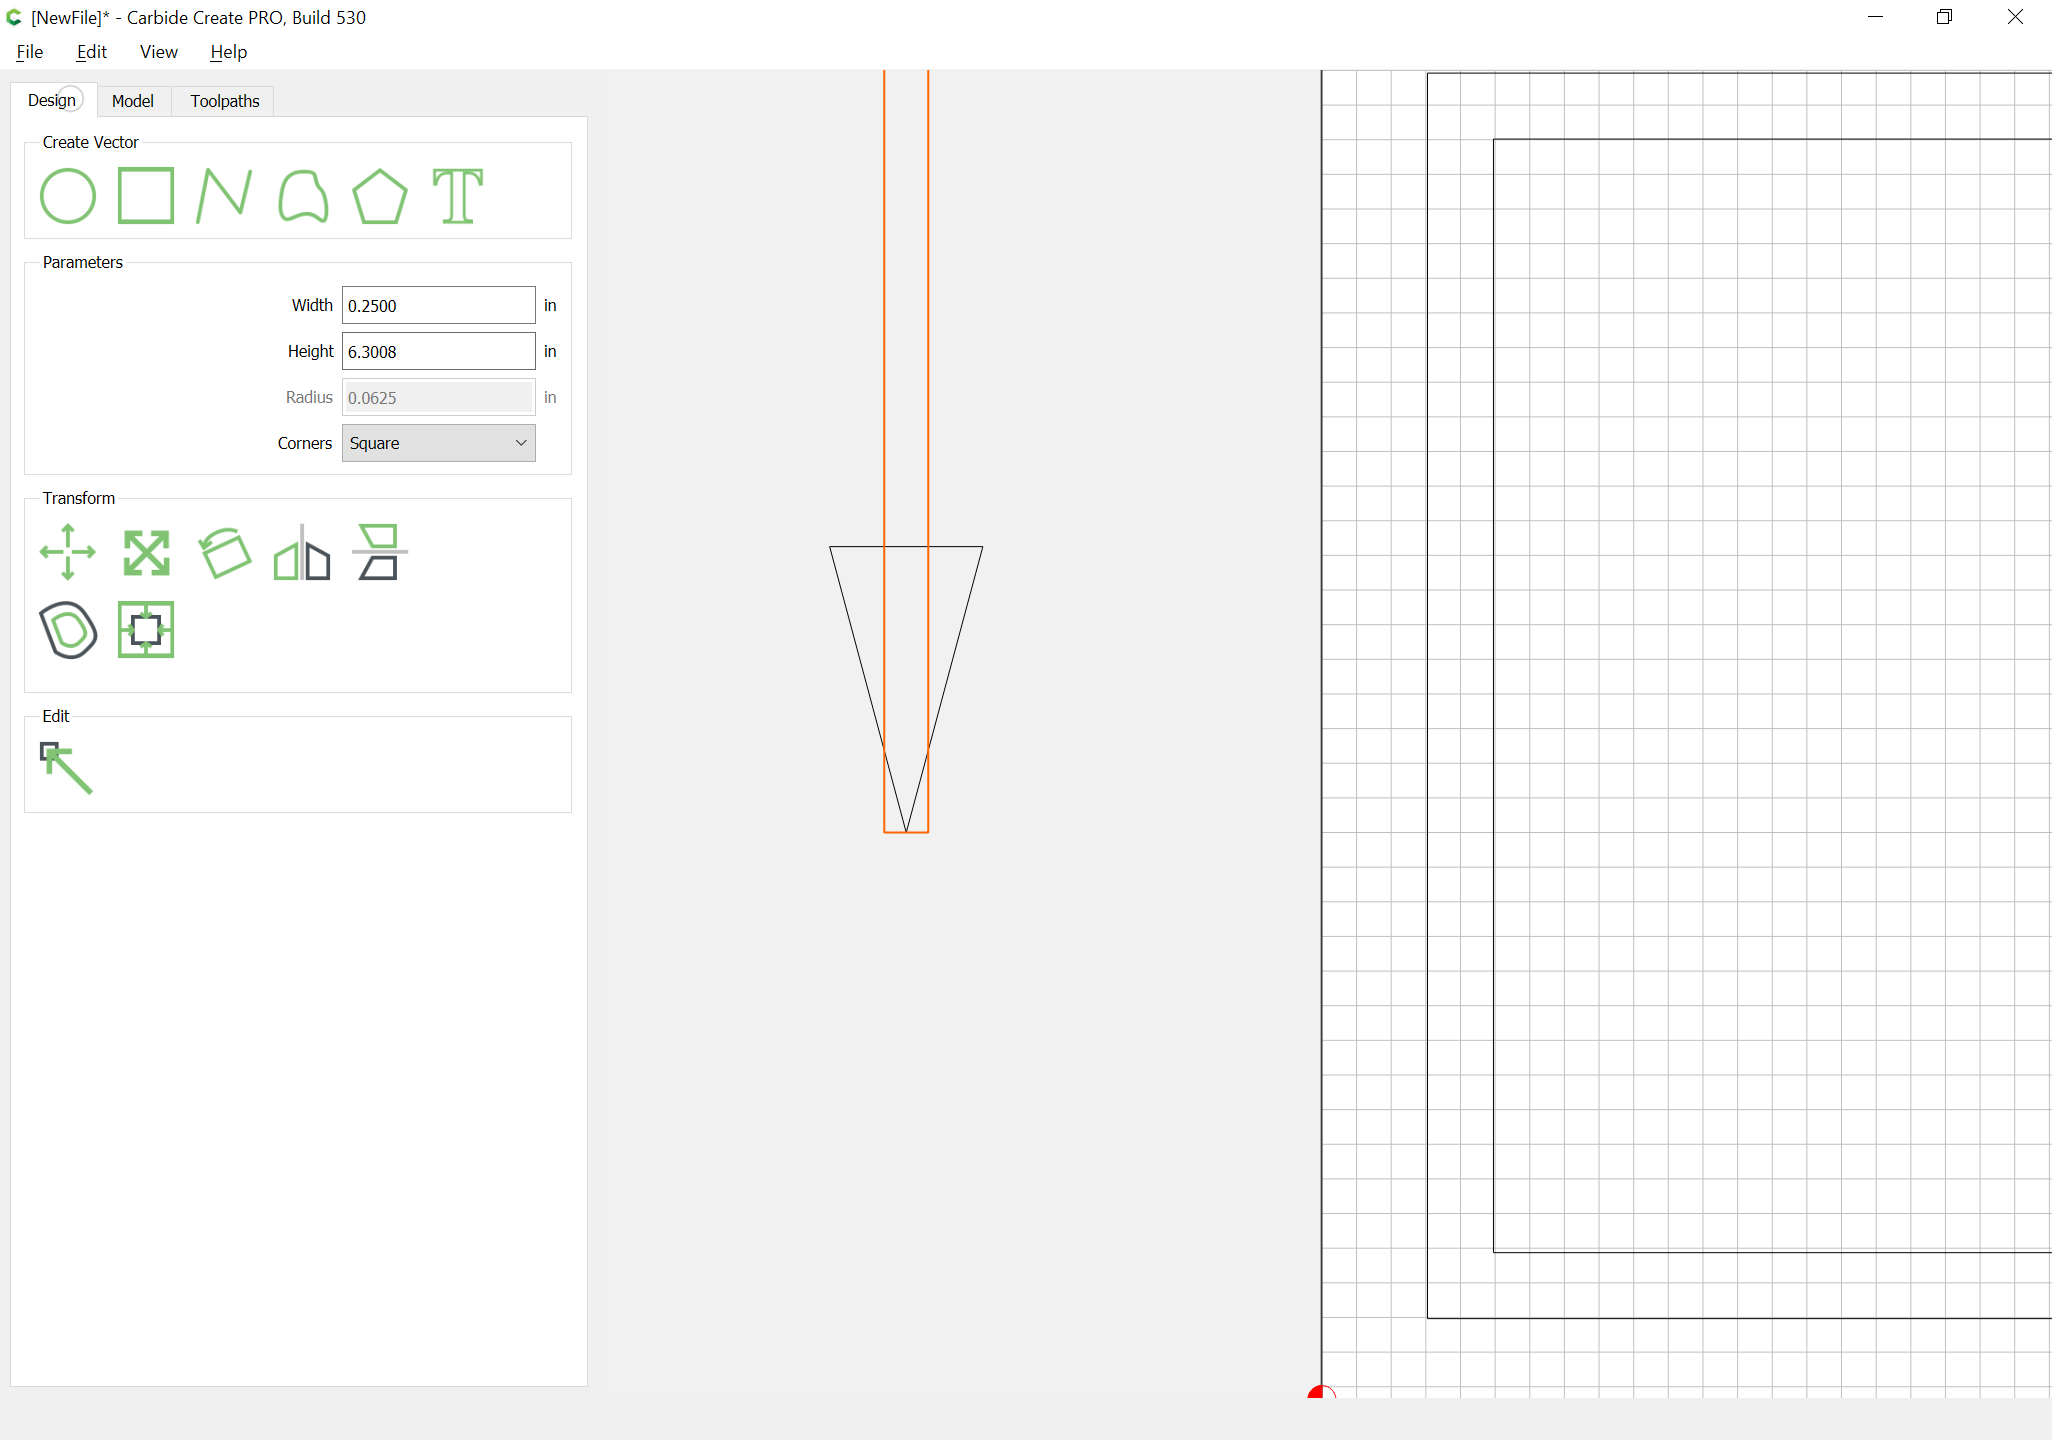
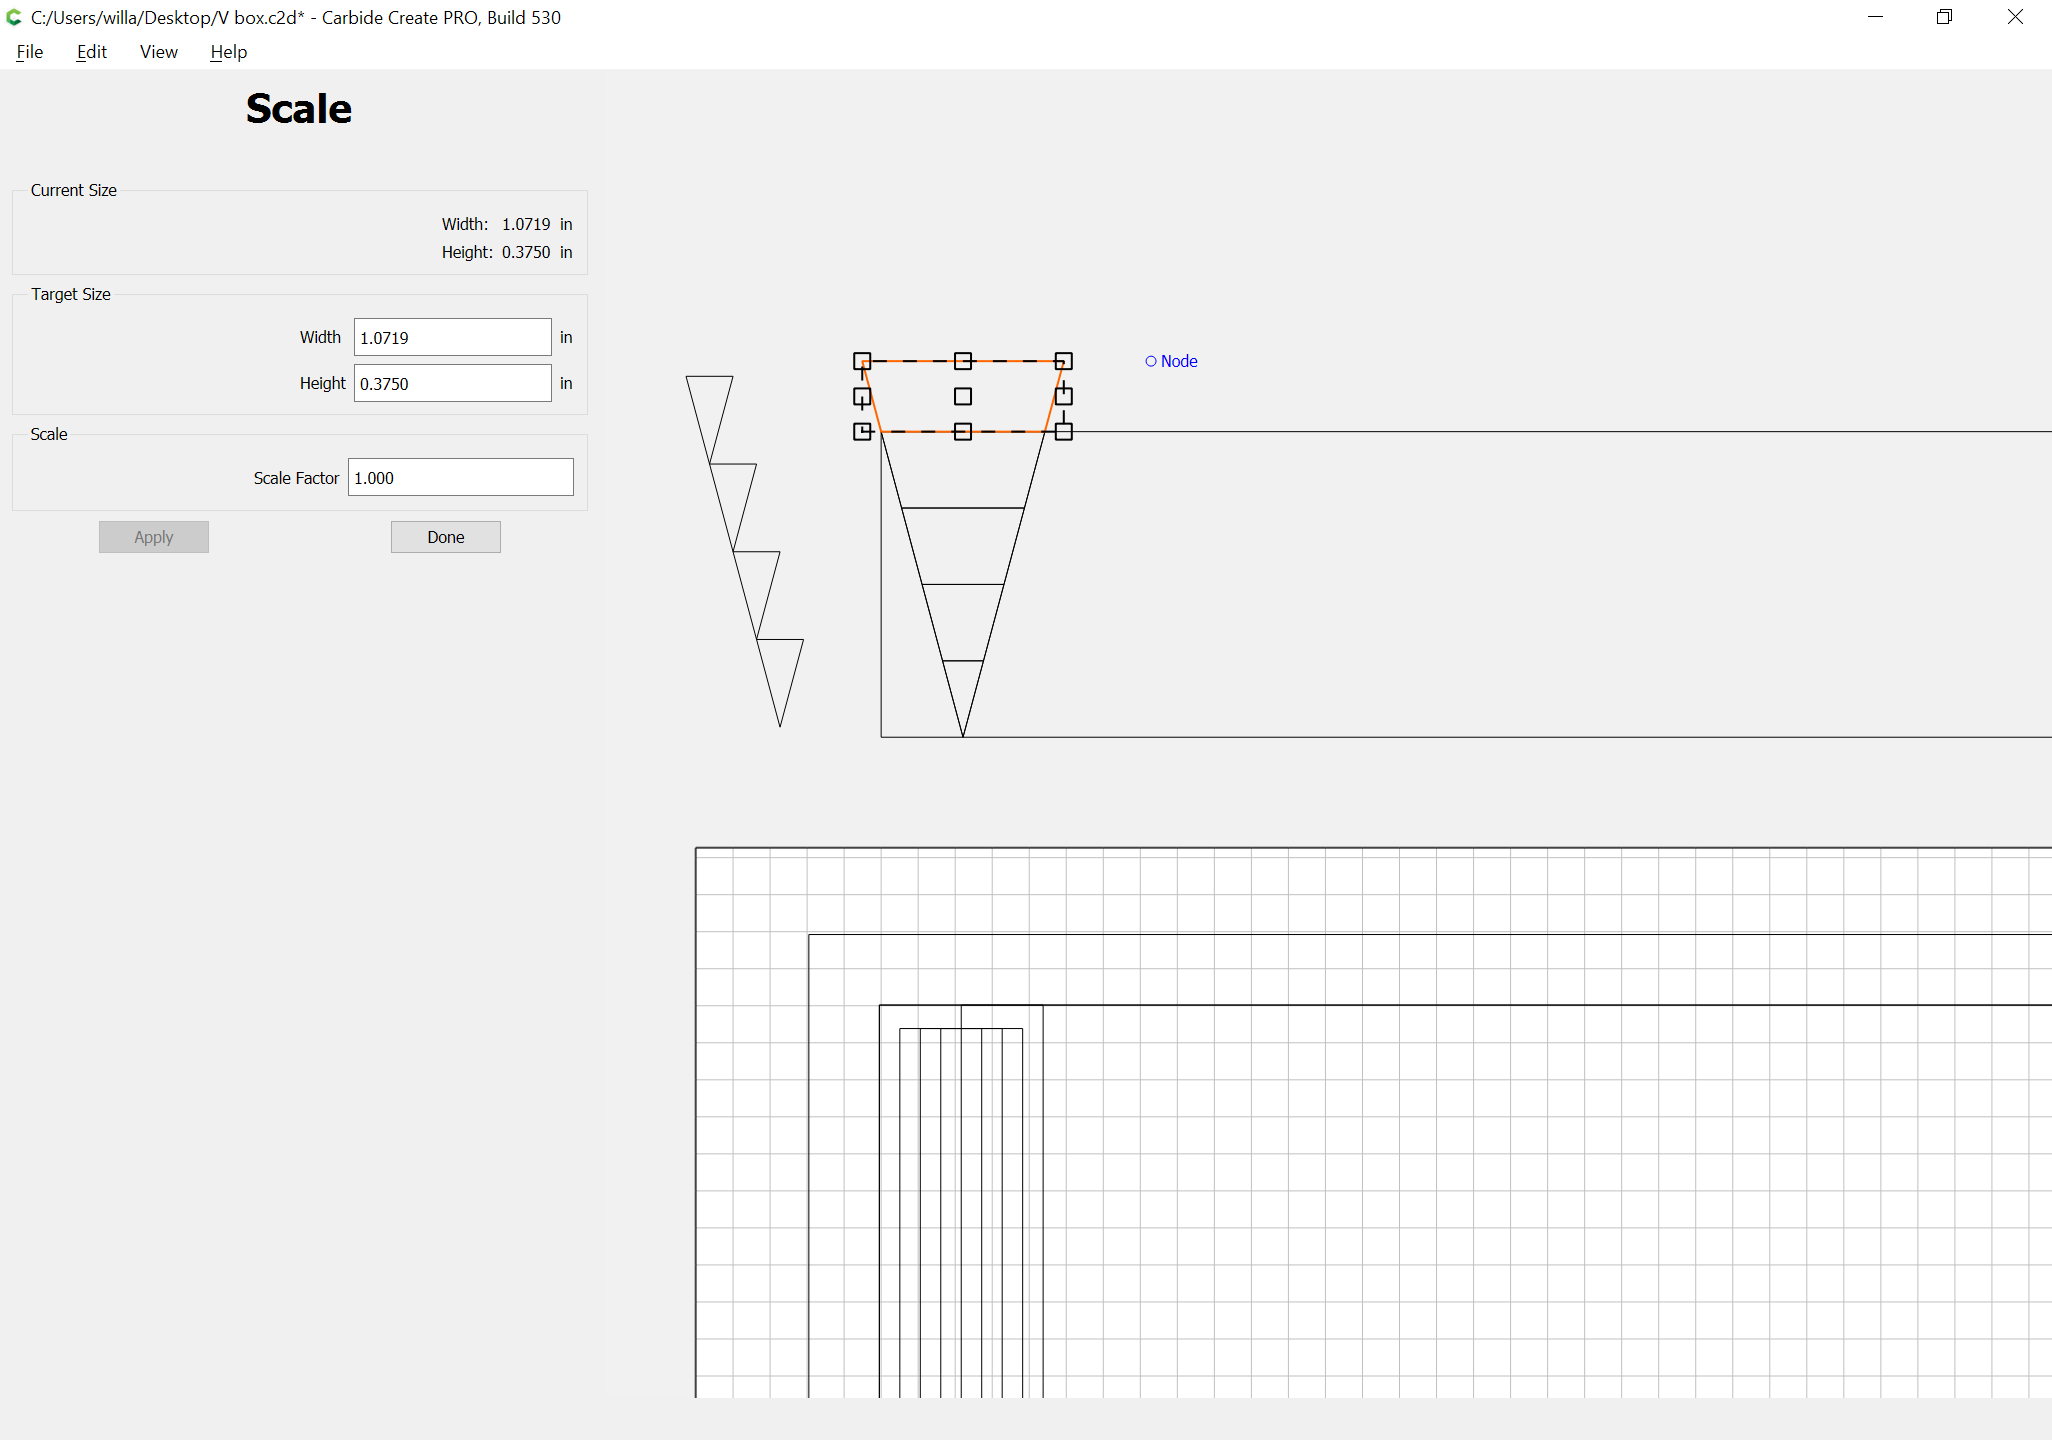
Similarly, we also need to know how deeply the 30 degree V endmill can cut — assuming a 1/4" diameter tool:

so we will want at least 4 passes — easiest to make them even, so duplicate the profile V and reduce to 0.25 scale:

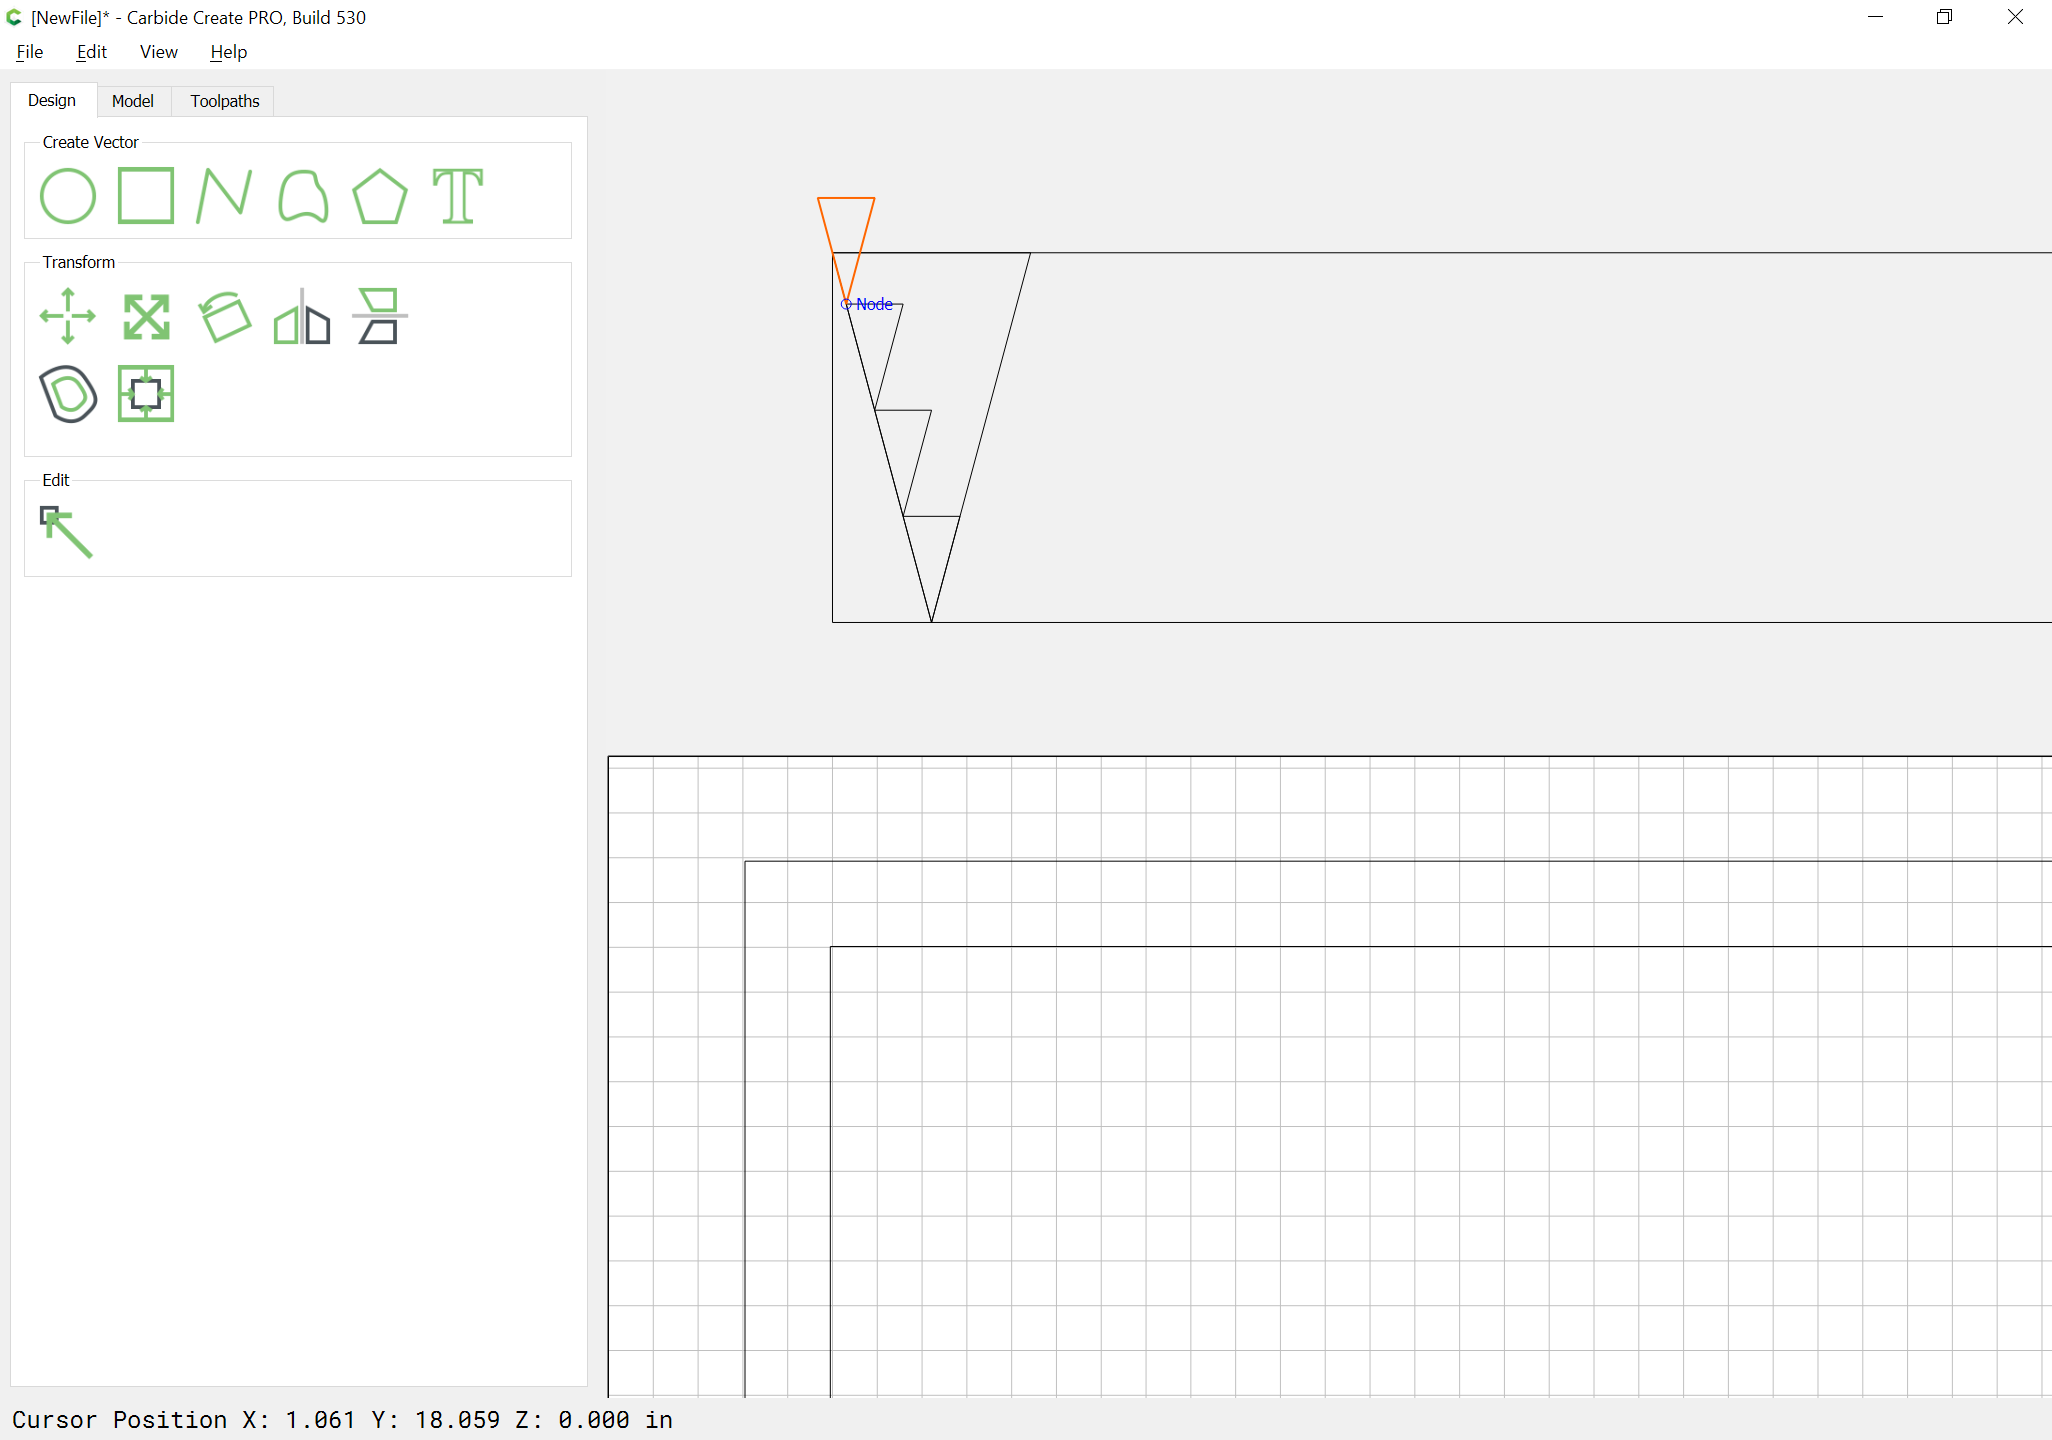
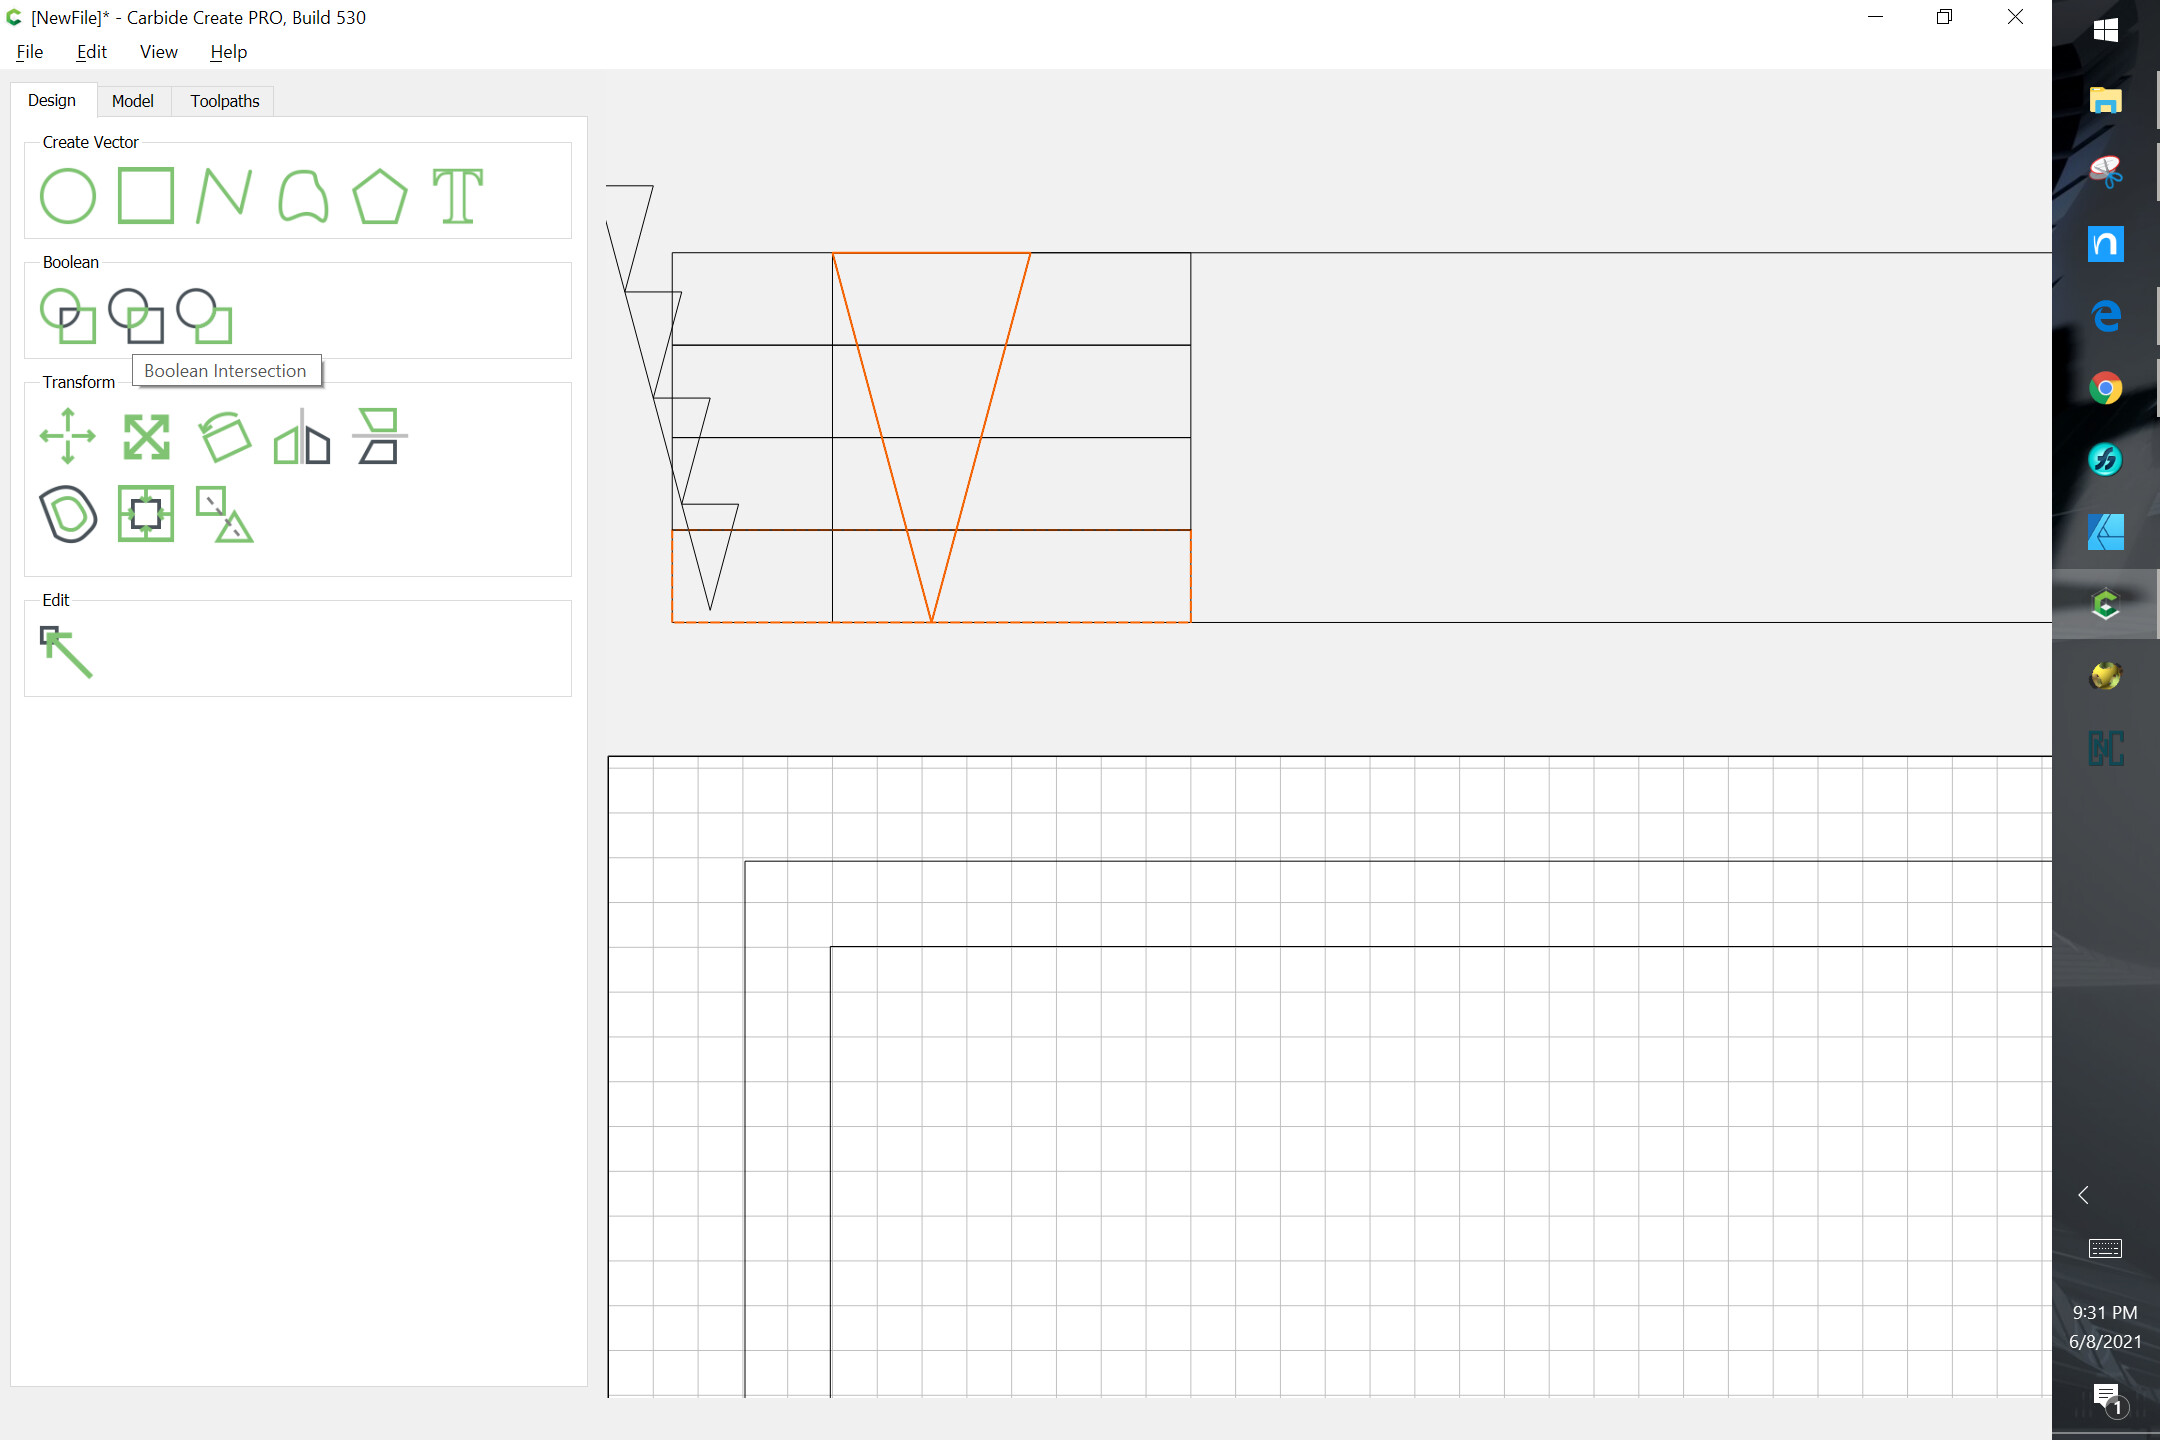
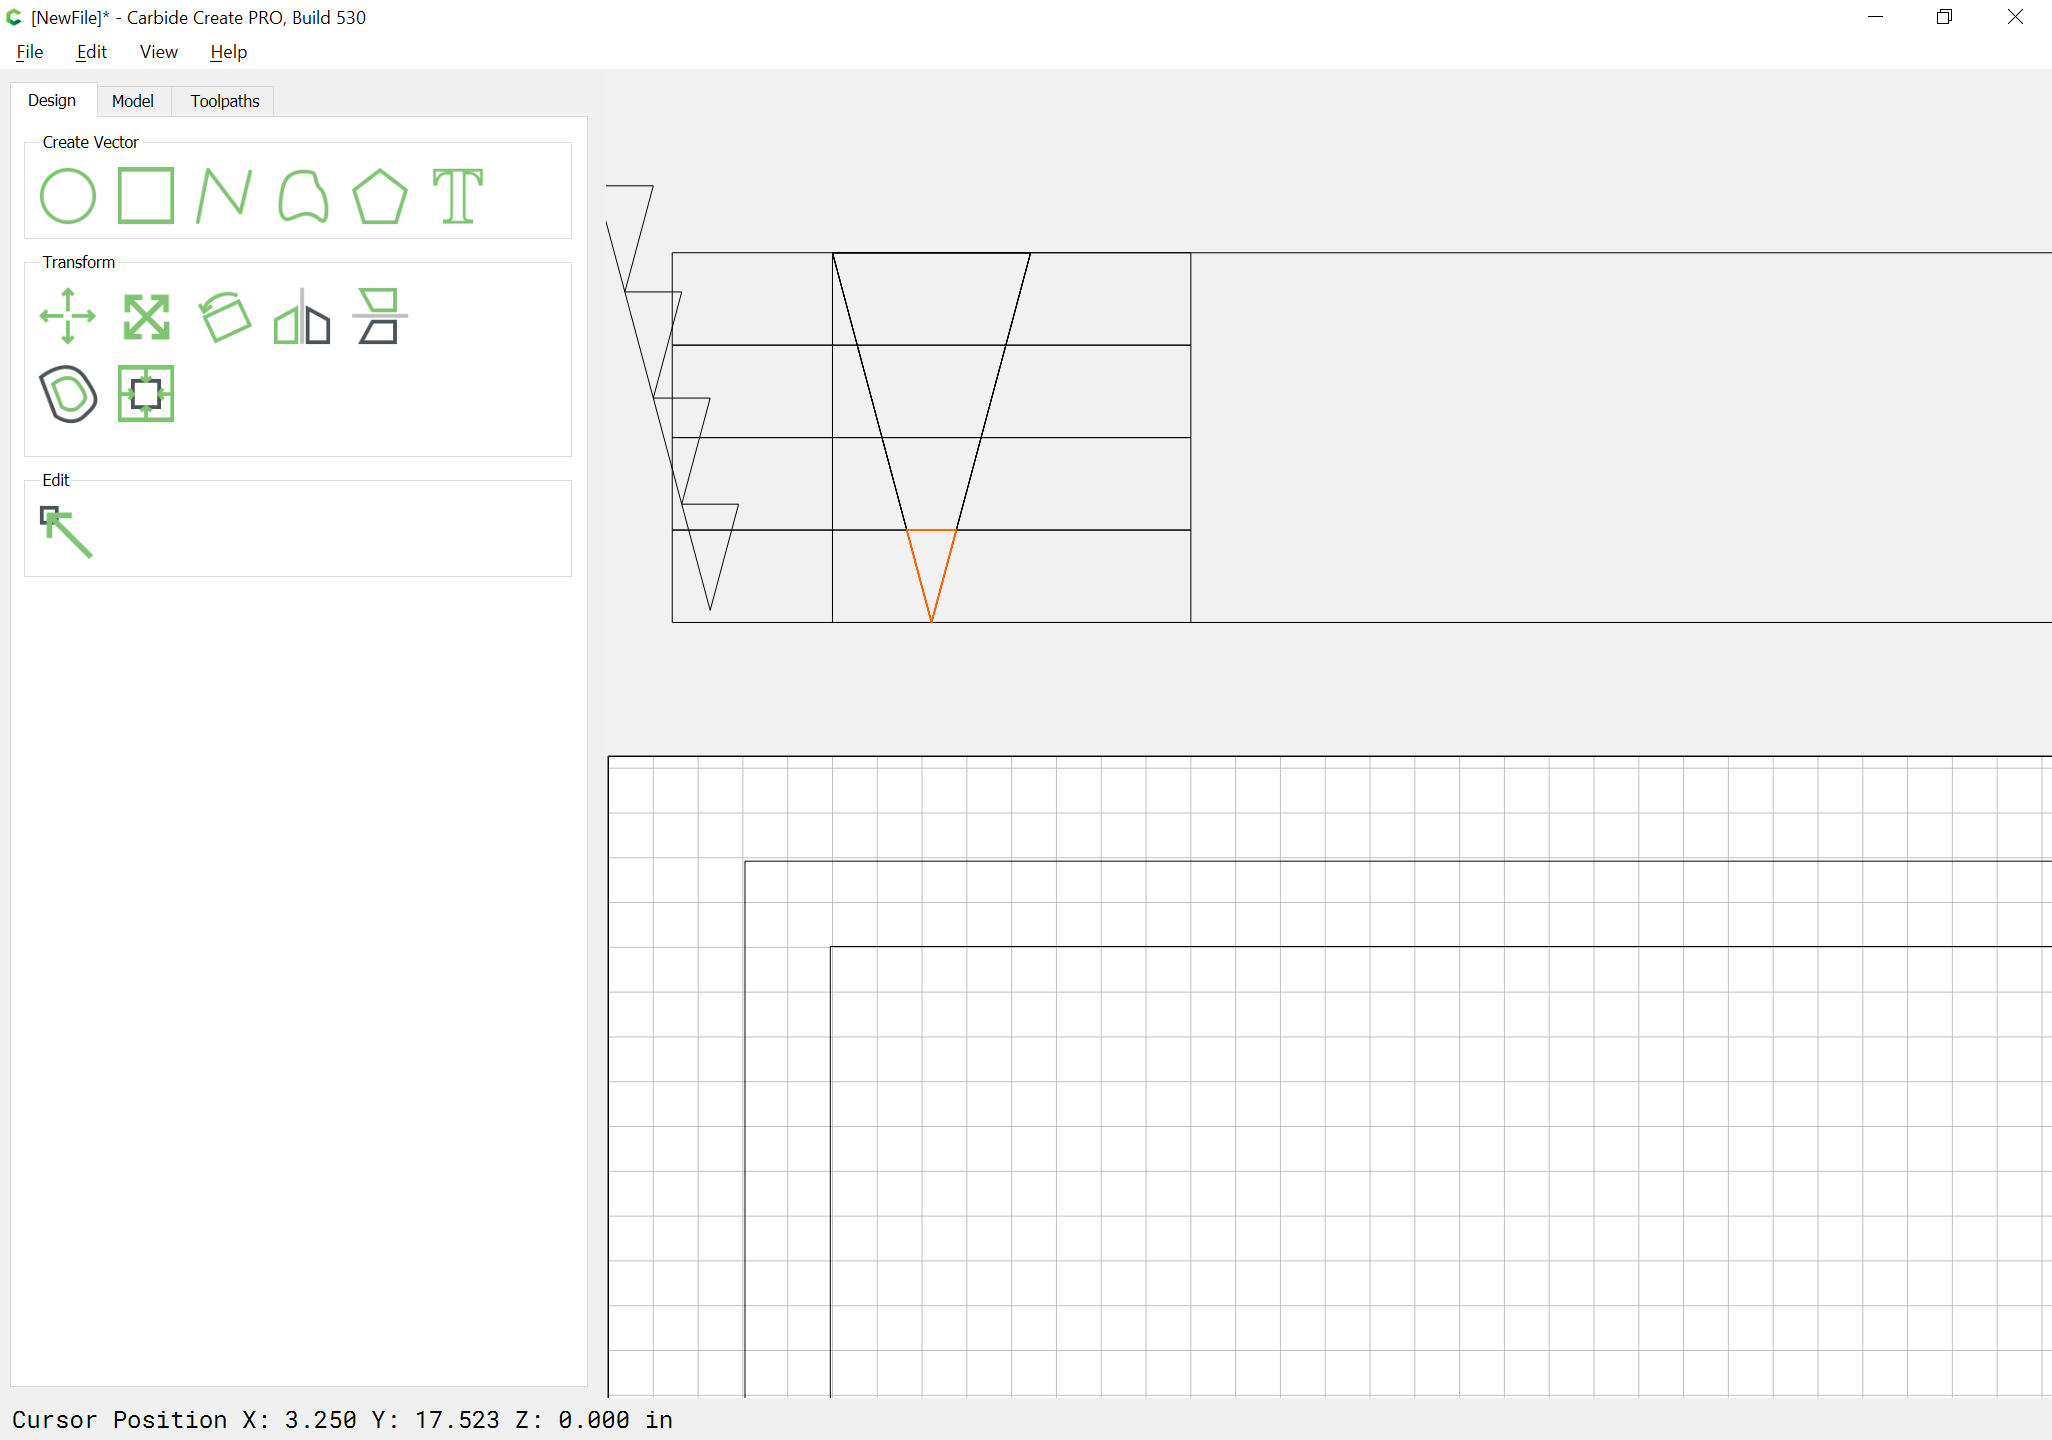
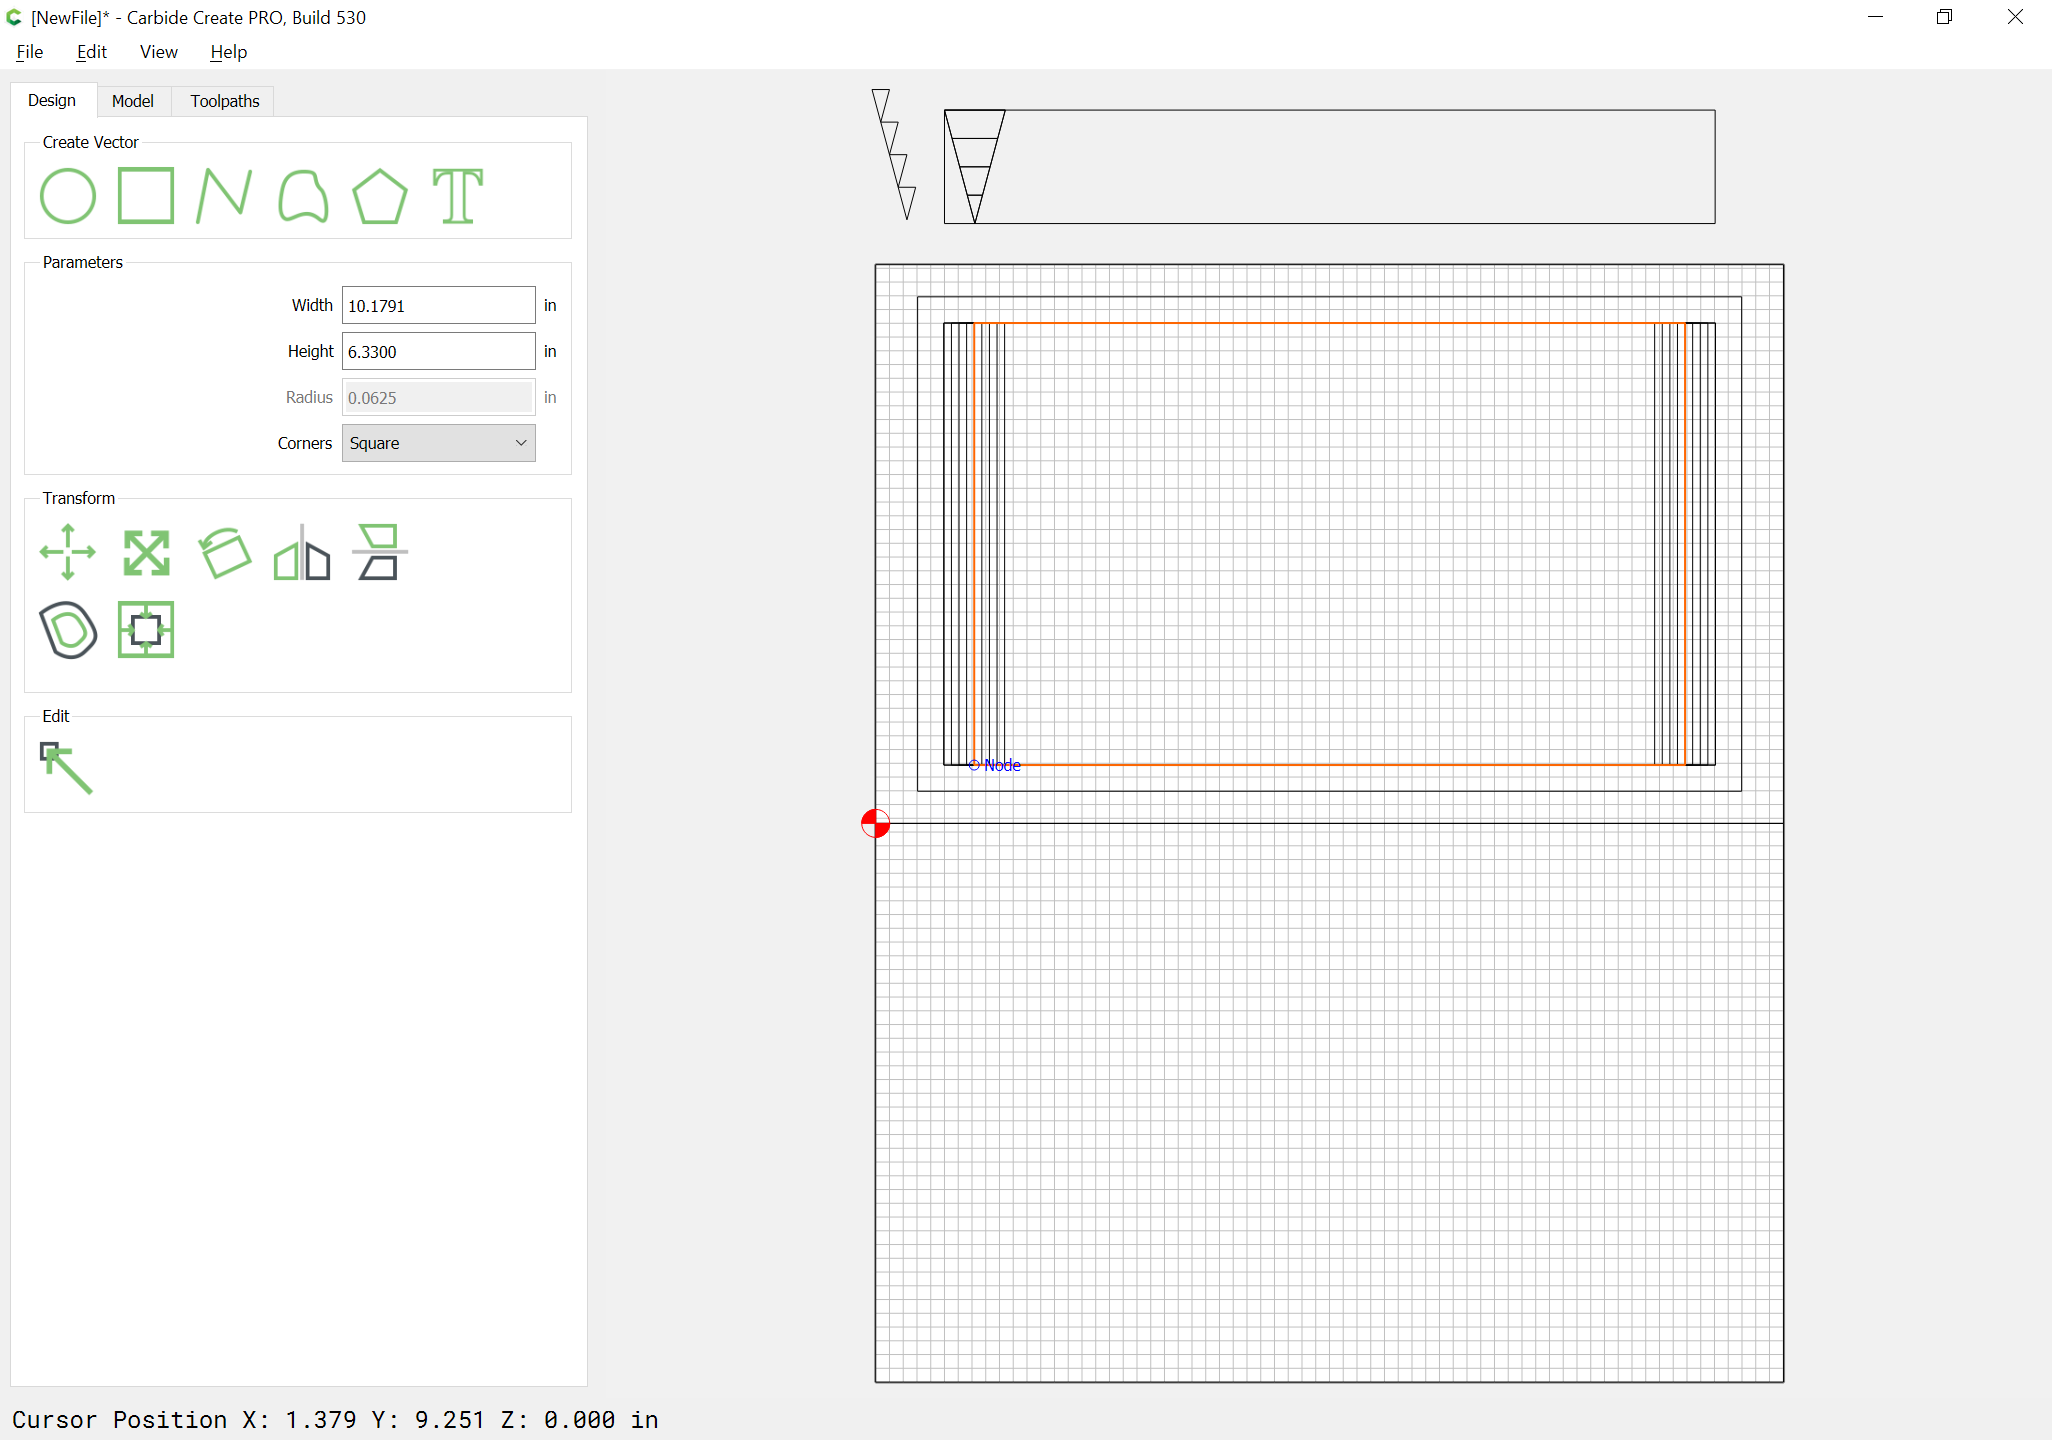
then make 4 rectangles that height which are wider than the V and duplicate the V 4 times and drag each duplicate into registration and stack the rectangles and then do Boolean Intersection for each pair:

Next draw a rectangle as wide as each of the truncated cones which is as tall as the box (for the first):

aligning it vertically w/ the box inset and horizontally w/ the matching cone section — repeat for each:

EDIT: but note that the successive rectangles should have their height reduced by the diameter of the endmill (this is not shown)

1 Like

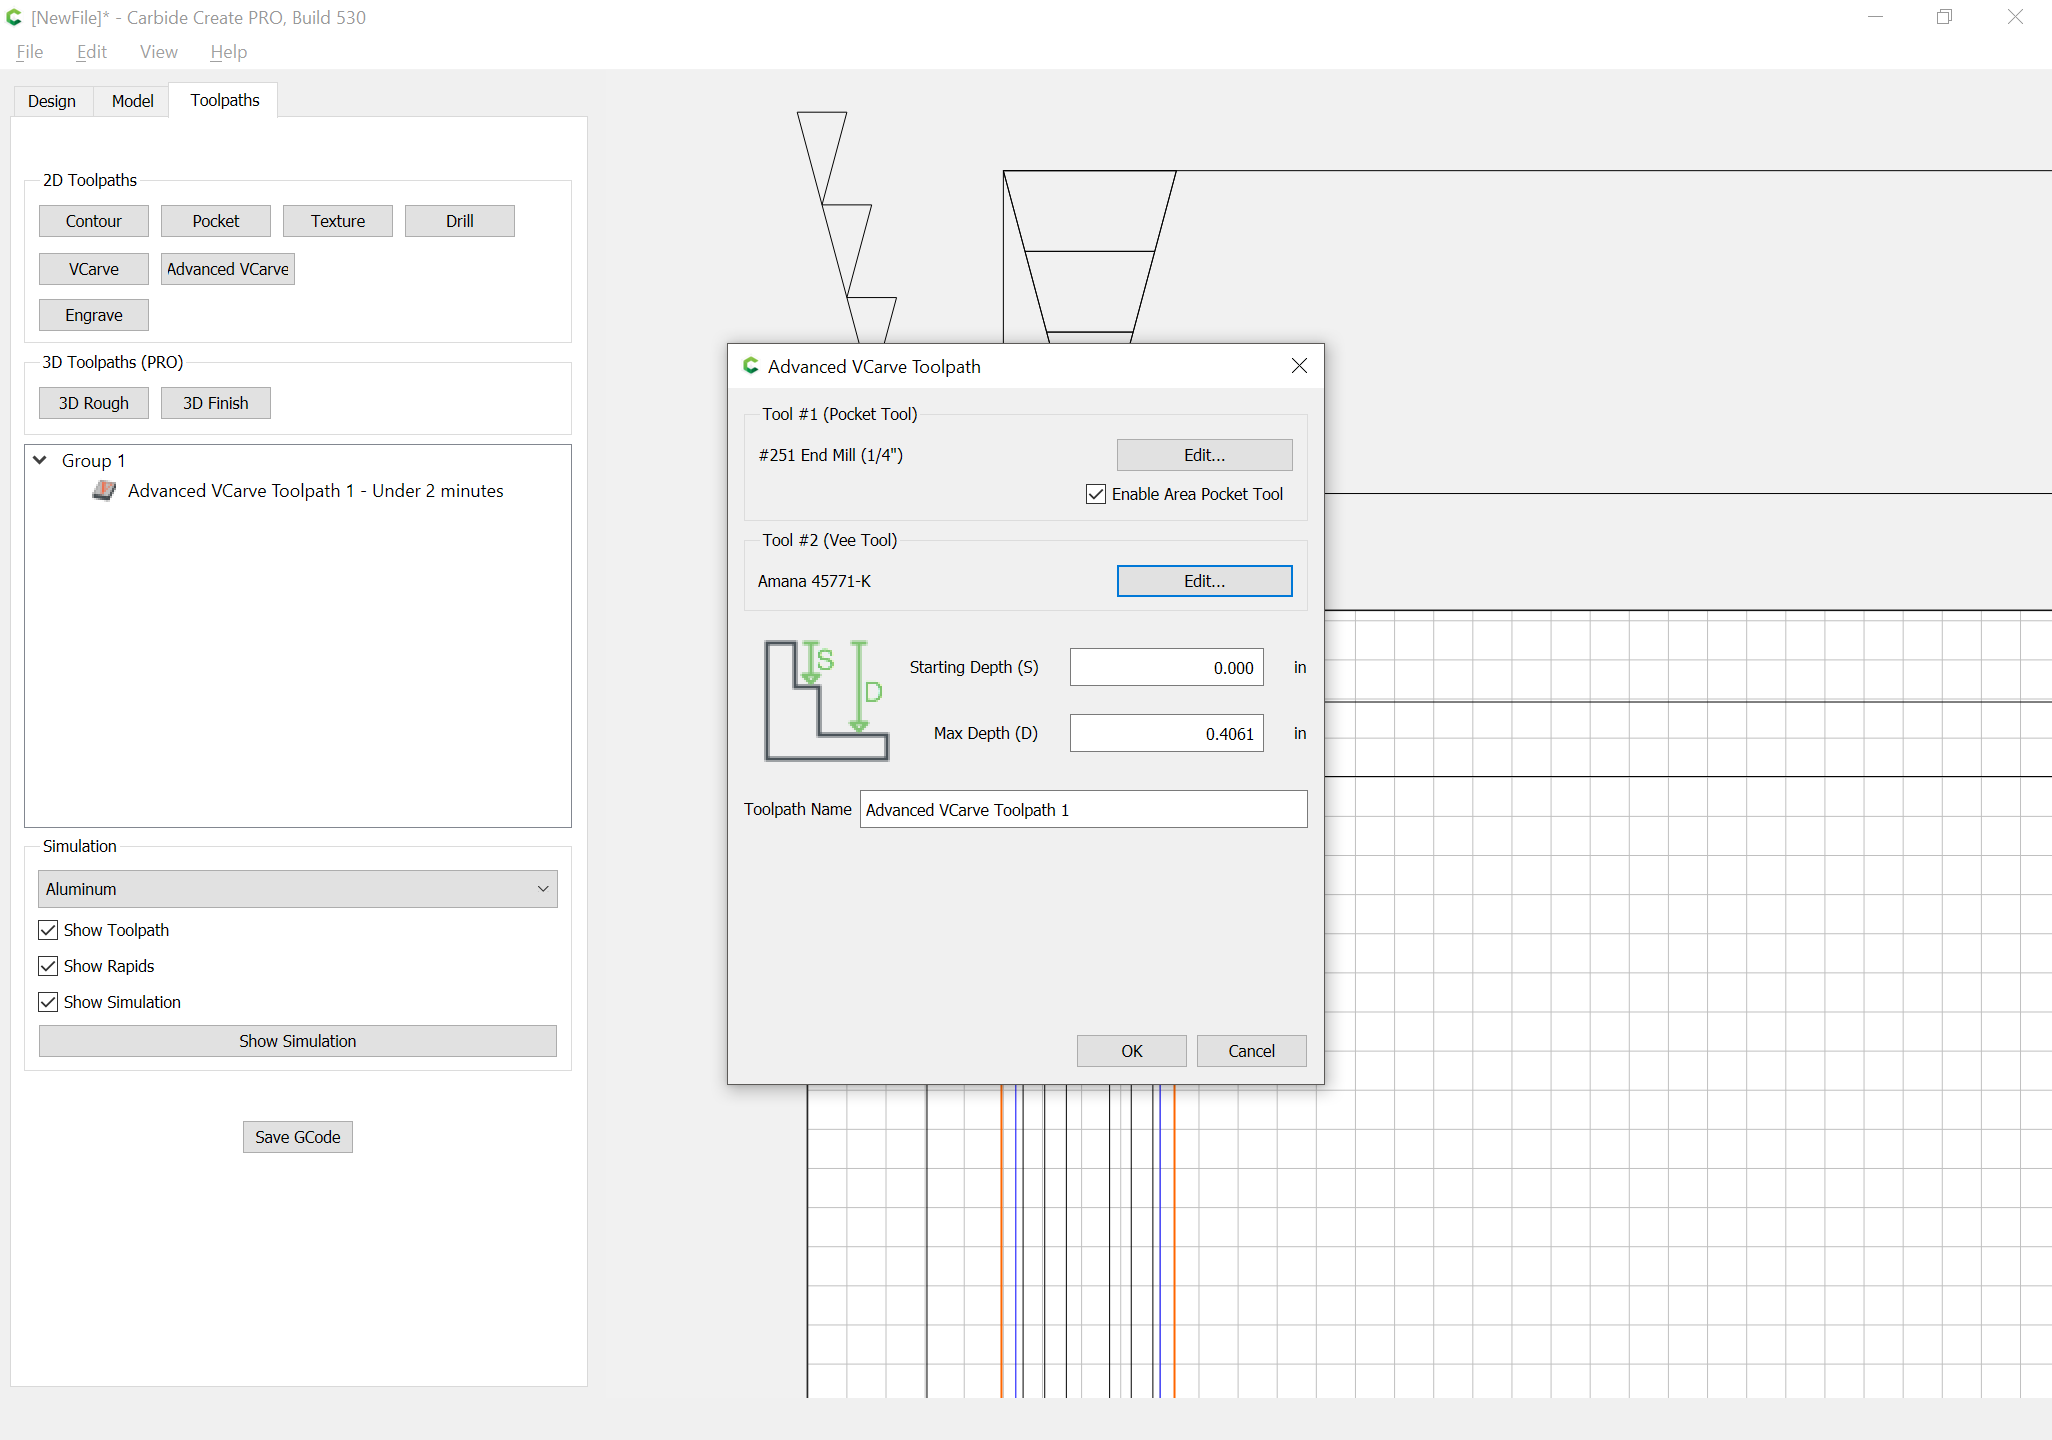
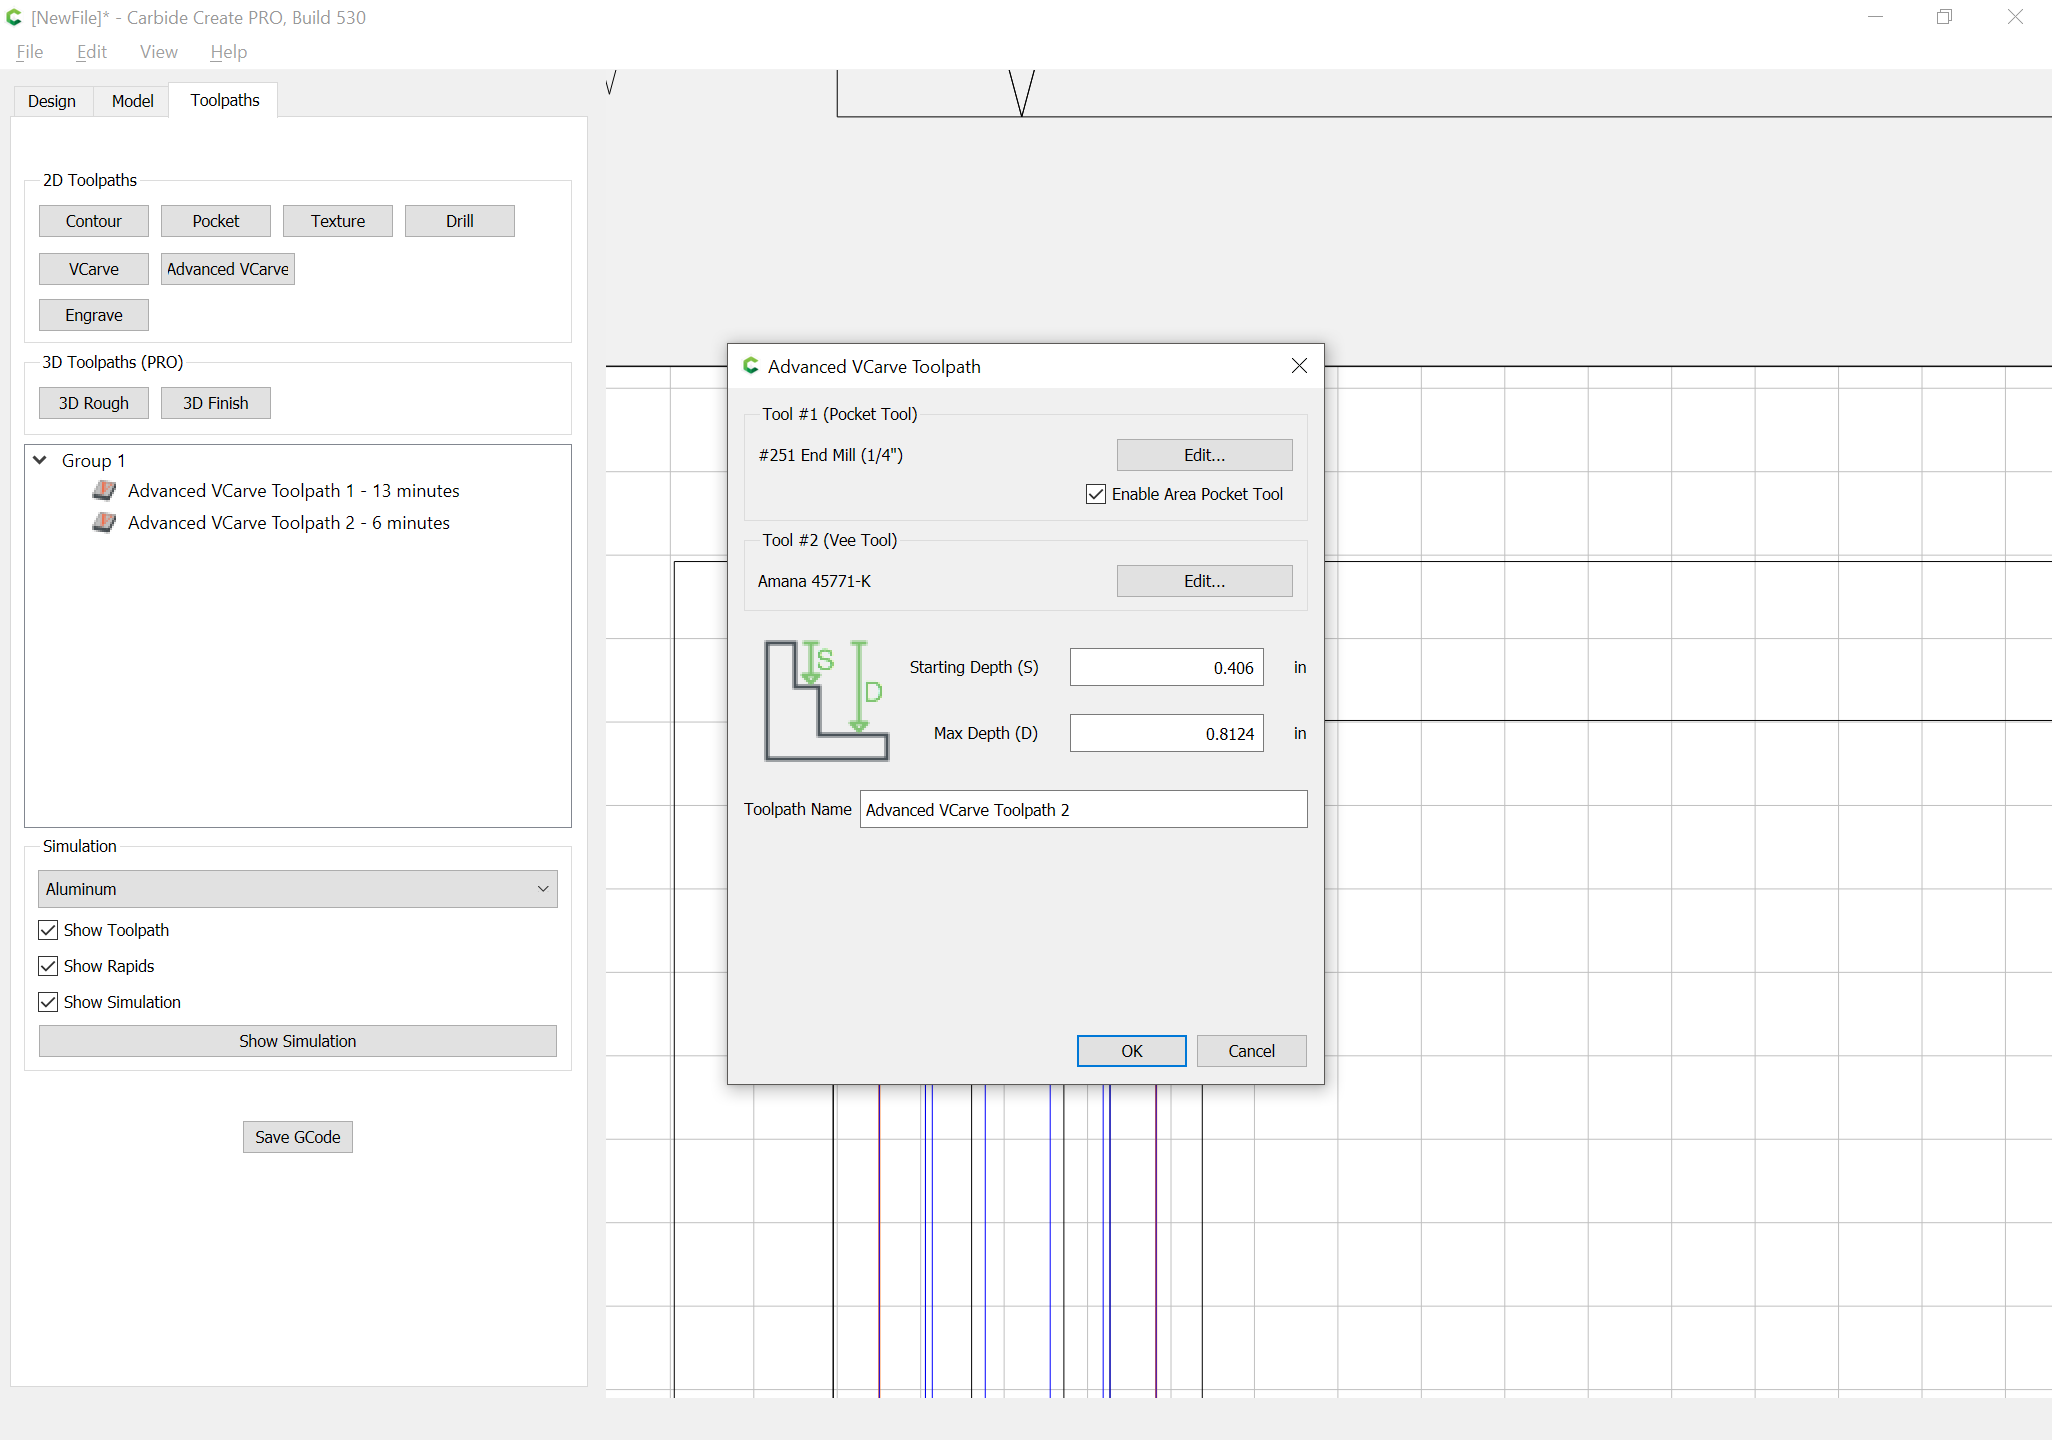
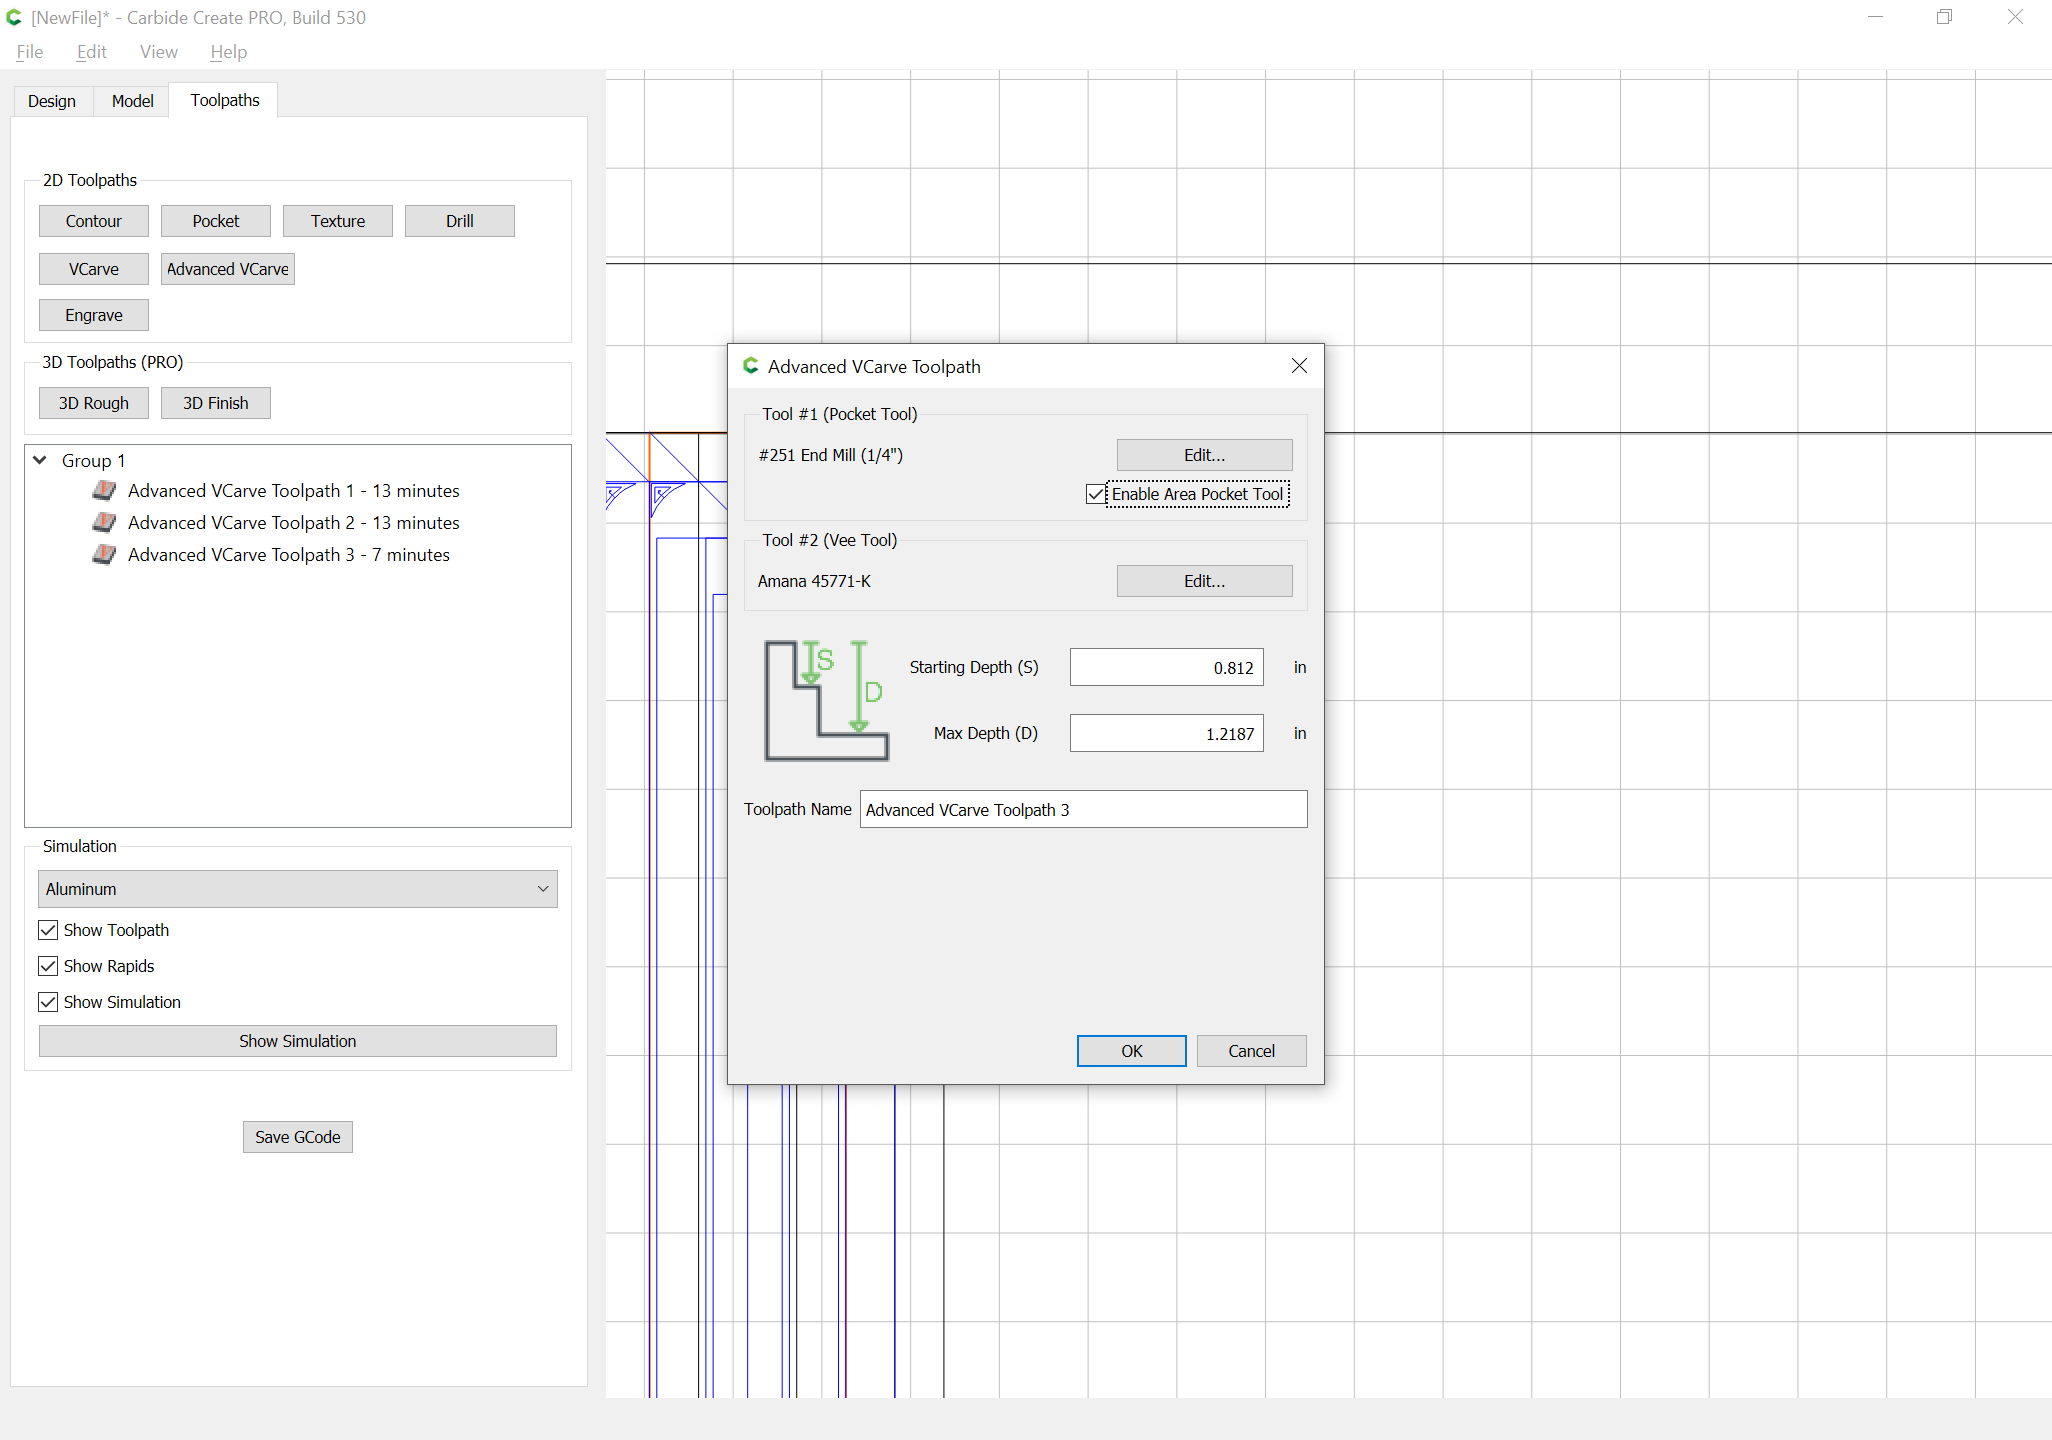
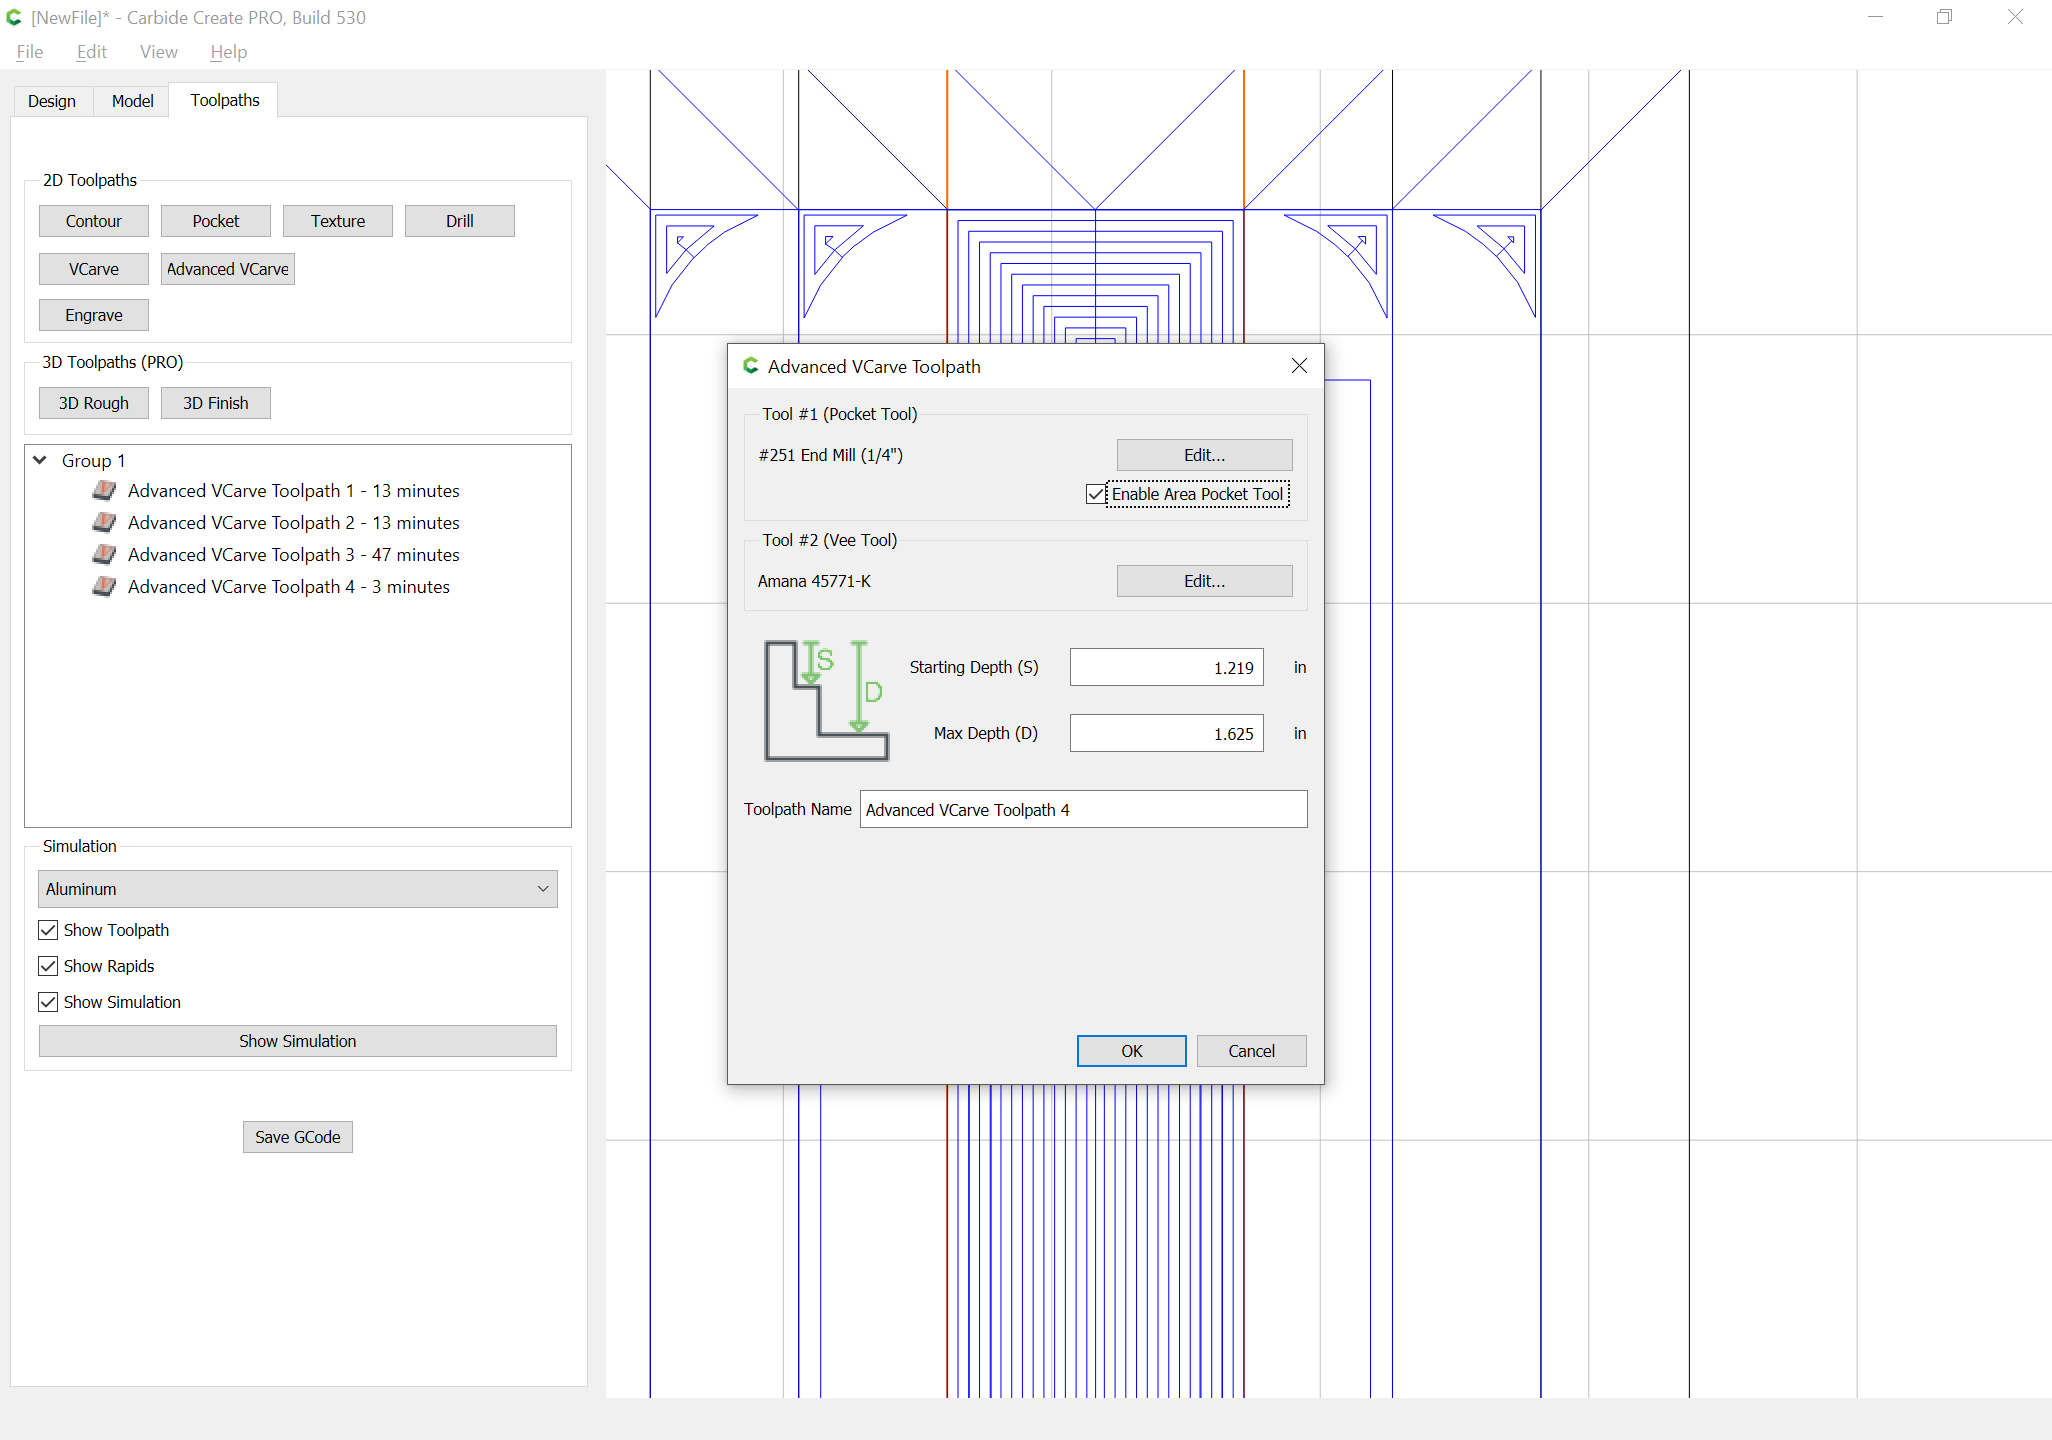
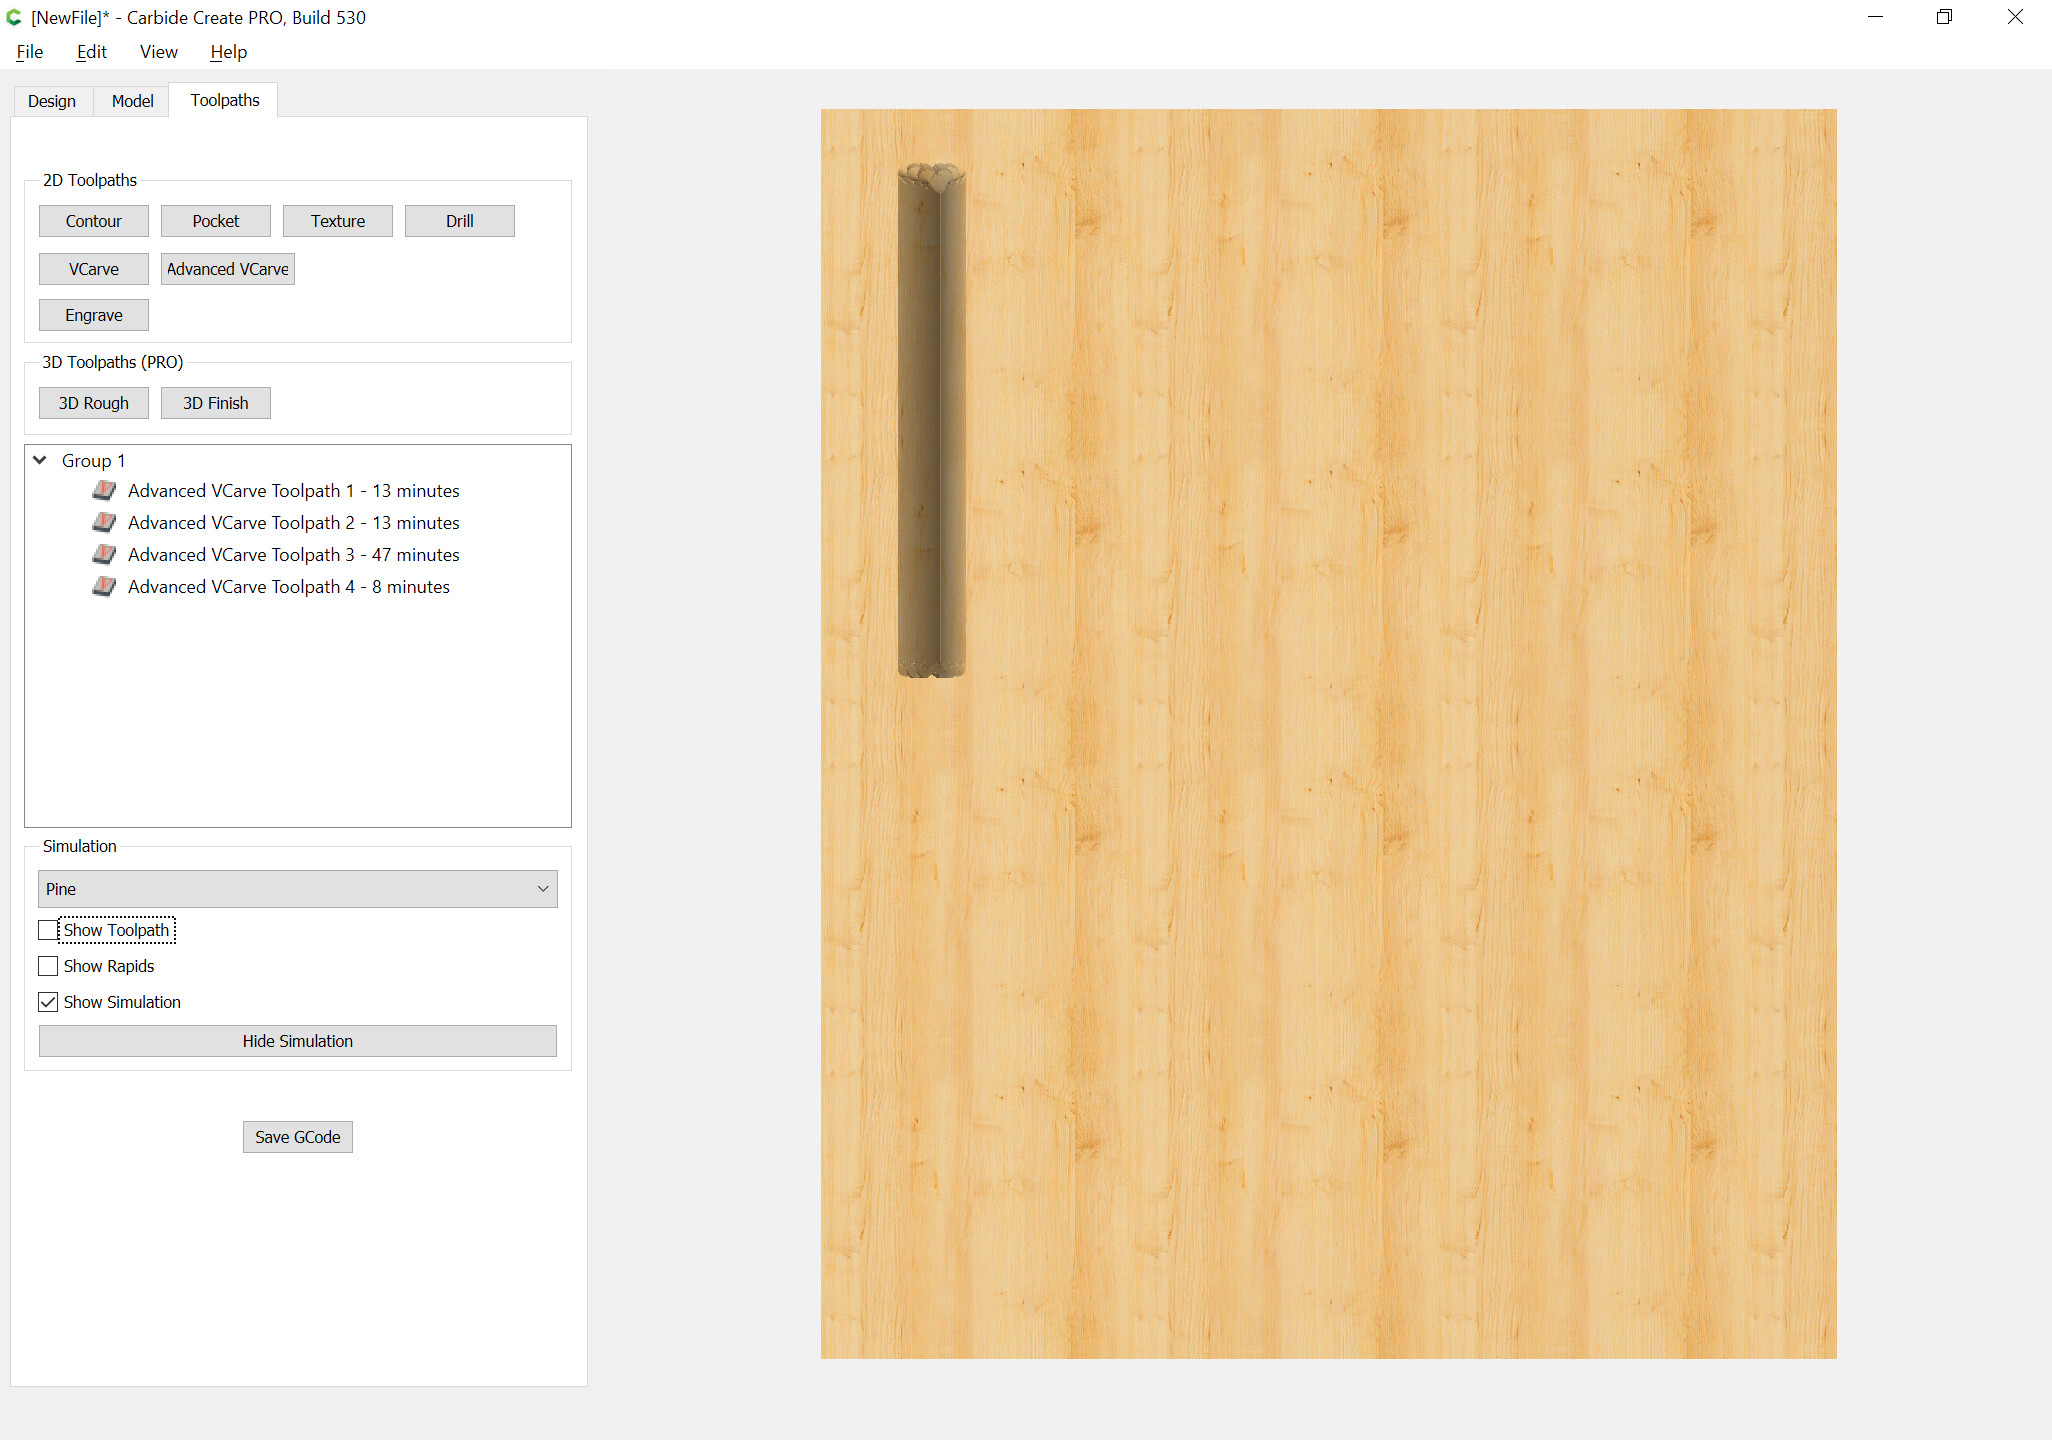
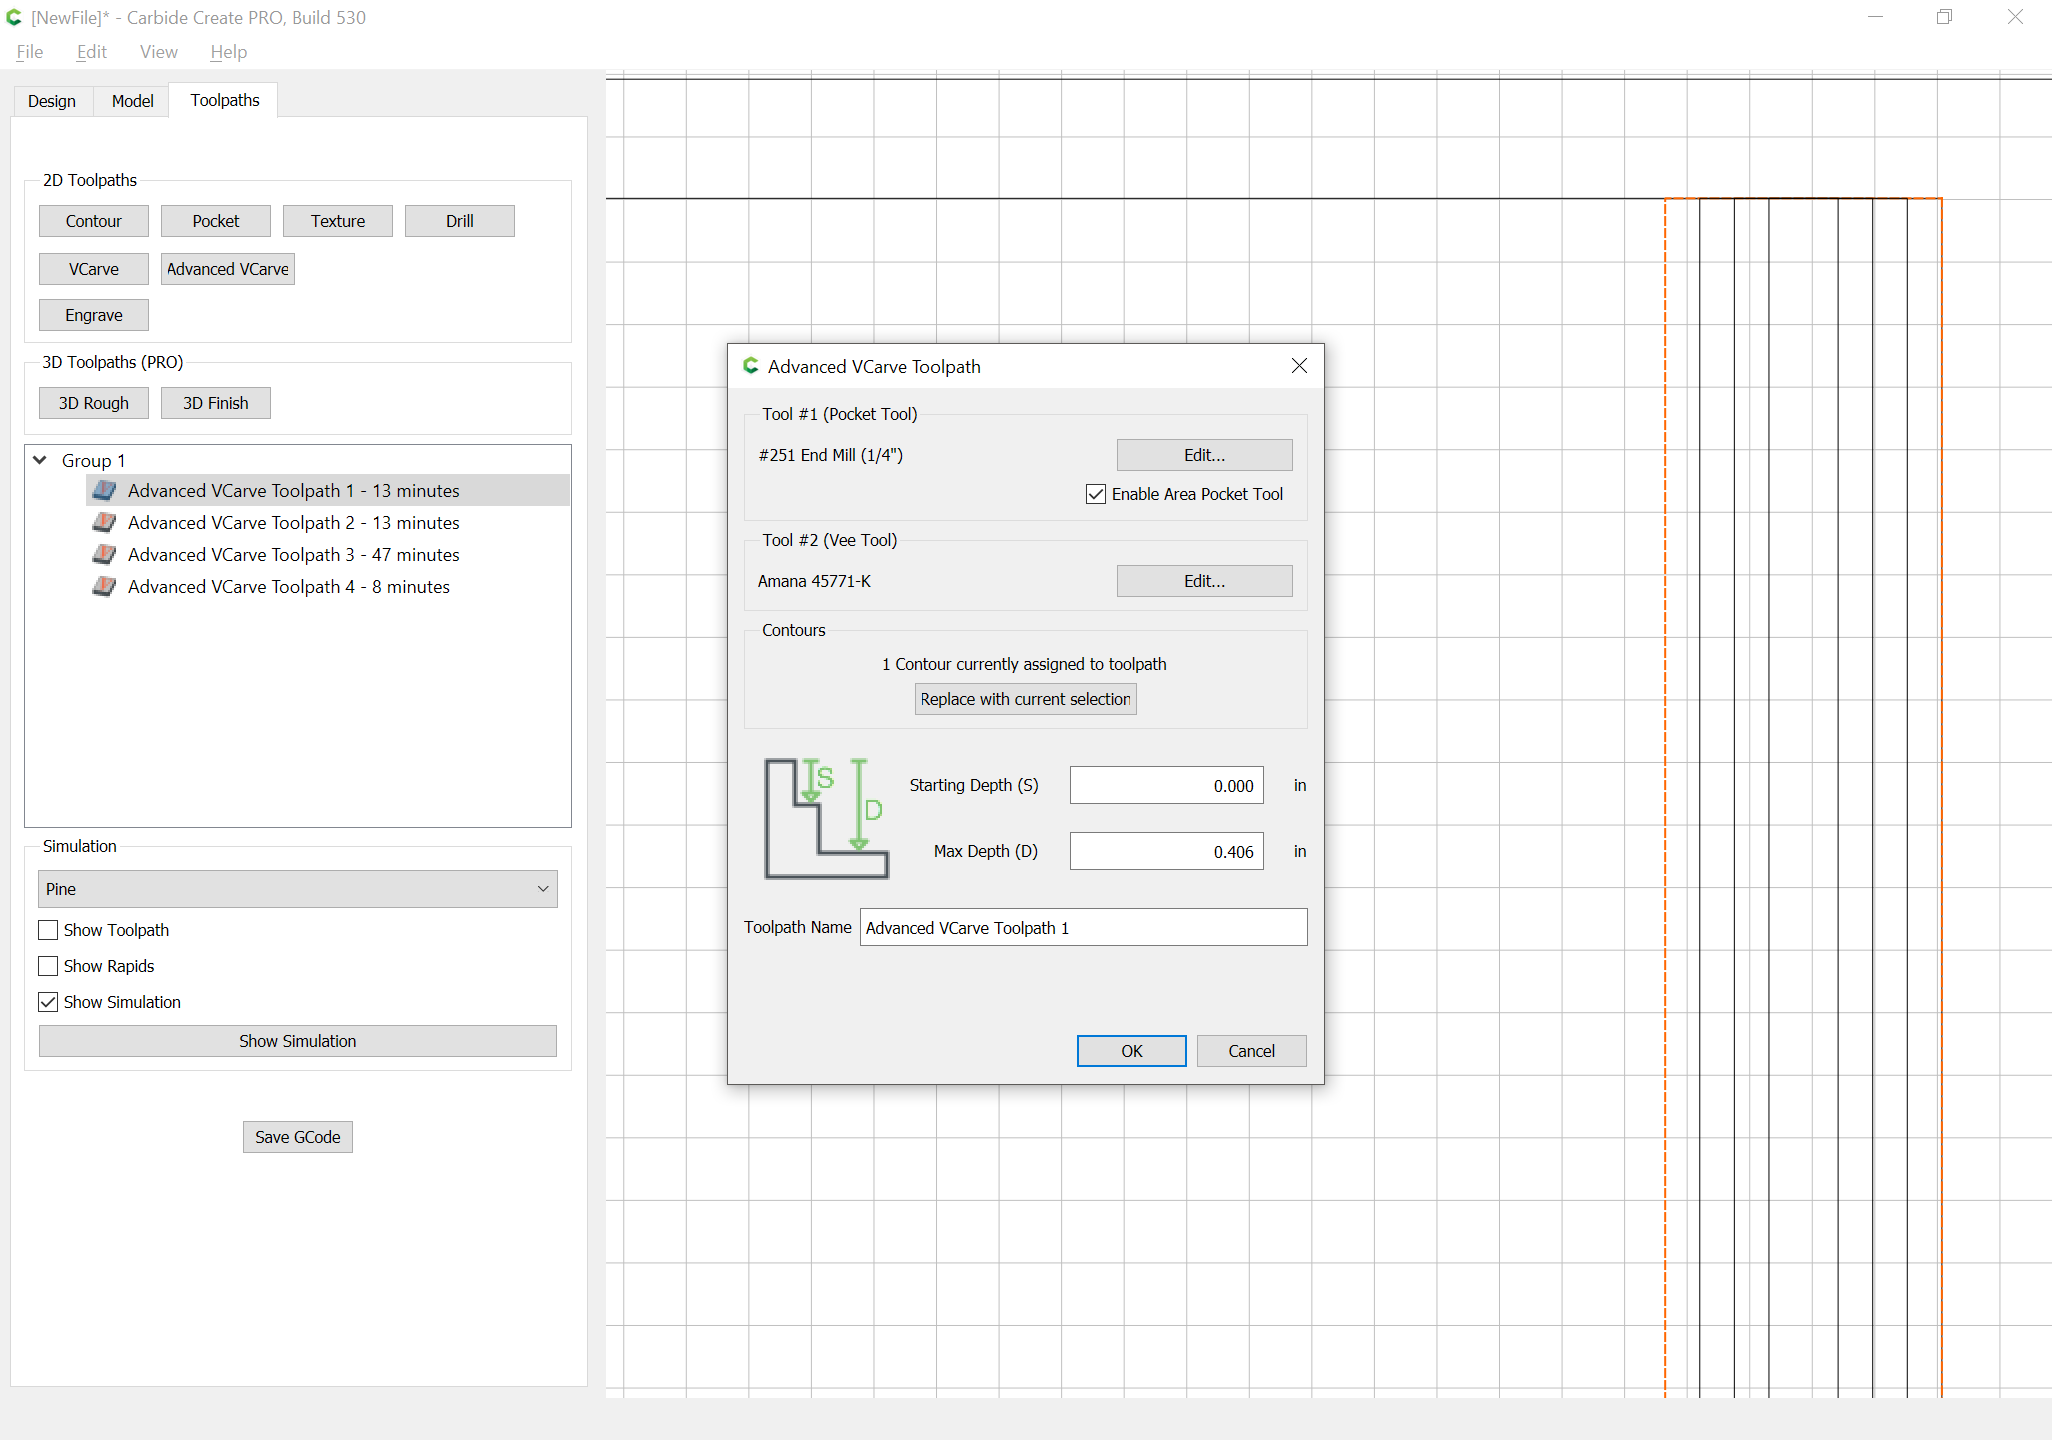
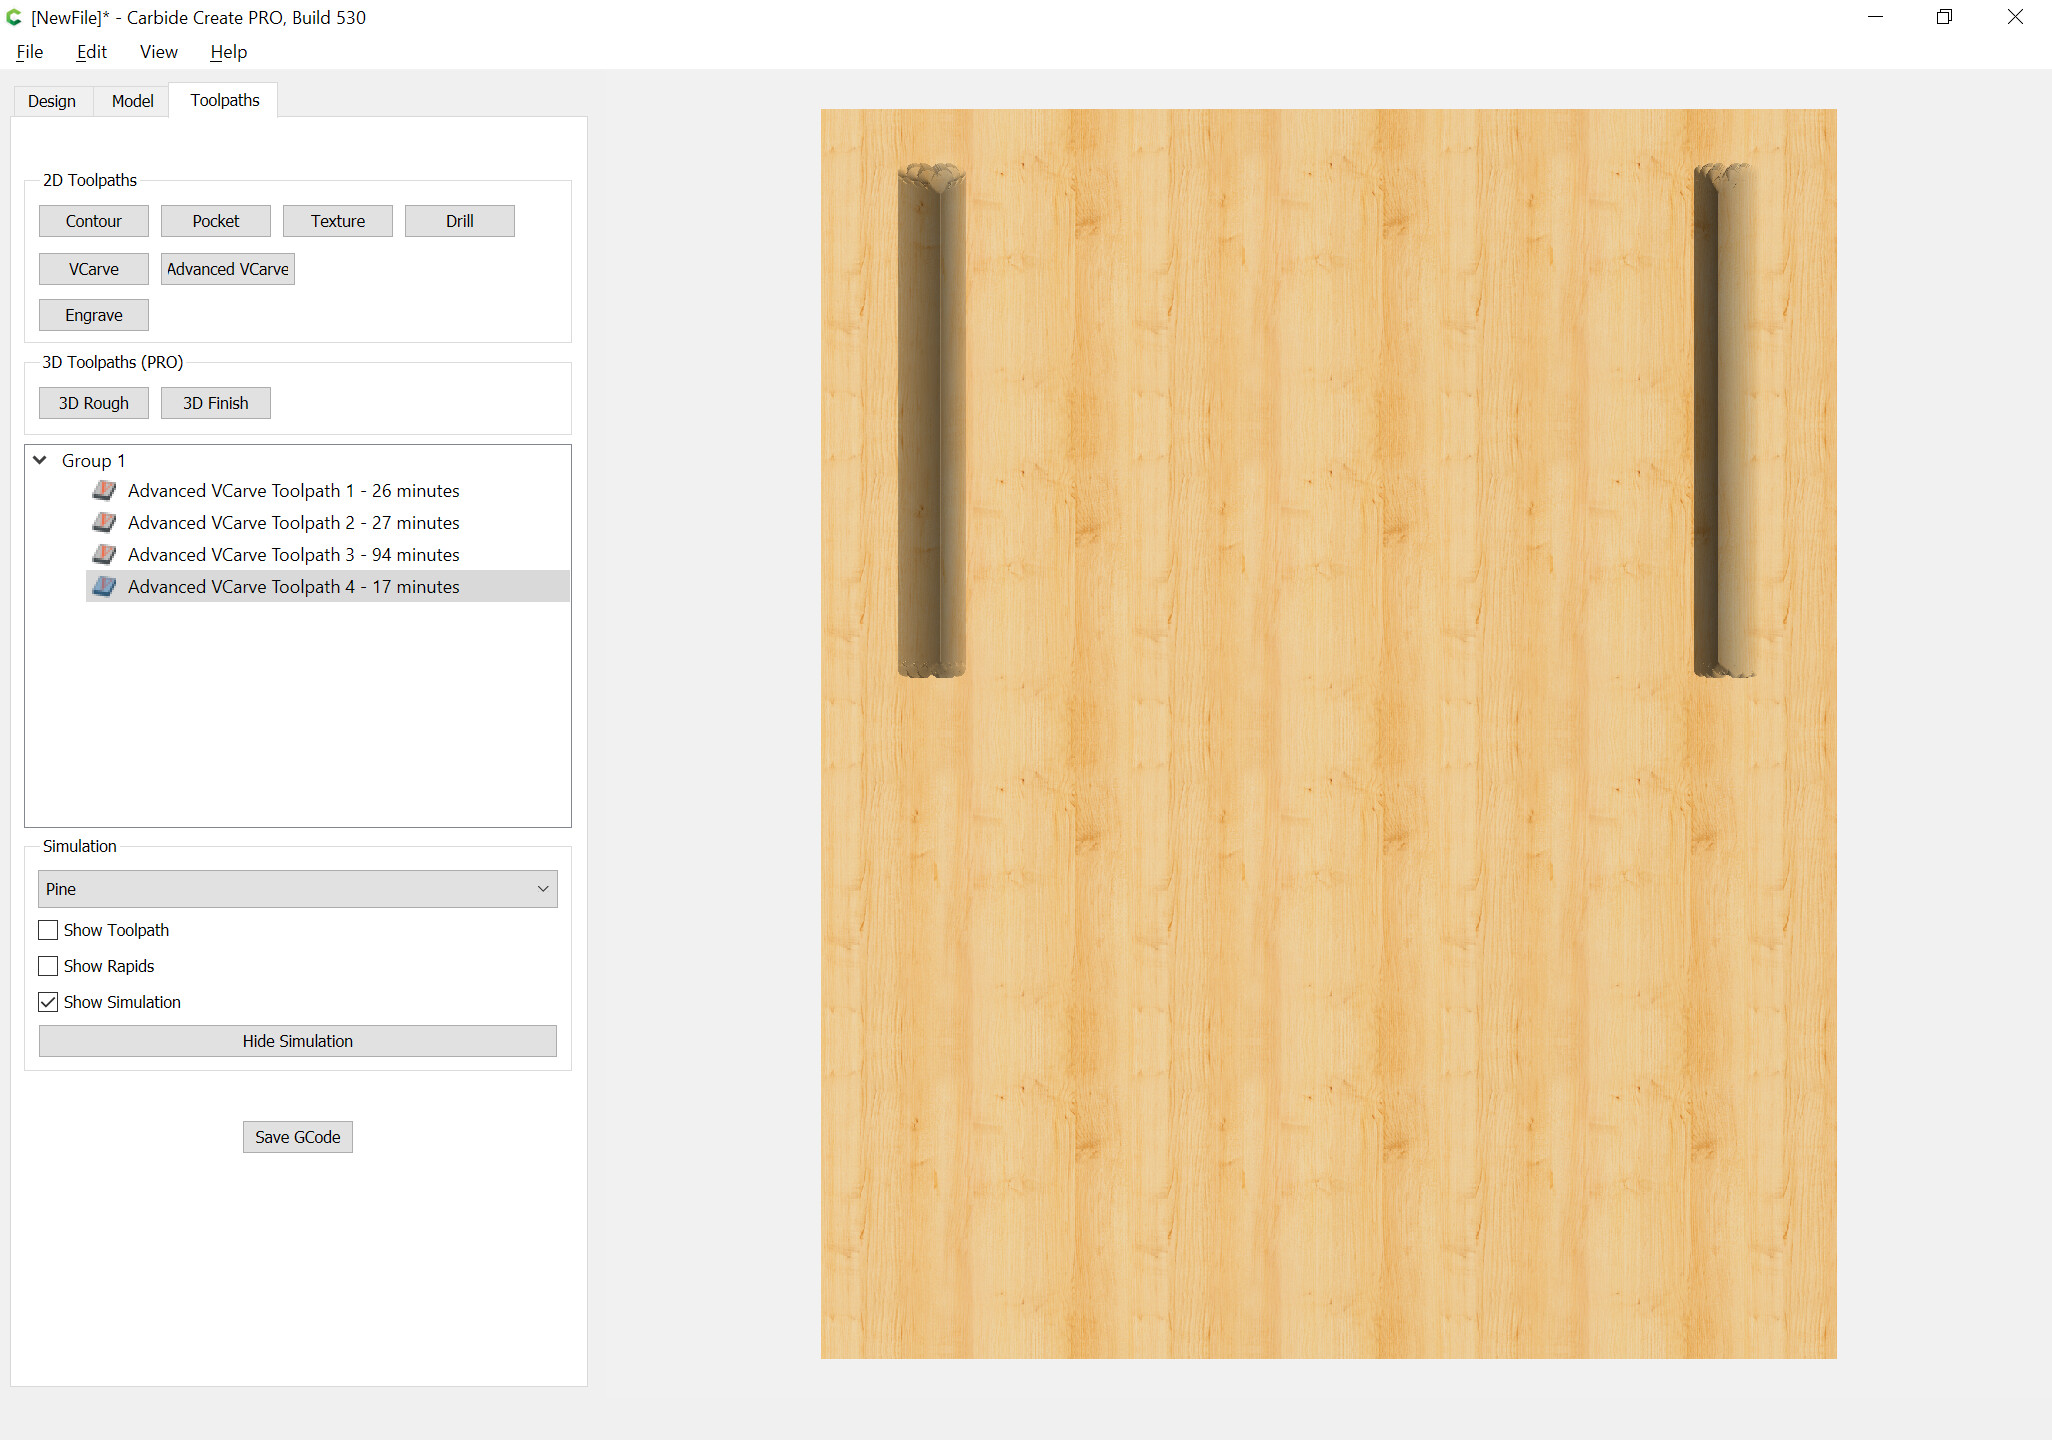
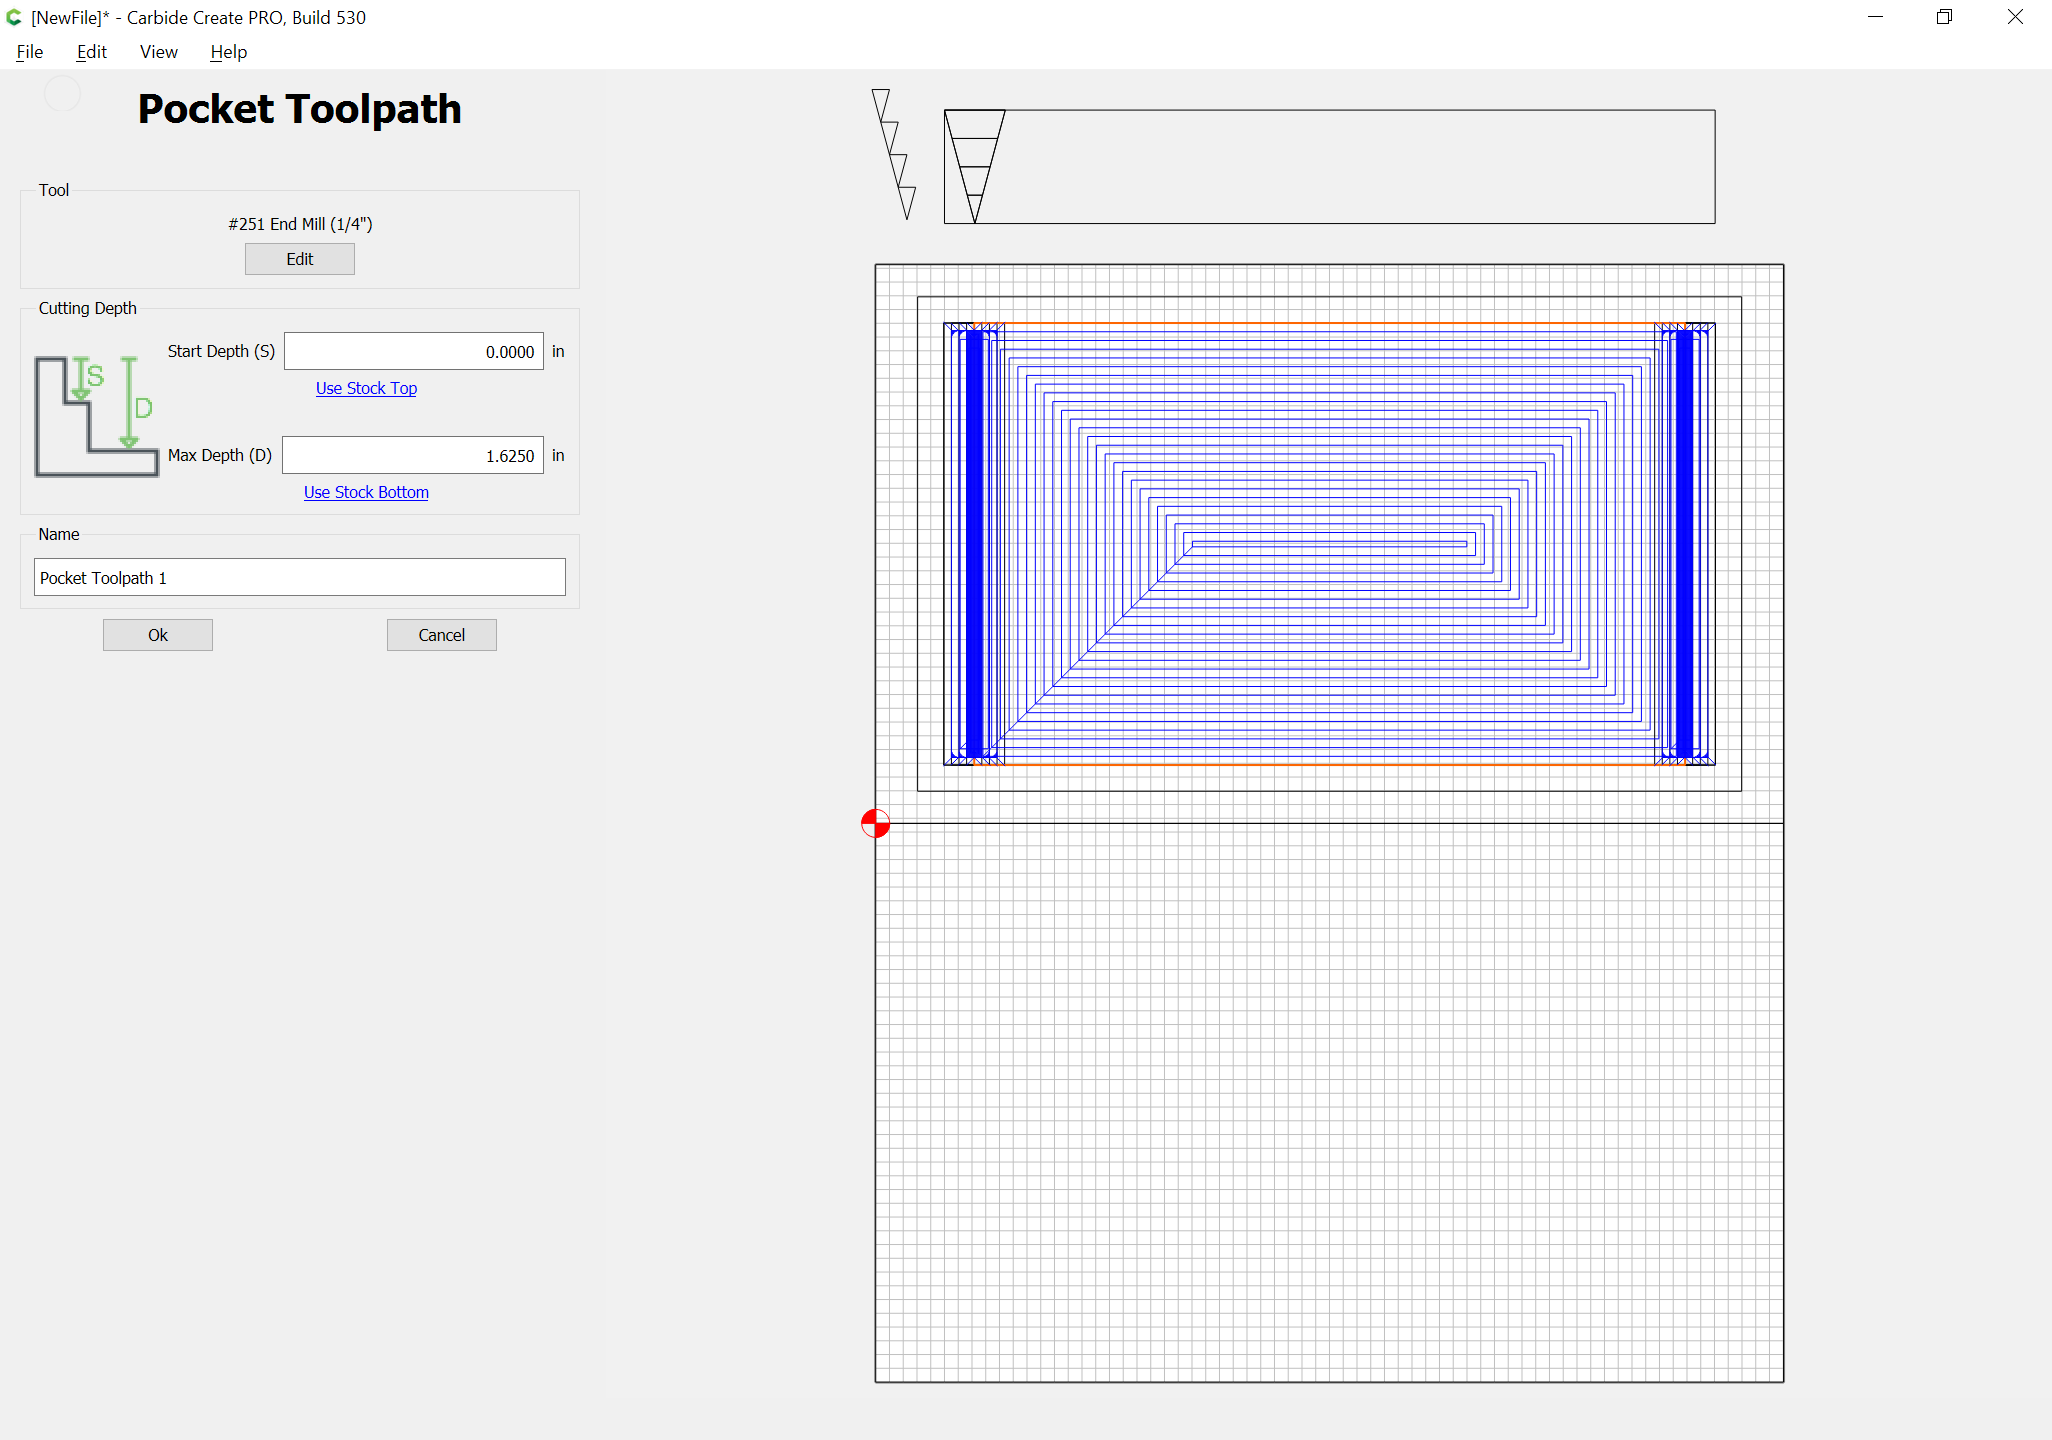
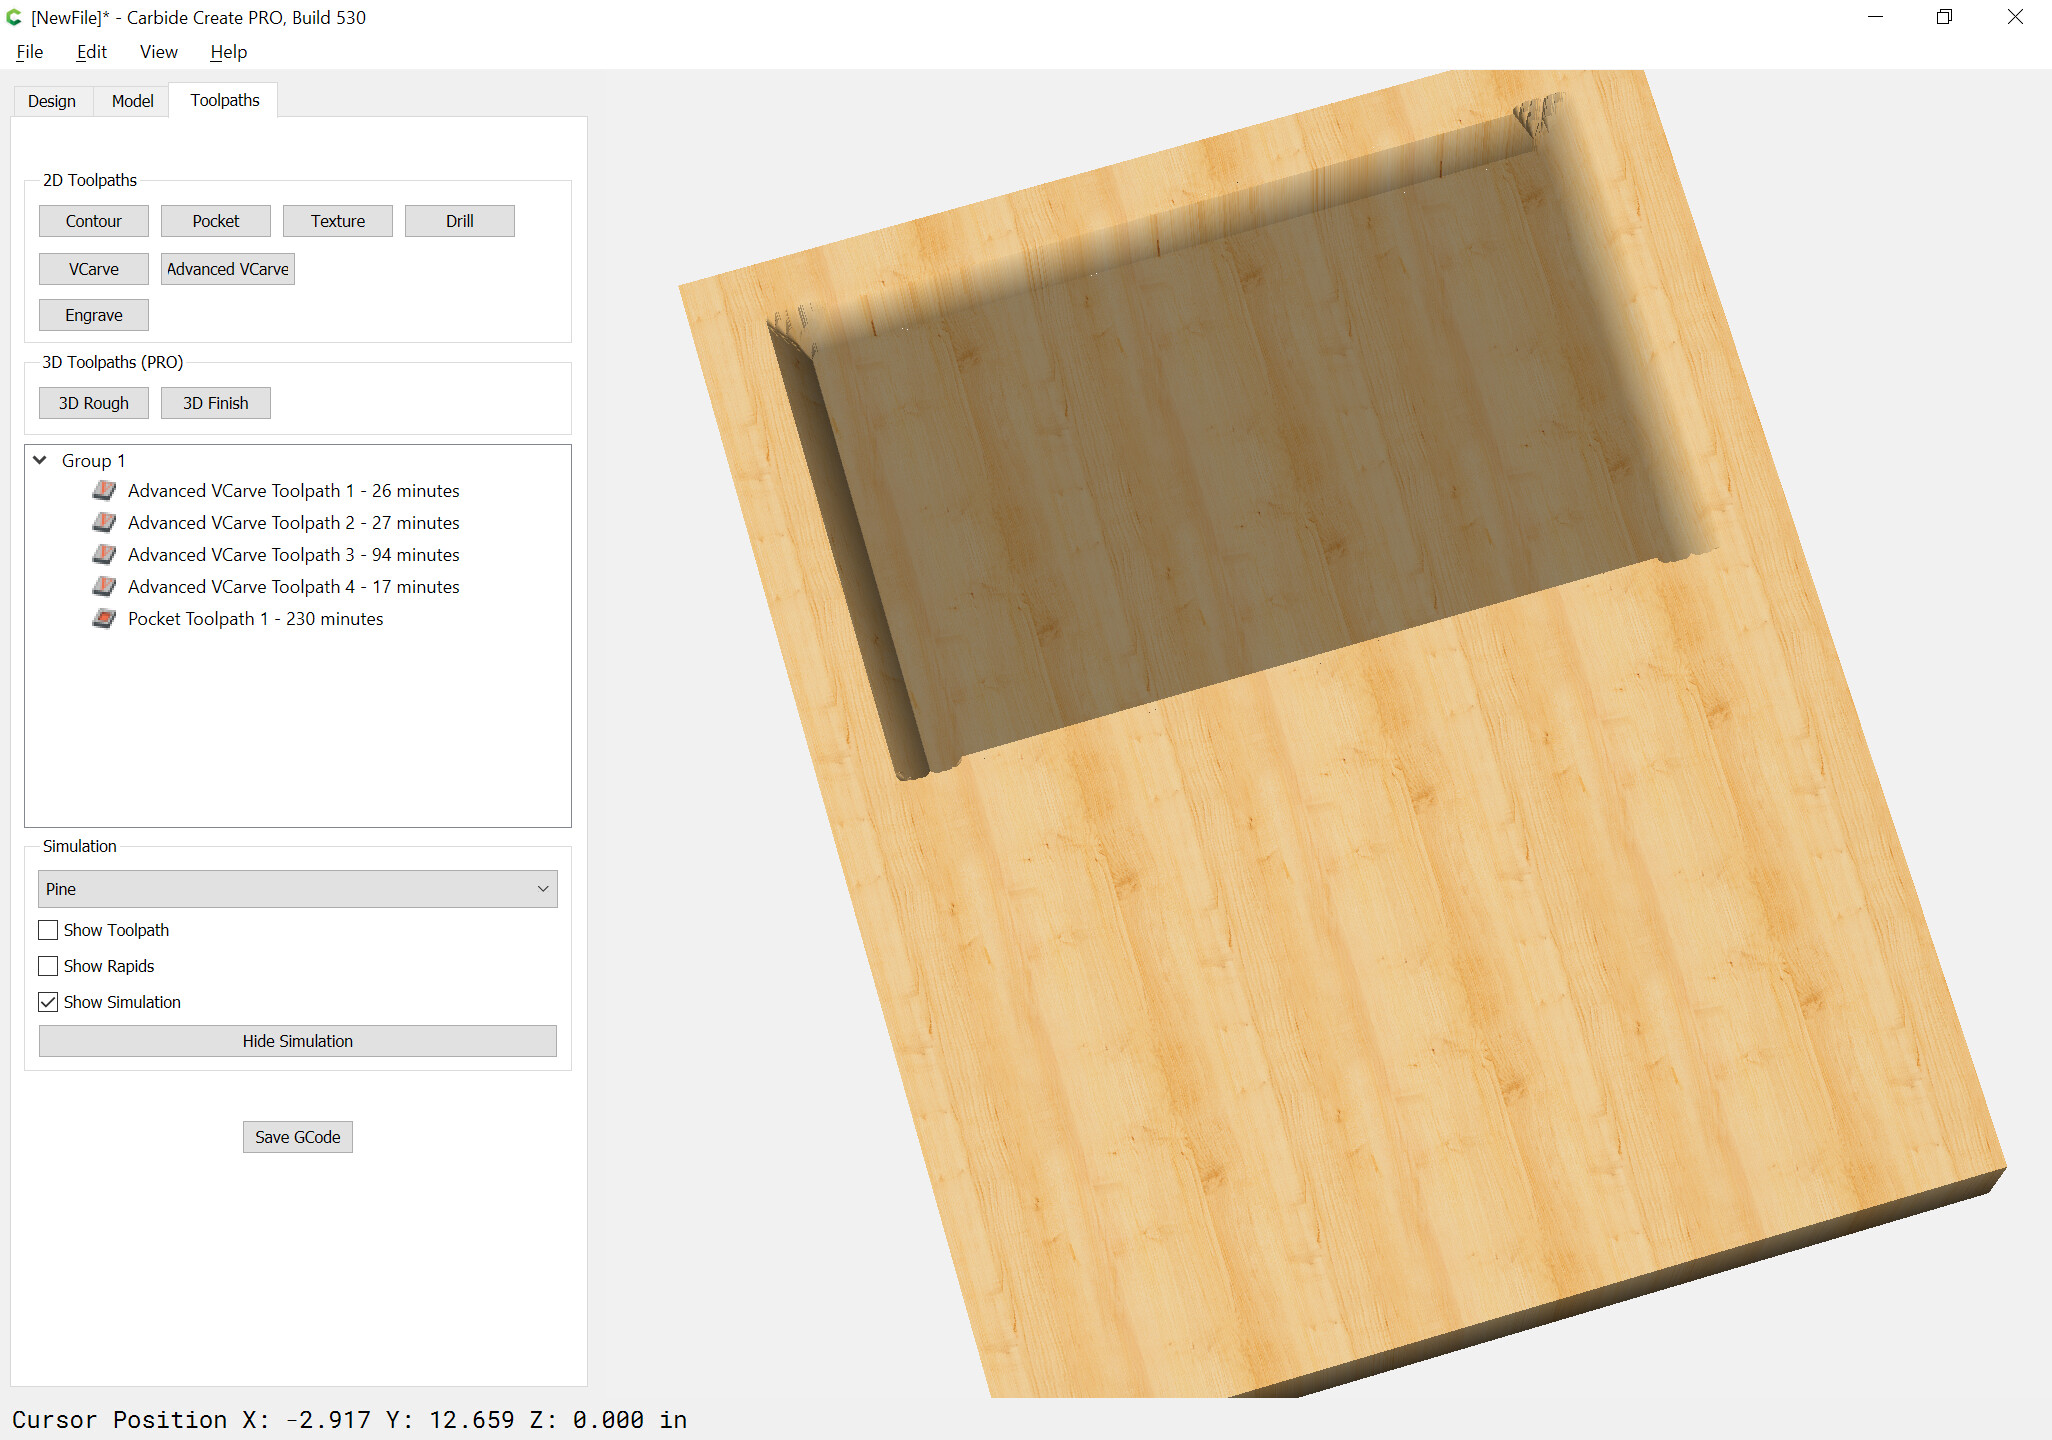
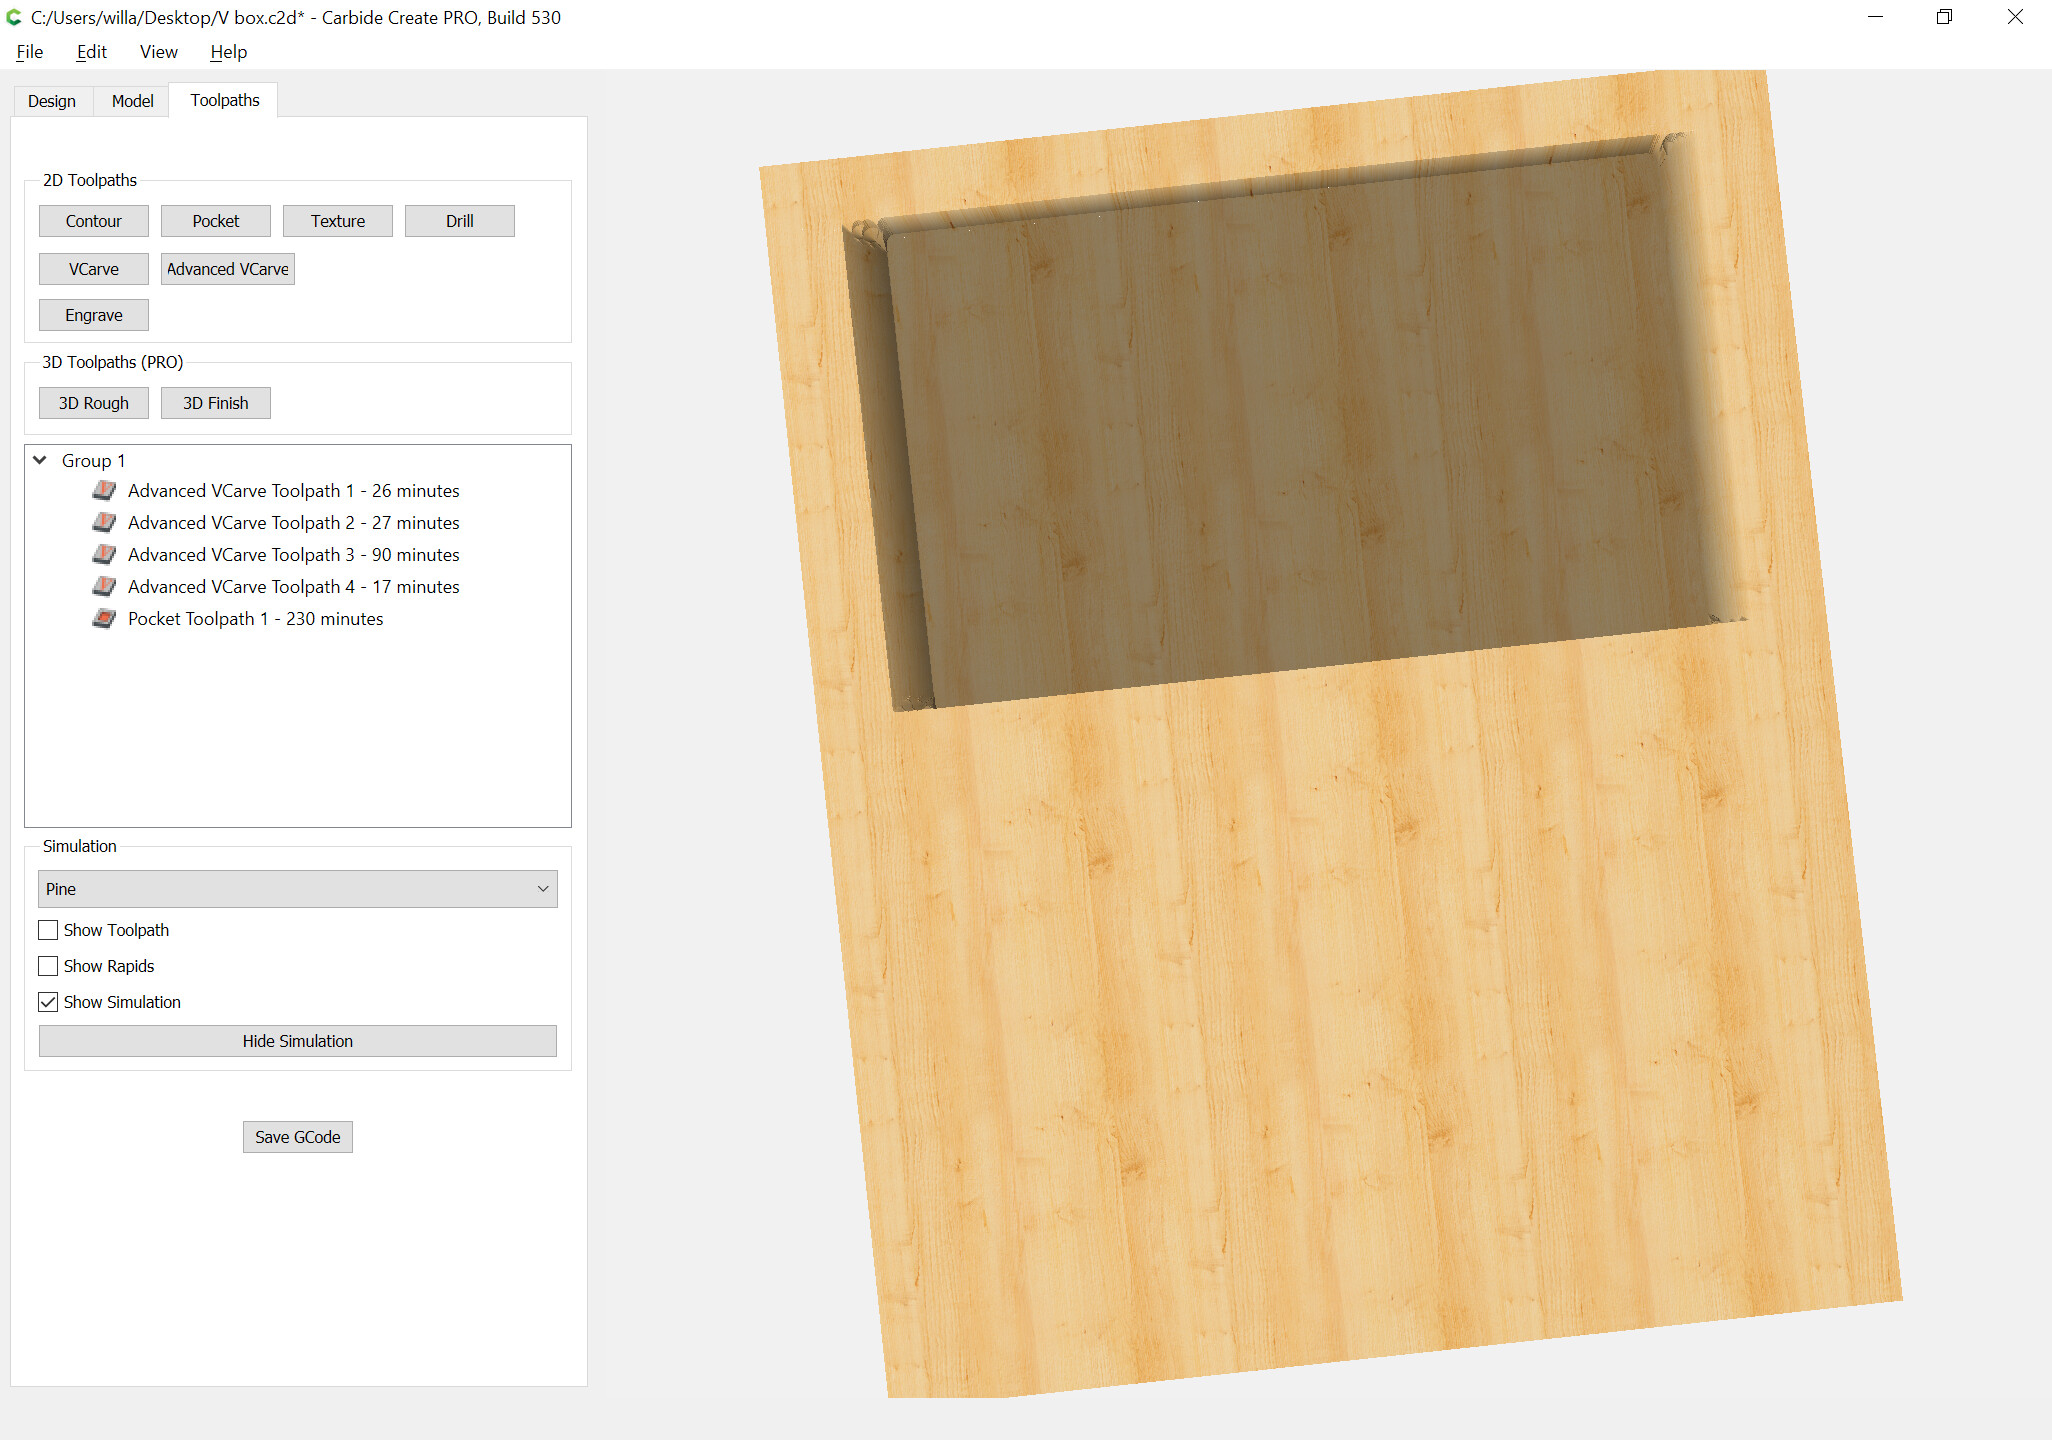
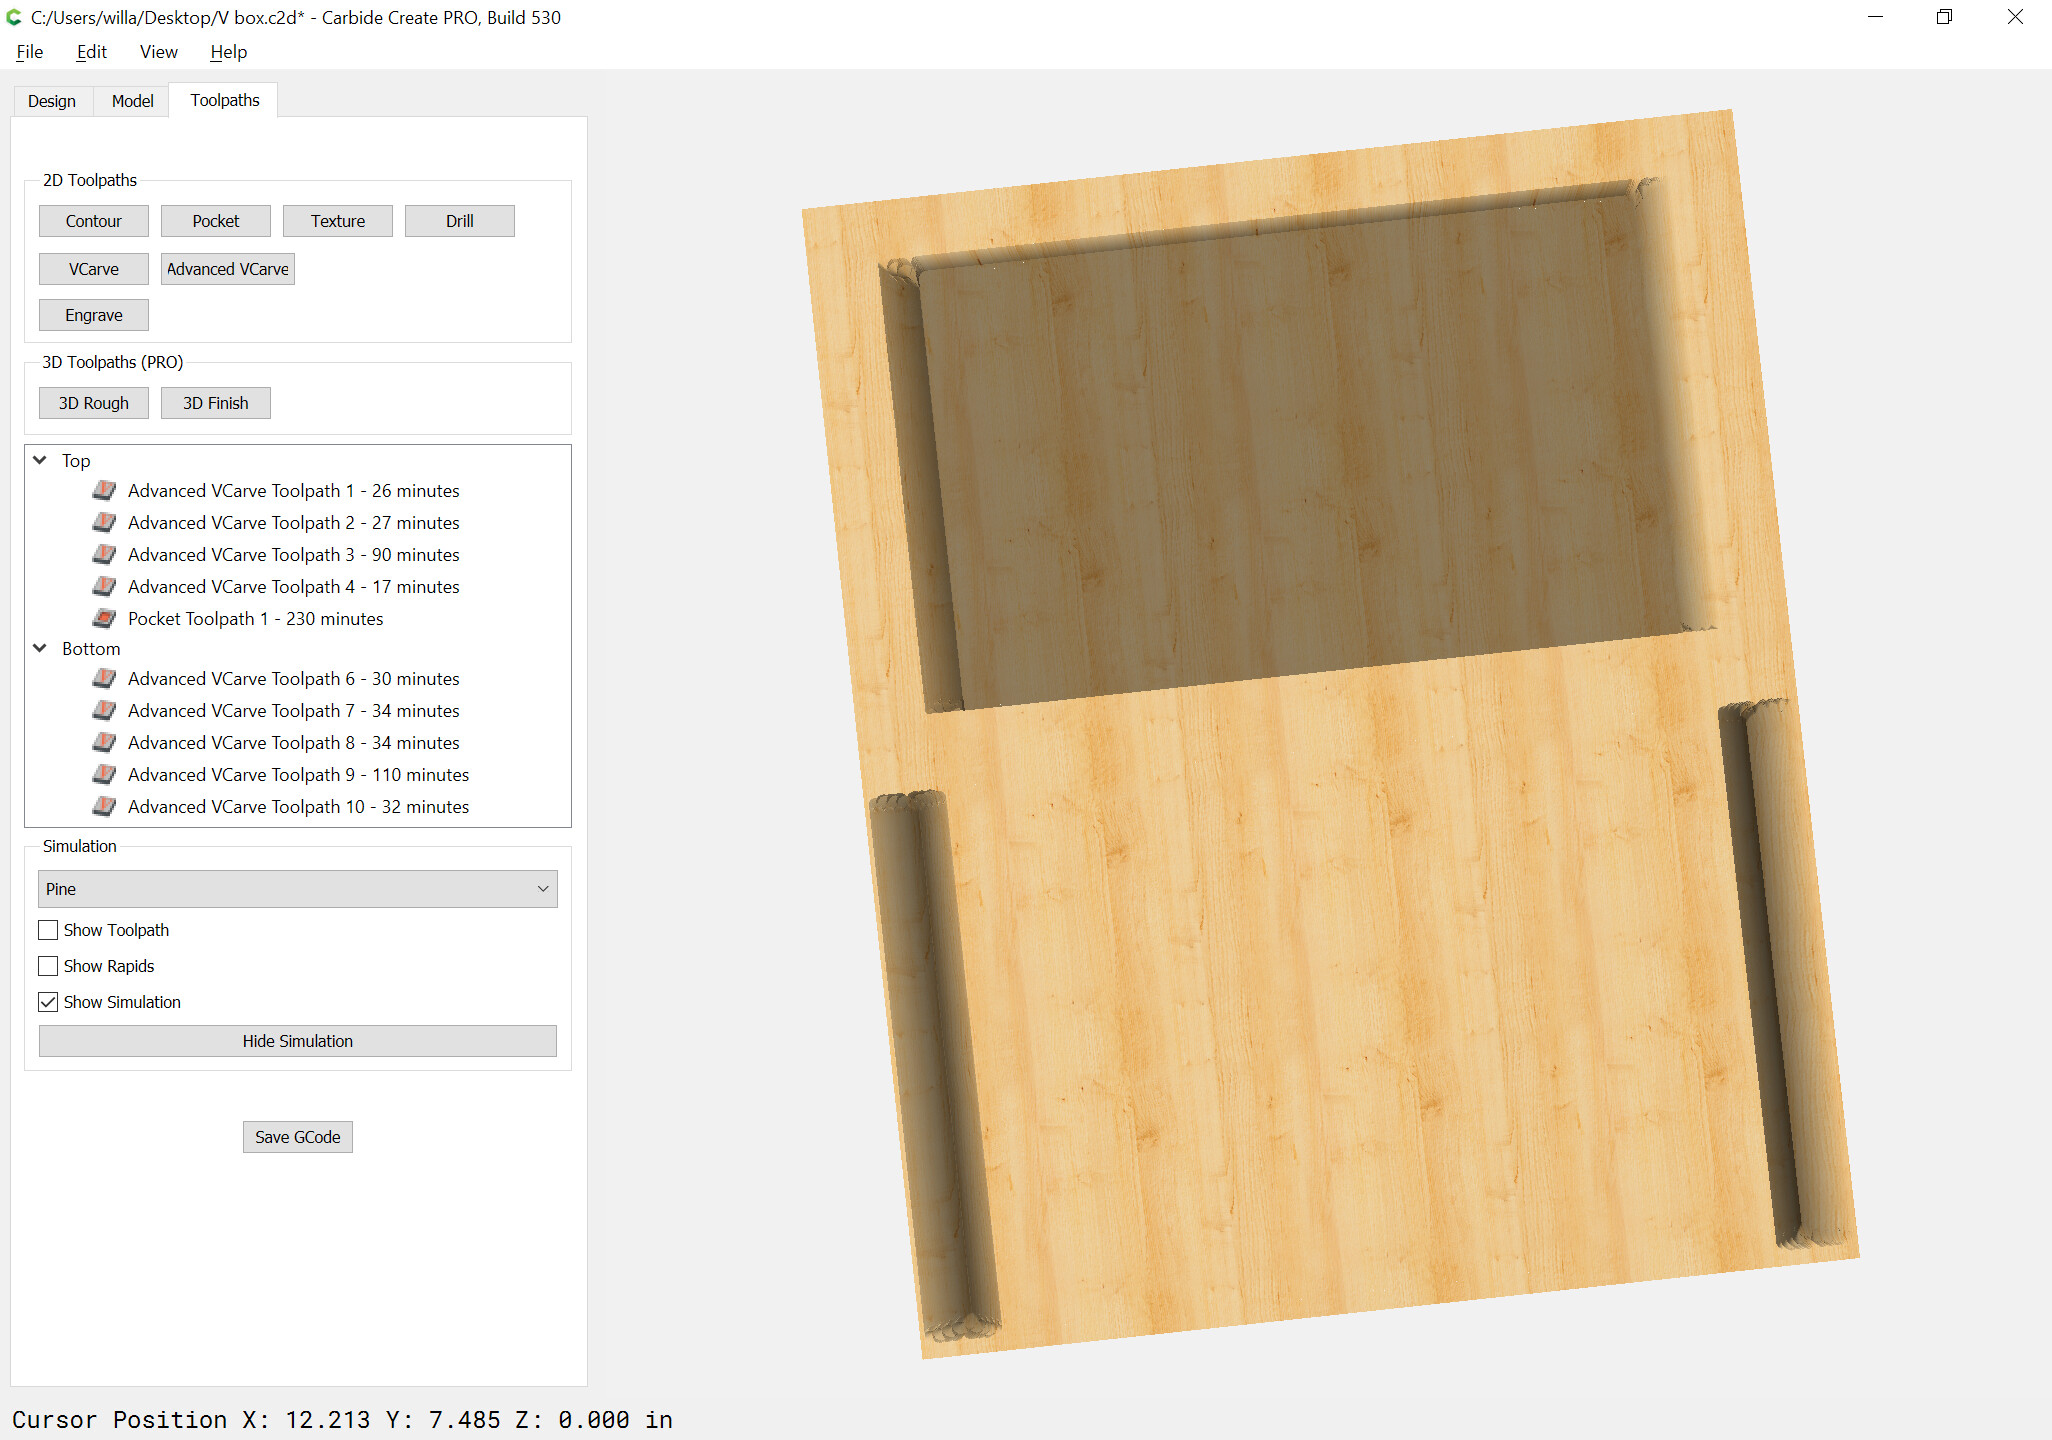
Now go to the Toolpaths pane, select each rectangle in turn, and assign an Advanced V carving toolpath which cuts to the depth of the matching cone sections, starting at the depth of the previous pocket after the first:

which previews as:

Duplicate the geometry at the far end and edit the toolpaths so that they are associated w/ the matching geometry:

(repeat for each)

Then draw in geometry to clear the field:

which previews as:

The bottom is just a repeat of that with the field cut replaced by cutting the perimeter, and the end cuts increased in height by the radius.

1 Like

The corrected geometry would appear as:

and preview as:

1 Like

It will be necessary to add a 5th layer to the V carving for the bottom:

Repeat the assigning of the Advanced V carving toolpaths so as to arrive at:

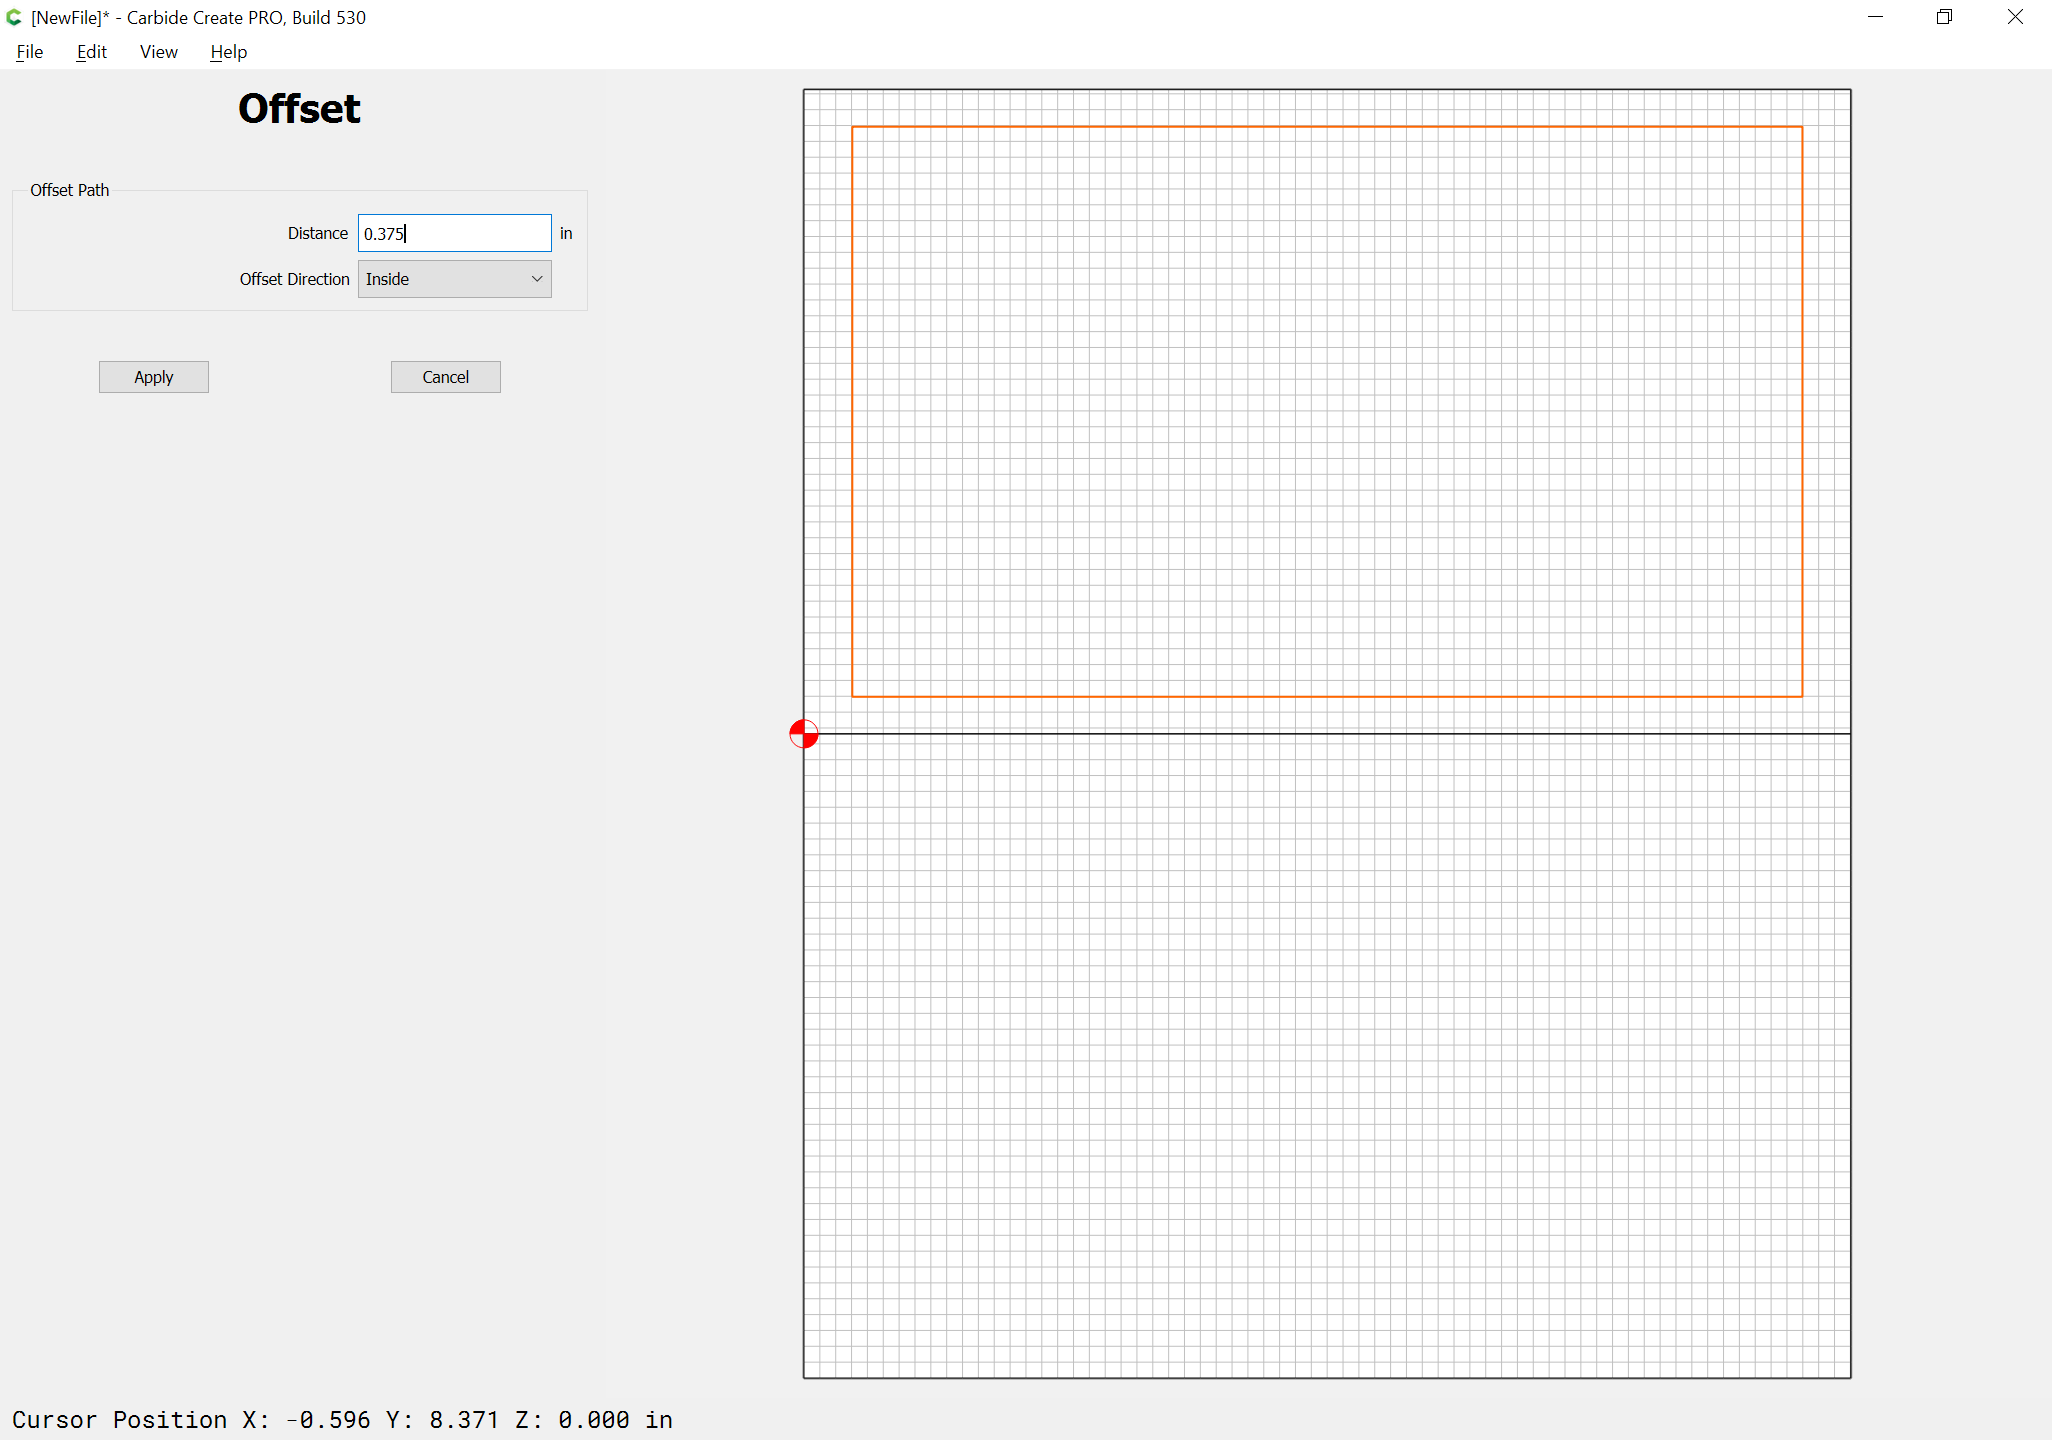
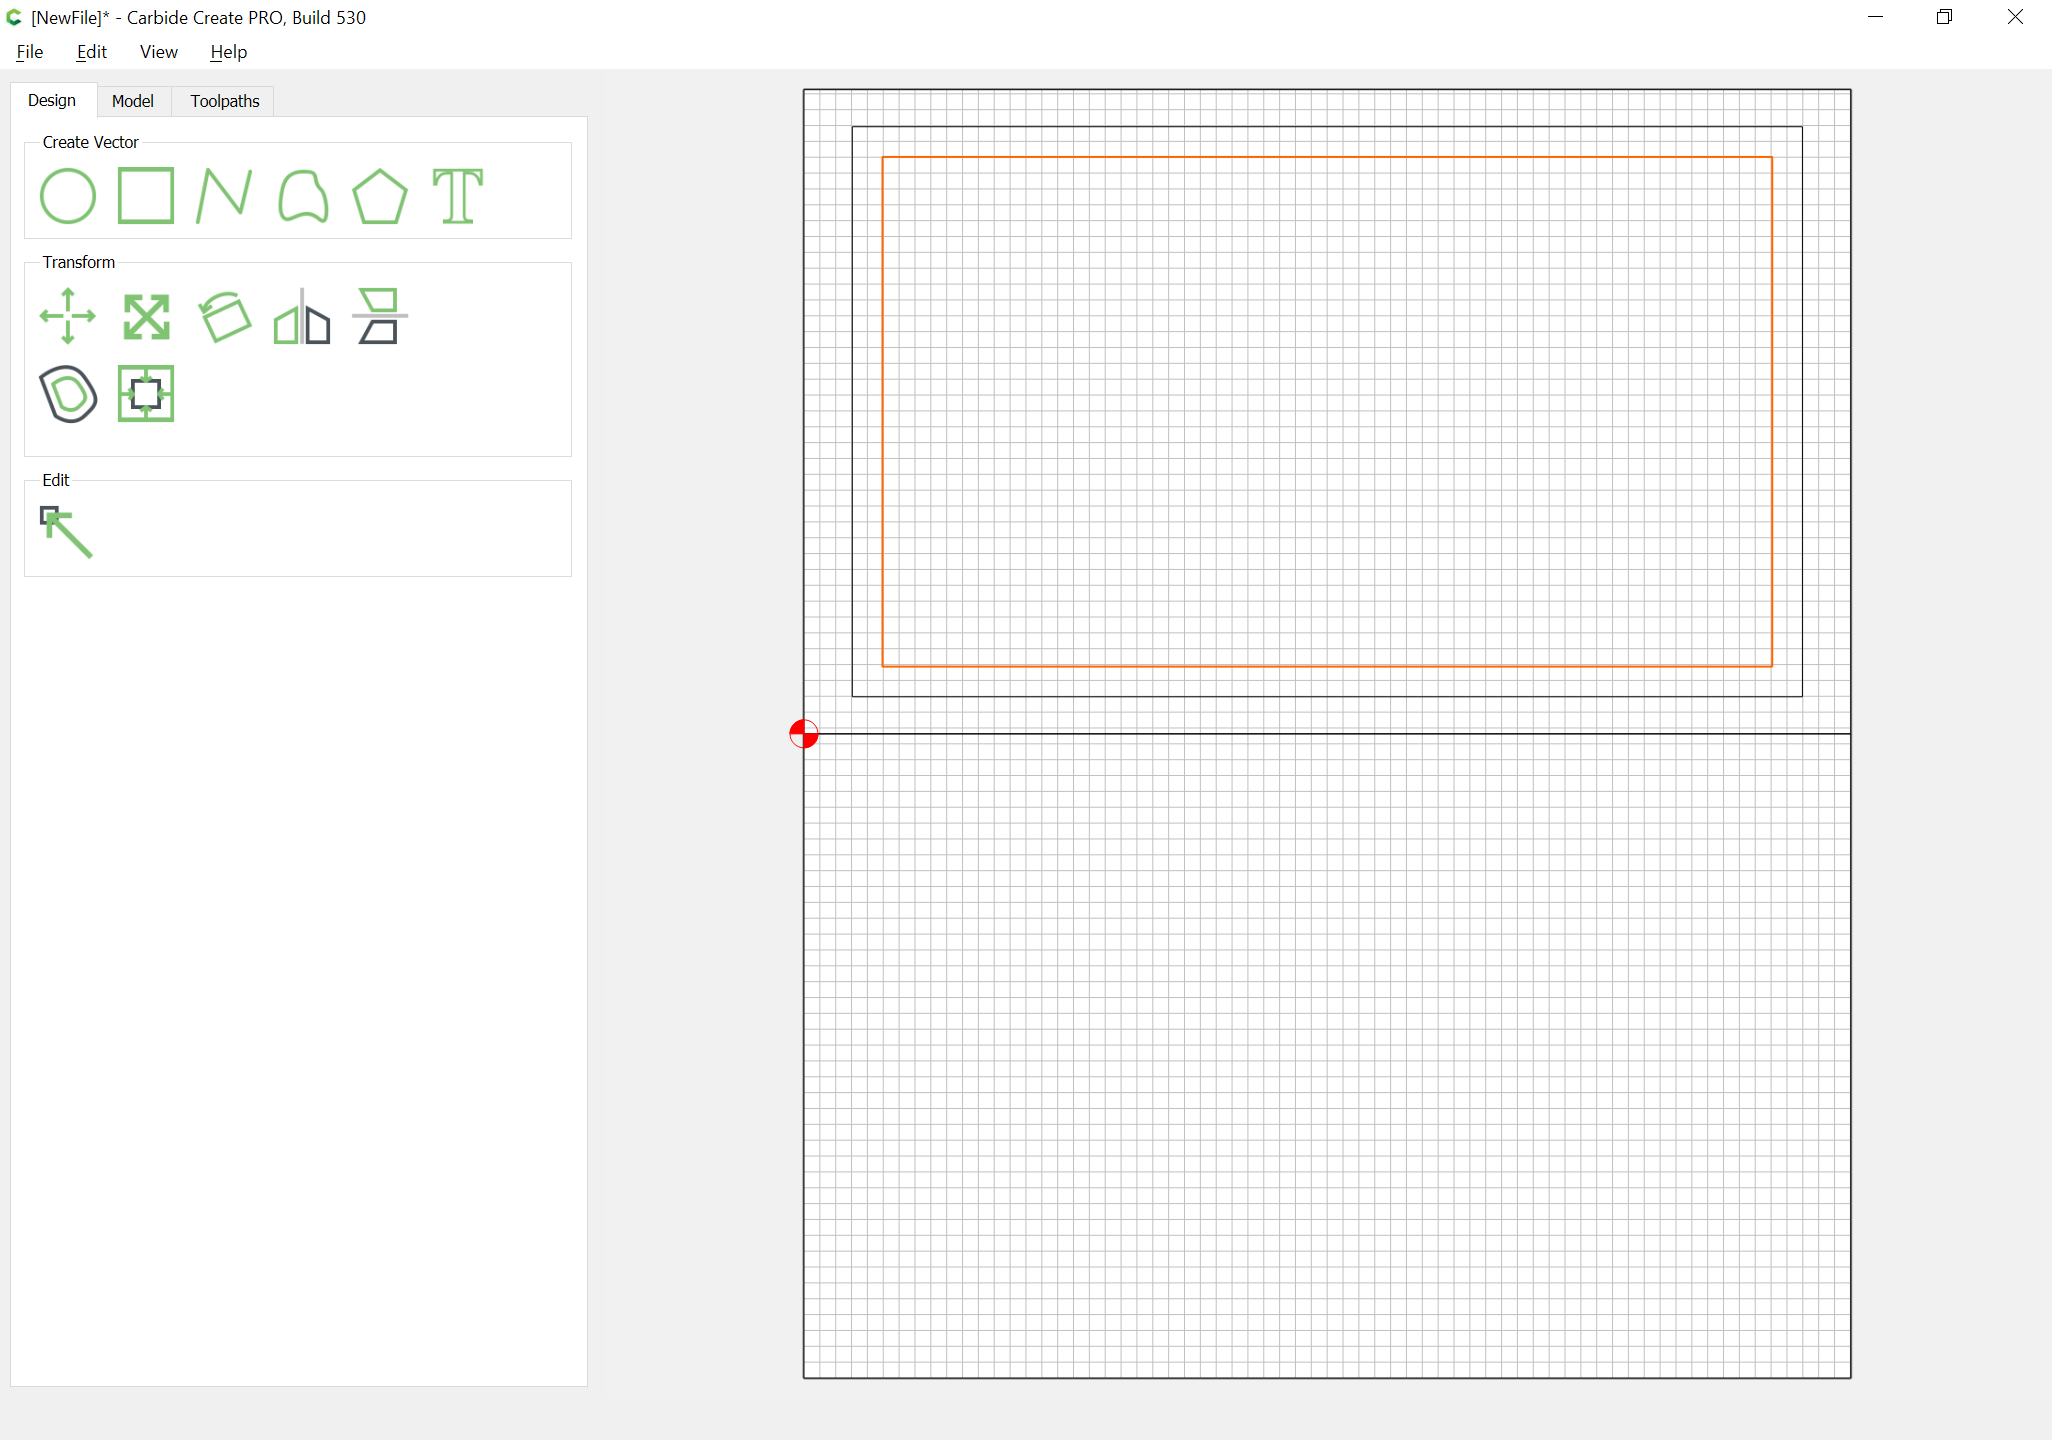
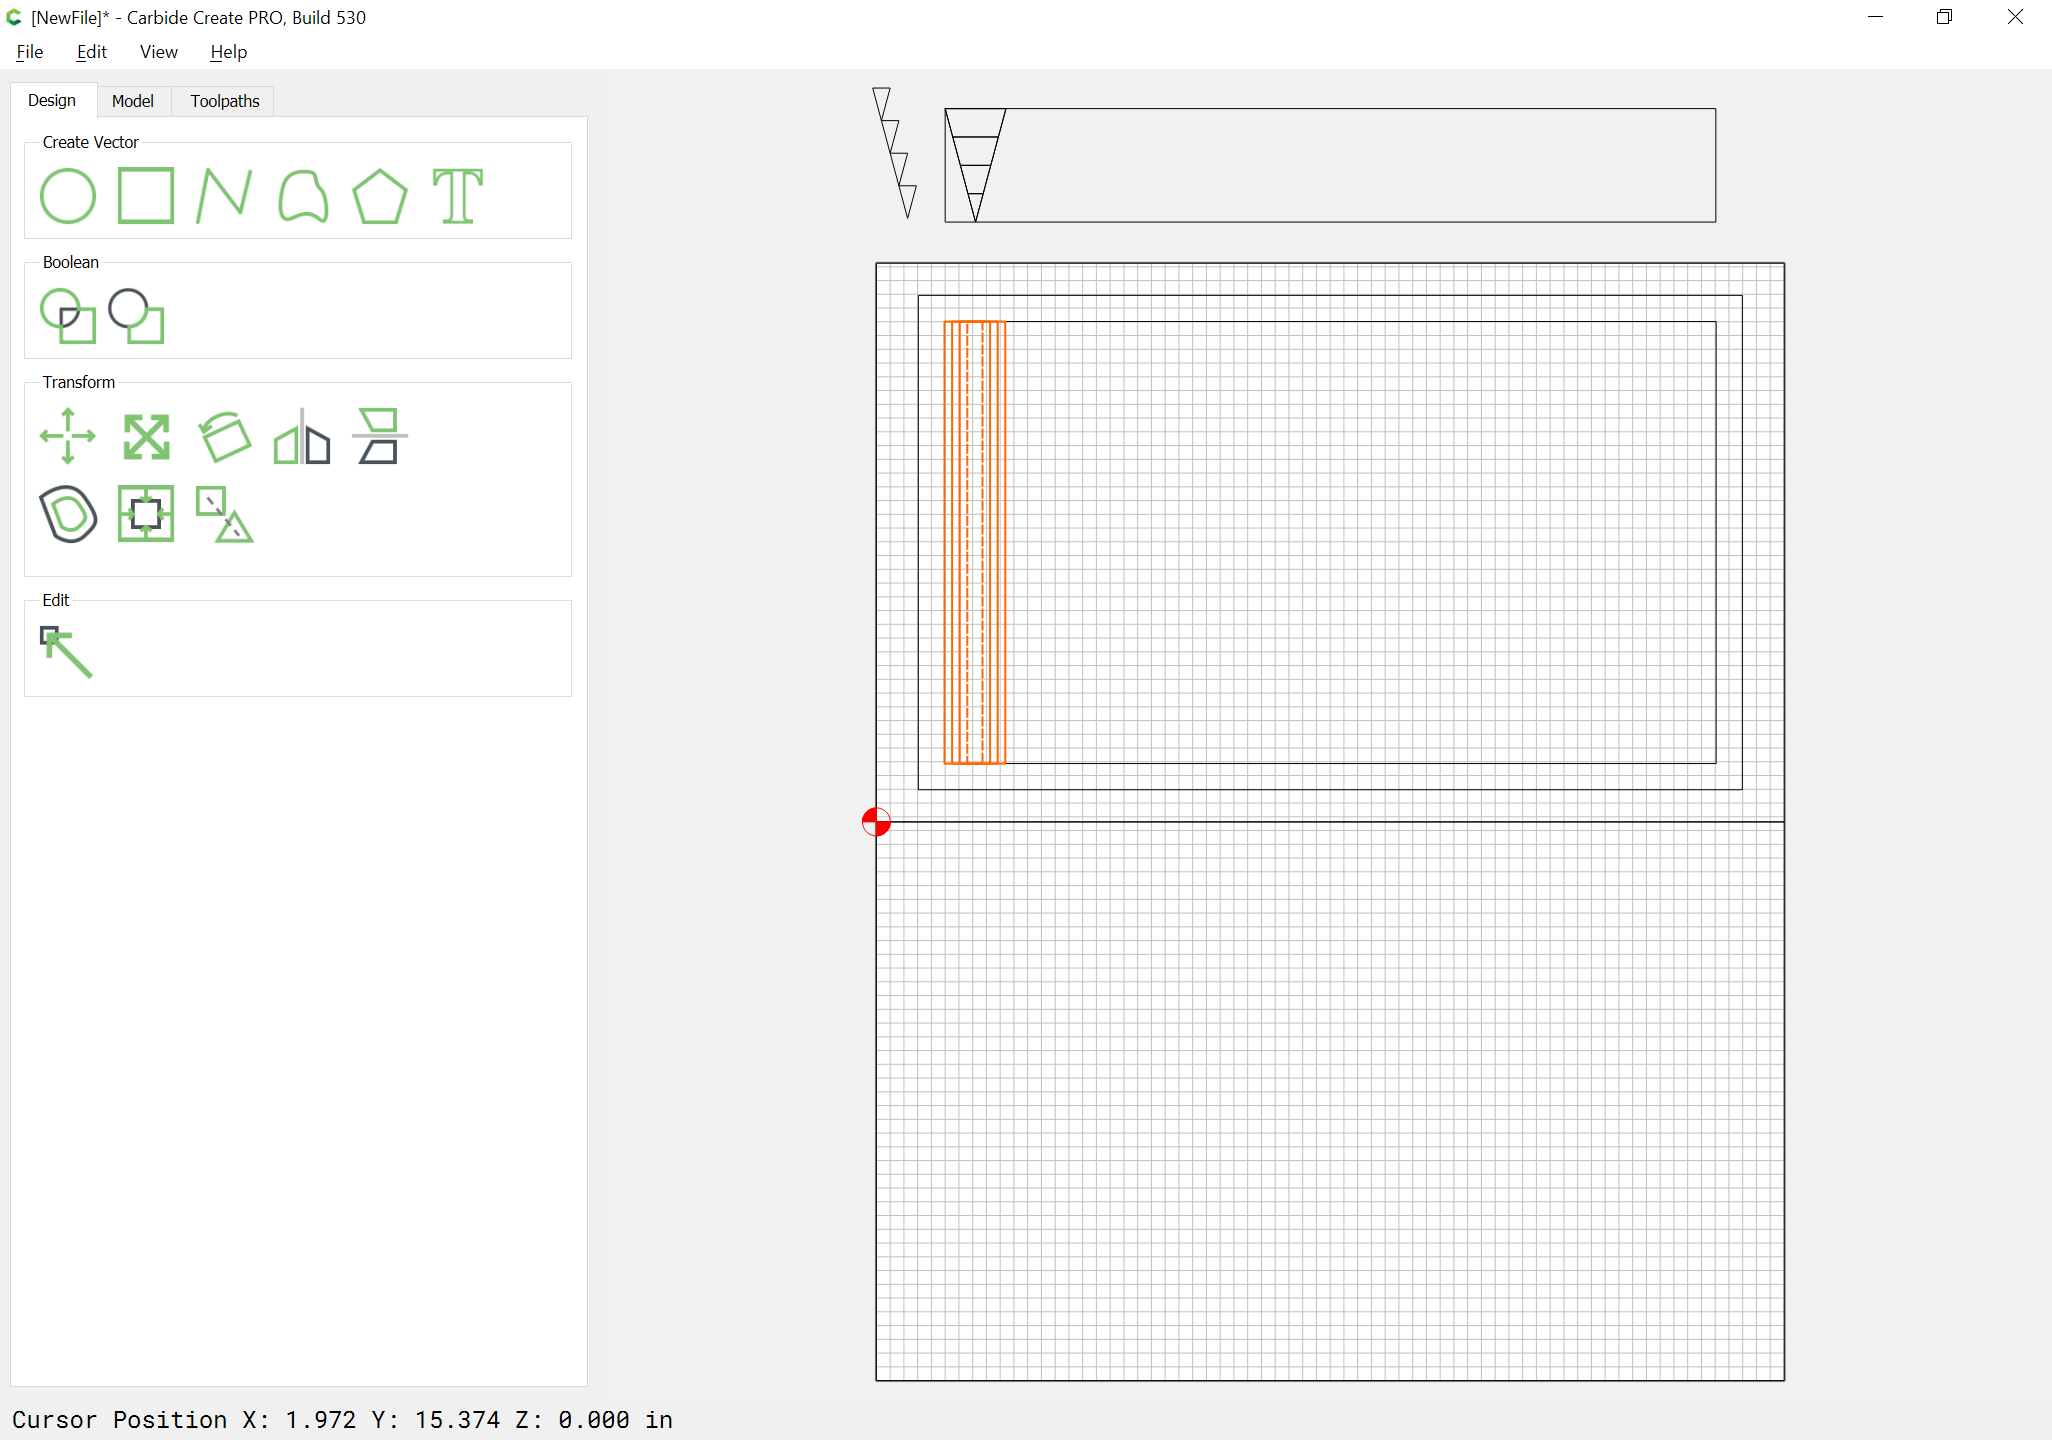
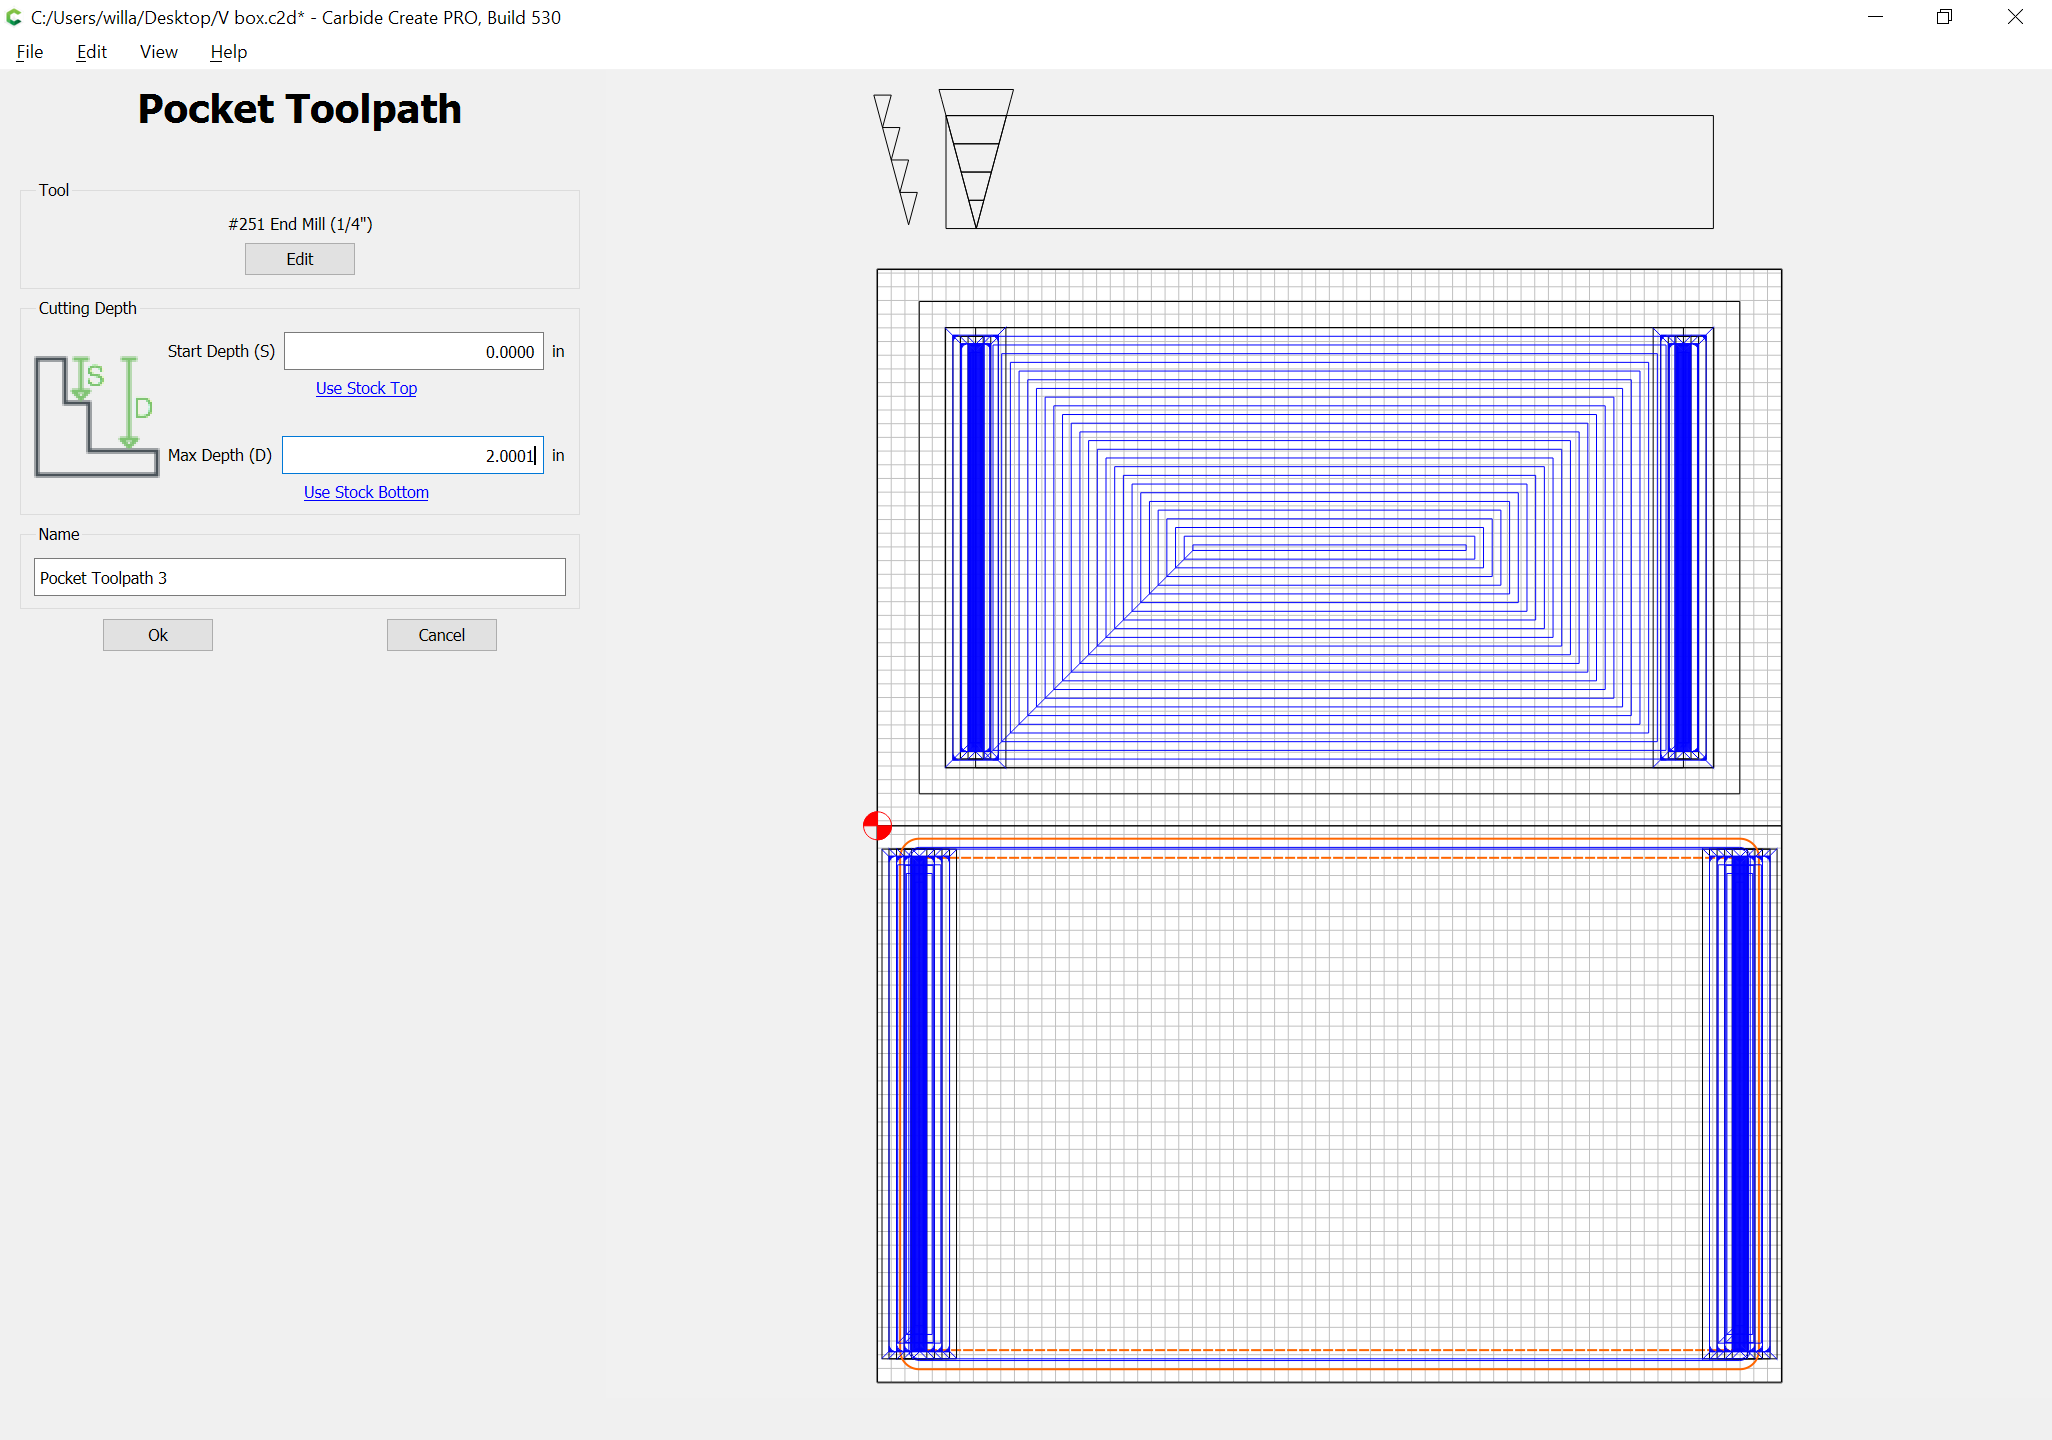
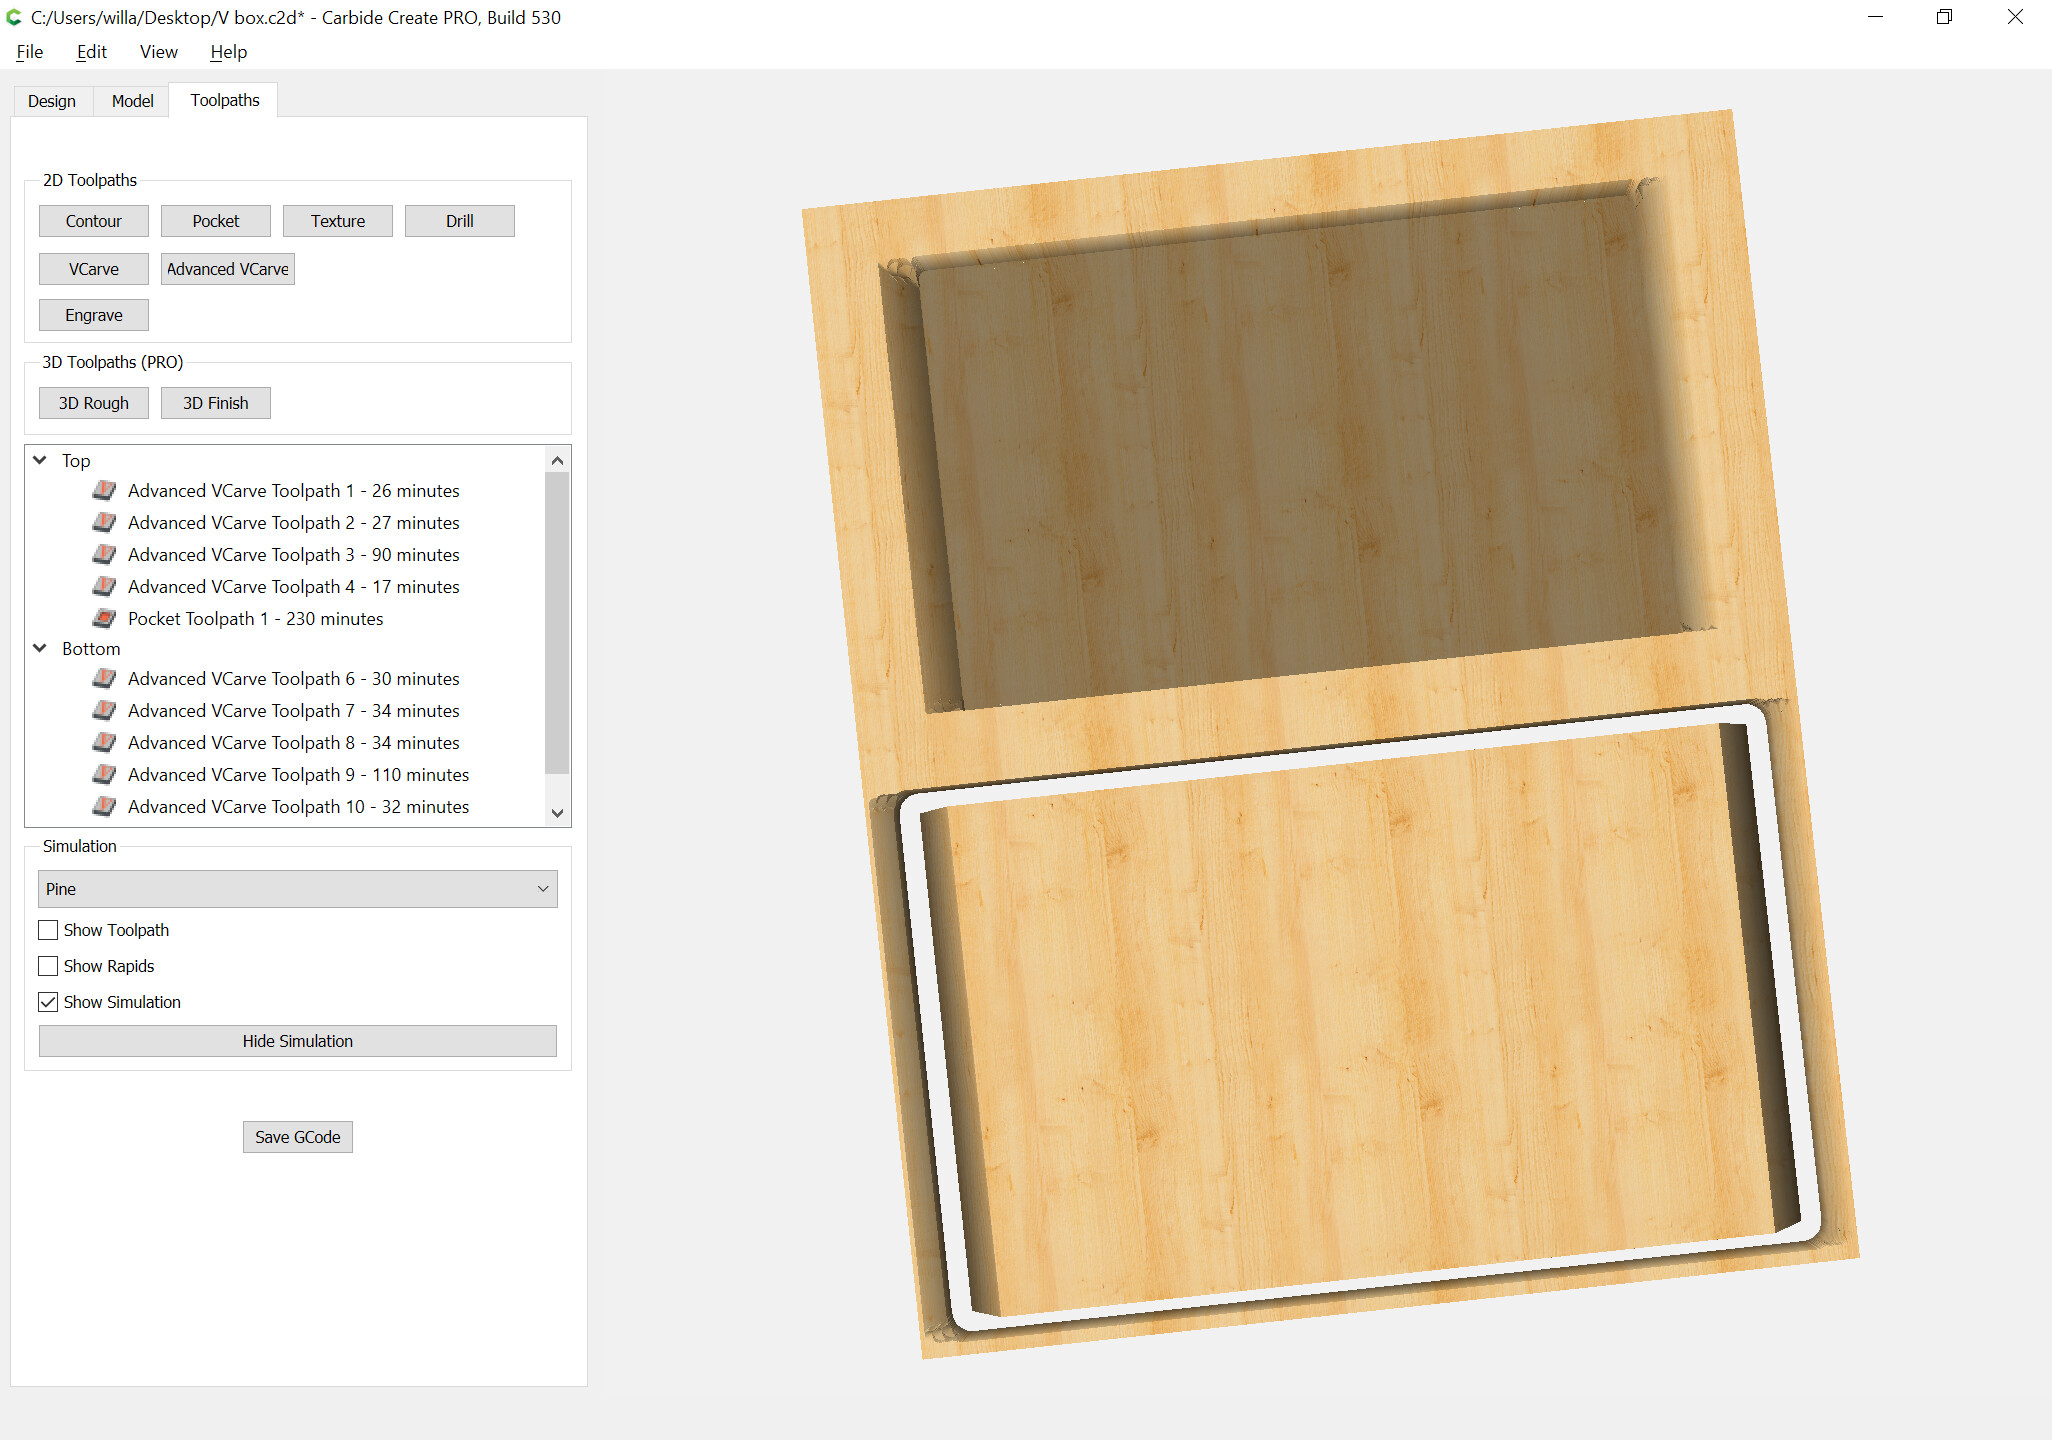
Then offset the lower perimeter by at least 10% more than the diameter of the tool which will be used to cut it out (assuming one can source one which has a 2" cutting flute length — if that isn’t an option, do this for the top as well, and set each depth to a bit more than 1"):

Attached.

V box.c2d (203.4 KB)

2 Likes

Thank you Will, love learning all I can, very helpful. Bill