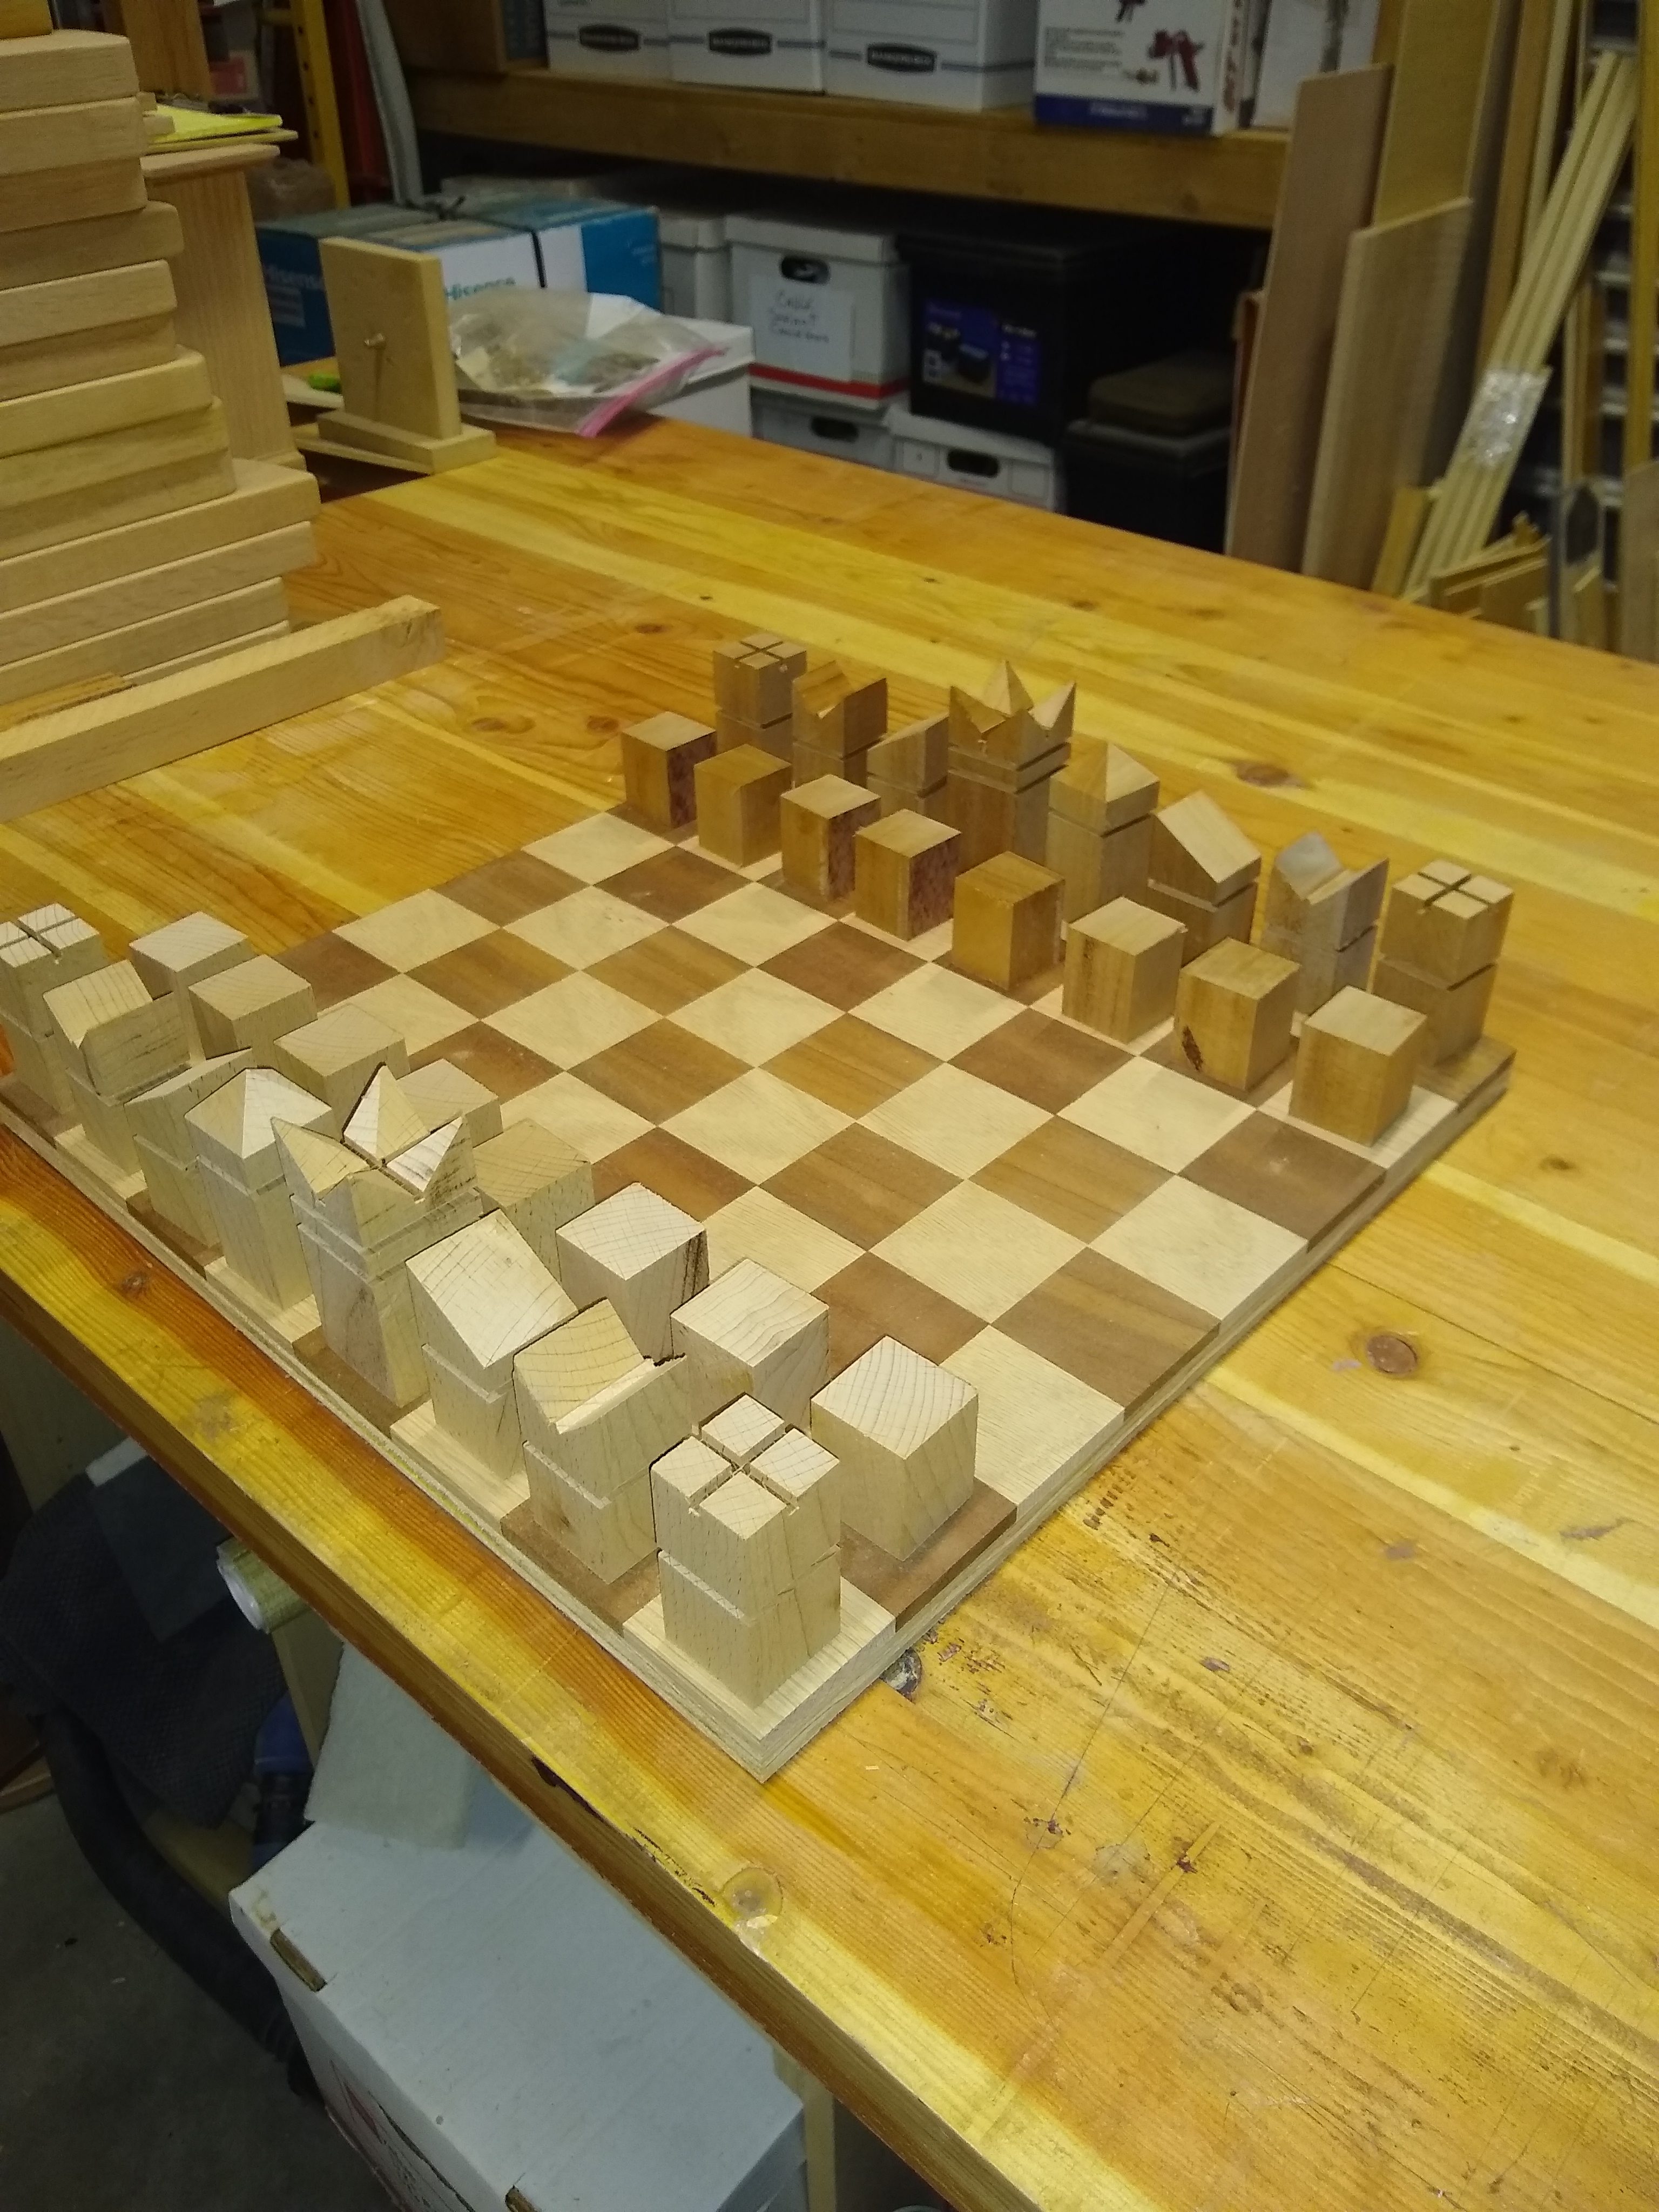
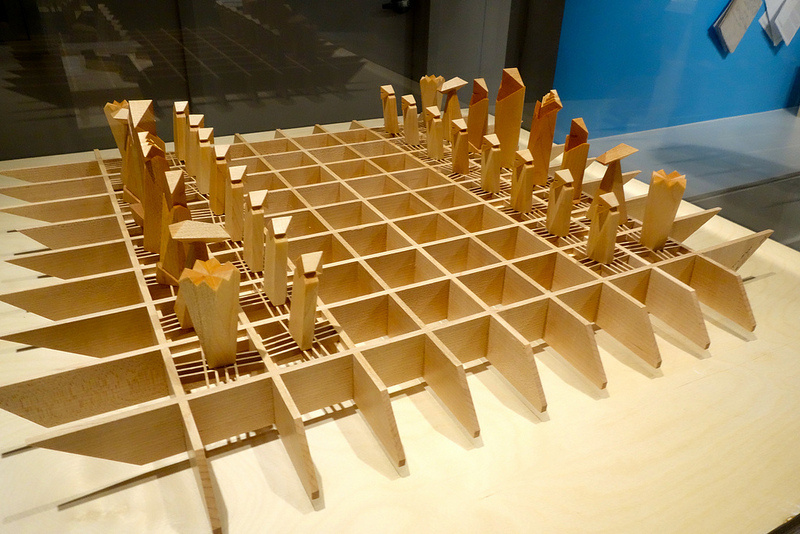
I have made a custom Minimalist Chess set. I was thinking of using the Shapeoko to v-carve on all four sides of each piece the latter K for King, Q for Queen and so forth. The bands are cut in the back row pieces and will cut the pawns tomorrow. I will use acrylic paint for the oak white and the mahogany black. Since this is a custom set I thought it would help identify the pieces and be a good aid to teach the game. The board is oak and mahogany. I still need to build a stand for the chess board and have two drawers with dividers to hold the pieces.
The board is 2"x2" squares, the King is 1.5"x 3.5" , Queen and all others 1.25" square. The base will be made of mahogany.
I would paint the letters with the white and black paint as well.
Sorry but several have asked for the files. These chess pieces were made on the tablesaw. I was just asking if the community thought I should engrave them with their letter since they are non-standard chess peices.
I think you could easily make them on the Shapeoko with a holding fixture and carve each of the 4 sides. But sorry if my post was misleading.
I went to a store in Nacgodoches that sells craft and handmade items. I showed a picture of my chess set to the clerk and she told me that the owner had just commented a few days ago that they were interested in someone to make a chess set. I am trying to get them ready to show the owner and see if they want to carry the set.
I’m a sucker for chess sets and this one is very cool!!! I wouldn’t change a thing, just my opinion. Already has me thinking about what woods I have “in stock” in my shop. Beautiful work!
To answer your question, I guess that you have to weight the minimalist aspects in your decision. You will want to keep the markings to minimum; you don’t want ornate markings as it will clash with the original style.
Since you want to sell those, having to engrave 4 sides of 32 pieces will add to your costs too but you could further reduce these by not engraving pawns and engraving only two of the sides would make this more manageable. Using a letter means that it is no longer universal because the name of the pieces is different in all languages. Maybe the Unicode representation is somewhat of a compromise.
I think that I’d use the rotary feature of Vcarve to carve them (if I had a machine that supported rotary). Oh well, now I want another upgrade. You guys spend my money very well.
Hey @Luke how about a Rotary upgrade so I can throw more money at you guys
And, once I get my damaged Lie-Nielsen #60½ rabbet block plane w/ nicker addressed, I’m one step closer to buying what will hopefully be my last hand tool, a Jointmaker Pro from Bridge City Toolworks.
Well the consus seems to be leave it alone. I did get the bands painted white and black. Tomorrow I will finish sand and apply finish. I will deal with dewaxed shellac and spray oil based poly. I did trim the king’s horns. I have dropped several pieces and don’t want the crown damaged if someone drops them. I got all my magagoney resawn today and planed and will also make a stand with drawers for piece storage. Here is a pic of some of my wood stock
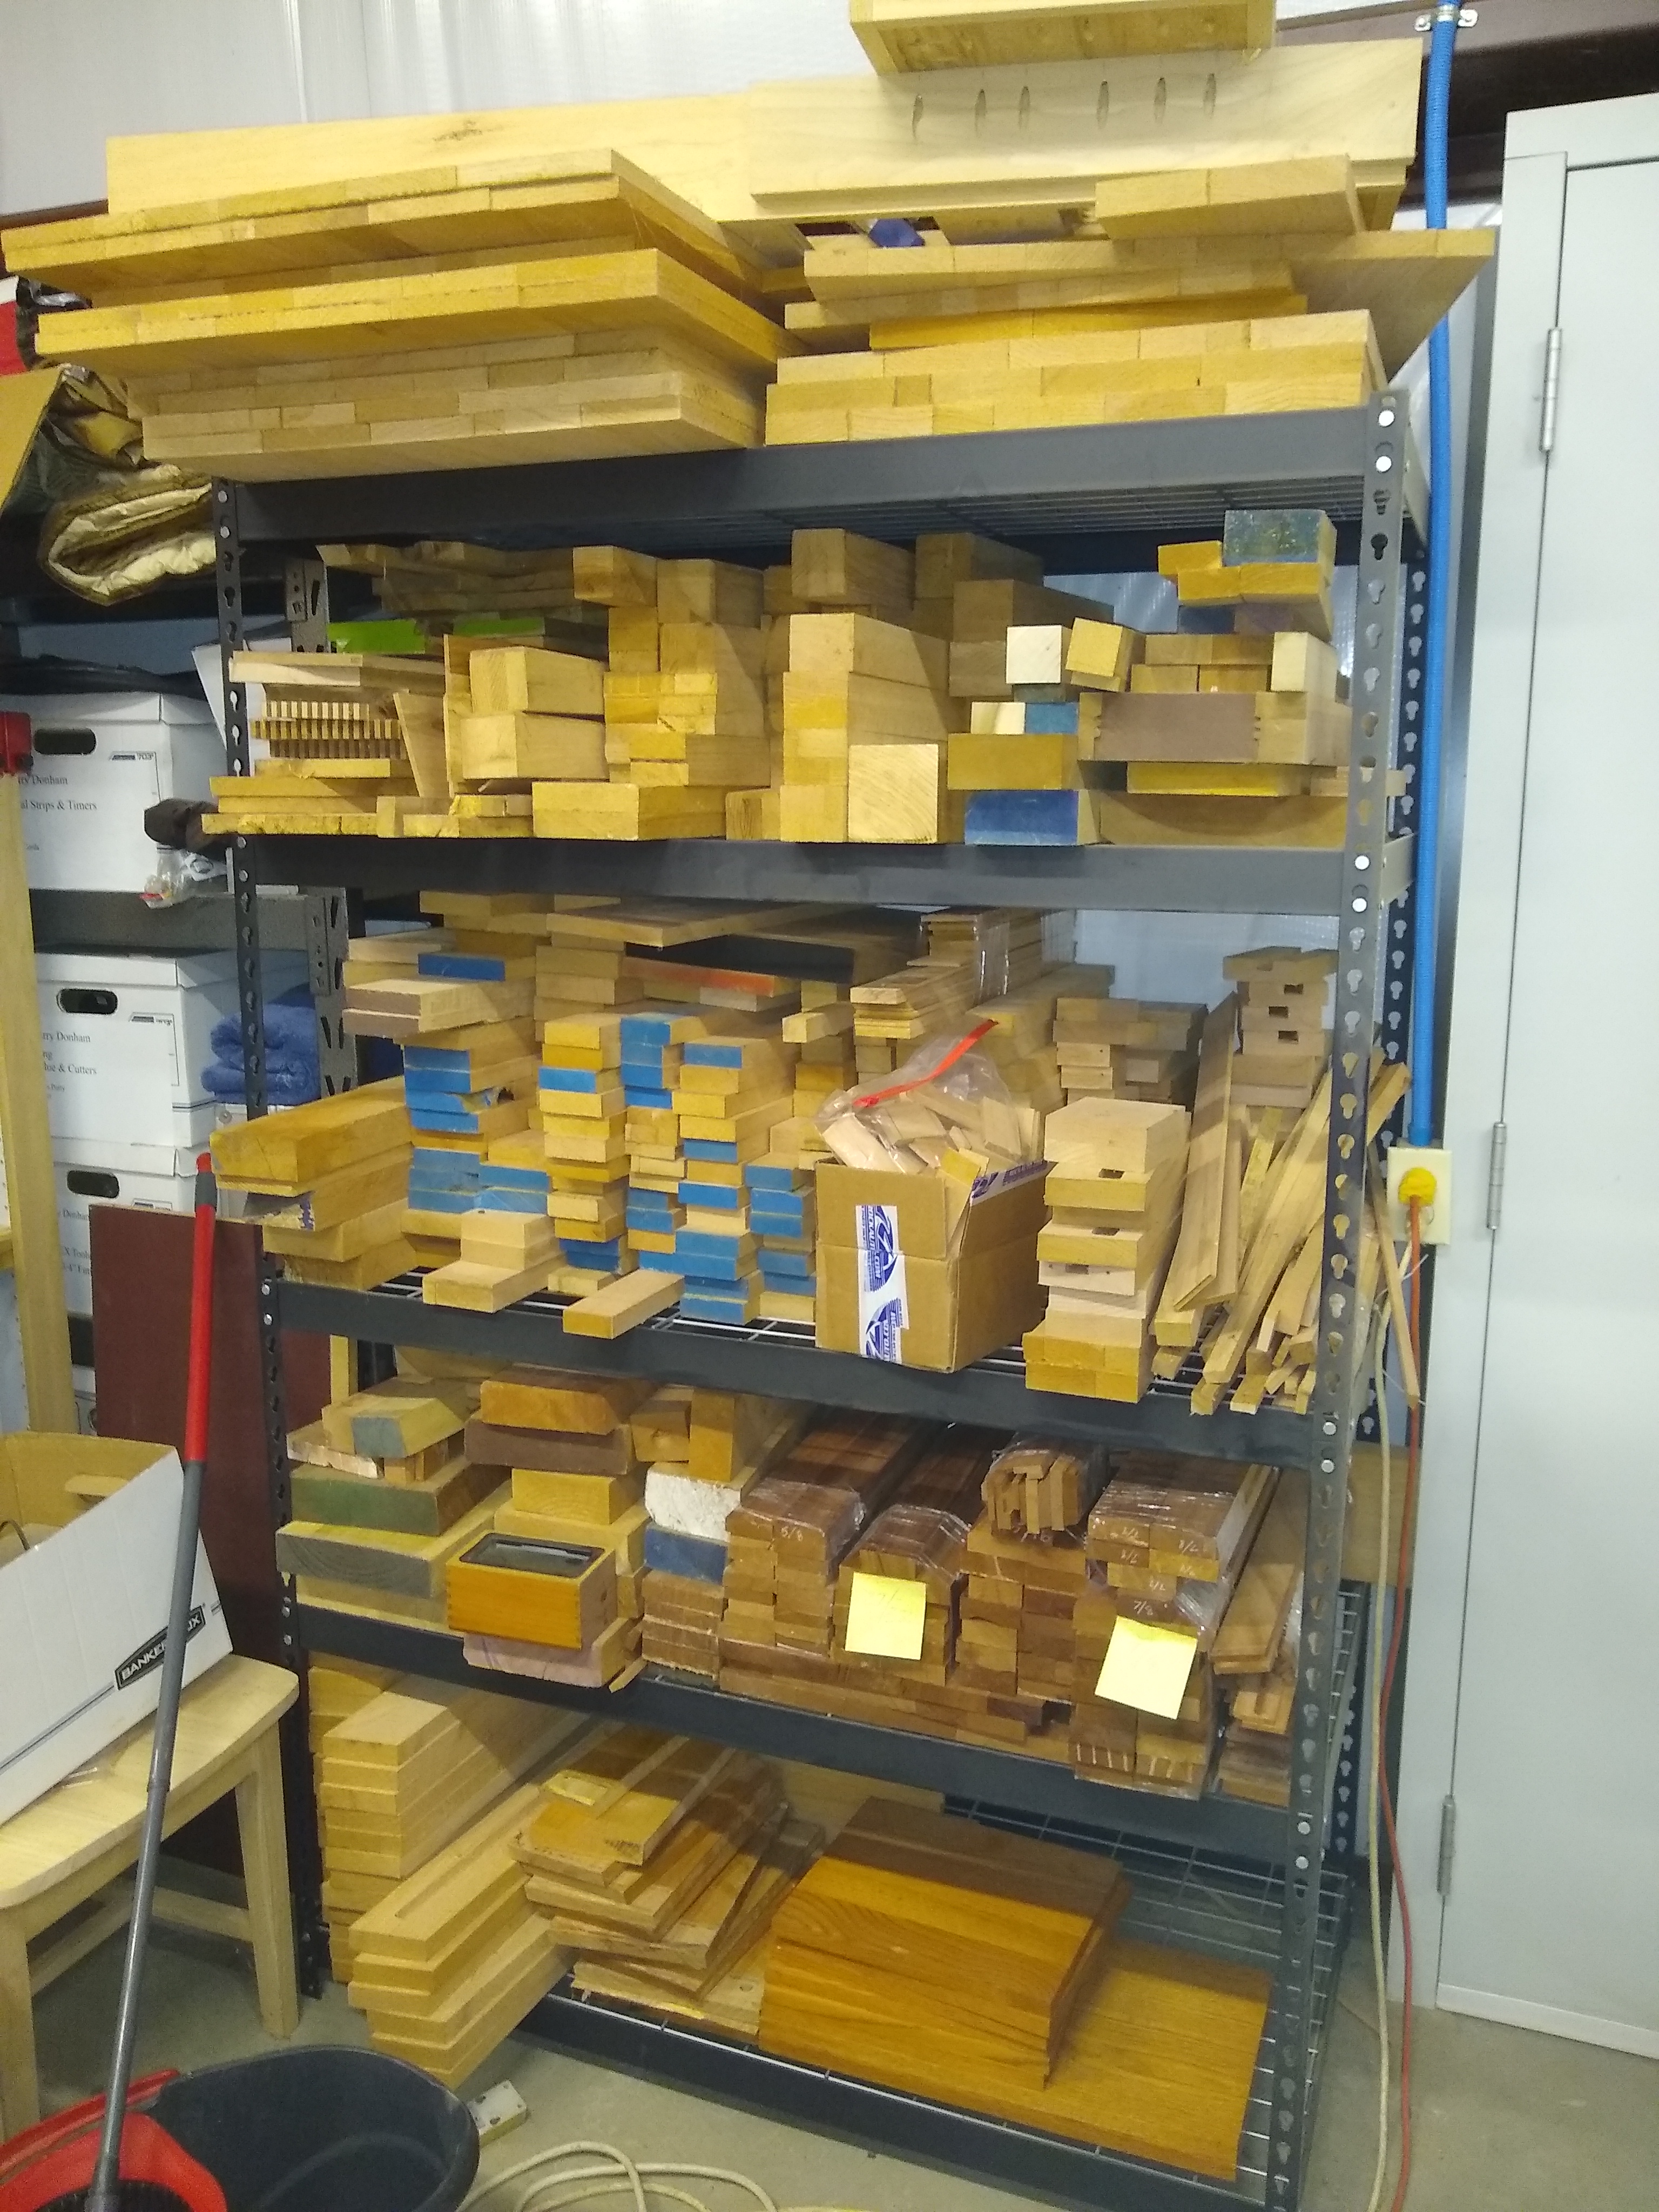
The top shelf are a bunch of glued up red oak panels and a flatening jig for my Frued FT2000 router and the Infinity Mega Planner bit with a square plastic base. The next shelf down is a bunch of glued up red oak squares and on the left is a stash of red gum. The next shelf down is individual pieces of red oak. The next to bottom shelf is all Mahogany. The bottom shelf is some L shaped 1" thick red oak that were going to be the sides of a bench. The other boards are some reclaimed red oak from Habit for Humanity Restore. I bought all of the oak and mahogany from a craigslist add. There was two pickup loads of oak and mahogany. Outisde there are about 30 pew ends. The wood came from a church furniture manufacturer that went out of business. Much of it was glued up to be legs or bench feet and a bunch of H shaped pieces that were going to be bench ends. I have used about half of the wood up on various projects. That rack is rated for 2000 pounds and there is every bit of that on it. To the left is an 8 foot x 4 shelf unit that is full of wood called shorts. I bought it from a hardwood supplier that makes molding. The ends have knots and checks but is very useful for small projects. The pallet was 4’x4’ and had walnut, maple, oak and poplar. On the other side of the shop I have several 10’ x 10" 4/4 cherry boards. Right now I have a lot of lumber and need to make a lot of projects.
Keep your eye on craigslist and you never know what you will find.
One of the most useful tools I have bought in the last few years was an SCM 16" bandsaw. I have a Lenox 1" carbide tooth blade and it goes through oak like a hot knife through butter. The motor is rated at 4.8 HP and you have to be careful because the wood goes through so fast you need to watch your fingers. My previous bandsaw was a 14" Ridgid that would dance all over the shop when resawing.
A little jealous of your selection as well as nice organization of woods. I have plenty of wood in my shop too, some on some shelves, some in boxes, some stacked in this corner, some stacked in that corner, some in my hallway…nope, the wood in the hallway is my wife’s. It’s safe to say the next time I make something I’ll still end up buying more wood, it’s an illness;)
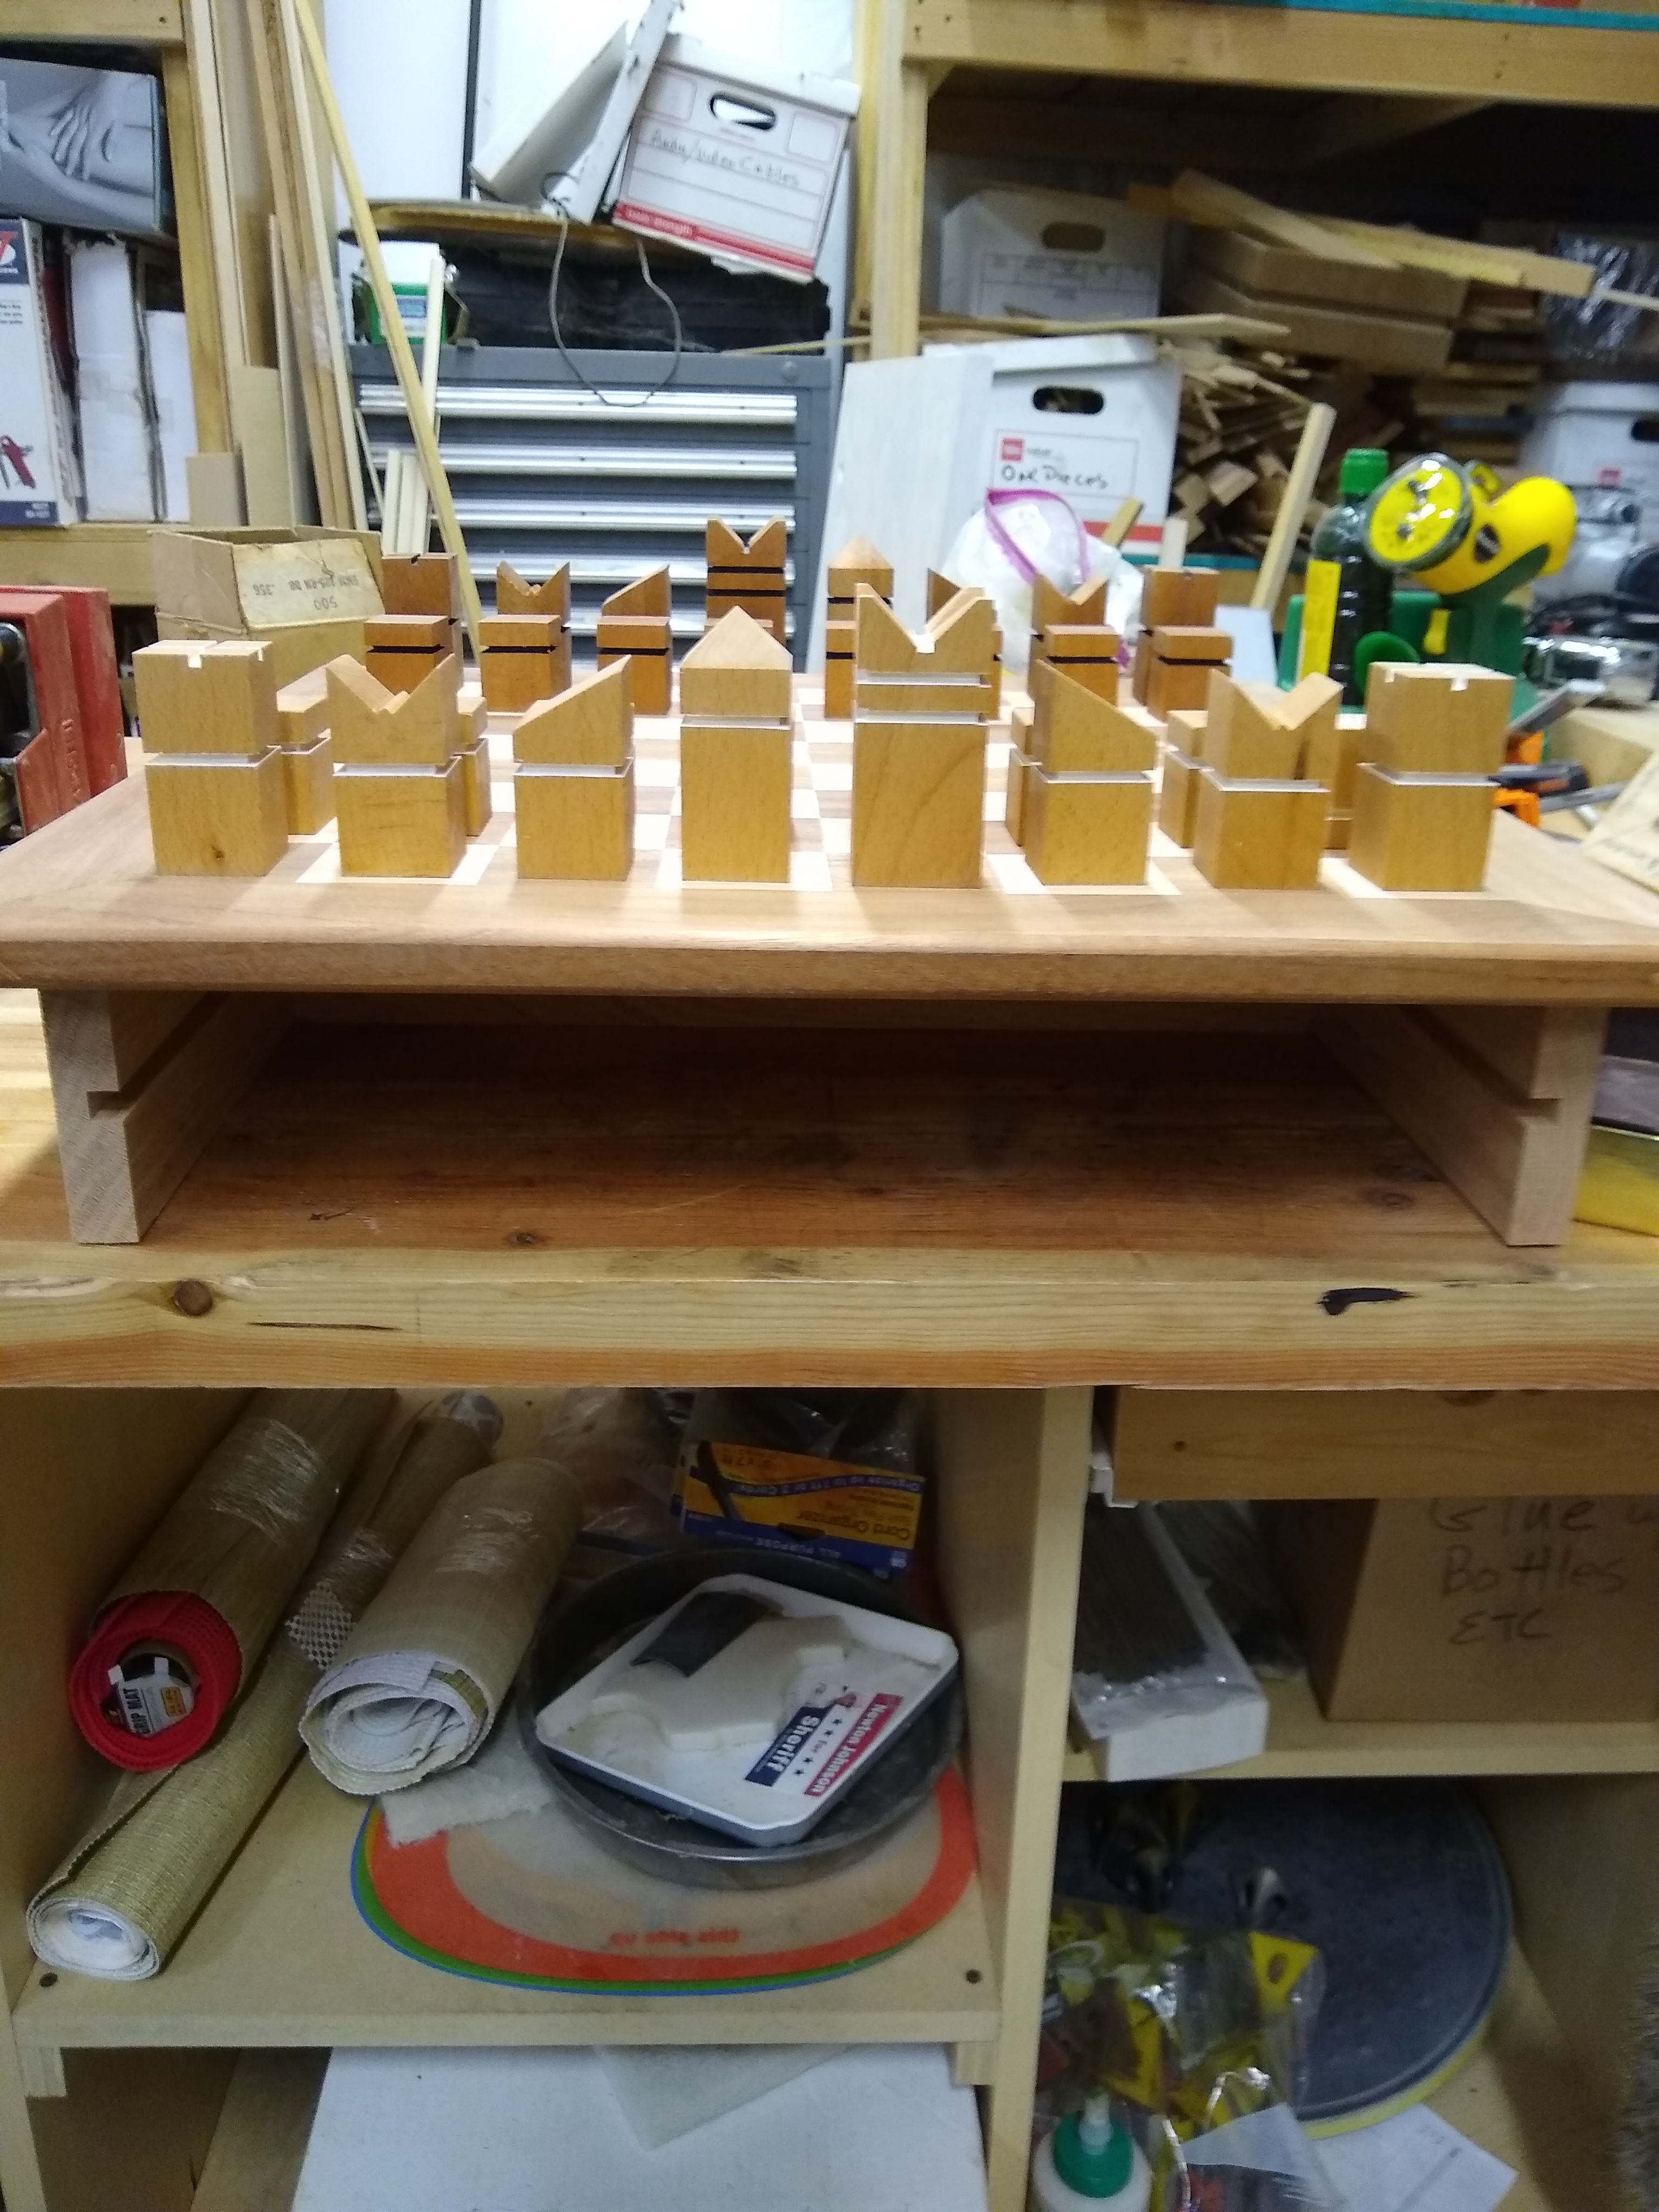
Here is an update on my chess set. The board is finished with border and splines in the corners. I have the base cut out and will make drawers to store pieces tomorrow. The drawers will be dovetailed and have magagoney drawer fronts. Hope to finish construction by weekend and apply finish.
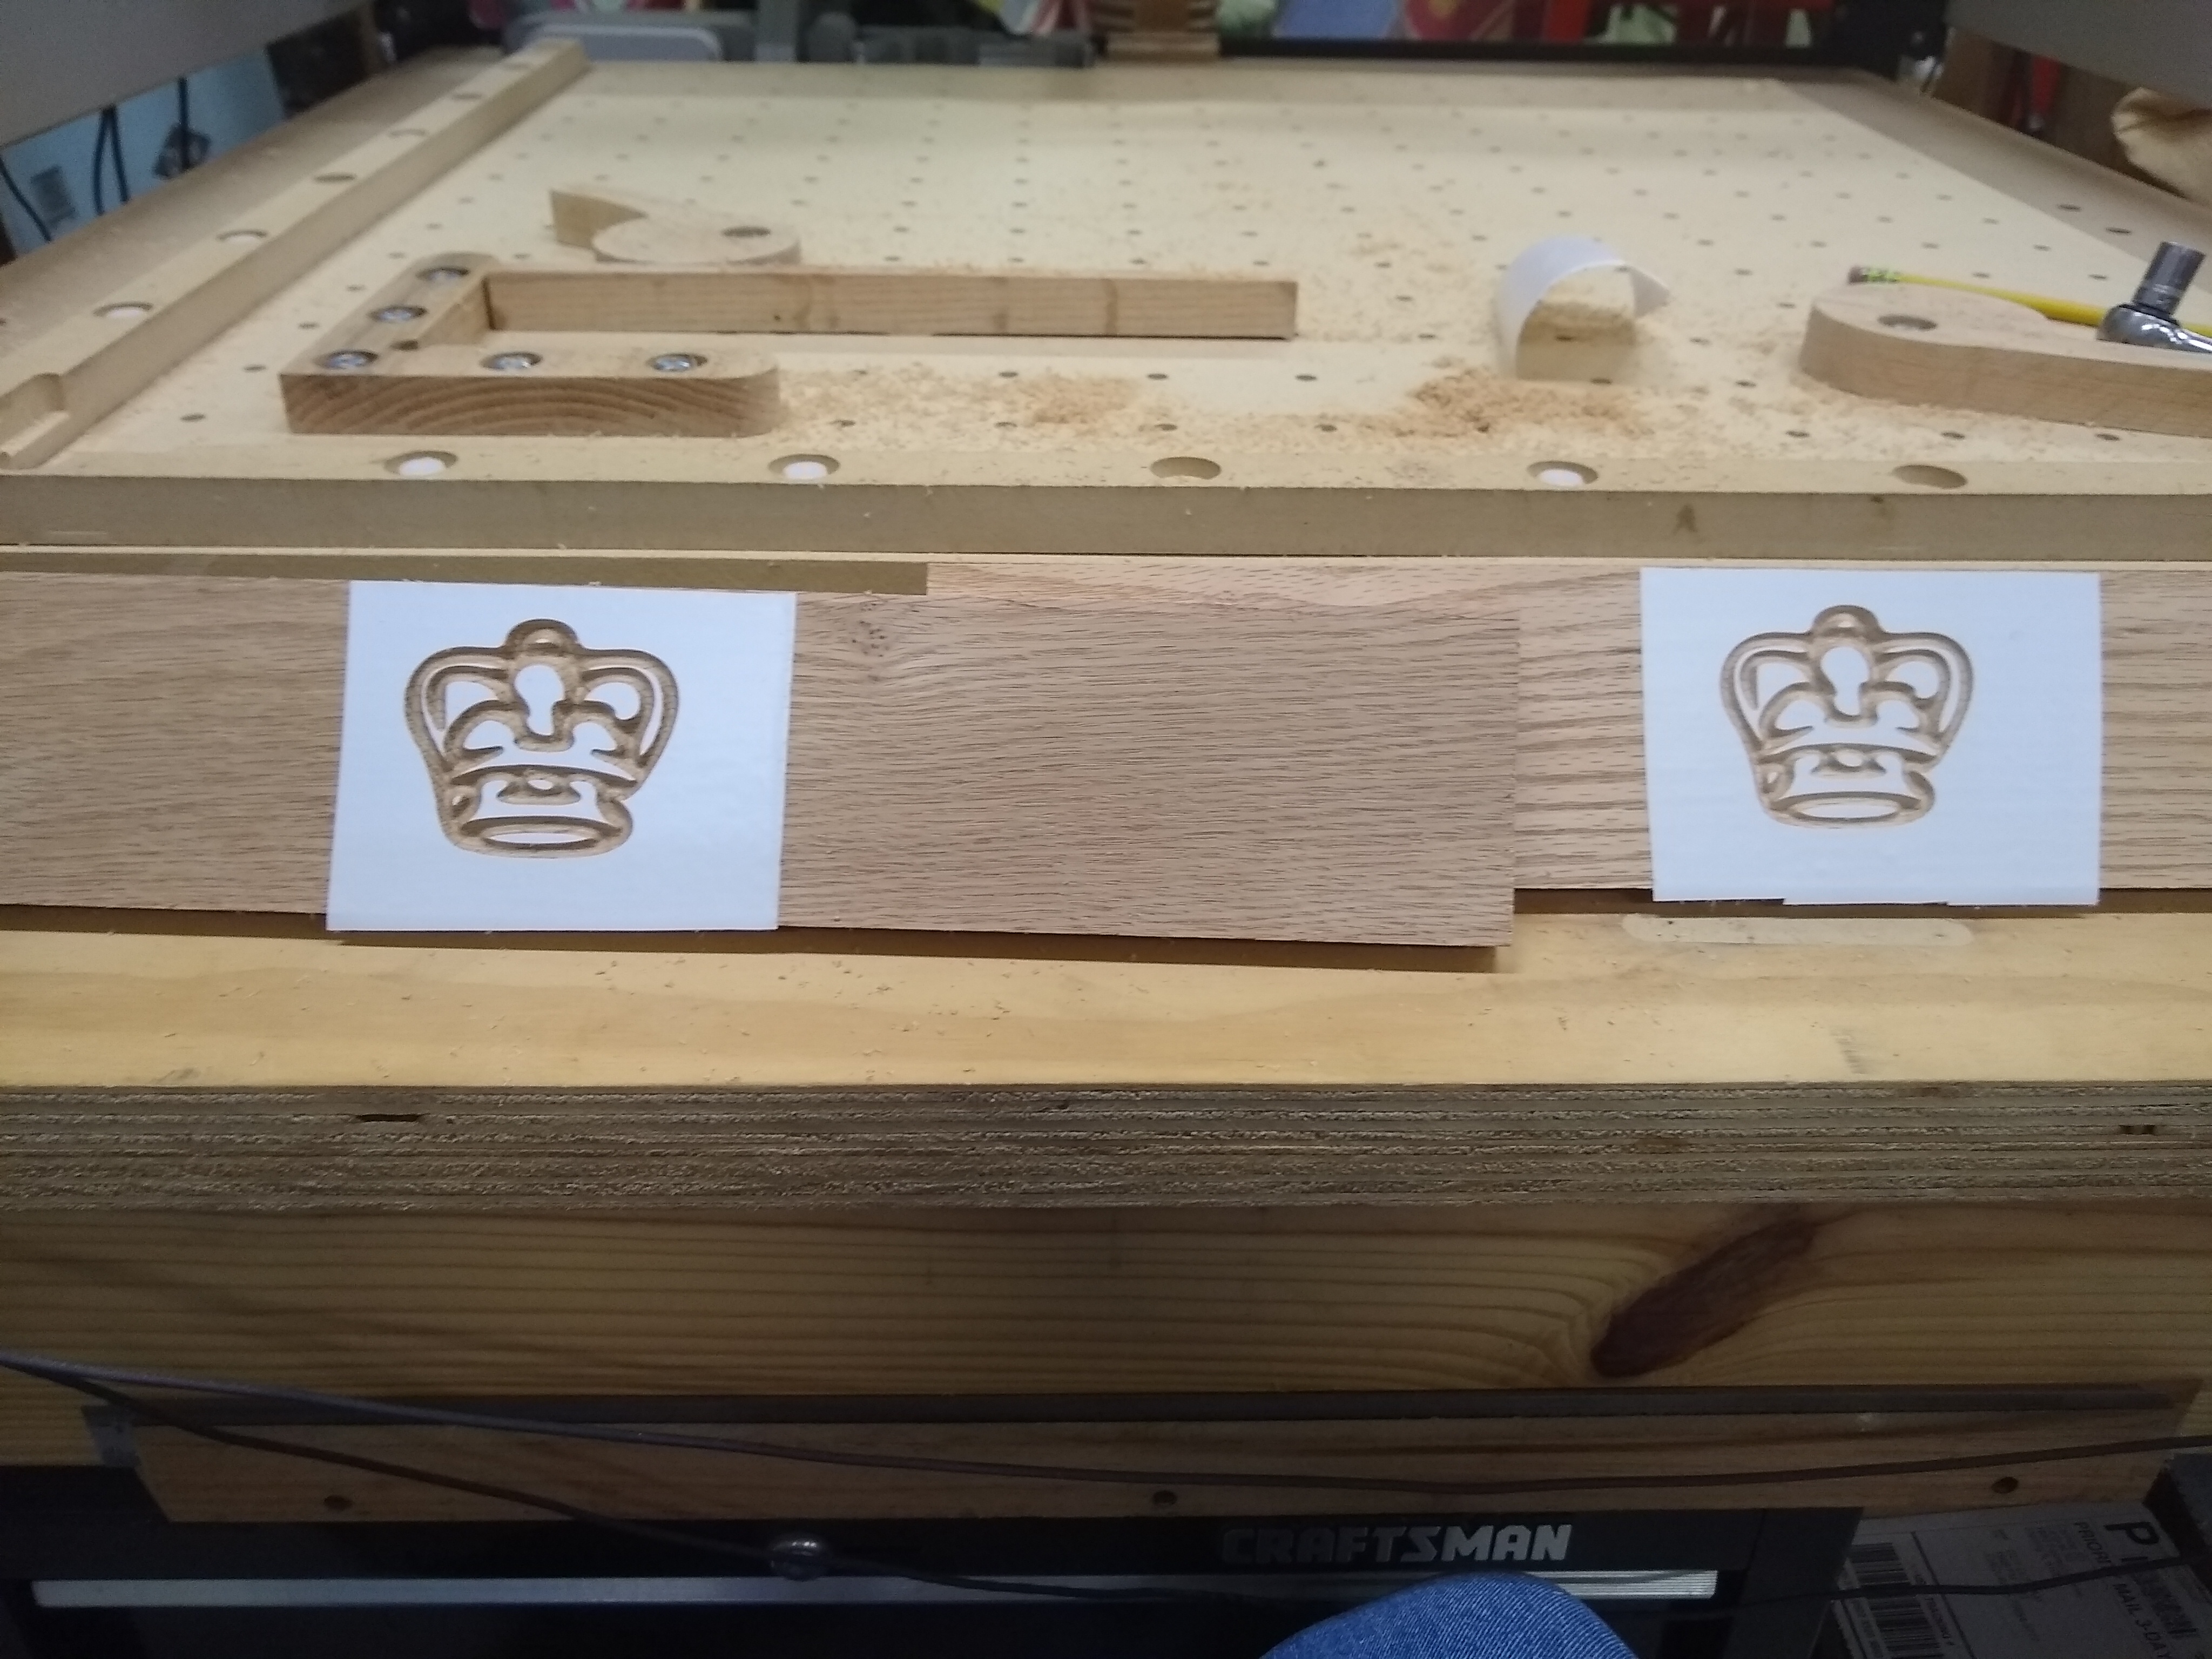
Last night I carved in the drawer fronts a crown. I used the Easyliner adhesive shelf liner over carving and painted with brush and acrilic paint. Pleased with outcome. Minimal cleanup.
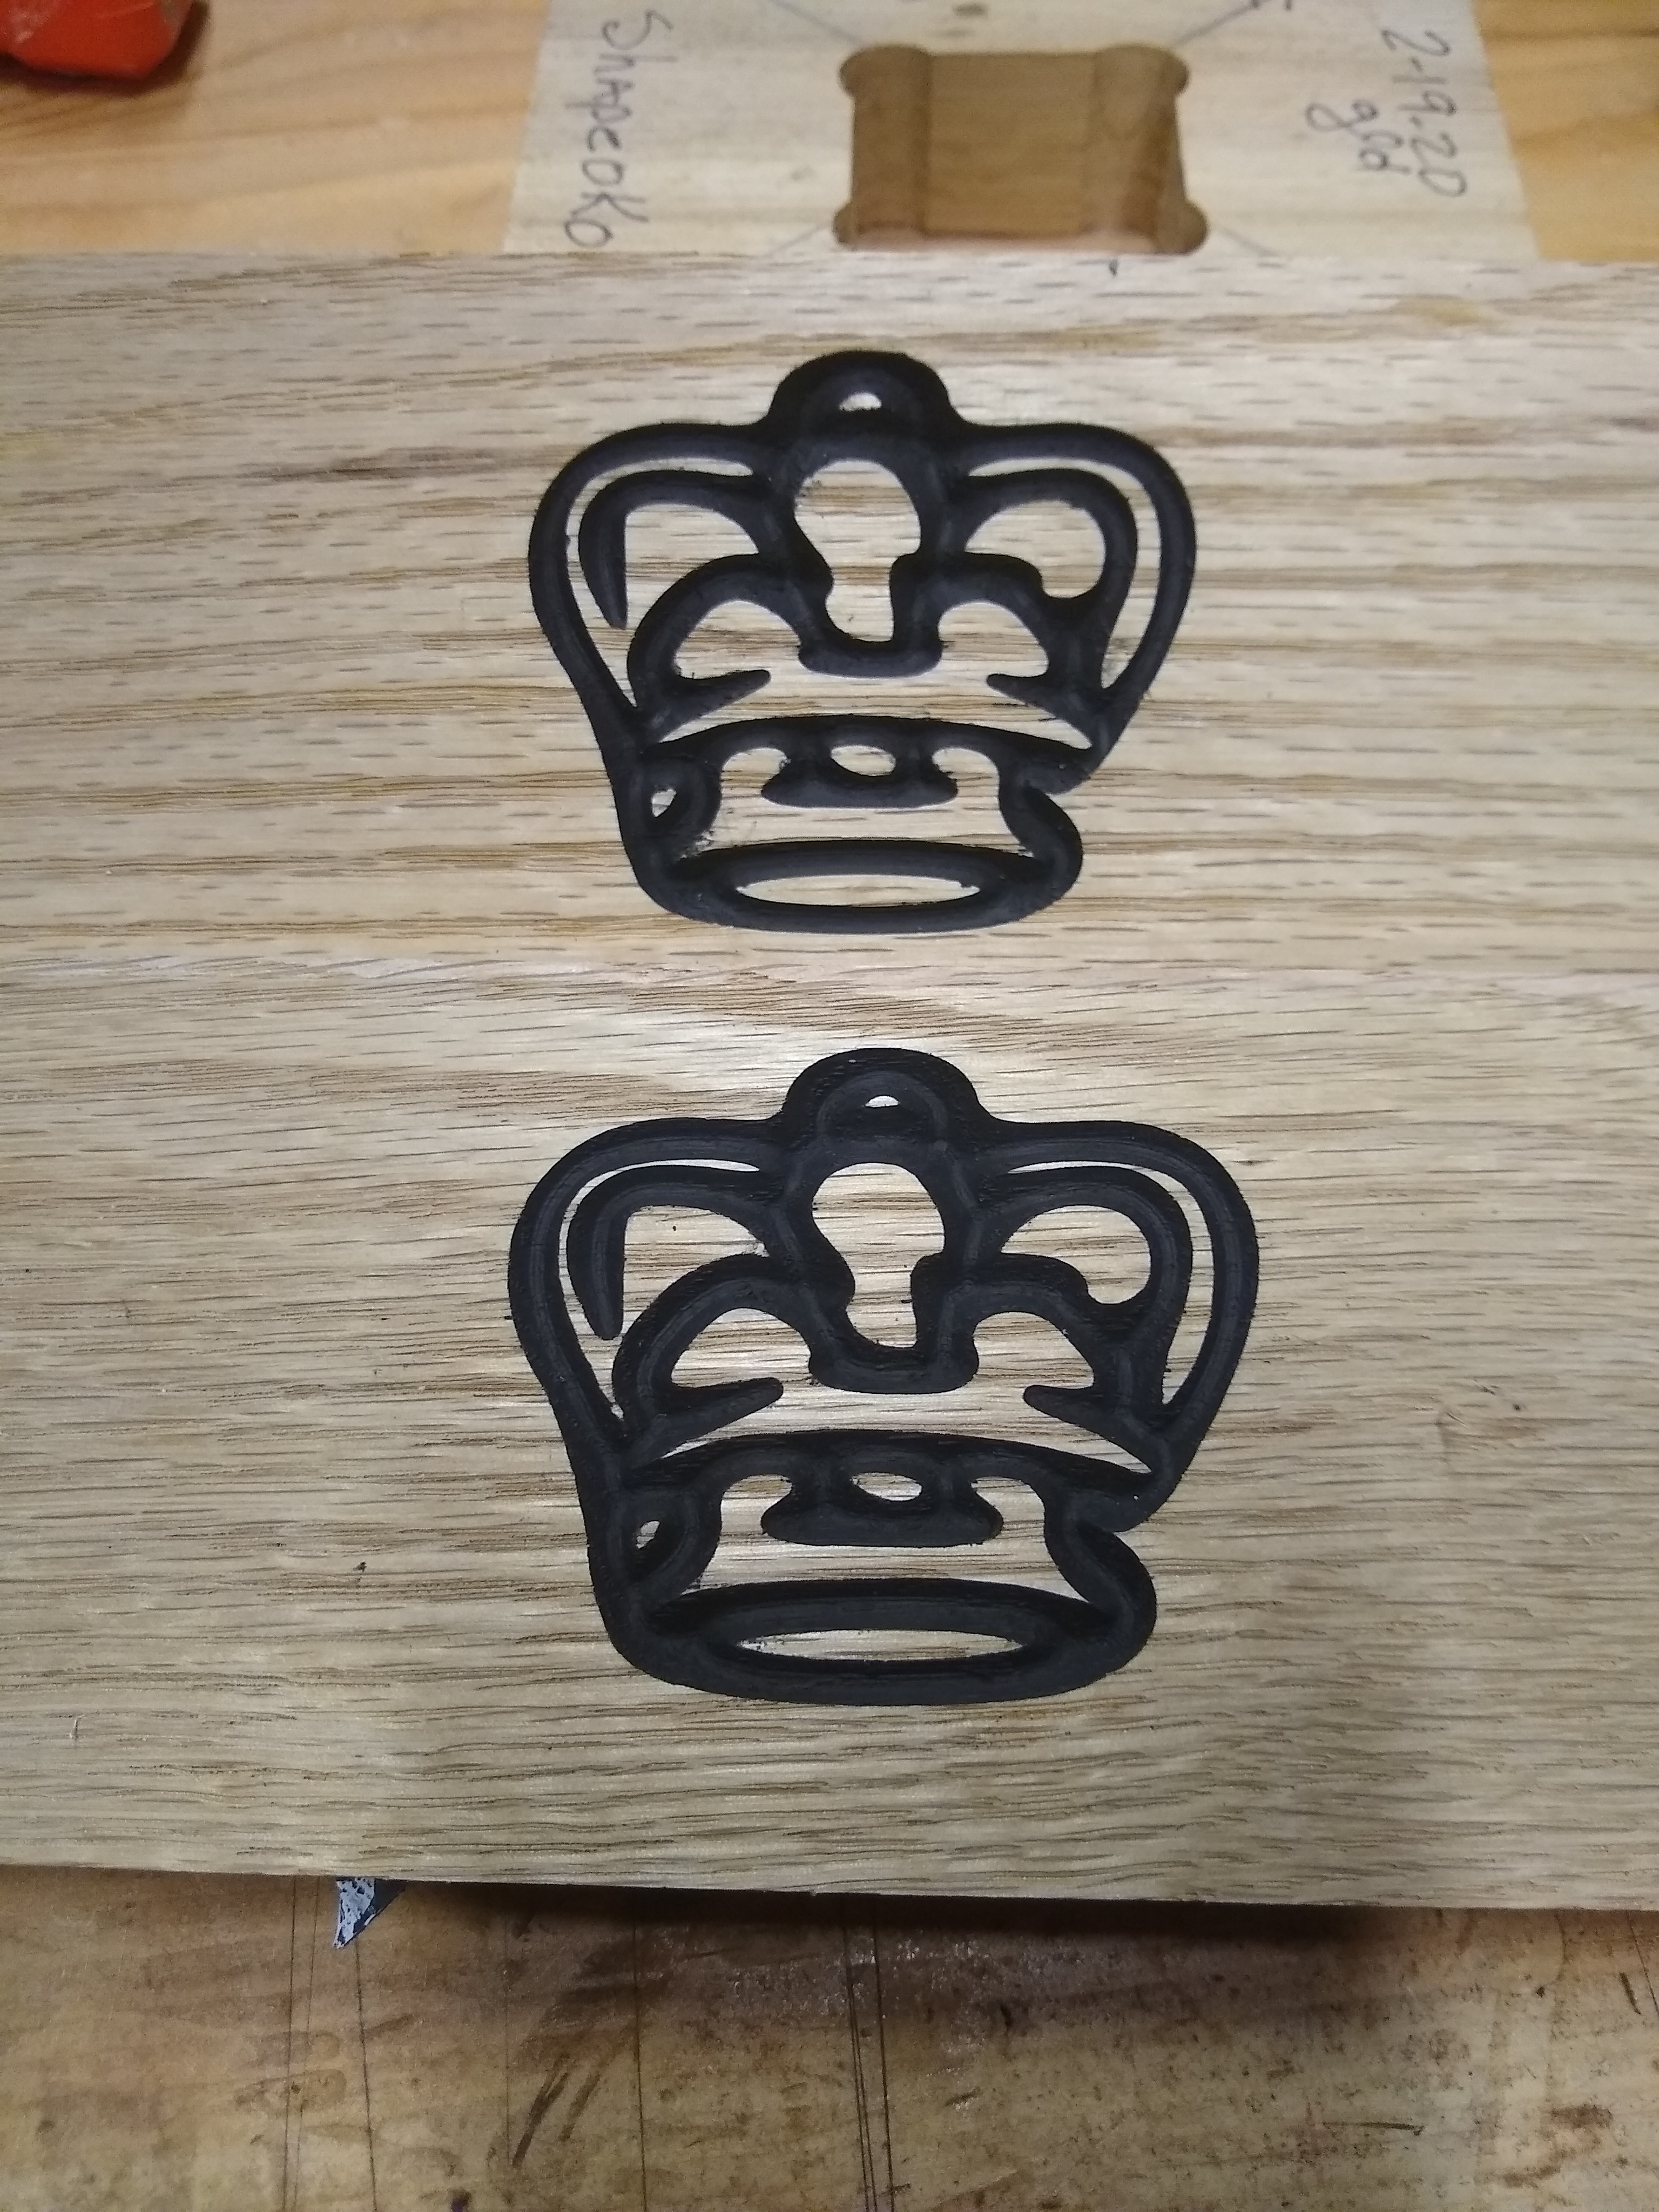
The second pic top is with mask removed and lower is test carve with shellac and no mask. I sanded test piece with 80 grit sandpaper. Since it was a test I could have sanded more but I was happy with result of shelf paper. In sec pic top image has not been sanded yet. Much better with mask. Picking off the little pieces of mask was a little work.
How are you planning on finishing this set? I am building a backgammon set and I am struggling with what to use. Its obviously going to take some abuse so I am concerned about using a film finish. Thinking about maybe using an oil/wax type finish but not sure that will yield the best results.
Would love to hear any suggestions from the finishing experts out there!
Guy, the key to the success of painting with the mask is to seal with clear or shellac before placing the mask on. You had such a small amount of “bleed” on the second piece compared with the first, but there still was some. The seal will also smooth out some of the grain openings where the mask is cutting into the wood.
Also, it looks (to me from here) like your cut of the crown was a little too deep as the parts of it seem to run together. Perhaps us a limit on the depth of cut rather than simply V-carve as is. Or create another internal offset to make bring the vectors closer together.
I will try sealing the work before carving next time. But compared to just carving by sealing I found my first attempt with the mask quite good. The picture of the crown with the mask was not sanded after removing the mask. The carving is a little big but the original was a jpg and I converted it to an SVG. Then I enlarged the svg in CC. The crown lines were a little wide. It was carved with a 90 degree vee bit.
Right now I have put a coat of dewaxed shellac on and tomorrow I will sand to 320 and apply a second coat of shellac. Then I will use a wipe on poly. By sealing with shellac I find that it takes less coats of poly to get a smooth and great finish. If you do not seal first it takes another 2 or 3 coats to get a smooth finish. I have a HVLP Earlex sprayer but it takes longer to clean it up than it does to spray. Plus right now it is barely 70 degrees and it takes longer for finish to dry when sprayed in the cooler temperatures. I find that the wipeon Minwax poly is quite durable. I build my living quarters and have a french door as an entry door. I built an oak threshold and applied 3 coats of wipe on poly 3 years ago. I step on the threshold several times a day and it still looks great. My shoes have grit from outside and the durability of poly is great. I will use a satin poly. I have used gloss poly before and on some projects it looks plastic like with gloss. The satin gives a smooth surface and non glaring. I have tried spray lacquer but I find it is not durable enough for things that are handled. So the entire project is ready to be finished. The board, base and drawers are all built, sanded, and partially sealed.
I did the whole chess set with the table saw but just had to have some Shapeoko work so I chose to put the crown on the drawer fronts. There is a drawer on both sides with a divider on the middle to stop the drawers. I will most likely put a magnet on one side of the drawers to keep them from falling out when moving the chess set. The drawers are on oak runners. I could not find any drawer slides that were small enough. I have a one inch overhang on the board and even with full extension I wanted the drawers to come out far enough to get at the men. I went to Hobby Lobby today and bought some red velvet material to clue to the drawer bottoms. I used to make captured bottoms in drawers but not after gluing the drawer I rabbet the bottom with a 1/2 inch wide and 1/4 inch rabbet, counter sing the screws and glue the fabric on the bottom and then screw it in place. After I get the drawer bottom installed I will use another piece of the velvet on the bottom to keep from scratching furniture when the drawers are removed. I find this construction works better for small drawers and makes the drawer a 1/4 inch deeper.