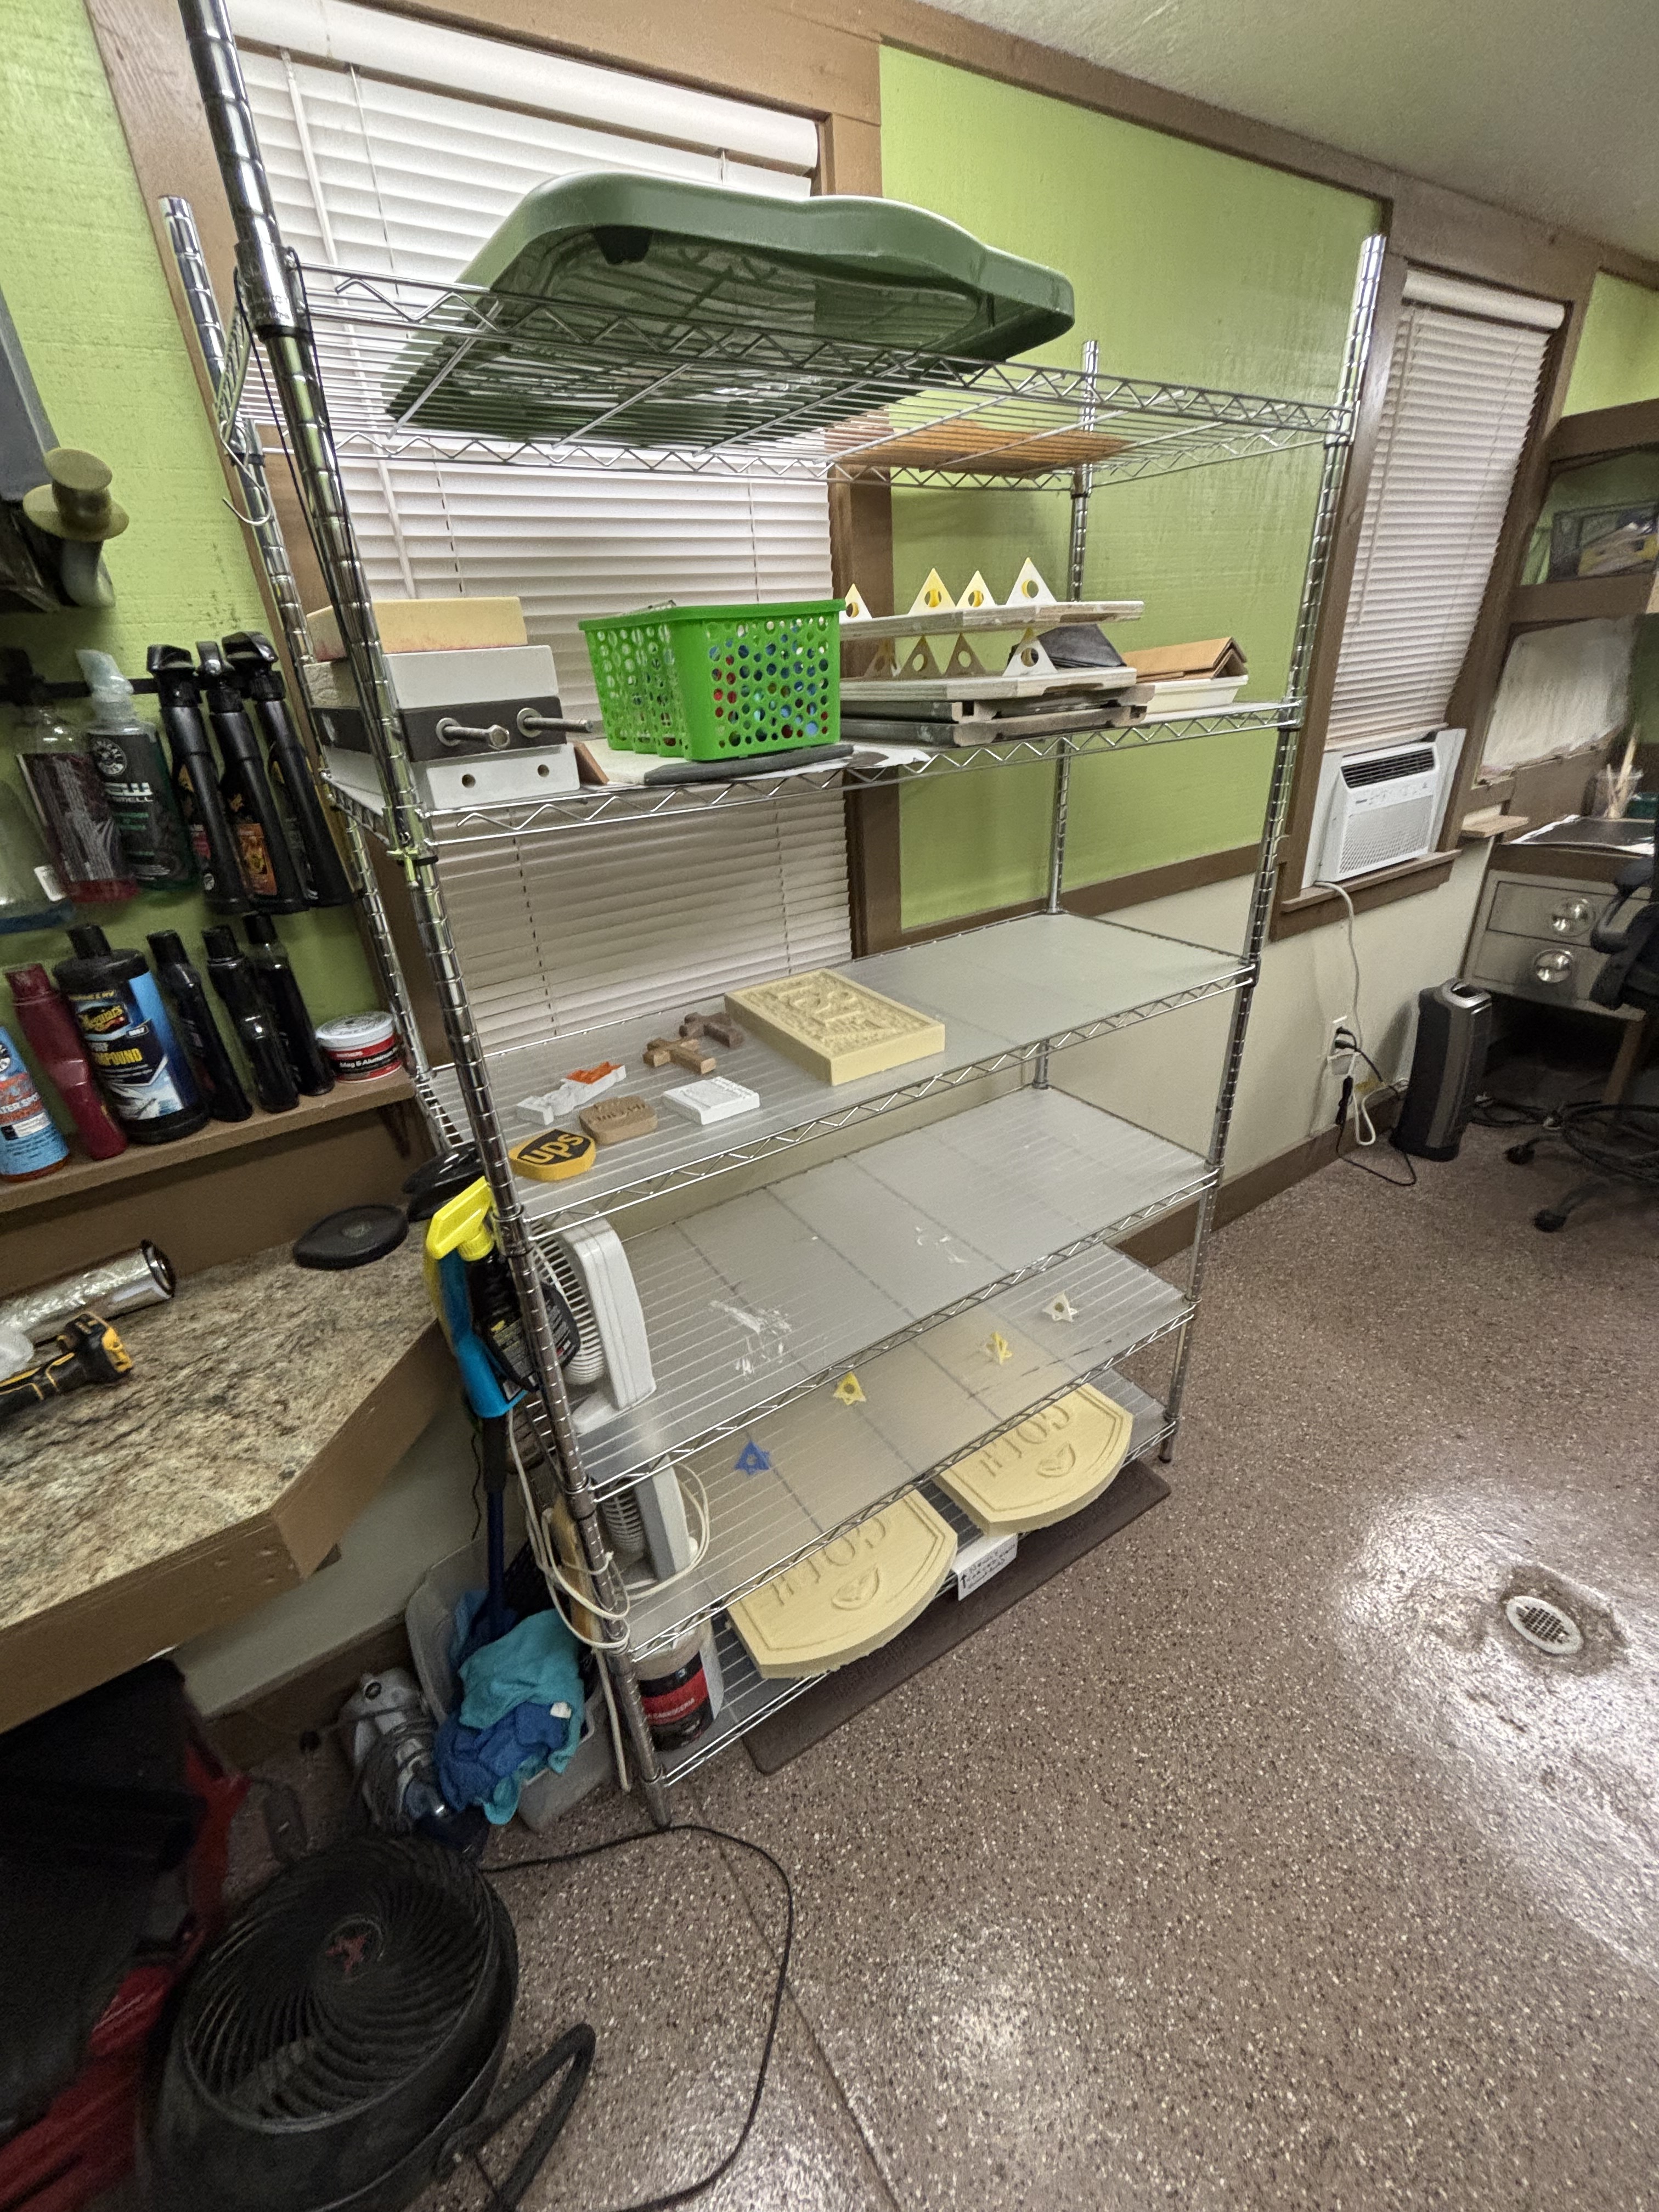
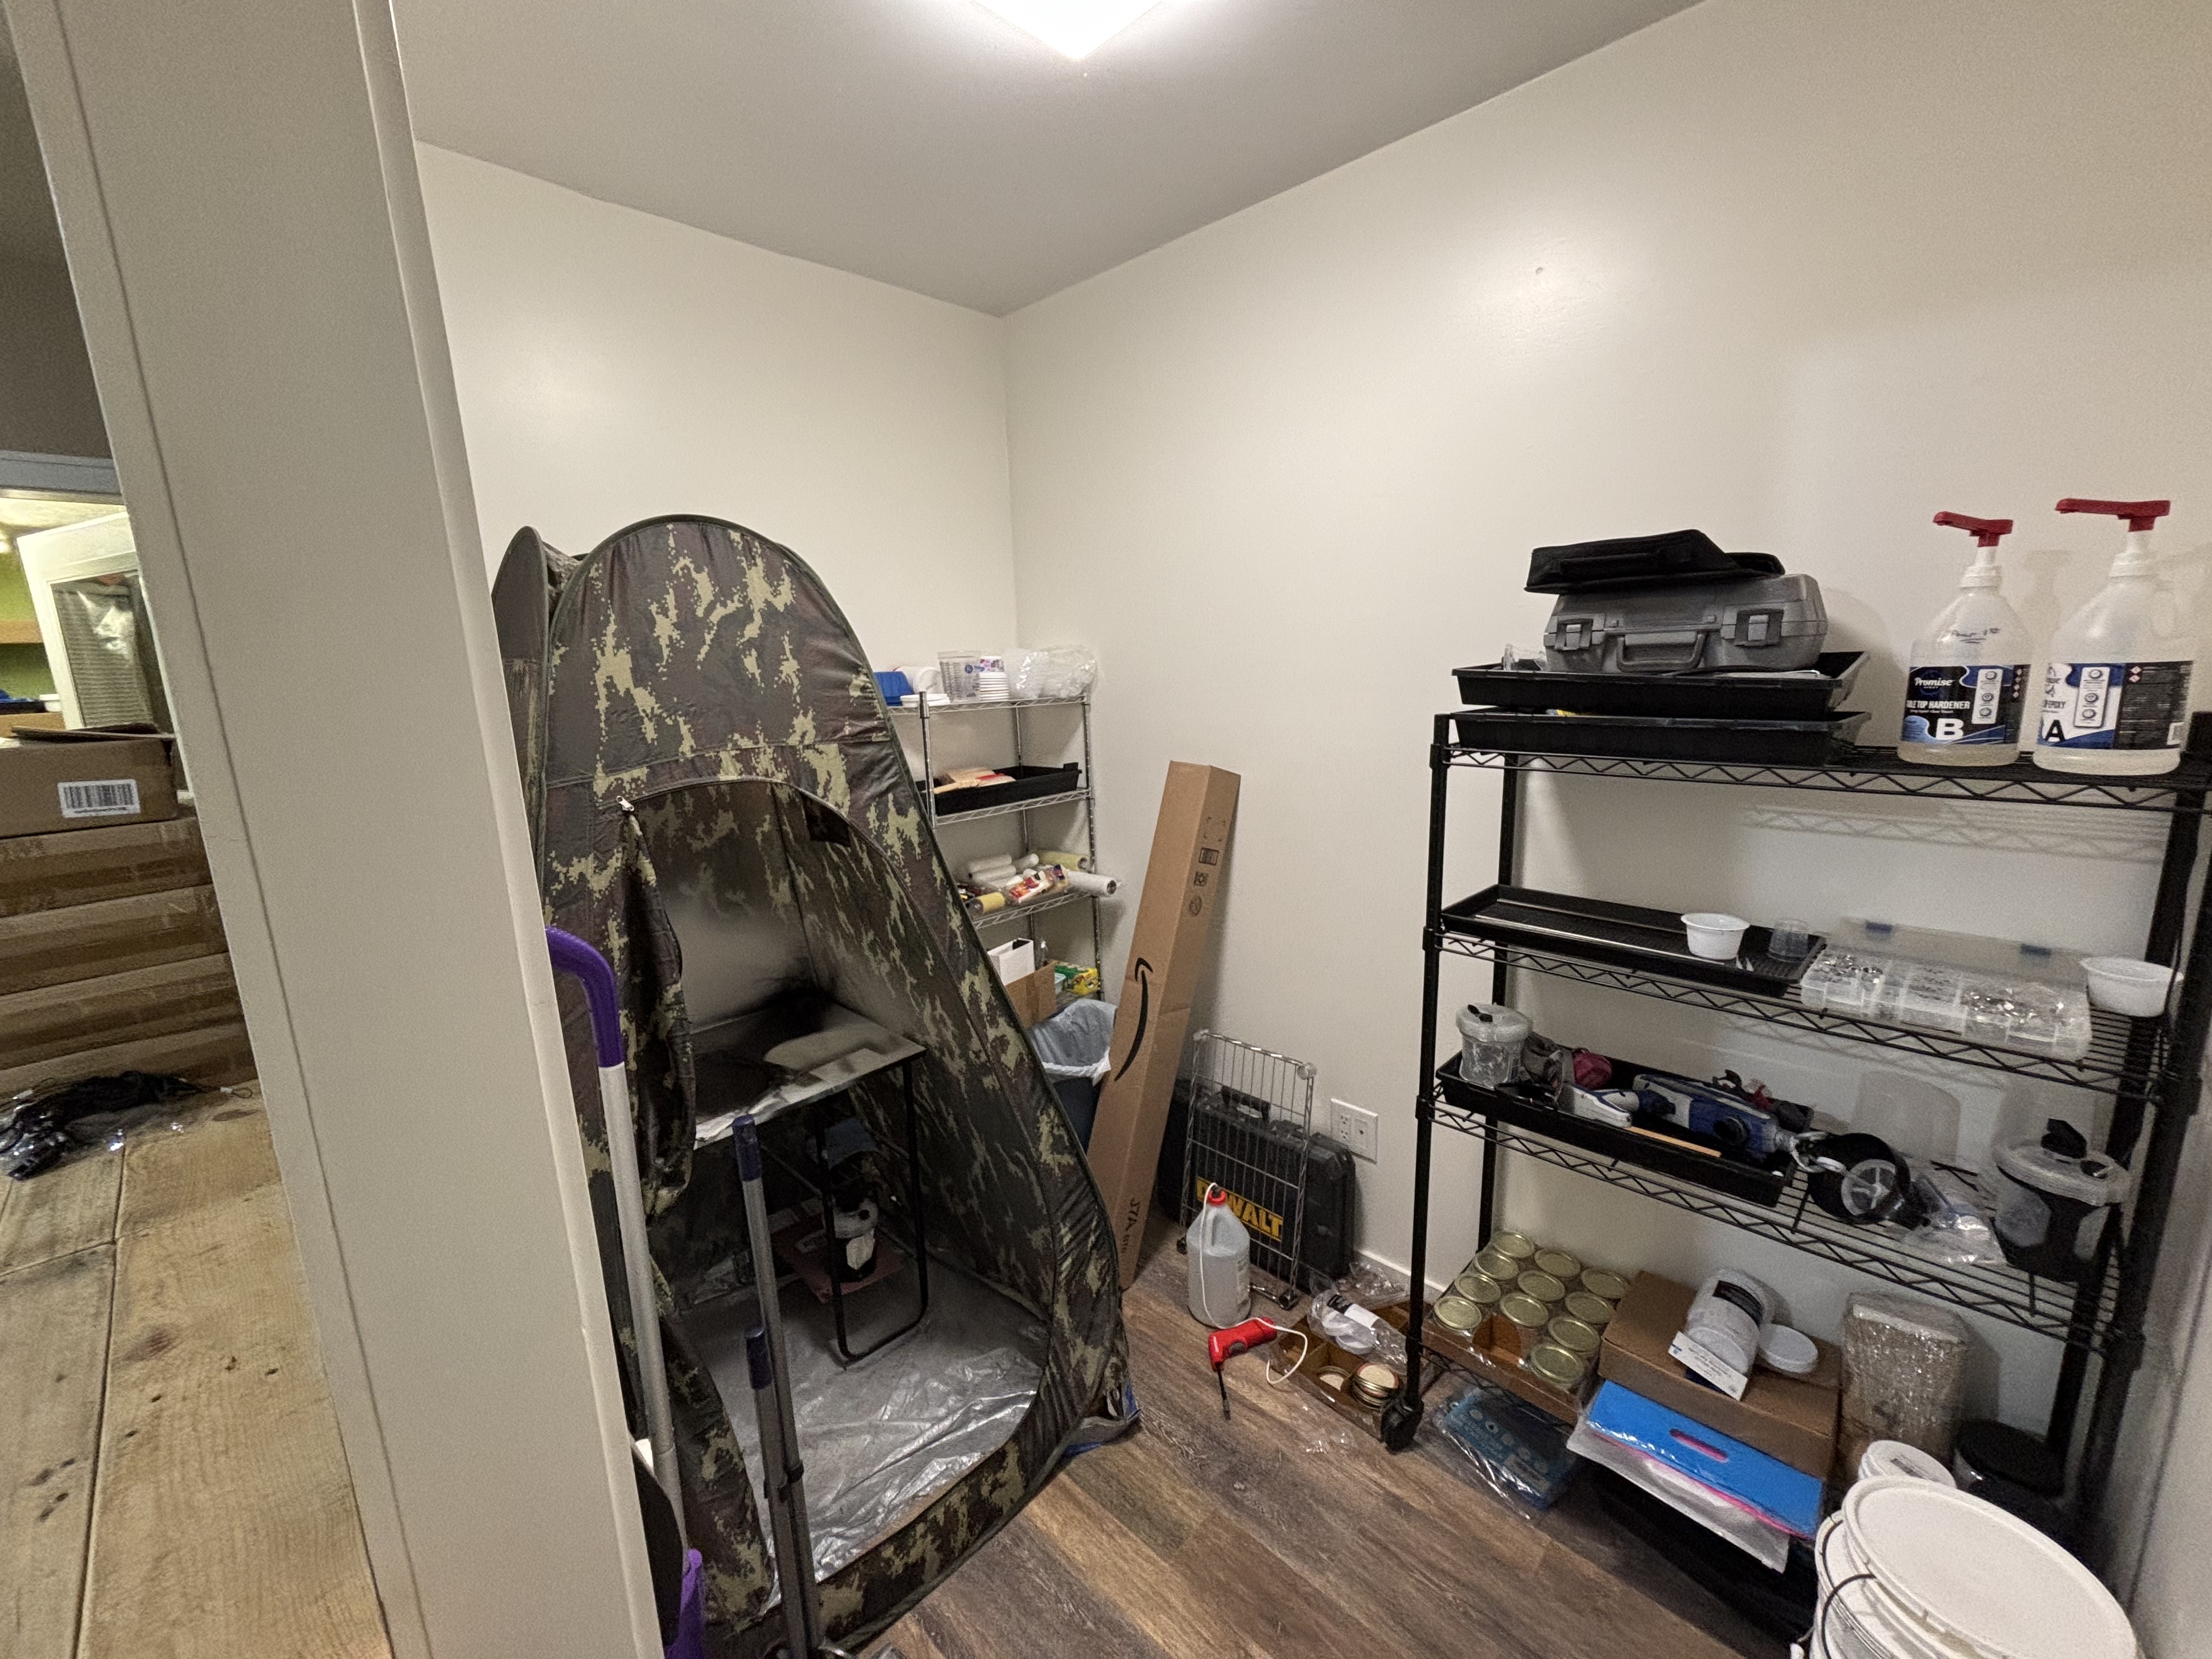
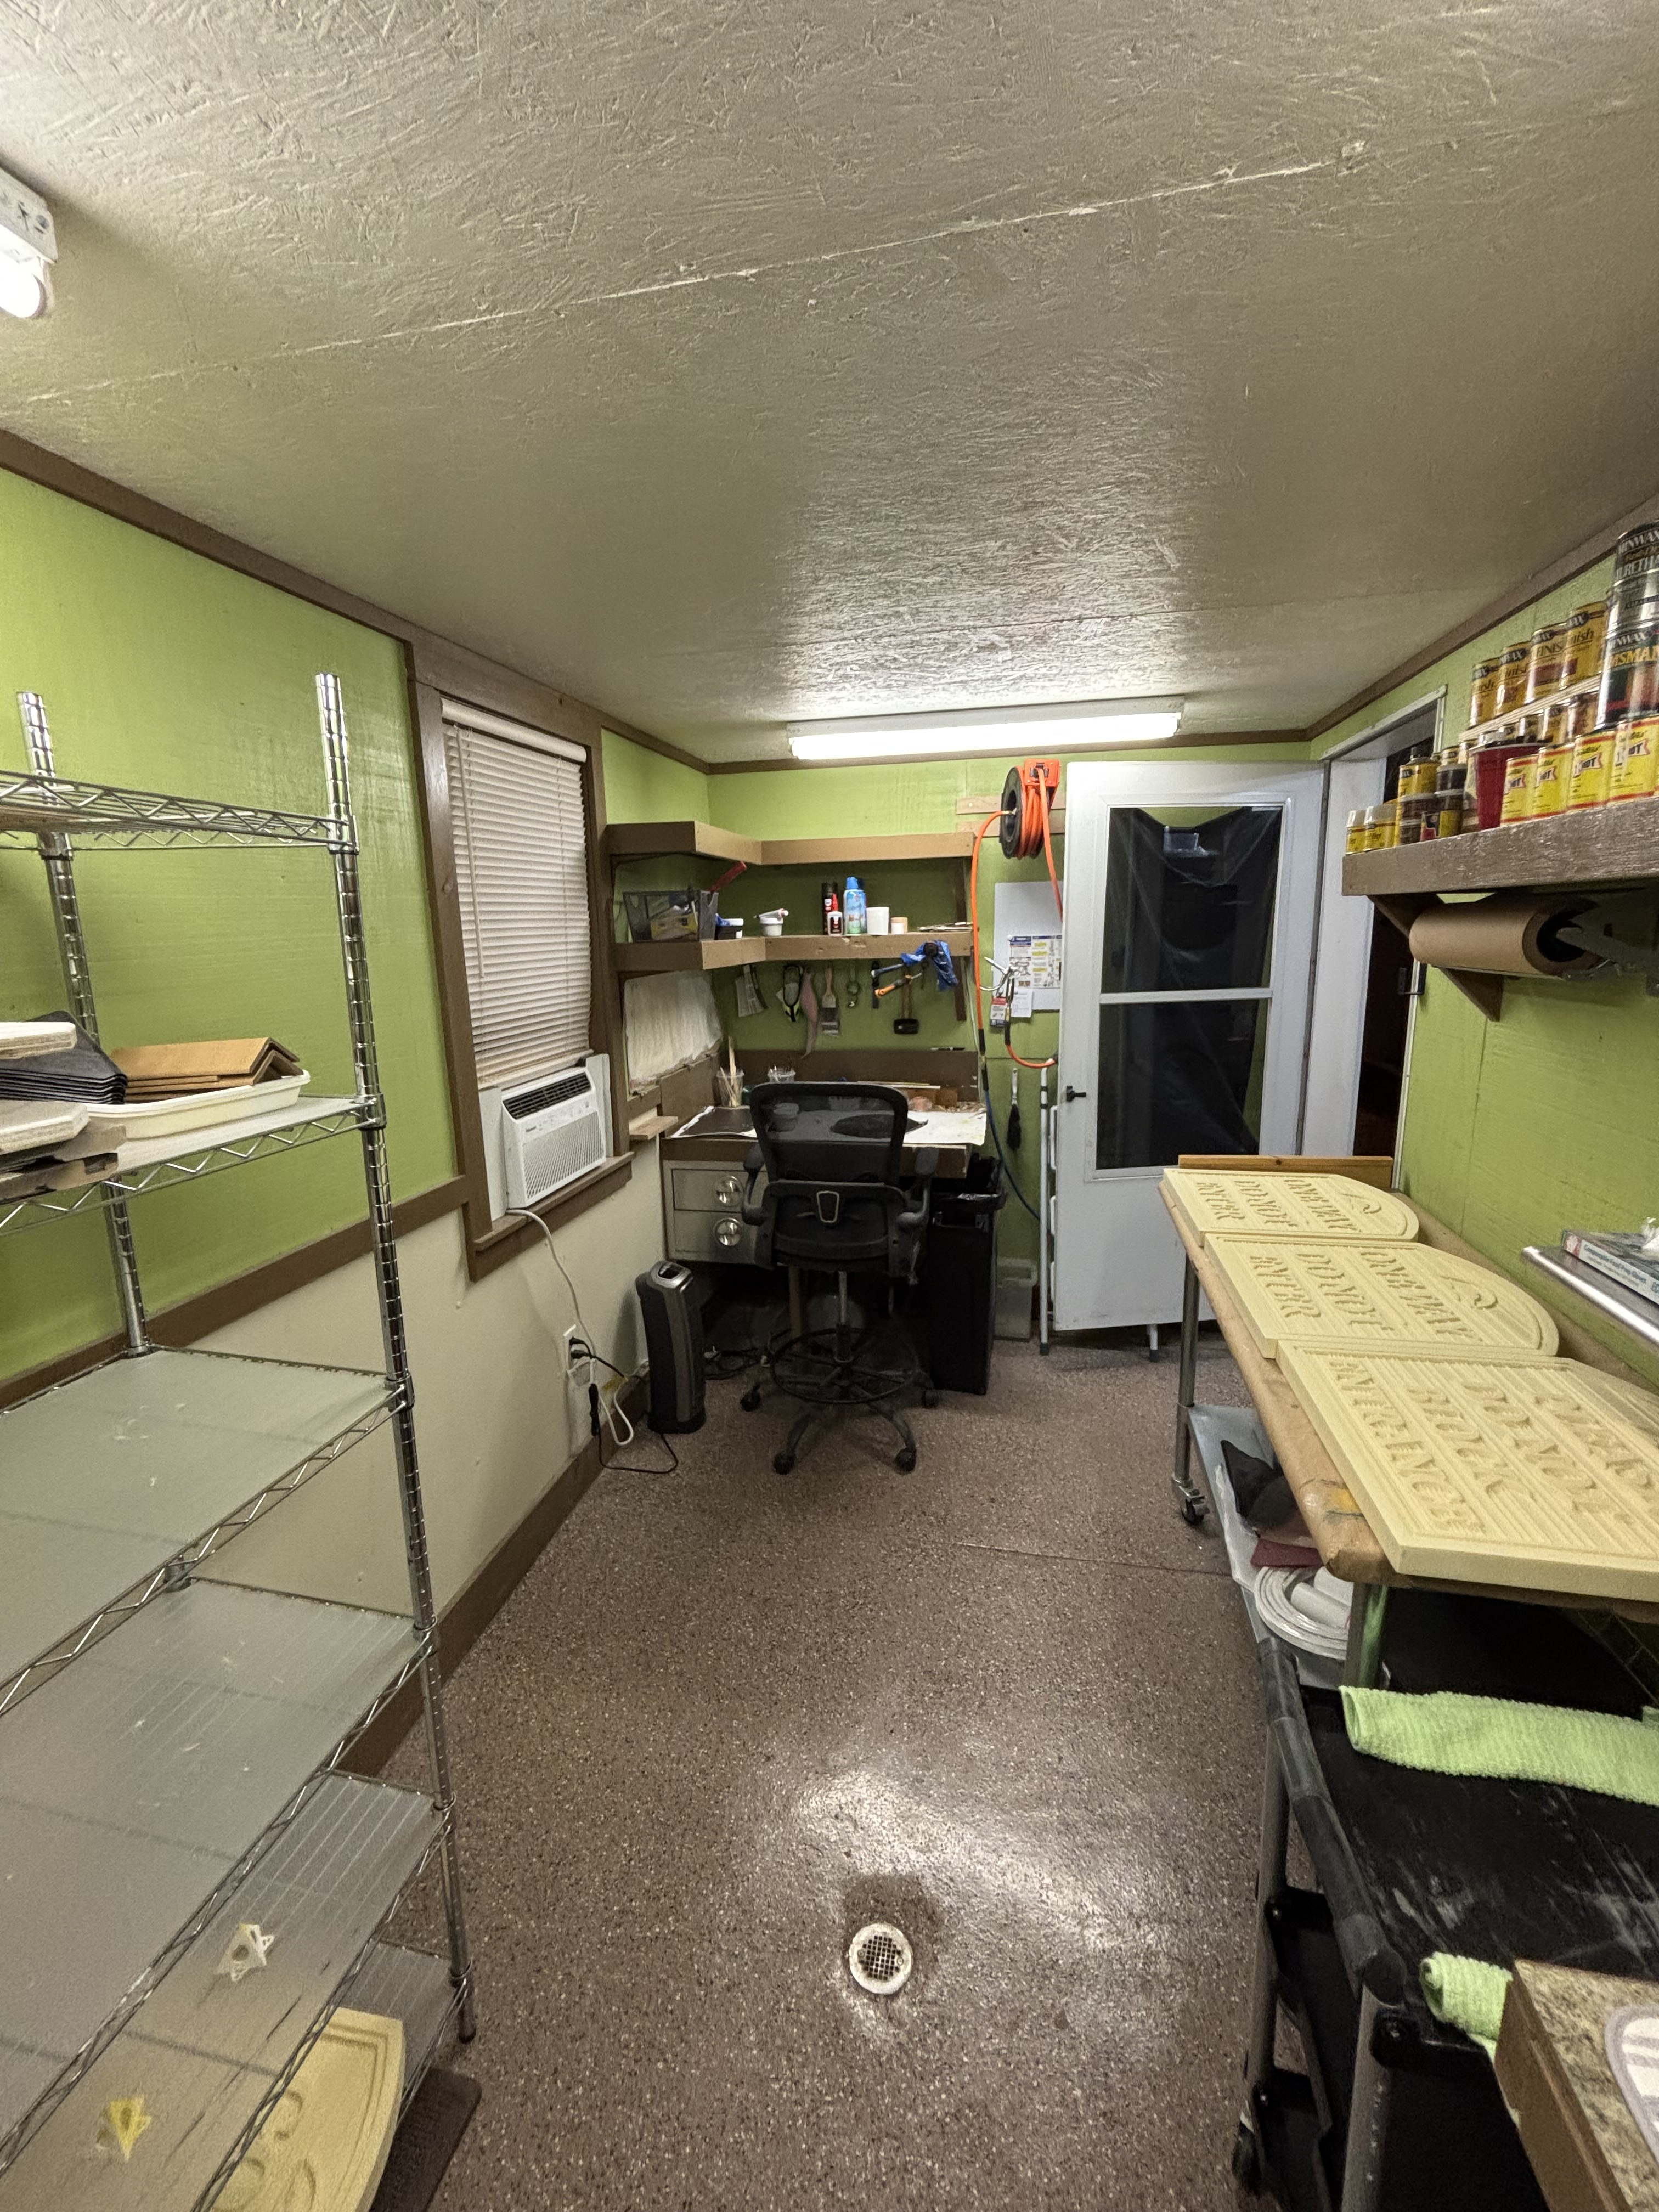
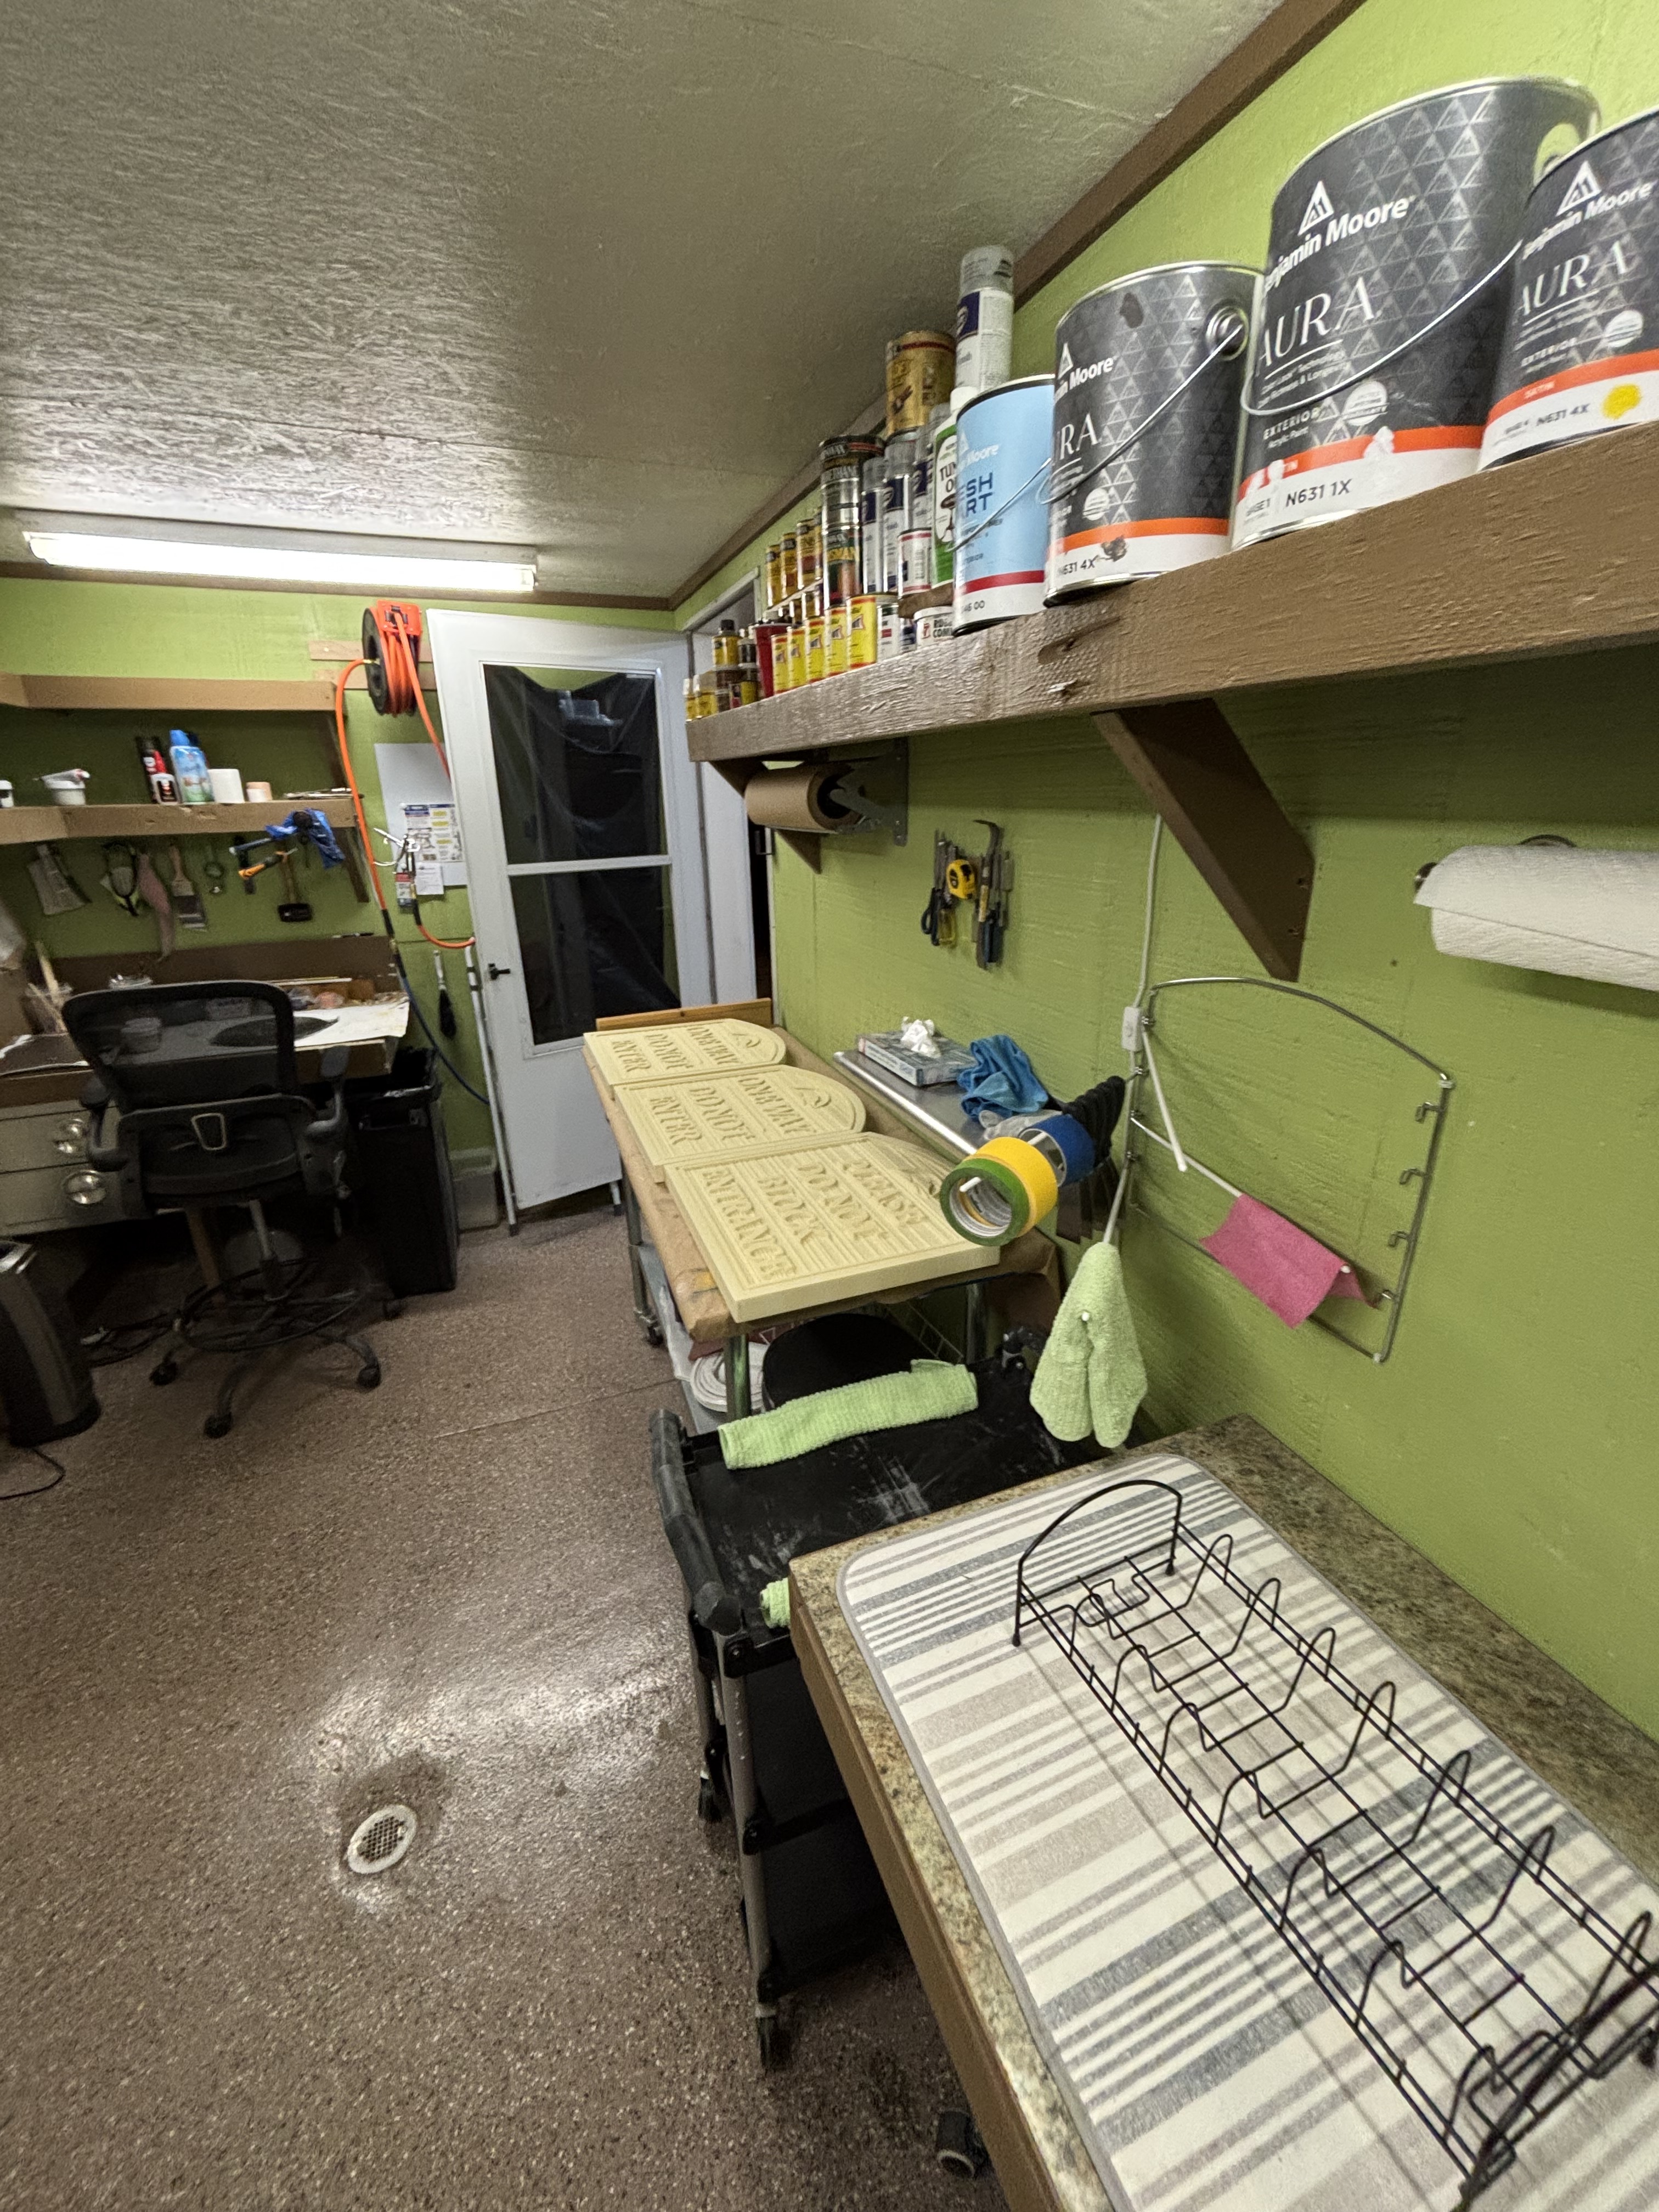
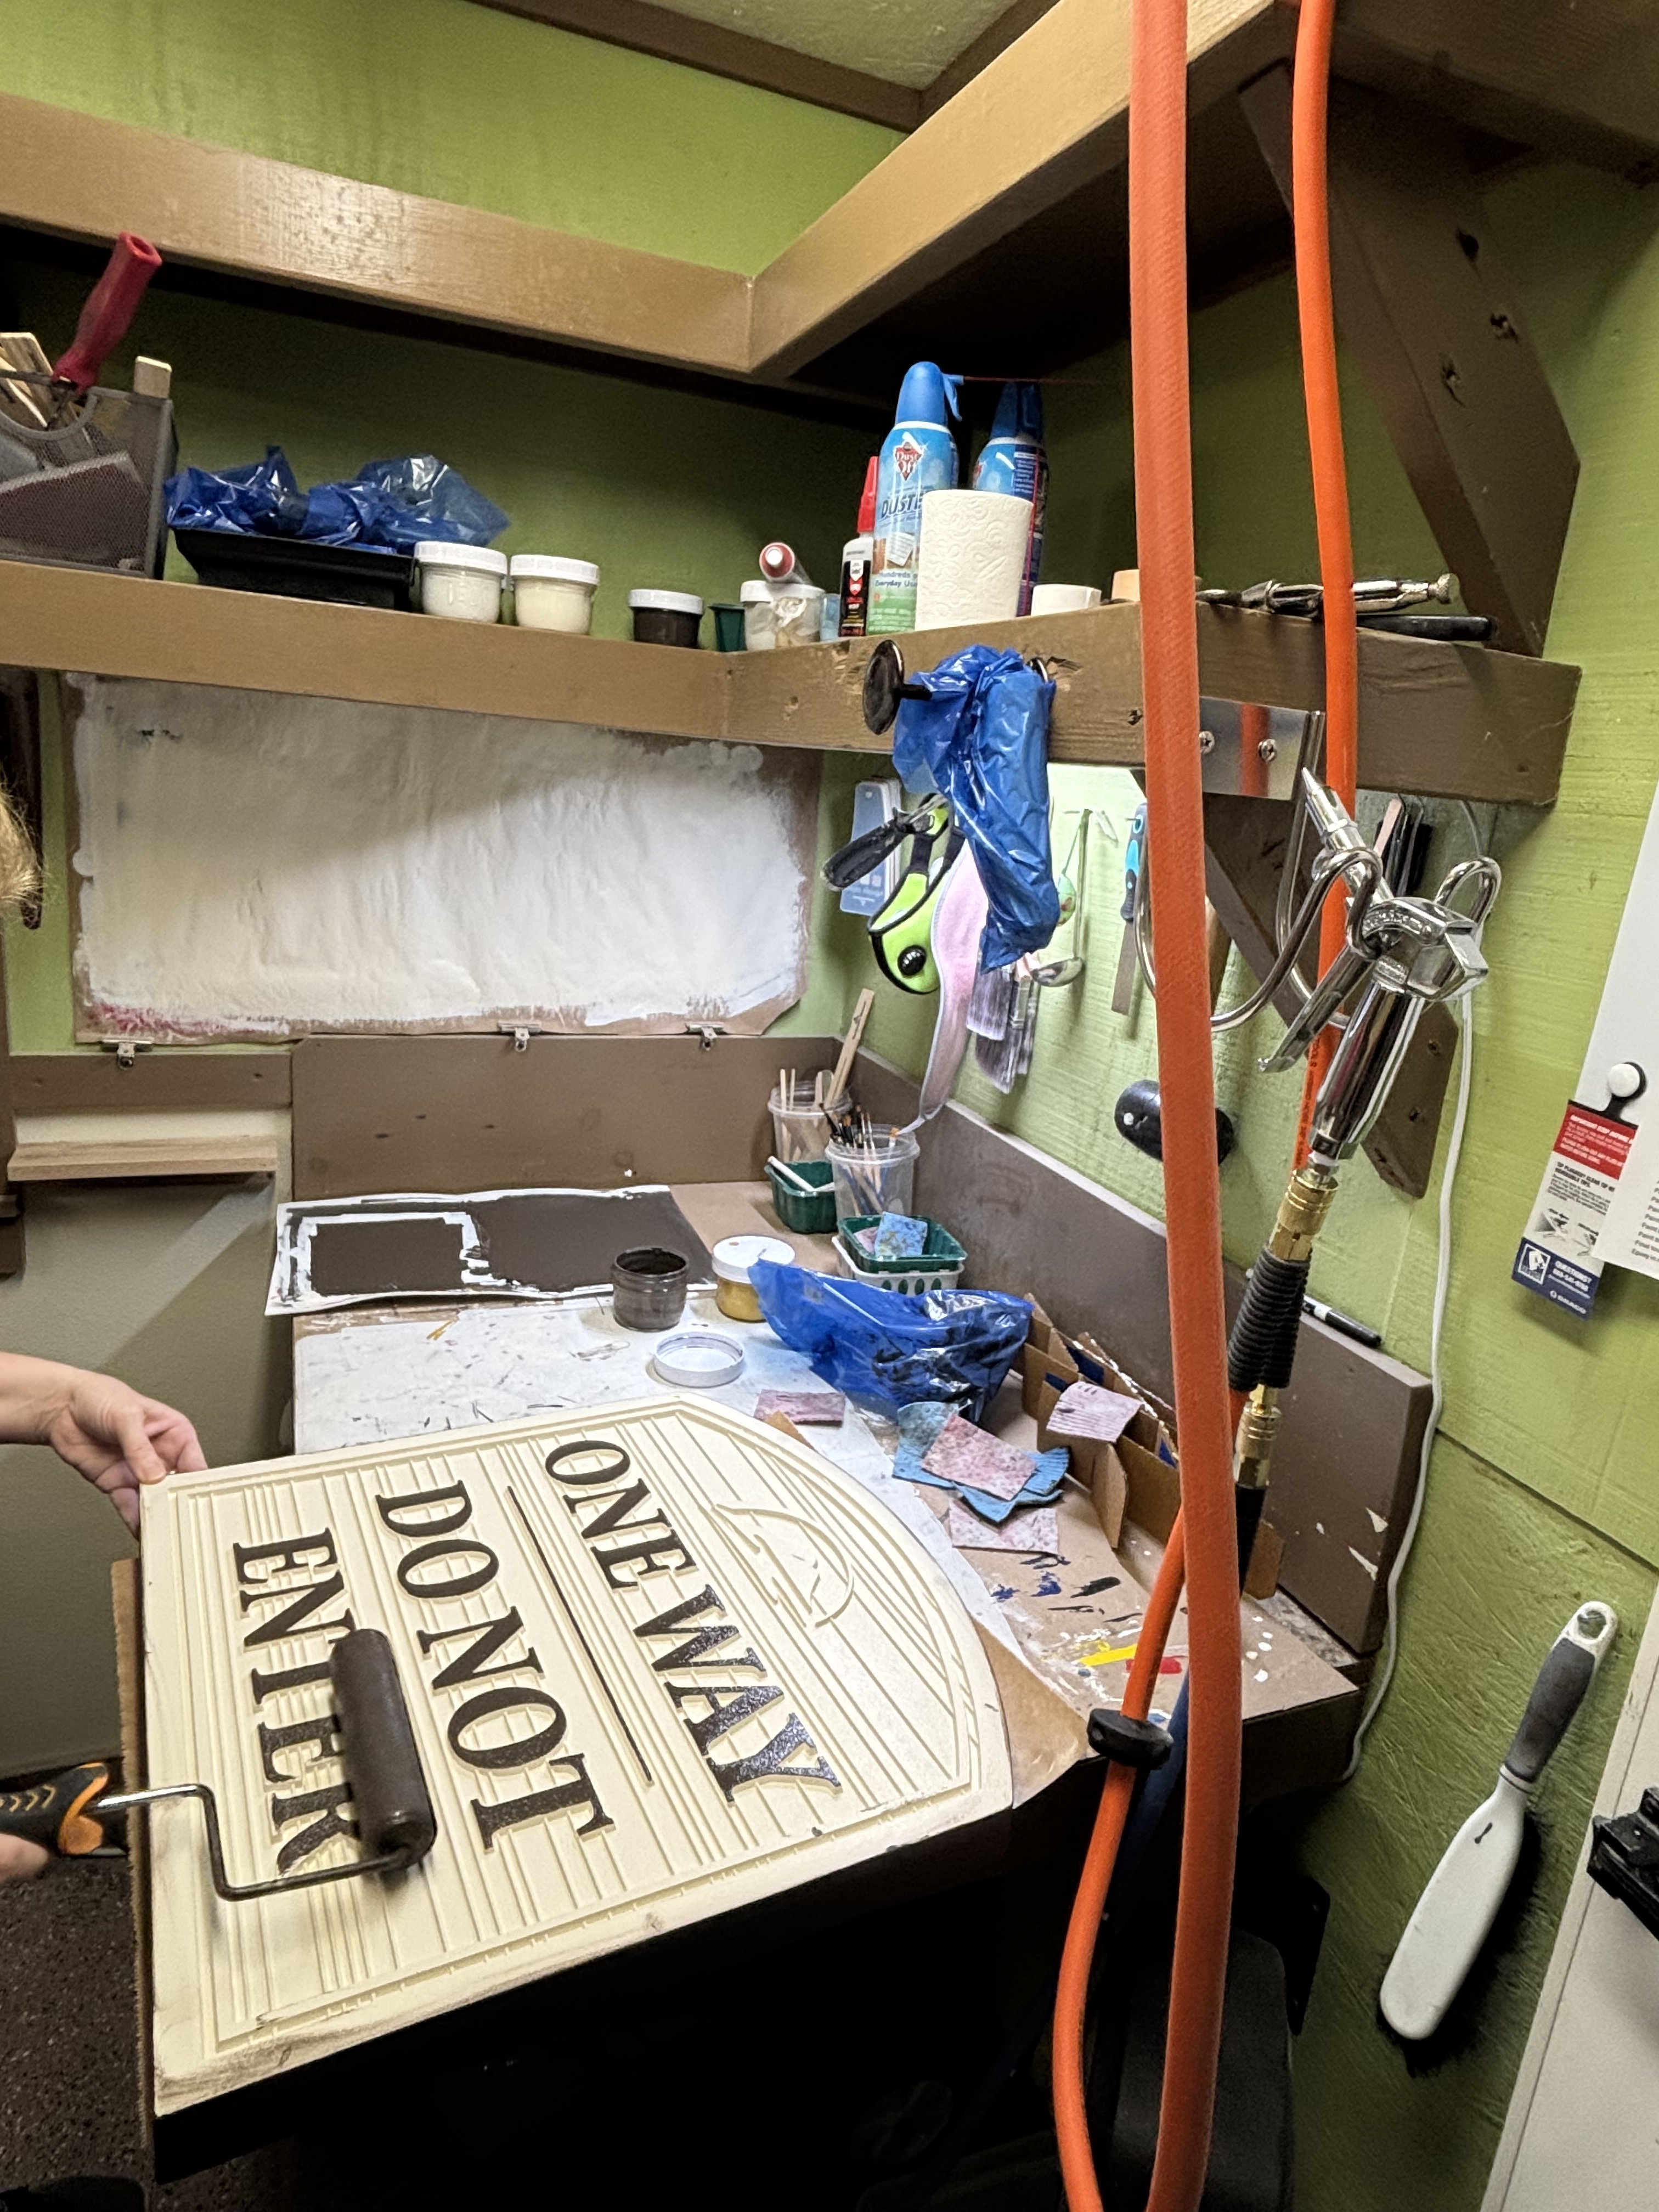
I thought I would share my wife’s finishing room set up. I’m that lucky guy who does the CNC design and running work while she is the one who takes it from there and does all the epoxy, staining, painting, and finishing. She has a separate “tent” small room for spray painting.
Fun fact. This space has served for a few different things. It was original part of our lower deck to our house (NEVER used). Then enclosed for a pottery studio for our daughter (thus the colors). Then as a storage area for puppy whelping supplies (no we didn’t “store” the puppies there ). It has an 8 year stint as a storage area for my wife’s asphalt seal coating business (yes it was HER business and she run it and operate it doing the work in the field as well). Then as a Microgreen tray prep/cleaning/storage area. Now it’s the finish room for our CNC business.
Quick question. How much of the HDU are you carving out? If its a substantial amount, you may consider 2". In general the most I usually carve in depth is 1/2".
I am not sure at this point. I do not know what size, I am guessing around 18" x 24" ?
I think a max of 1/2" depth anywhere in the canvas, probably less.
There will be a Clipper ship carve from an image plus text with the rentals name.
There could be some nautical edge dressing of some sort.
I did a few hours of image work and tested the image to mesh conversion.
I need to finalize those aspects.
I will be sending the image to the owner with a bunch of questions.
She will be doing to compositing of Text and image to minimize the design loops.
She will also be the person to paint the sign. This is a family job.
I will probably be back to ask about bit selection once the details are established.
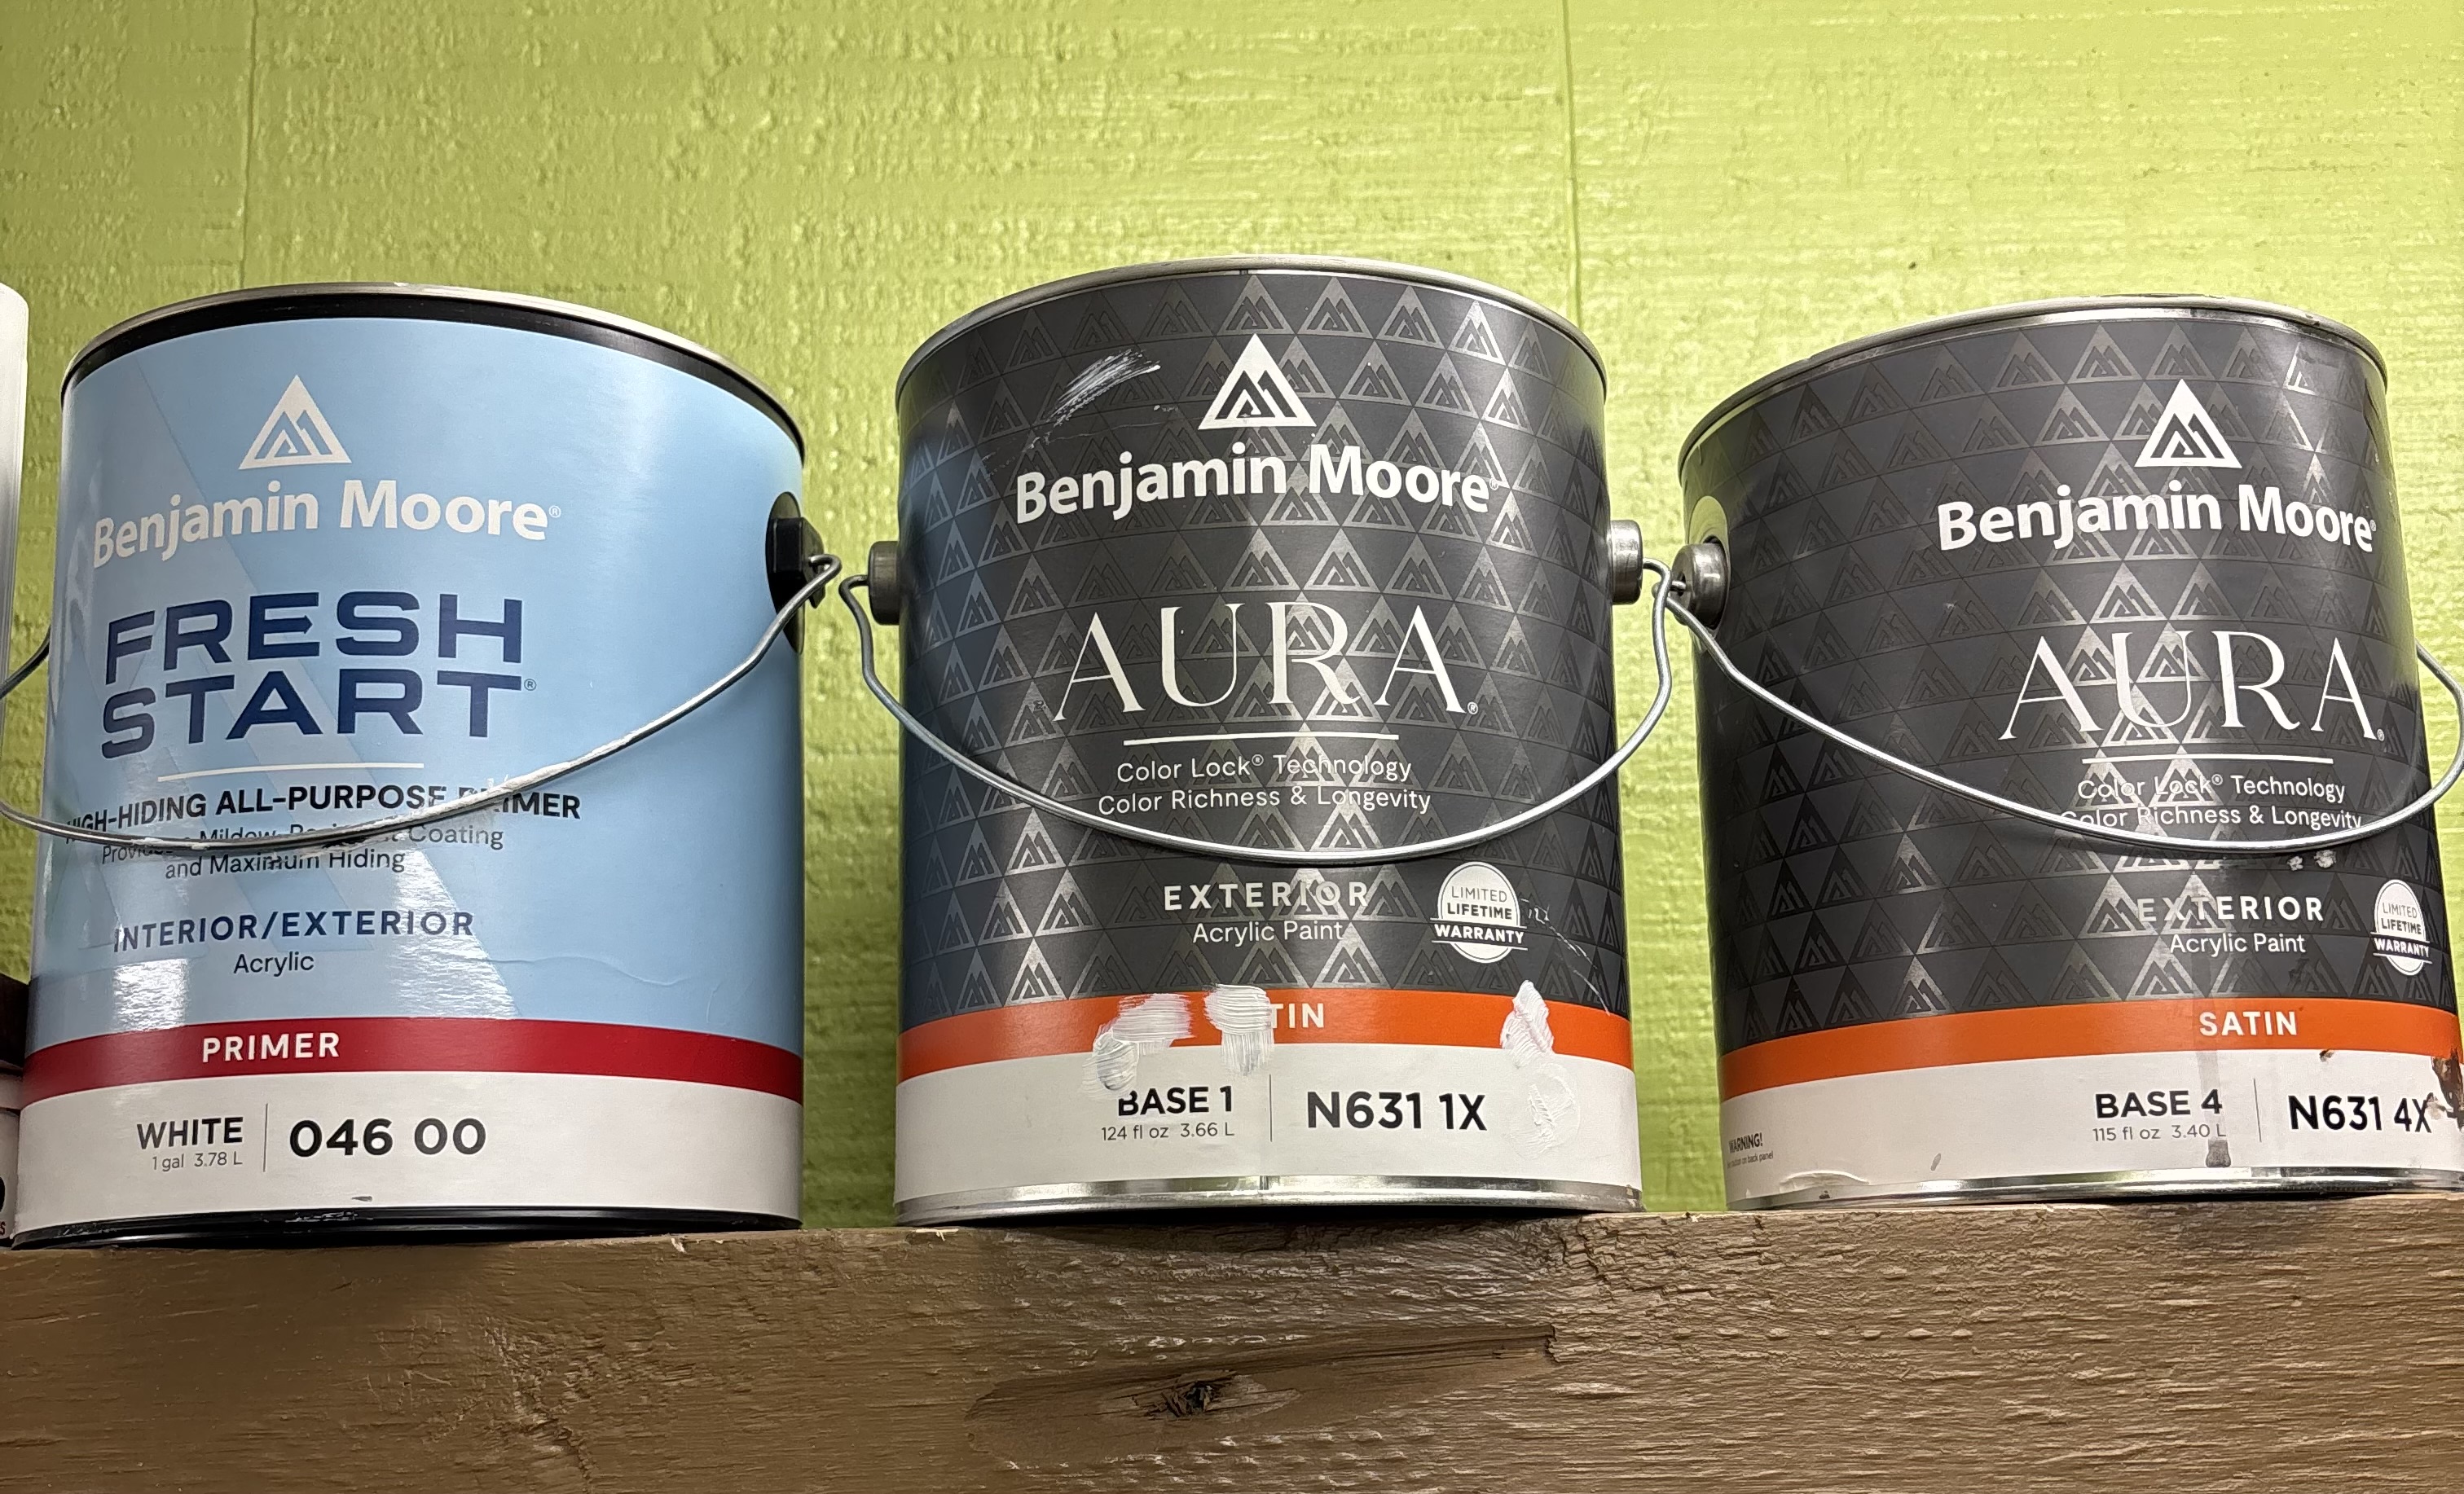
The primer and lighter color she sprays with a paint spray gun. Once she has those done and dry she rolls the back and sides.
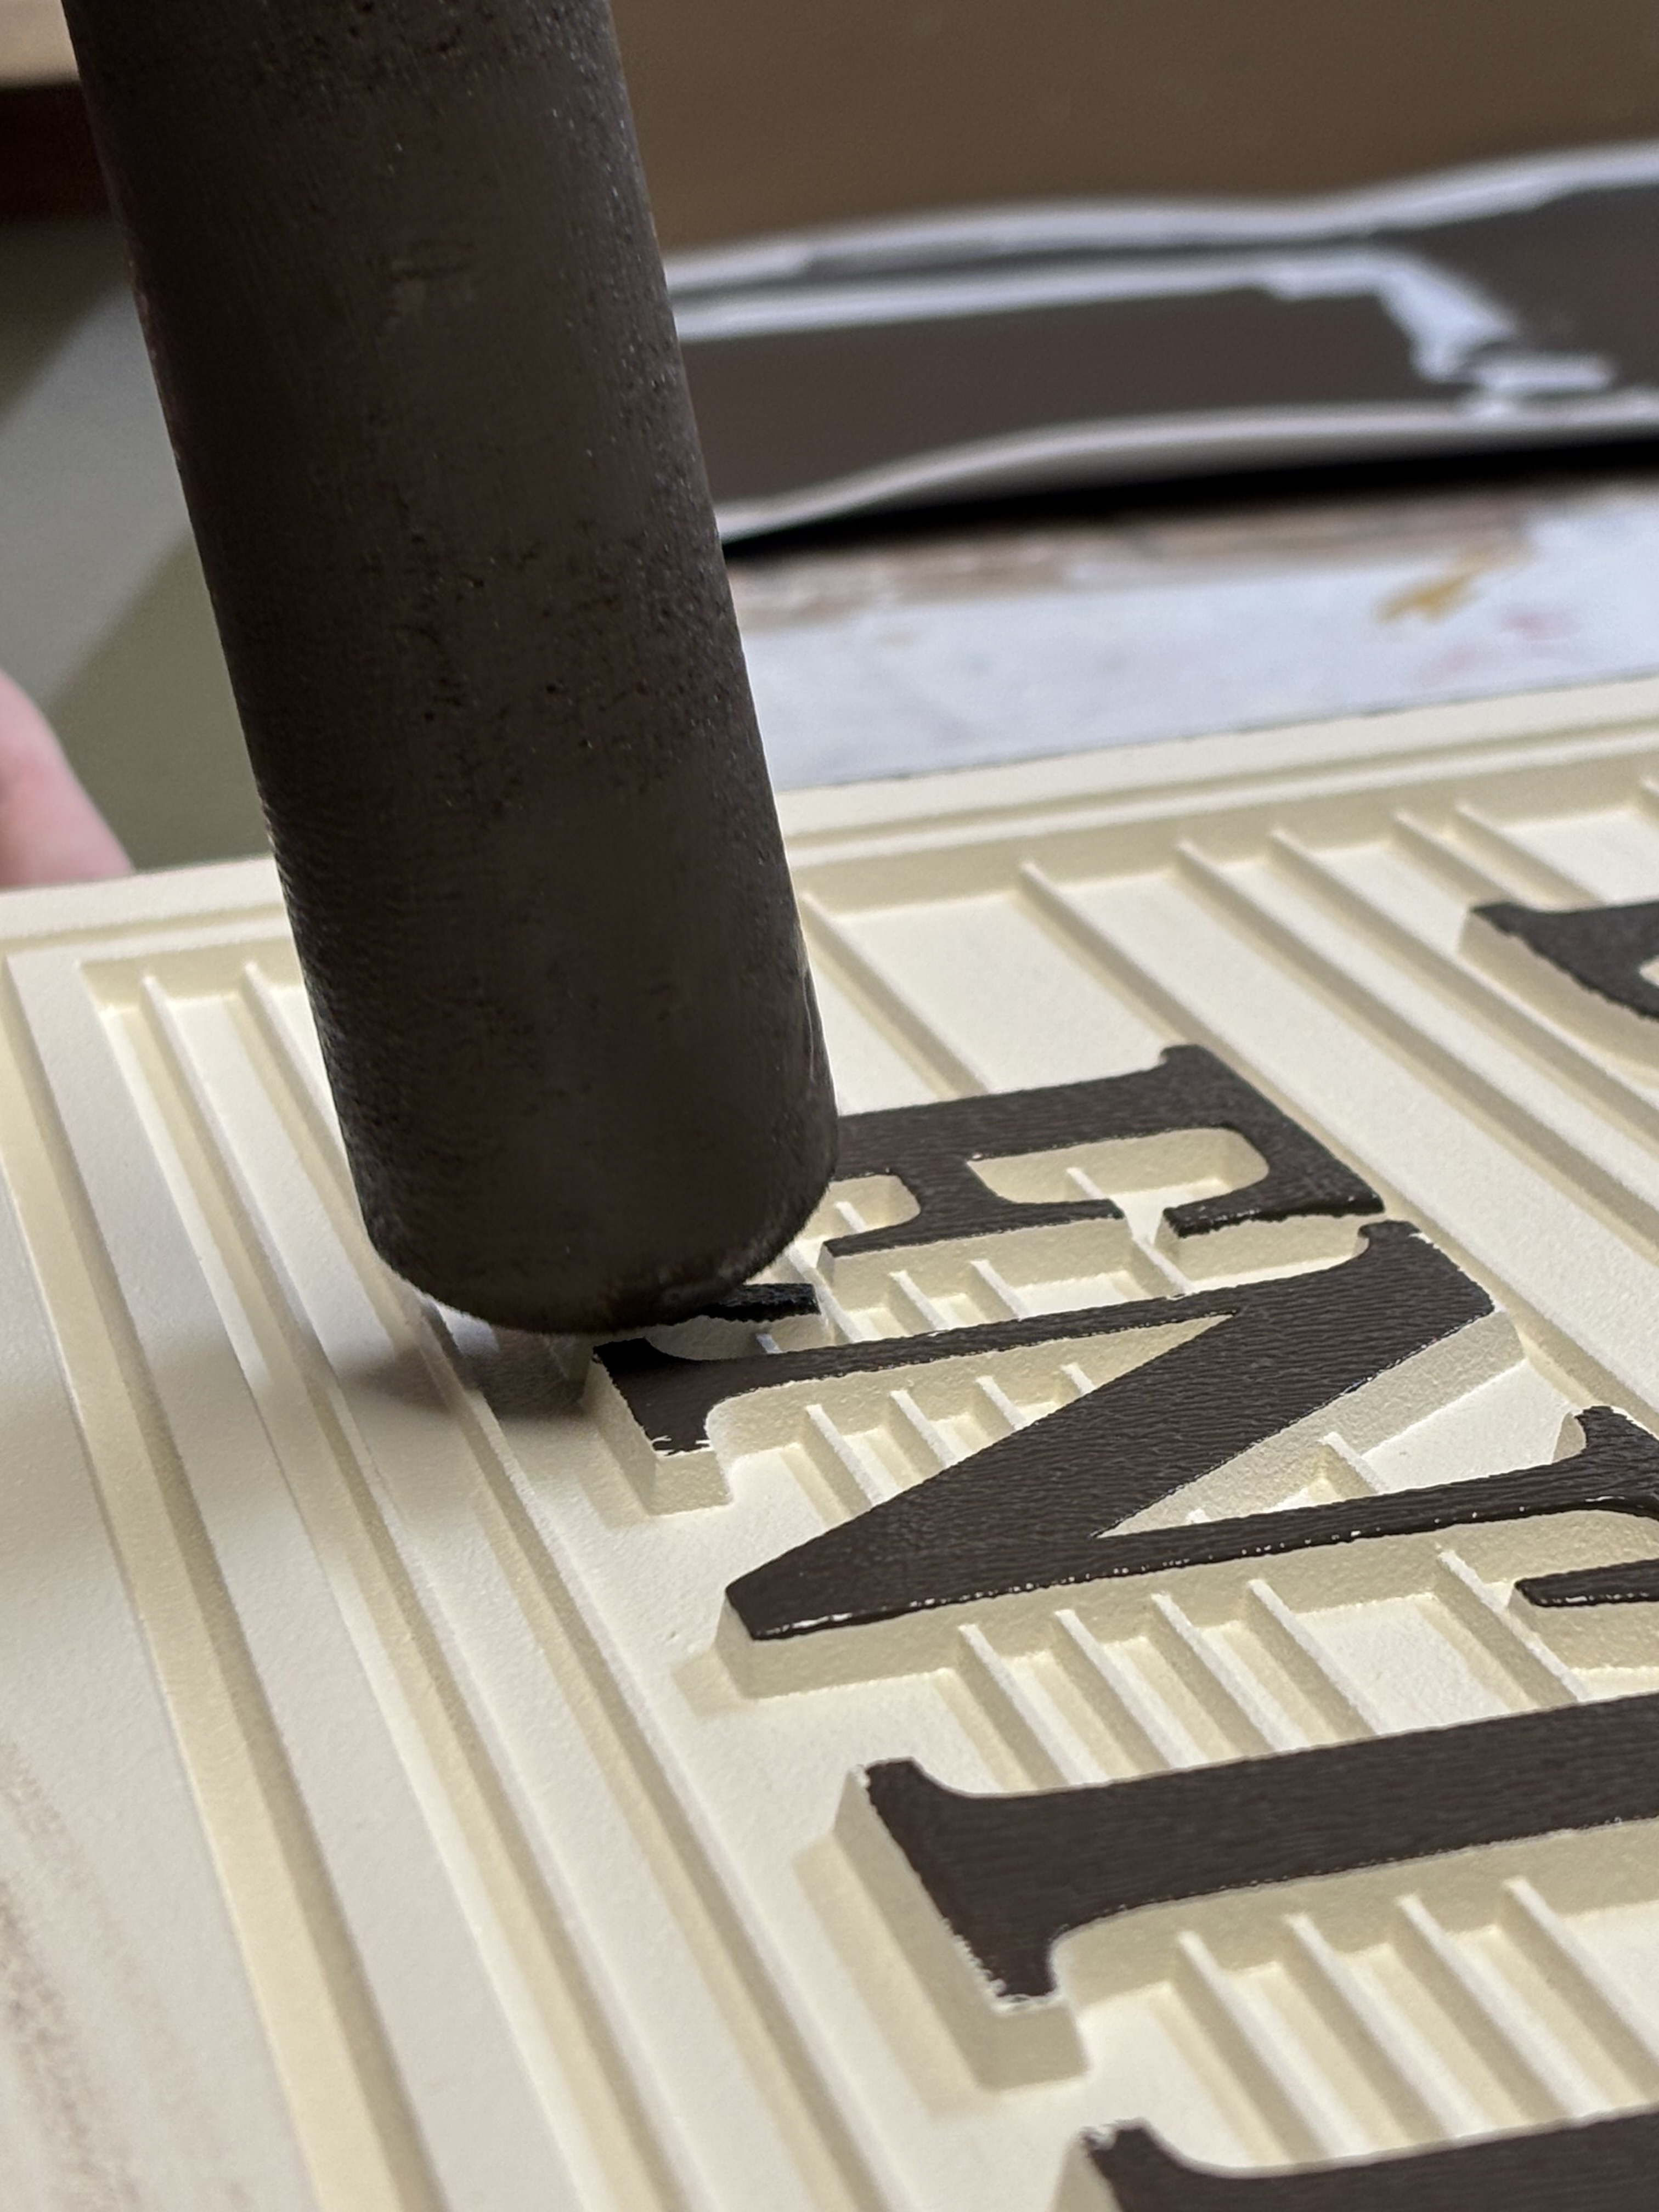
What she has found is the best way to get your paint on the surface of an hdu sign: She loads her foam roller with paint and then rolls it on the paper to her left getting the excess paint off the surface. Then she rolls the surface of the letters with light pressure. She then does some light dabbing to get the missed areas.
Once dry, she will go back with a small painters brush and do fine touch up. She takes this part quite seriously, looking for perfection.
All in all she does 1 coat primer, 2 to 3 coats of the lighter color (she is set up to spray, and it only takes her a couple minutes to get going), two coats rolled, then small brush touch up.
She tries to do a minimum of three signs to save set up time. But really only likes a max of 5 at one time.