Painting/Masking Multiple Layers at Different Depths

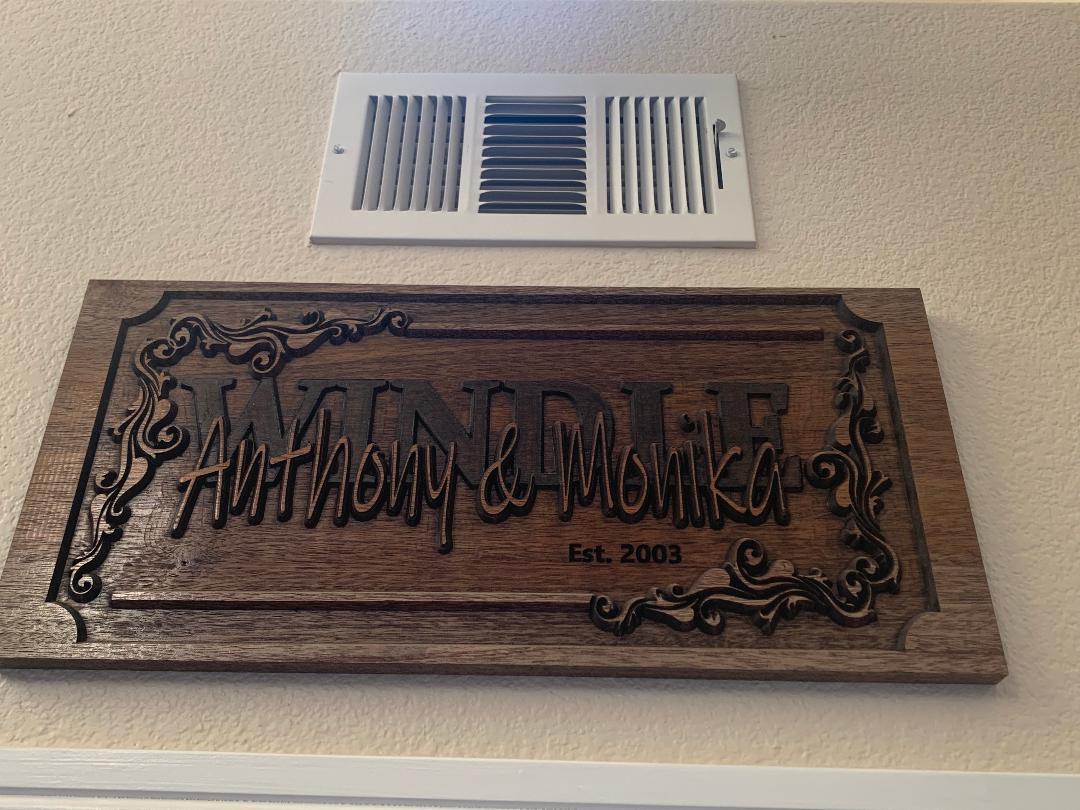
Hey everyone, I’m pretty new to CNC. I have done a couple small projects on my Pro XXL, and am now working on a sort of generic wedding plaque.

The plaque is (3) layers:

Layer (1): “First names” painted white
Layer (2): “Last name” painted champagne
Layer (3): Background, stained wood

How would you go about making this workflow to avoid a bunch of tedious hand painting and staining? In particular staining the wood in between all those tiny gaps in the letters is quite difficult, and ends up causing some of the stain to bleed into the upper layers of text, despite a couple coats of shellac.

How do you go about staining the recessed background on a project like this, and painting the middle layer? Ideally I’d like to be able to just mask and spray, but I don’t think that’s possible with 3 depths like this, unless I’m not thinking abstractly enough.

The way I’ve done it up to now is:

1.) Oramask the whole thing.
2.) Carve LAYER (2) to its full depth, leaving the background exposed.
3.) Stain (problematic because it globs up in the small gaps of the letters.
4.) Carve LAYER (1).

This leaves me with the first names still covered in Oramask, “bare” wood on the last name, and a stained background. From here, all I can really do is hand paint the last name, which is also pretty difficult for me to keep it clean w/o getting paint on the sides of the raised first names. I’m not particularly steady-handed, lol.

After that I can peel the oramask, or do a surfacing on the first names, and then paint over the tops of those easy enough with a foam brush. The difficulty I’m having is with the other 2 layers.

Most of what I’ve watched on masking and painting only involves two layers.

I really like the effect of it being carved from a single piece of wood. However, maybe the easiest option for a stained background is to cut out the letters entirely from another piece and just attach them to a stained background instead?

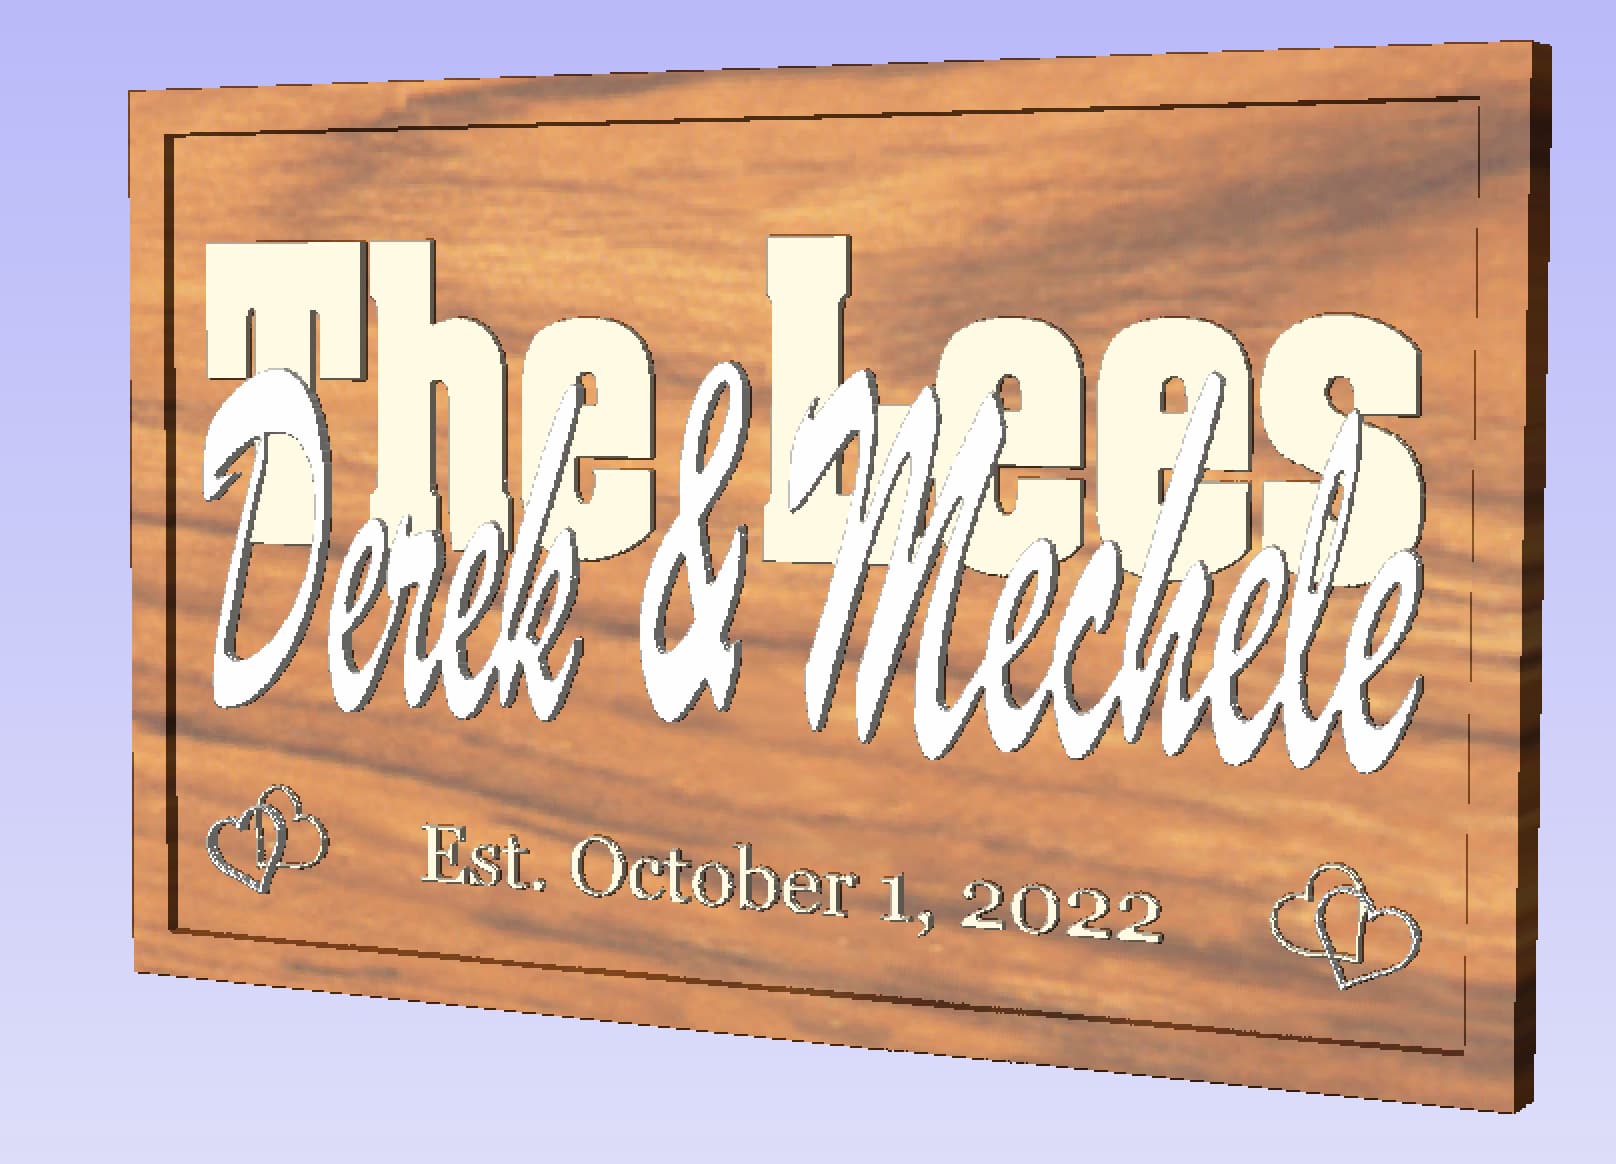
Here’s my design in Aspire.

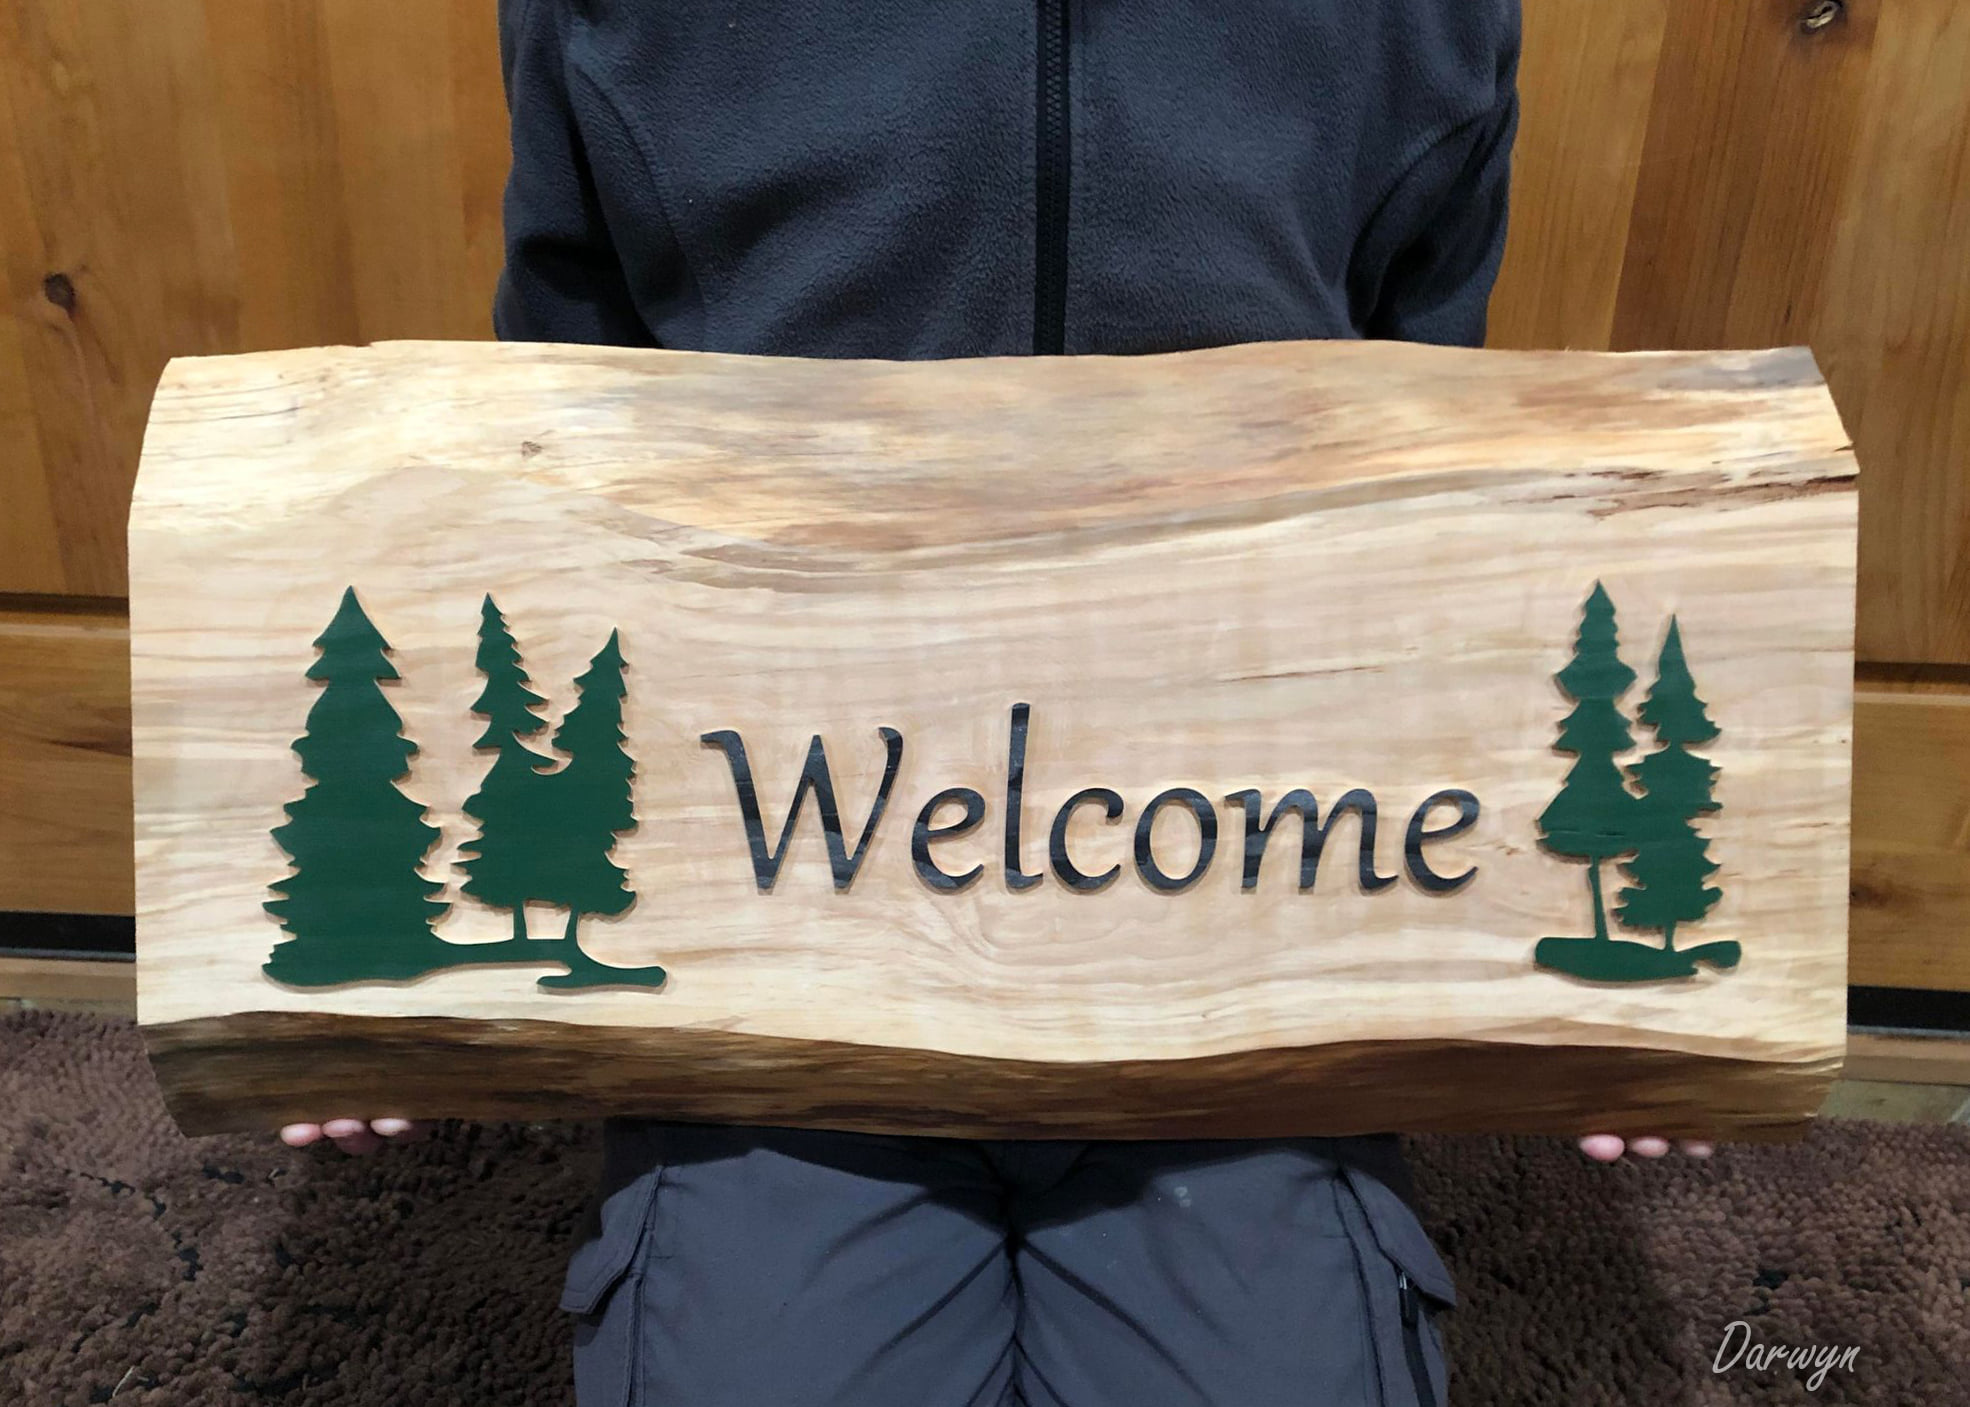
And this is generally the look I’m going for:

1 Like

To prevent paint/stain from creeping put two coats of dewaxed shellac on project. Zinnzer universal sanding sealer. Use an acid brush on the lettering. Sand the surface to remove shellac then stain. Then paint lettering with small brush with acrylic paint. Acrylic is water based and if you go over edge of letter keep wet rag and wipe off over painting before paint dries. Use narrow round brush.

There is no easy way. You could mask lettering and use acid brush to stain lettering valleys. Then paint after stain dried. The universal sanding sealer can be used with oil or water based final coat of varnish.

Allow me to be the person here who suggests each layer be done as a separate run and those layers then glued together to form the final, finished product.

Paint the top surface first, then use a compression or downcut bit to cut the first ‘pocket’.

. You could paint then oramask to protect it when painting other layers, but you need to let the paint completely dry (like for a week) before applying oramask.

1 Like

Thanks guys. Unfortunately that’s kind of what I was afraid of. Doesn’t sound like there’s a streamlined way to do this “automated” out of a single piece of stock (i.e. no manual painting by brush). I was hoping there was a method of masking I hadn’t thought of, since I see so many of this style on Etsy and such.

Seems like I need to:

1.) 2x lacquer over everything (oramask optional)
2.) Carve down to bottom layer
3.) Stain
4.) Carve out the last name
5.) Paint last name by hand, cleaning up excess as I go
6.) Surface the “first names” slightly to remove lacquer and masking, then paint
7.) Finishing coat over everything

Easier solution is possibly to cut lettering from separate stock and attach, as suggested. But I see enough of these on Etsy carved from single stock that I’d like to be able to follow suit.

Maybe, I could create stencils out of foam board matching the text and use them to mask for spray paint, but that probably wouldn’t be very precise. I’m really just not great at painting by hand and would like a process that doesn’t require so much time and touch-up, since I’d like to sell some of these and make more than $1.50/hour :slight_smile:

This works well for two layers of color or finish. The masking/oramask is really only good for that top layer though, so it seems like the rest just needs to get painted by hand.

My uninformed two cents: if you aim at reducing production time, maybe you should consider simplifying the design a bit. Stacked text is cool and all, but it does introduce one degree of complexity in the process, so maybe consider making your life simpler and not stacking text ? With two layers instead of three it could boil down to:

  • carve to full depth, sloppy stain everything.
  • then use a hard foam roller to apply paint on the top of the letters only (that would not be all at the same level). If you are careful, with the right roller, no masking required.
  • finish coat, done.

For the design as it stands I agree the “cut letters separately” is most probably the most expedient way to make batches of these, and I suspect that a customer would never even notice/care that this is not made from a single piece of stock. You may even use that your advantage and carve a shallow pocket at the bottom of the sign that would be slightly larger than the outline of the text you would be glueing in it. Just so that the letters do not seem to lay “flat” on the bottom.

Those are both great suggestions. Carving a small inlay would also help expedite placement so I’m not free-handing it. Thanks.

I think I would consider leaving out the stain. Choose a piece of wood that looks really nice without it.
Then you could paint the top, dry, oramask, carve the first layer, paint, dry, carve the 2nd layer, finish, done.
If the stain is necessary to achieve a specific color, then either some small brushes to apply the stain, or the letters as separate pieces.
I do like your idea of cutting a mask for the last name out of something rigid like plexiglass, hdpe, a harder foam, just to keep splashes off when staining the background. I wonder how reliably you could cut oramask with a drag knife?

I made a sign similar to this.
Except Mine has 4 layers.

1st Layer is First Name,
2nd Layer is the Last Name
3rd Layer is the background/Pocket cut.
4th Layer is Anniversary V-carved into the background.

I CNC’d the whole project, then I stained the whole project with my background color (walnut stain).
Then I stained the Last Name Black.

I sprayed it all with a Coat of Clear.

Then I took my sander and sanded off the Stain on the First Name/top layer.

It turned out pretty good.
If you wanted the top layer to pop you could paint it before you do your carve.

The only tedious part was staining the last name, but it wasn’t too bad.

Also with the Date being V-Carved into the background layer, it is automatically darker because you can’t wipe away the excess stain.

3 Likes

That looks great. Do you recall about how long that took you to cut?

I think I’ll try your solution out. Forgive the stream of consciousness, it helps me to write it out sometimes. Maybe something like:

2x Shellac top-coat, then oramask.
Cut down to the background layer.
Another 2x coats of shellac on the now bare wood to help with bleeding. Maybe this isn’t necessary.
Stain the whole thing.
Cut the middle layer.
Paint middle layer by hand, cleaning up inevitable screw ups.
Paint top layer.

I’ve at least learned a good lesson about project planning for the future. This certainly won’t be a profitable project, other than the learning experience. I’ve got to play around and adjust feeds and speeds a bit as well, since the current job has me almost at 8 hours of cutting time, which I think is pretty high for an 18x12" plaque.

I just opened the File and it says 4 hours, but I think it was actually longer than that. I think it was 5 hours total.

Before you put on the Oramask, let everything dry very well. I made that mistake once and it took longer to remove the Oramask than it would have taken to hand paint the piece.

The decorative trim adds at least 1-2 hours to the carve. I removed the trim from the file and the total time went down to about 3 hours.Windle Est 2003 decorative outline.c2d (2.7 MB)
(use CC 5)

I have made a few similar signs and I ended up making them with a simpler design.

If I were to make the Windle (that’s my personal sign) again, but for a customer, I would buy an applique/onlay instead.

wood onlays carved with leaf design - Inviting Home appliques (morethanmoldings.com)

I faced similar issues- What I ended up doing is using a drum sander- The primary name or picture carved amount twice as deep as needed. Of course the board needs to be adequate thickness… Carve the first name, spray paint the carvings ( no need for masking, but I do treat the board with shellac- then run the bard though the drug sander that take the paint off, but leaving in the carvings. Now assuming your not carving on top the first carving , Reapply shellac carve the second and mask off with painters tape the first carvings and then paint another color, carving three done is a similar manner. Somewhat tedious but works well - Tom

1 Like

Reading all the treads I can see that the biggest concern is the time it takes to complete a job. There is the rub (as they would say) it you’re looking to cut down on the amount of time it takes to complete a job you may need to look at something other than 3d carving. With most if not all you will never recover the cost it takes in time if you plan on selling your products. As with most 3d carvings it can take anywhere from a few hours up to 24 hrs or more, had one job it took 16 hrs to complete and that was just the carving. At an avg of 20 - 25 dollars per hour the product would have cost the buyer 320 - 400 dollars just for the carving without making any profit. And sense this was a neighbor friend I sold it to him for 150.00, took a big loss on hours spent.

Bingo. I’ve seen that simplicity tends to sell just about as well as complexity, with much more throughput. There are tried and true designs that can be streamlined, and even though I don’t want to be just another run of the mill flag and plaque maker, that tends to be what is profitable - which leaves the more complex projects for “premium” customers, or personal projects that get relegated to the “if I can sell it for enough, I will” category.

As I’m starting to build out my portfolio, I’m willing to accept some monetary losses in order to gain experience and exposure. If nothing else I learn what works and what doesn’t, and get to optimize my workflow.

Appreciate the insight.

This topic was automatically closed 30 days after the last reply. New replies are no longer allowed.