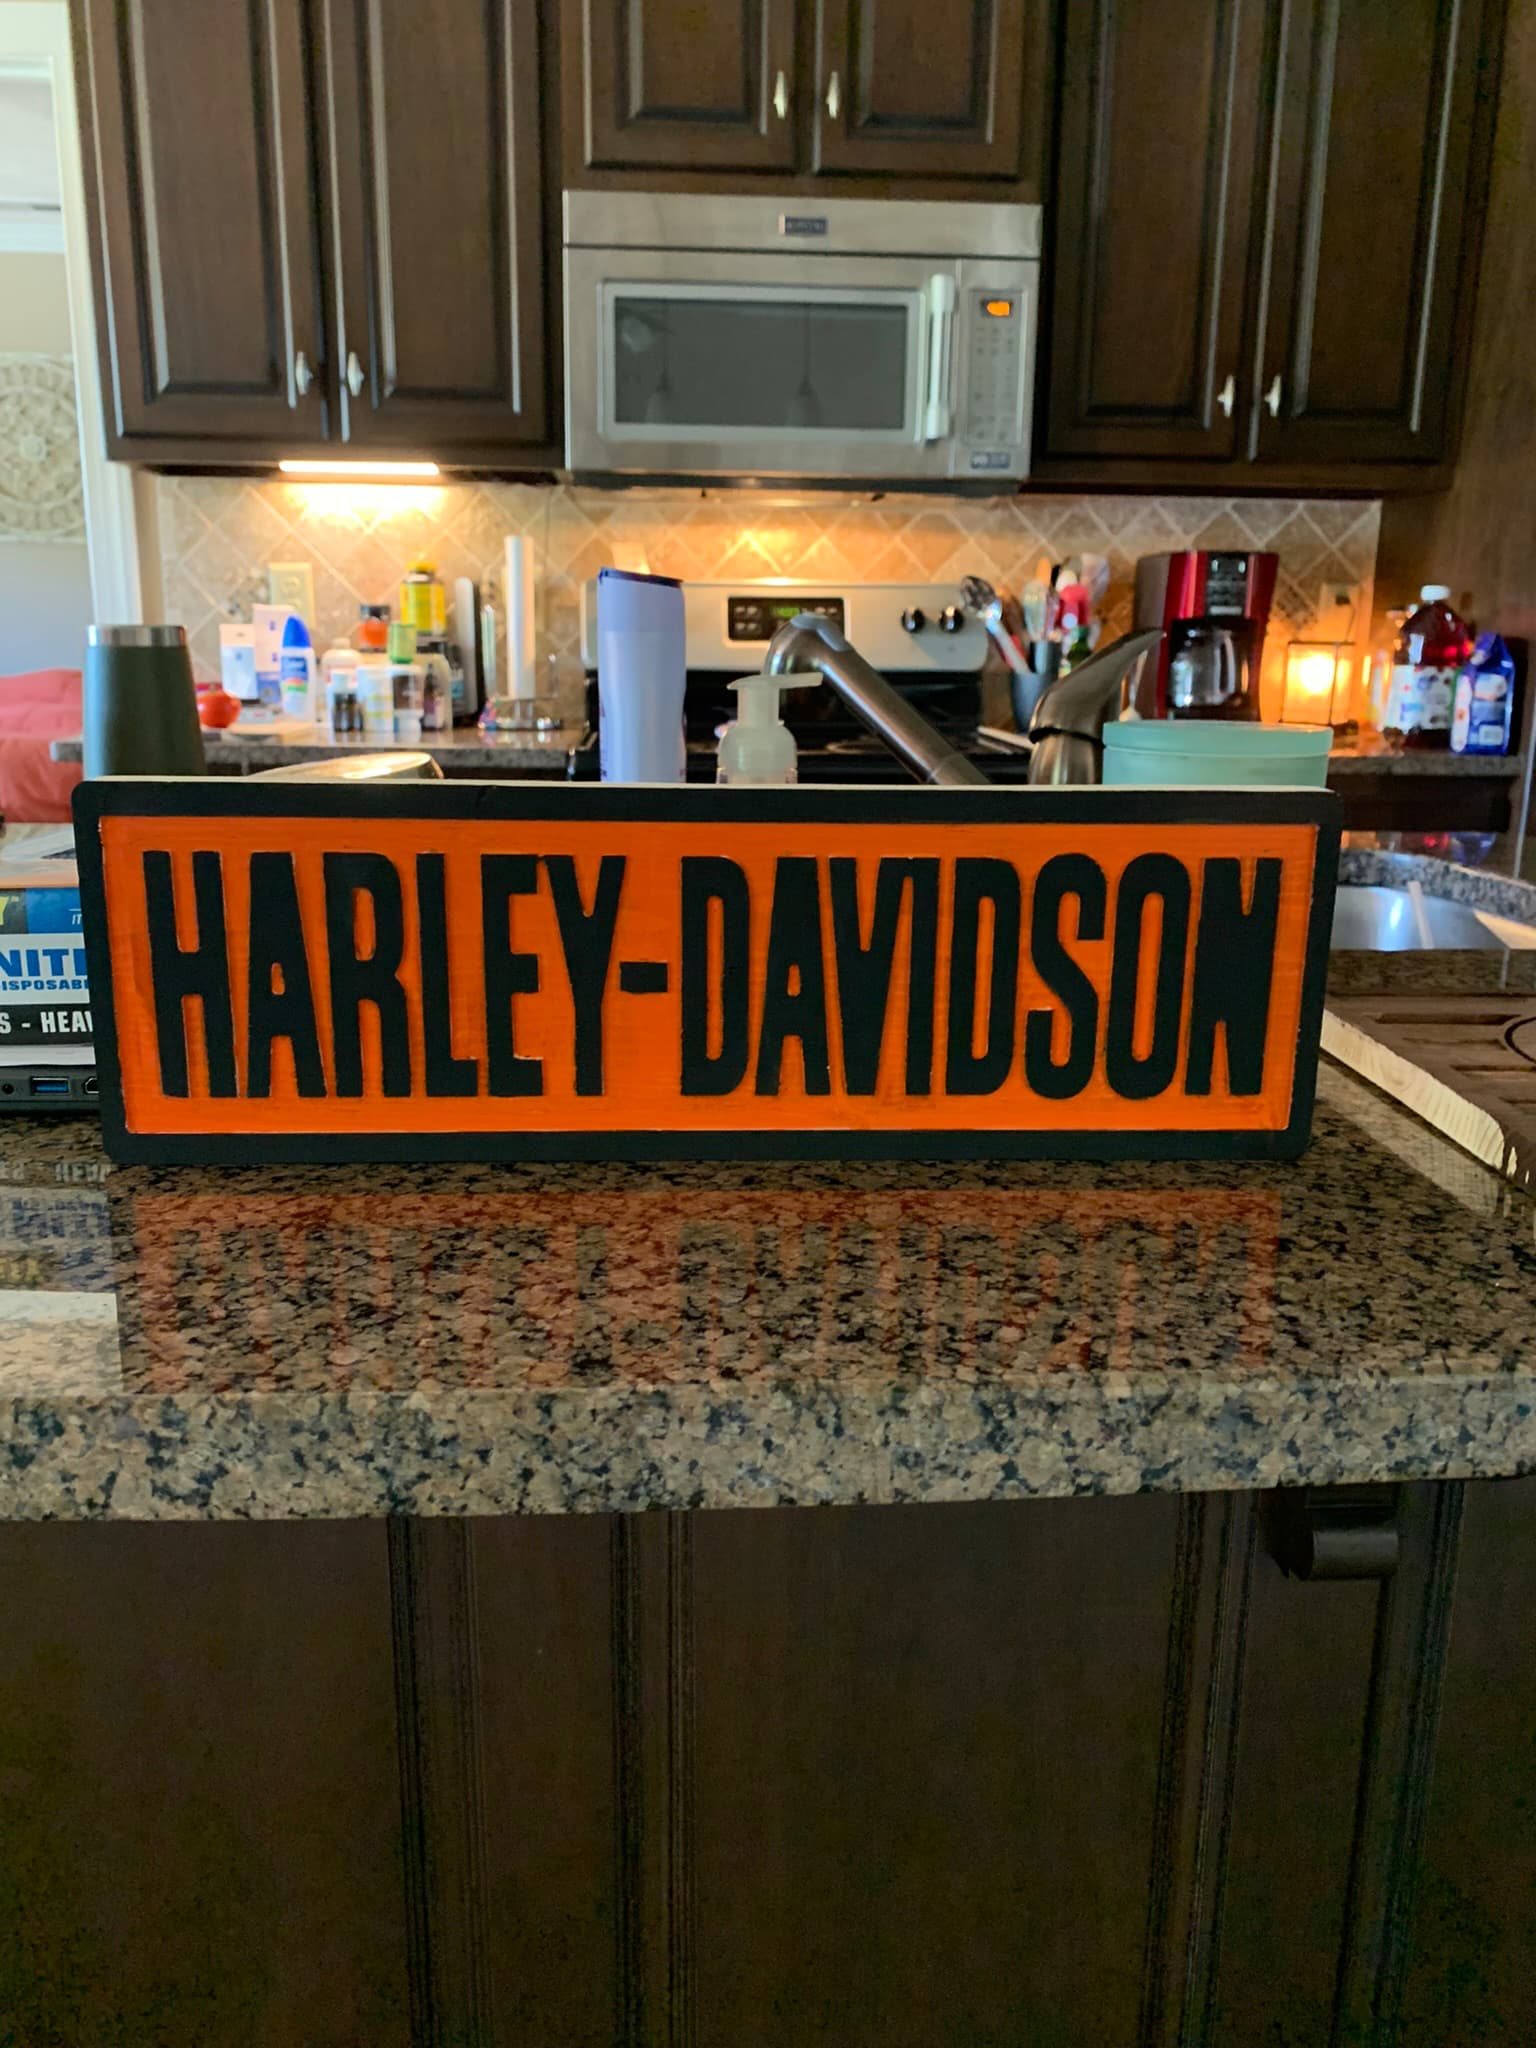
I cut this Harley sign out after painting it black and decided to paint the pocketed part orange to give it a little more character. Took a while, as I expected, but I figured somewhere someone has come up with a magic fix for this lol just fishing . If anyone has some wisdom they would like to share on this …please feel free to enlighten us . Otherwise I’ll continue using my tiny brushes
I cut this Harley sign out after painting it black and decided to paint the pocketed part orange to give it a little more character. Took a while, as I expected, but I figured somewhere someone has come up with a magic fix for this lol just fishing . If anyone has some wisdom they would like to share on this …please feel free to enlighten us . Otherwise I’ll continue using my tiny brushes
I would continue with the black paint method since you like that. However, make sure you let that layer cure very well (for the next layer.)
Before you cut the background pocket, apply a layer of white shelf paper for a mask. There are special mask materials, but I use some I get from the big box store. Roll it or press it down well so your cut edges are sealed well.
After cutting the pocket, you now have it easy to use a bigger brush to paint the orange background.
Peel that mask off (that’s why we need a good cure of the black) before the orange dries completely.
2 Likes
I’ve seen folks using a roller to paint the black so it only contacts the raised surfaces. Of course, I imagine this comes with it’s own set of challenges, roller material & texture, paint viscosity, application, gravity (might be better to do it with the piece upside down to prevent drips)… etc…
Using either black or orange material?
If wood, I wonder if it would accept an orange stain deep enough to retain the color after machining?
1 Like
While I don’t have a lot of experience with painting signs like this, I use the small roller method after I paint the whole board (orange) and then use the roller to handle the upper raised areas. I’ve done it with as many as 4 different colors and it is not very had to do that way and I find it a lot faster that trying the masking method. Just works best for me.
IF you use the Hobby Lobby small foam roller, it is pretty easy…much easier that I thought it would be before I did my first sign.
Good luck and have fun!
What is the material you are using? The surface needs to be smooth and tough and not subject to tear out. I used shellacked mdf, painted surface and masking film and then pocketed the cut. Still had tear out on the masking film.
Near as I can figure out the surface layers are very important. Getting some Crezone (sign painters plywood) soon and will give that a try.
Thanks for the info ![]()
I had seen that method before but totally forgot about it …thank you
That is what I’ve been doing. Sand real well, paint the board surface, apply polyurethane, maybe even a couple light coats, then apply a mask, usually Oramask, then cut the project.
Like Garth said you may get some tear out on the masking, but the polyurethane helps it stick down real well. If it does tear out a little, I use blue masking tape and an exacto and “repair” the mask, as long as it isn’t too extensive. Then spray your next color. It has been working pretty well for me.
The next thing I want to start dabbling in is small epoxy pours.
1 Like
On something like your design.
Cut the pocket to 0.19 inches
I would cover the whole job with clear contact shelf paper.
Cut the project.
Then spray paint the whole project with orange paint.
Dab up any extra paint with a rag.
Let dry and remove the contact paper
Then use a 4 inch foam roller to carefully paint the raised letters.
Don’t press to hard on the roller and try to keep both ends of the roller on a raised portion of the cut.
Use a heat gun to dry. Then put a second coat on
Lastly spray with clear coat to protect of outdoors project
Been doing this for a while and has worked out well for me.
4 Likes
This topic was automatically closed 30 days after the last reply. New replies are no longer allowed.