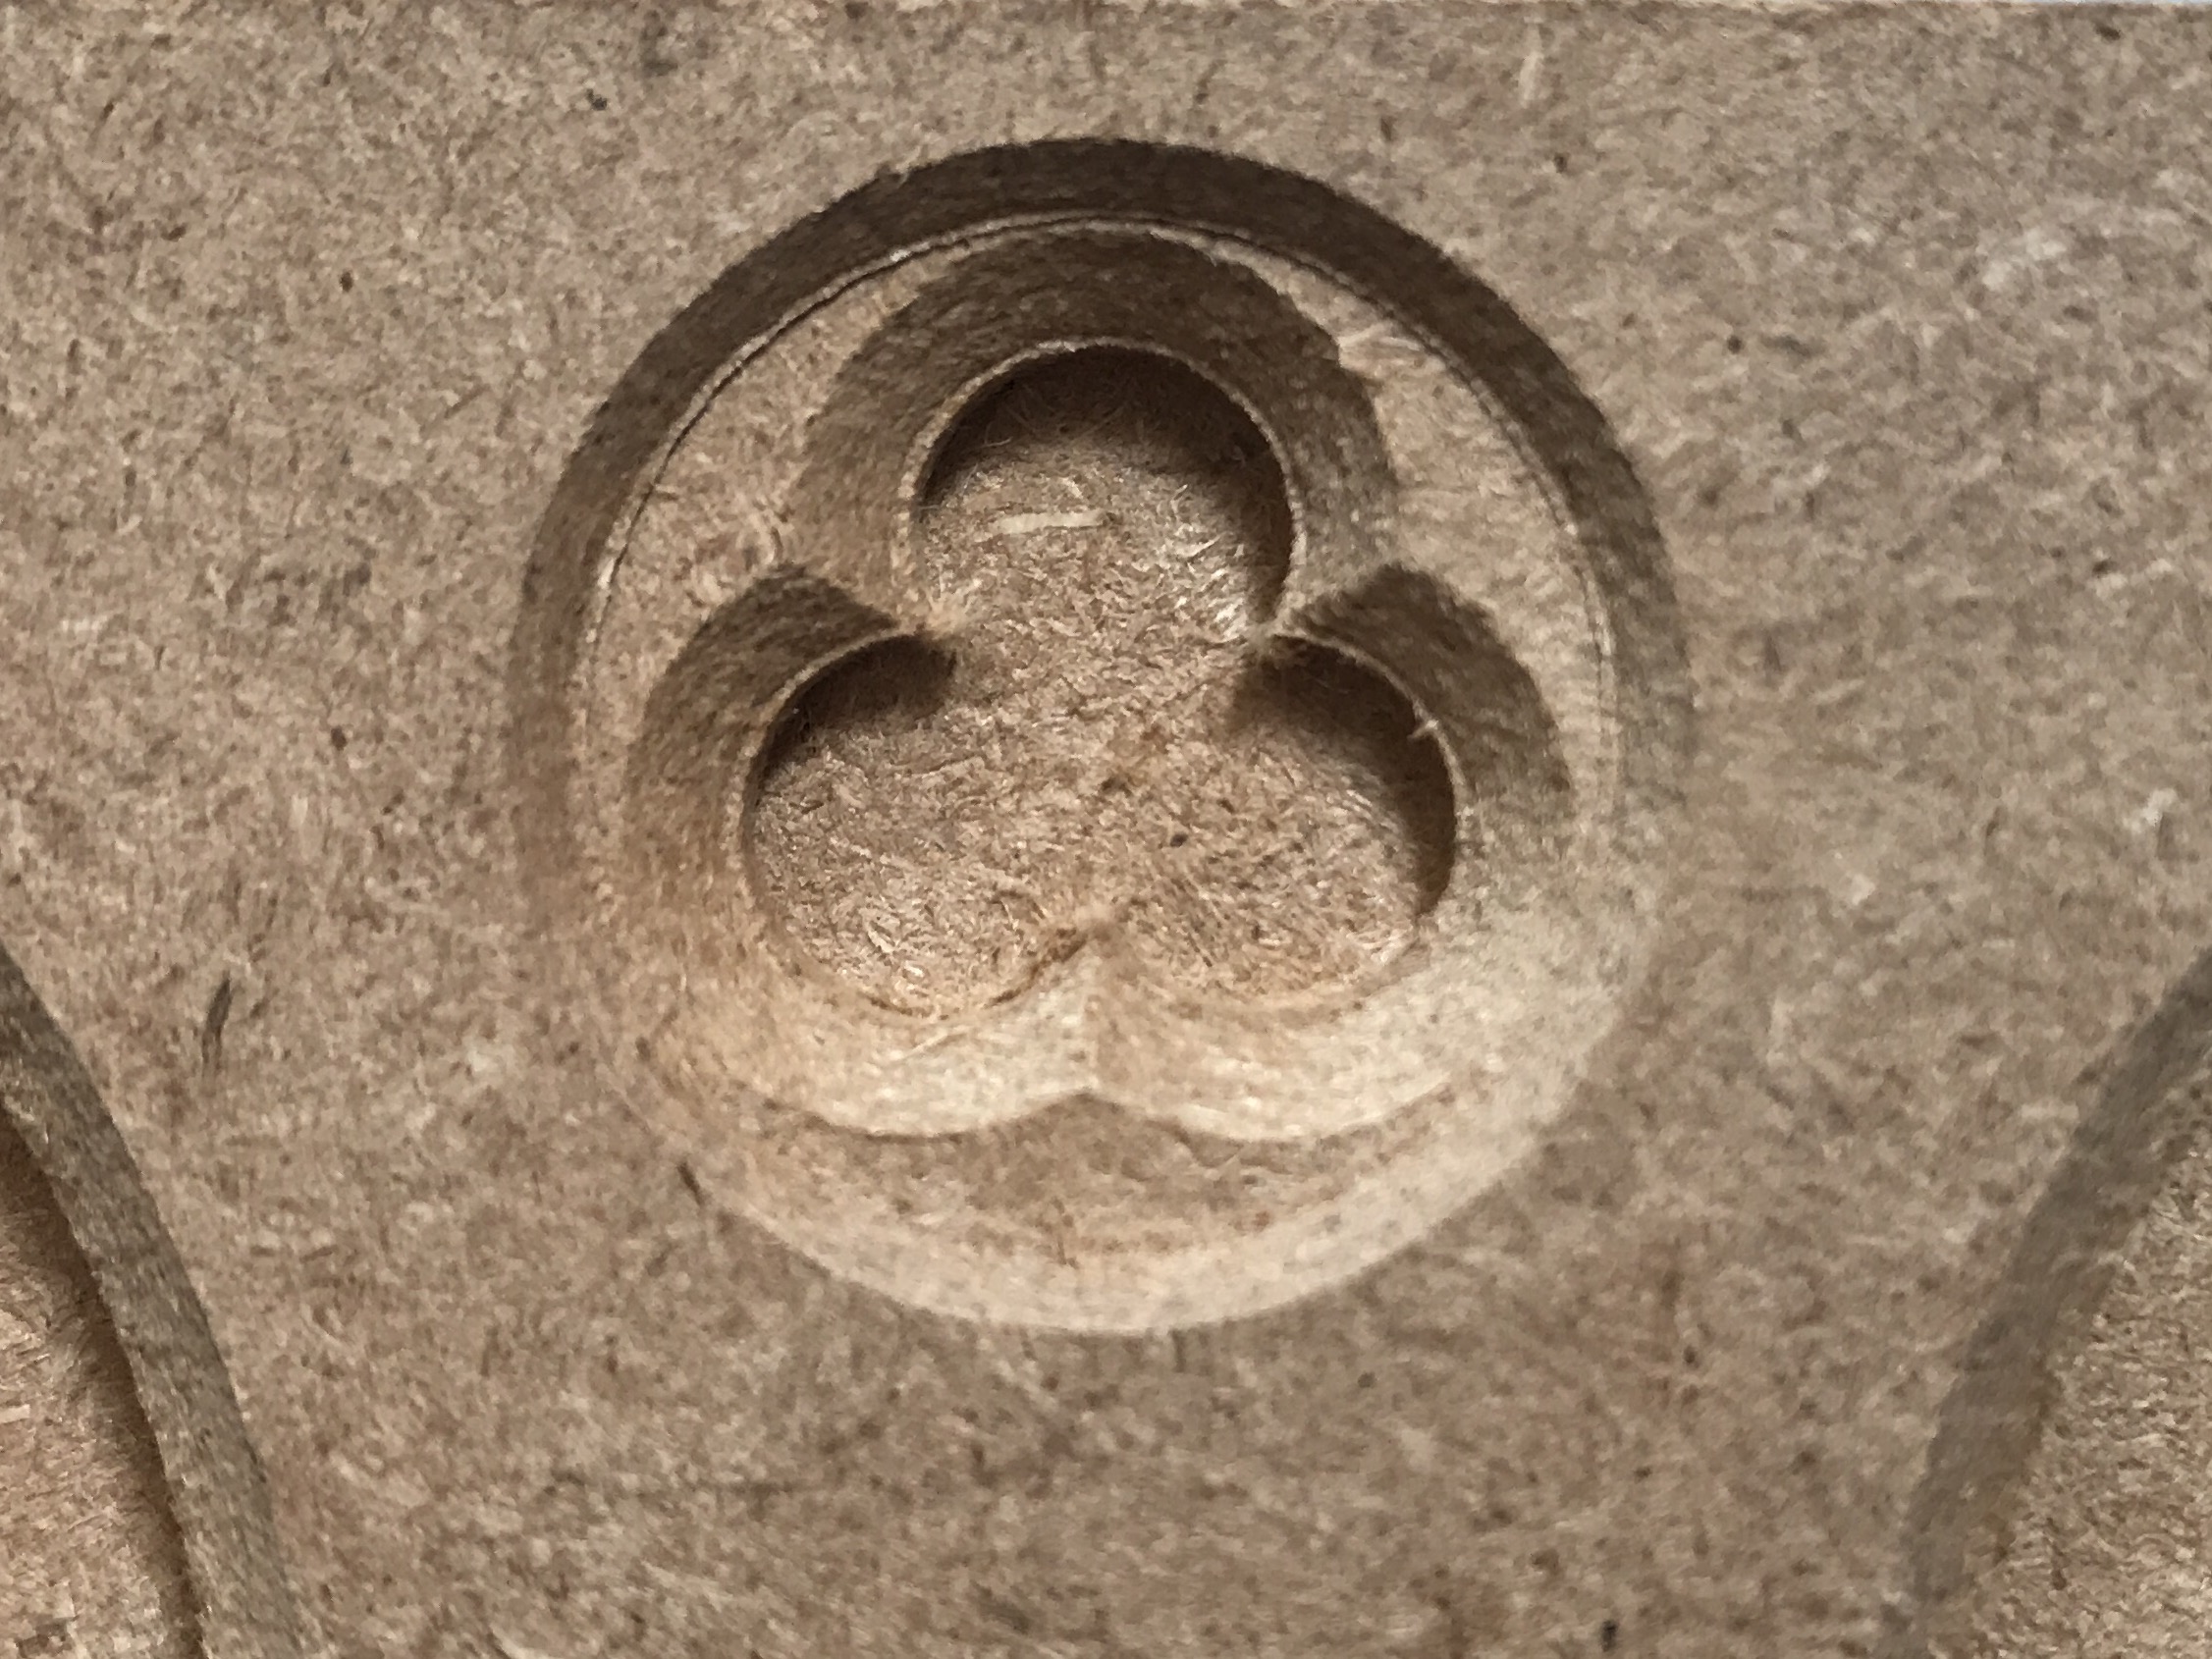
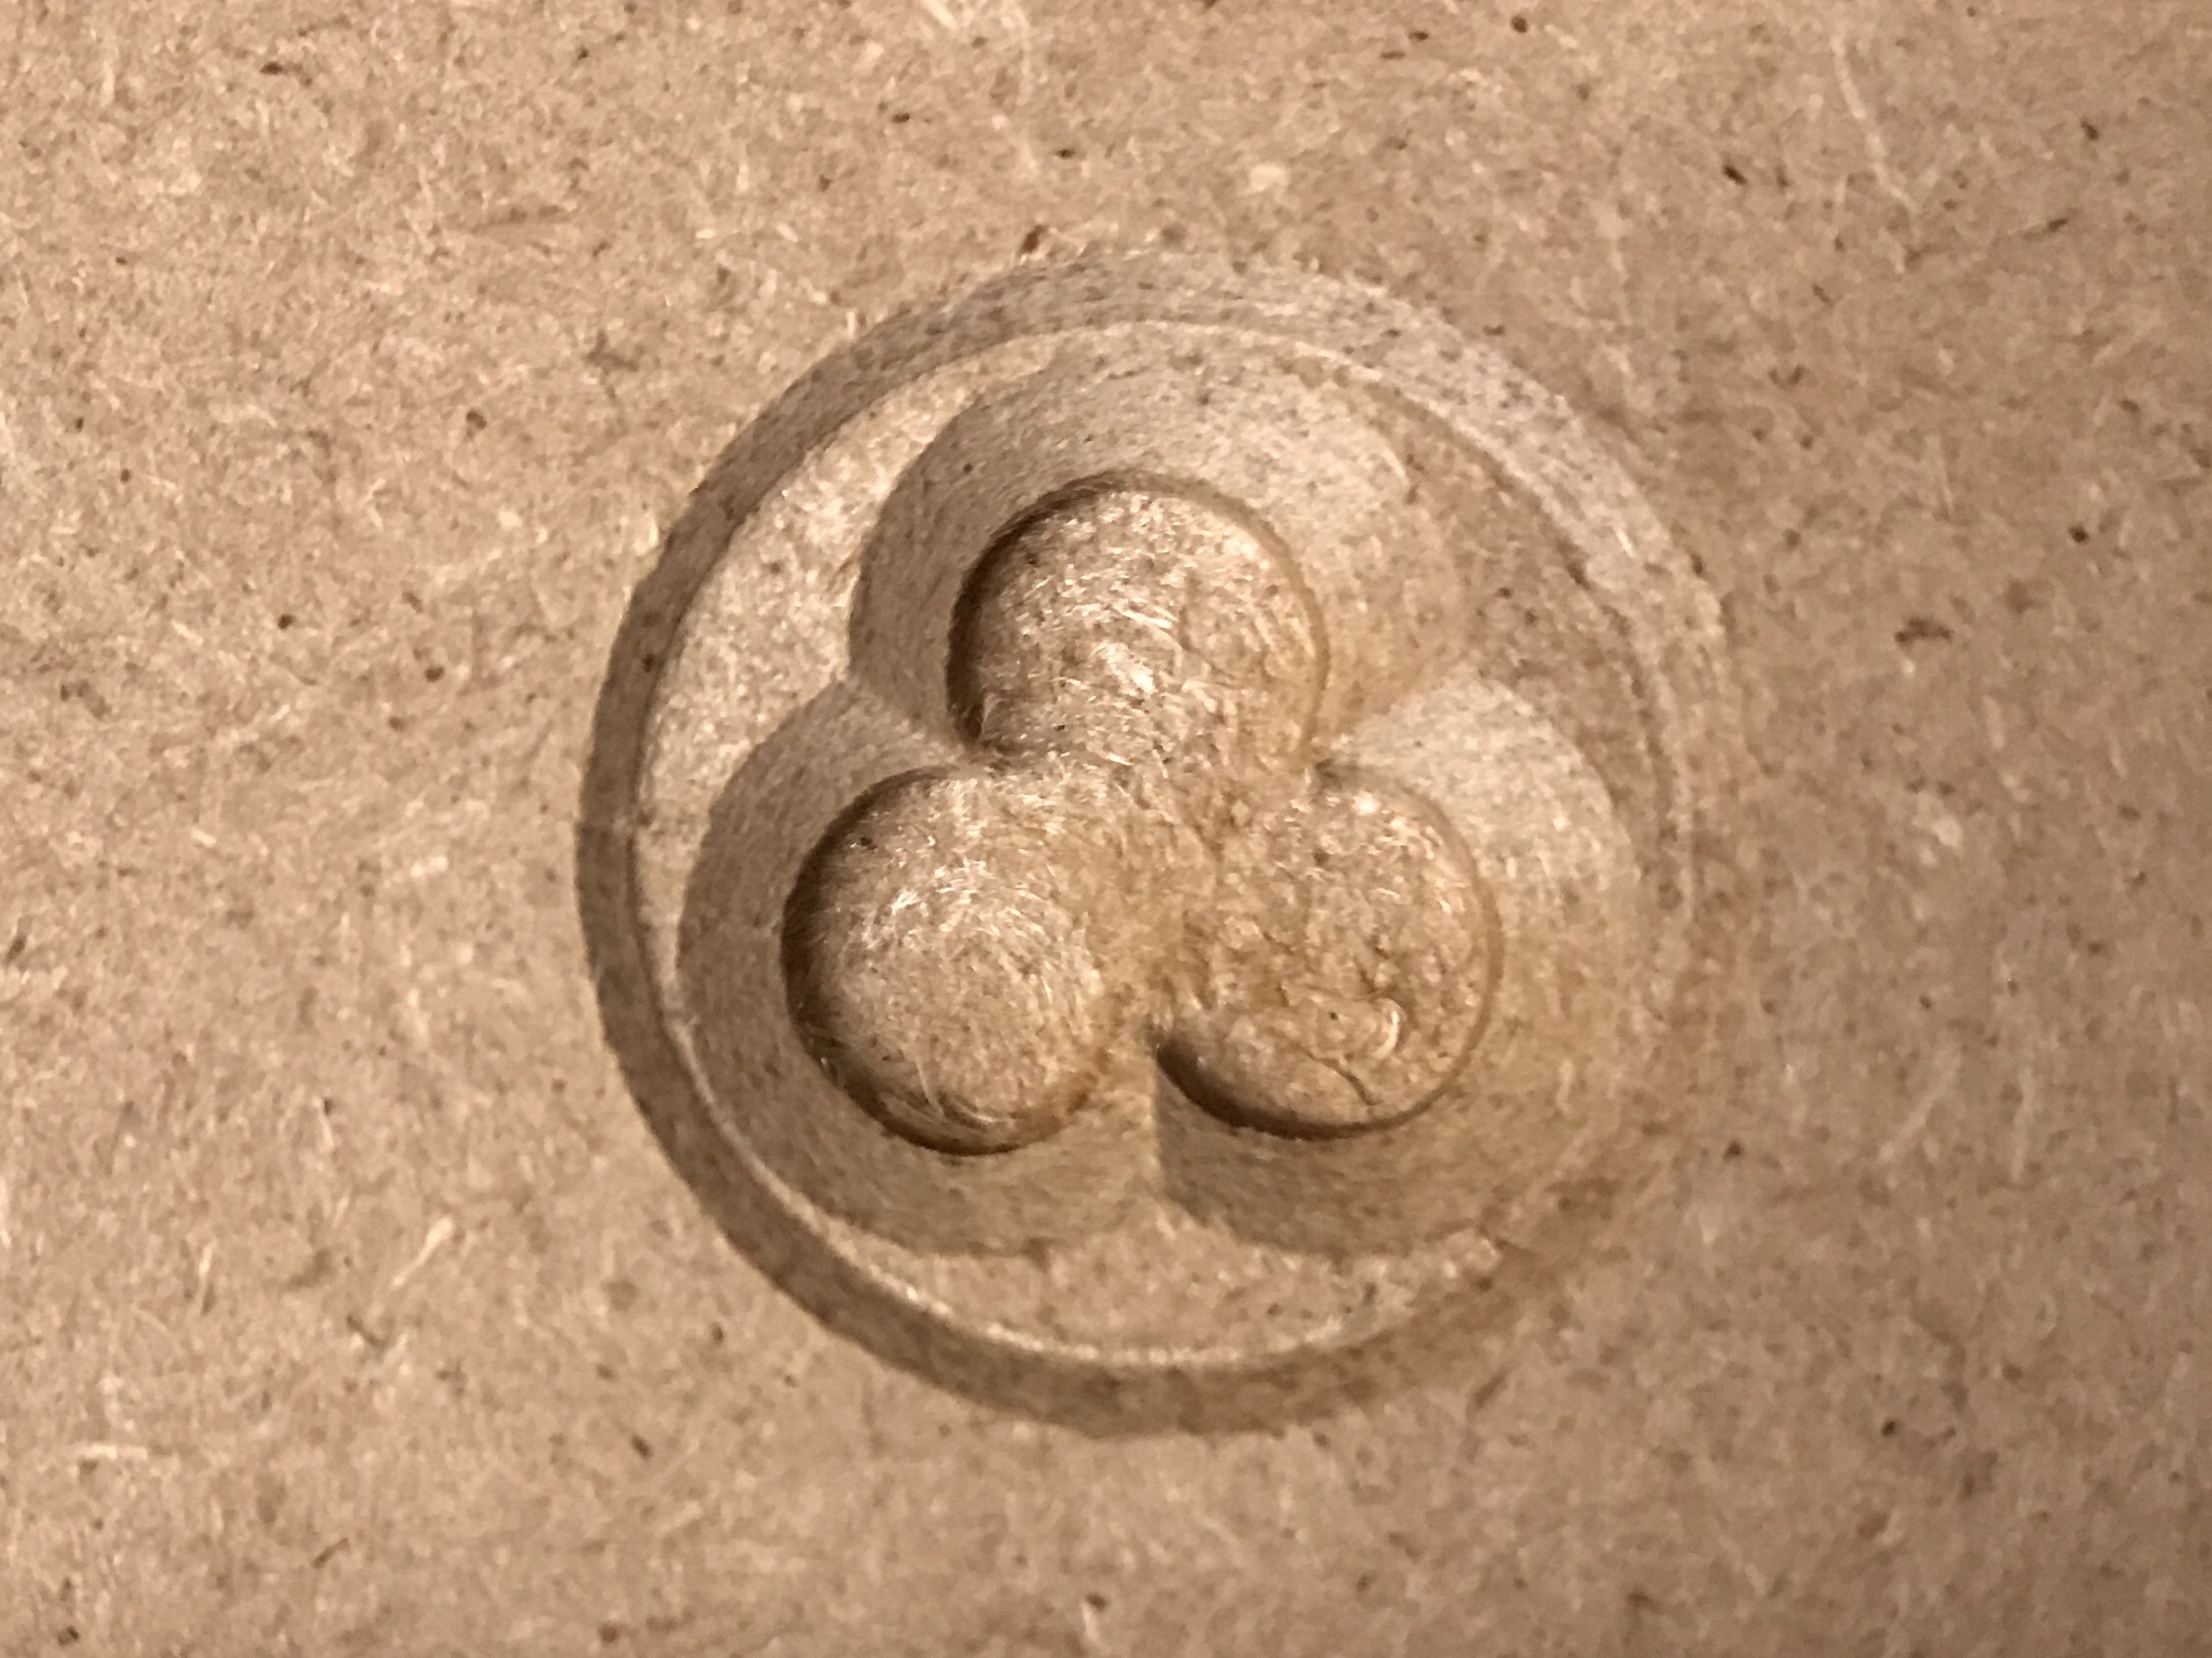
I was wondering if anyone had seen this issue or had any suggestions for fixing it. I’m trying to cut several of these little (1" diameter) trefoil windows for a project. I use a 1/4" spiral bit to clear the waste from the round part first (1/16" depth) then to clear the “window” portion (1/4" depth. Then I use a 90 degree Vbit to make a profile pass on the line for the round part, then the windows. Everything looks good except that little lip at the base of both the V cuts. I’ve tried 3 different v bits to be sure it’s not a flat or broken tip. I’m running it at 30/15 ipm feed/plunge rate, with only 0.03 DOC. (Light passes kept the little points from chipping out in real wood) I’m using V carve Pro with Carbide motion on the Shapeoko XXL.
If anyone can provide some help, it would be appreciated. I’ll provide any other settings I may have forgotten if someone thinks it will help. Thanks Folks!
Follow up: I think I may have solved it, at least for this case. Whatever was happening seemed to be happening at the tip so I took the tip out of the equation. I made a copy of the vector I was following that was inset by 1/64 and had it follow that while making depth of cut 1/64 deeper. Basically, I moved it in and down by the same amount so the original vector was presented with the same 45 degree angle, just further up the bit, making it a chamfering bit. The tip was just hanging into space that, in this case, had already been cleared.
The angle of your v-bit is likely differentthan advertised. Take a picture of it against a background that allows you to see the cutting edges , enlarge the photo and try to measure the included angle. You can do this in V-Carve 9.x,not sure which programs offer the same features. If you don’t own VCP You should be able to do this in the trial software since you don’t need to create toolpaths.
Then adjust your bit angle in the software. If you are still getting a line, check your Spindle thatit is perpendicular to the bed in XAnd Y.
Hi Will,
I’ve tried three different sized V bits, 1/4", 1/2", and 1", all with the same results. I think that eliminated problems with the tip or non concentric bit. I think that leaves tool runout. I had measured that when I first set up my machine and it was a 0.003-0.004. I’d have thought that would be basically invisible but perhaps something has changed. I’ll check that next.
I’m not sure I’m following your last suggestion. Do you mean to inset the vector that the endmill is following by half the dimension of the lip?
From other projects and tests, I’m pretty certain the angle is as advertised. Even if it weren’t though, the problem is at the tip, the angle is just visual and isn’t structurally important. Will suggested tool runout and that makes sense to me. Don’t know how I’ll tame that though.
I think Z zeroing might be part of it. I think I tend to zero it a little low since that narrow little tip digs deeper before I notice the effects on the paper I’m using as my gauge. I’d love to get my hands on one of the new touch probes.
Do your V bits come to a perfect theoretical point? Or do they have a flat on the end? Many have a designed flat on the end, which if not taken into account could cause something like that when combined with a higher Z zero.
Is it just the photo or is the effect less pronounced on the bottom than top?
I would try just barely lowering the z axis and try again. V carving is VERY susceptible to differences in zeroing, surface thickness, unlevel wasteboards, etc.
I’ve seen this too, but have nothing to add as far as a solution. I often run a V bit “on” a profile to give my projects a slight chamfer, but like yours I often have to do a slight bit of sanding afterwards to complete the chamfer. Eager to see if you find the answer.
Like Jeff said, do you have a flat on the tip of your v-bit?
Have you verified all dimensions of your cutters? V-bit width of cutter, height of cutter, flat on tip, and included angle? Don’t discount your measured angle, I was running 60 degree bits, never had an issue then started having issues. When I had to troubleshoot, I ended up having brand new 60 degree bits measuring 62 and 64 degrees from the same mfg that had given me no issues before.
Have you checked your 1/4” square end mill for dimensions? If you cut a 1” x 2” pocket does it measure 1”x2” or something else ? Are you climb cutting with the 1/4” bit?
Which program are you using to design and create g-code?
I noticed that my 1/2" bit didn’t seem to come to a perfect point, so I tried two other sizes that looked sharp but they did the same thing. I suspect runout might be the issue. A final test I did seems to have solved the problem though. I essentially took the tip out of the equation by insetting the vector by 1/64 and lowering the cut depth by the same amount. That basically made it a chamfering bit and the tip just hangs out into open space already cleared.
I think I have, at least for this case. Whatever was happening seemed to be happening at the tip so I took the tip out of the equation. I made a copy of the vector I was following that was inset by 1/64 and had it follow that while making depth of cutv1/64 deeper. Basically, I moved it in and down by the same amount so the original vector was presented with the same 45 degree angle, just further up the bit, making it a chamfering bit. The tip was just hanging into space that, in this case, had already been cleared. Hope that helps!