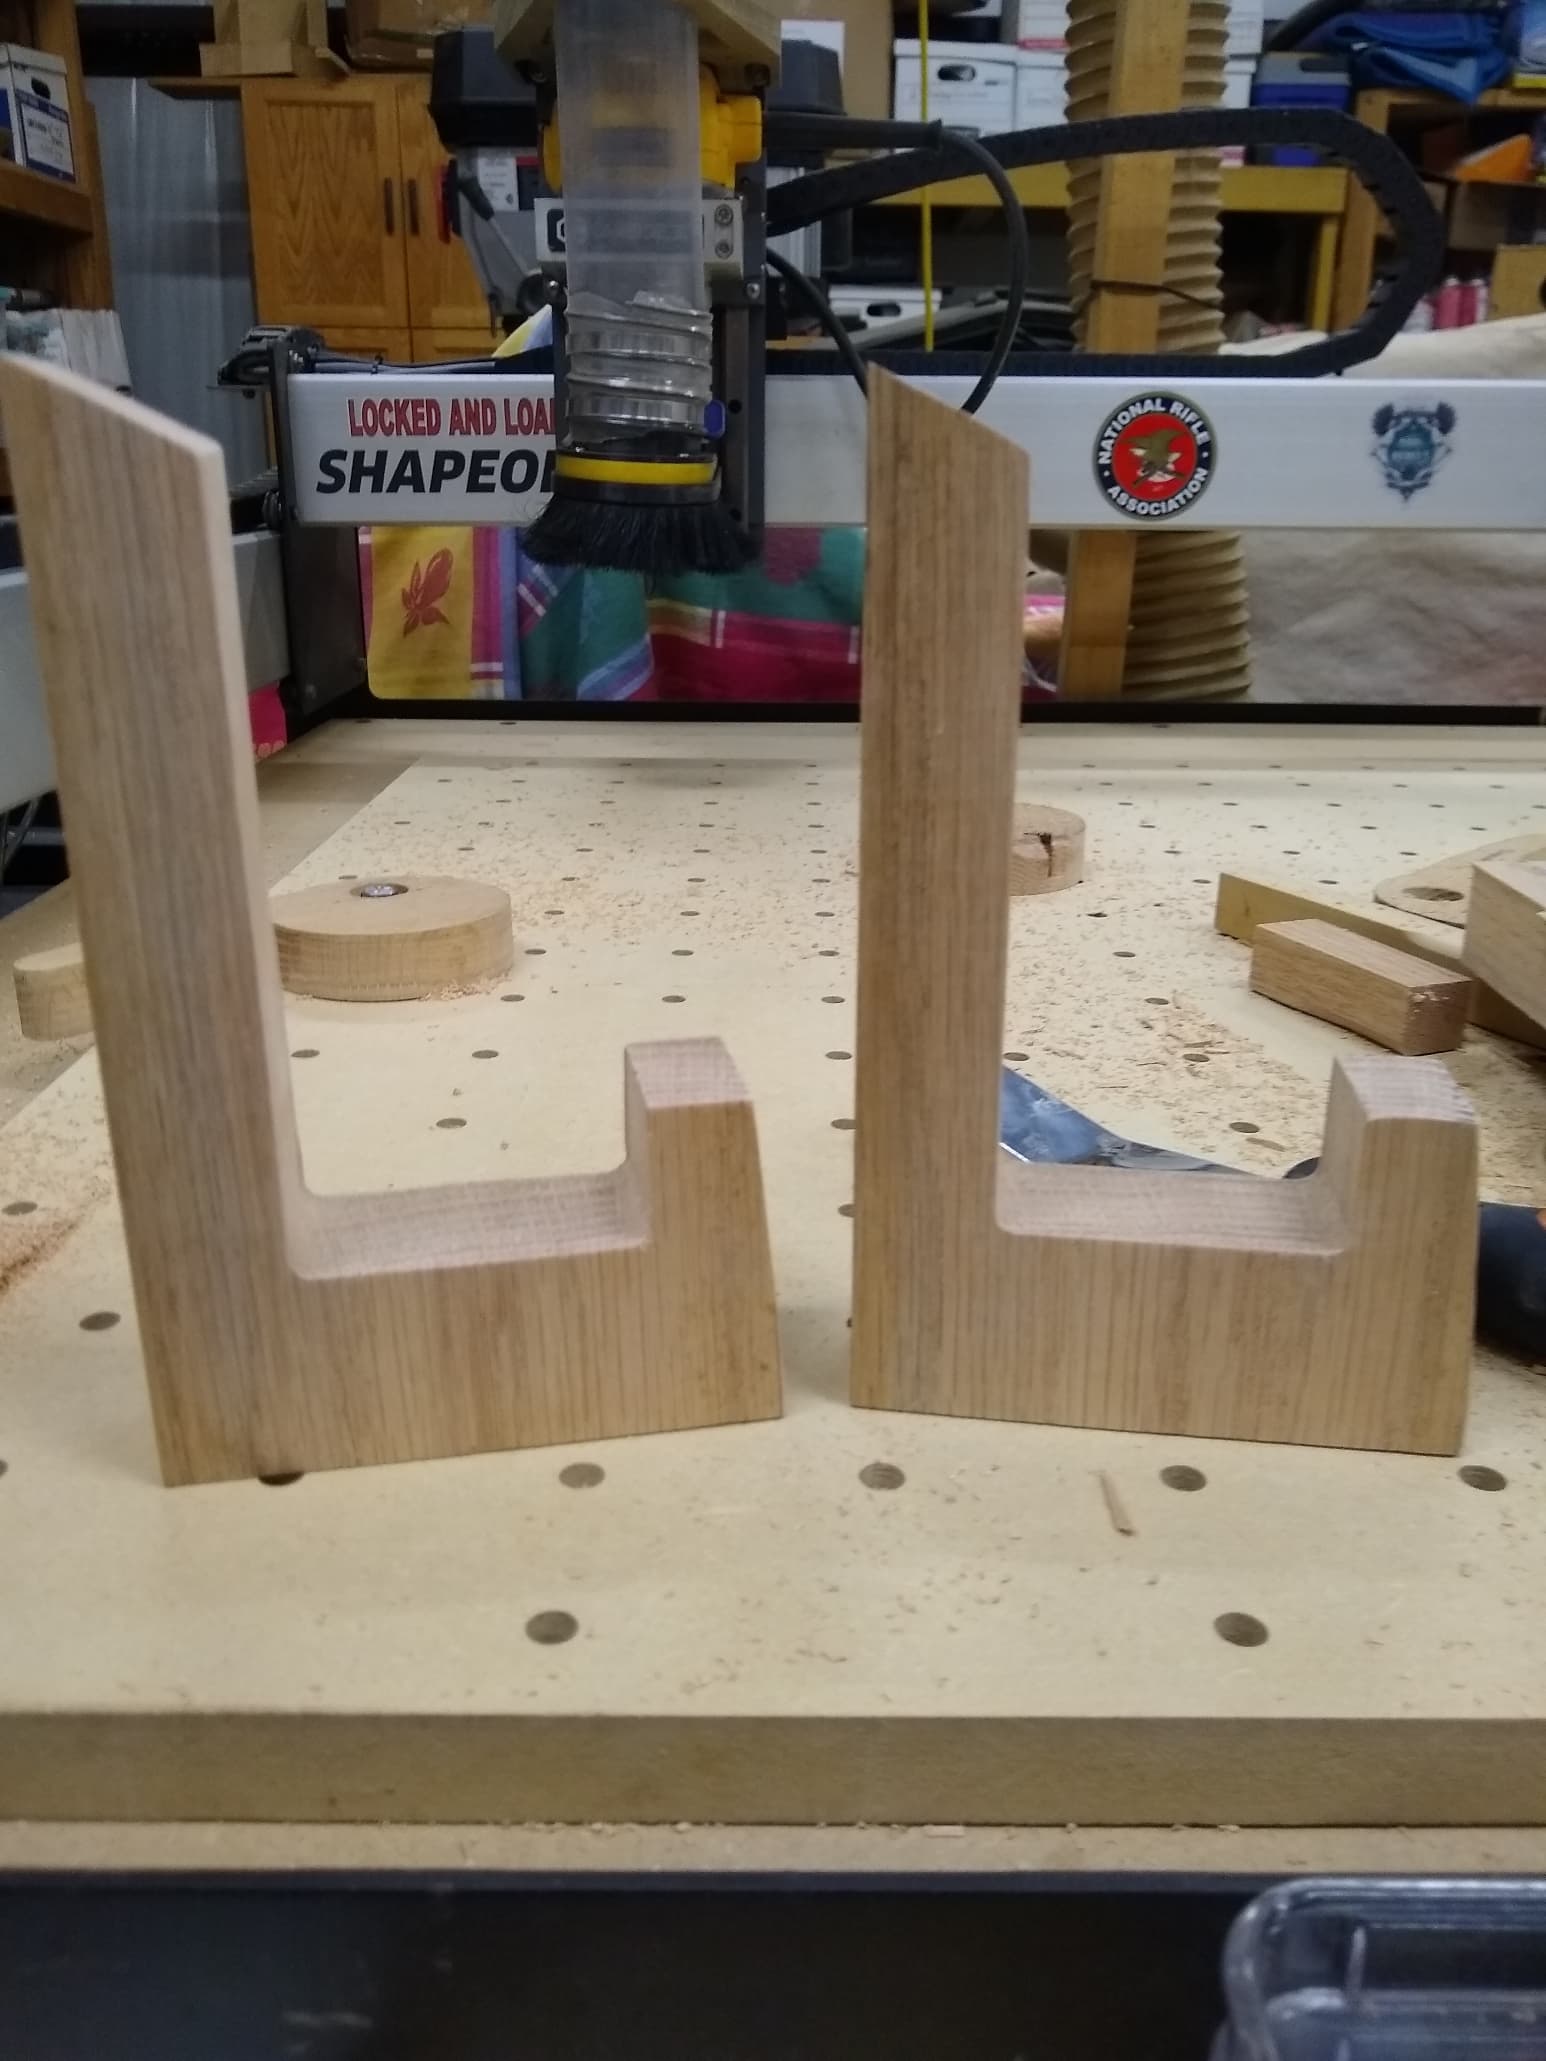
I have some friends that were gifted a print on a big canvas picture. They hung it over the fire place. The picture is a canvas with an aluminum frame and the canvas is wrapped around the edges. The maker put a cardboard back on it and glued the hanging wire on. The hanging wire clips came loose along with some of the cardboard. I drew up these wall hanging brackets and cut them out of 1.25" oak. I will need to countersink some holes to use hollow wall hangers. The wall is brick so I will drill into the mortar and drive the hollow wall hangers in and secure the brackets with long screws. I need to put some finish on these. I ran out of dewaxed Shellac and ordered two cans from Amazon. They will be here in a few days. After the shellac I will spray polyurethane satin on them.
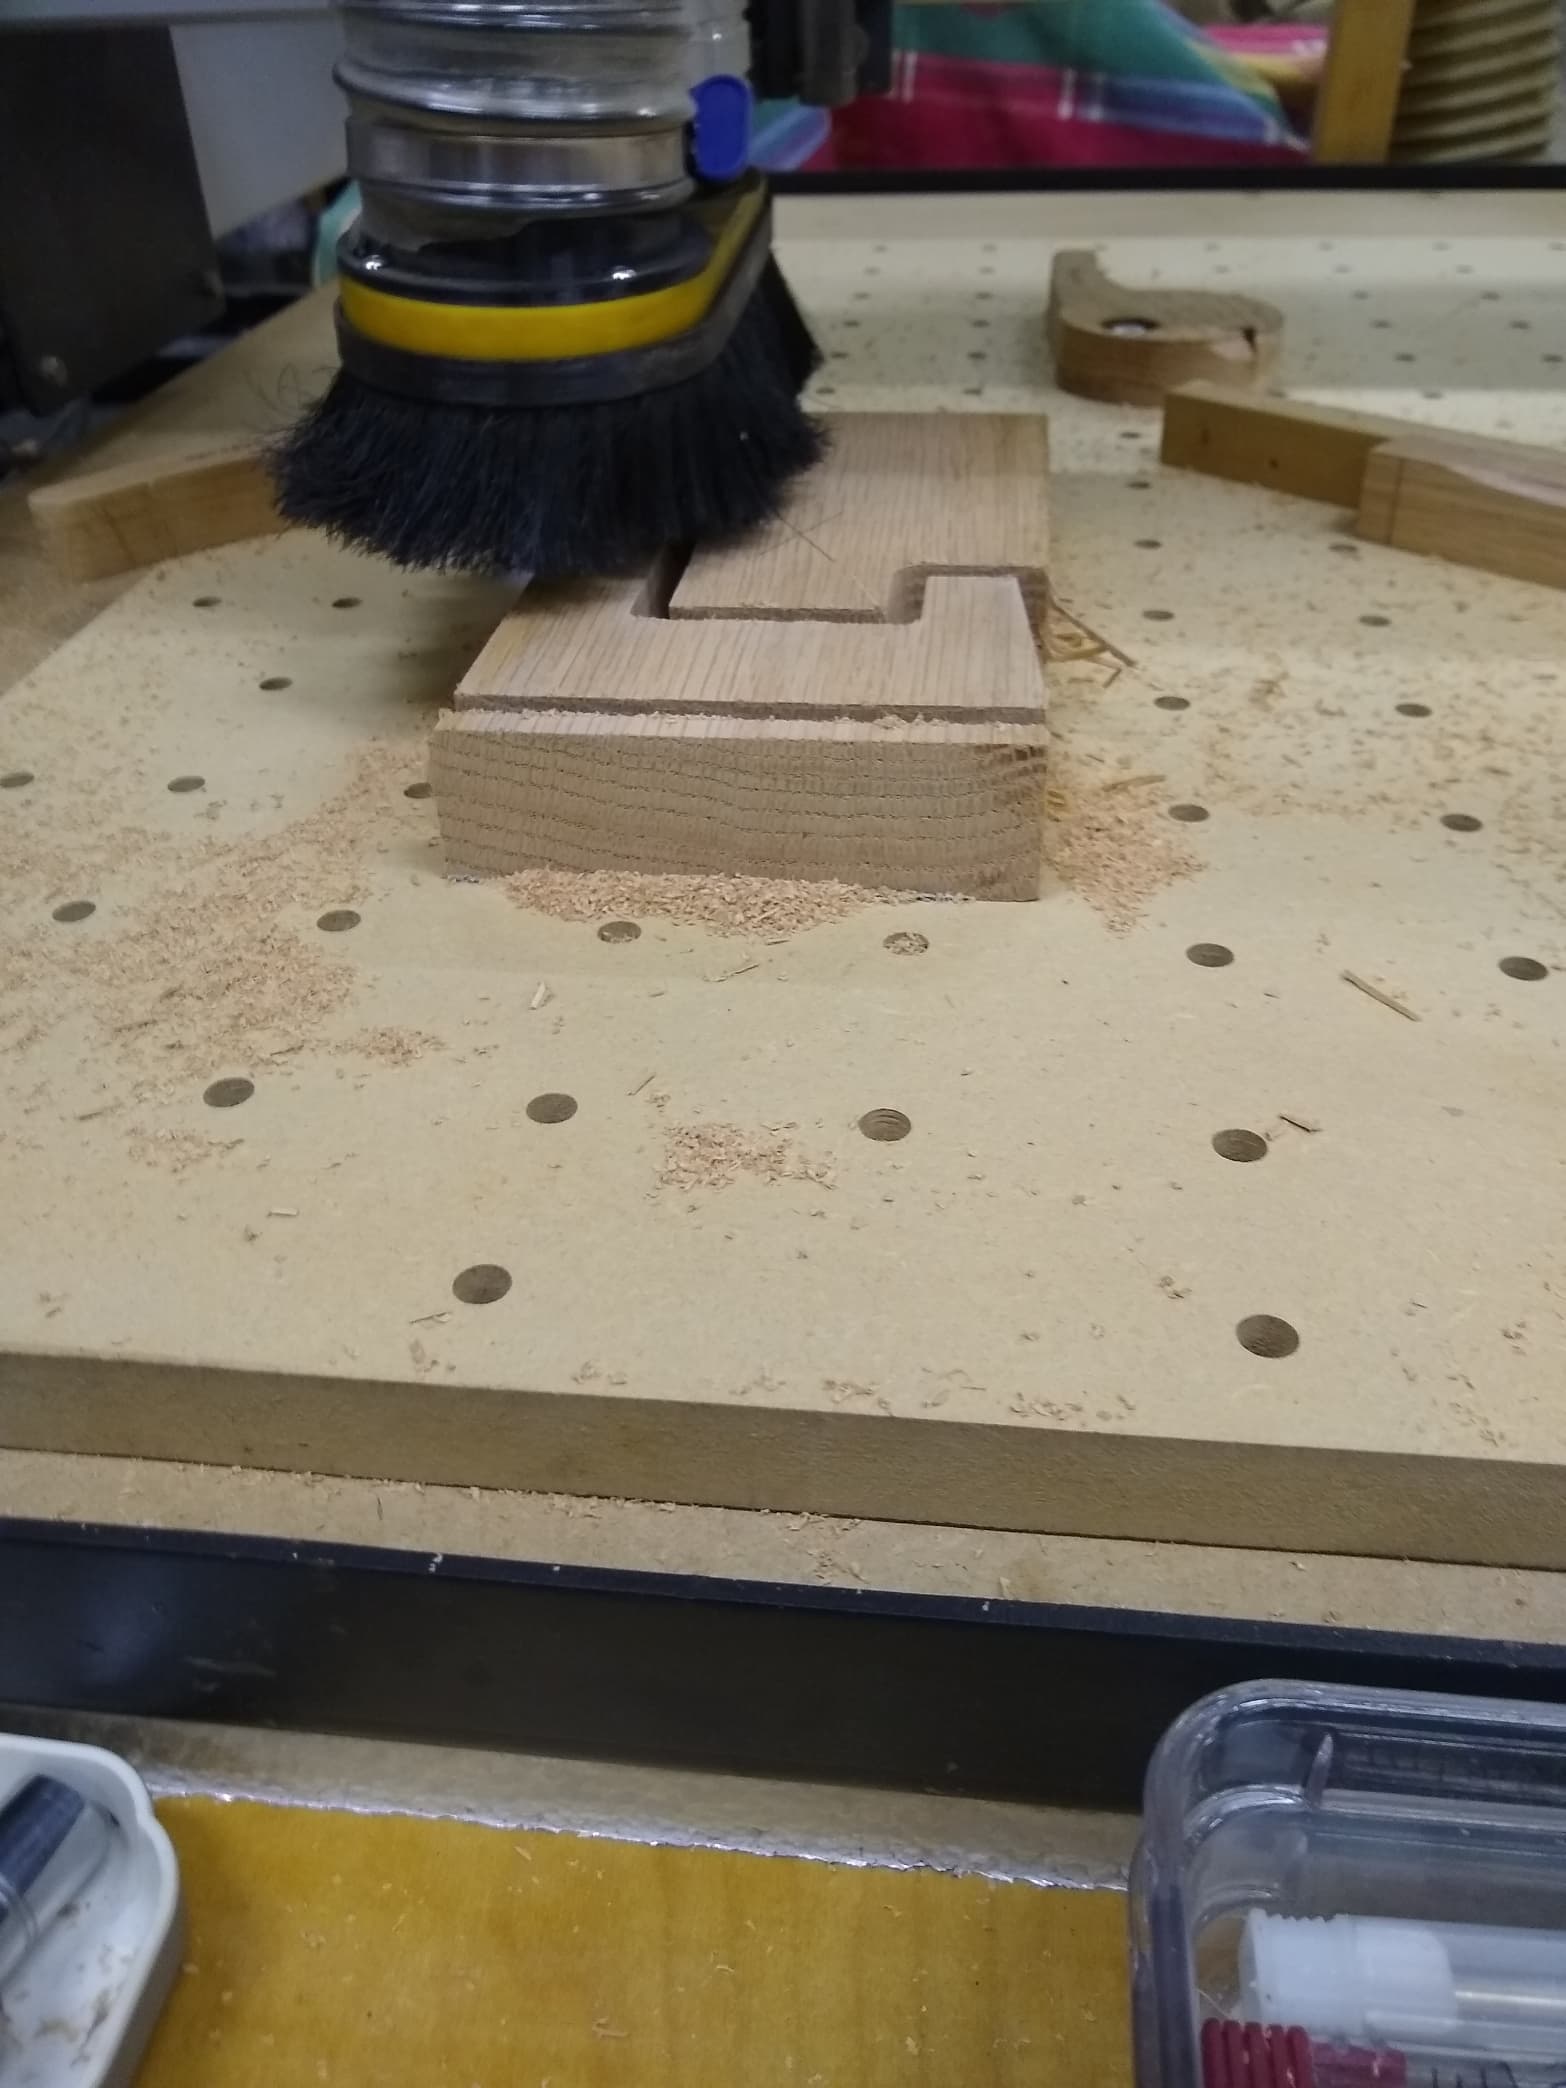
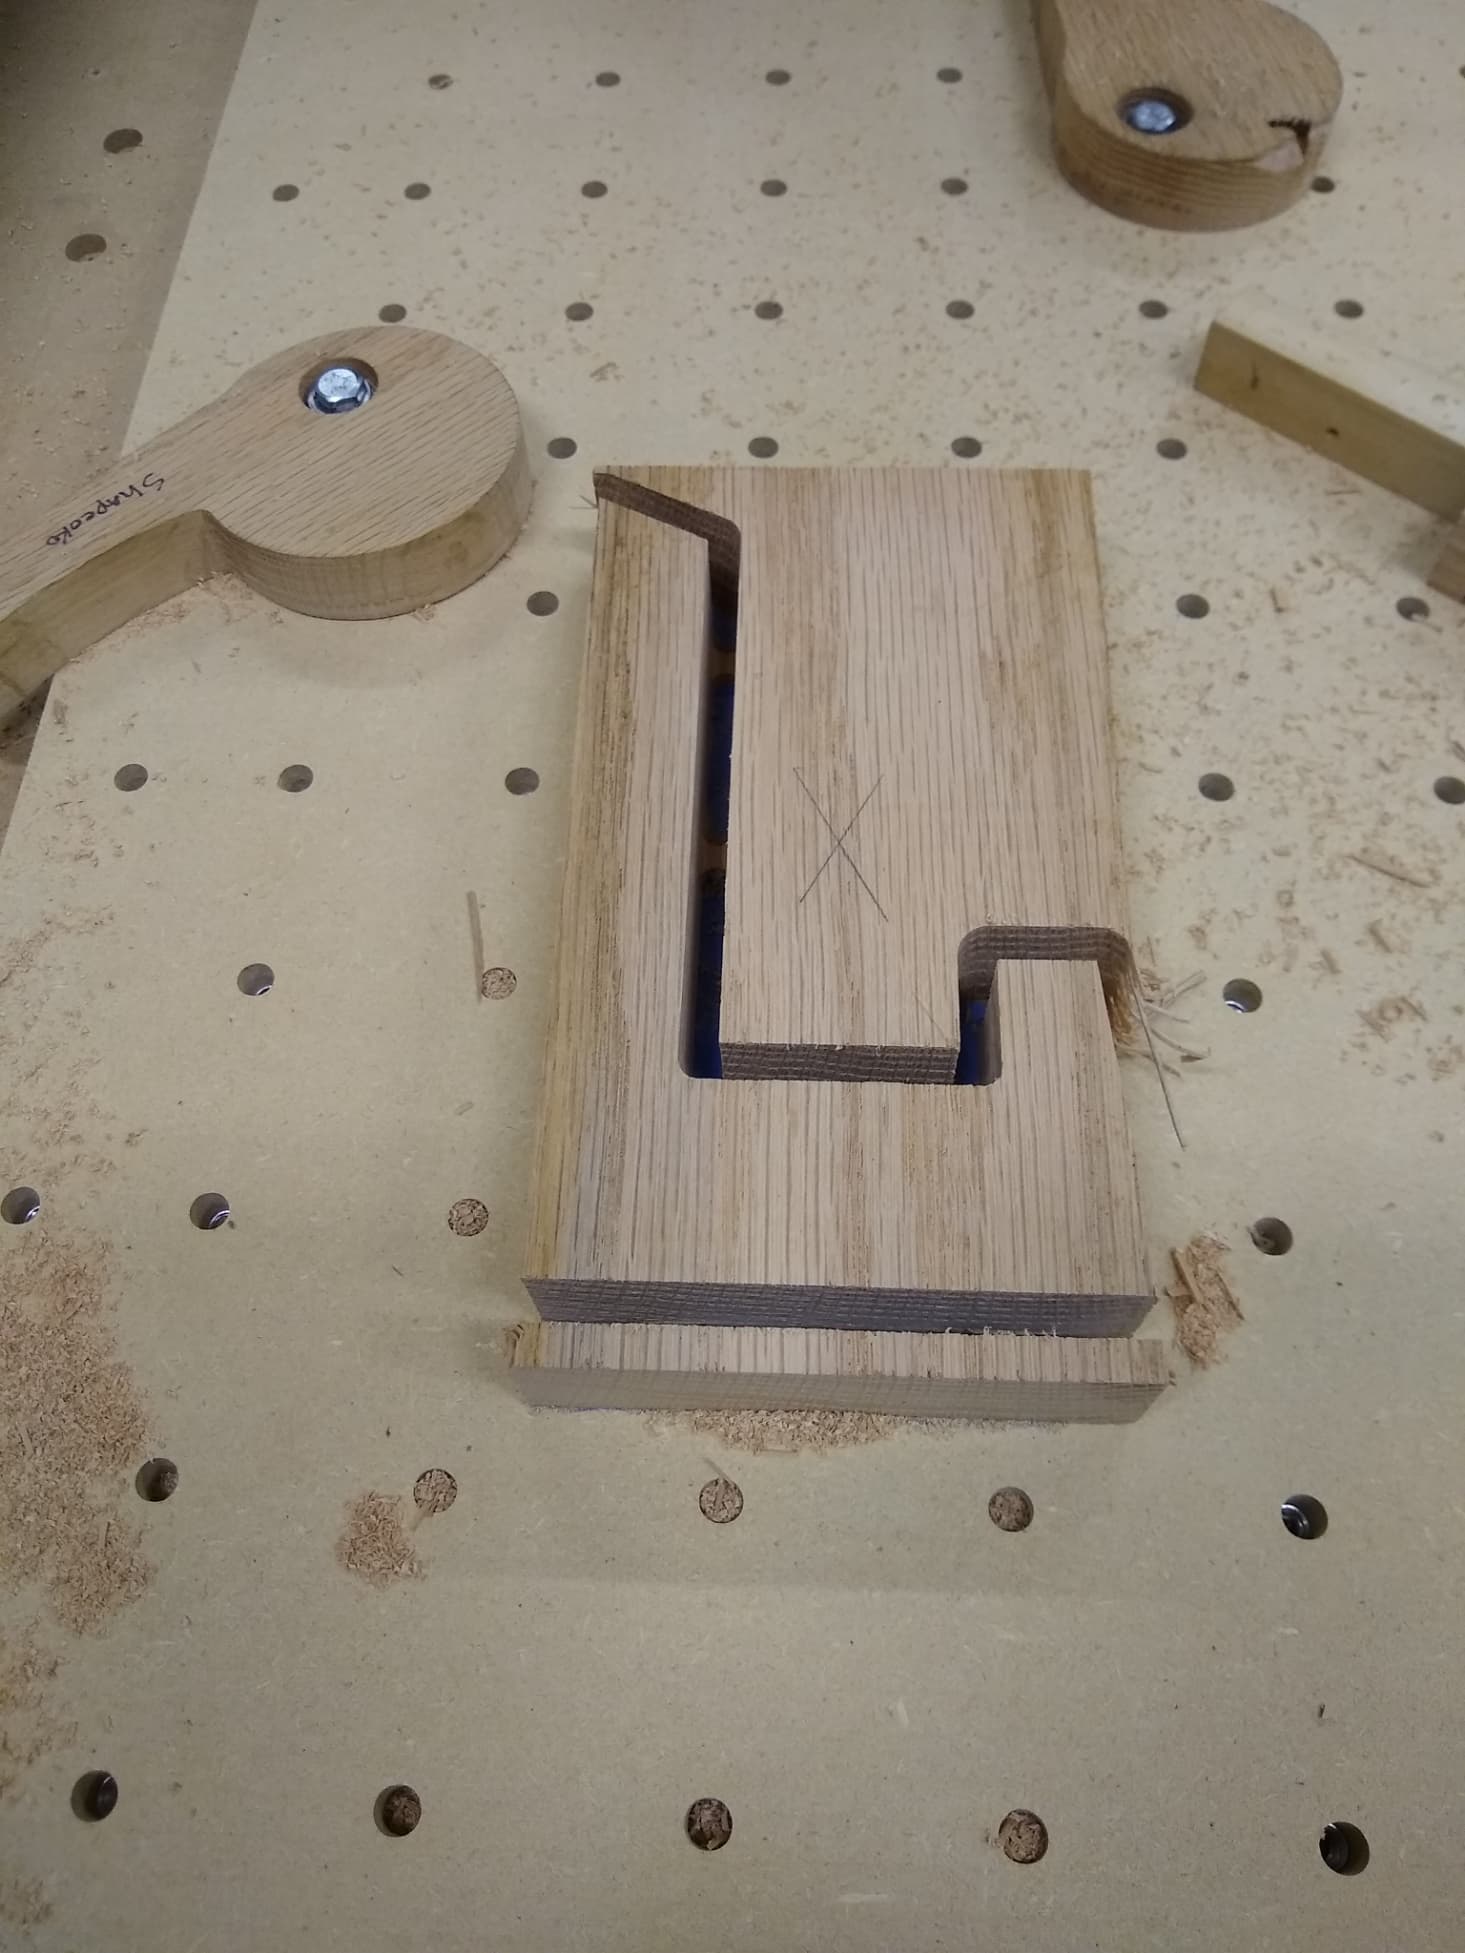
I used my Melin 1.5" cutting depth 1/4" bit and used the “bottom” of the material for the first time. I just replaced my spoilboard and hope to keep it from being spoiled too fast. The bottom worked very well. After I got the project fixed with the super glue I measured the total height and modified the CC file. The project cut out perfectly with no marks on my new spoilboard. In one picture you will see my L bracket. I had squared the bracket and bolted it securely. After getting the project glued down I removed the L bracket. After the project completed I put the bracket back in place to help square the second piece, then removed it again. The material I had was just wide enough, 4.25", for the project so I did not want to cut up my L bracket. The project was perfectly square and worked out very well. Proof that an old dog can learn new tricks. I know the bottom option has always been there but you get into habits that sometimes hard to break.
I used the painters tape and super glue to hold them down.
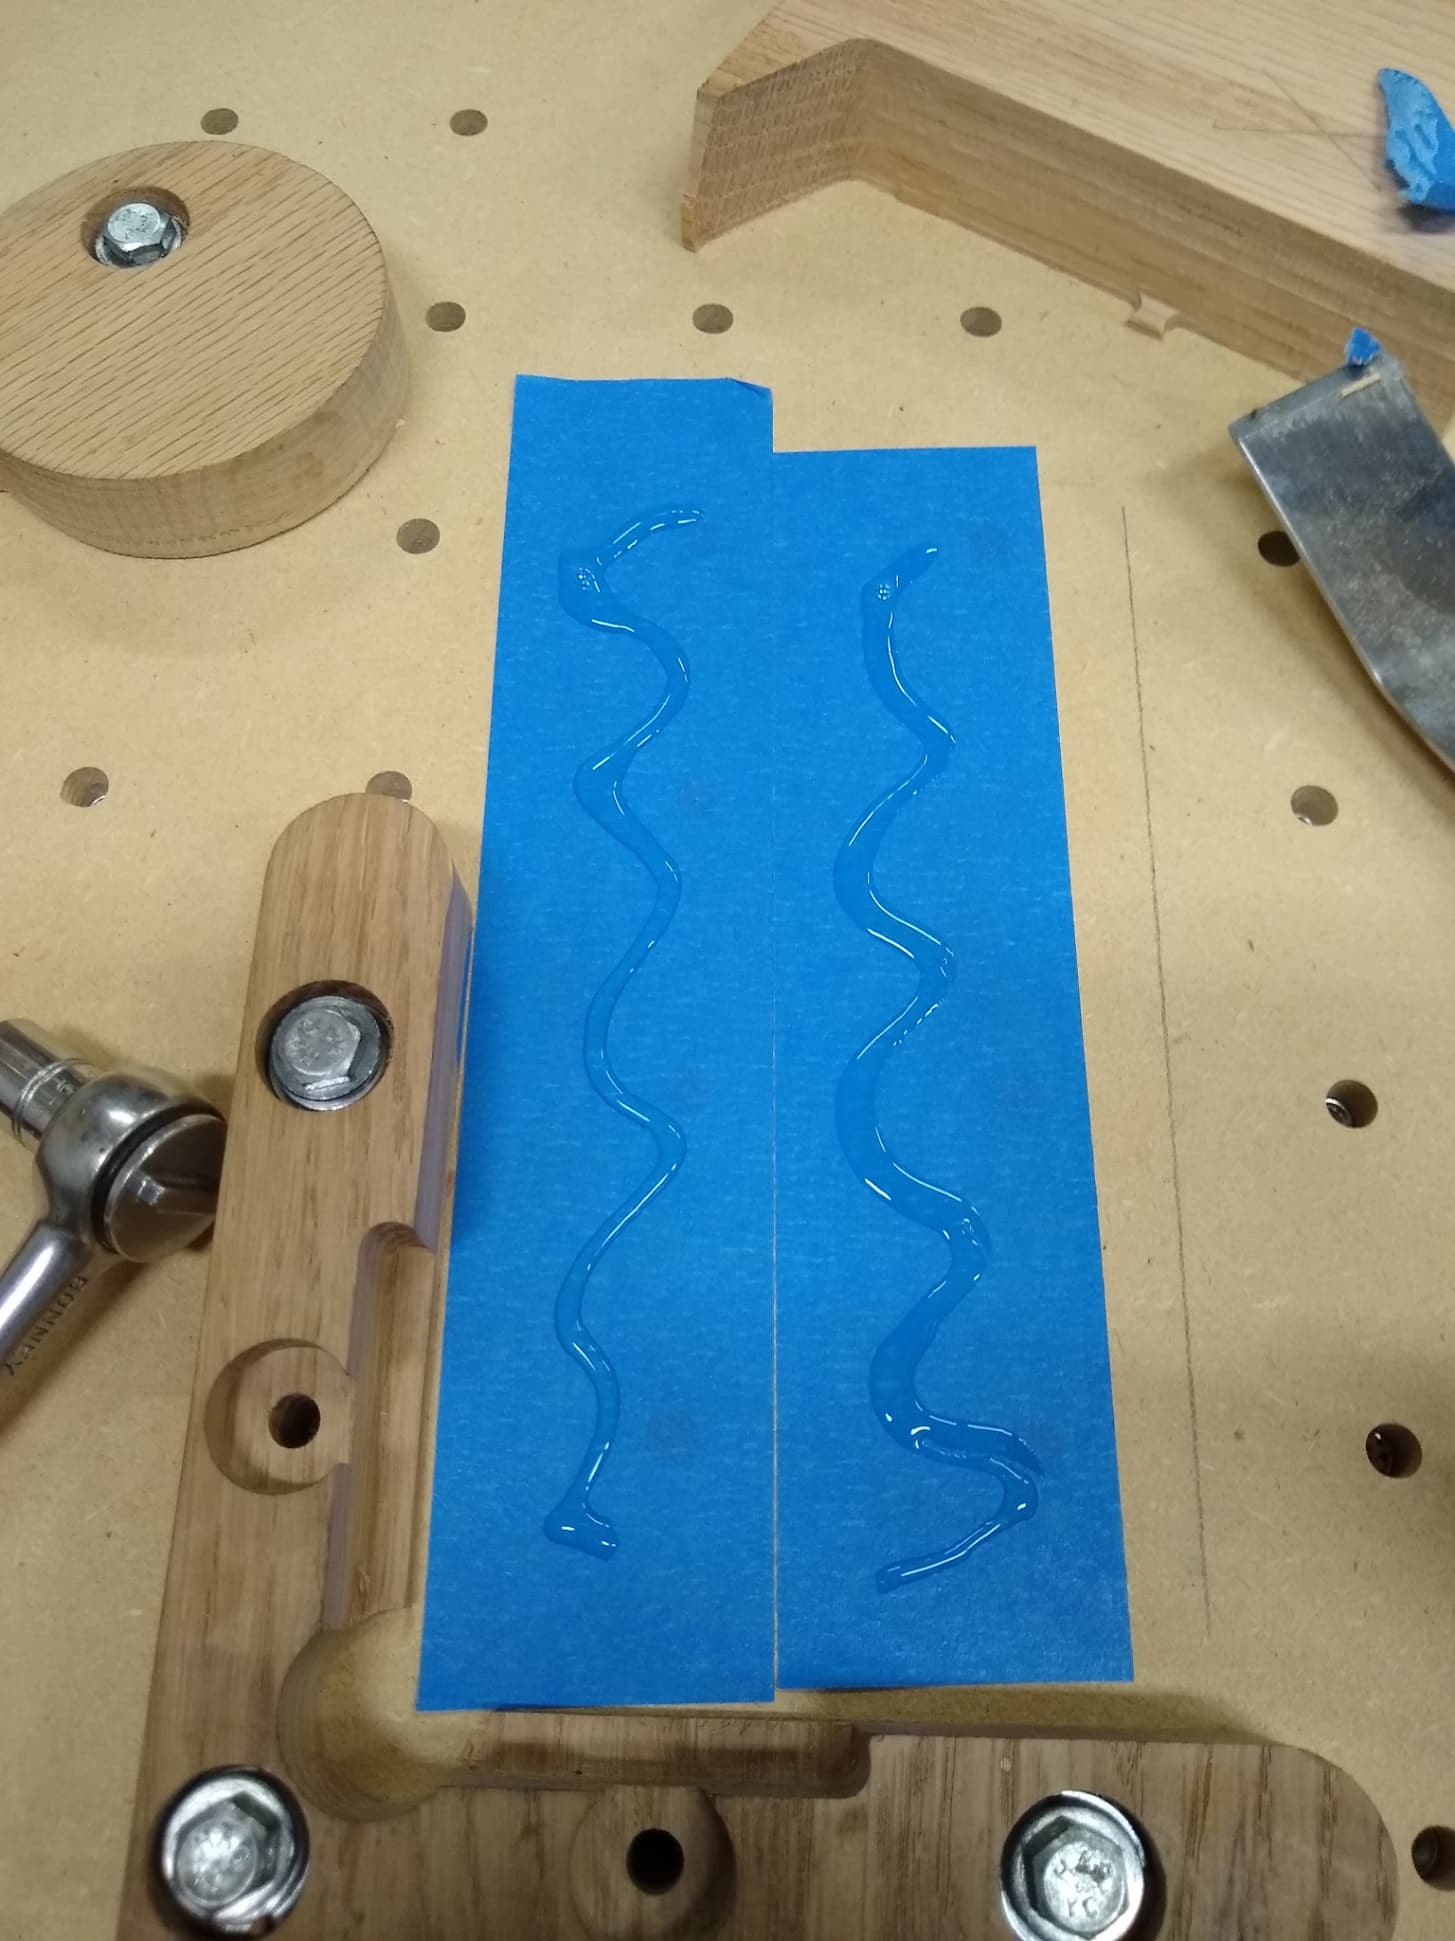
I use the Titebond Medium Super Glue and it has never let me down. I do press the painters tape down well on the spoilboard and on the project.
I cleaned up the tabs on my Ridgid Osicialliating Sander. They will get a 220 Grit final sanding before applying the shellac and then a 320 grit sanding when it dries before the polyurethane.
The picture is about 1.25" thick so I guessed that I will have enough angle on the picture after hanging to keep it from tipping over. If it is not enough I can always machine a couple of more brackets that are wider.
The picture is not heavy but because the bottom is cross grain I wanted to make the brackets thick enough to not break over time.
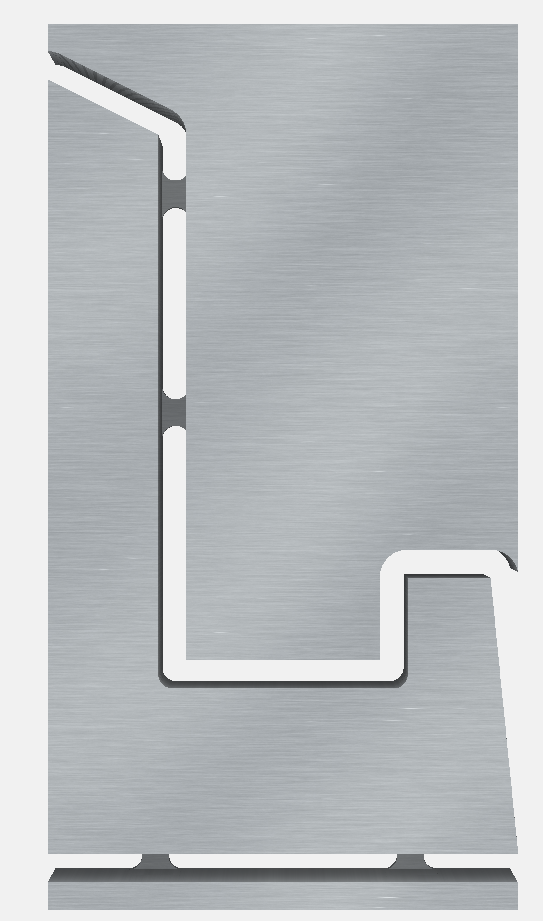
Here is the simulation picture and they came out exactly as pictured.