Trying to figure out Carbide Create before I purchase my Shapeoko and Carbide Create Pro.
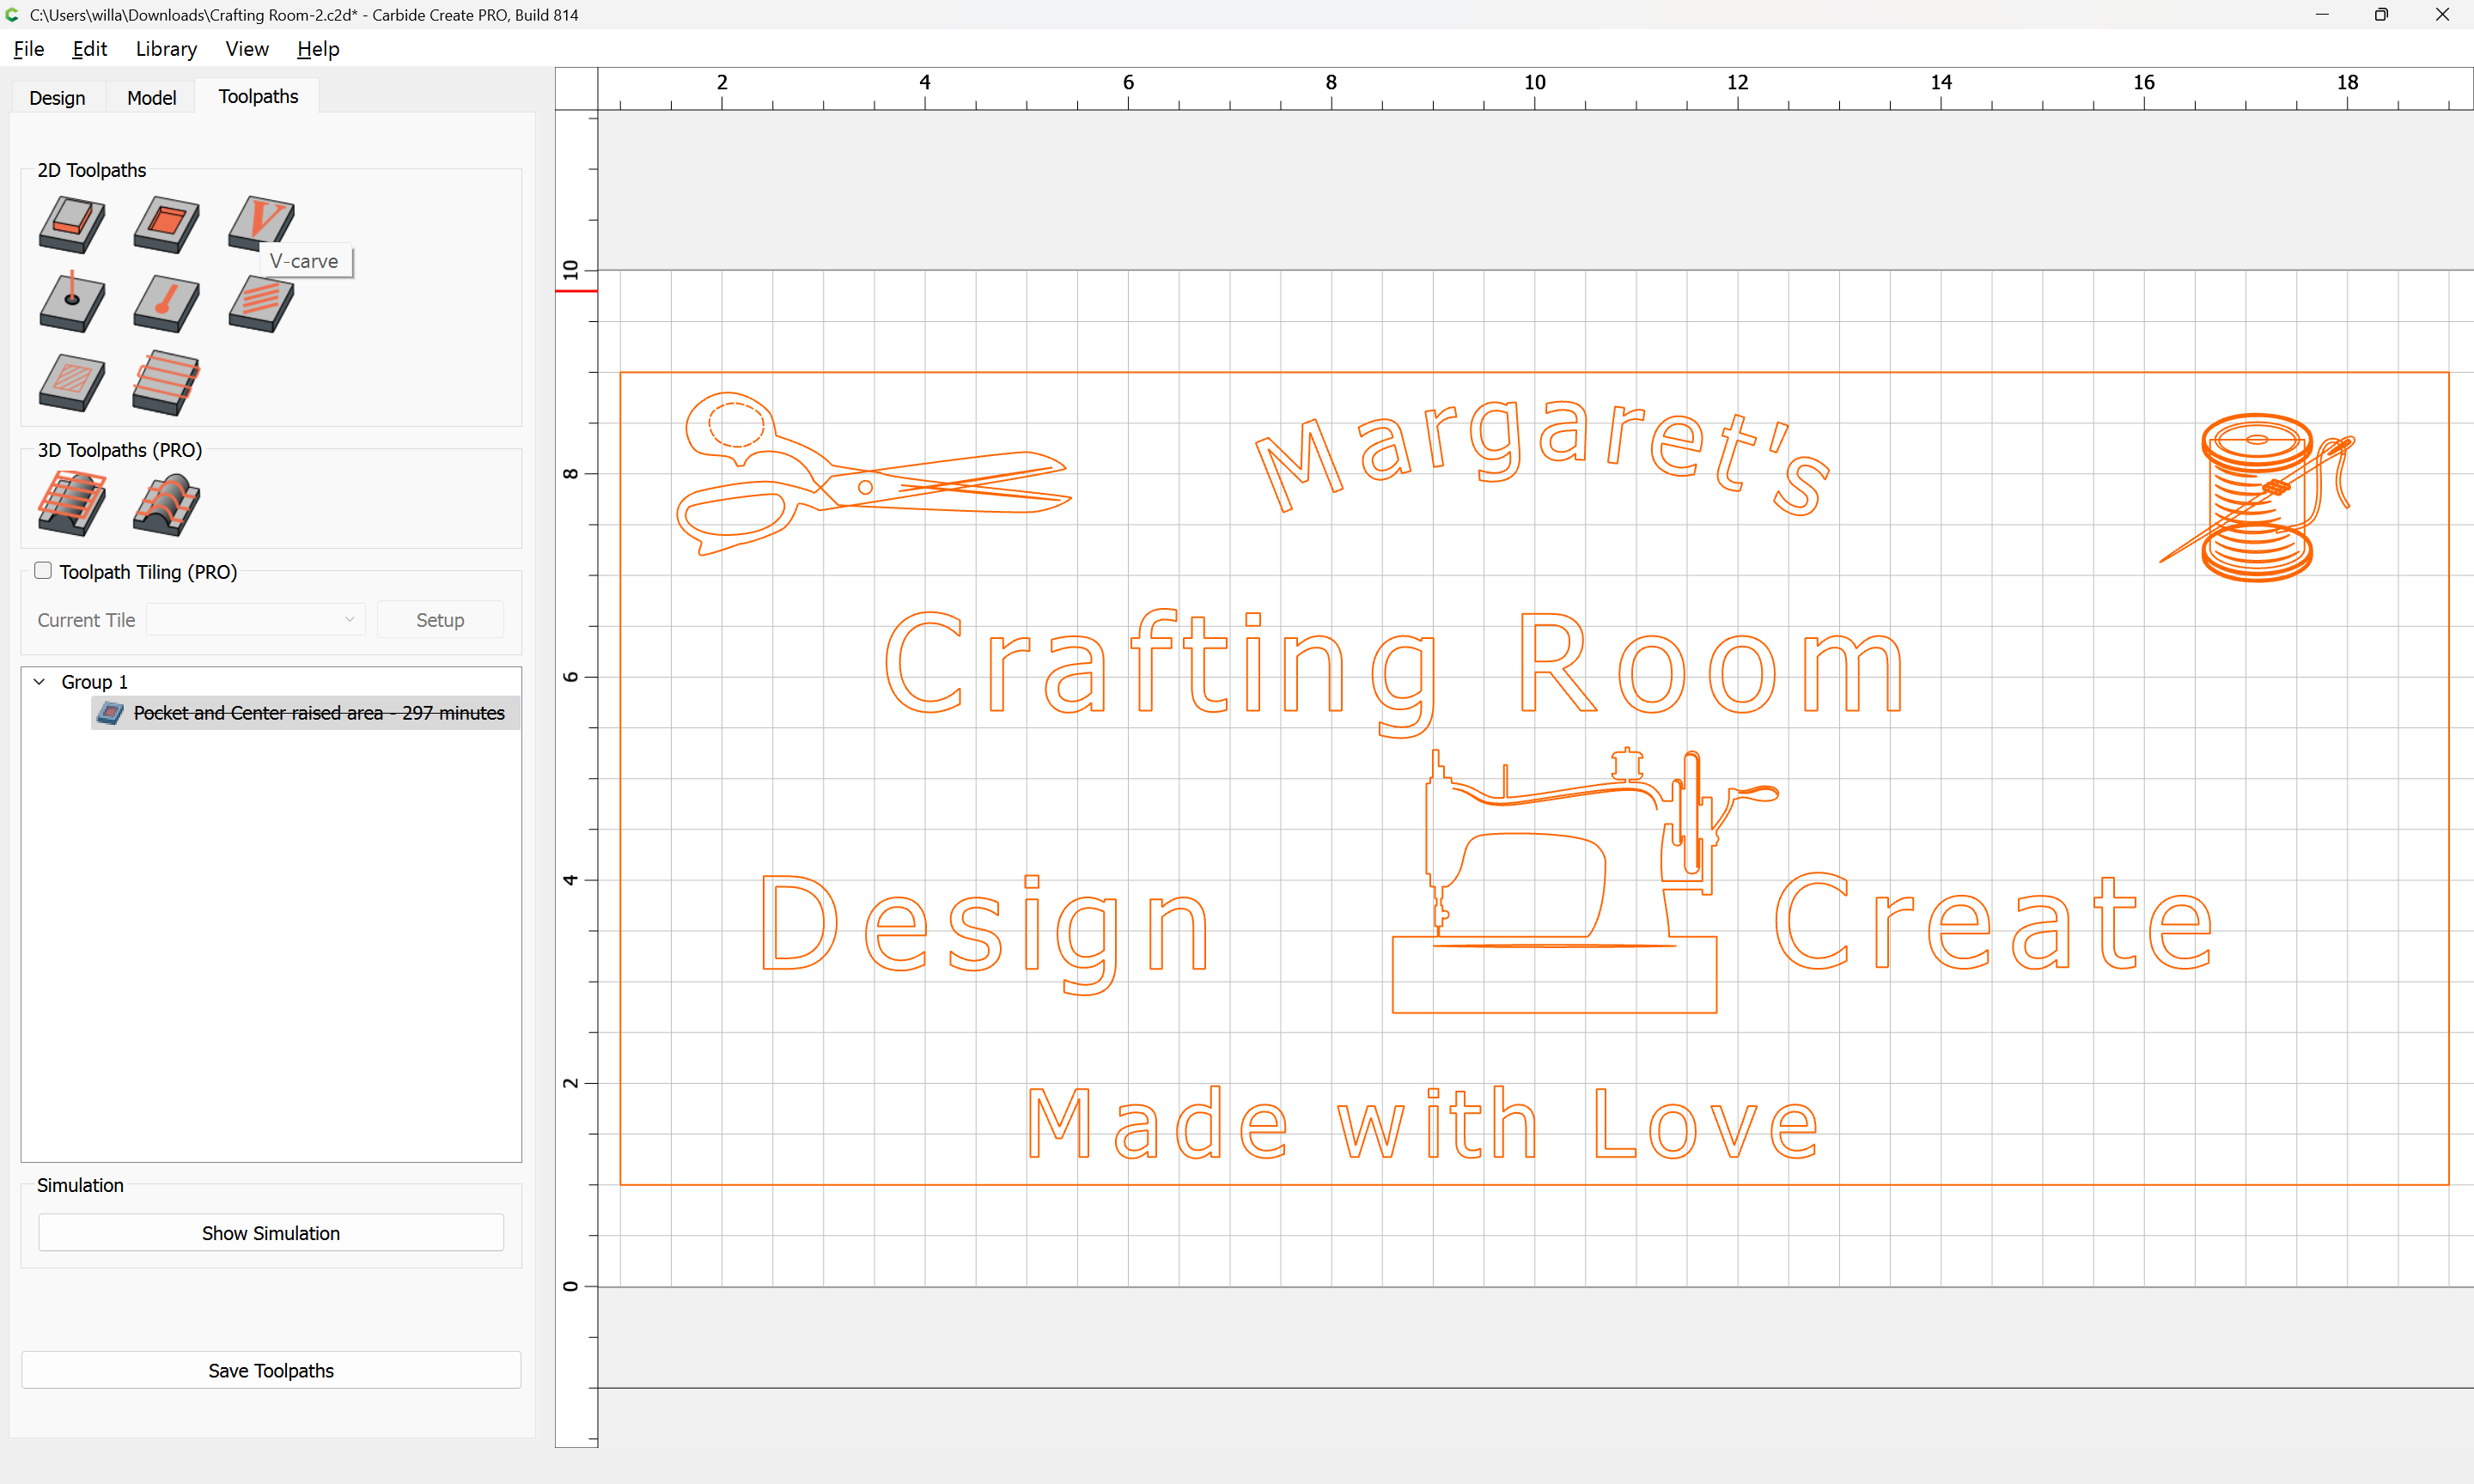
I am working on creating a sign for my wife’s sewing room, to help butter her up after I get my machine.
I have figured out how to create pockets with raised letters.
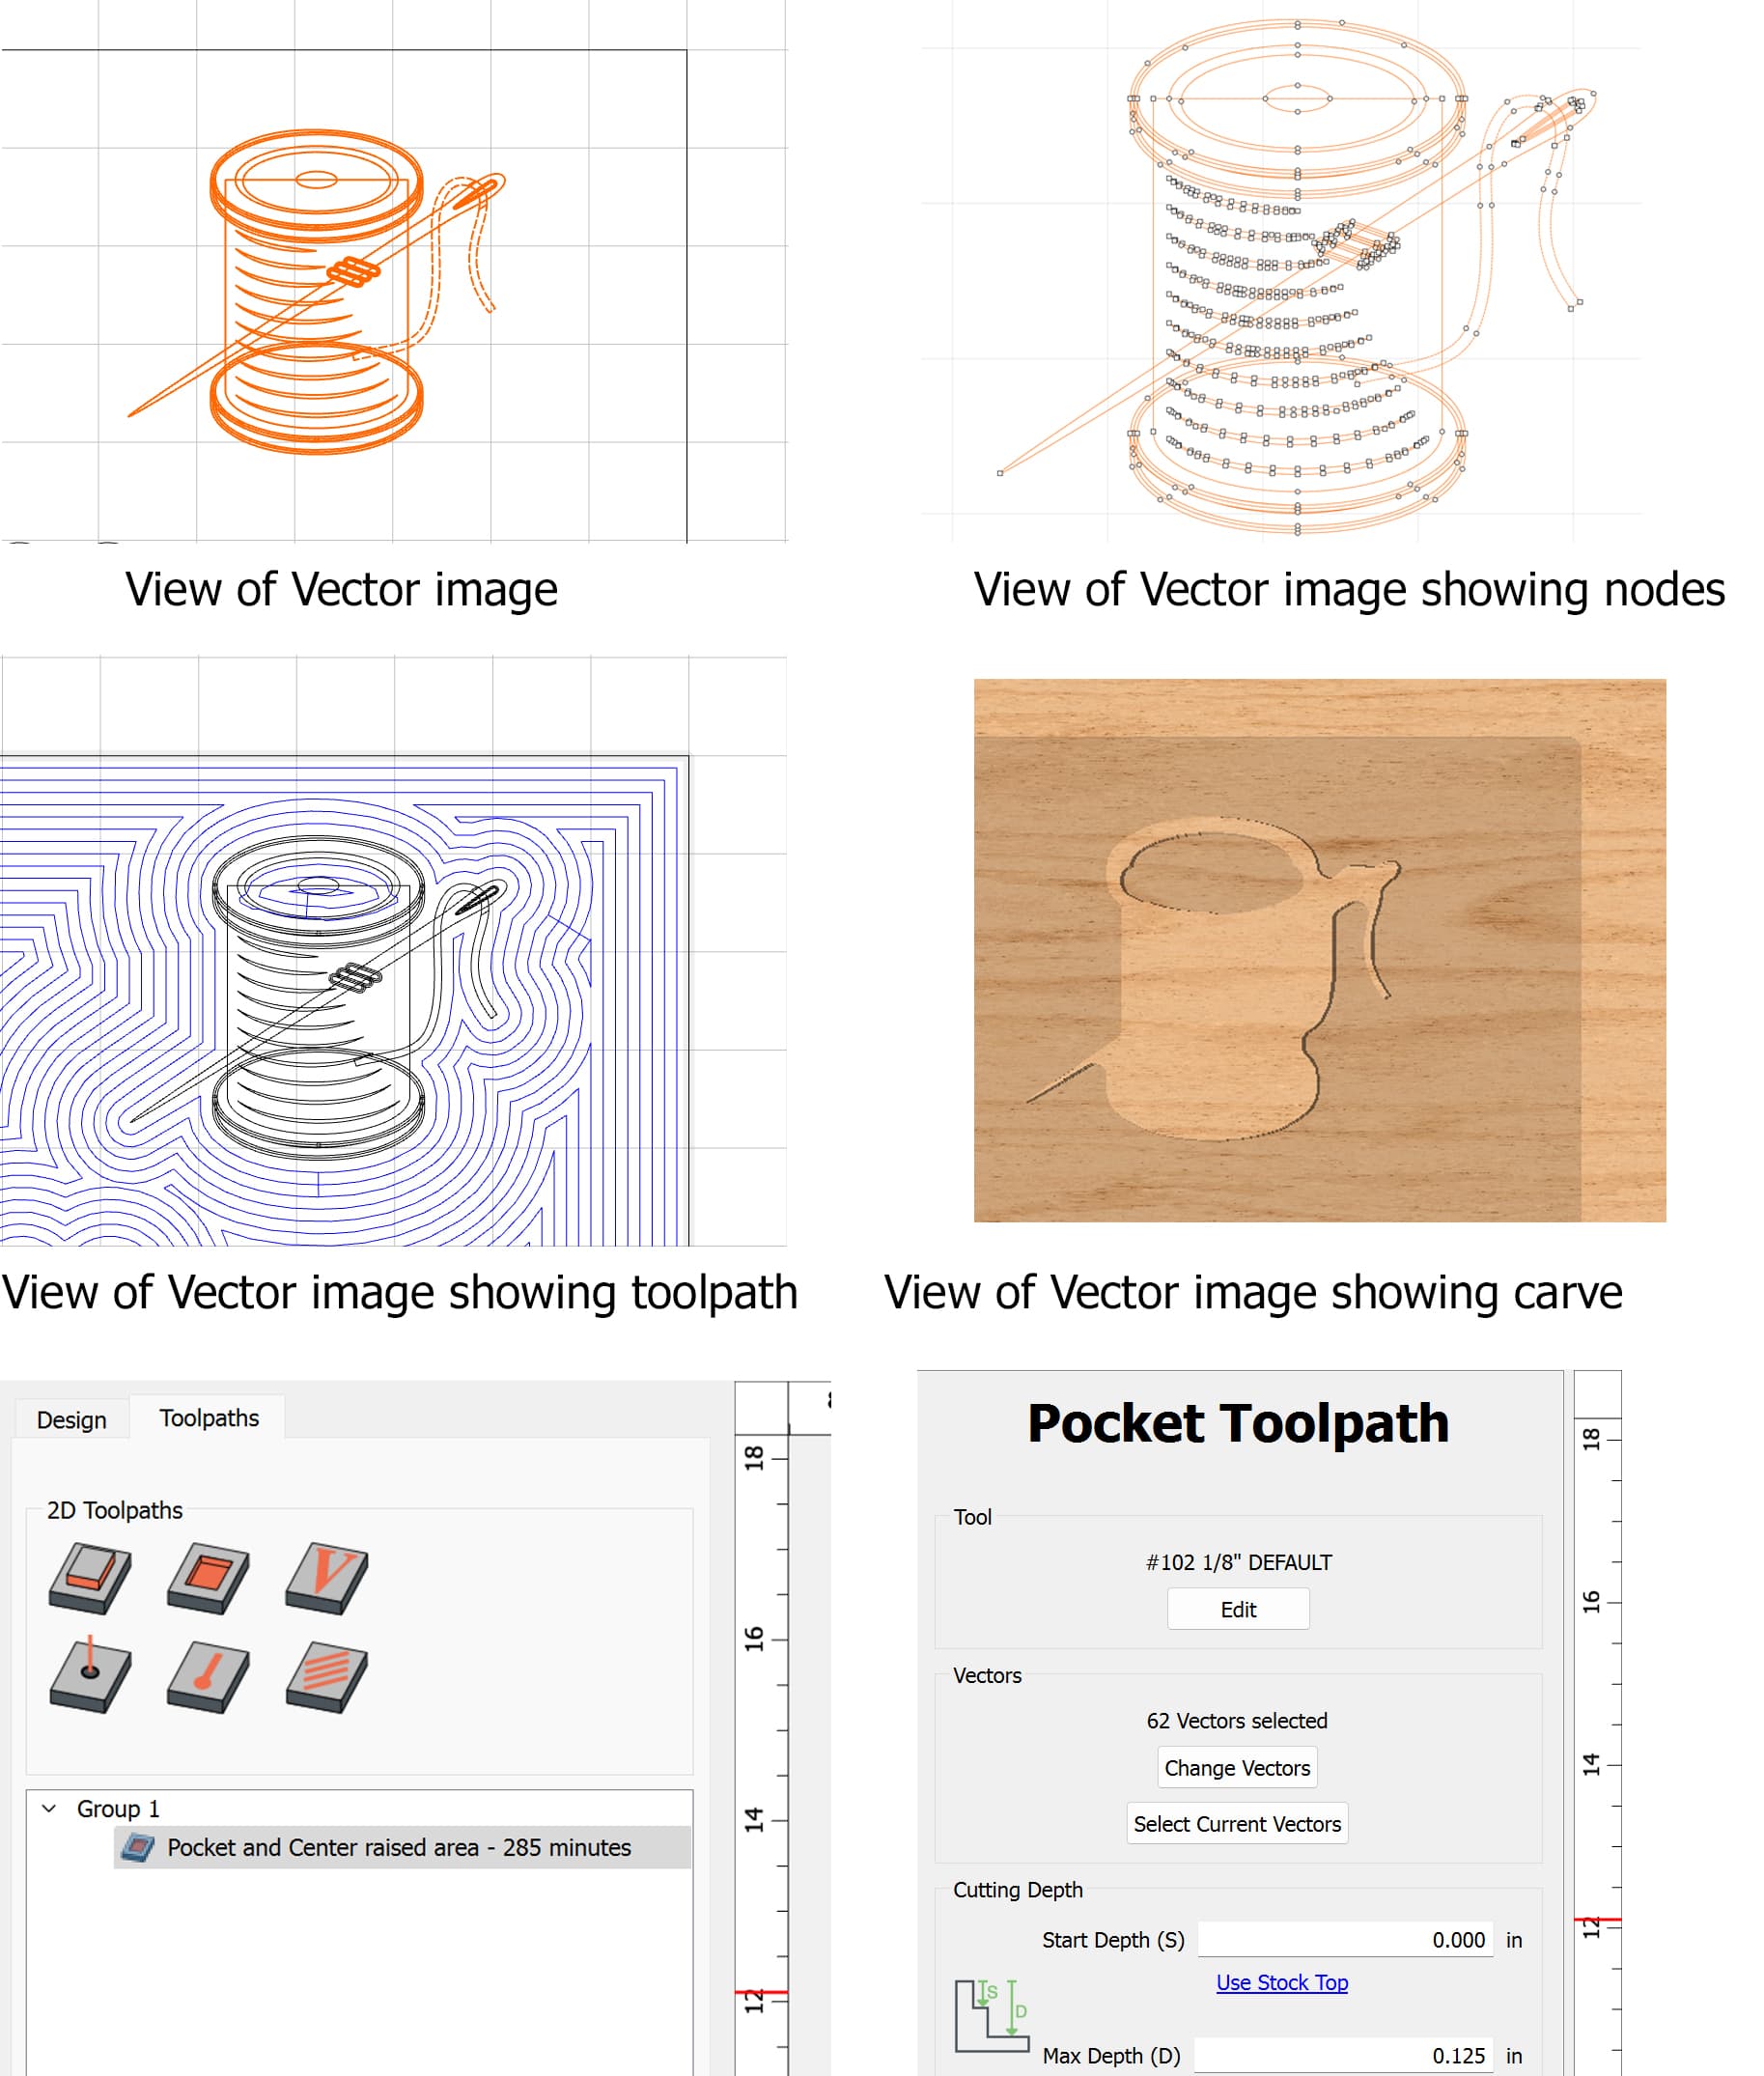
However, I am having trouble with the vector of the bobbin and needle that I imported.
I am sure it has something to do with it only using its outer shape and the numerous nodes in the bobbin and needle vector. I know that I will have to carve some of the vectors inside the bobbin and needle vector to retain the details, but I can’t figure out how to do that and keep it in a pocket.
Can someone help me or is there a tutorial video that I can watch that explains how to put something like this in a pocket and raise it to retain all the vector details?
I have attached and image showing my steps.
I tried assigning a toolpath with a v-bit like you mentioned to the other nodes within the bobbin and needle vector, but I could not get them to appear. Maybe I am not doing it incorrectly.
Once I figure out how to do this, I can do the same thing with the scissors and the sewing machine.
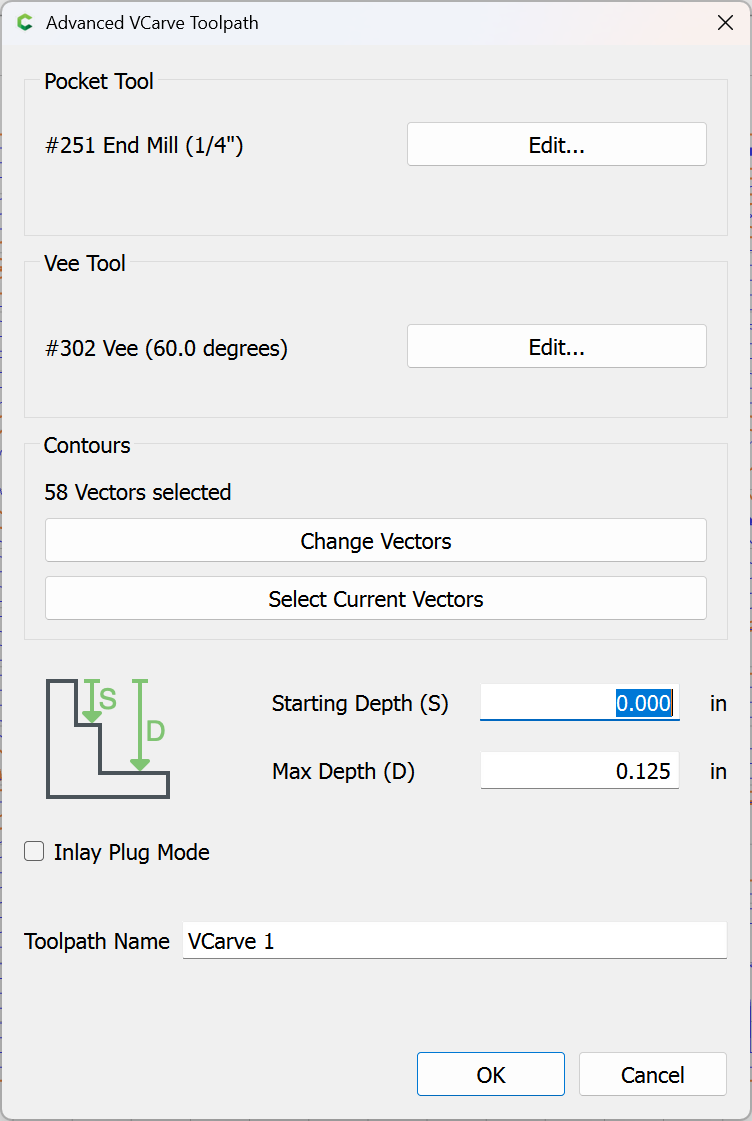
There are several ways to do this. You could layer the parts, the spool, the needle, the thread.
Or you could just cut the outline, and engrave all the lines in the middle.
Either way the vectors would need to be edited, but differently depending on your strategy.
Upload your .c2d file, and describe what you want to do.
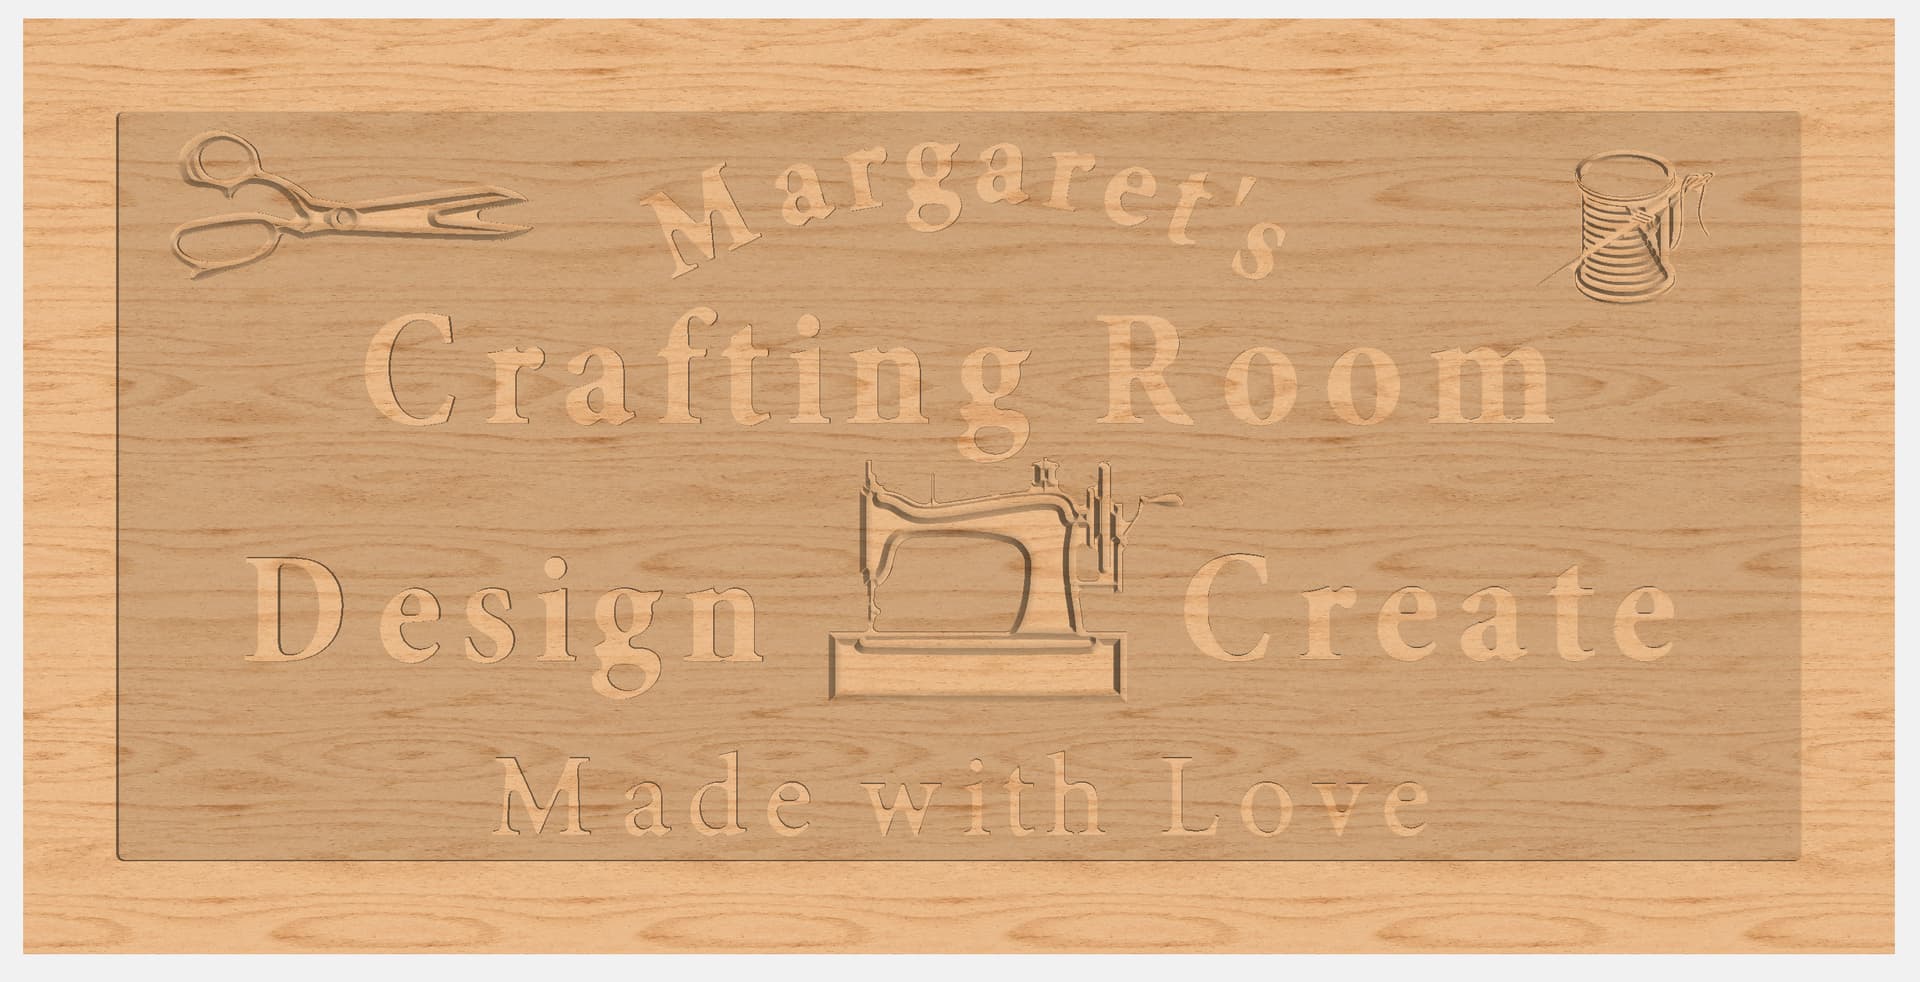
Thank you for getting me in the right direction.
After following your instructions, I got it to work.
Then I realized that I could add the items to a layer and use a toolpath to V carve that layer and I think they came out better.