Wipedout
January 3, 2023, 4:30am
1
Hi I have a client that needs a poultry indentation - basically a chicken shaped recess on one side of the cutting board.
Im still new at all this CNC - what/how do I set up to do this. Think pocket but rather than all of it at .25 deep I want the center of the recess to be .25 but the edges to be at the top of board so it slopes from nothing to .25 deep in the center … does that make sense?
How do I do this?
mhotchin
January 3, 2023, 5:27am
2
How much of the ‘pocket’ is at .25" depth? Are the slopes all different (depending on where they are), or all the same slope that ends on flat bottom?
If the second then you may be able to use Advance VCarve, if you have a V Bit that has the right angle for it.
If you want just one point at .25" depth, and then everything sloping towards that point, that’s a lot trickier
1 Like
WillAdams
January 3, 2023, 11:51am
3
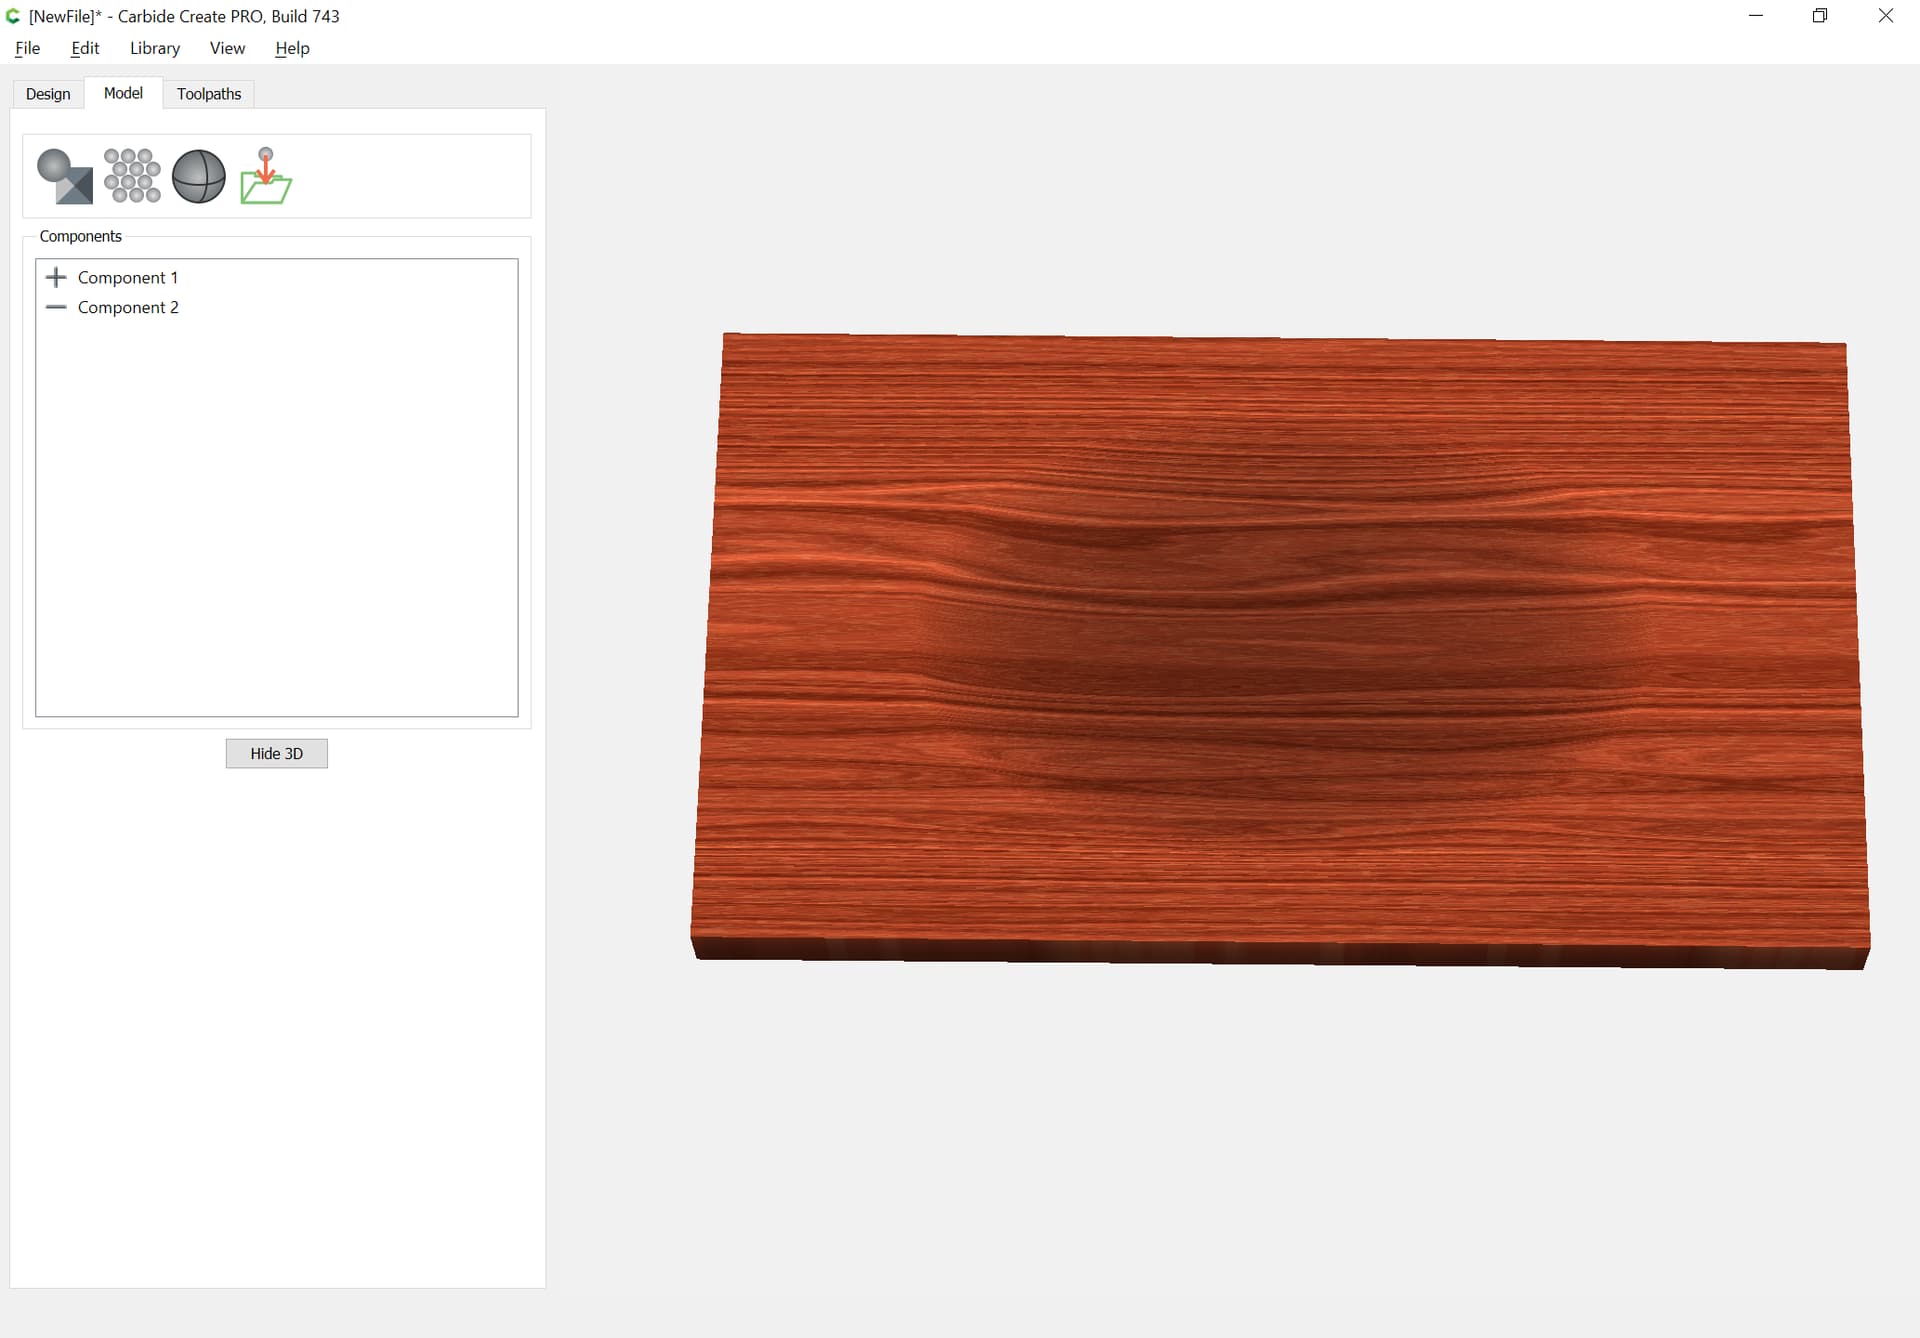
Do you have Carbide Create Pro? If so, model in 3D.
If not, see:
Yes, if one either:
sources a bowl bit which has geometry which matches the spoon one wishes to make
or
if one is willing to draw the contours and assign toolpaths for each layer of the spoon, see:
Wipedout
January 3, 2023, 12:56pm
4
I do have carbide create pro
Wipedout
January 3, 2023, 12:58pm
5
One point at .25. Everything slopping to that point
WillAdams
January 3, 2023, 4:30pm
7
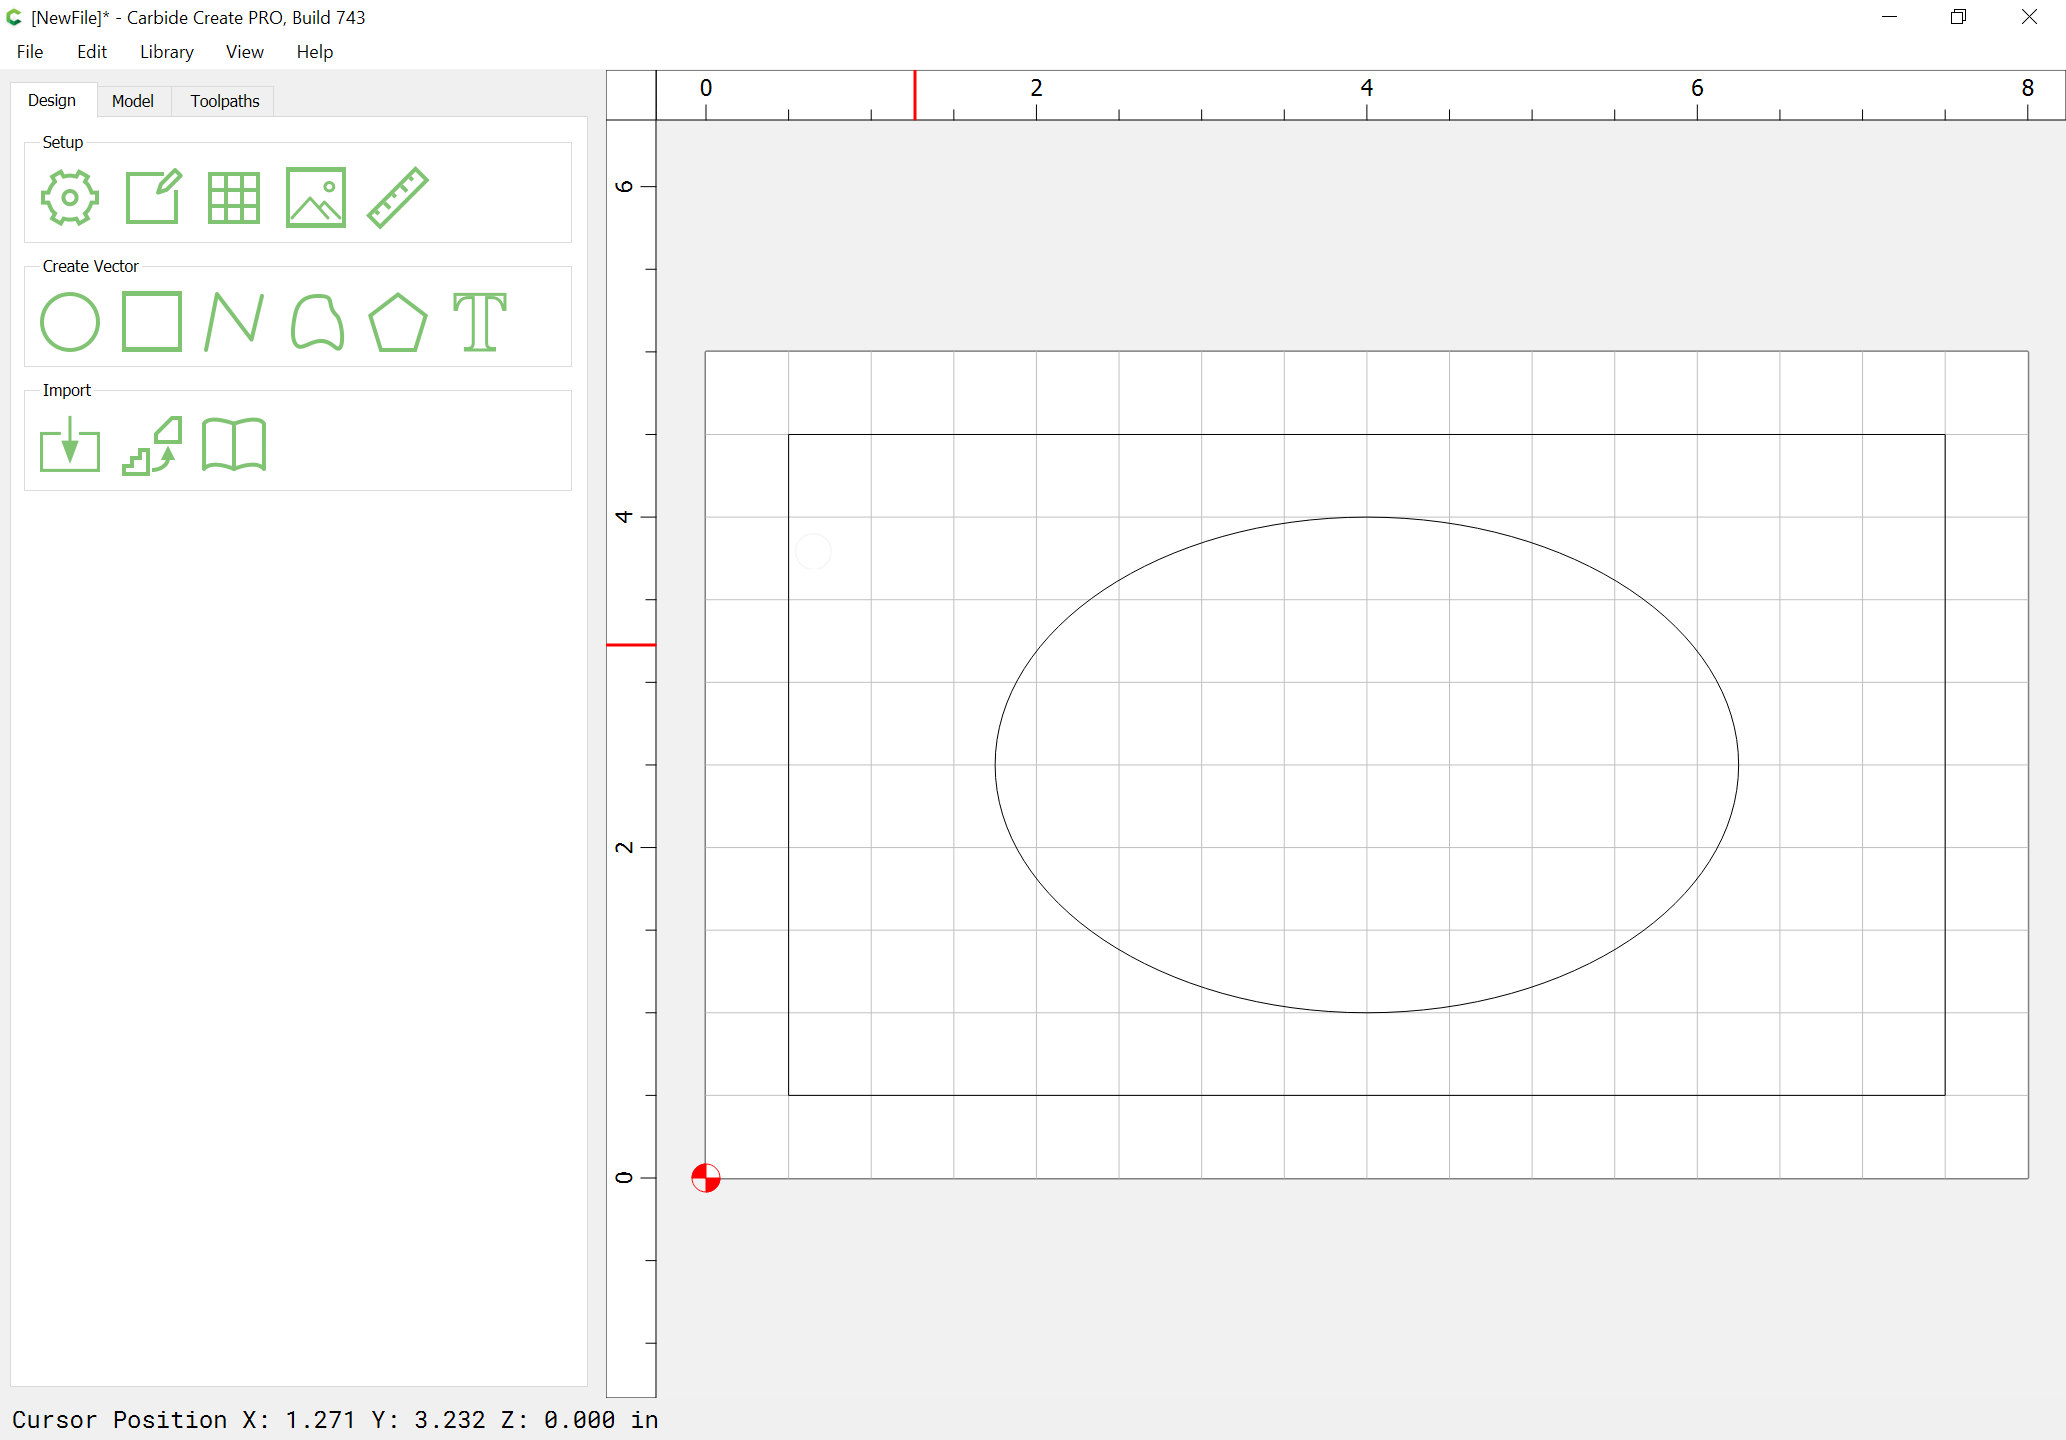
Draw the shape you want for the indentation, as well as the overall shape of the design.
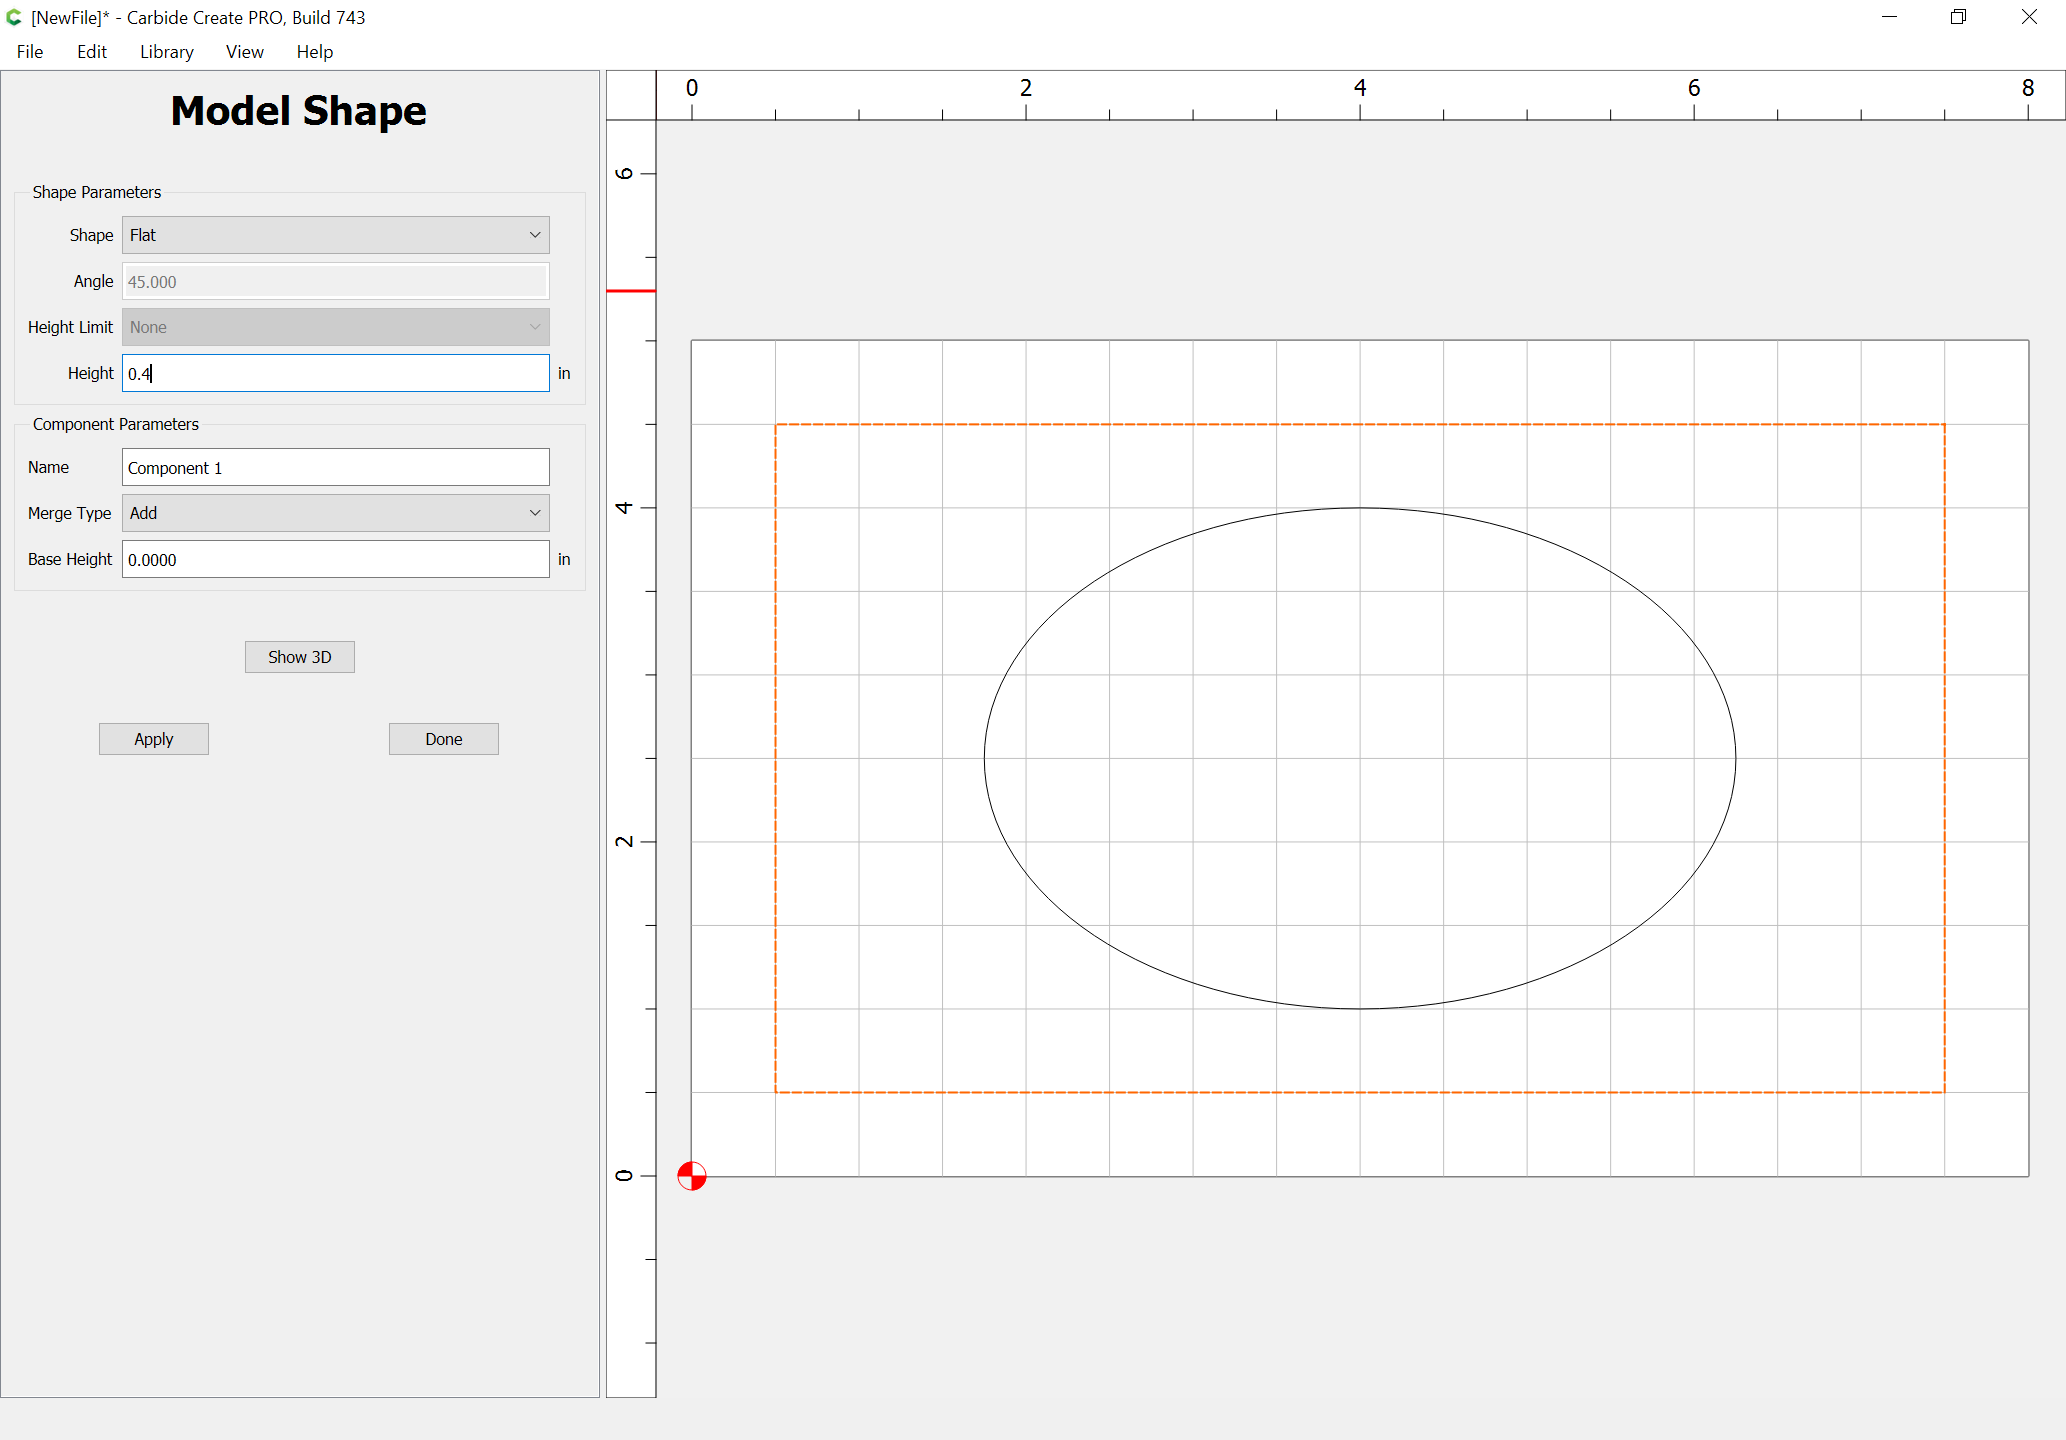
Select the overall shape:
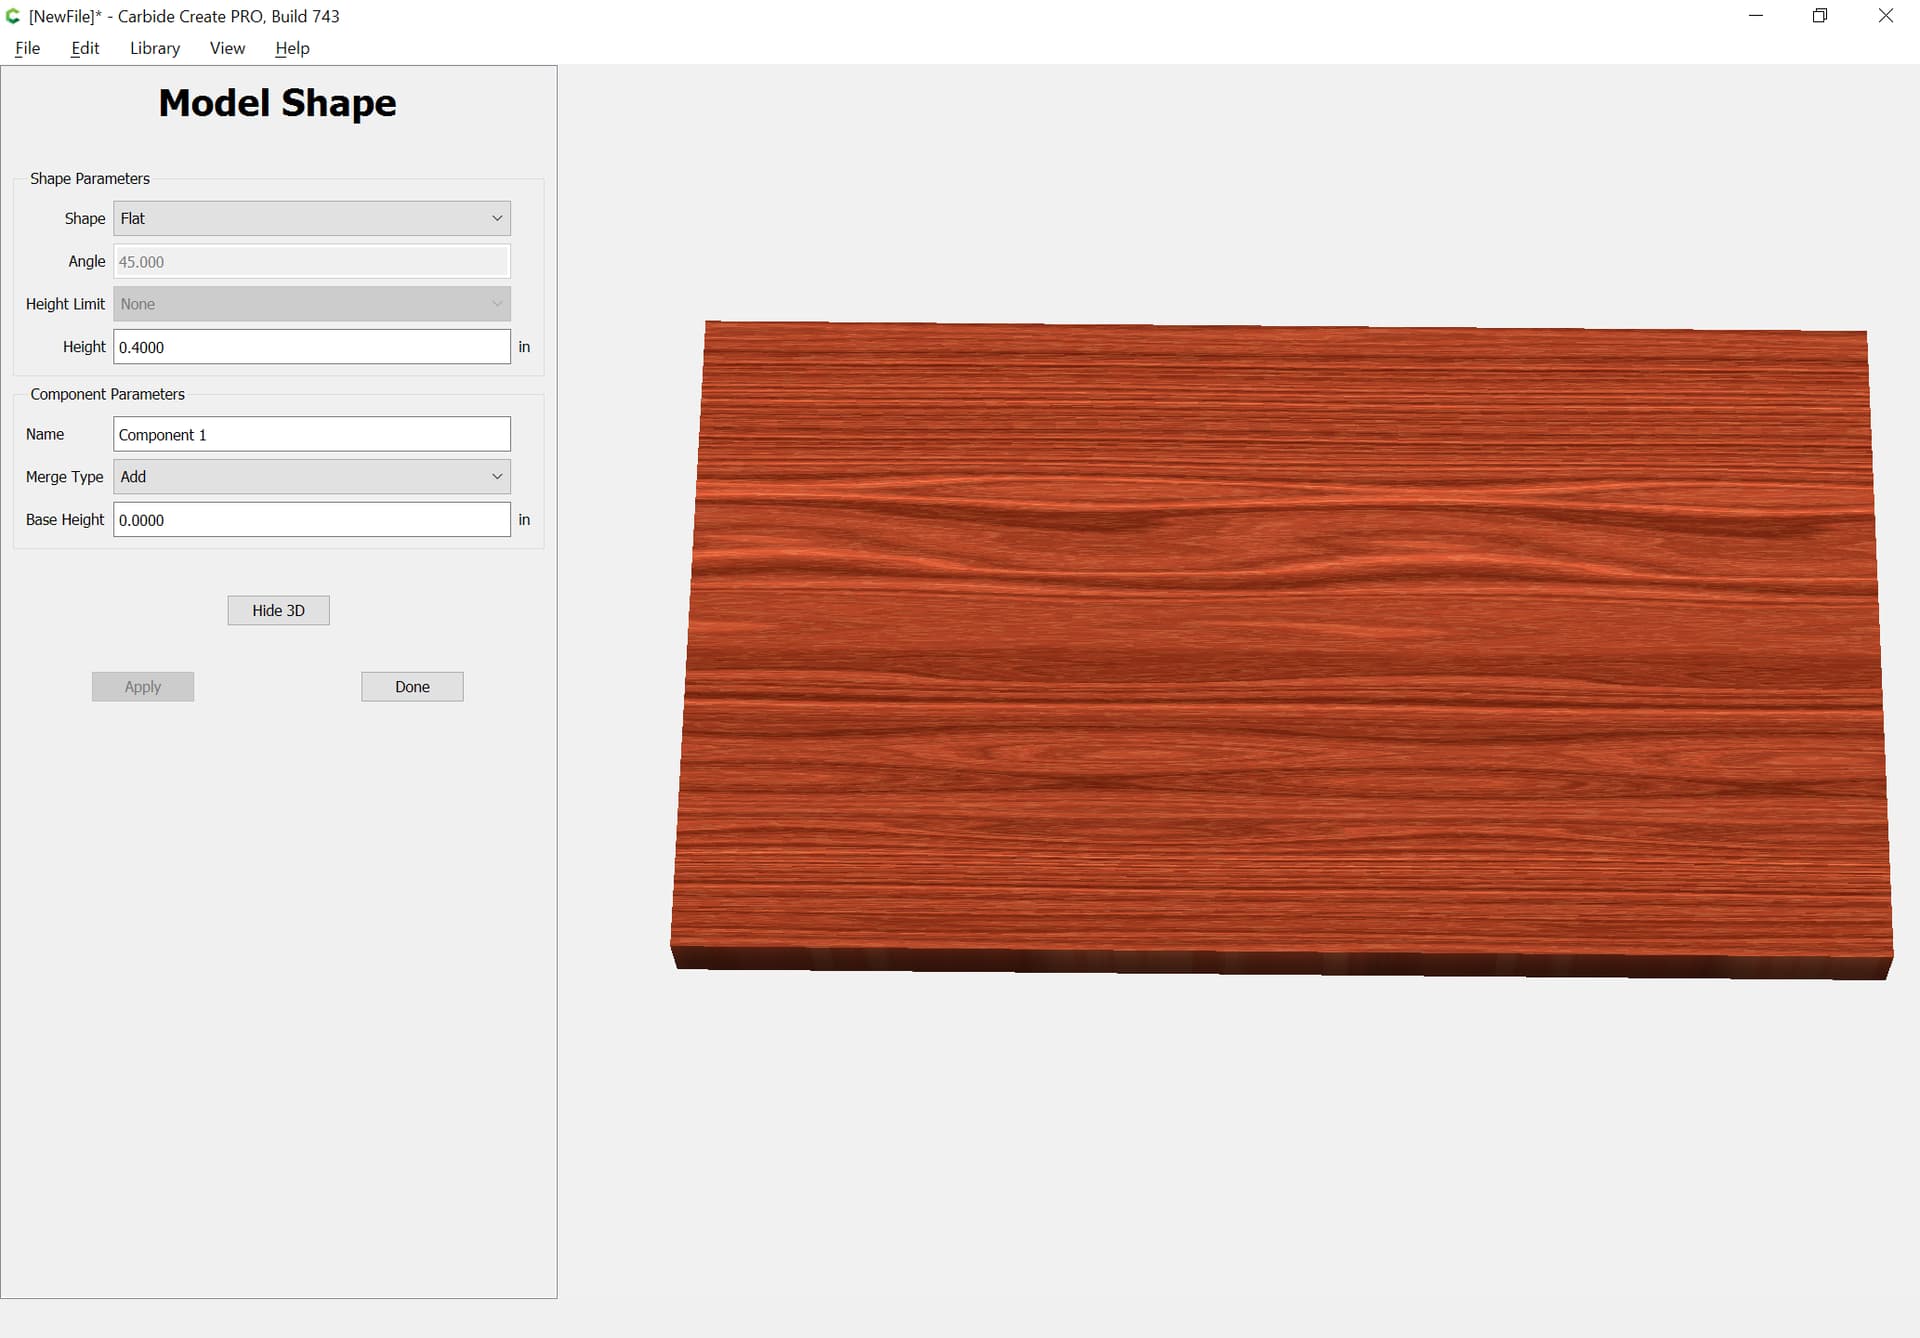
Model it Flat to the thickness of your stock:
Done
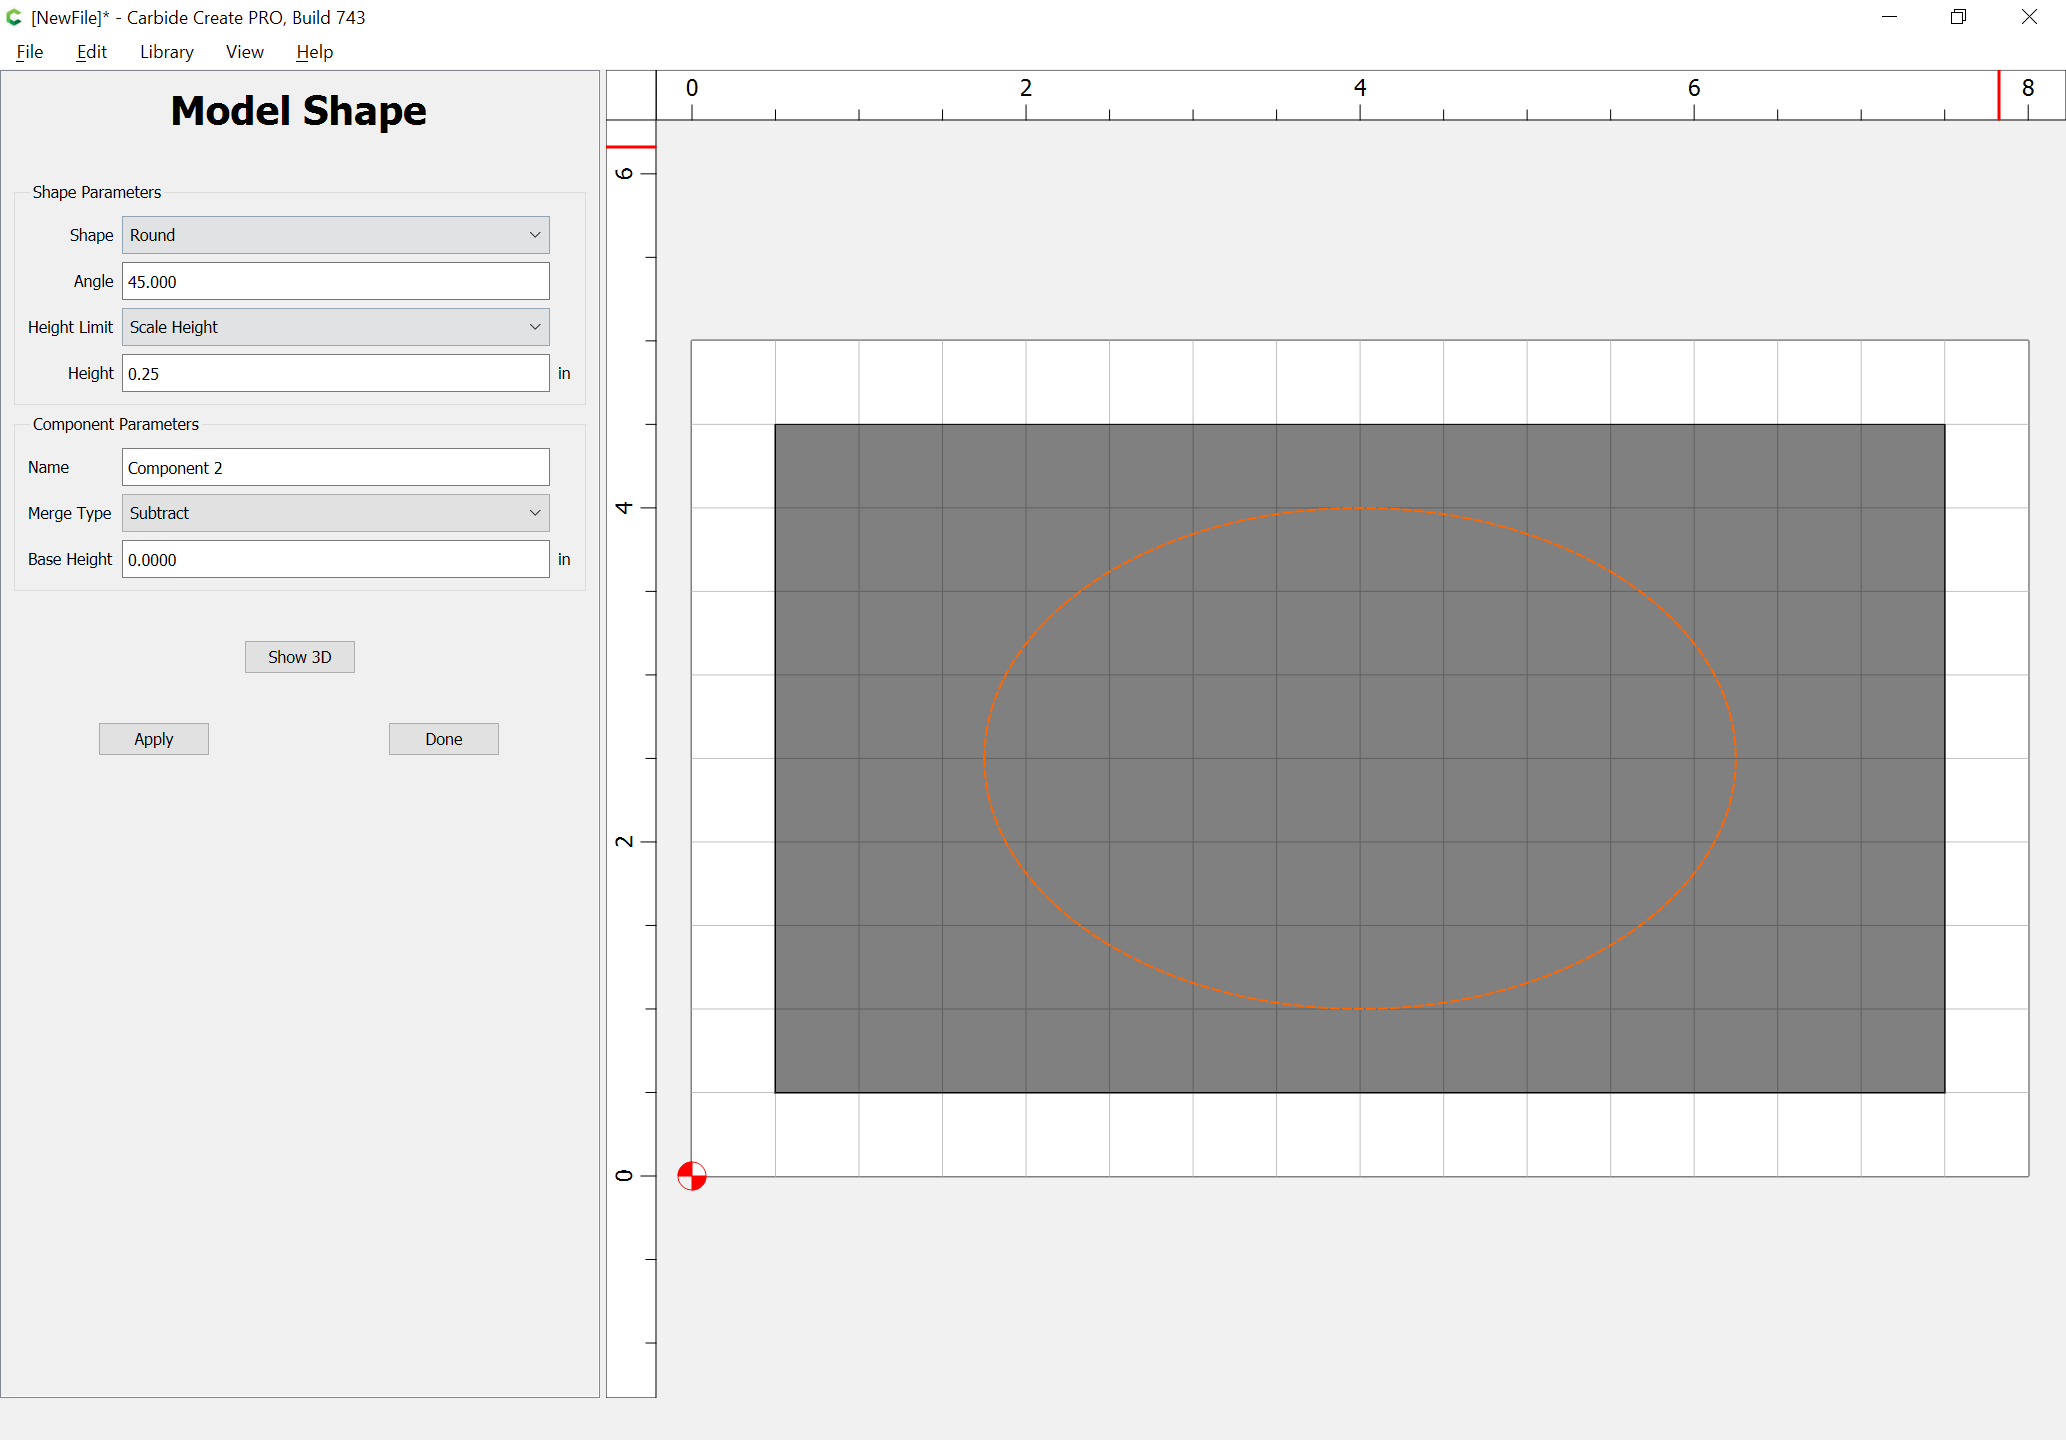
Select the shape for the indentation, model it:
Round
to a suitable angle (I left it at the default 45)
Scale Height
0.25"
and set the Merge Type to Subtract:
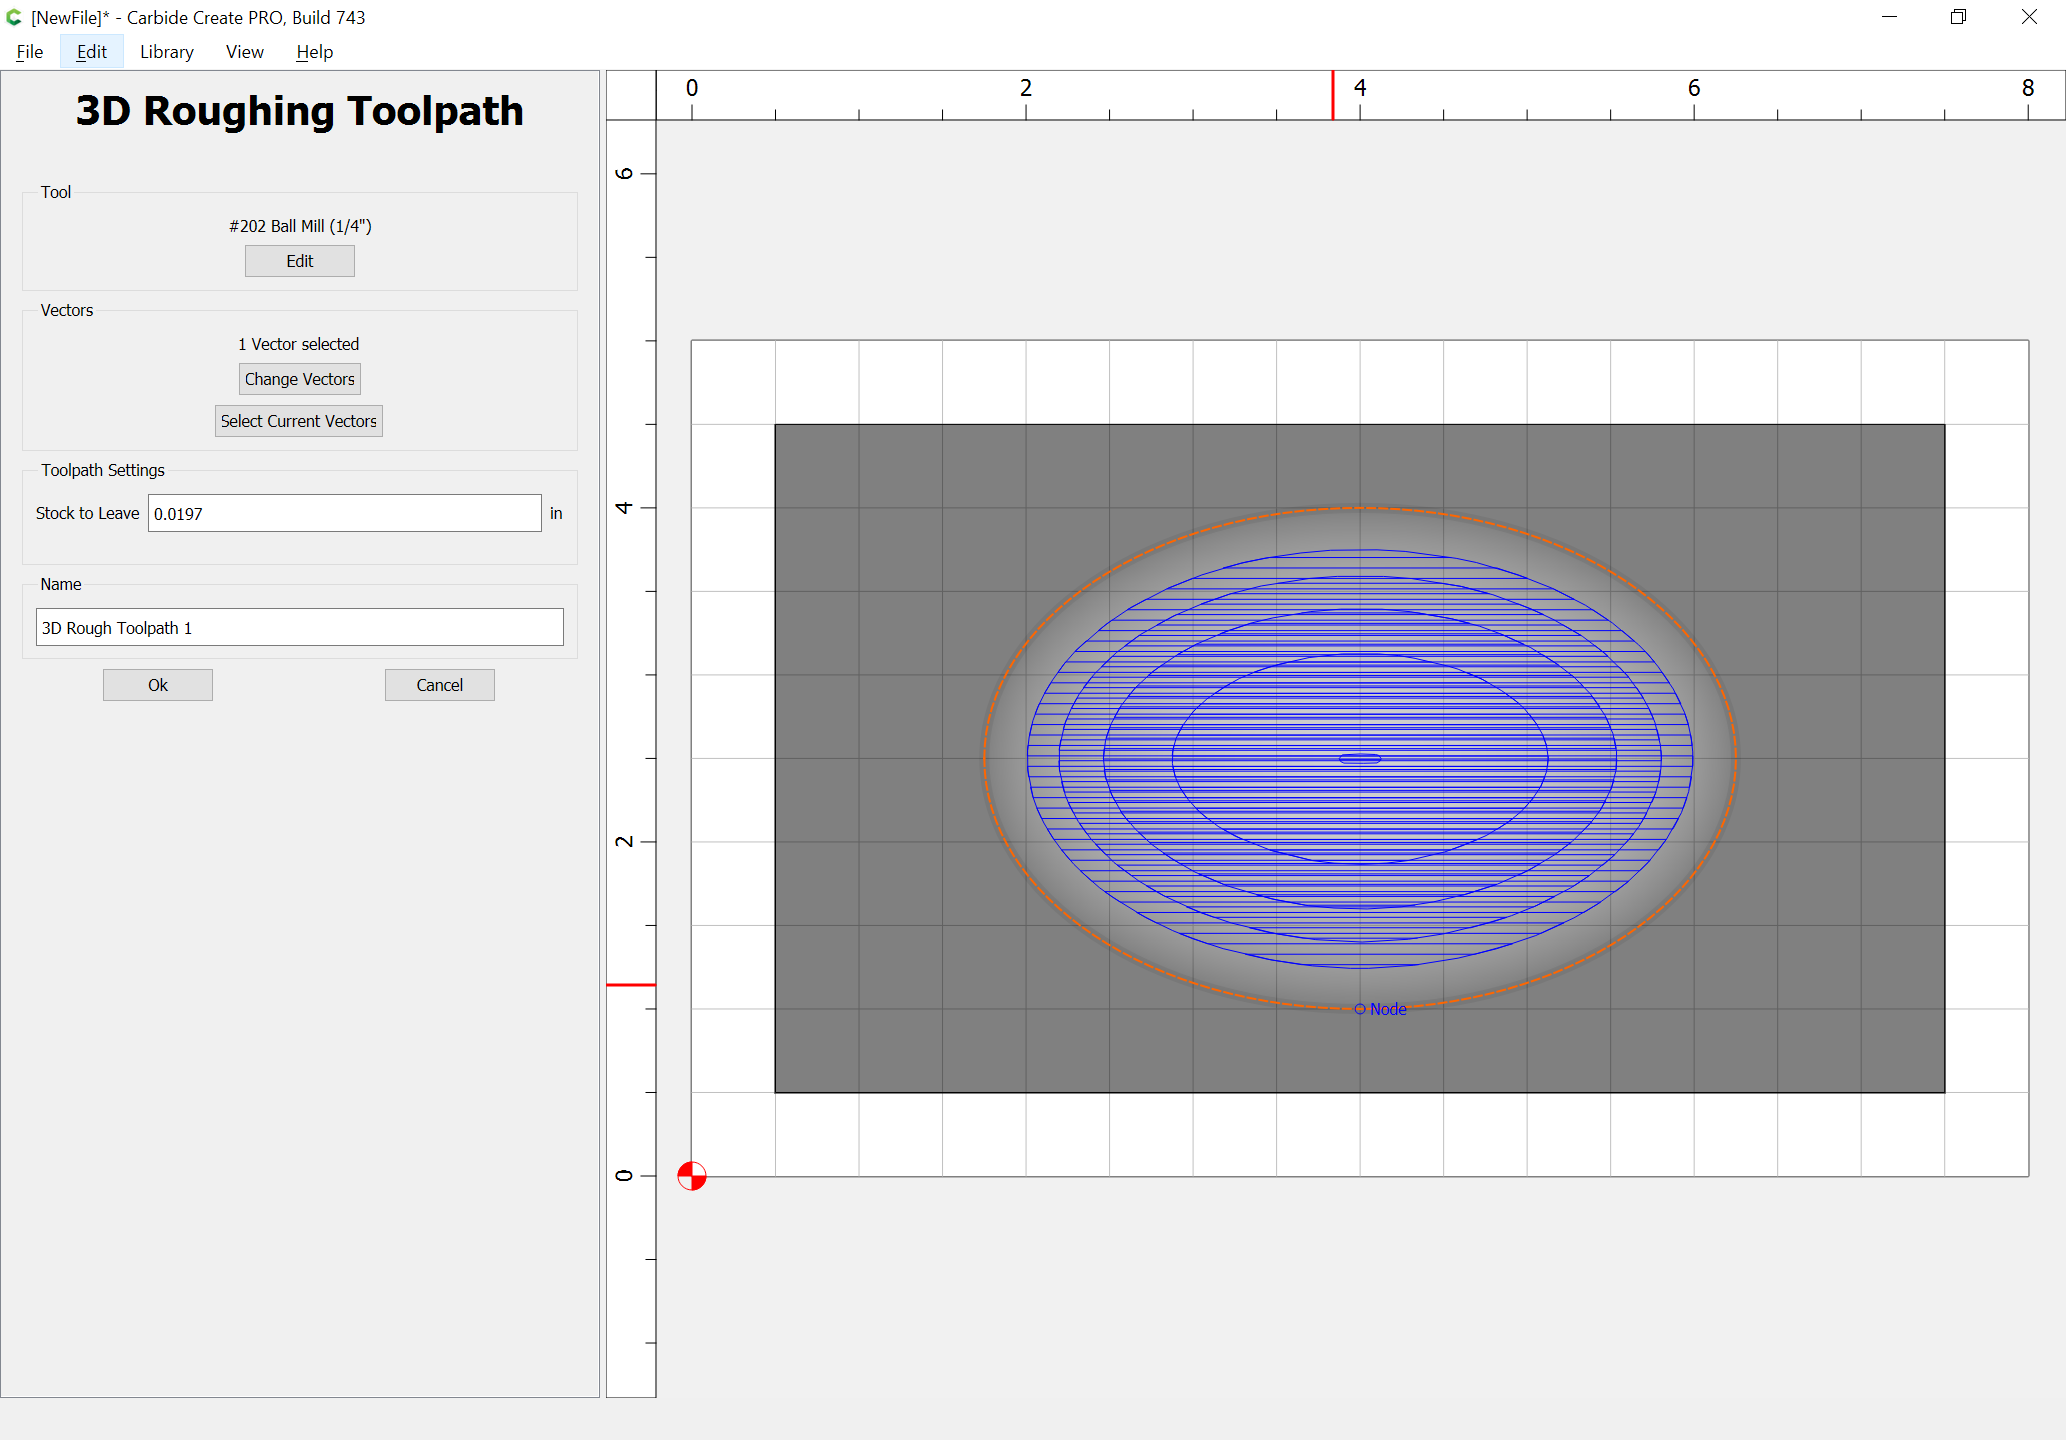
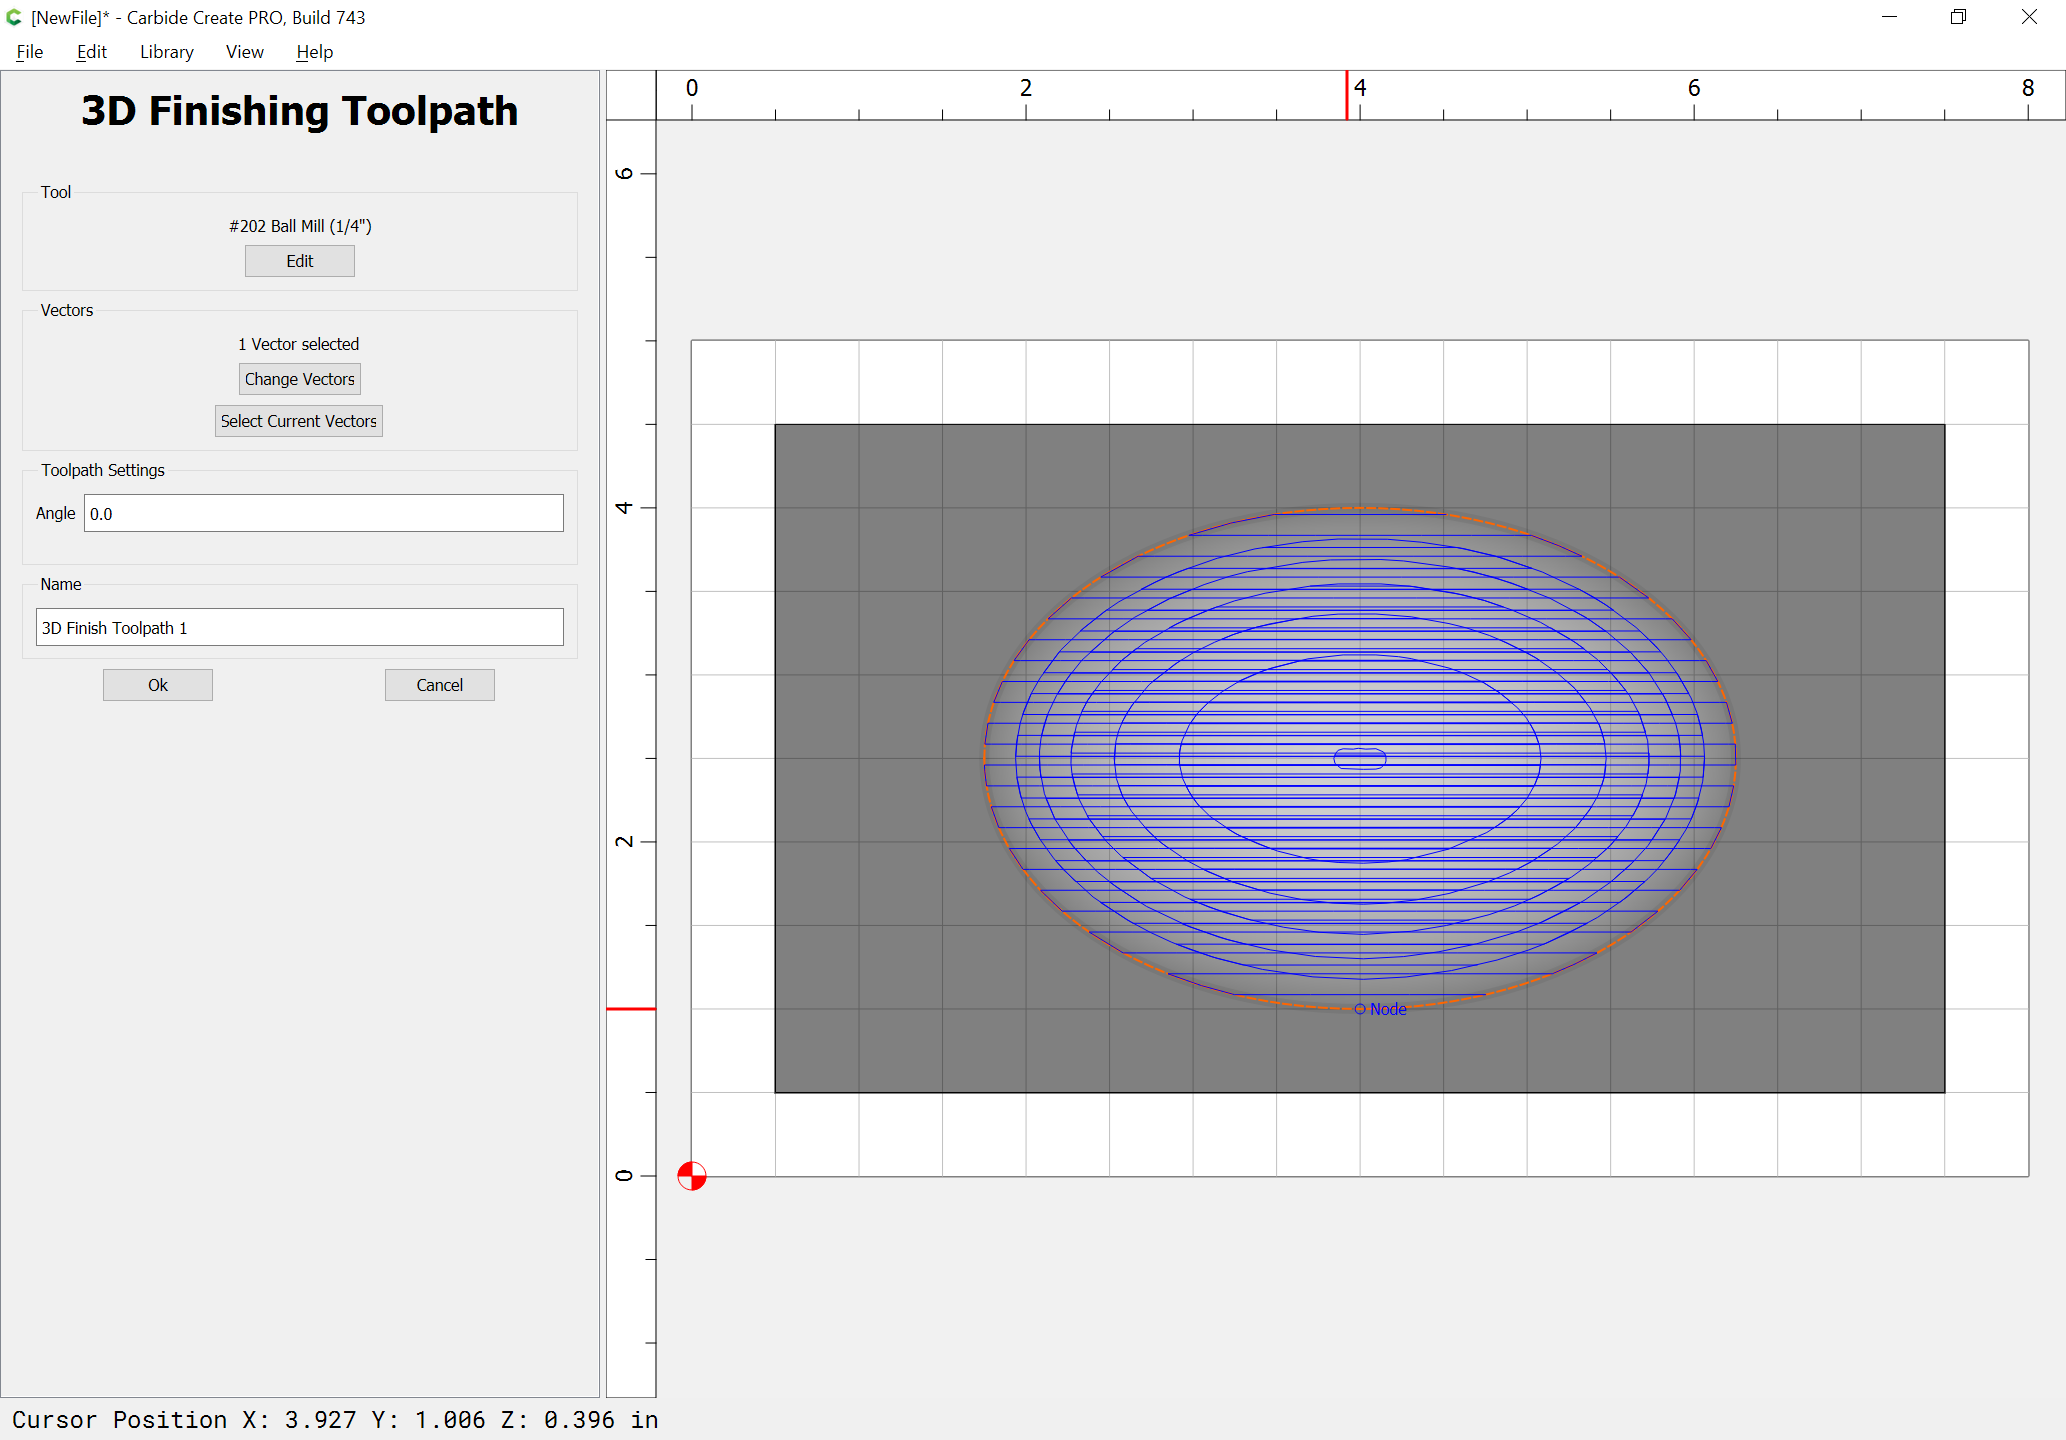
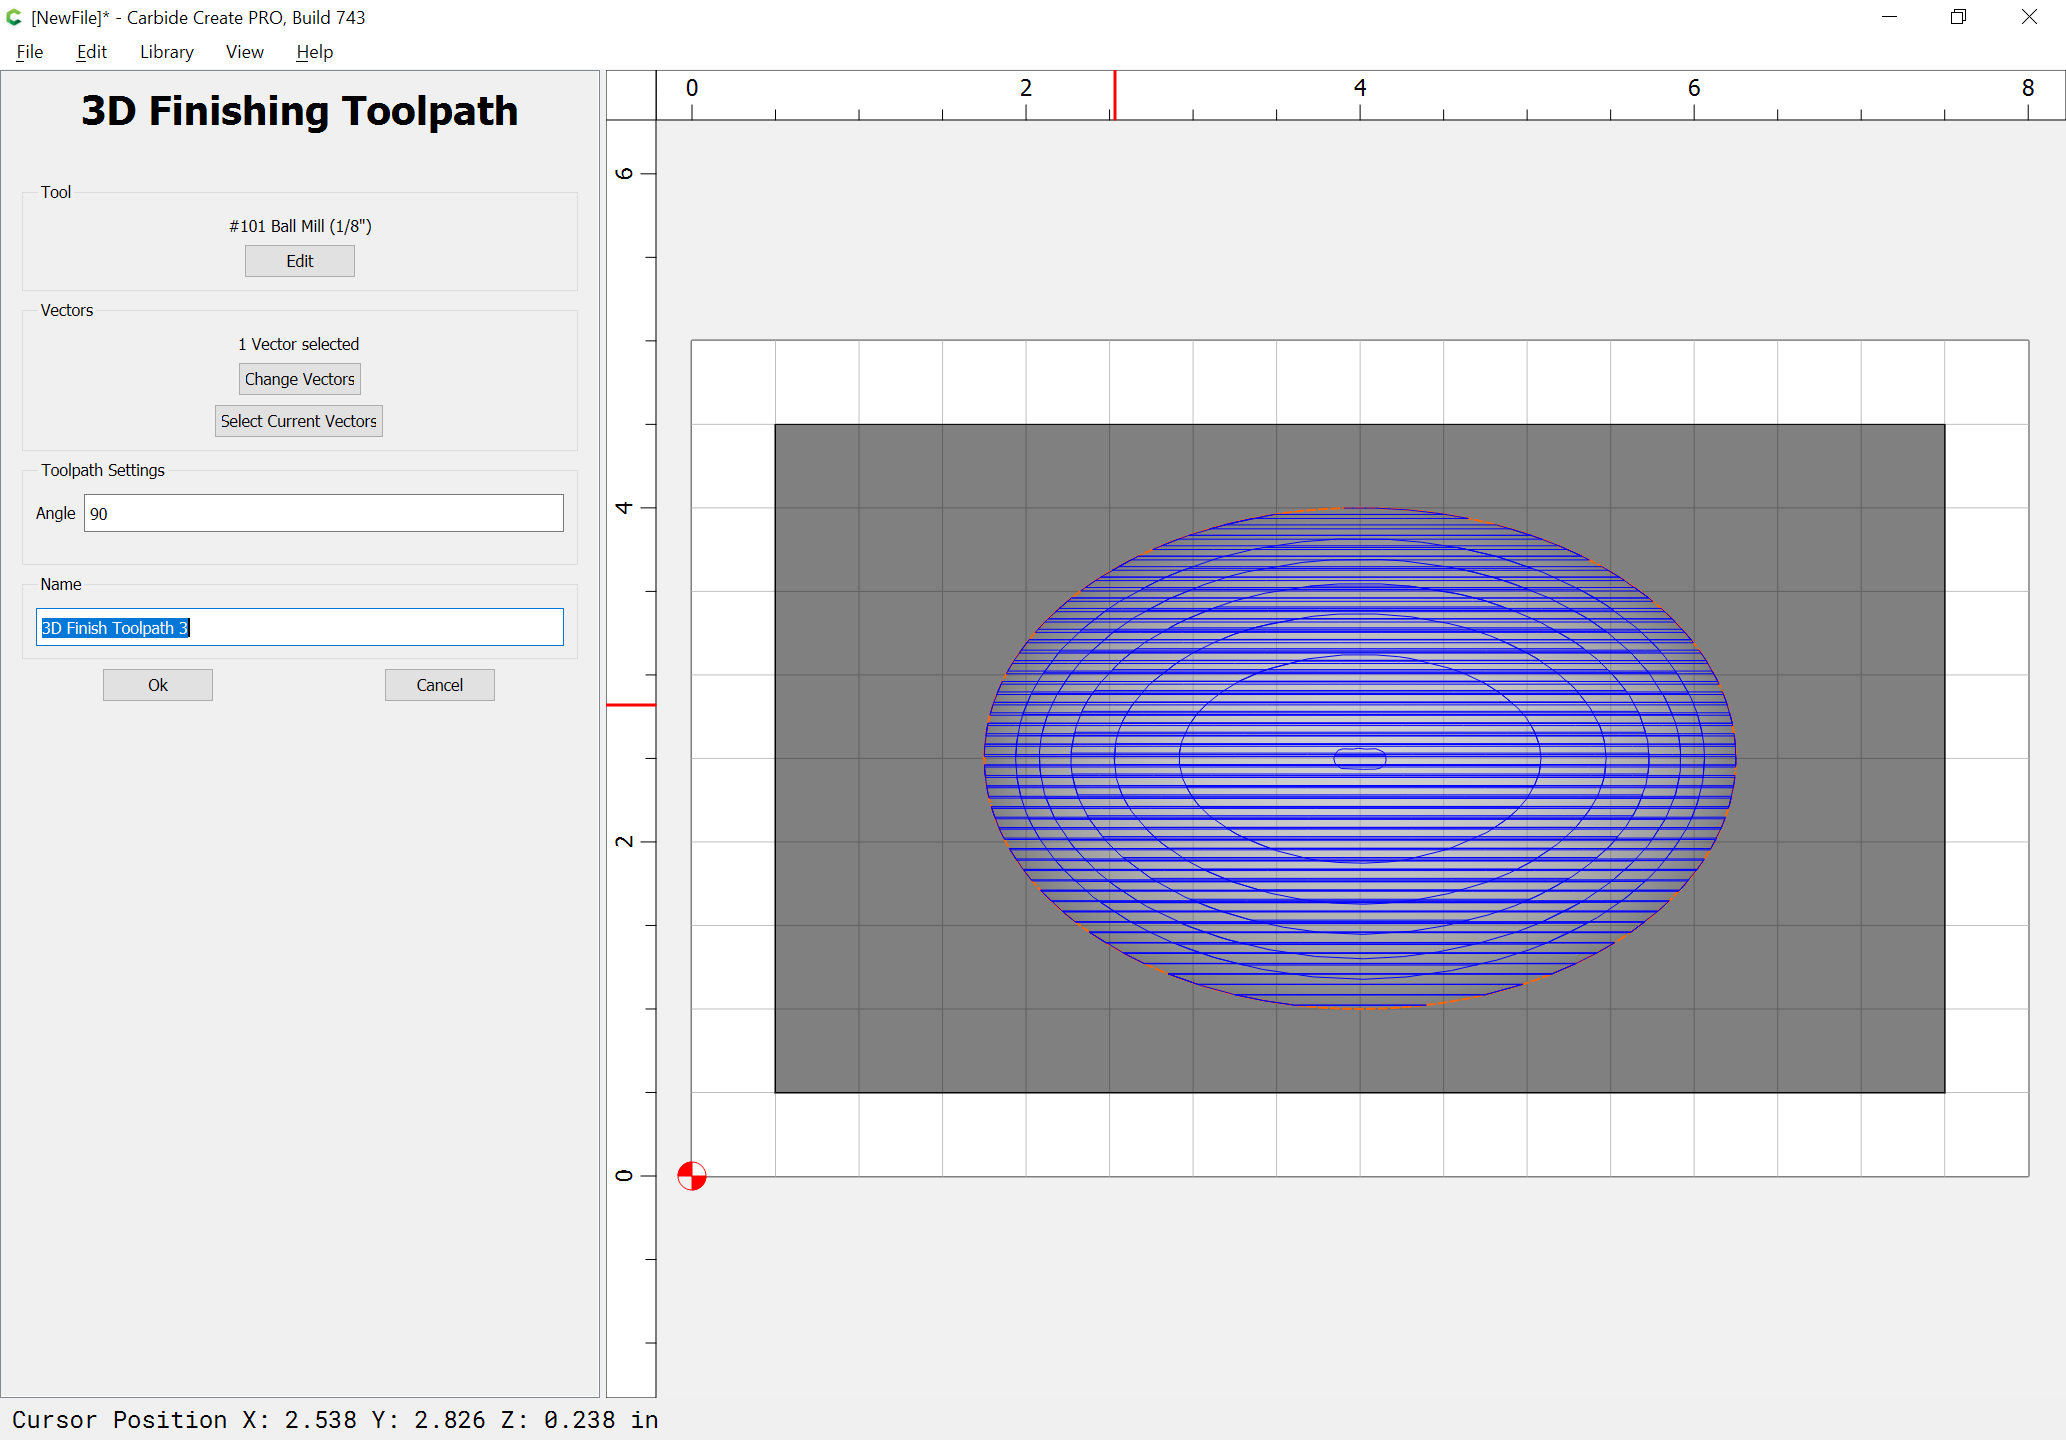
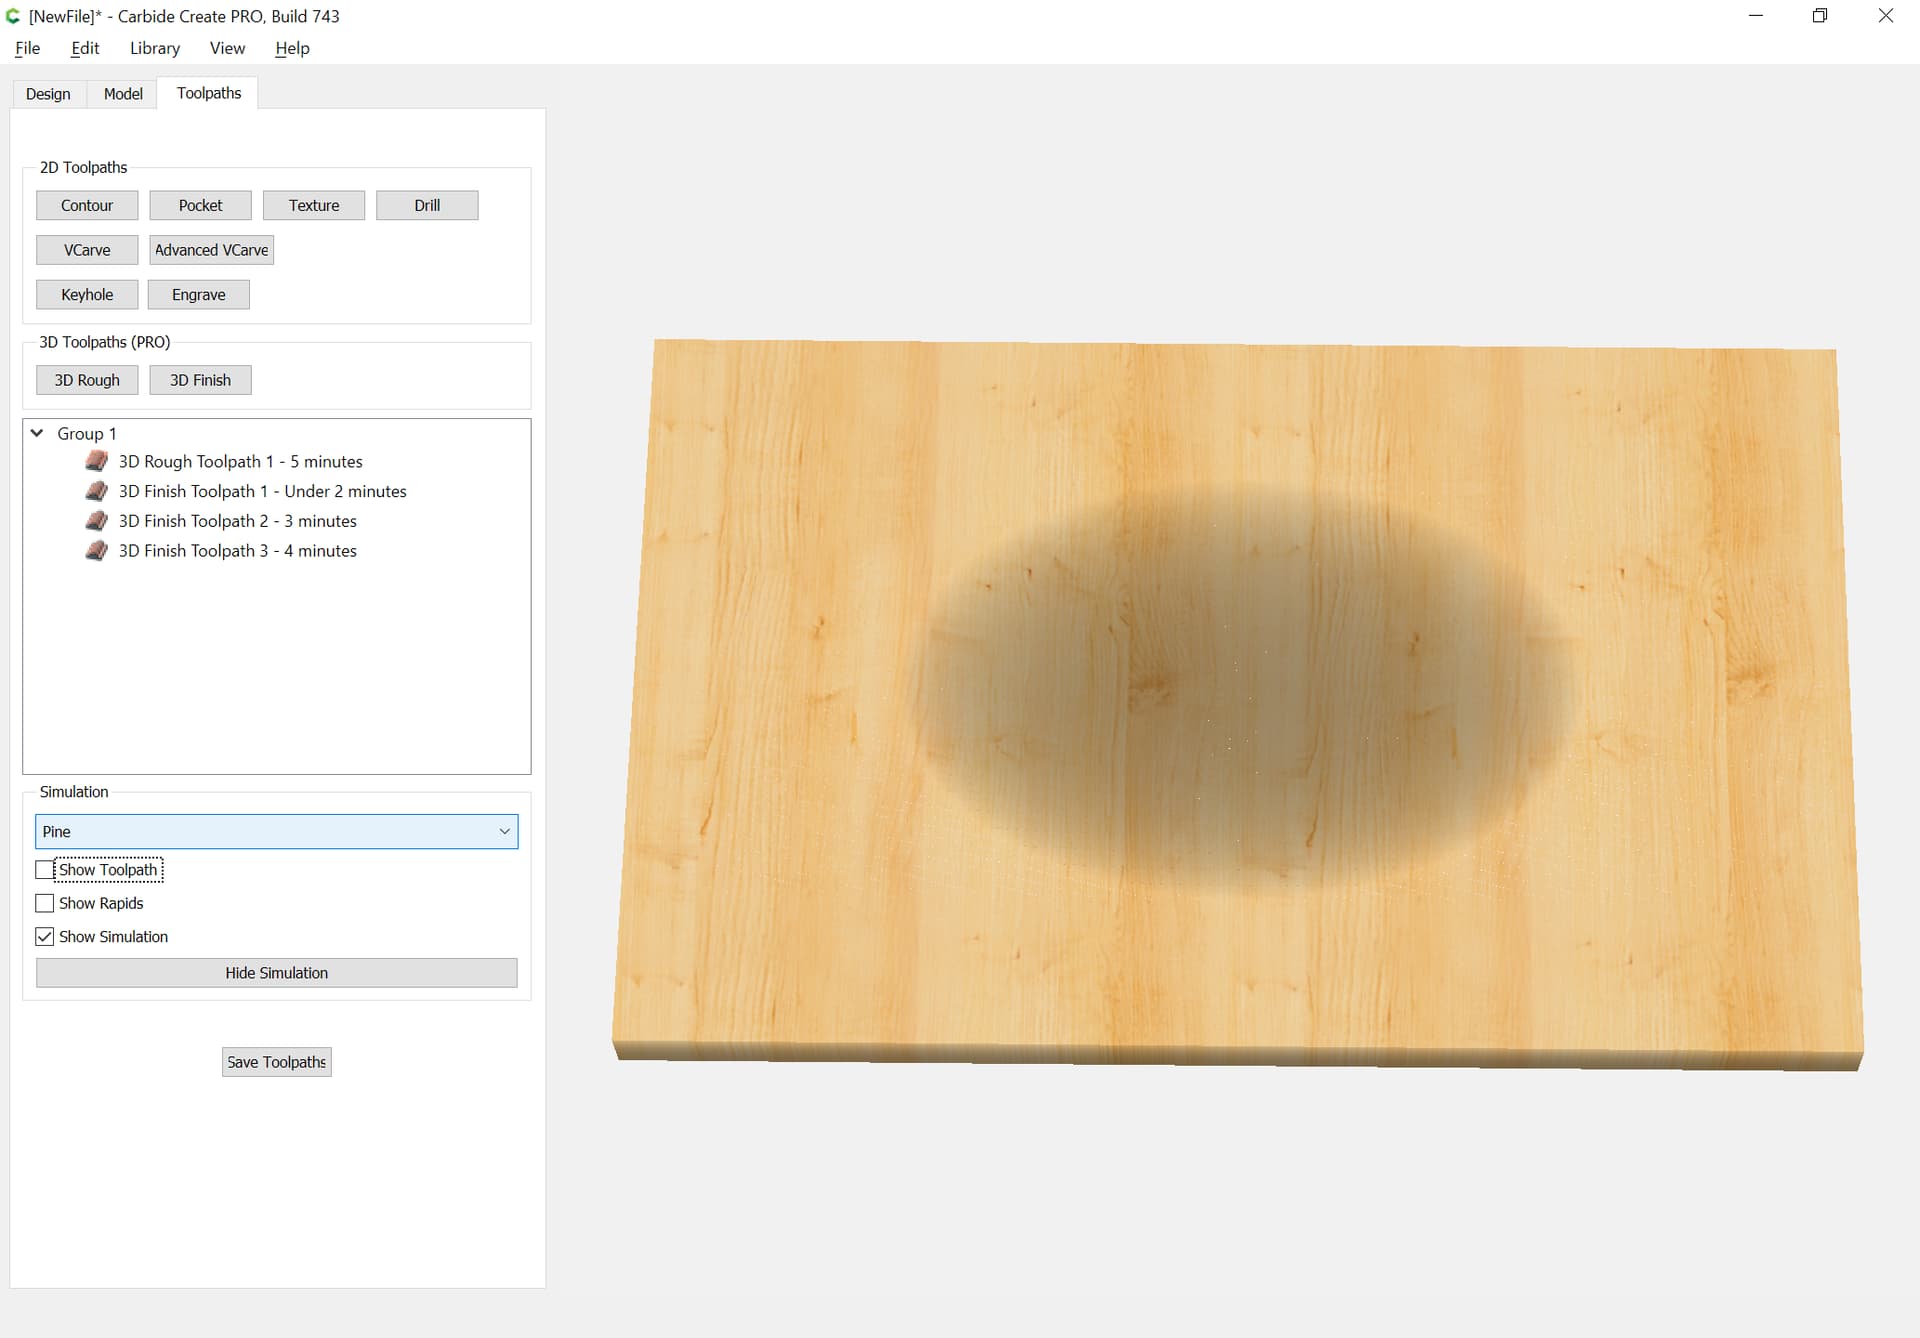
Then assign suitable toolpaths:
which previews as:
1 Like
Will, love the screenshots and level of detail you have provided.
WillAdams
January 4, 2023, 11:41am
9
The specified angle will influence the angle used from the outer edge.
Base height allows one to set the bottom of the 3D model to be above where one was modeling, say if one wanted a pedestal.
1 Like
system
February 3, 2023, 11:42am
10
This topic was automatically closed 30 days after the last reply. New replies are no longer allowed.