I wanted to document my progress building an enclosure for my newly purchased XXL. If this is the wrong place to post something like this, I apologize I’m obviously, very new.
The first step towards building a CNC enclosure is building or buying a CNC table. I do all my woodworking/making in my tiny one car garage so building the very unique dimensions was obvious from the start.
I looked around at various plans available for DIY shop tables and landed on Crafted Workshops miter saw/outfeed table design. I really liked the way he integrated the legs with the rest of the structure and the pseudo torsion box top.
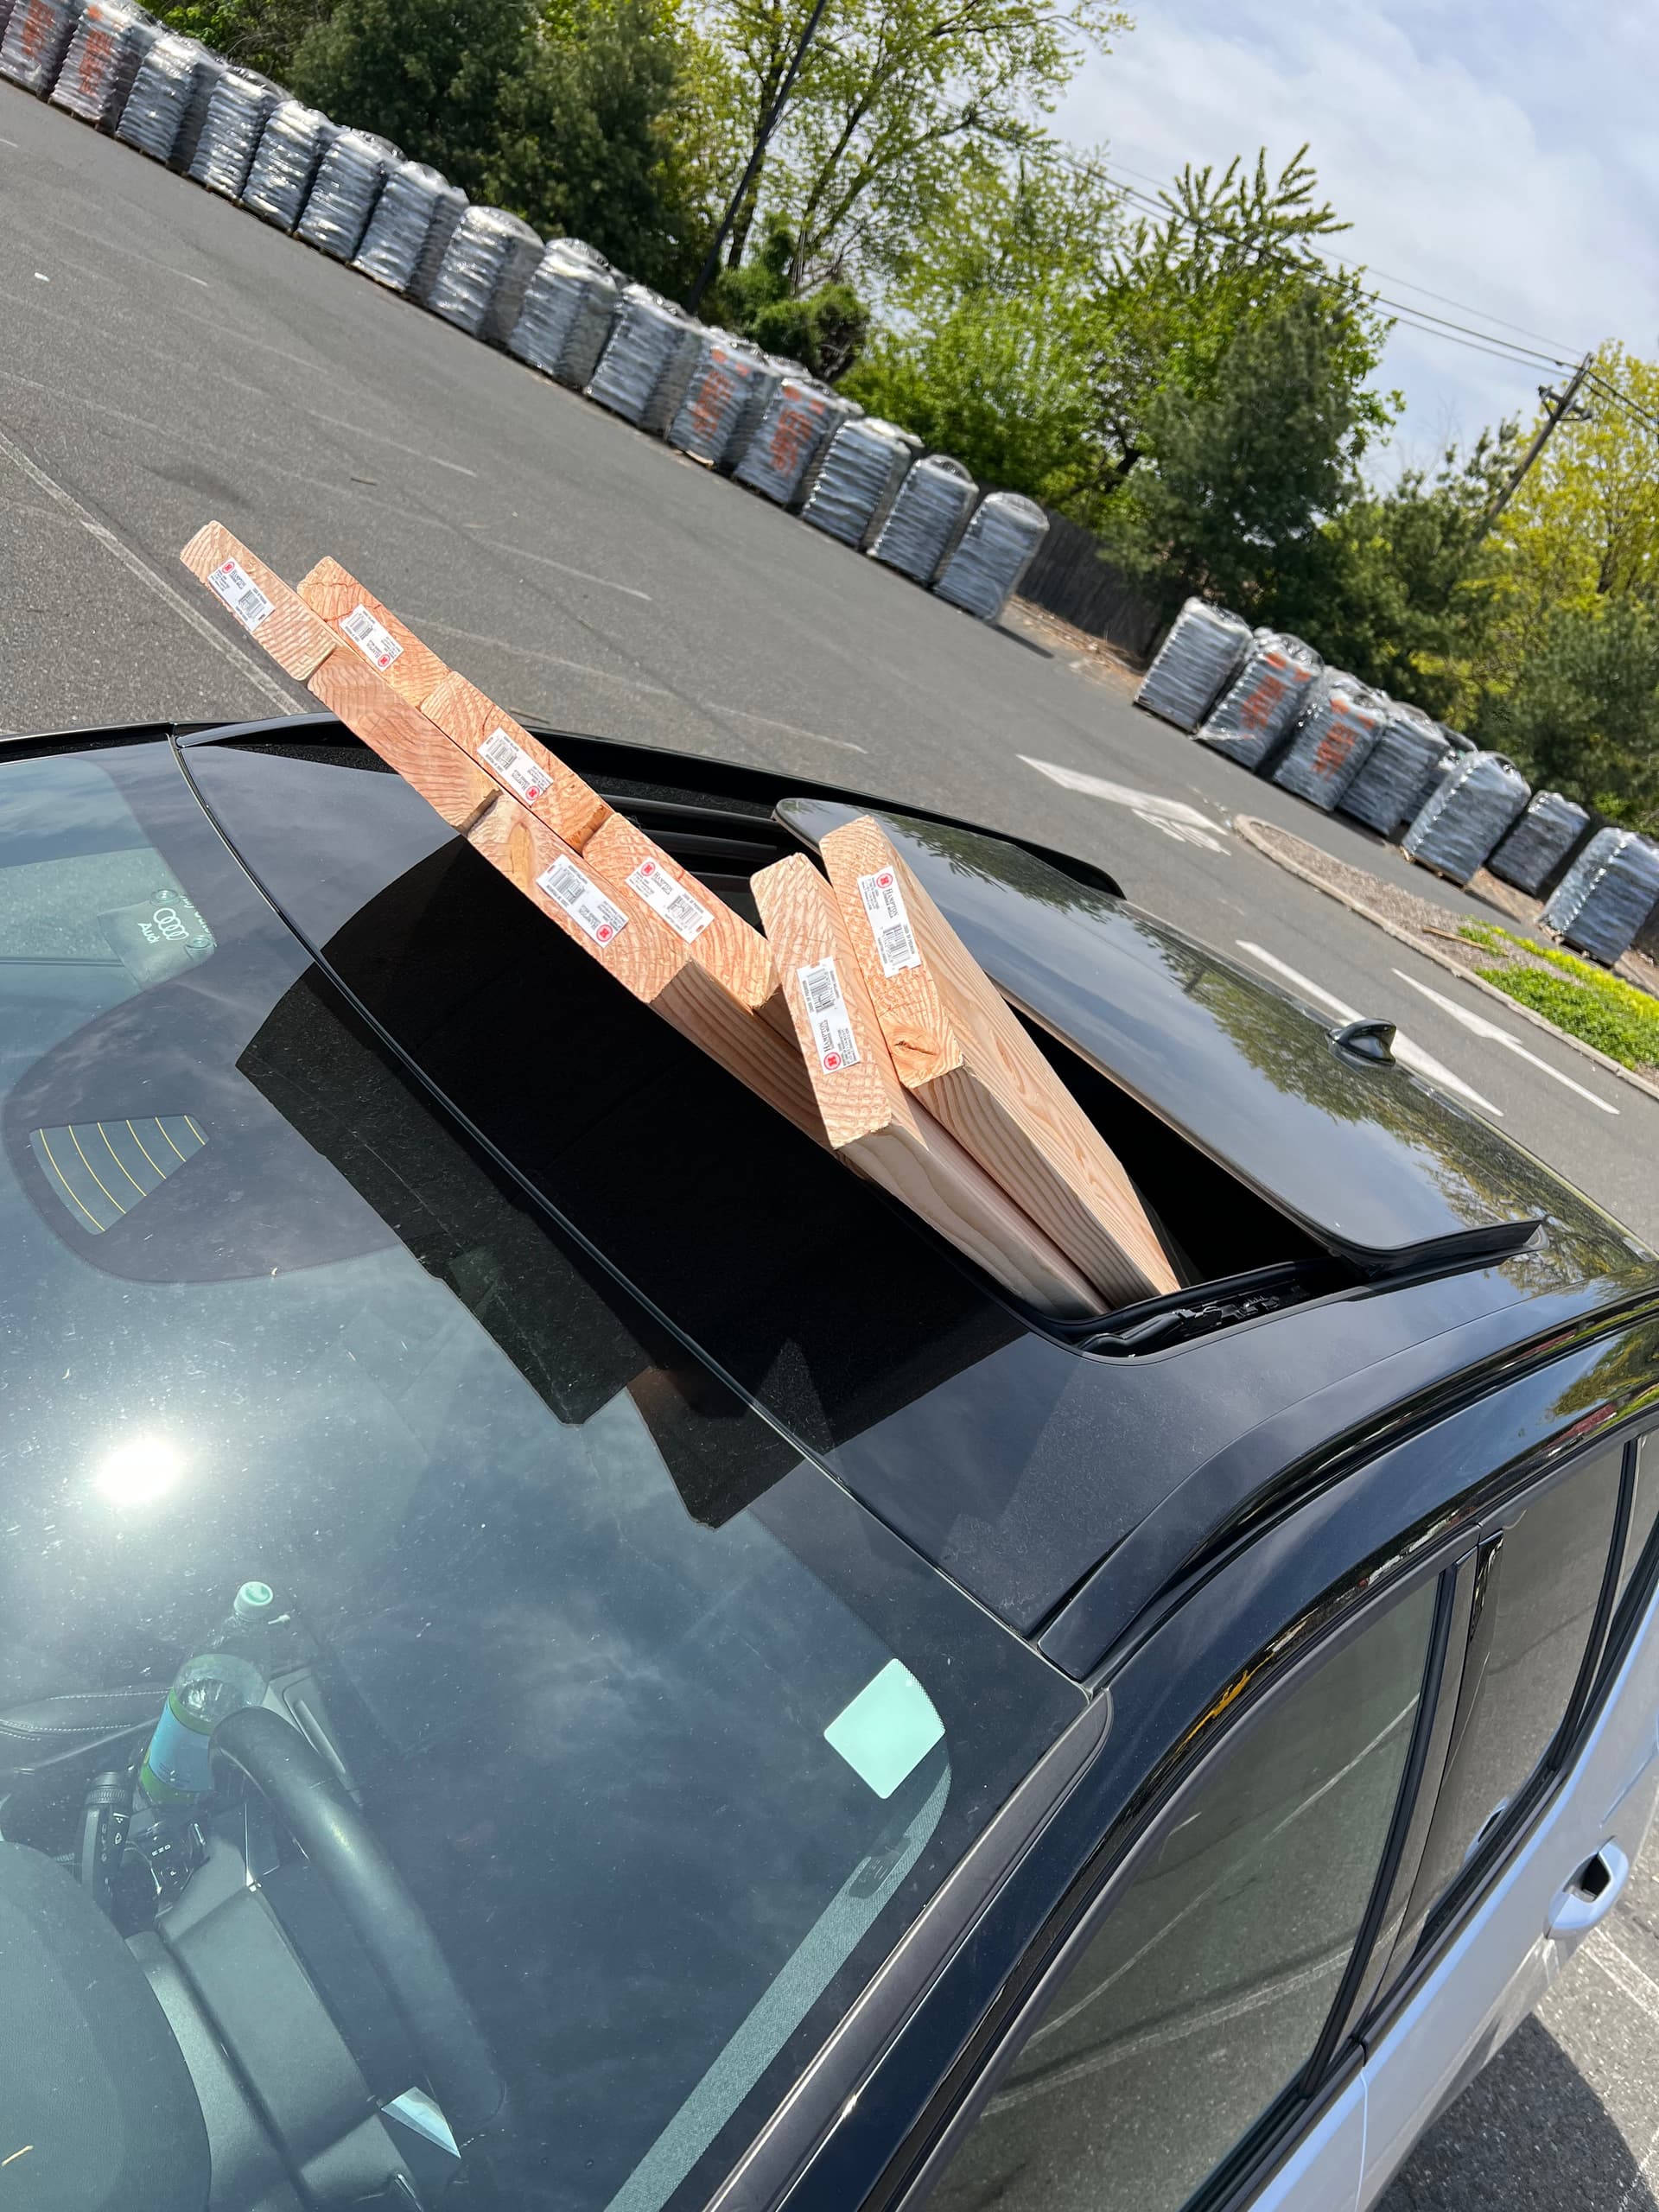
I still went with 2x8s over 2x4s even though they were DougFir at my hardware store because it was much easier for me 2 load into my SUV and move around 8 8’ 2x8s than 16 8’ 2x4s.
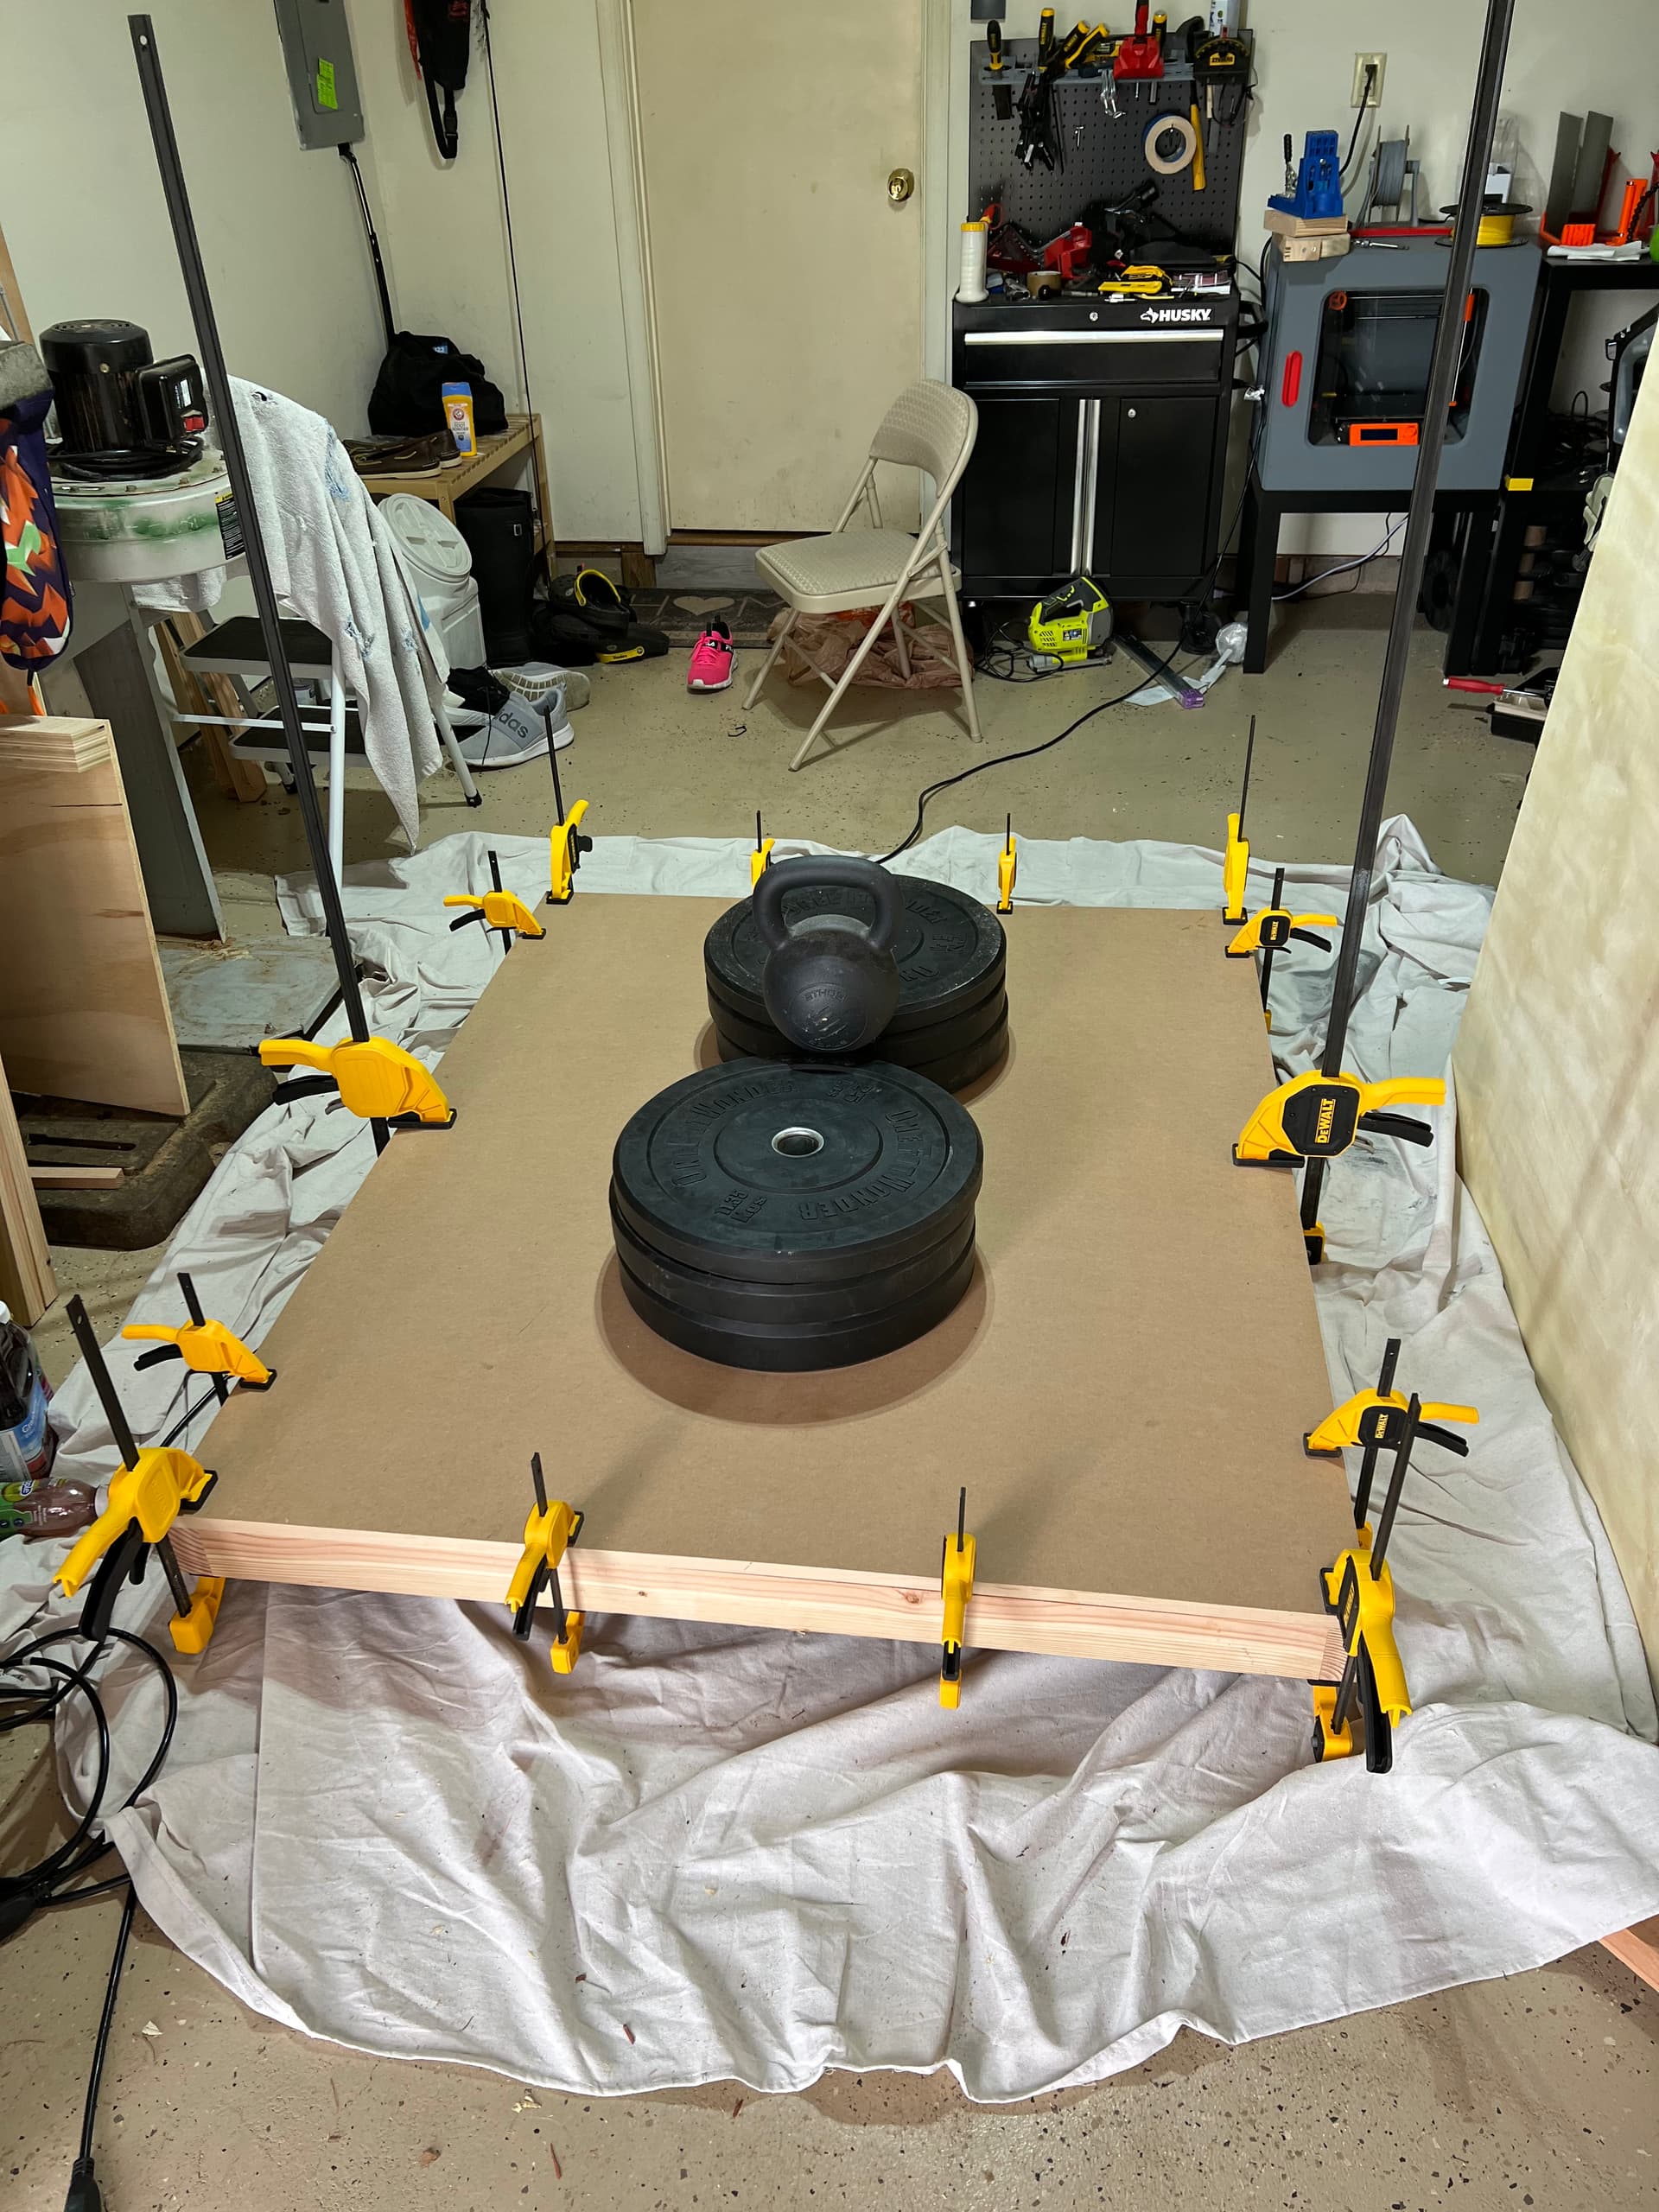
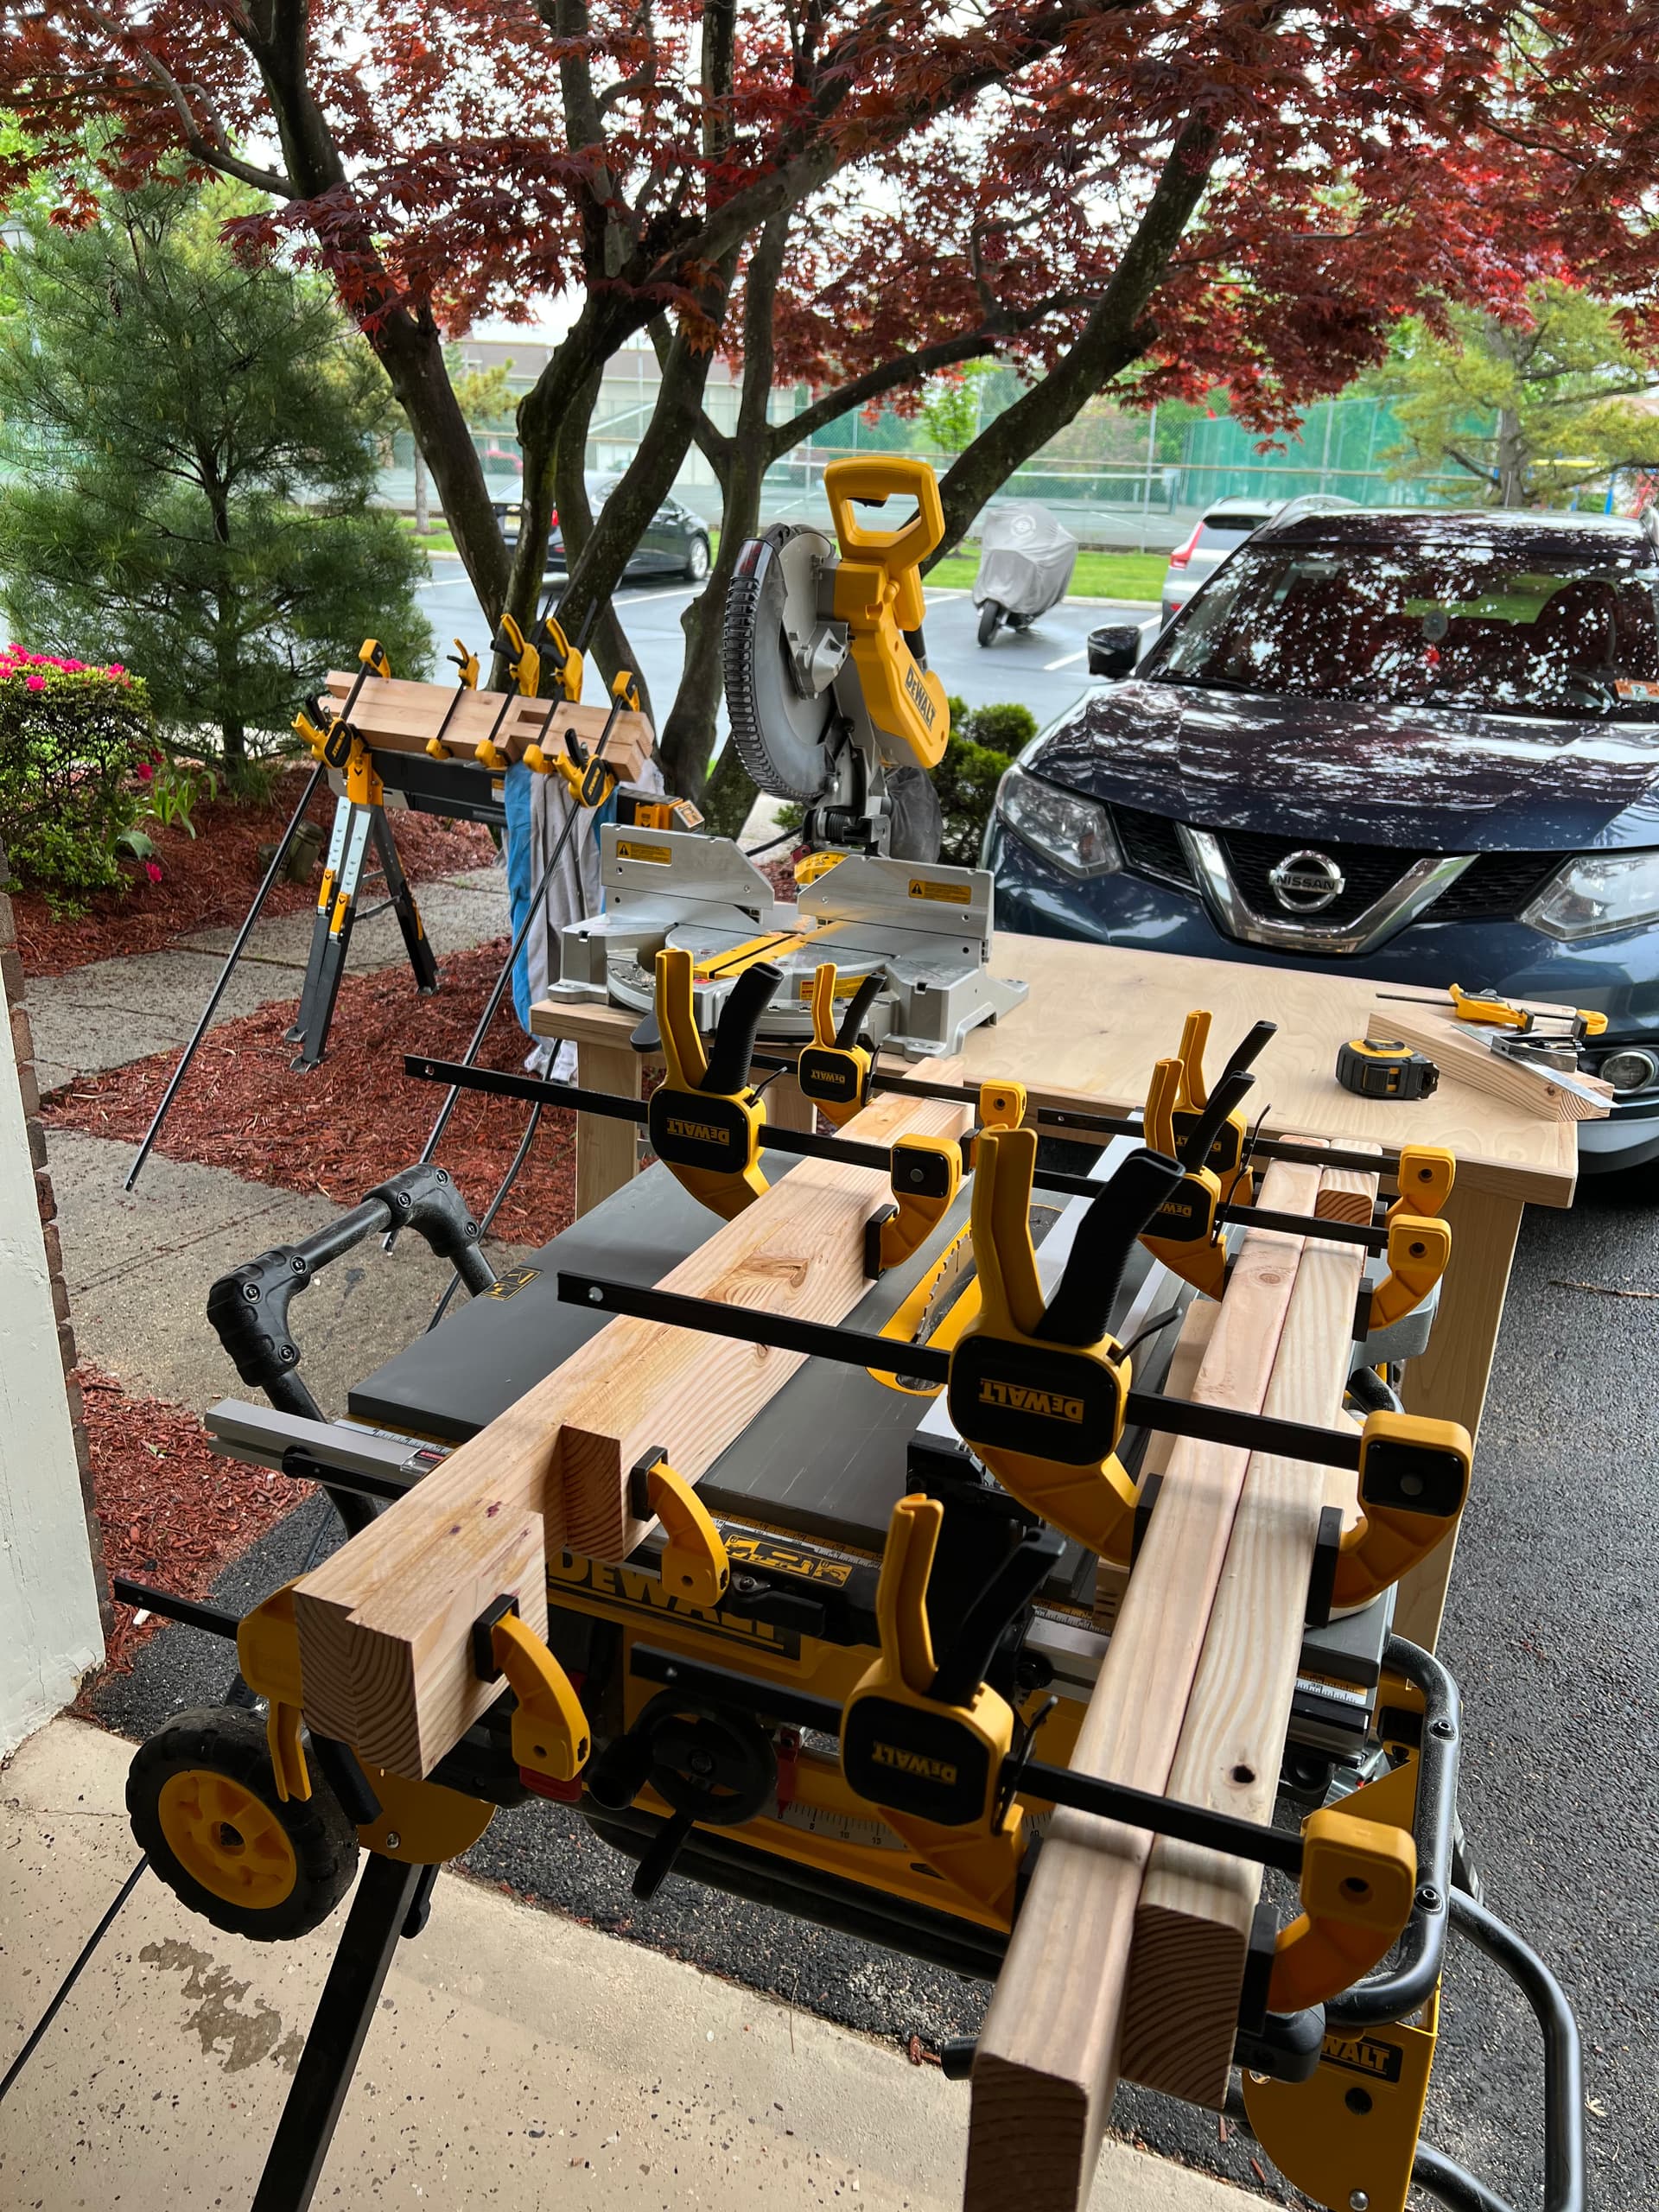
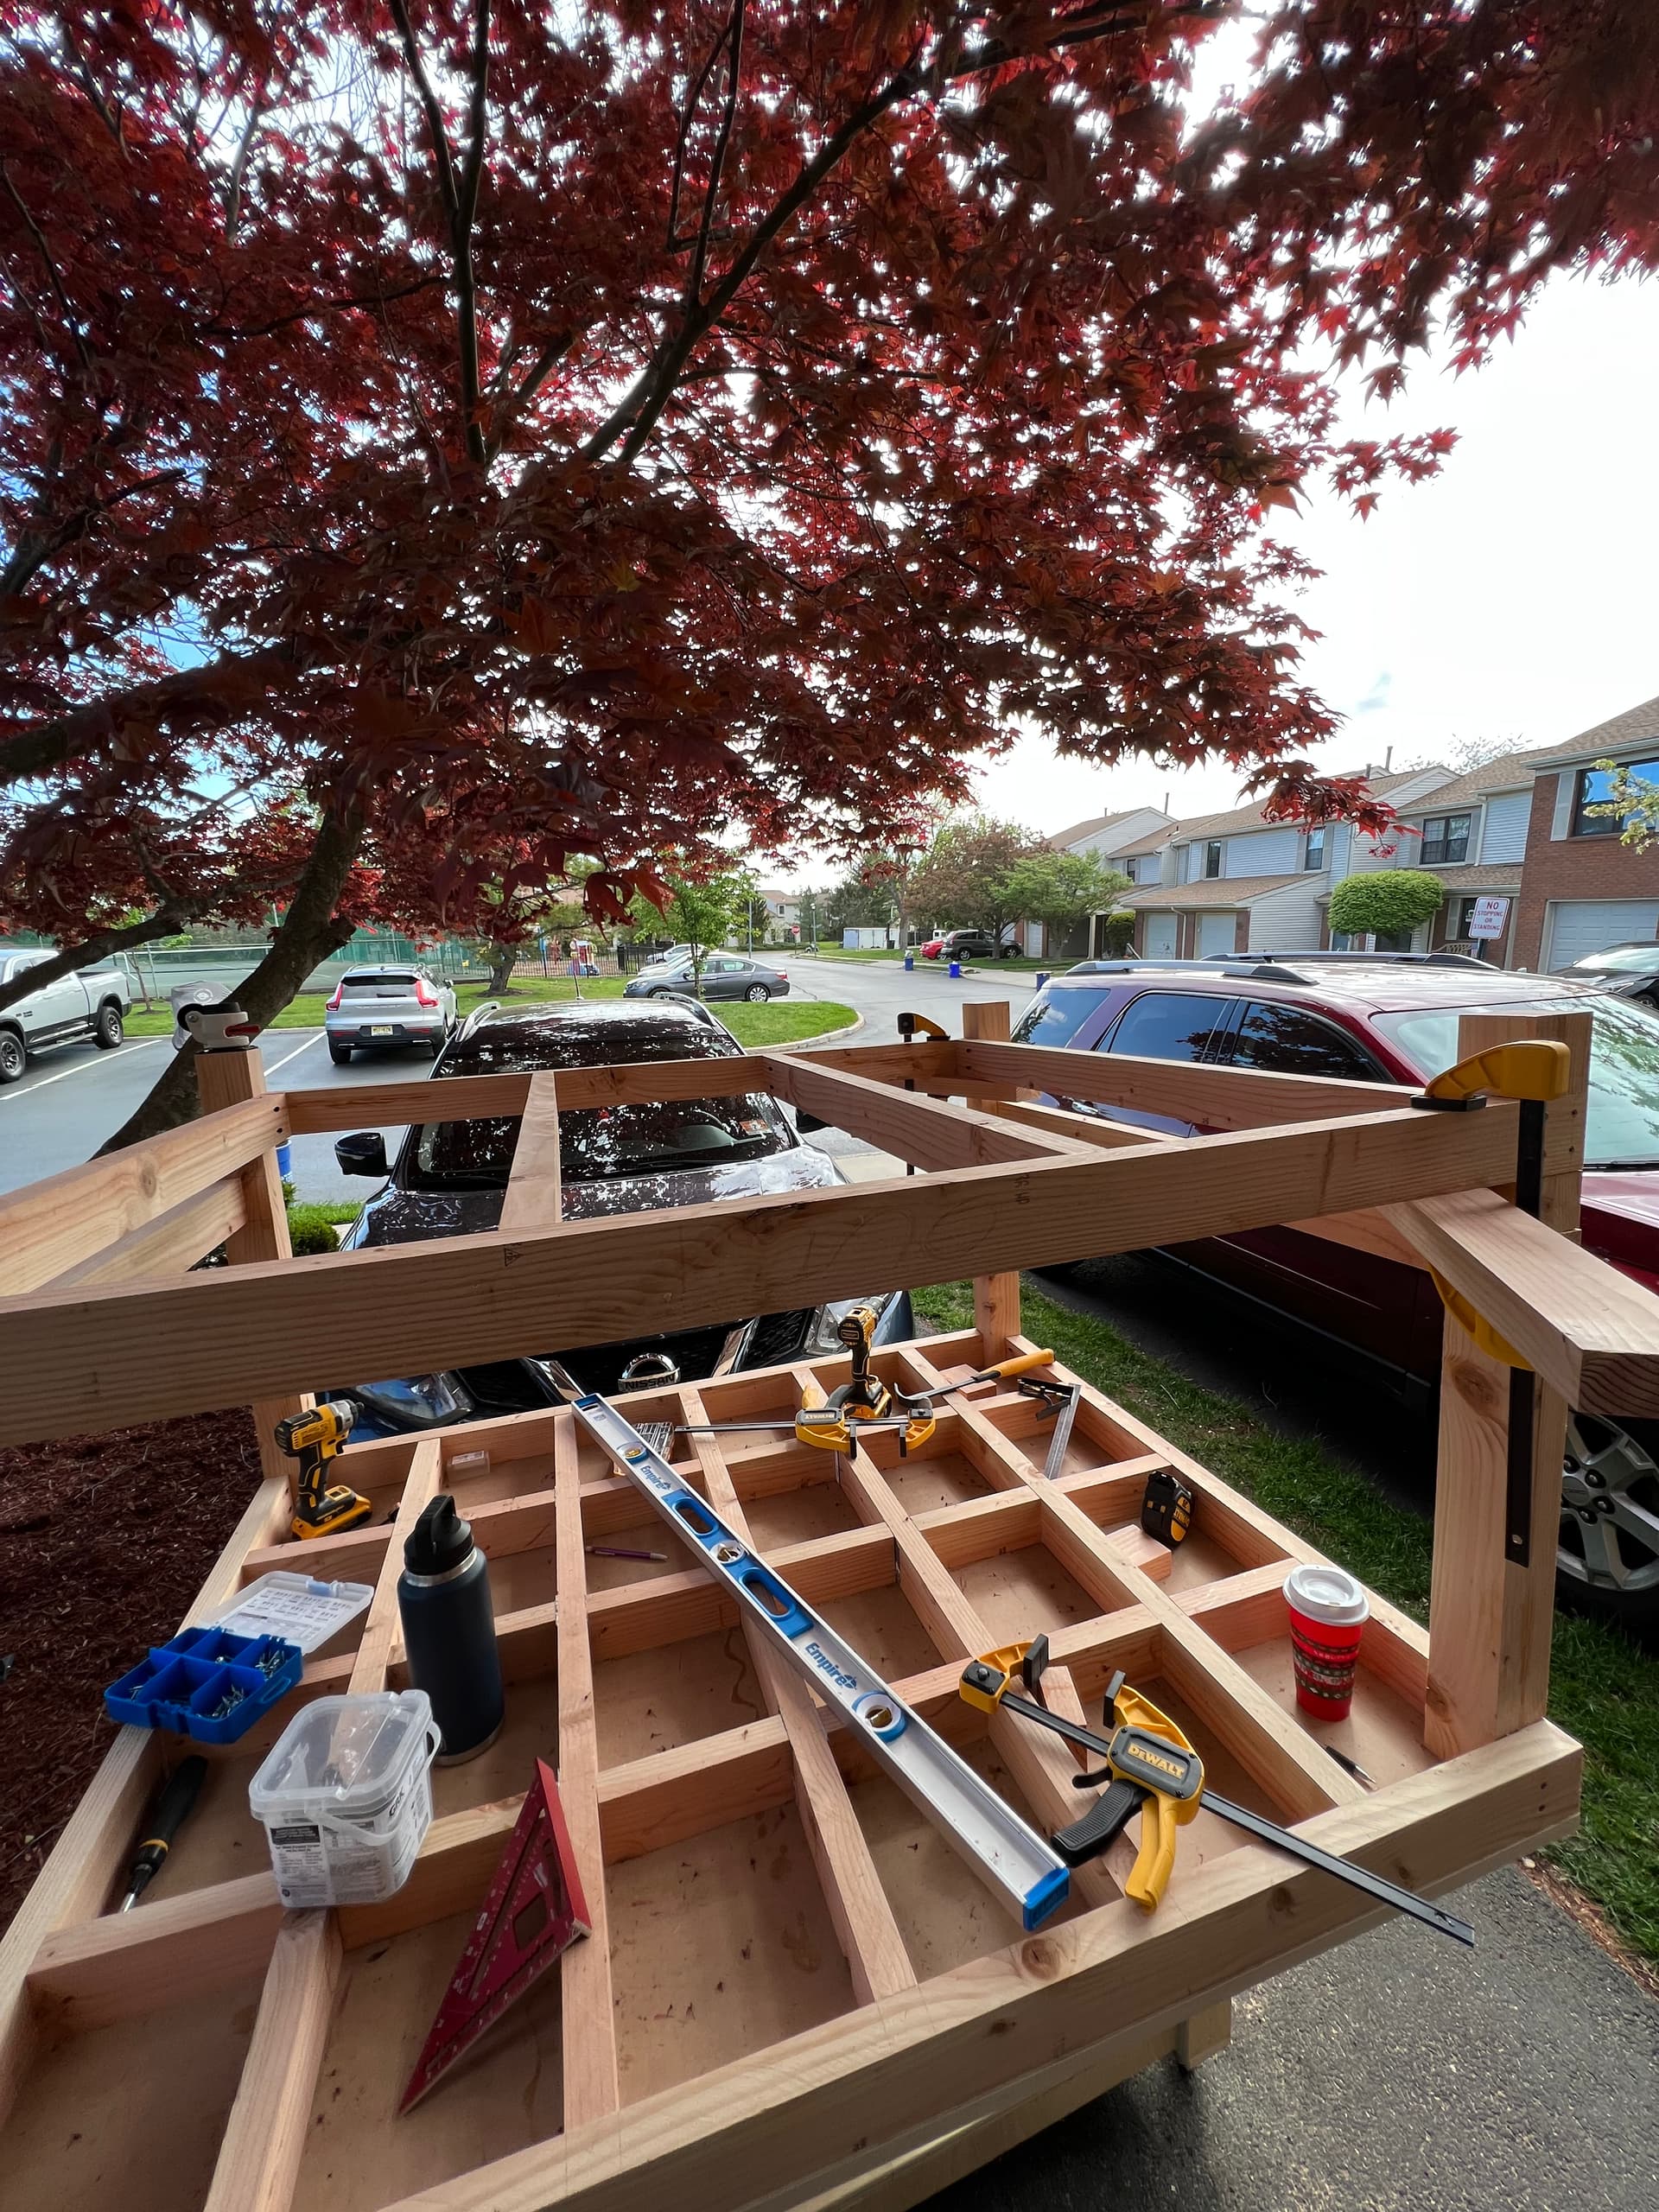
I made my modified cutlist and got to work. That brings us to the time of writing. Everything is cut to size and the top structure was left to dry overnight last night.
UPS says my XXL will arrive by 7pm tonight so it’s now a race against the clock to get the rest of it assembled by that time. I will probably lose that race. In my defense the machine shipped a full 2 days sooner than I expected which I’m definitely not complaining about.
After the table is assembled and the XXL is assembled on the assembled table, I plan on running a couple projects unenclosed to get a feel for how I want to work with it, then have it help me build the enclosure around it.
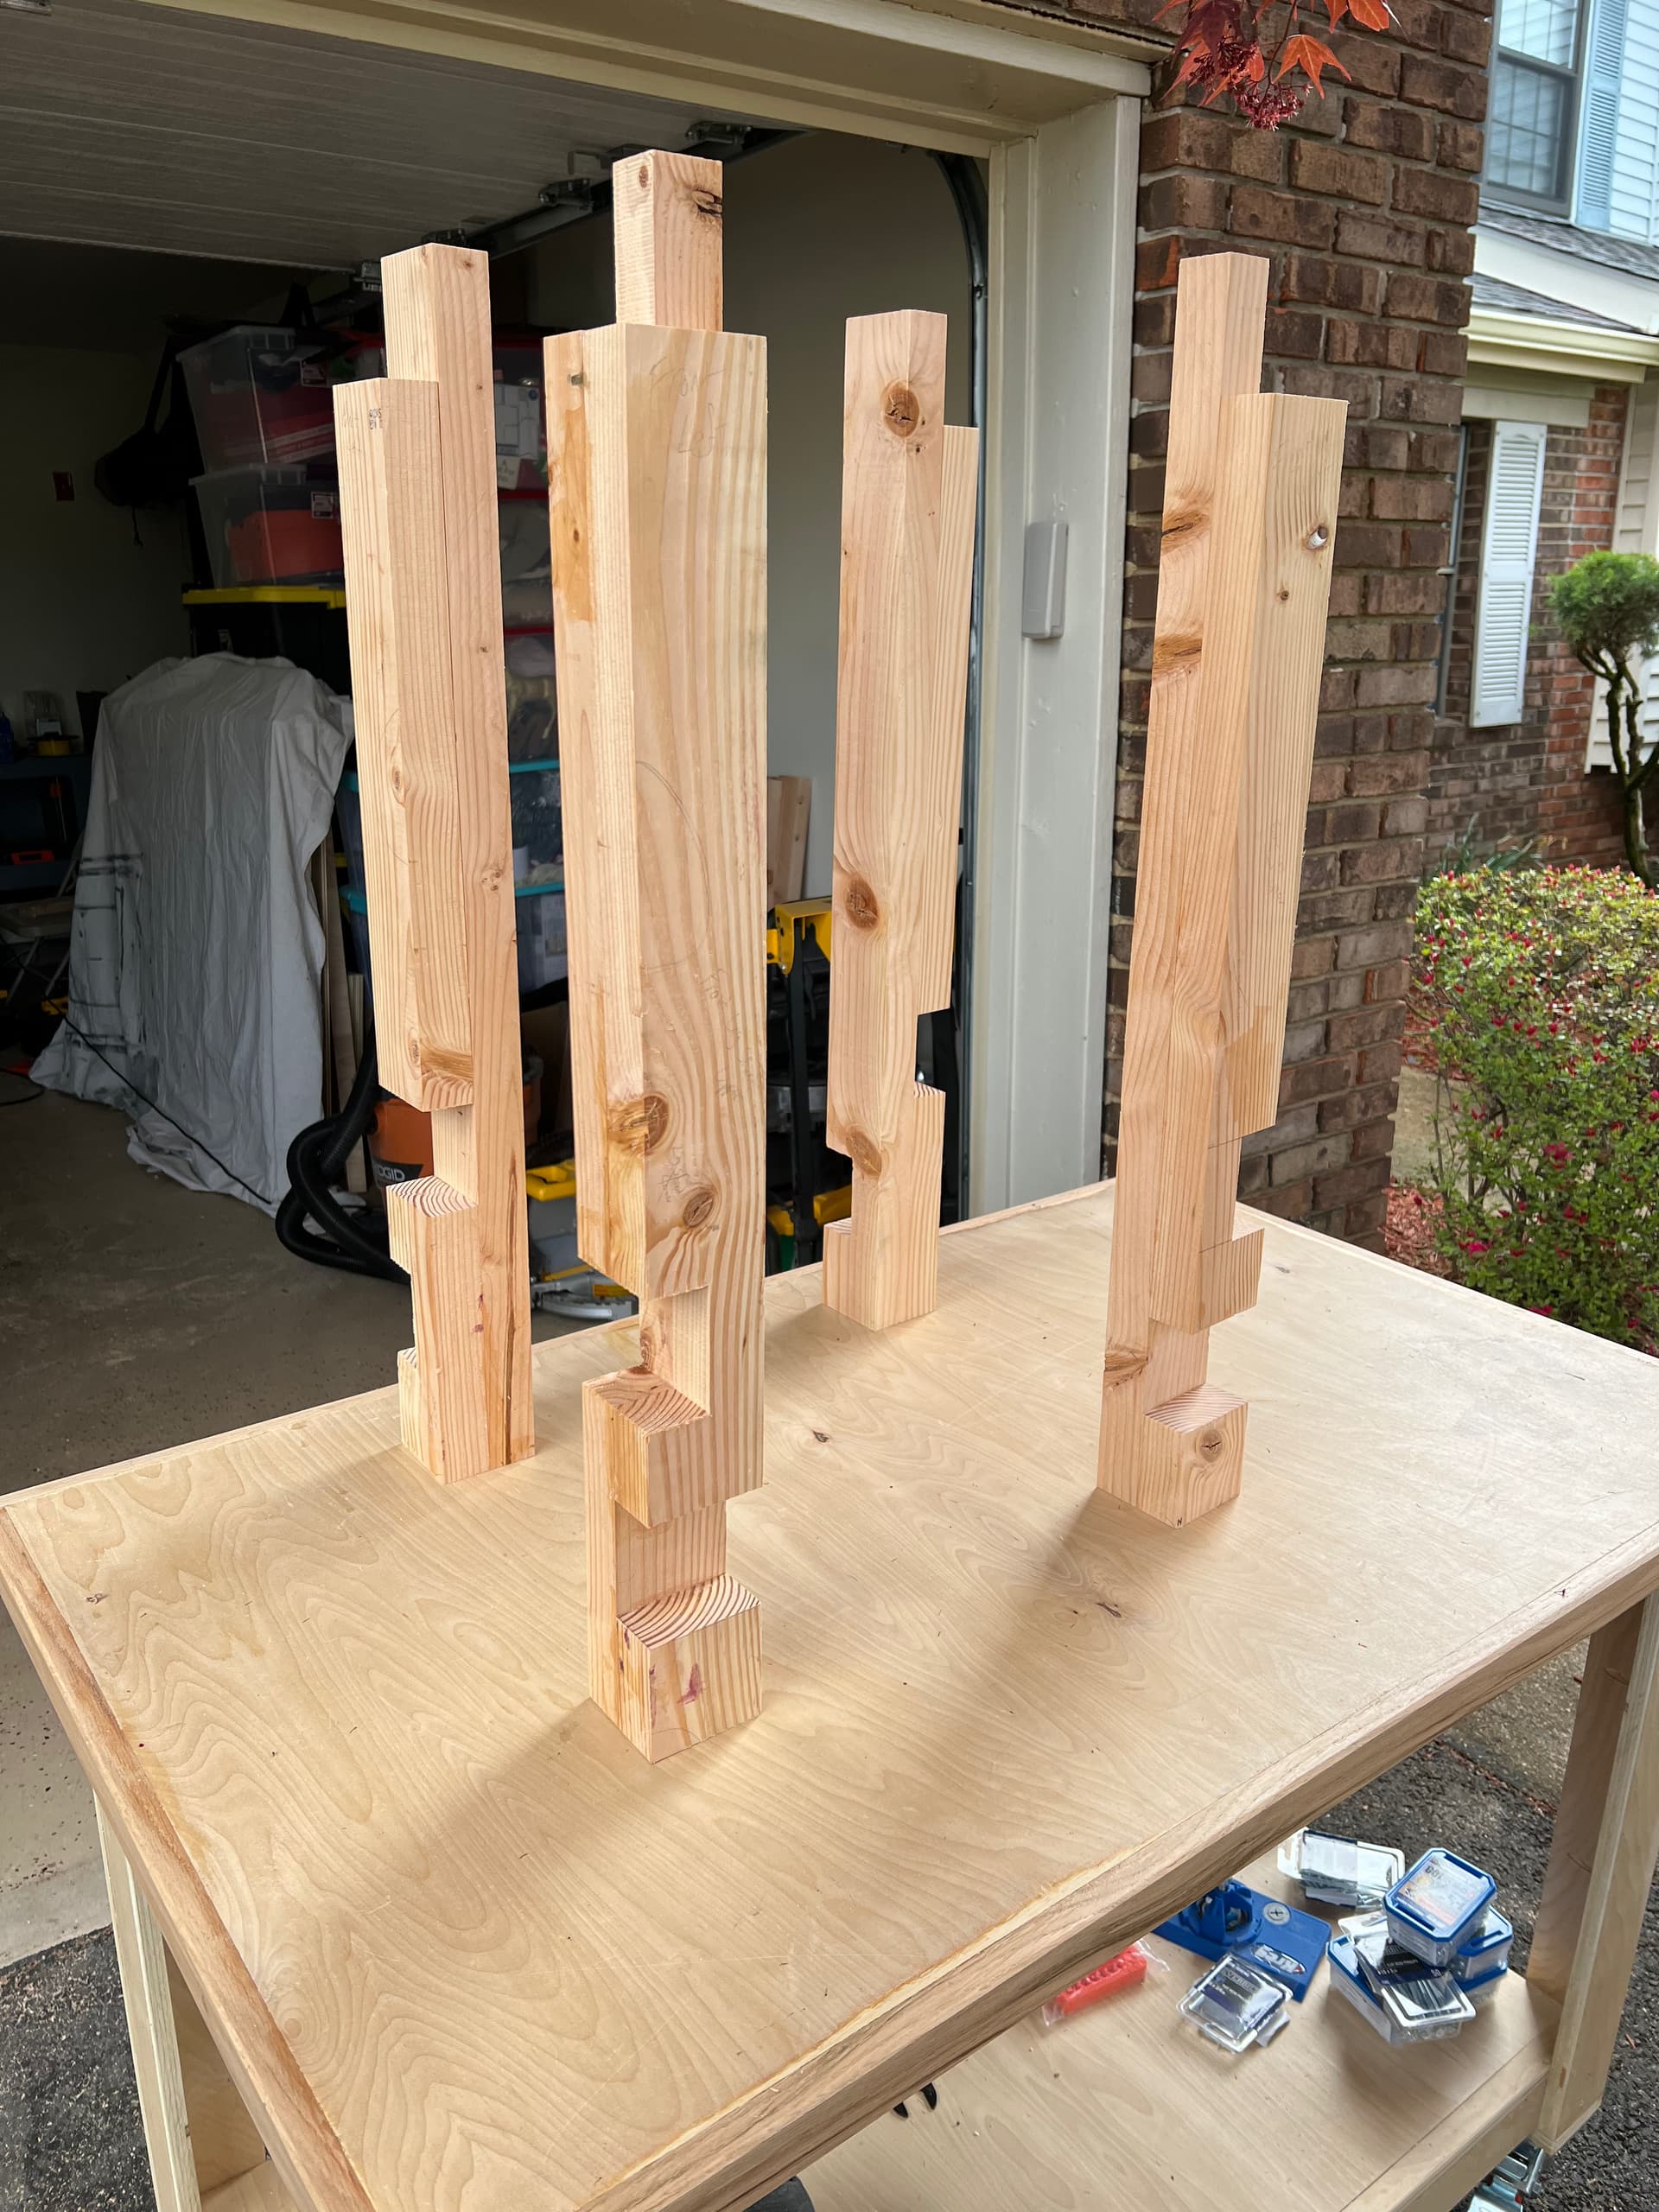
Once they were dry I ripped each one to remove the remaining .25” extra width and then cut them all to final length. Once that was done I was able to cut the half laps and notch the front legs.
I didn’t quite finish though. I still have a good chunk of work left. Casters have to be attached, the entire thing needs sanding and most edges need profiles. Debating painting it. Getting really close now!
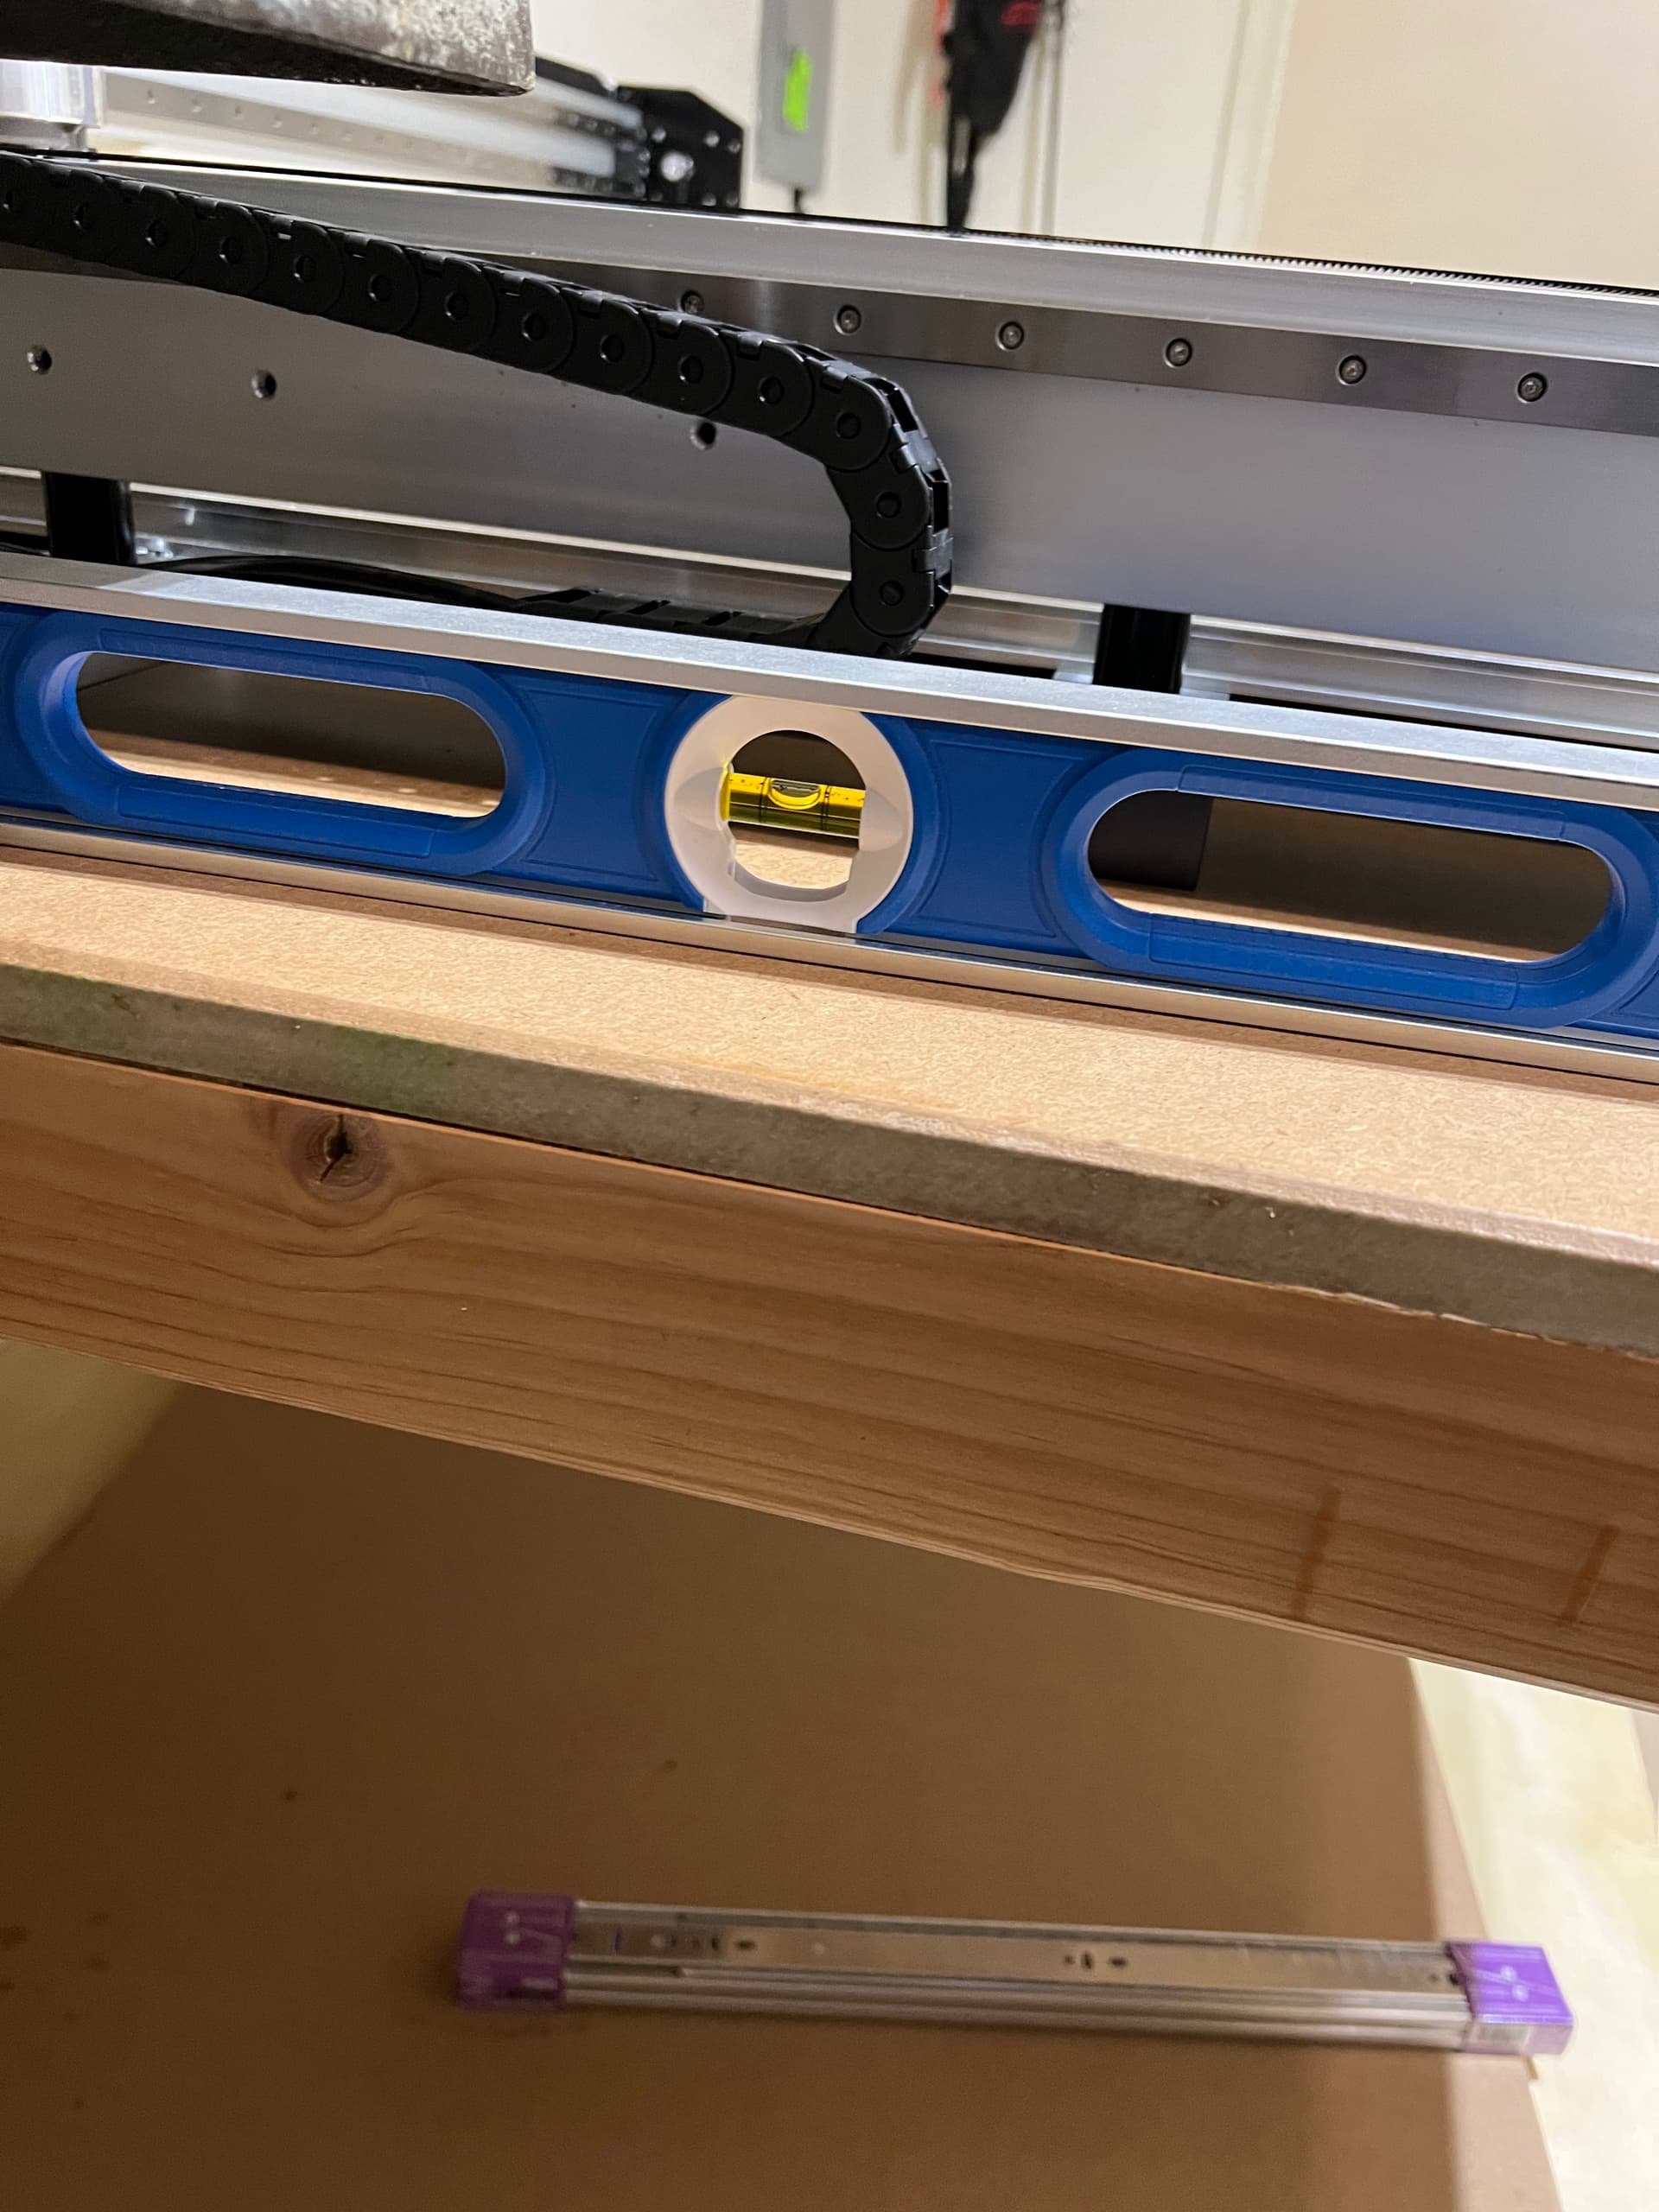
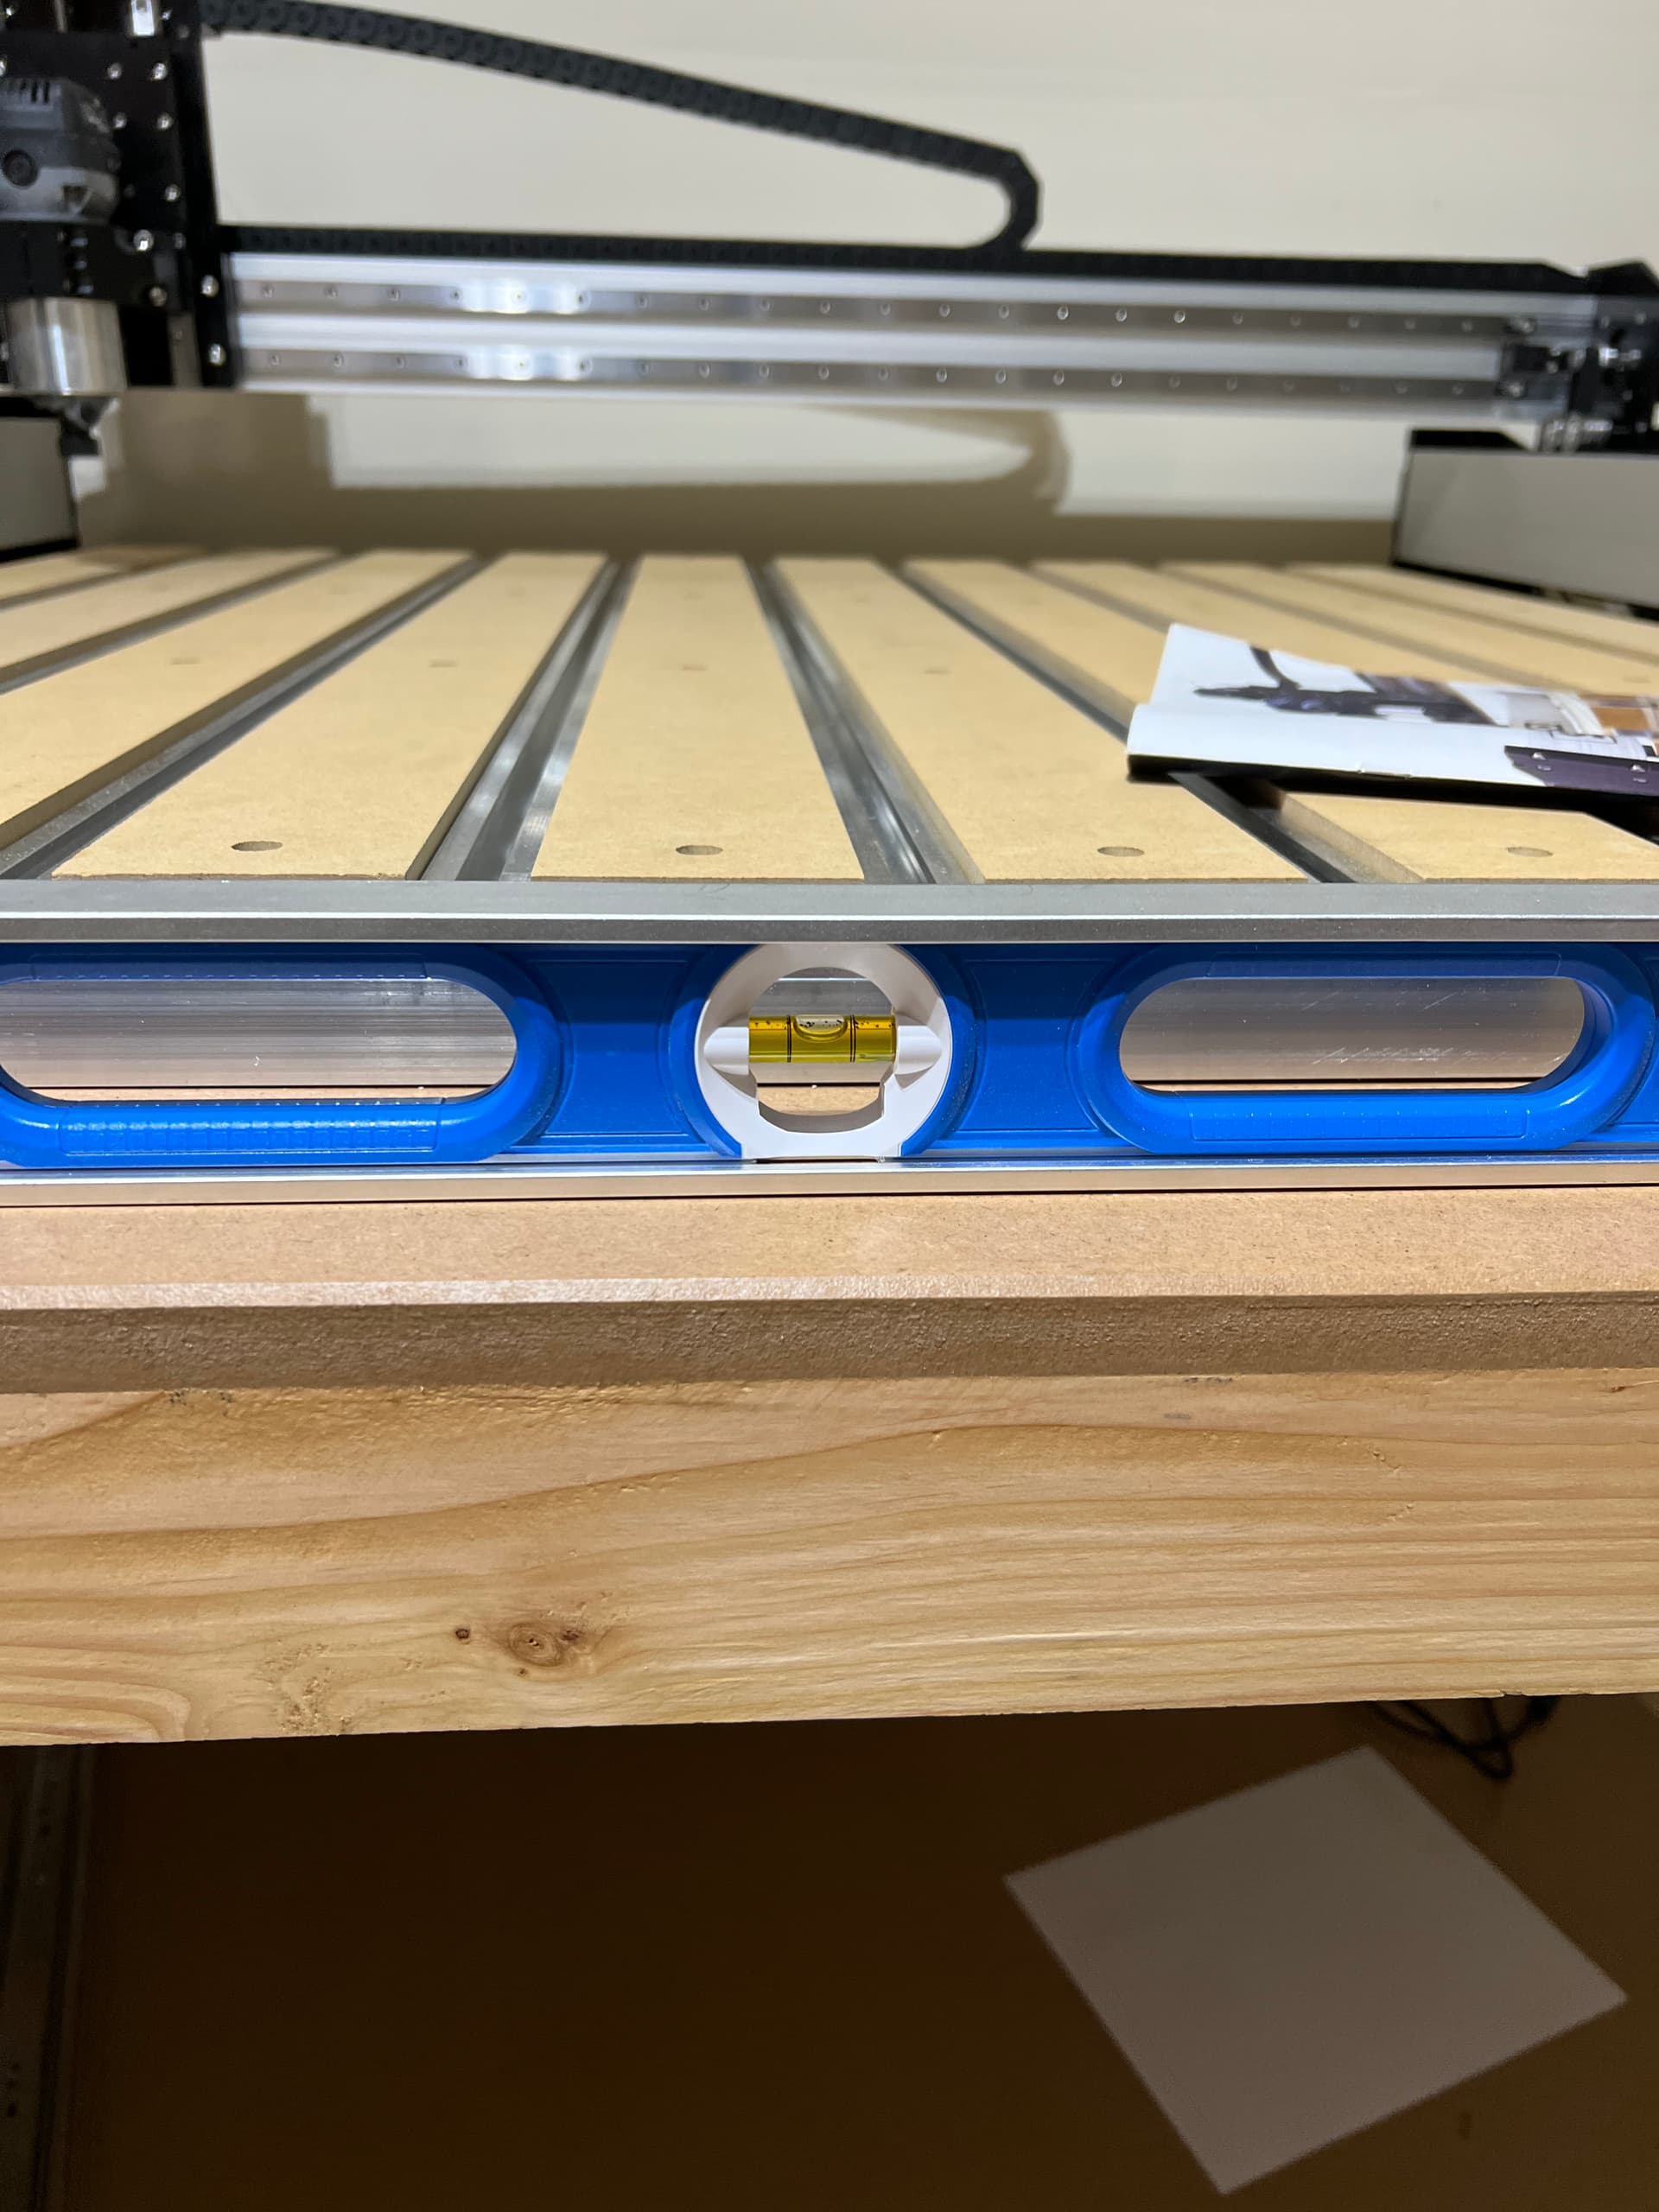
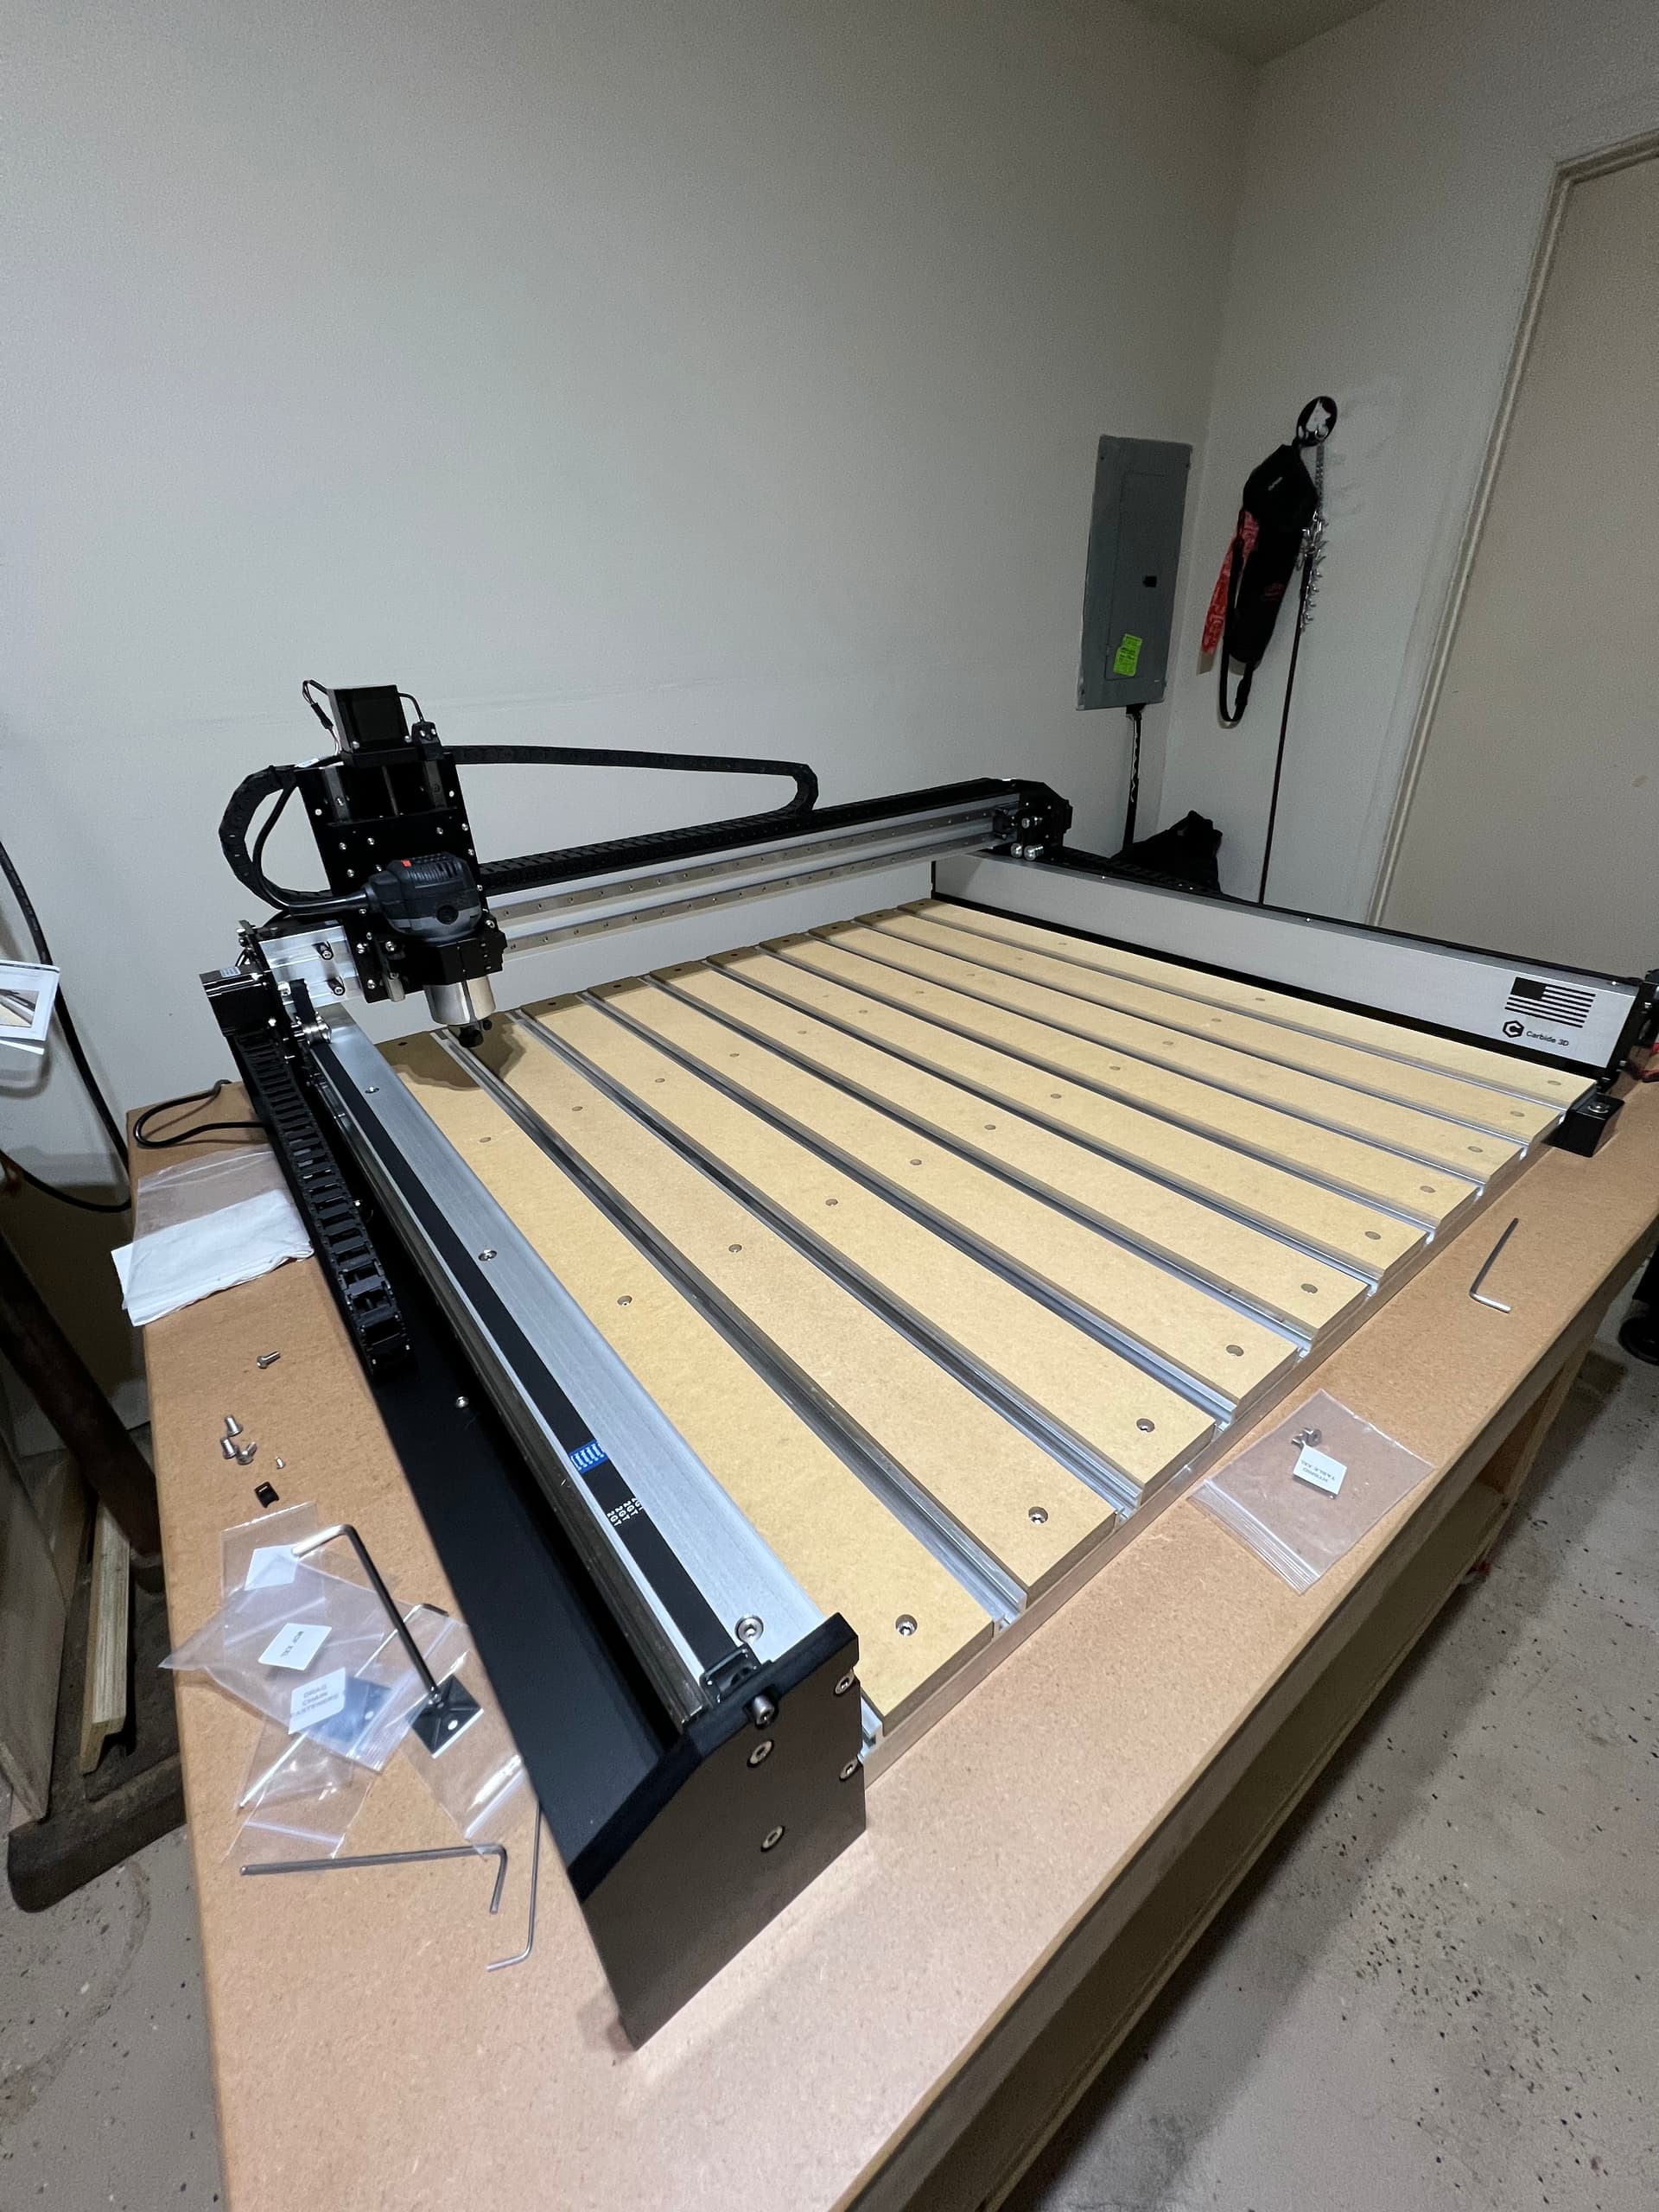
And with the table finished and in place, it was finally time to assemble the CNC! Everything went smoothly and I got through it in about 4 hours. The leveling feet on the casters made it a breeze to get everything pretty darn spot on level.
Gonna keep it topless still for a little while. Next step is a set of drawers, but prices for plywood sheets and the price of lumber futures are so far out of alignment I’m gonna try and hold off as long as I can stand having everything strewn all over the place.
looks great, I’d recommend a boom arm for dust collection as one of the next items. the quality of life of having dust collection just there and easily available is fantastic.
Yea I just might in the interim before the enclosure is up. I found this old delta dust collector I was planning to use, but so far I’m underwhelmed by it’s CFM.