Please check to see if the the Z stepper motor gear is loose. This can happen on a stock Z right? I have had HDZ’s for 6 months it is hard to remember.
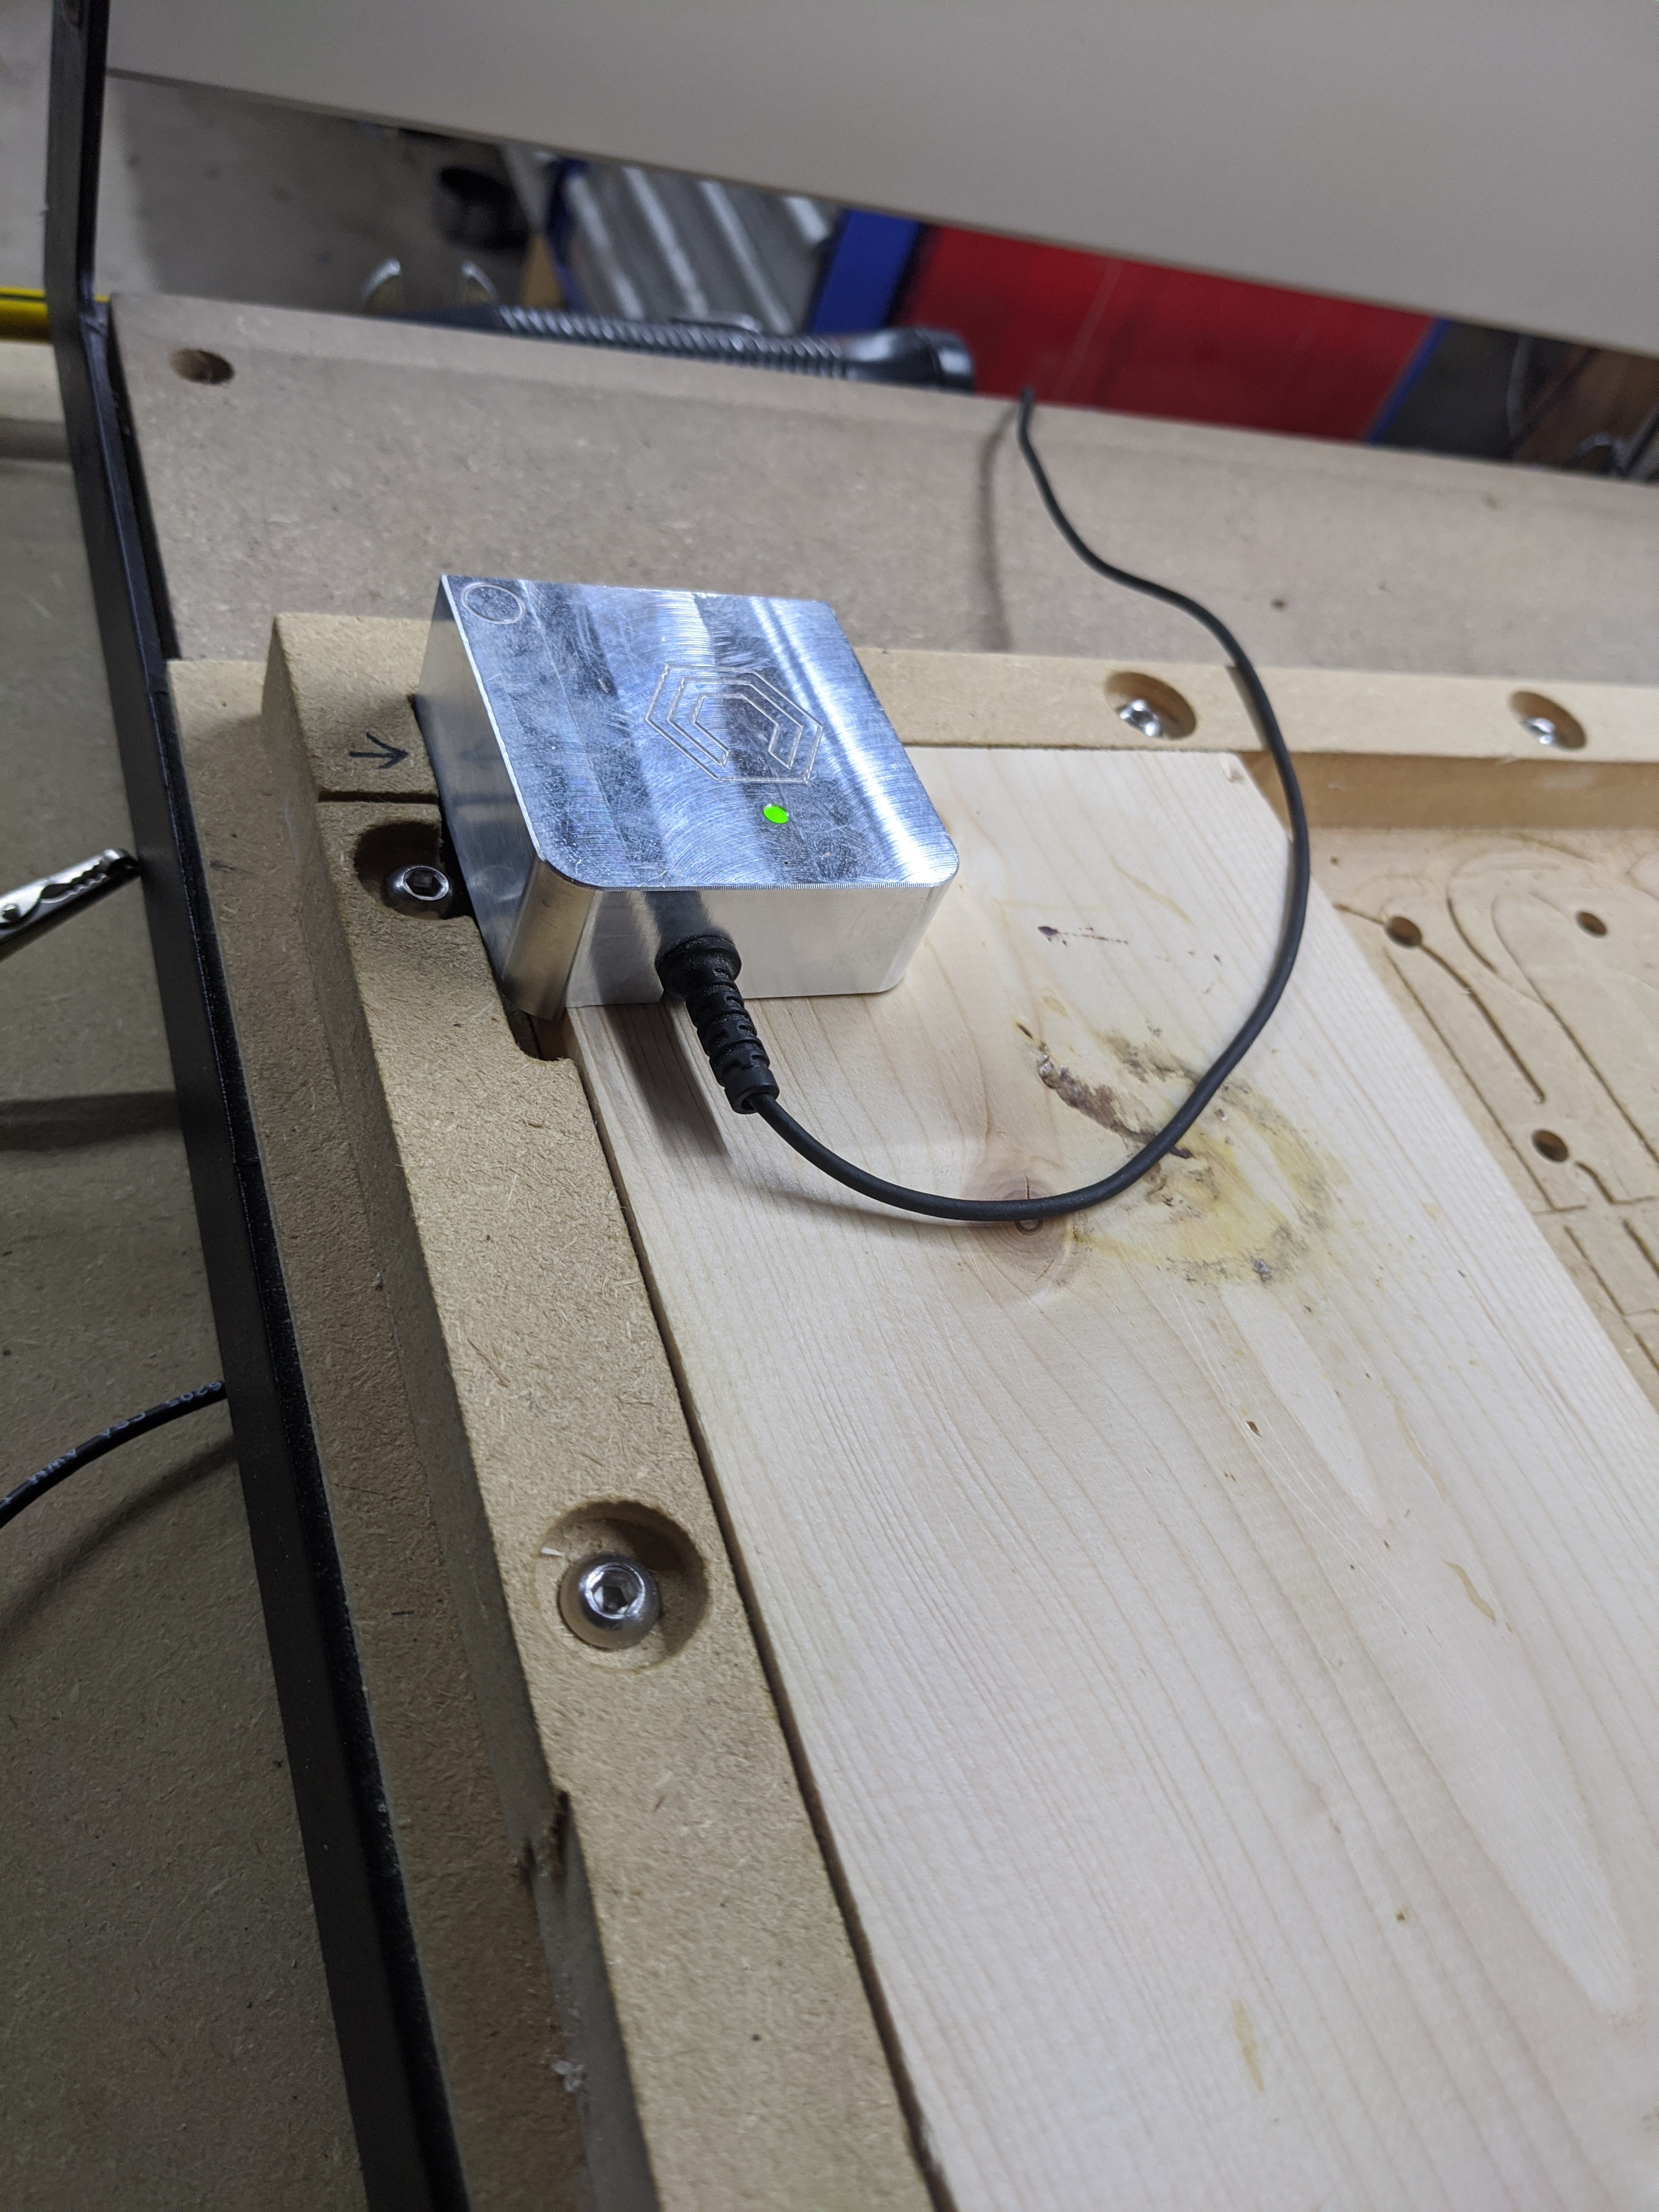
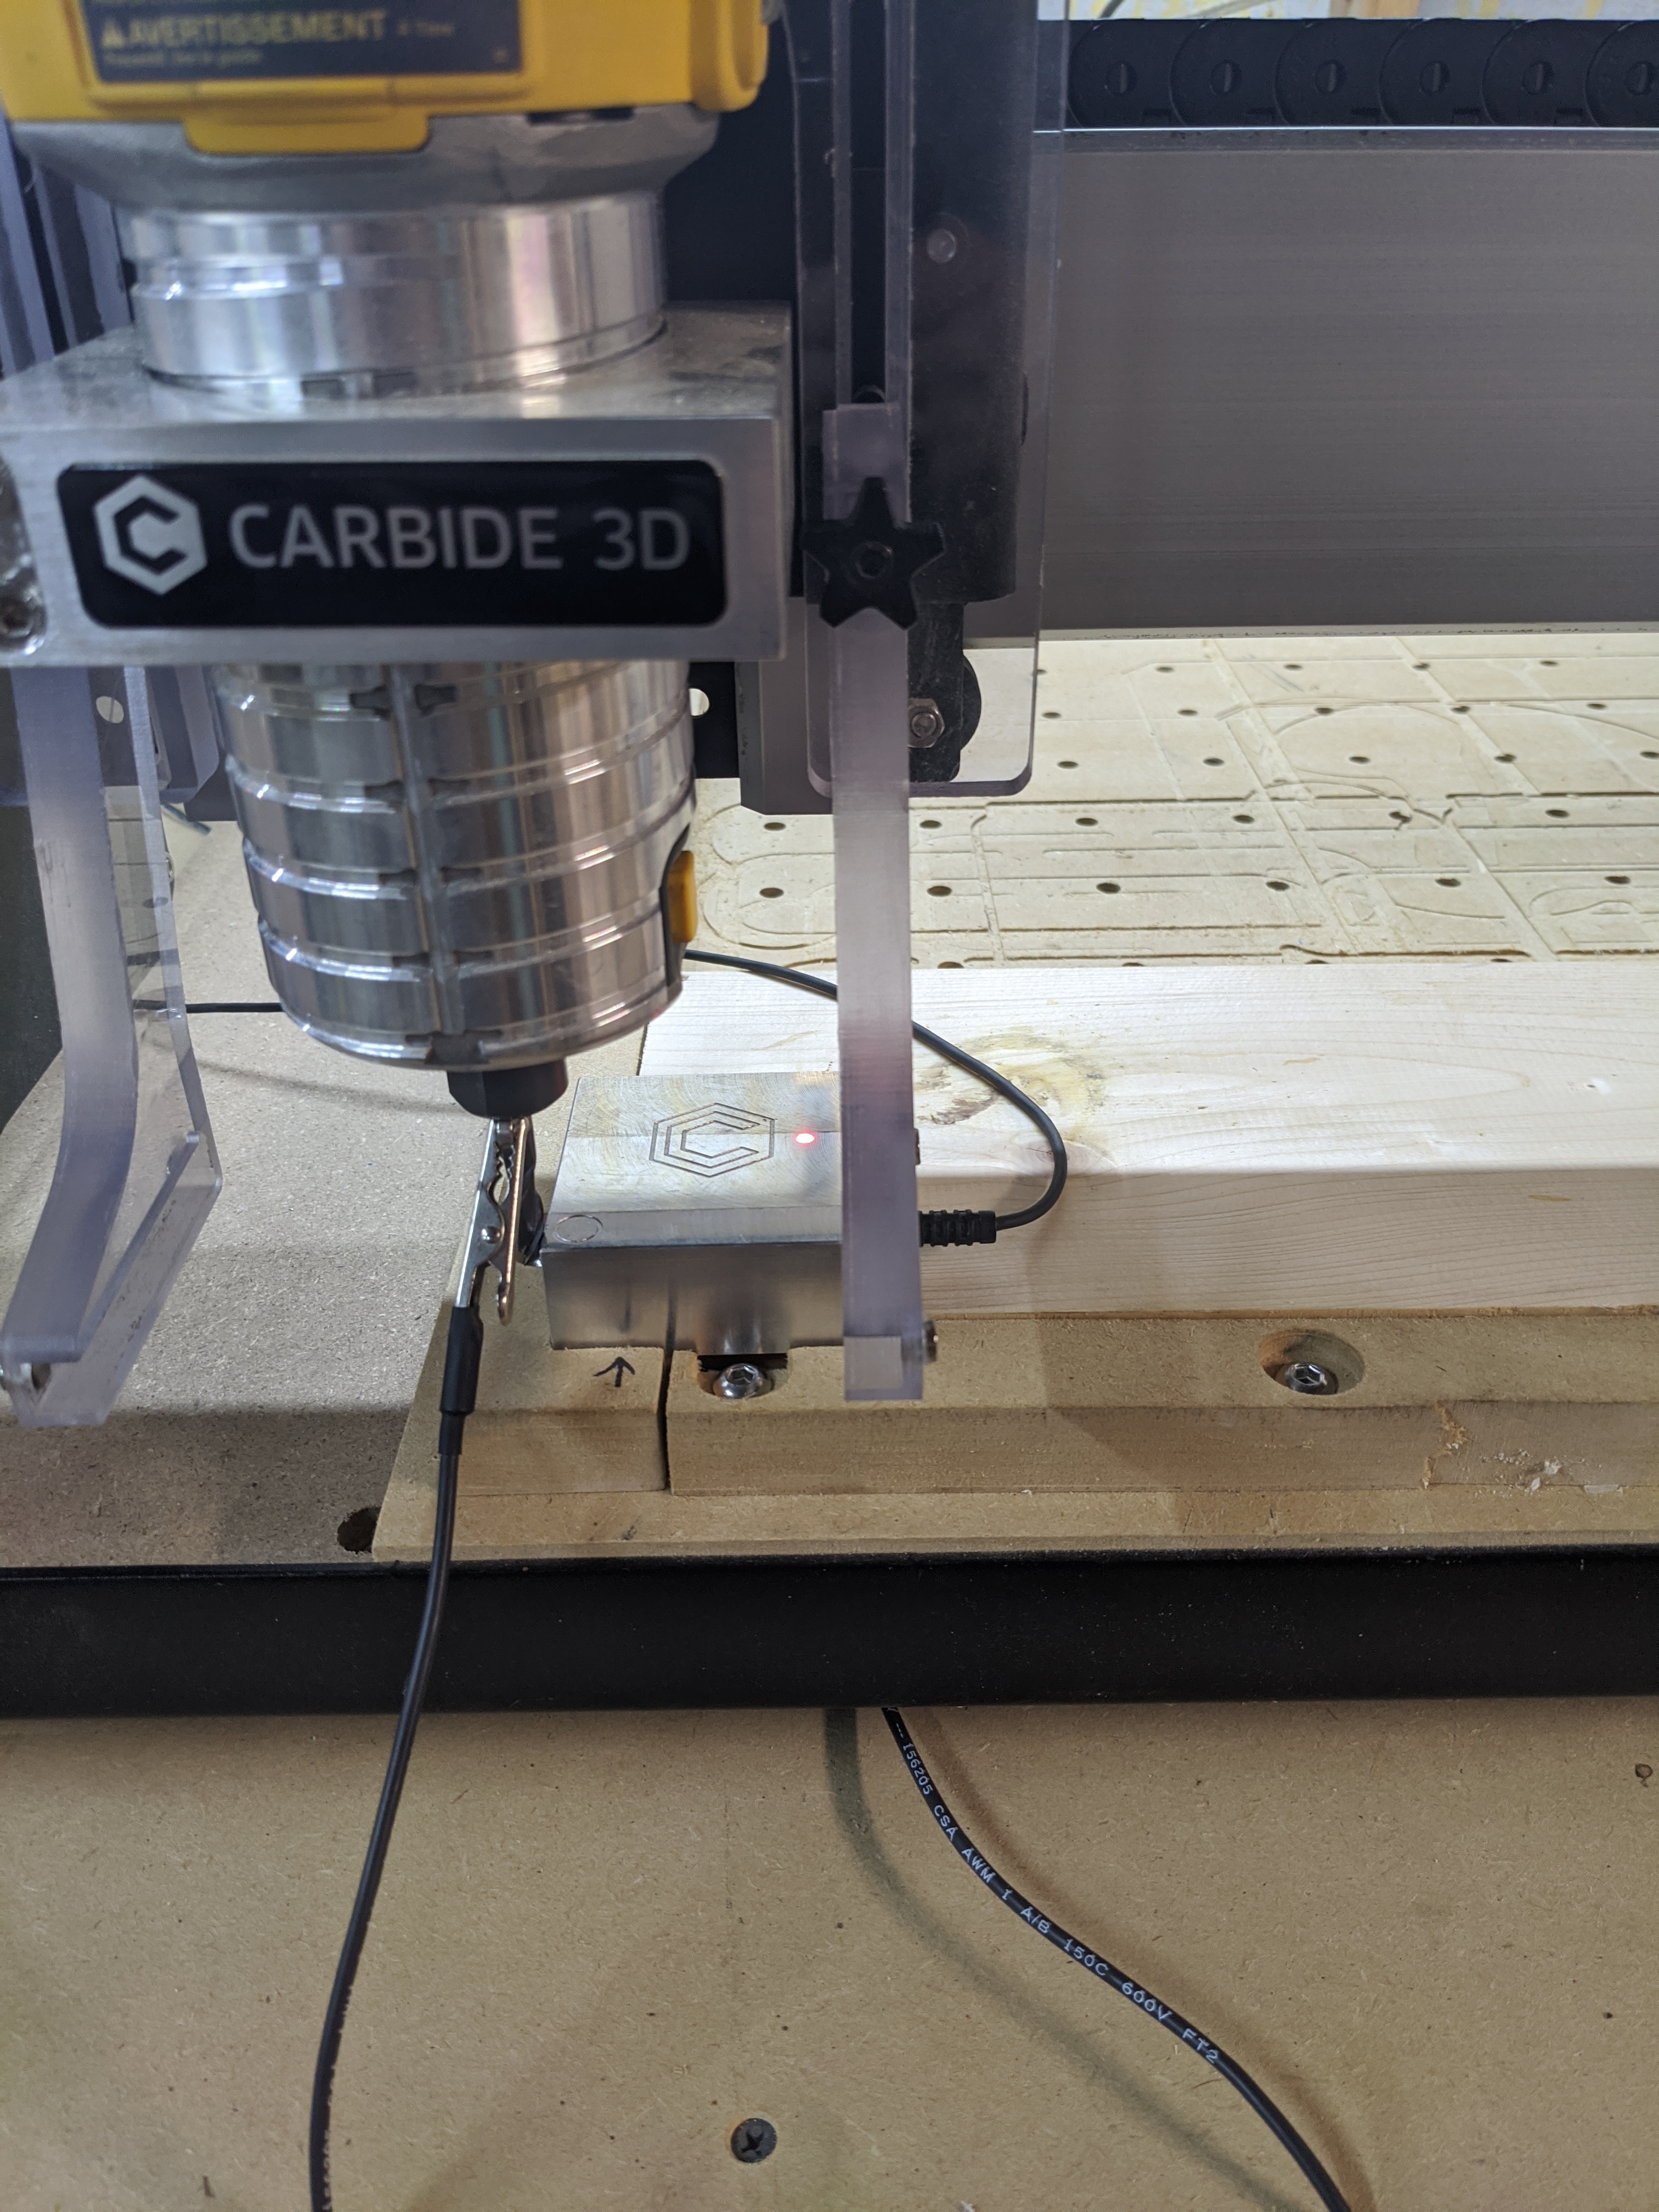
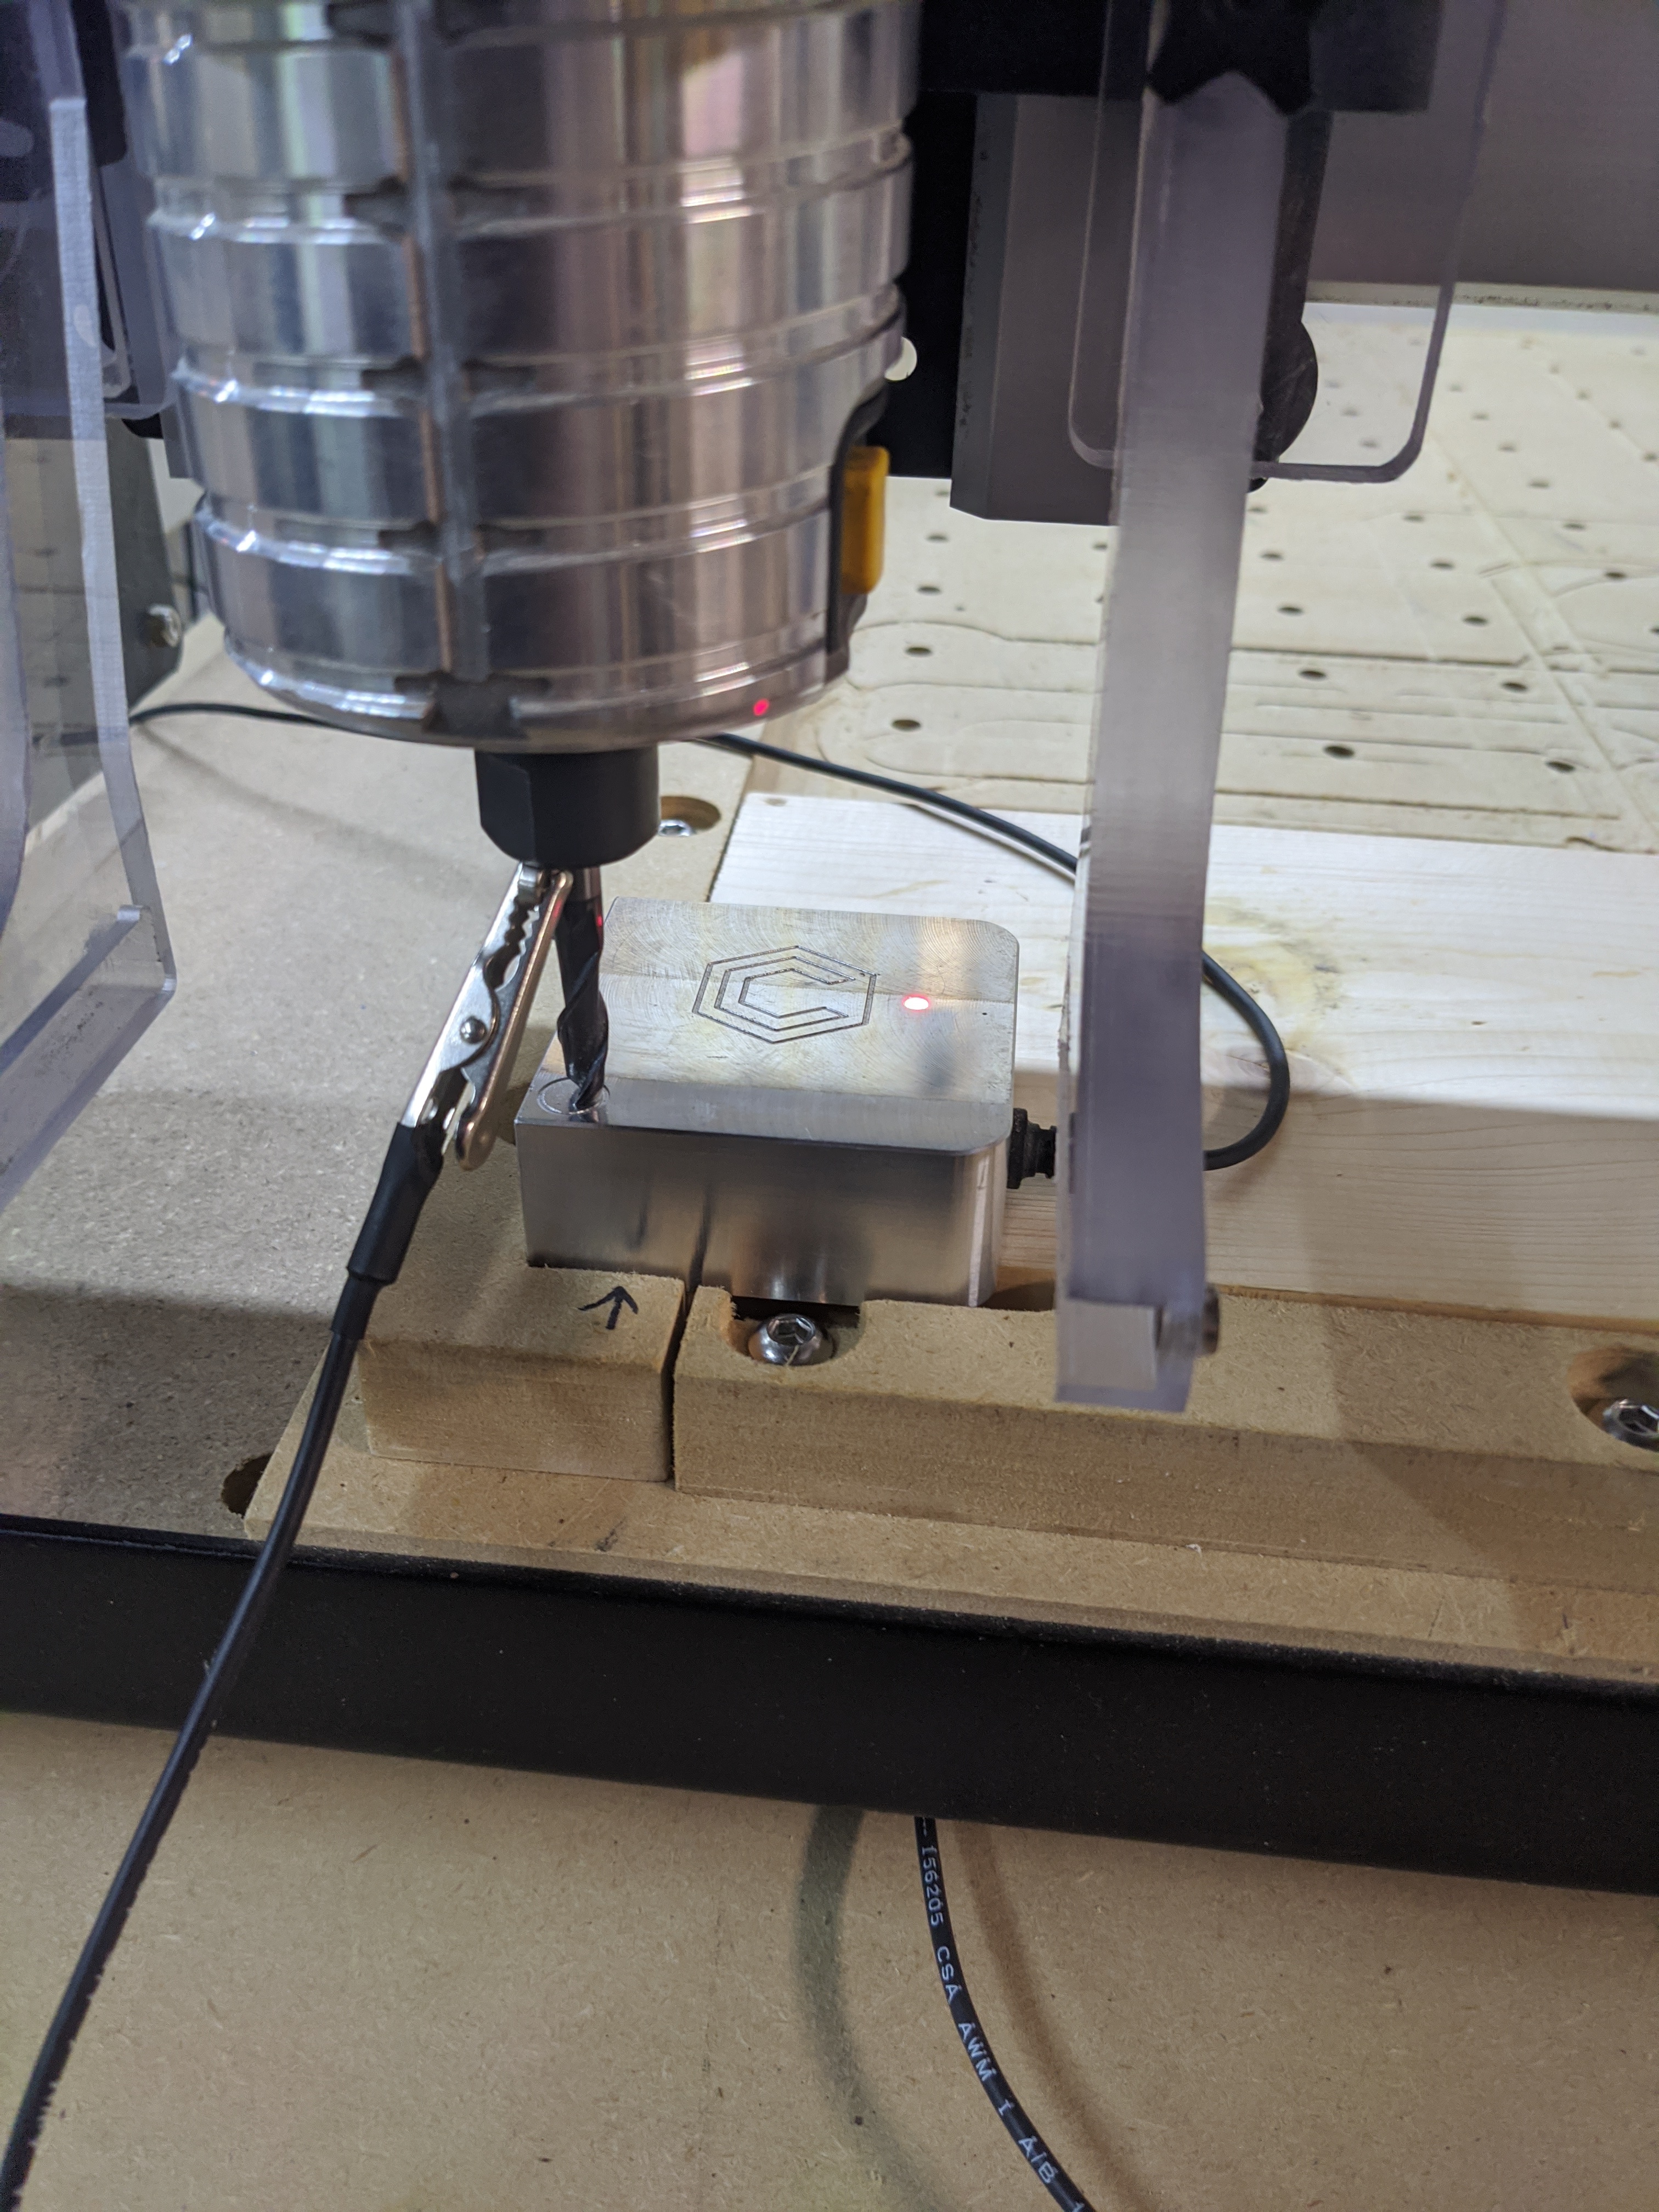
Do be sure to set the Touch Probe on to your stock with the edges hanging over. Otherwise it is approximately 3 MM difference when setup for probing Z only.
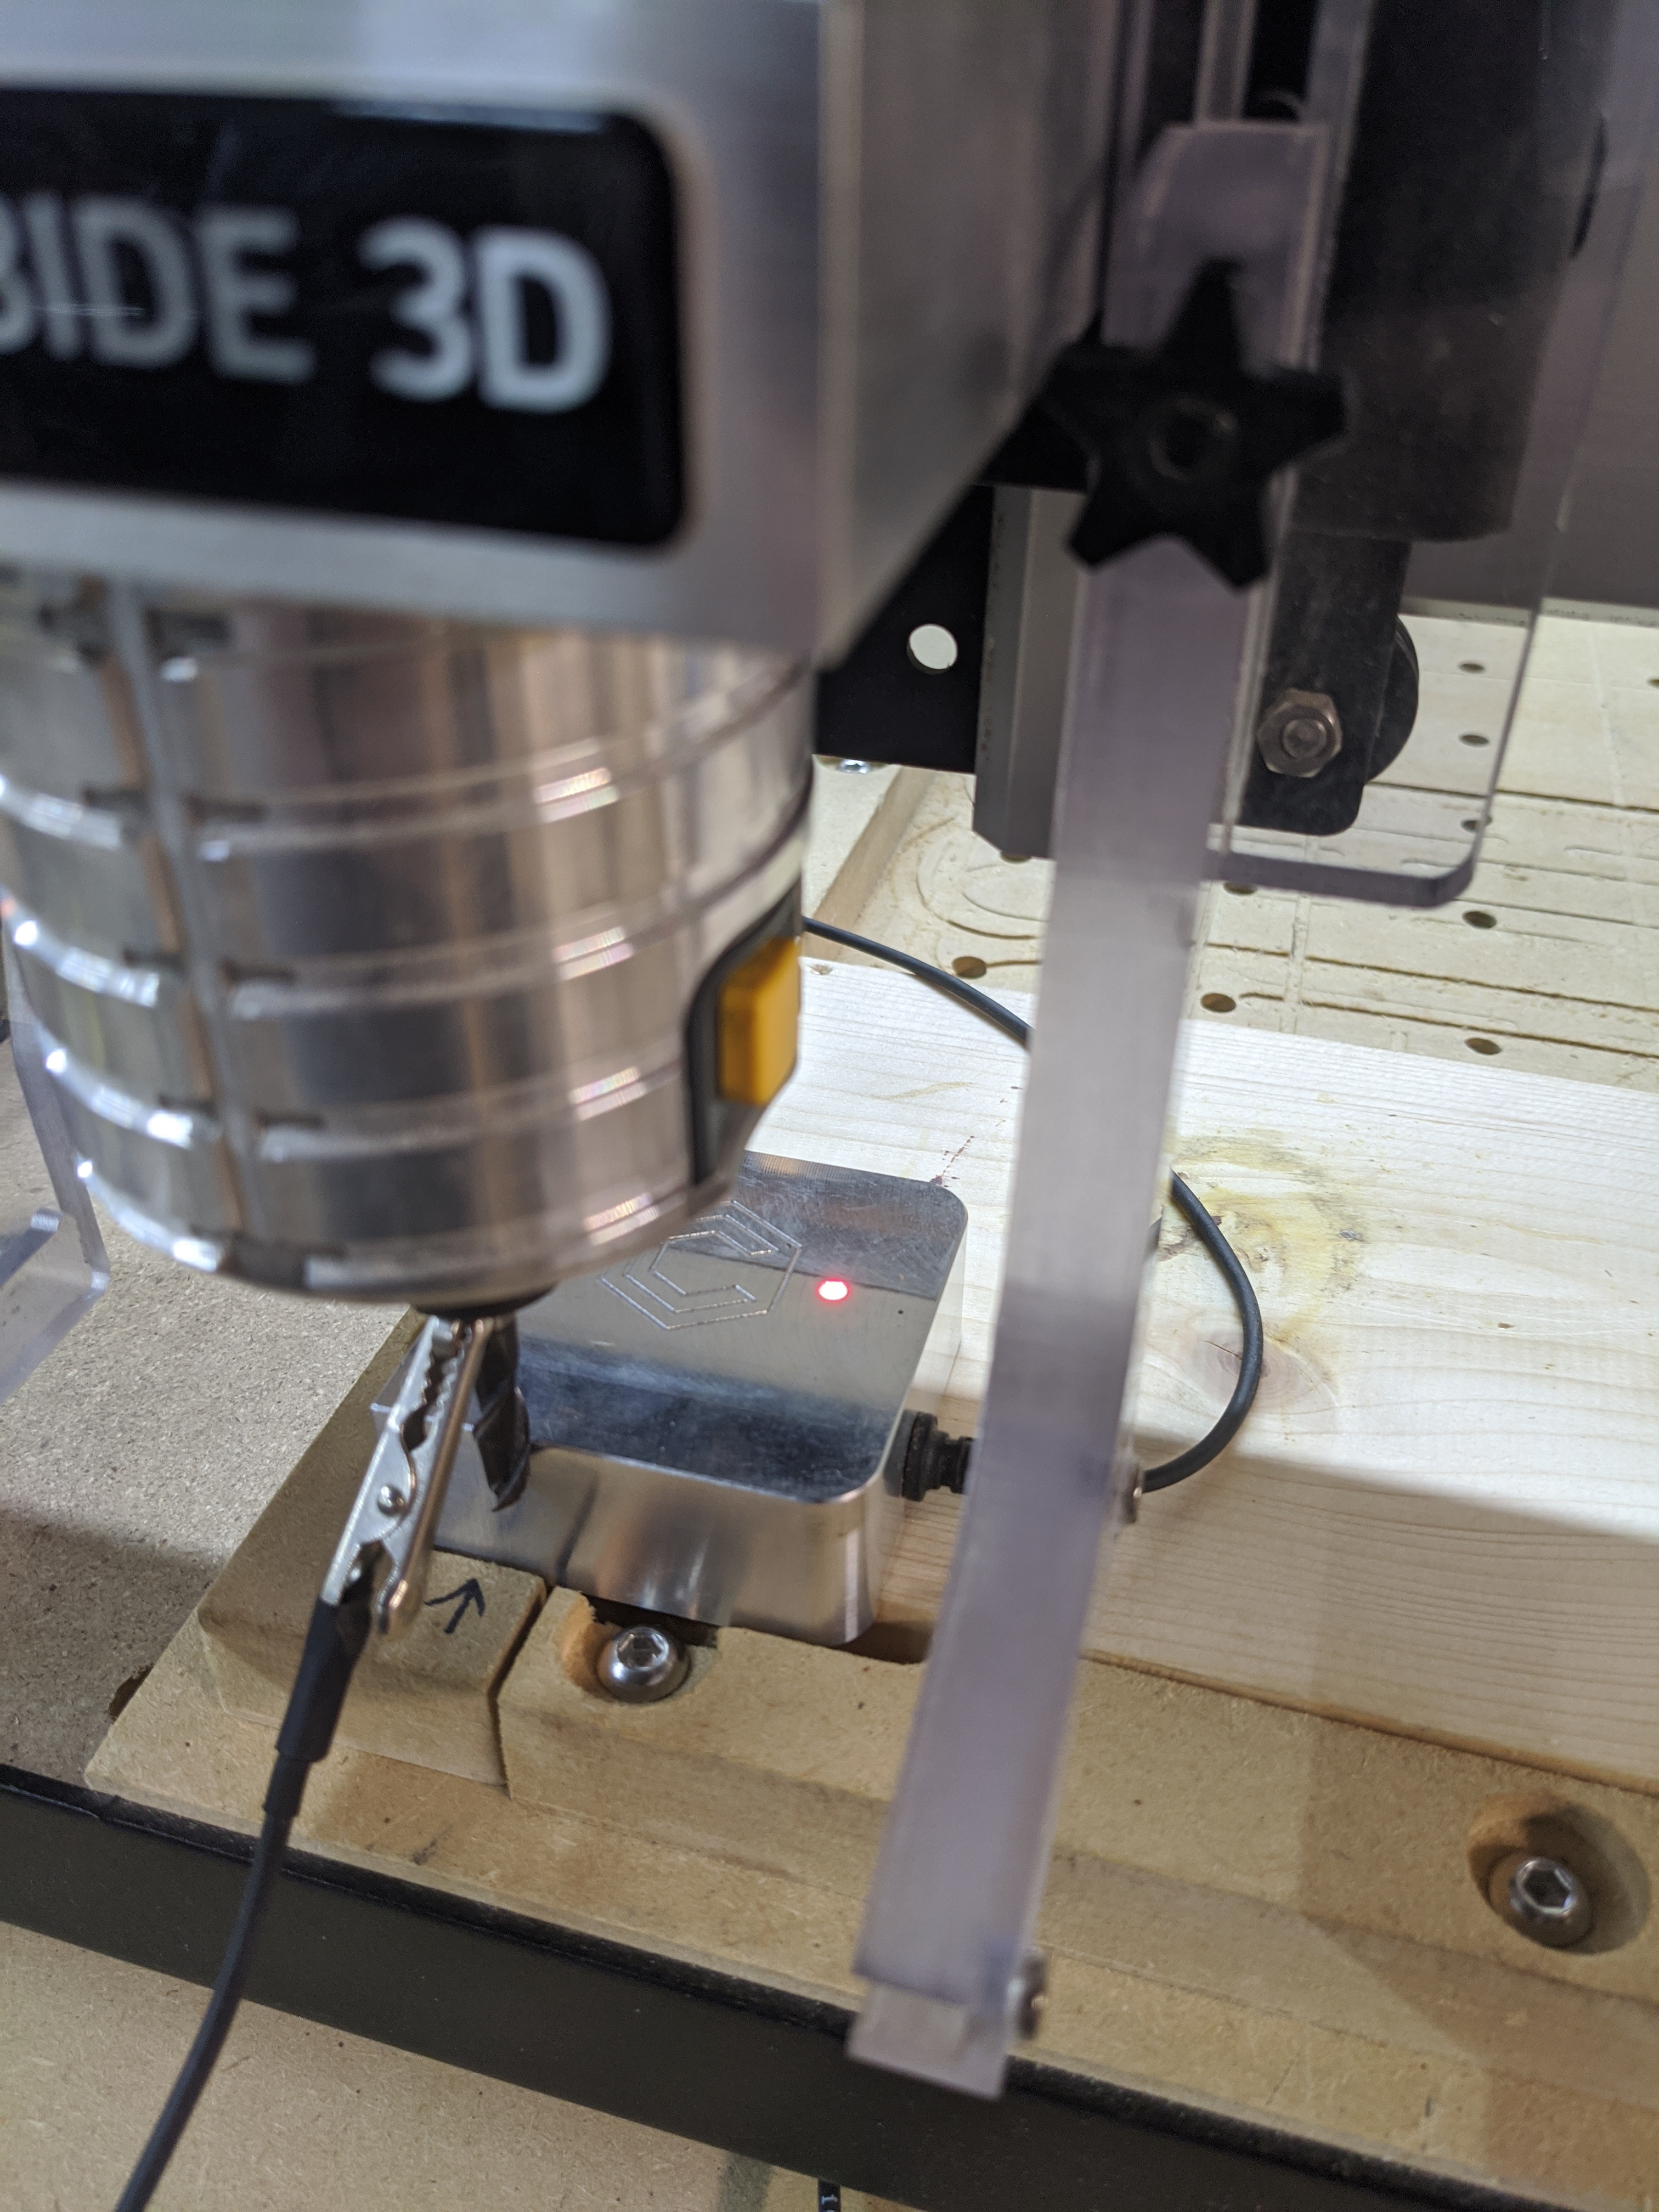
Check that the bit is properly tightened and is not slipping up into the collet on probe.
Any loose V wheels?
Does the probe on the bitsetter activator seem tight? Mine came loose after repeated use.
Editor settings for stock depth are correct? Double checked everything?
Note that there are 2 ways to set the BitZero — if you set it for a corner probe, but then probe only for Z it will be positioned 3mm lower than it ought (the height of the lip at front and left) — if you can come up with a repeatable set of instructions which we can follow we’ll see what can be done.
Mr WillAdams the repeatable set of instructions have been posted twice.
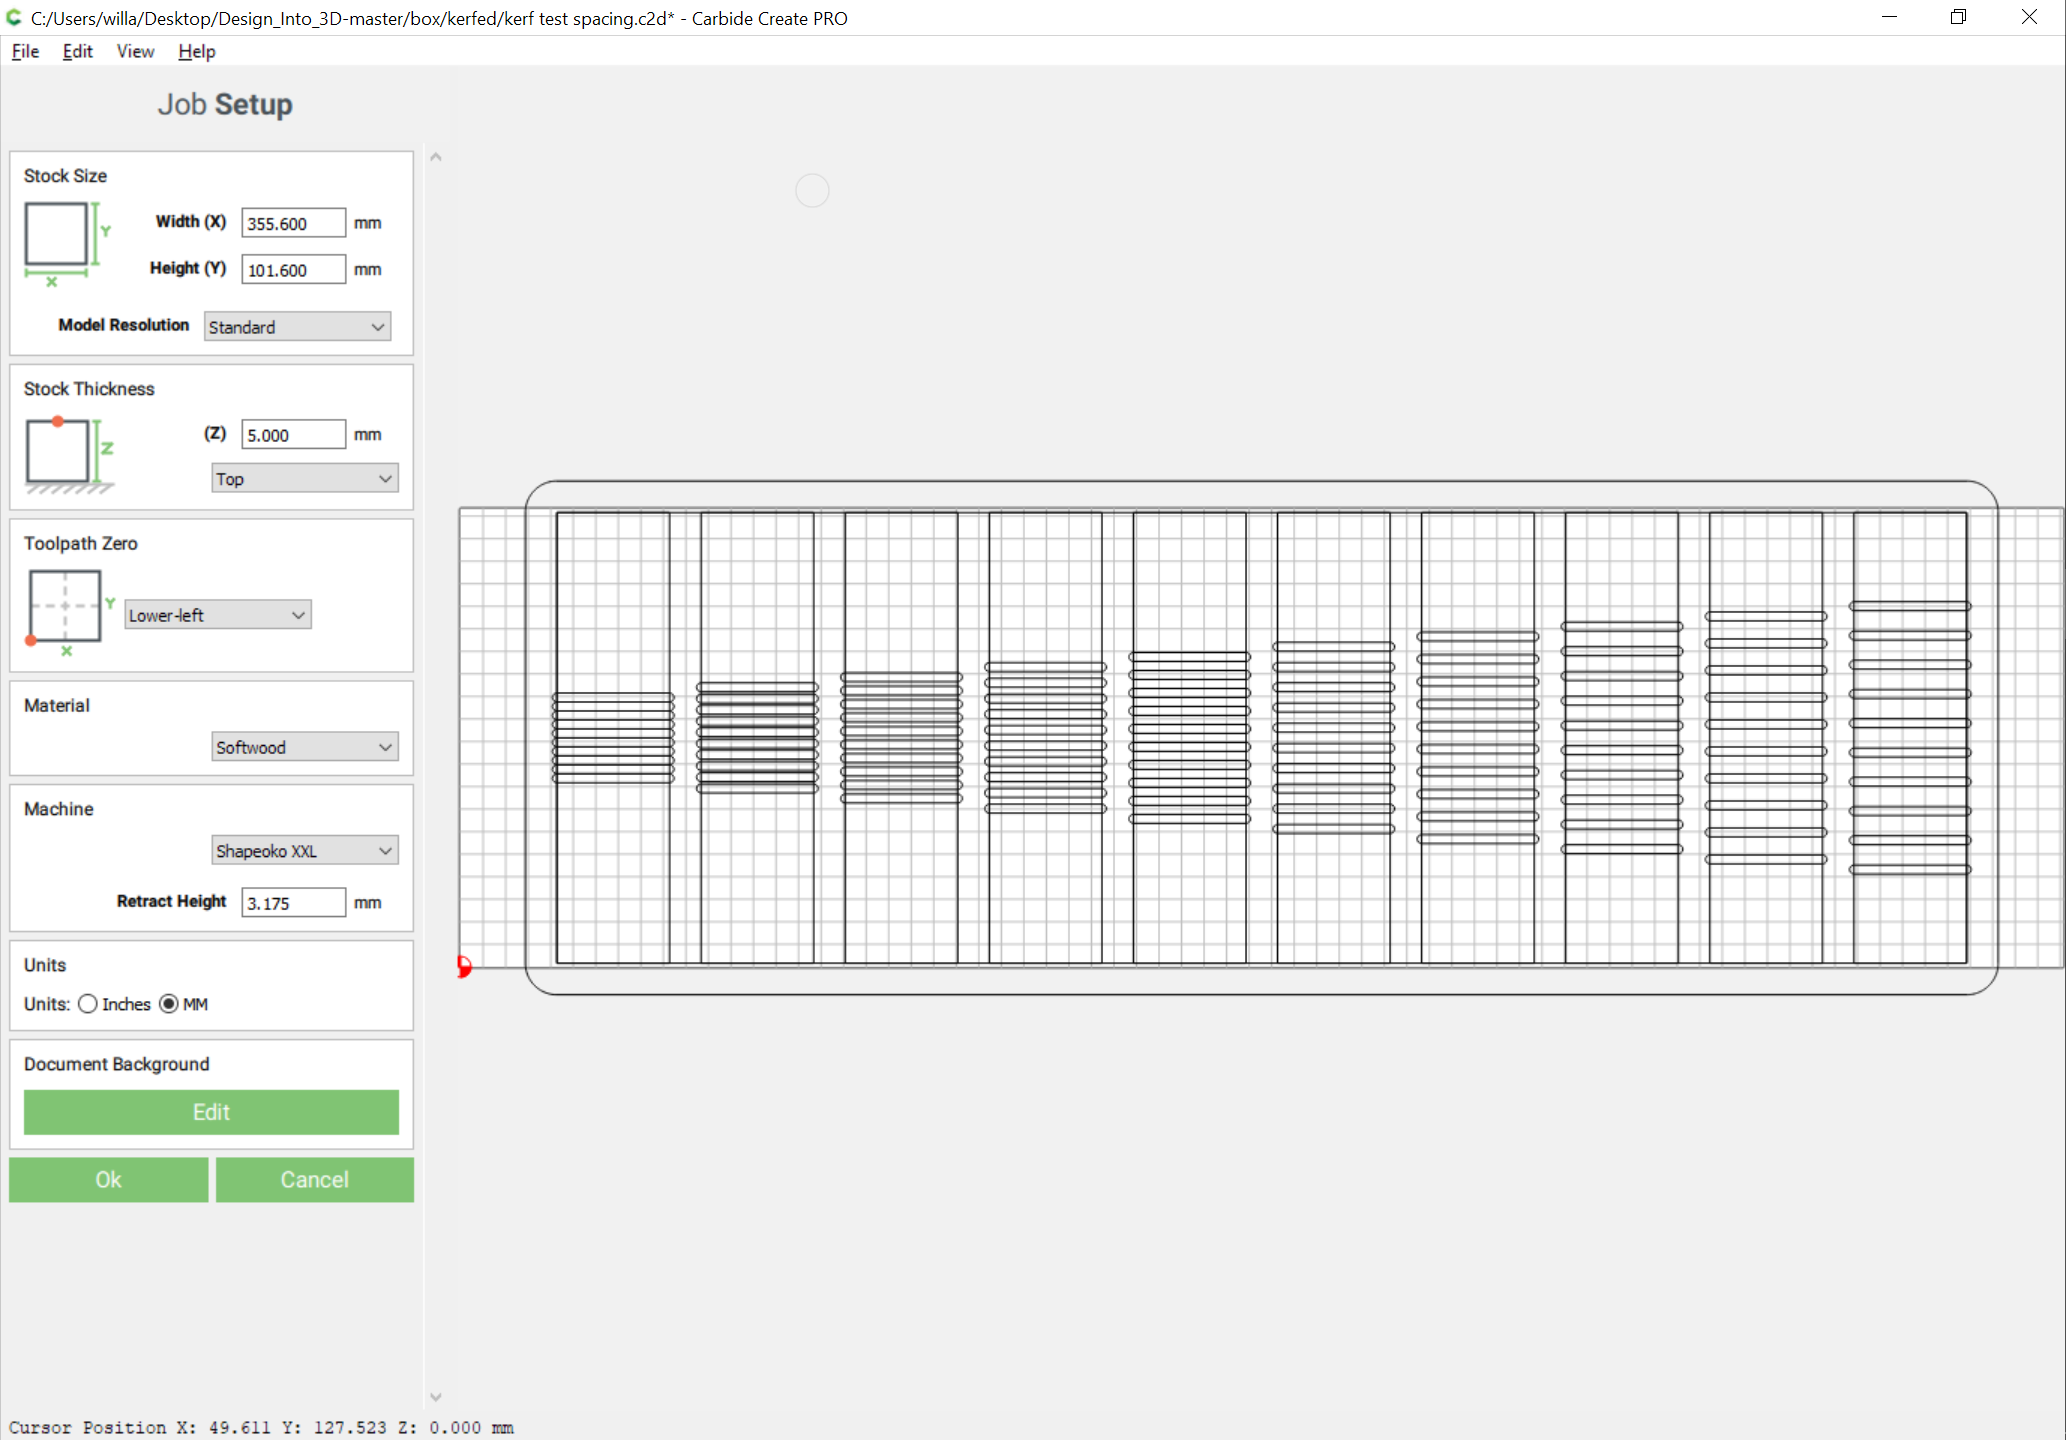
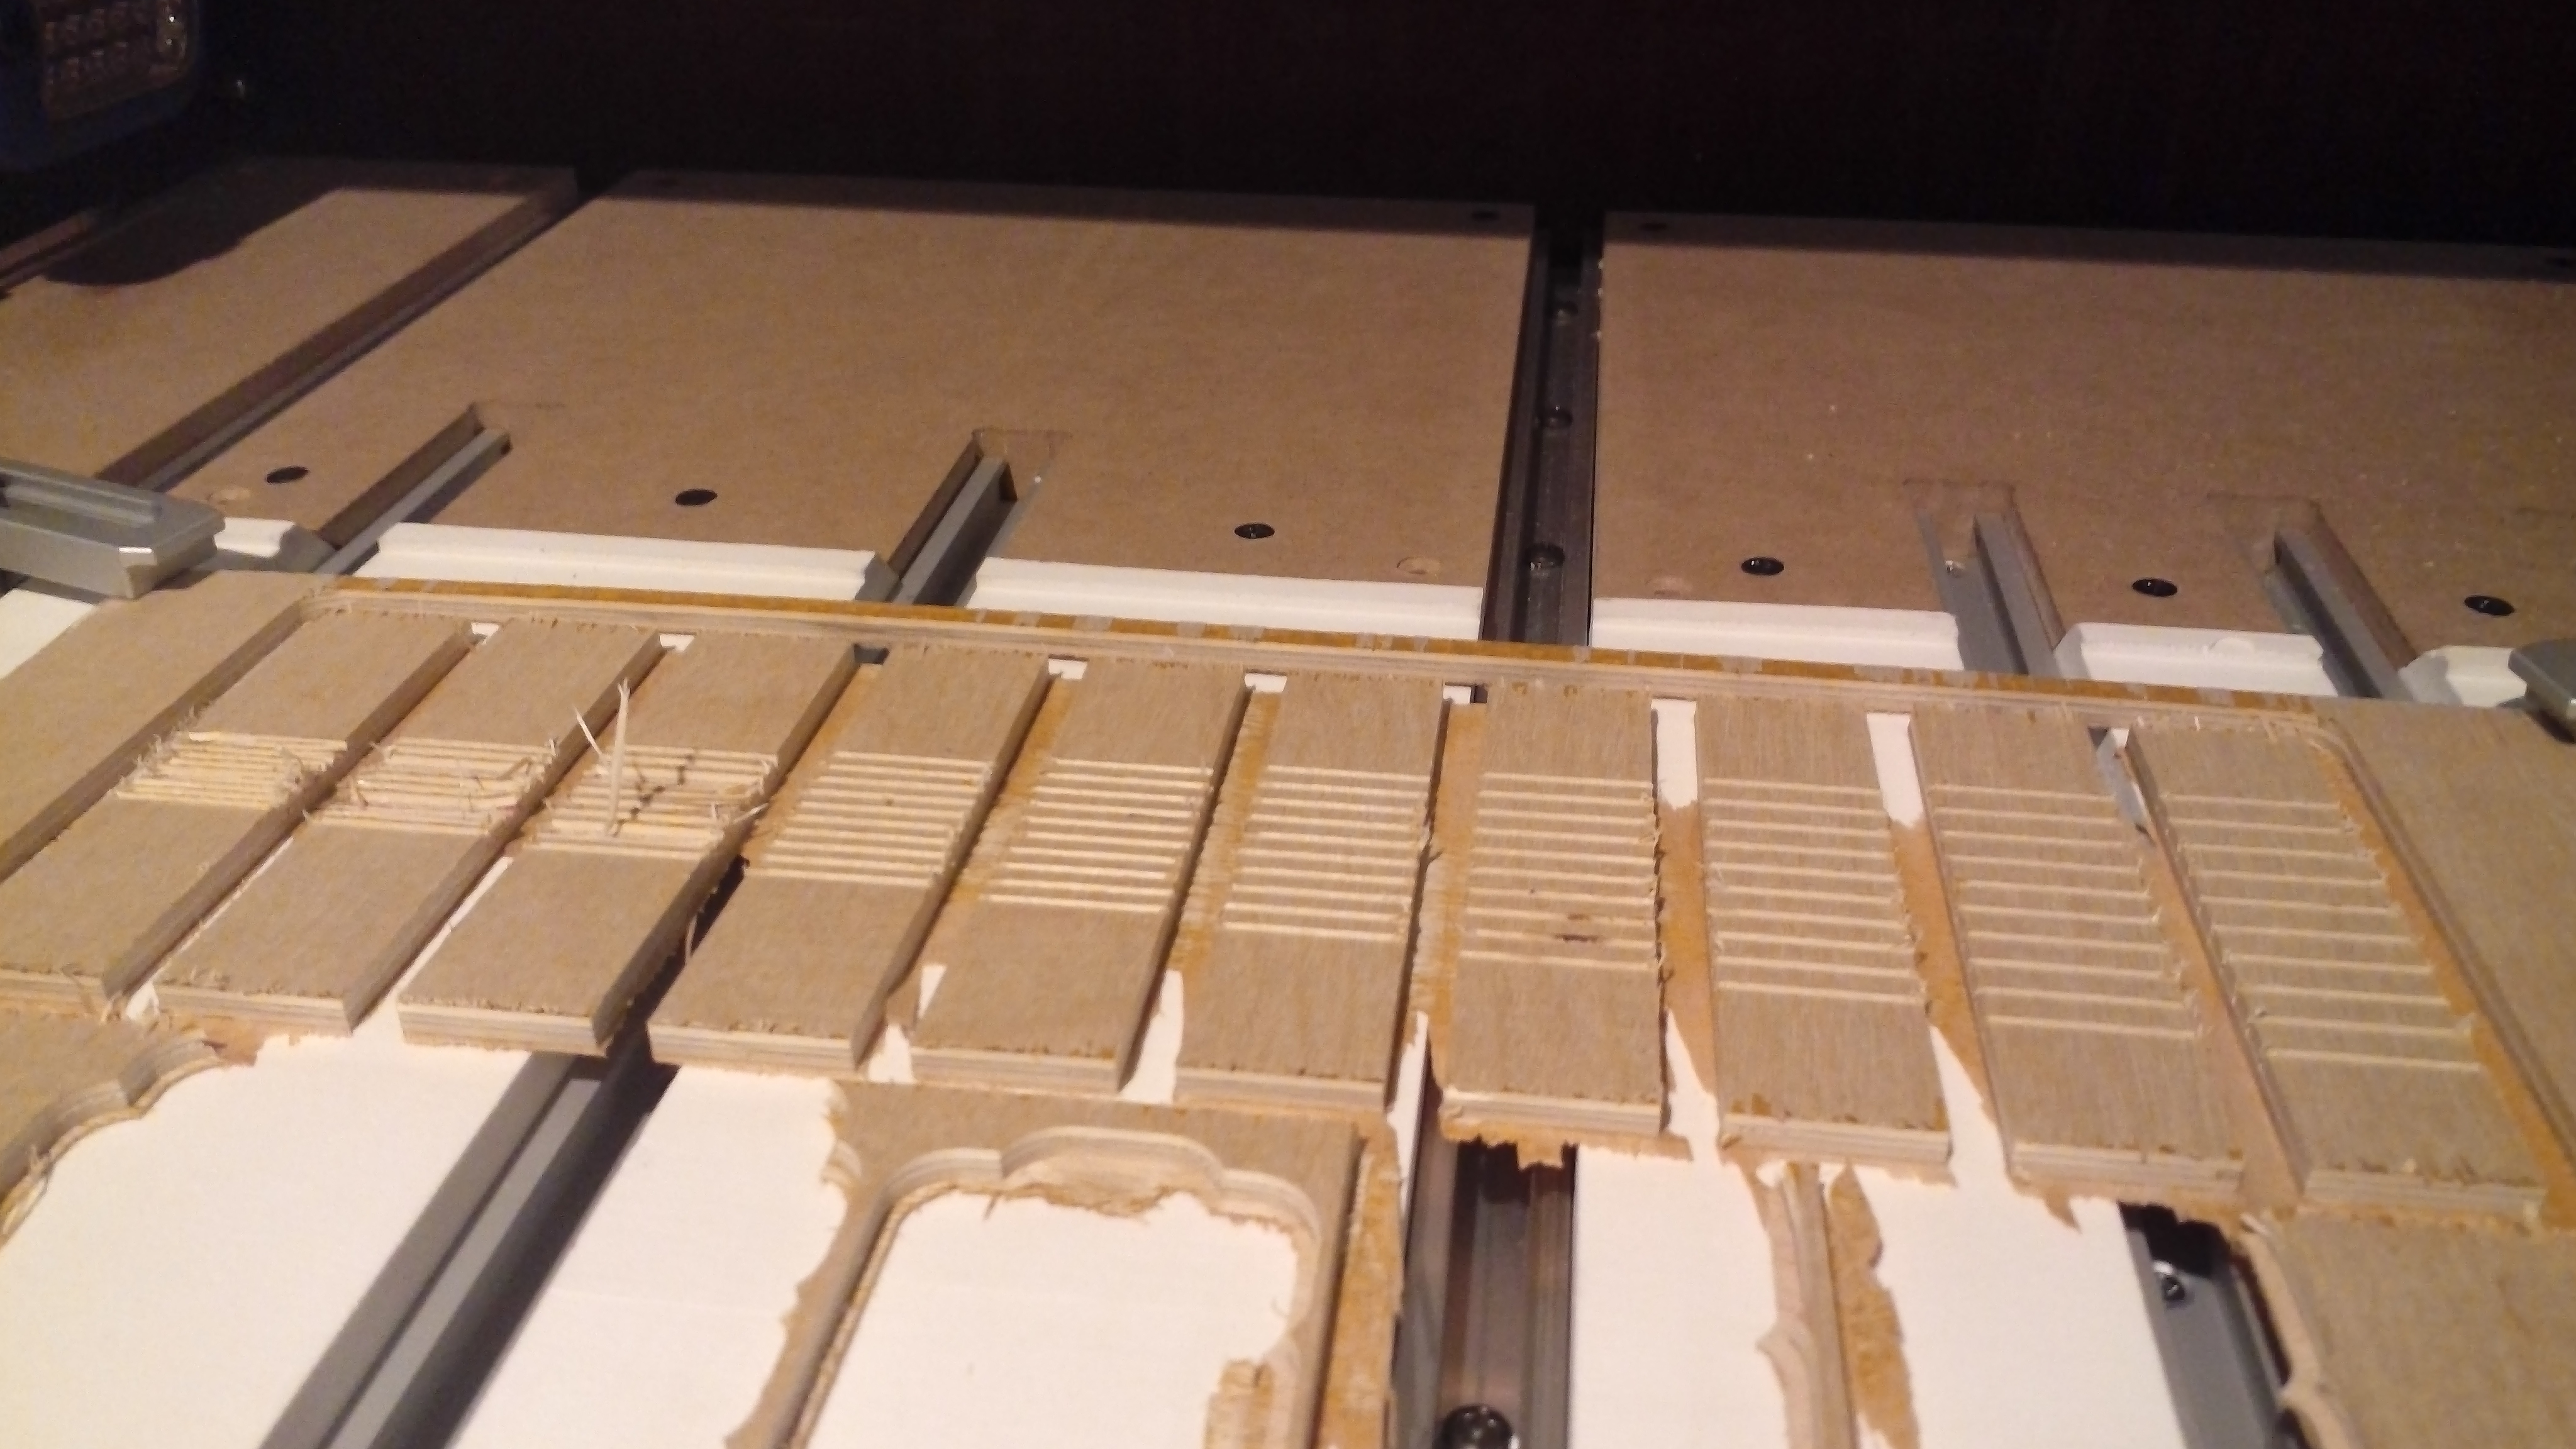
Turn on computer, startup carbide motion, connect to cutter, initialize machine, tool change required prompt, click resume, move carriage to desired position, use probe to set zeros all three, open carbide create, open project, click send to carbide motion button, click start job, click start, tool change required prompt, insert tool click resume, quick resume after tool goes to bitsetter, it starts cutting air,as pictured in previous post it should have been cutting the spoil board not 6mm above the spoil board.
I’m not sure what else your asking for.
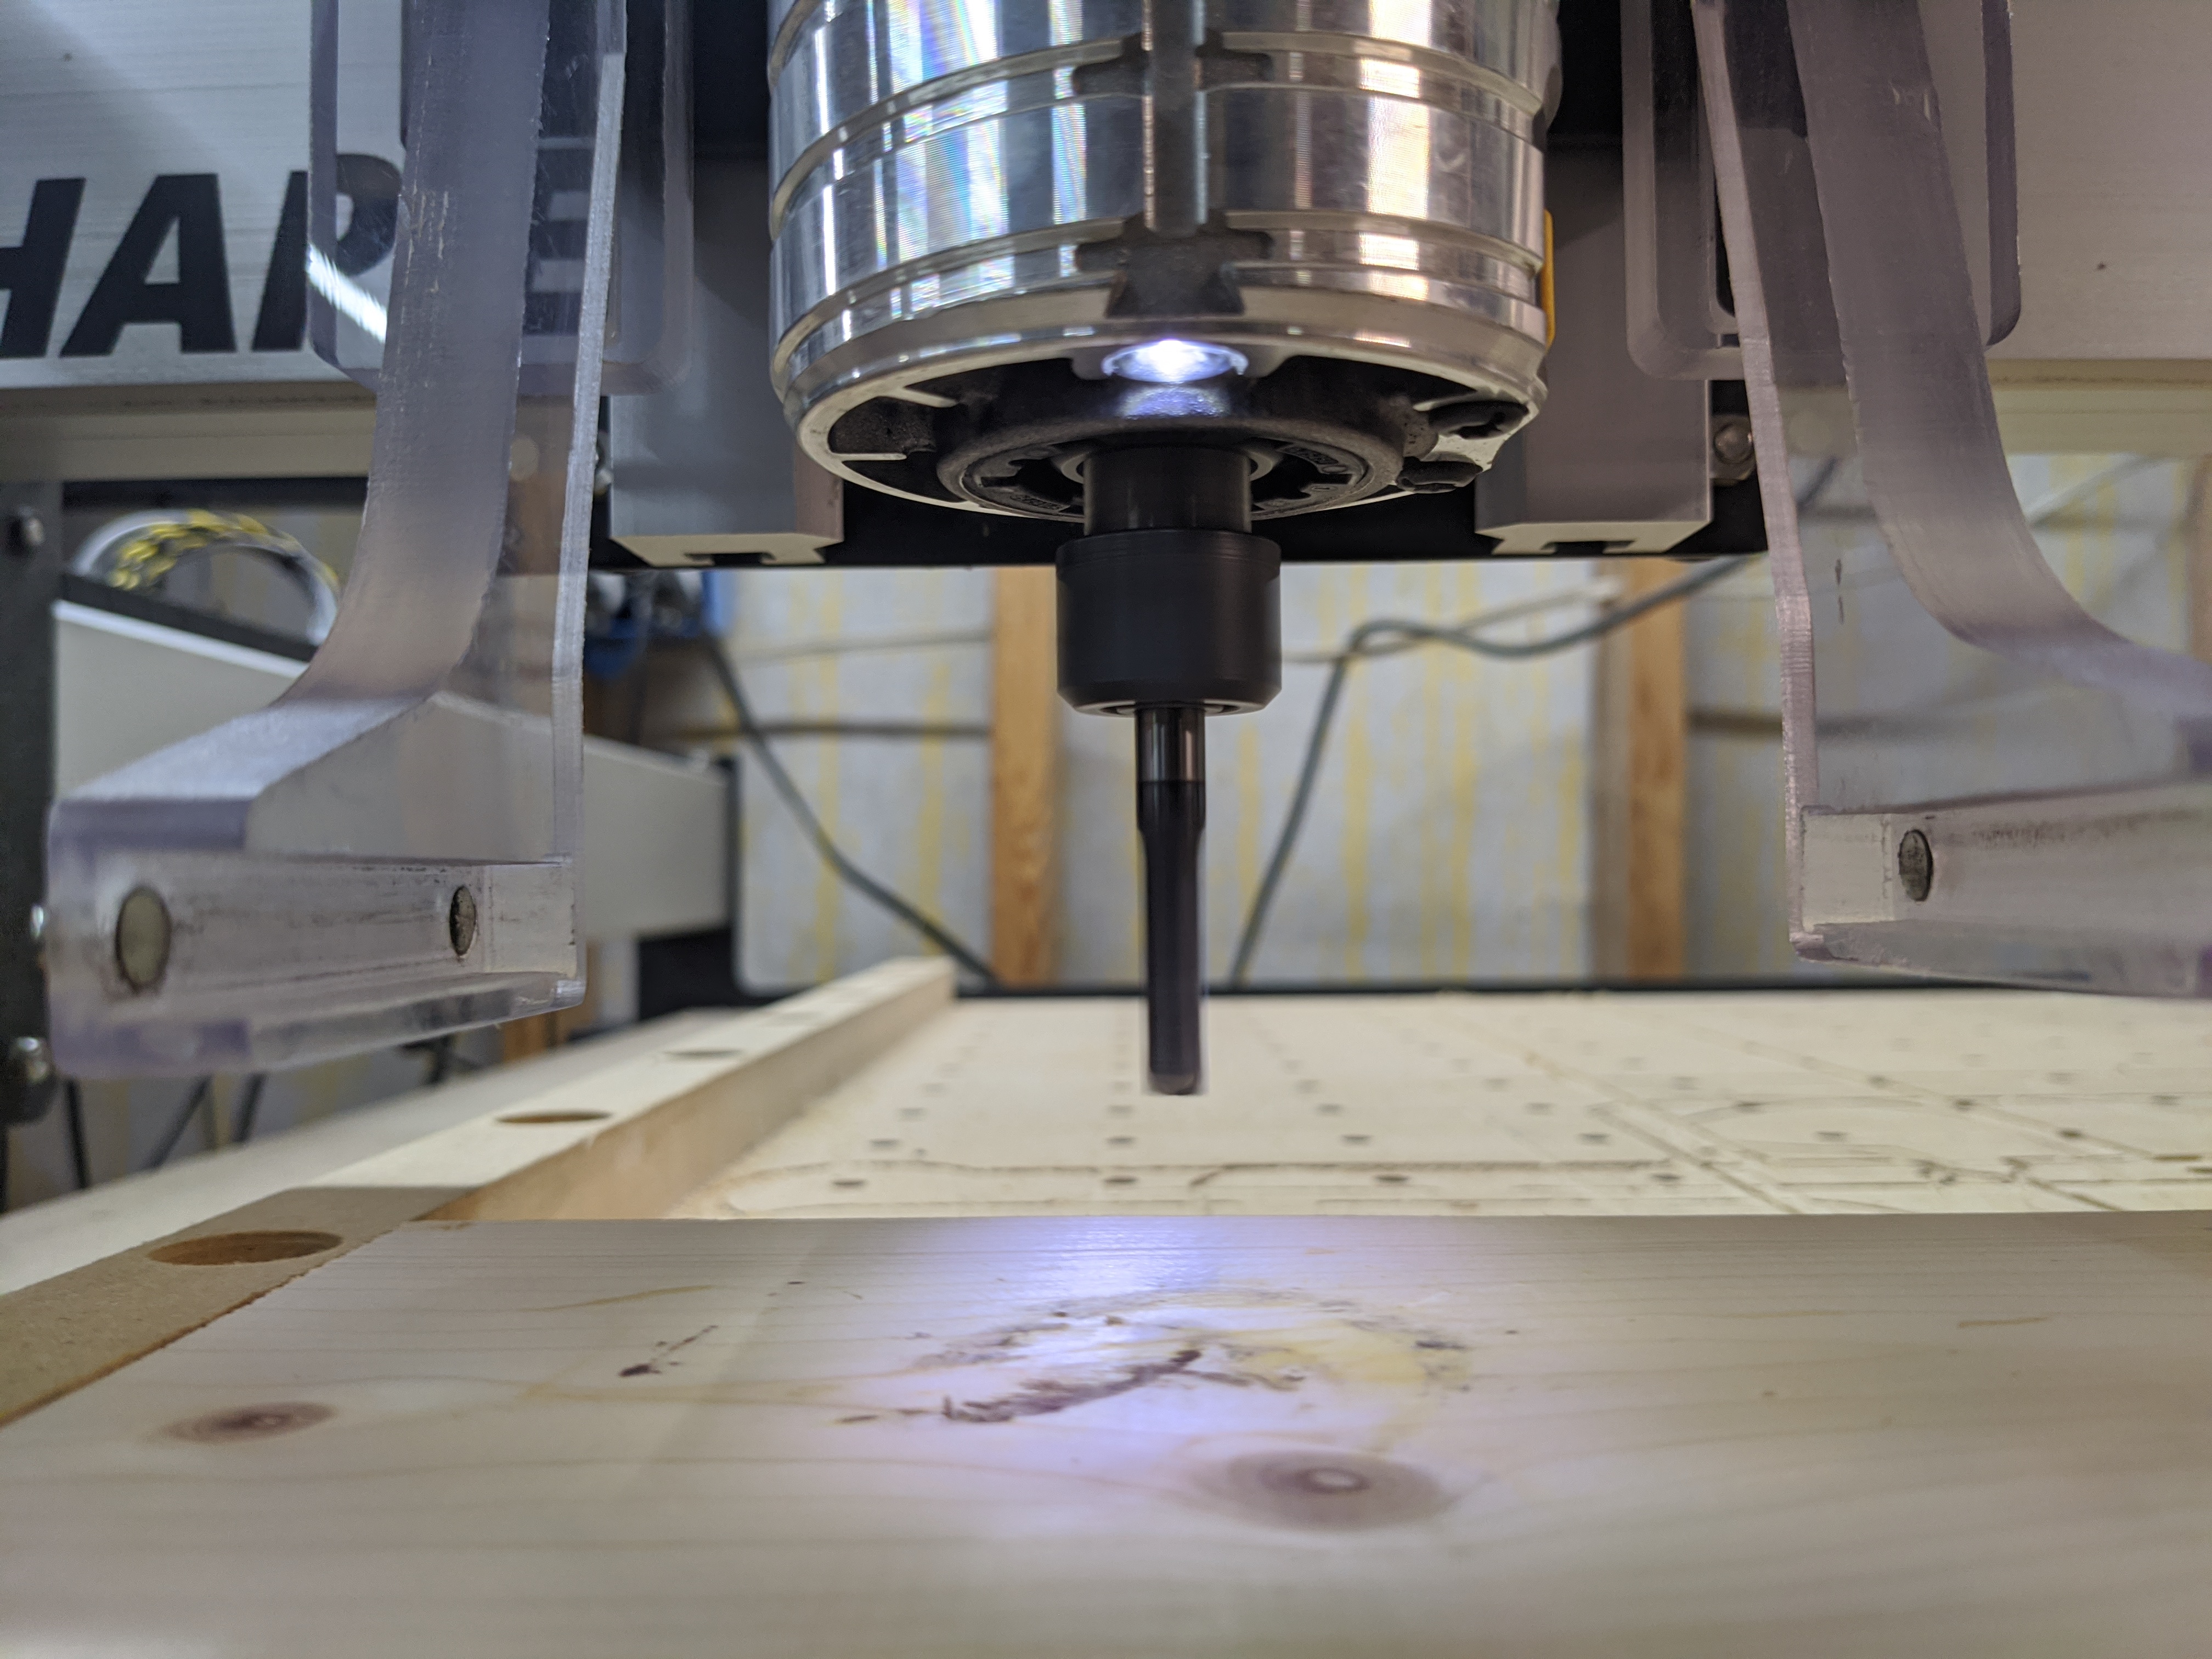
yes its plenty long enough to reach the spoil board, I can do the exact same steps with a piece of wood clamped down and it will do the exact same thing and be 6mm above the piece of wood
Will check Z stepper motor gear. Set x,y 0 to center of stock so I probe Z only. Use V-Carve Desktop, Carbide Motion, Shapeoko Tool Change post Processor. Replaced, tightened V-wheels, check every job. Collet is tight and bit doesn’t engage bit setter with enough force to change settings. Using $102=320, but had to set $132=300 or I would generate limit switch error on the way down with soft limits enabled $20=1 for my dust shoe.
Sorry Ken I am out of ideas, I wish you luck getting this resolved soon.
I am sure Will Adams or the other C3D support techs will get this figured out asap.
Ken, you can’t use the XYZ probe zero without the probe hanging off the edge of the part to be milled. You won’t get the correct zero. You can do XY, but the zero will not be correct. You will have to use the Z-zero only menu item to redo the Z zero.
Ken - I’d endeavor to install the tool you’re going to use first, during machine initialization then zero; and when you start your job and CM prompts changing the tool you just click ok and let it redundantly run the BitSetter operation.
If you get a chance give that a try. Also, still checking the rapid ‘Z-zero +6mm’ position after BitZero or tool changes is a good sanity check. I don’t think you had mentioned whether you tried that yet.
startup carbide motion, connect to cutter, initialize machine, tool change required prompt,
move carriage to desired position, use probe to set zeros all three,
open carbide create, open project, click send to carbide motion button,
click start job, click start, tool change required prompt,
insert tool click resume, click resume after tool goes to bitsetter at which time it begins to run the job
yes I just saw that,and that is the problem i everything I checked
Thank You it looks like I need to go in and check all my files for that.
now I feel stupid but am glad you figured it out it was a simple operator error